
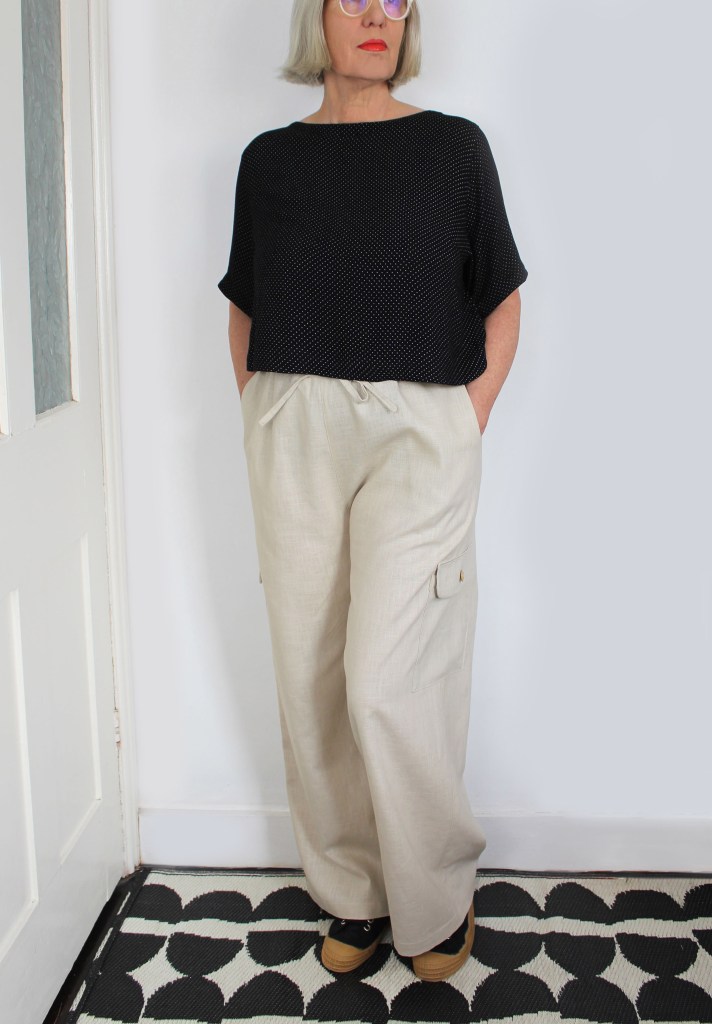
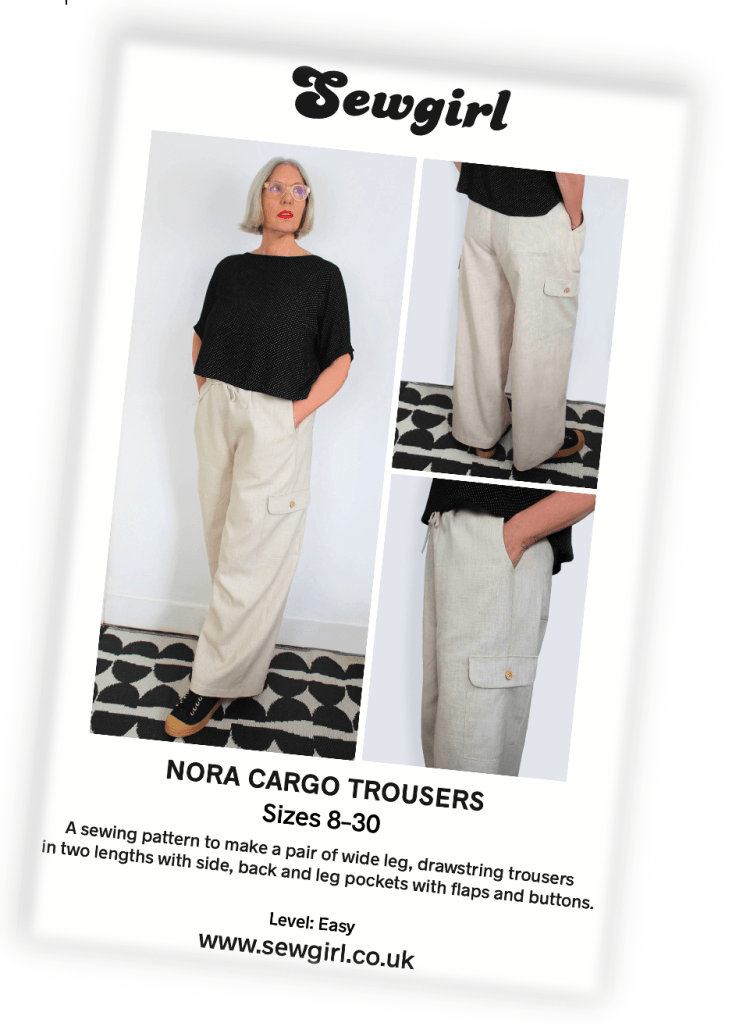
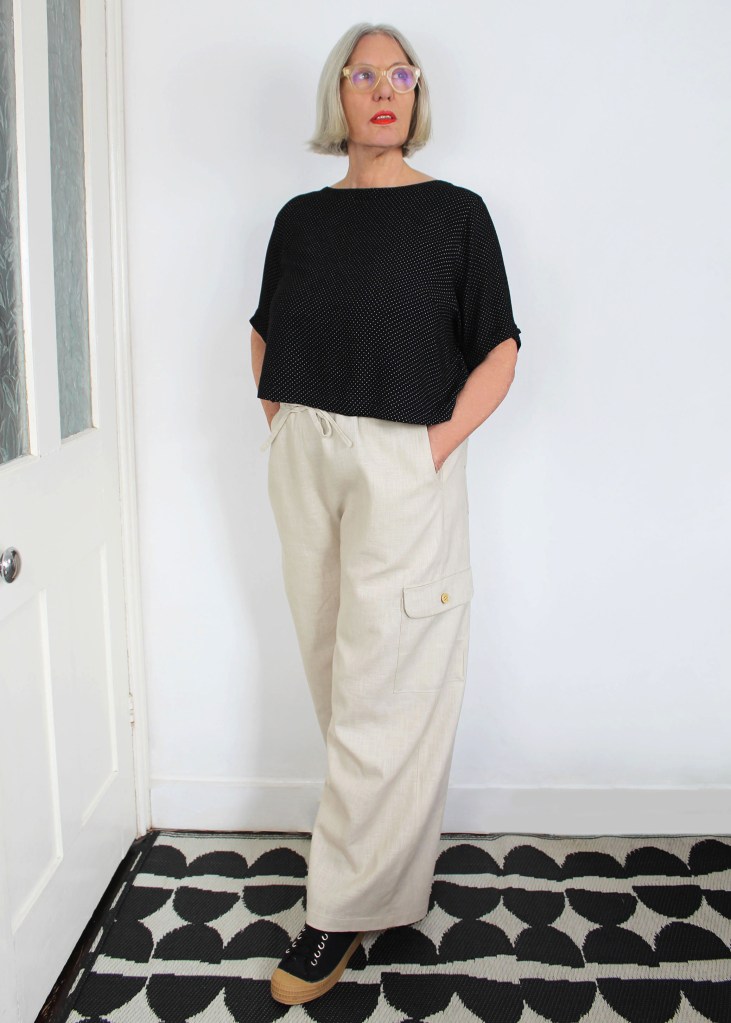
NORA CARGO TROUSERS sewing pattern to make a pair of relaxed fit, useful trousers, with lots of pockets and a drawstring waistband. The pattern is an easy make, suitable for beginners with some basic sewing experience. The size range is extensive on this pattern, including all sizes from 8 to 30.
Please check out the info. chart for size info and choose the one that corresponds best to your size.
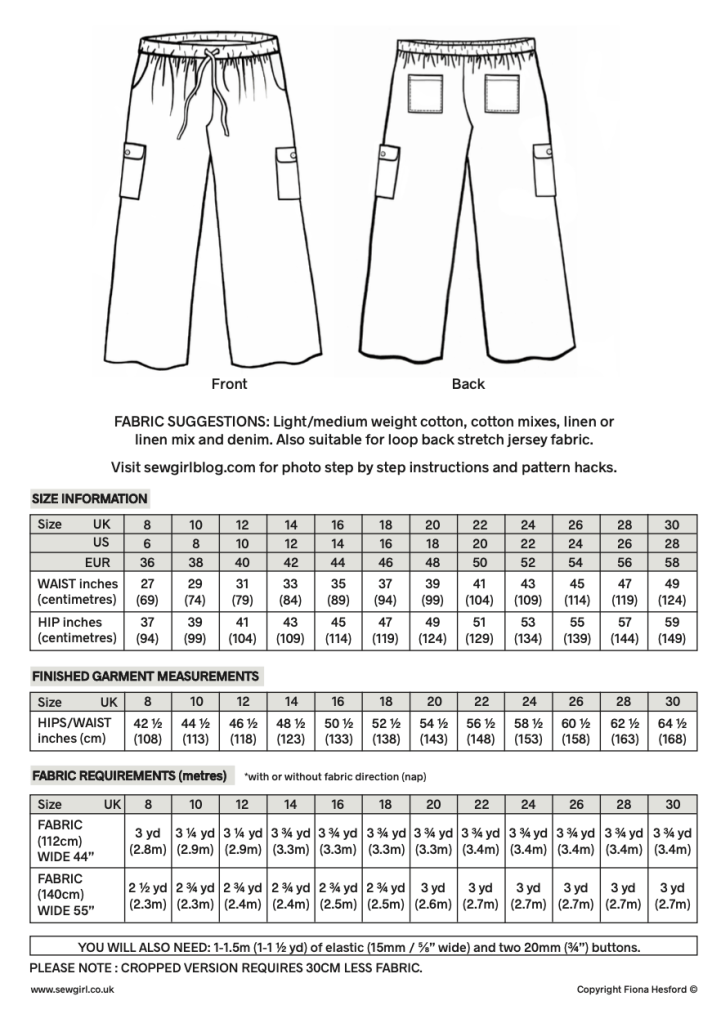
Nora trouser pattern is suitable for lots of different types of fabric such as light/med weight cotton, linen/cotton, viscose/cotton mix and denim.
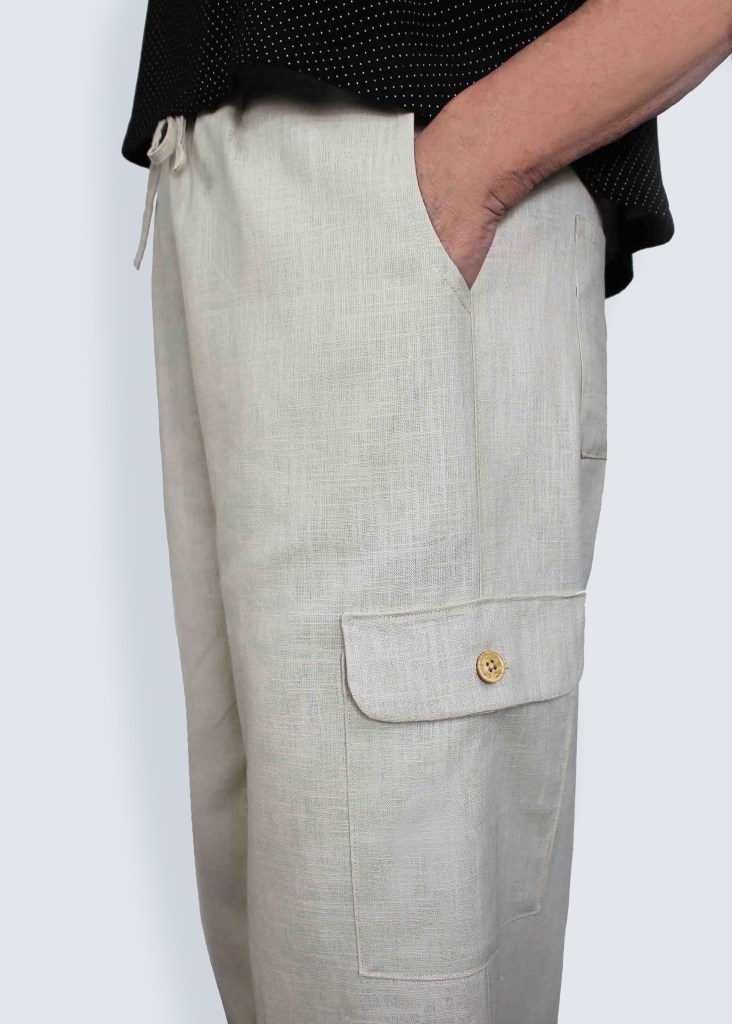
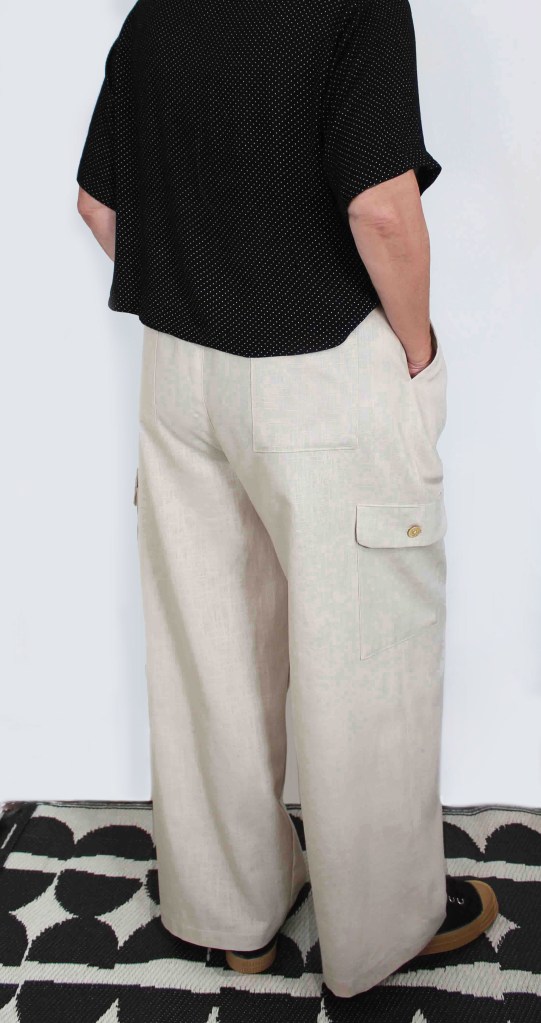
Pockets feature all over these trews. Side pockets, back pockets, and leg pockets with flap and button. Thats a whole lotta pockets! Feel free to pick and choose which ones you would like to include, but I think these trousers look great with them all.
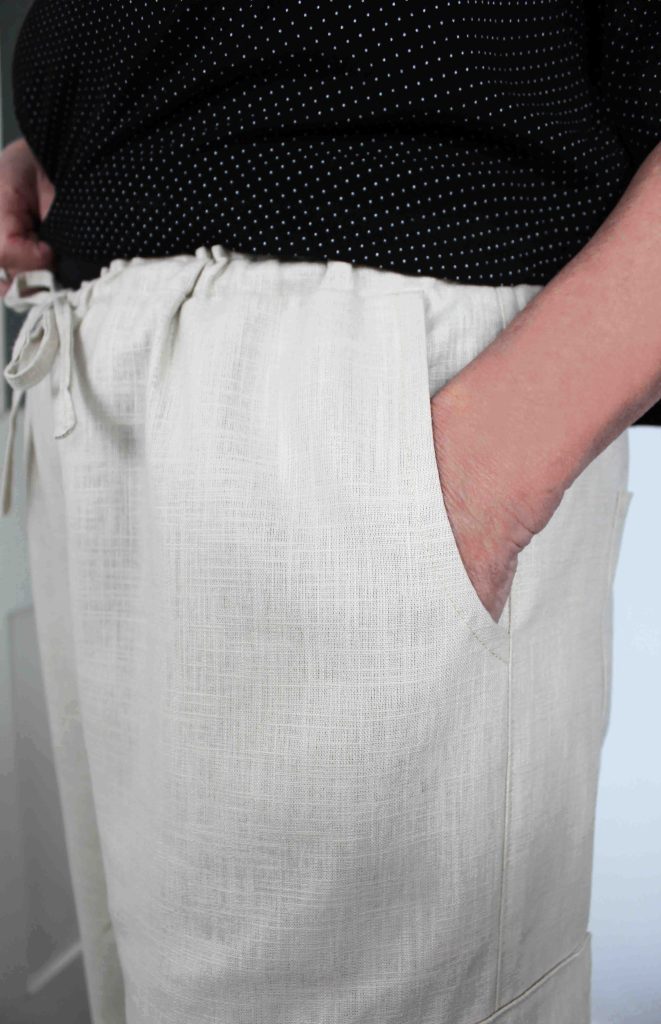
With a drawstring waistband that is also elasticated makes for a very comfortable wear.
How to make Nora Trousers
These are edited instructions, full details are found within the pattern booklet.
Seam allowance is 1cm (3/8″). Finish raw edges with a zig zag stitch or overlocker.
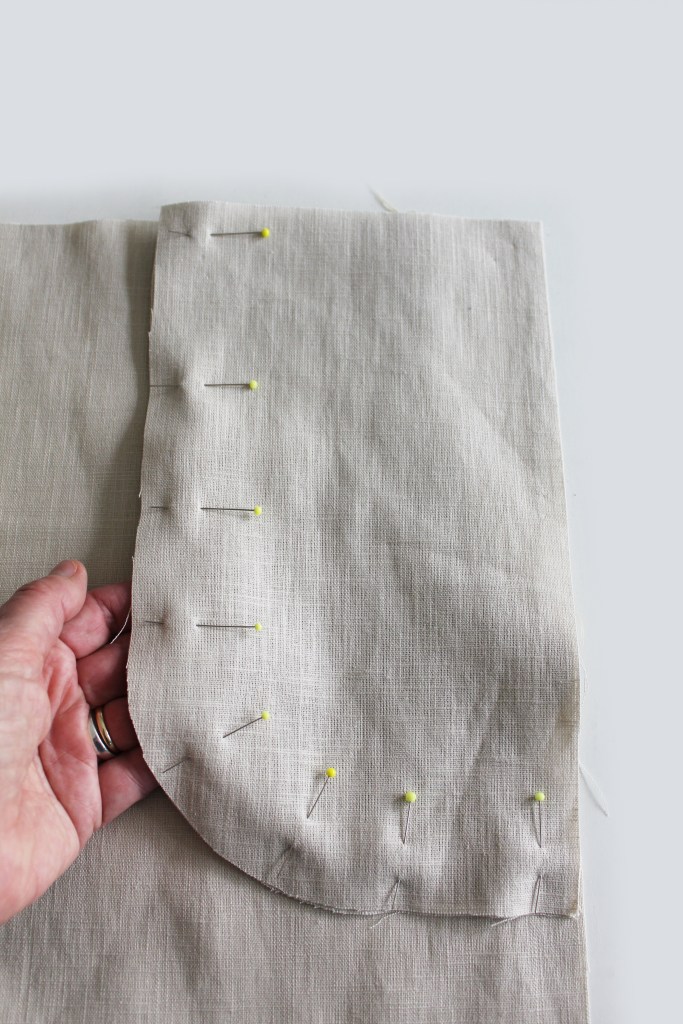
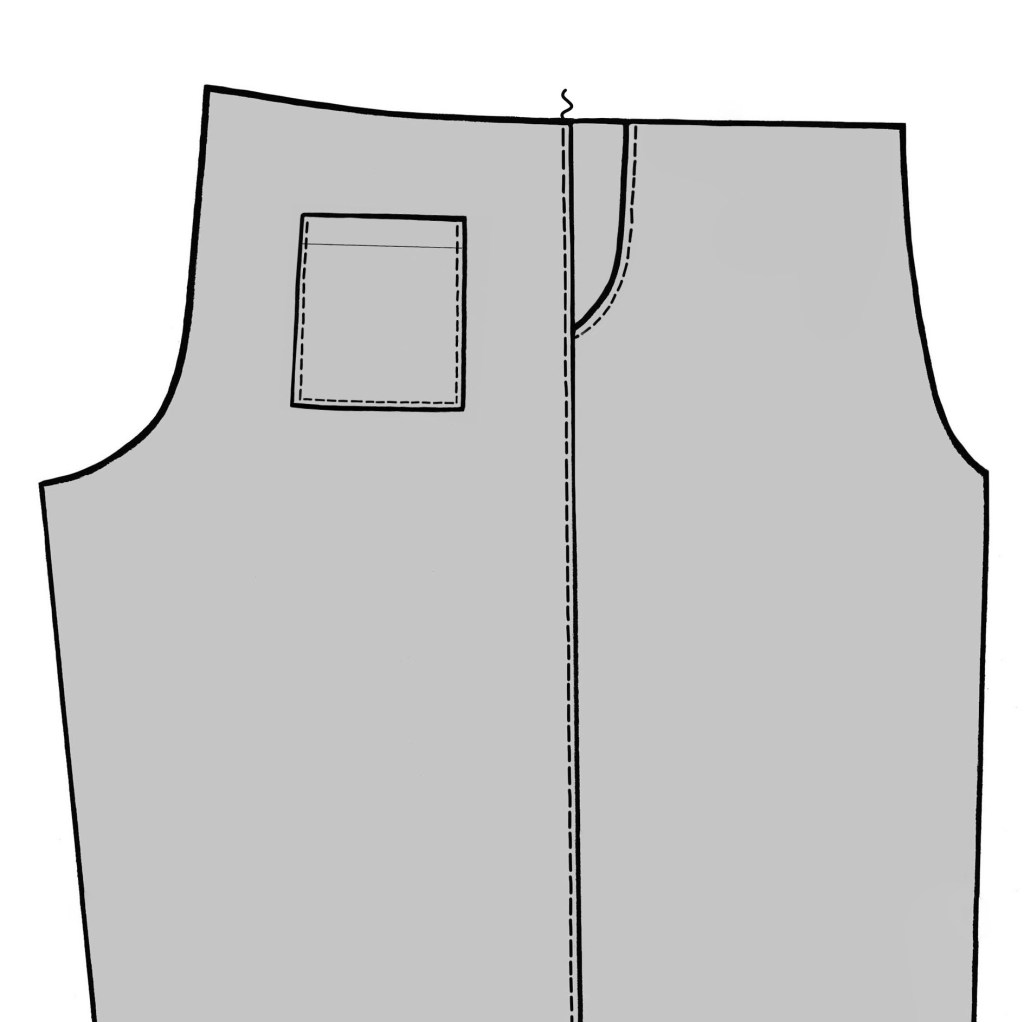
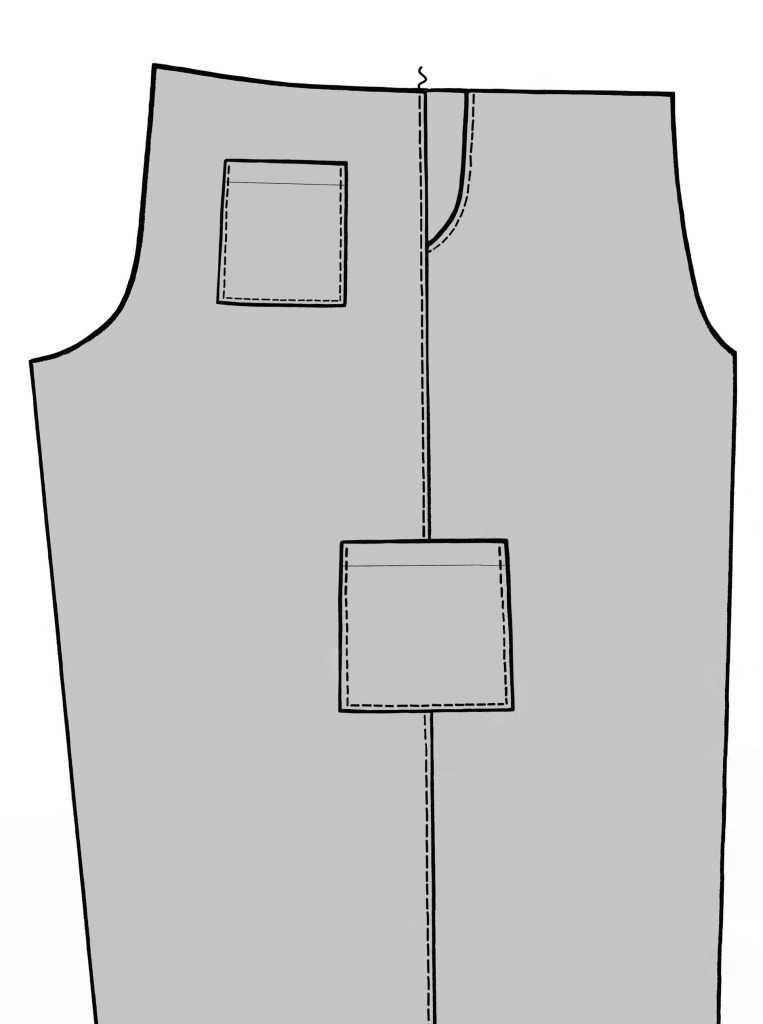
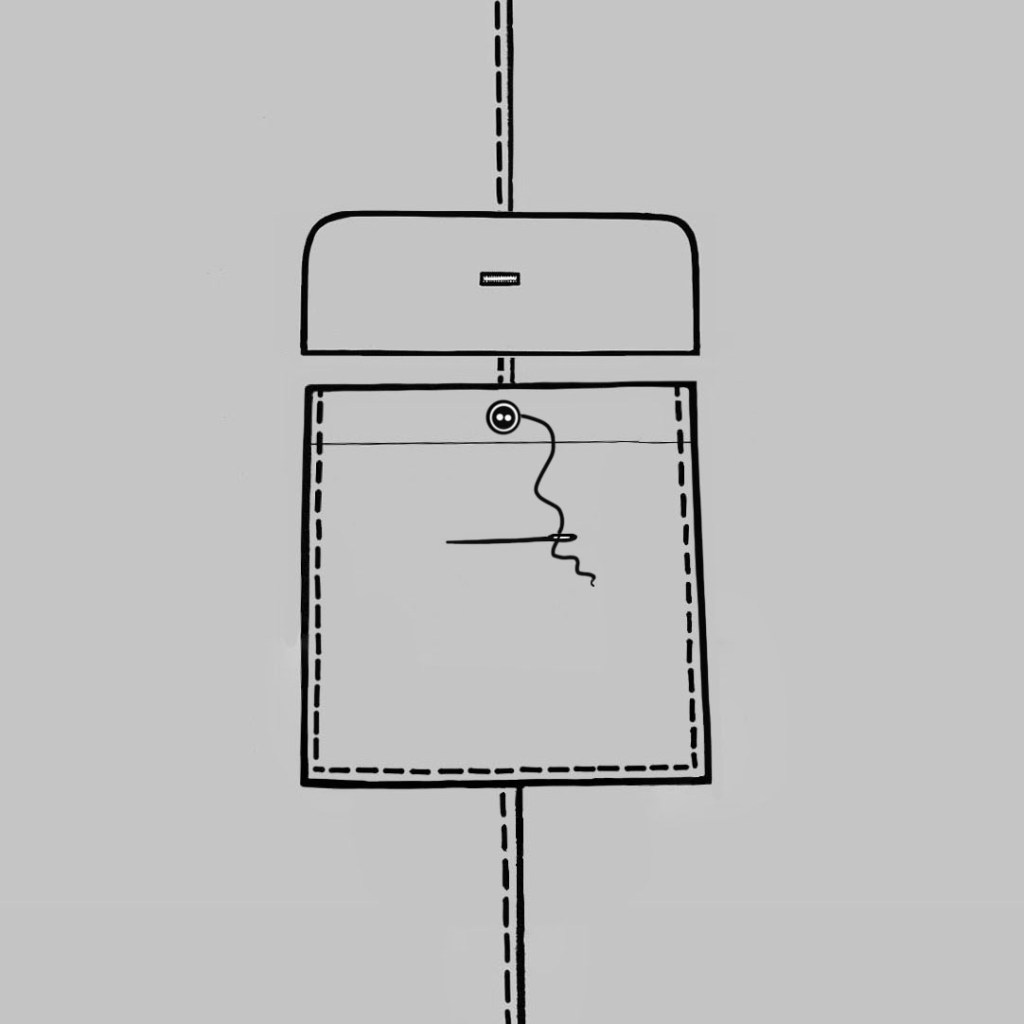
BACK & LEG POCKETS
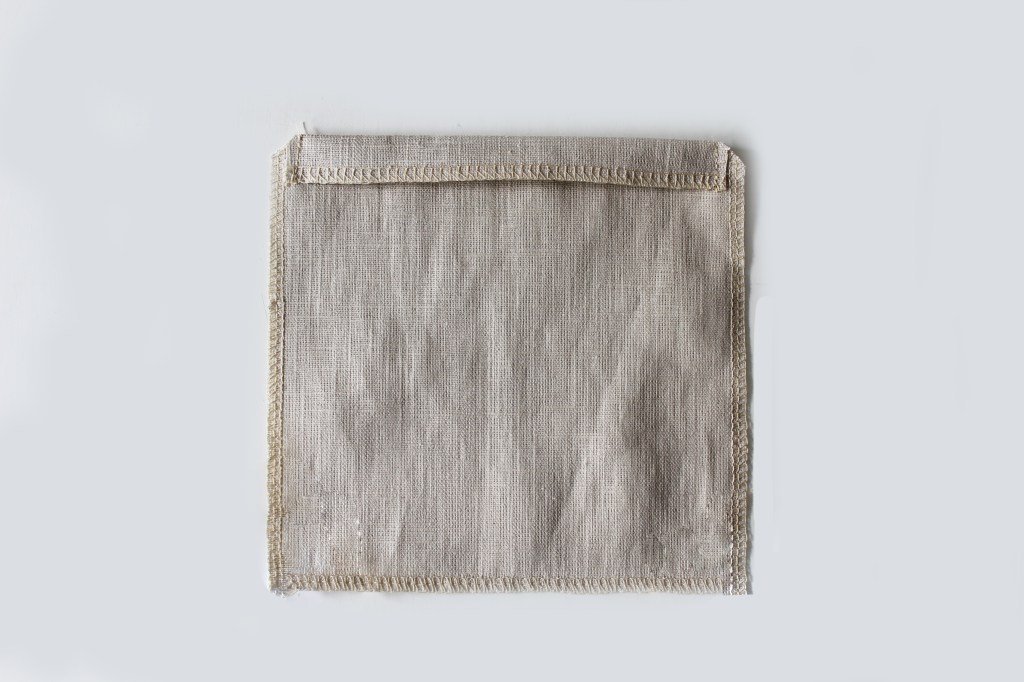
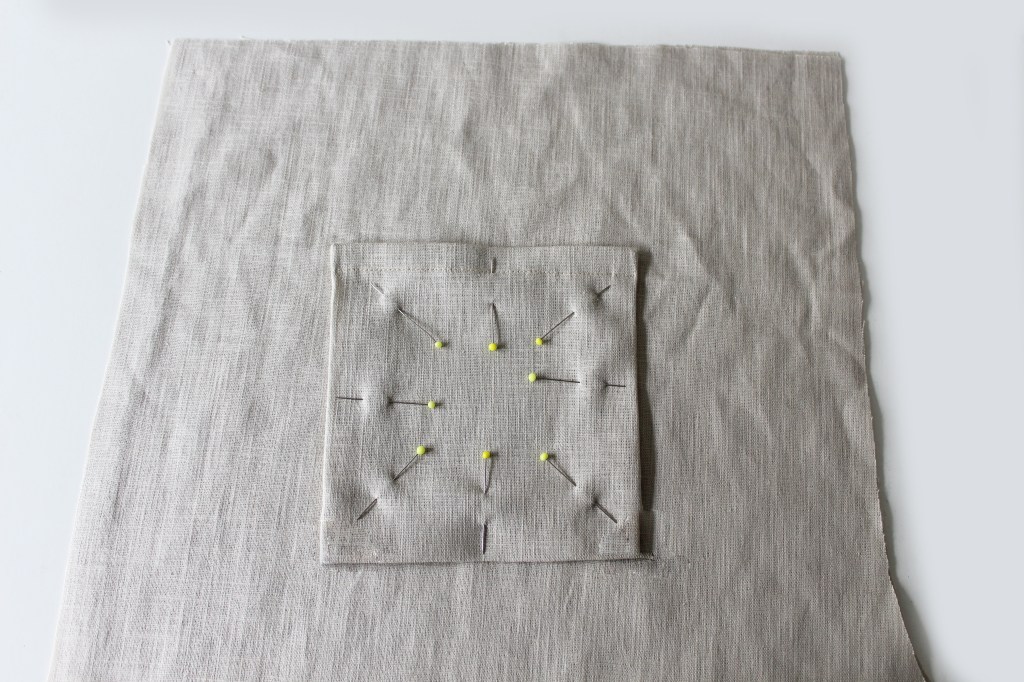
First off, it’s all about making the Side and Leg Pockets. Make a hem at the top shorter edge of each pocket rectangle. Fold over and press 1cm (3/8″) around the two side edges and lower edge. Make the Leg pockets in the same way and place to one side.
Pin to the Trouser Back pieces in position as shown on the template. Topstitch around three sides leaving the top hemmed edge open.
Make the Leg Pocket Flaps with buttonholes and place to one side.
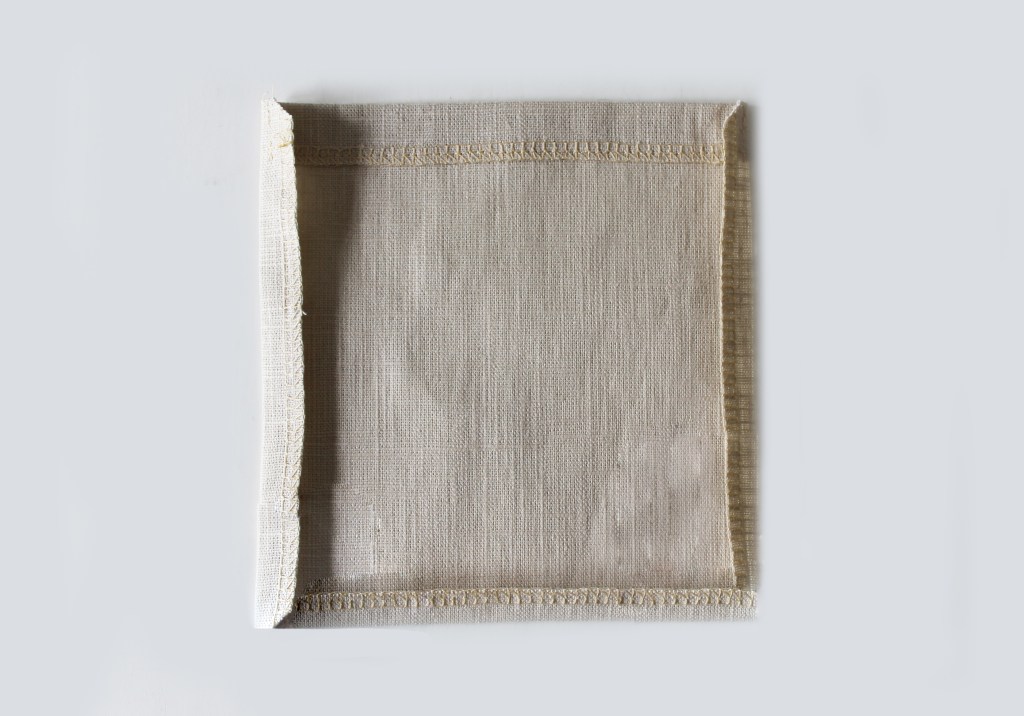
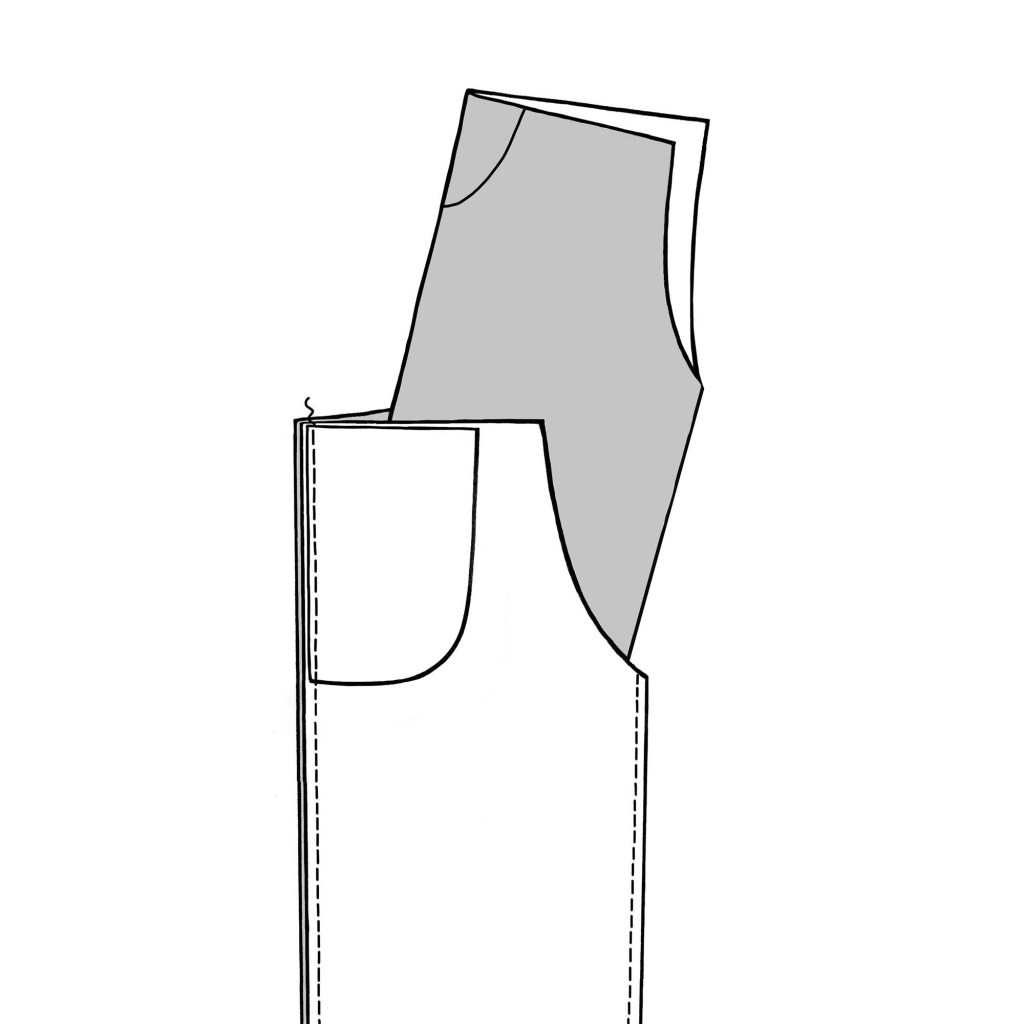
SIDE POCKETS
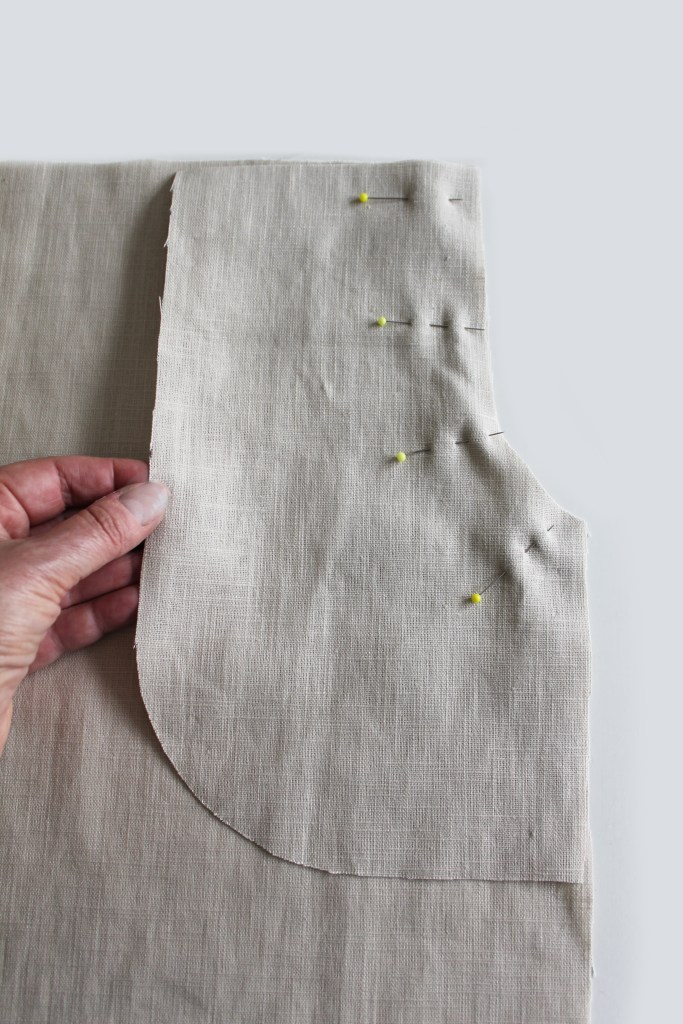
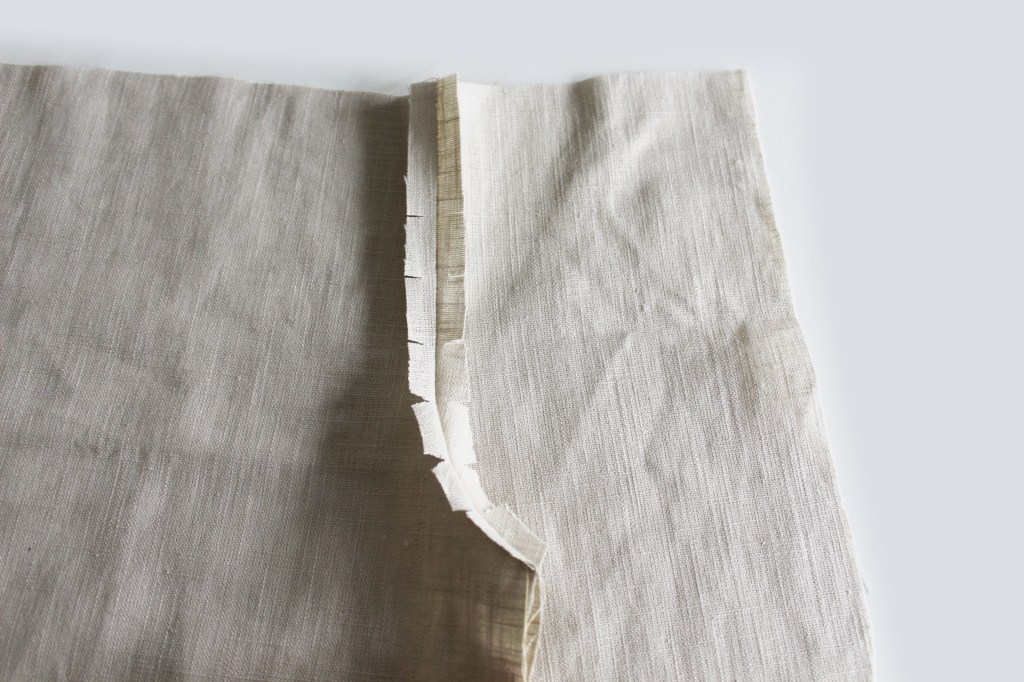
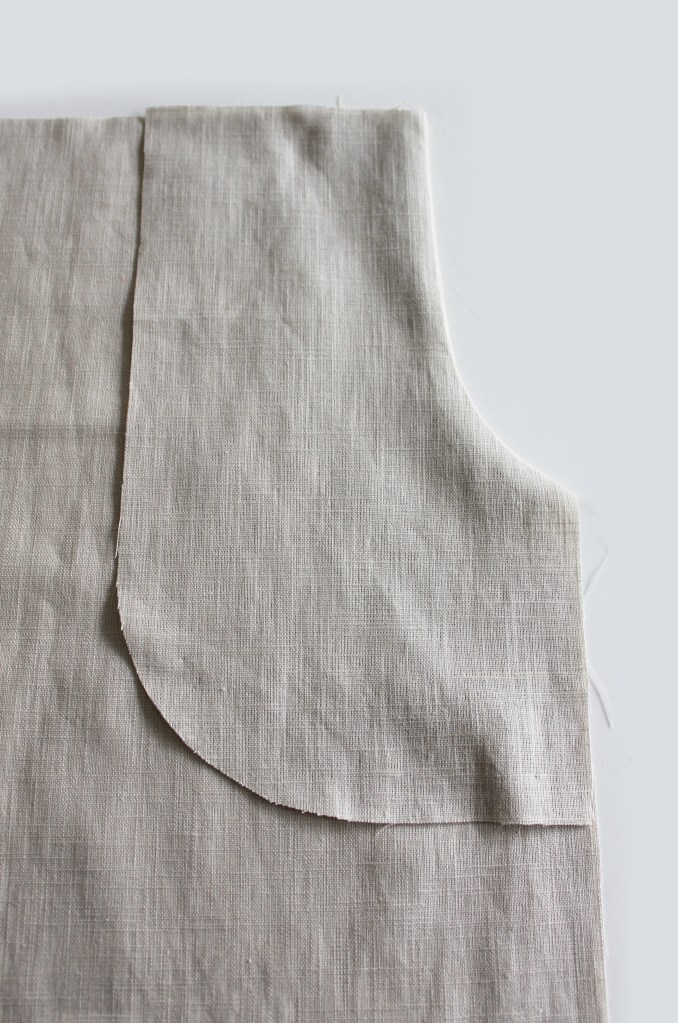
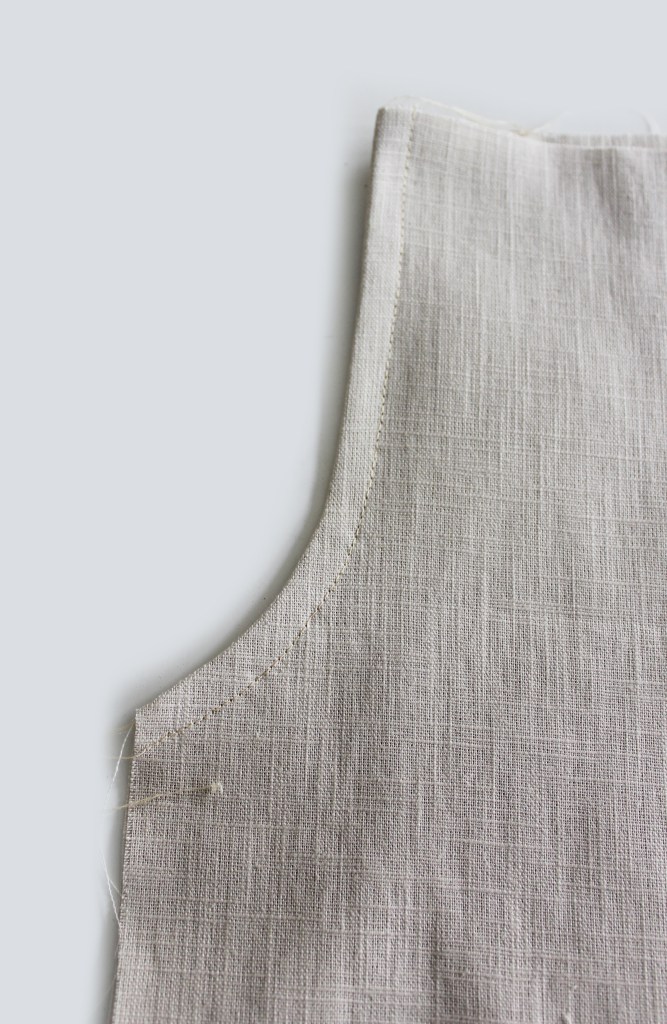

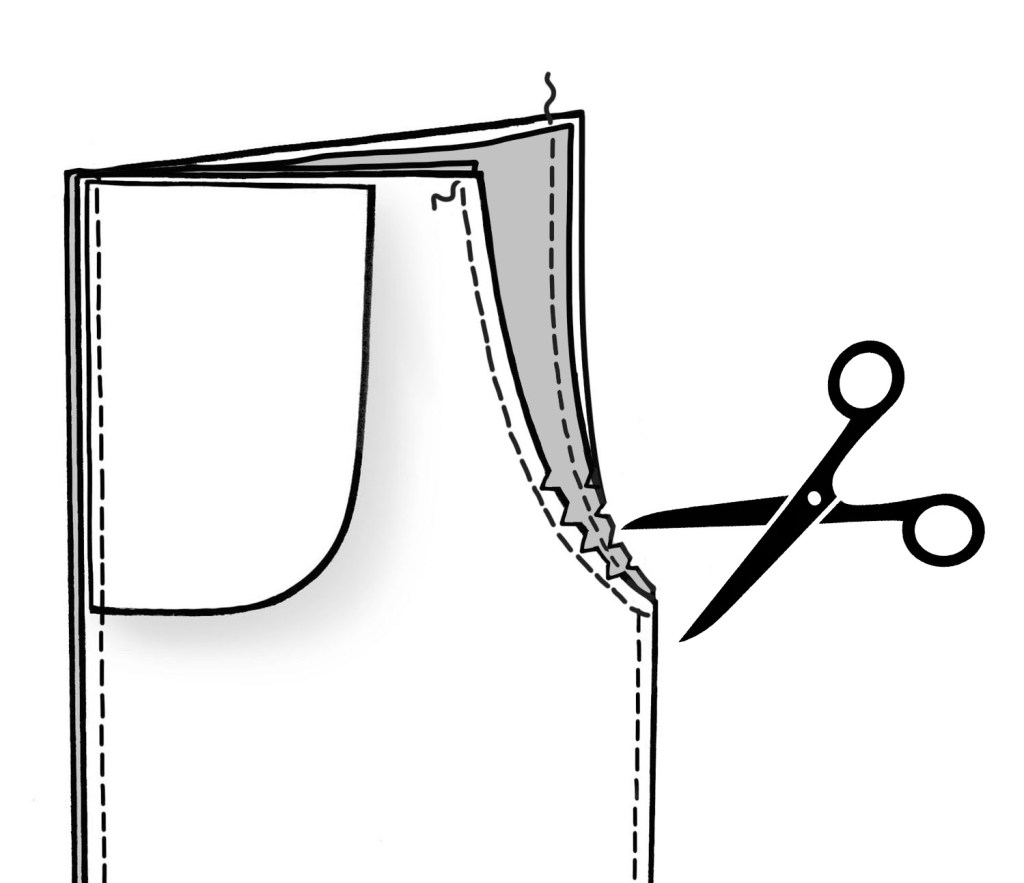
With the fabric right sides facing together, pin one Side Pocket to each Front piece at the side curved cut out edge. Sew. Clip the curved seam allowances. Press the seam allowances open. Fold the Pocket over to the wrong side.
With the fabric right sides facing together, pin the Pocket Lining to the Pocket, aligning the outer curved raw edges. Sew. Finish the raw edges together. Repeat with the other Pocket and Front piece.
Secure the Pockets at the side and top edges.
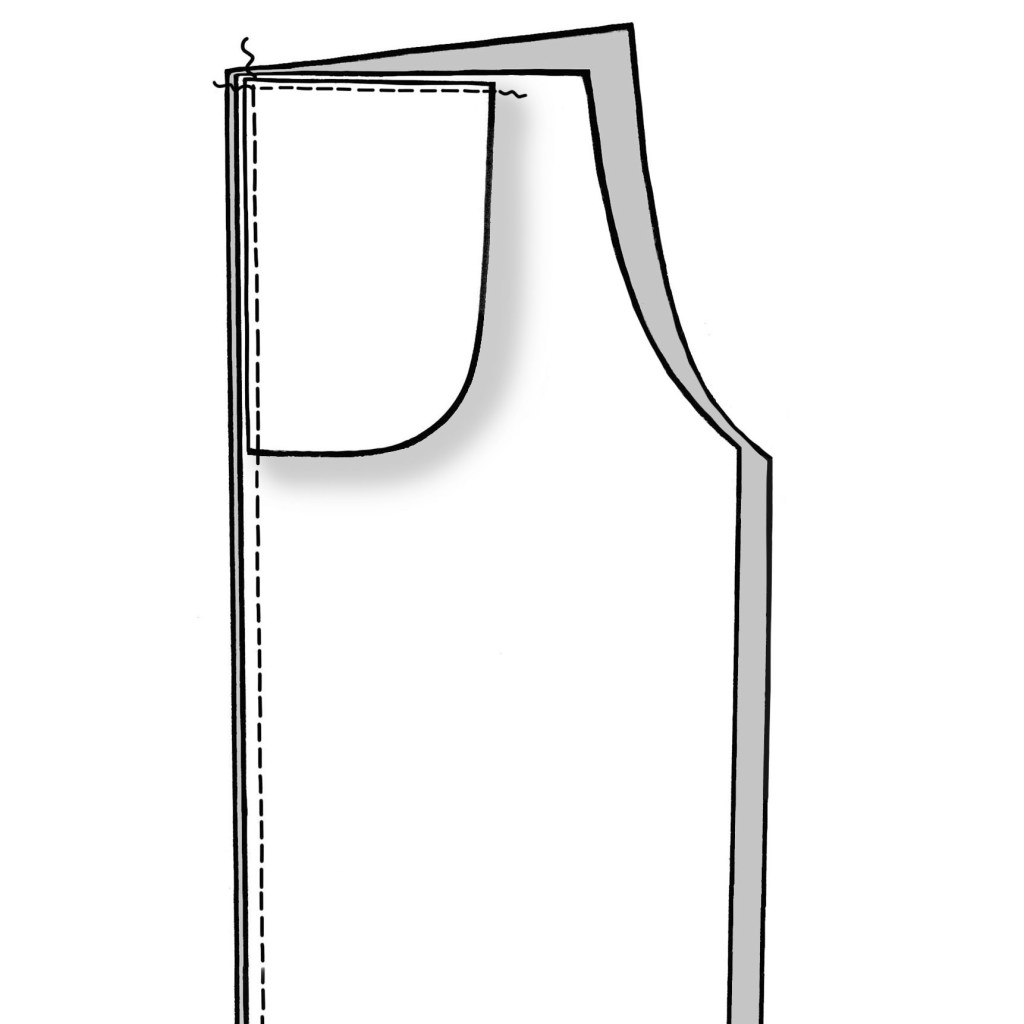
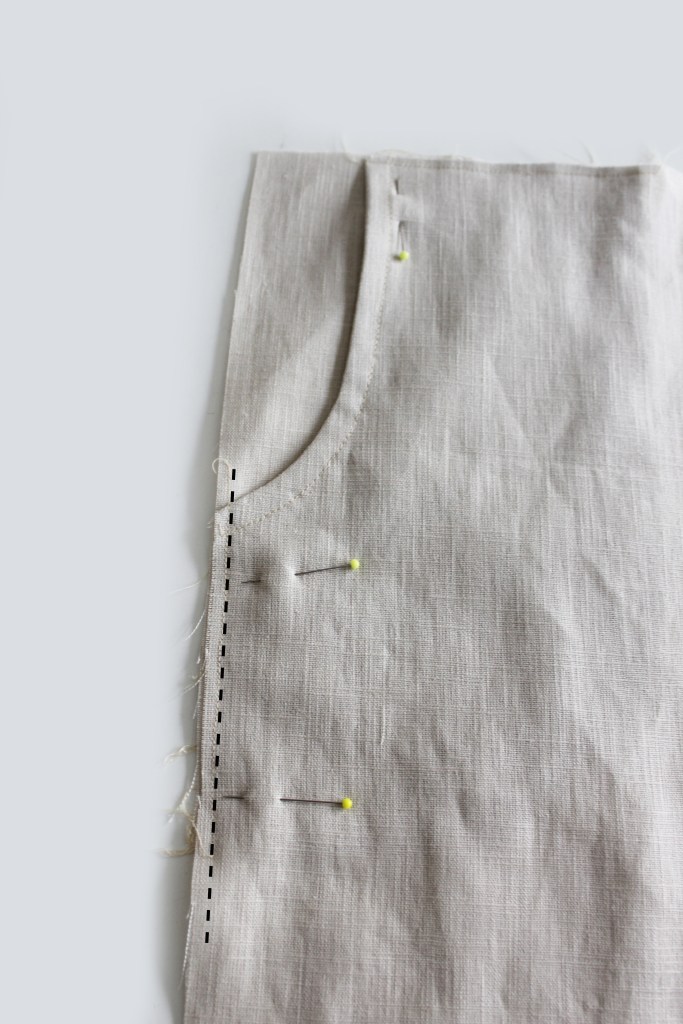
Pin the Trouser Front to Back at the side edges with the fabric right sides together. Sew. Finish the raw edges together. Press the two pieces away from each other. Topstitch.
ATTACHING THE LEG POCKETS & FLAPS
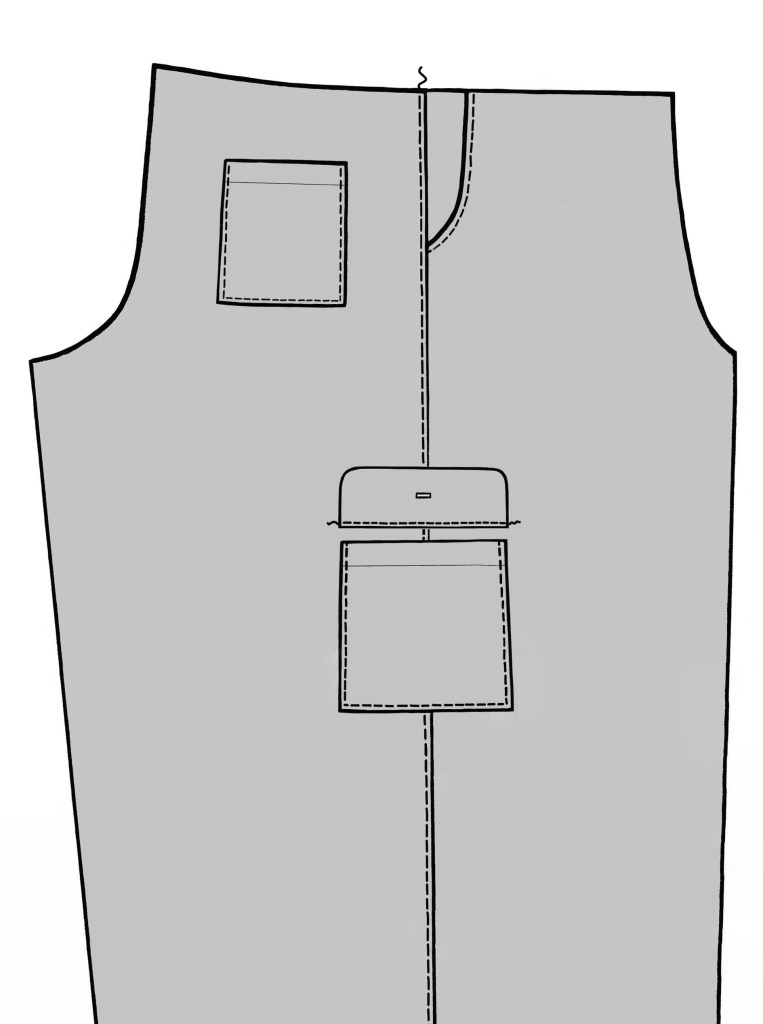
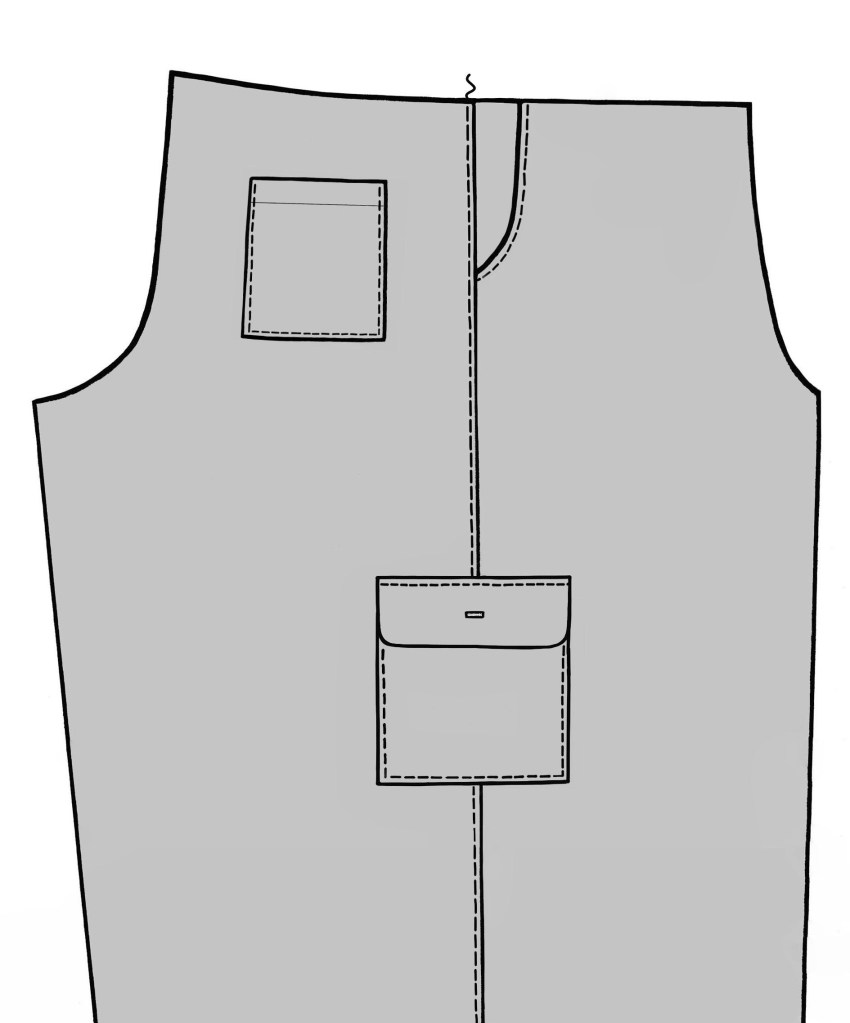
Attach the Leg Pocket. Flap
DRAWSTRING WAISTBAND
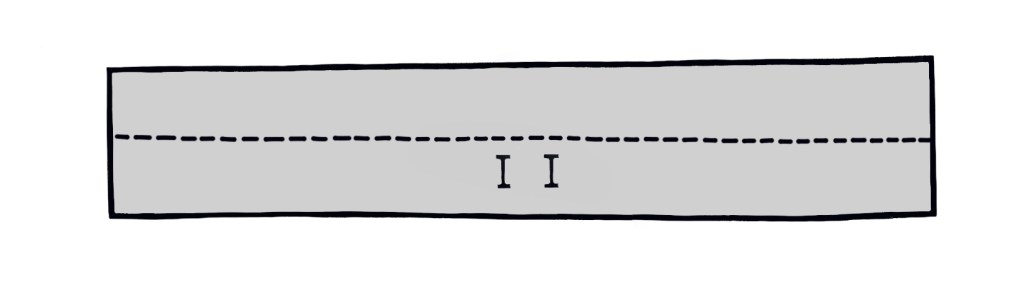
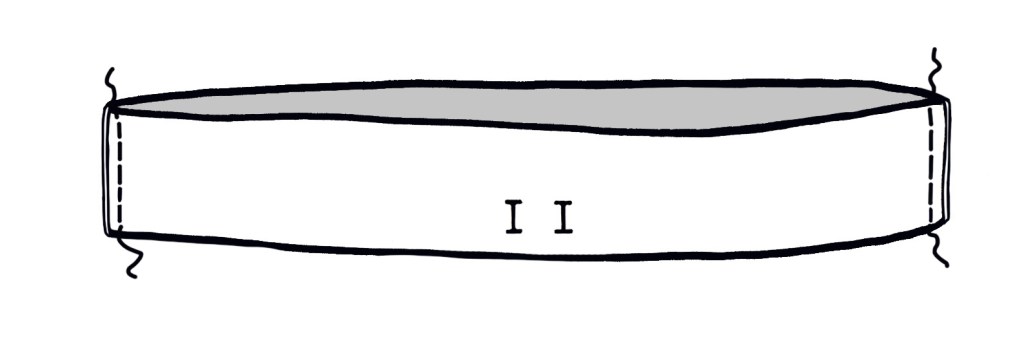
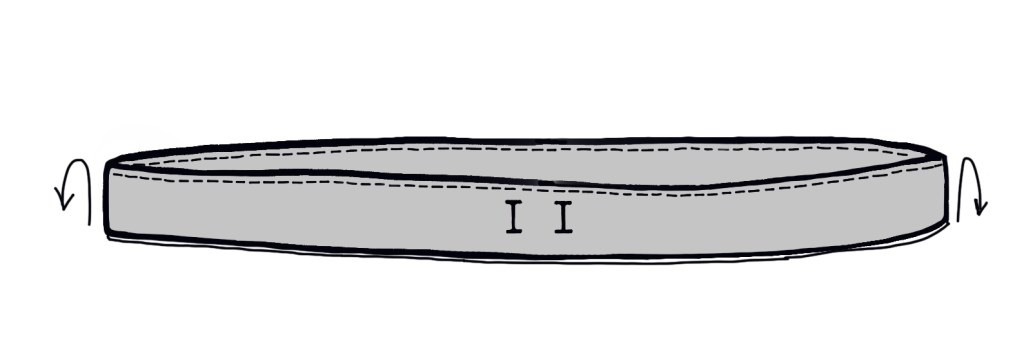
Make the buttonholes in position as shown on the Waistband template. Join the Waistband pieces at the short edges. Fold the Waistband in half aligning the wrong sides. Machine tack the raw edges together.

Pin to the trouser top raw edge. Finish the raw edge.
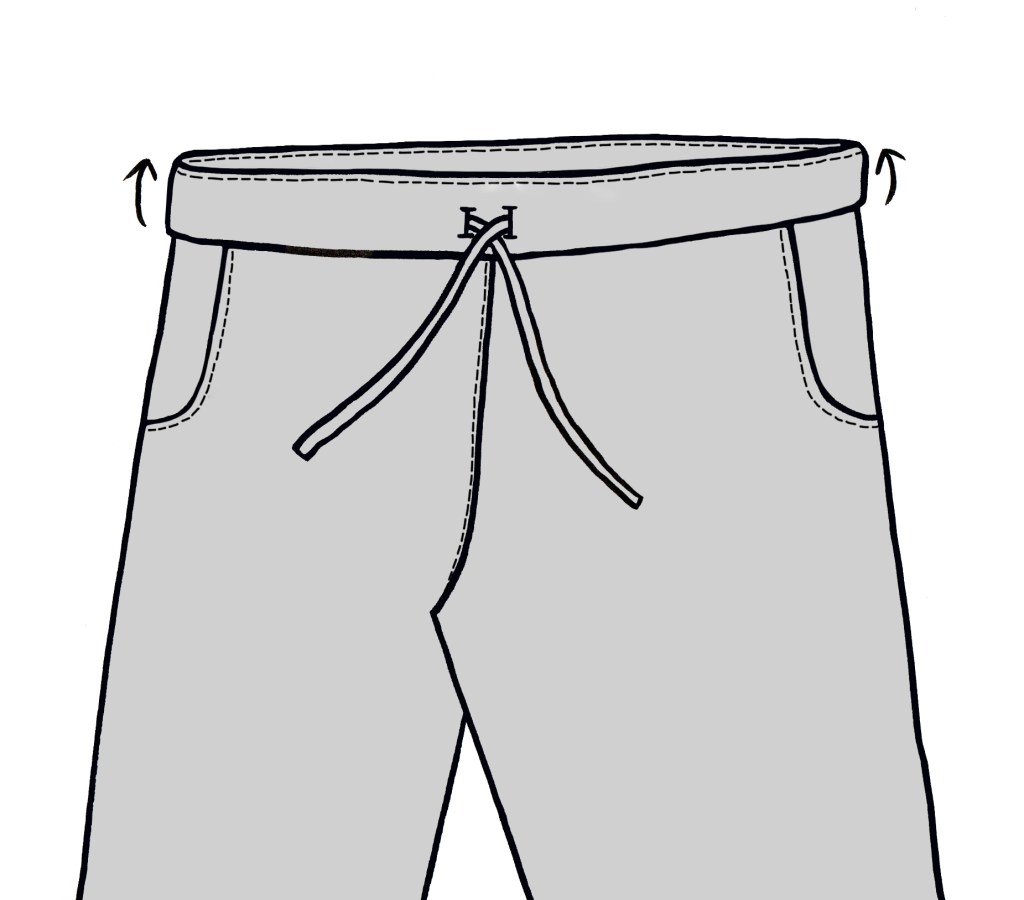
Fold the Waistband upwards. Press. Topstitch. Insert the elastic and the drawstring tie through the buttonholes.
Finally, try on the trousers and hem the leg raw edges to the required length.

All images and text are subject to copyright. Fiona Hesford 2024. http://www.sewgirl.co.uk
