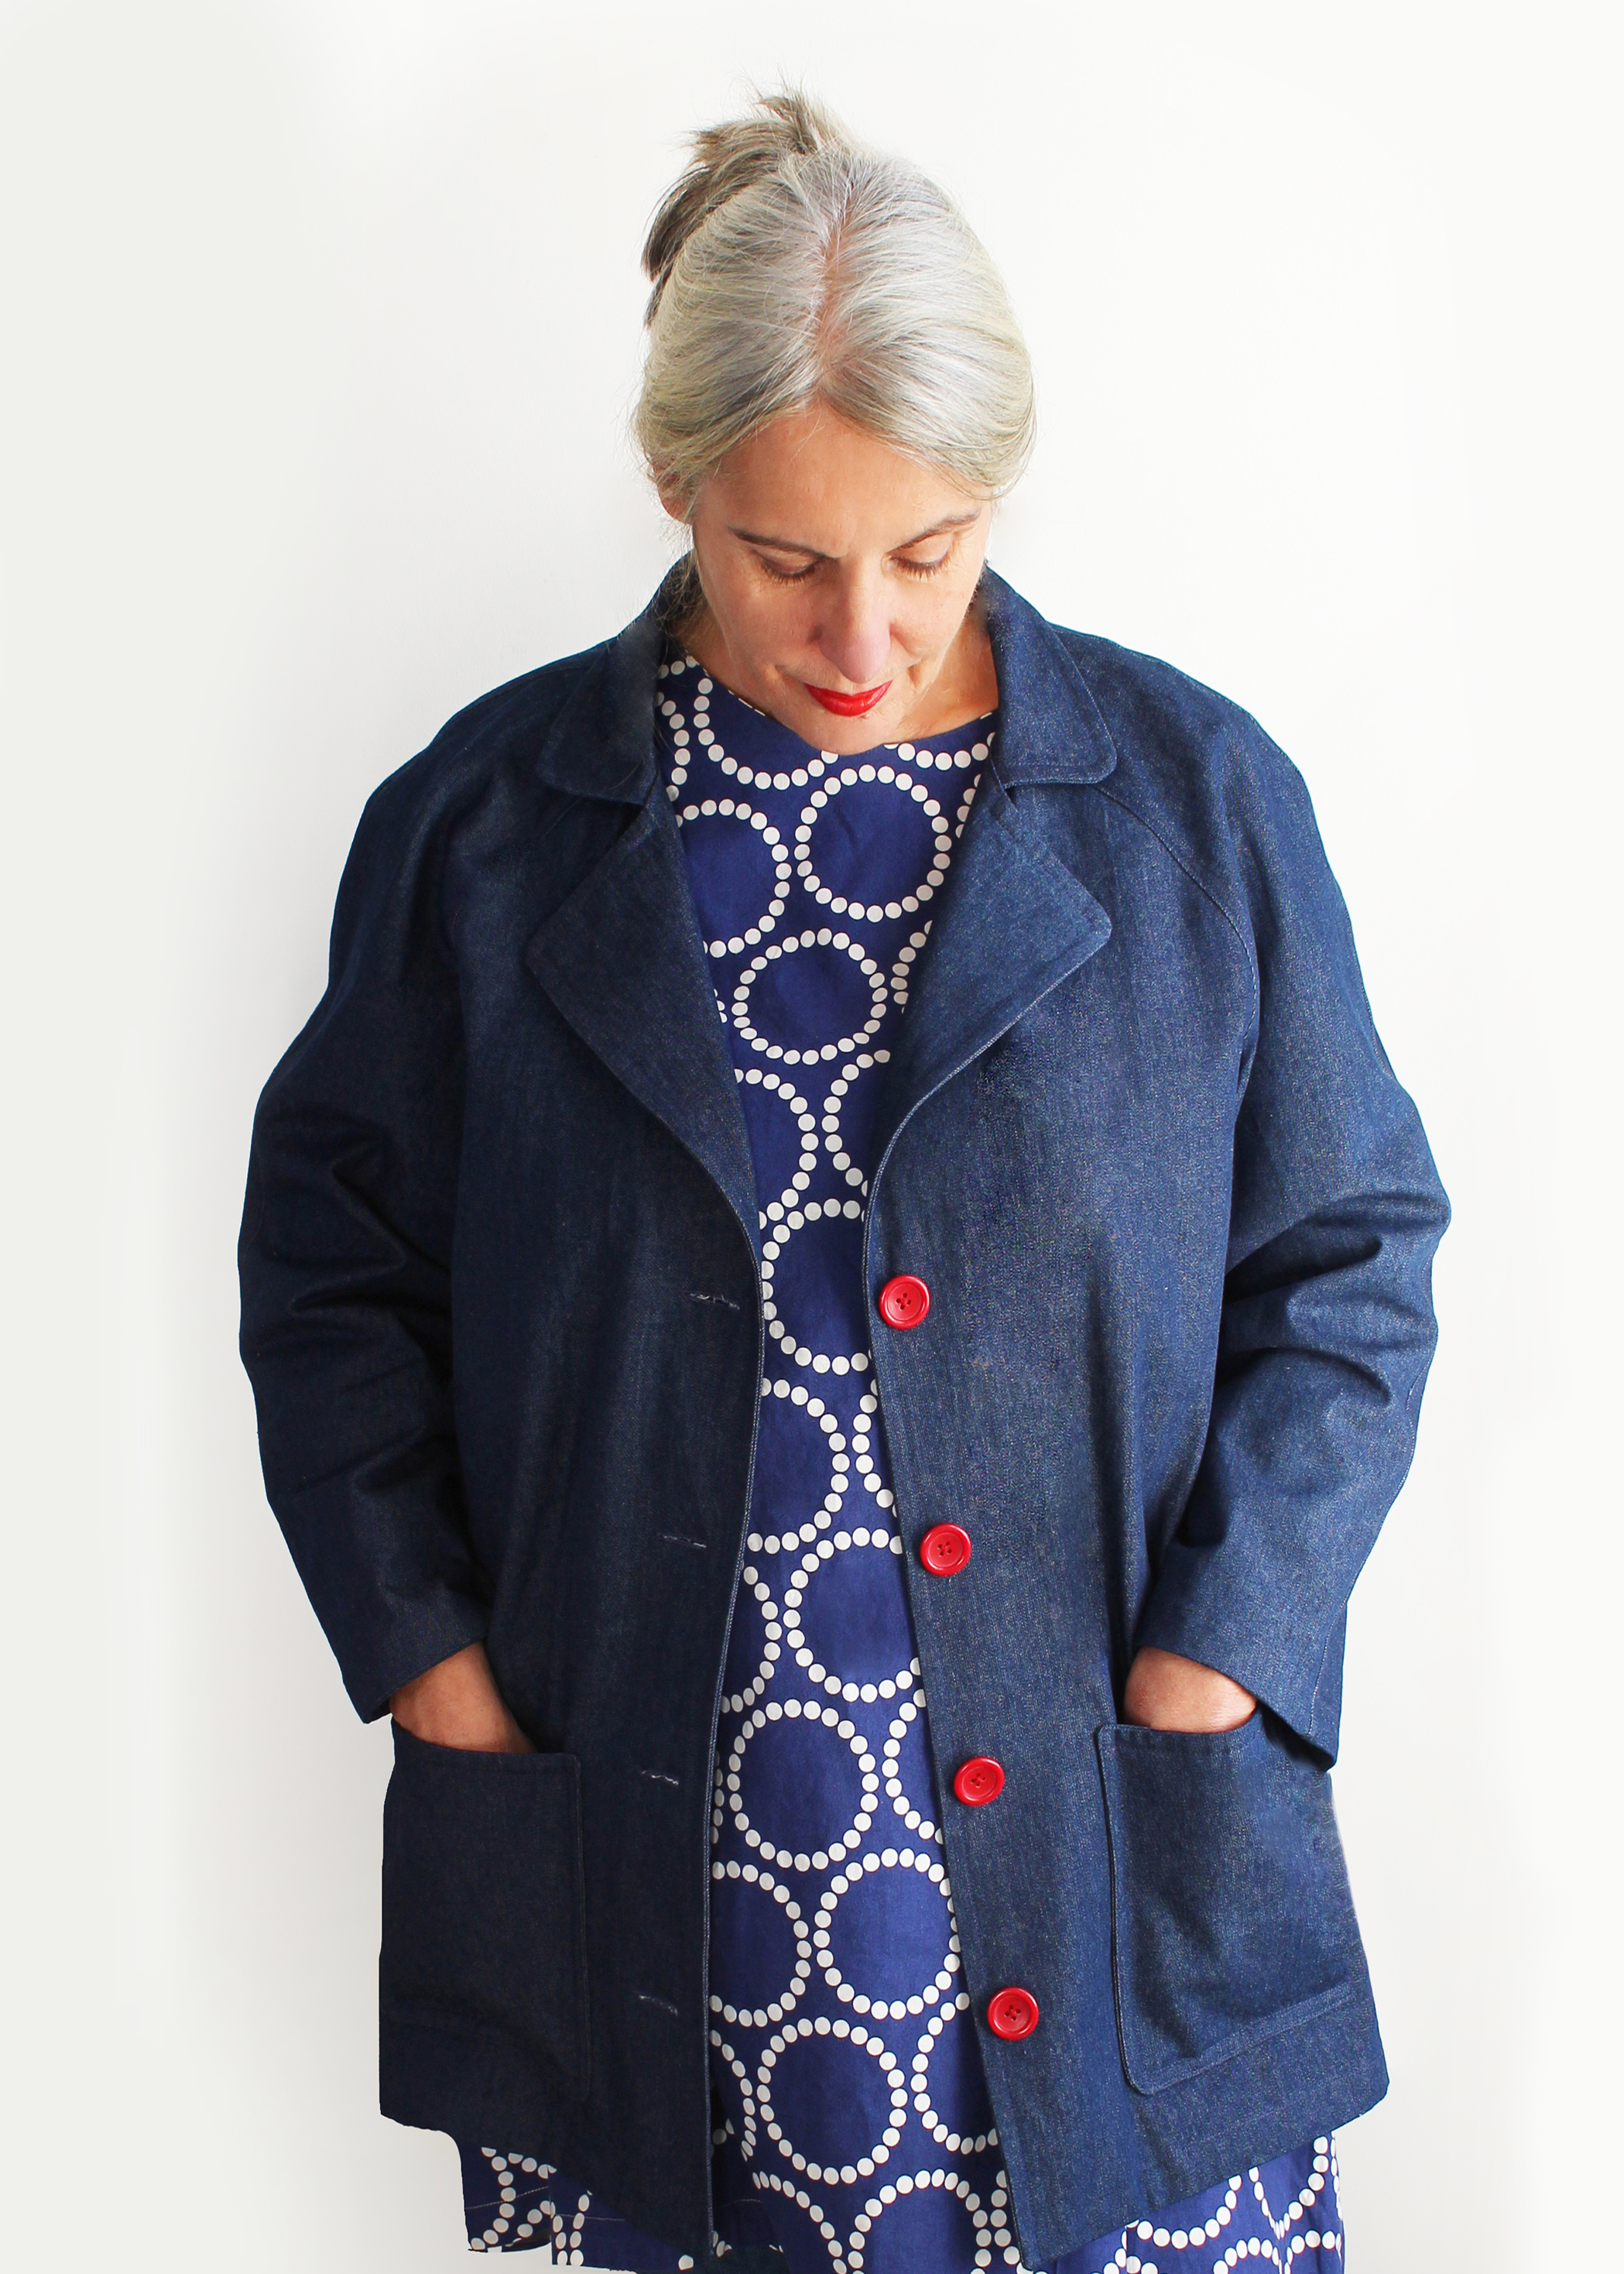

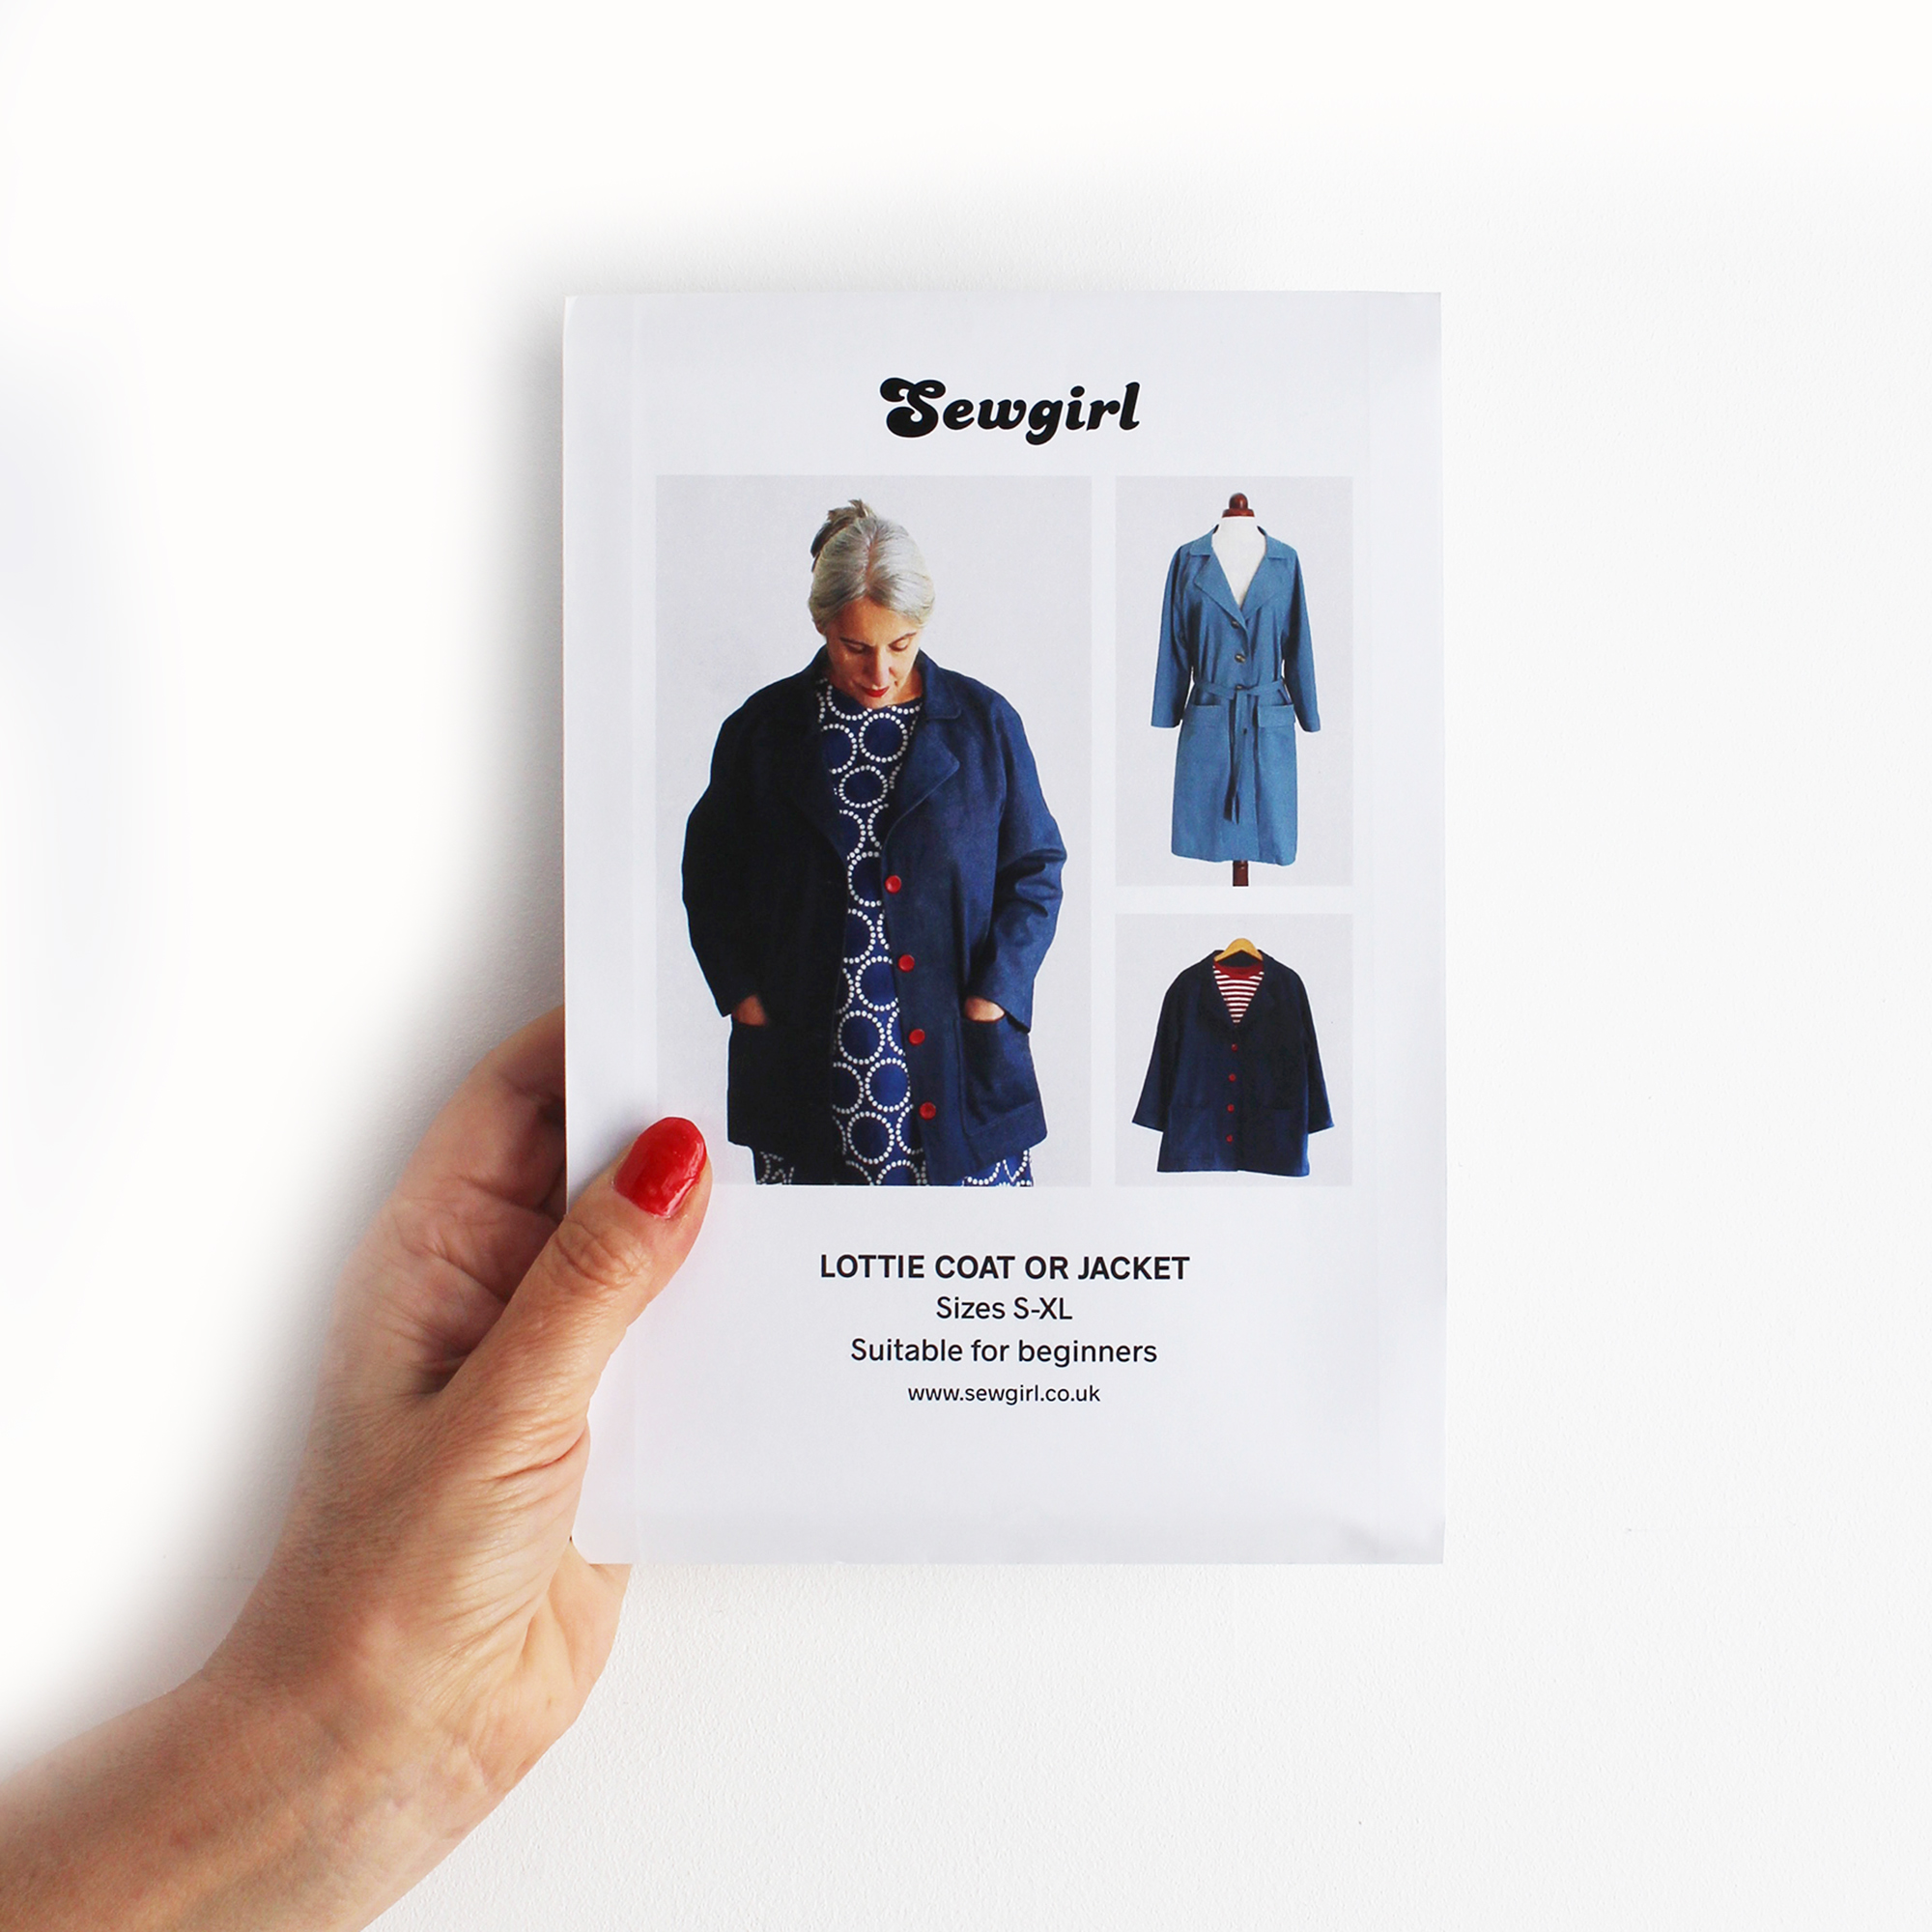
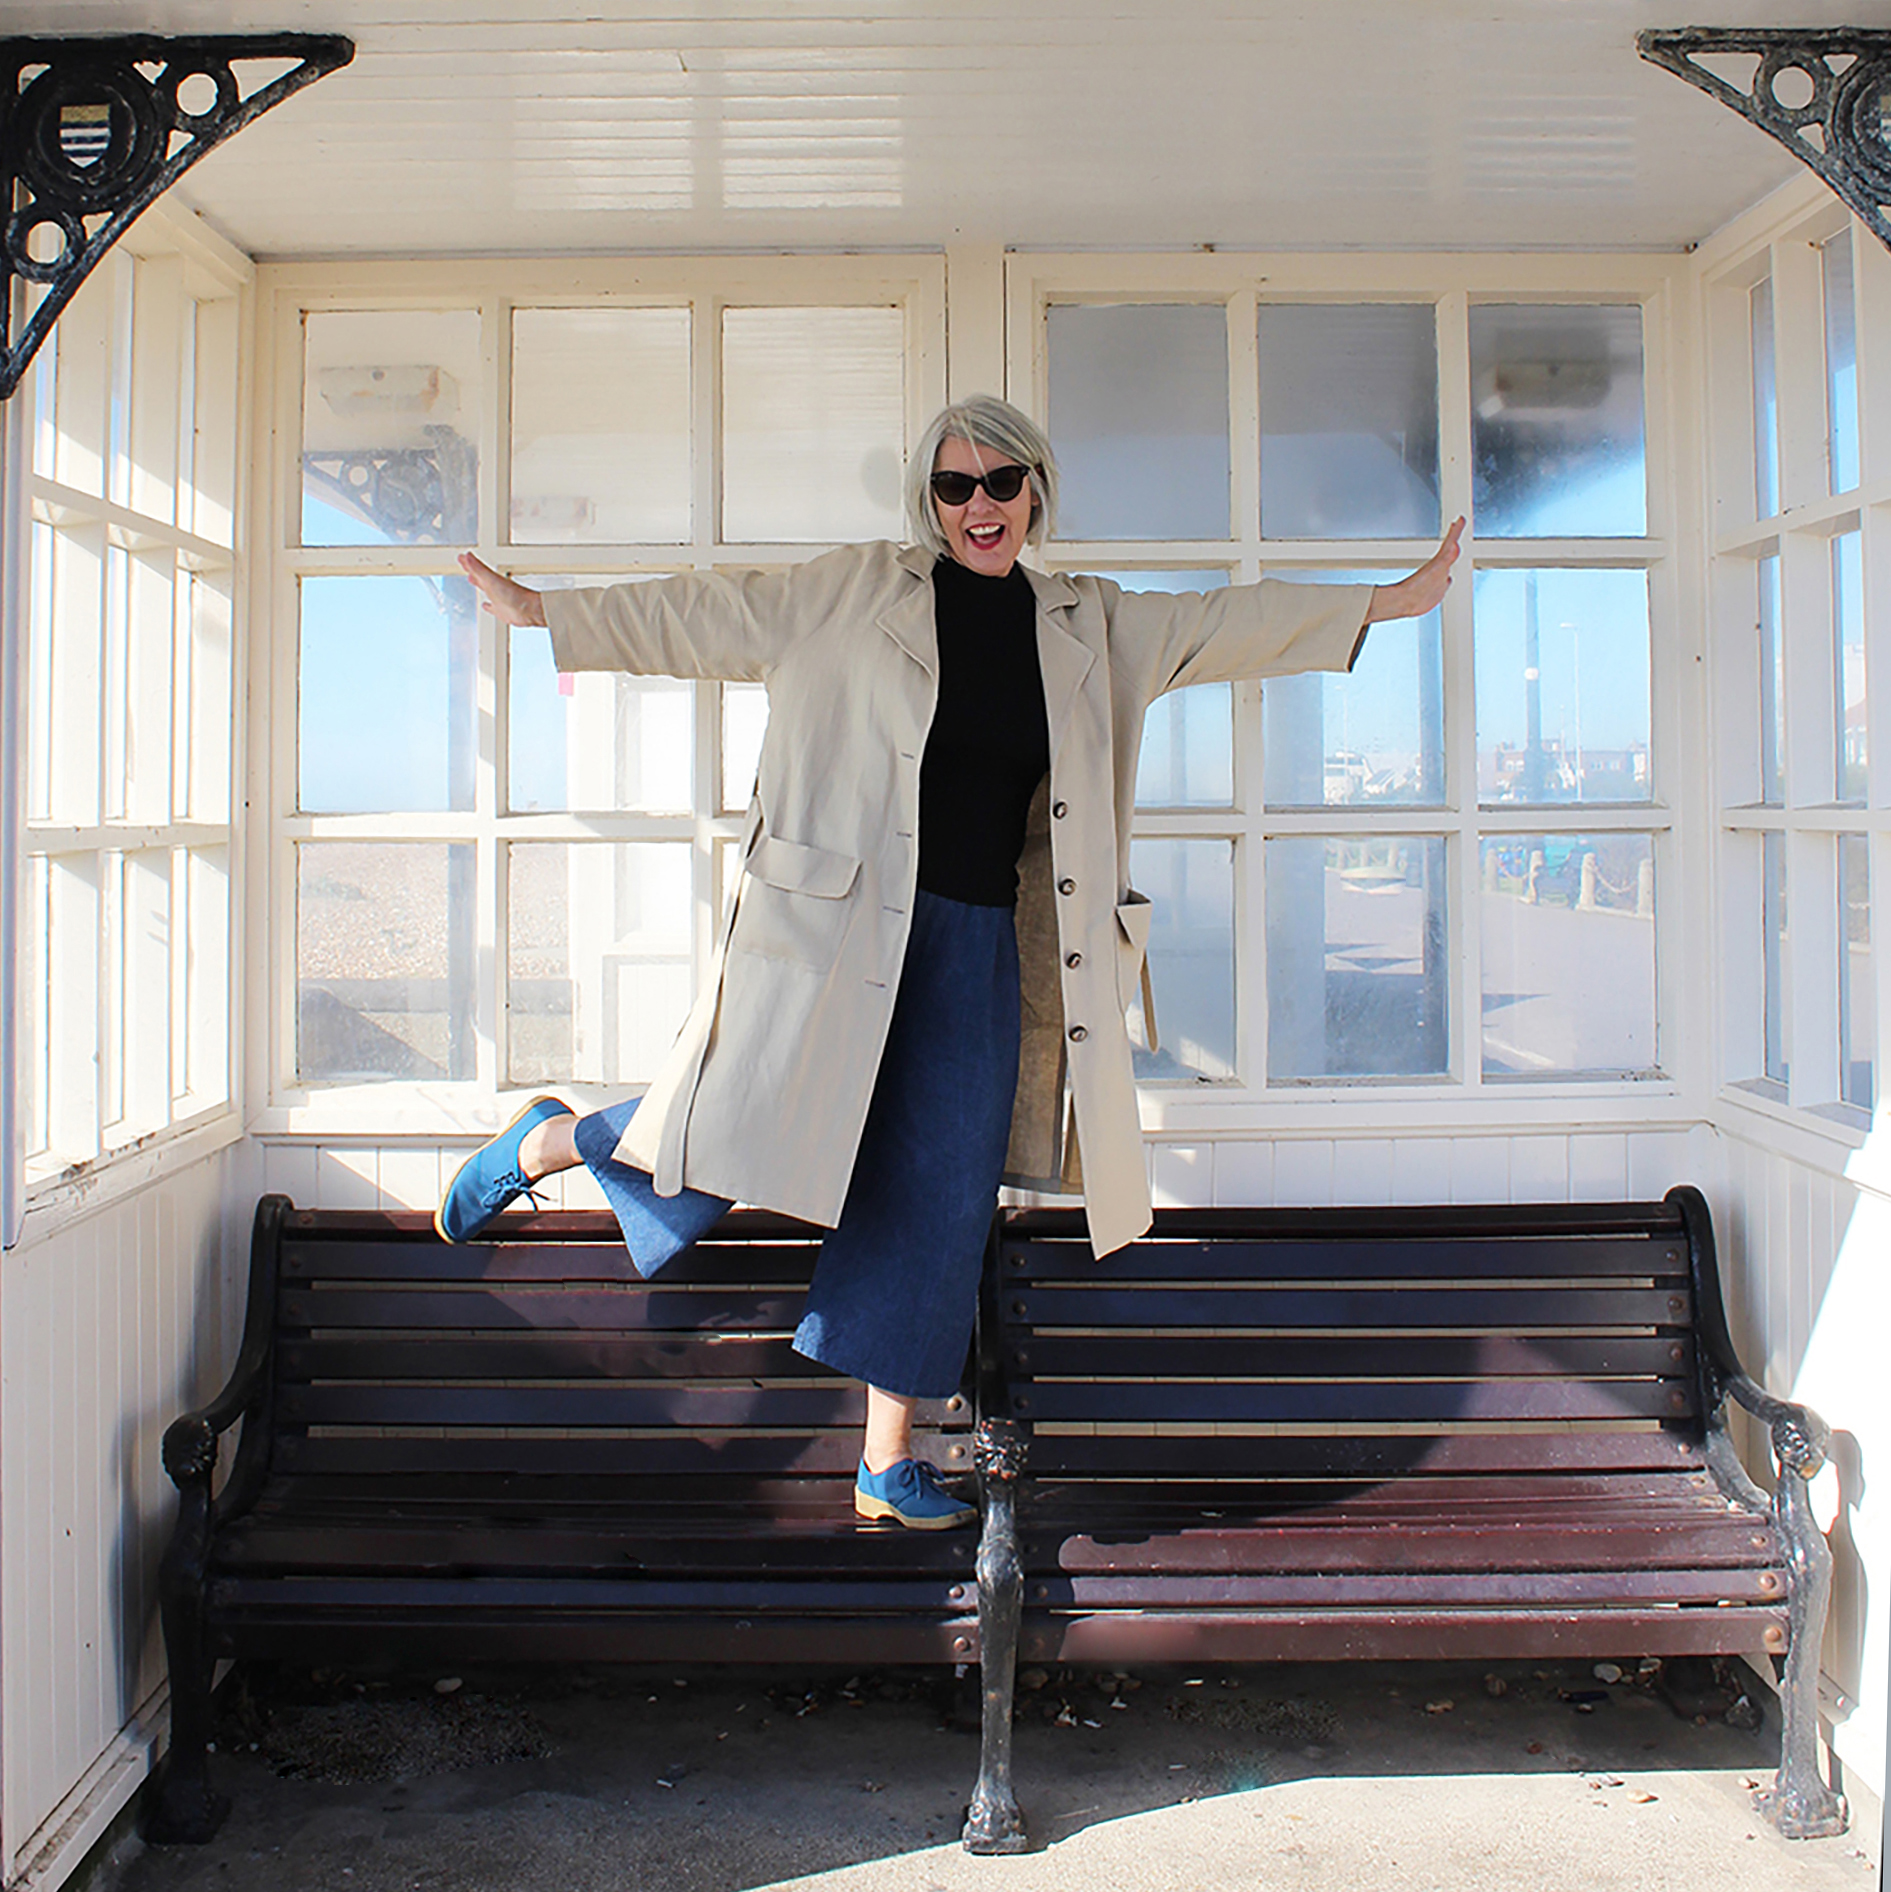
 Lottie Duster, a coat or jacket depending on which length line you use. Pop it on as an extra layer in Autumn or Spring, its a useful addition to your wardrobe. Easy to make, suitable for an intermediate, its an enjoyable make which really isn’t too challenging.
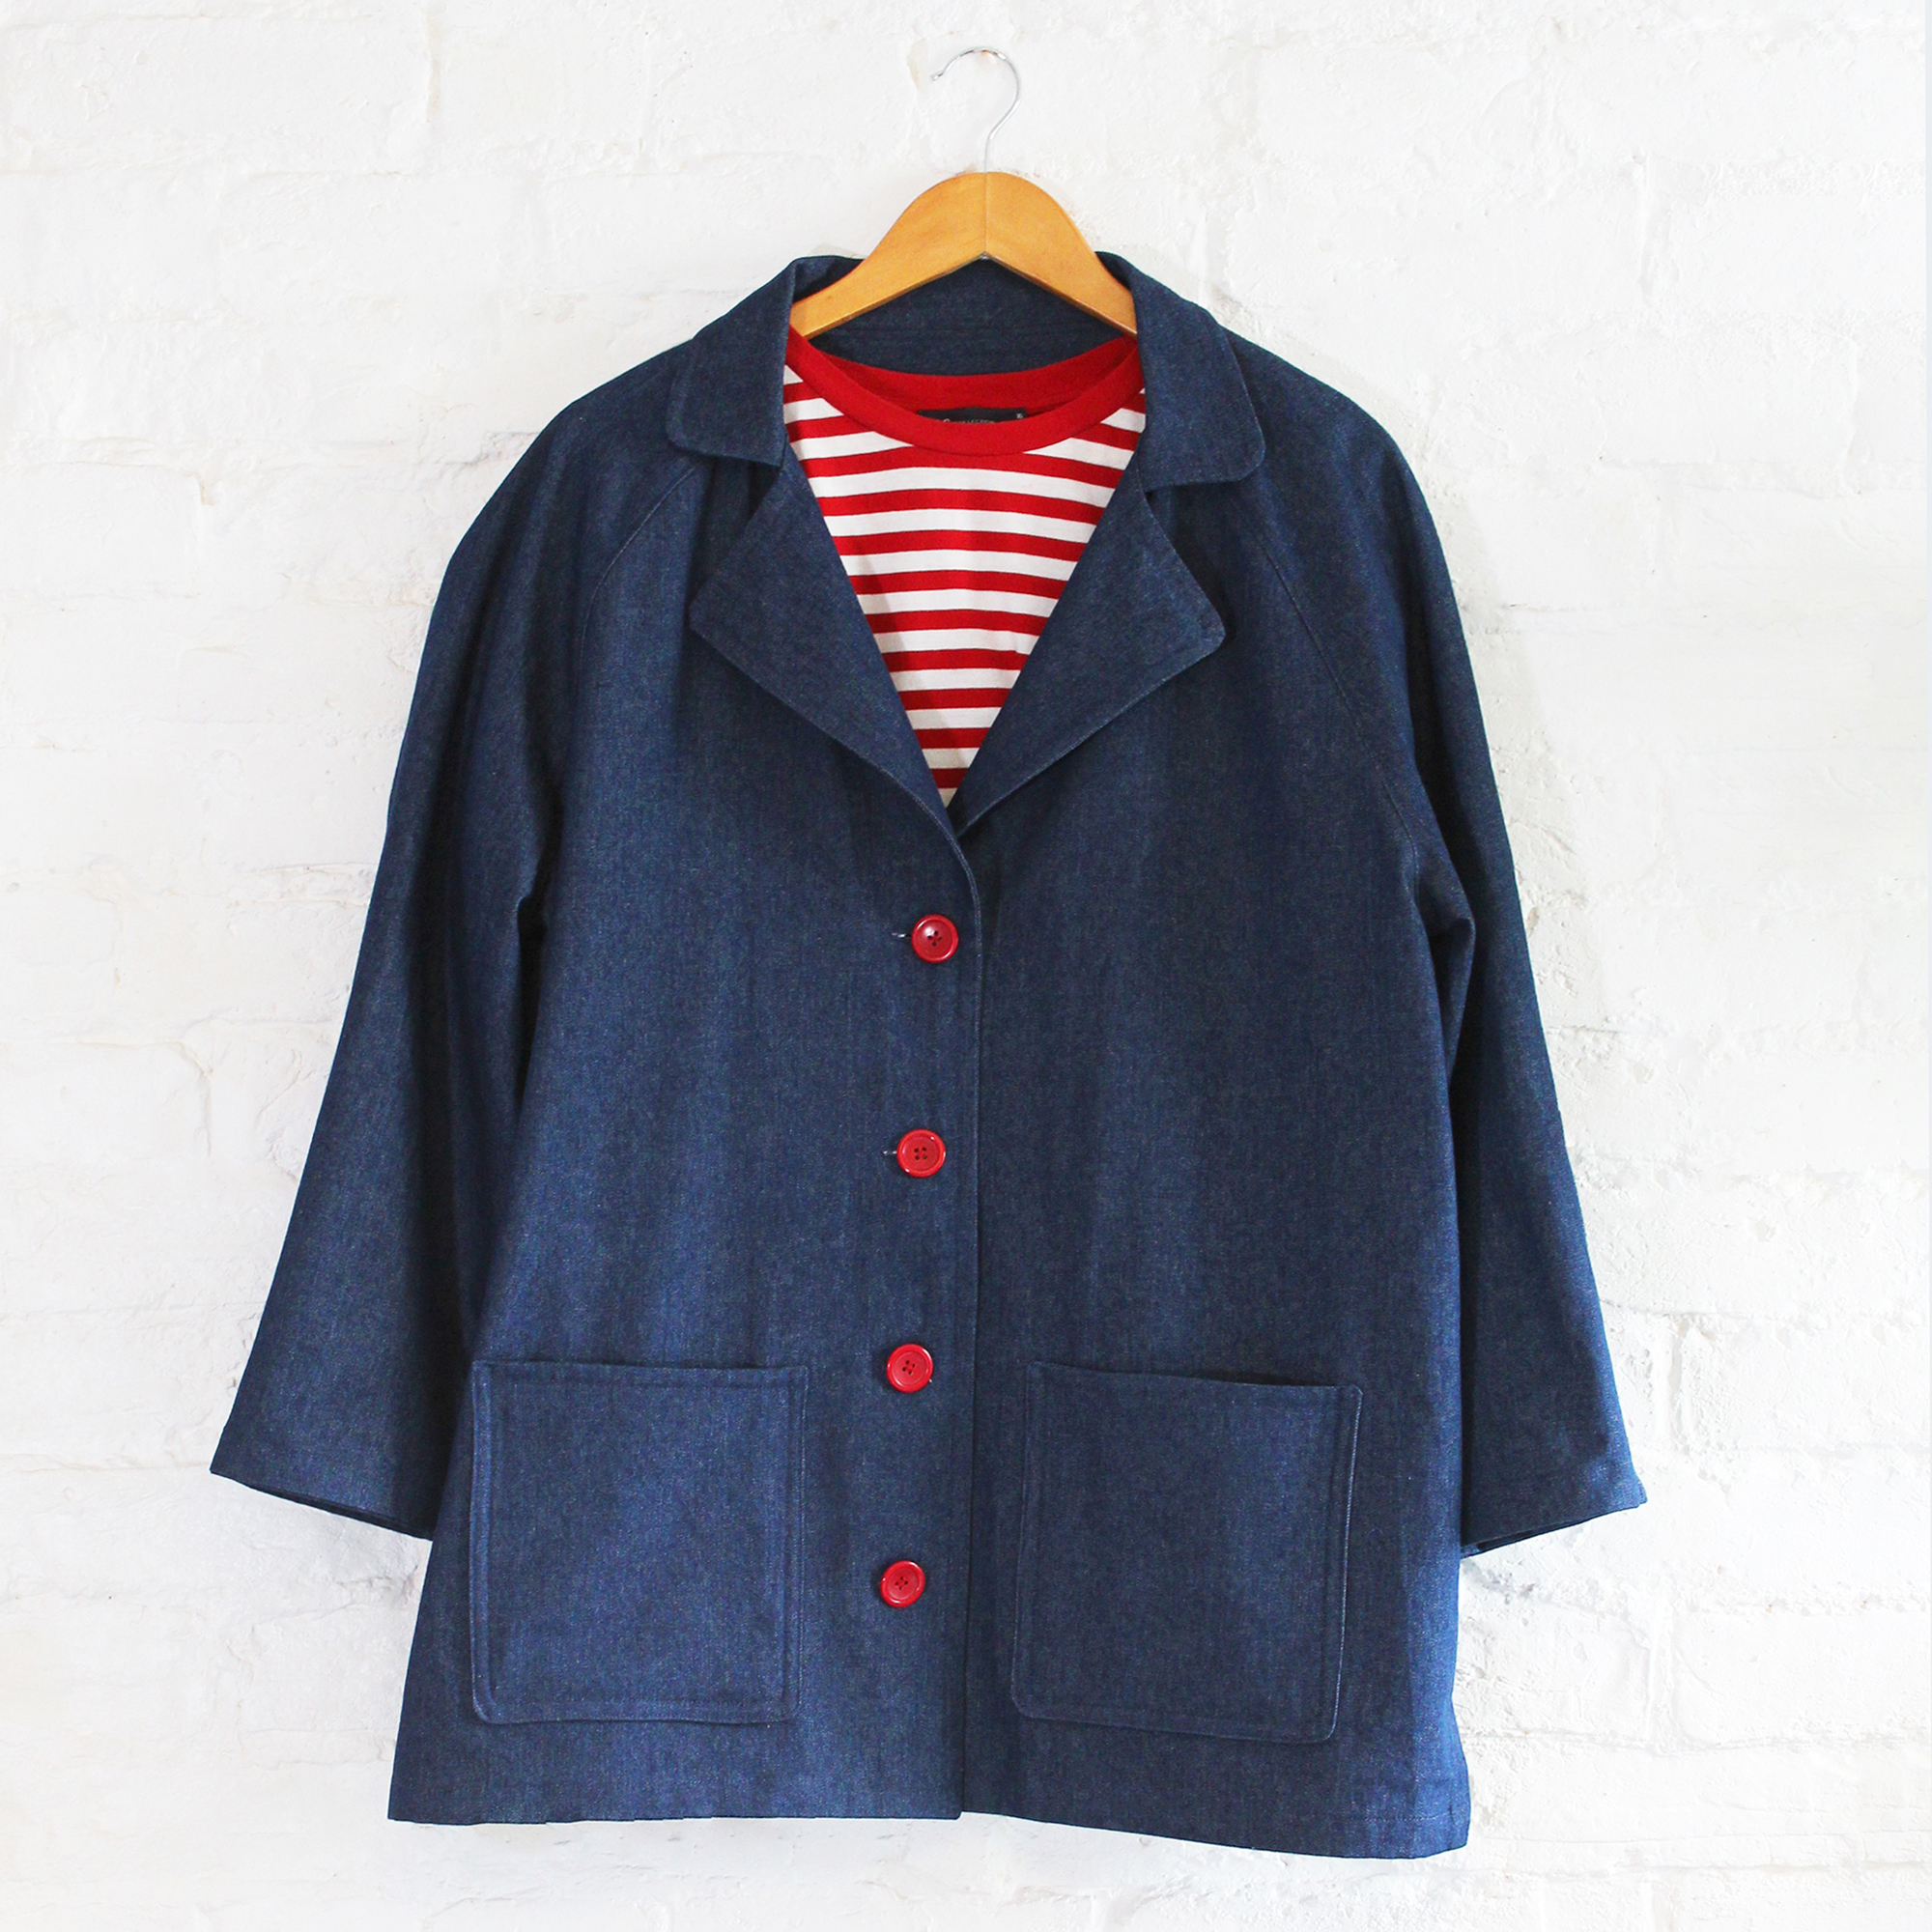
Make Lottie coat in lovely linen, delightful denim or a cotton canvas. On the Sewgirl Etsy shop there are listings for a fabulous quality 8 oz denim in medium and dark indigo and an extensive range of beautiful linen fabric that would be perfect for making this fabulous jacket.
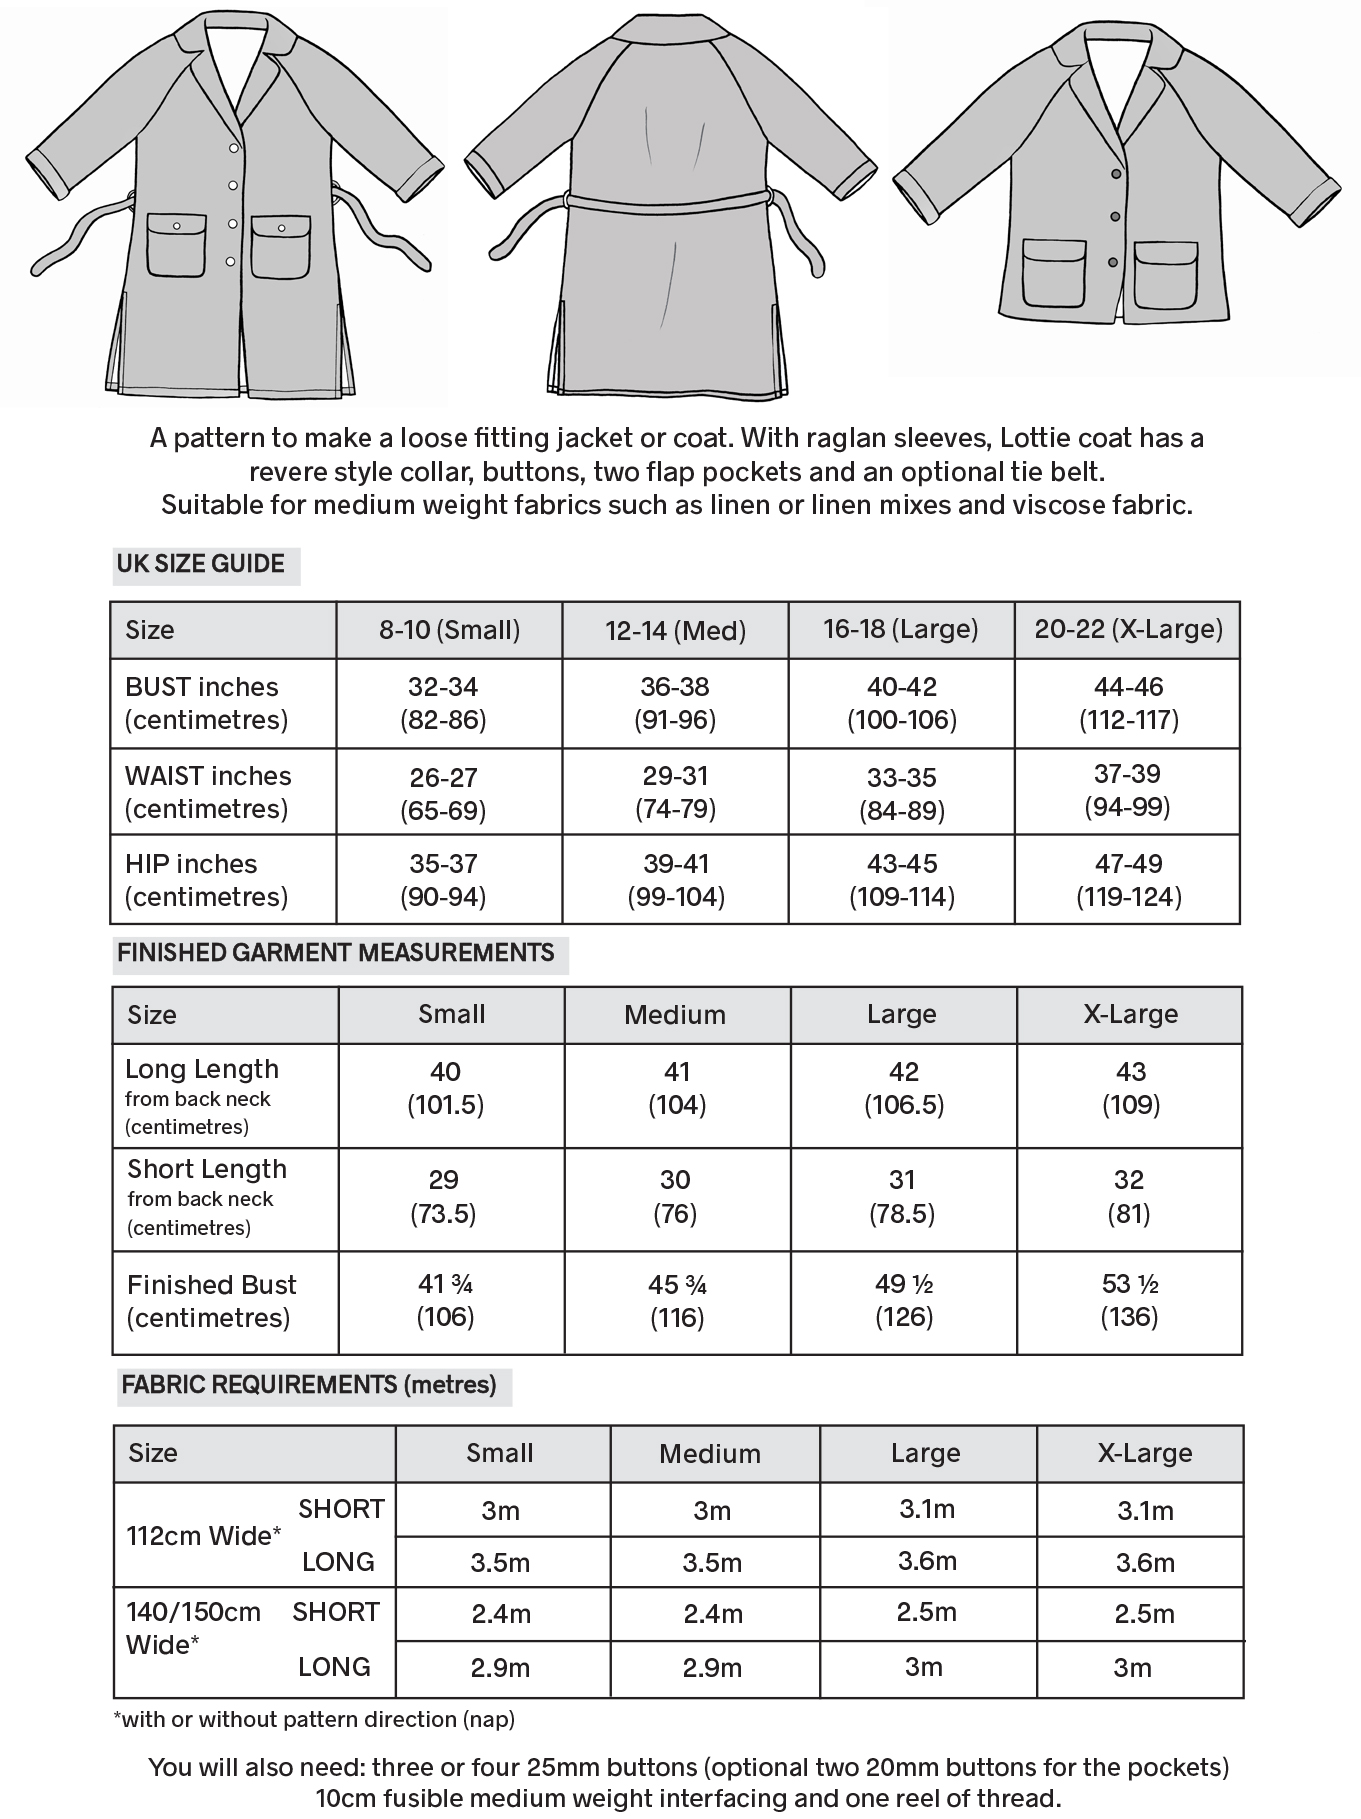
Lottie coat has a four button closure, raglan sleeves, revere collar, optional tie belt and flap detail pockets (or sew standard patch pockets as I have done in the short jacket version)…….Its a classic!
Here are some essential size and fabric requirements information…..
Getting started
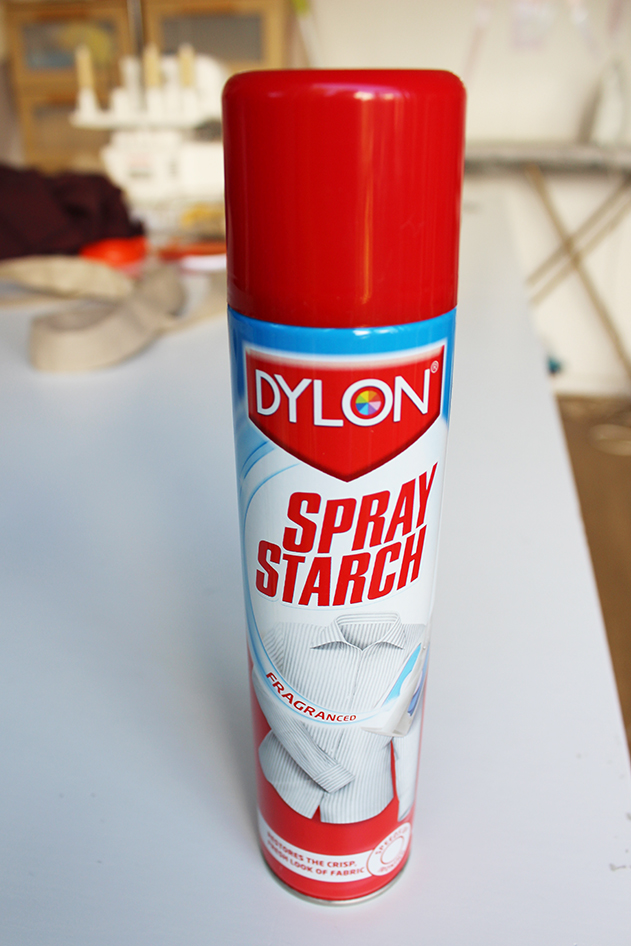
Working with linen is a joy but it does crease rather, so I usually have my bottle of spray starch at the ready.
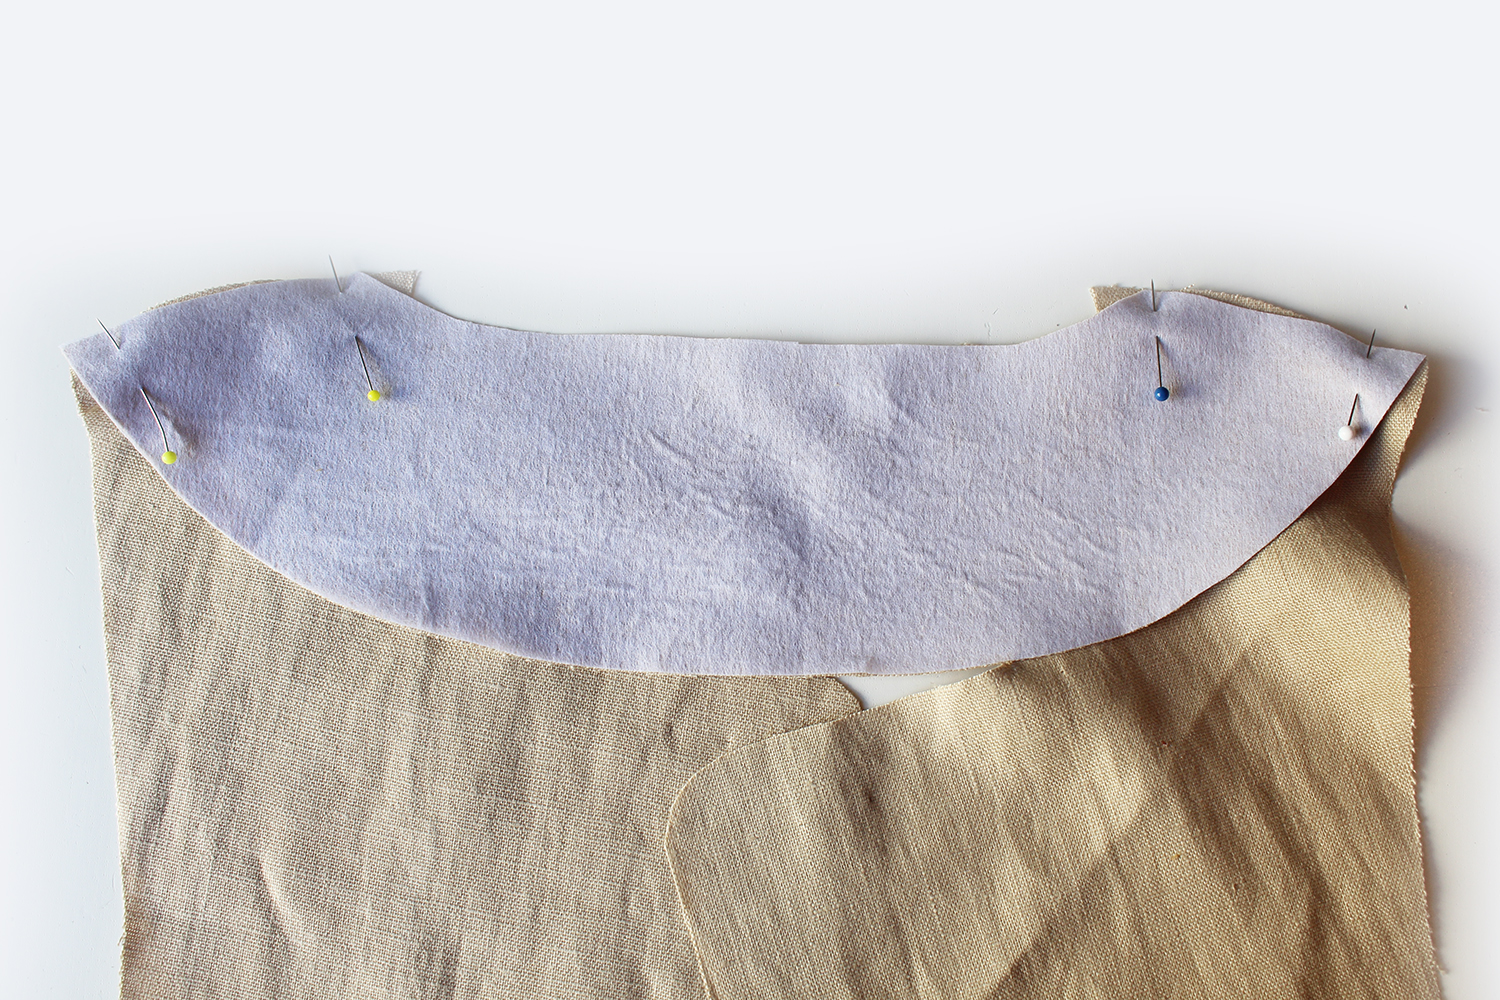
Firstly iron your fabric, I like to pop a blanket on my work surface and iron my fabric in situ, I find it a lot easier. I use paper weights to keep the larger pieces stable and pin just the smaller pieces. Once you have cut out the all pieces you just need to interface the back neck facing. I don’t interface any other piece because I think the facing needs to be kept soft and fluid.
Here are pictures of the step by step stages of making Lottie coat with edited text from the pattern with a few extra tips, so you can see if its something you might like to make before you buy.
SEAM ALLOWANCE IS 1CM
If you are the smaller end of your size i.e. a size 8/12/16/20 then you could sew a 1.5cm seam allowance to compensate.
Use an overlocker to finish the raw edges or sew a zig zag stitch or pink with pinking shears.
THIS IS WHAT YOU DO……….
COLLAR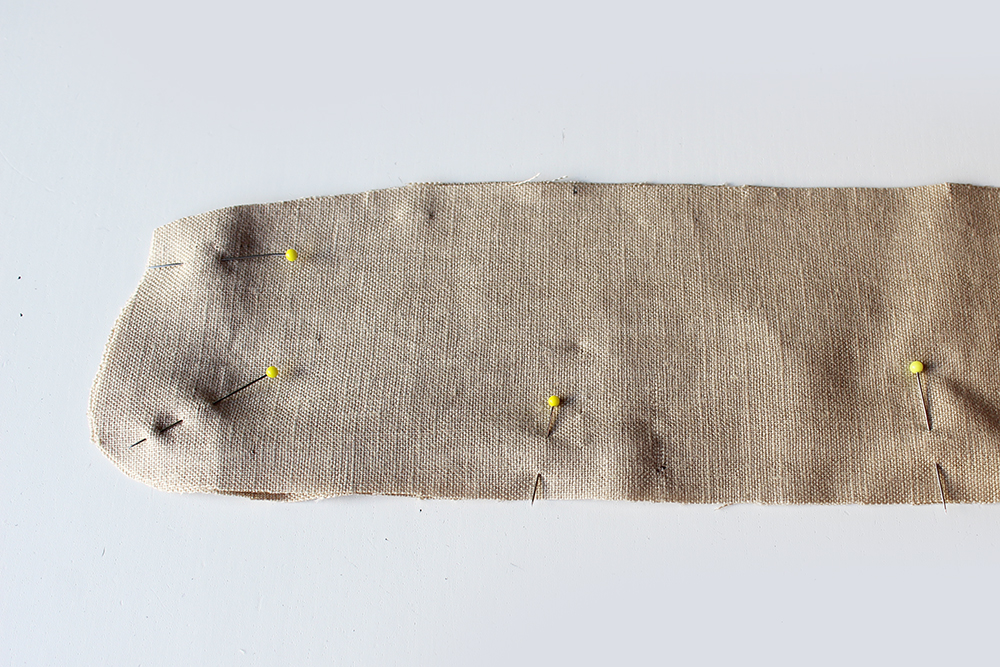
 The collar is made by sewing the outer curved edge without the notches then after nicking and trimming the seam allowance its turned inside out, pressed then top stitched. Then tack stitch along the raw edge to hold together. Place to one side.
FACINGS
 After interfacing the back facing, pin to the front facing at the shoulders. Stitch. Press the seam allowances open.
 Turn under the outer edge 1cm and press. Then stitch. Turn under the lower edge of the facing 1cm and stitch.
JOINING THE SLEEVES 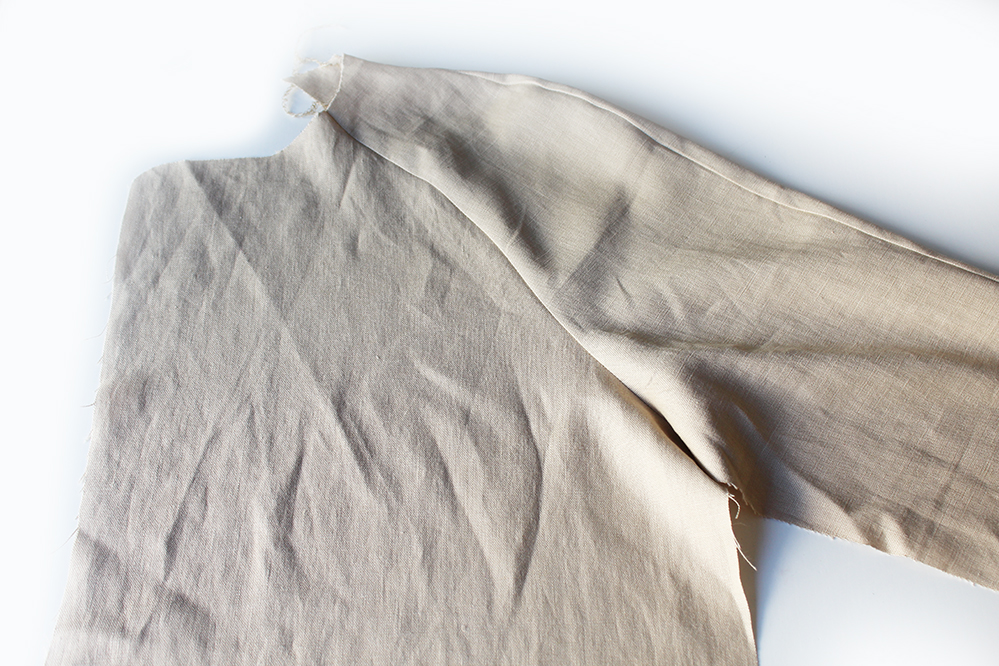 Sew the front sleeve to the front at the slanted edge. Join to the back sleeve. Join the back sleeve to the back. Finish the raw edges. Press. Repeat for the other side.
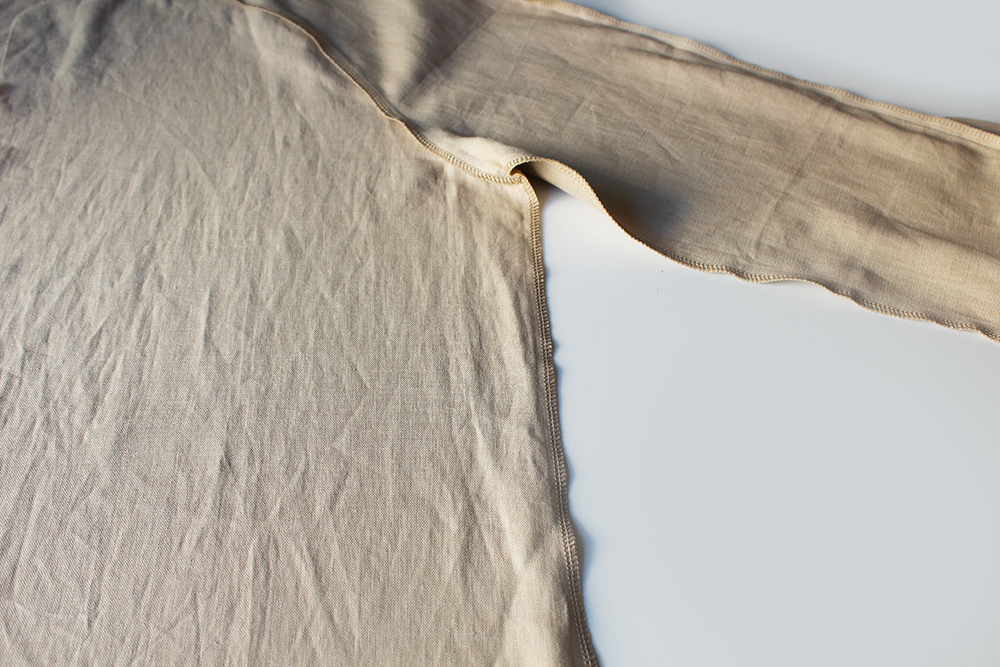 Join the front to back at the side seams, leave the lower section open for the side slits. Finish the raw edges above the slit section. Press.
SIDE SLITS (the short jacket doesn’t have side slits but you could add them in, just leave 12cm open up from the bottom hem at each side and single fold hem along the side edge, or stitch on a small 4cm x 12cm strip to make a binding at each edge to allow a double fold). 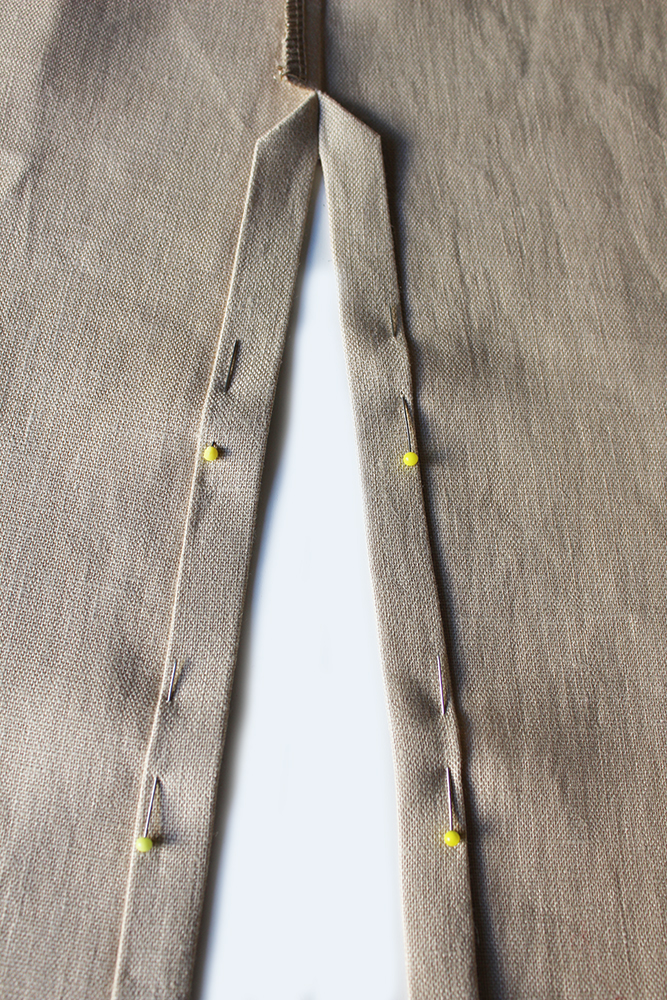
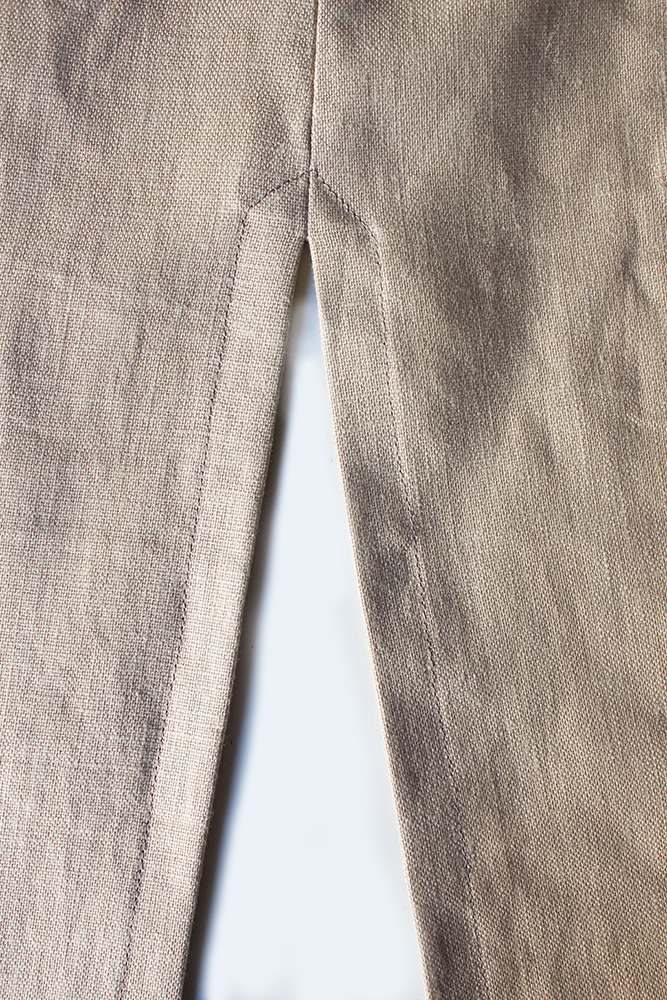 Nick the seam allowance just above the slit section to open the seam at the lower section. Fold over the side slits at the raw edge 1cm then again 2cm. Press. Sew.
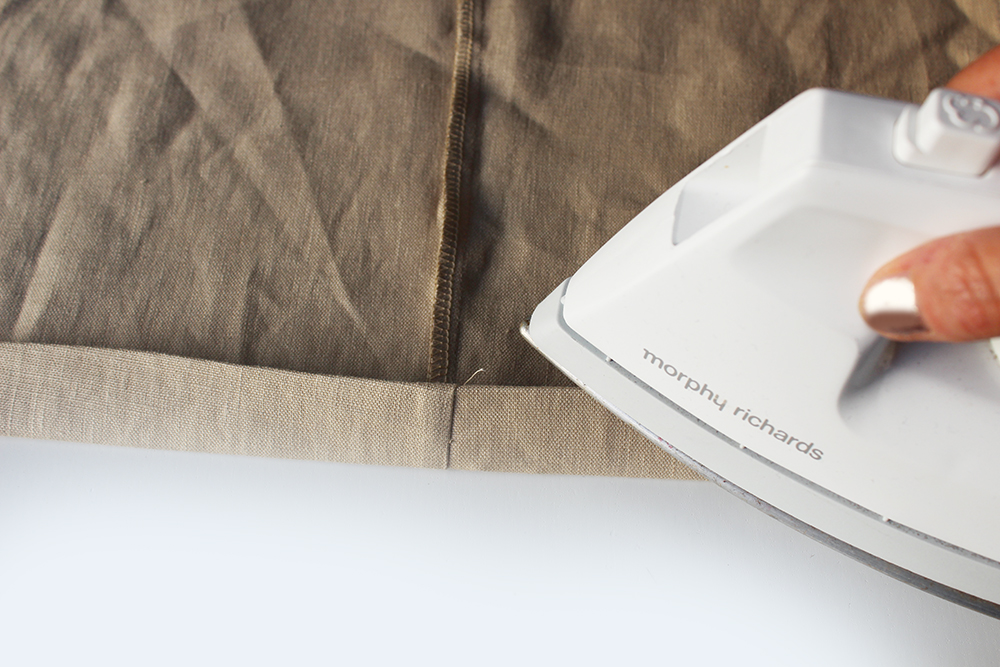 Press under the hem at the lower front edge 1cm then again 2cm. Sew.
COLLAR & FACINGS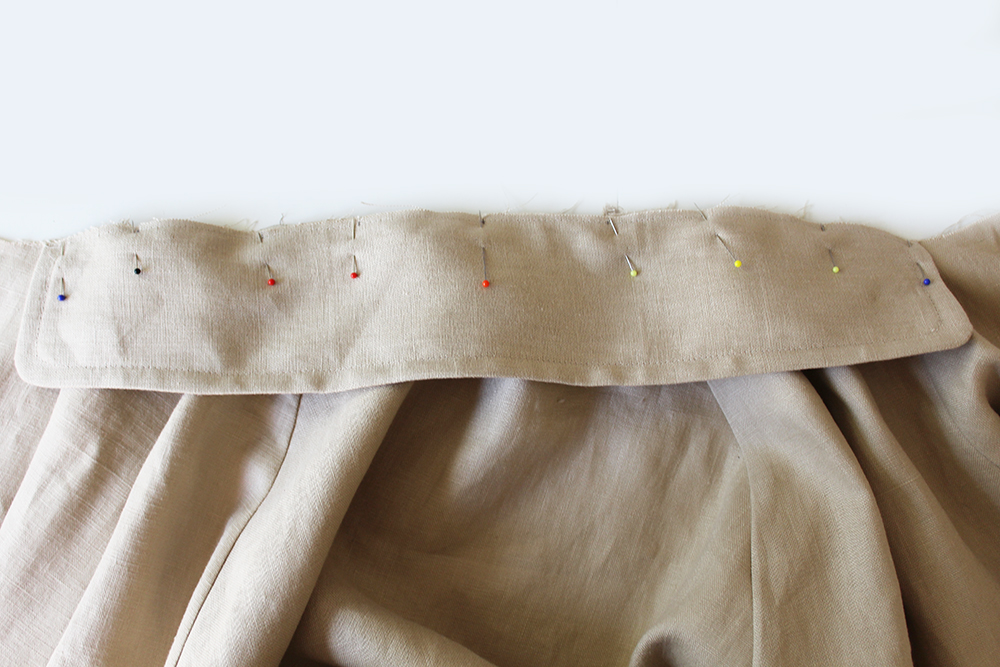 Starting at the centre of the back neck, pin the collar at the centre point to the neck edge matching up the notches to the sleeve seams.
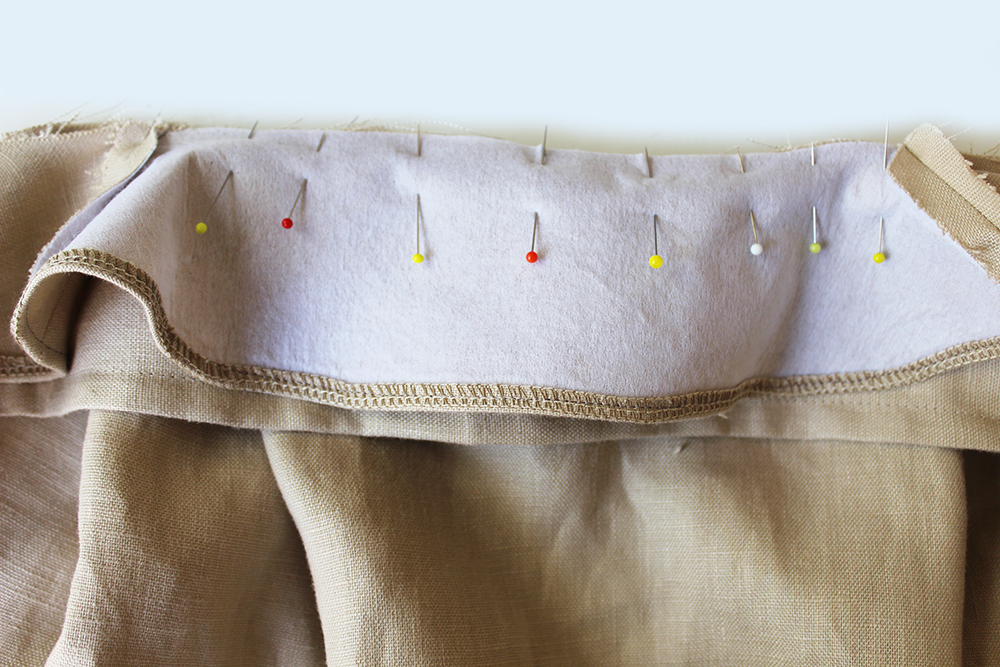 Starting at the back neck, pin the facing piece at the centre of the back facing with the RS together to the collar.
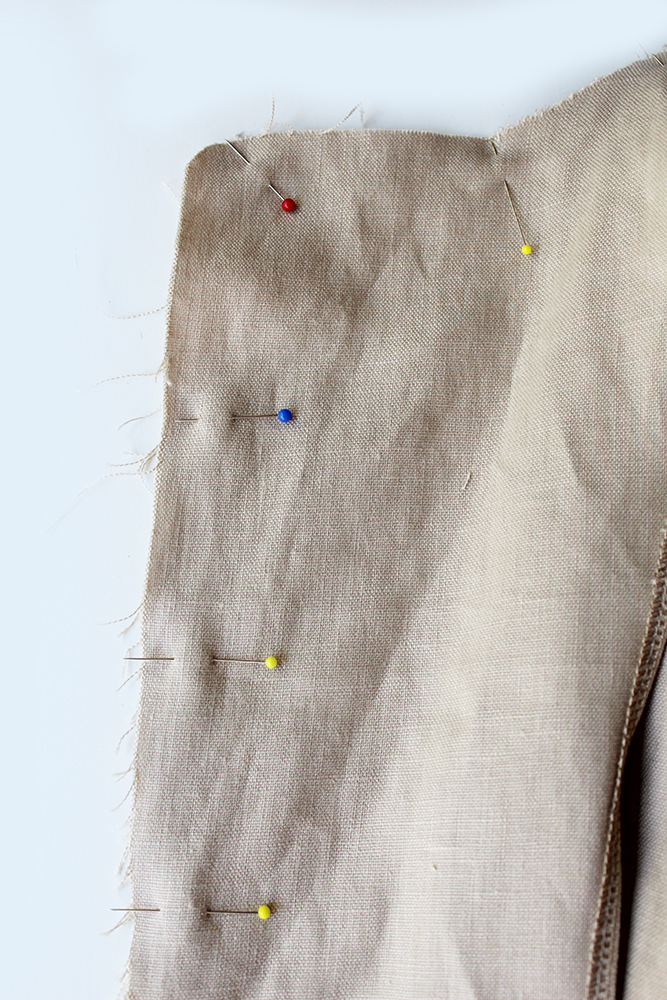
Pin the facing all the way down the front edge at each side.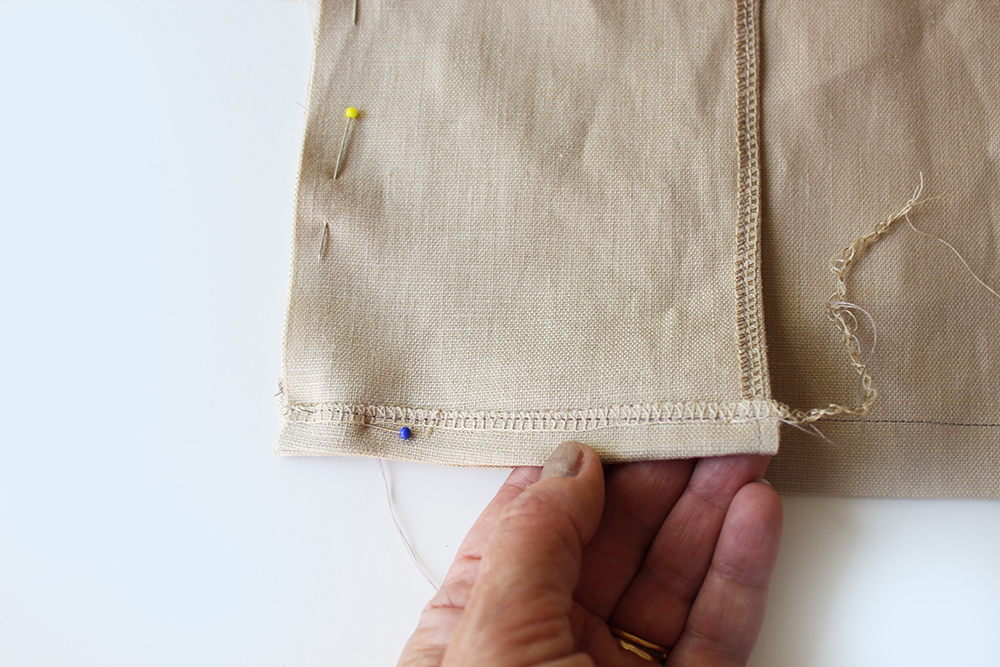 With the lower edge of the facing turned under and stitched 1cm, align at the lower edge.
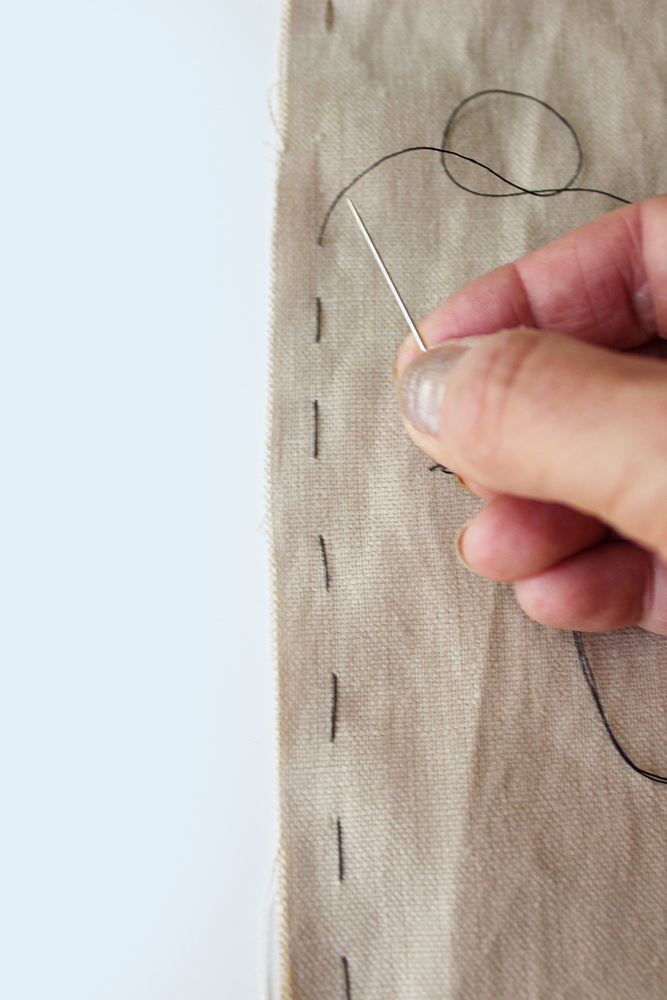
 Hand Tack!
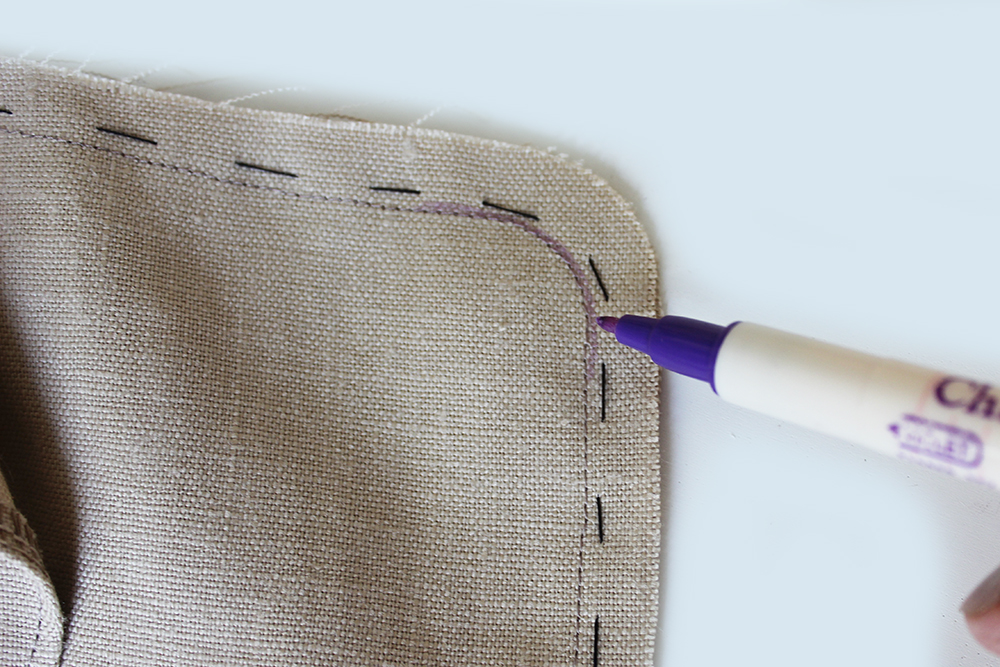 You might like to mark the curved stitch line with an invisible pen to help you as it is important that both sides are the same.
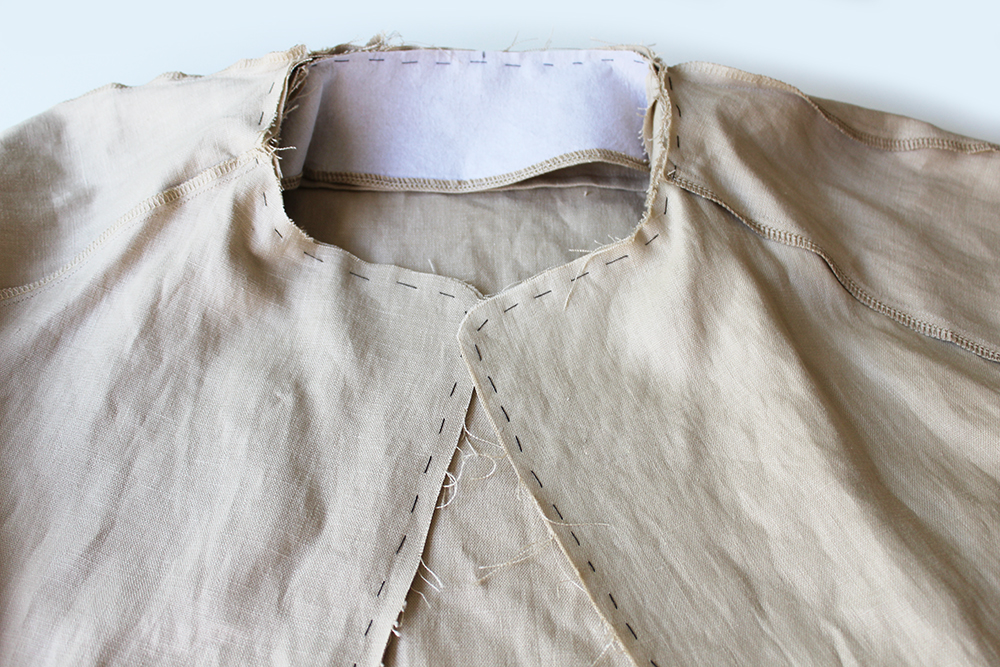
 Stitch!
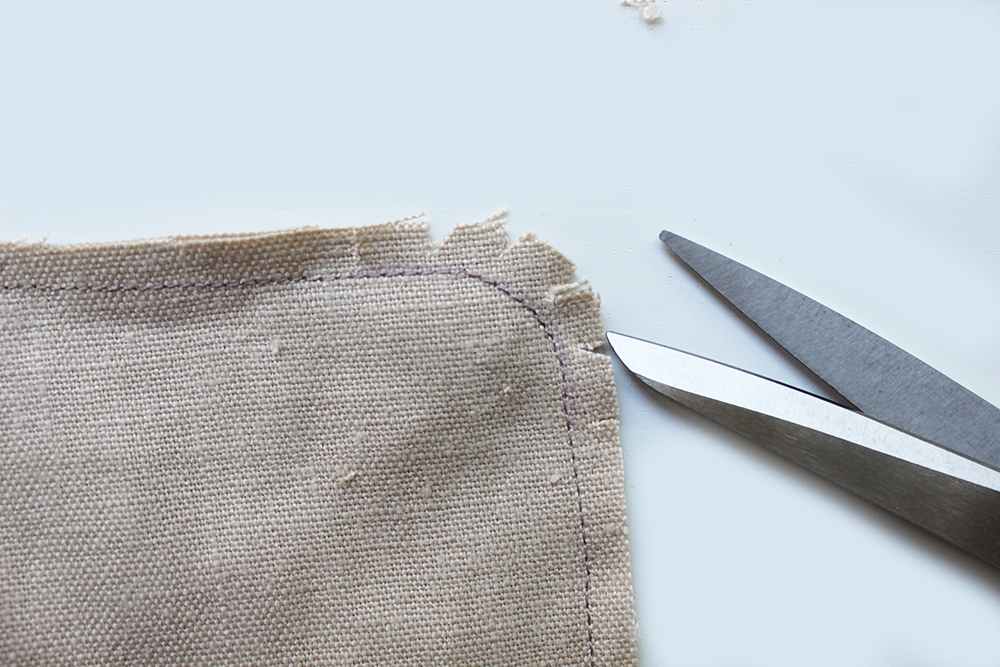 Nick the curved seam allowances. Trim the seam allowance to 5mm.
 Pin to the reverse side and press so that the seam line is aligned with the fold. Push out the collar with a poking tool to get the curves.
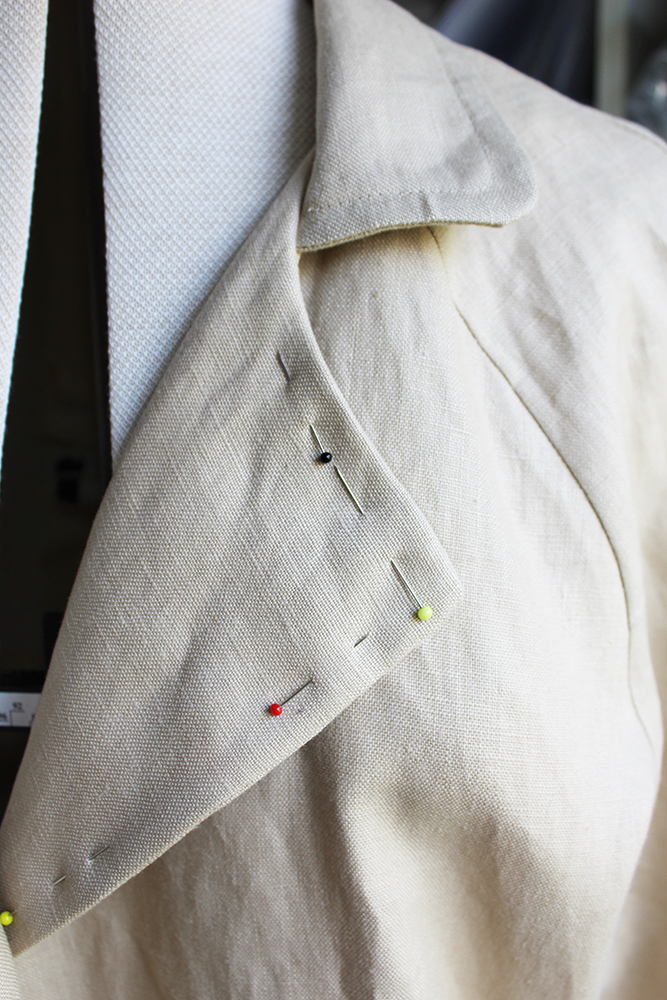 Pin the facing all around.
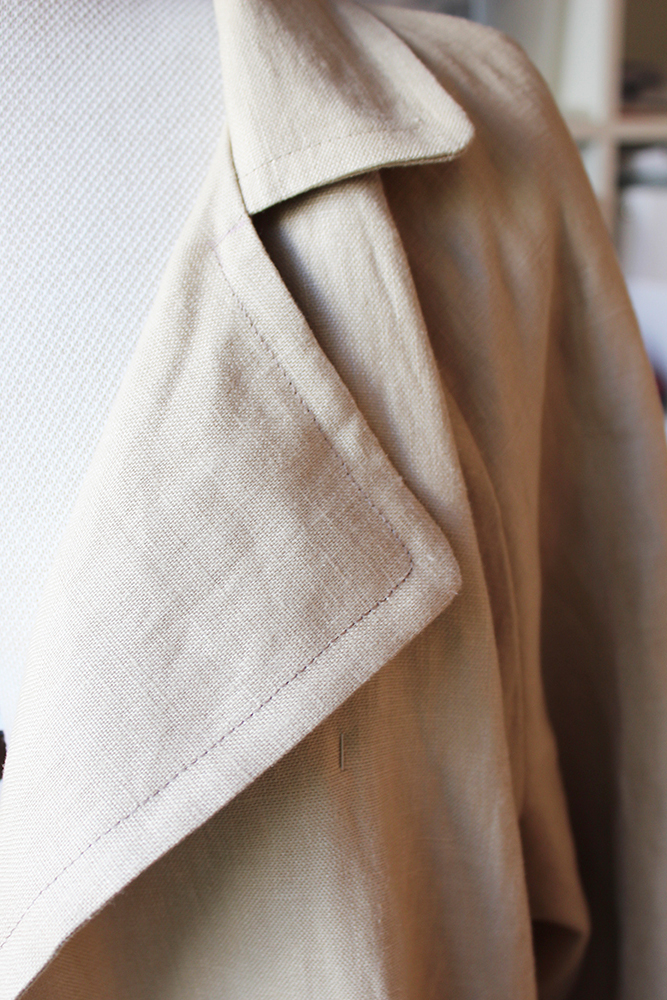 Top stitch all around 1cm from the edge.
 Make a hem at the sleeve raw edge. Fold over 1cm then again 3cm. Press. Pin. Stitch.
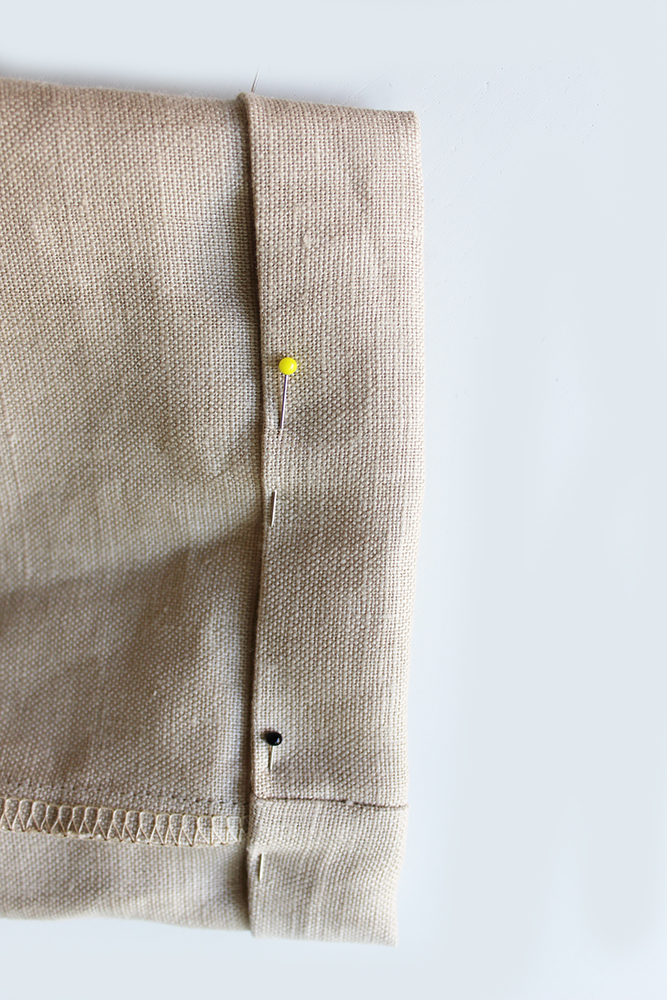
POCKETS 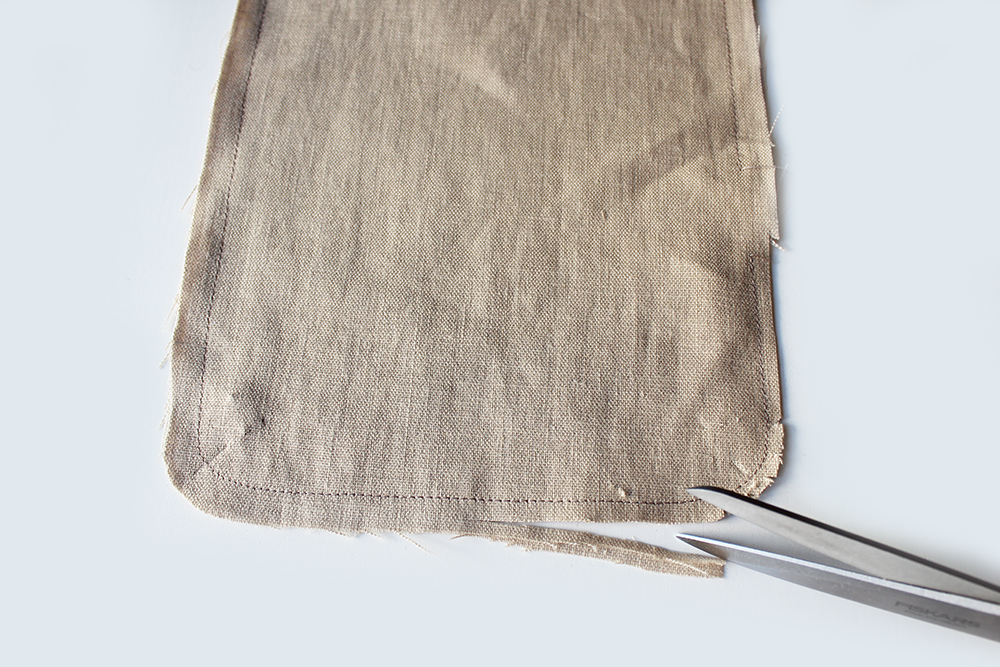 Pin the pockets RS together. Stitch all around leaving a small opening at one side for turning. Trim the seam allowance to 5mm. Nick the curved corners.
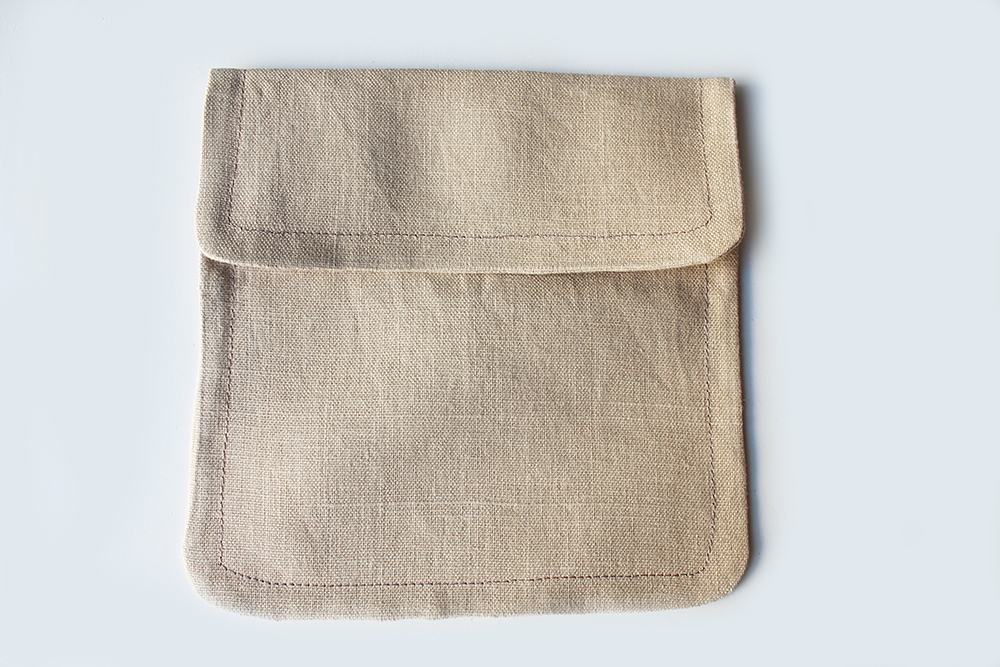 Turn inside out, push out the corners with a poking tool. Press well, aligning the seam line to the fold. Top stitch all around. Press over the flap section as shown on the template.
 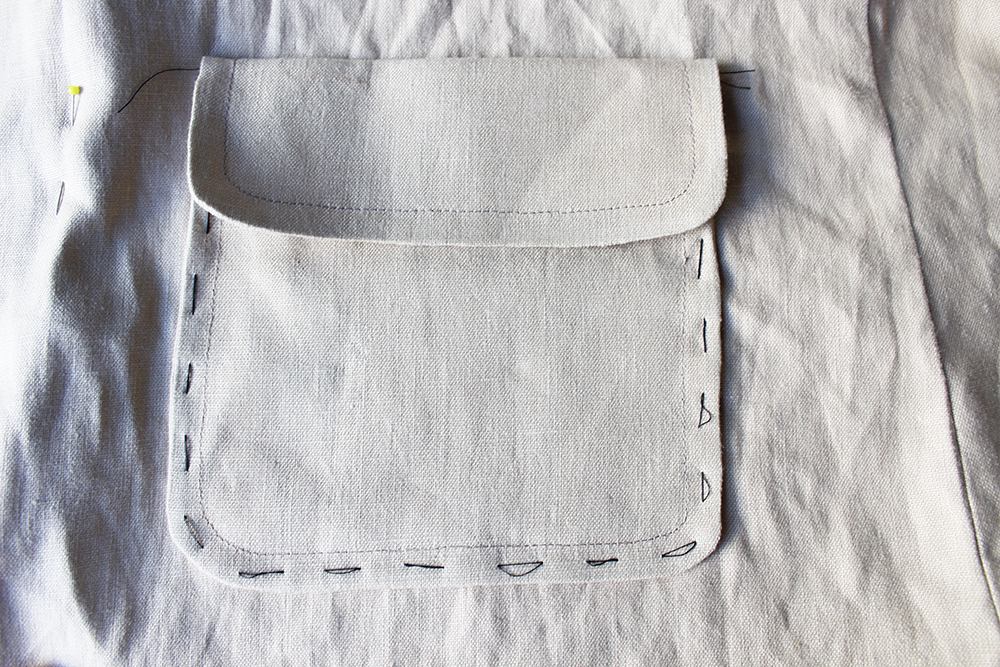 Pin to the coat in position as shown on the pattern. Tack stitch to hold. Sew all around a second line of stitching close to the outer edge and parallel to the top stitching. Reinforce the corners at the top just below the flap fold. Sew on a button at each pocket or leave without.
CLASSIC POCKET STYLE: if you would prefer classic pockets without the flap, cut your pocket straight at the top edge, at the fold line. Sew all around, turn inside out after nicking and trimming the corners. Topstitch across the top edge. Pin to the front, hand tack. Make a double line of topstitching around the side and lower edge.
TIE BELT (optional)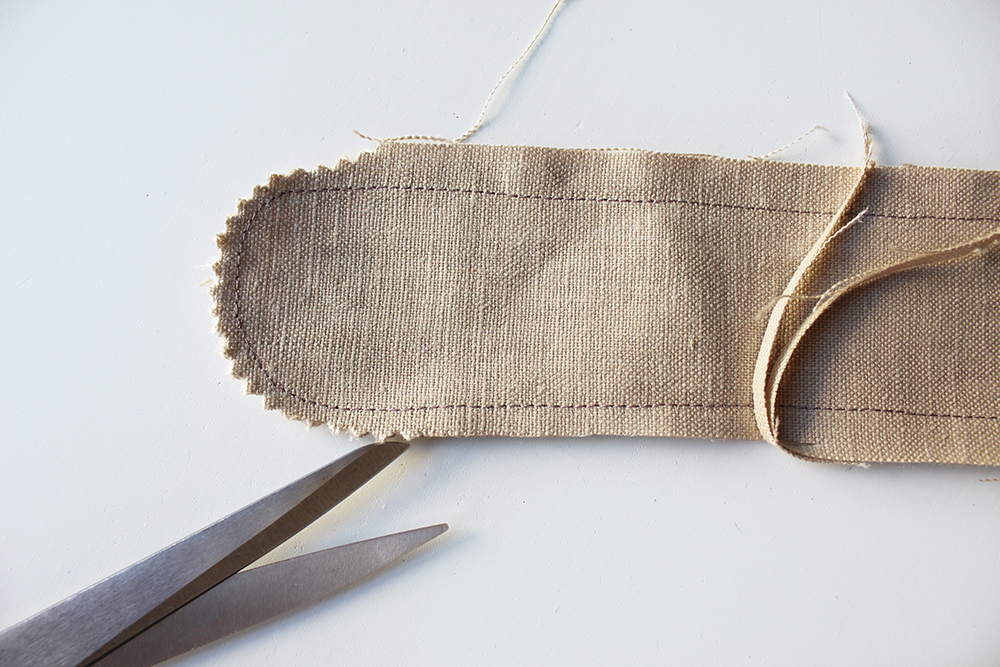 Pin the tie belt pieces RS together. Sew all around, leave a small opening at the centre for turning. Trim the seam allowance and nick the curved corners.
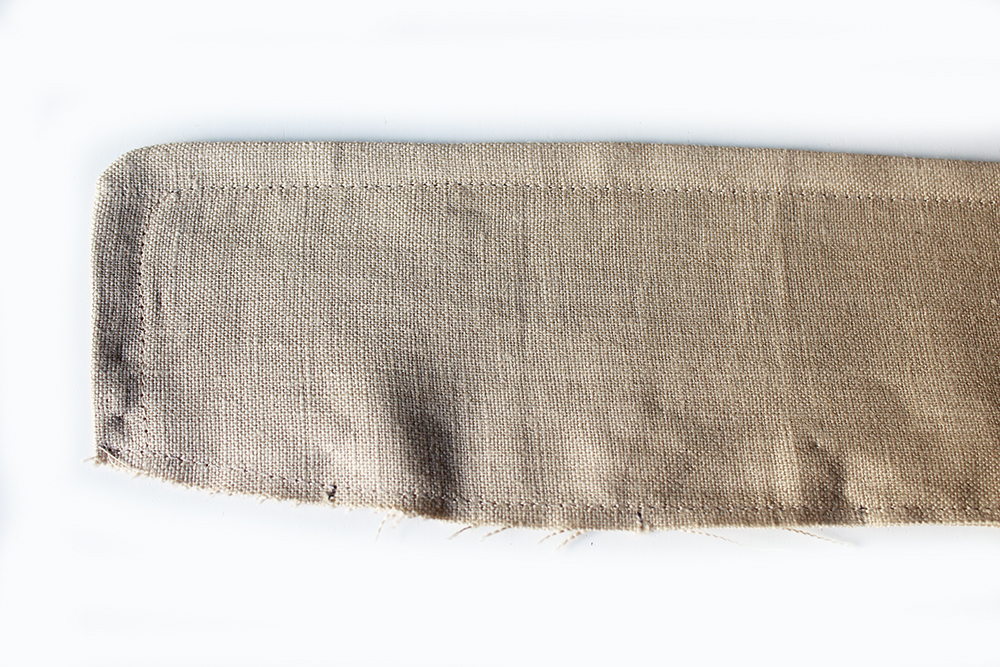
 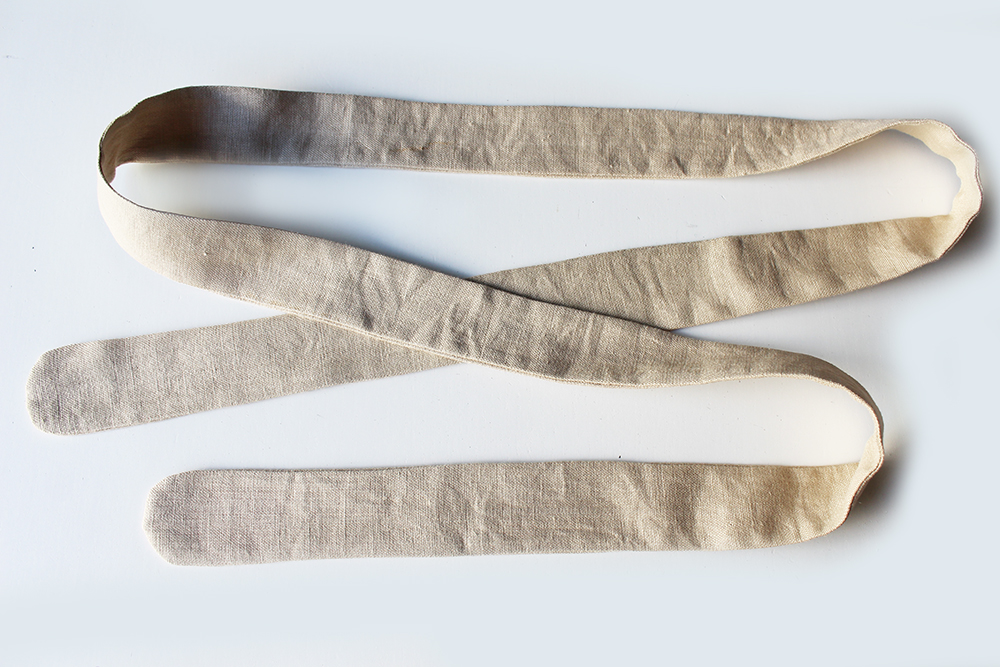 Turn the tie inside out and push out the curved ends with a poking tool. Press well so that the seam line is in line with the fold all around.
 Topstitch all around the outer edge.
BELT LOOP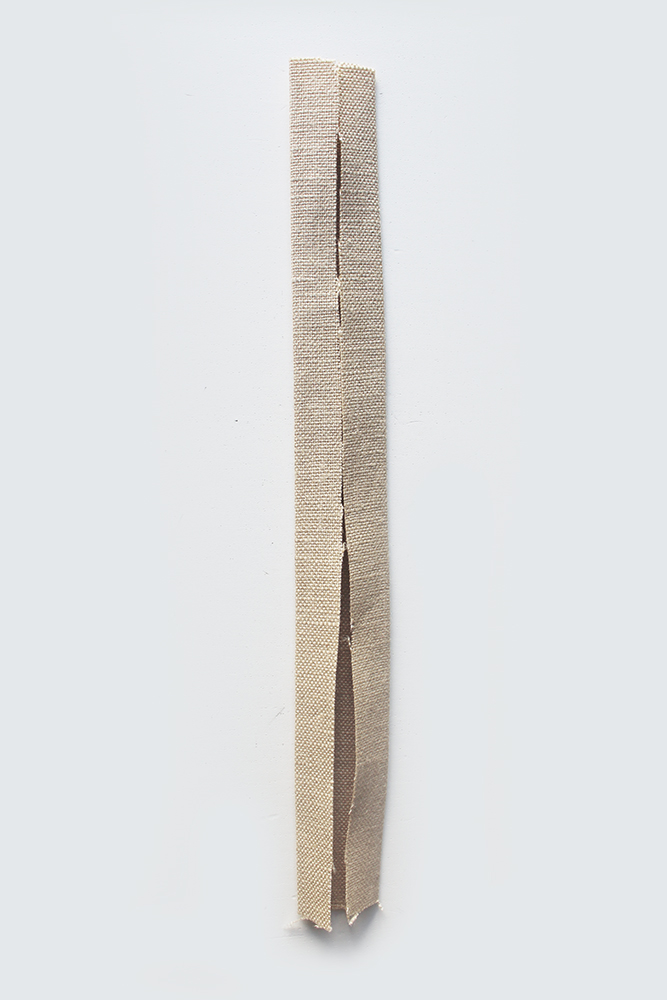
Fold the loop piece in half then fold in 1cm each long side. Press. Fold again in half. Press.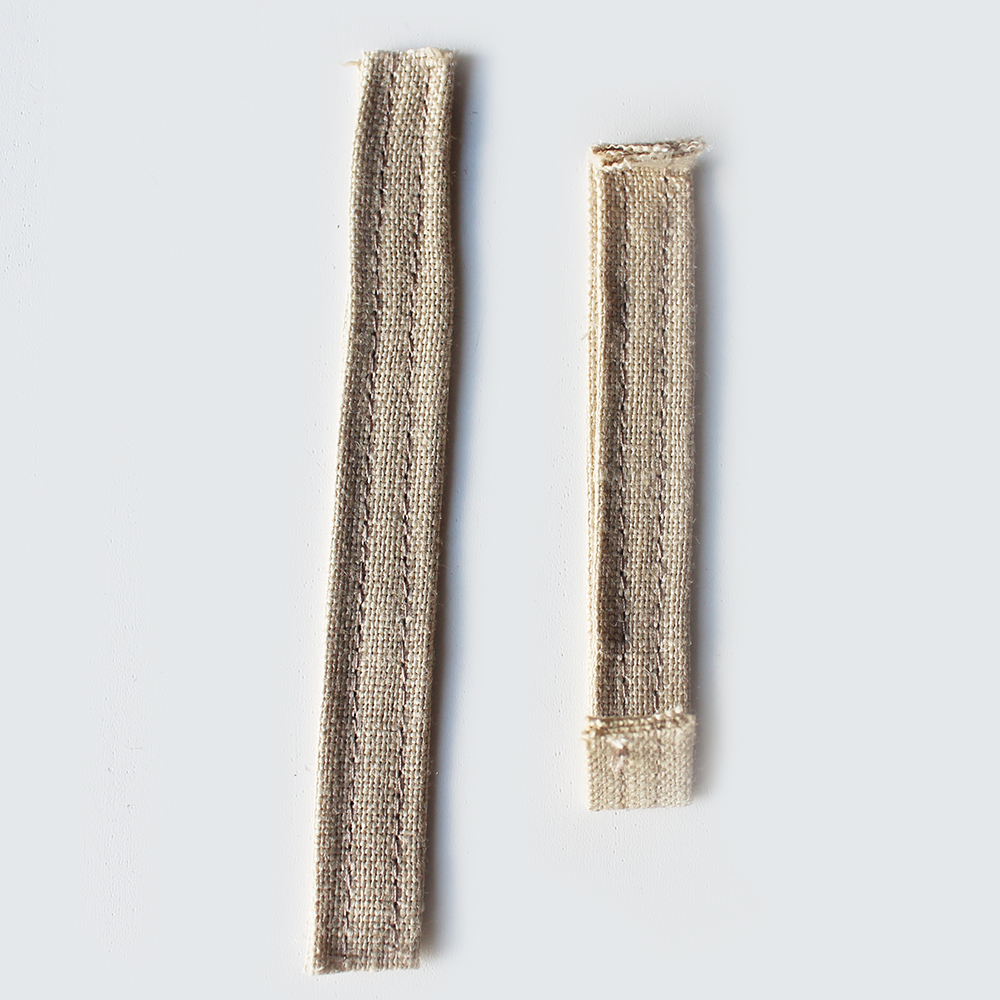
Top stitch down each long side. Cut into two equal pieces. Press over 1cm at each end. 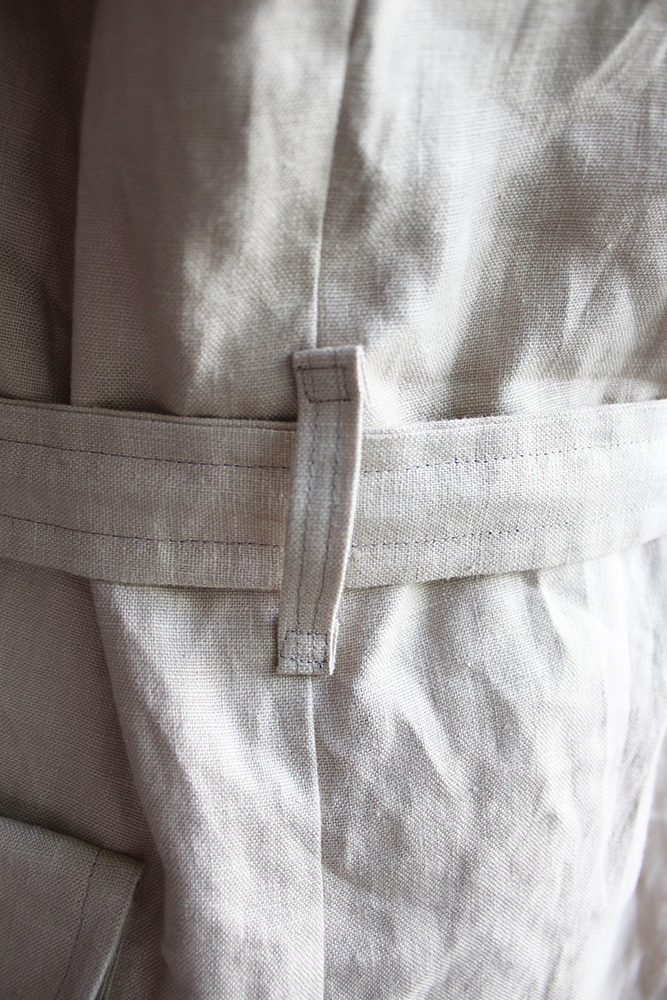 Attach to the coat at each side in position as shown on the template with a box stitch.
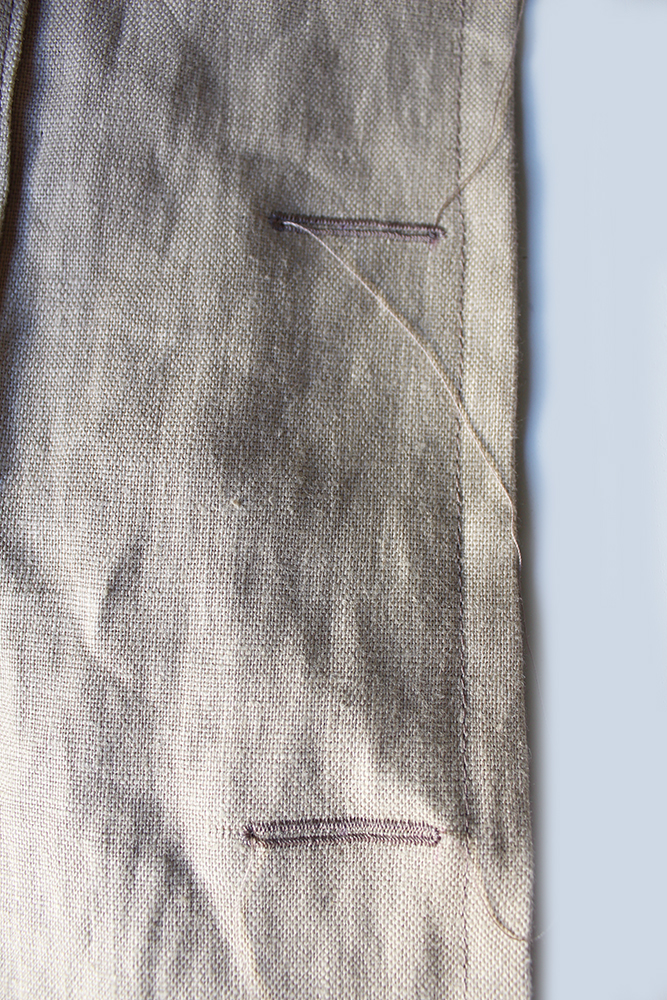 Sew your buttonholes. Use the template as a guide to the position.
 One last thing, you may like to insert small pieces of wondaweb under the facing to secure the facing in place. You could also stitch a few stitches at the shoulder seam to secure the neck facing.
One last thing….why not make a gorgeous neck tie scarf like the one below, with just a half metre of hand woven indian cotton fabric from slubbedprints.co.uk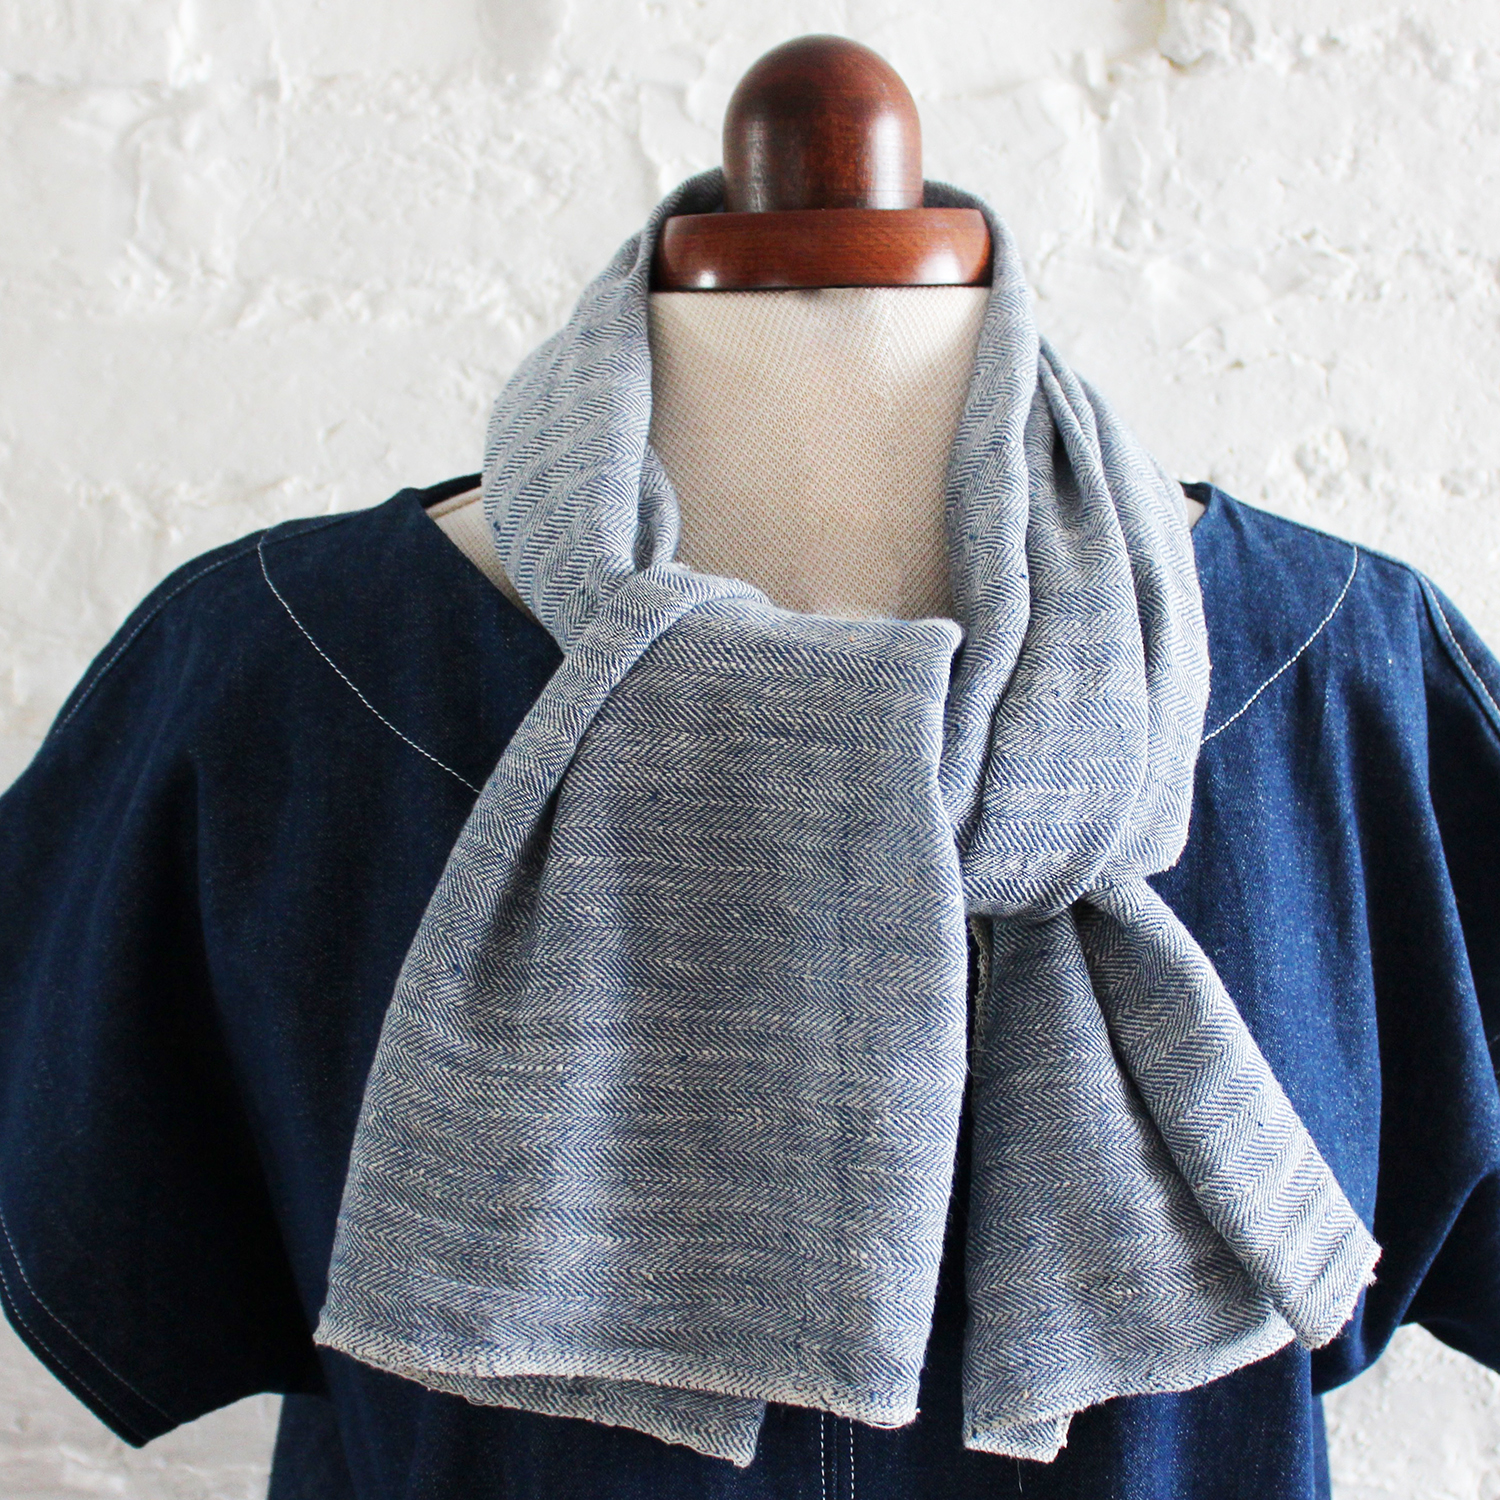
Voila!

For more Sewgirl news follow me on instagram or sign up to my newsletter via my website.
All the best X Fiona