


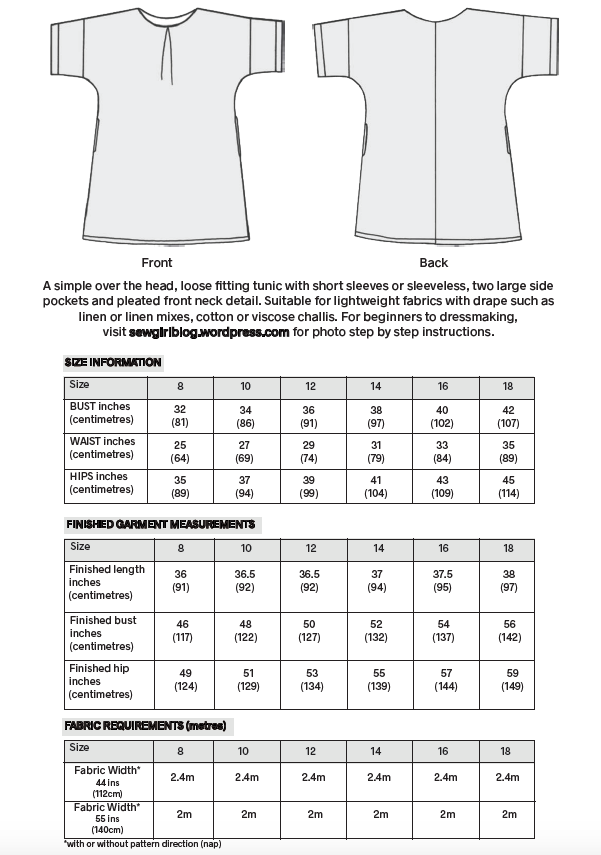
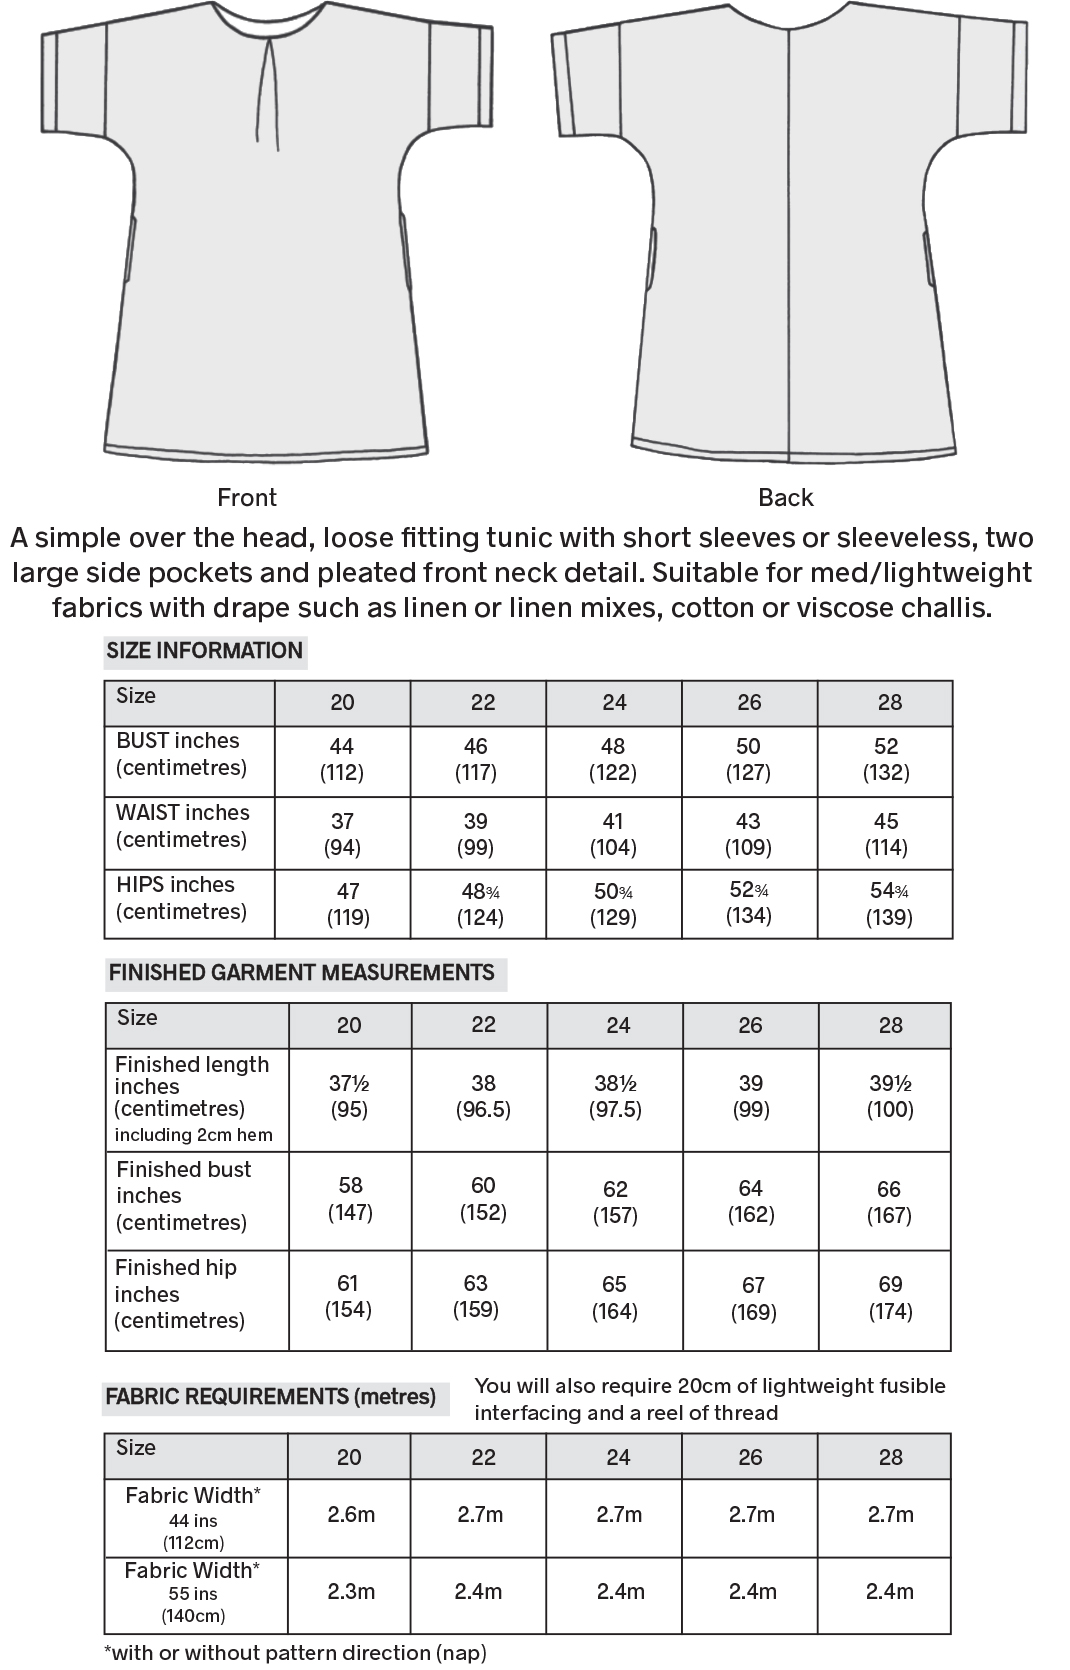
I absolutely adore wearing this tunic. It’s stylish and roomy, due to the pleat at the front neckline and has two whopping side pockets. A perfect holiday tunic, or ideal for just about any occasion. Oh ….and did I mention? Its also very easy to make!
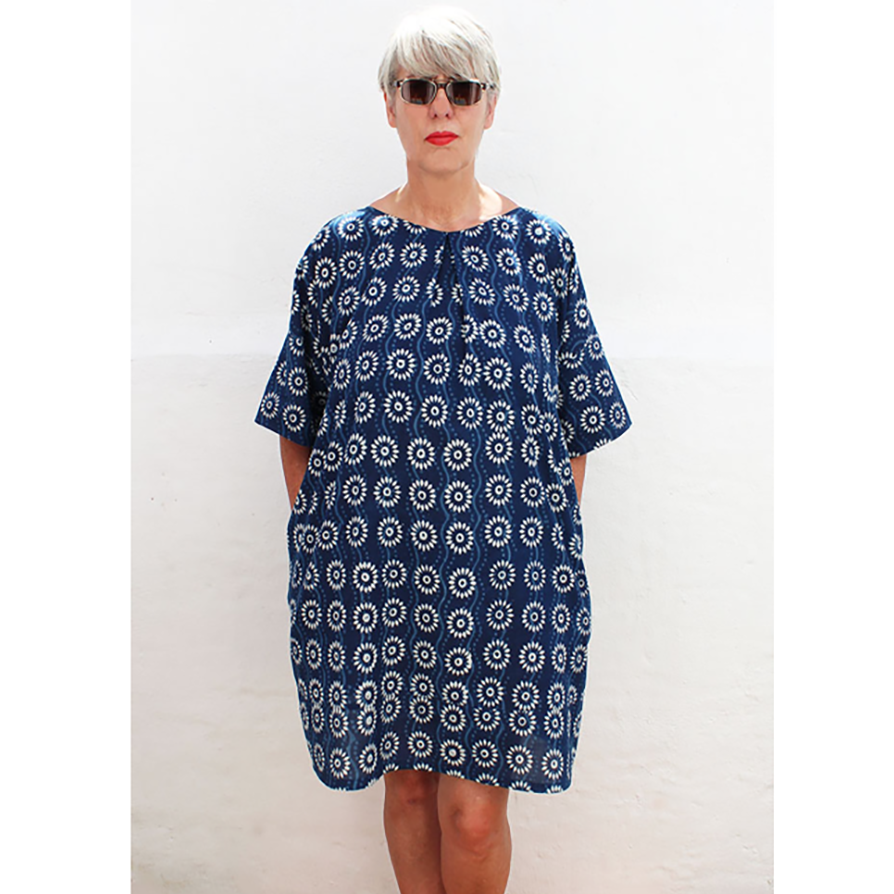
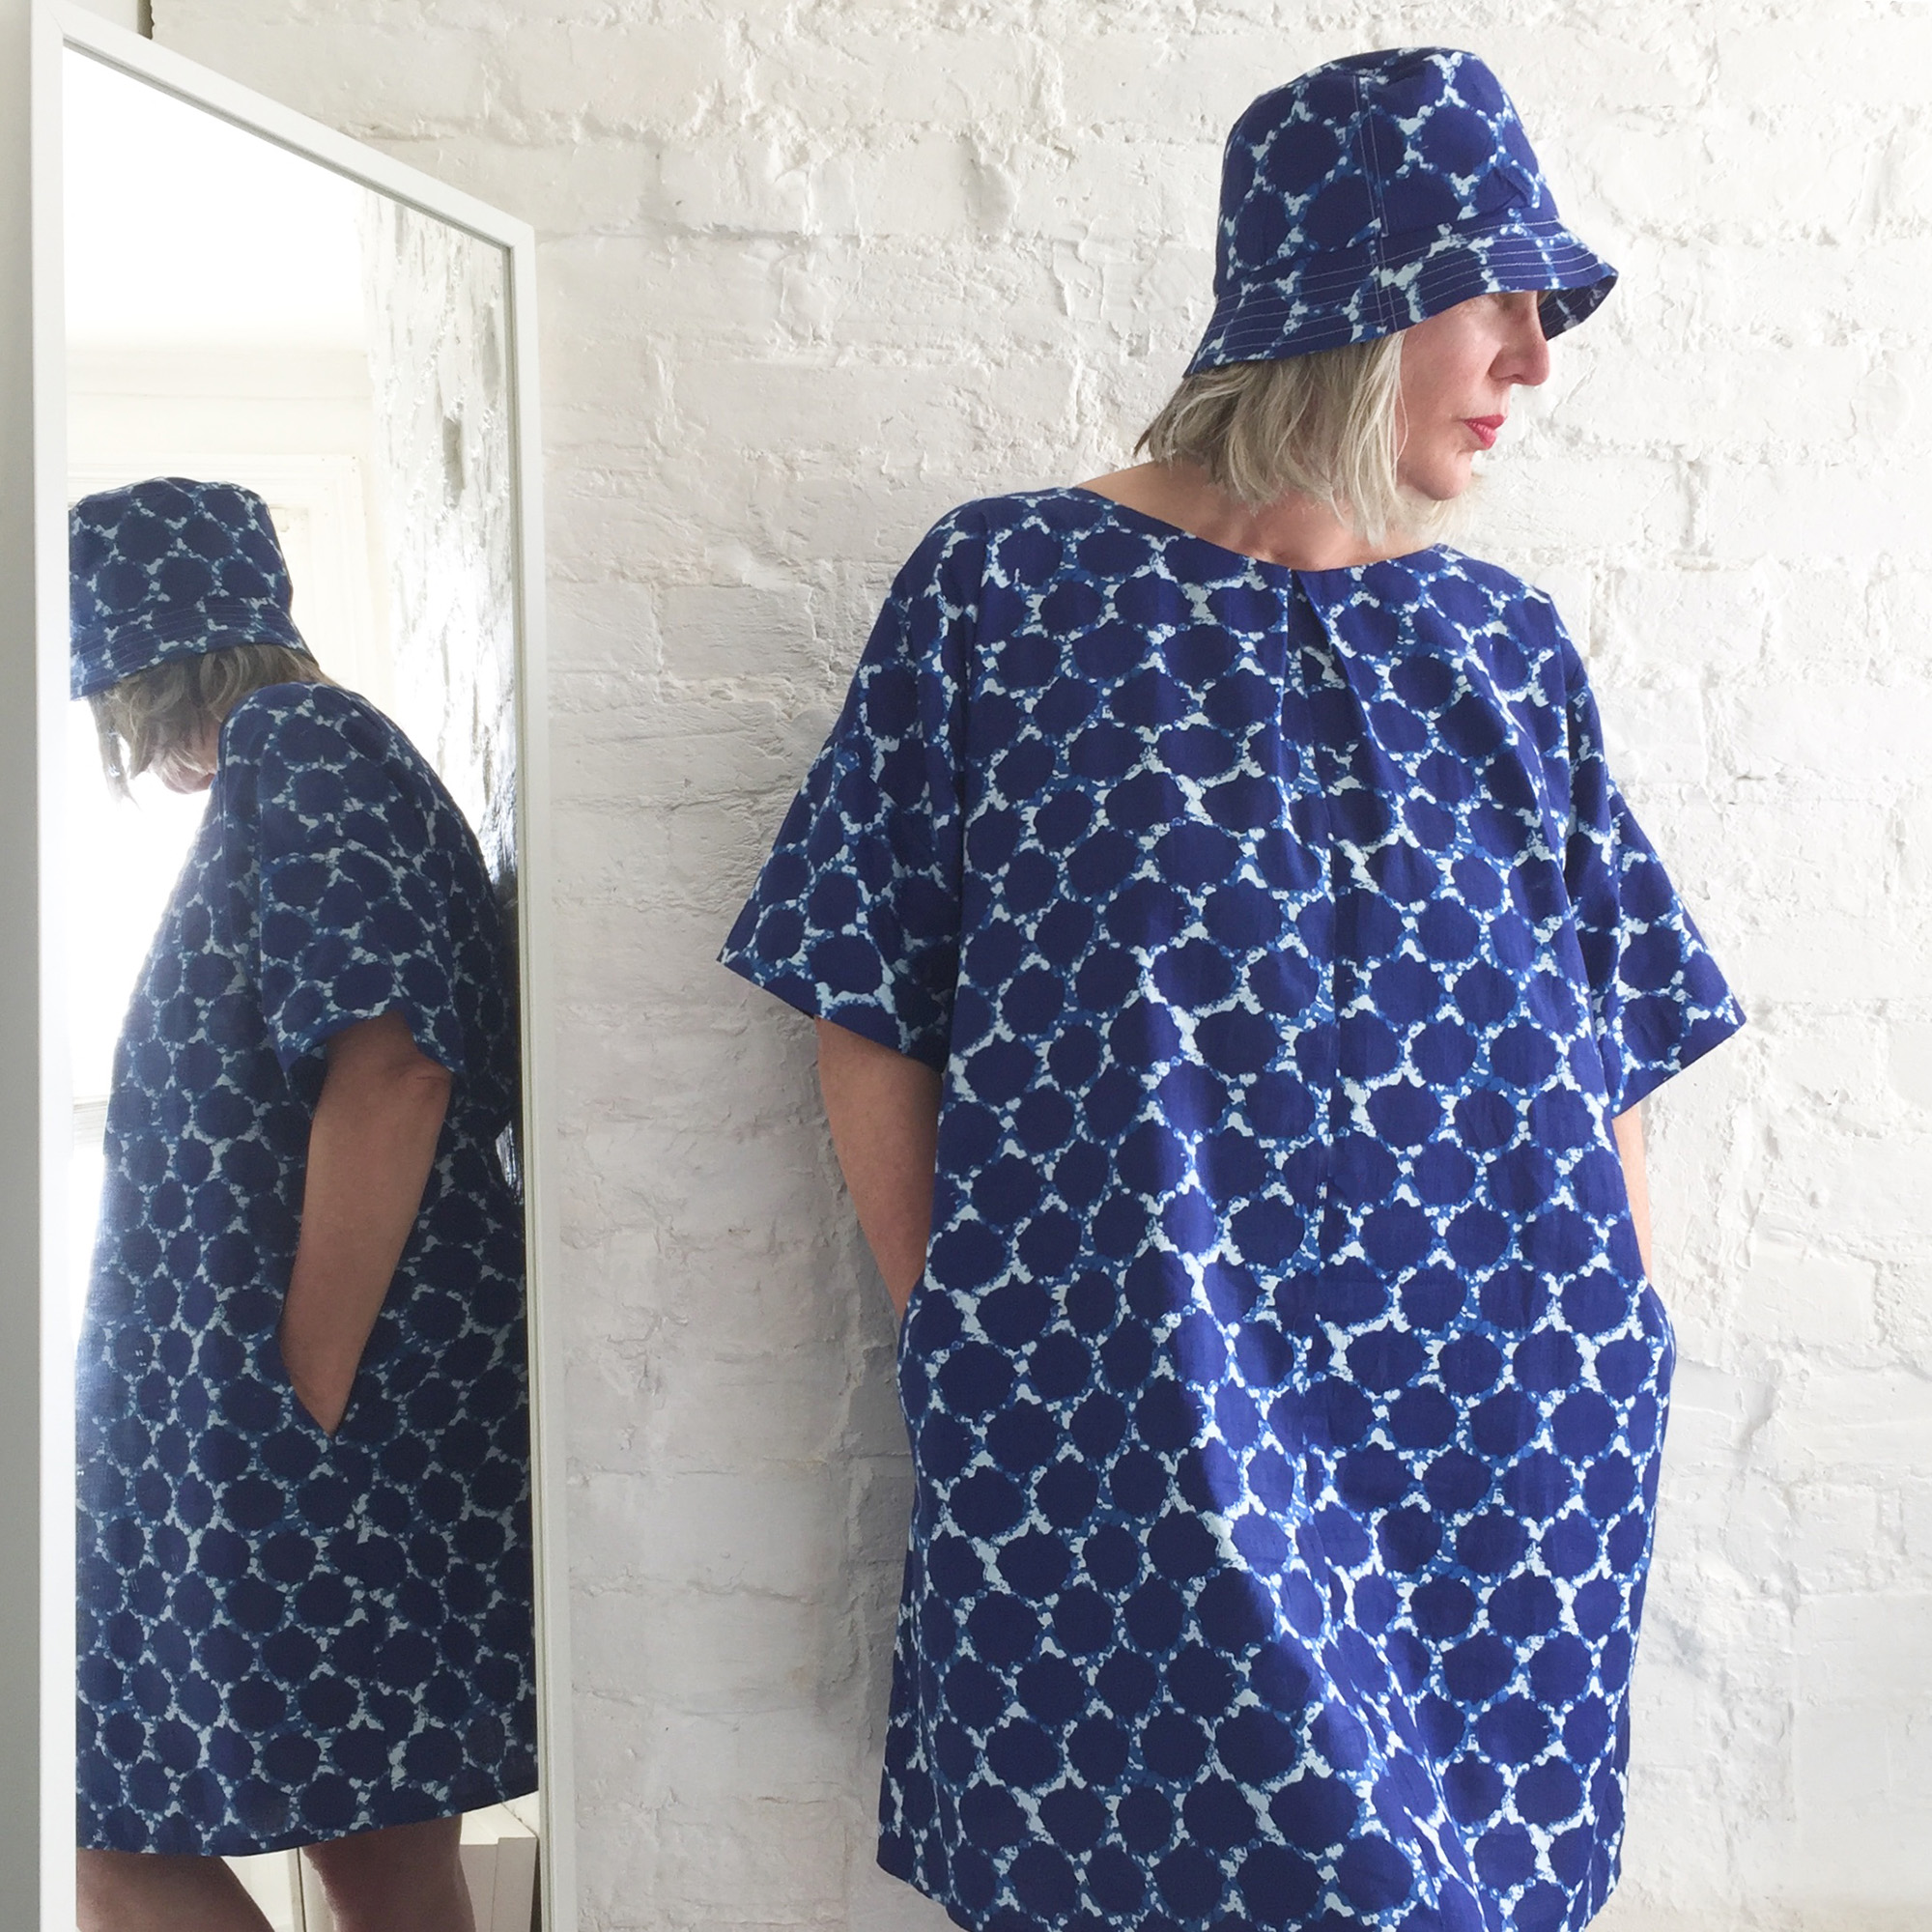
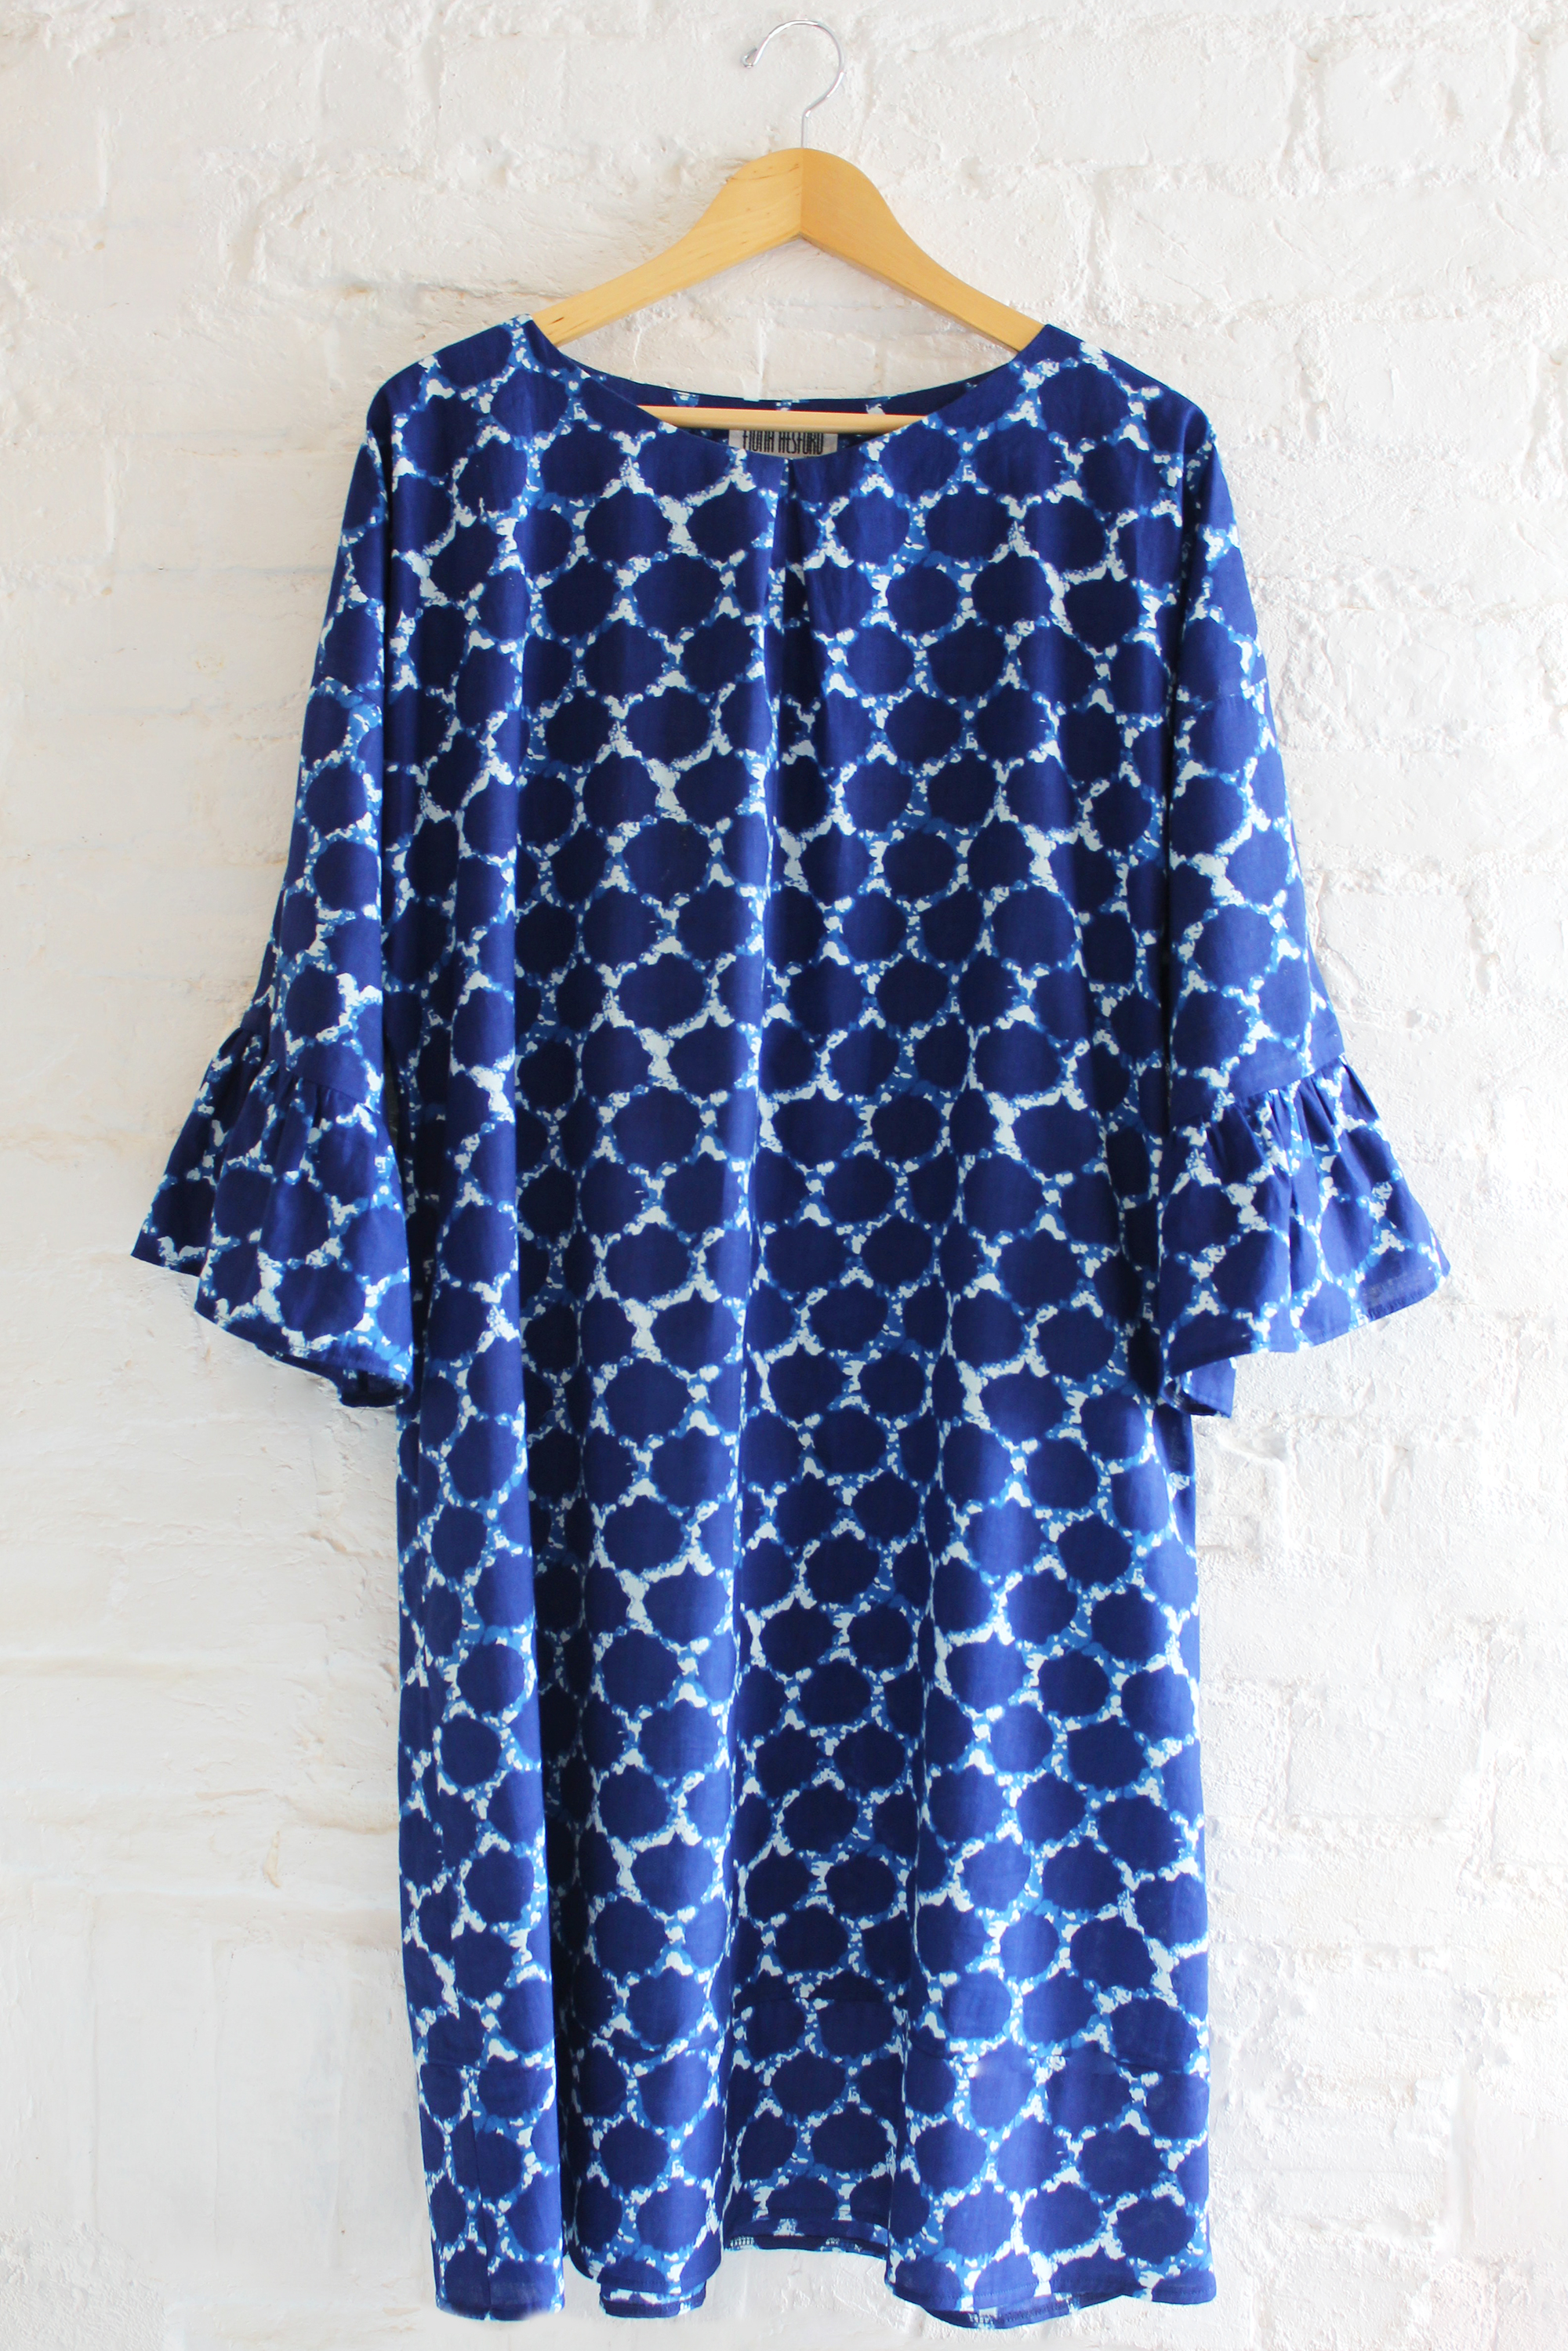
I made another Hilda in hand block printed Indian Indigo cotton, shown below, which I think works so well.
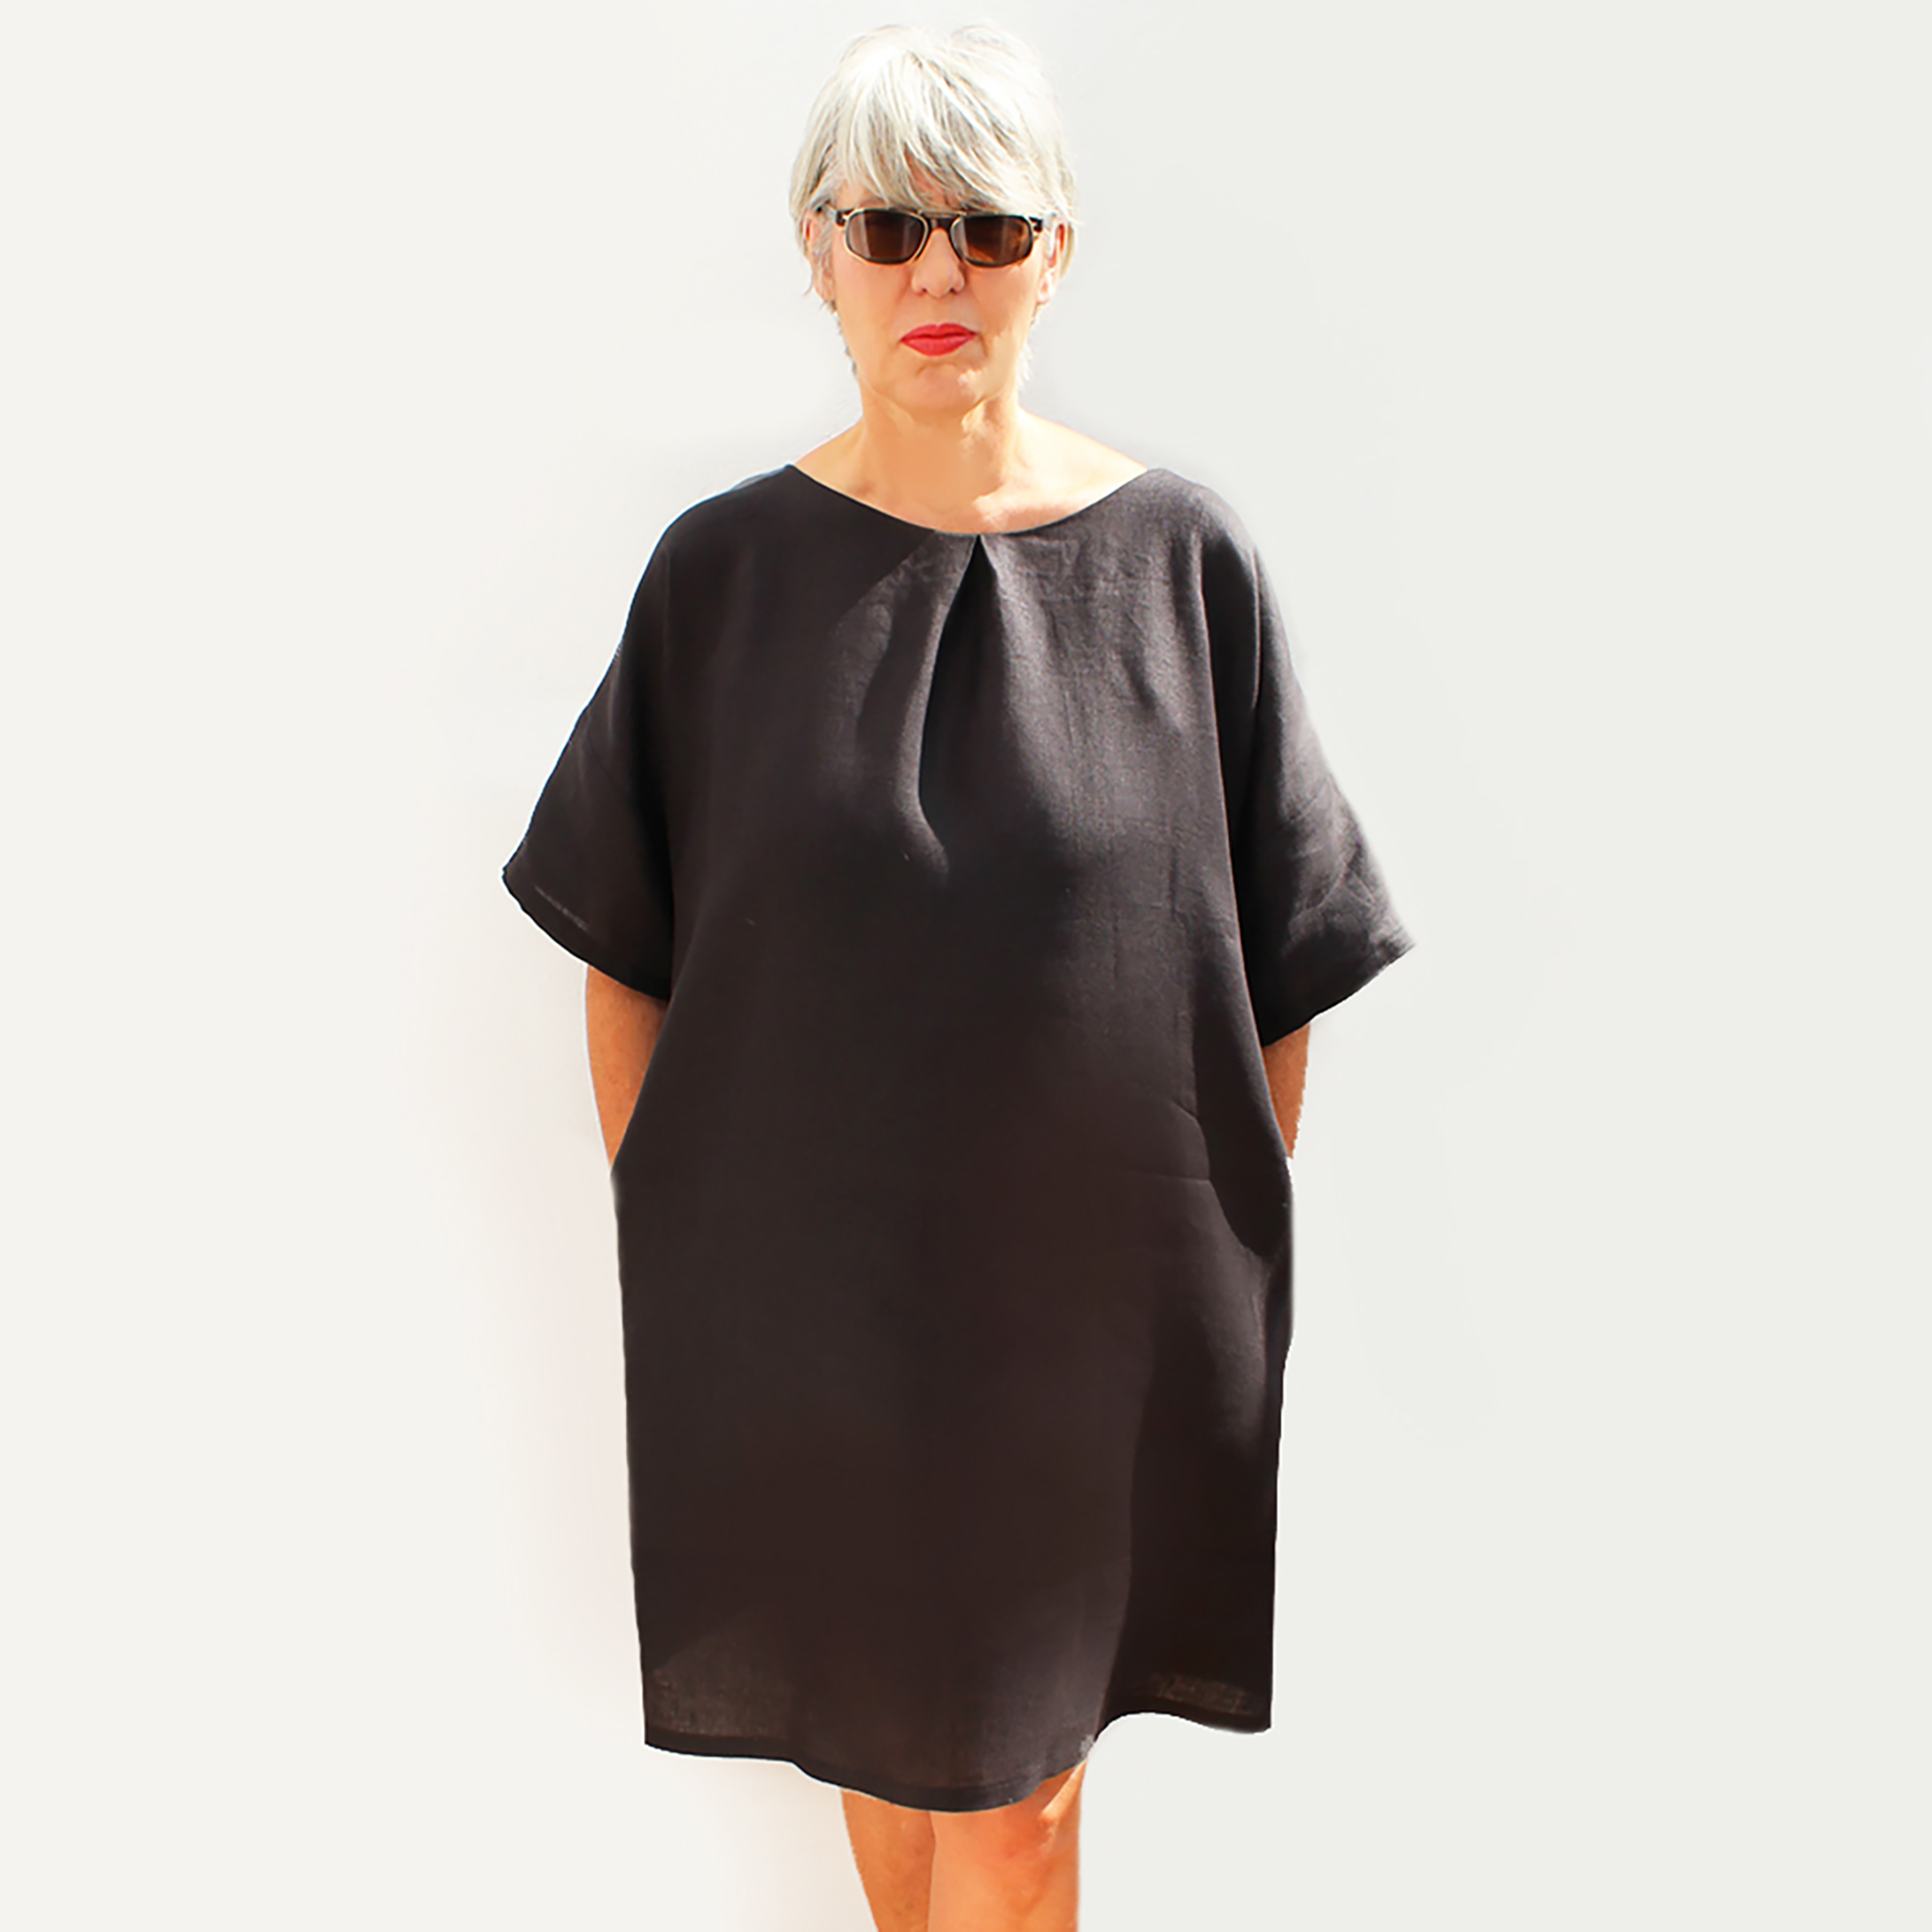
Hilda suits fabrics such as linen, viscose challis, lightweight cotton or any medium to lightweight fabric that drapes nicely.
Tunic is in two size ranges: 8-18 and 20-28. Prior to making, please check the size guide and finished garment measurements below to see which size suits you. This garment falls above the knee on me and Im 5 ft 7ins. Altering the length is a simple task and with an extra 10-15cm added on can transform it into more of a dress than a tunic.
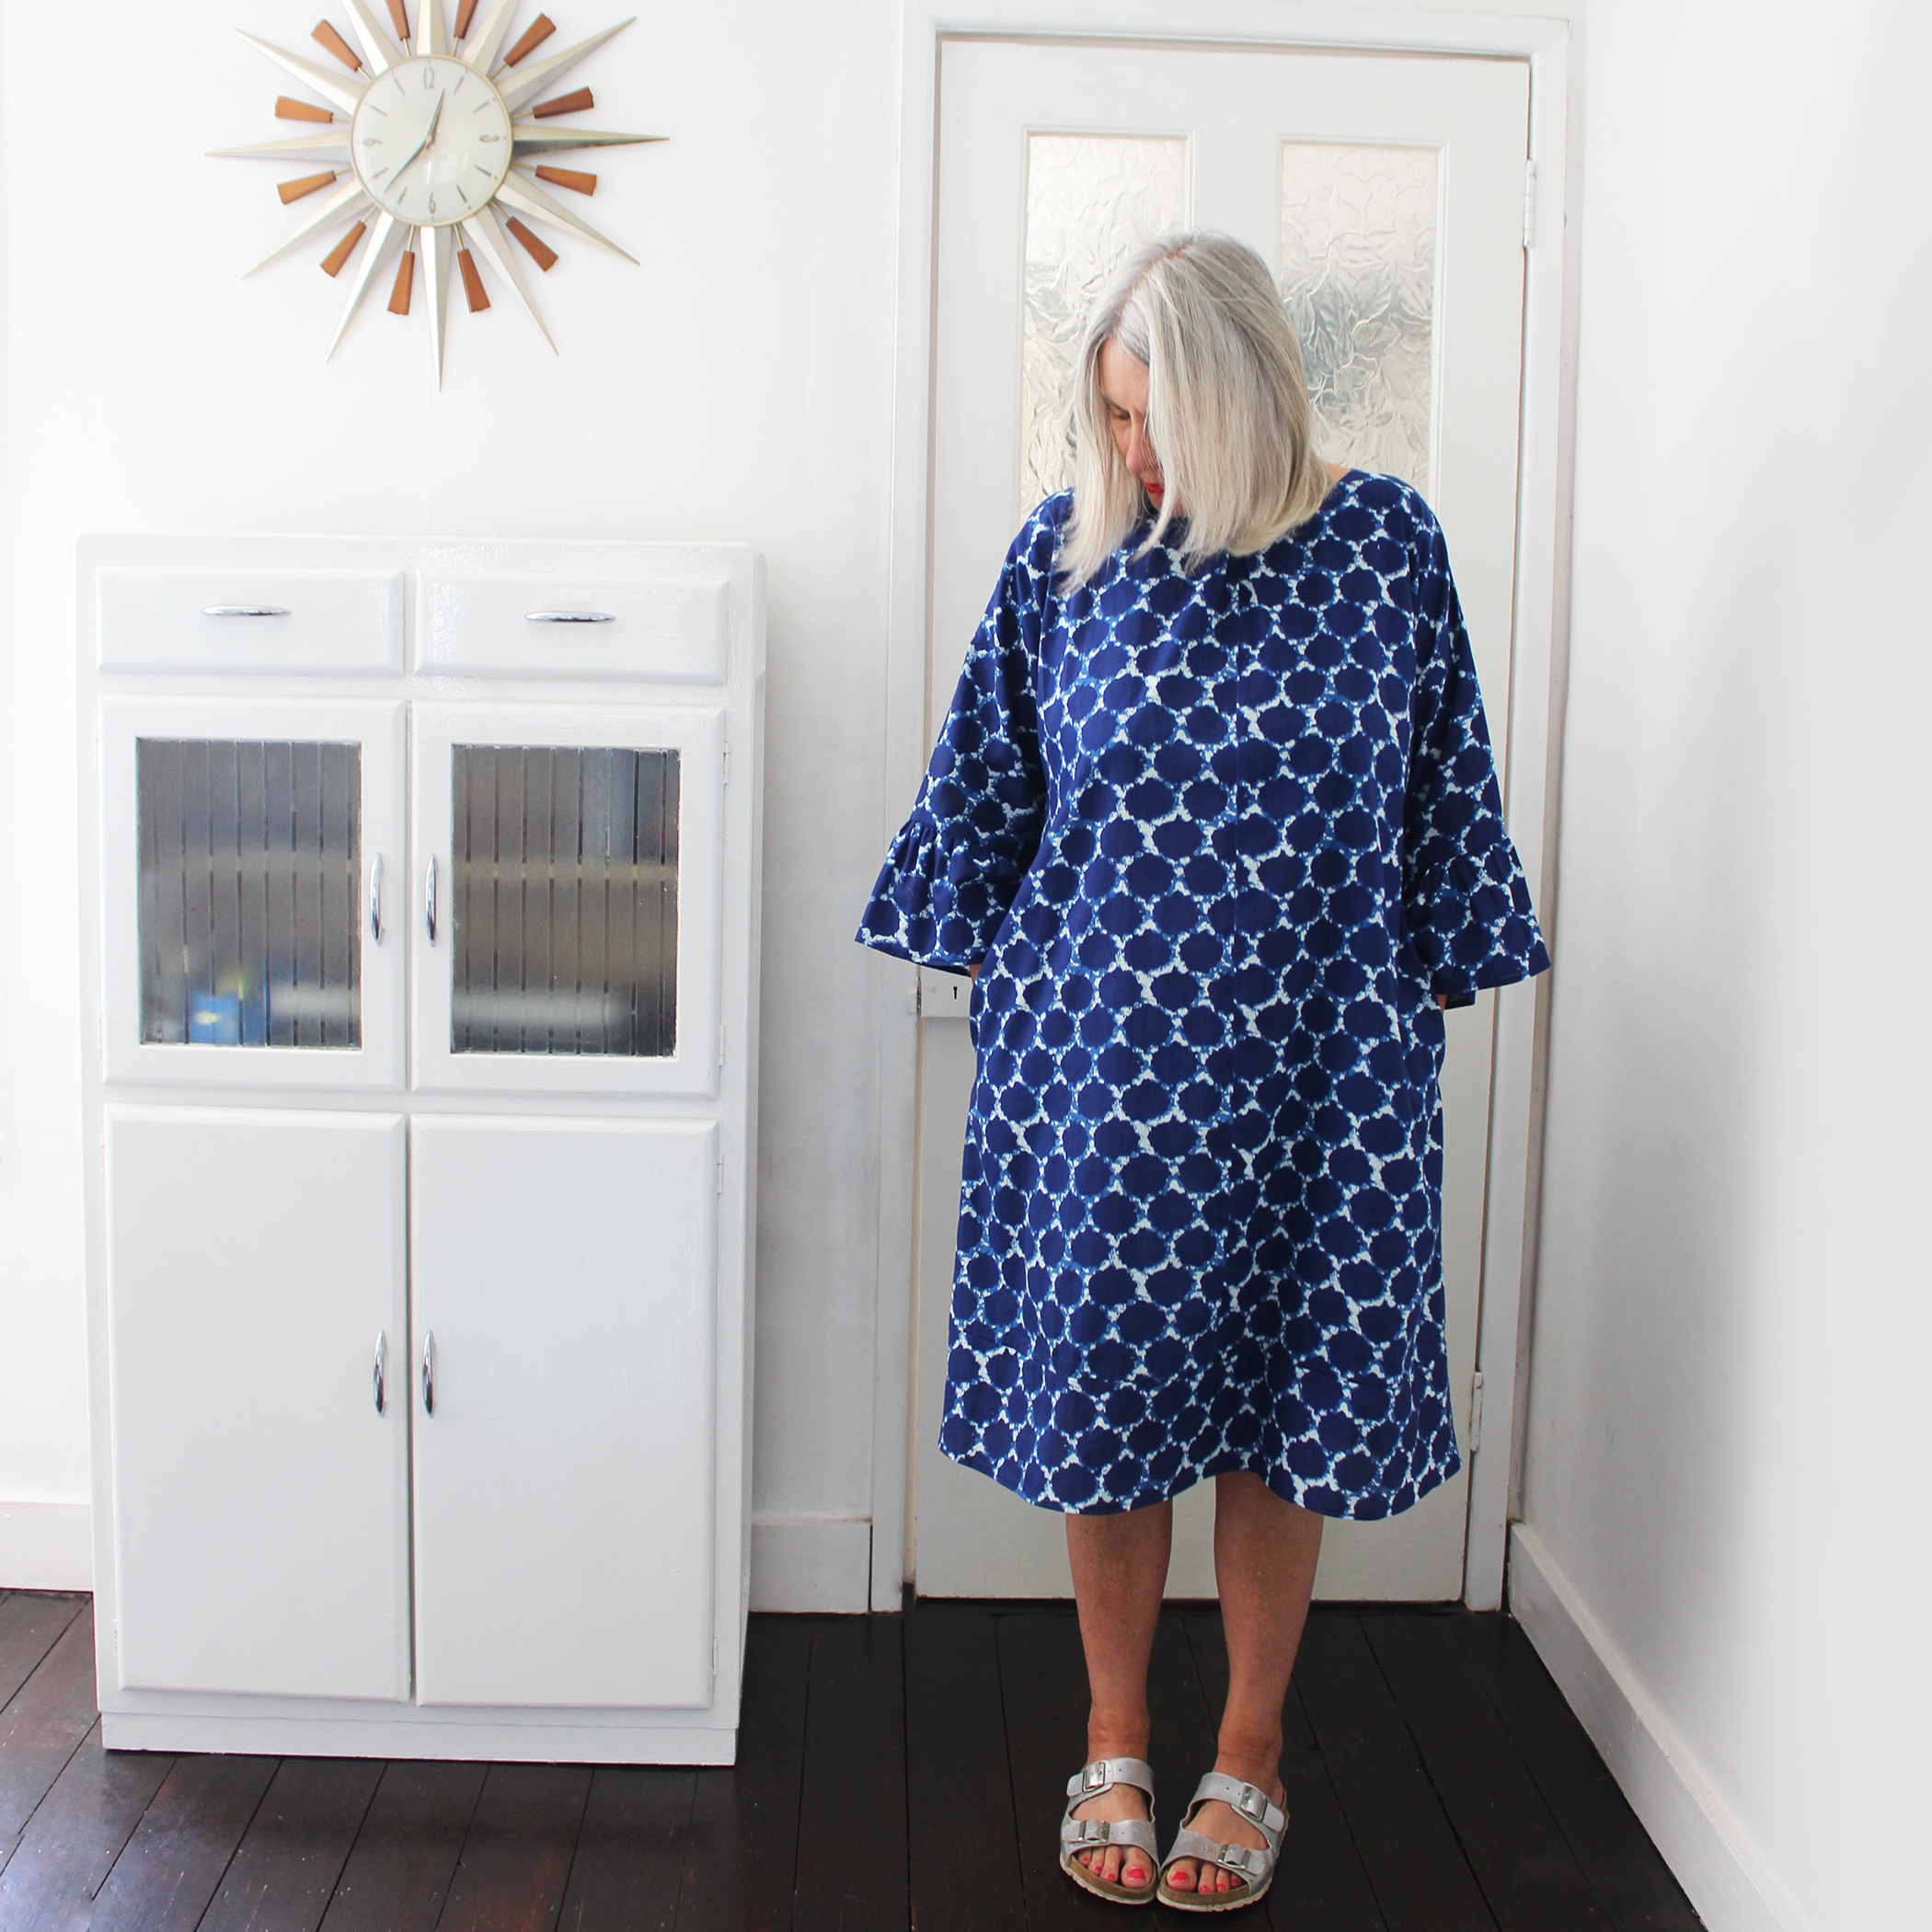
I made a longer length Hilda (+15cm) and added a sleeve frill add on, like this one shown below. The add on instructions are included in the pattern. I’ve also made a Hilda without the sleeves so if you would like to know how to do these simple alterations, see the ‘Hilda Hack’ at the end of this post page.
Linen
You will also require 20cm of light/med weight fusible interfacing
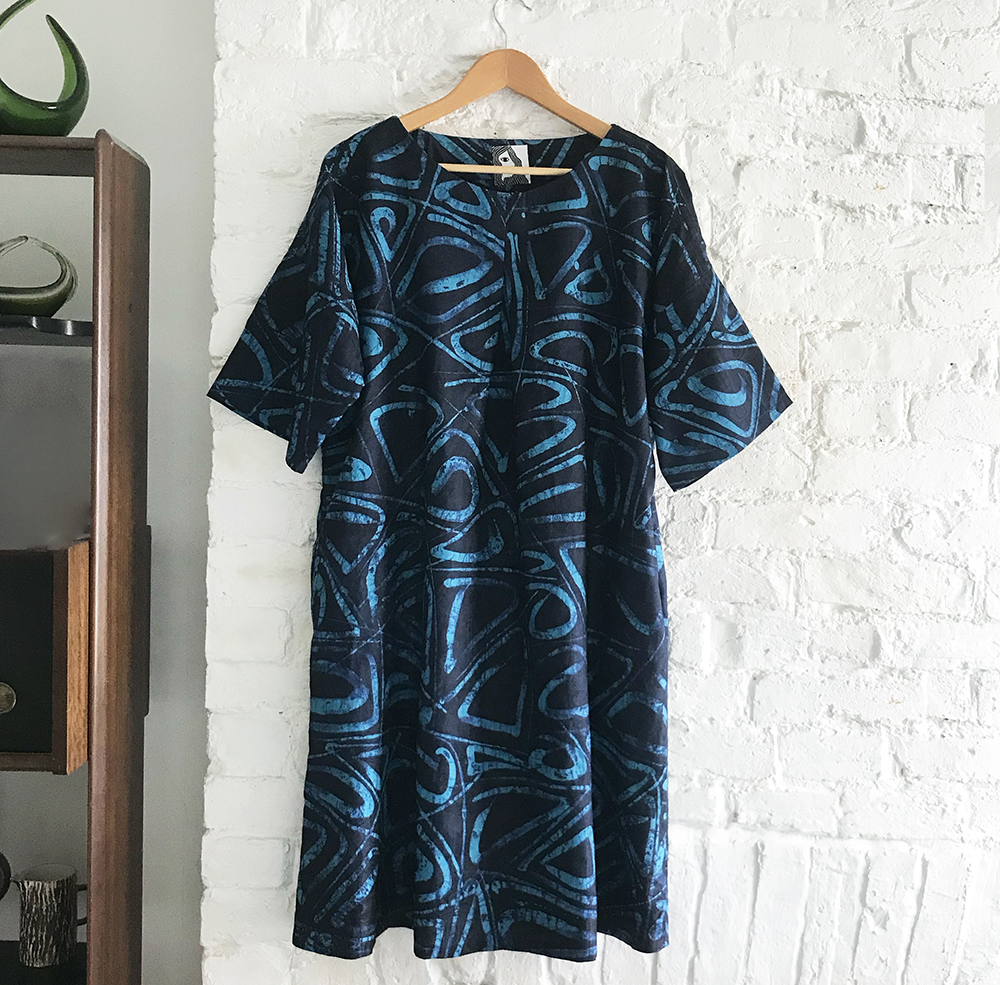
LETS TALK ABOUT FABRIC….By the way, I do have some fabrics on my shop suitable for Hilda, such as this 4oz denim in med and dark colours (as shown in the very top picture). I think it looks great in ethnic batiks and African fabrics alike.
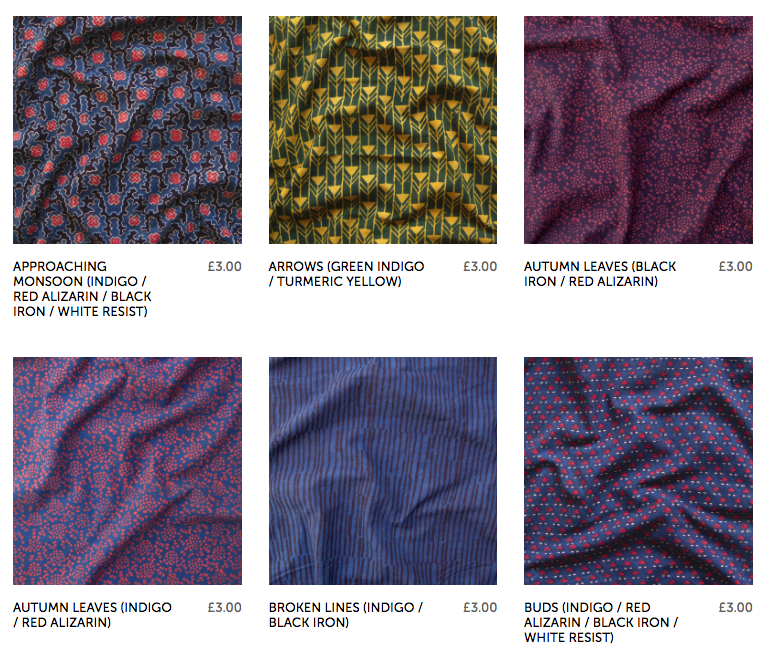
Alternatively you might like to use one of these fabulous indian block printed cotton fabrics from slubbedprints.co.uk.
There are many to choose from and I think they are just fabulous!![]()
HOW TO MAKE HILDA ……….
Firstly iron all your fabric pieces.
Tip: It’s a good idea to trace off the pattern pieces on to dressmaking pattern paper, newsprint or wide baking paper, keeping it intact. The pattern templates are printed on sturdy paper, so I would advise ironing the pattern pieces after cutting them out with a cool iron (no steam!).
Cut out the following pieces using the above Layplans above as a guide:
FRONT (1): Cut one piece with pattern lined up to the fold of the fabric.
BACK (2): Cut two (align pattern to the vertical grain of the fabric)
FRONT FACING (3) & BACK FACING (4): Cut one piece with pattern lined up to the fold of the fabric. Interface both pieces with fusible interfacing to the reverse side.
SLEEVE (5): Cut two on fold of fabric.
POCKET (6): Cut four (two pairs)
SEWING GUIDE:
Seam allowance is 1cm which is included on the pattern.
Finish all raw edges with an overlocker or zig zag stitch.
Press in between stages of sewing to obtain a better finish.
RST= Right sides together. WST= Wrong sides together.
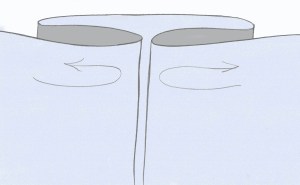
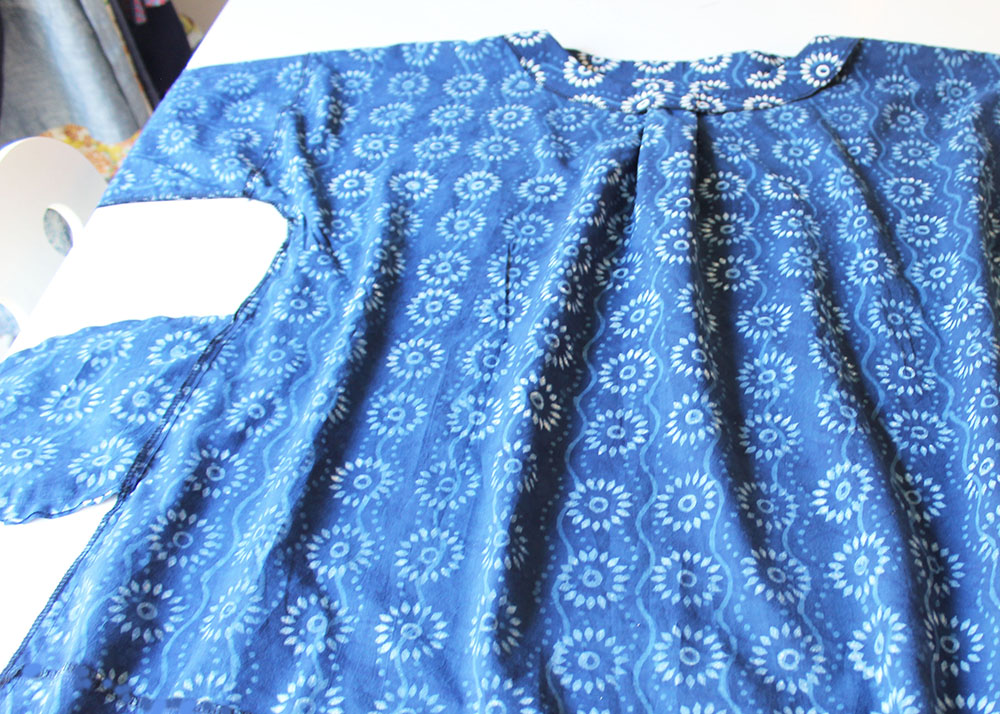
- MAKING THE FRONT PLEAT
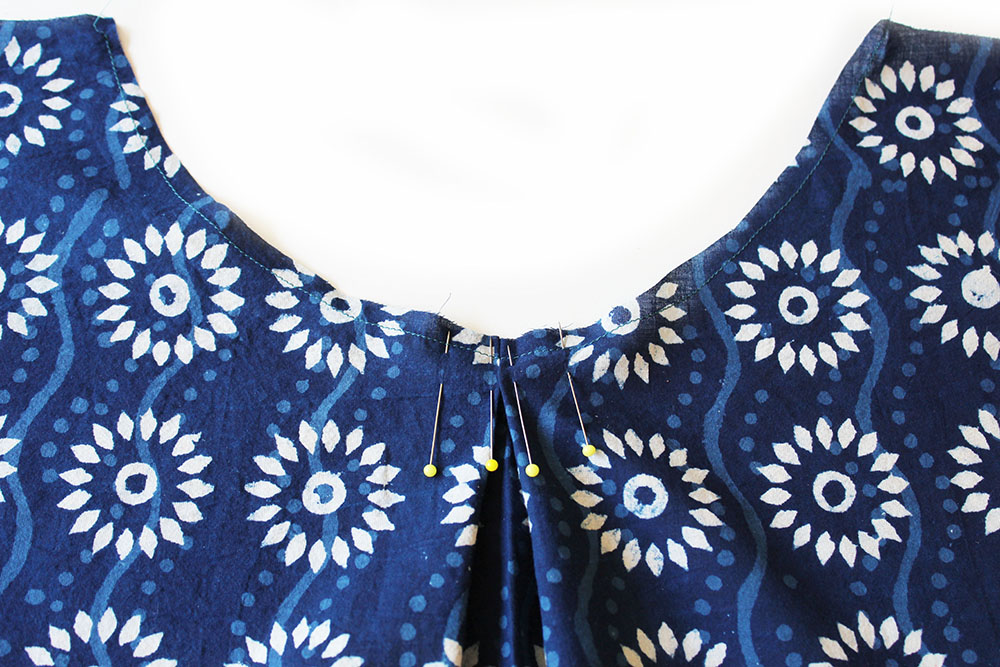 Make an inverted box pleat at the centre front neckline as shown on the template. Stay stitch all around 5mm from the raw edge to secure the pleats. Here is a diagram to help you….
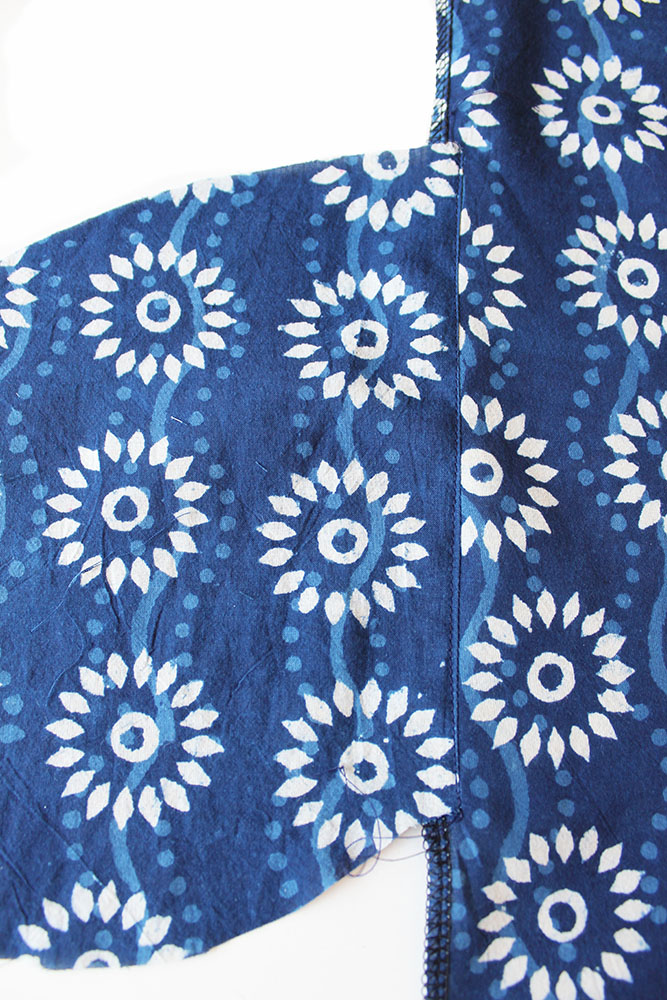
2. POCKETS Next pin your pockets at each side of front and back with the RST in position as shown on the template.
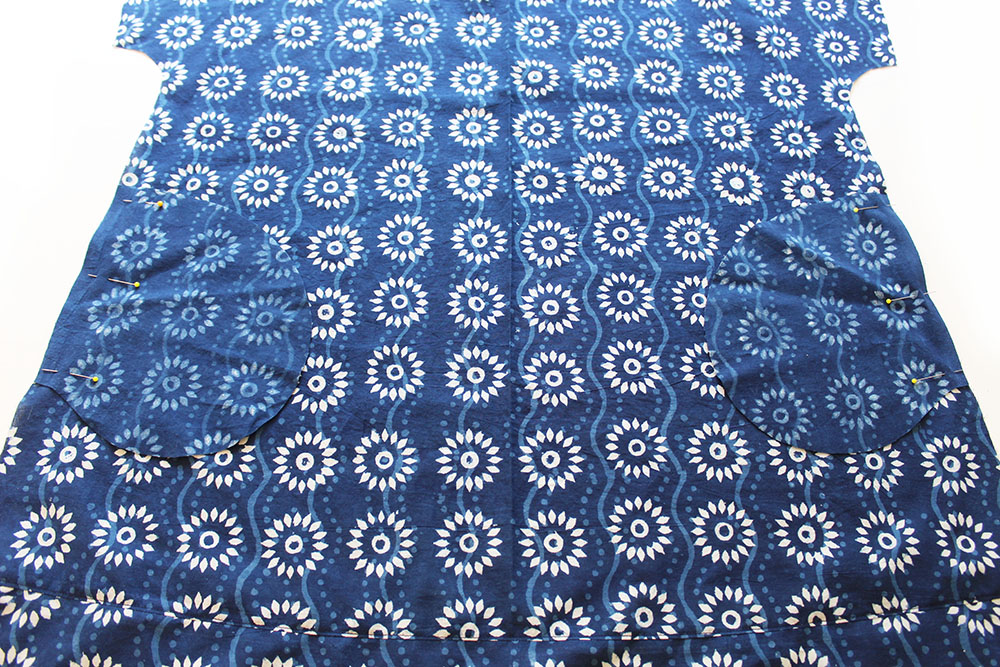 Sew down each straight side of the pockets (NB seam allowance is 1cm).
I like to finish the raw side edges at this point, but you could do this after the side seams are sewn together if you prefer.
Press the pocket away from the tunic. Top stitch the seam line 3mm approx on the pocket side.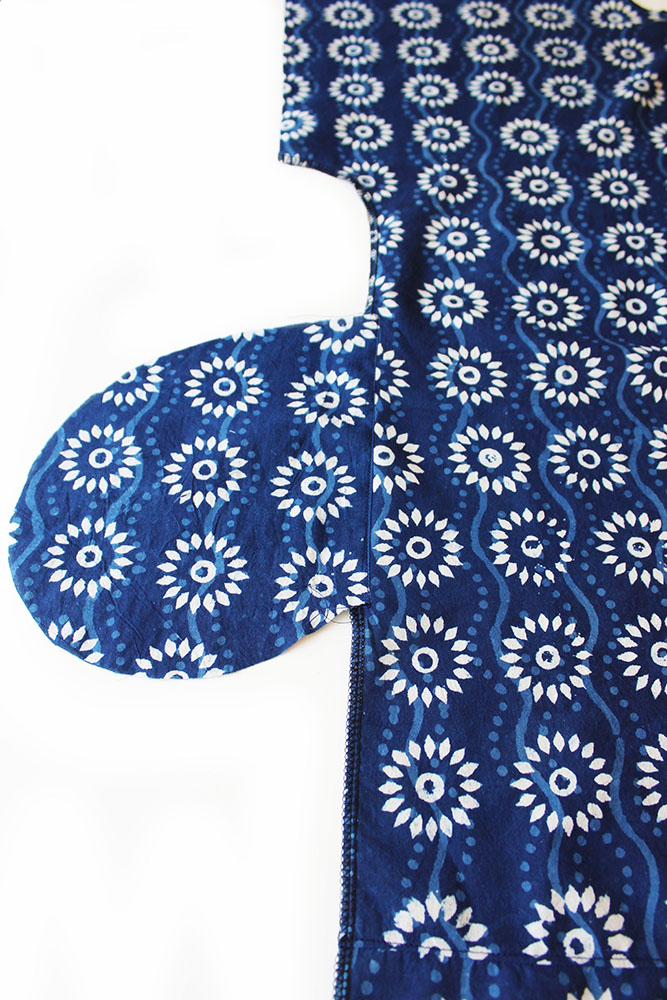
3. SEWING THE FRONT AND BACK TOGETHER
Now, pin, then sew, the front to the back at the shoulder edges with the RST. Finish the raw edges and press them towards the back.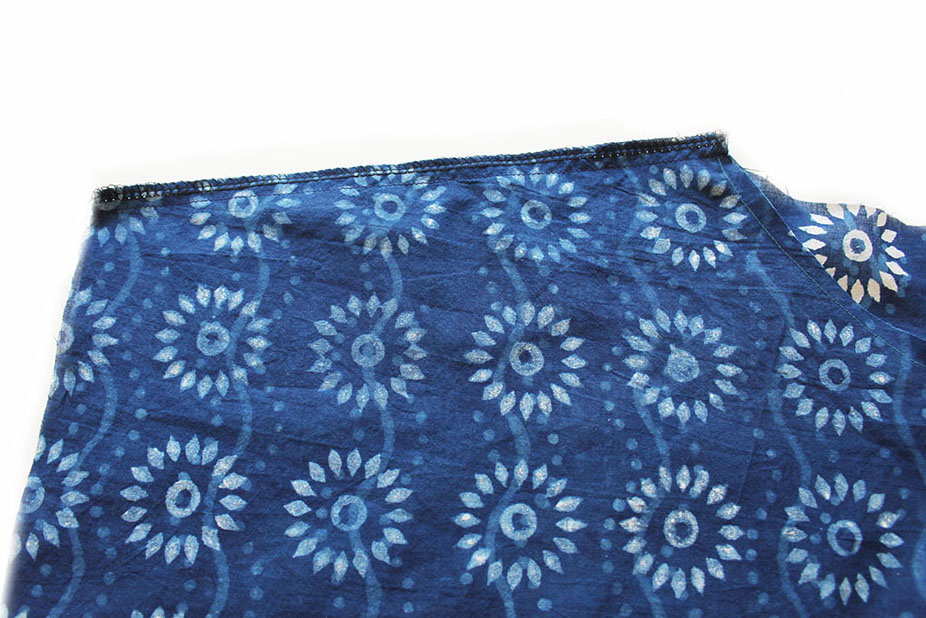
 below shows the reverse side view …
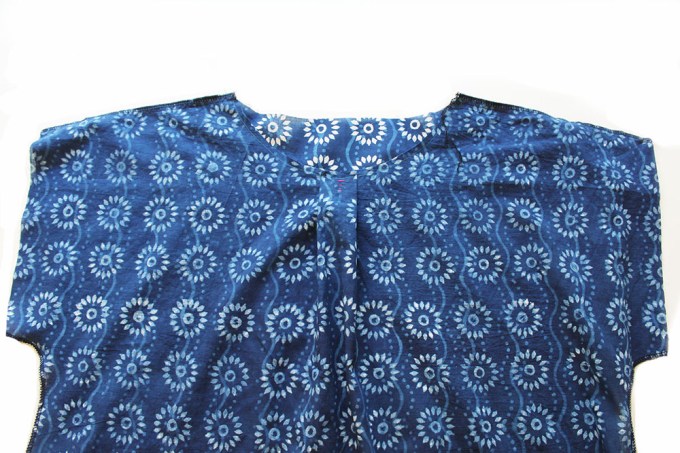
4. MAKING THE NECK FACING With both facing pieces interfaced on the reverse side, pin then sew them together at the short sides with the RST. Press the seam allowances open.
 Finish the raw outer edge only all around. If you don’t have an overlocker you could fold under and press the outer edge 5mm approx and sew all around, it makes it look much neater. Or for a quicker job just overlock it.
Here is a picture of a neck facing in another colour with an edge turned under 5mm approx. to show you what it should look like.
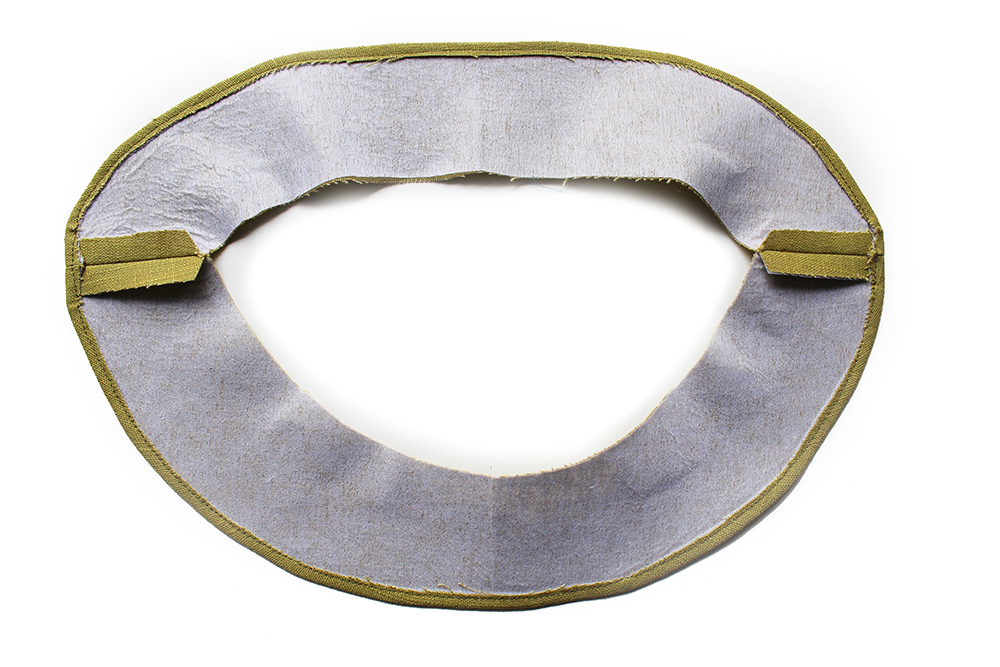
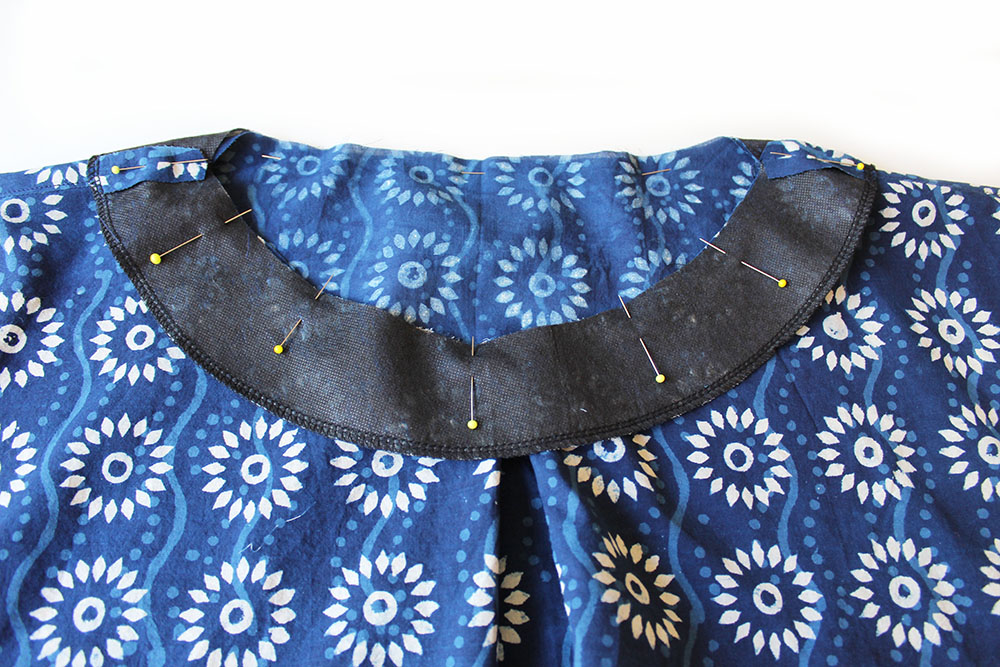 Pin the neck facing to the neck raw edge with the RST, aligning the cross seams at each shoulder. Sew all around.
  Nick the seam allowance at the curved edges with small V’s and reduce the bulky side seam allowances to 5mm. I also trim the cross seam allowances at the side seams to 5mm to make it less lumpy.
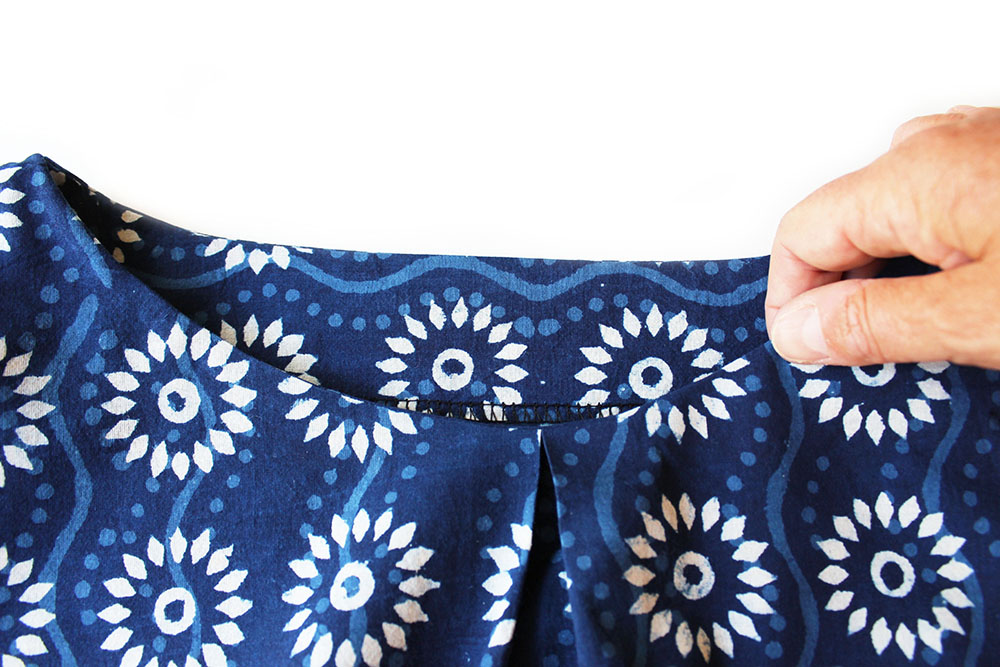
Turn the neck facing to the reverse side and press so that the fold is aligned with the seam line all around.
Now, its not written on the pattern, but sometimes I like to Understitch the neck facing. So, you sew a line of stitching all around the neck facing, a few millimetres from the seam on the facing side, this helps to hold the facing in place, its not essential, I have left this out on many occasion, but with some fabrics it helps to keep the facing in place.
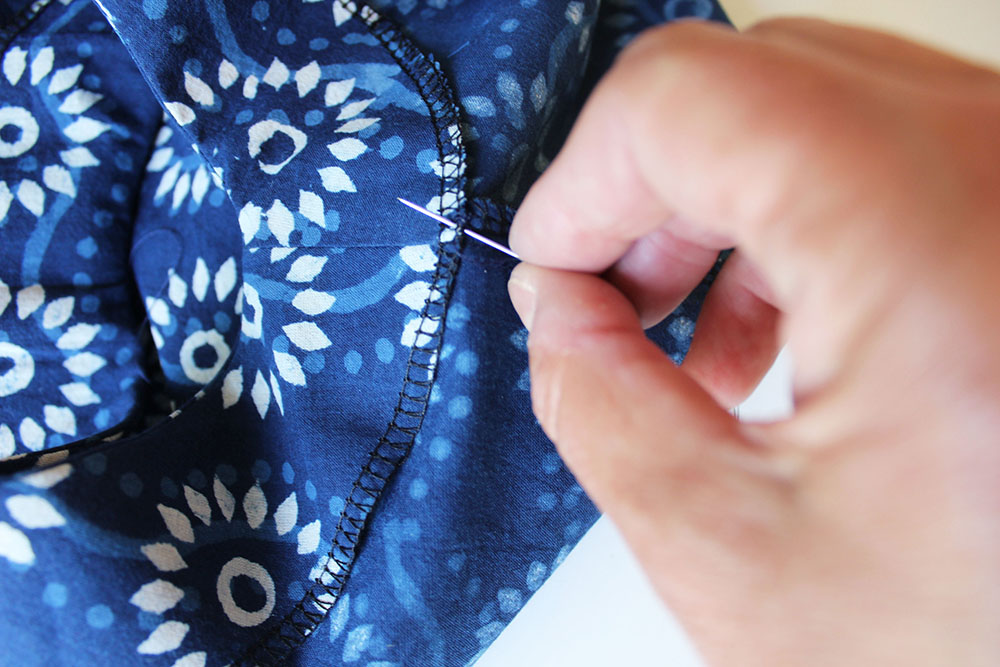 Secure each side of the neck facing at the shoulder seam allowance with a few hand stitches to secure in position. Now heres a tip: if you have some wondaweb why not sandwich a few pieces here and there underneath all around and press to secure the facing a little more in position, especially at the centre front and back.
5. SEWING THE SLEEVES Pin the sleeve curved edge to the body at sleeve edge with the RST aligning the centre point to the shoulder seam. Sew. Finish the raw edge. Repeat for the other sleeve.
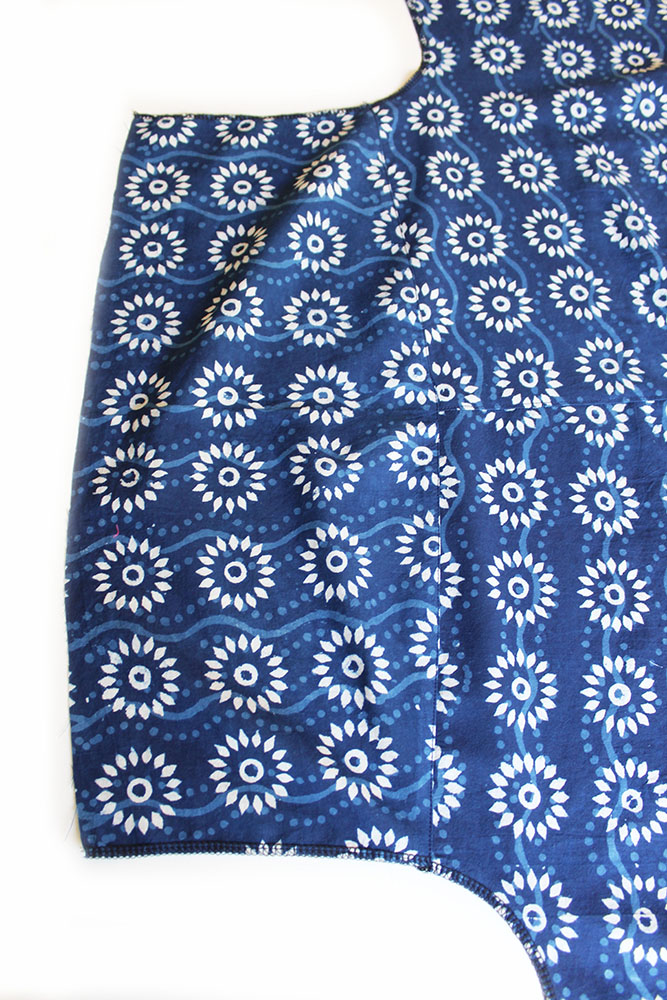
Press the seam allowance towards the sleeve.
Top stitch on the right side, 3mm from the seam line on the sleeve side.
6. SEWING UP THE TUNIC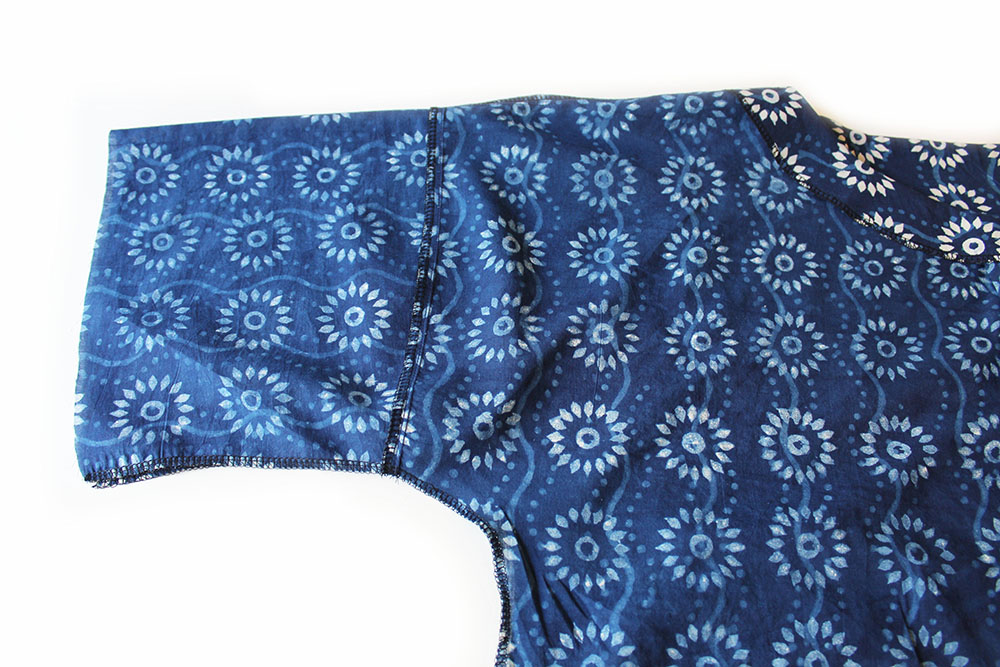
 With RST, pin the front to back at the sides, under arms and all around pockets. Sew. Finish the raw edges. Press.
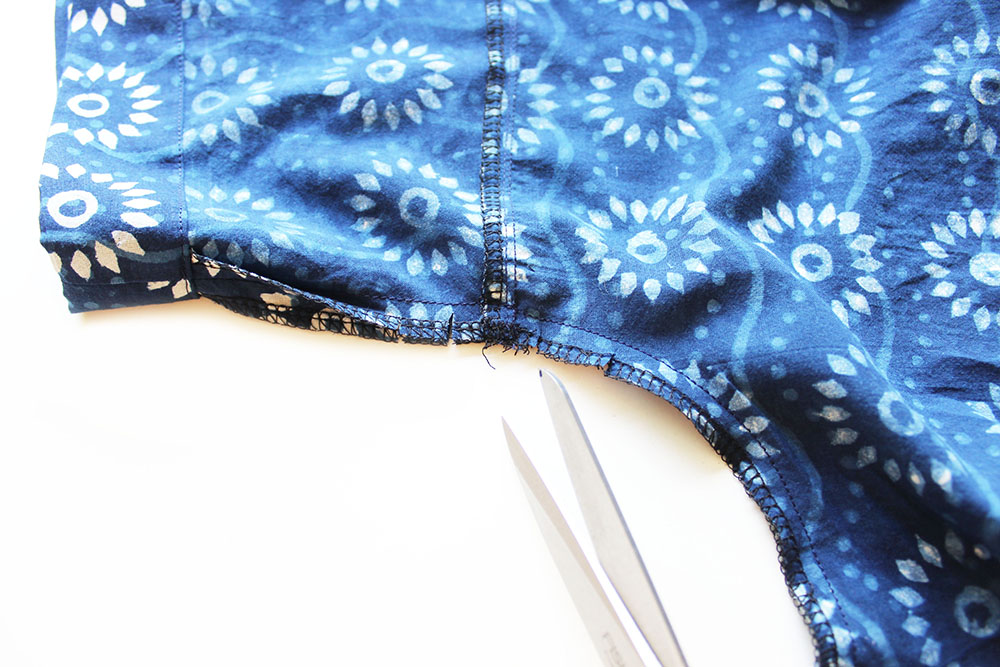 Just a couple of snips under the arm at the seam allowance will prevent it bunching up.
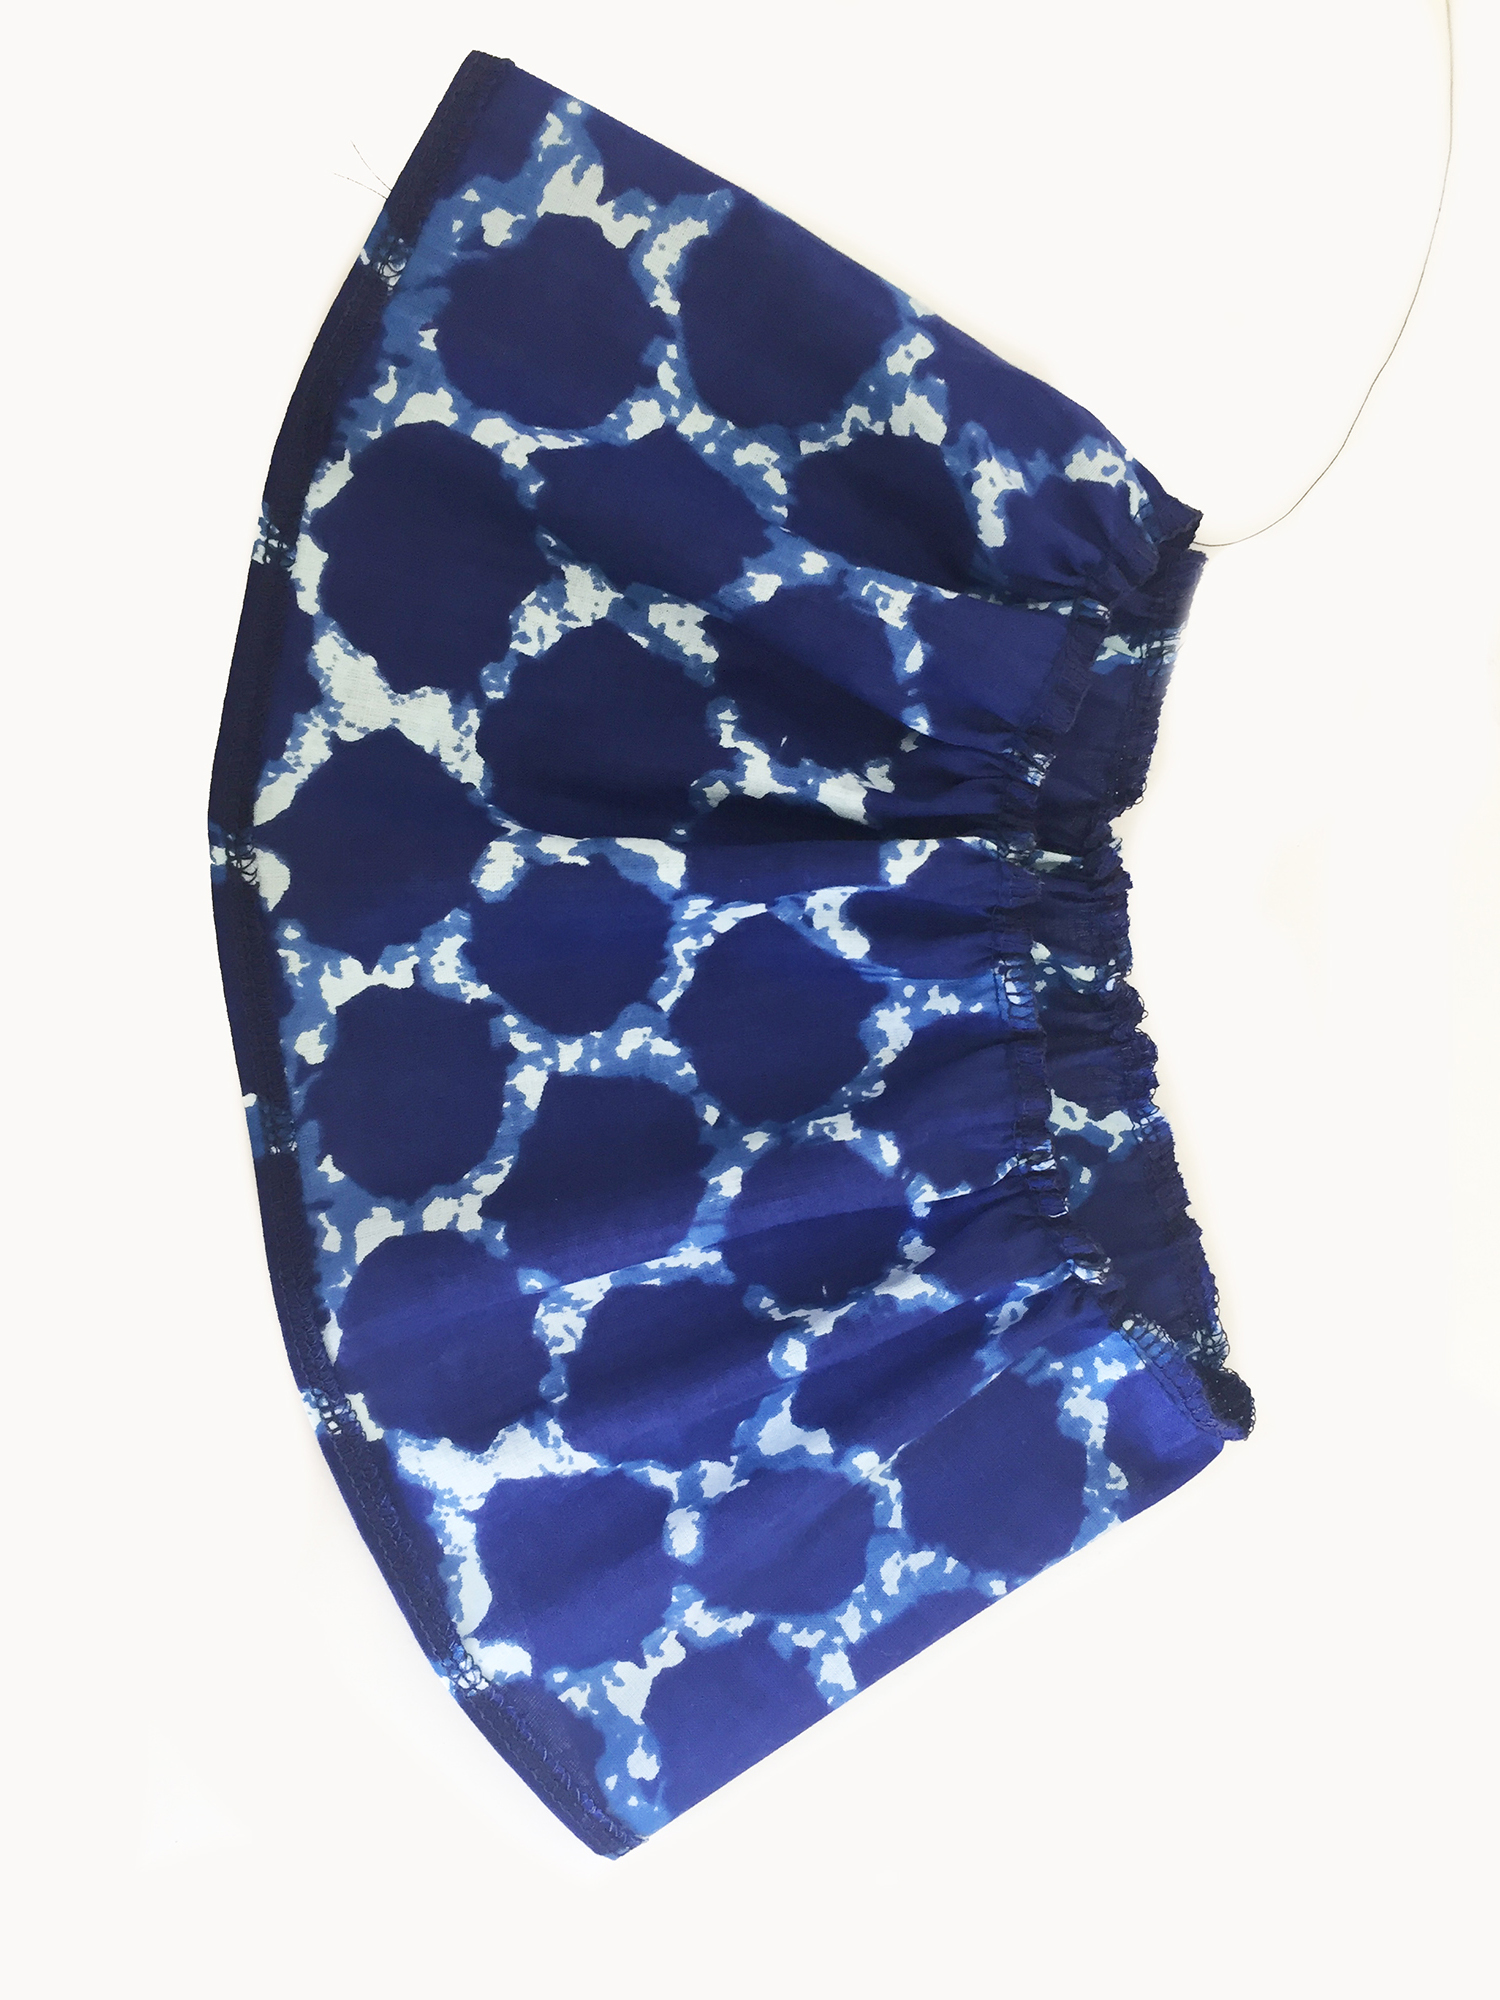
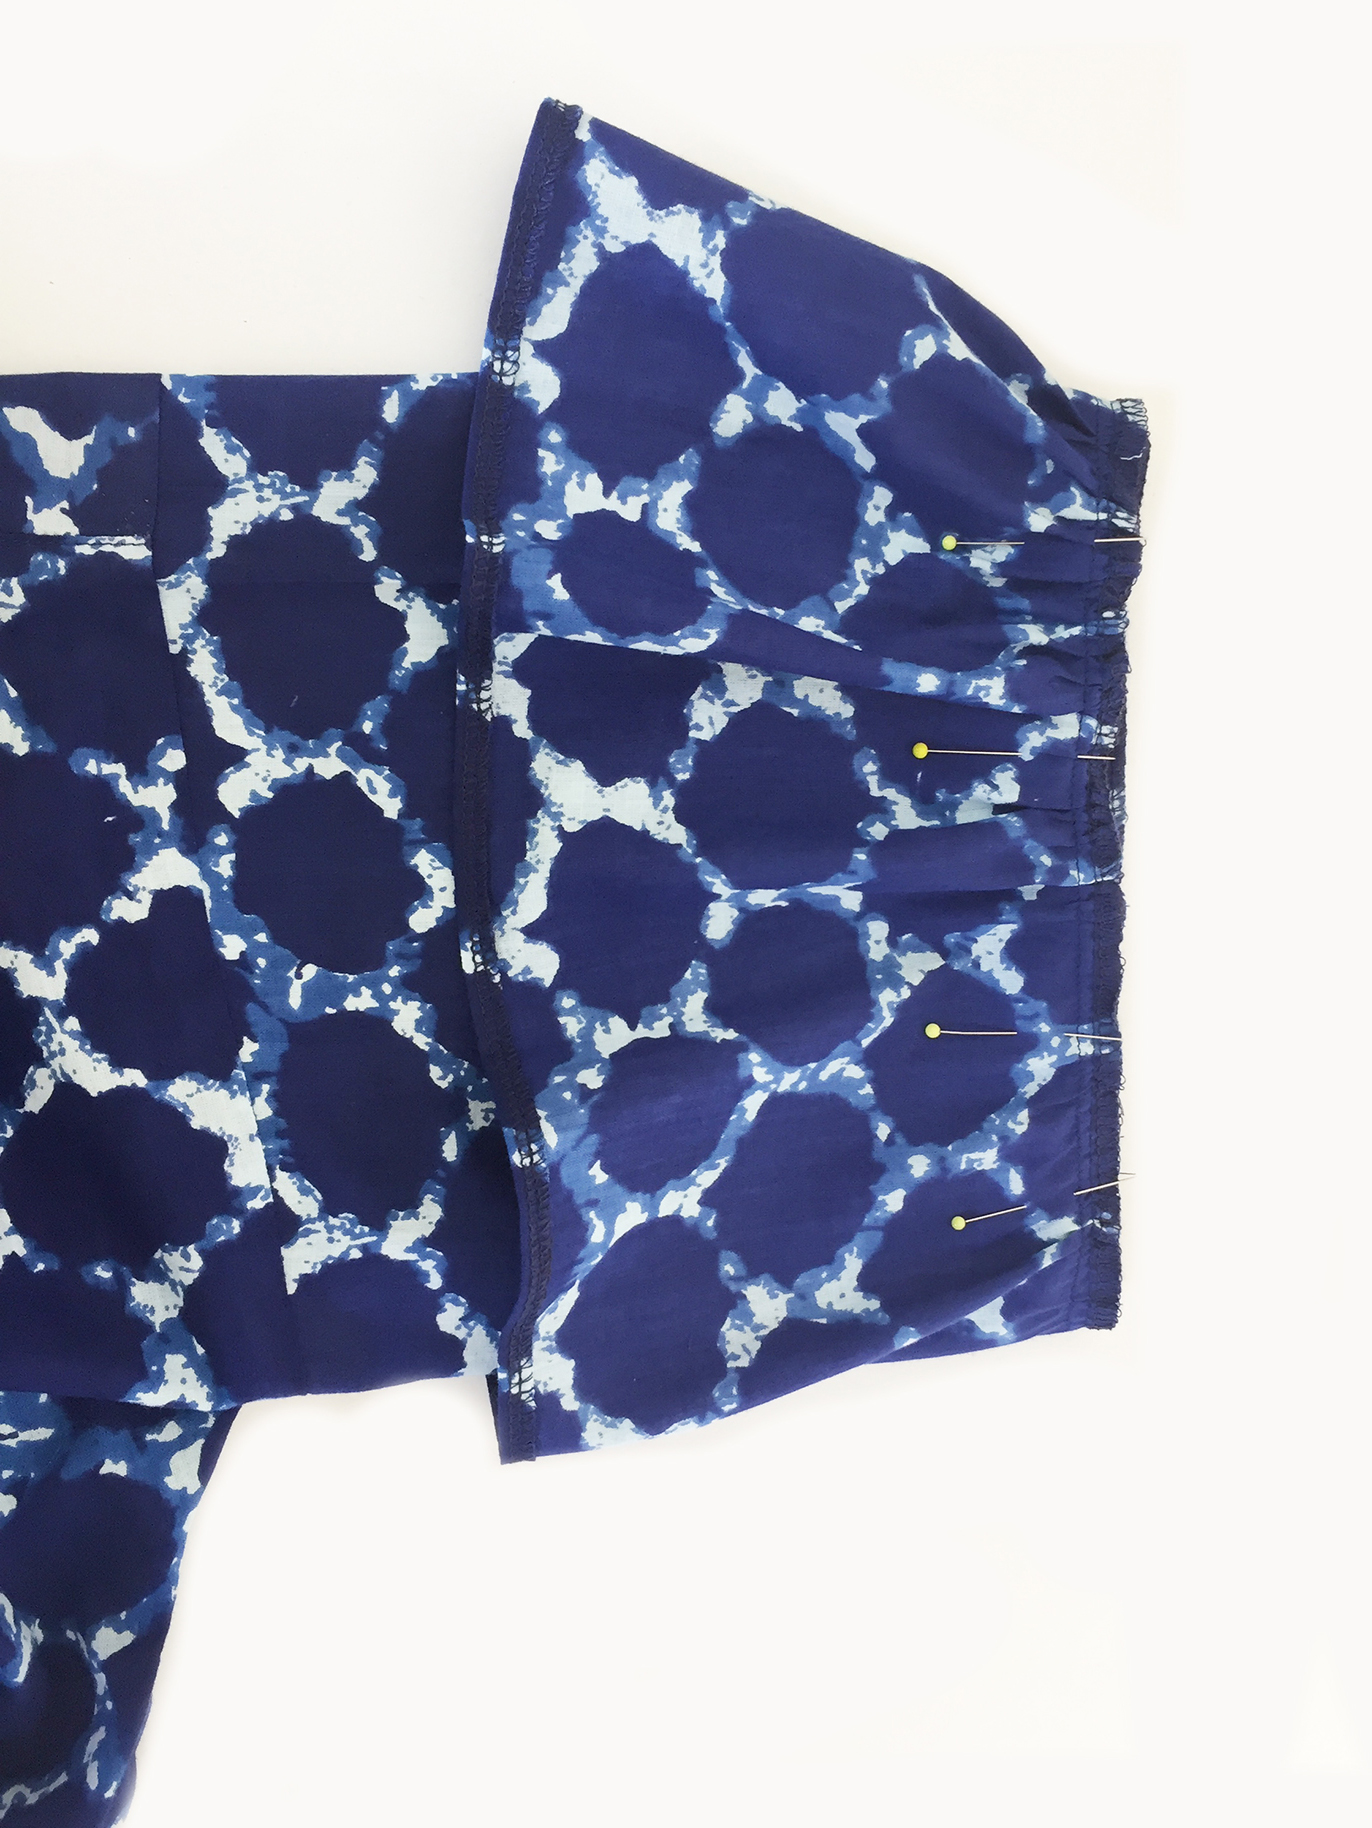
Fold over 1cm then make a nice big 3 or 4cm hem at the sleeve edge, alternatively if you would like the addition of a frill, follow the instructions shown below and omit the sleeve hem.
Sew approx. 3mm in from the inner fold.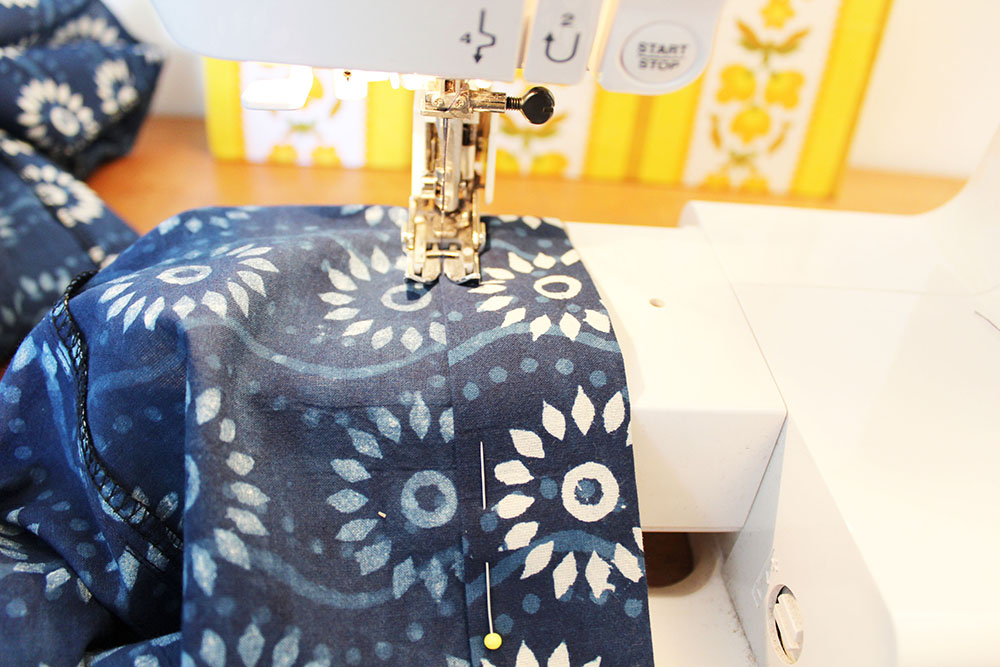
Fold over 1cm then make a 2cm hem at the lower edge and stitch as before or hem to the desired length. If you would like to keep the tunic as long as possible you could hem it using bias seam binding or make just a small 1cm hem.
HILDA HACKS
HILDA WITH SLEEVE FRILLS.
Sleeve Frill measurement: cut two rectangles 15cm x the following widths for your size:
Size 8= 57.5cm, Size 10= 60cm, Size 12= 62.5cm, Size 14=65cm, Size 16= 67.5cm, Size 18=70cm, Size 20= 72.5cm, Size 22=75cm, Size 24= 77.5cm, Size 26=80cm, Size 28 =82.5cm
If you would like to extend the length, measure how much extra you require on the length, allowing approx 2cm for hemming and 1cm seam allowance. Extend the line downwards by the extra you require, following the curved line of the bottom hem. Follow the pattern as normal.
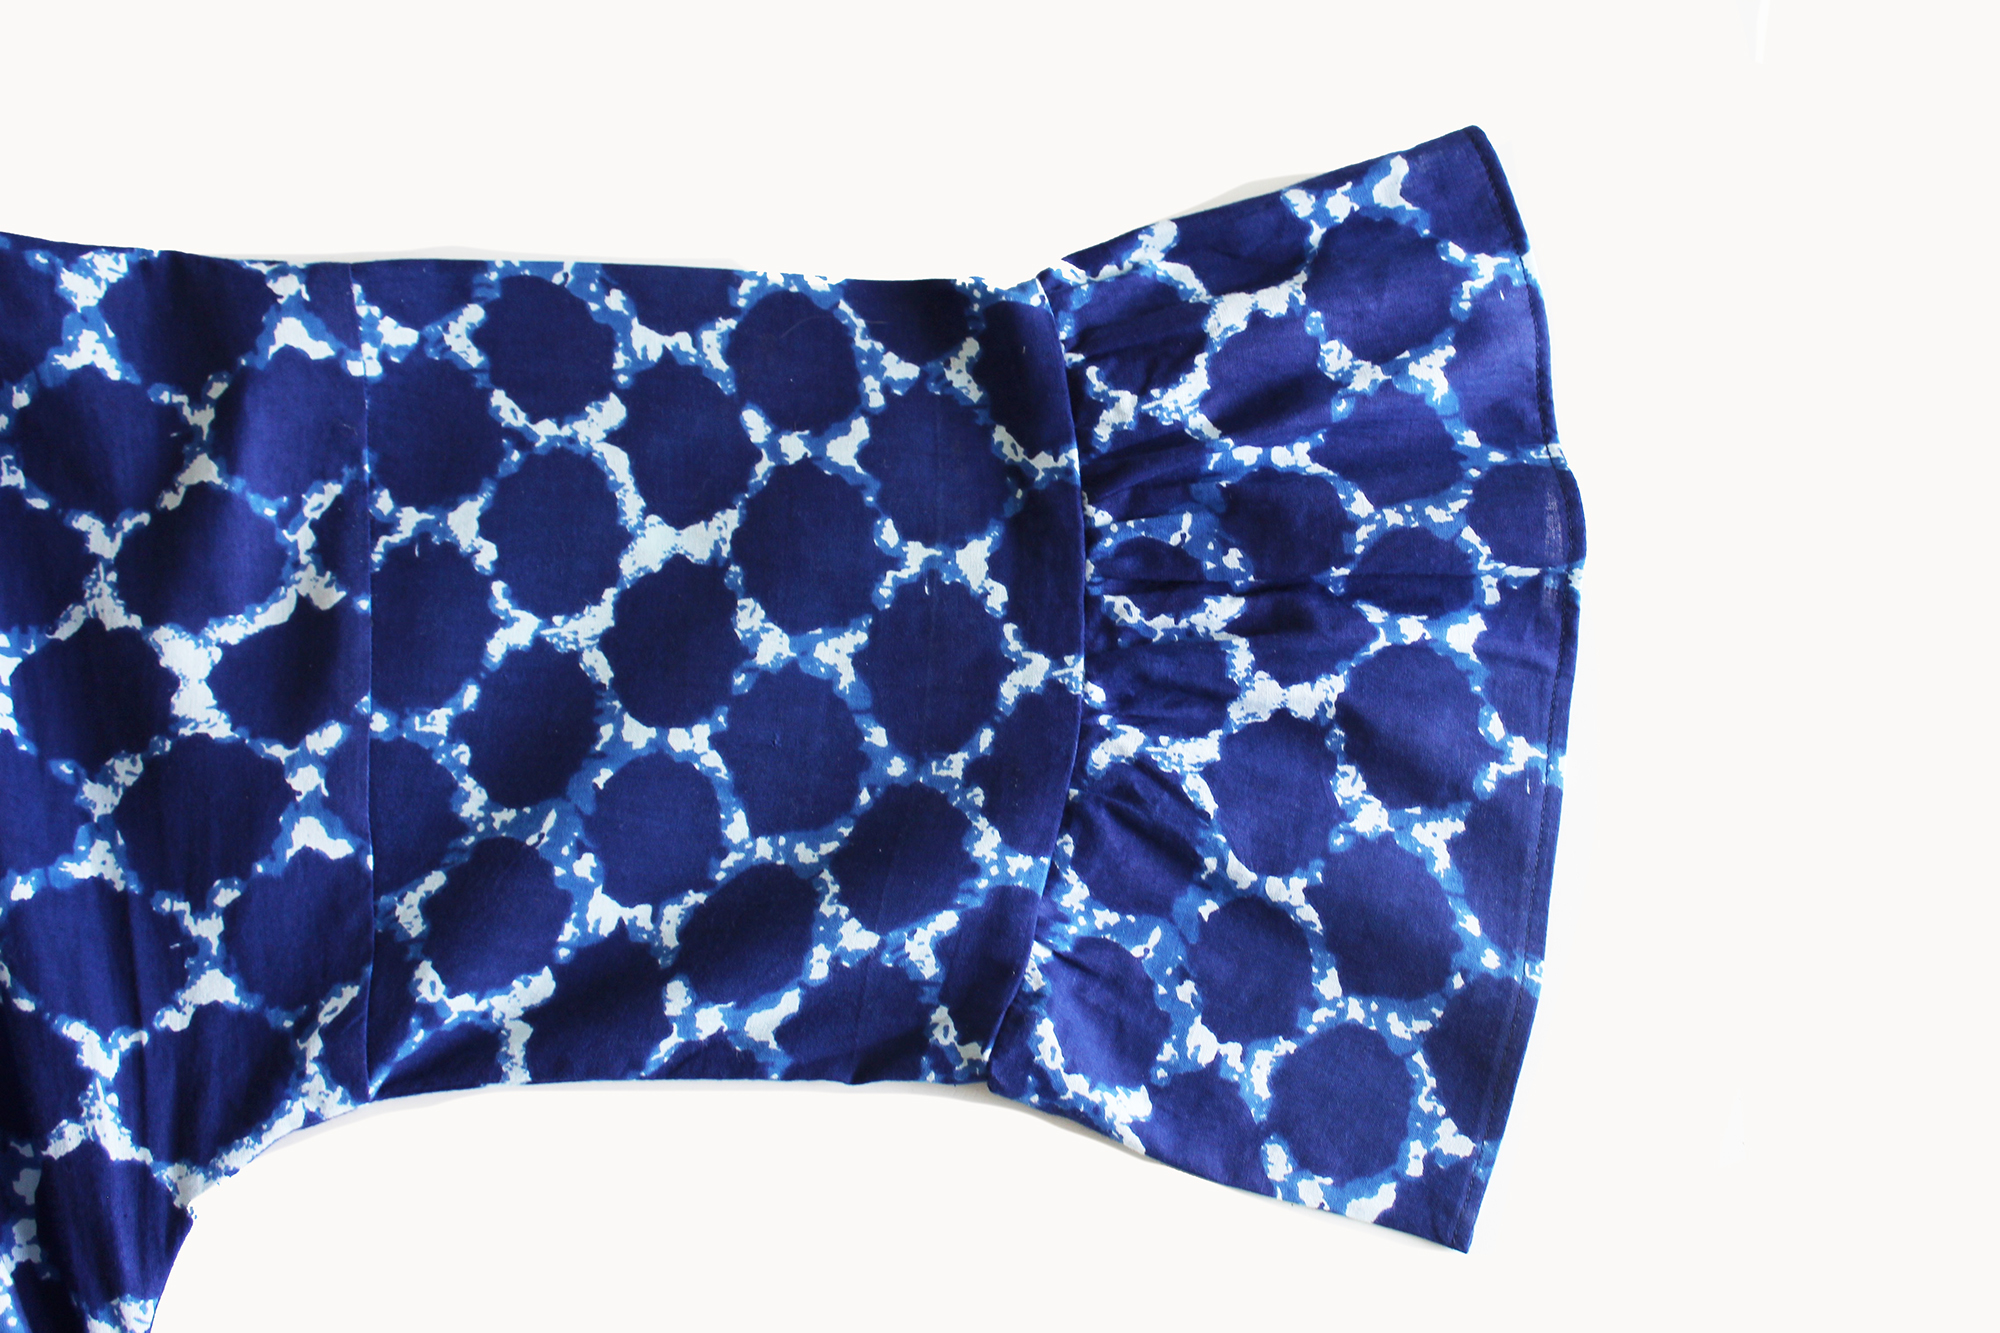
There you have a lovely floaty Hilda, with some really simple additions, makes a completely different style. Love it!
HILDA SLEEVELESS
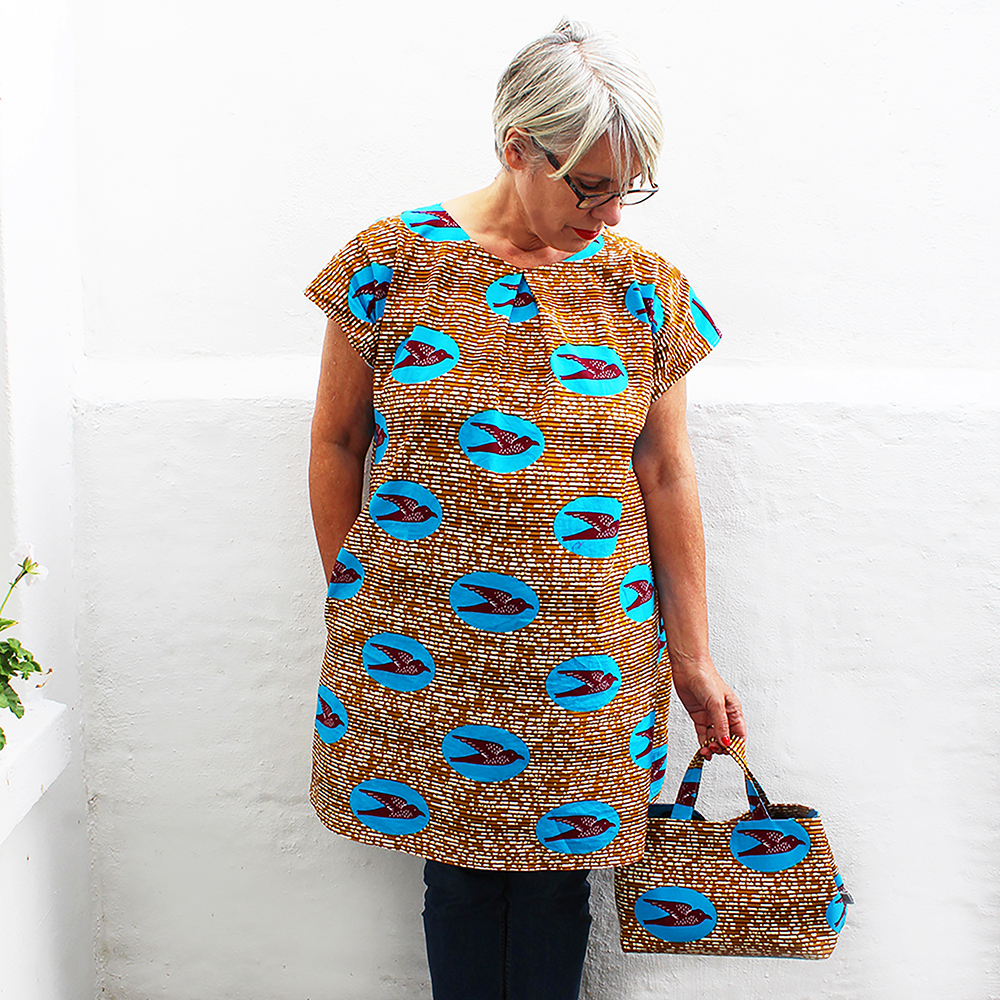
Leaving the sleeves off Hilda for a cap sleeved version, is a pretty nice idea too. Ideal for popping on under a cardigan and, as you see in the pic, I’ve made a matching mini bag too. This is made in a crisp African Dutch Wax cotton fabric which Im a big fan of!
HOW TO MAKE A SCARF OUT OF THE REMNANTS

So heres a lovely quick accessory to make out of the scraps you would probably just chuck away. Suitable for floppy viscose fabrics which make great scarves, probably not for more medium weight fabrics but hey give it a go.
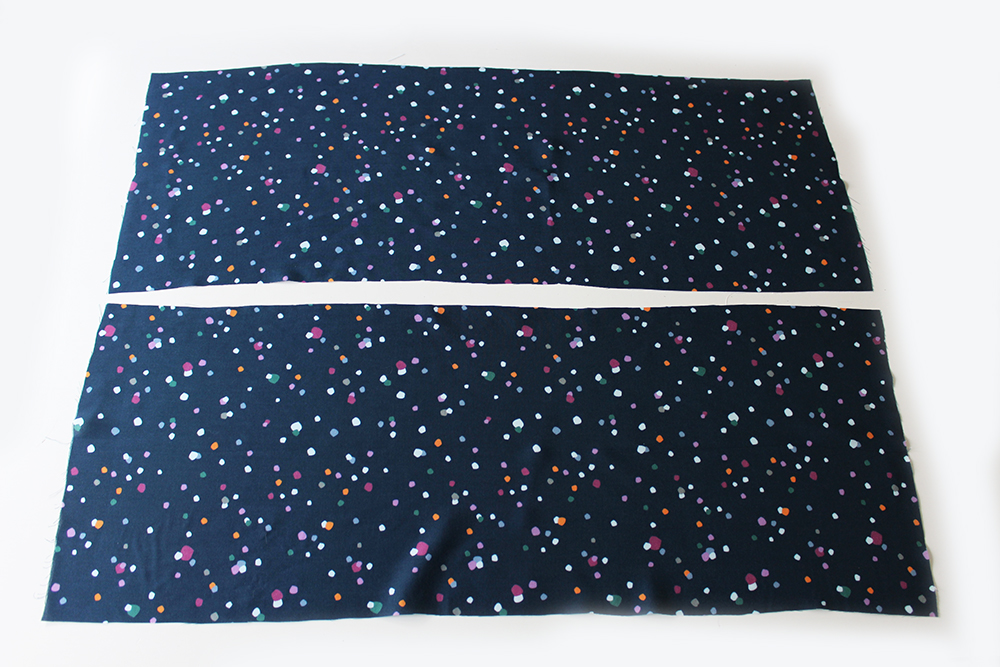
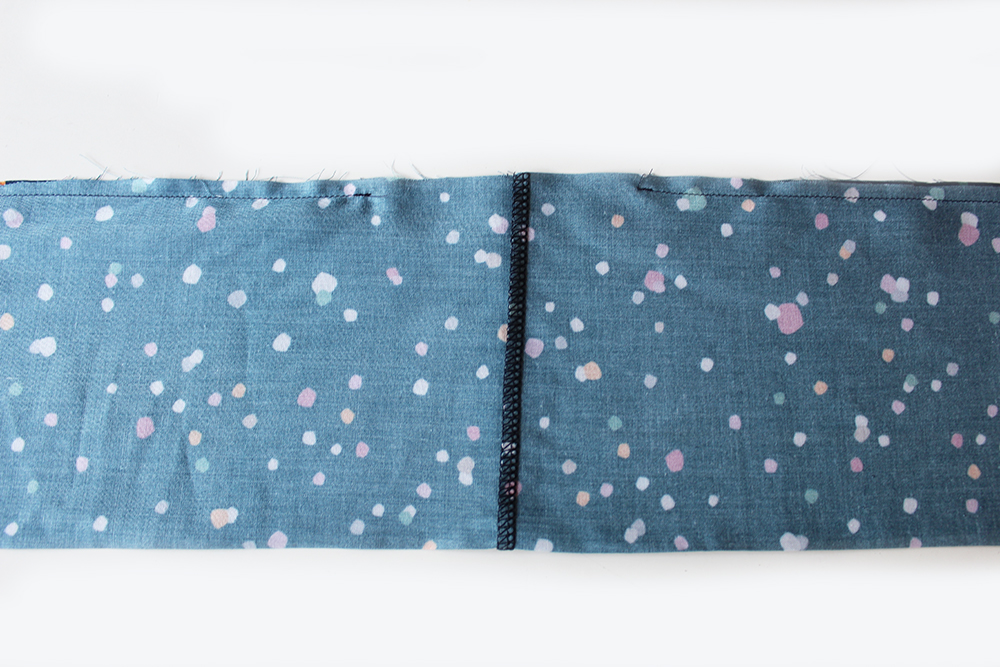
So first cut two equal strips of fabric the longest and widest length possible from whats left.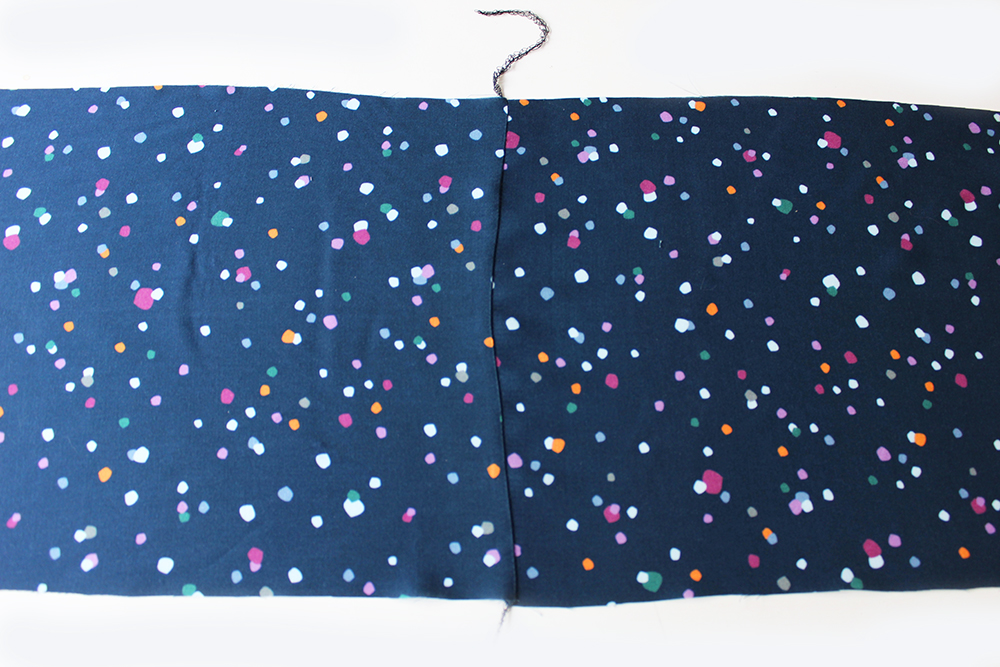
Join them together at the short sides. Press.
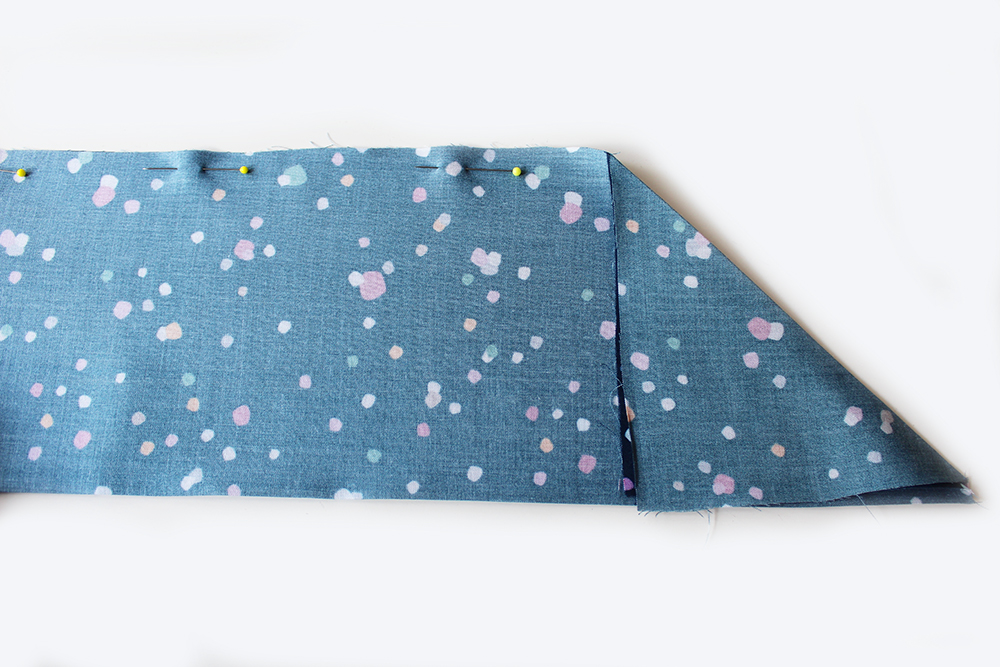
Fold in half width ways aligning long raw edges. Pin. Fold over at a right angle triangle at each far end and press.
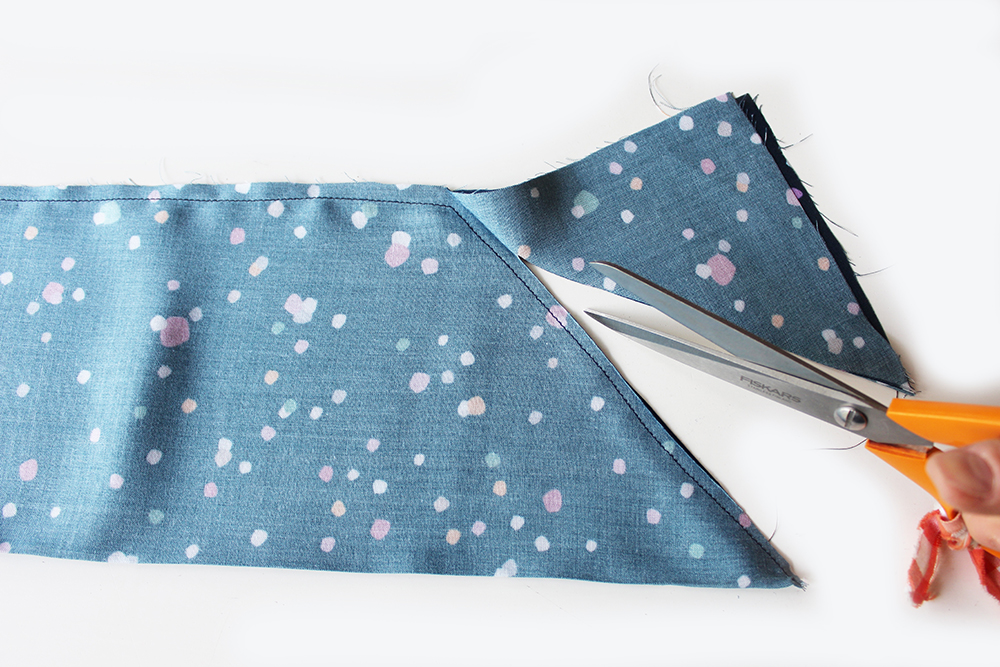
With a 1cm seam allowance, sew along one long edge and across the triangle end, using the foldline as a guide. Trim the excess fabric. Remember to leave an opening at the centre for turning inside out.
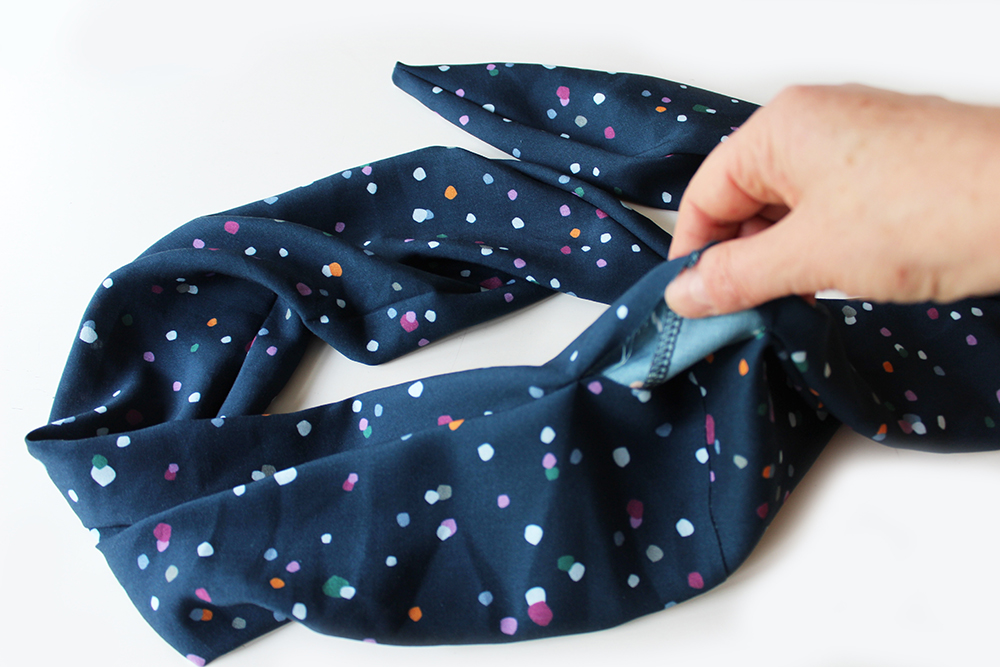
Turn inside out through the opening. Push out the corners. Press so the seam is in line with the fold.
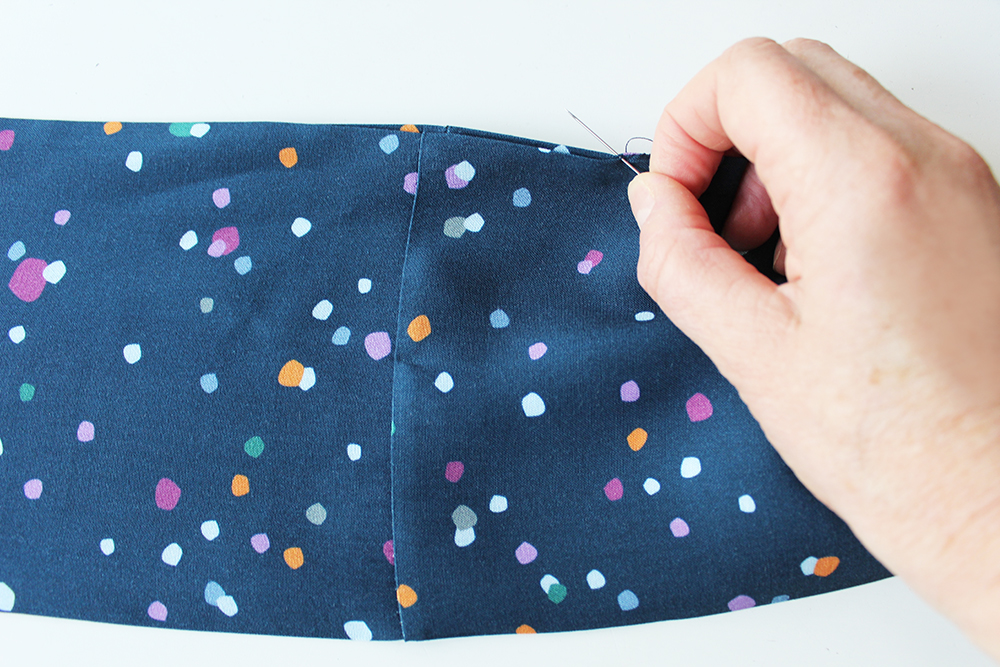
Finally stitch up the opening by hand with a small slip stitch.
Ta dah! There you have it!
Simple but oh so lovely.
For more Sewgirl news follow me on instagram or sign up to my newsletter via my website. All the very best X Fiona
All images and text are the copyright of Fiona Hesford. Please do not copy without prior permission. Contact info@sewgirl.co.uk for details.
