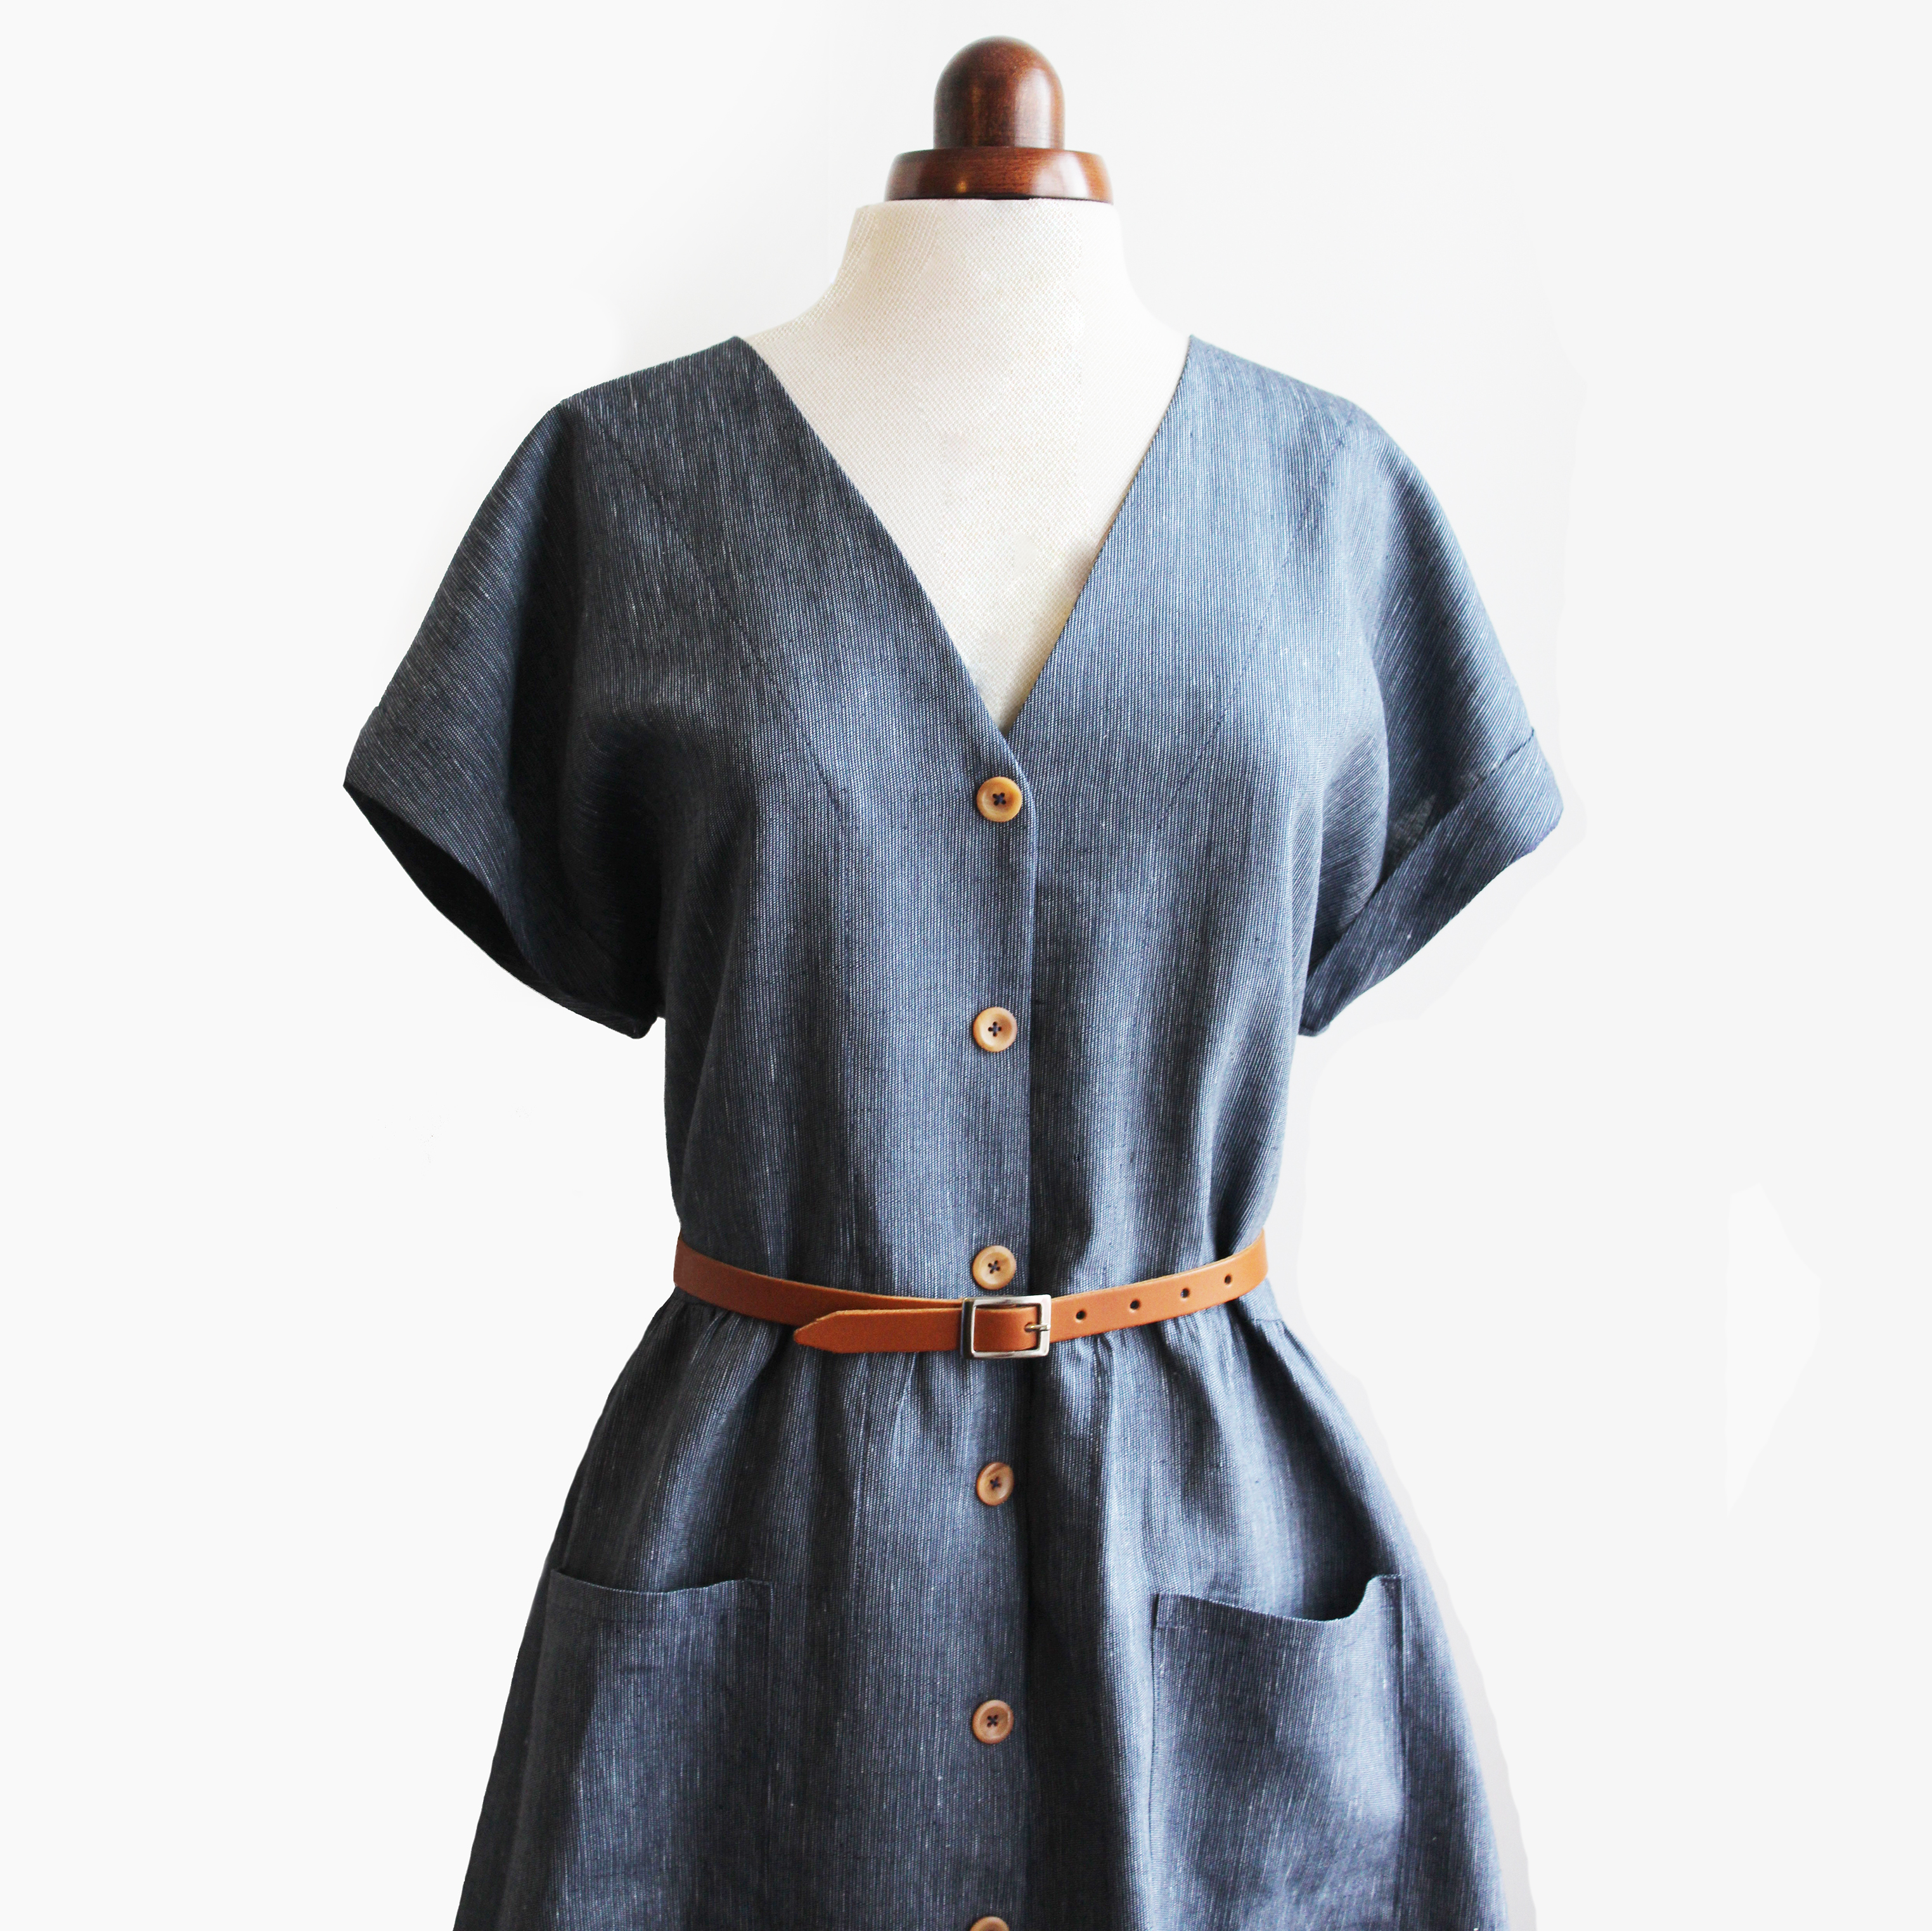
Here she is! A long time coming, but we finally got there. The very fabulous Betty dress pattern… ta dah!
So what can I say about Betty…. well, she is very easy to make, oh so comfortable to wear and well, just lovely really. She’s V-neck, button down (more about that later) with a gathered skirt section on to quite a loose fitting slightly dropped waistline, a curved detail on the side hem is a bit like a shirt style, rolled back sleeves and two patch pockets. The tie belt is optional of course, below shows you a photo of one I wear with a rather smart leather belt (link to where you can buy one at the end of this post.
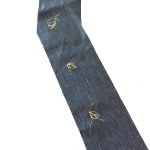
Now lets talk about buttonholes. There are some people who may be put off by them or don’t want to be bothered with these small but ever so terrifying things, but fear not! Betty can be made without them quite easily. You can pop Betty on with just stitched on buttons. Do you see the blue version below? well that’s exactly what I did with this one, I wanted to live with it first before committing to them, but I’m not sure I will ever get around to doing them but hey whose going to notice!
So Betty is great in all sorts of patterned and plain medium weight cotton fabrics, linen and linen mix fabrics and soft lightweight denims all of which I have in stock on my shop.
Linen is available to buy from the shop.


Here’s the very lovely Amy Scarr, ex-editor of Love Sewing magazine, in her printed cotton lawn versions of Betty dress, which look just great. You can follow her sewing adventures on Instagram @almondrock_sews or almondrock.co.uk.
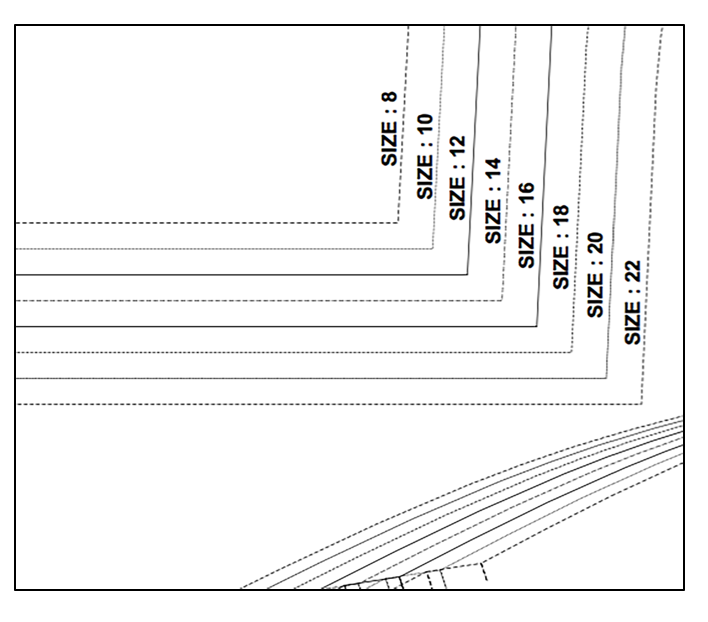
Here is all the info about sizes, finished measurements and fabric requirements.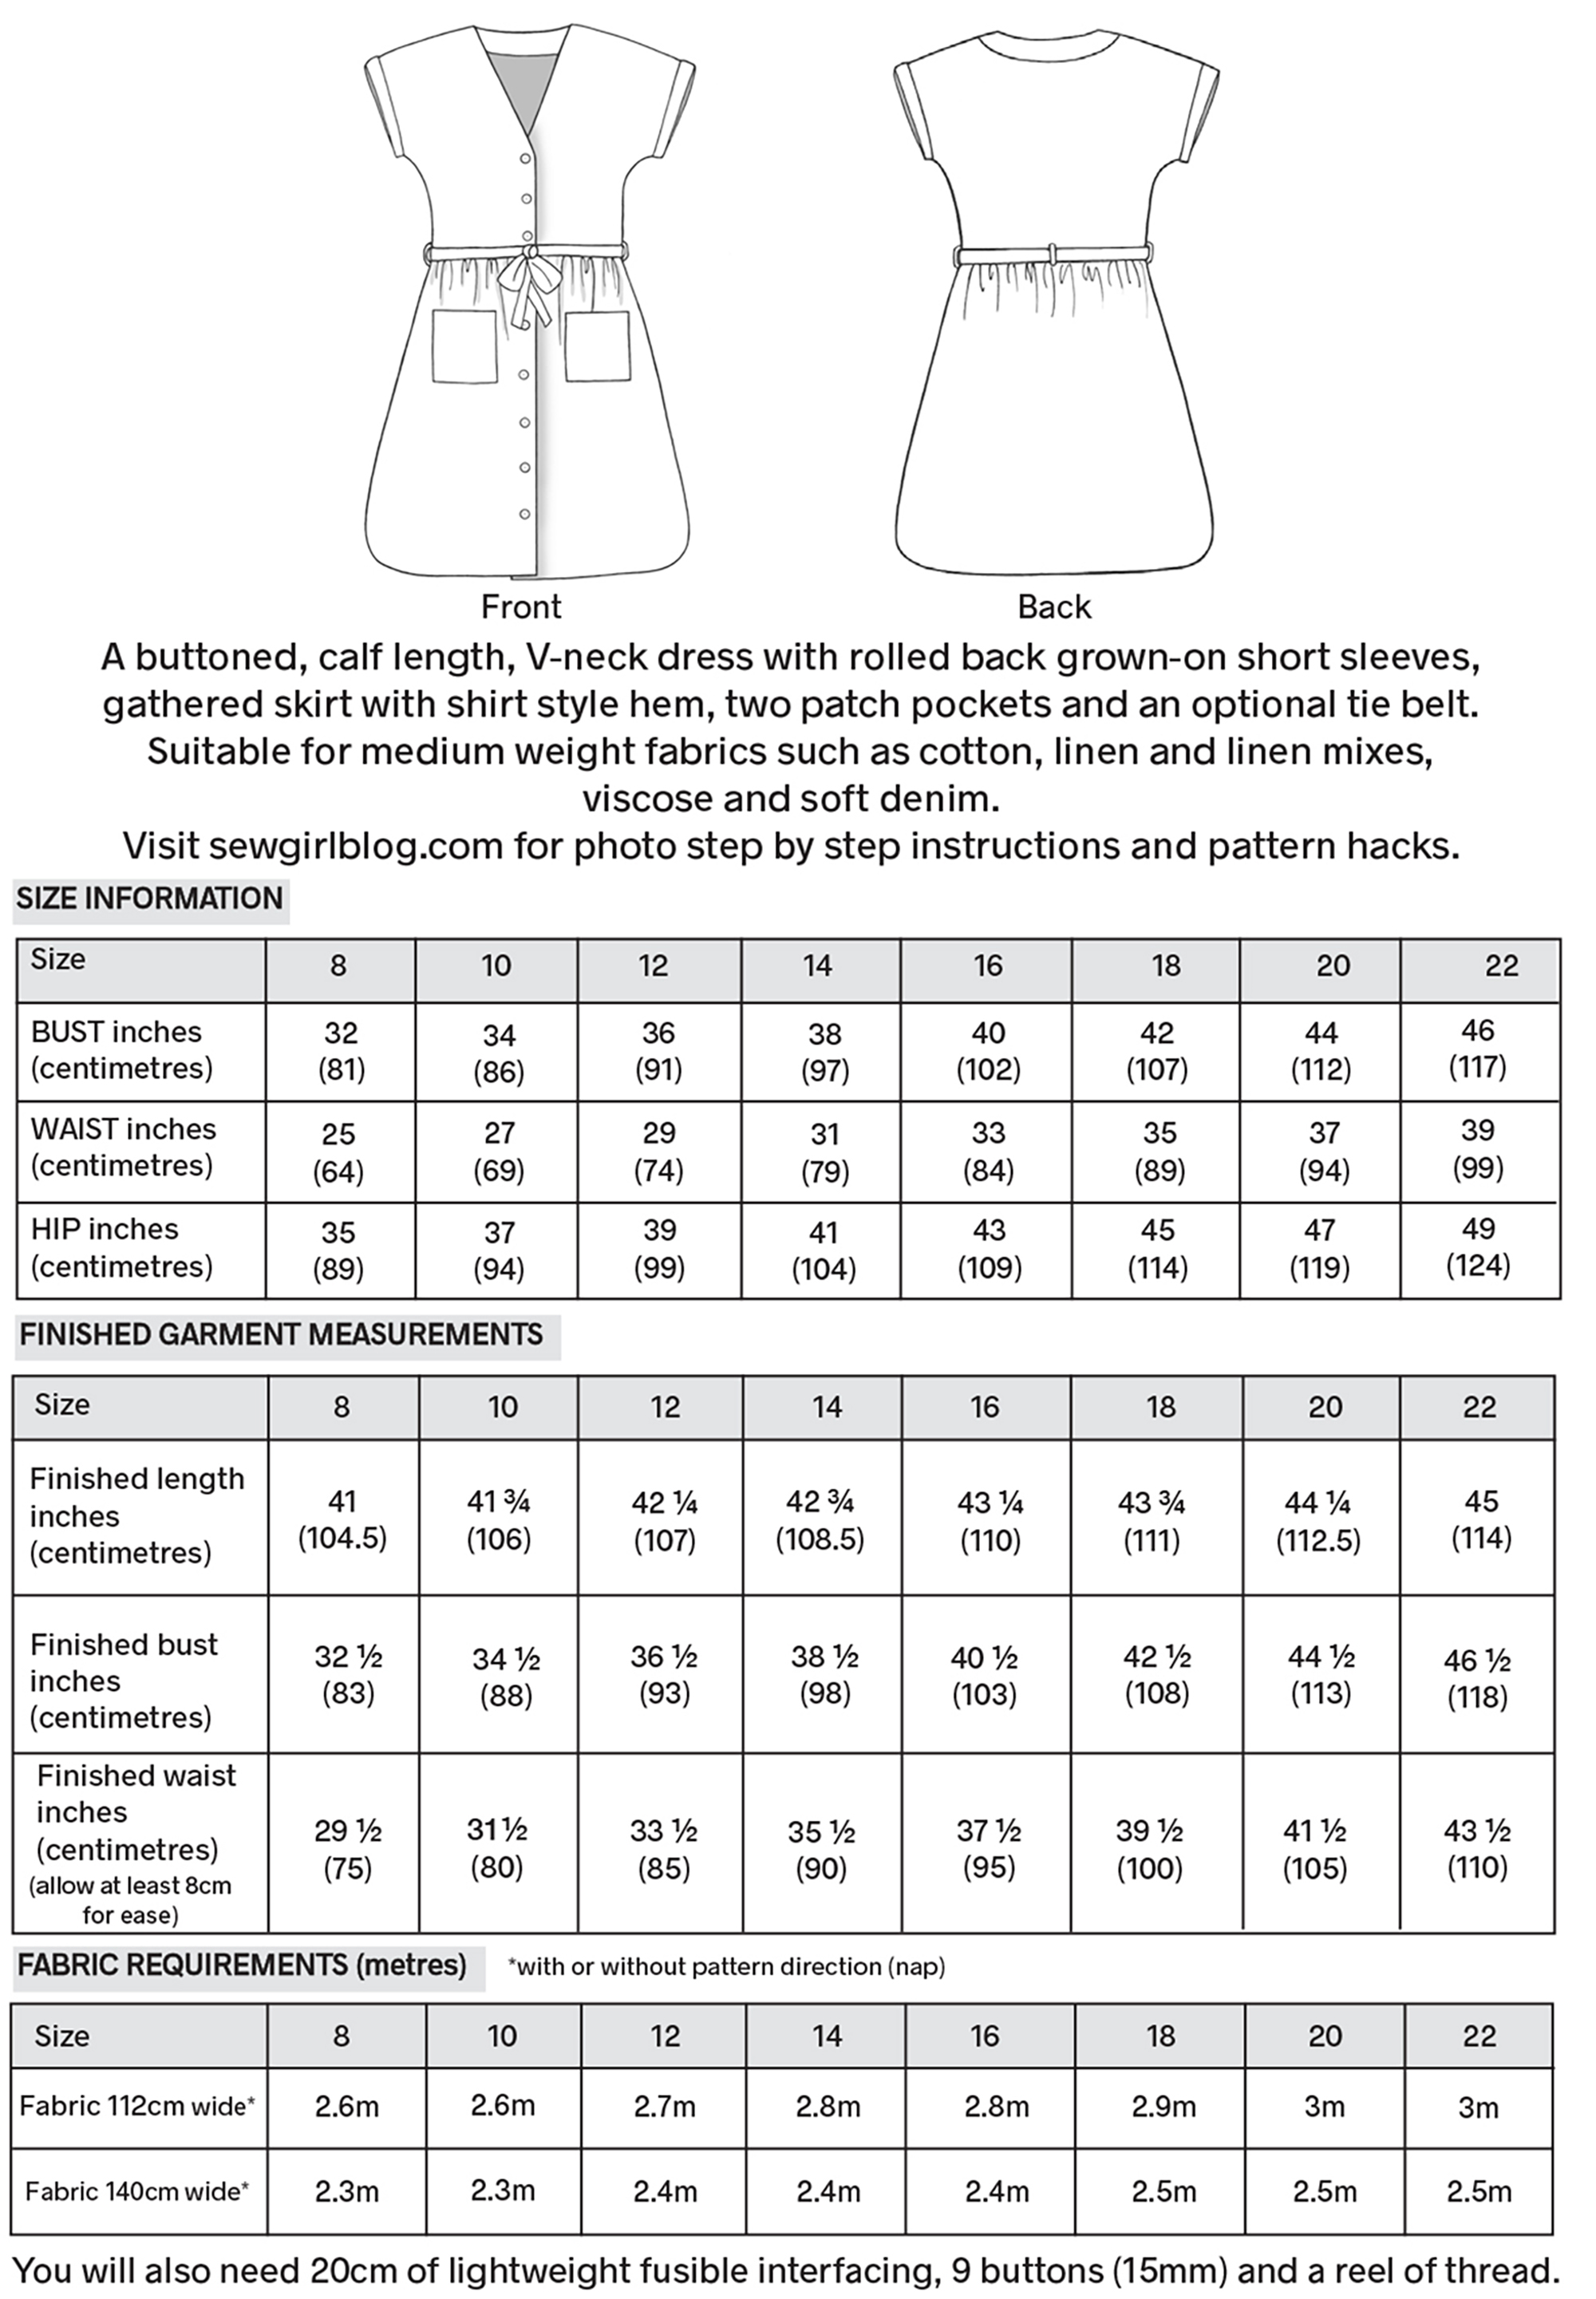
SEWING A BETTY DRESS
Seam allowance is 1cm. RST= Right Sides Together.
Before you start here are some pattern cutting tips.


Making adjustments to Betty
You may want to make the bodice or skirt section shorter or longer.
So, if this is the case, firstly, measure for your size according to the pattern size info (shown above). Then you need to measure yourself for the desired bodice length from top of the shoulder to the desired length. Now add on 2cm to this measurement for the seam allowances. Next, compare this length to the pattern and you may find that you require a shorter/longer length from one of the other sizes. I prefer to fold back my pattern to the desired line to keep it intact, but if you are drafting your pattern, you just trace the required line.
If you adjust the bodice length, remember its going to make the dress shorter or longer so check that measurement is good and you are happy with the adjustment. If you need to make the skirt section shorter or longer do so at the top edge of the skirt section. Its gathered at the top edge so any extra width will be lost in the gathering.
Finally adjust the button positions accordingly.
HOW TO MAKE BETTY DRESS
JOINING THE SHOULDERS
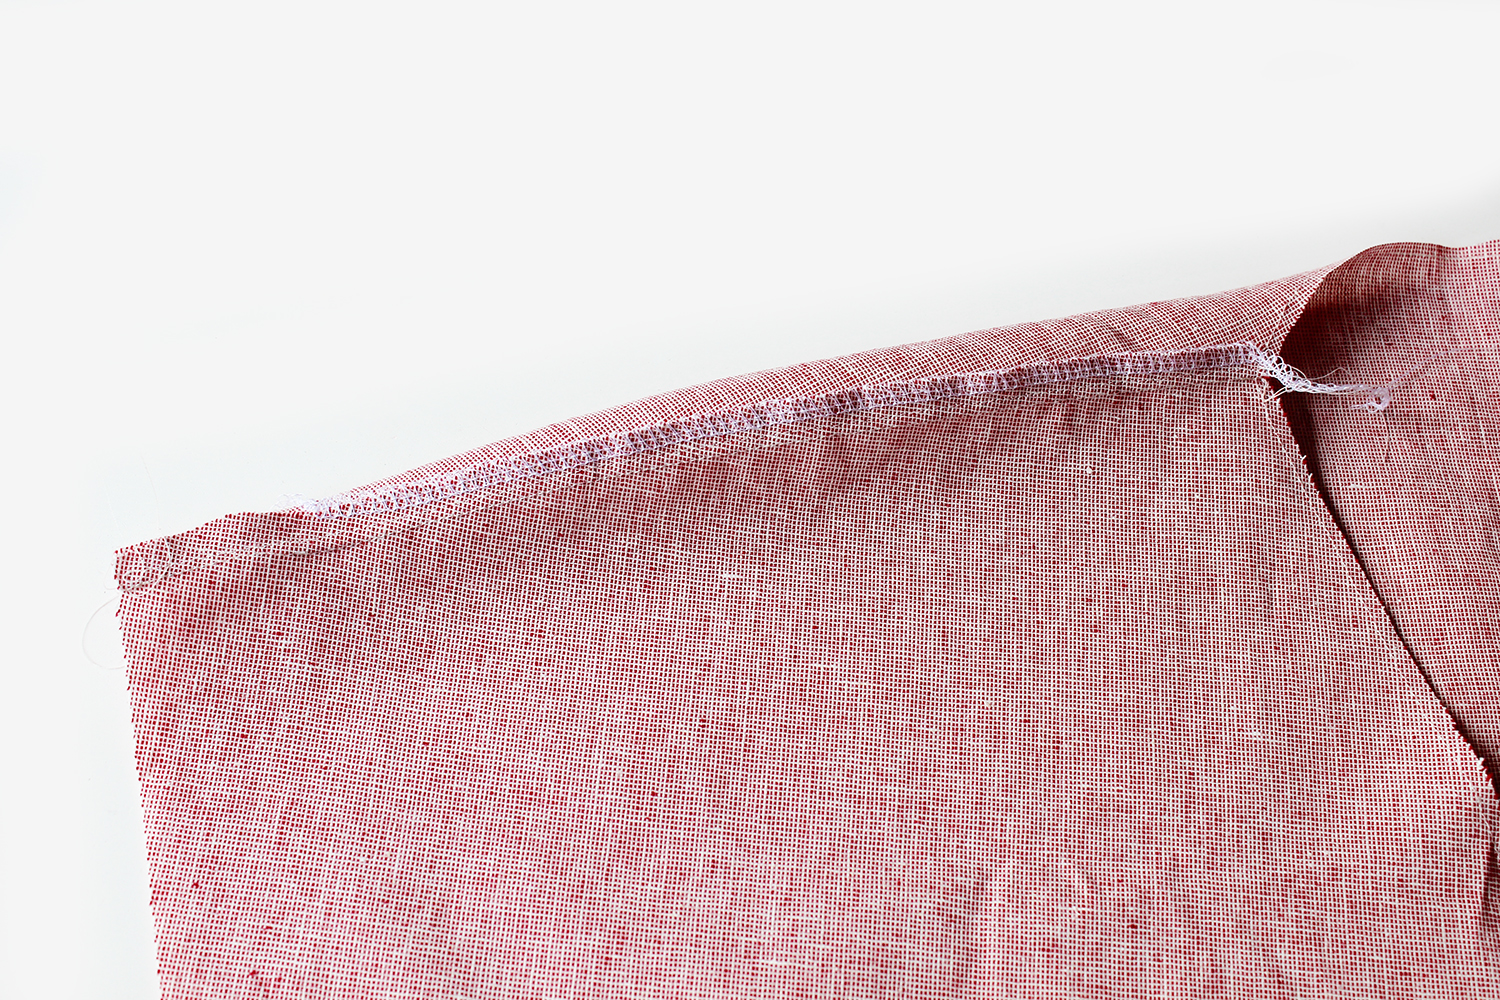
Joining the shoulder seams. Finish the raw edges, pressing towards the back. Topstitching.
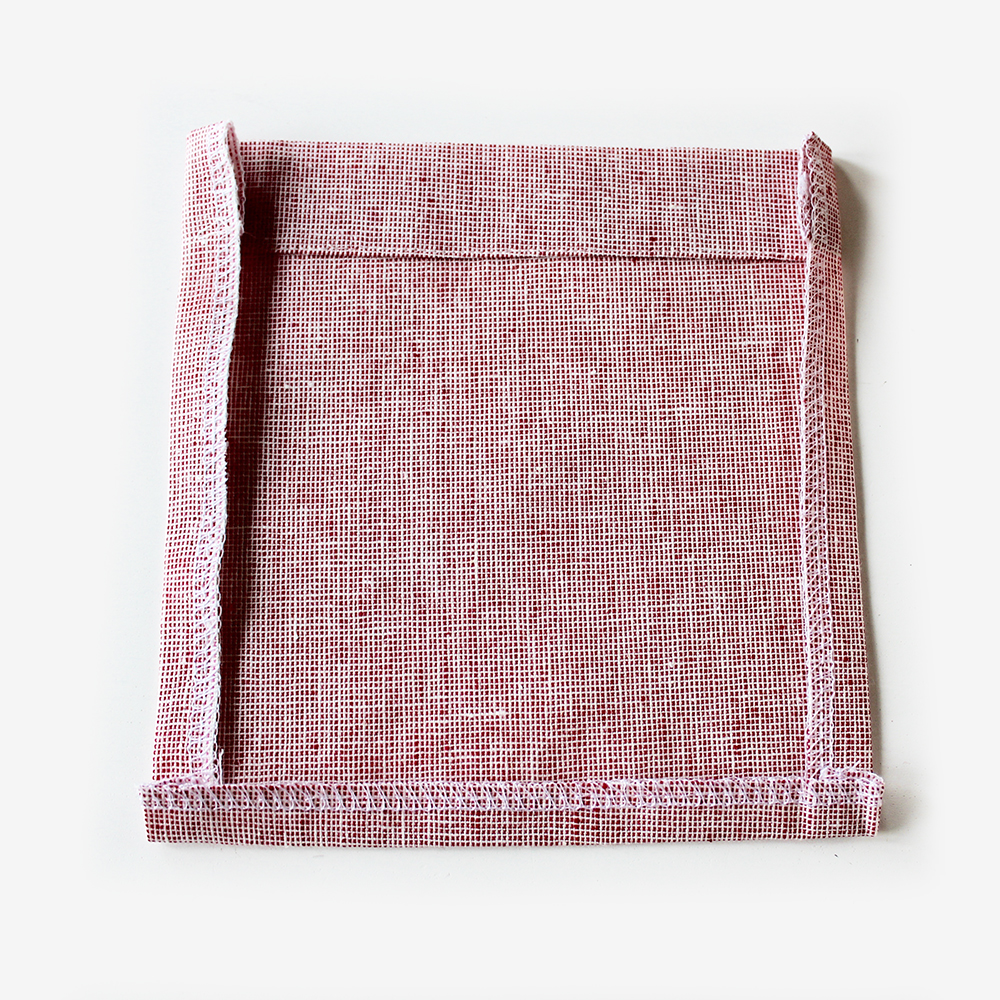
SKIRT SECTION
Sew the front to back at the side edges with the RST. Finish the raw edges.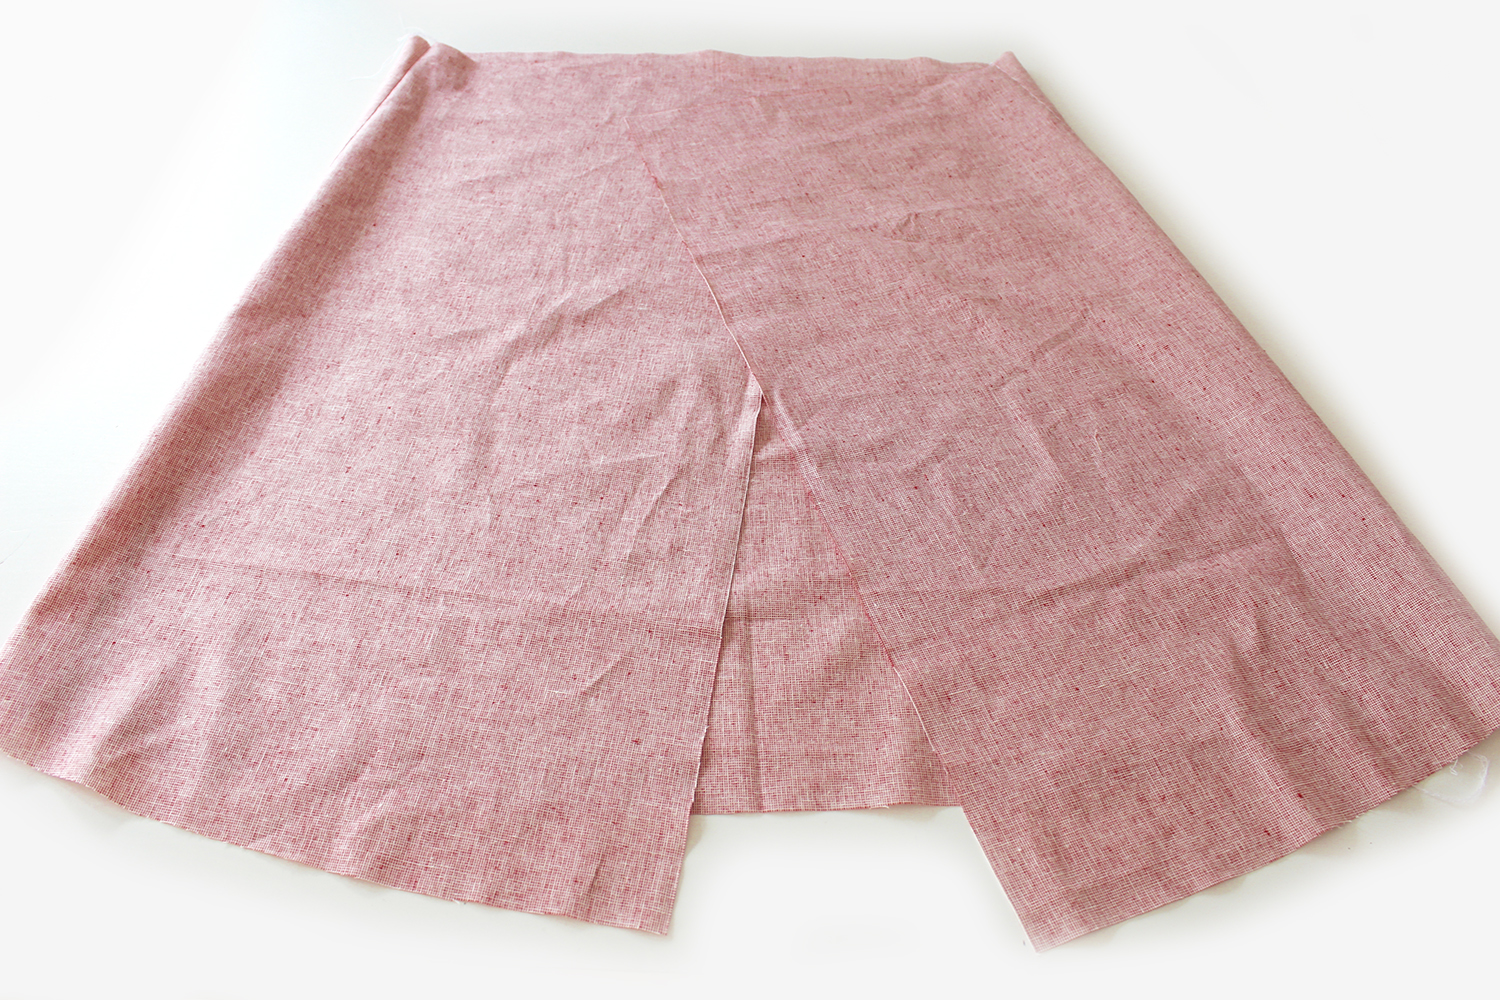
Sew the skirt together at the side edges with the RST. Press. 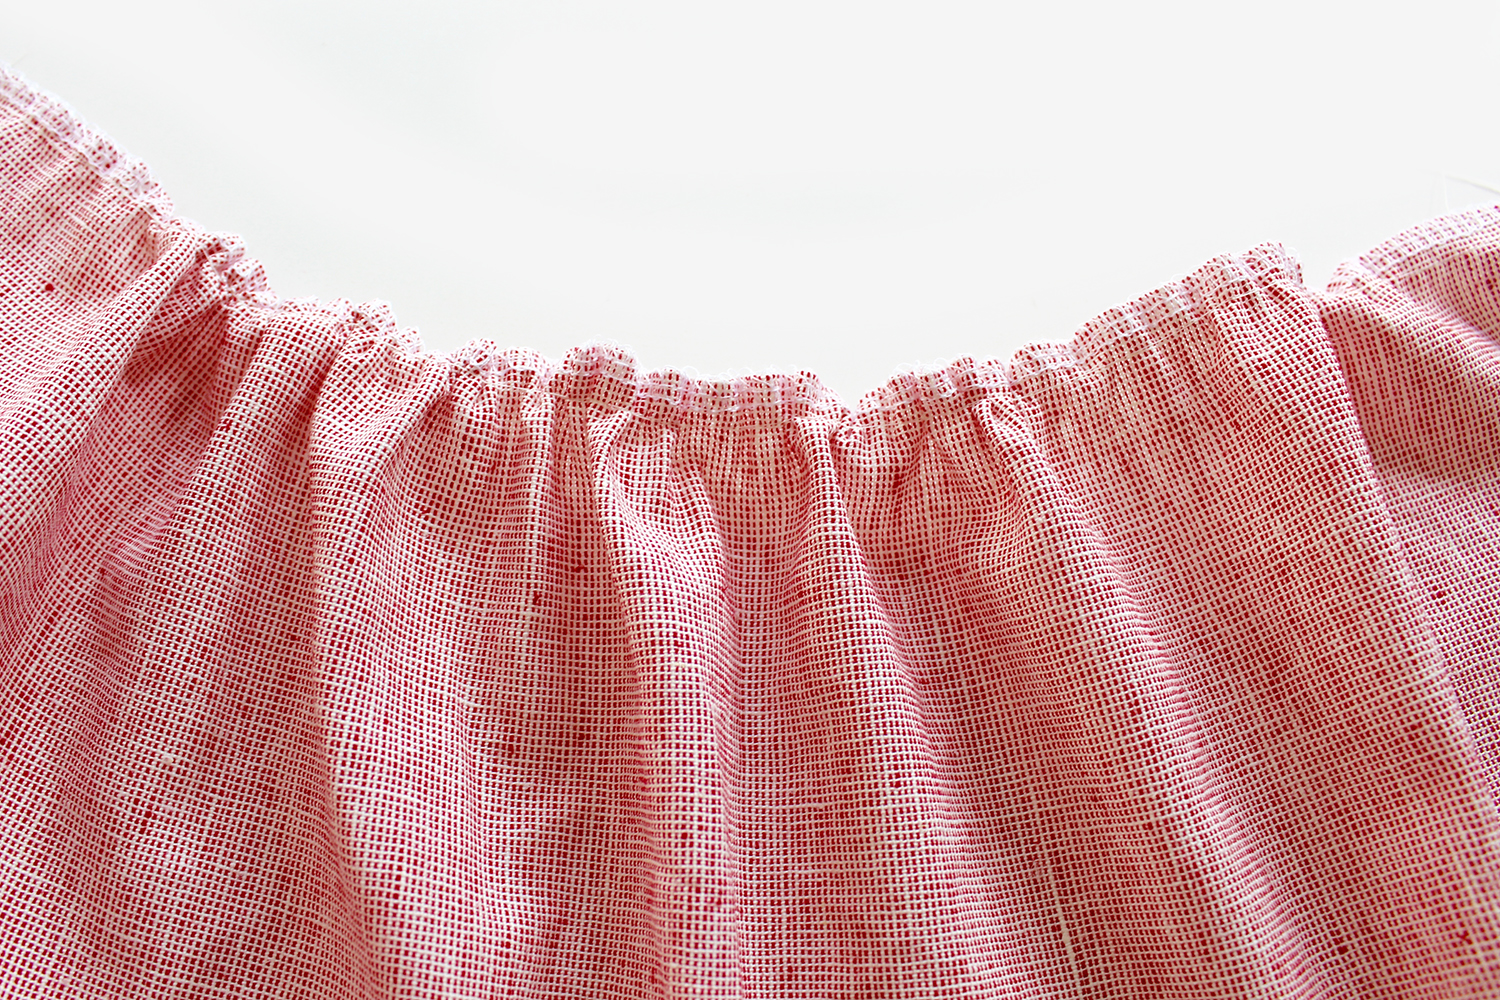
Gather up the fabric at the top edge of the skirt section.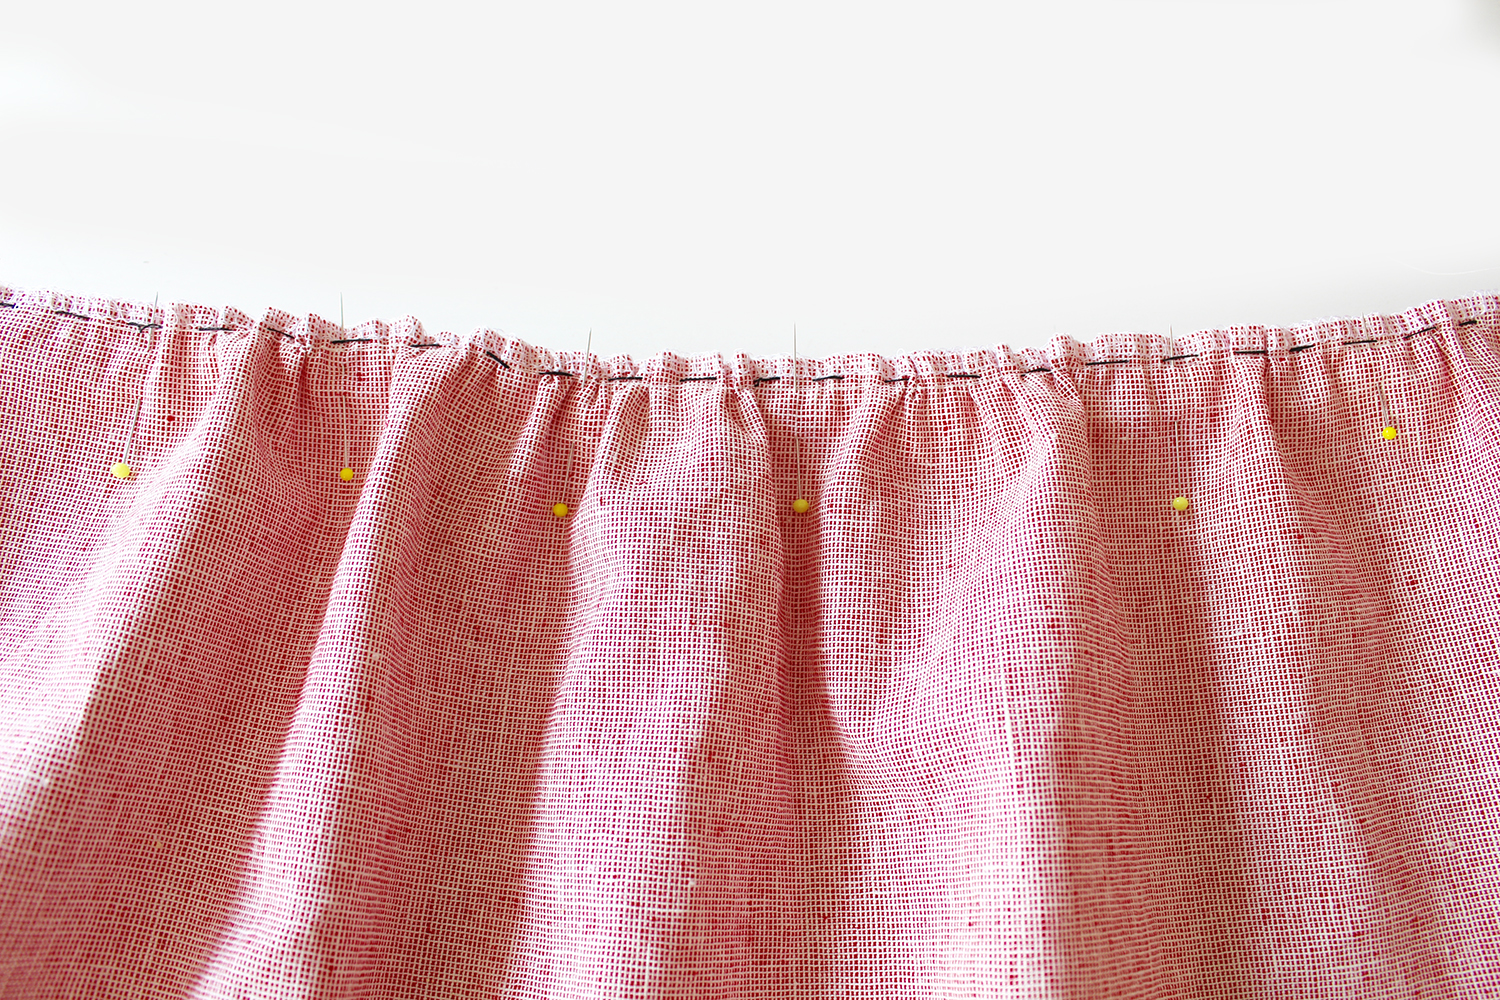
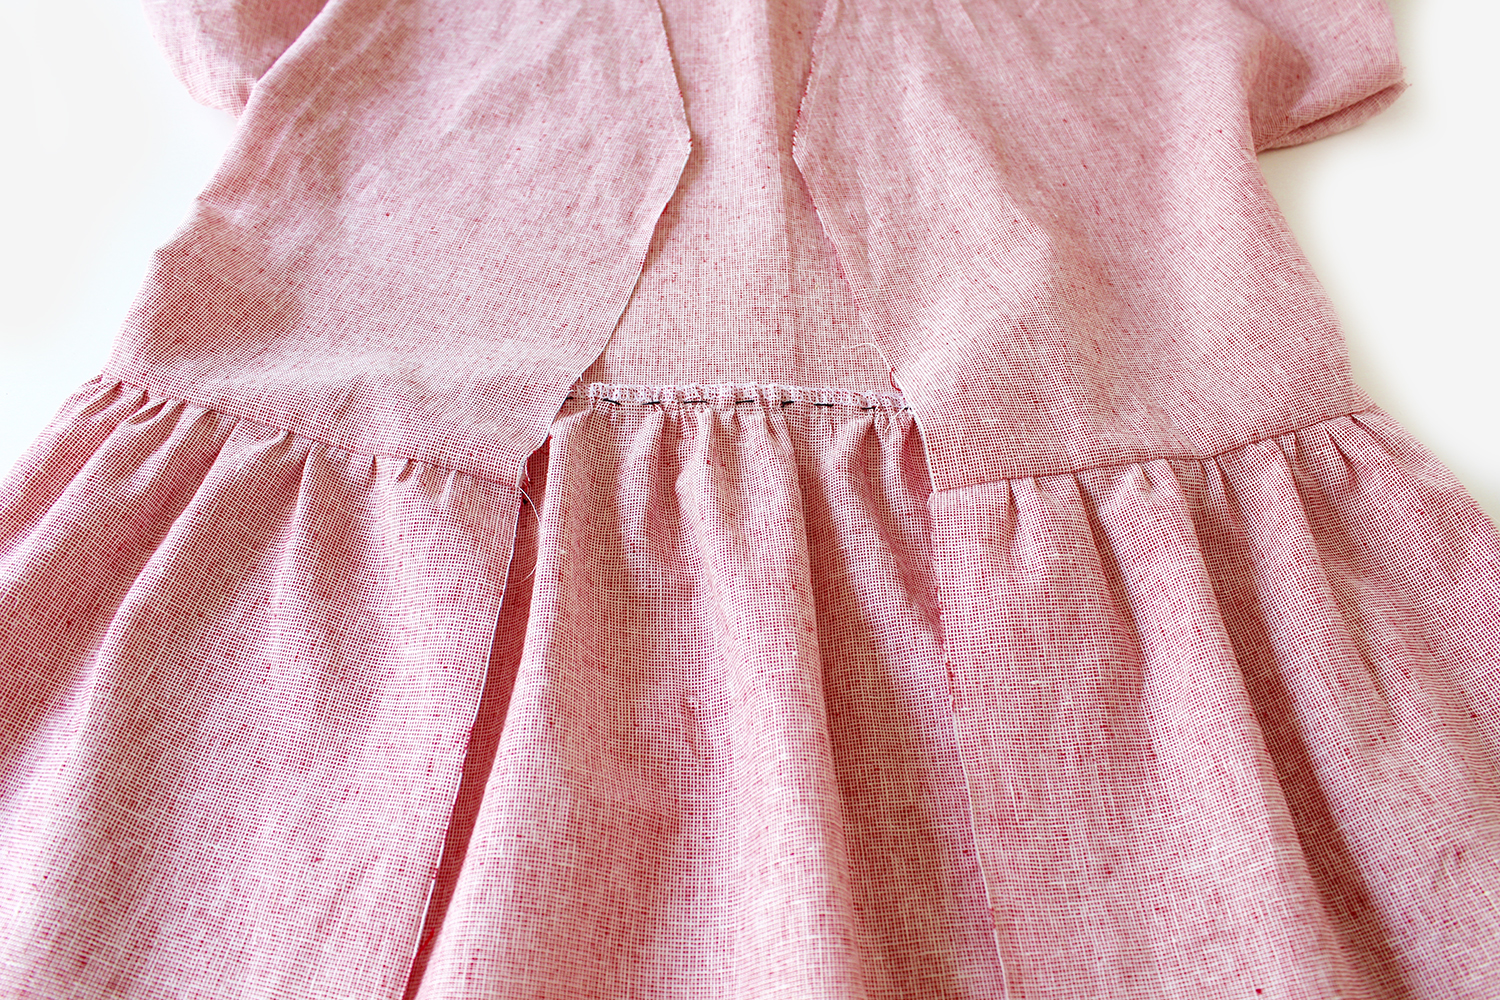
Attach to the bodice with the RST. Press the seam allowance upwards. Topstitch on the bodice side.
FACINGS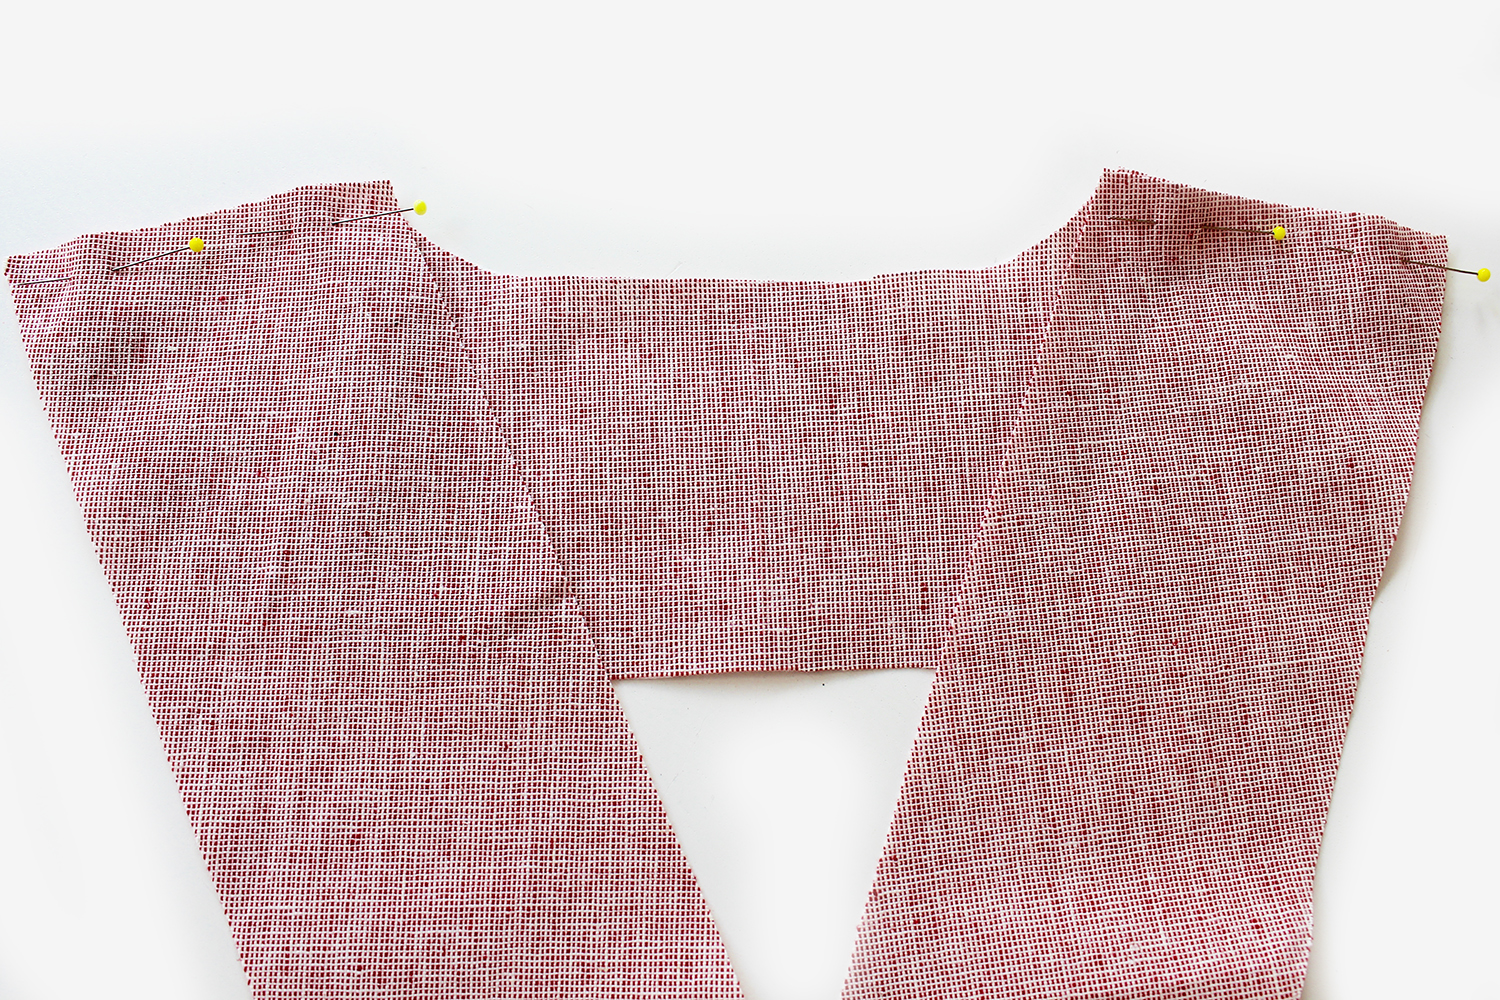
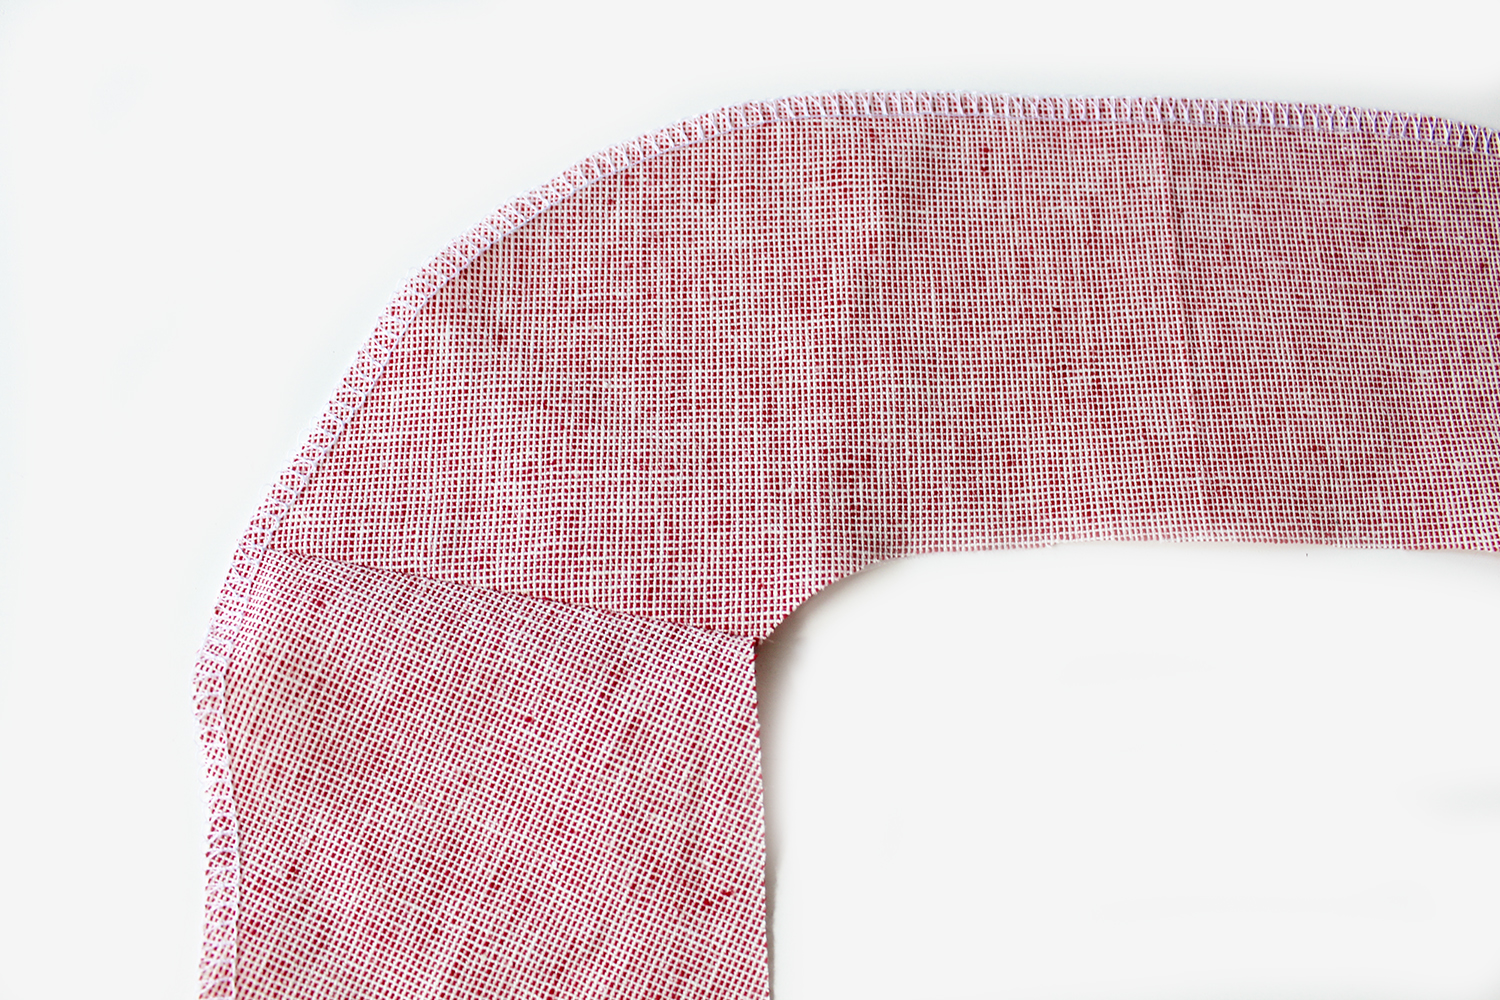 Join the facings front and back at the short edges with the RST. Press open. Finish the outer edge.
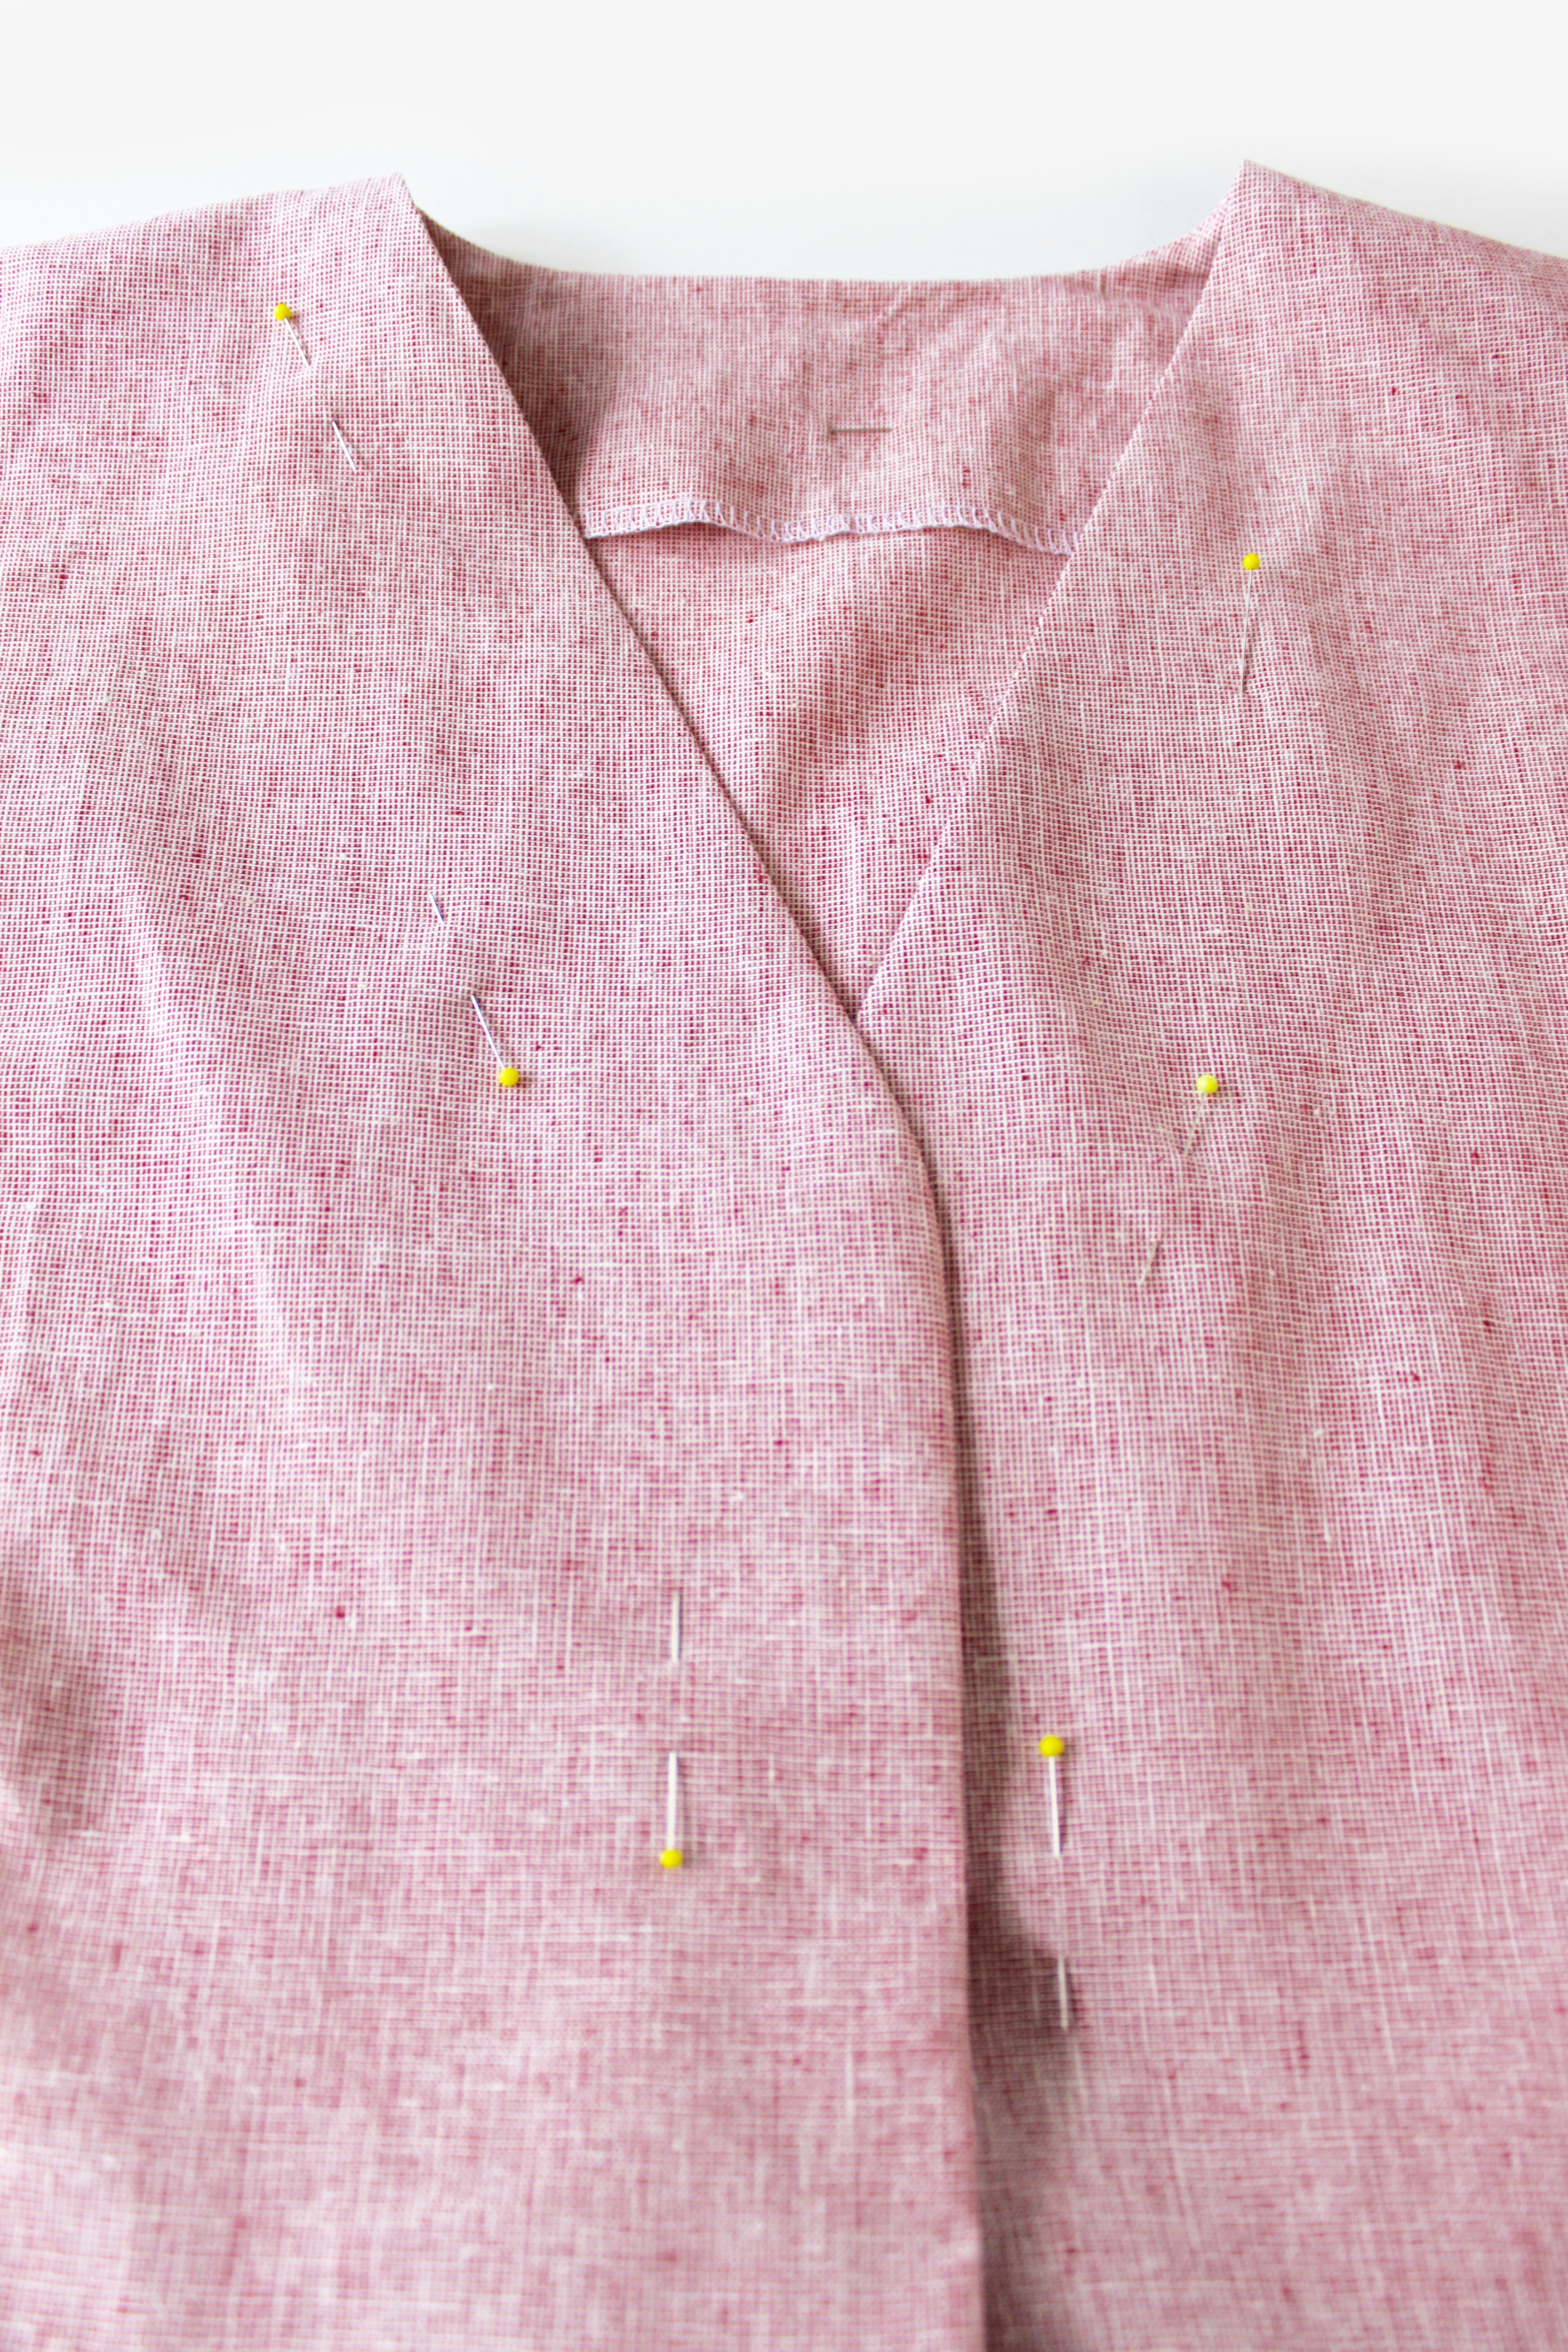
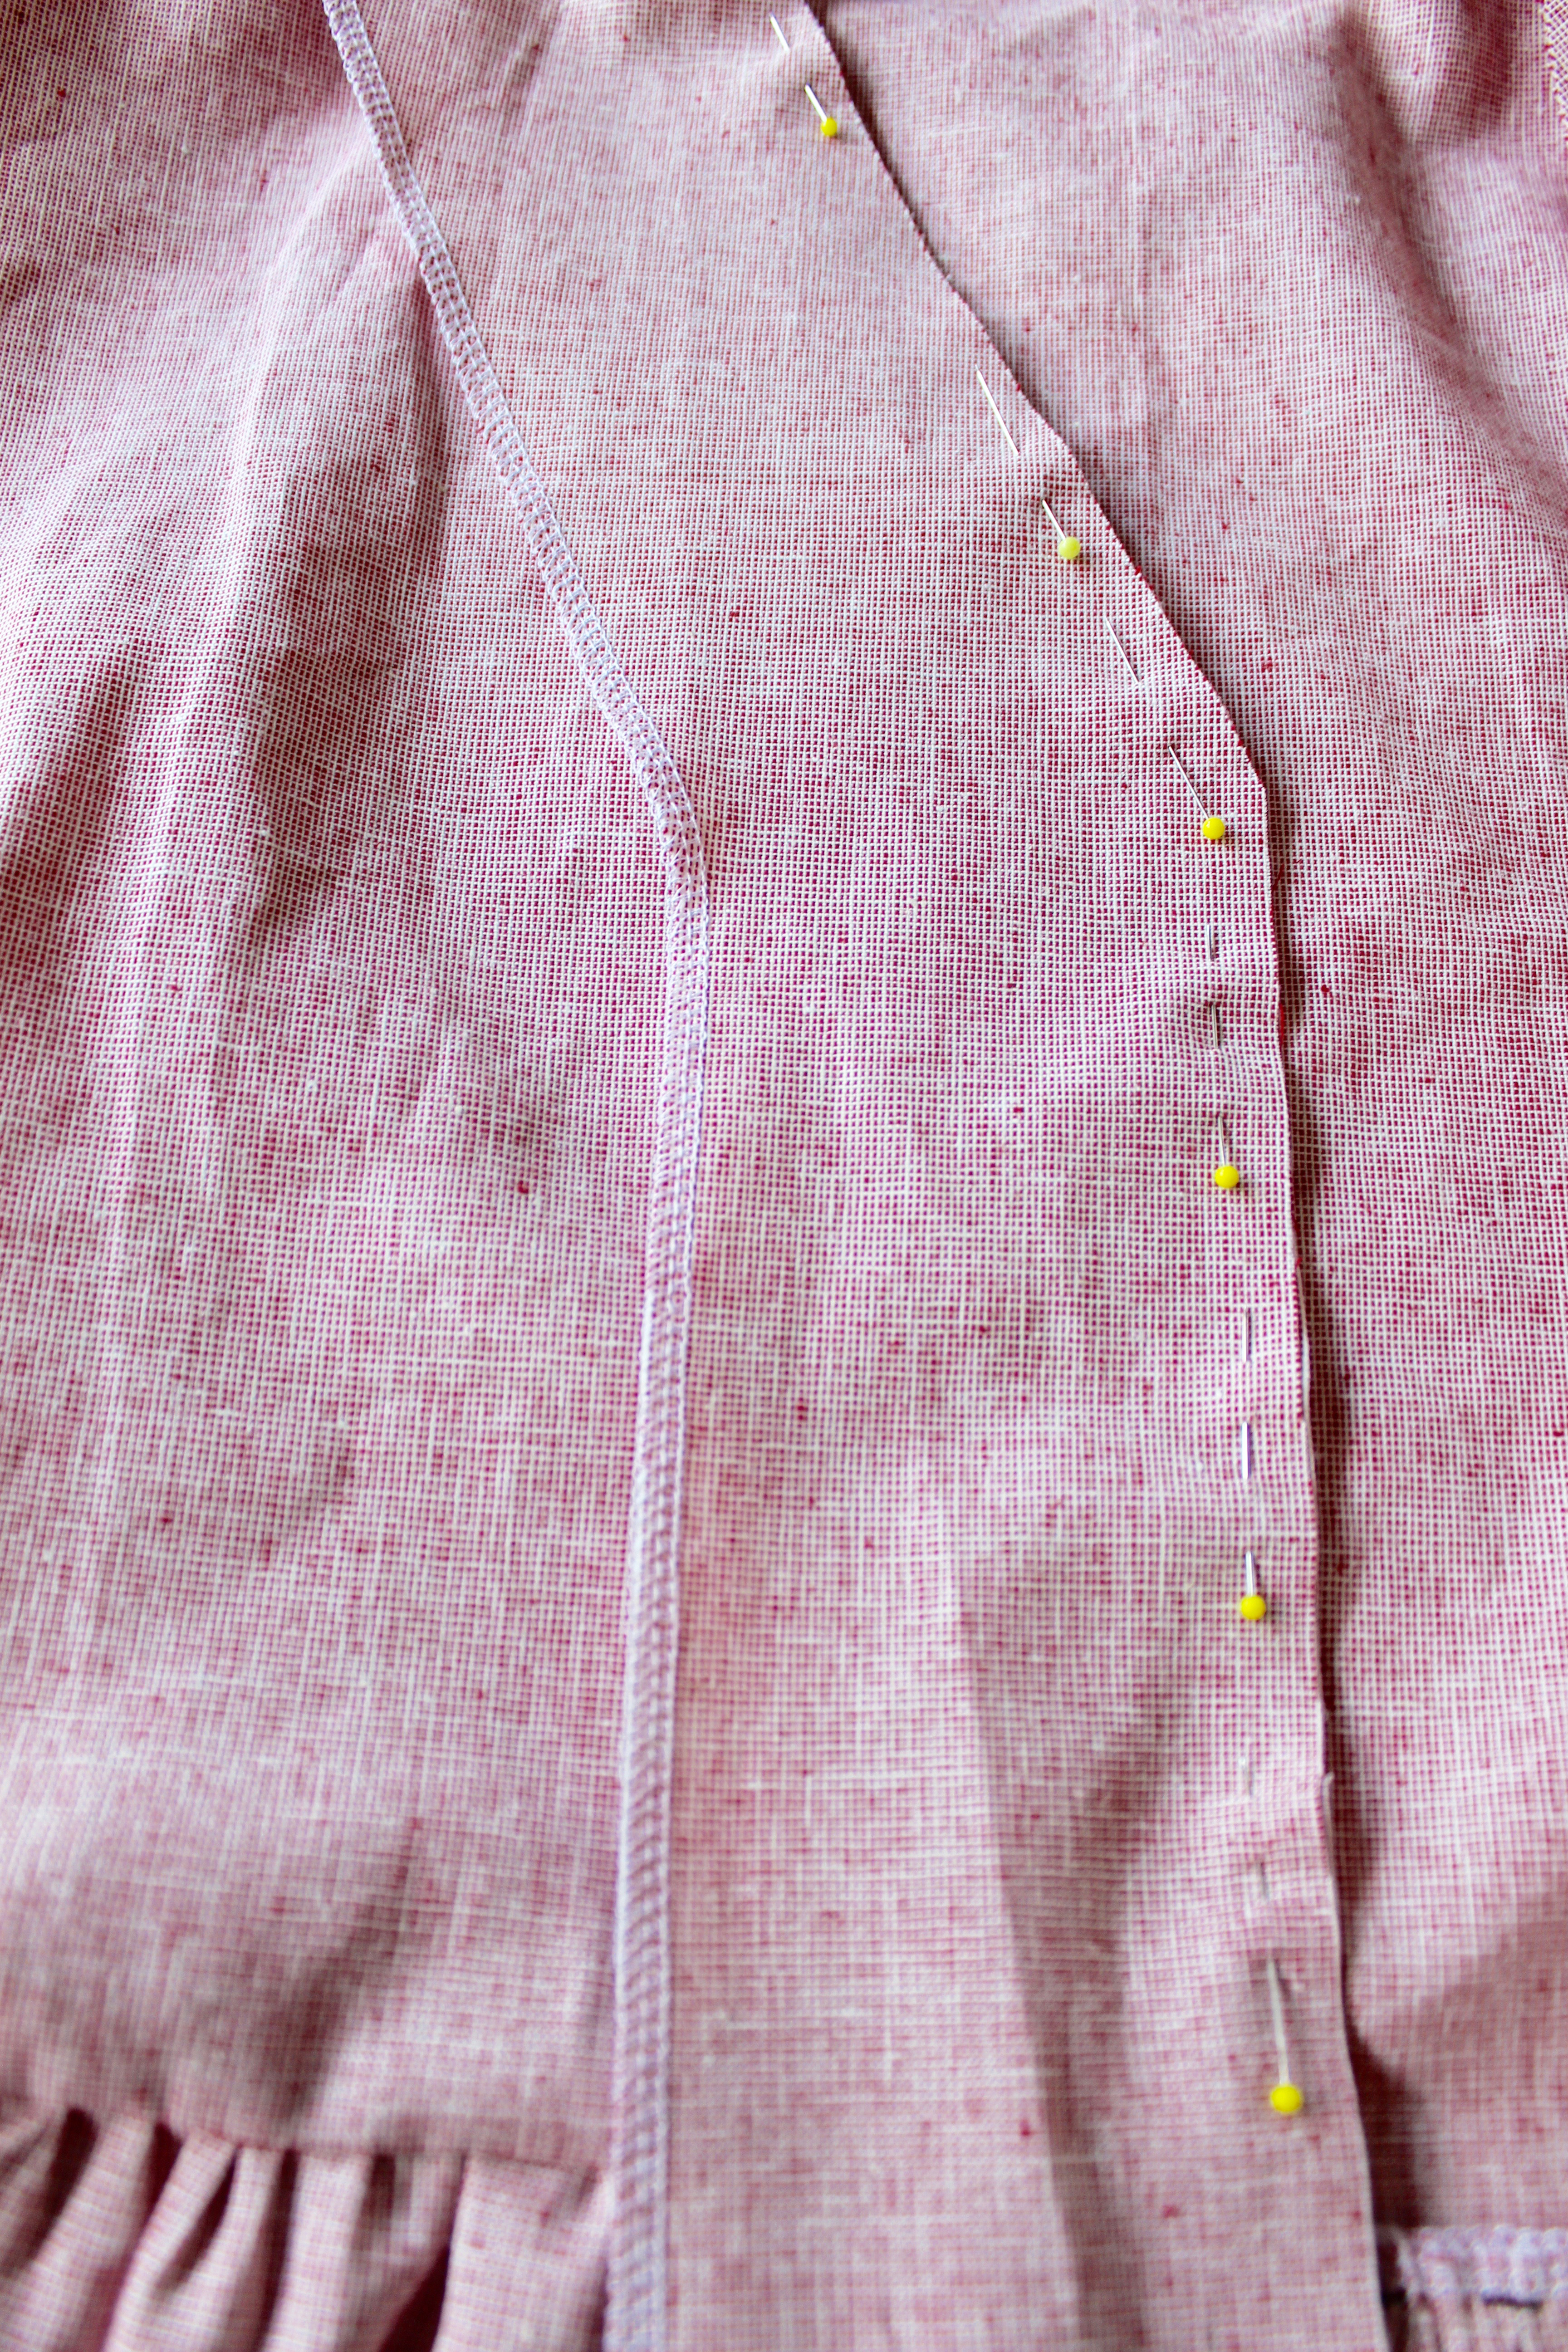 Pin to the centre front and back neck edge. Sew. Press the facing away from the body. Understitch.
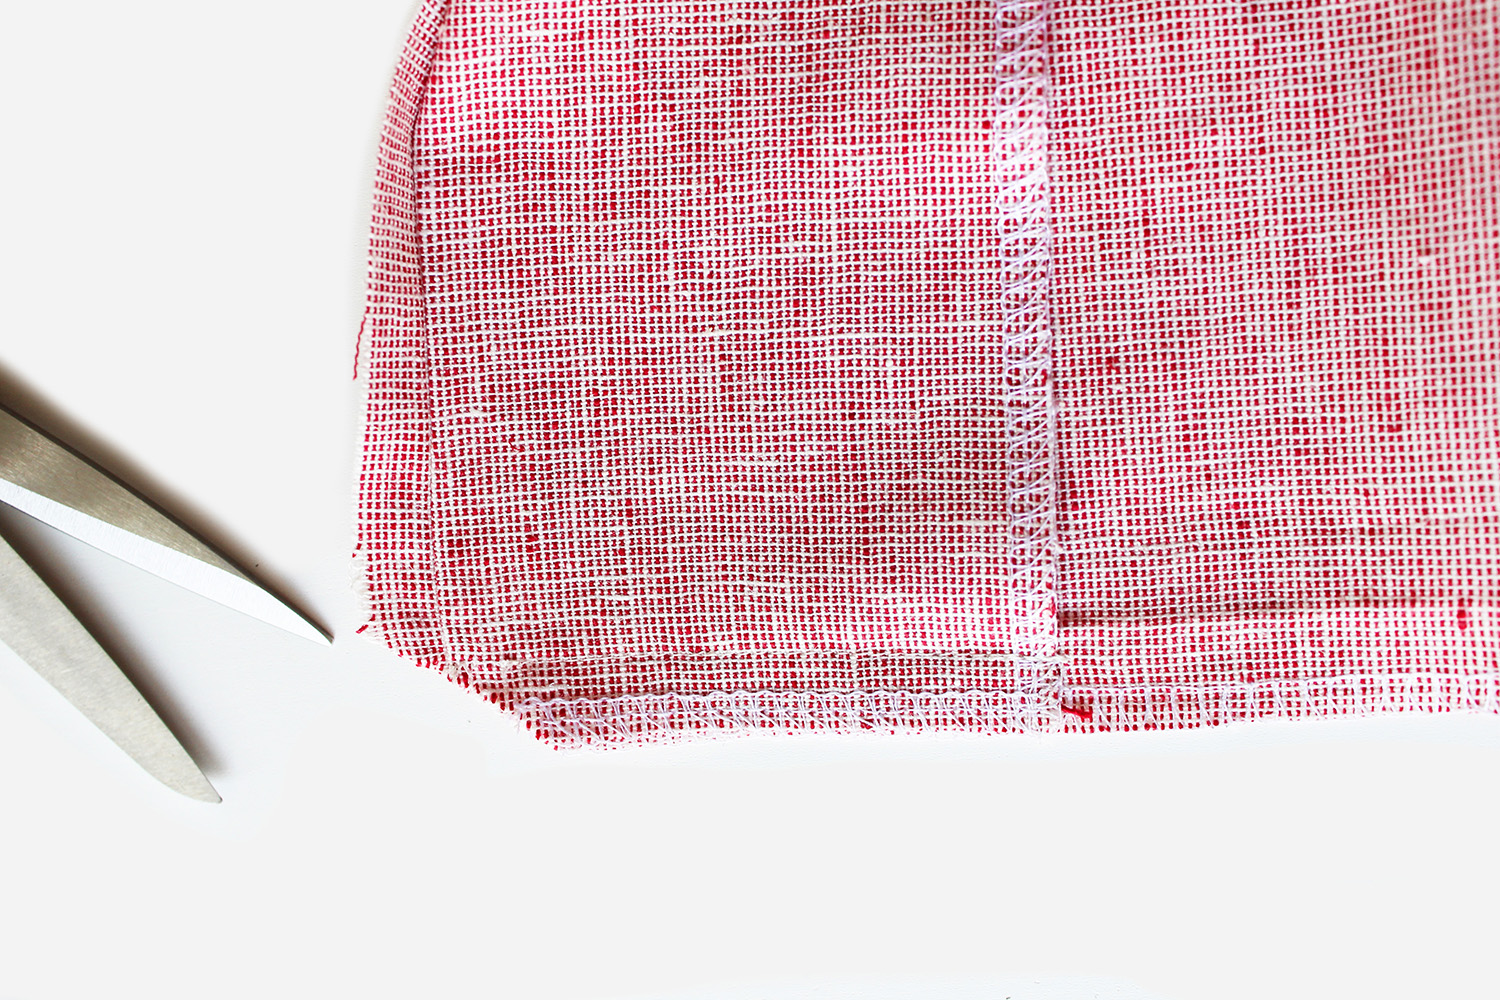
Fold back the facing at the centre lower edge with the RST. Stitch across 1cm up from the lower edge. Trim across the corner, then turn inside out, pushing out the corners with a poking tool.
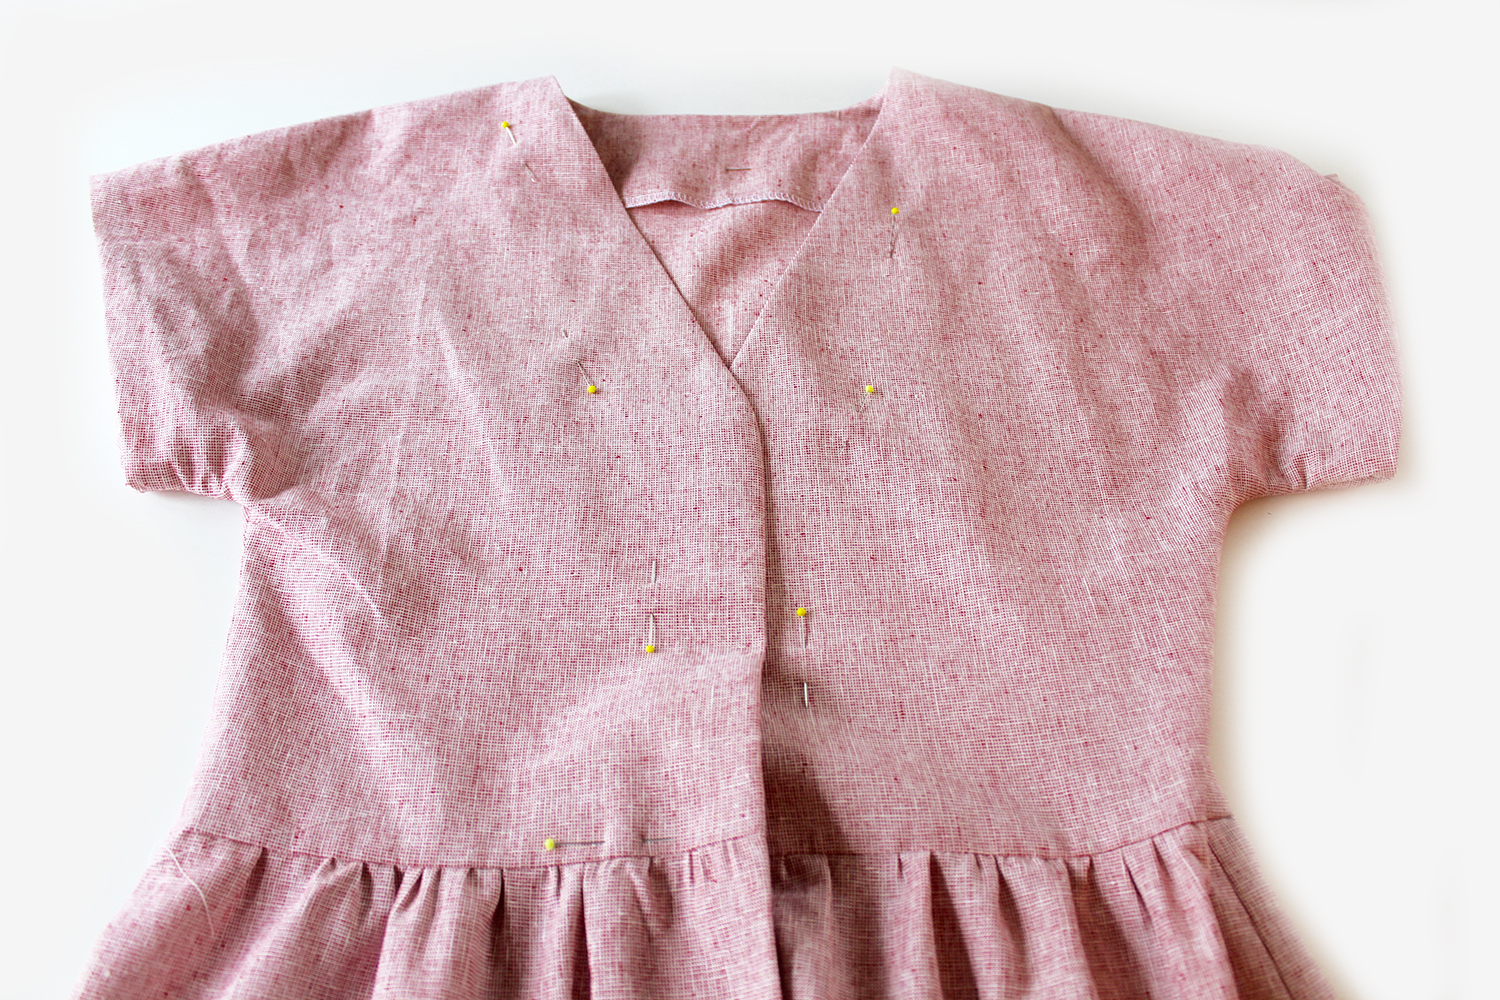 Press the facing to the reverse side all around. Pin. Hand tack. Top stitch on the reverse side close to the outer edge to secure the facing.
POCKETS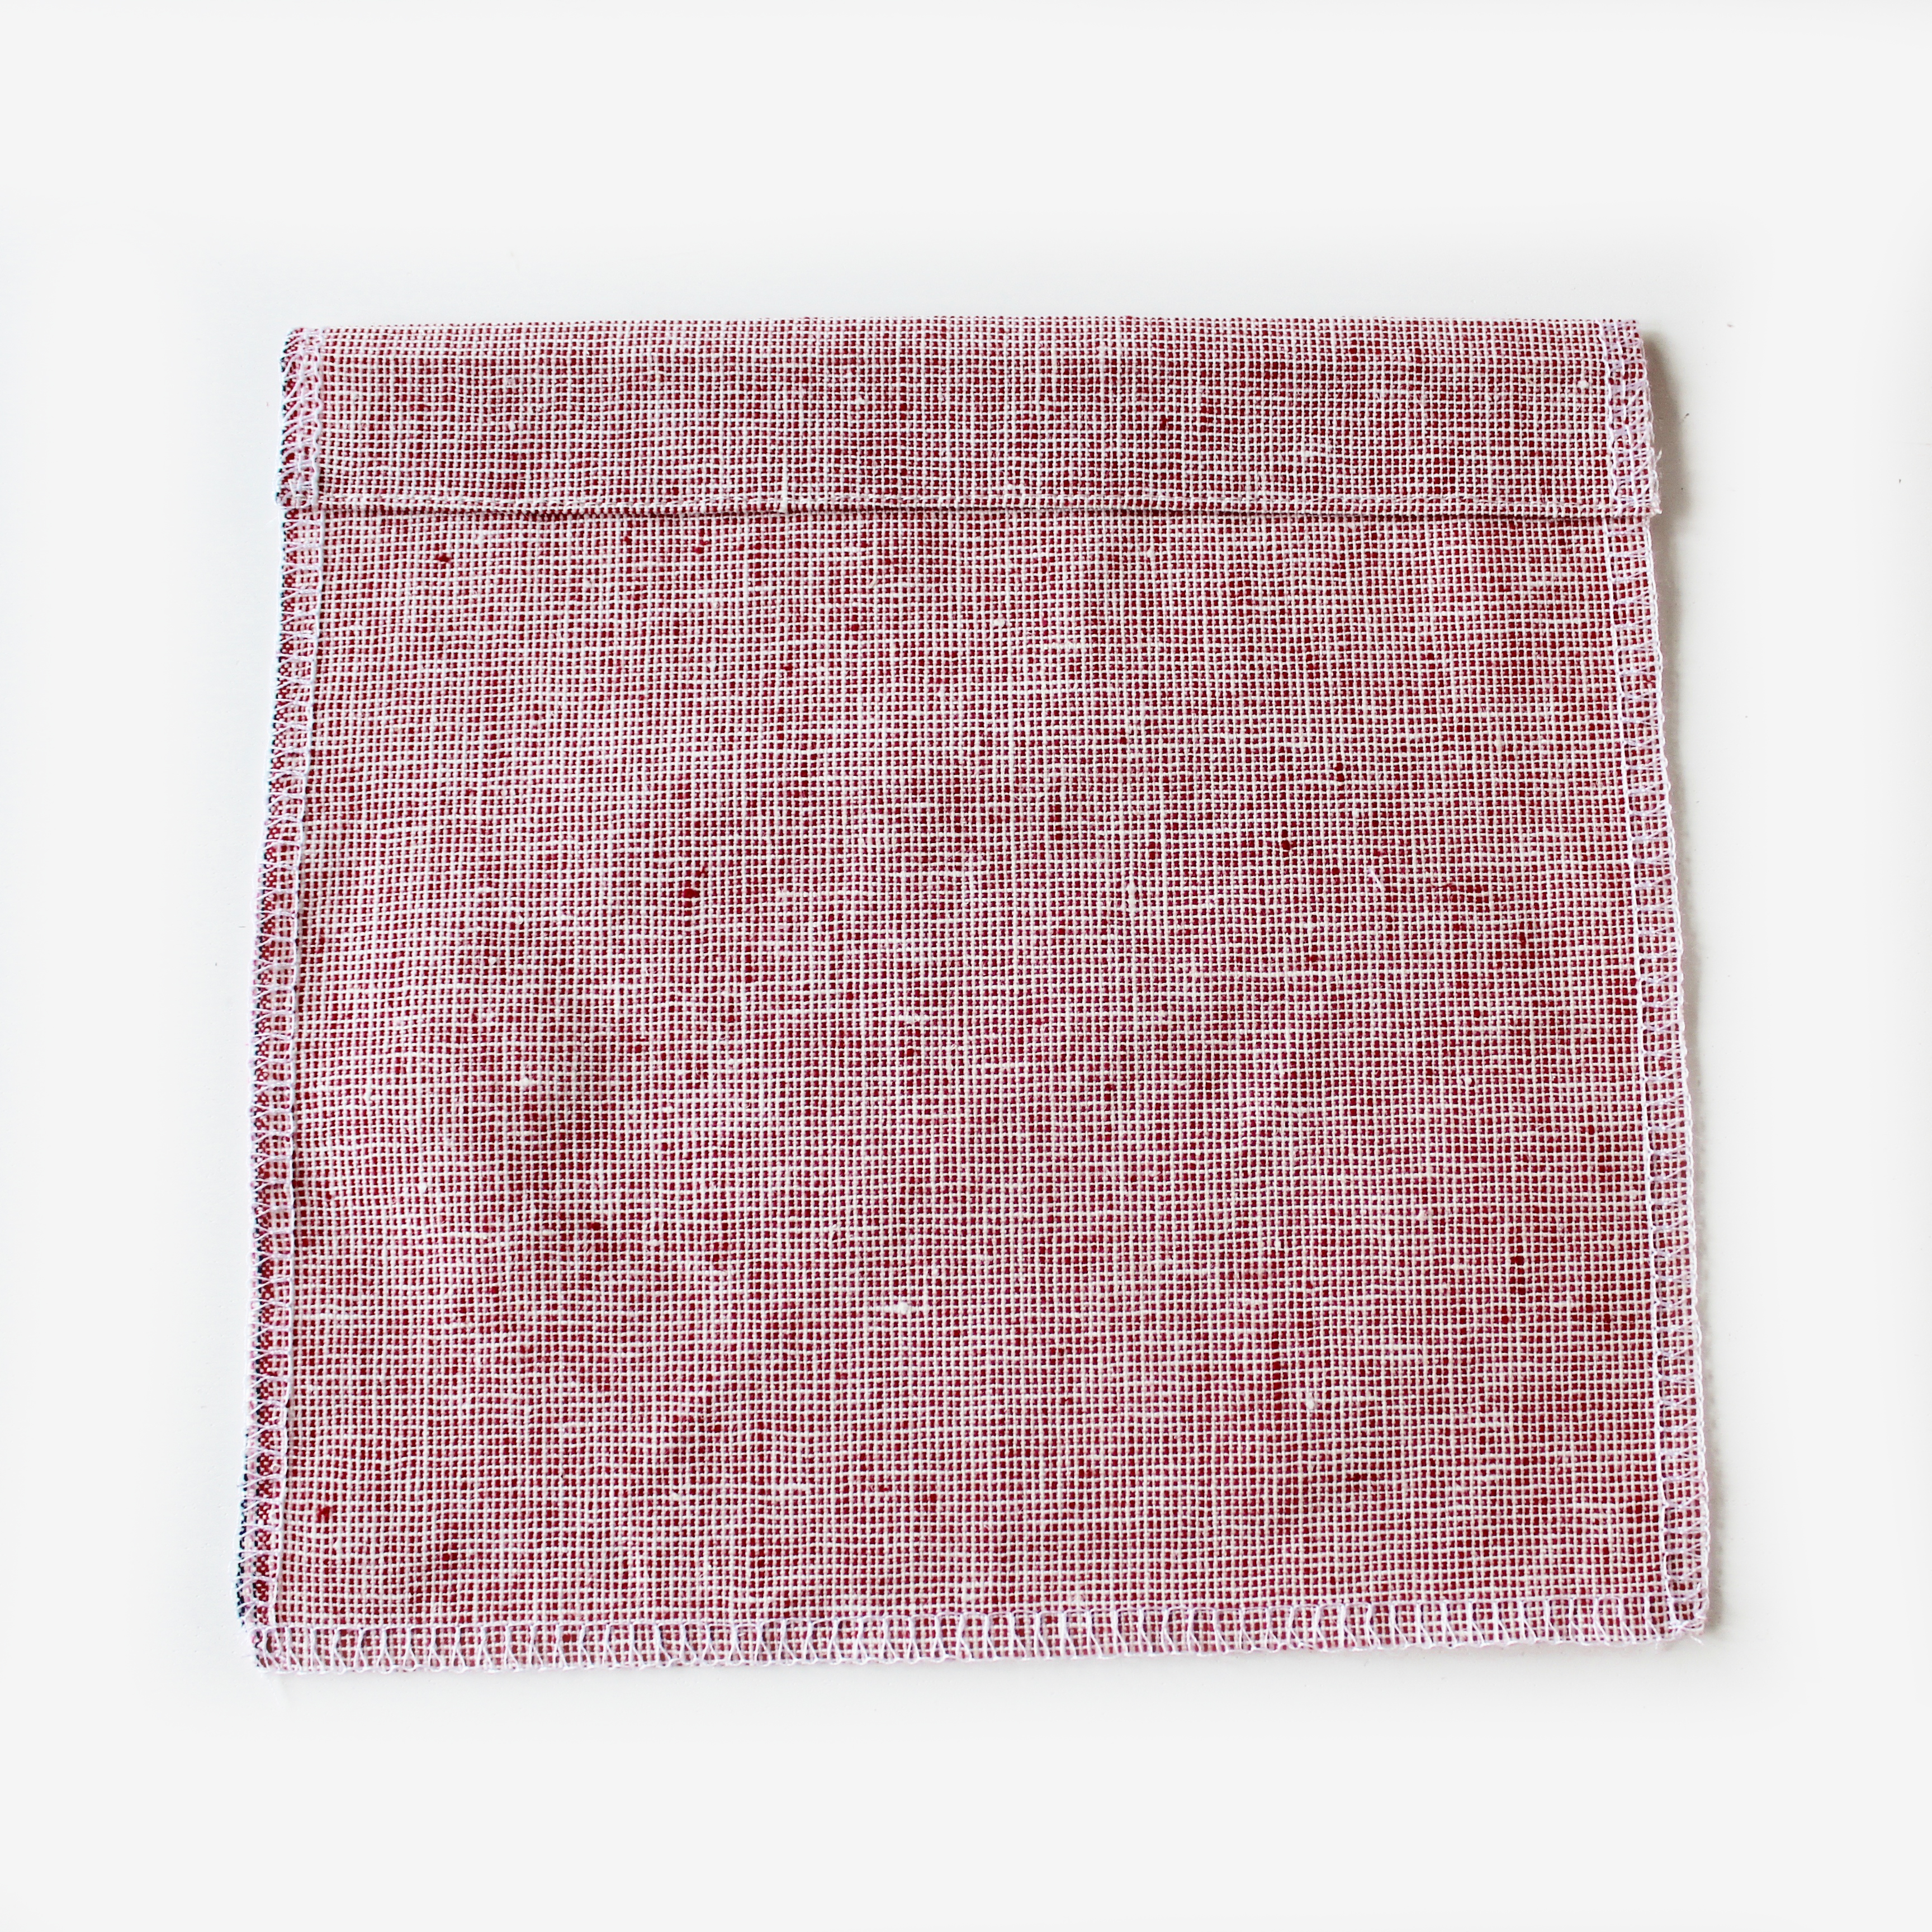
Make your pockets by hemming the top edge and finishing the outer 3 edges. Press over 1cm at these 3 edges.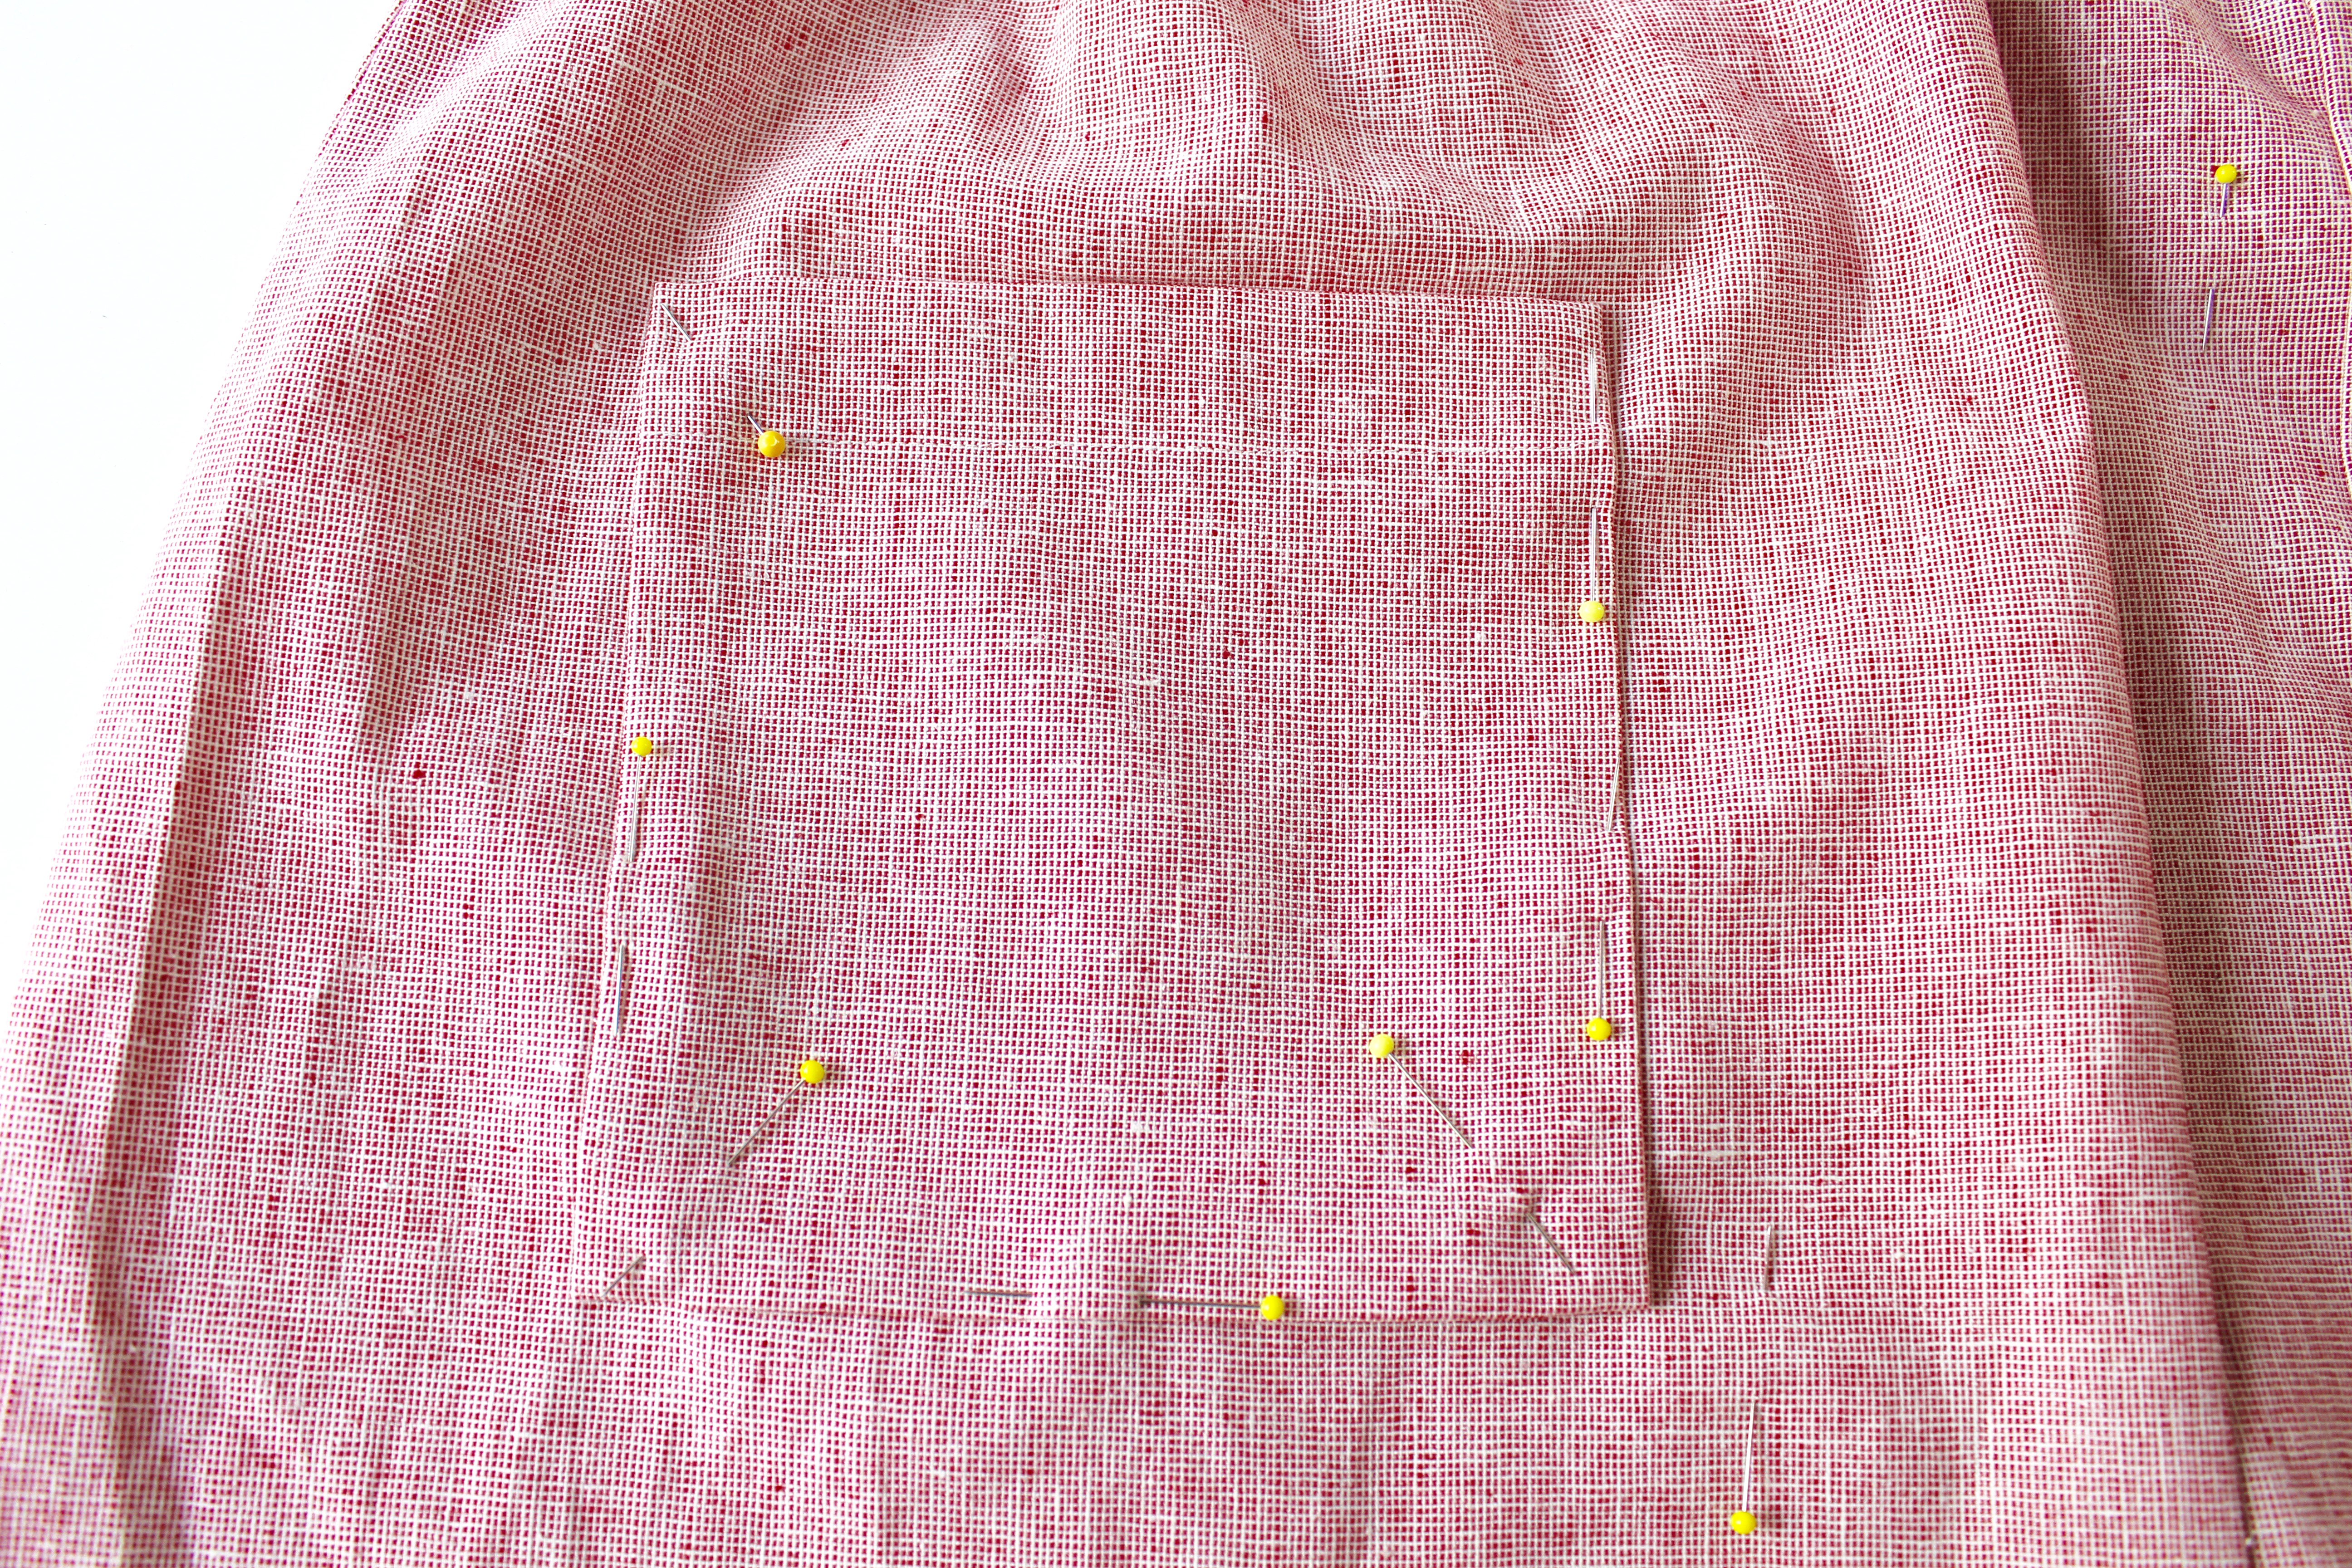

Pin to the body. Hand tack stitch. Topstitch close to the edge.
SLEEVES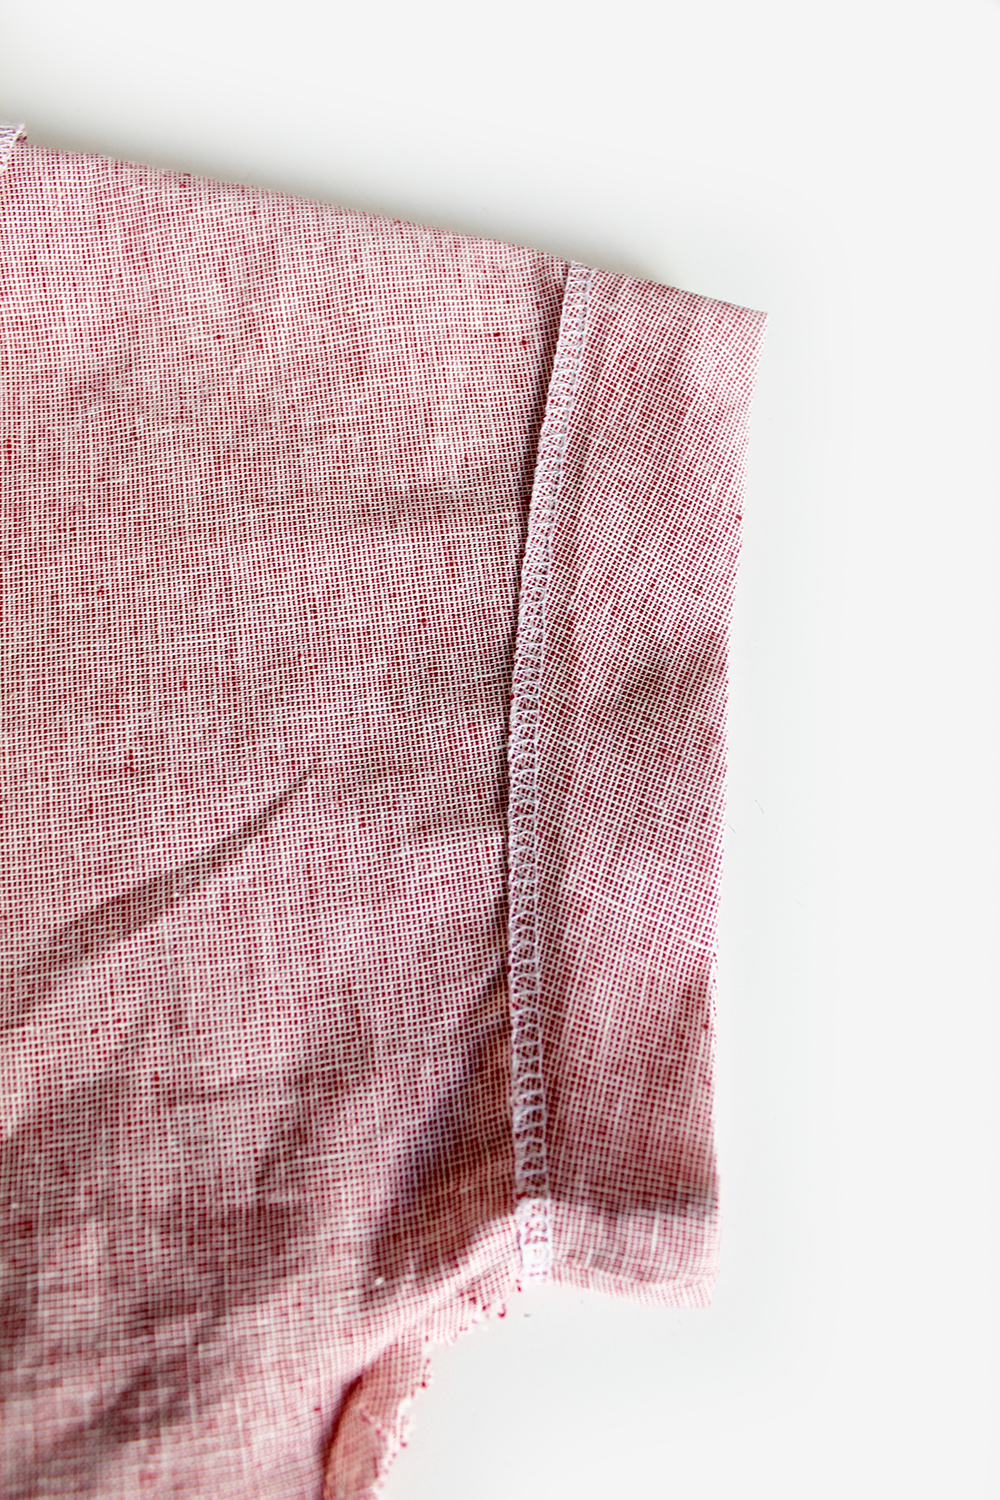
Fold over a 4cm hem at the sleeve edge. Press. Pin. Stitch.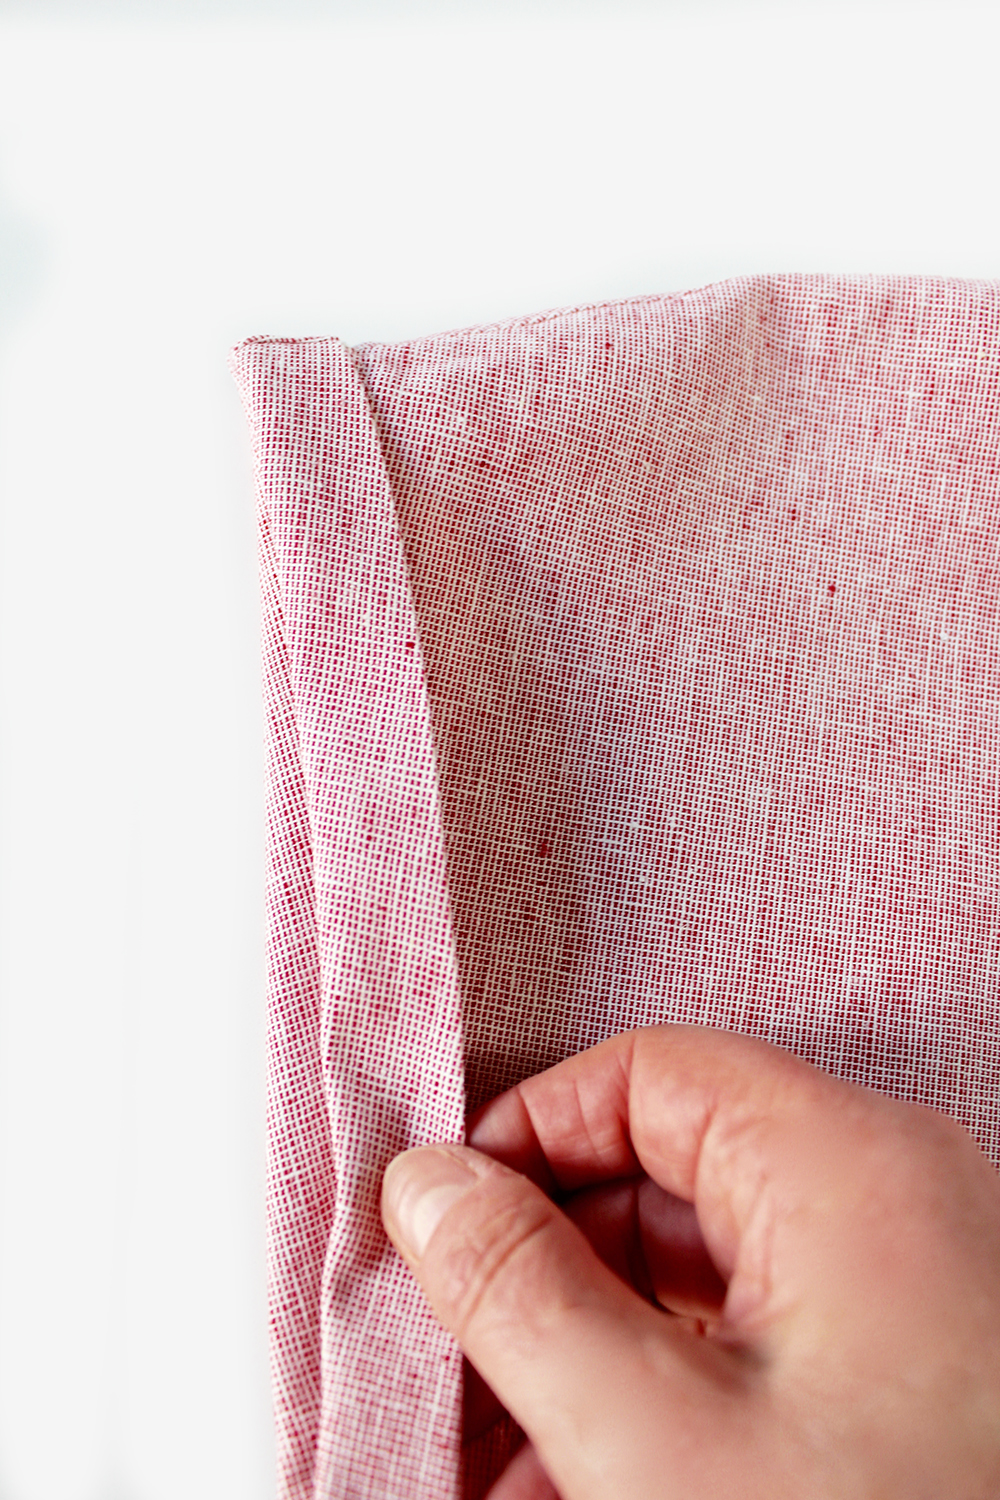
Fold back 2cm. Press. Secure with a few hand stitches at the underarm cross seam to secure if required.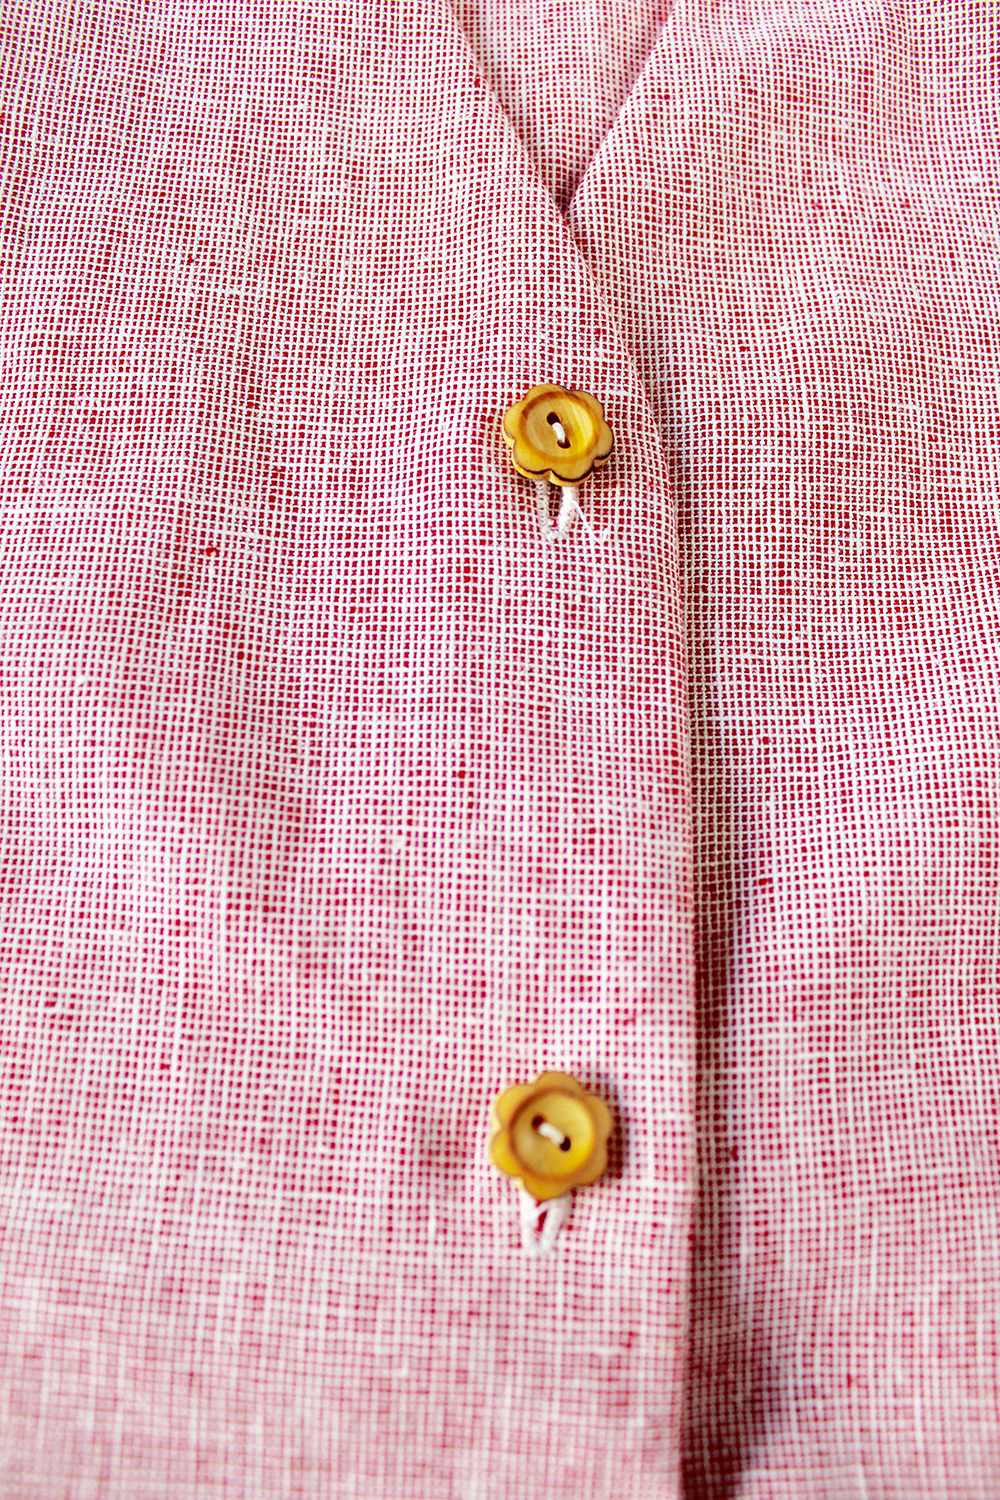
Make your buttonholes, use the position on the template as a guide.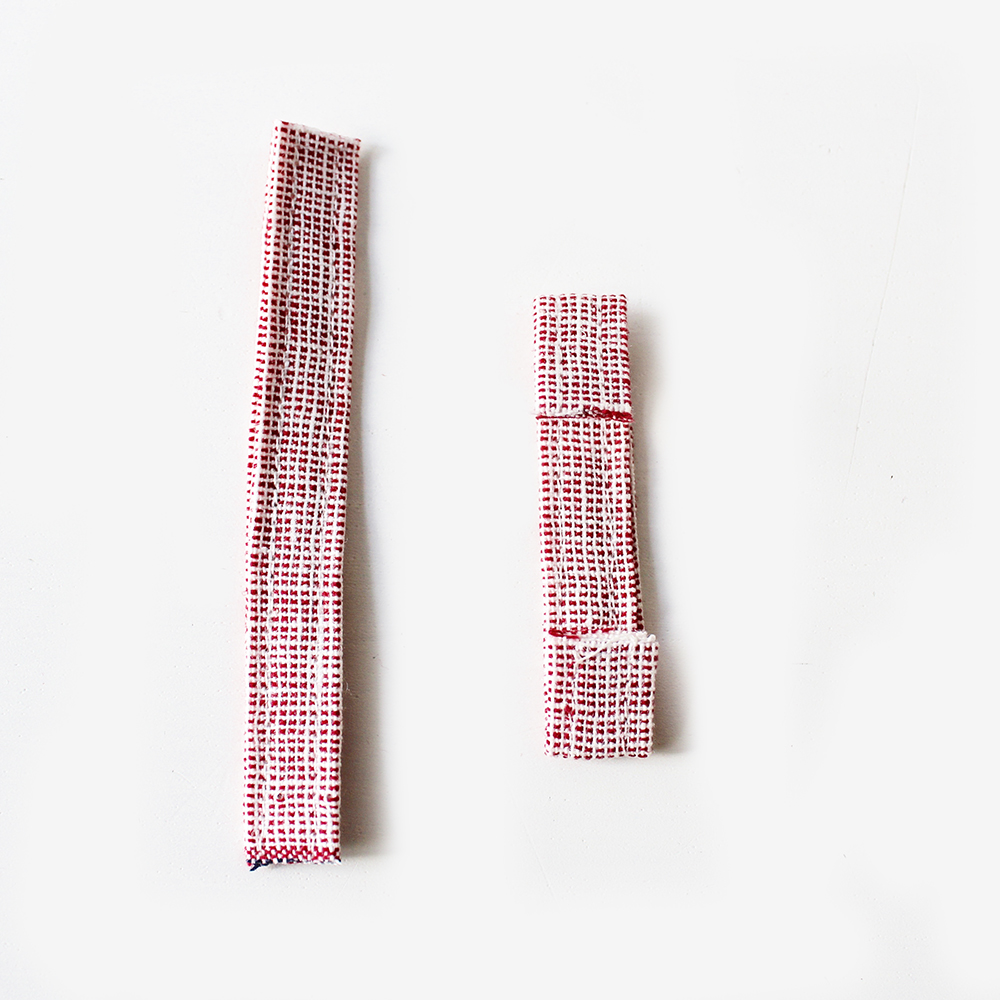
Make your 3 tabs by pressing inwards 1cm each long side, then fold in half. Press, stitch down each long side. Fold up 1cm each short end. Pin to the dress at the sides and centre back. Stitch across the top and lower edge to secure.
TIE BELT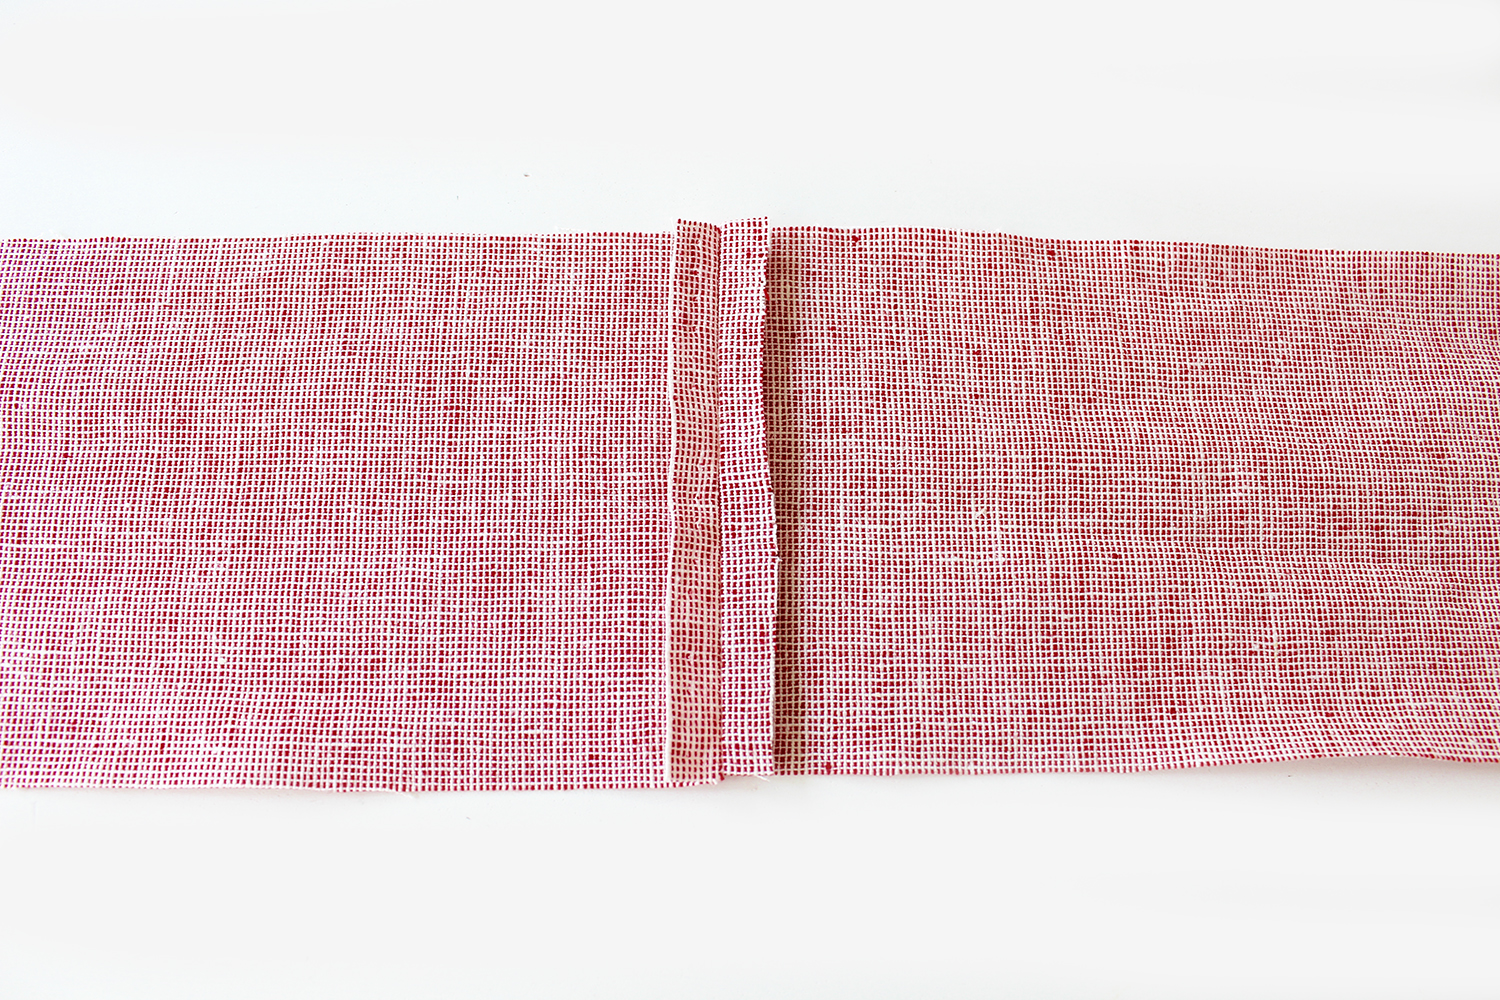
Join the belt pieces together at the short sides with the RST. Press the seam allowances open.
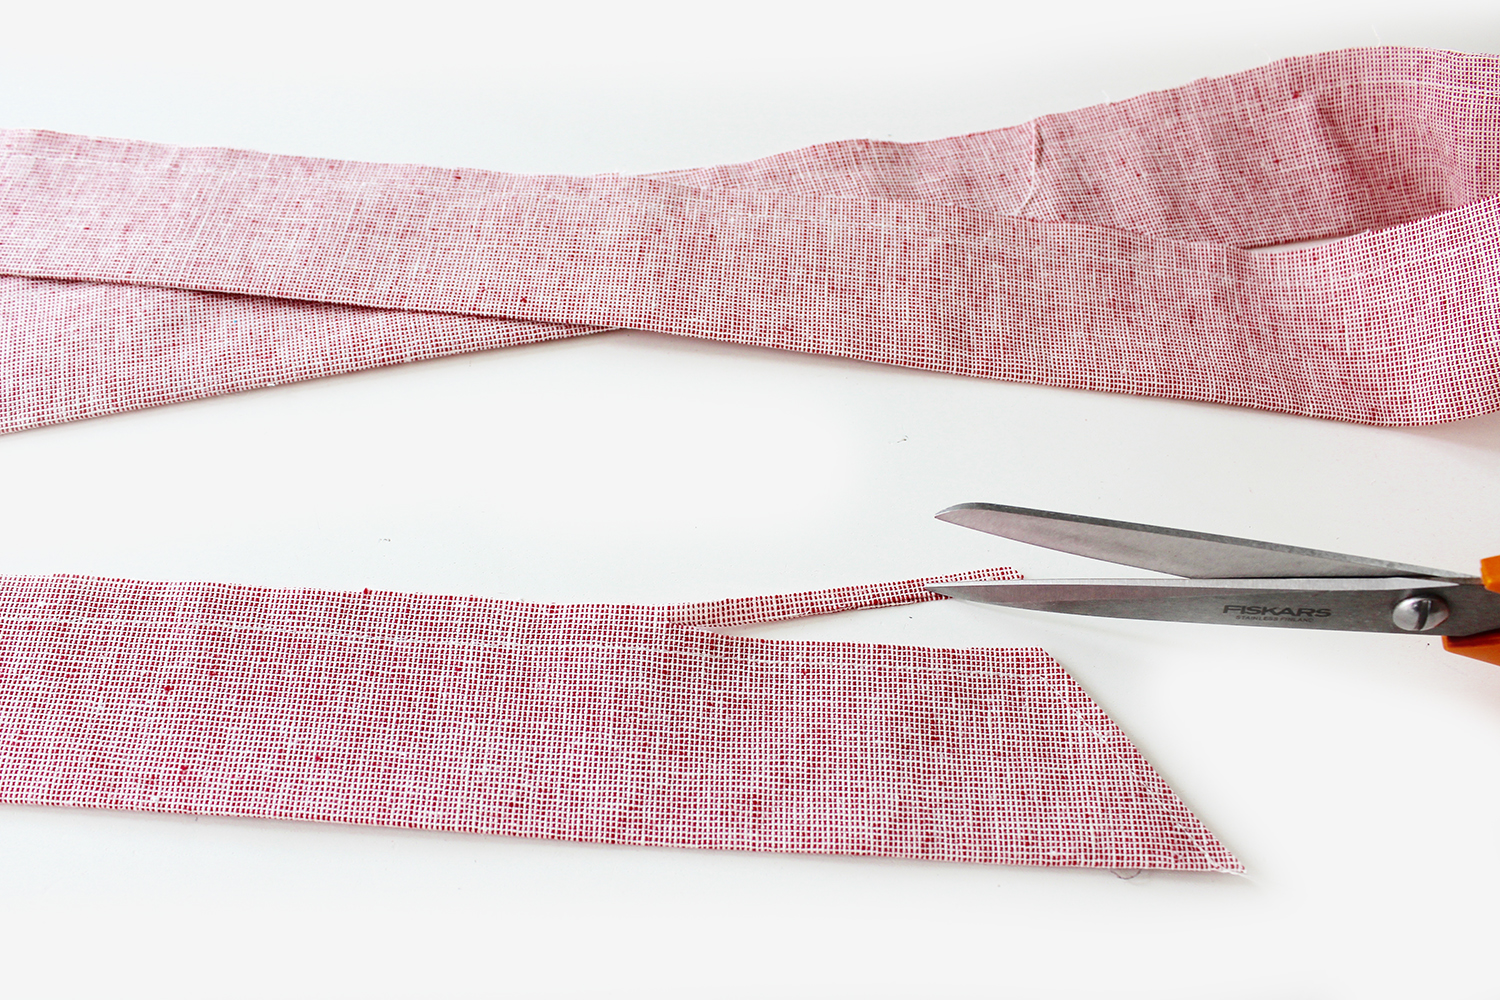
Fold in half so the long edges are matching with the RST. Press. Stitch down one long raw side and across the short diagonal sides, leaving approx 4cm opening at the centre point for turning inside out. Trim the seam allowance to 5mm.
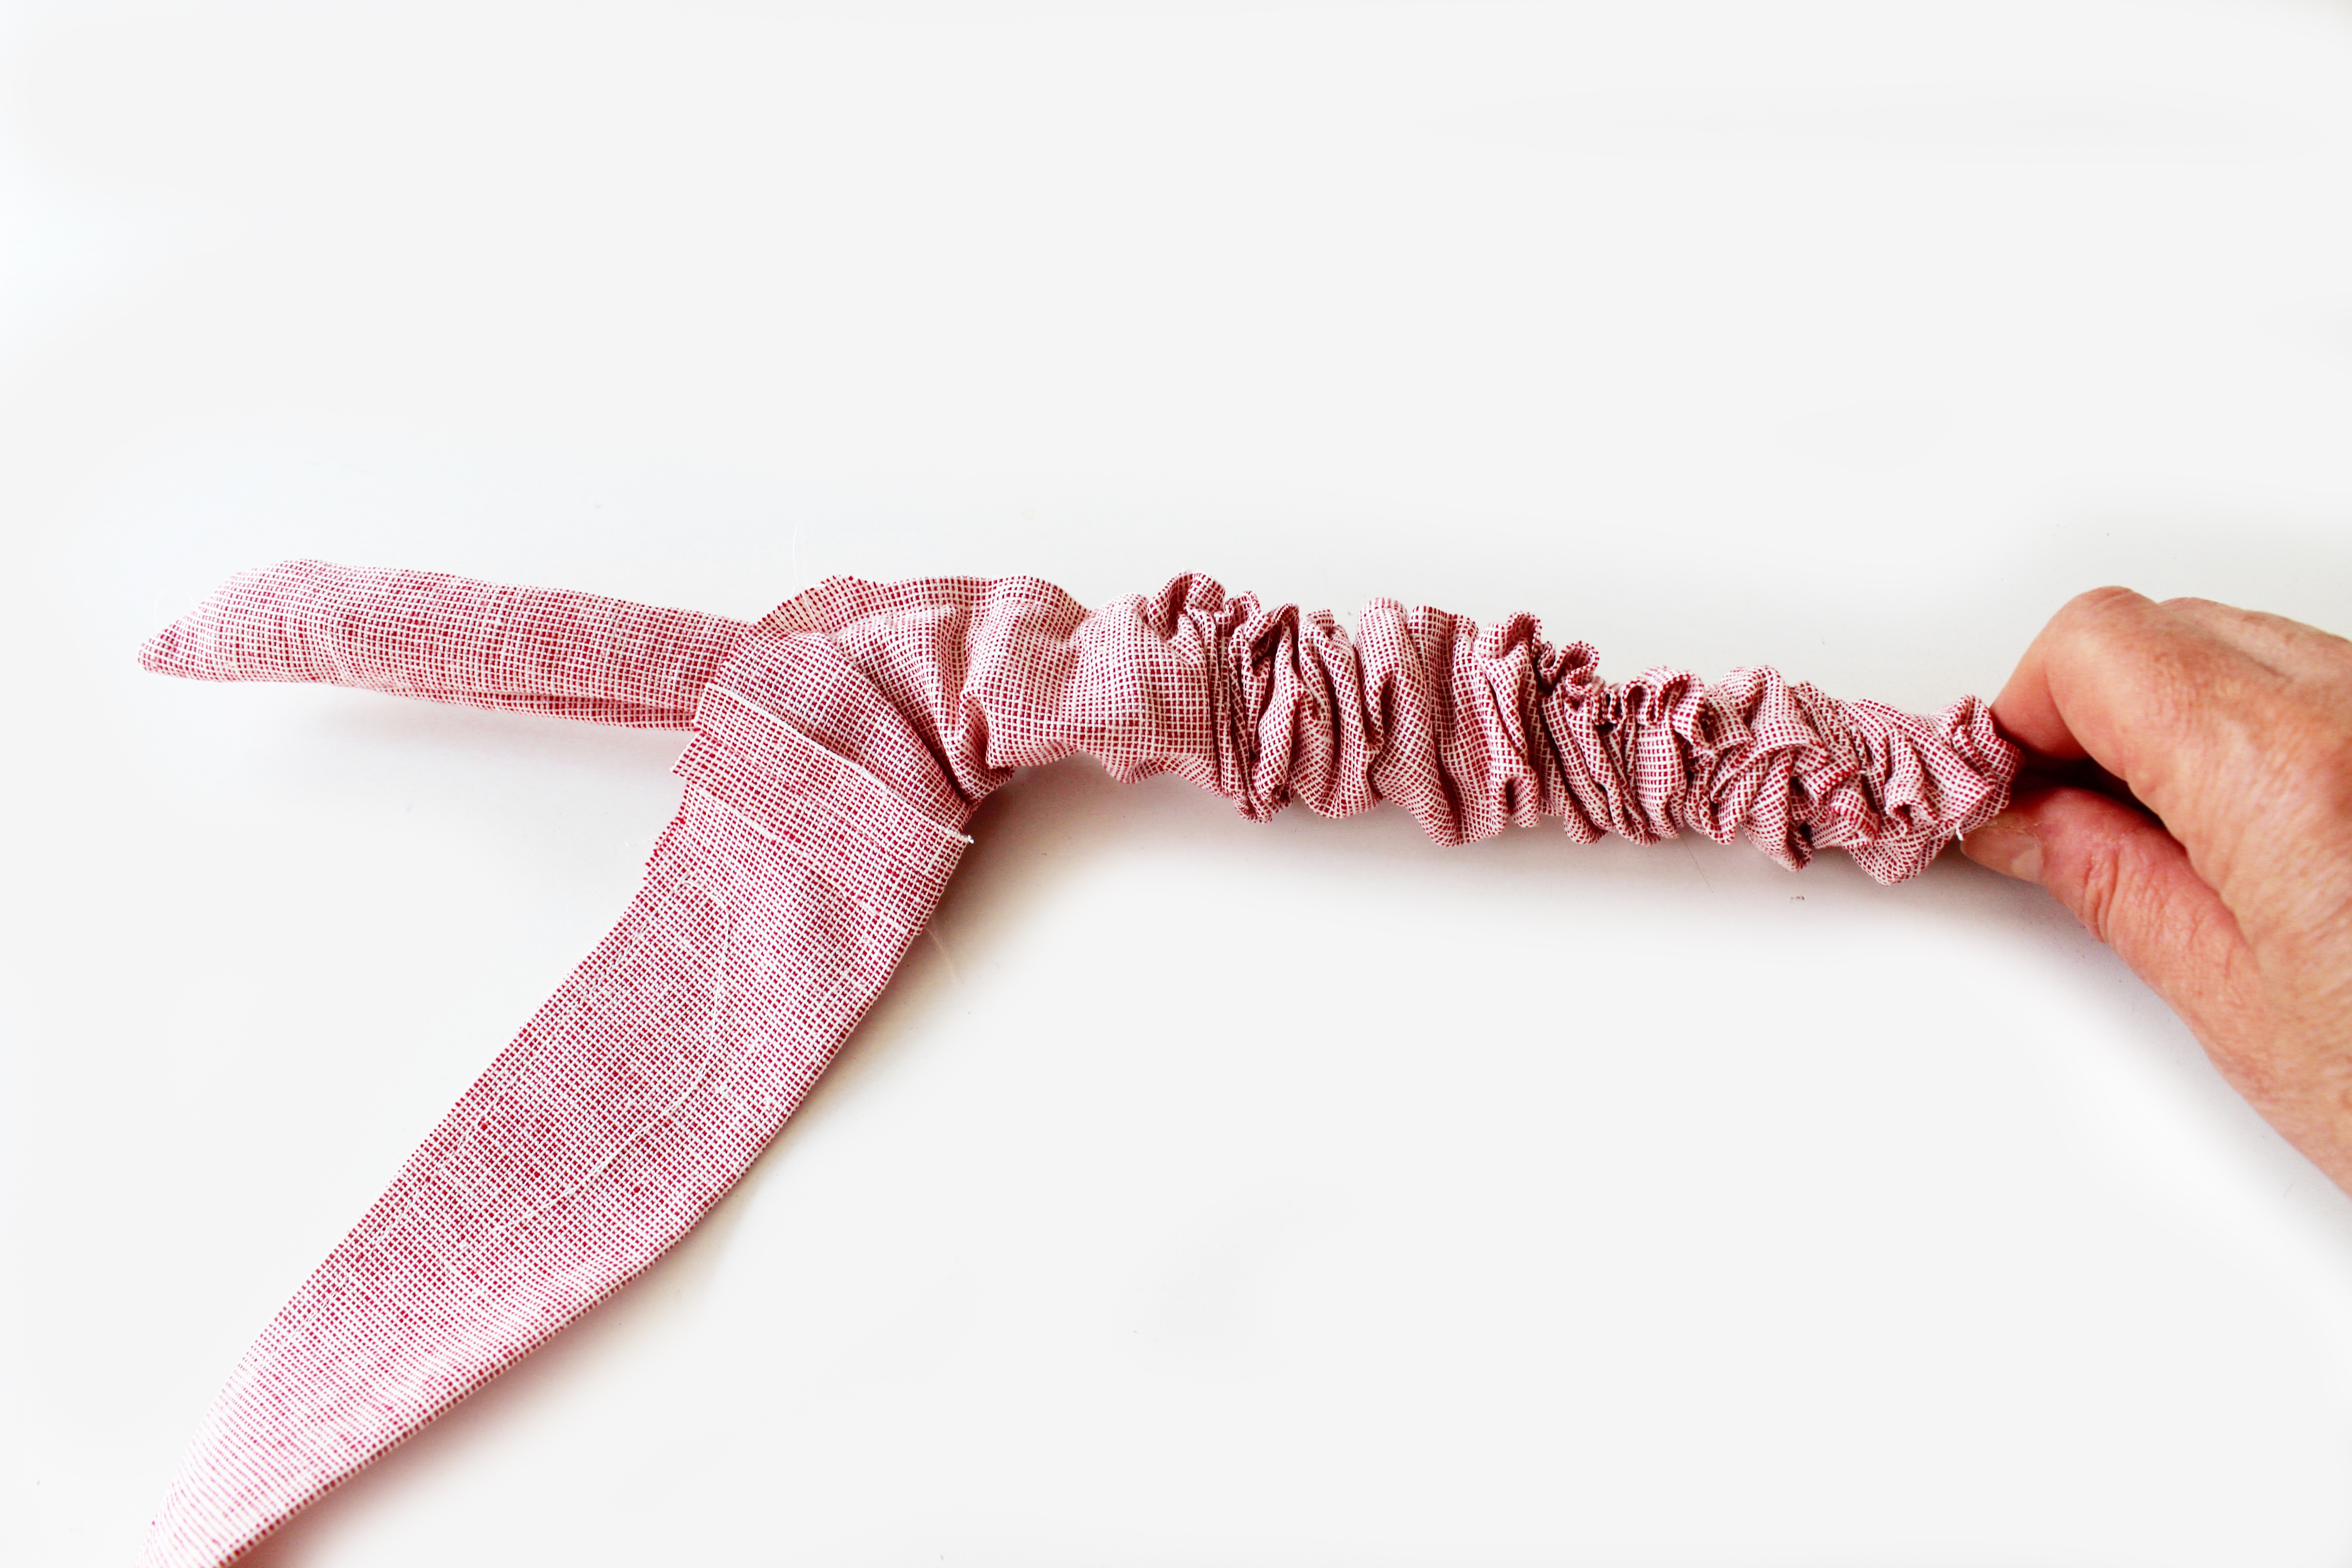
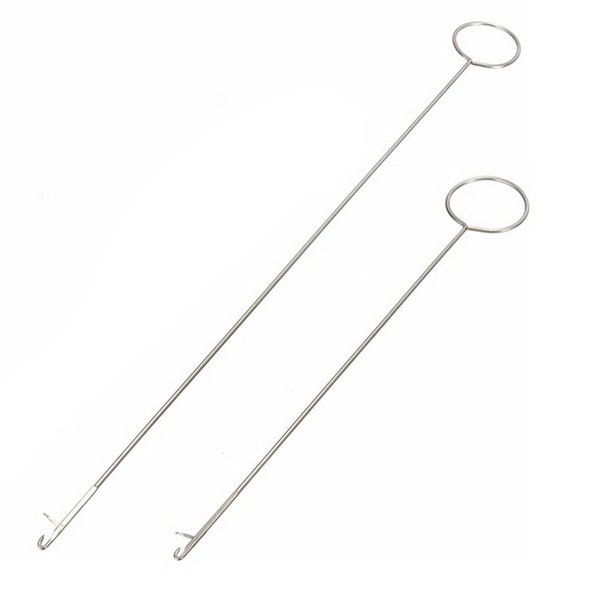
Turn inside out through the opening. These loop turner tools are really useful for this.
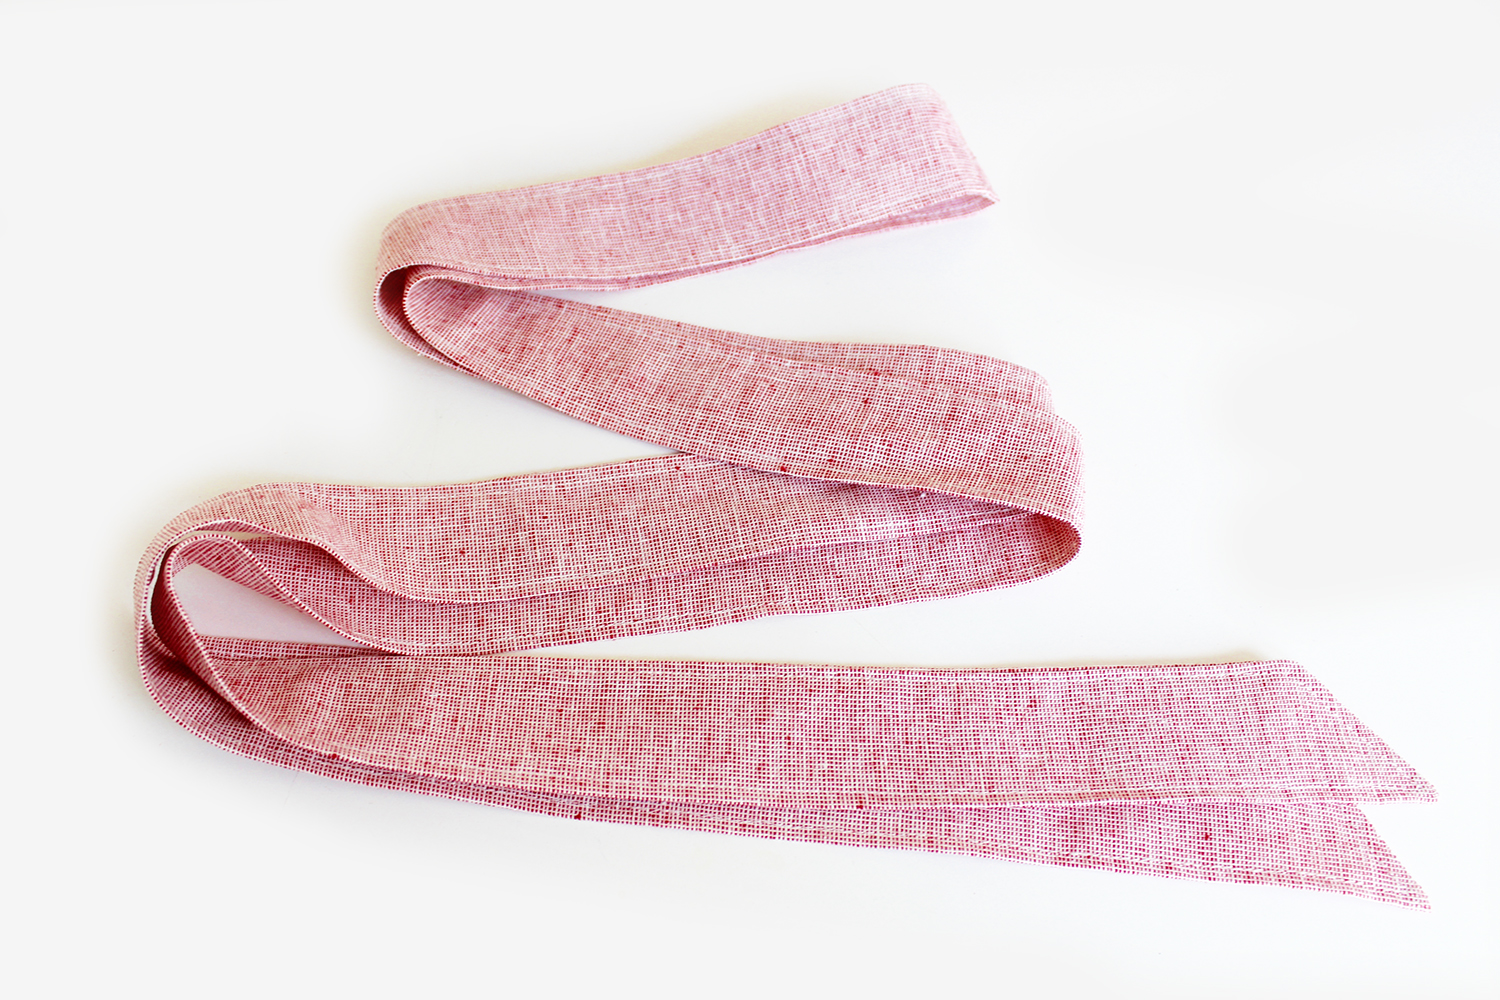
Press. Topstitch all around the outer edge, which seals up the opening at the same time. Tie in a lovely big bow and woo hoo…..ready to go!

Follow me on Instagram @fionahesford_sewgirl or Facebook @sewgirluk