
There are four hat patterns in the Sewgirl collection:
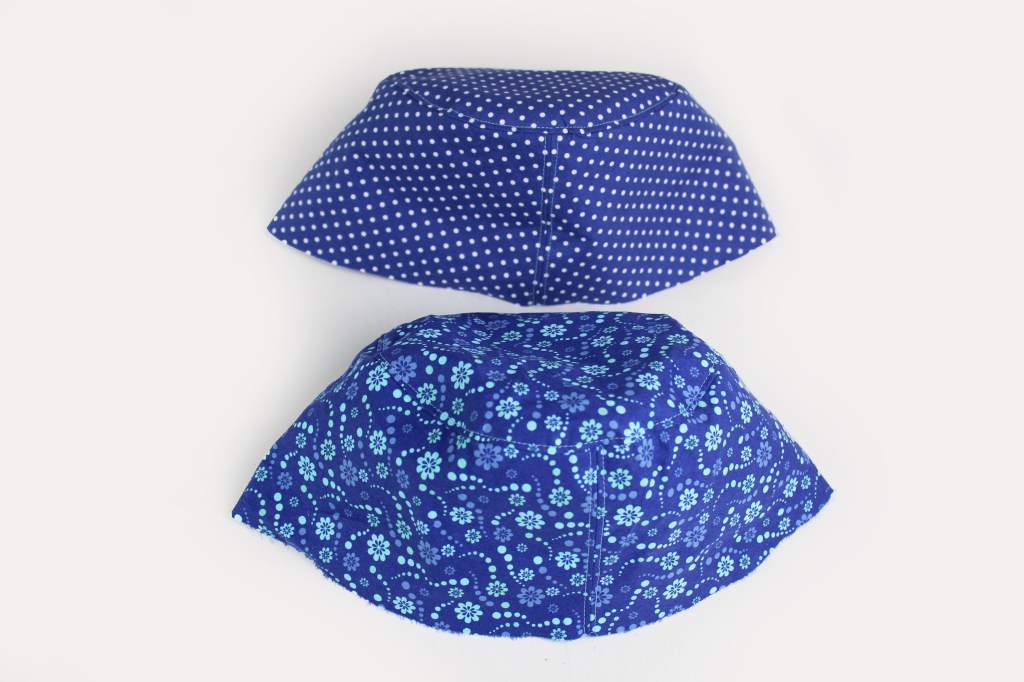
BROMPTON Military Style Hat,
CHELSEA GIRL Hat,
BRIGHTON Hat and
LE CHIC BERET.
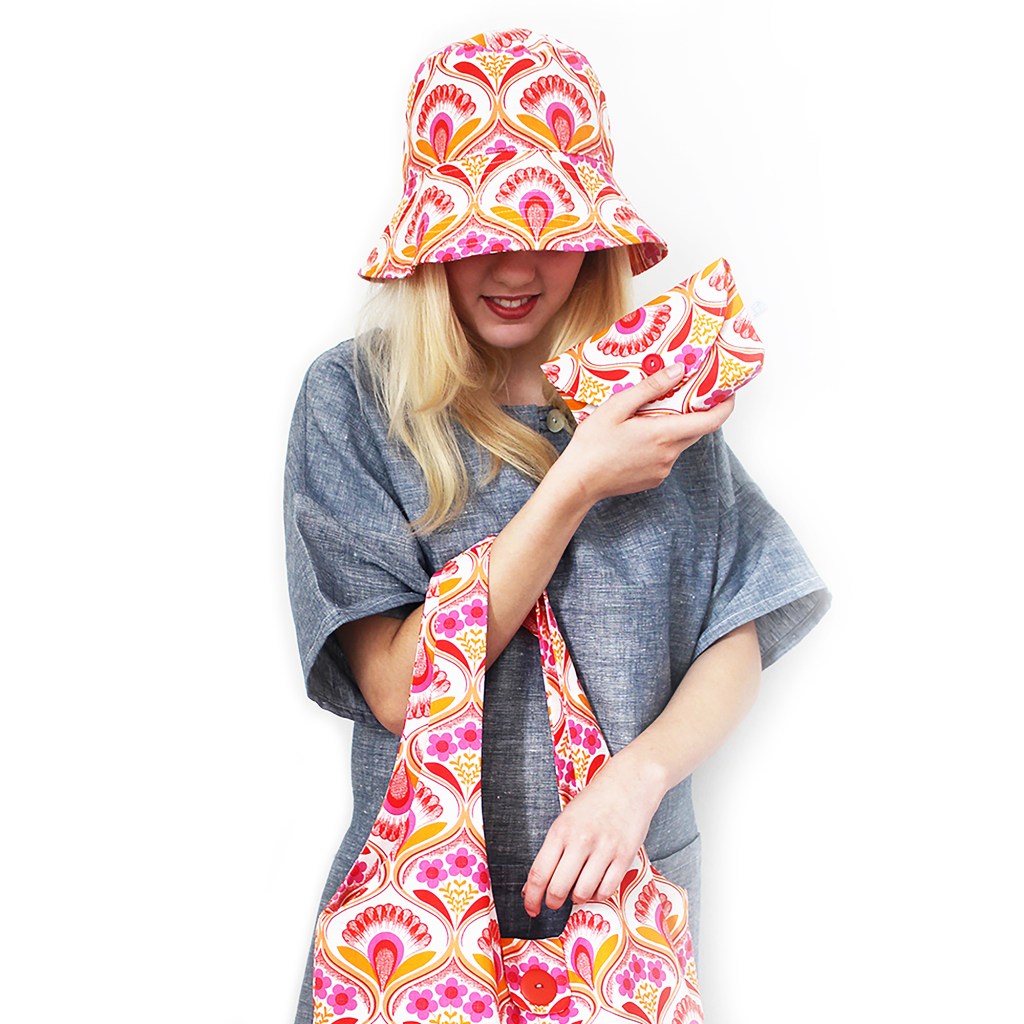

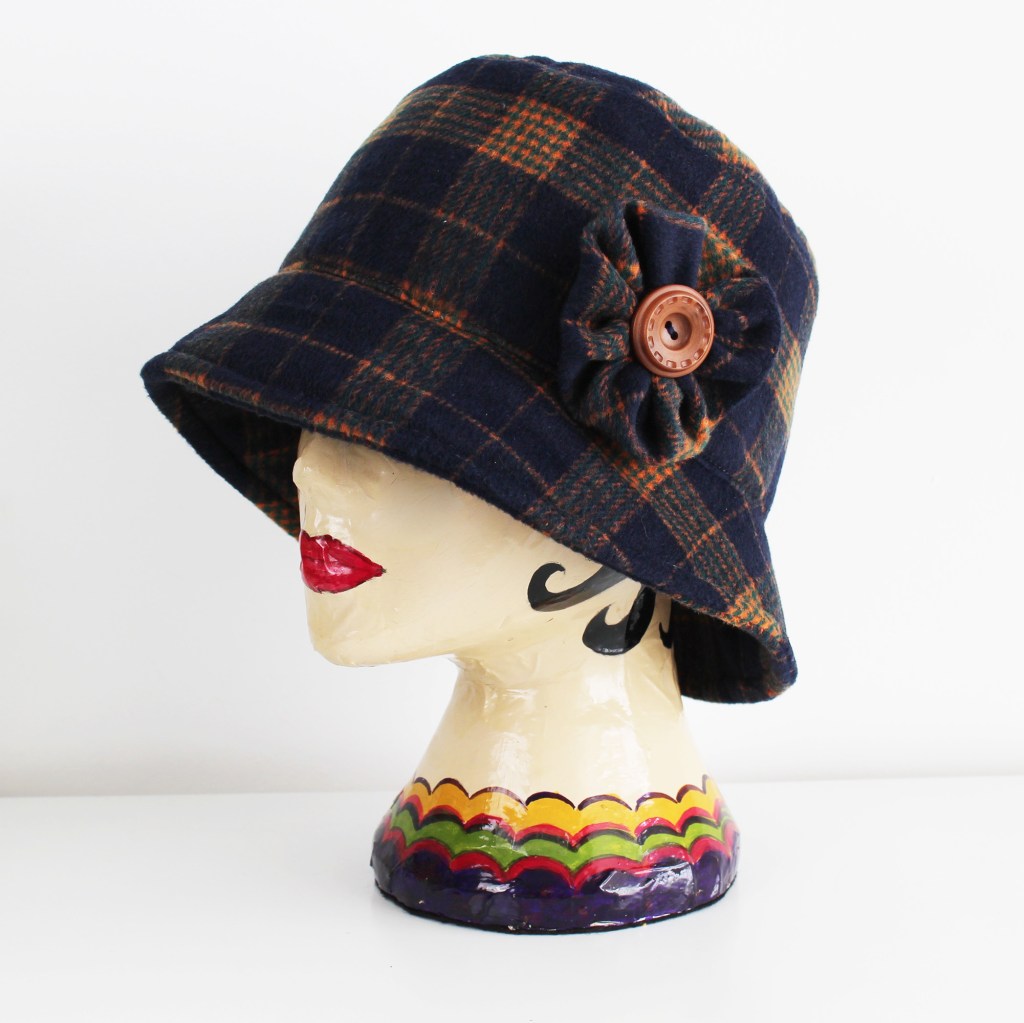
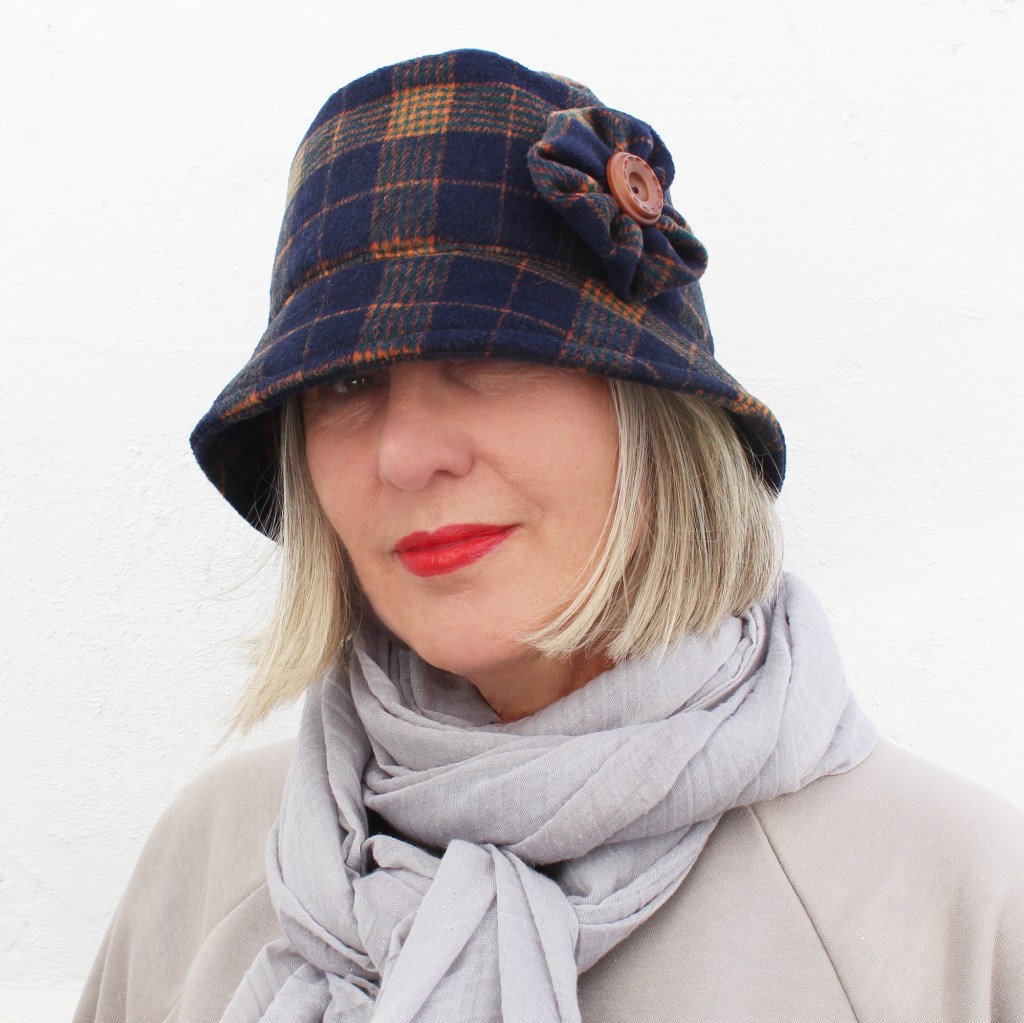
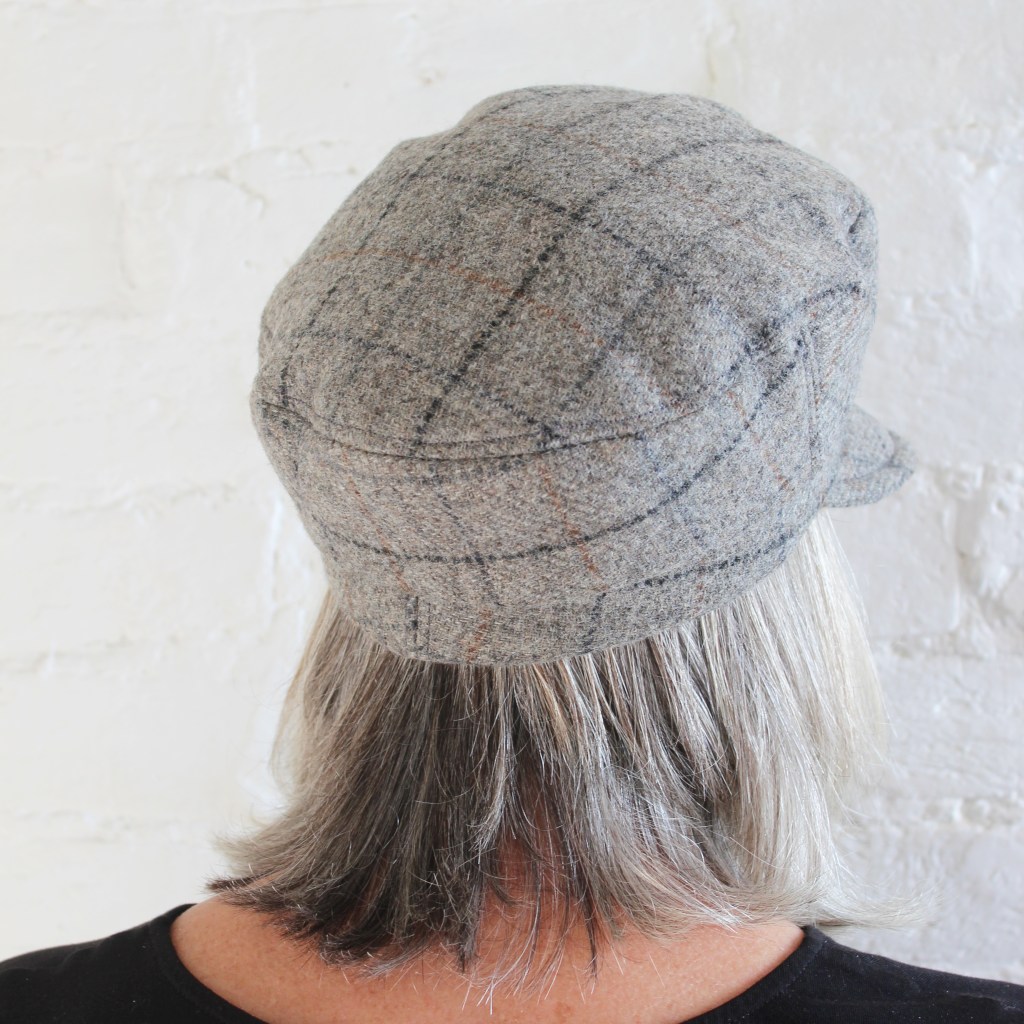
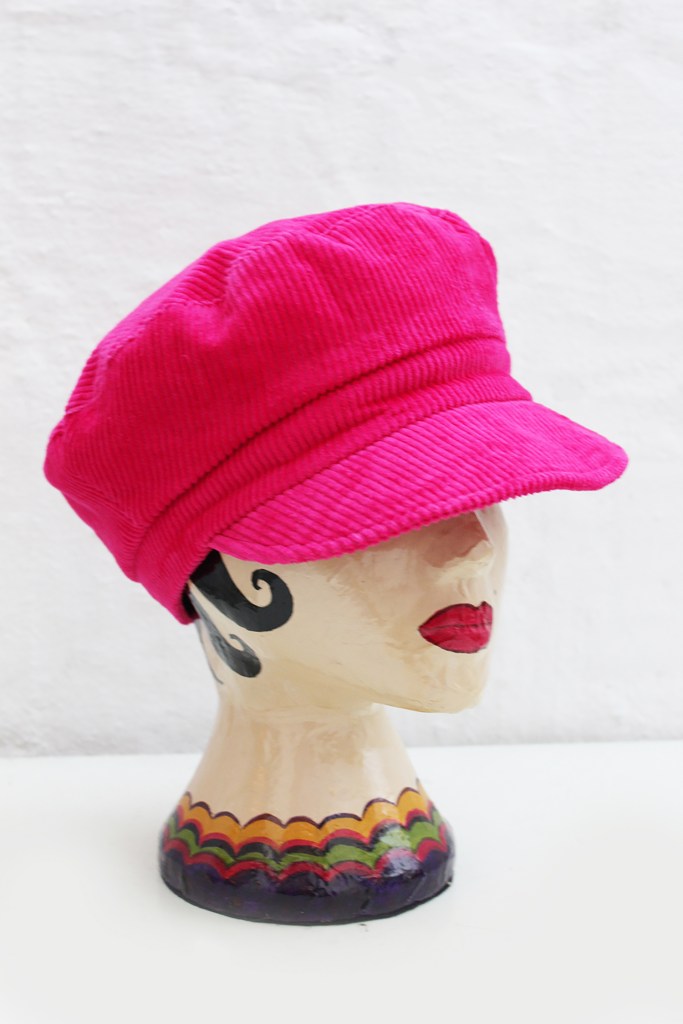
BRIGHTON HAT
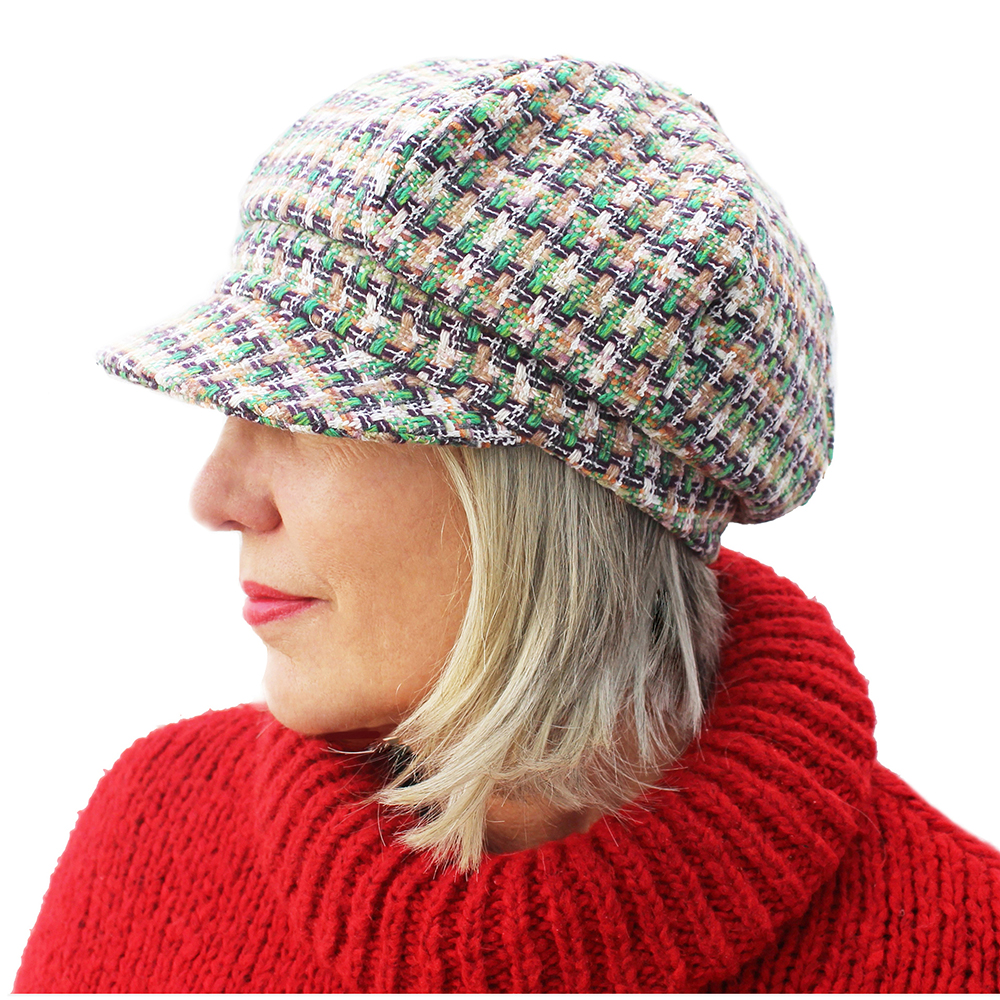
CHELSEA GIRL HAT

BROMPTON MILTARY STYLE HAT

LE CHIC BERET
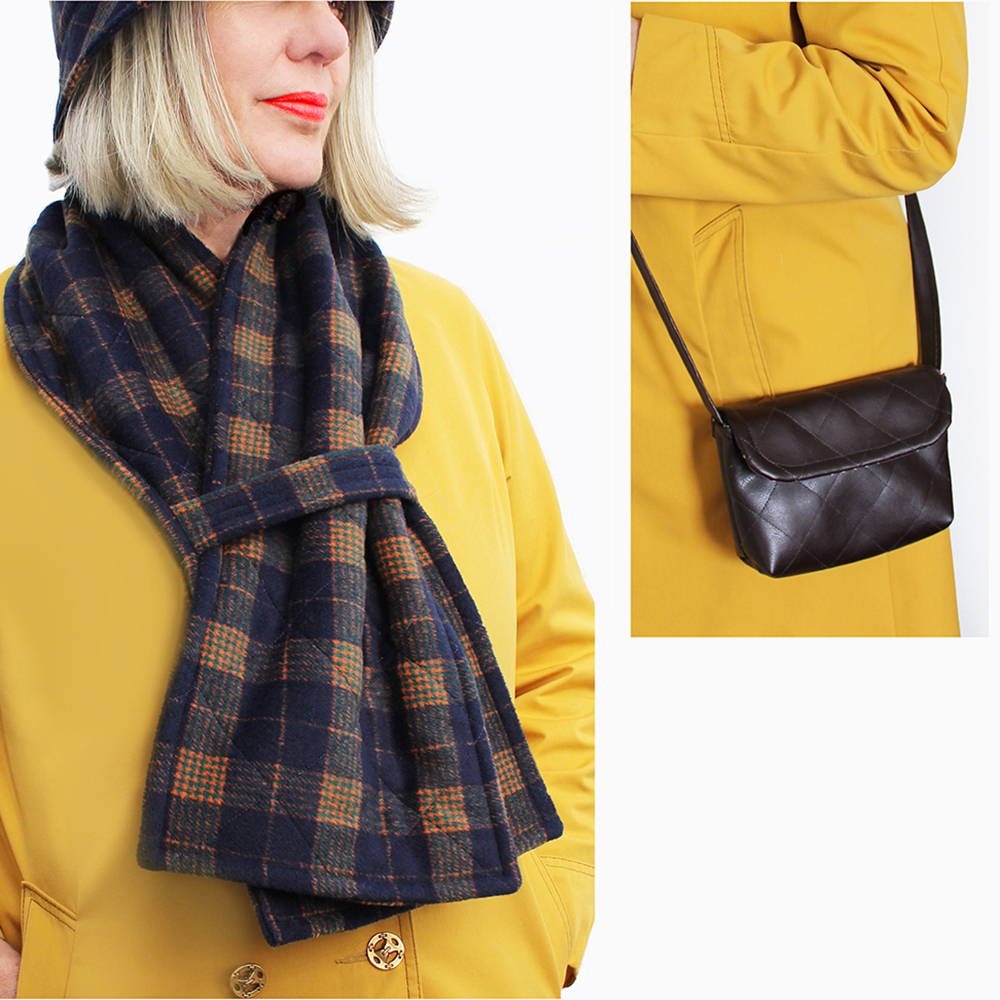
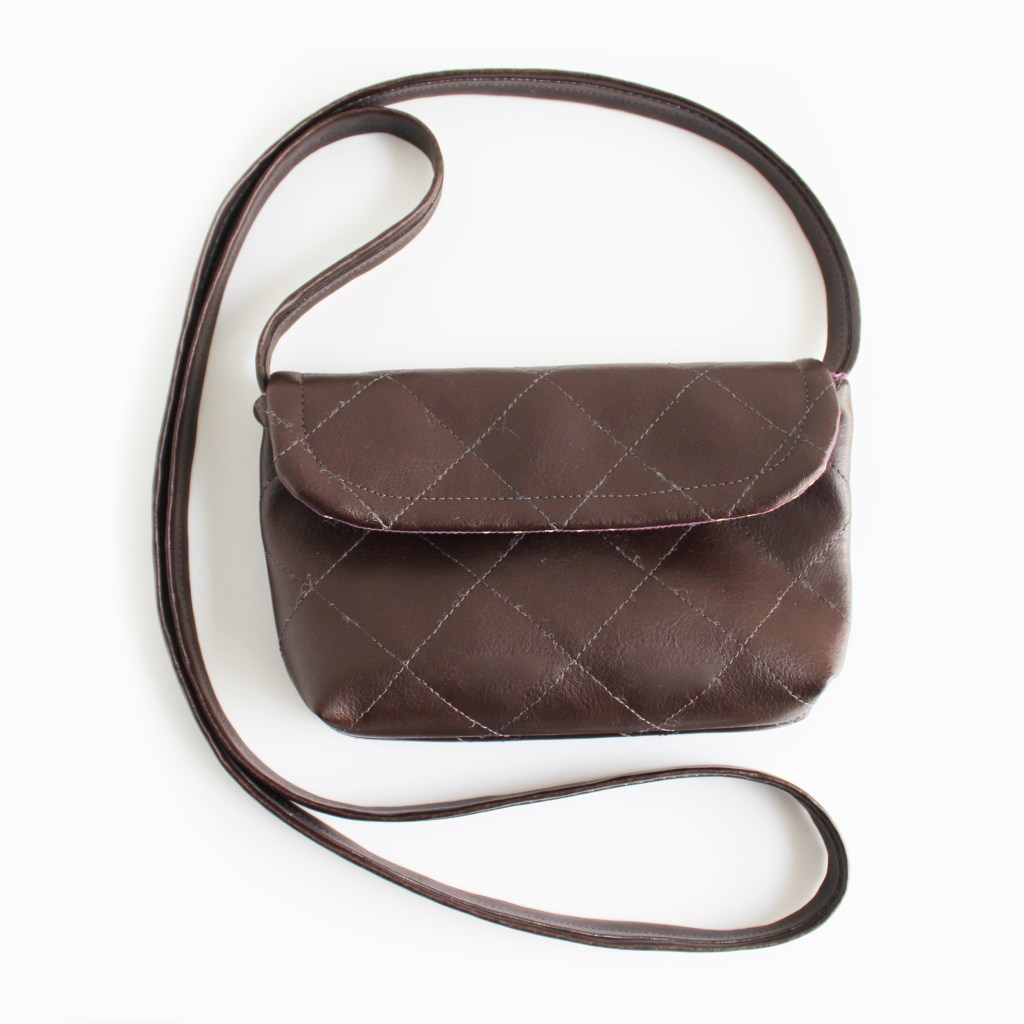
ALSO A WRAP SCARF AND BAGUETTE PURSE TO MATCH YOUR HAT !
I really love making hats! Tweed ones or cotton prints, denim and velvet or needlecord, a hat is an all year round wardrobe essential for any occasion and time of the year.
This blog will show you some of the step by steps to give you an idea about whats involved. To buy any of the patterns, please click any of the shop links.
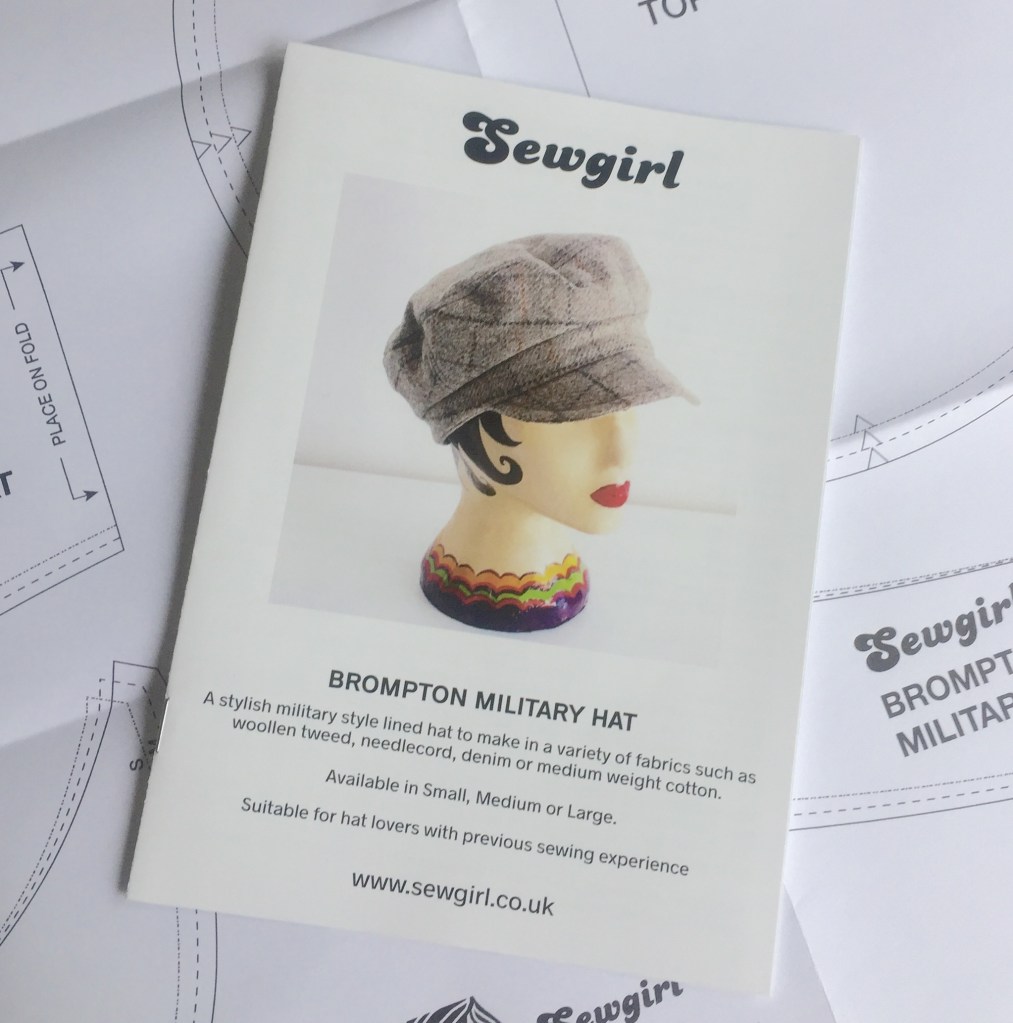
Sewgirl hat patterns are available either as a PDF digital downloads or as a paper pattern on the Shop. All hats can be made in sizes small, medium or large. To measure around your head , extend a tape measure around your forehead and above your ears.
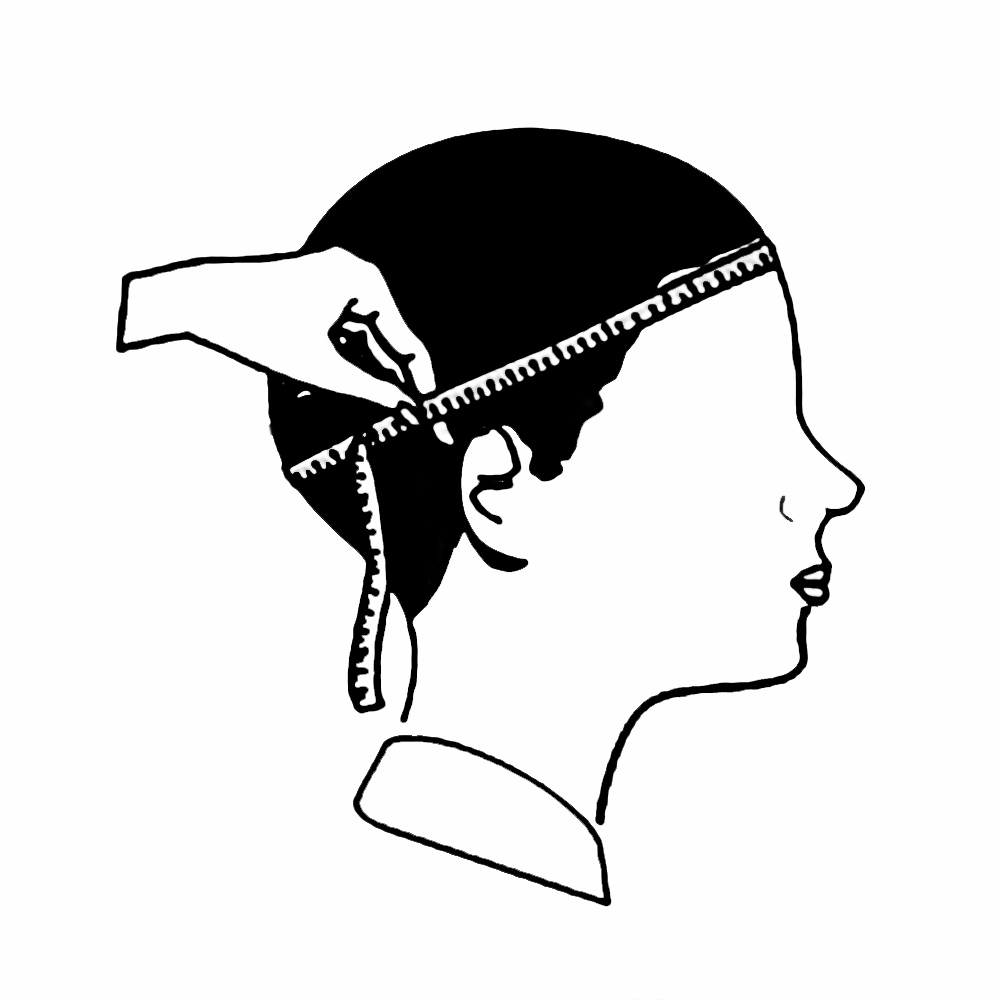
Measure your head for size: SMALL = 55cm (21 3/4″, MEDIUM = 57cm (22 1/2″), LARGE = 59cm (23 1/4″)
Suitable for sewists with some previous experience
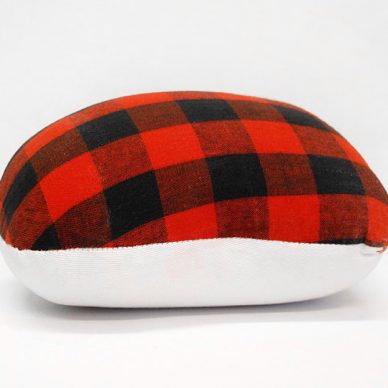
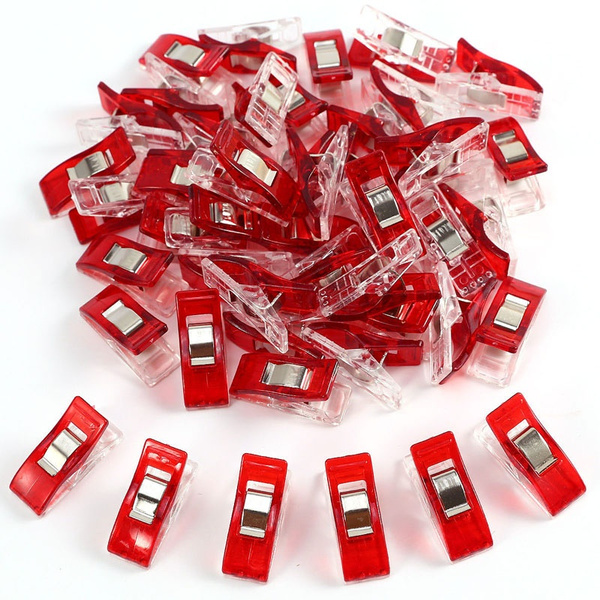
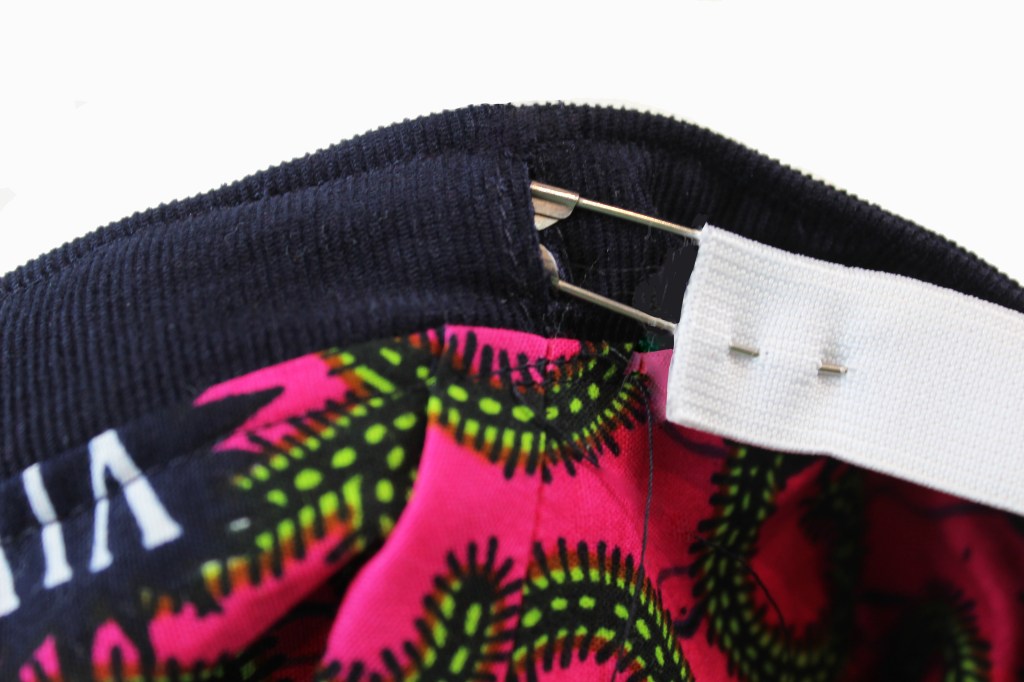
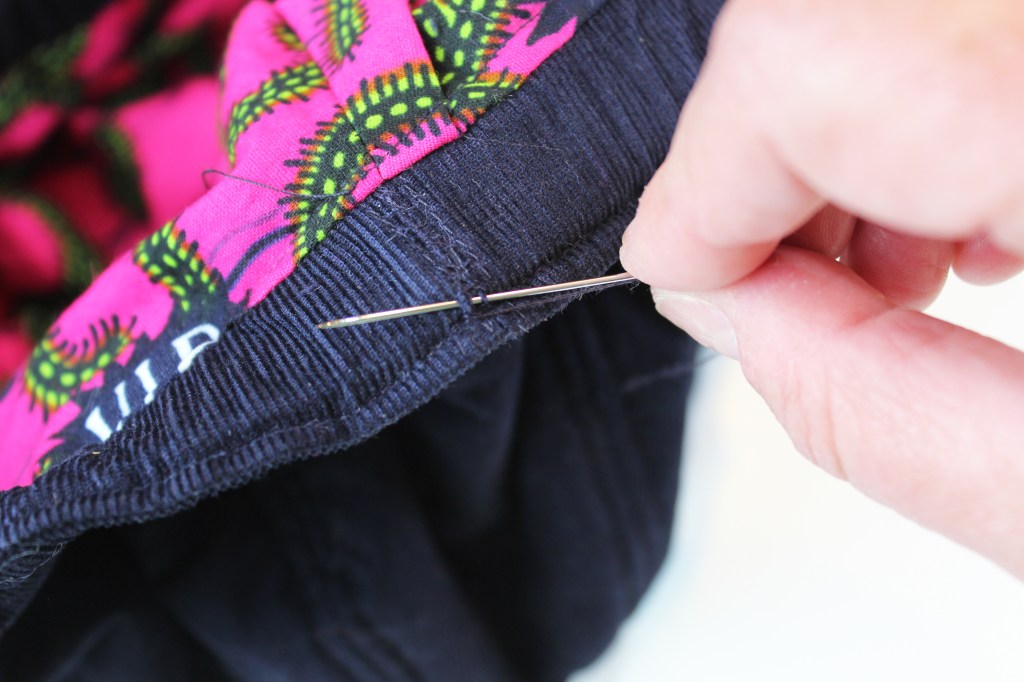
EQUIPMENT REQUIRED: Tailor’s ham, pinking shears, pins / quilter’s clips, stitch ripper and a poking tool.
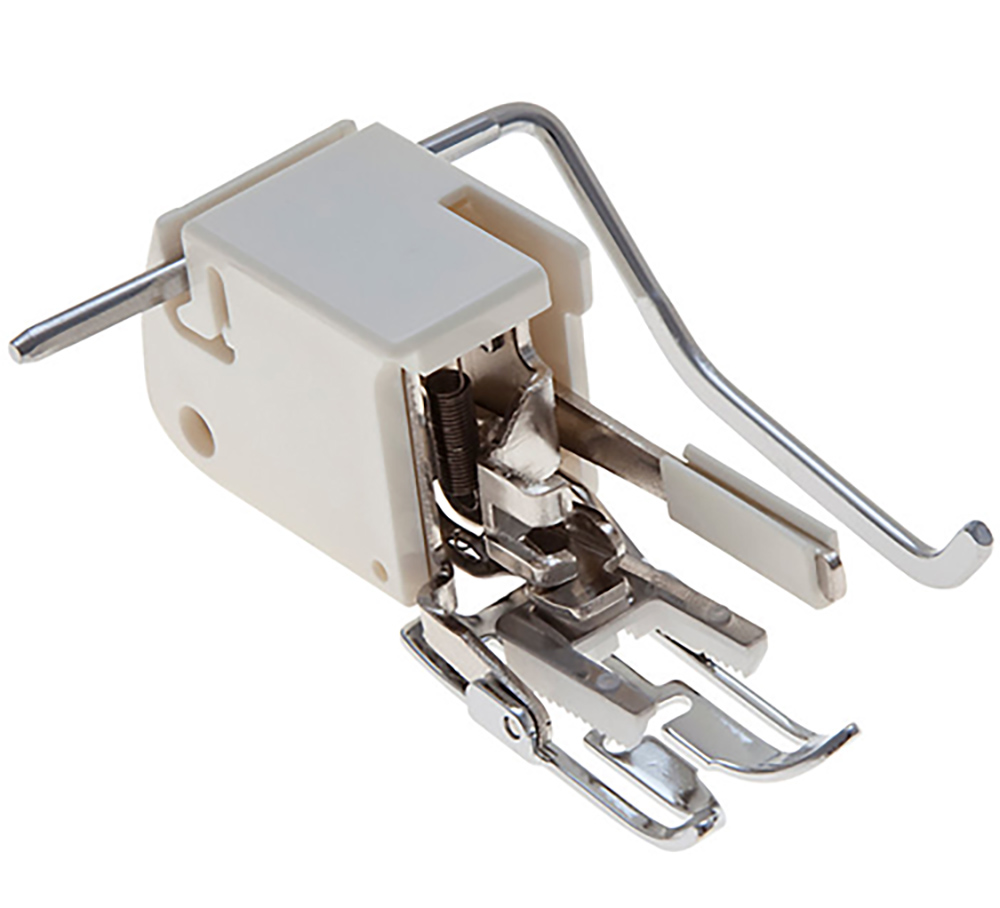
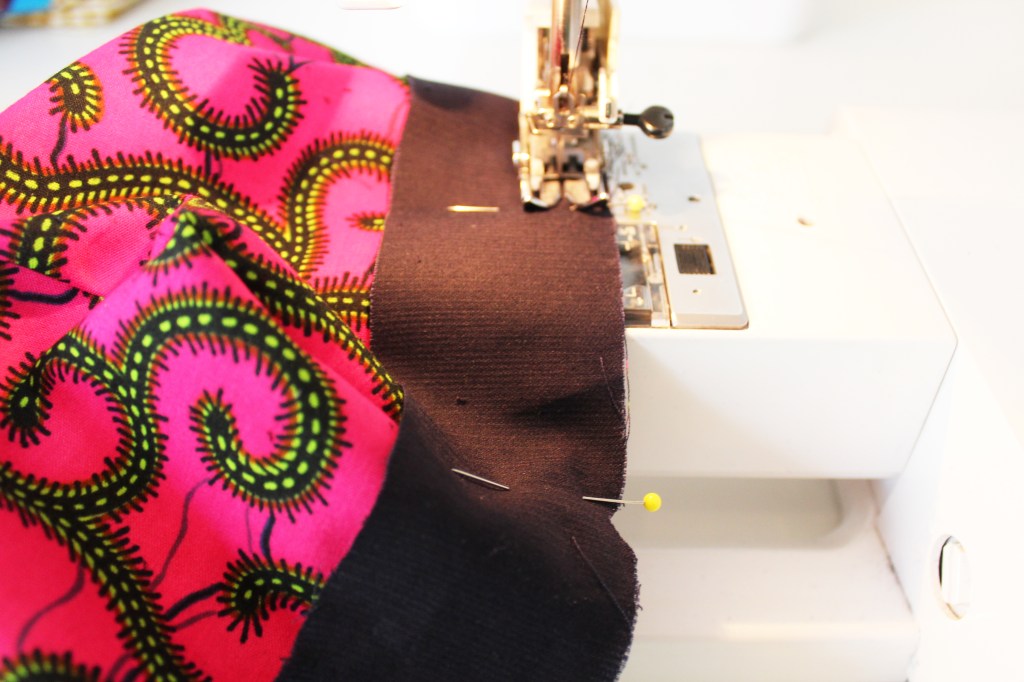
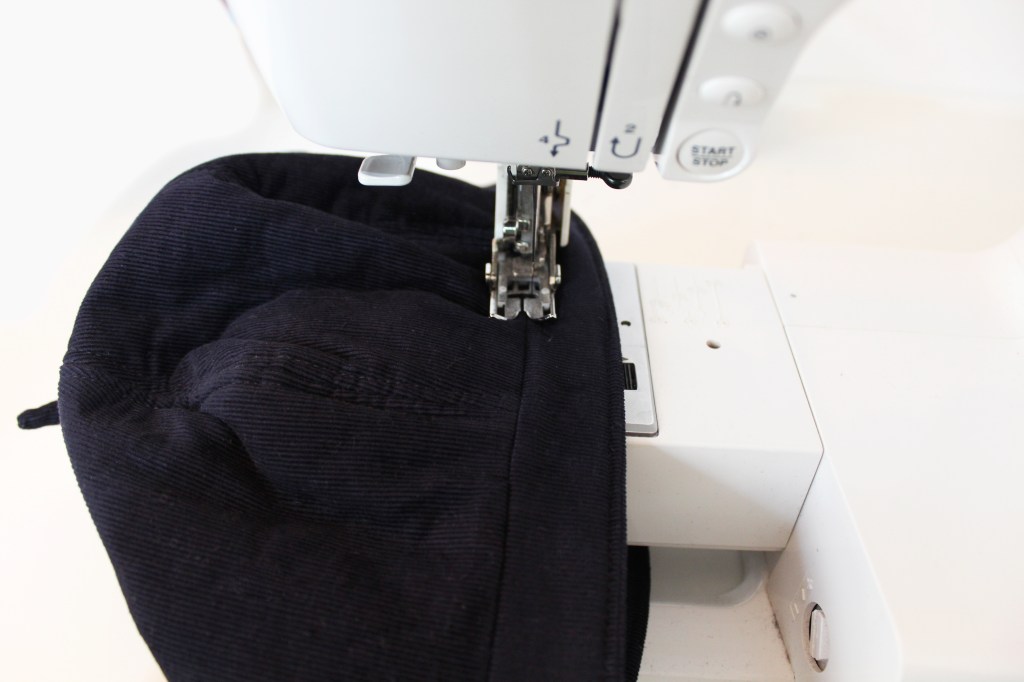
Insert a walking foot attachment on your machine if you have one, which will make it easier to sew.
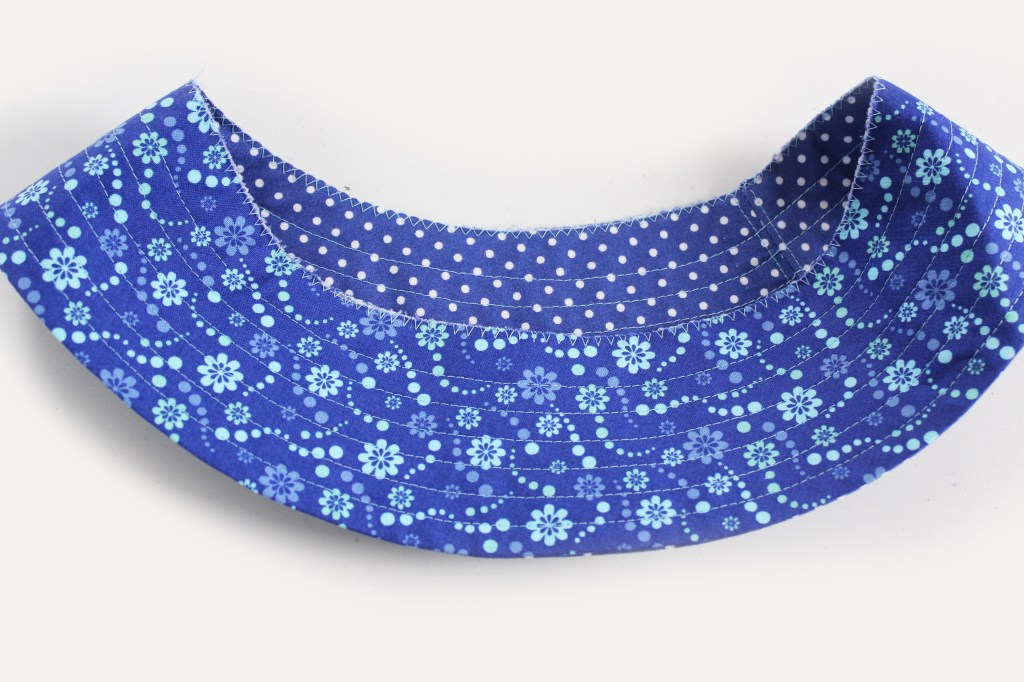
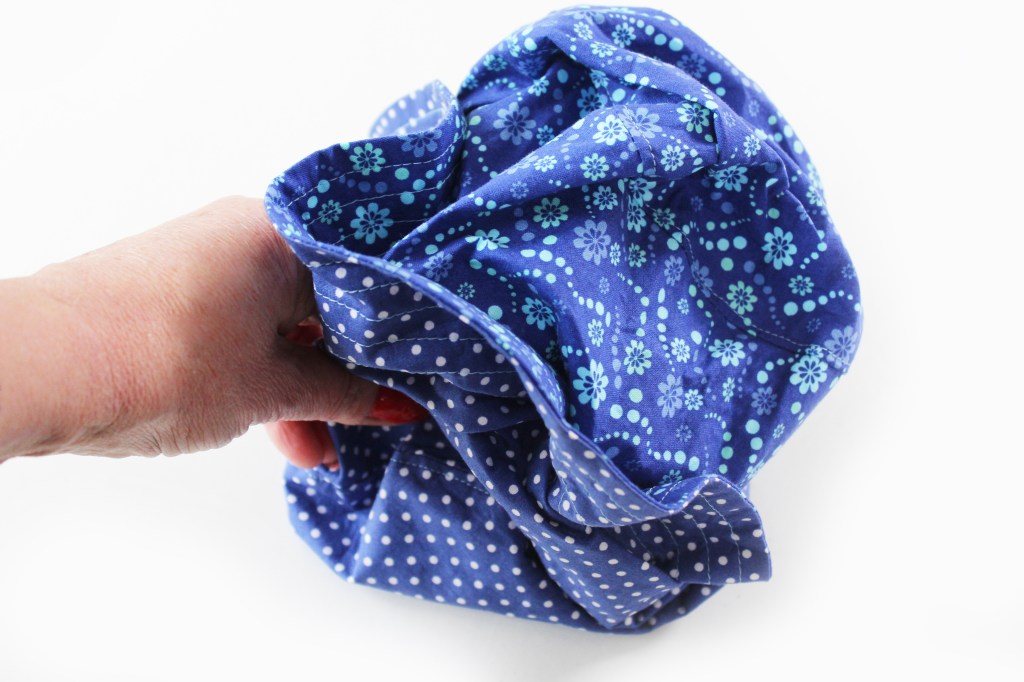
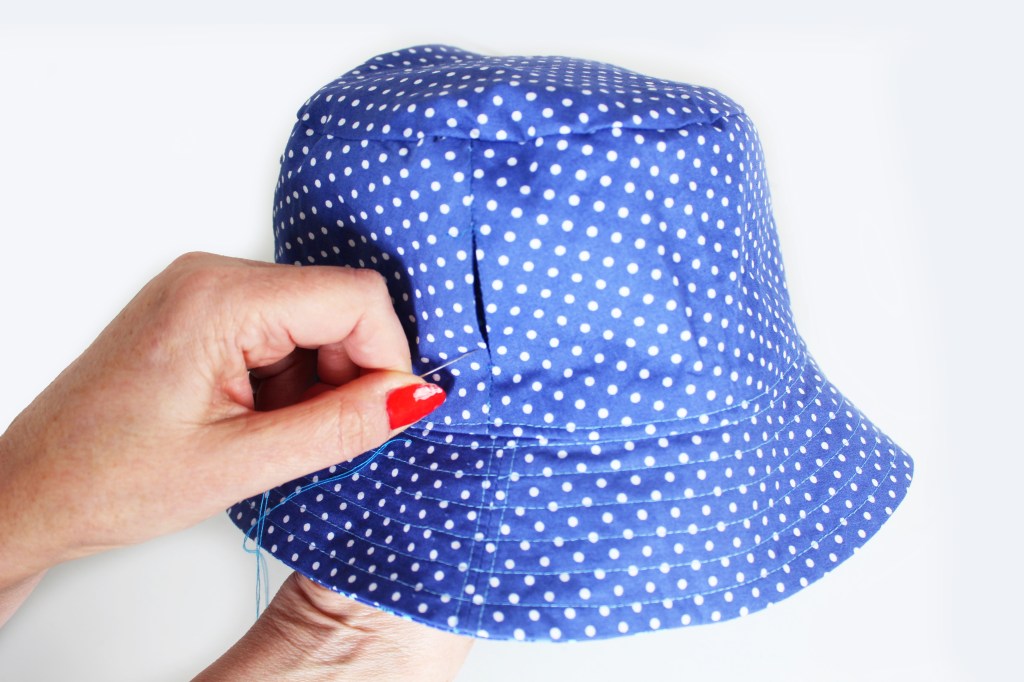
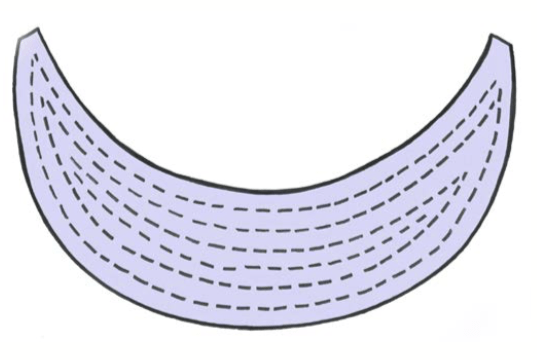
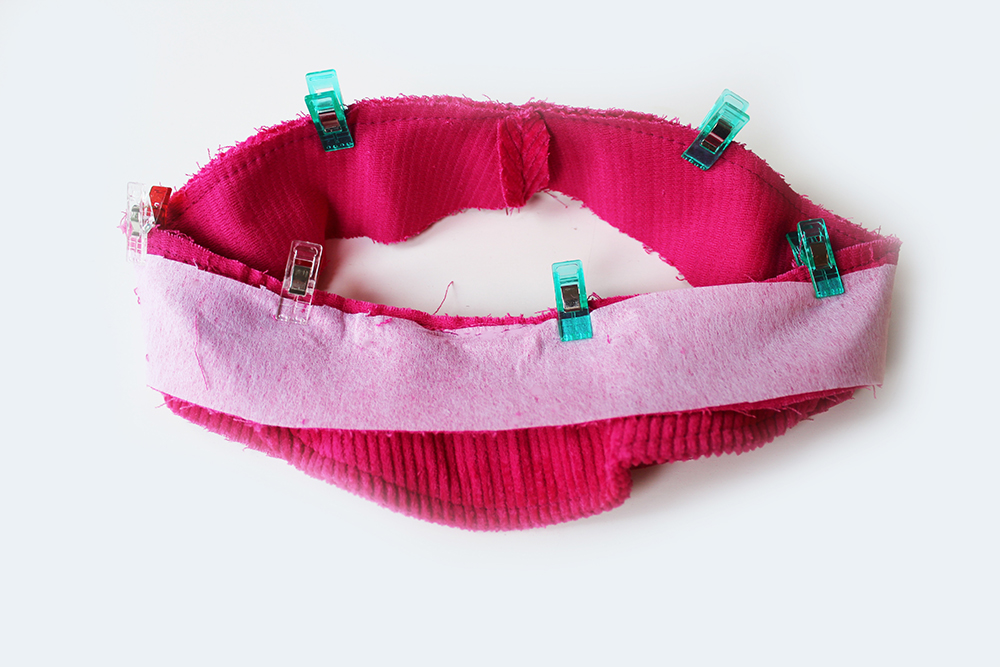
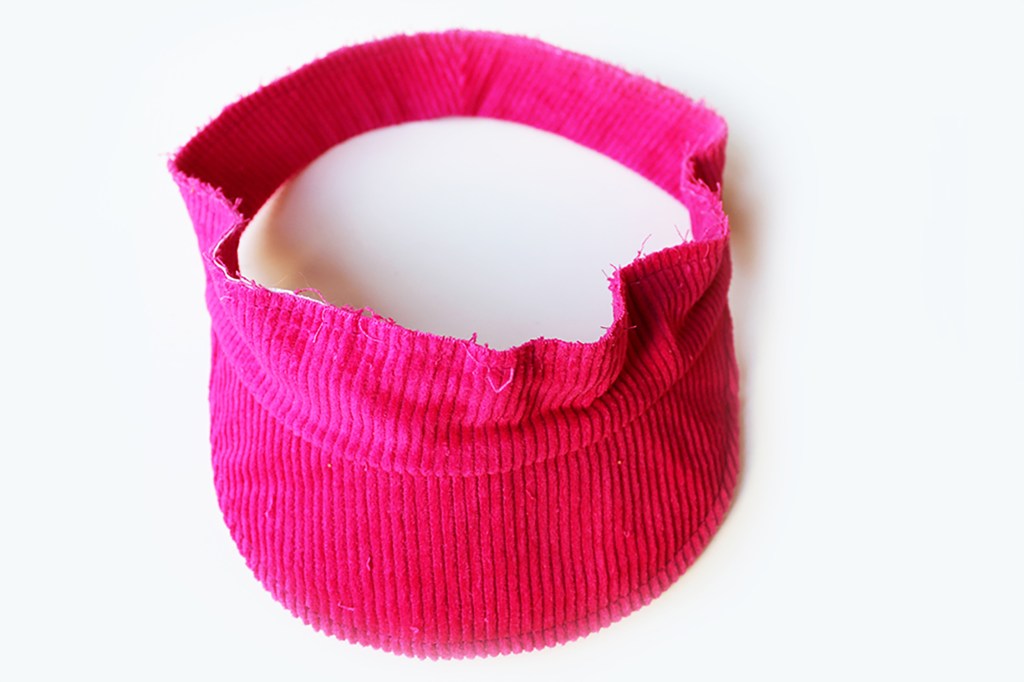
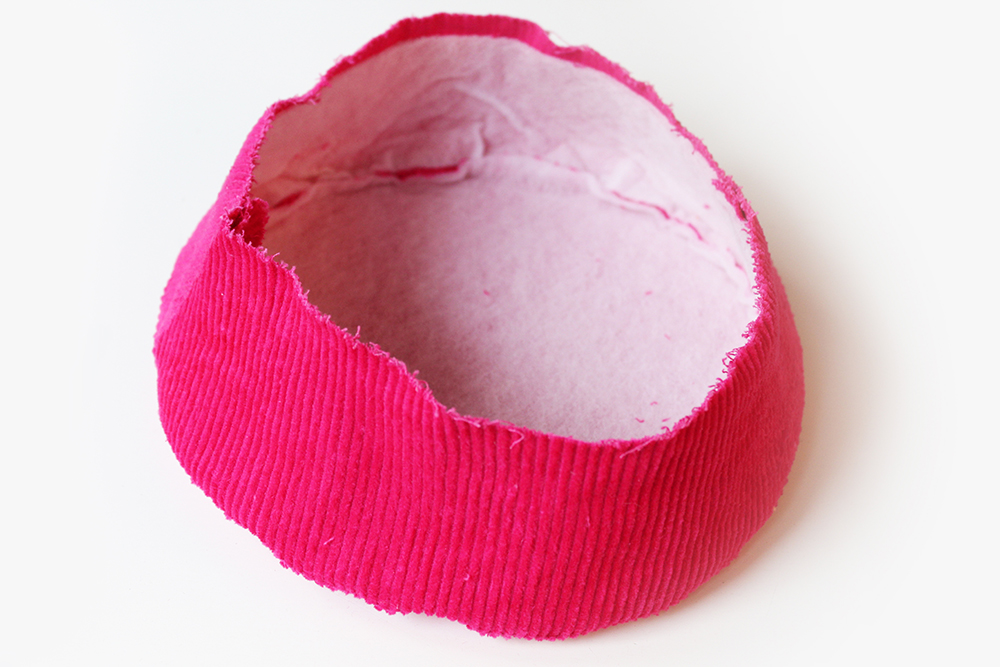
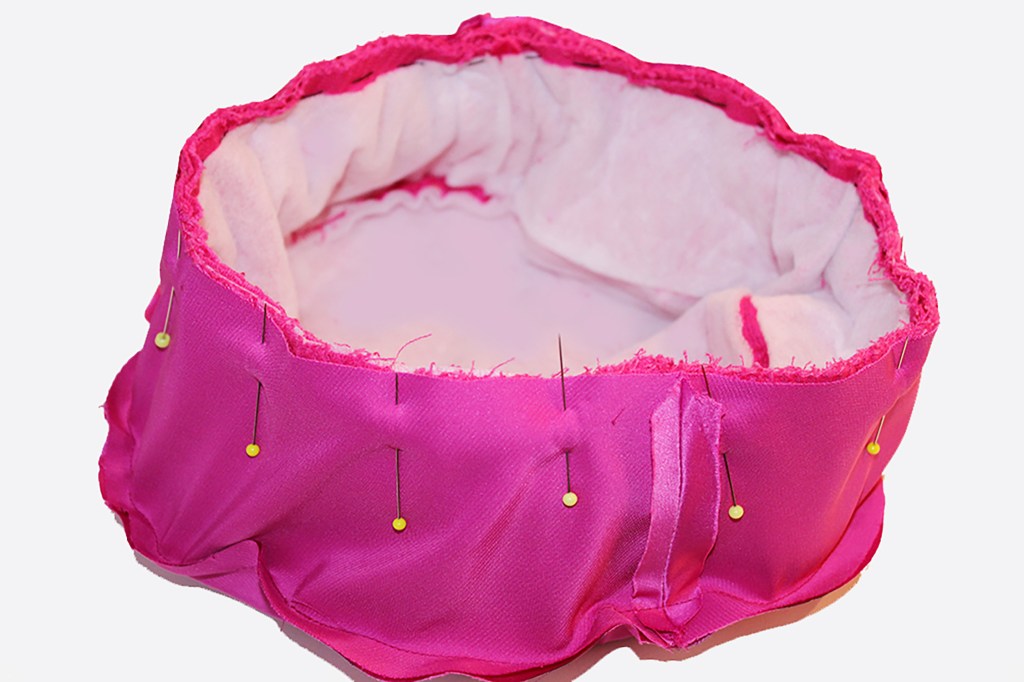
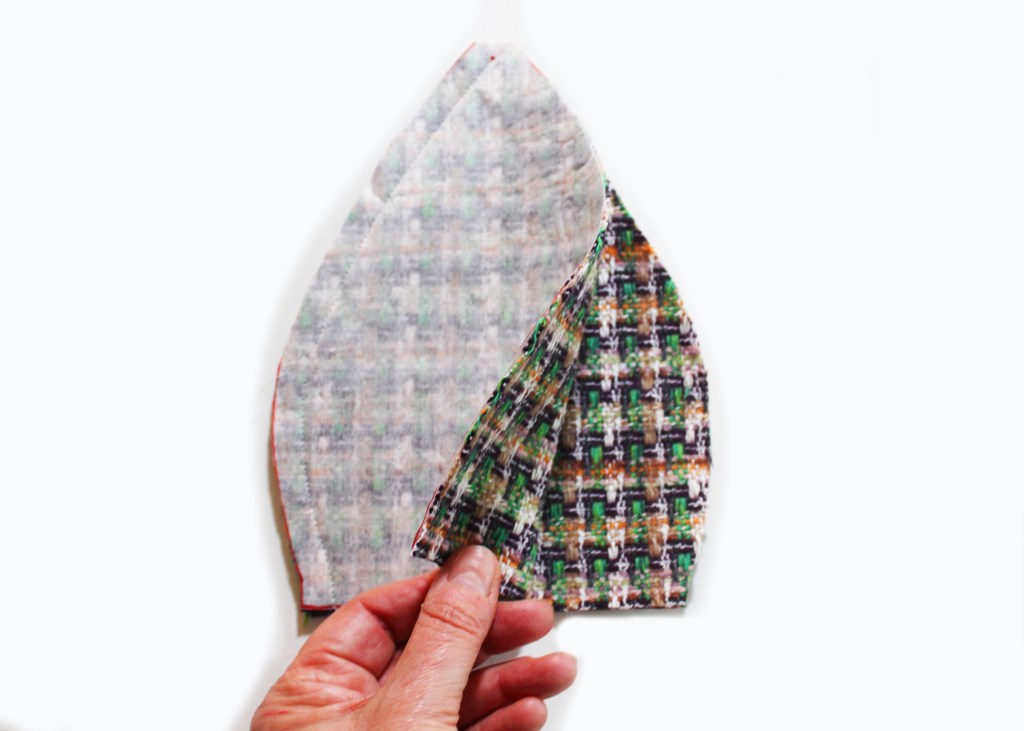
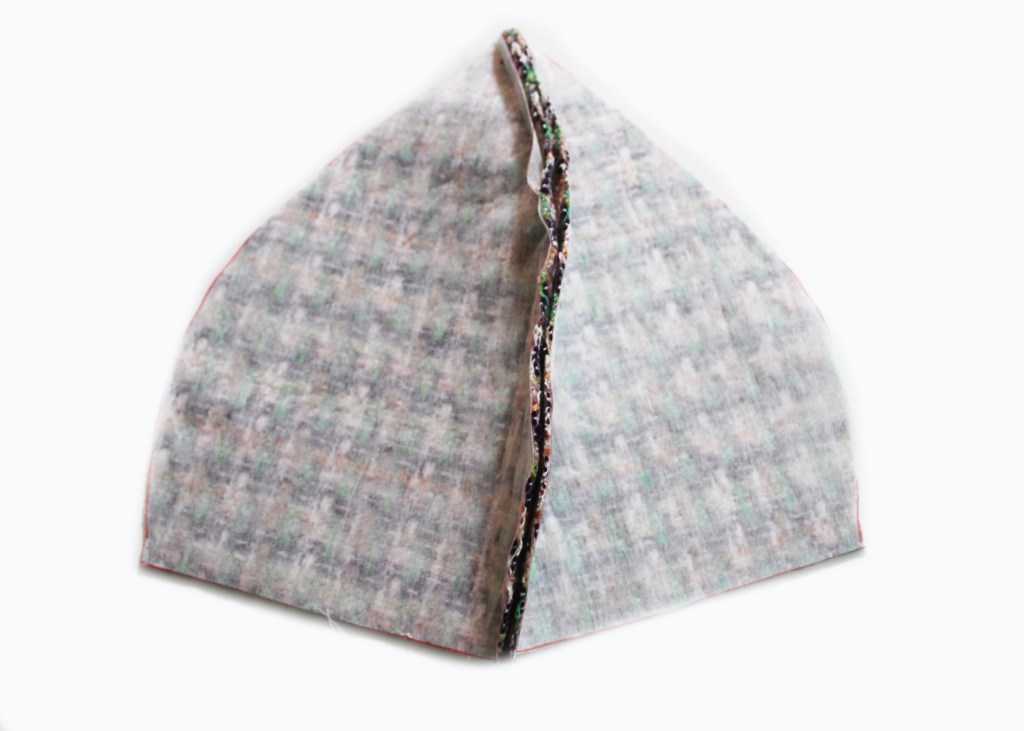
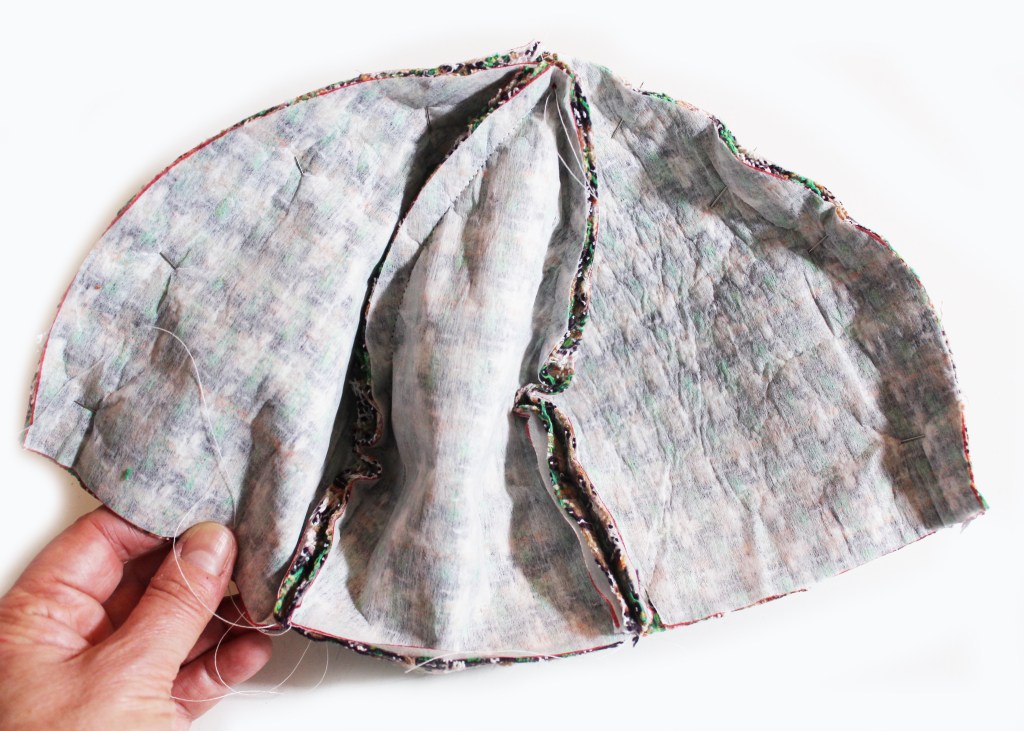
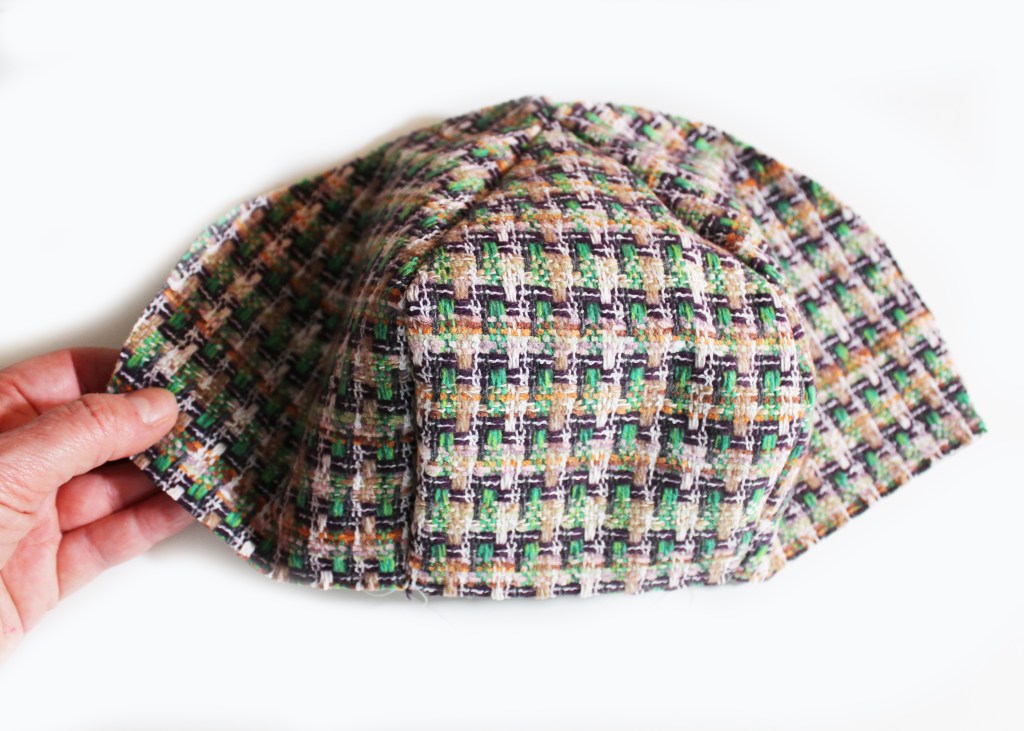
HOW TO MAKE THE BRIGHTON HAT

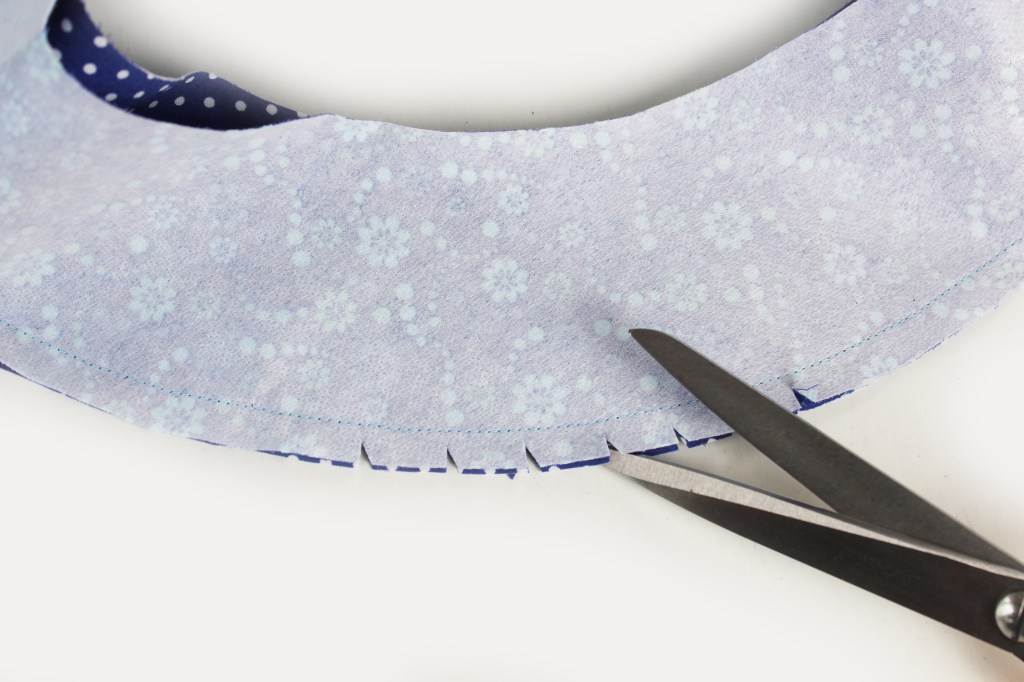
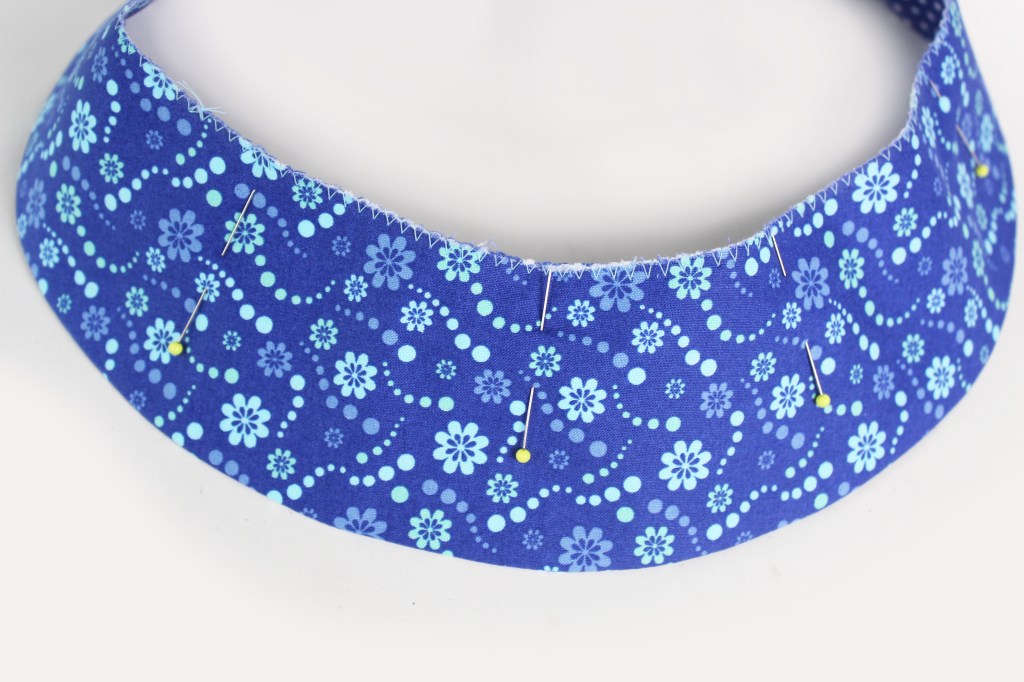

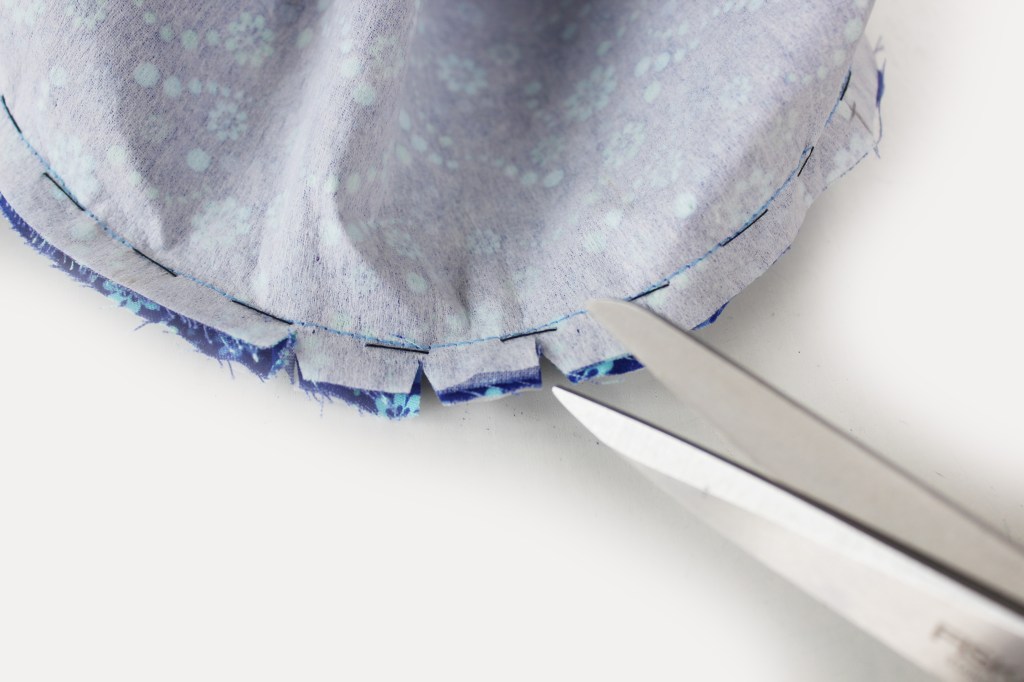
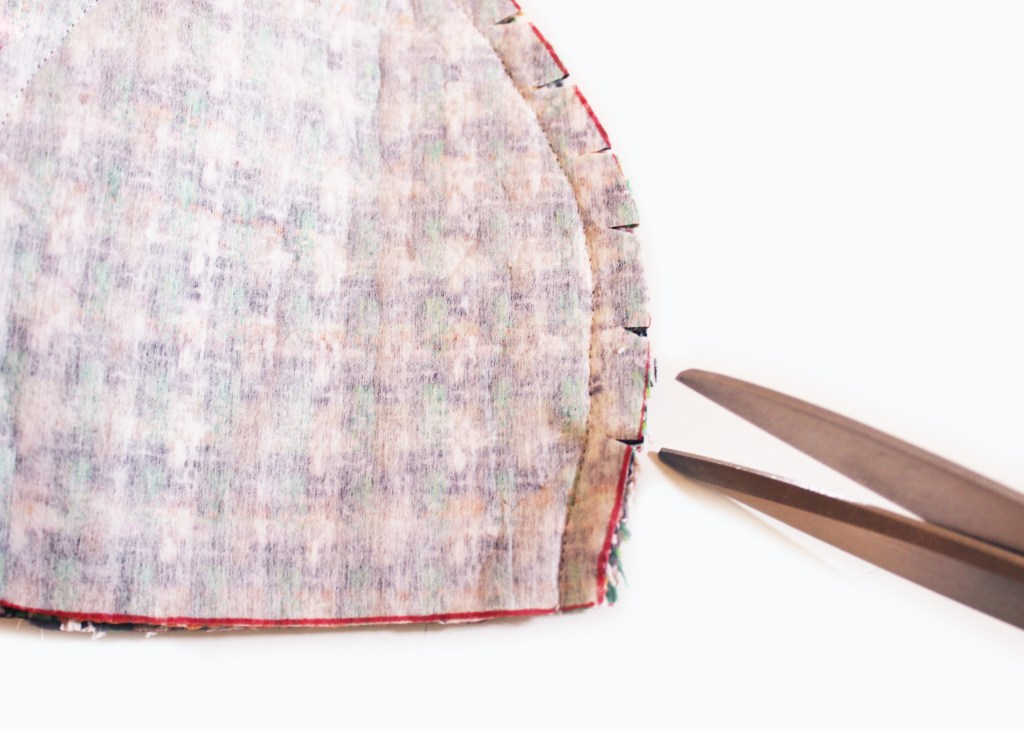
Tip: if you are finding that your brim doesn’t fit and that the crown edge is puckering- snip small Vs into the Brim raw edge only within the seam allowance every 2cm approx. Mark a point at four equal points of the hat brim and crown raw edge, starting with the back seam and match them up. Be forceful and ease the brim to make it fit.
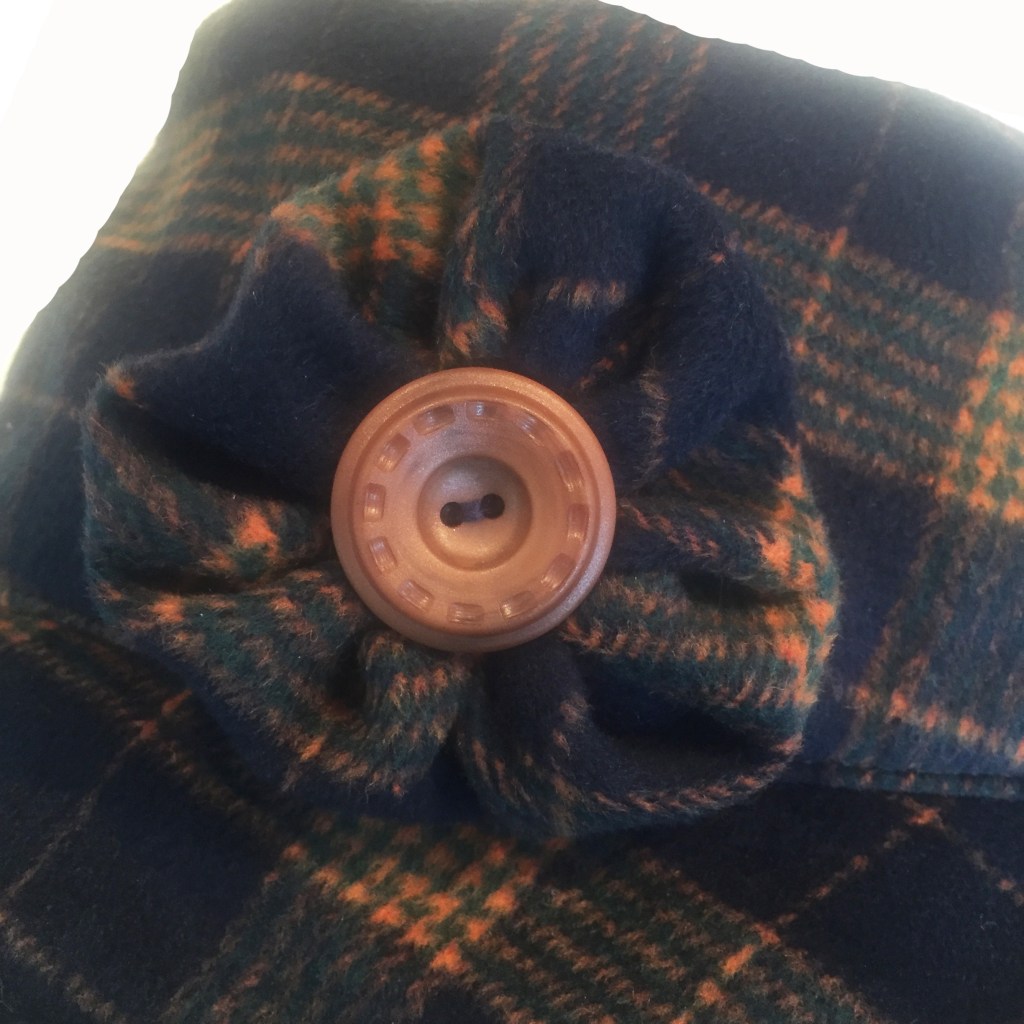
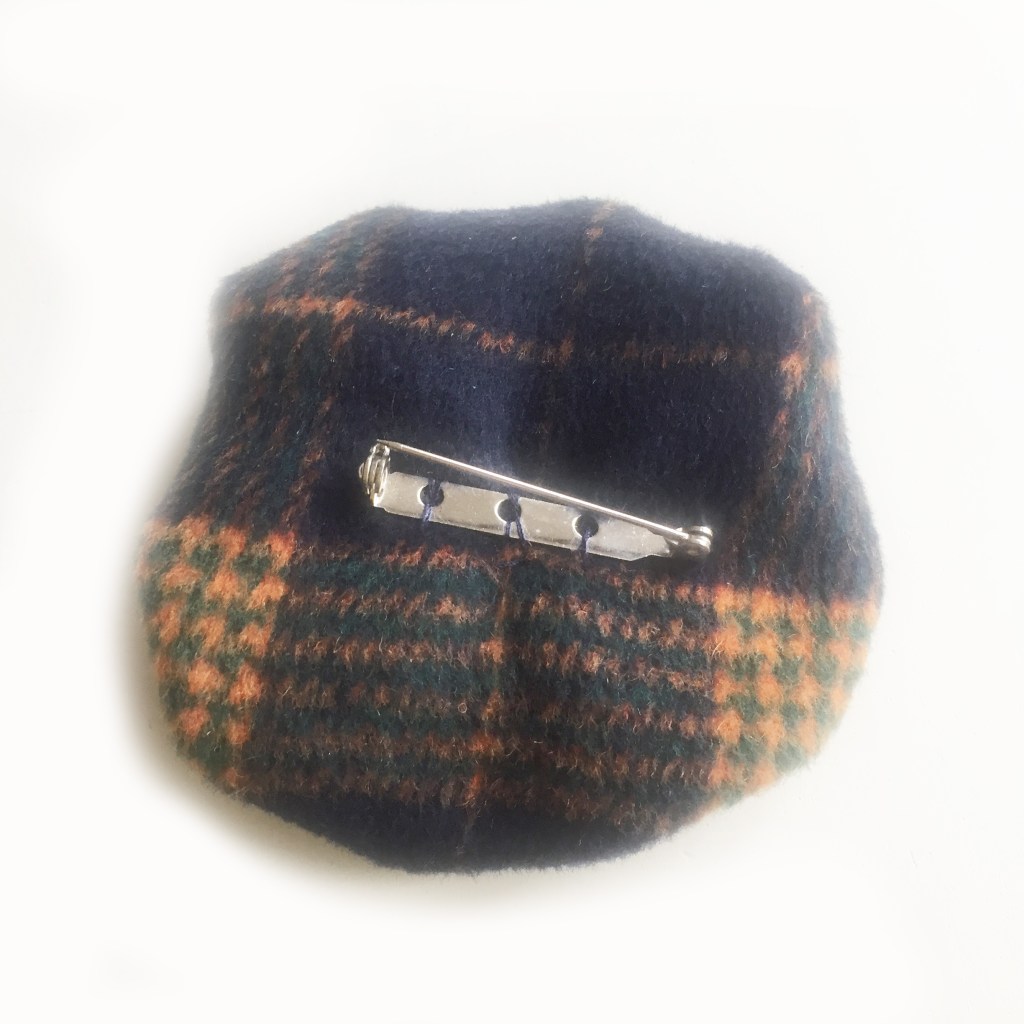
HOW TO MAKE A ROSETTE
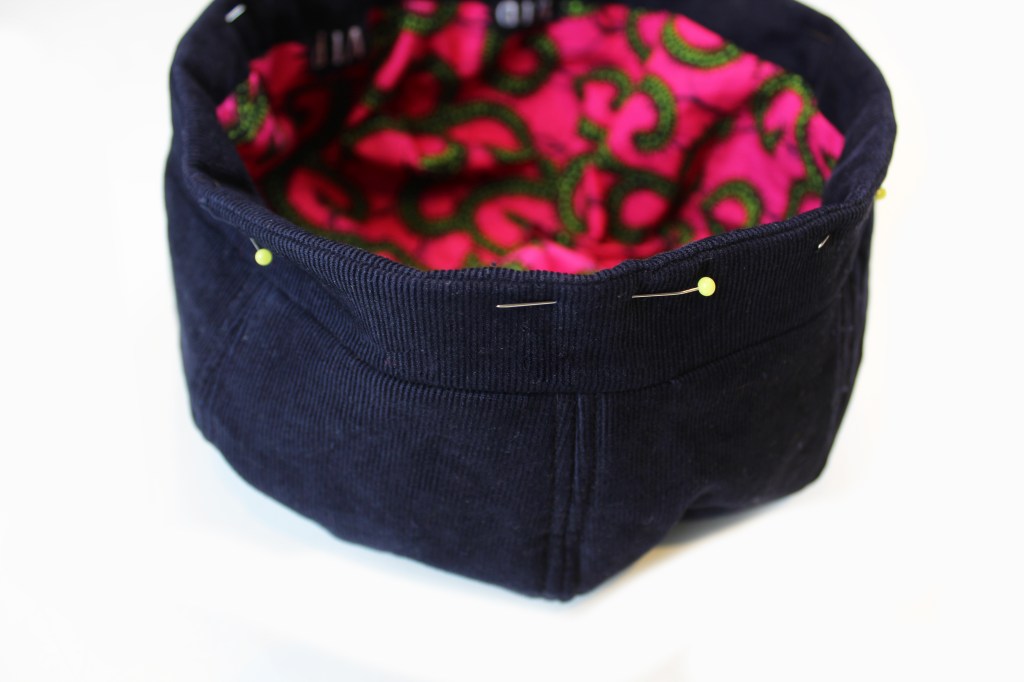
HOW TO MAKE THE BROMPTON HAT


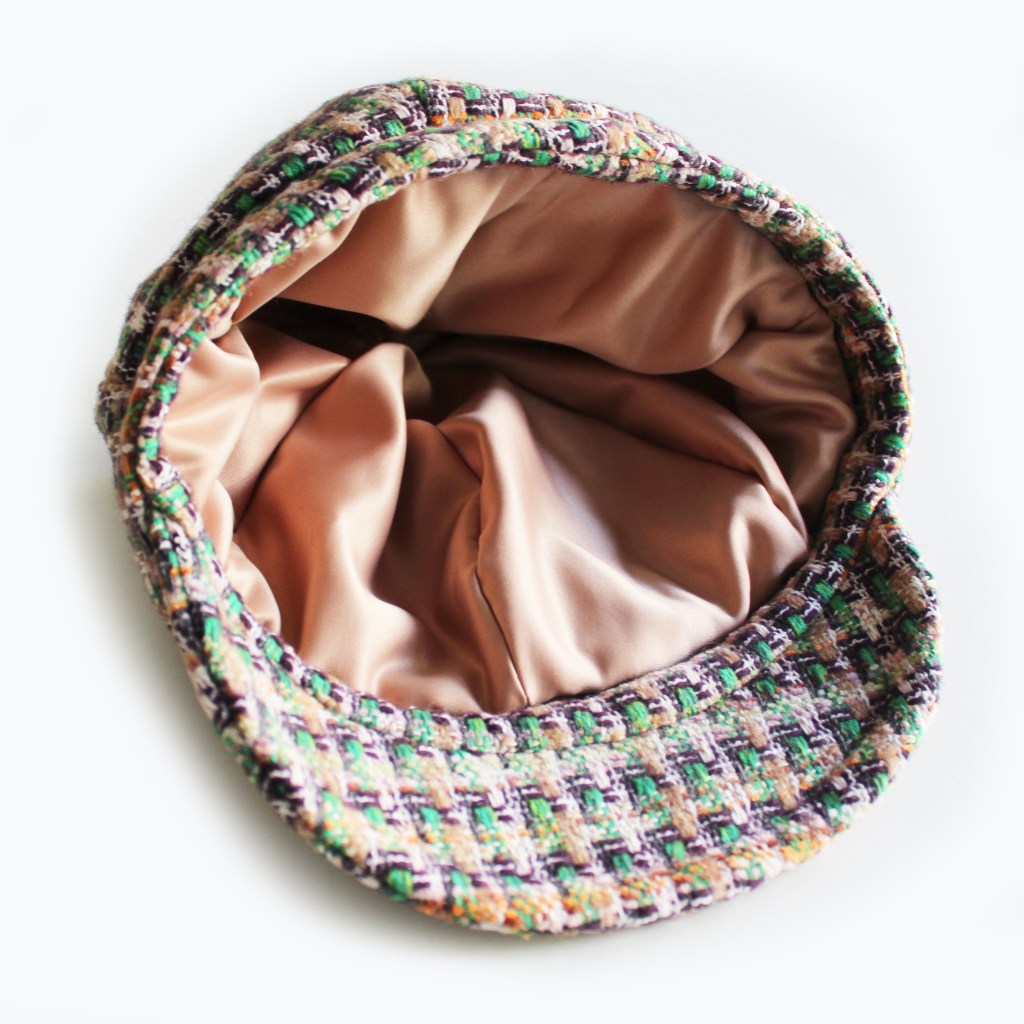
HOW TO MAKE CHELSEA HAT
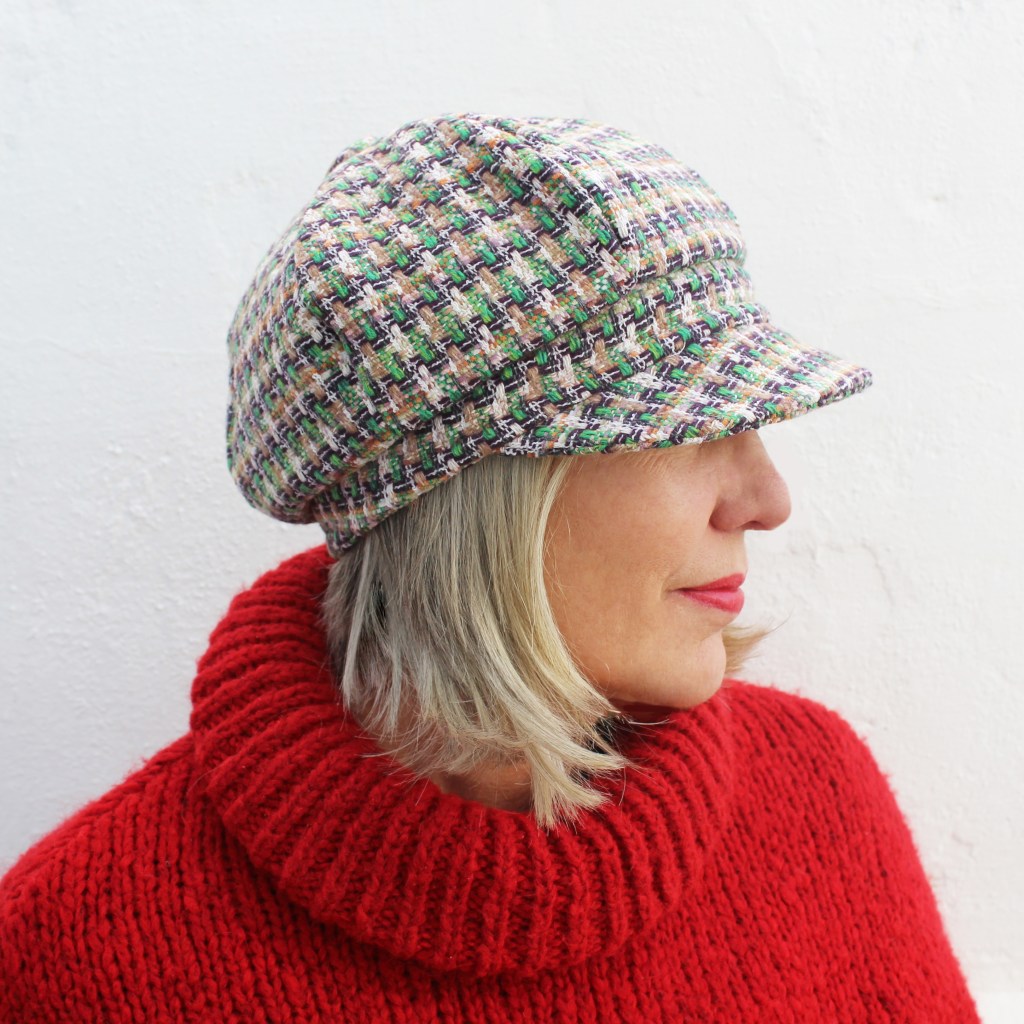
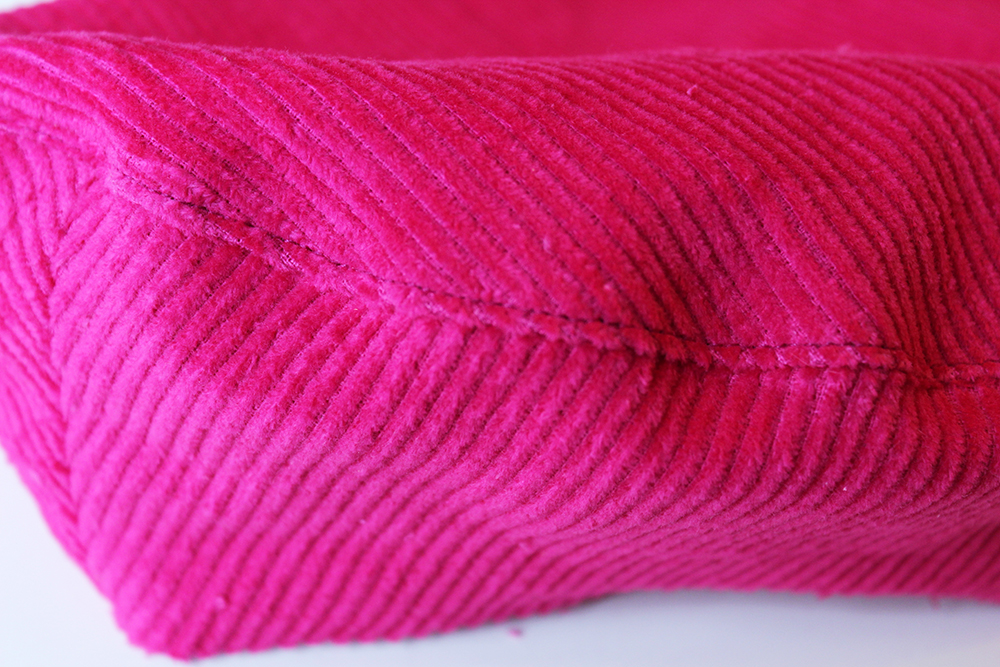
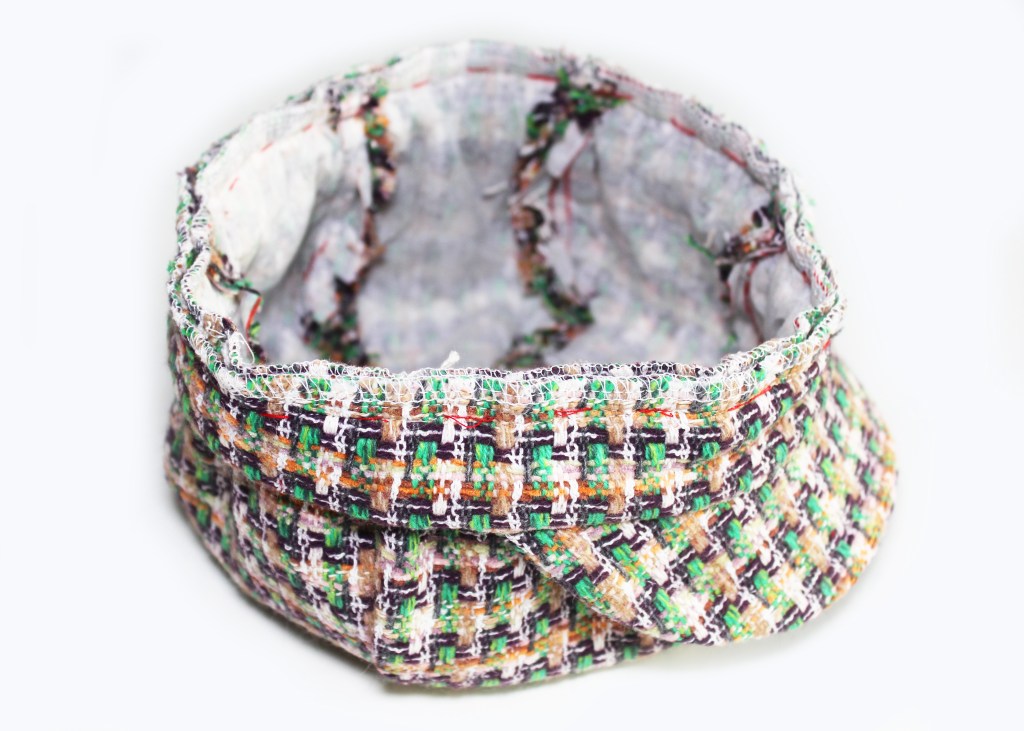
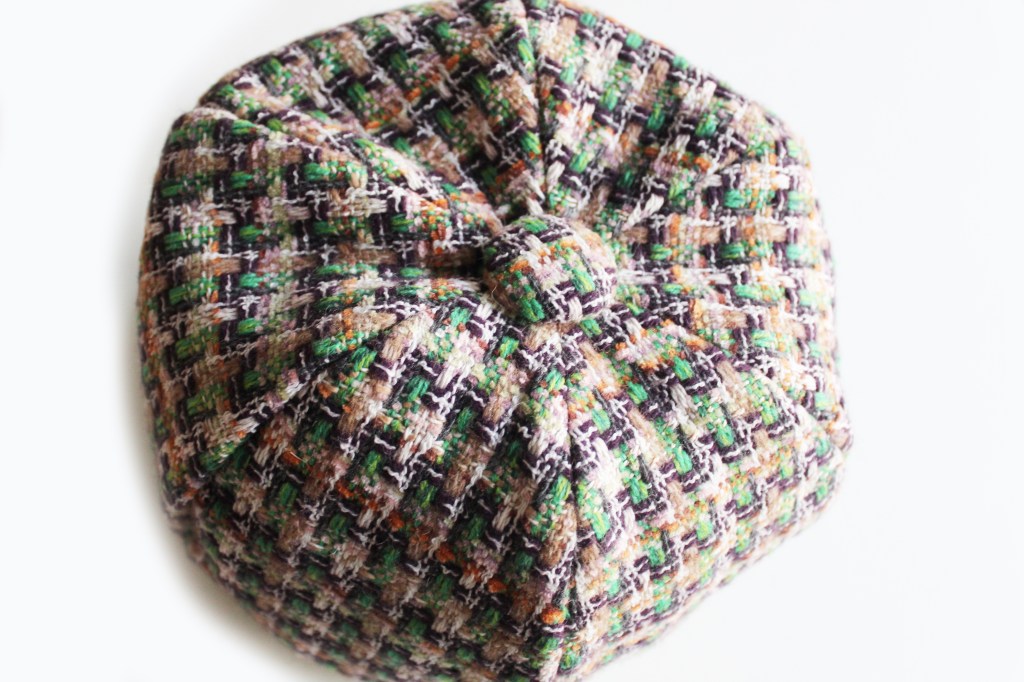
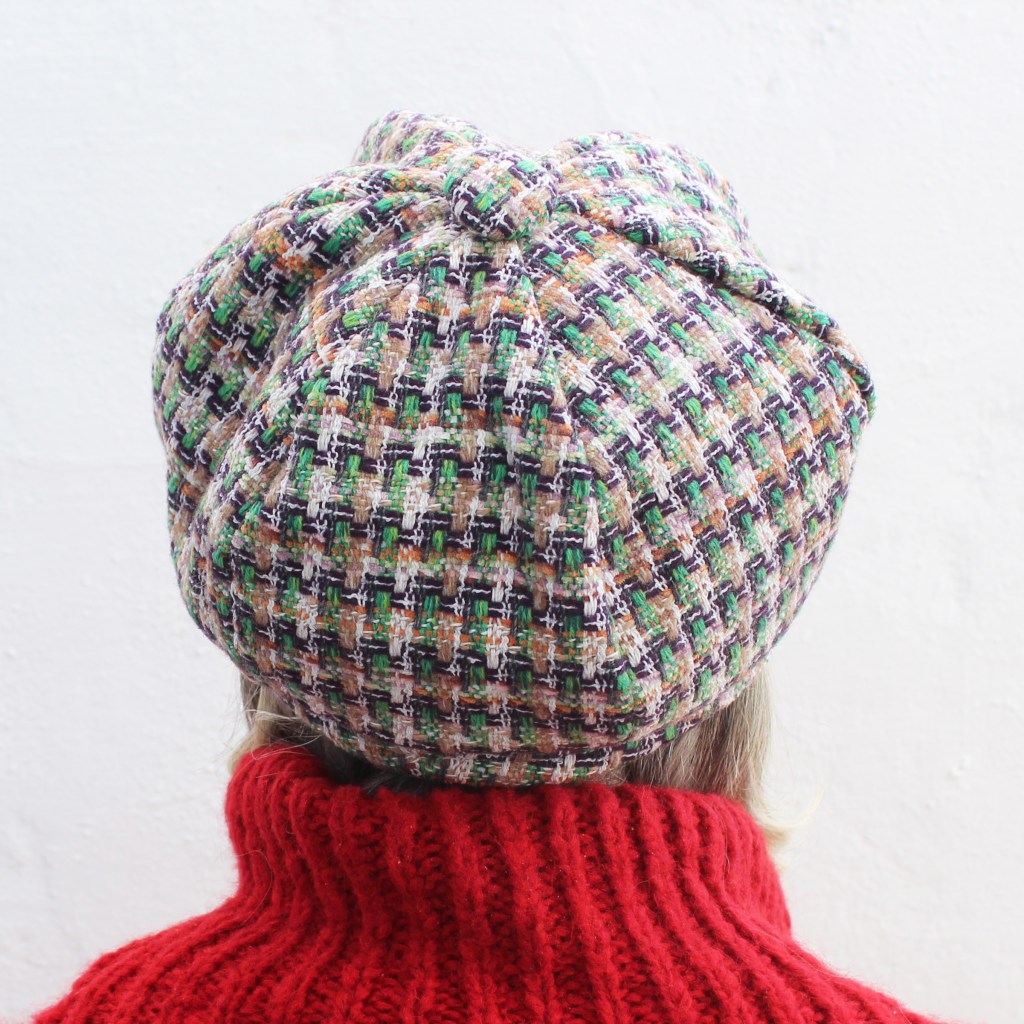
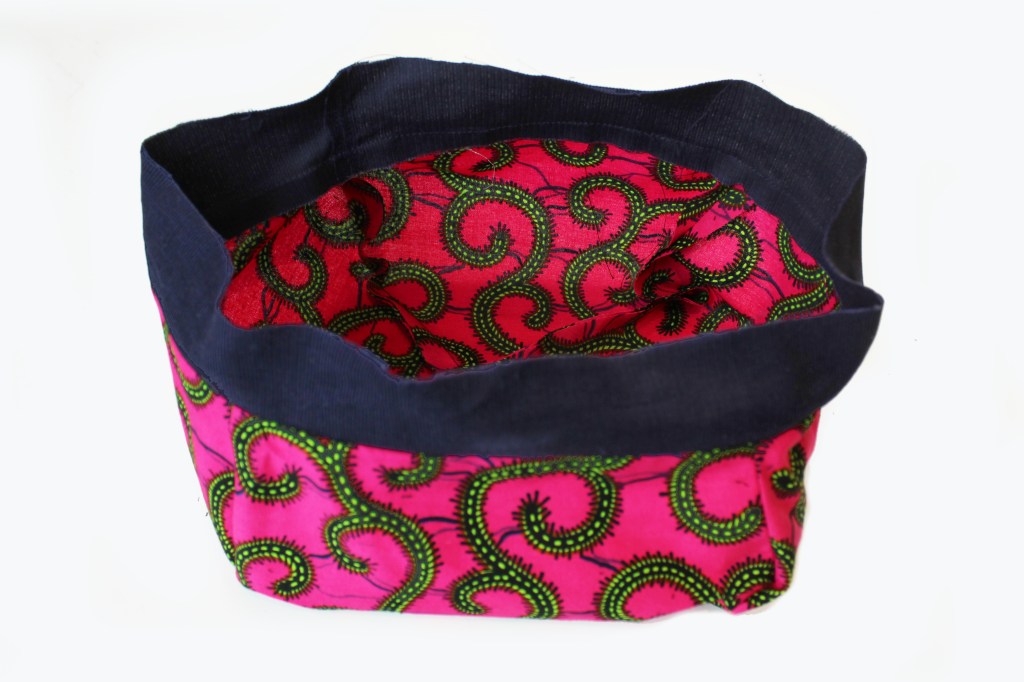
So this ‘Chelsea’ baker boy style hat is similar to the Brompton Hat and possibly a more classic style, with its segmented crown, side band and peak. This is an enjoyable project, quick to make, I wouldn’t say any hat project was a beginners project, it can be a tad tricky with bulky seams when inserting the peak, which is why I recommend a walking foot attachment (if you have one), but why not have a go! Its so satisfying and once you get the hang of it, you will want to make one for all your friends and family.
The main difference between the two hats is the Crown. The Chelsea Hat Crown is made in segments like a chocolate orange. (yummy!). Suitable fabrics you could consider: Tweeds, corduroy, cotton, denim so its a hat for all seasons.
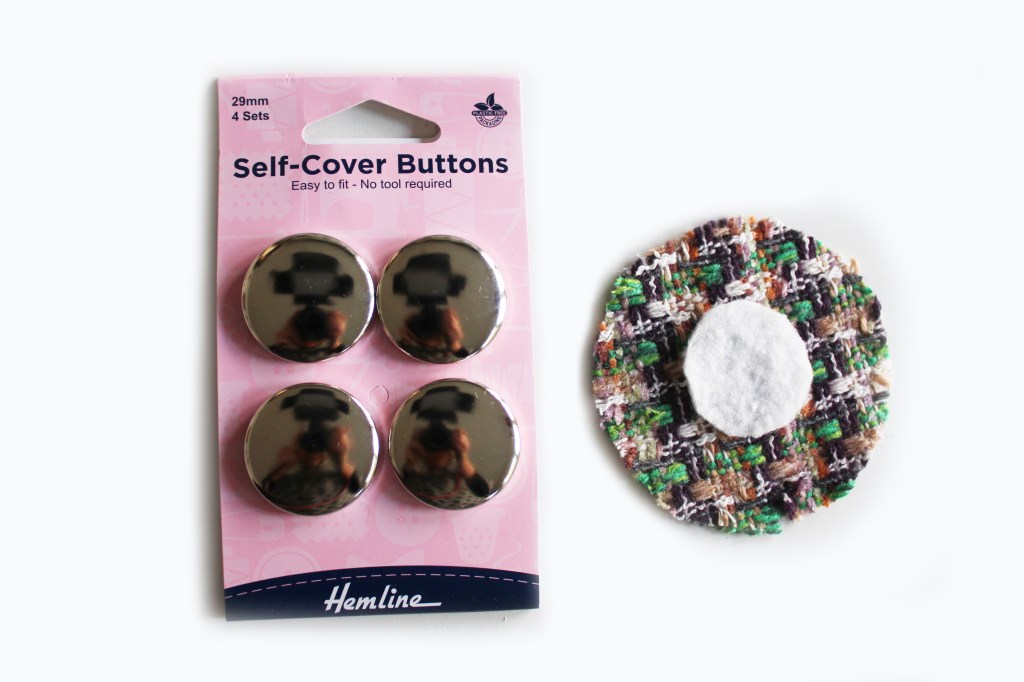
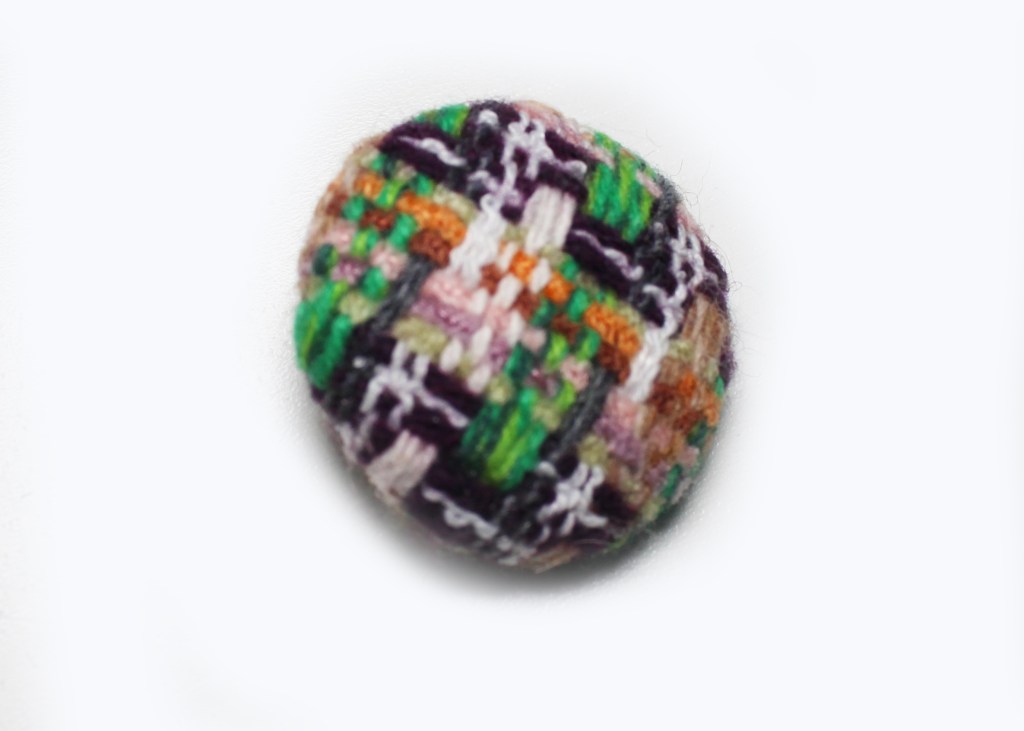
Please note that the pattern includes one 29mm self cover button, if you need any more for making a hat for friends and family, you I have some available in the haberdashery listing on my shop as well as fusible interfacing by the metre.
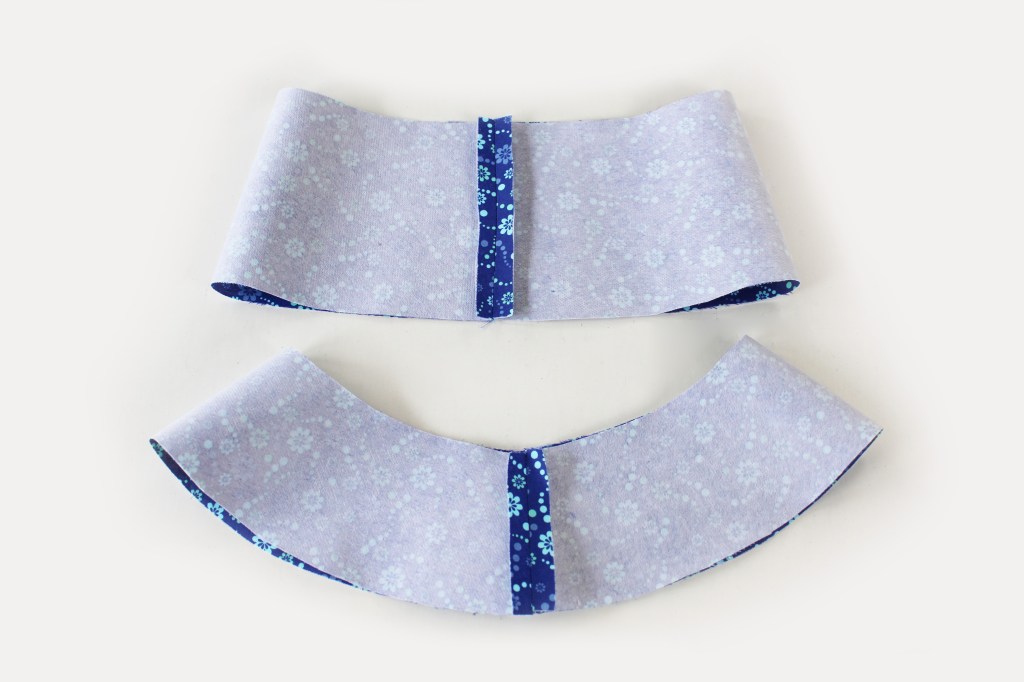
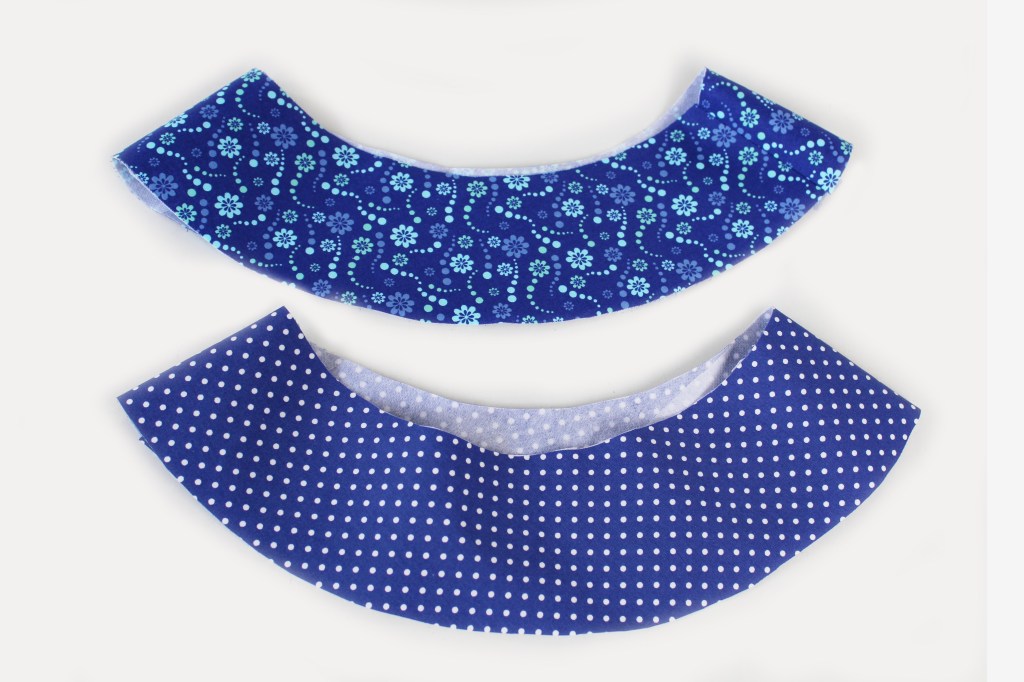
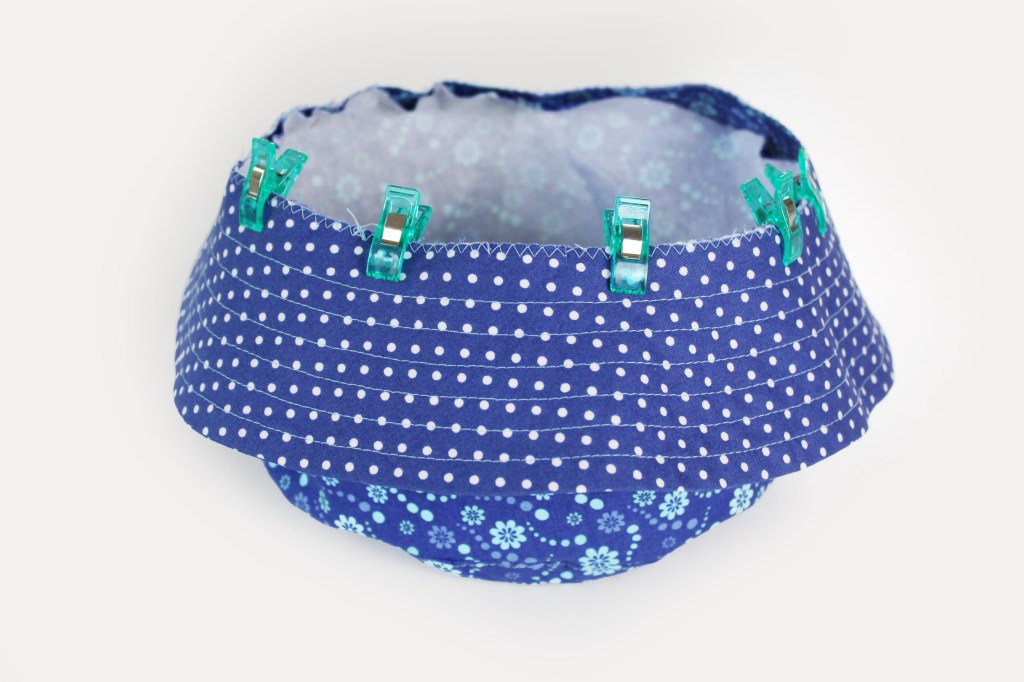
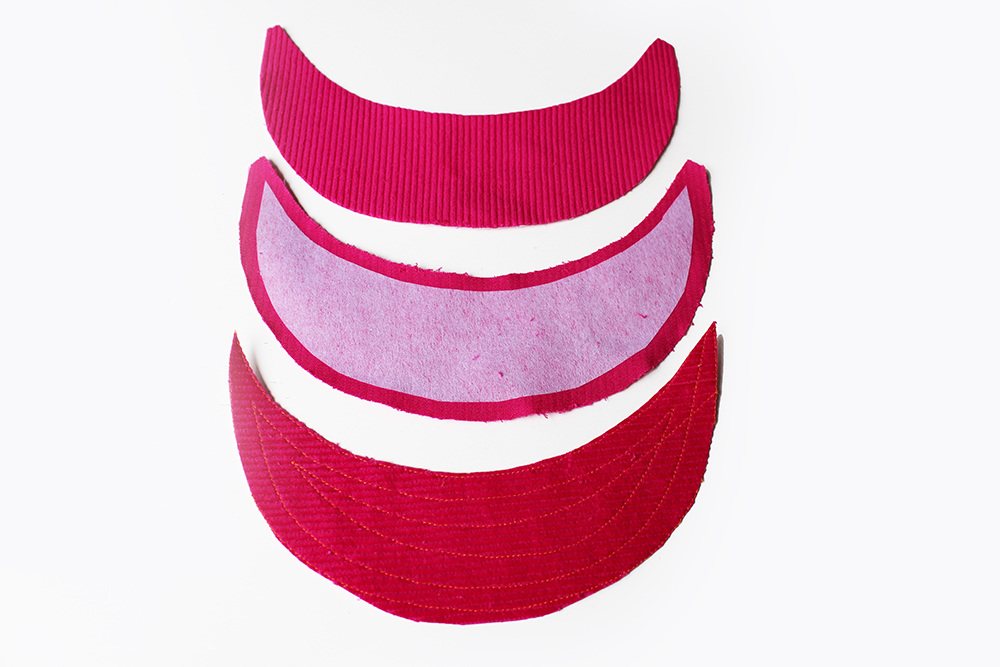
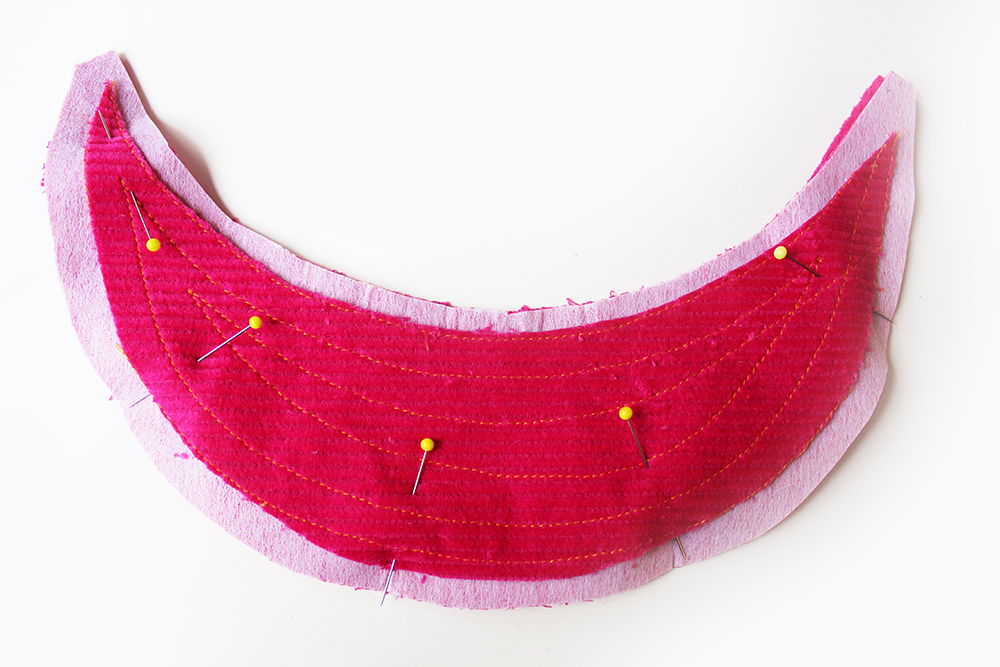
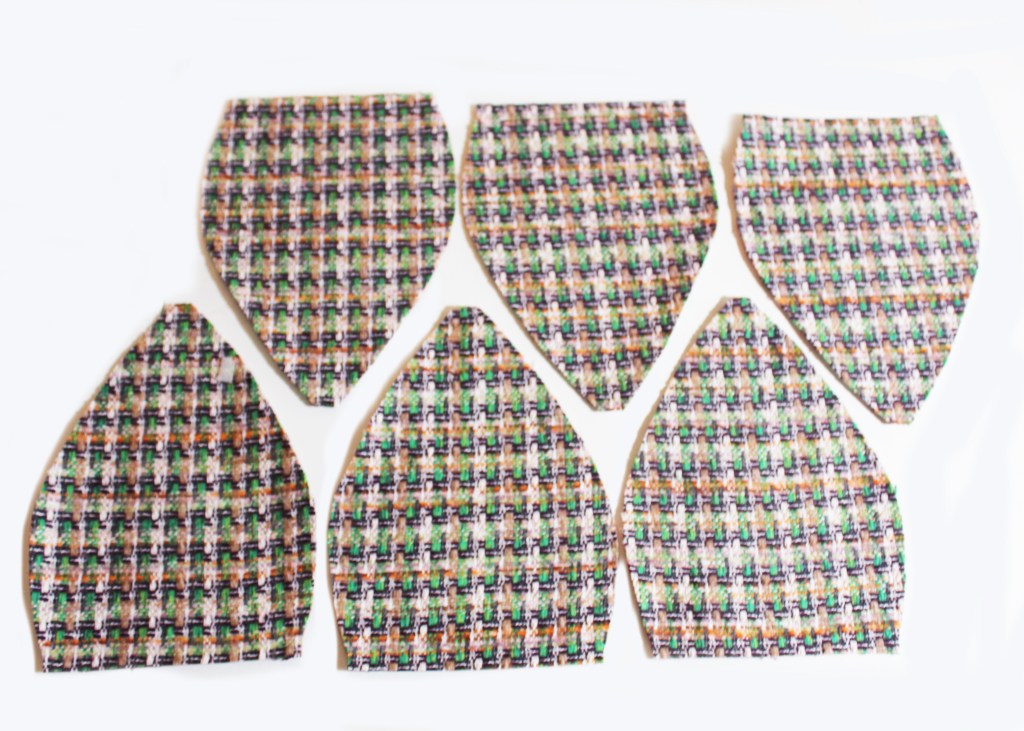
The Crown pieces, when they are cut look like this. There are 6 of them in outer fabric and 6 in lining fabric and they are interfaced either with medium fusible interfacing or fusible fleece wadding (Vlieseline H640) for warmth or just some batting with something like a spray textile glue or bondaweb to fuse the interfacing to the outer fabric pieces. You also need the Band piece and the Peak pieces.
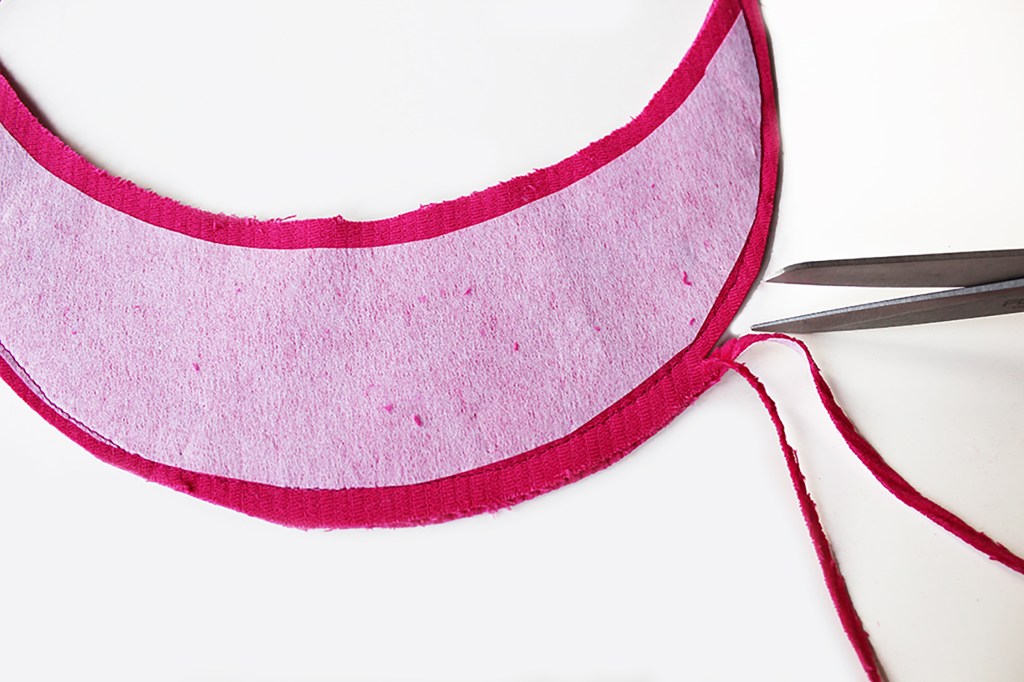
The crown pieces are assembled like this….
Repeat with another three crown sections.

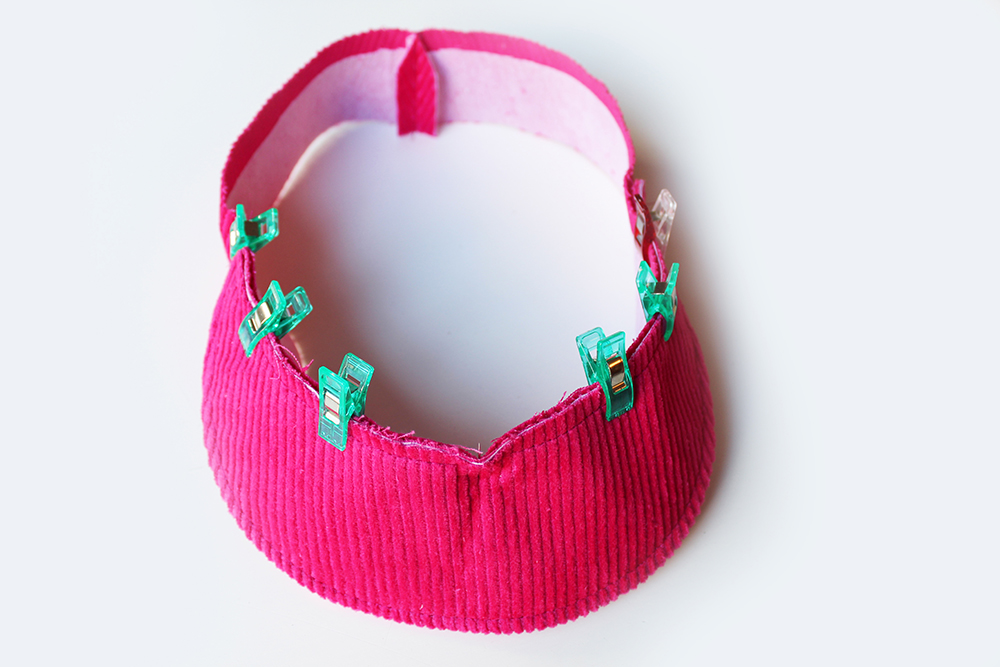
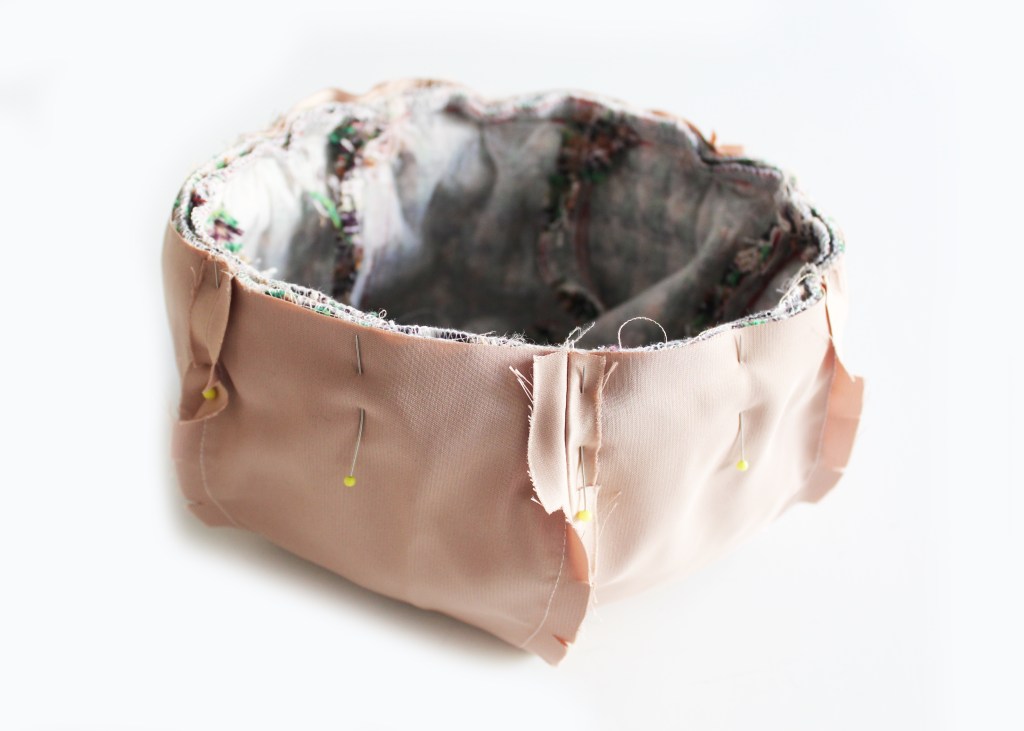
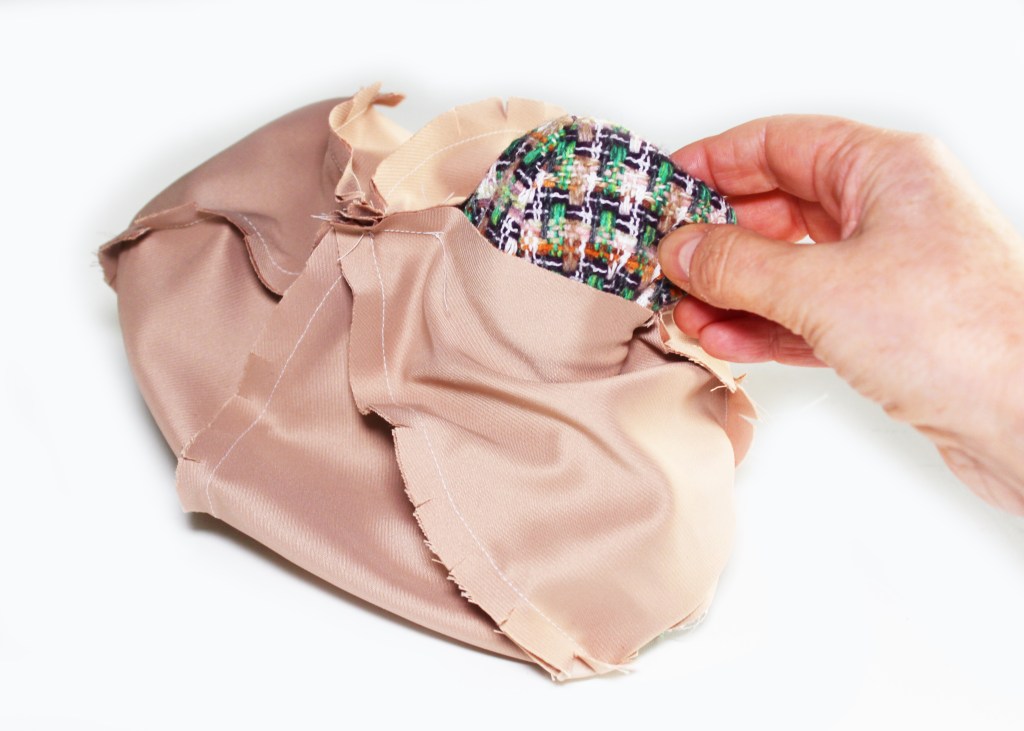
So after you have the Crown outer and lining, you make the Peak and the Band in the same way as with the Brompton Hat. So scroll up to see this bit.
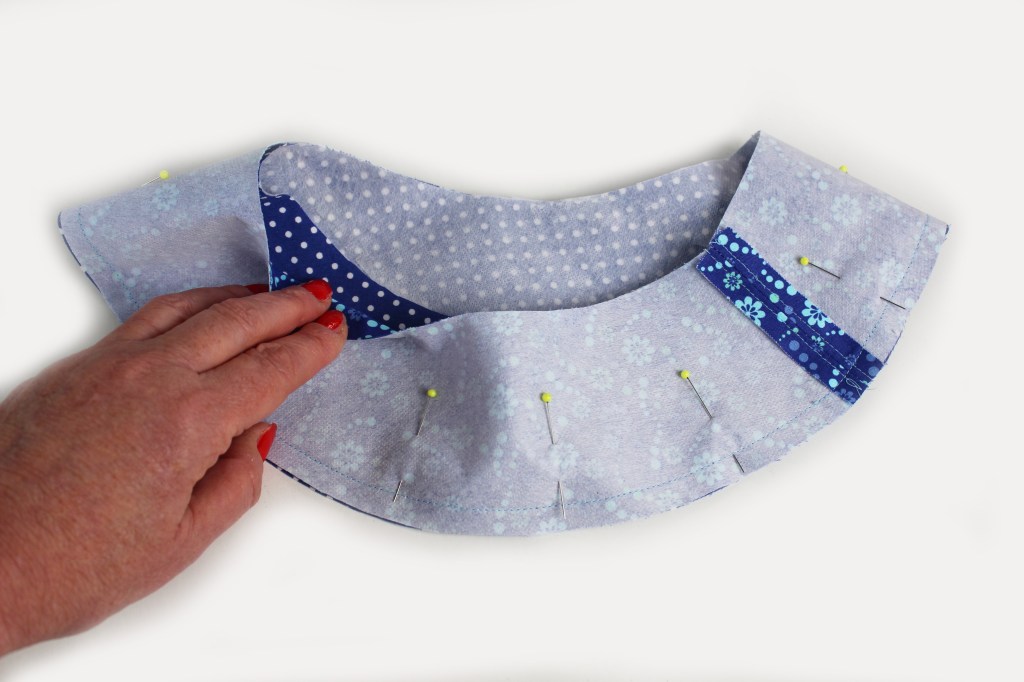
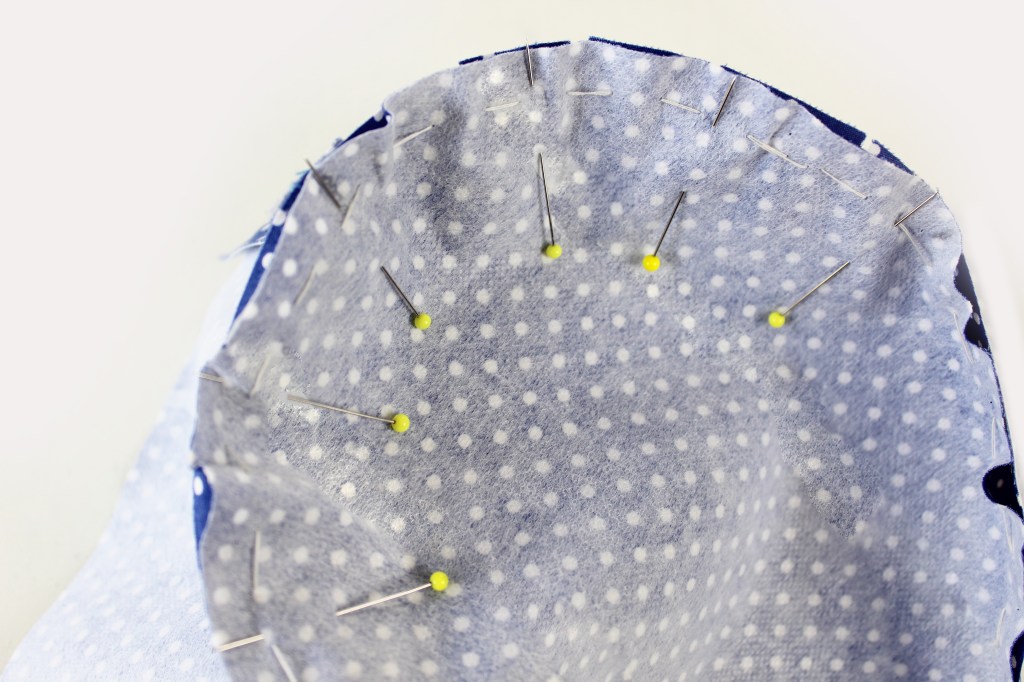
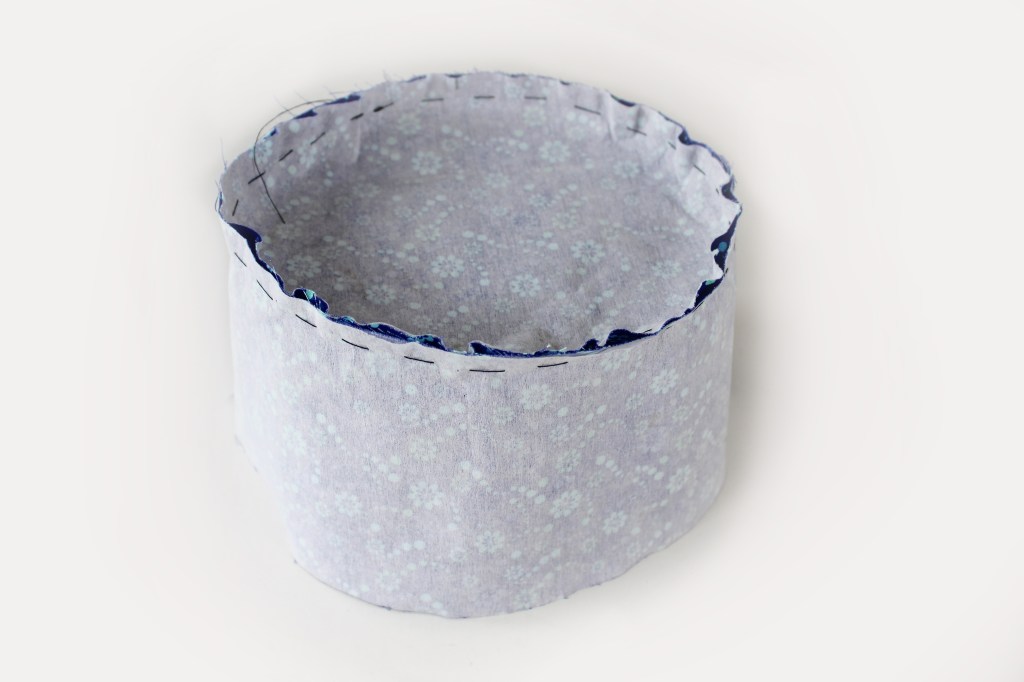
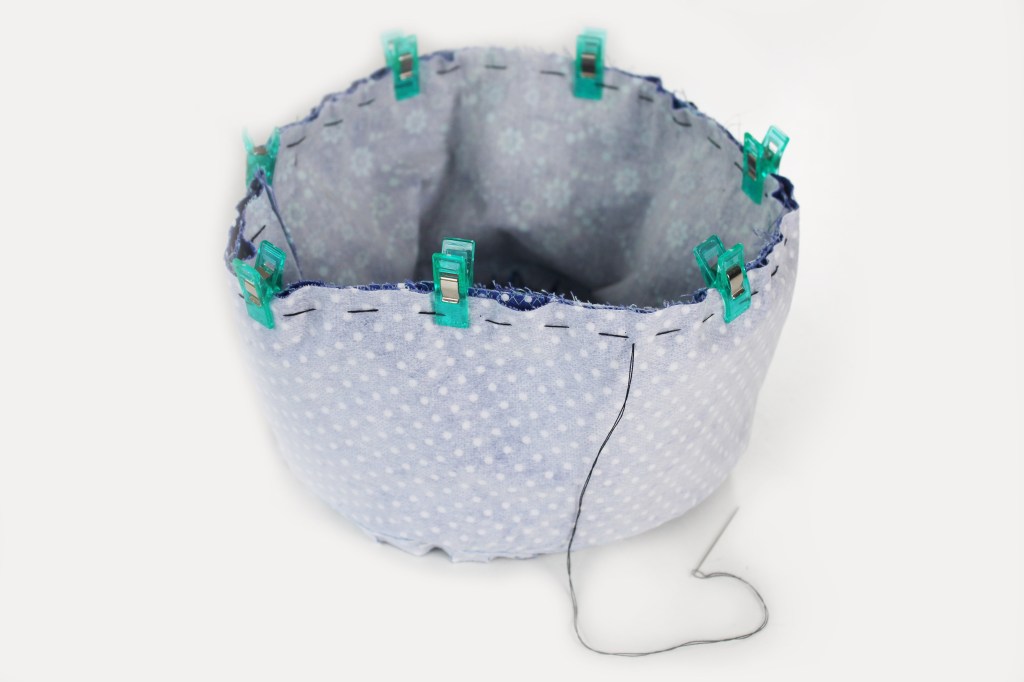
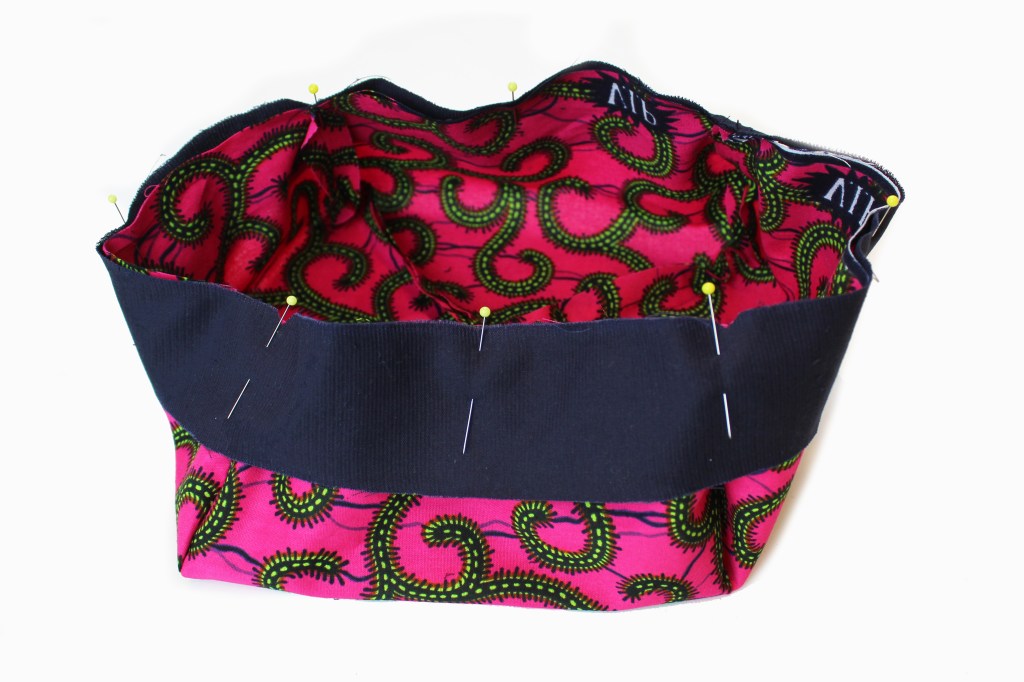
Pin the Crown lining to the outer Crown/Band/Peak piece.

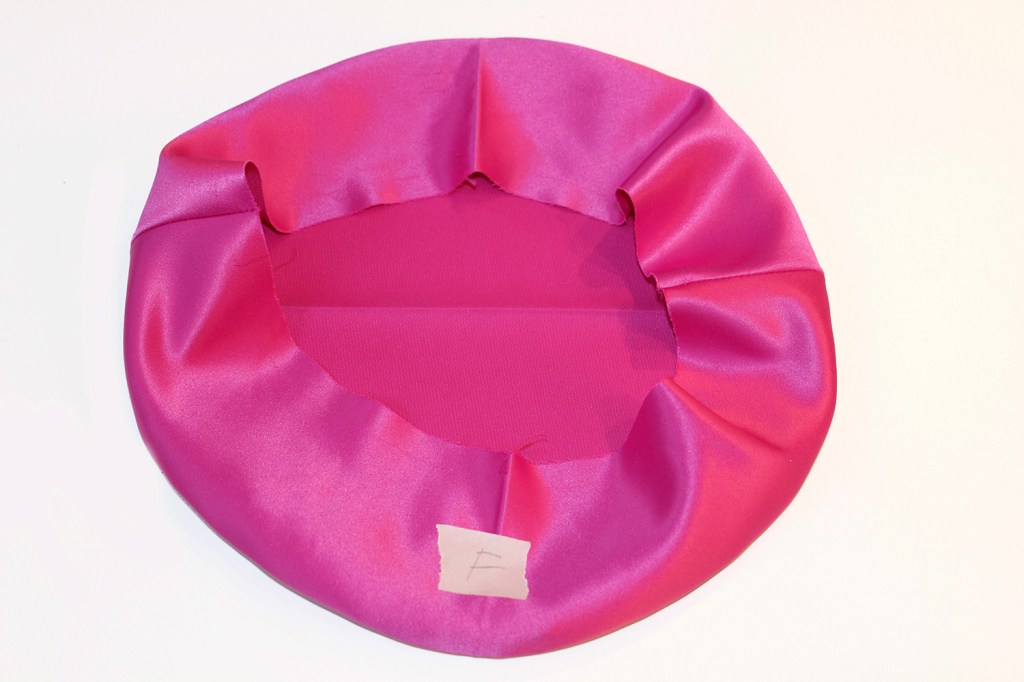
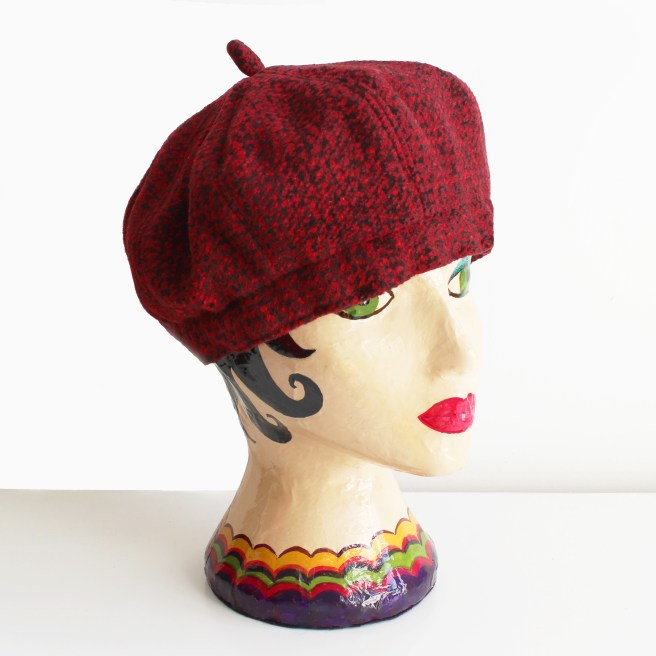
HOW TO MAKE THE LE CHIC BERET.

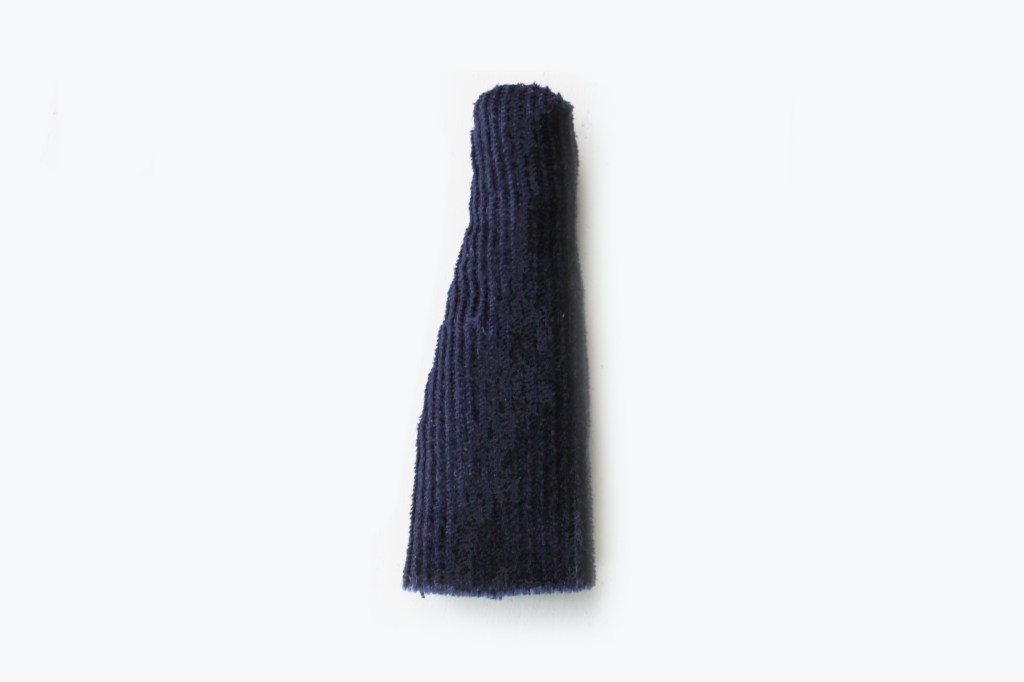
Make the stalk. Fold over and stitch down the side edges and across the top, leaving the lower edge open. Turn inside out. Press.
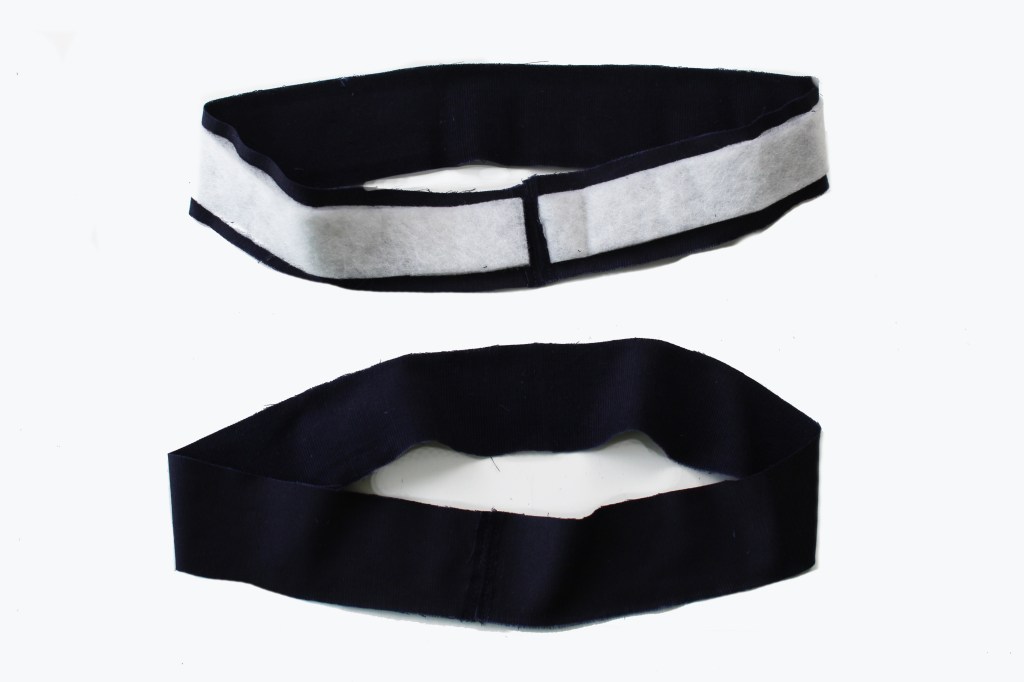
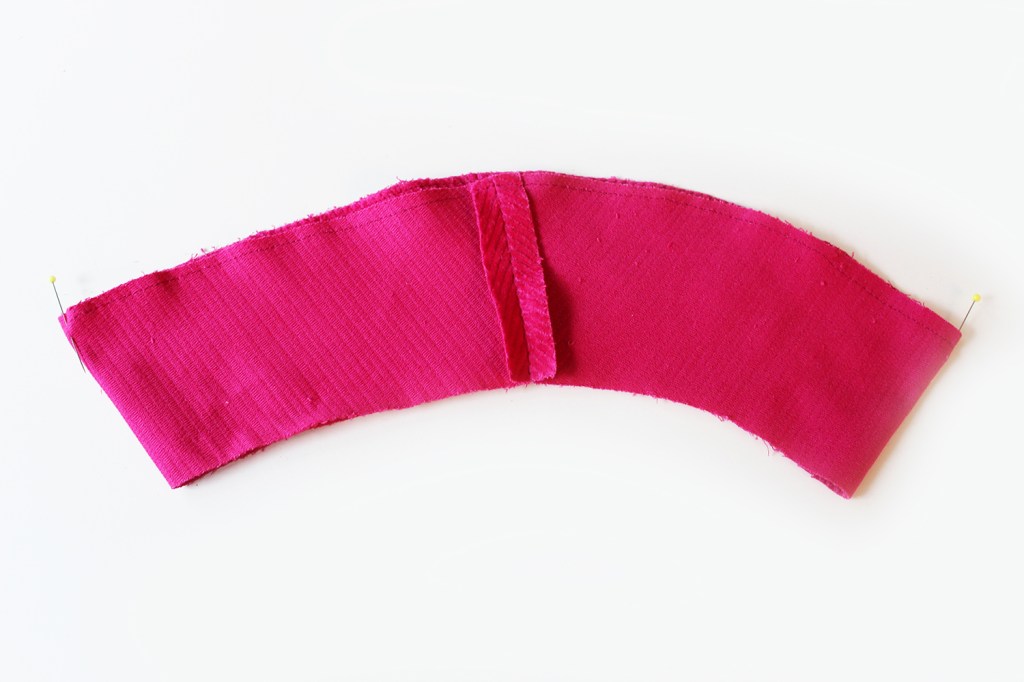
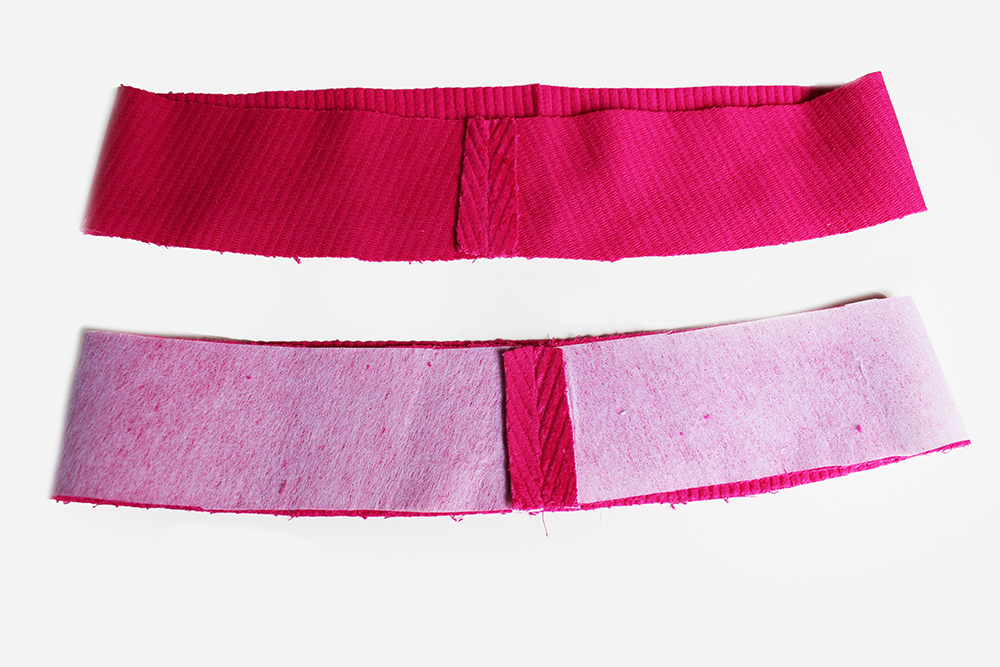
Sidebands- one is interfaced the other isn’t. Sew together at the short side edges with the right sides together to make two rings. Press the seams open then topstitch either side, trim down any excess seam allowance.
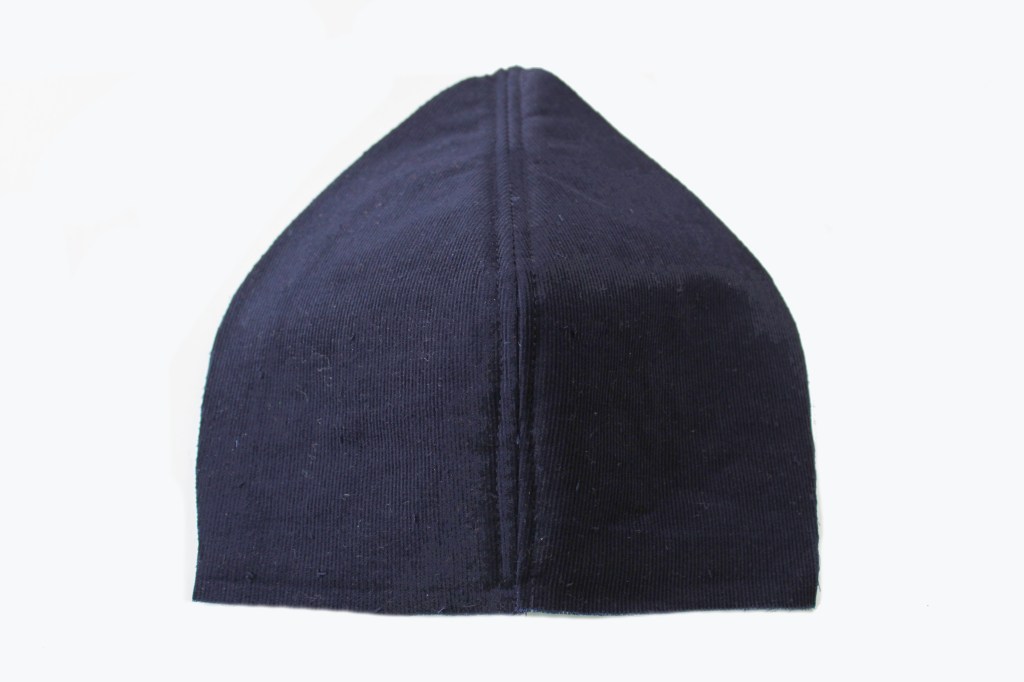
Make the Crown in two sections of four Crown pieces sewn together at the curved side edges. press the seam allowances open. Topstitch either side of the seam line.
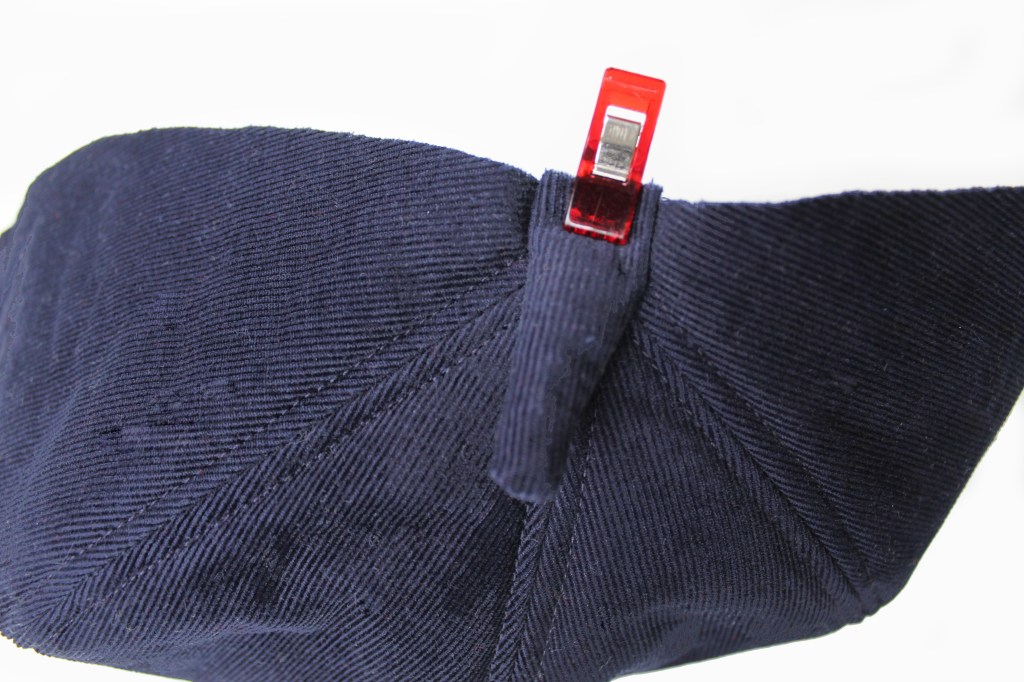
Before joining the two half sections of the crown, pin (or clip) the stalk to the centre top edge of one Crown piece. Machine or hand tack to secure.
Place one crown inside the other with the right sides together. Sew around the outer curved edge. Press the seam open. Topstitch.
Now pin the Sideband to the Crown at the raw outer edges with the right sides facing together. Sew all around.
Press the Sideband away from the Crown with the seam allowance extended towards the Crown on the reverse side. Topstitch.
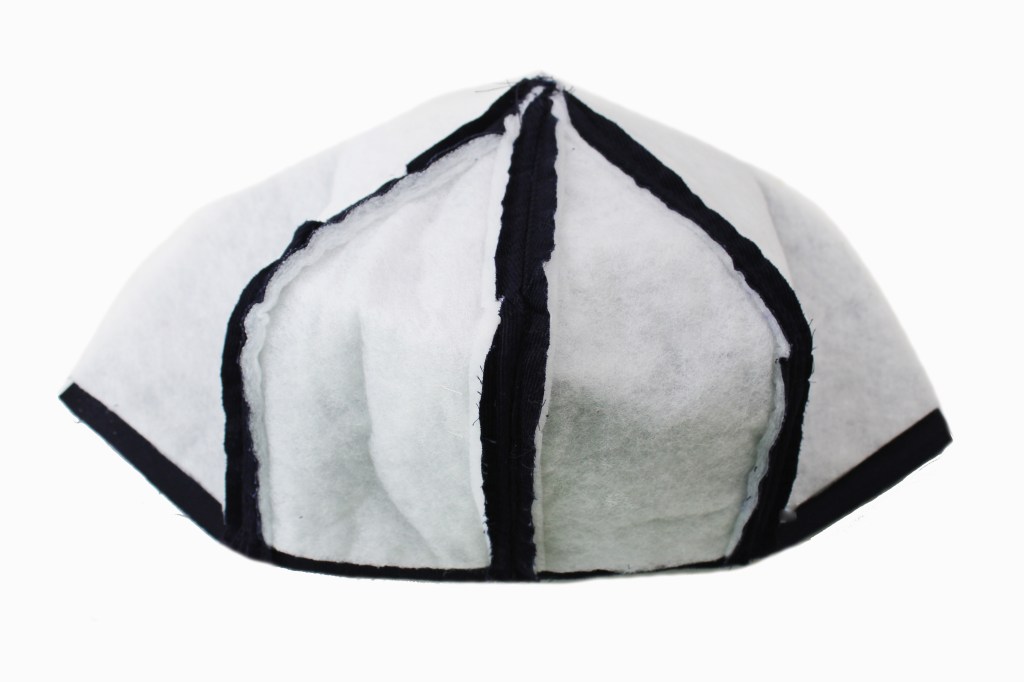
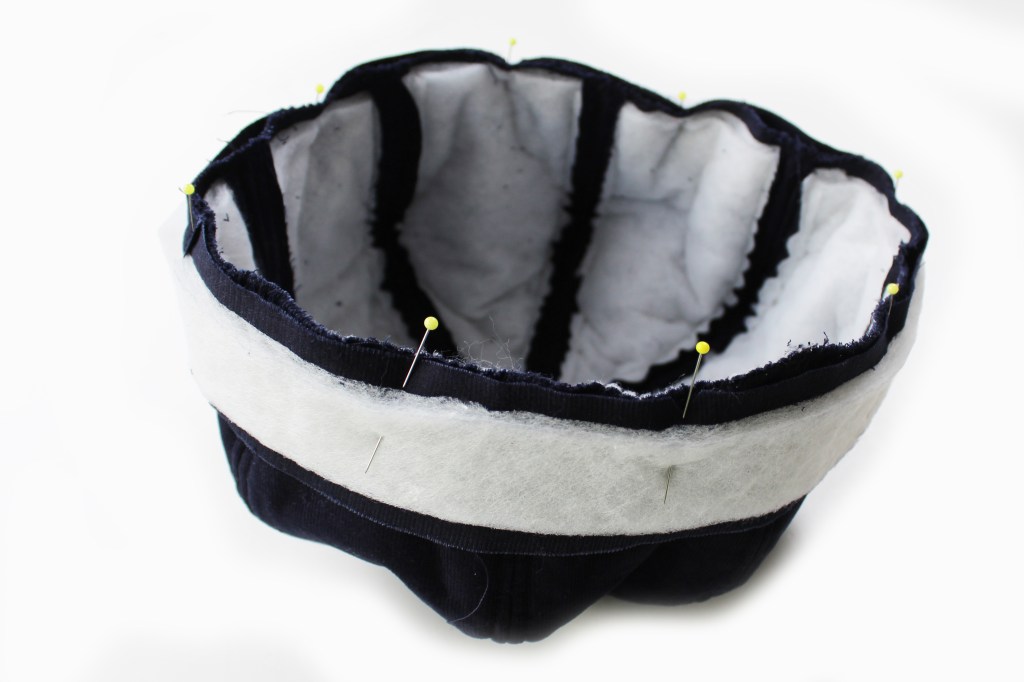
LINING -Sew together the four pieces for the lining leaving an opening on one seam for turning. Attach the second un-interfaced Sideband in the same way as the Crown Outer piece.
Pin the Crown and Lining pieces together with the right sides aligned and pin all around at the band raw edges. Sew all around.
Trim the seam allowance.
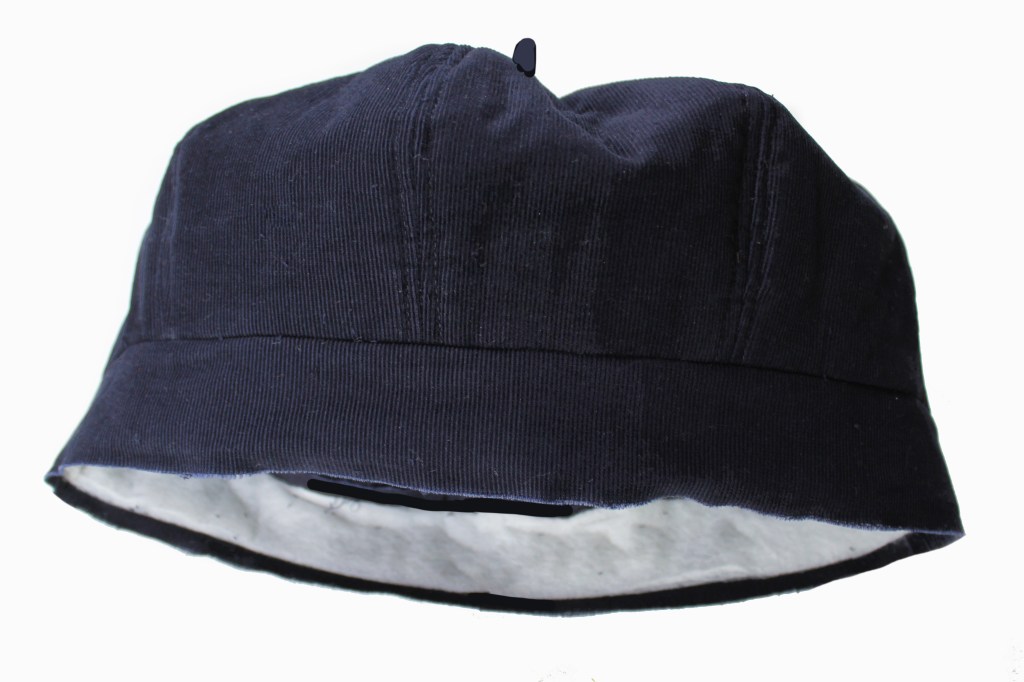
Push the hat through the lining opening and press, pushing out all the edges from the inside.
Pin the band all around. Topstitch close to the outer edge all around and ‘stitch in the ditch’ all around the band seam line, this creates the channel to feed through the elastic.
Insert a length of elastic through a stitch ripped opening in the band inside seam. Adjust to fit. You need it so that it’s not too tight, so that when the hat is on the head, the band sits flat all around. Finally sew up the hole.
Voila!
Please do not copy or repost any images without prior permission.
