


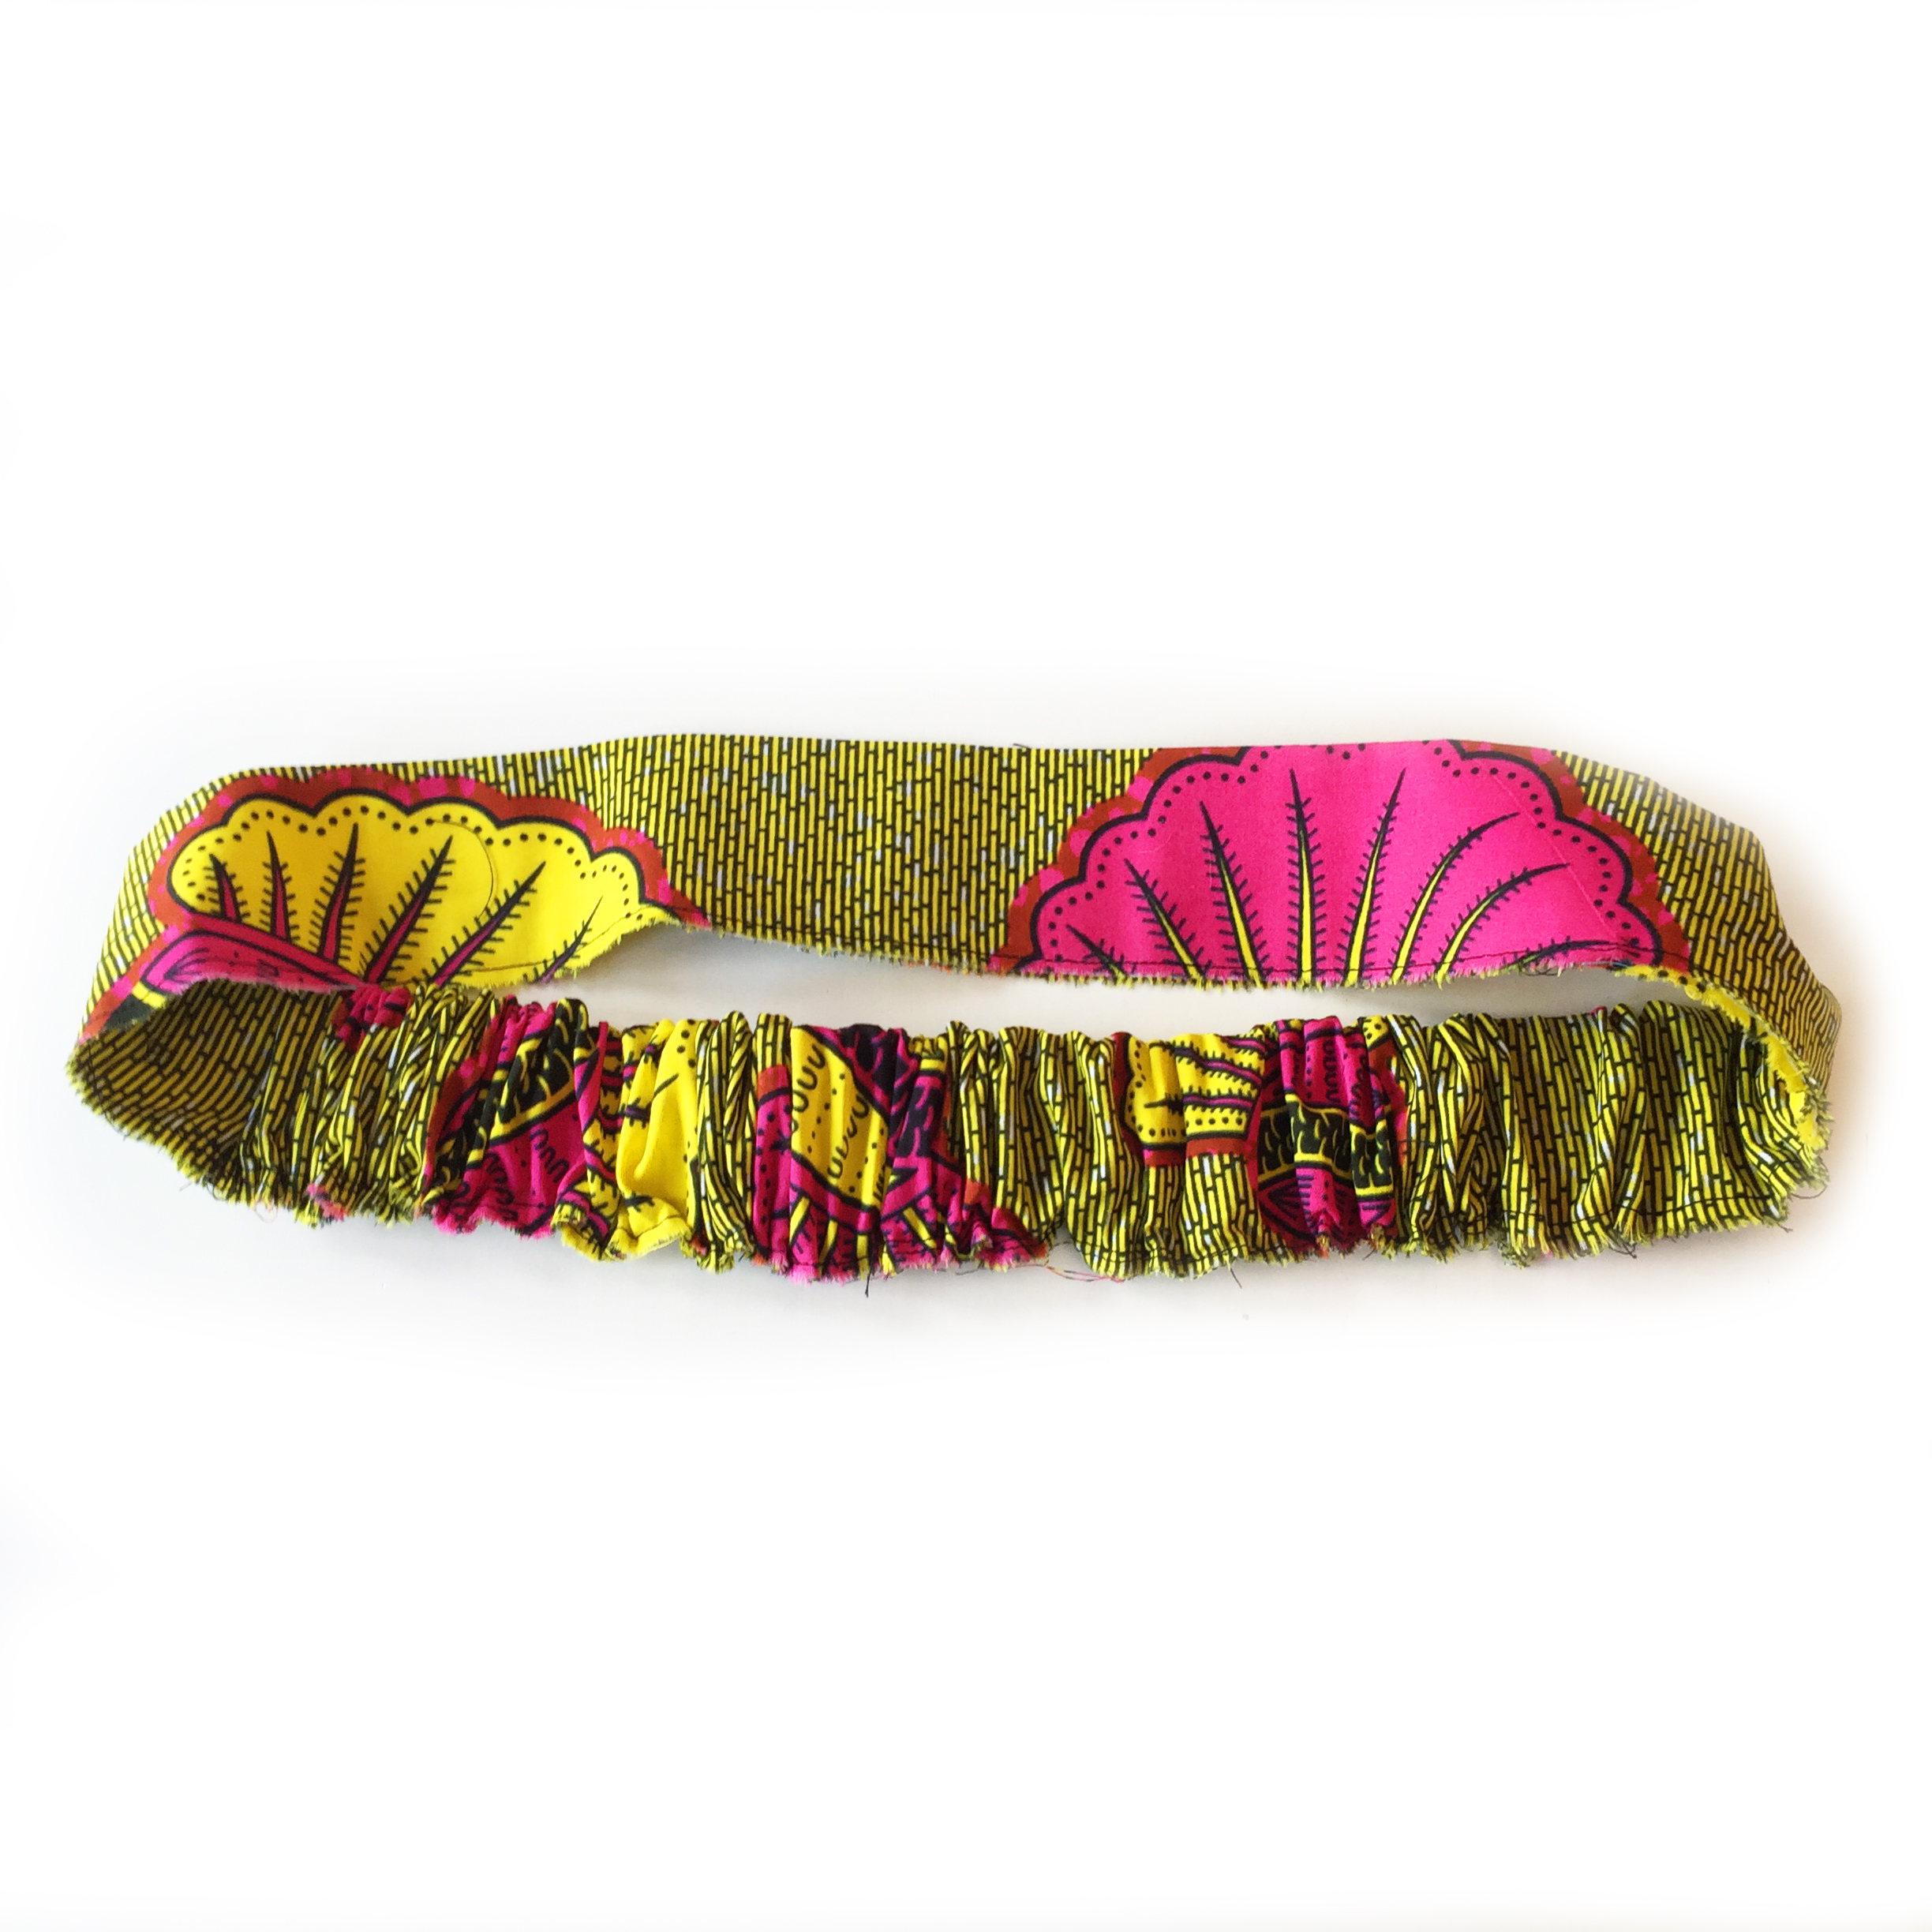
So here it is! …..drumroll please…….Cecily Skirt. Ta dah!
Not a day goes by, when I’m wearing this skirt, when people don’t say ‘Wow! where did you get that skirt! ‘ and I can smugly reply those immortal words…. ‘I made it myself!
What I love about this skirt, is how easy and quick it is to run up, and how comfortable it is to wear. With its elasticated back waistband, you can pretty much eat what you like, without the waistband feeling tight, (something I absolutely hate, being someone who loves their grub!).
So also, you will be delighted to hear, its got pockets! ….and two of em! There are also no zips, thanks to Mr Elastico. Having said that, the skirt isn’t bulky at the front because of its flattering front pleats or gathers if you are making with the blue ink spot fabric. Whats not to love?
Cecily skirt is quite long in length, with a maximum length of approx 75cm, but of course you could make it shorter. I love to wear mine with leggings or pedal pushers and a tee or a boxy top. If you fancy adding a belt and some tabs like this…. scroll down to the waistband section where it will tell you how it’s done.
Here is the Sewgirl African fabric kit all packed up in a fab recycled bag, but it can also be purchased as the pattern only, which includes instructions, interfacing and elastic for you to use your own fabric.
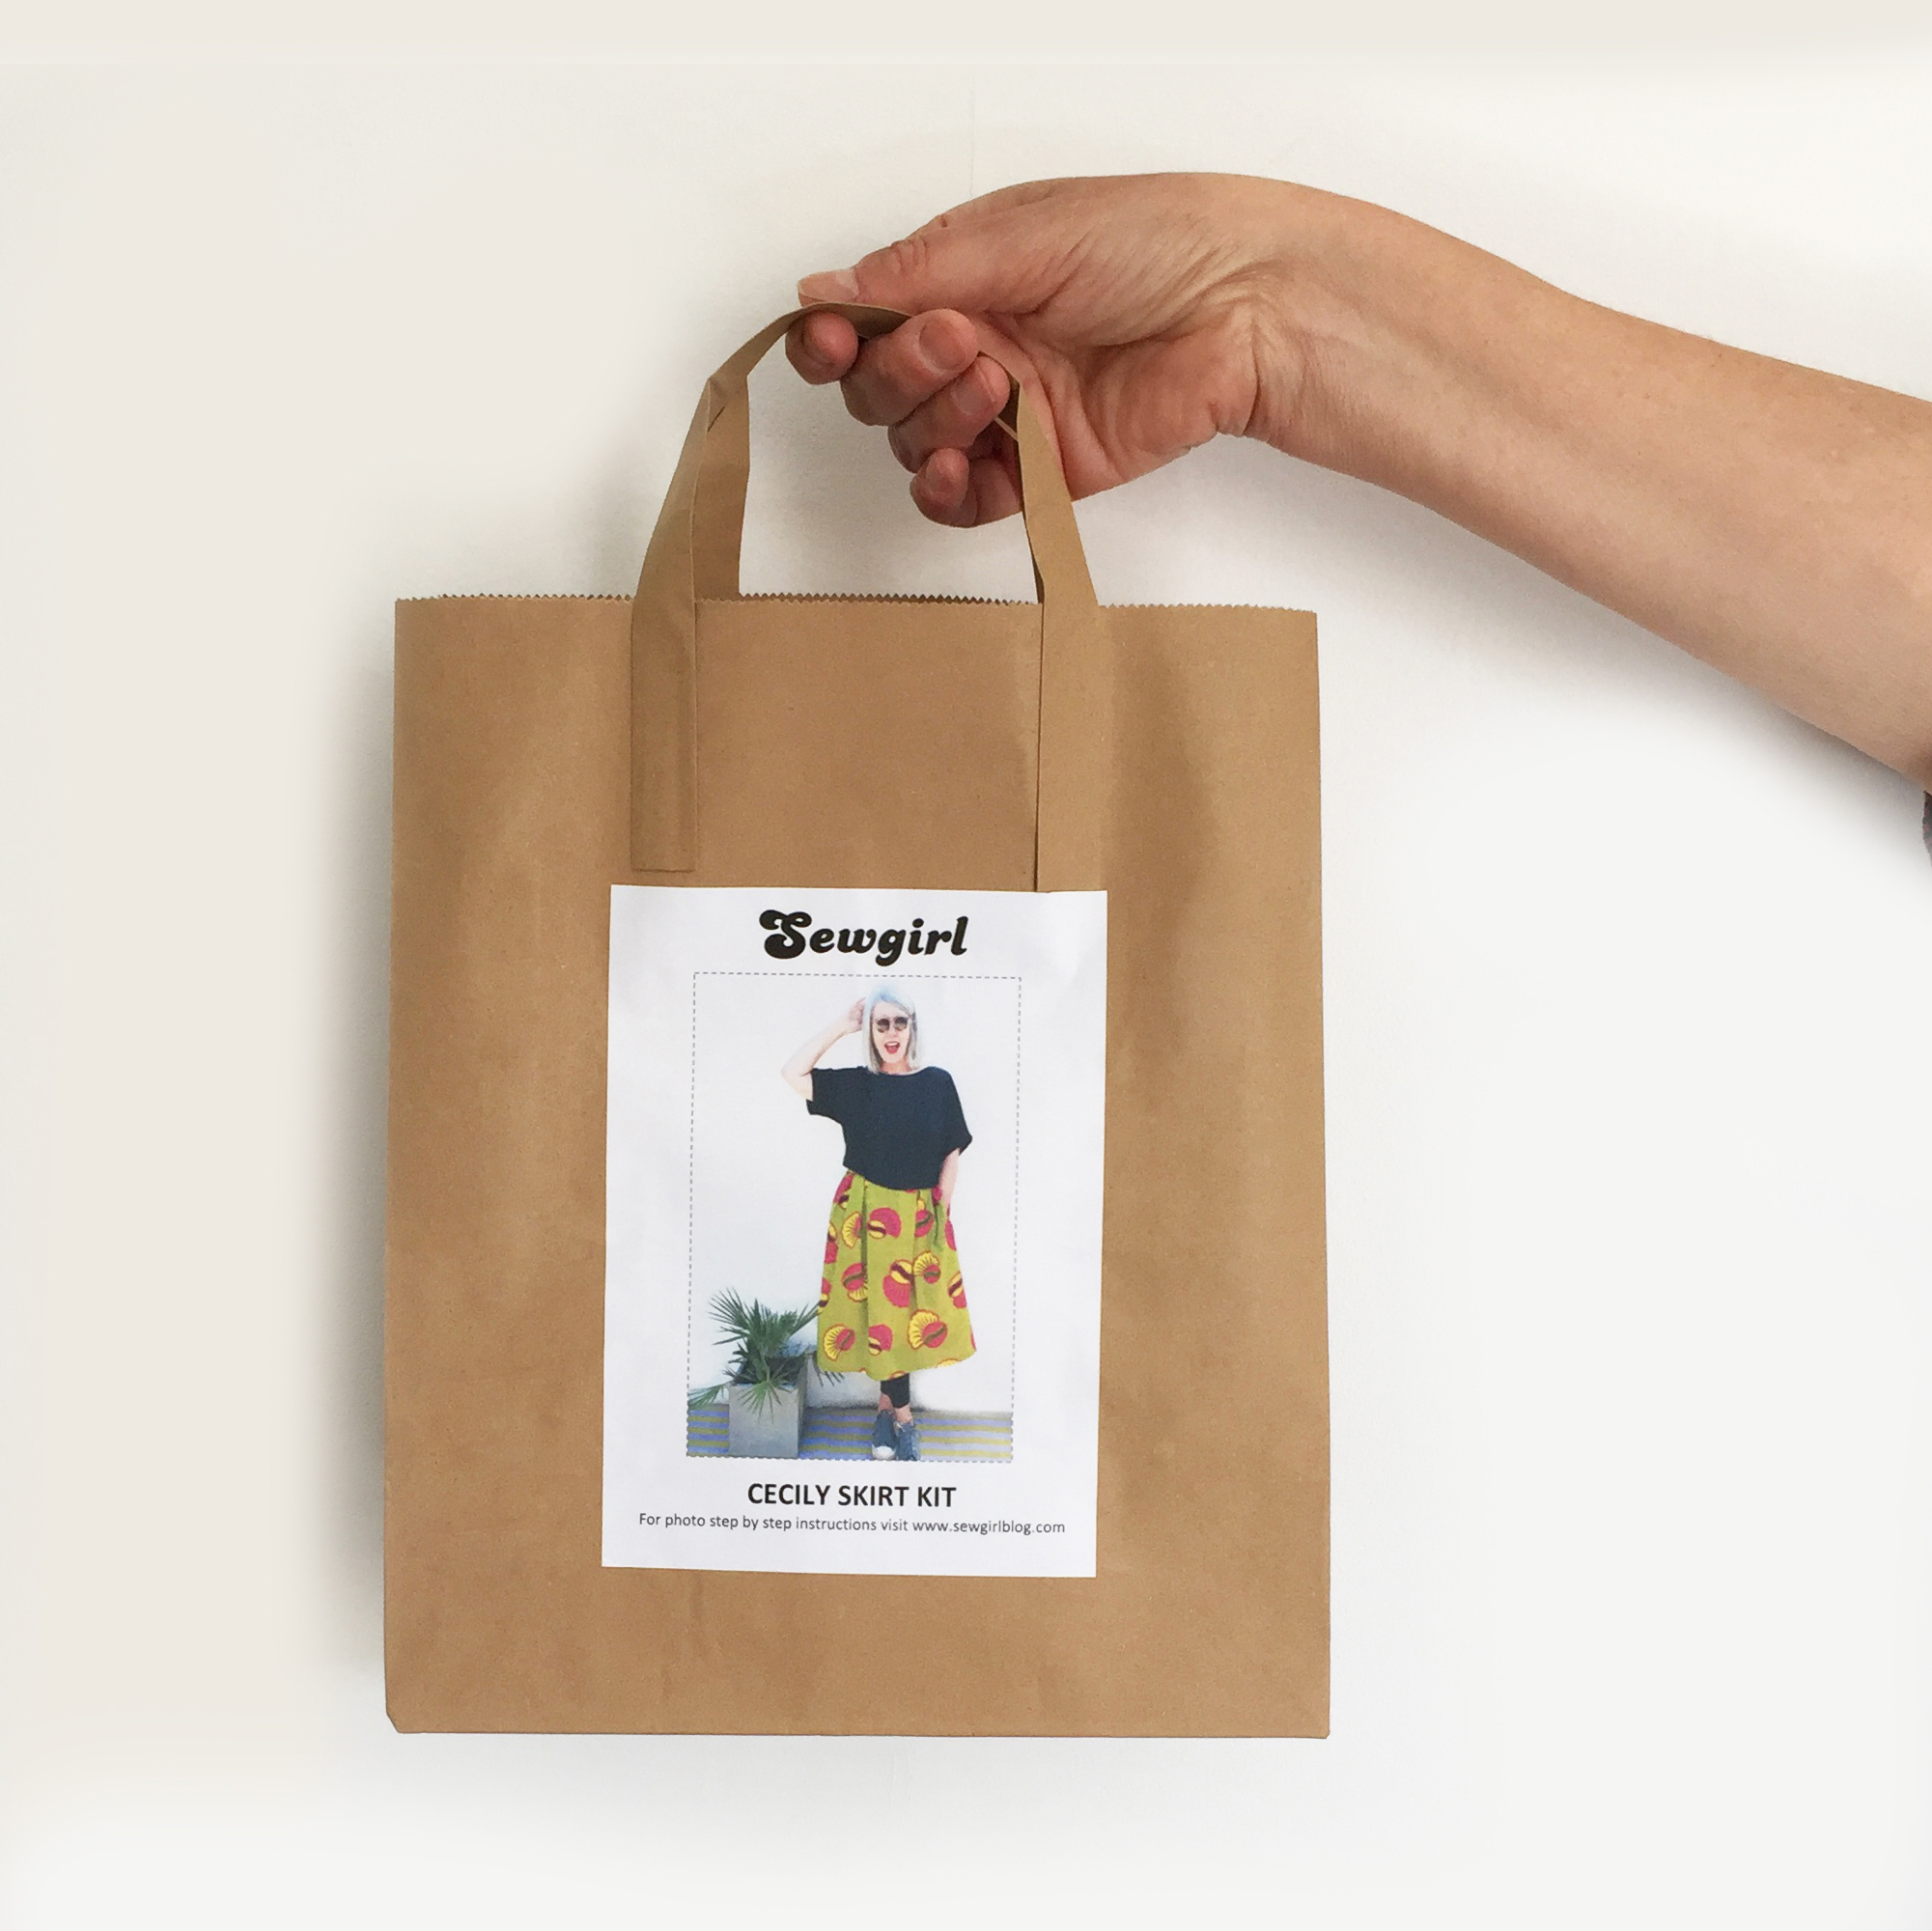
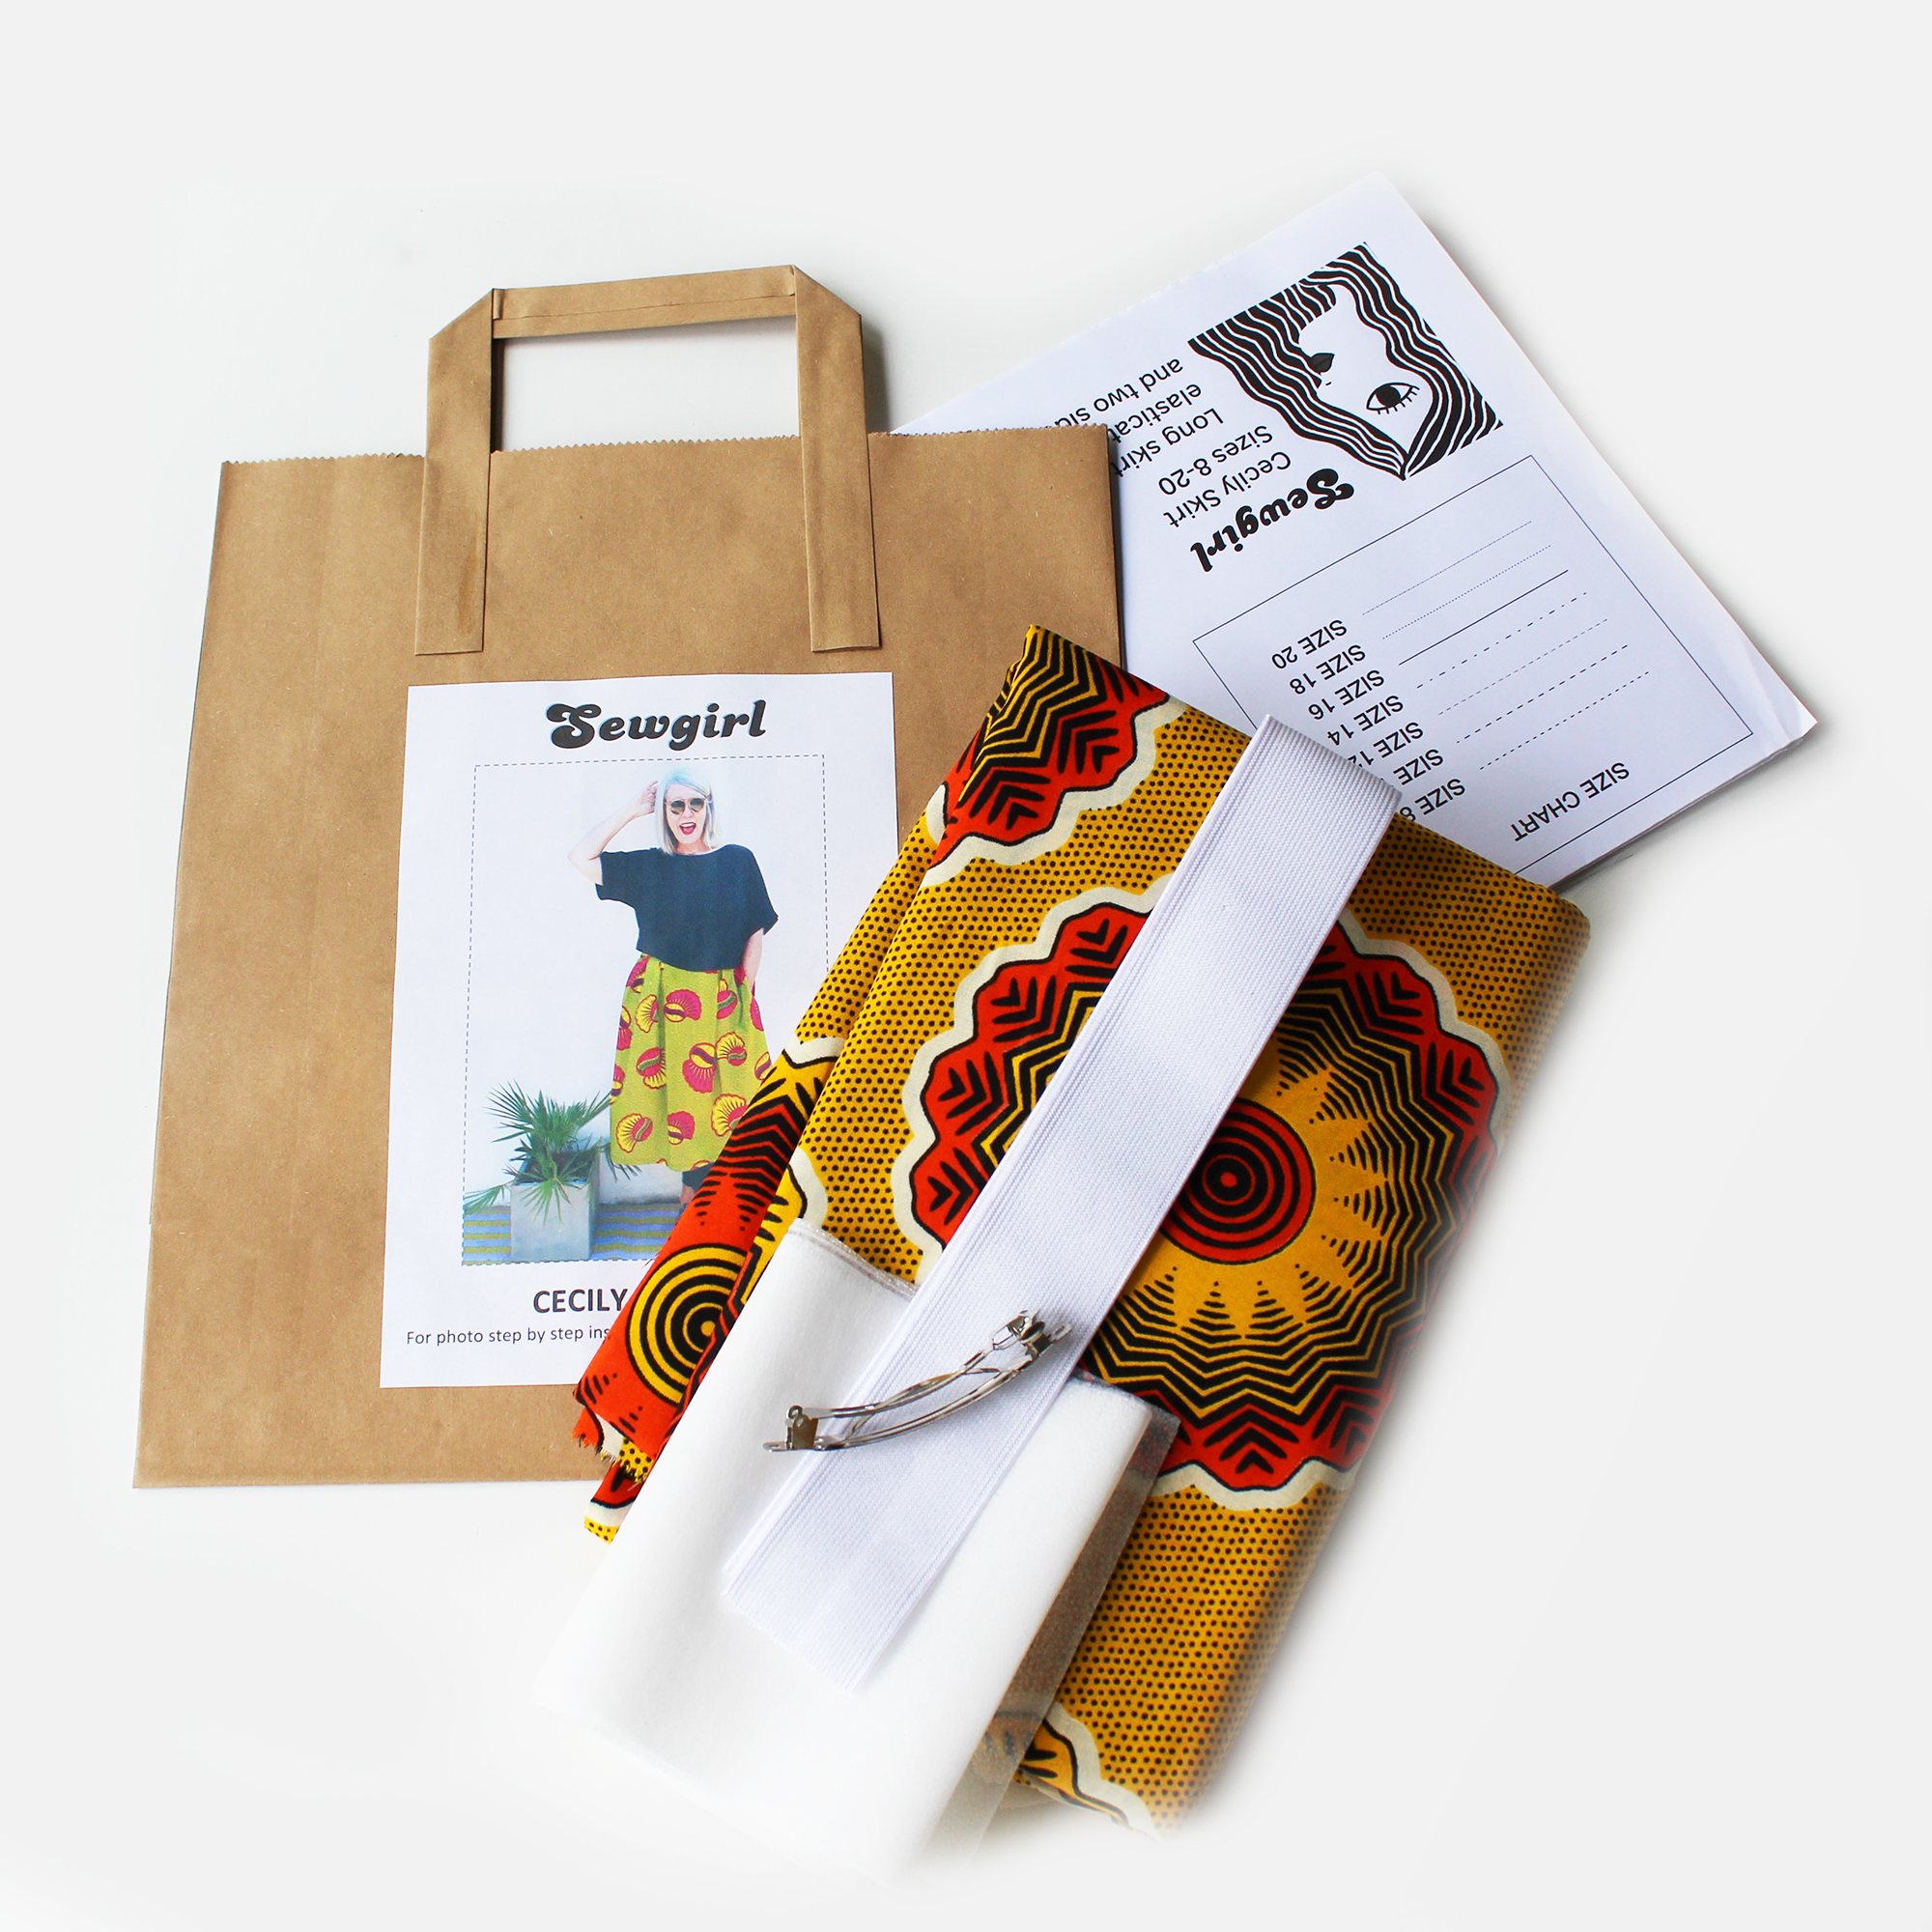
So… Ive made up a kit for this skirt for sizes 8-20 and here is a list of its contents:
A large format template paper pattern for sizes 8-20
50cm of elastic (4cm wide) cut to size as follows:
Size 8=25cm, Size 10=28cm, Size 12=31cm, Size 14=34cm,
Size 16=37cm, Size 18 =40cm, Size 20=43cm
A piece of fusible interfacing (enough for the front waistband)
One French hair barrette
and if you have the complete kit with fabric it comes with 1.8m (2 yards) of fabulous genuine African Dutch wax fabric – lovely and soft, 100% cotton with really zingy colours. (Its 112cm wide by the way) and a separate piece of spotty cotton poplin for the pockets.
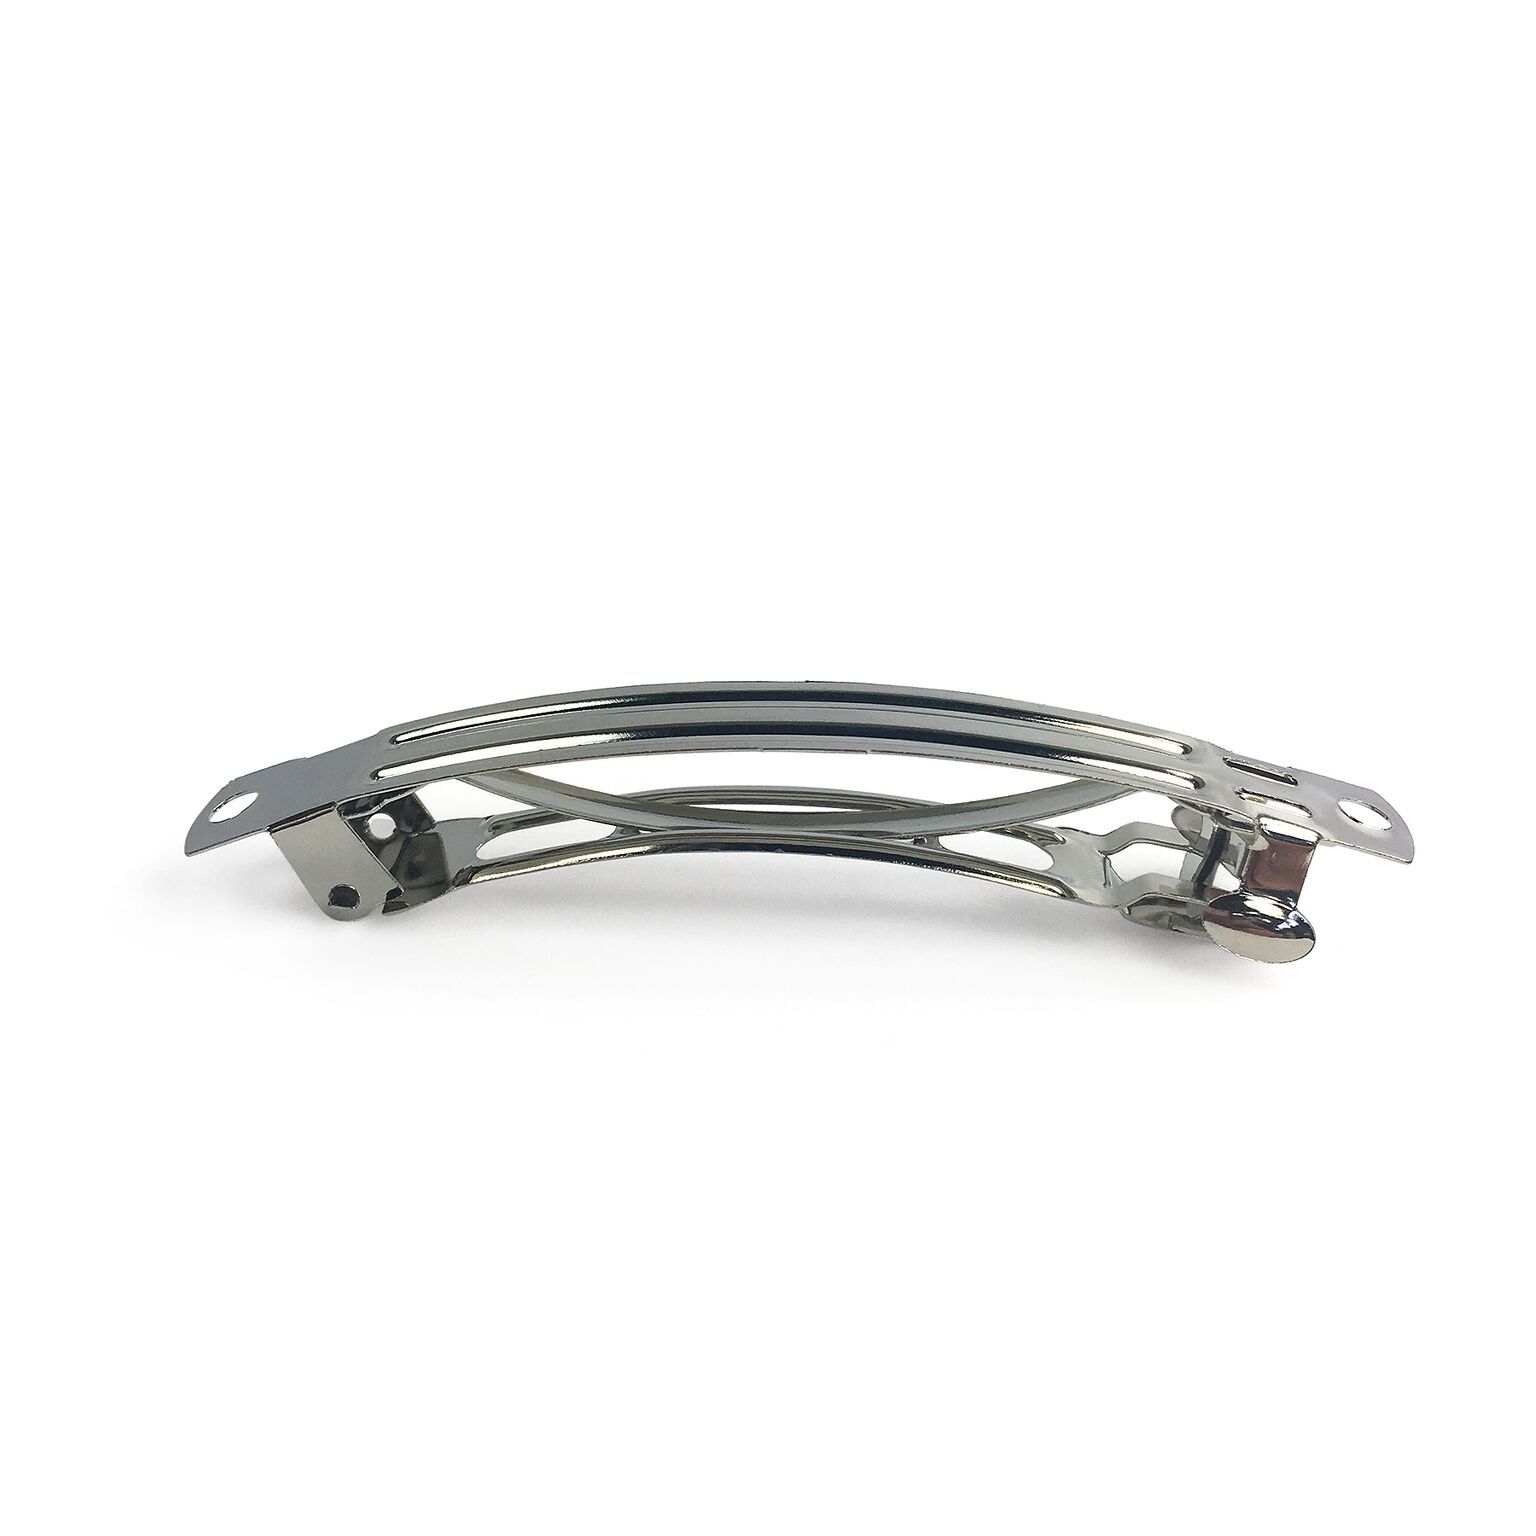
Im popping one in your kit in case you fancy making a matching hair accessory either like this, or the little one with a button.


You can find a tutorial for making one of these at the bottom of the page.
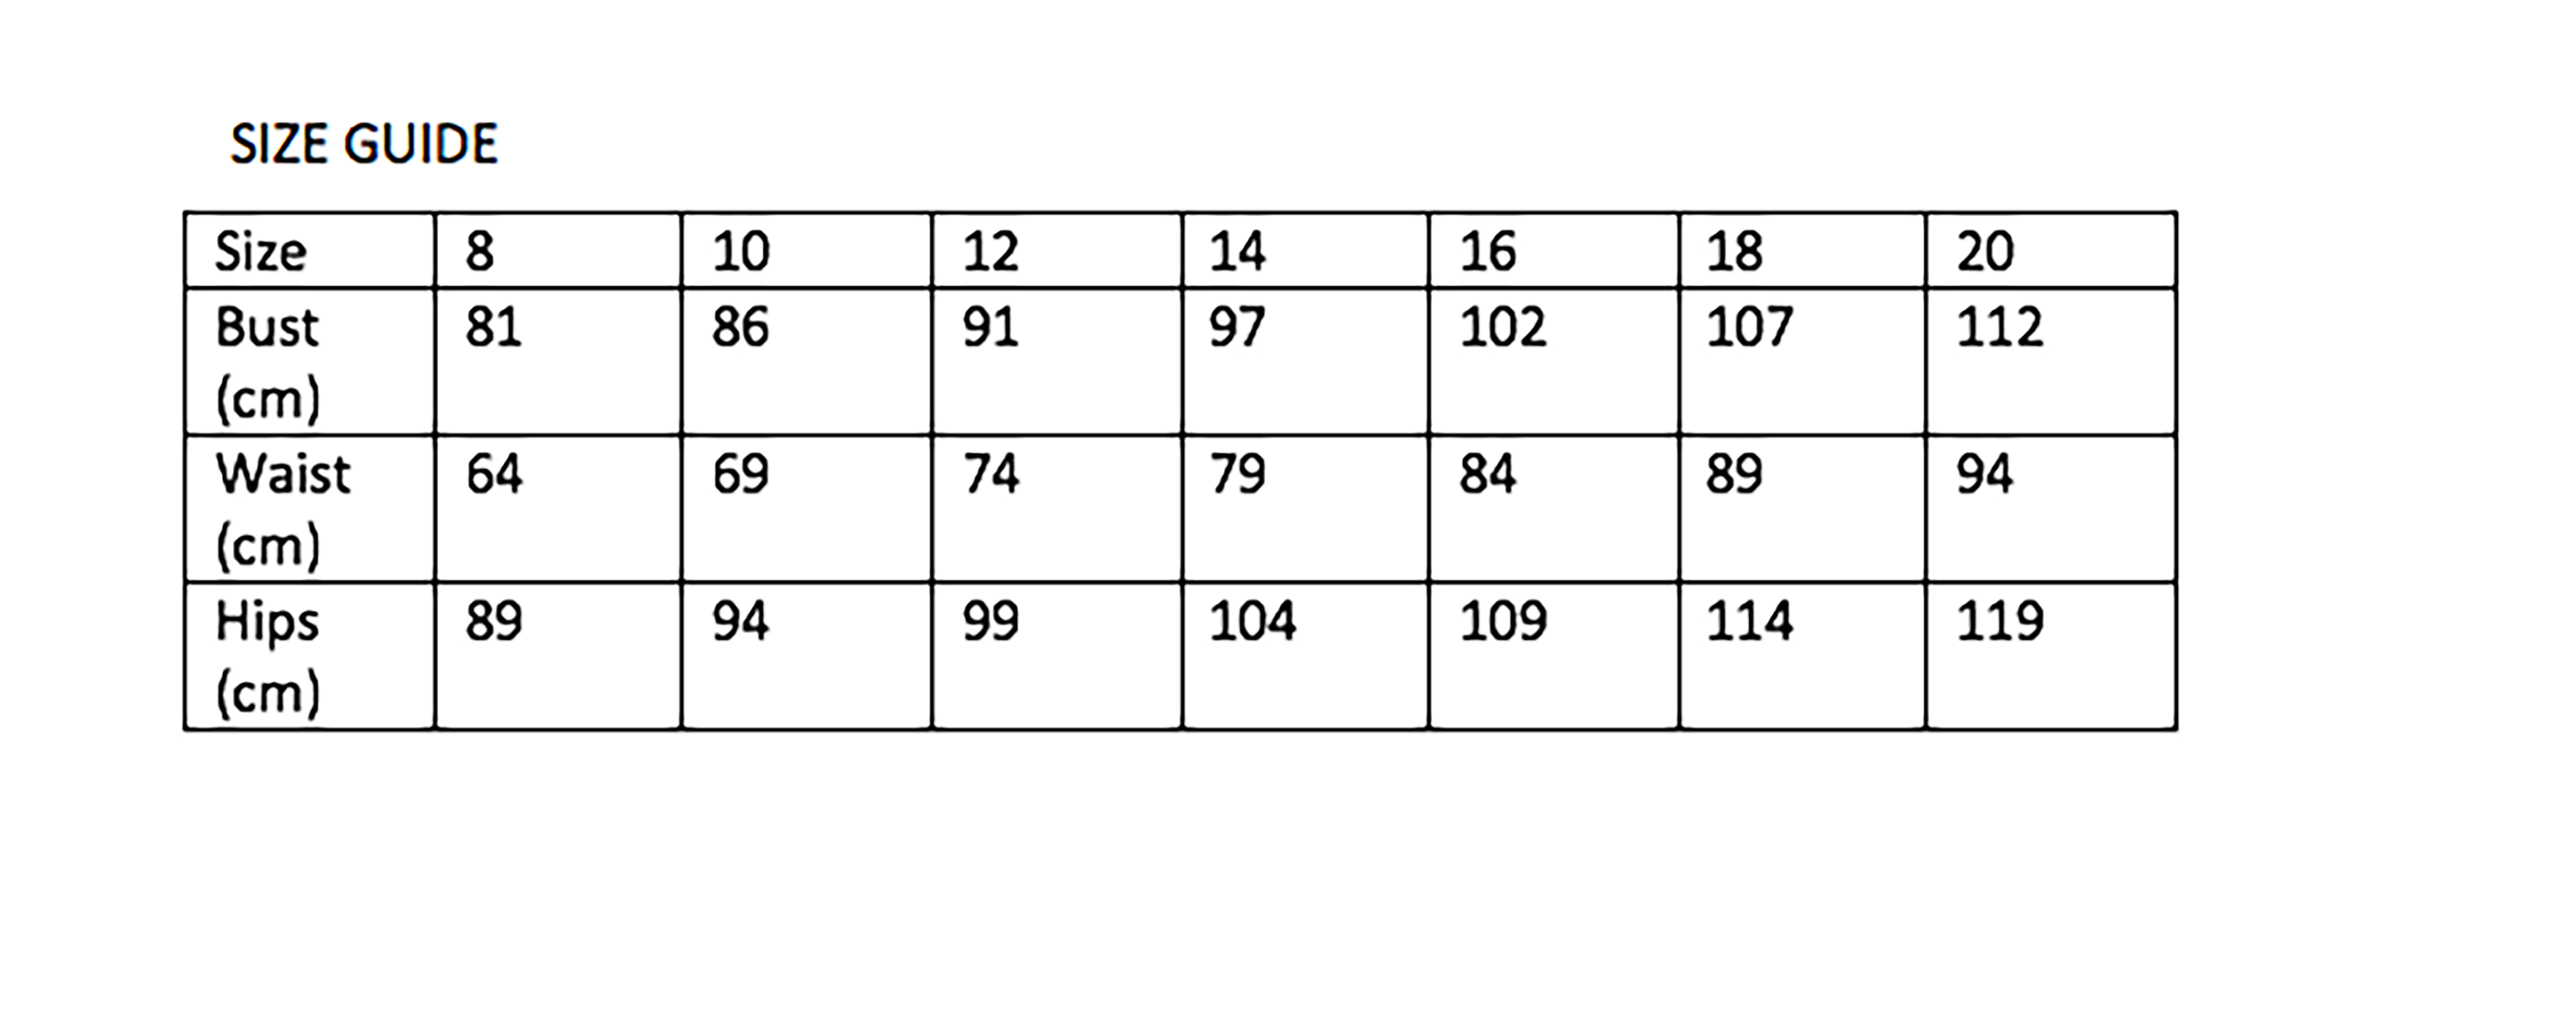
SIZE INFO
THE FINISHED SKIRT LENGTH IS:

HOW TO MAKE CECILY SKIRT
So you have 4 paper pattern pieces: Front & Back (1), Front Waistband (2), Back Waistband (3), Pocket (4).
You’ve ironed your fabric and folded it, so that the selvedges are aligned with the RST (Right Sides Together) and laid it out nicely on a table or floor. Pin the pieces as shown on the Layplans in the pattern.
You will need to cut:
Front & Back (template 1)– Cut two on the fold of the fabric.
Front Waistband (template 2)– Cut one *Iron fusible interfacing to the reverse side of the Front waistband only.
Back Waistband (template 3)– Cut one on the fold of the fabric.
Pocket (template 4)– Cut four (two pairs).
Optional tie belt tabs (x 2) : Cut two pieces 5cm x 8cm. Fold inwards 1cm towards the centre each long side. Press, then fold in half lengthways. You should have a folded piece measuring 1.5cm x 8cm. Stitch down each long side. Repeat for other tab. Place to one side.
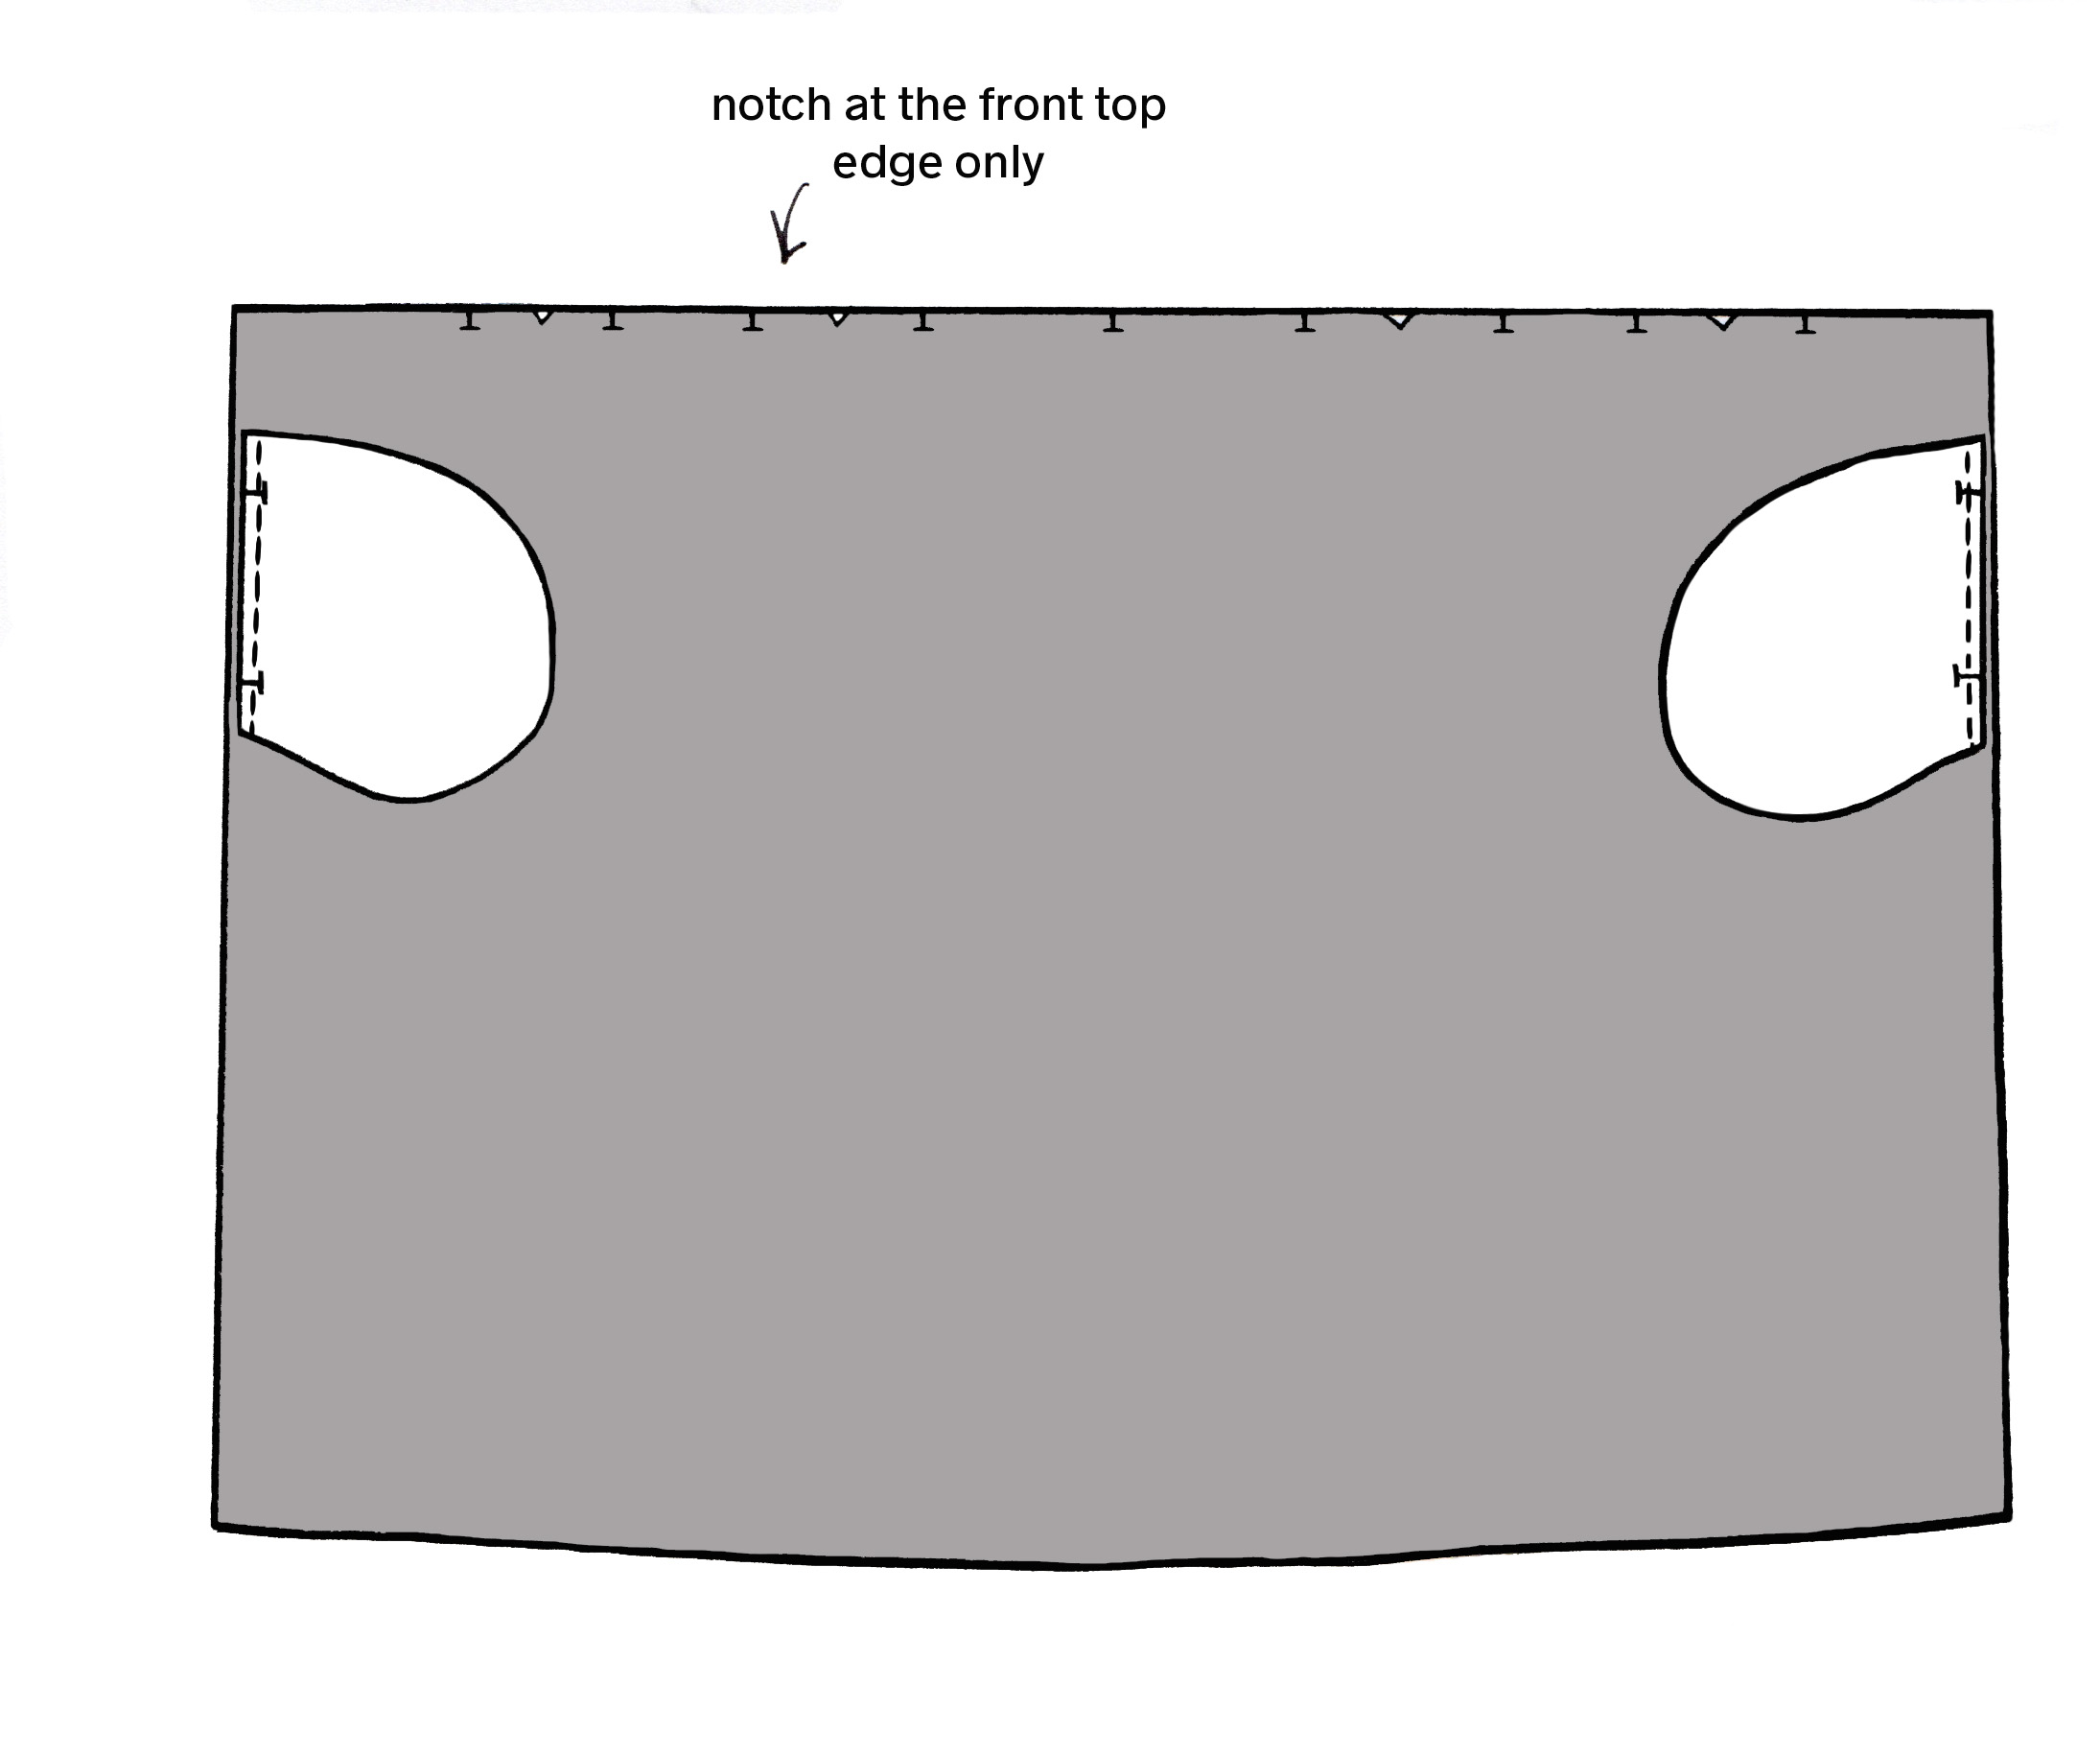
Mark the pleat positions at the top edge with a marking pen or small nick within the seam allowance on the Front piece only. Now to the sewing bit (the best bit).
Remember the seam allowance is 1cm!
SEWING THE FRONT TO BACK & POCKETS. (For all skirts)
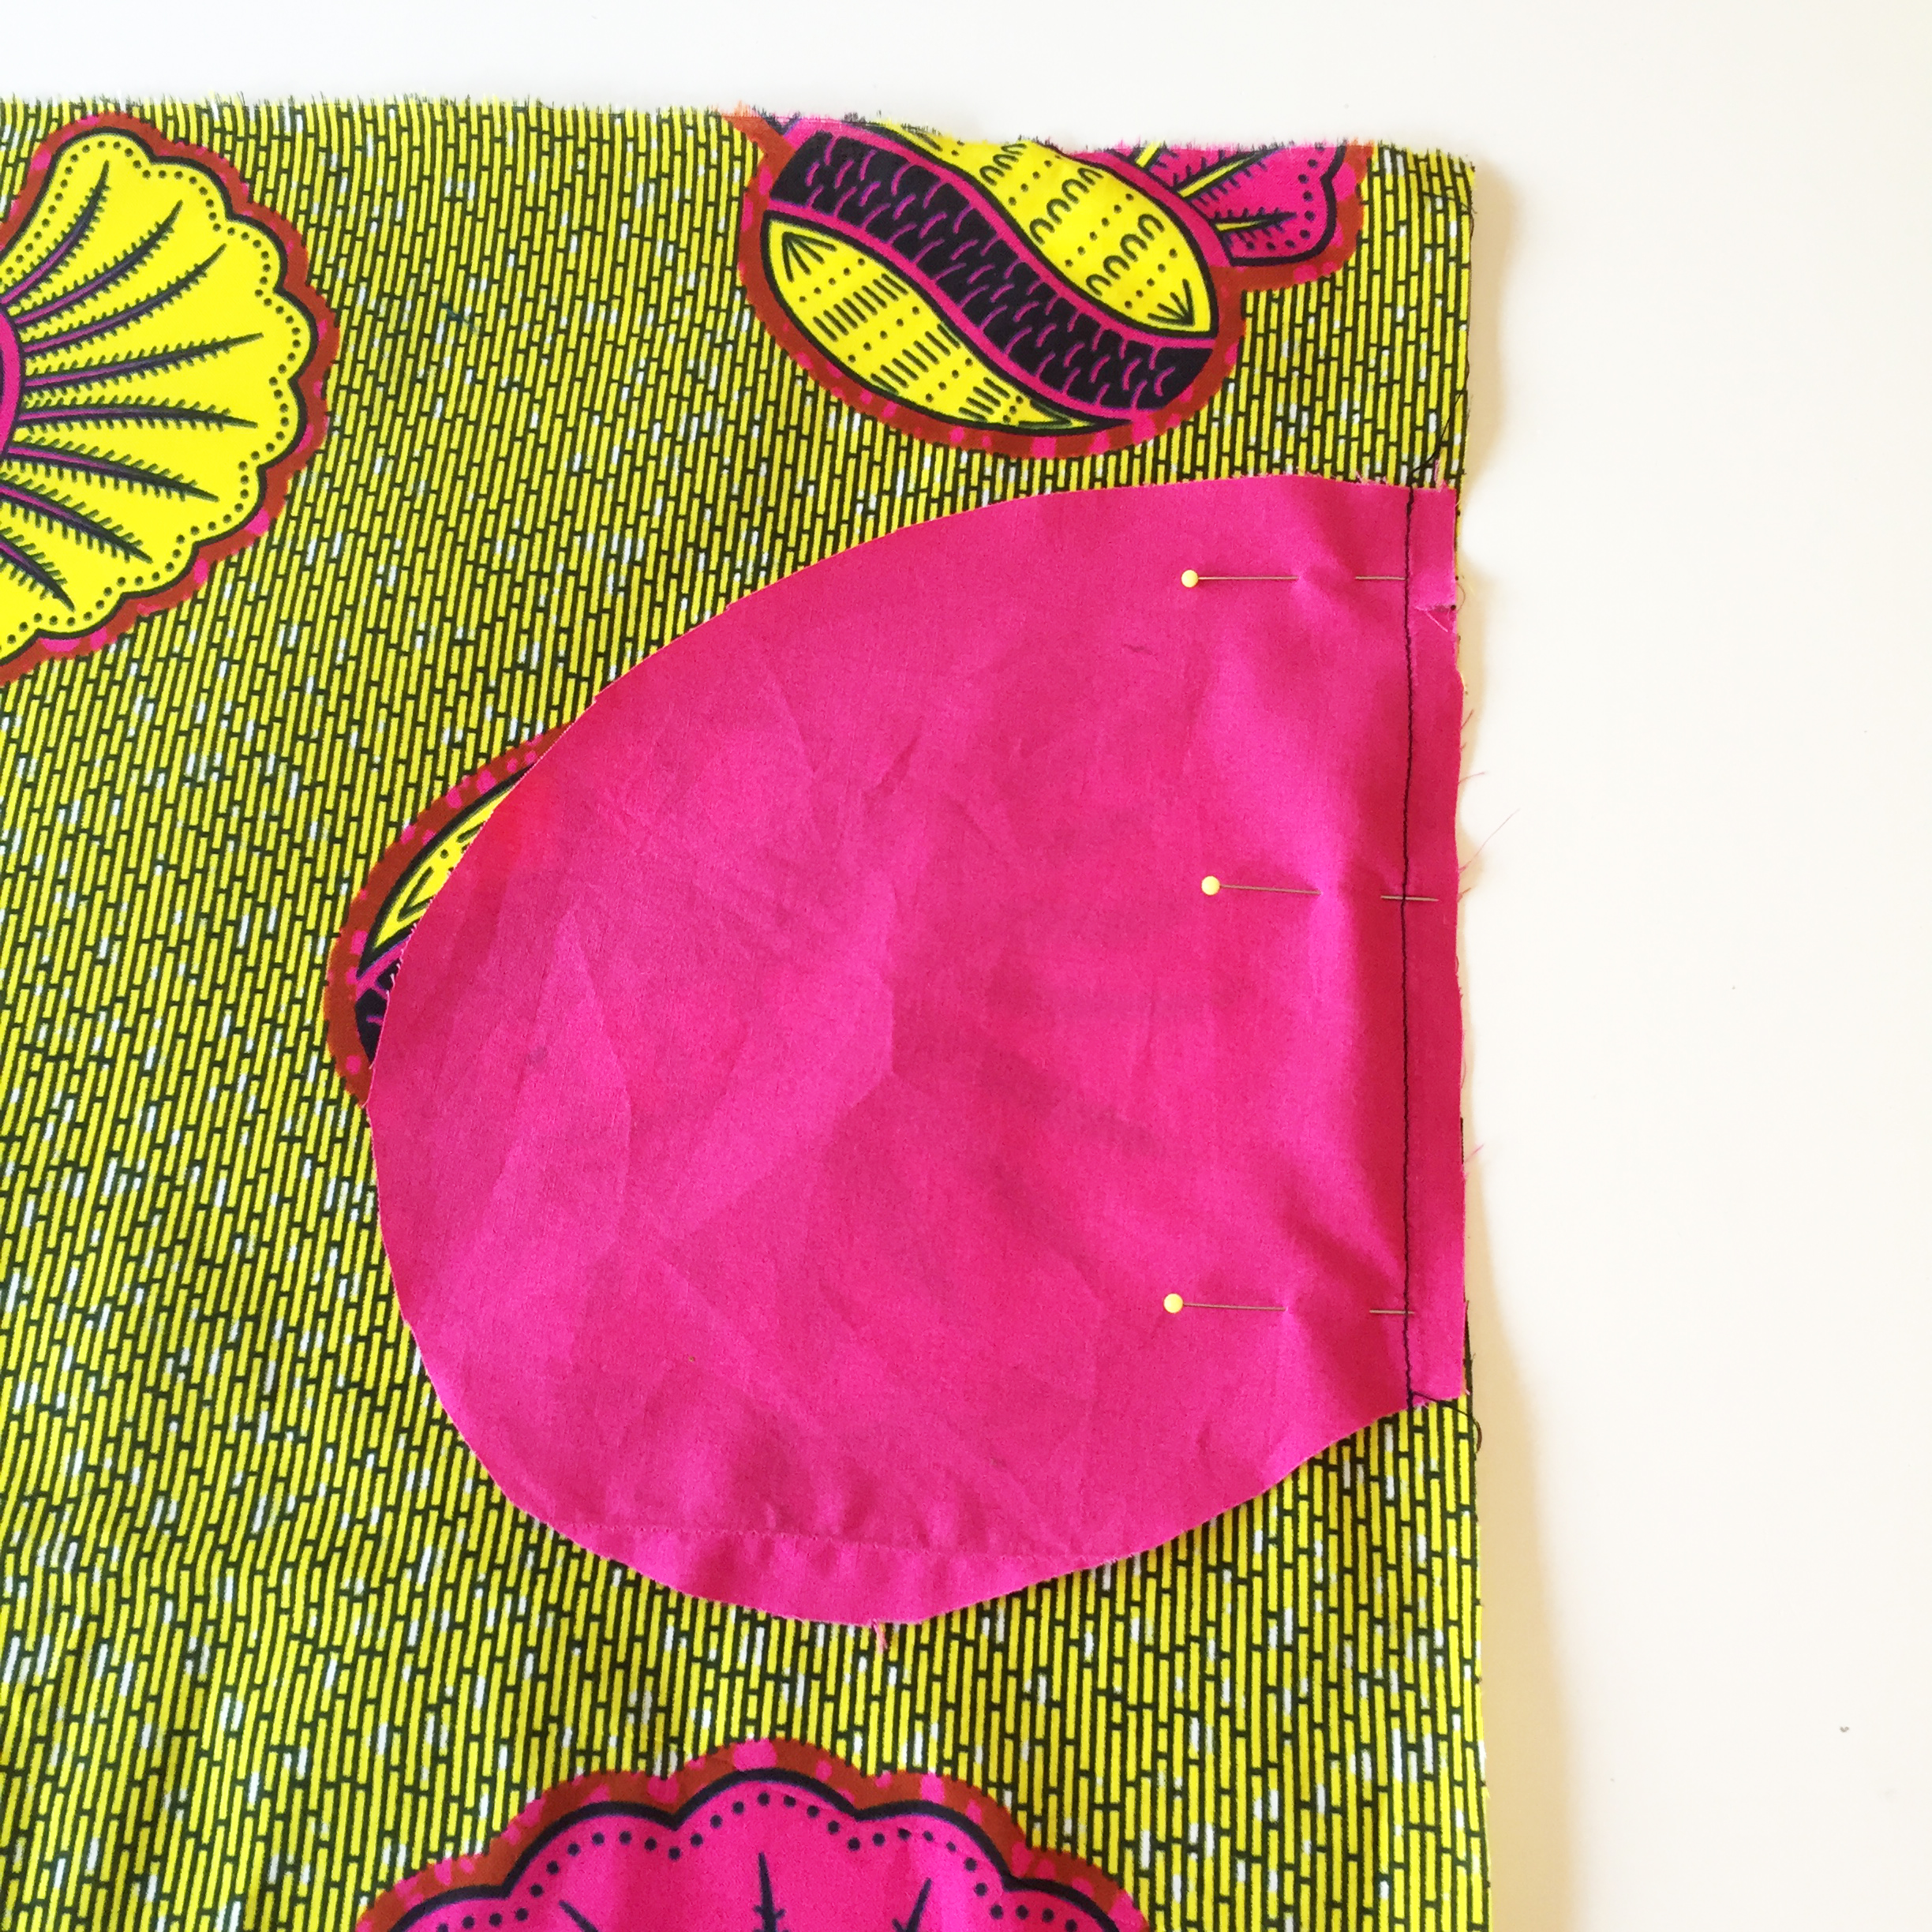
- With the fabric right sides facing together, pin one pocket piece at each side edge of the Front and Back pieces in position as shown on the template. Sew down the straight vertical side edge.
2. Press the pocket away from the Front and Back piece. Topstitch on the pocket side. 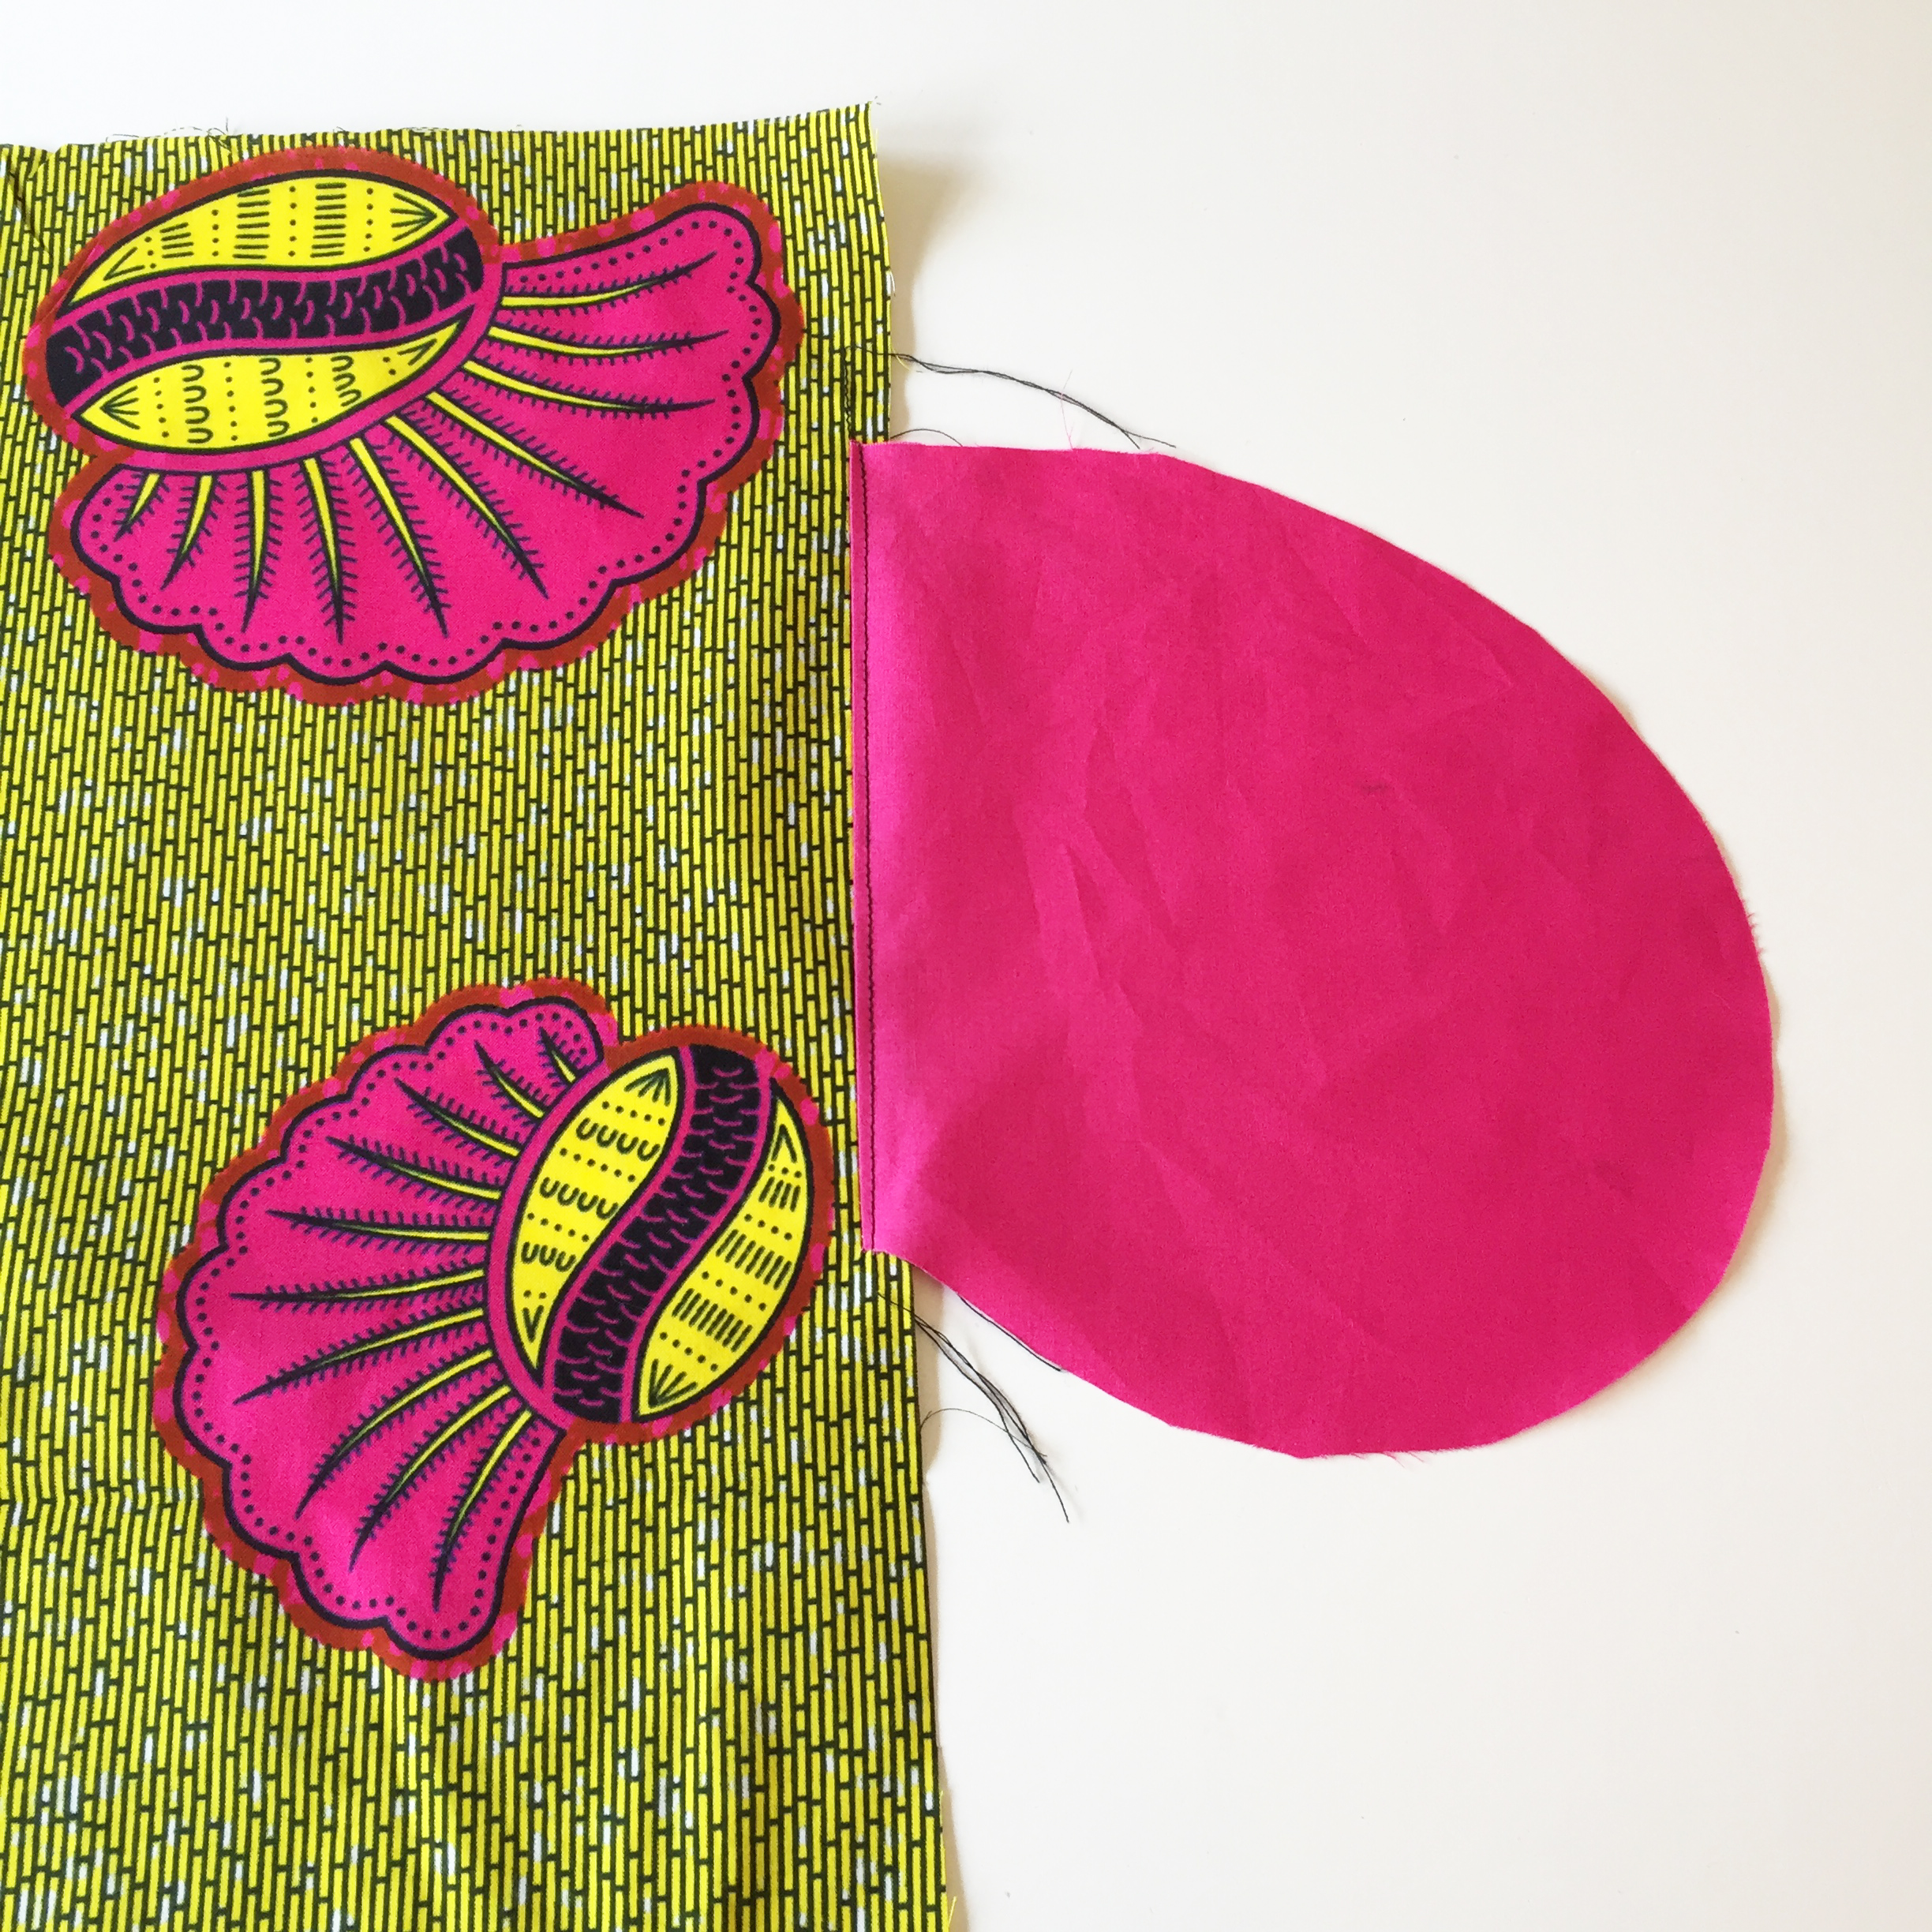
PLEATS
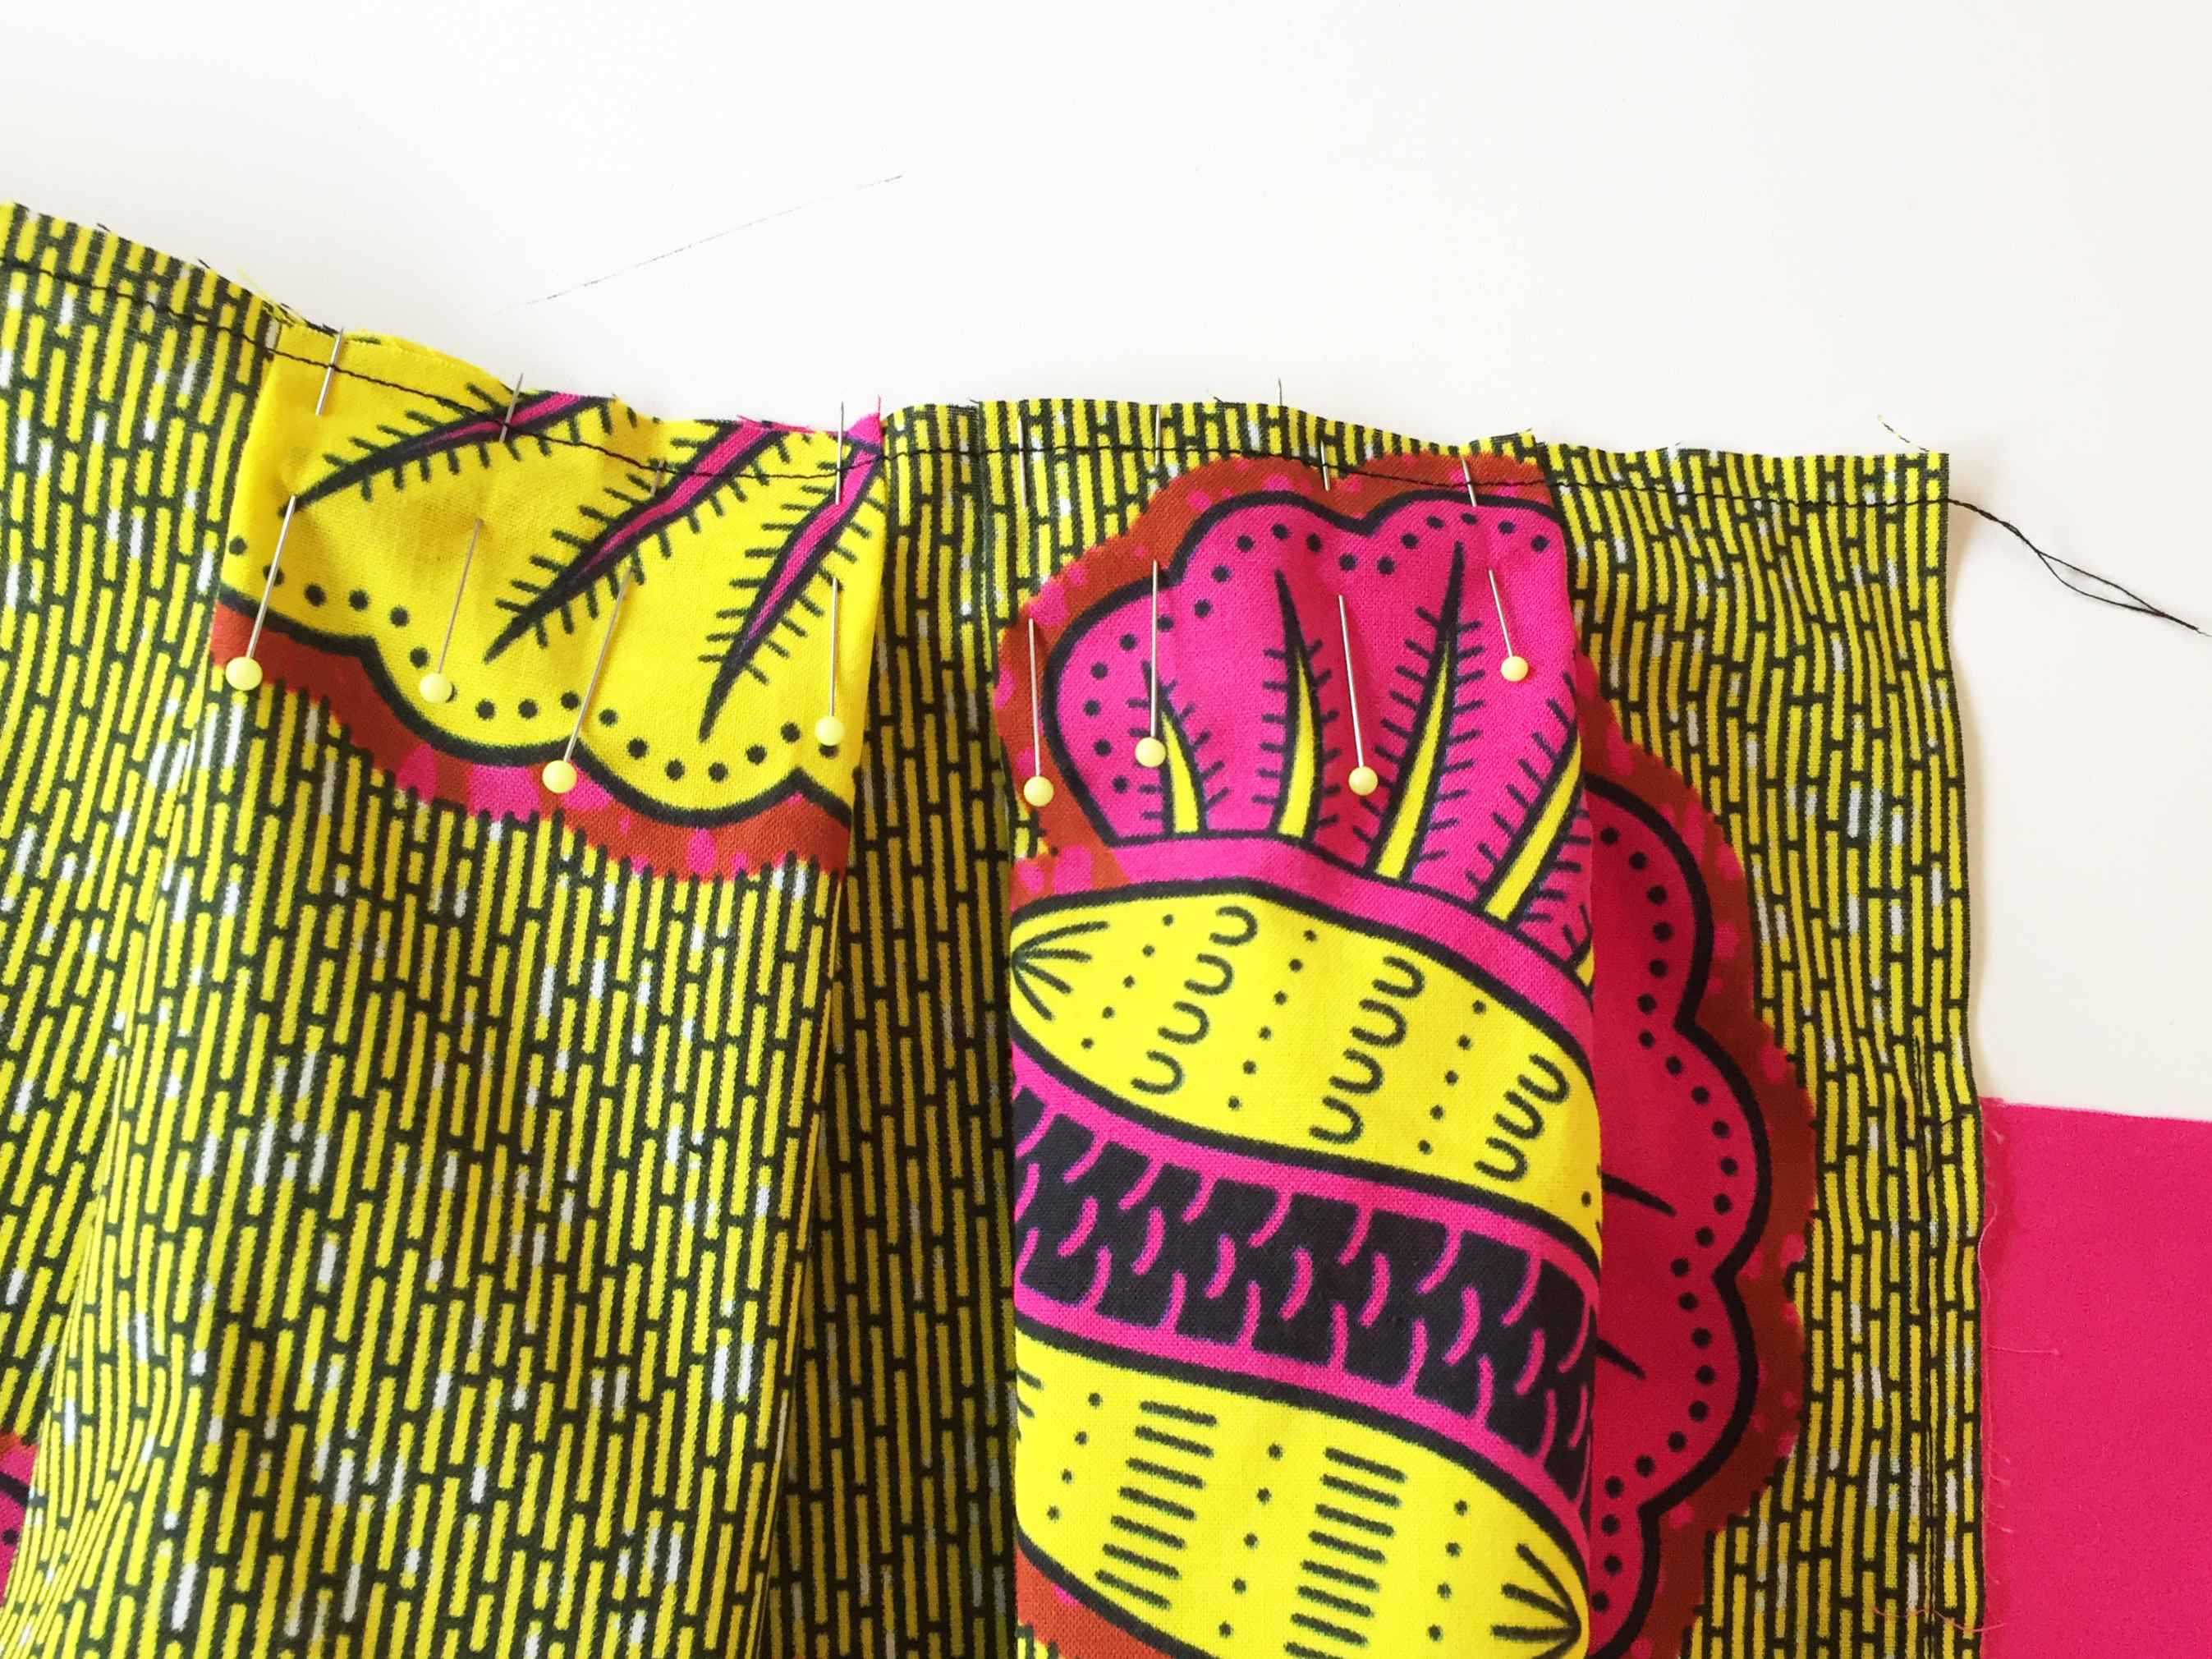
3. On the Front piece ONLY, pin the pleats in the marked positions as shown on the template.
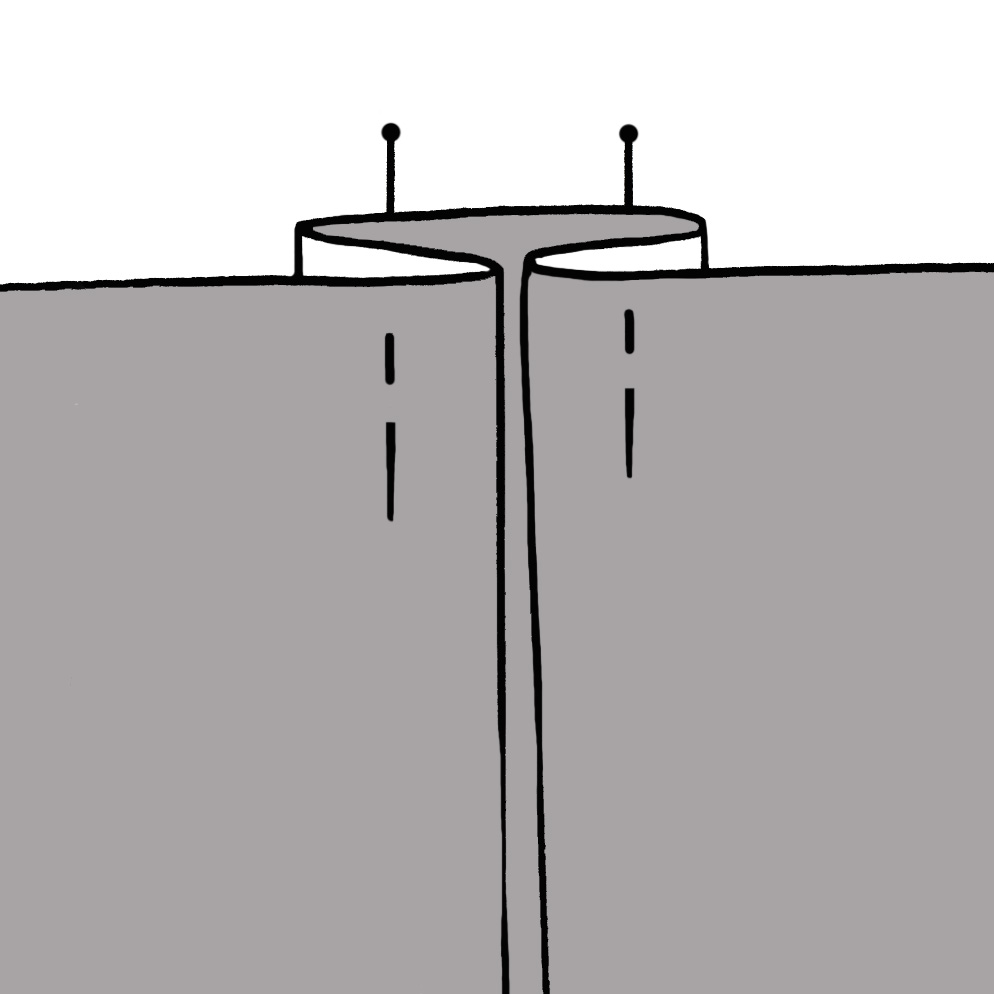
PLEAT-Fabric right side 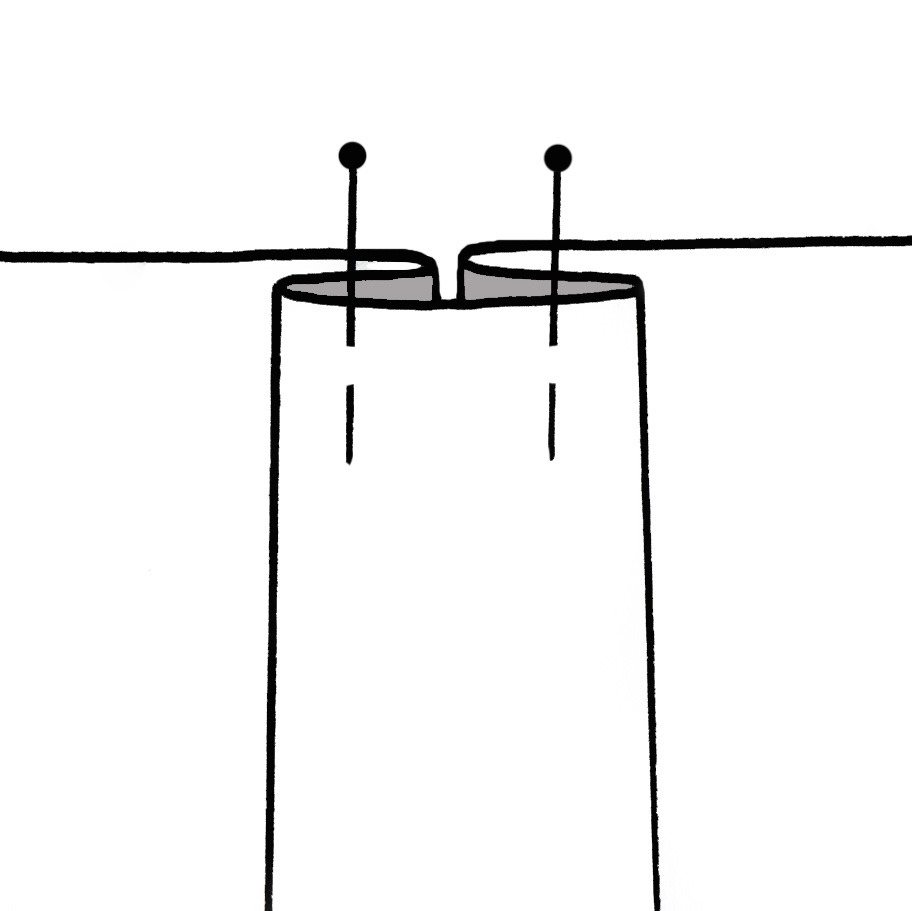 PLEAT- Fabric wrong side
 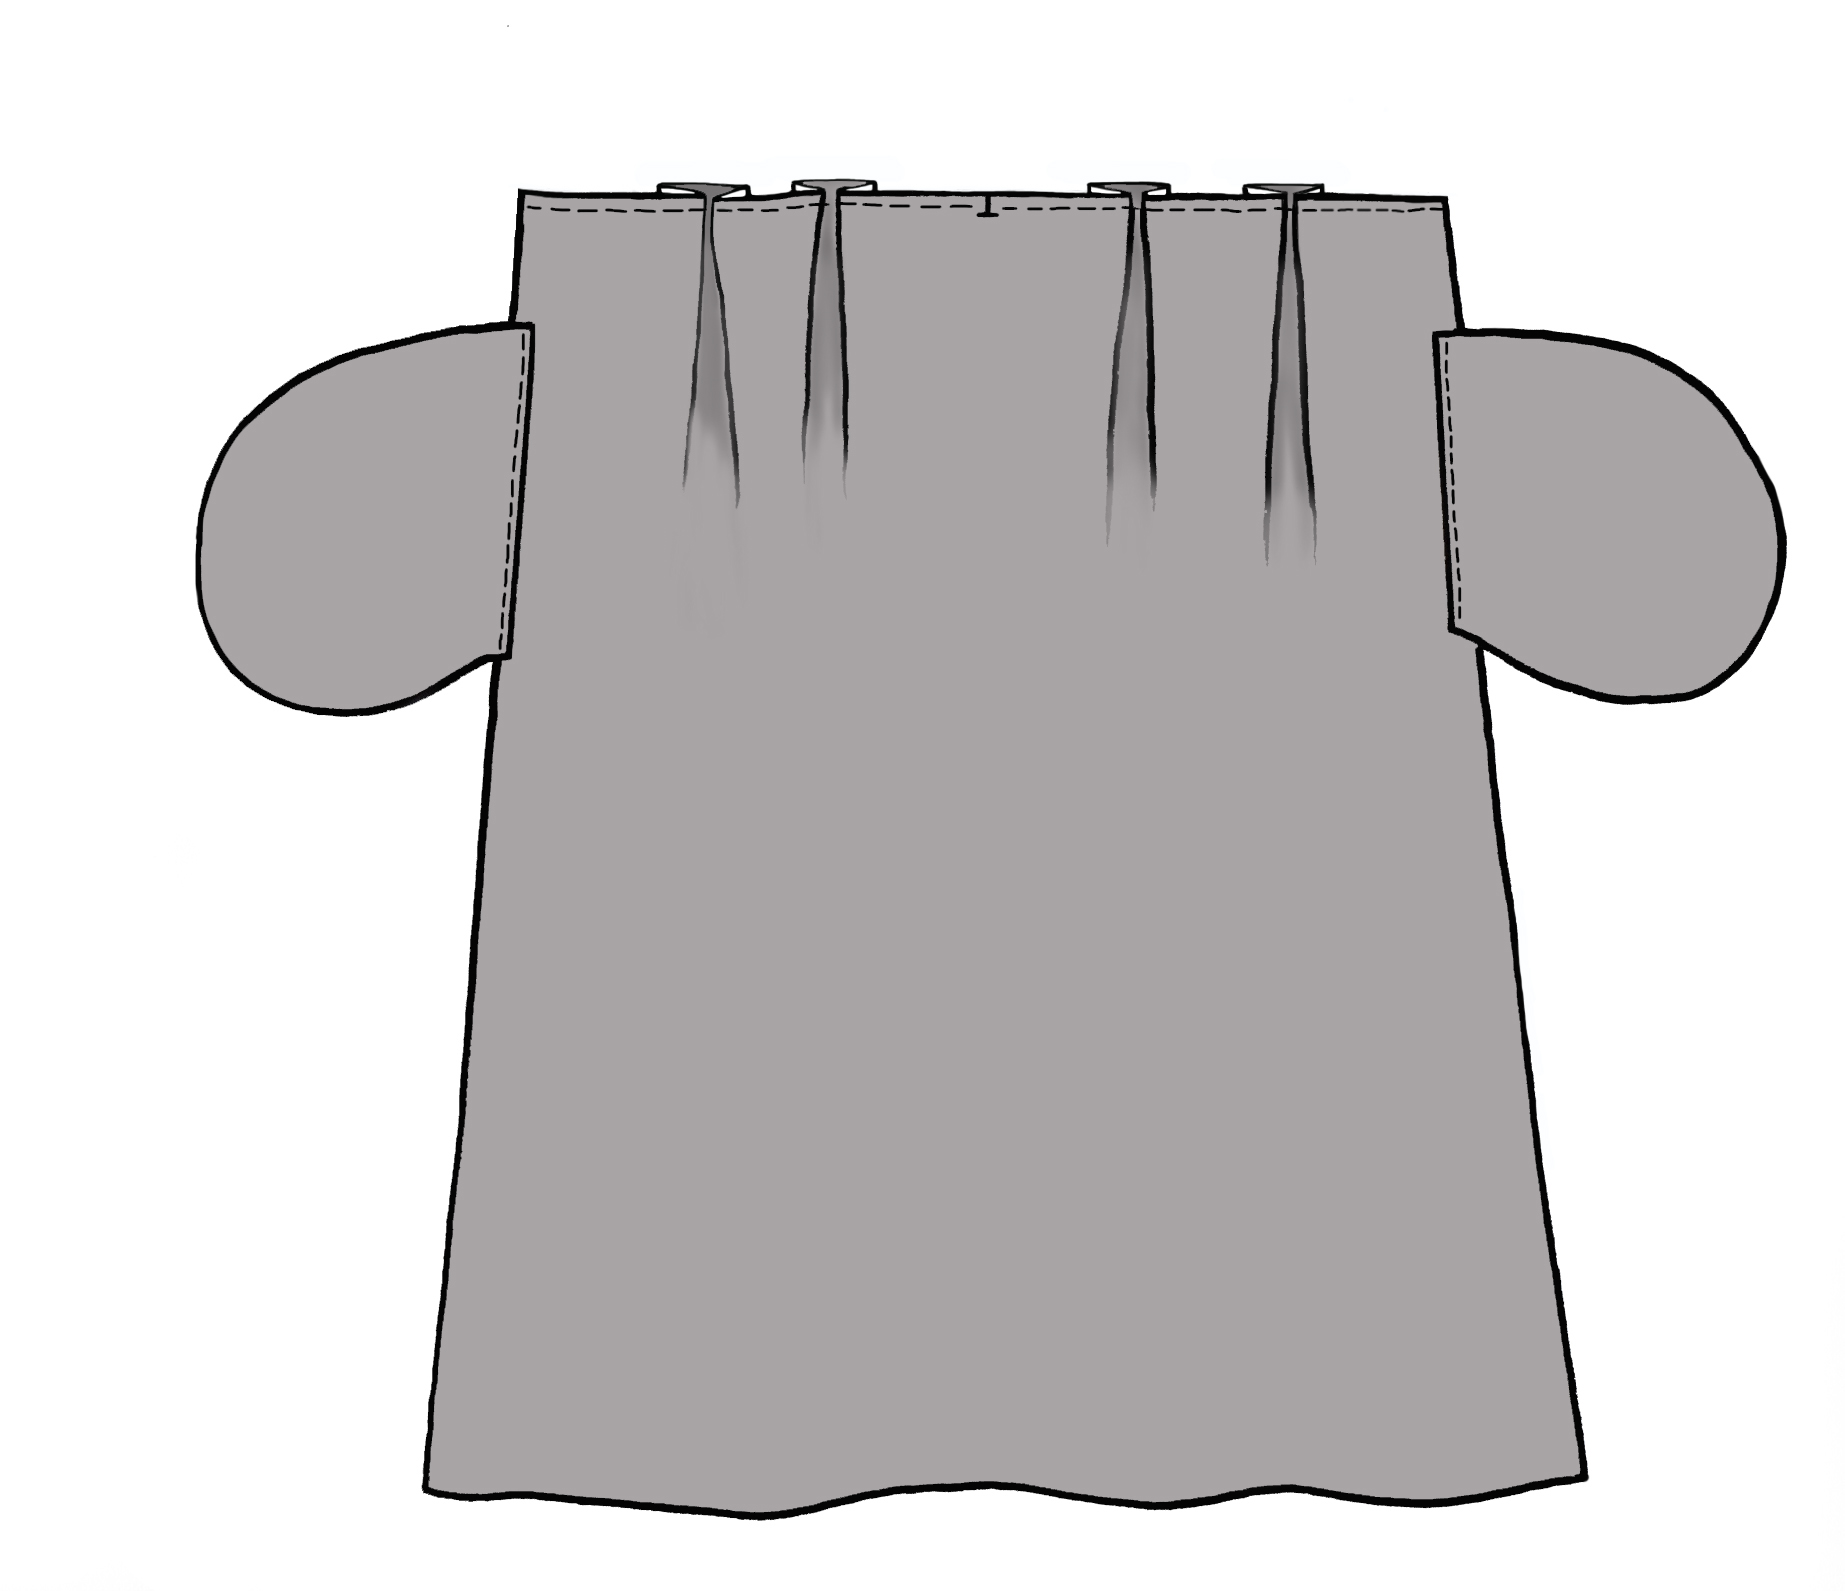 Skirt Front right side
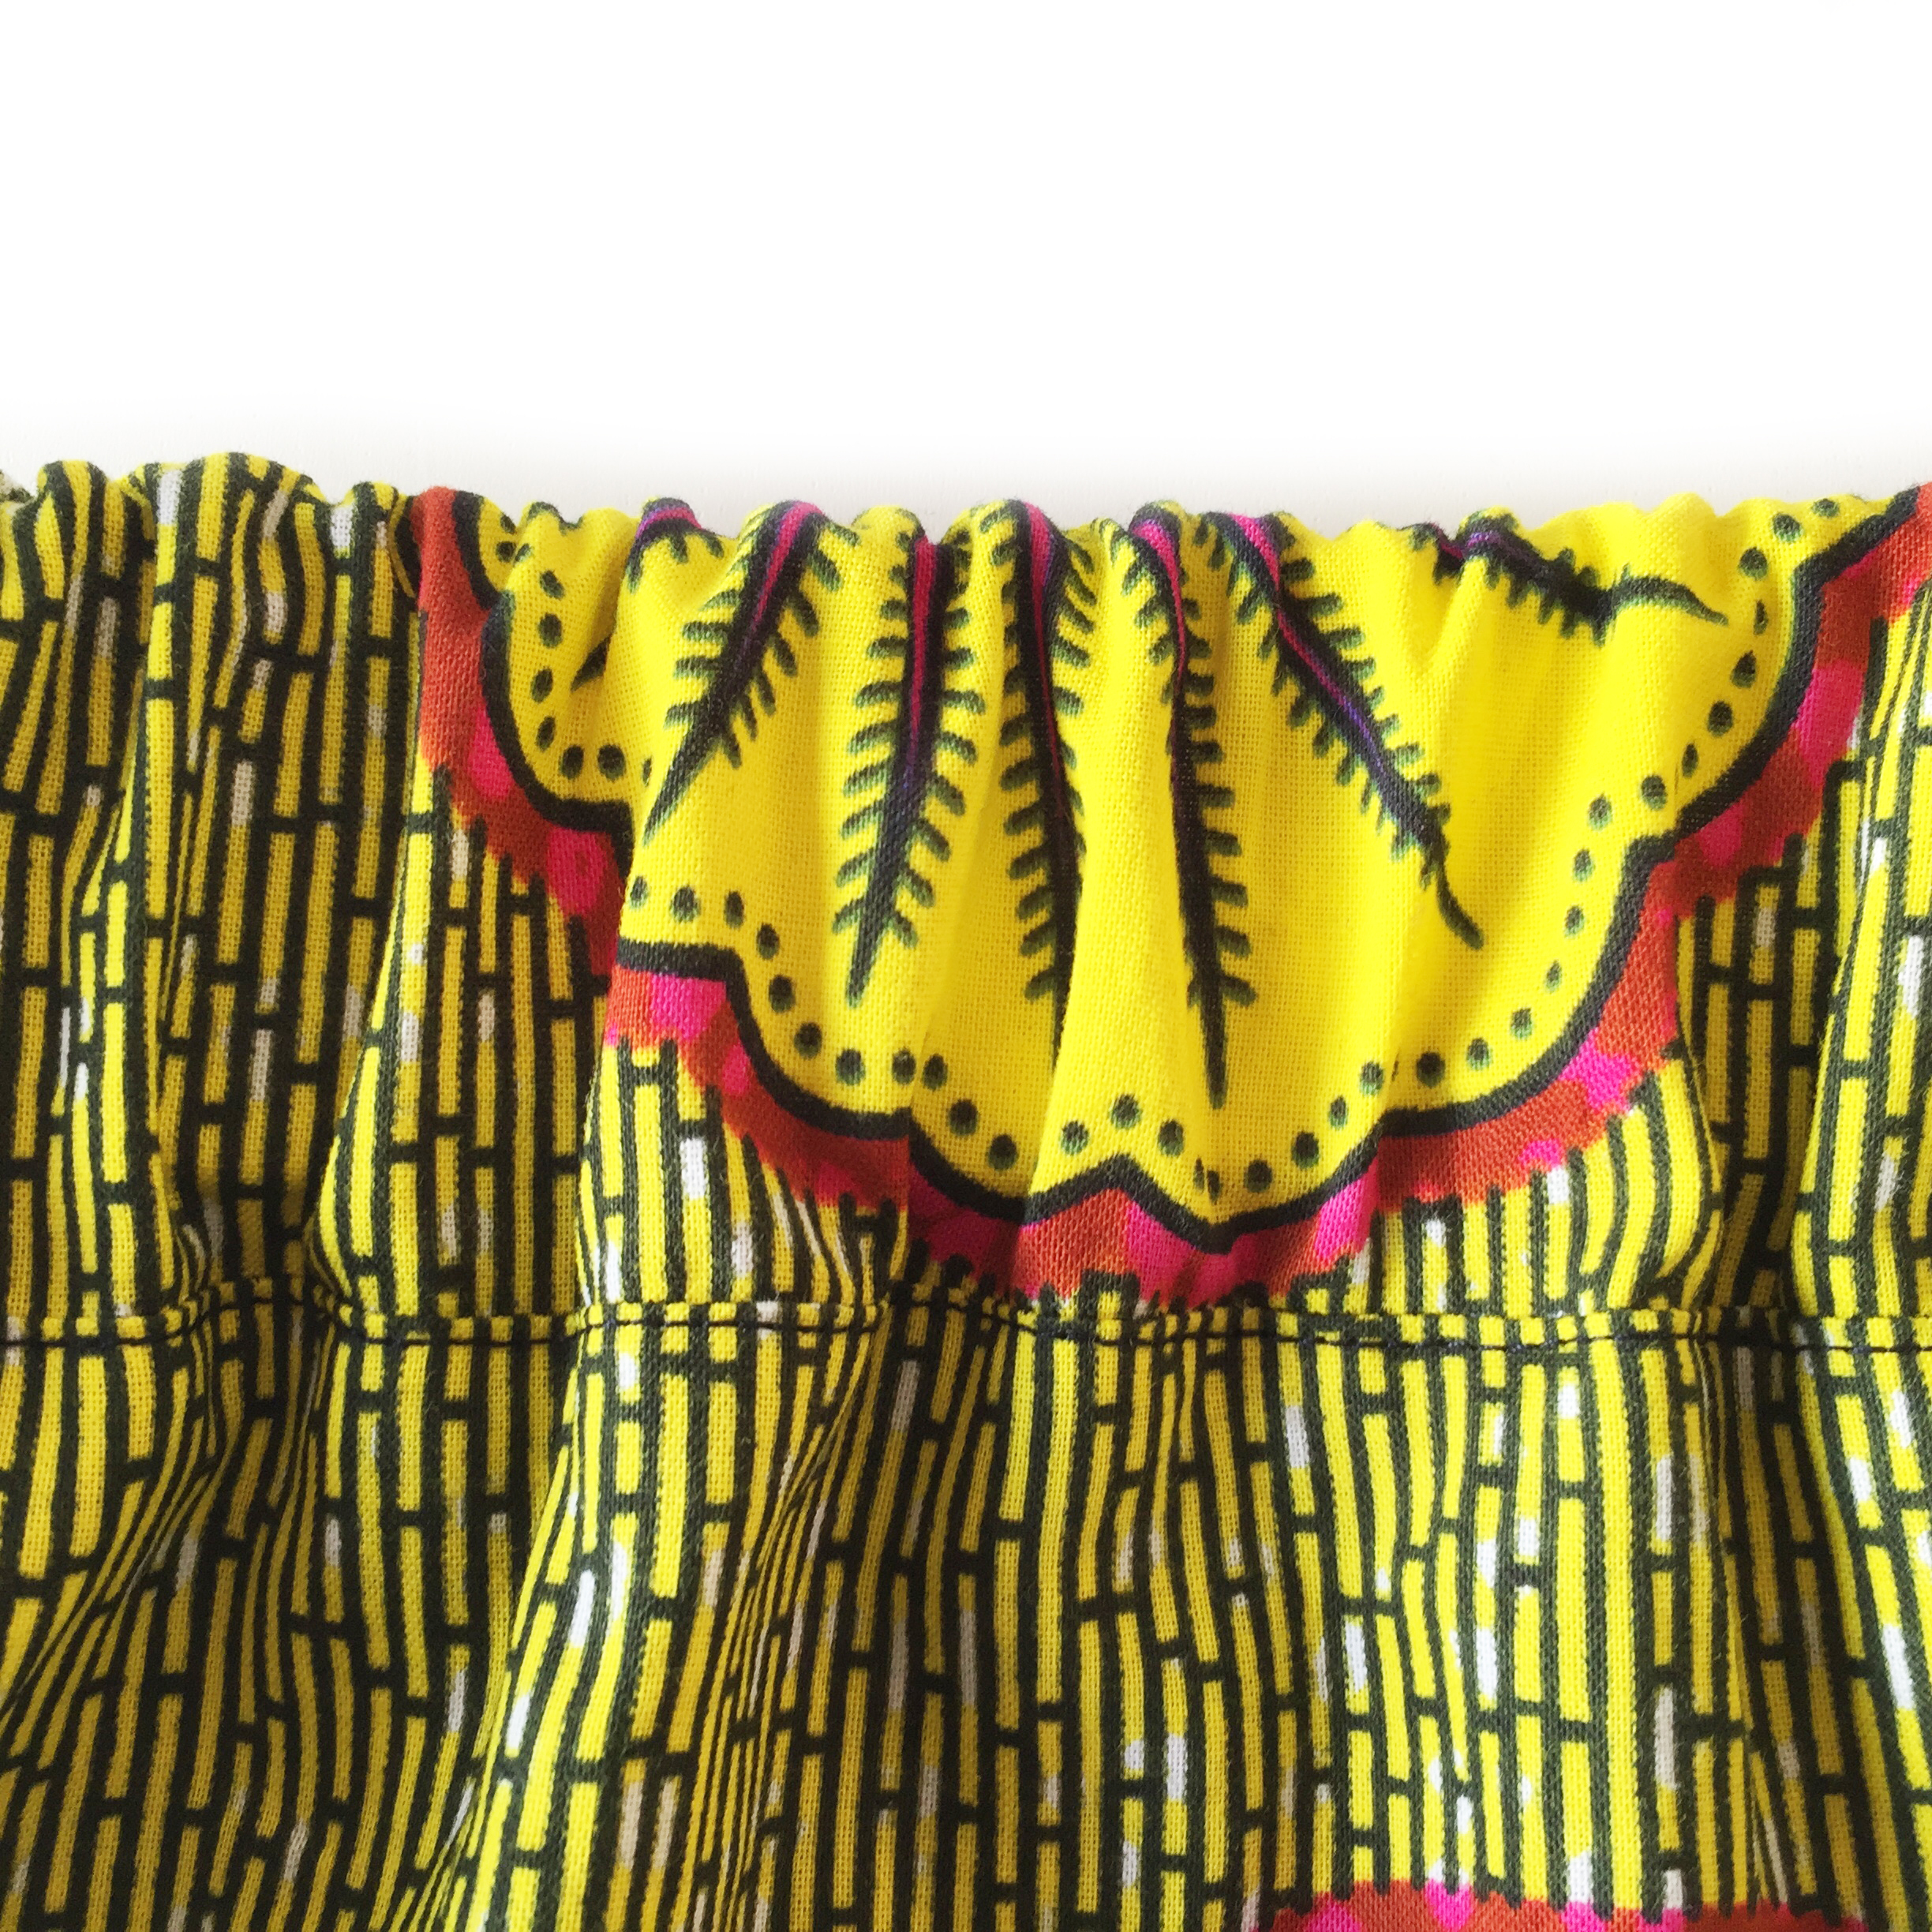
4a. For an alternative to pleating- Gathering up the Front top edge instead. 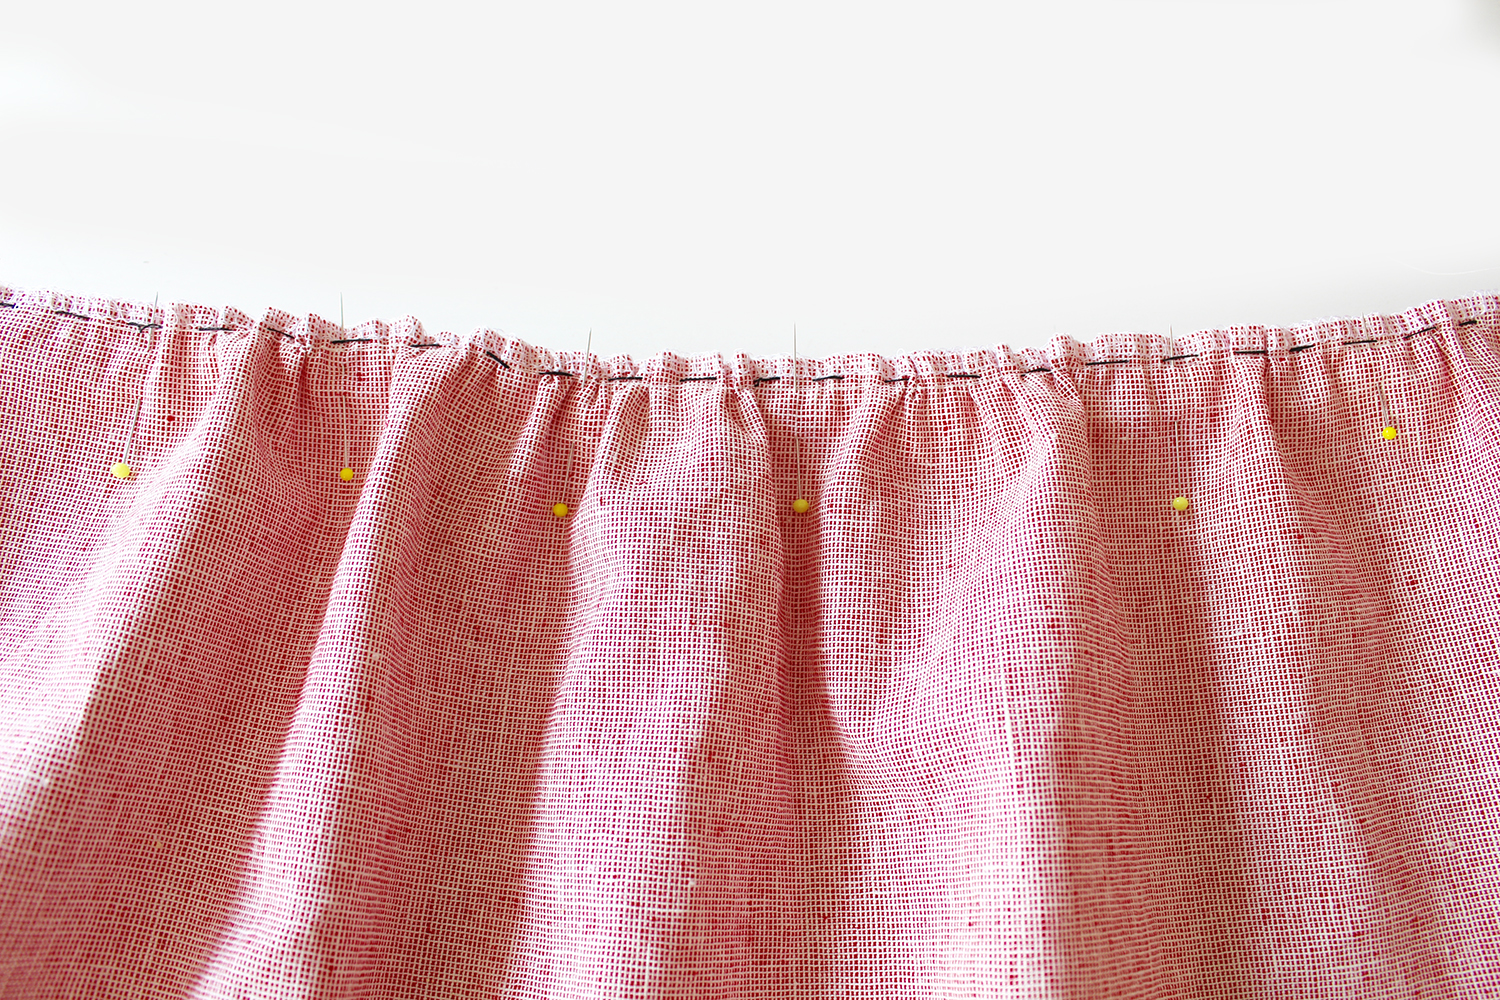 GATHERING (if you prefer instead of front pleats)
Instead of pleats, why not gather up the front piece. To do this, set your sew machine to the maximum stitch length (usually 4 or 5) and sew a line approx 1cm from the top edge. Its a good idea to finish your top raw edge first and remember you are only doing gathering on the front section, the back will be gathered by the elastic we are inserting later.
So after sewing your line of long stitches pull the top thread only to gather up or ‘ease’ as we call this technique in the trade. Its a bit like gathering up the top of curtains if ever you’ve had this wondrous experience! Gather up the fabric to the same width as the front waistband. You can go to the next stage and adjust your gathers later.
JOINING THE FRONT TO THE BACK (Both skirts)
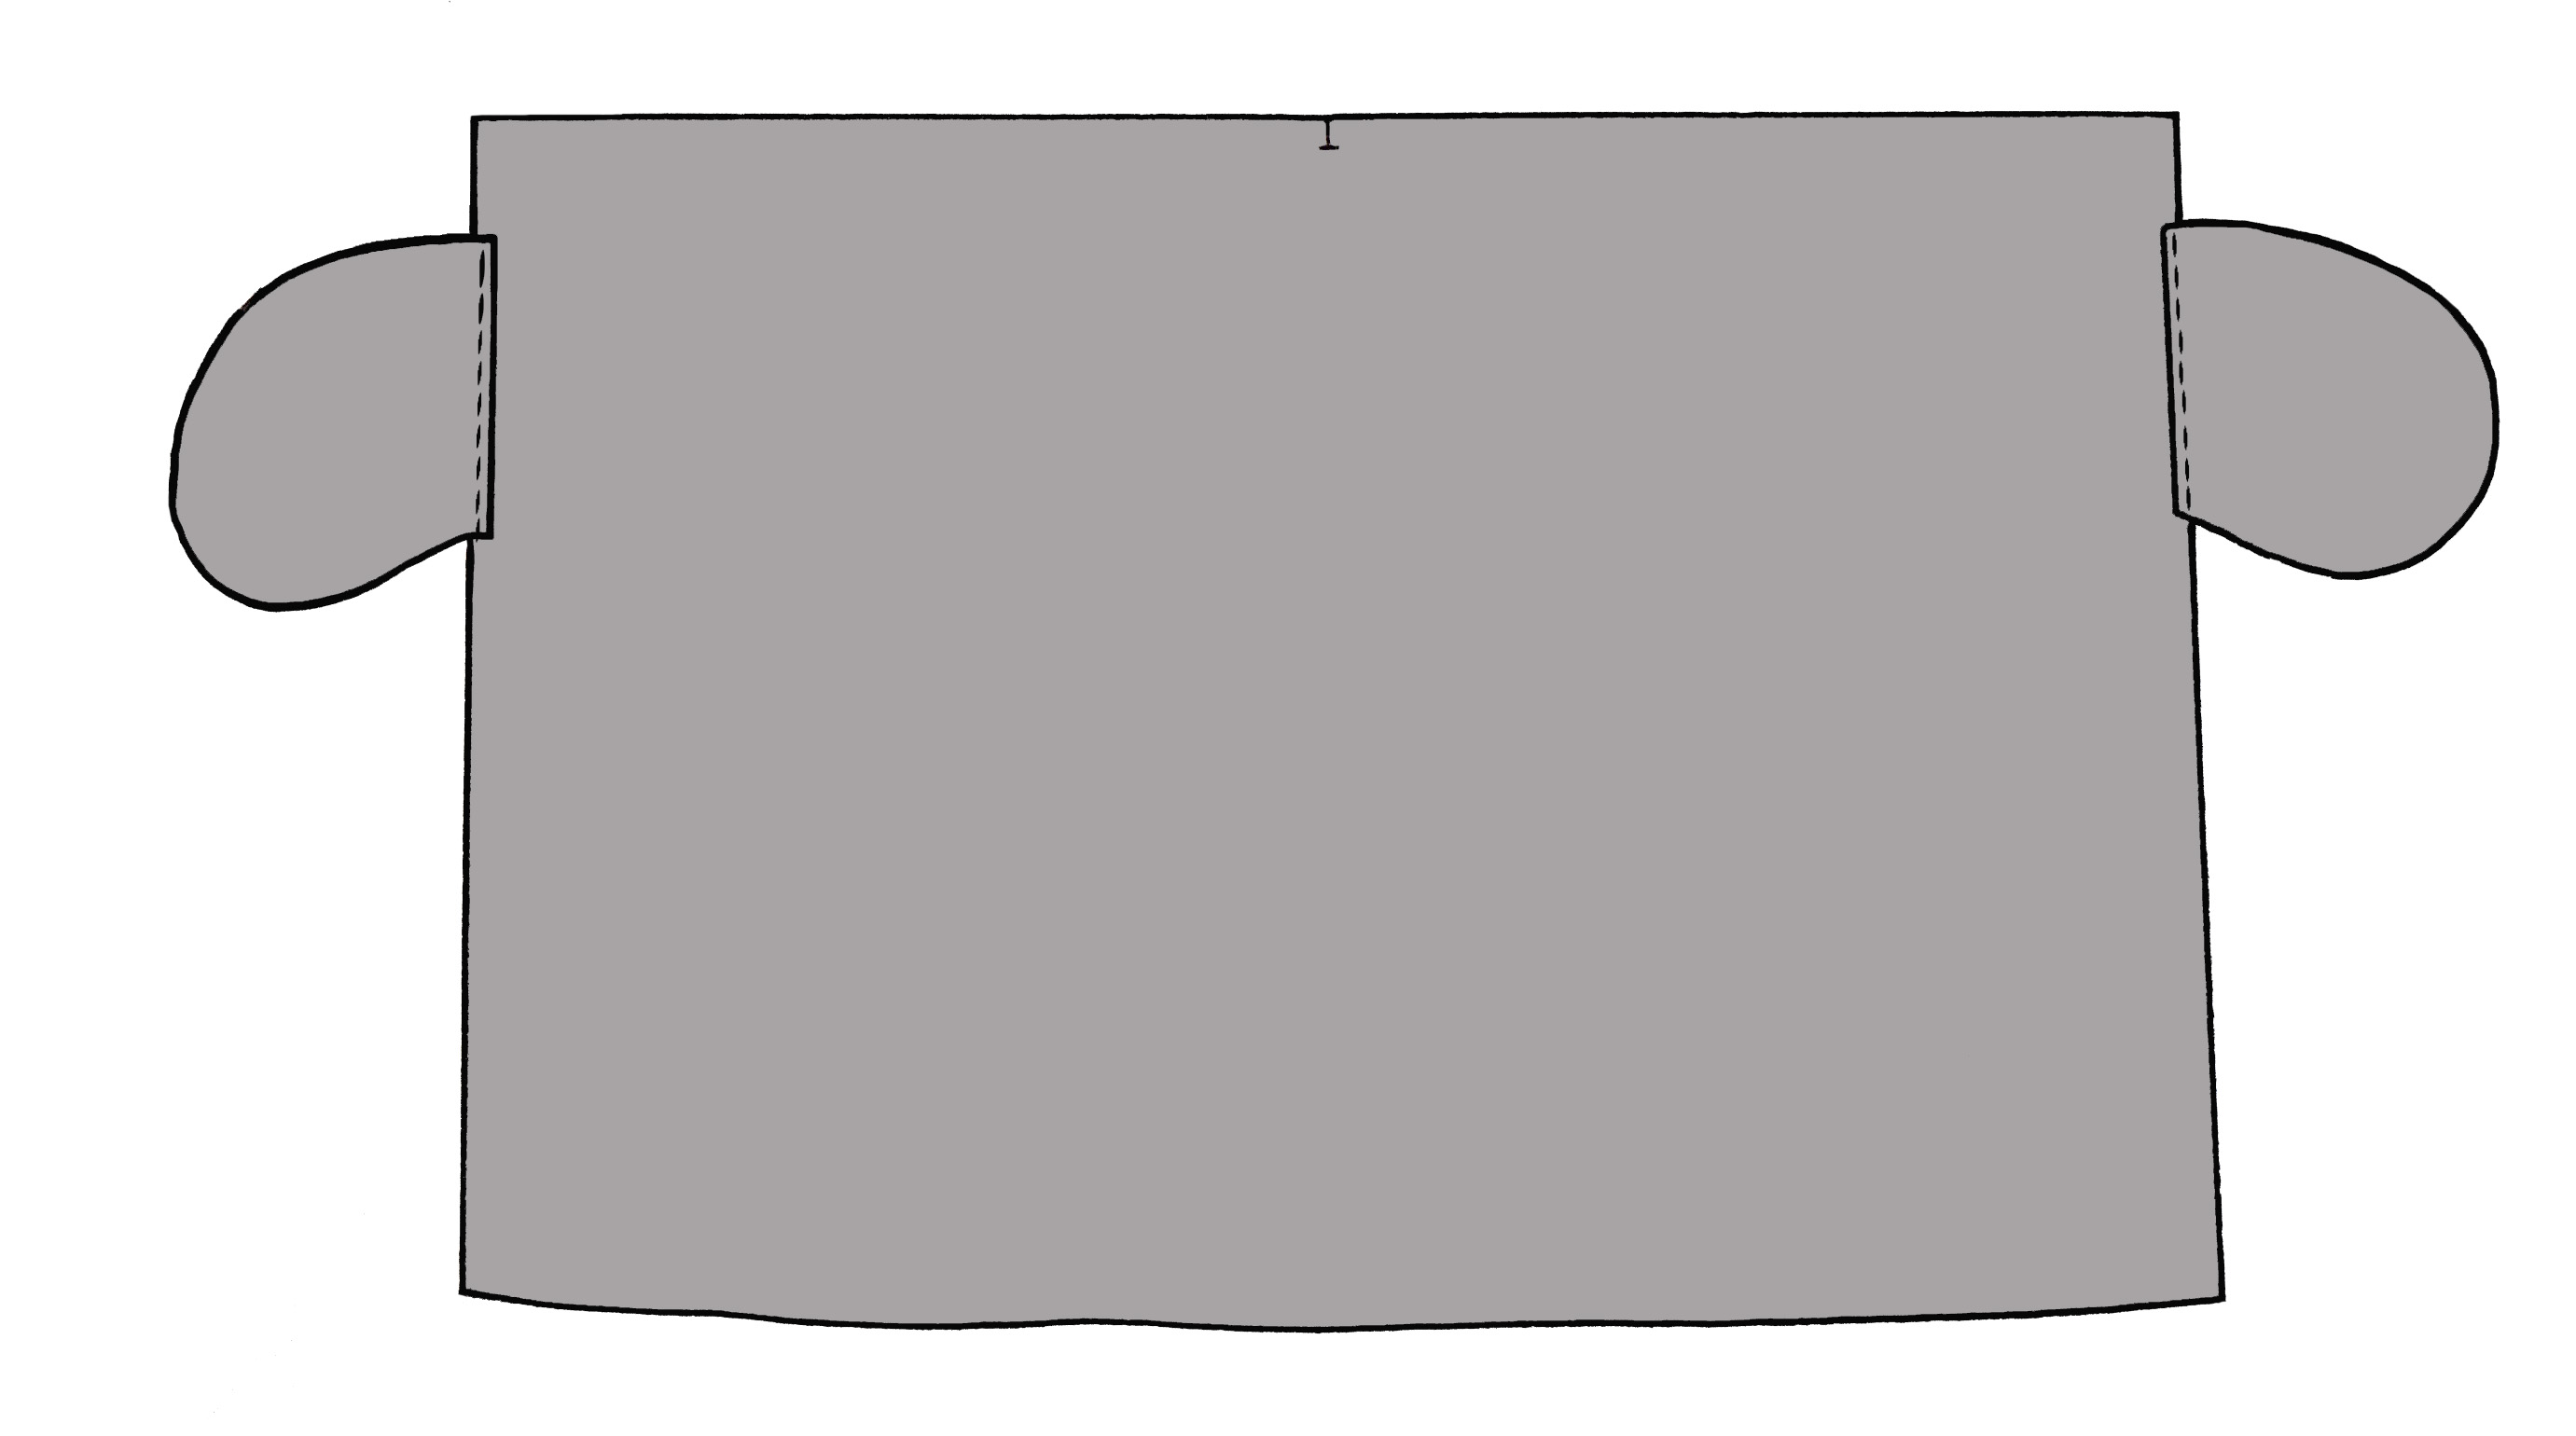
4. With the RST, pin the Front piece to the Back piece at the side edges. Sew from the top of the side edge, all around the pocket to the lower edge. Repeat for the other side. 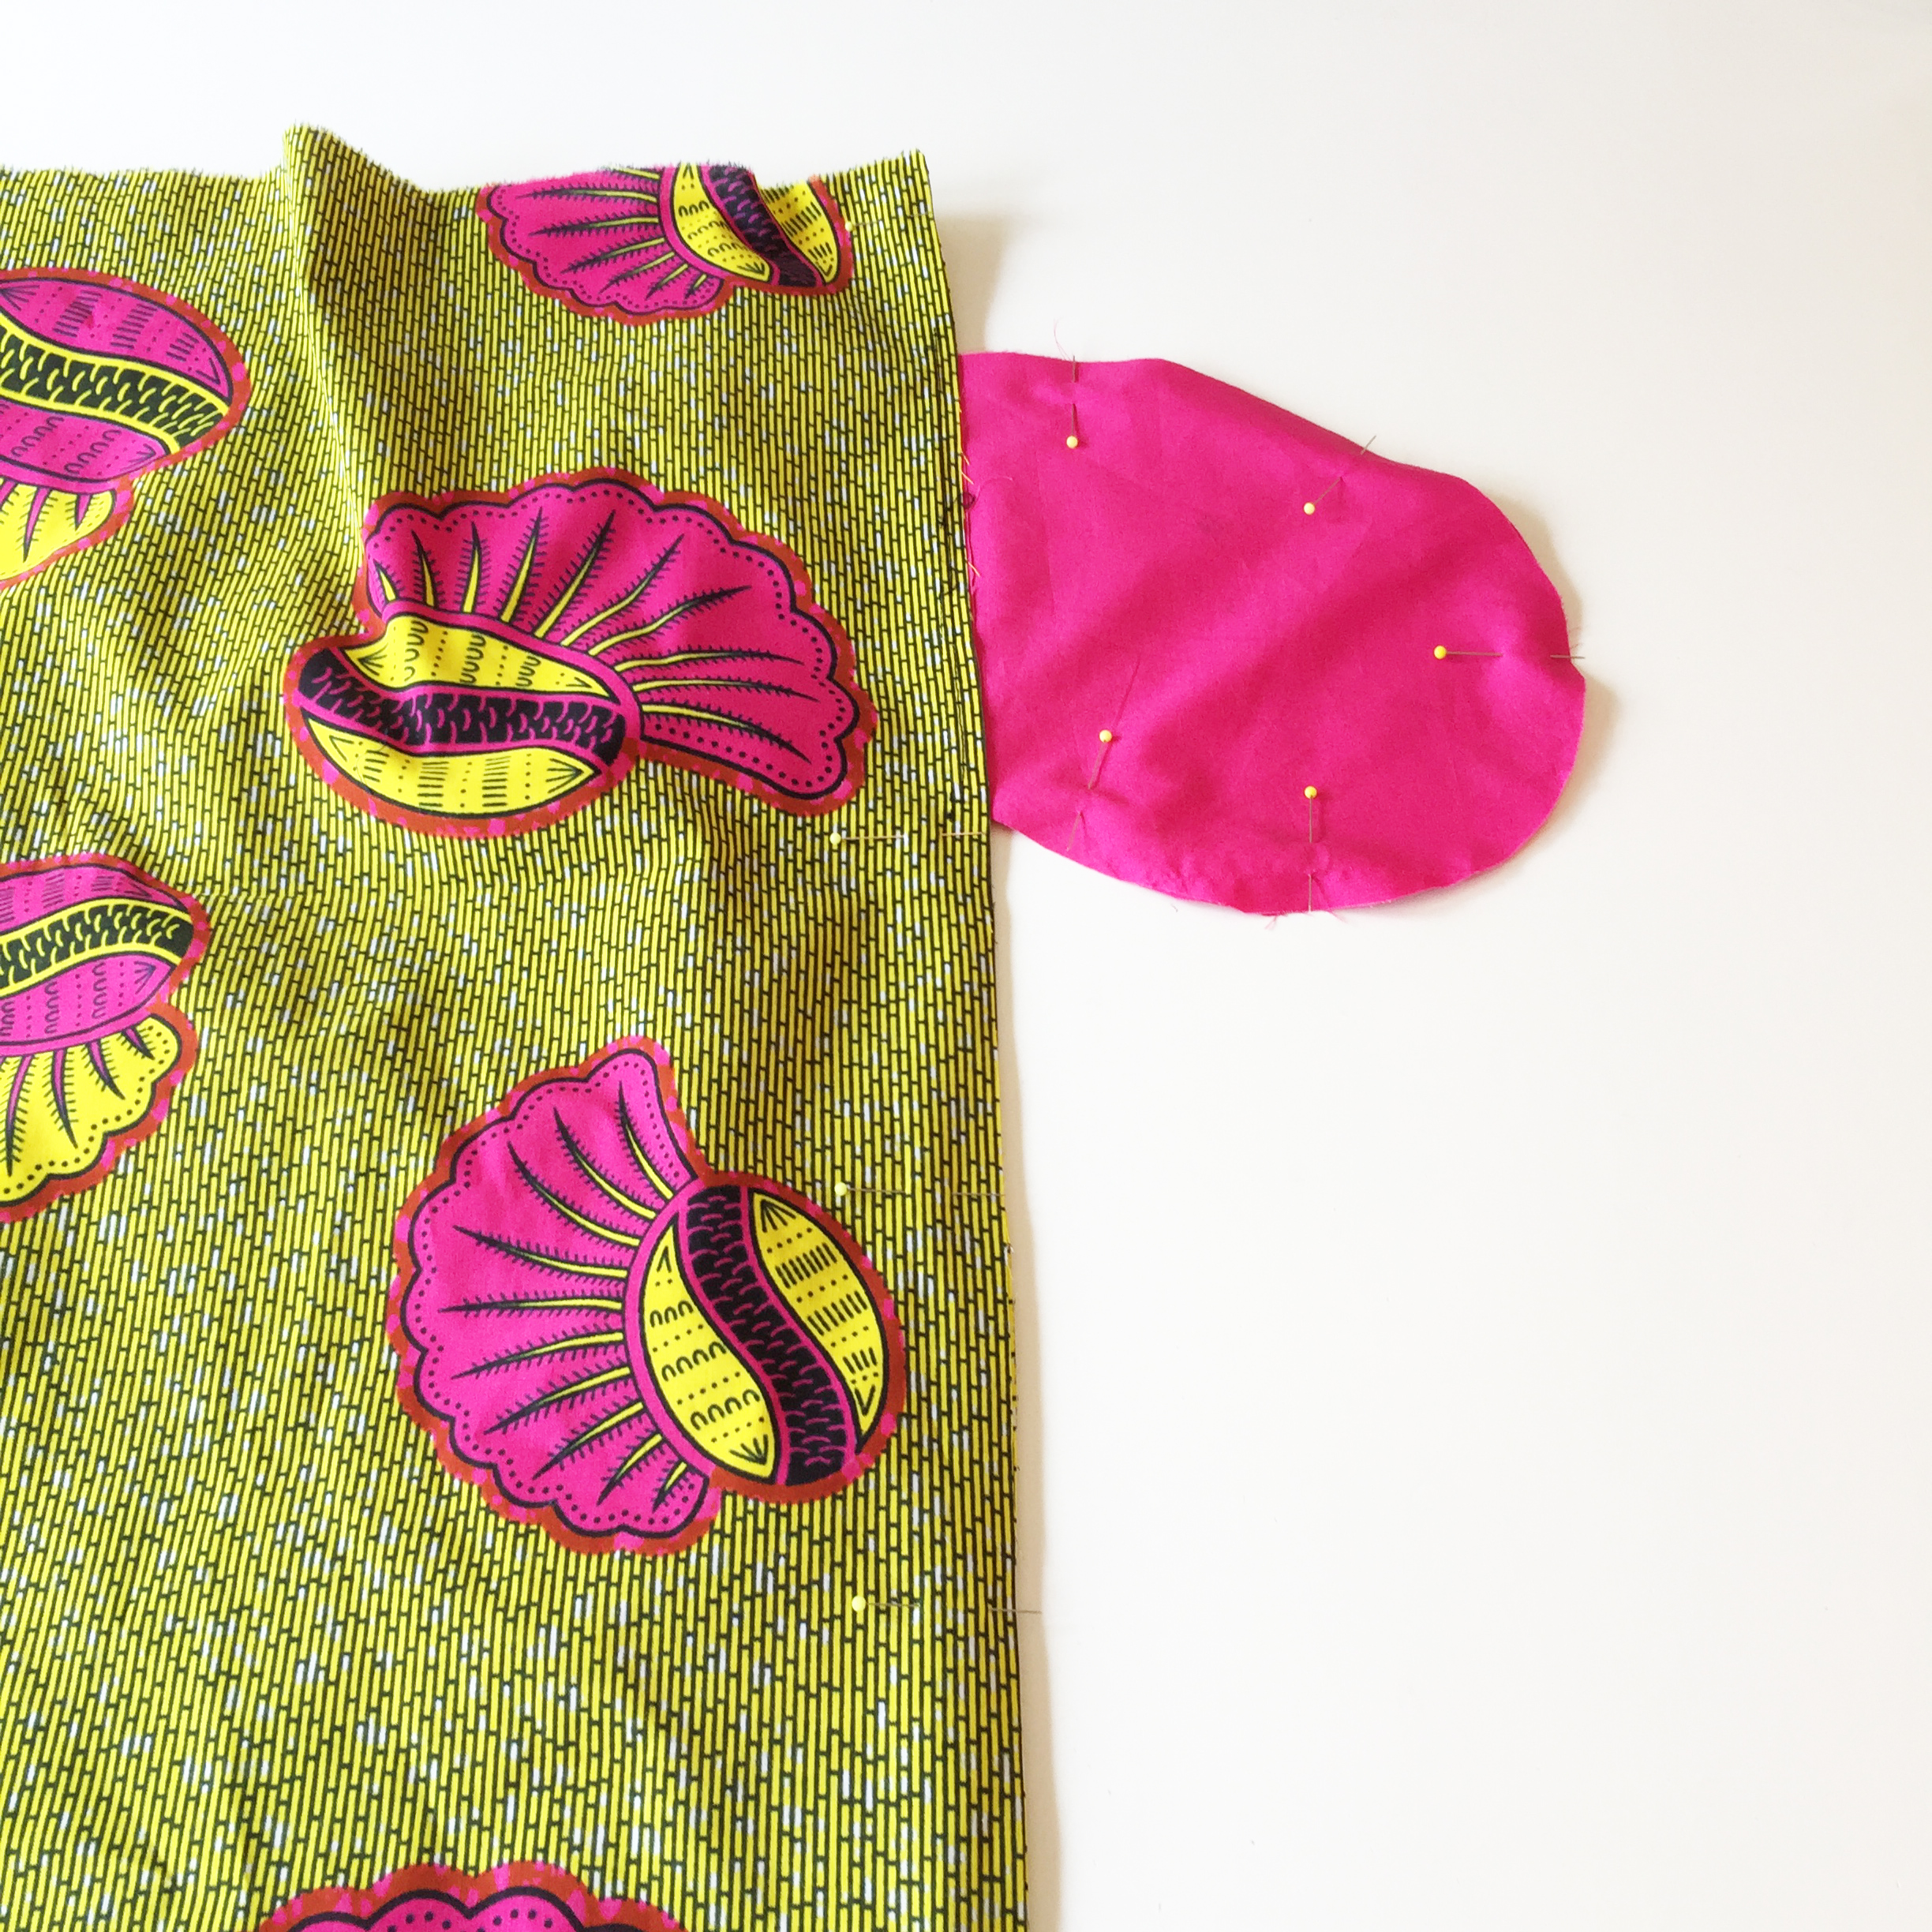
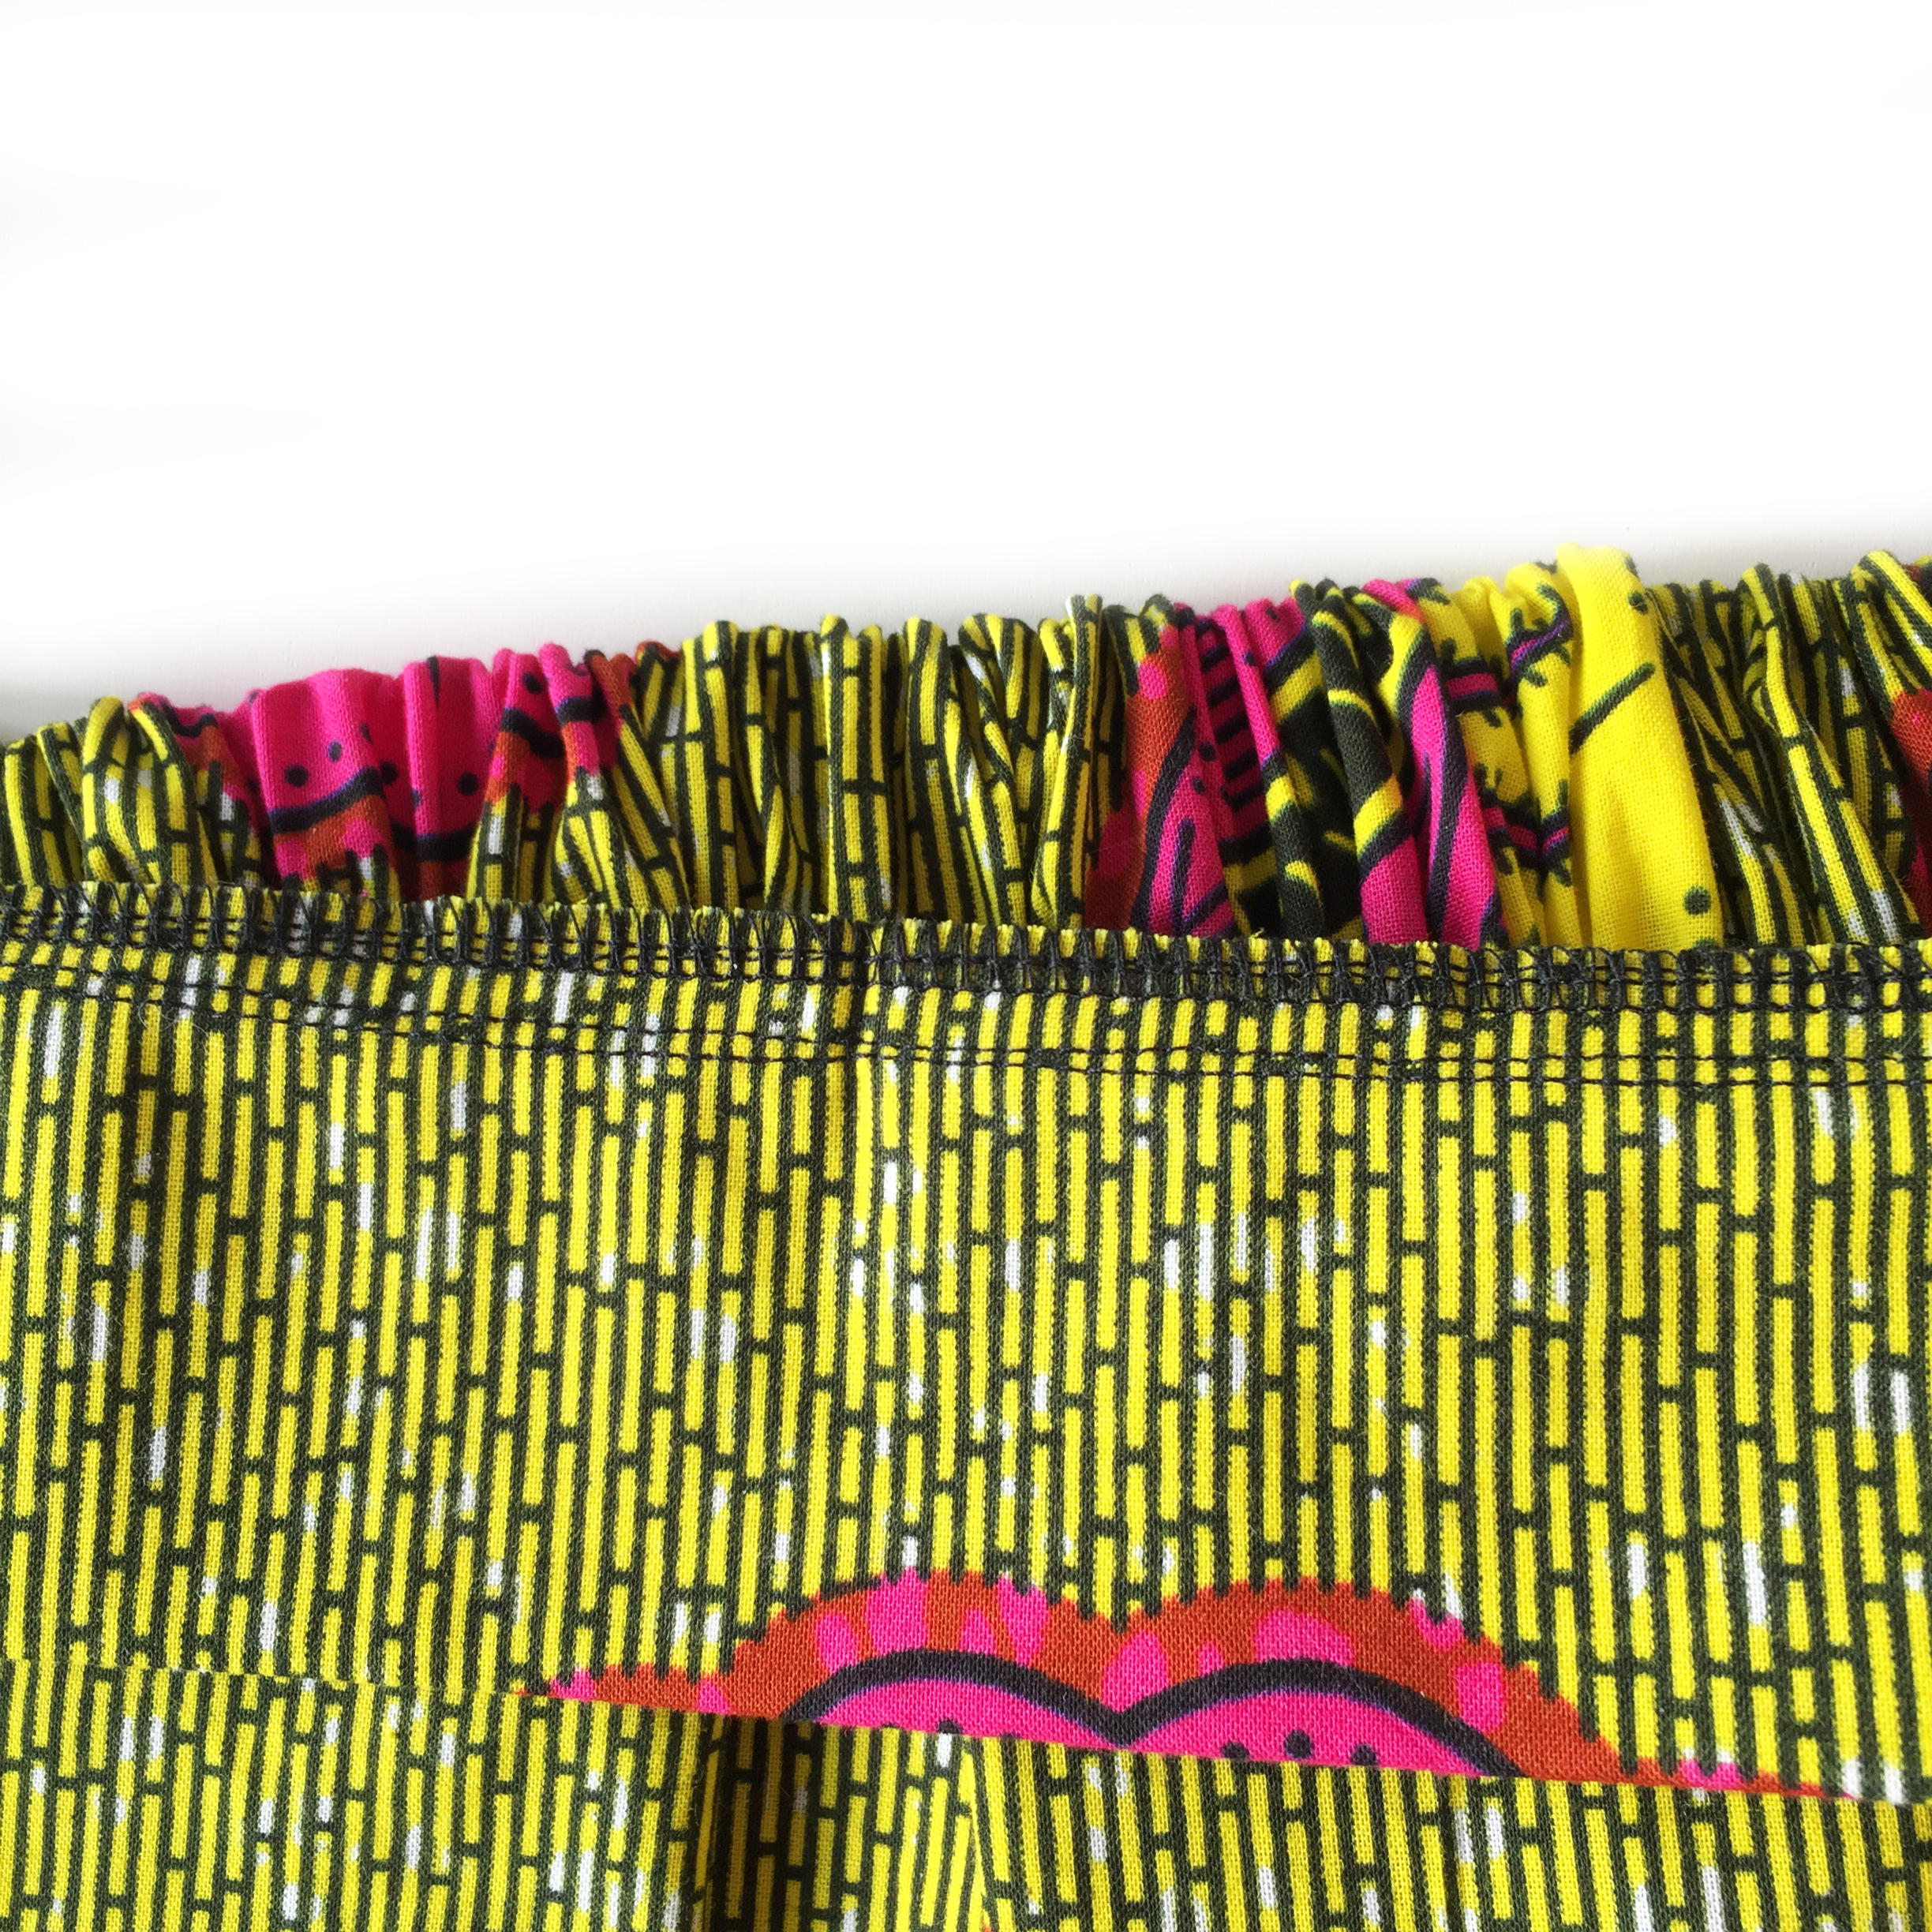
5. Finish the raw edges together. Press. Finish the top raw edge of the Front & Back all around.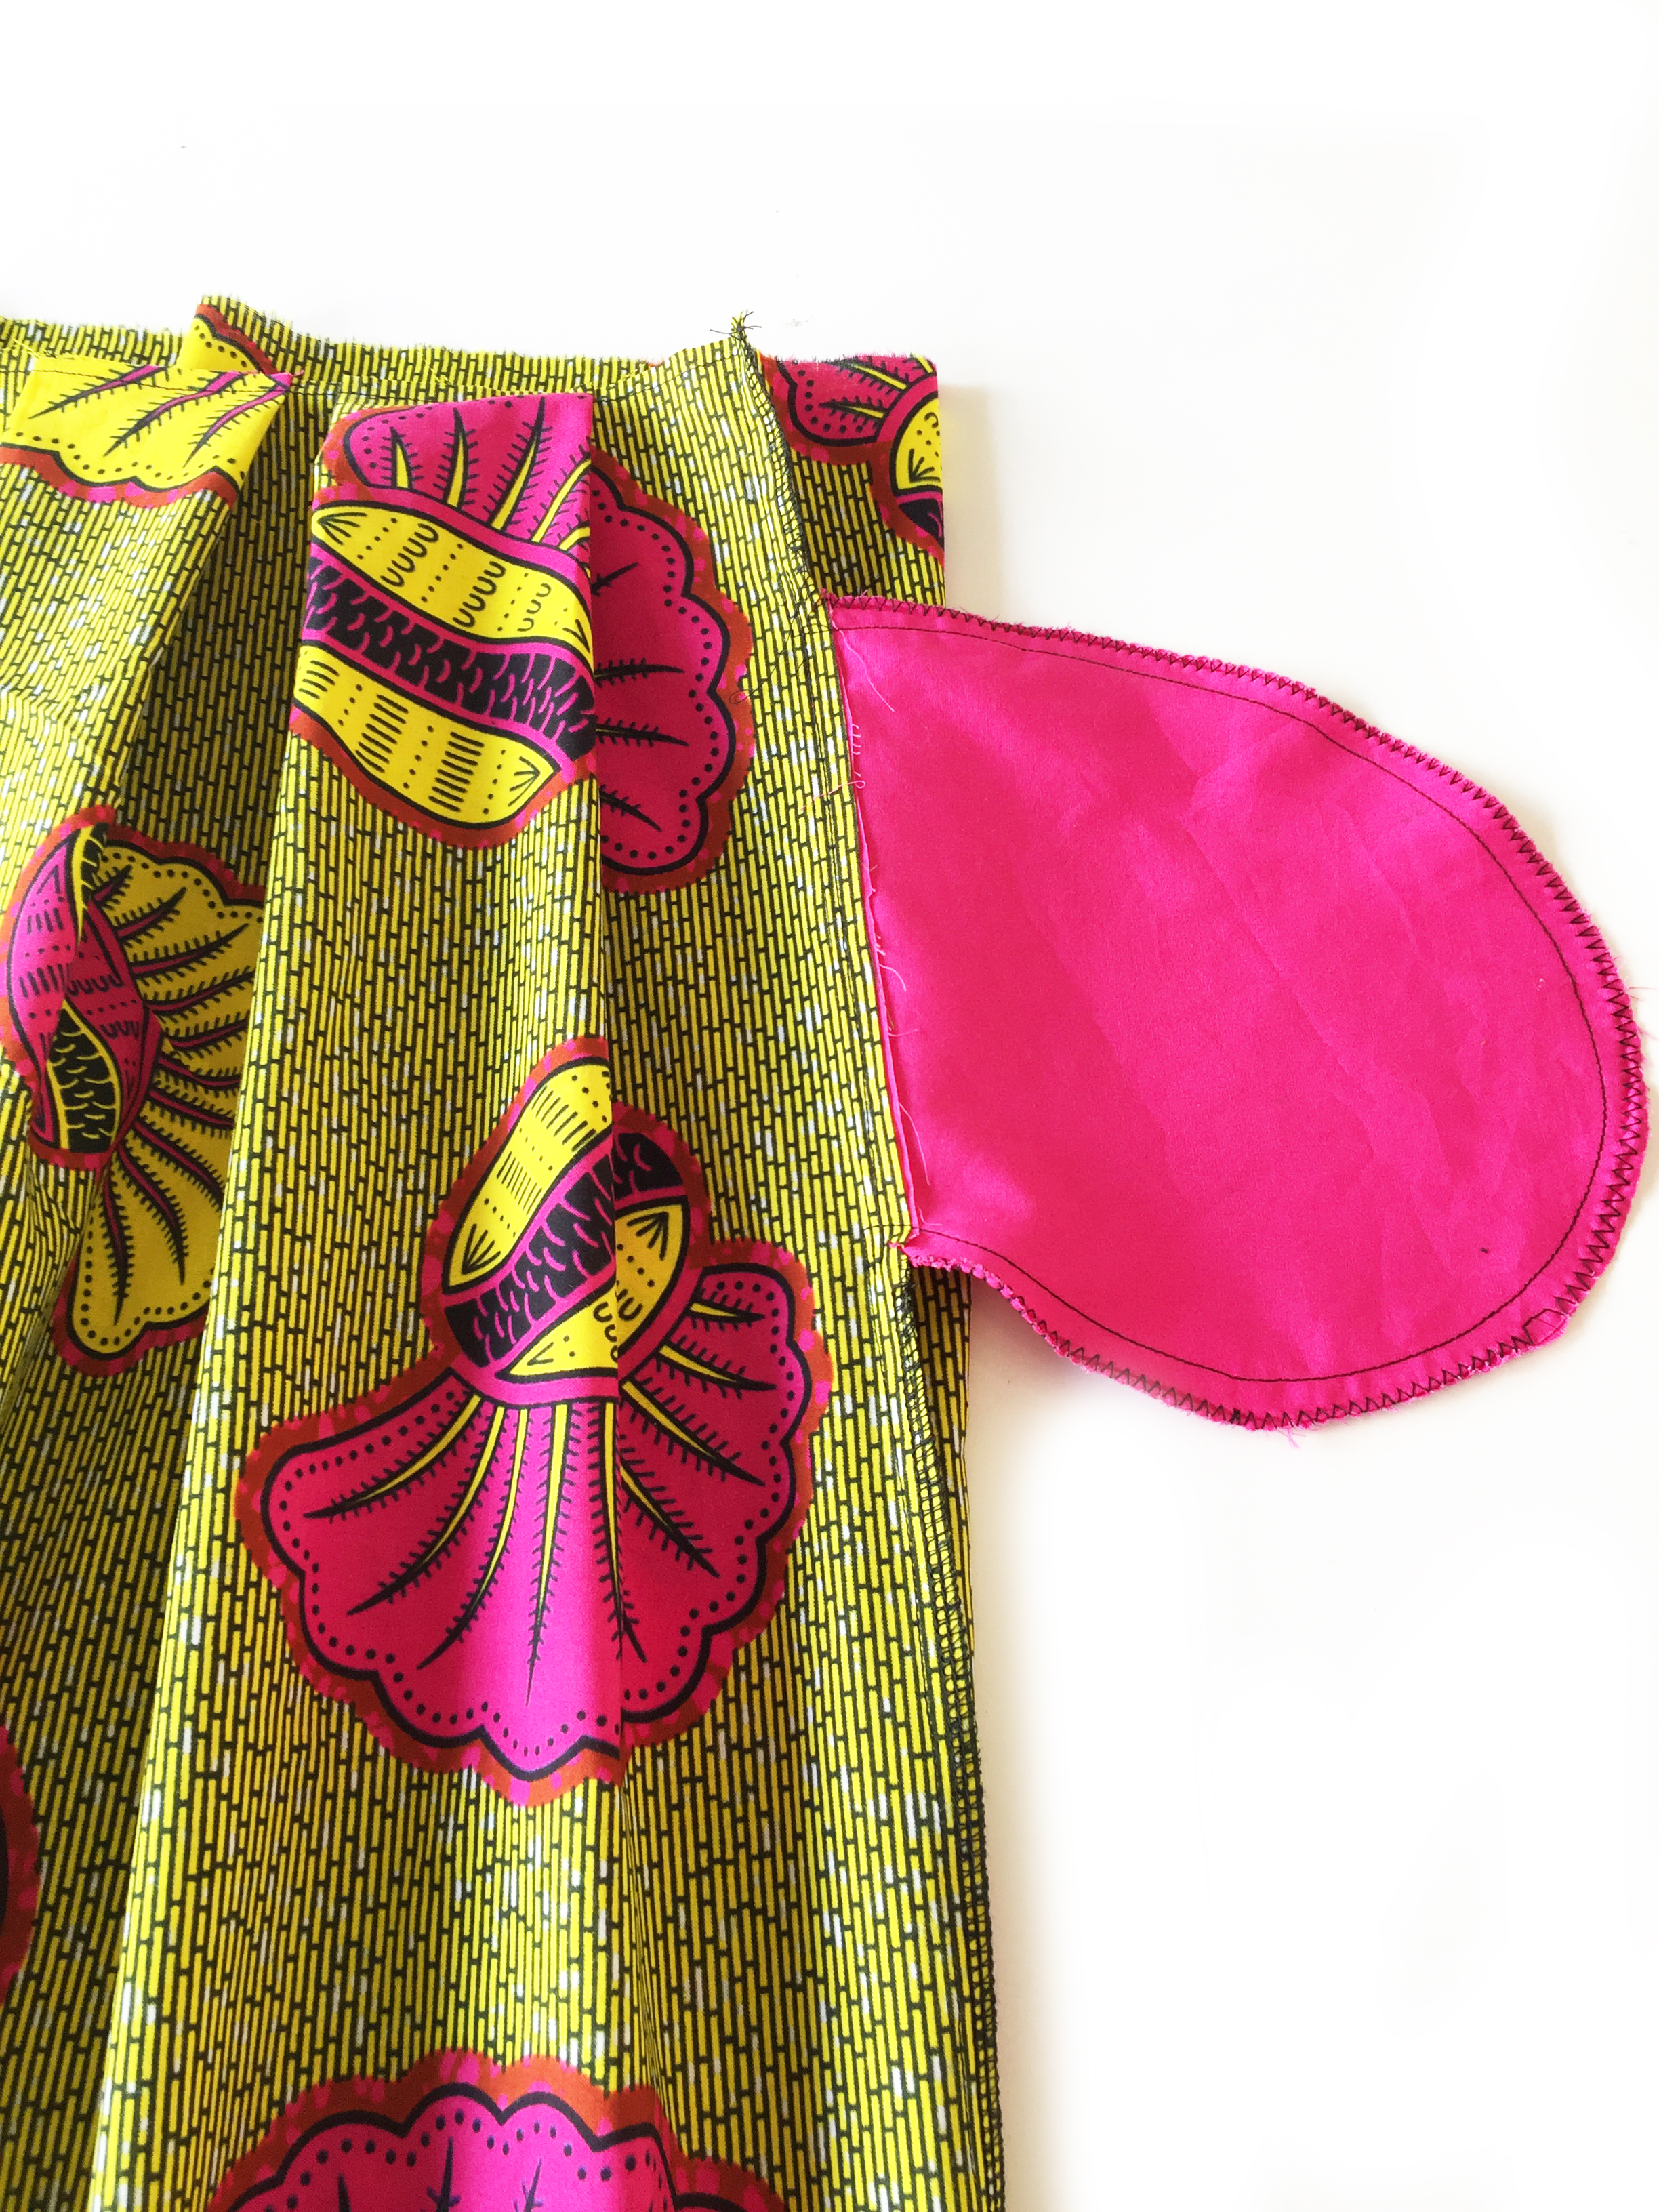
WAISTBAND Here is a video link about doing the elastic bit
A SHORT VIDEO TUTORIAL ABOUT INSERTING THE ELASTIC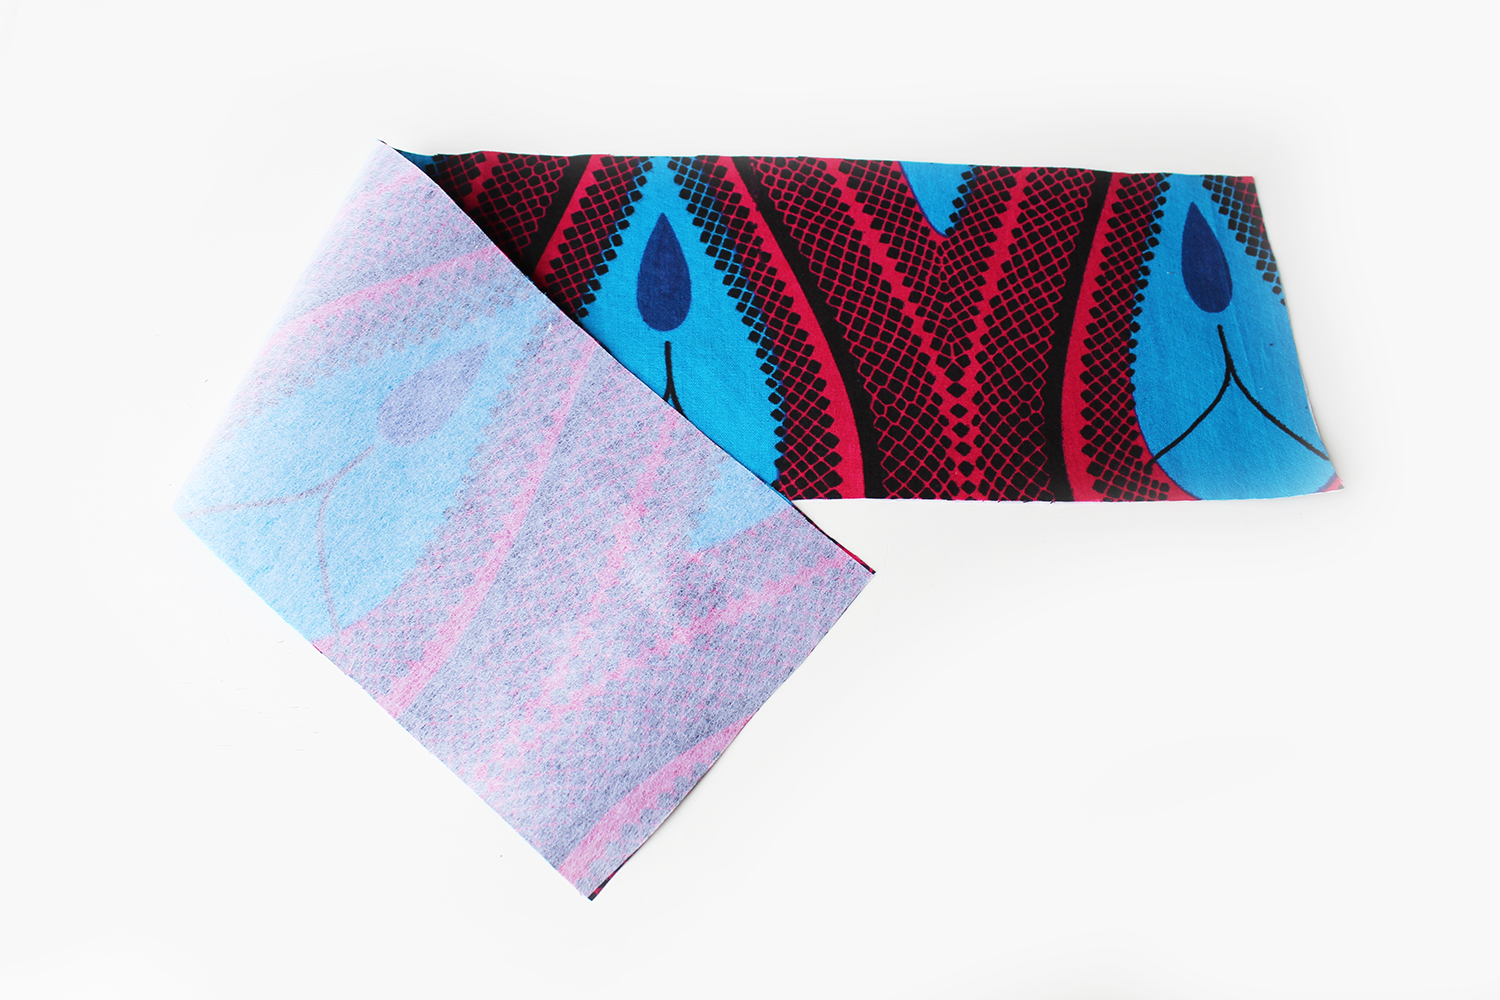
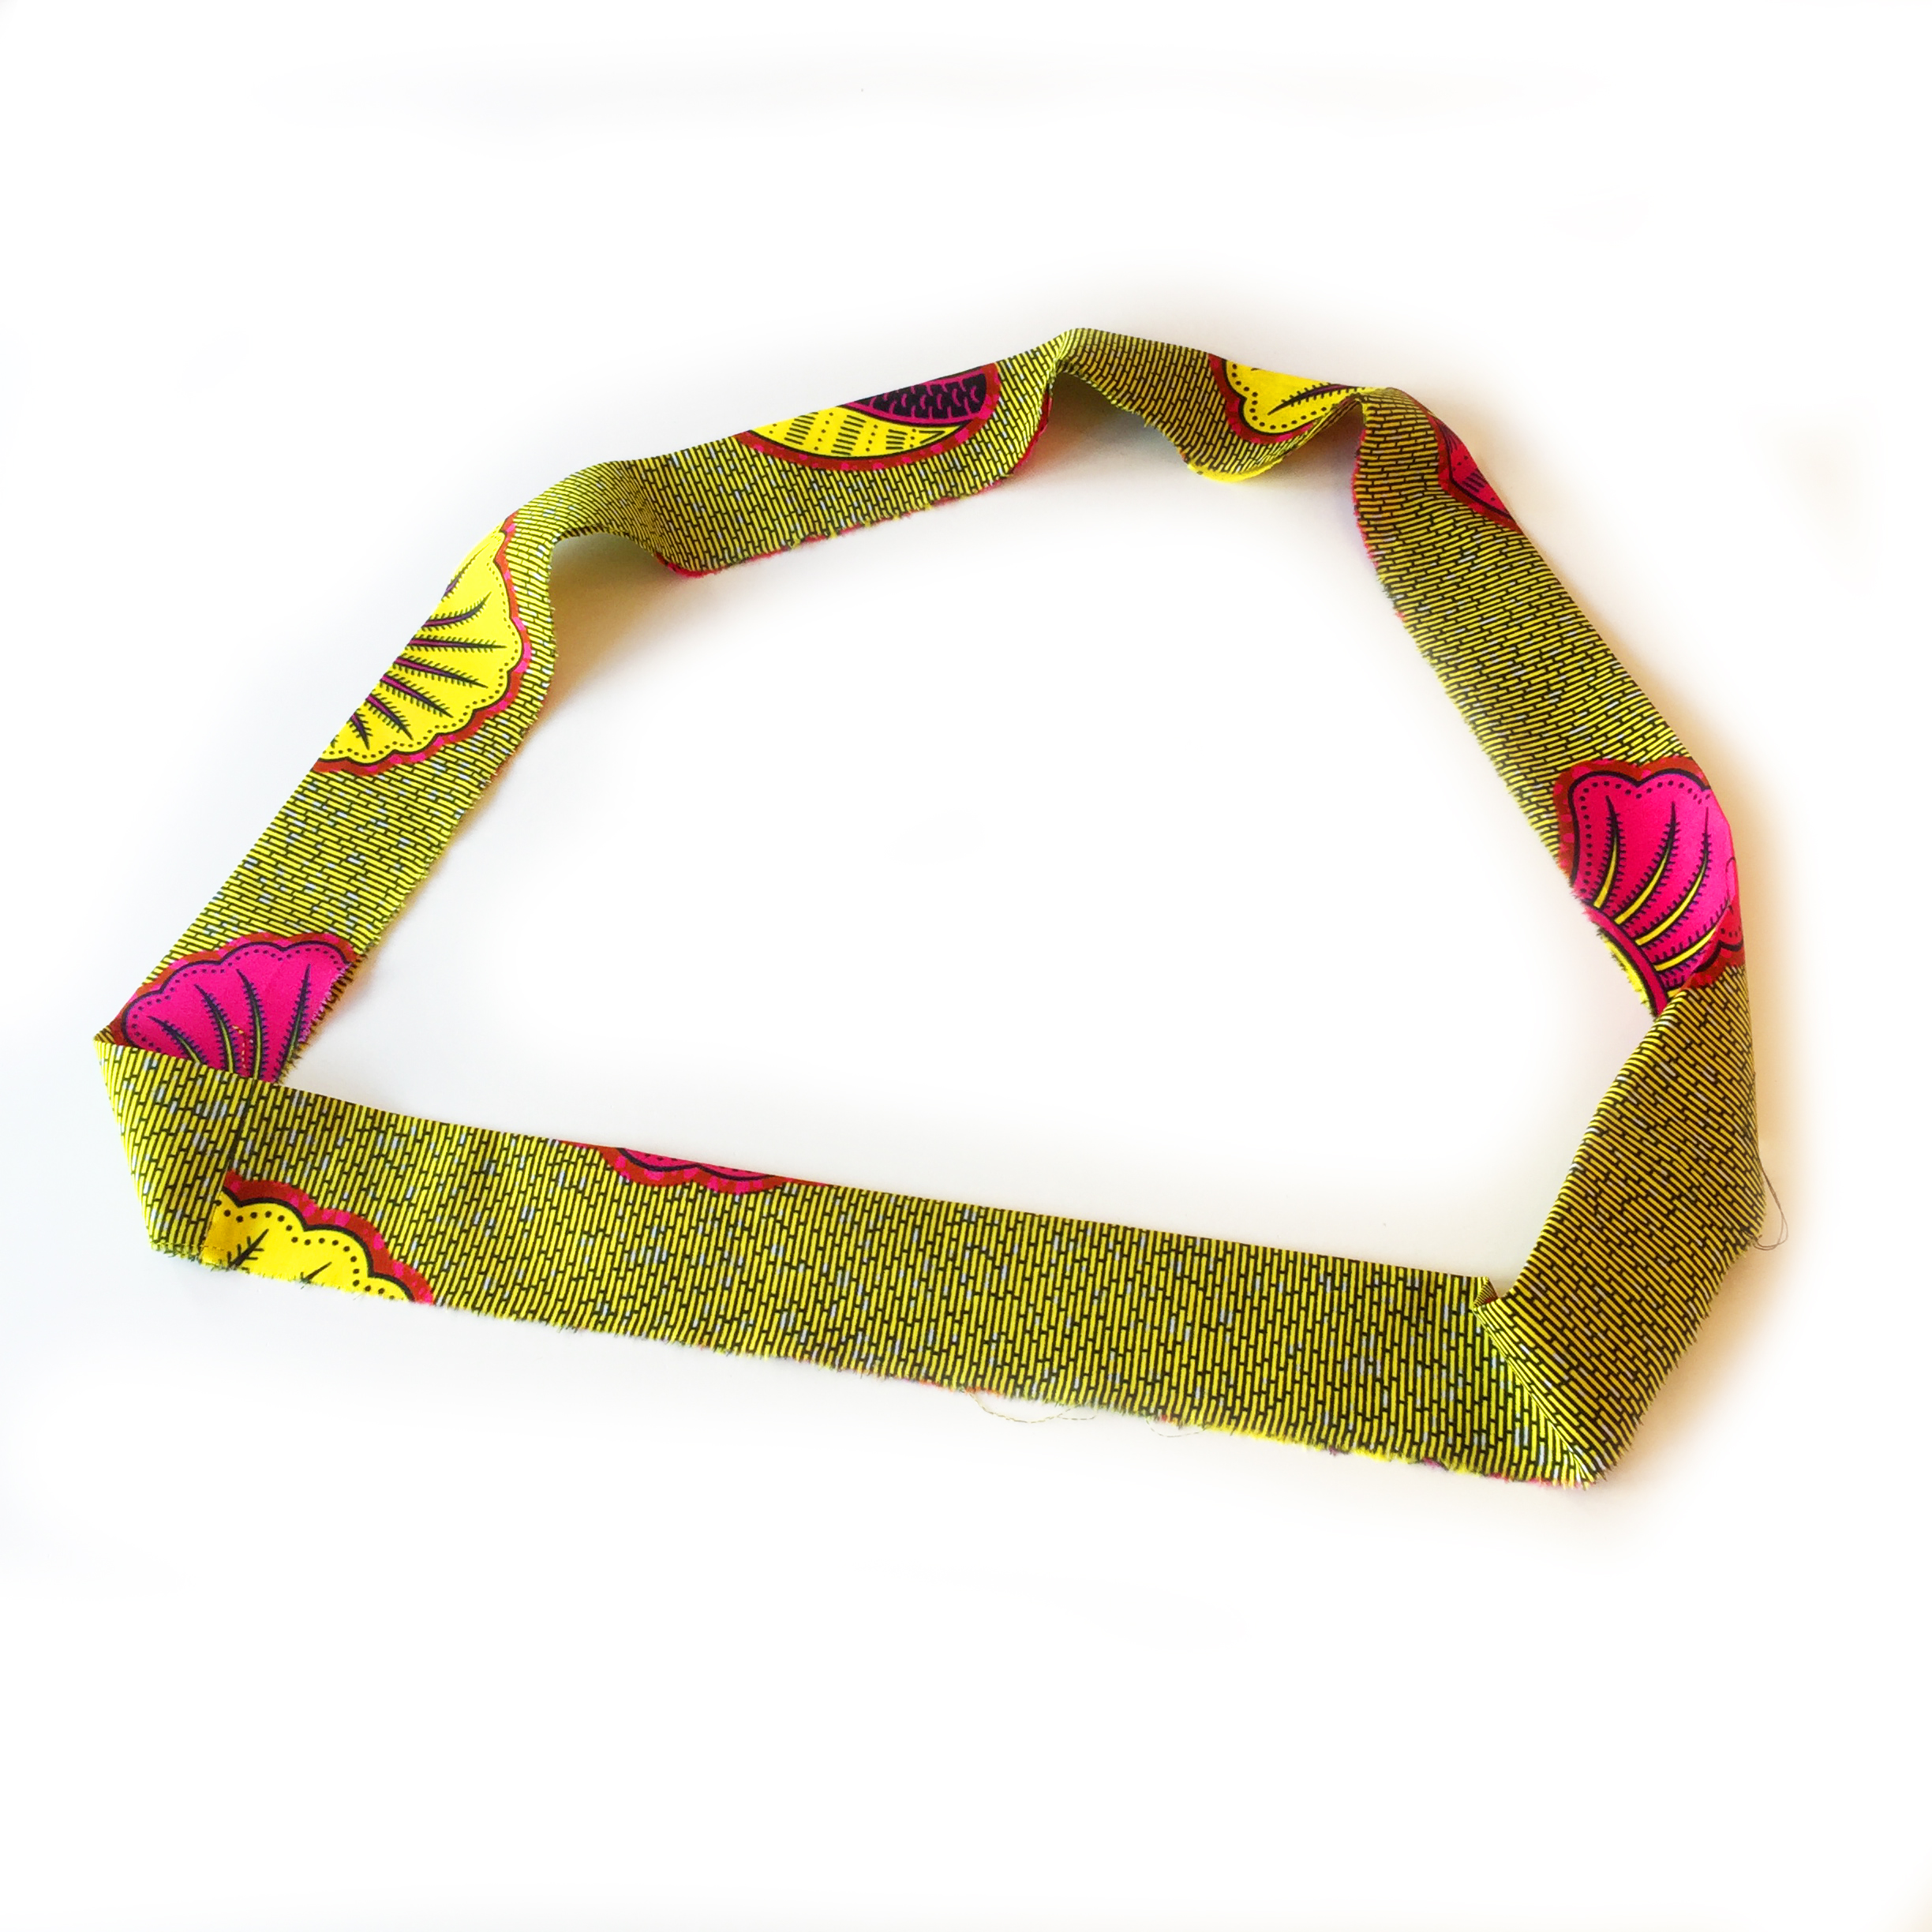
6. So with the Front Waistband interfaced and with the RST, pin then sew the waistband pieces together at the short edges. Press the seam allowances open.
7. Finish the raw outer edges of the band each side. Its easier to do this at this stage than later…..just saying!
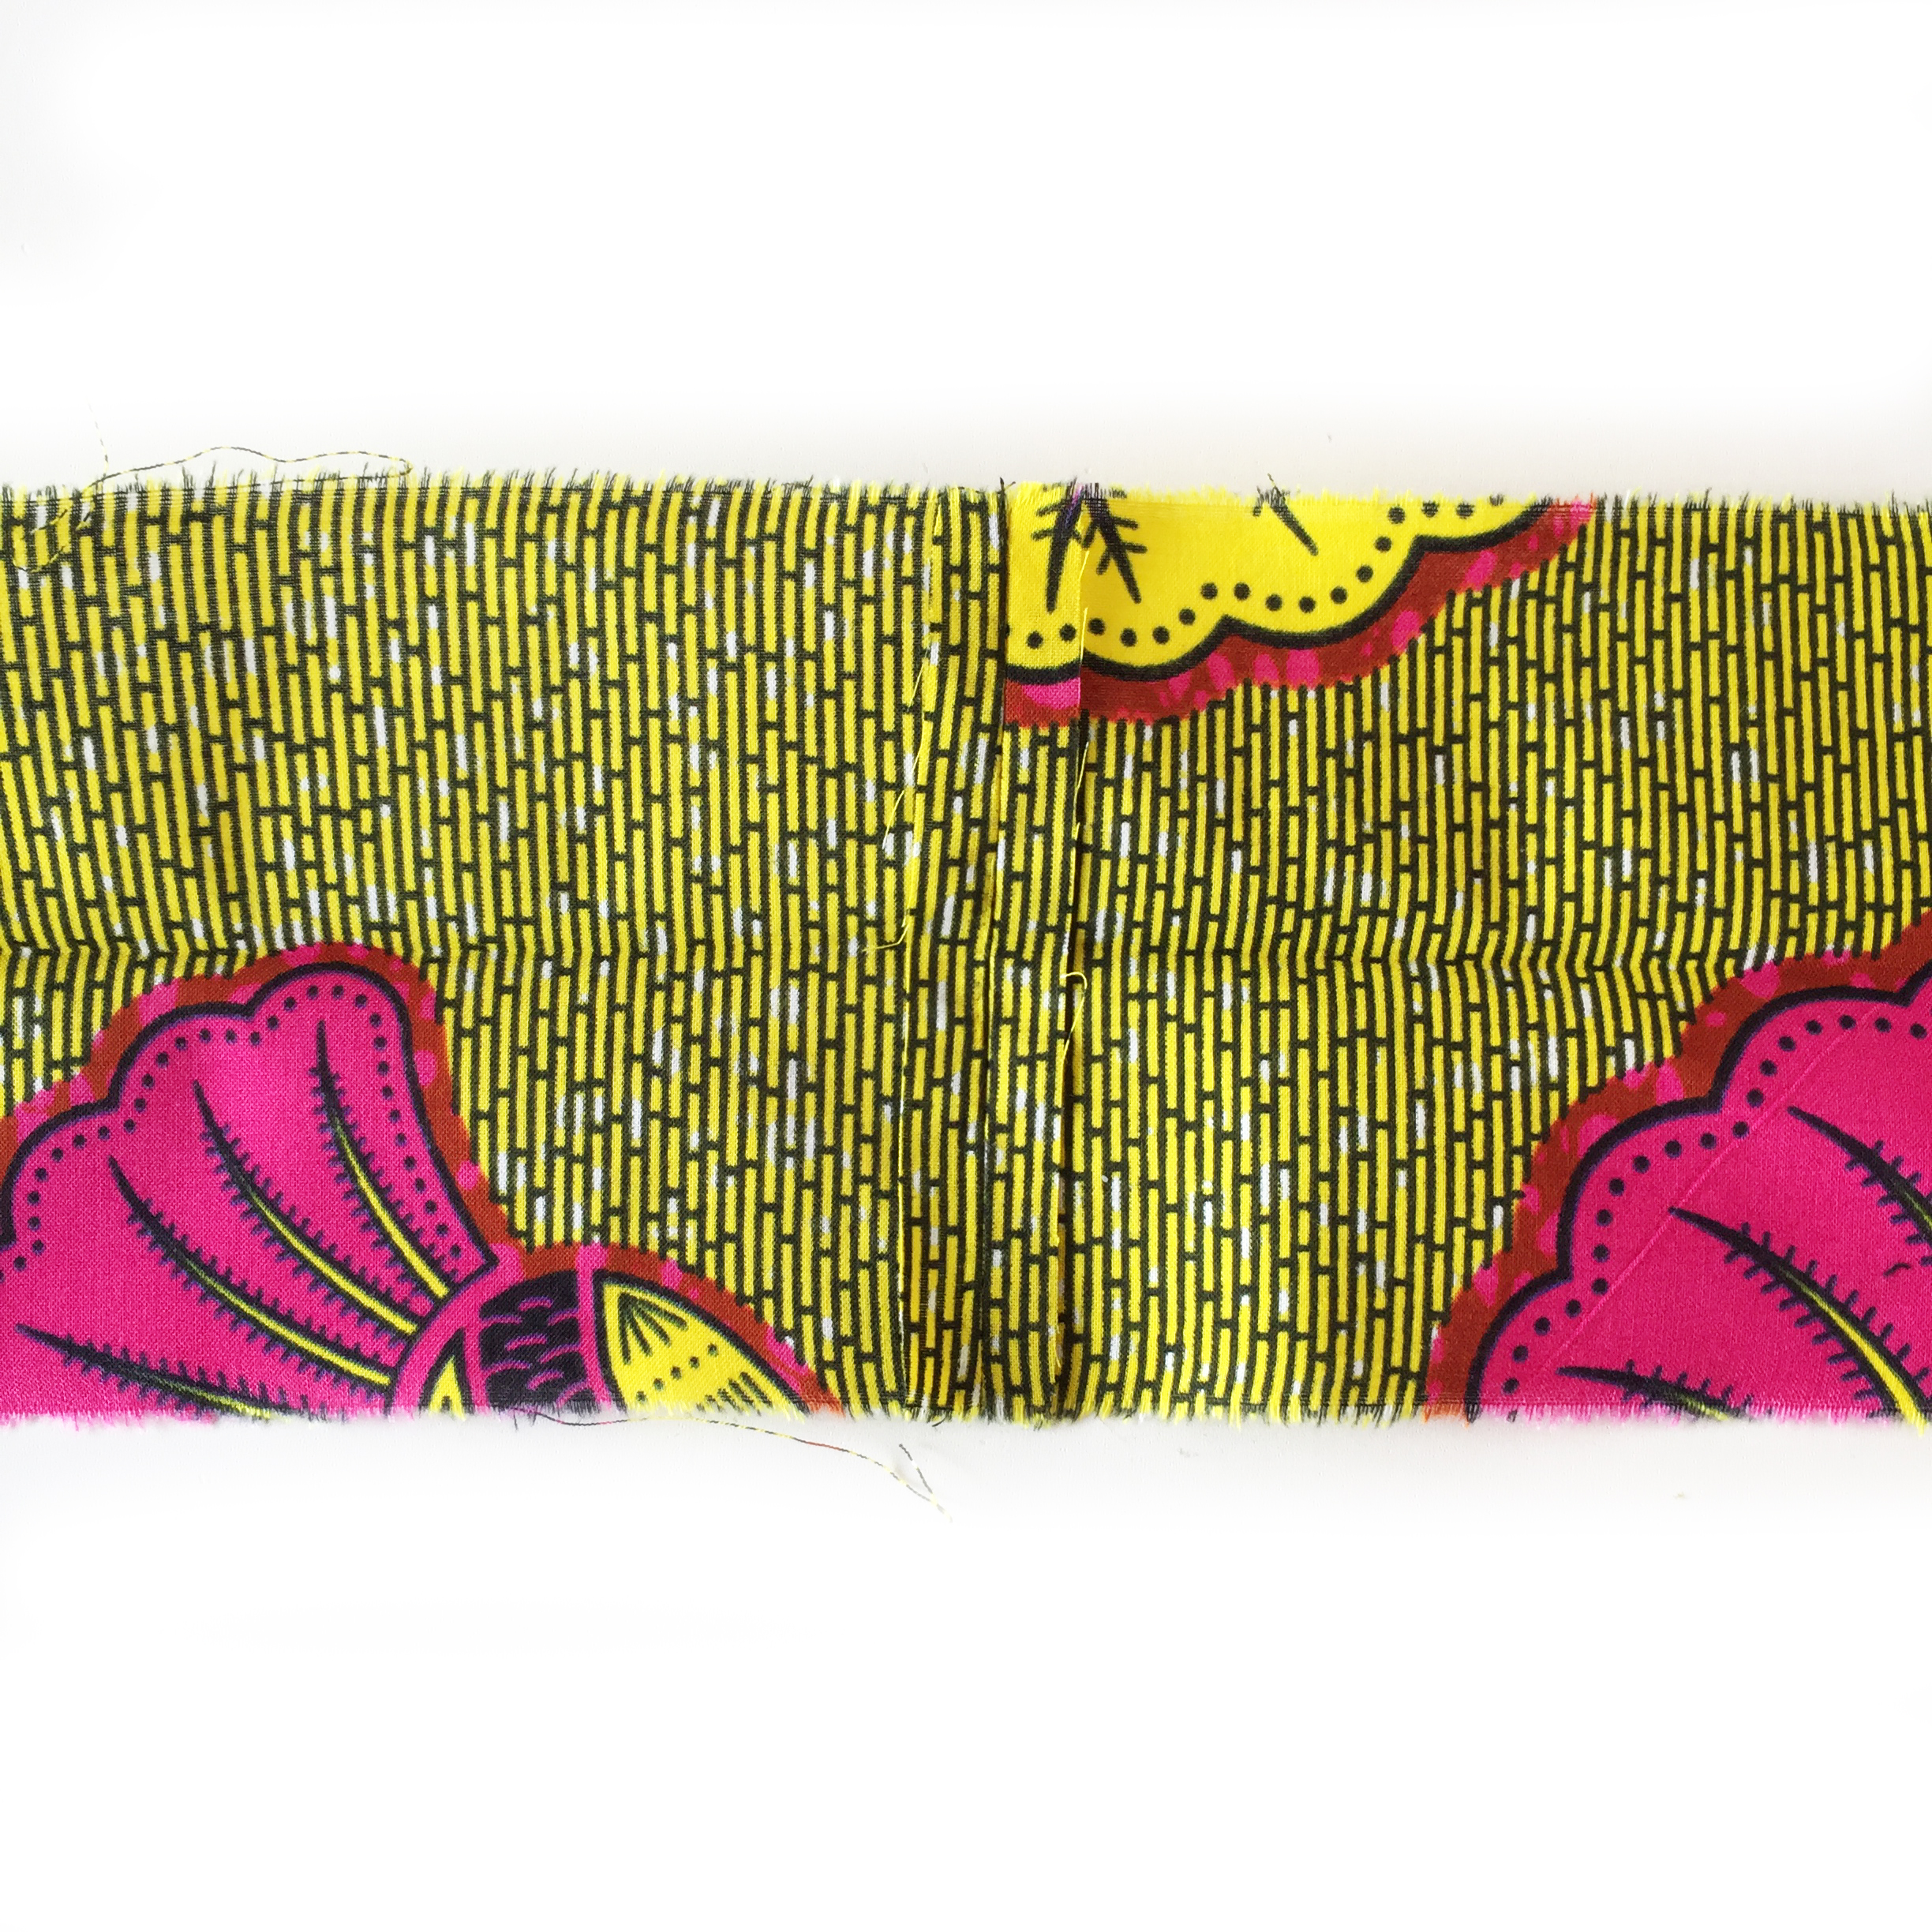
With the wrong sides together, fold the waistband piece in half aligning the long raw edges all around. Press.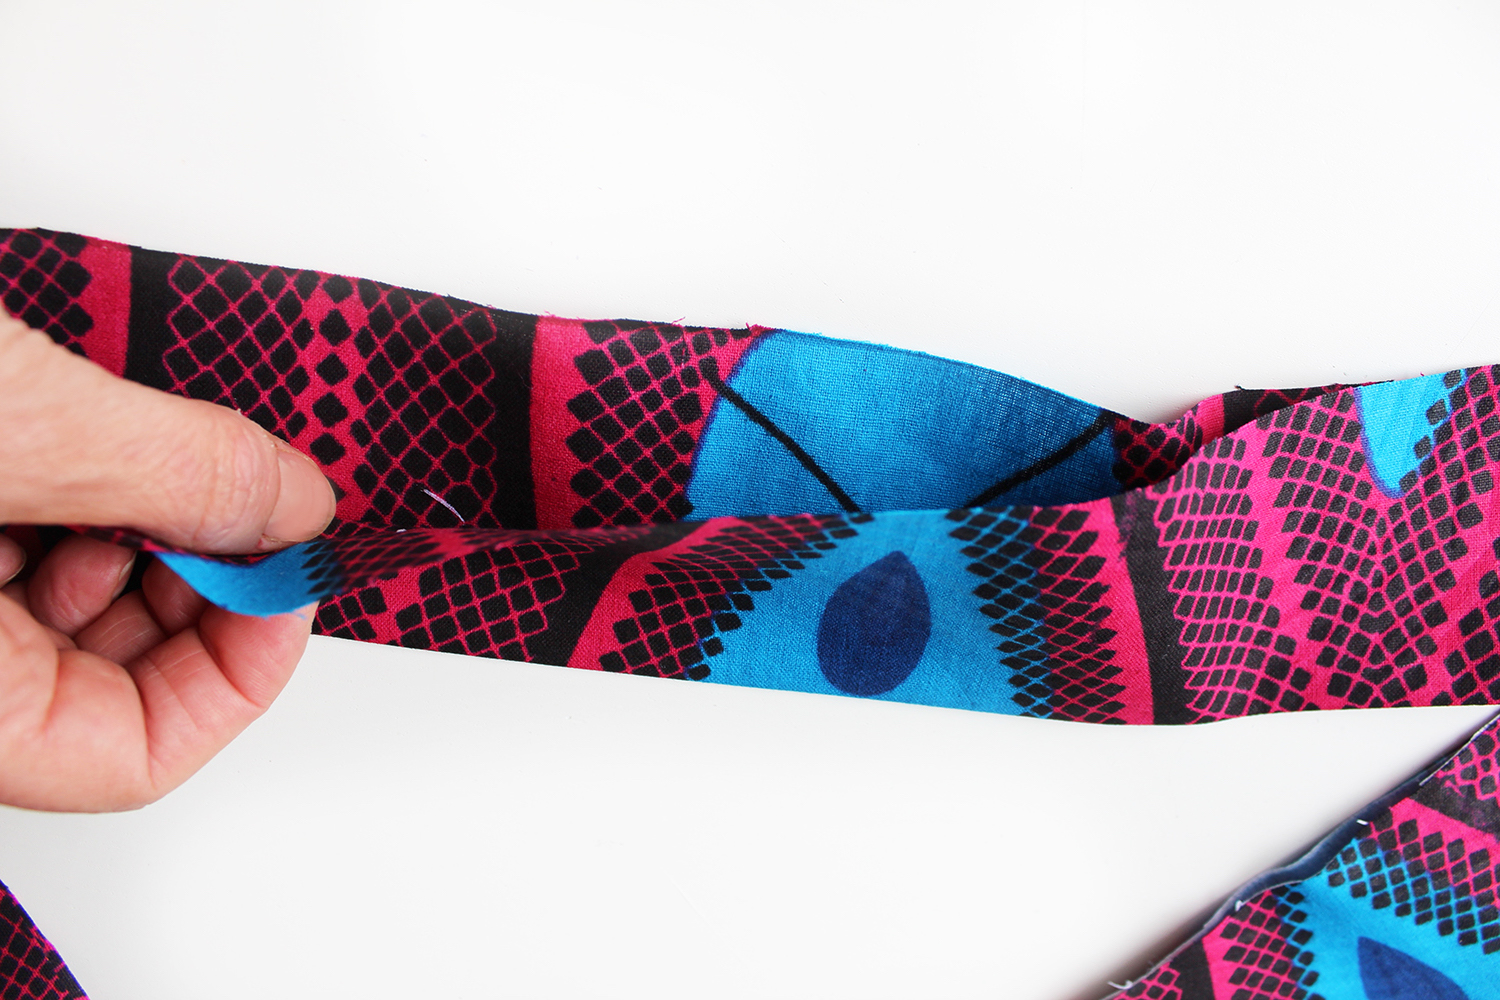
8. Unfold the band. Cut your elastic piece in length according to your size as follows:
Size 8=25cm, Size 10=28cm, Size 12=31cm, Size 14=34cm,
Size 16=37cm, Size 18 =40cm, Size 20=43cm
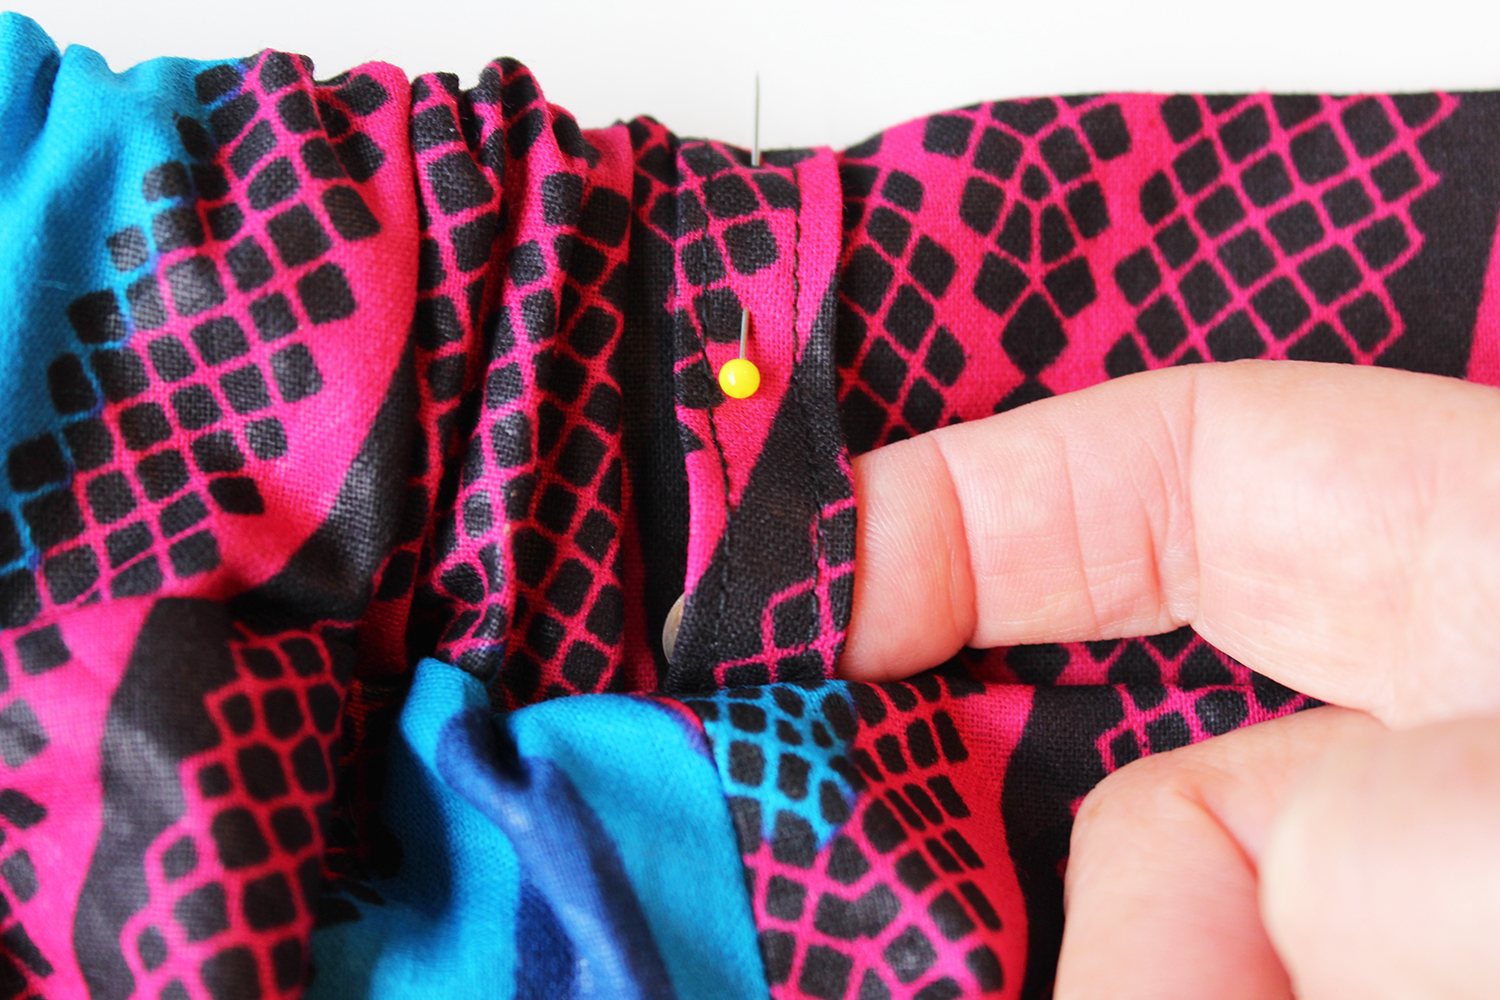
Now, take your elastic piece which has been cut in the length according to your size and pin the elastic to the side seams. Aligning the top of the elastic with the waistband centre fold and approx 1.5cm away from the lower raw edge, laying it across the back waistband. Sew along the side seam each side to secure the elastic.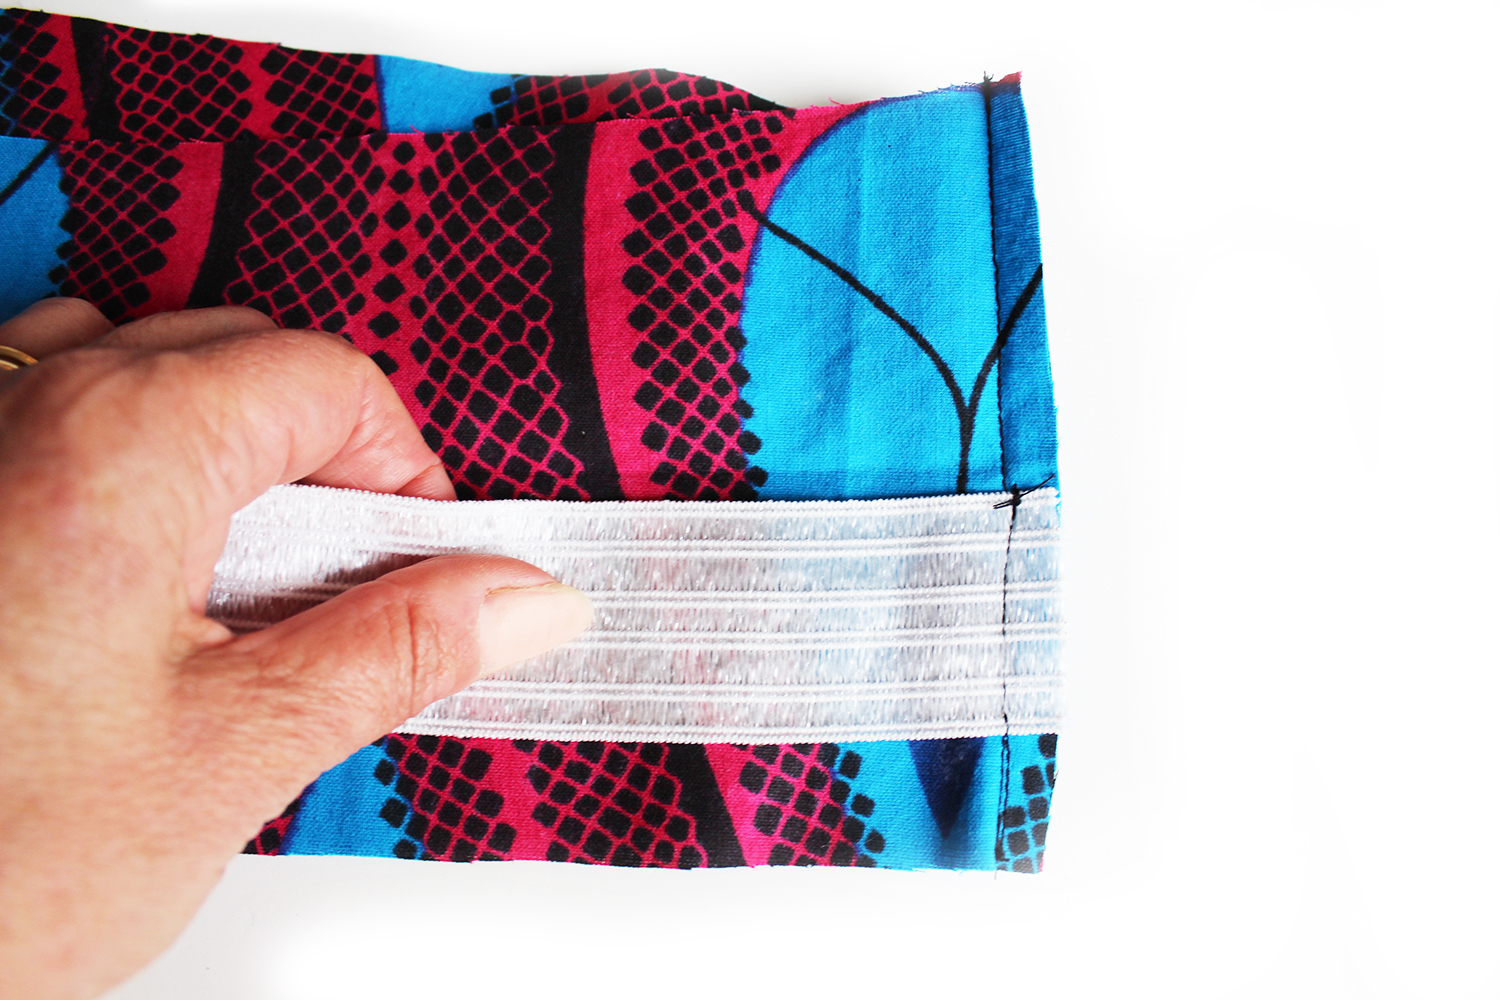
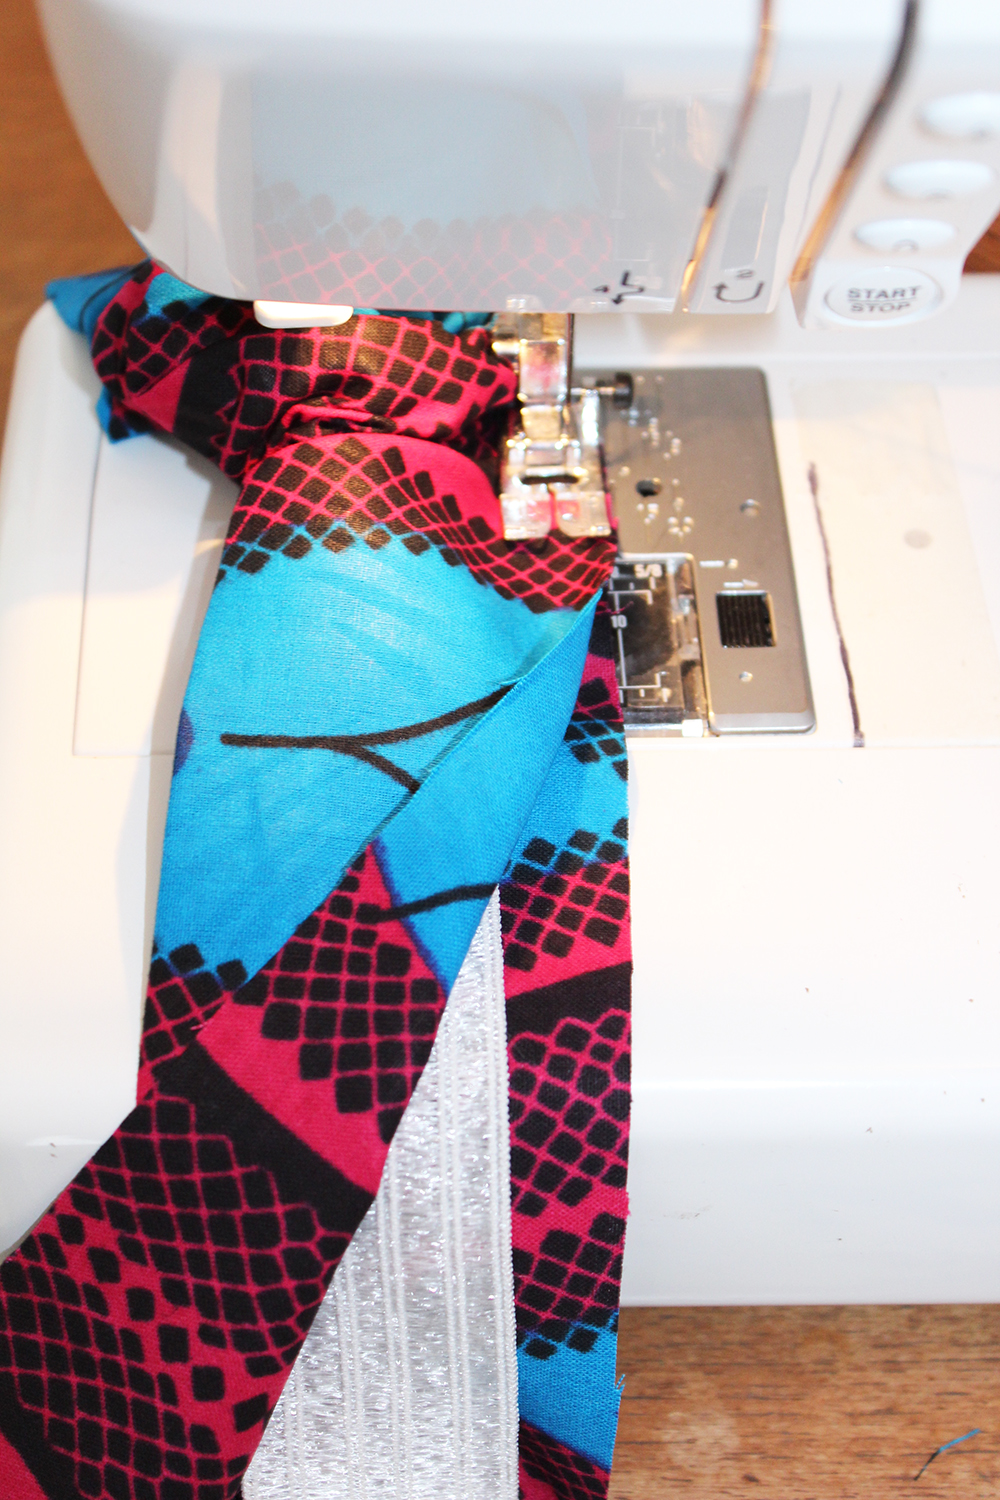
9. Fold back the waistband piece. Pin along the lower edge. Machine tack stitch all around, as before, easing the fabric beyond the elastic as you go. Heres that video link again to show you how in case you missed it video about putting in the elastic
Optional tabs: at this stage you might like to add the belt tabs and make a tie belt. Instructions for making up the tab pieces is in the cutting guide. Place each tab unfolded short raw edge at the waistband raw edge at each side seam with the tab hanging downwards towards the skirt. Machine tack within the seam allowance to hold. Continue…
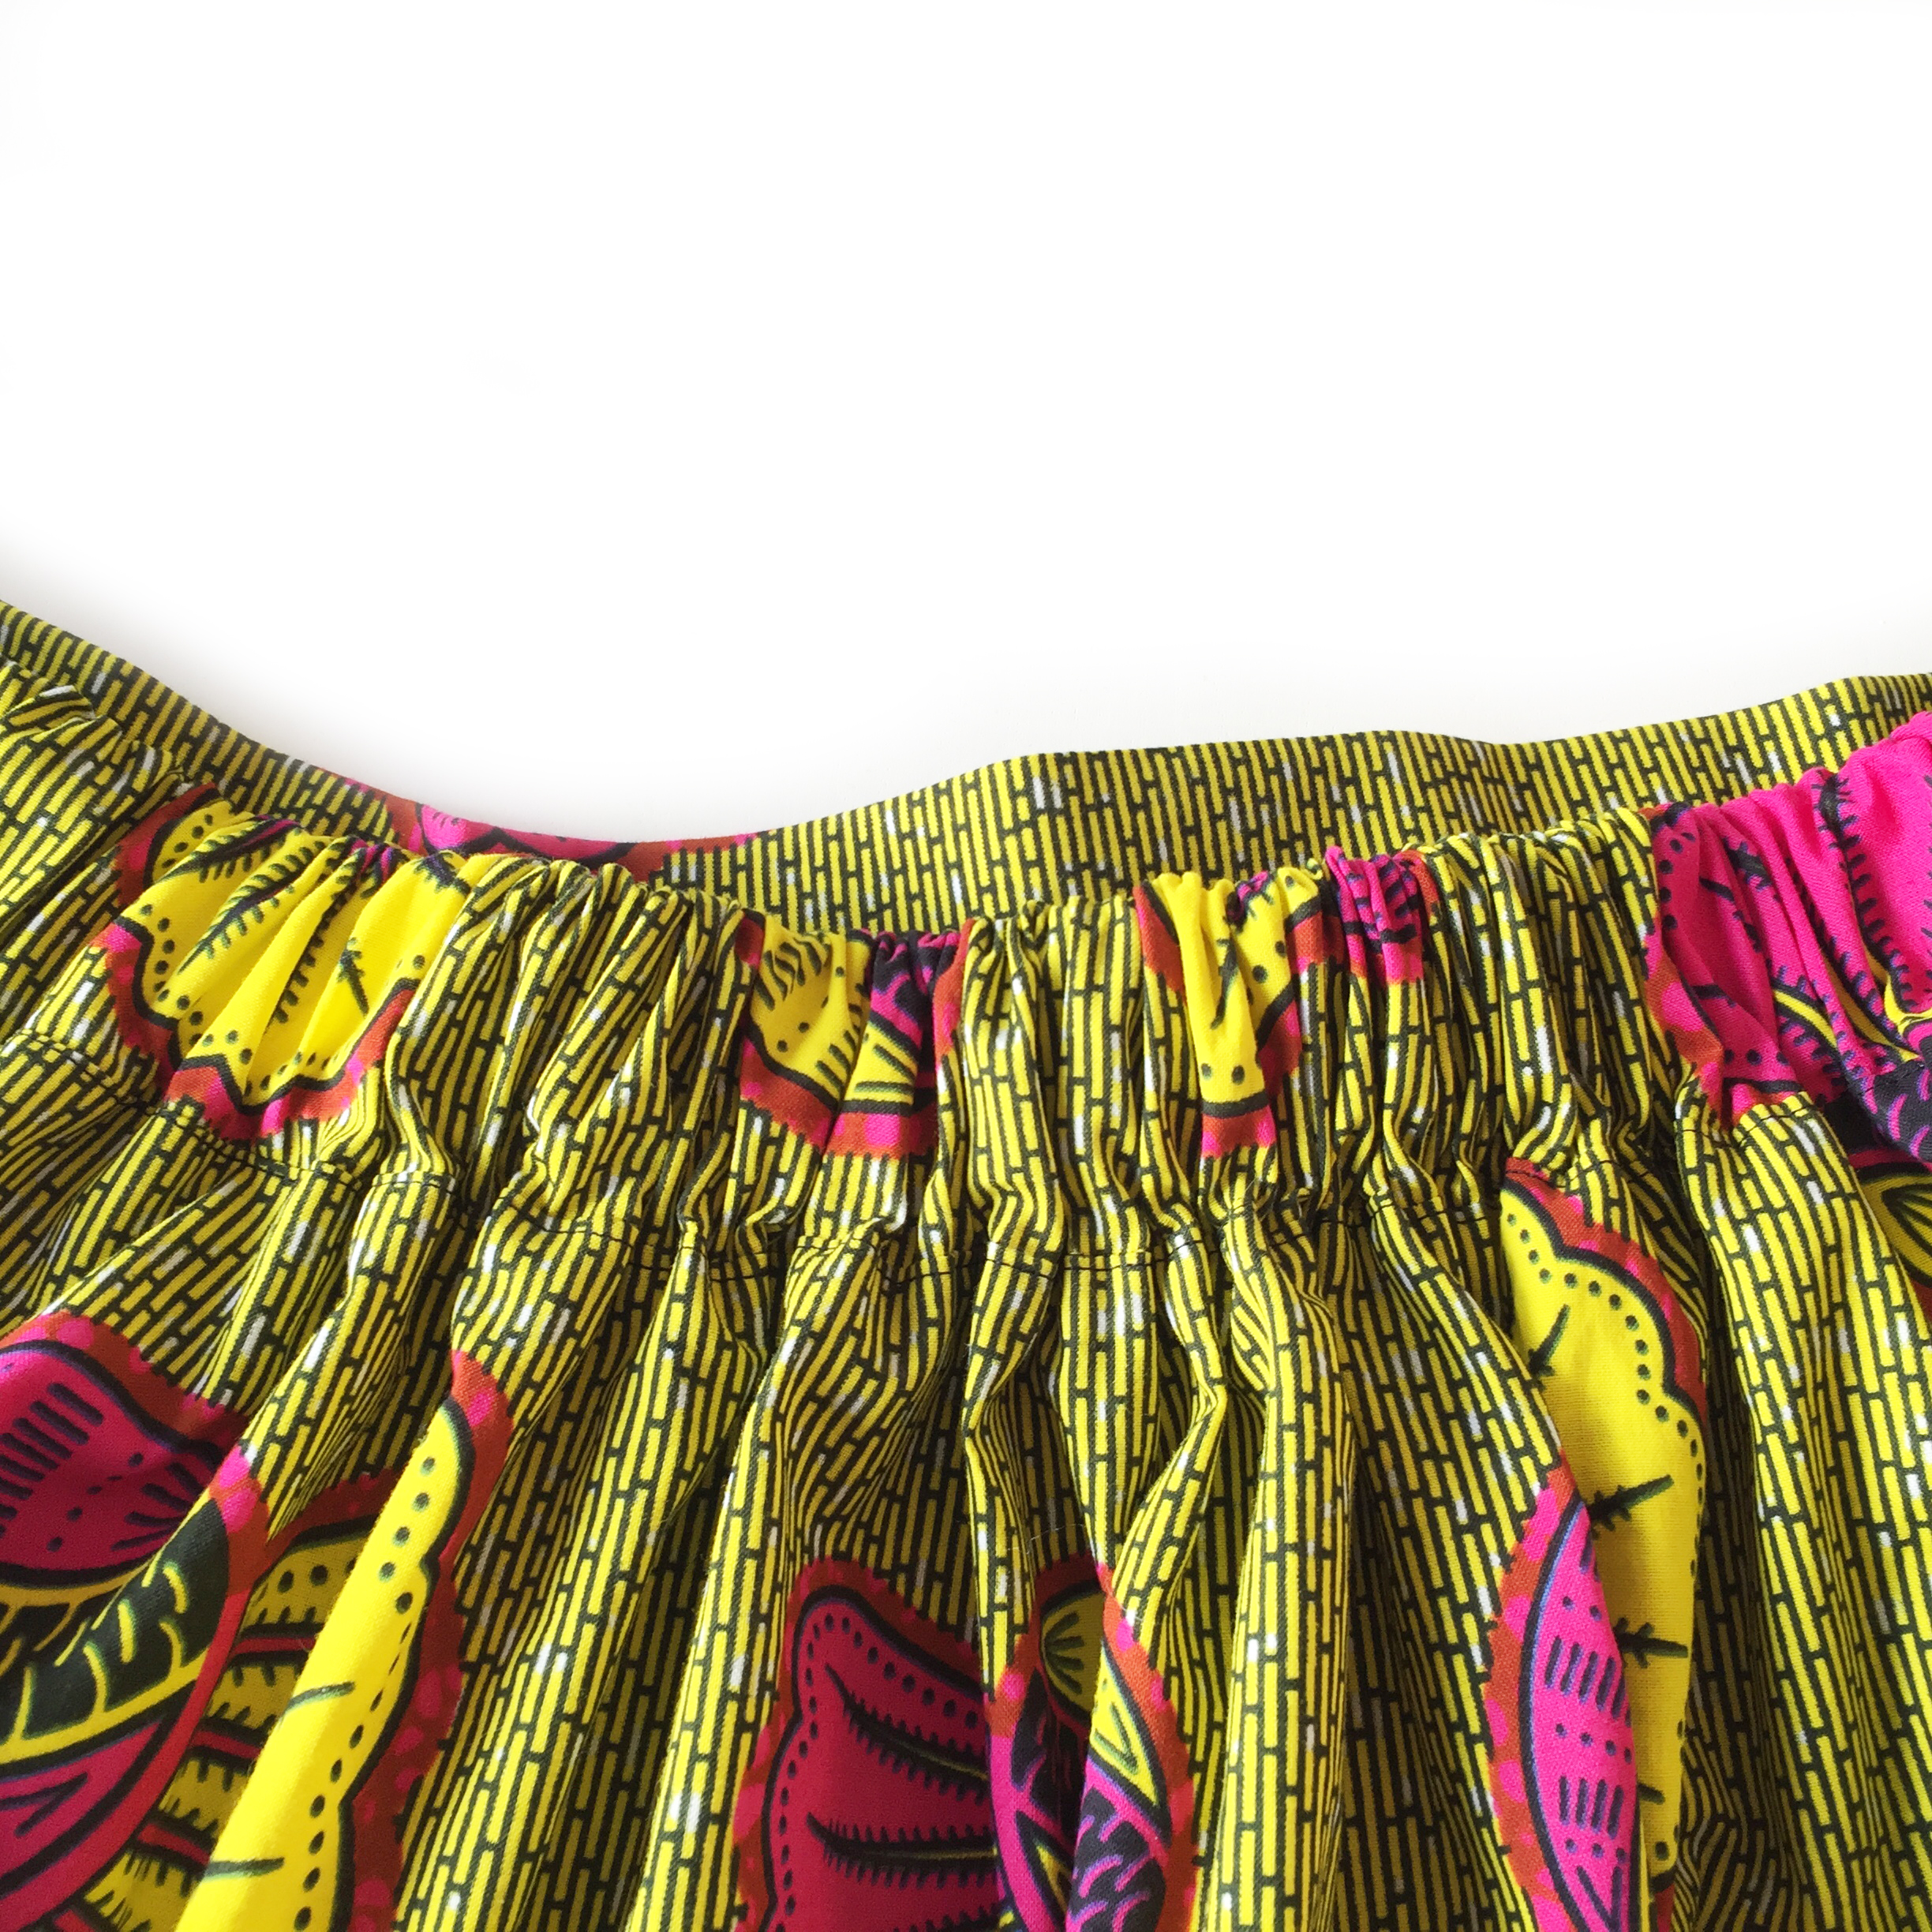
10. Pin the waistband to the skirt top edge. Sew. Tip: ease the gathers of the fabric past the (dropped down) needle as you go, so you are always sewing flat fabric.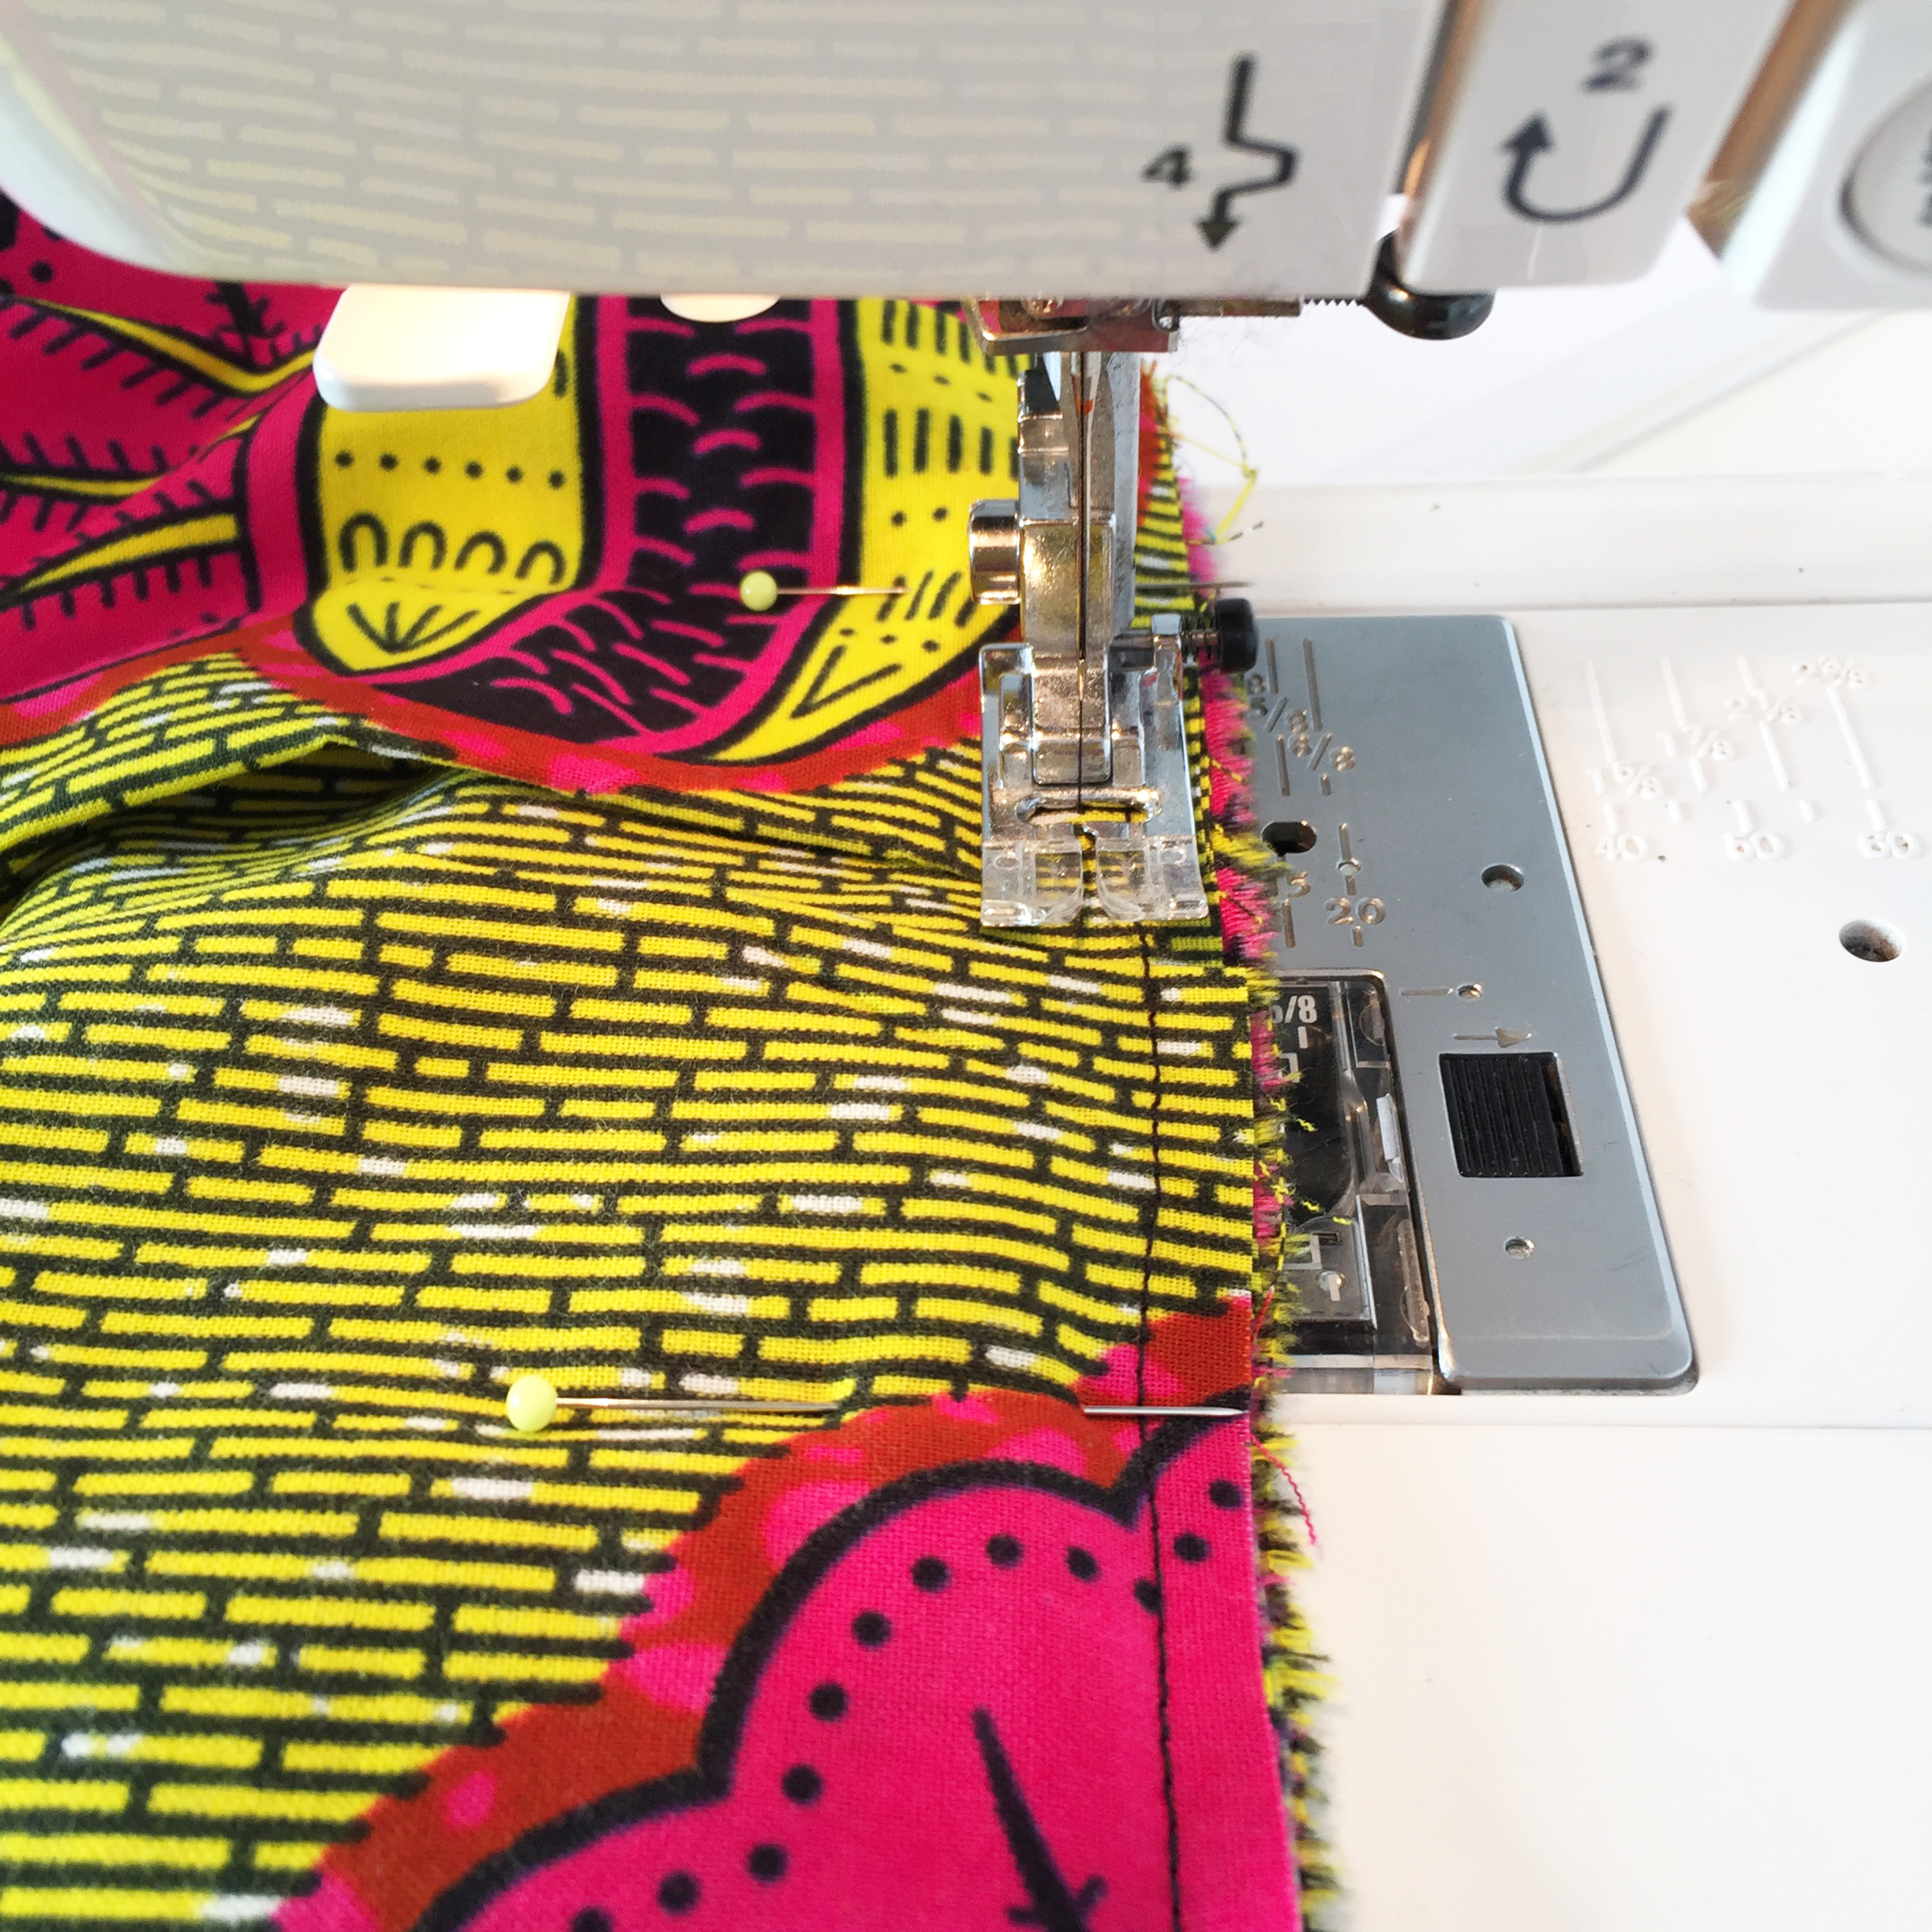
11. Press the seam allowance downwards, topstitch on the skirt side all around to secure in place.
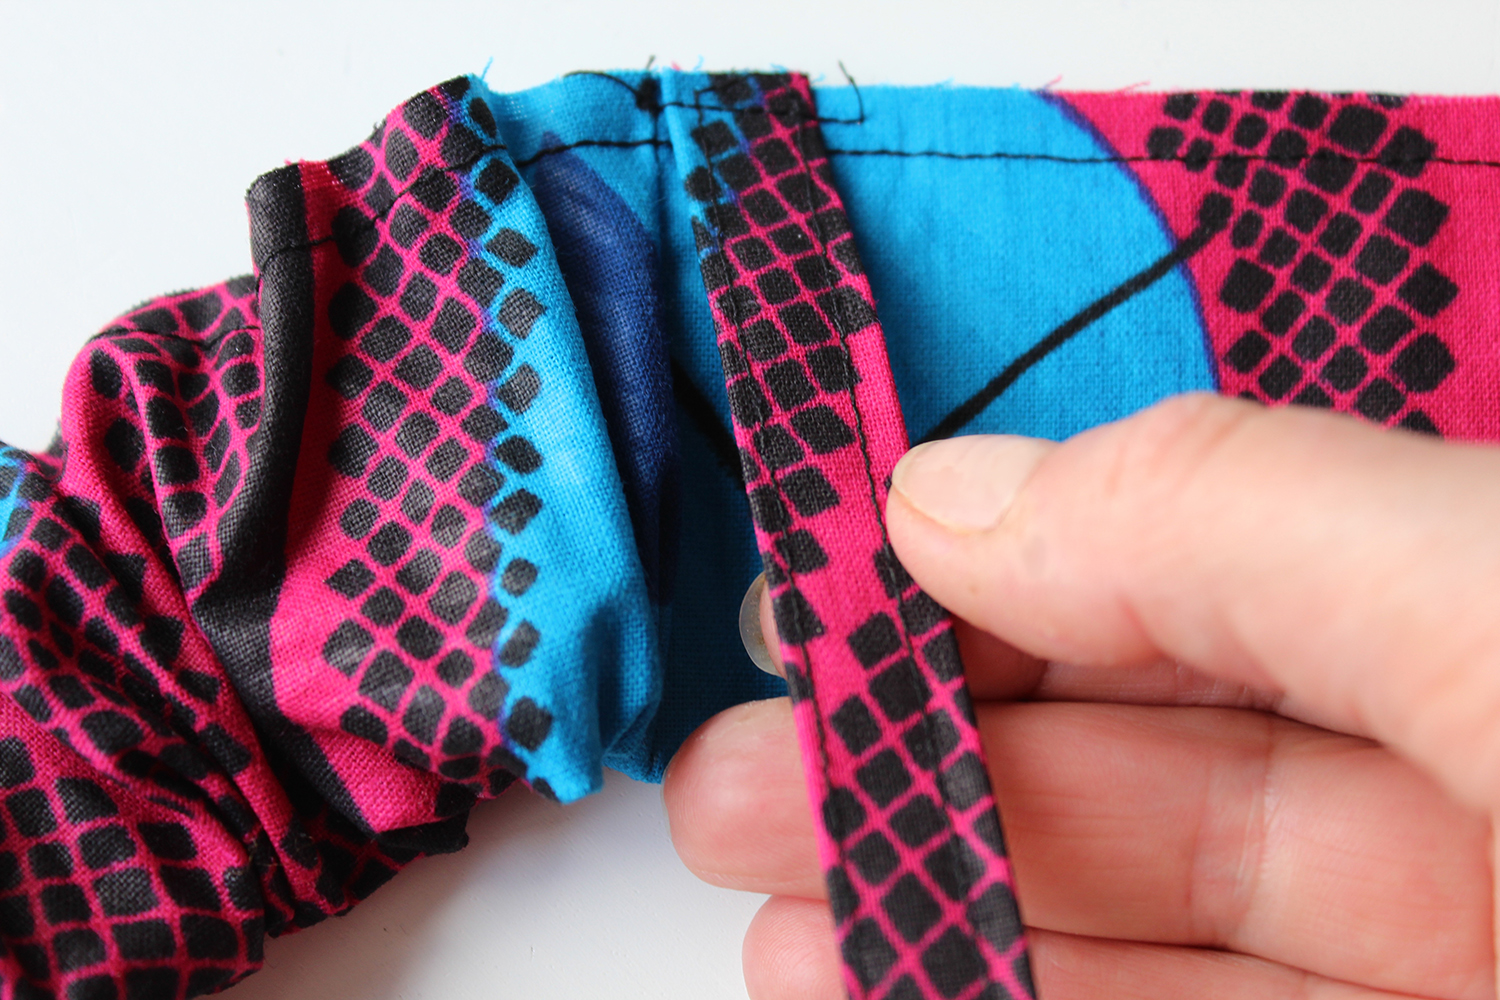
Optional tab: Fold up the tab piece that has been stitched into the waistband seam. Press over 1cm at the raw edge, pin at the top of the waistband edge, then topstitch it to secure.
Close up of tab at the top edge
HEMMING
12. Hem the raw lower edge of the Front & Back piece all around. Fold over and press a 2cm hem at the lower edge or length as required. Pin. Sew close to the edge. Press.
Pop it on and admire your handiwork!
MAKING AN OPTIONAL TIE BELT
Cut two pieces of fabric 10cm x 100cm. Join them together at the short edges with the RST. Press the seam allowance open. Fold the tie in half lengthways. Press. Pin. Sew down the two short edges and one long raw edge with a 1cm seam allowance but leave an opening at the centre join of around 4cm. Trim the seam allowance to 5mm and trim across the seam allowance corners. Turn the tie inside out through the opening, pushing out the corners with a poking tool. press so that the seam line is in line with the fold. Topstitch all around approx 3mm from the edge, thus closing up the opening. Feed through the tabs and Voila! Now who doesn’t love a bow tie!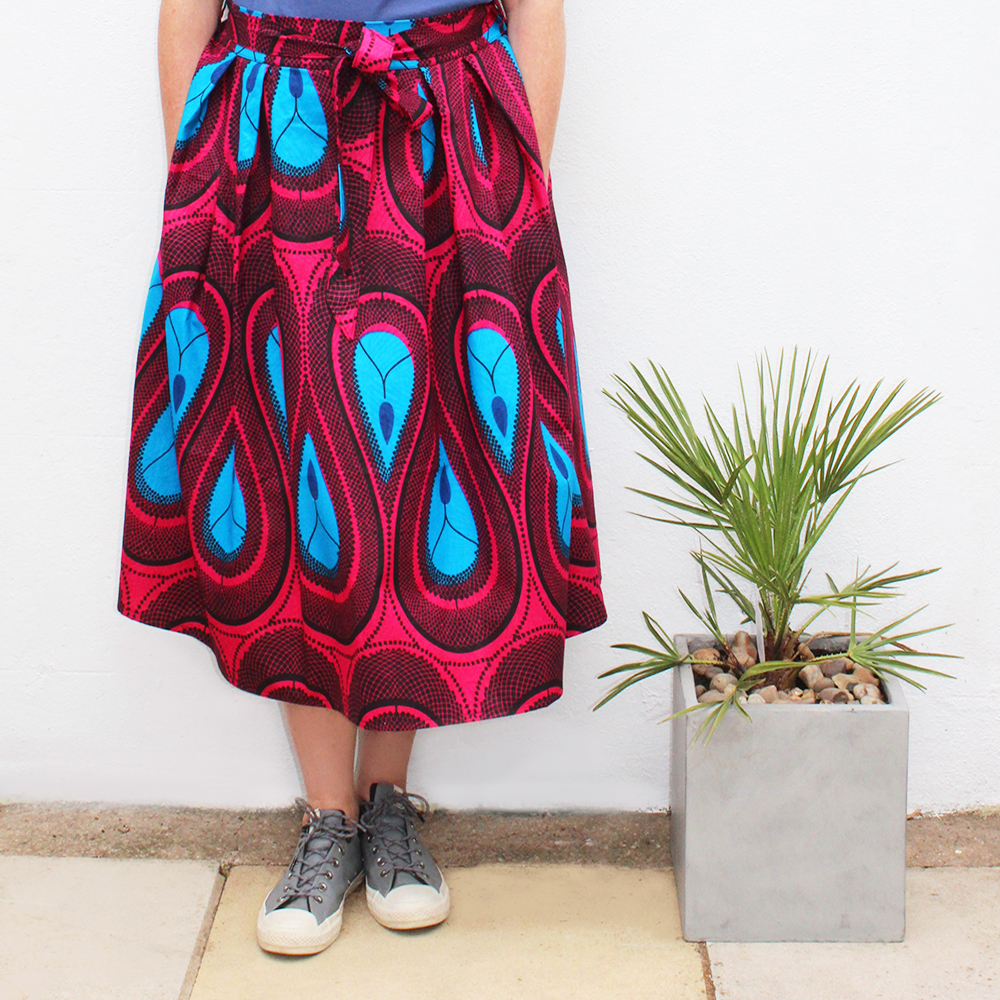
MAKING A MATCHING HAIR RAG ACCESSORY
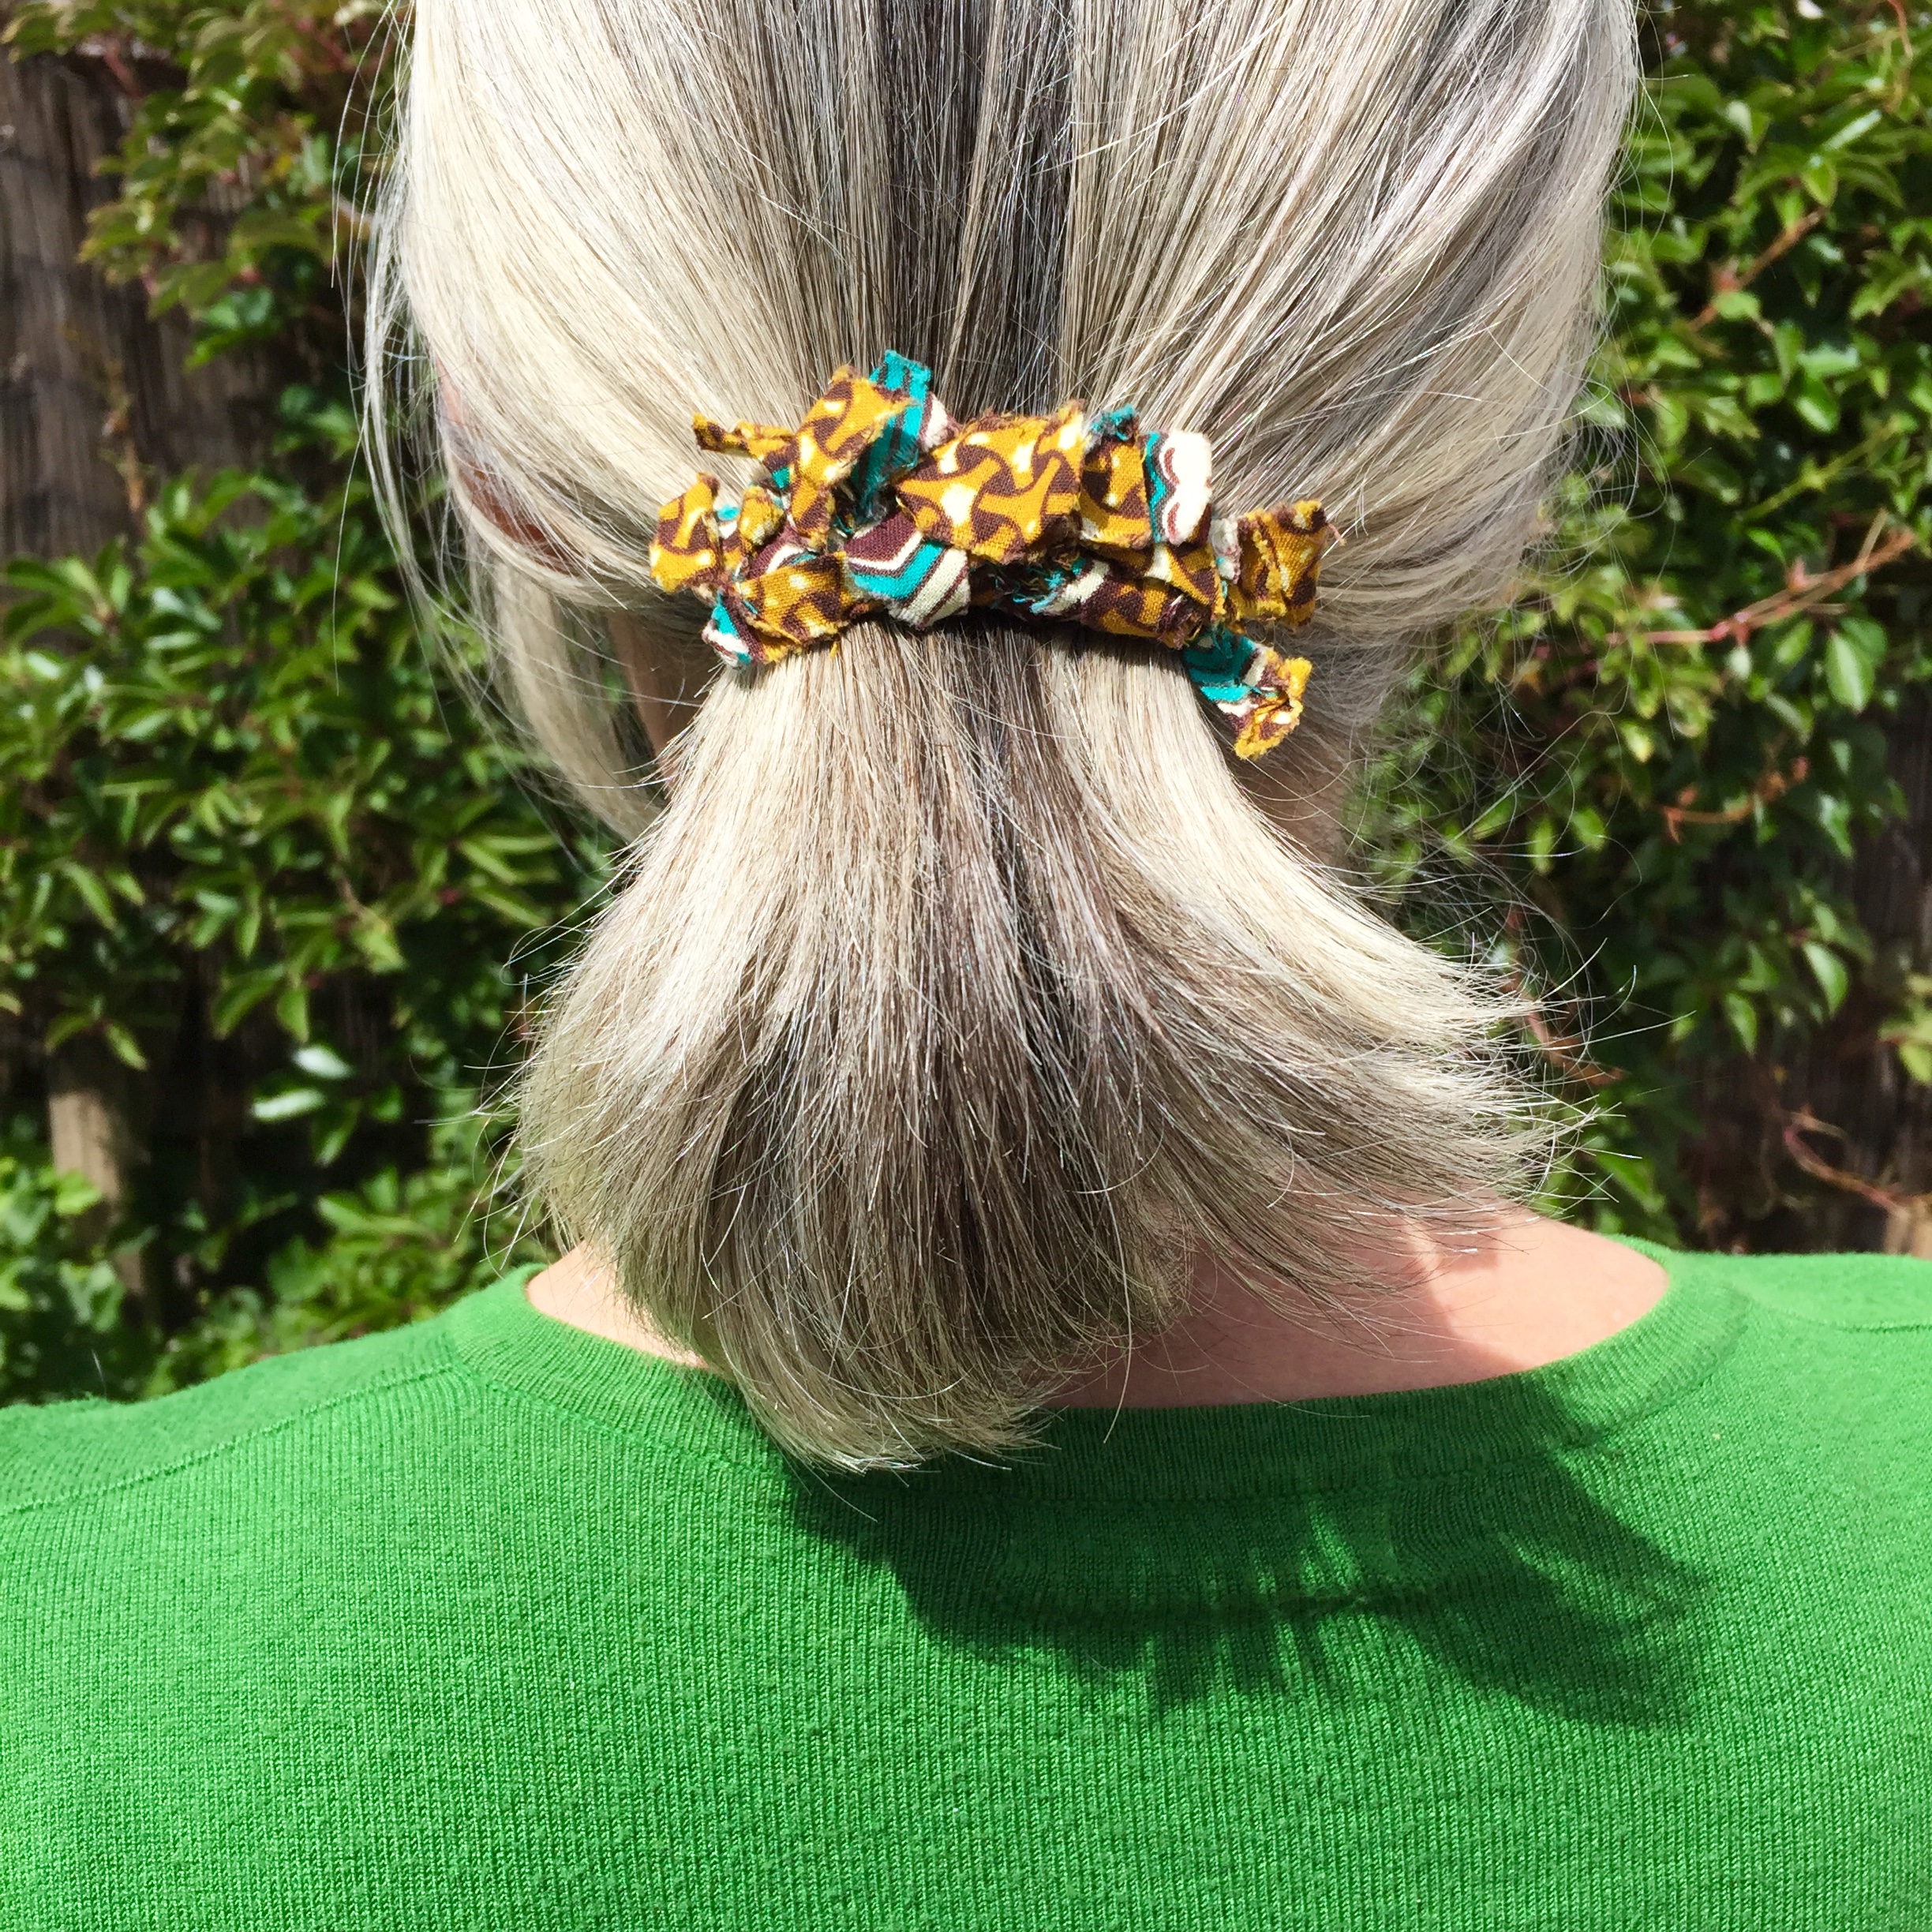
Using your French hair barrette as a base, cut (or tear) long thin strips of fabric approx 1cm wide. Cut the long strips into 10 pieces approx 10-12cm long.
Tie a strip of fabric on to the top metal bar on the barrette with one tight knot, leave a long end. Repeat with the other strips, pushing them up tightly, squashing them together as much as possible. Trim the fabric ends or leave as long as you like. Trim with pinking shears if you have a pair for added jagged edges. There you have it!
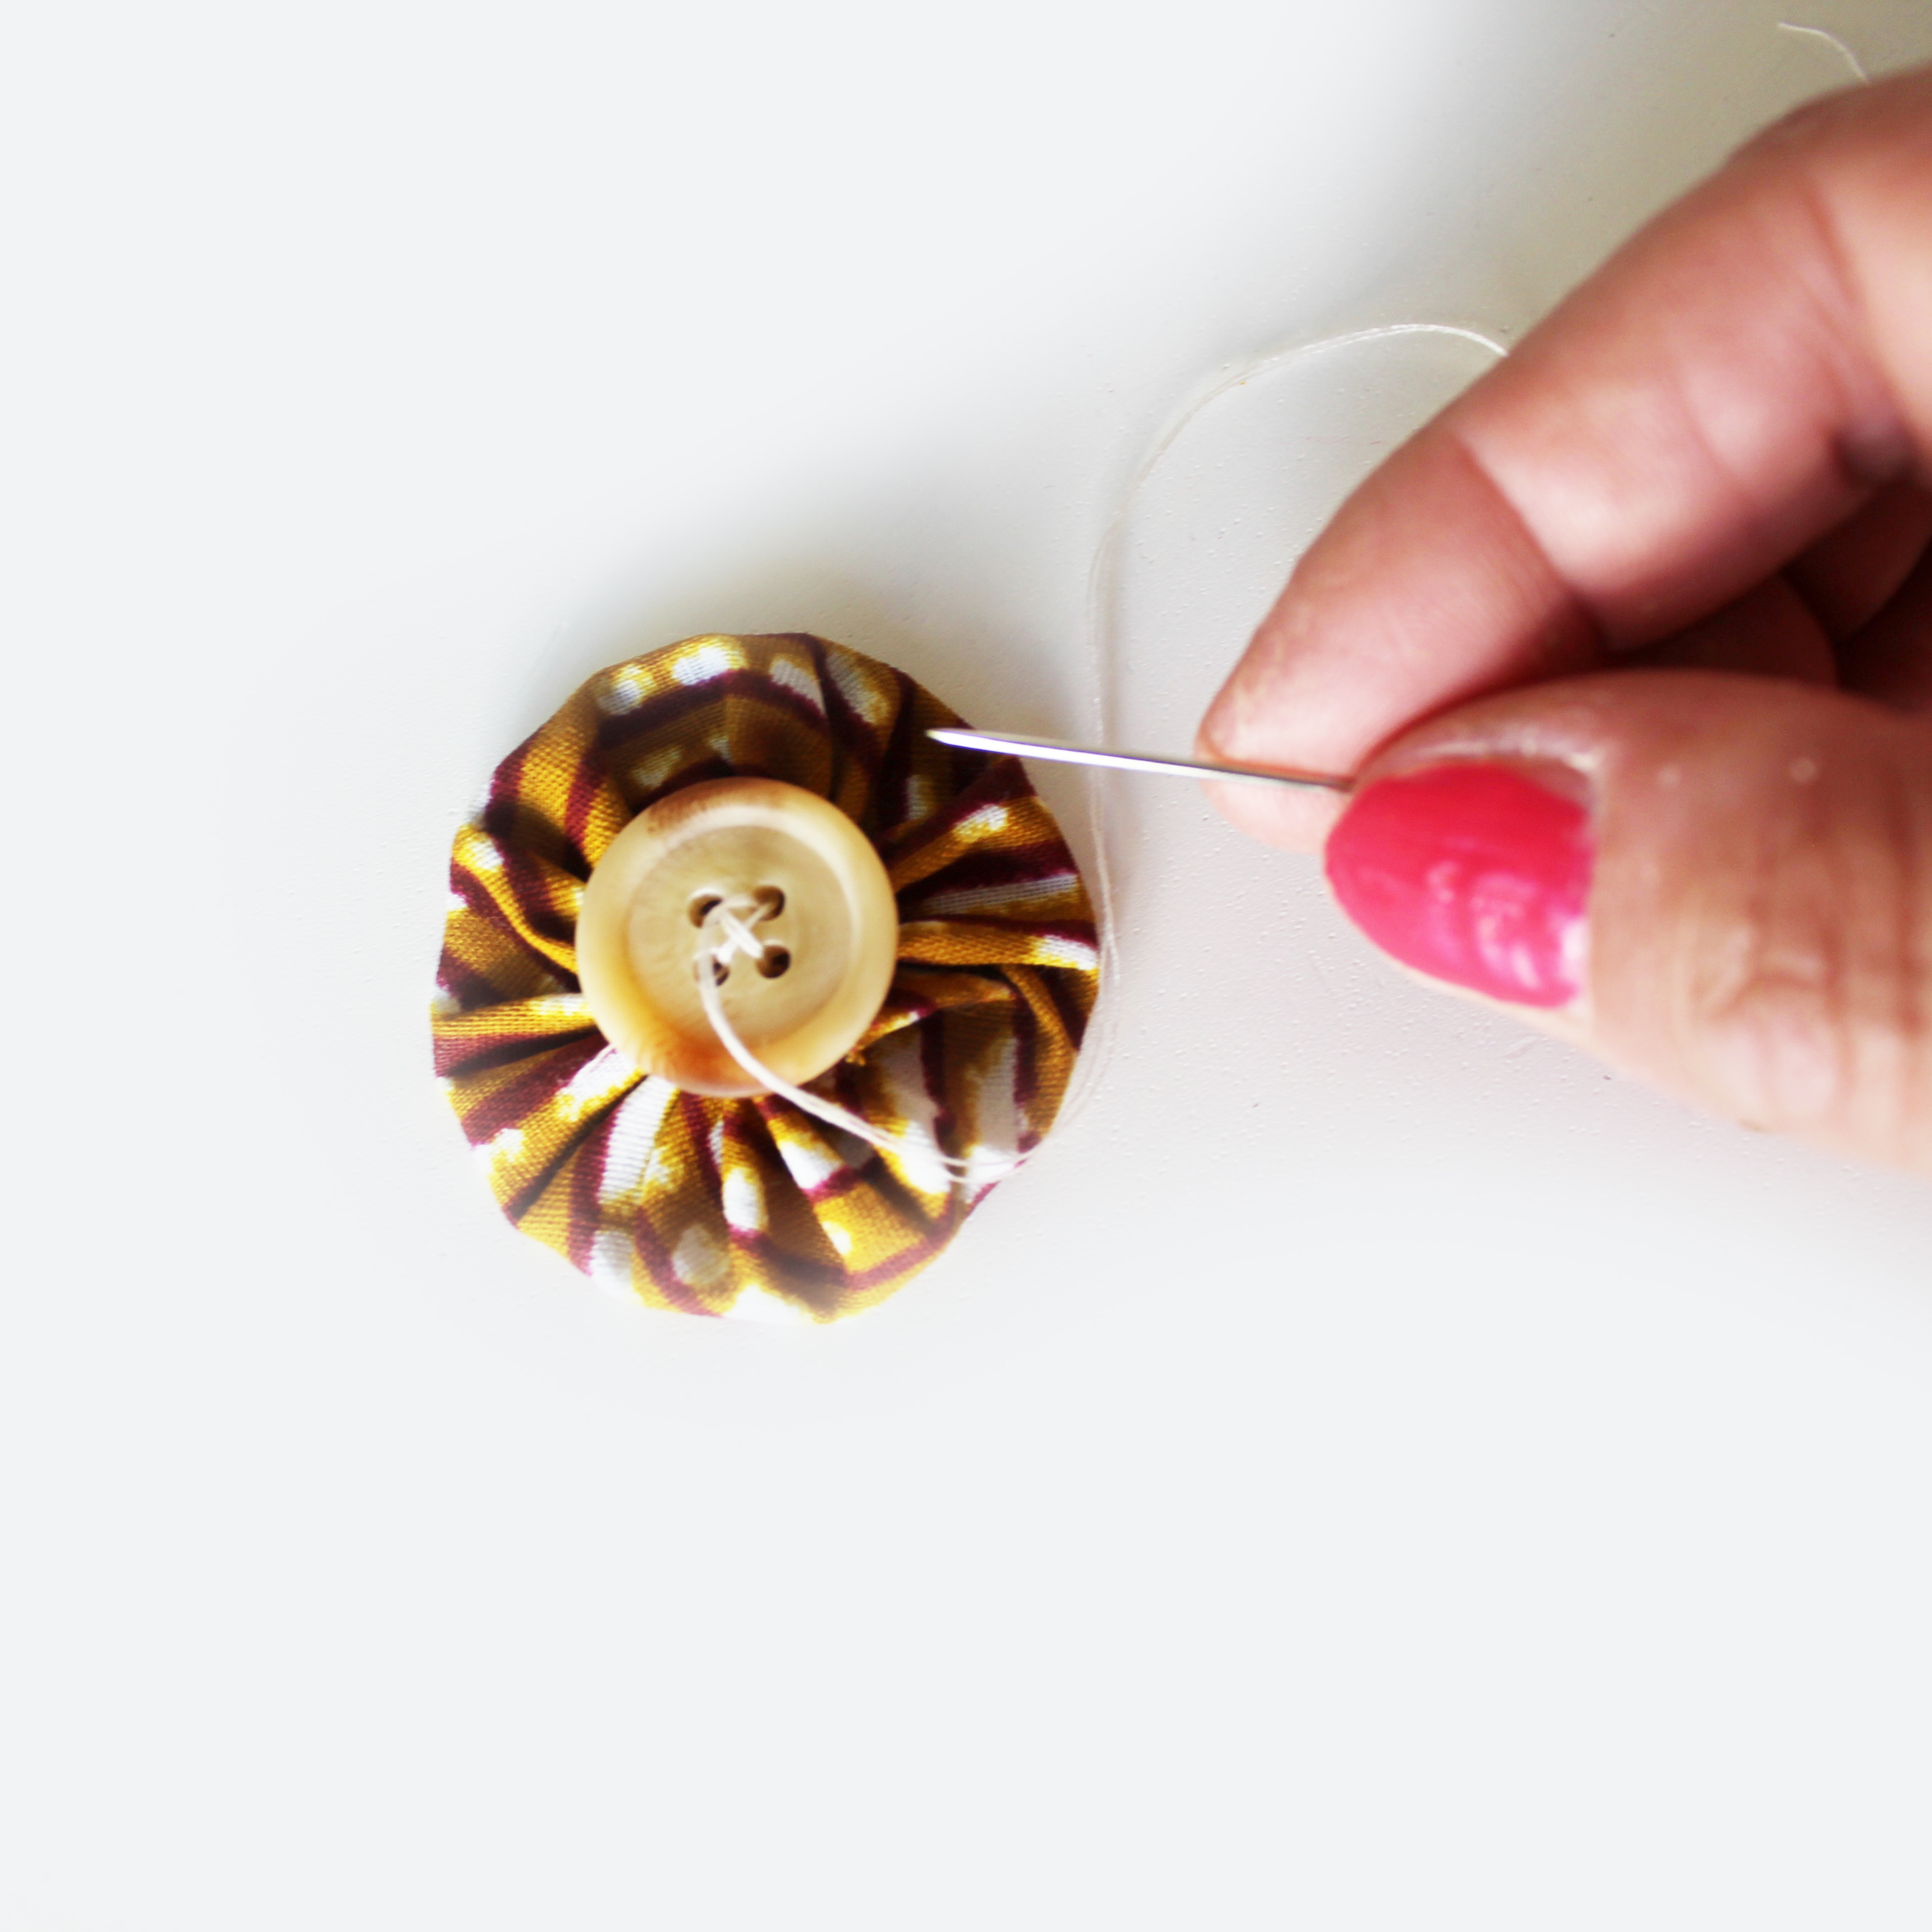
Or using a small barrette make a charming little rosette with a centre button to adorn your hair.
CECILY SKIRT KIT OR PATTERN ONLY IS NOW AVAILABLE TO BUY ON MY SHOP
