
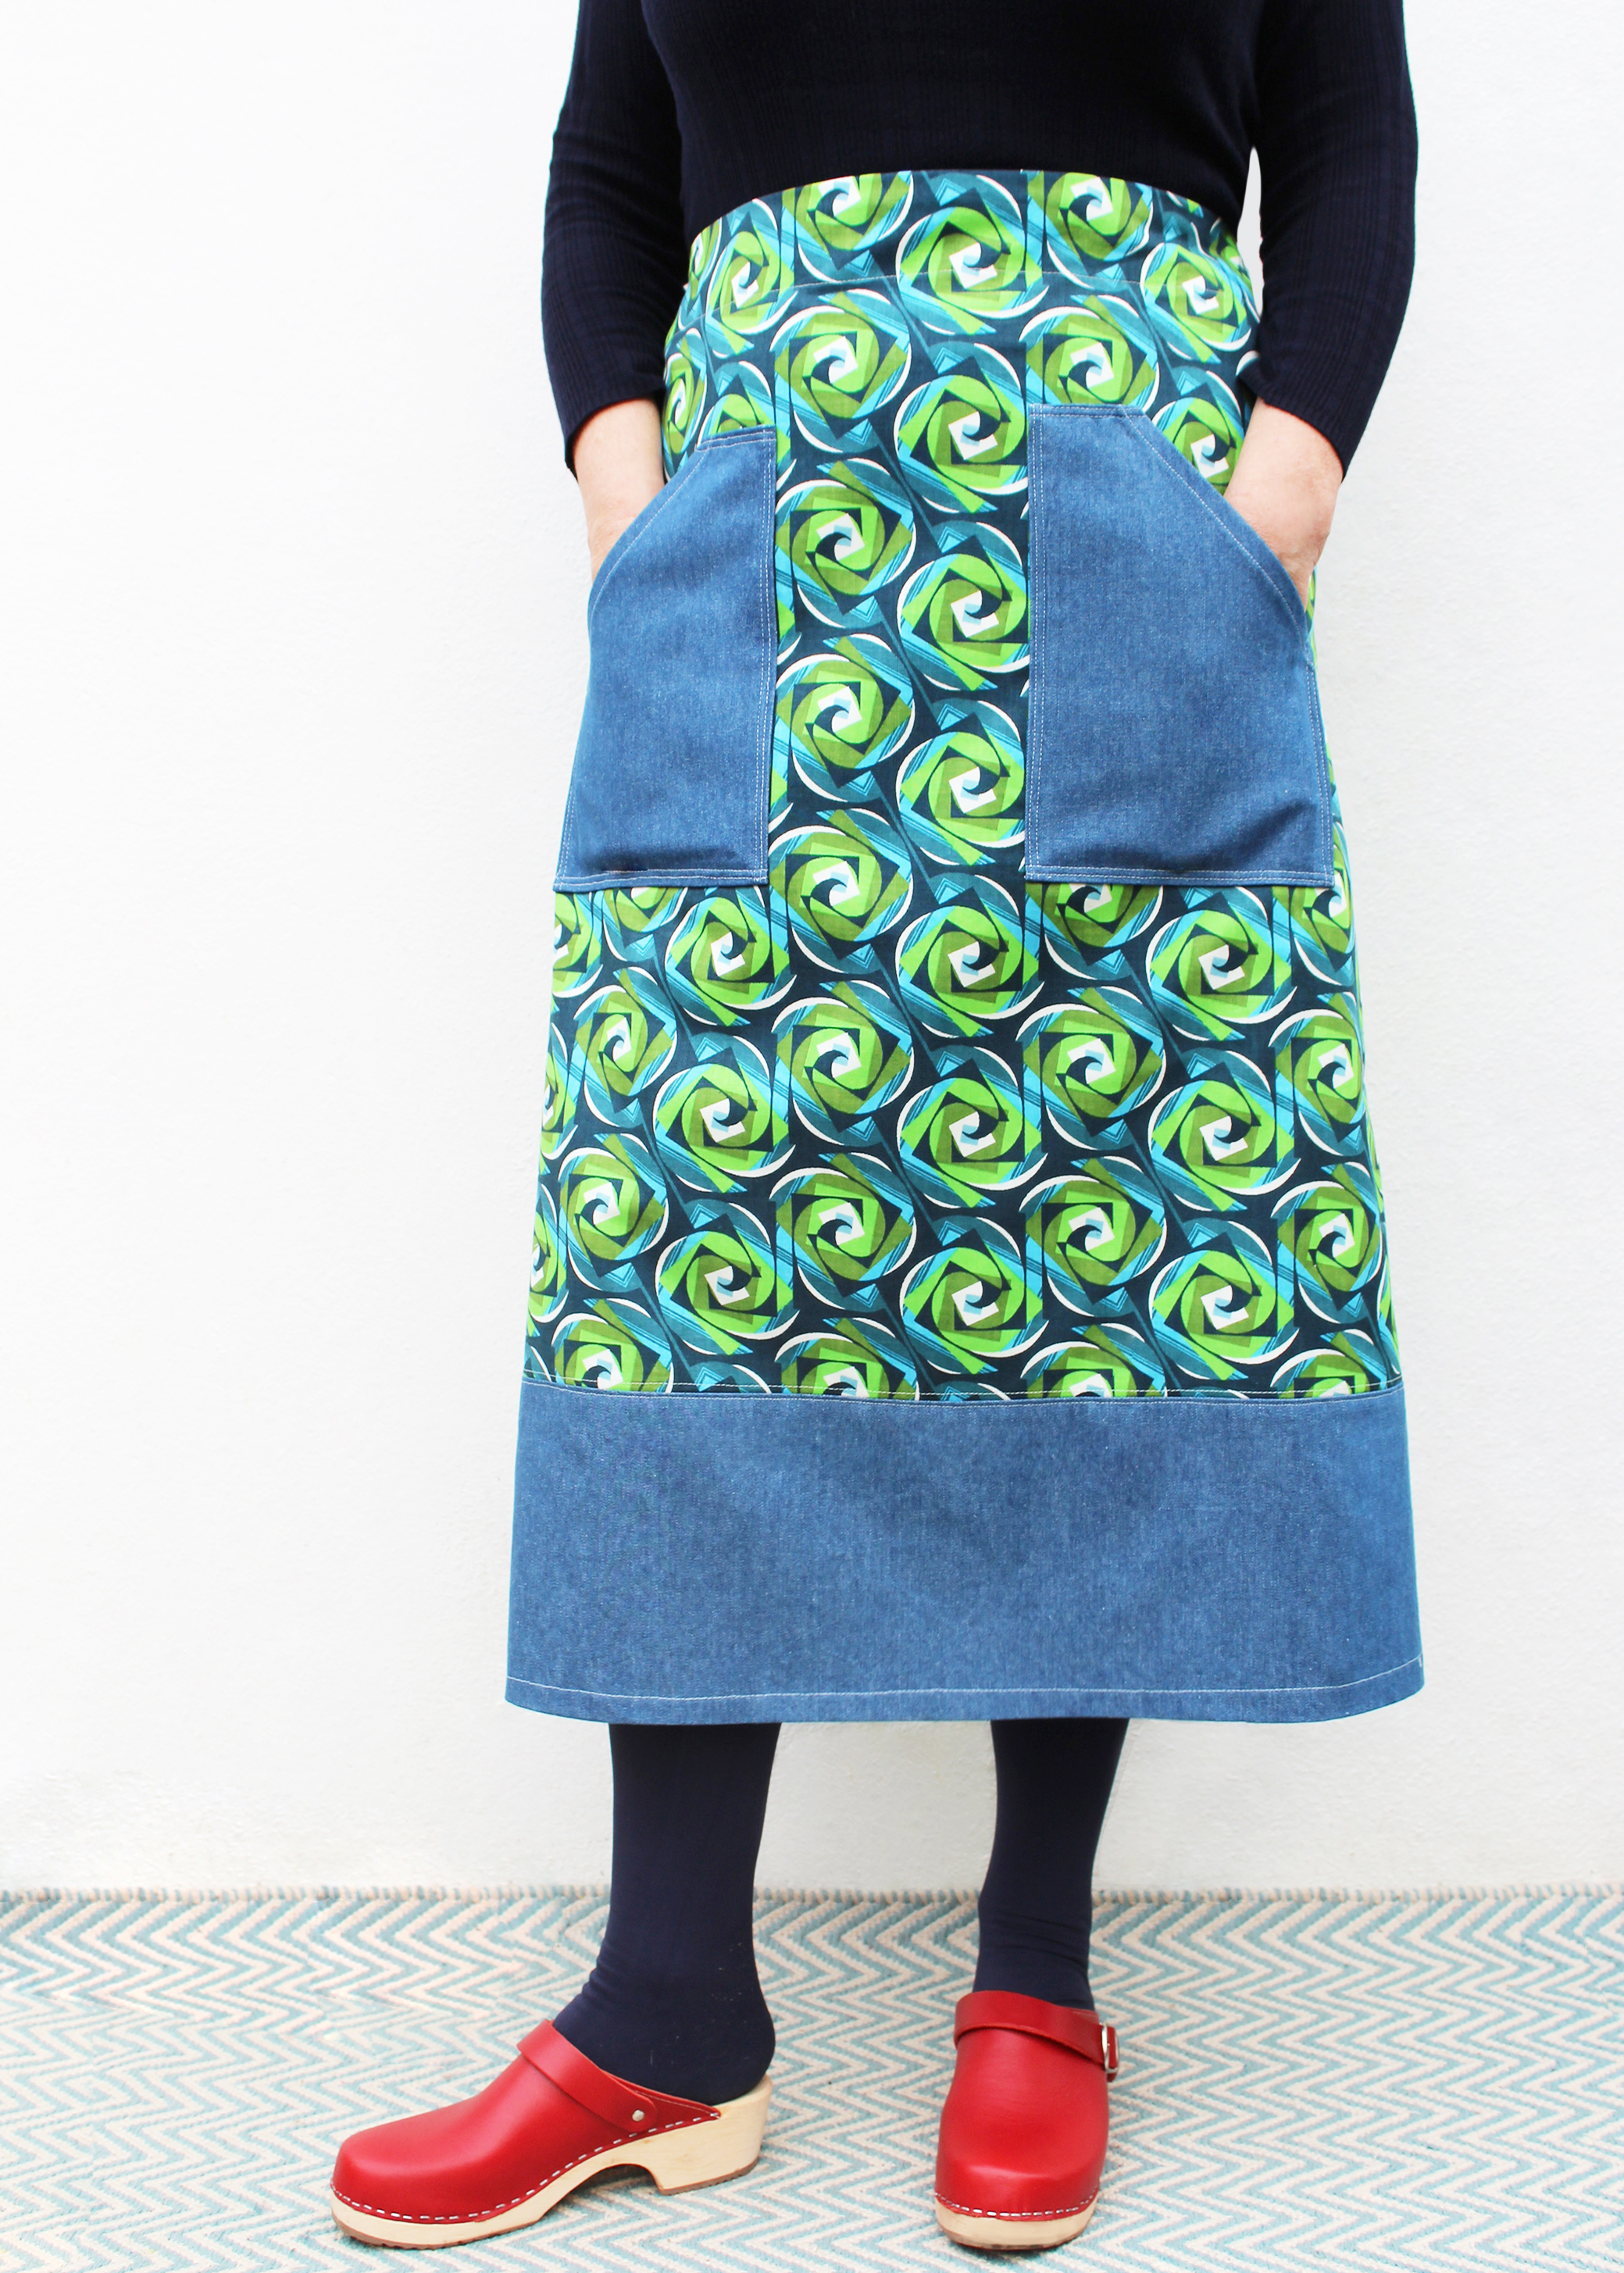
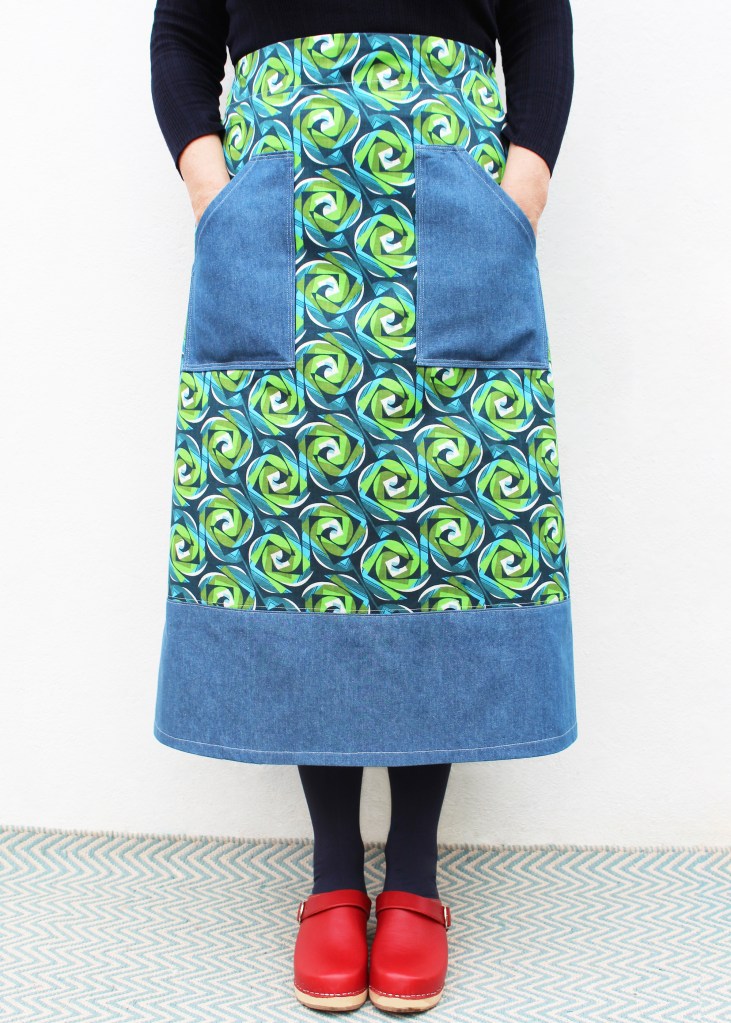
So this skirt was inspired by a one I made for myself that I literally wore out, I loved wearing it so much. It’s my go to skirt for knocking about everyday, working in, going out on my bike, walks, you name it.
And those pockets are just SO practical!
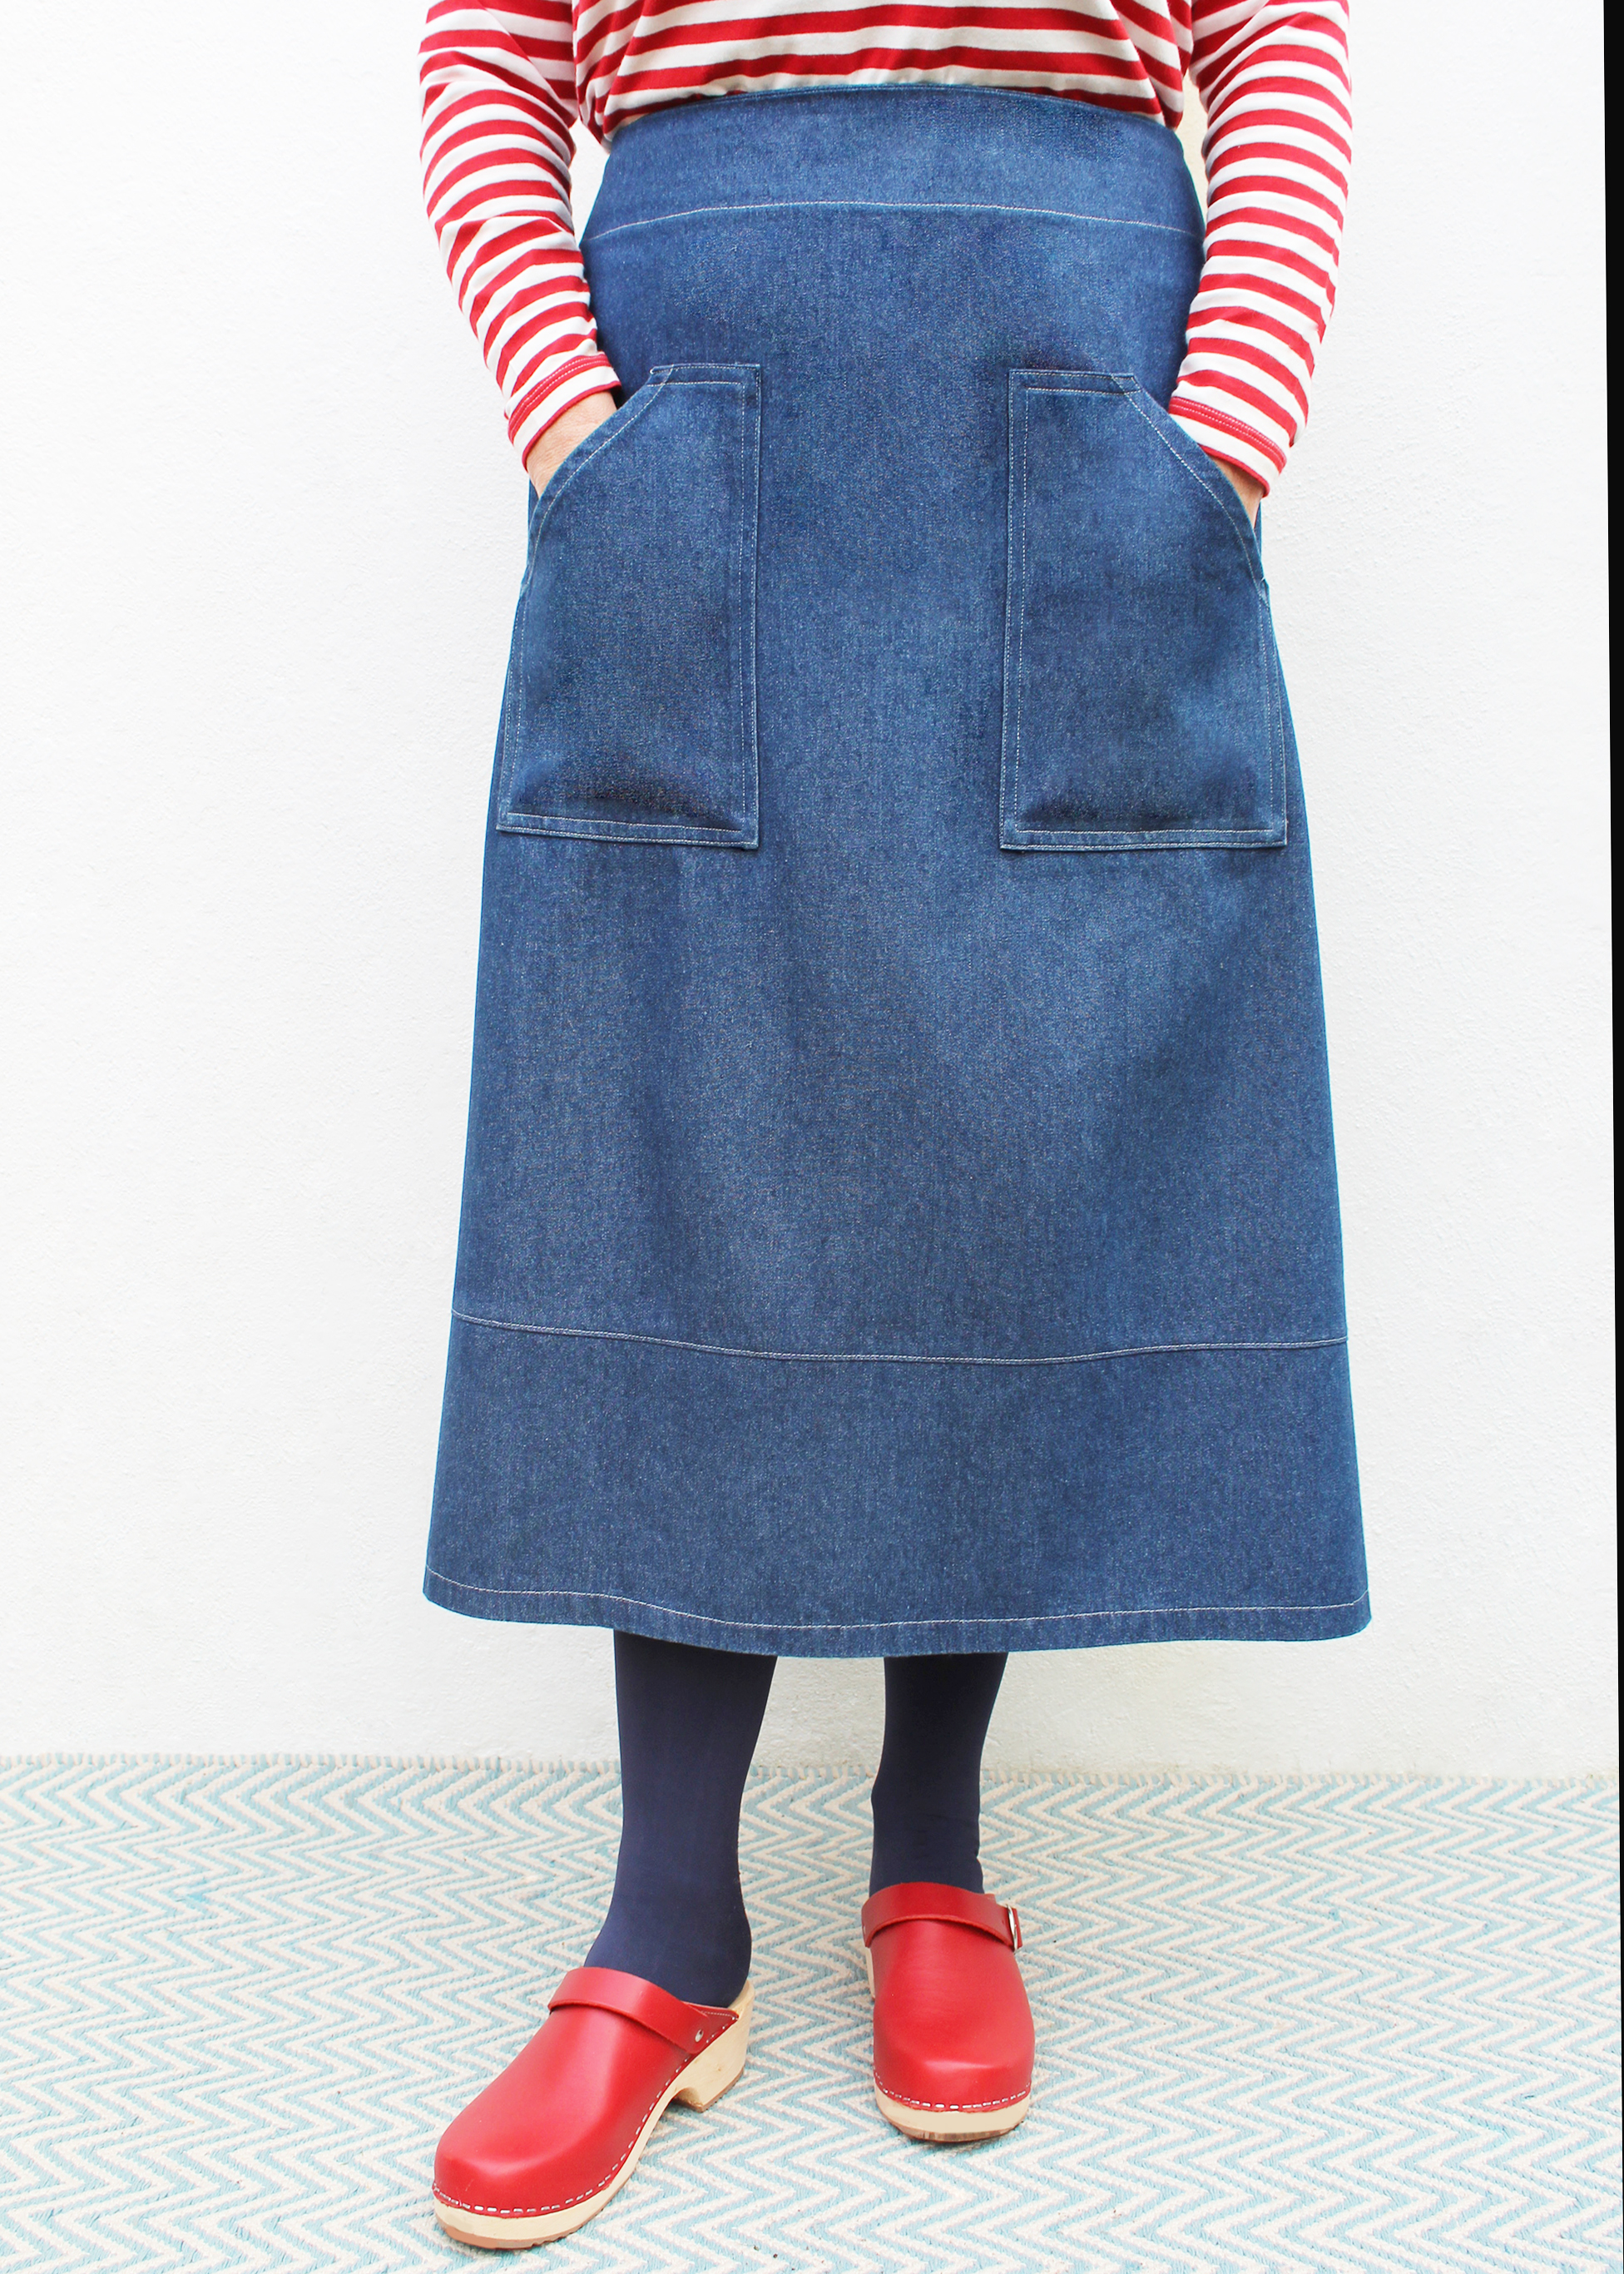
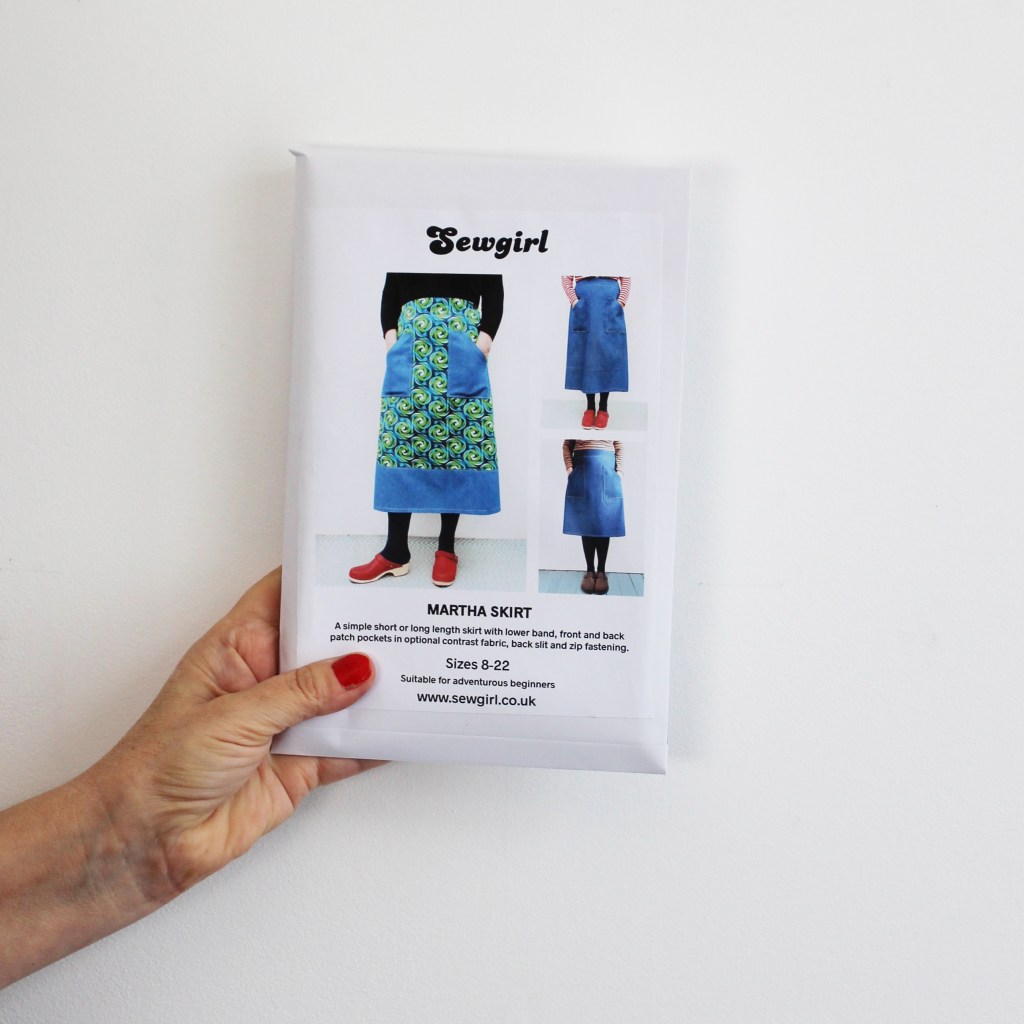
Martha Skirt is a great denim project or, as you can see from the pictures, perfect when using a dynamic printed cotton teamed up with a plain fabric for the band and pockets. This print is an african Wax print which (for those that know me) I’m a big fan of.
I find such pleasure choosing the colour to match the print. In my books, this is one of the things that makes sewing such fun. You are going to have a unique garment that you have created for yourself! What’s not to love!
So, if you have chosen to use two different fabrics, make sure to use similar weights, but if you. like me, want to use something a bit heavier for the band (i.e. 8oz denim) then just balance out the main fabric with some lightweight lining fabric like a cotton voile or maybe even some woven fusible interfacing. I just cut out another upper Front & Back skirt piece only, pin to the reverse side of the three pieces, stitch together all around at the sides, then continue as if its one piece of fabric.
Here is the info you need about sizing, finished garment measurements and fabric requirements….

You also need an 18cm (7″) zip and 20cm of medium/lightweight interfacing and a reel of thread.
Equipment: A zip foot machine attachment, poking tool. I like to use a tailors ham too but its not essential.

SEAM ALLOWANCE IS 1.5cm
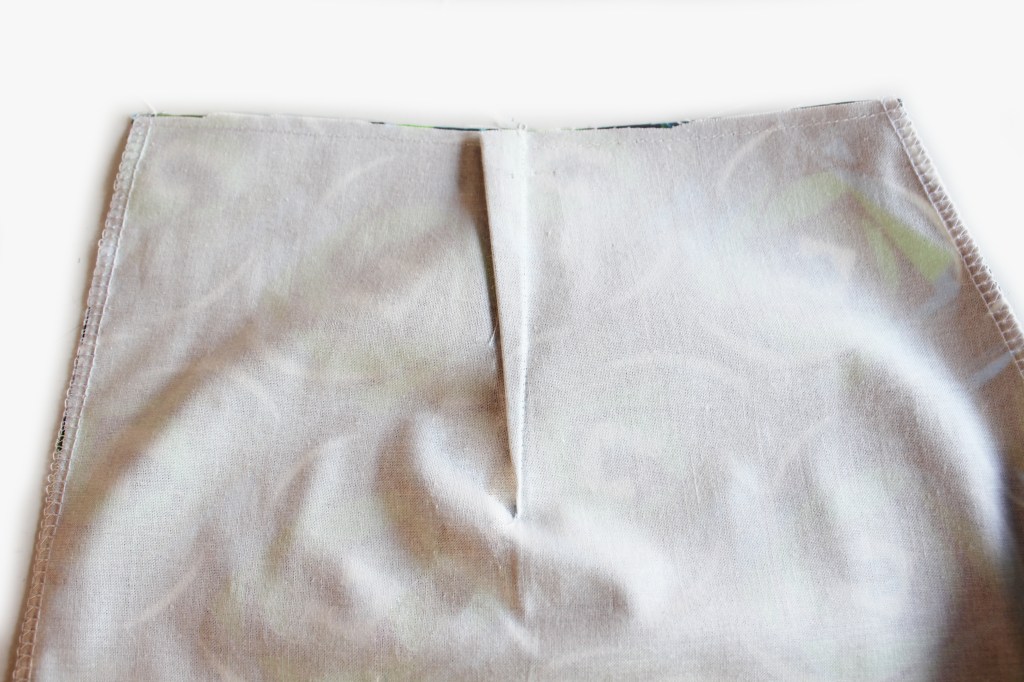
So, kicking off, Martha Skirt has two darts on the Back piece top edge.
DARTS
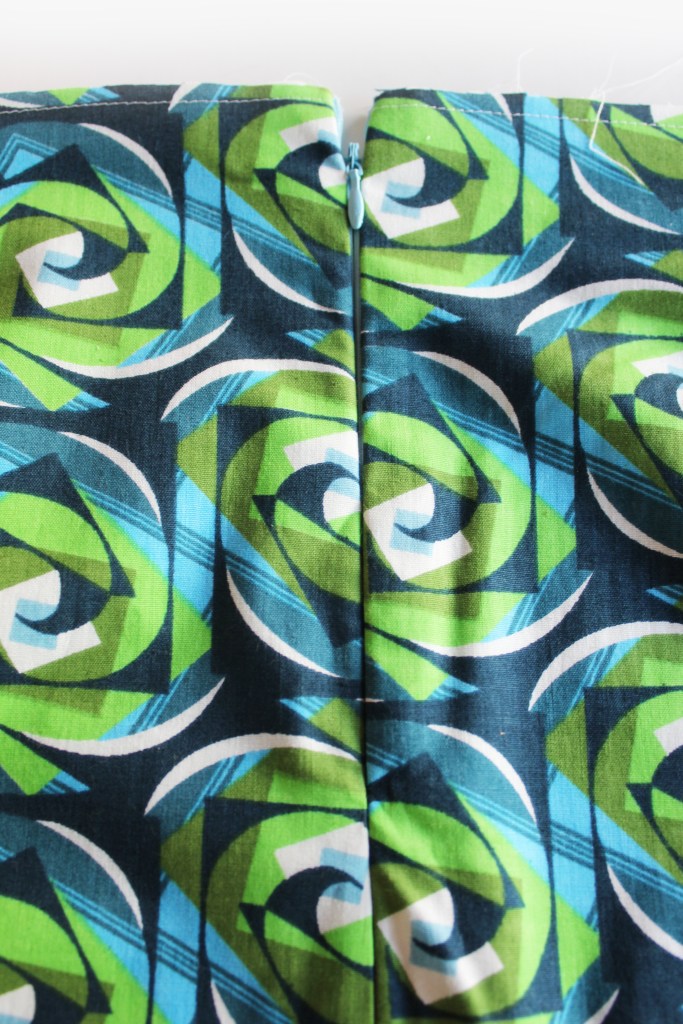
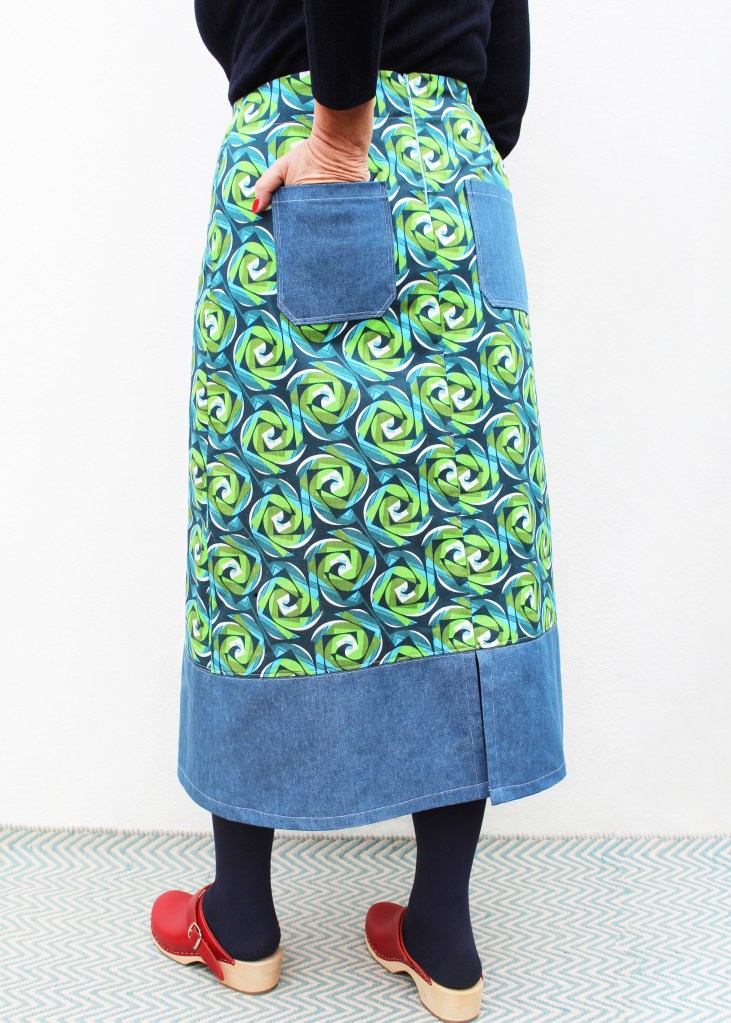
ALL ABOUT THE ZIP
Martha has a zip inserted into the back seam, so you will need to pop your zip foot on your machine. If you don’t have a zip foot you can always hand sew a zip into the back seam.

The pattern gives instructions about how to insert a ‘centred’ zip into the back seam, which I think is the simplest zip insertion of all, but you might prefer to use a ‘lapped’ zip technique or better still a concealed zip.
I have a separate blogpost called ‘How to insert a concealed zip’ which will show you how to do one, using just a standard zip foot attachment.
Inserting zips is not difficult when you know how. Once mastered your (sewing) life will be transformed and hopefully (like me) it will be the bit you look forward to the most (not kidding honest!).
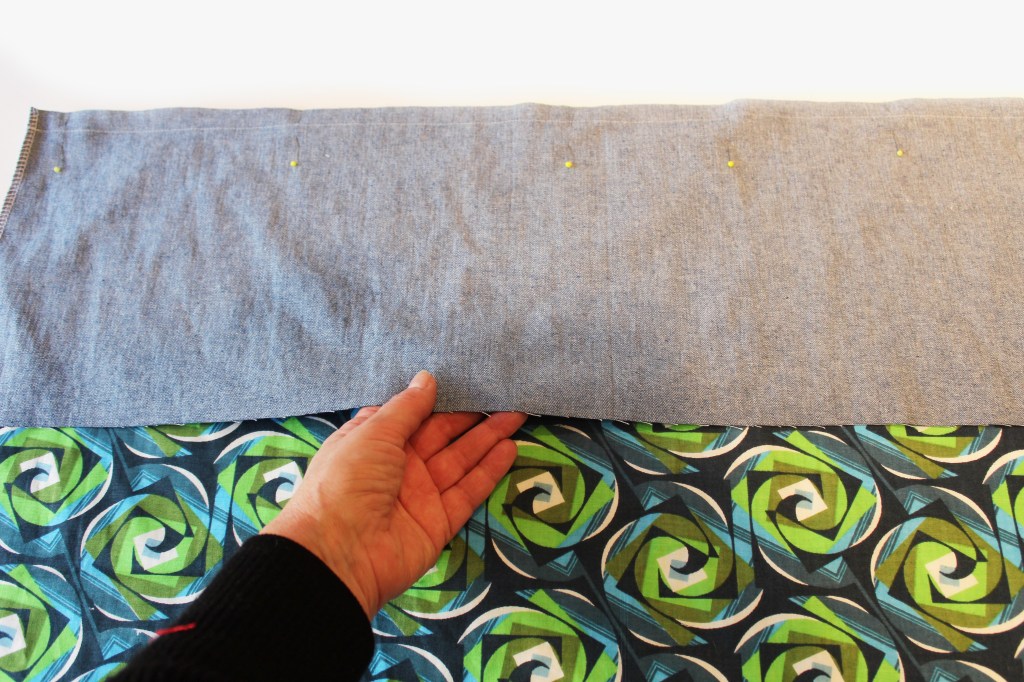
So, if you have chosen to add a lower band for the longer length version, either in contrast fabric or main fabric, you will need to first hem the Lower back band pieces at the side edges.
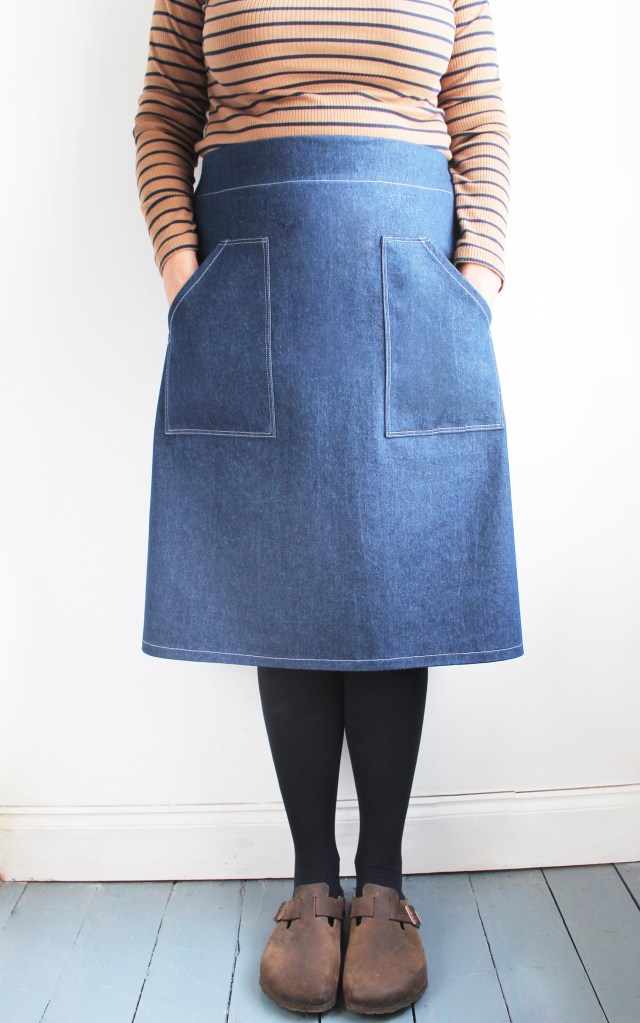
For the Short Skirt version continue to the Pocket section.
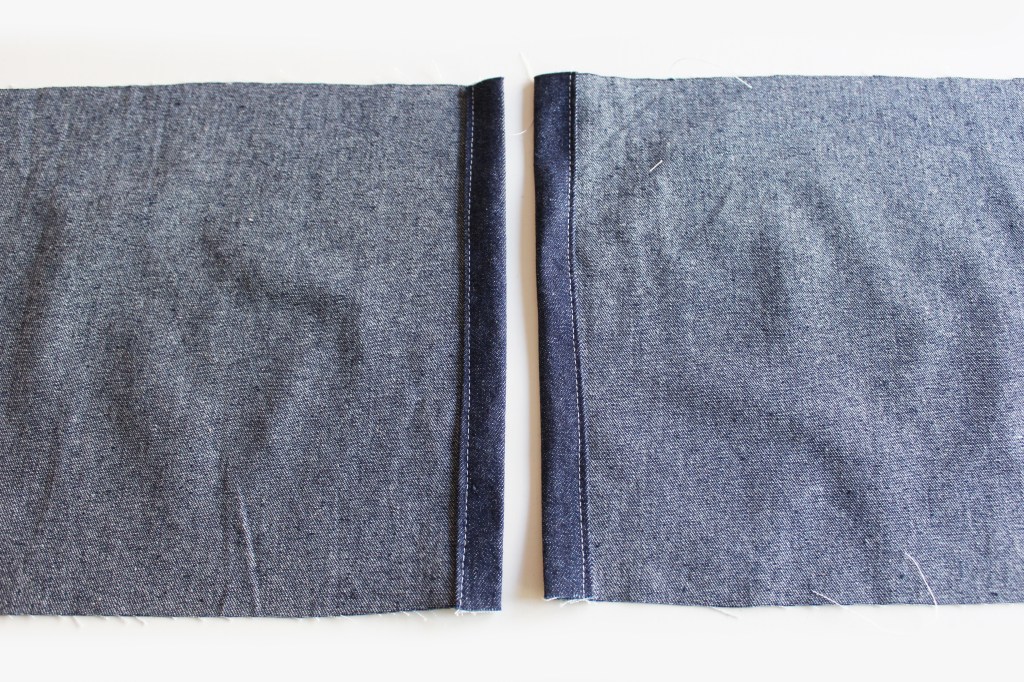
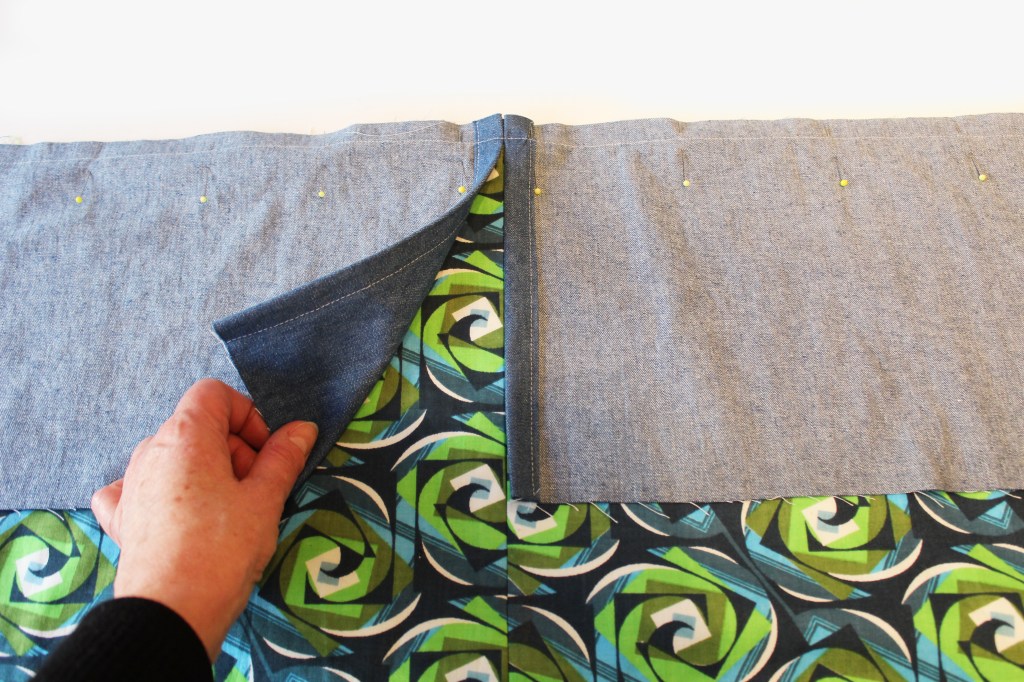
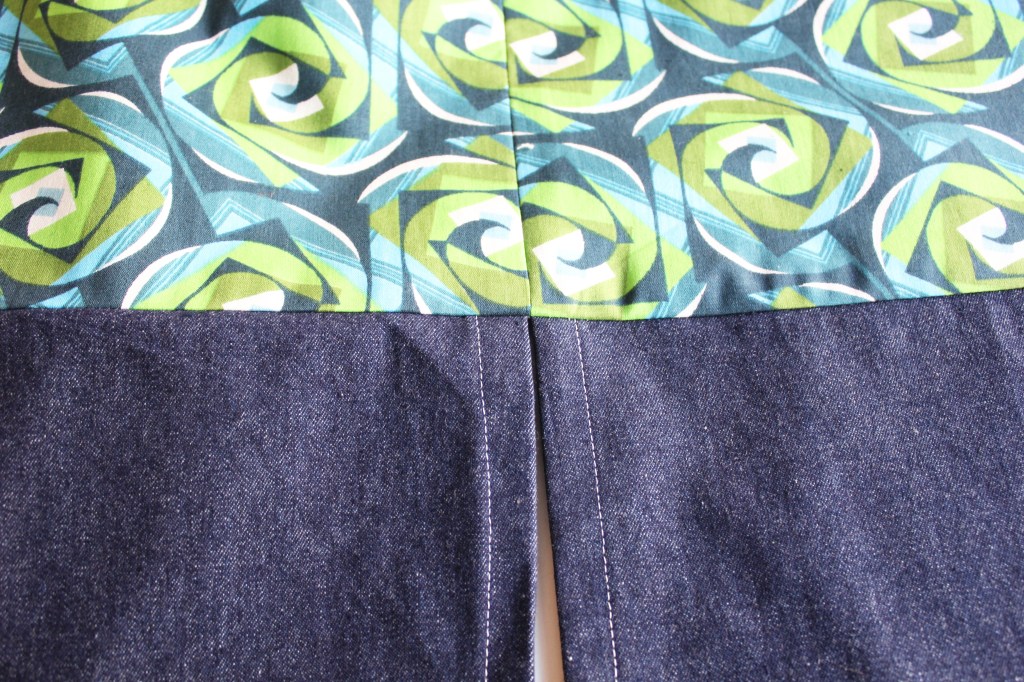
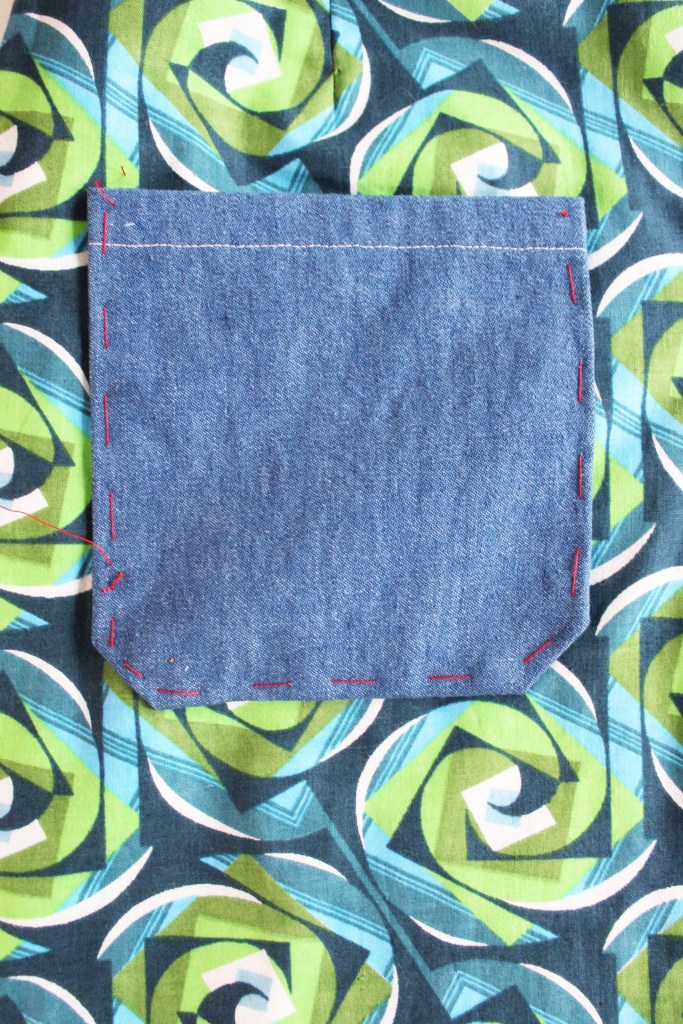
Topstitch the seams on the band side. Tip: use a contrast colour thread to enhance the stitching detail.
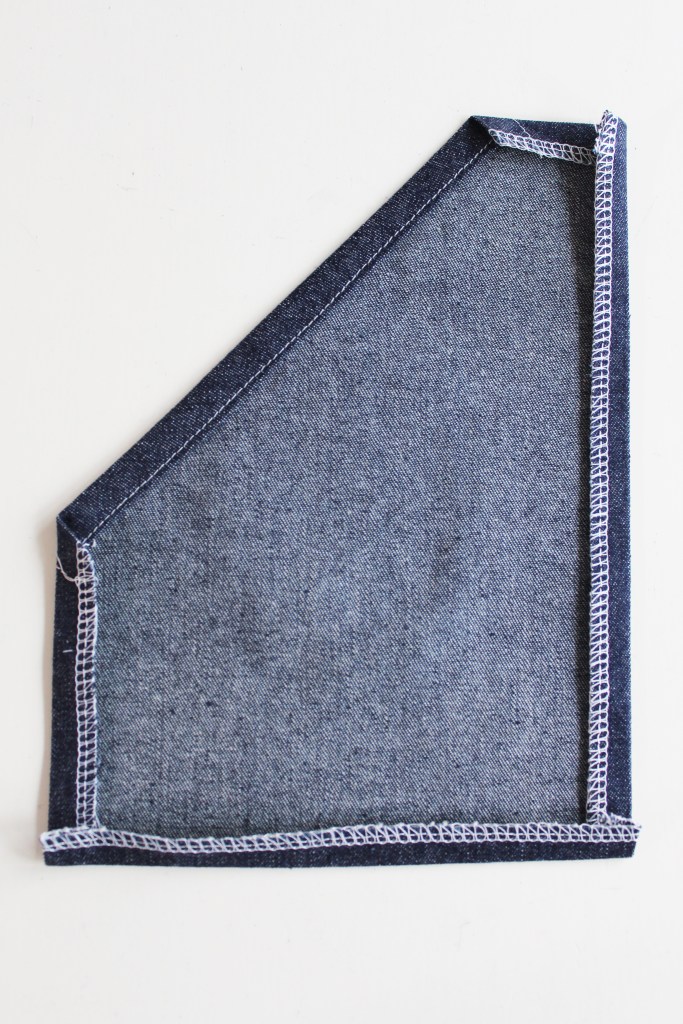
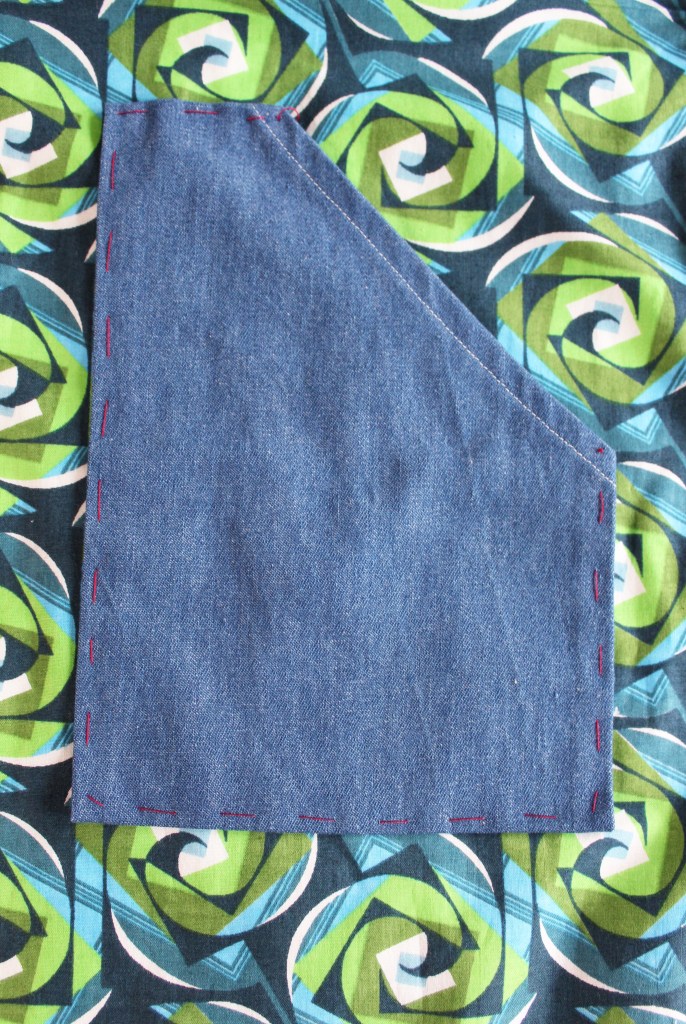
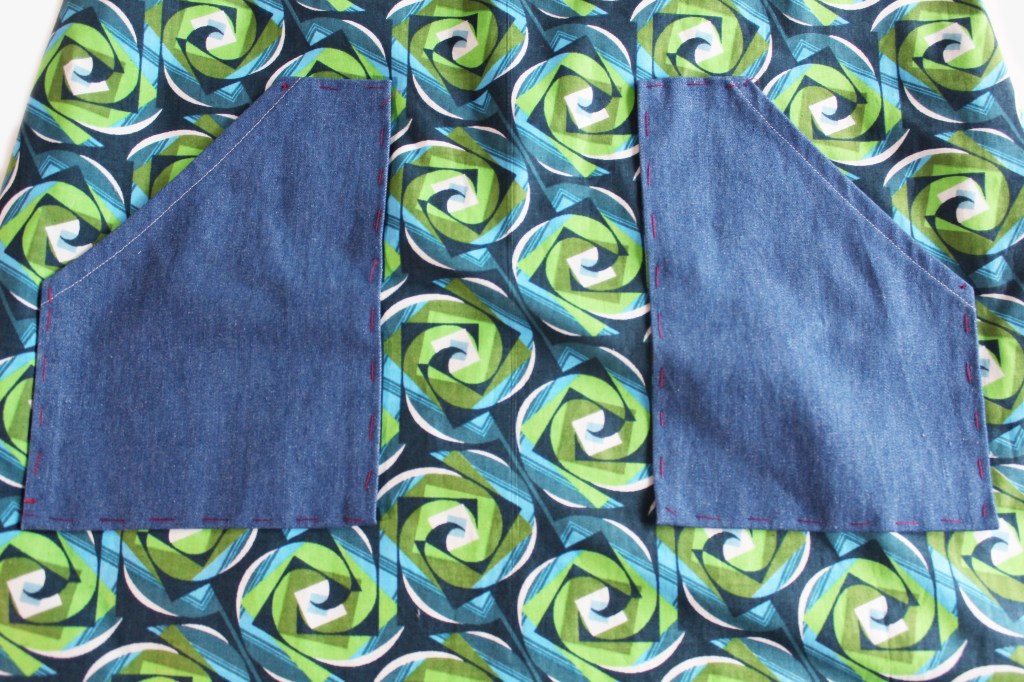
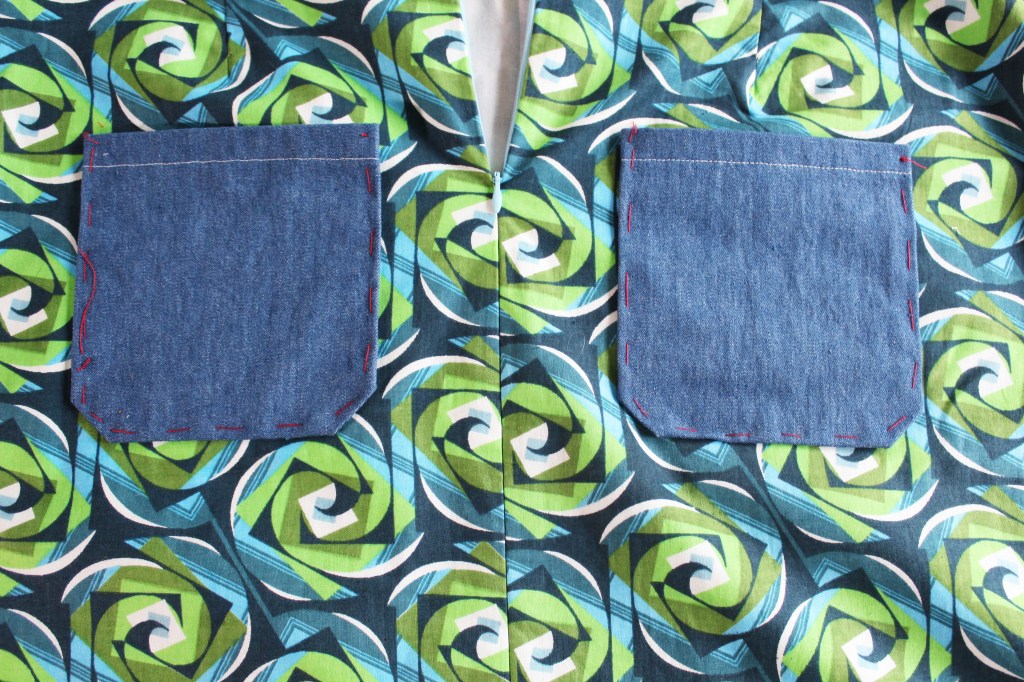
POCKETS
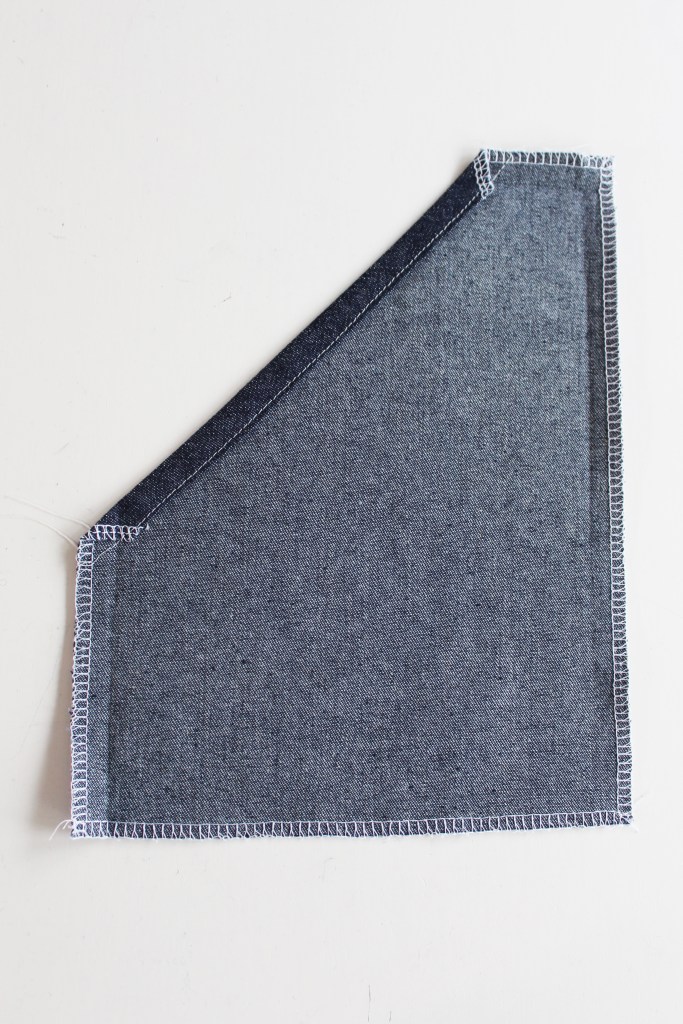
FACINGS
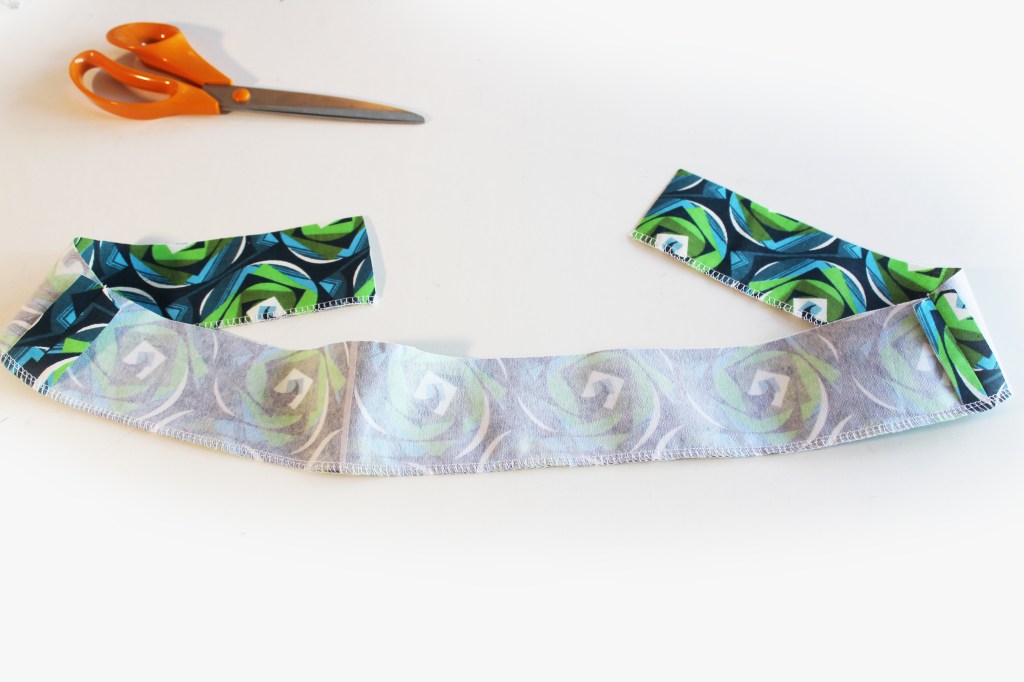
1.5cm overhanging at each far end.
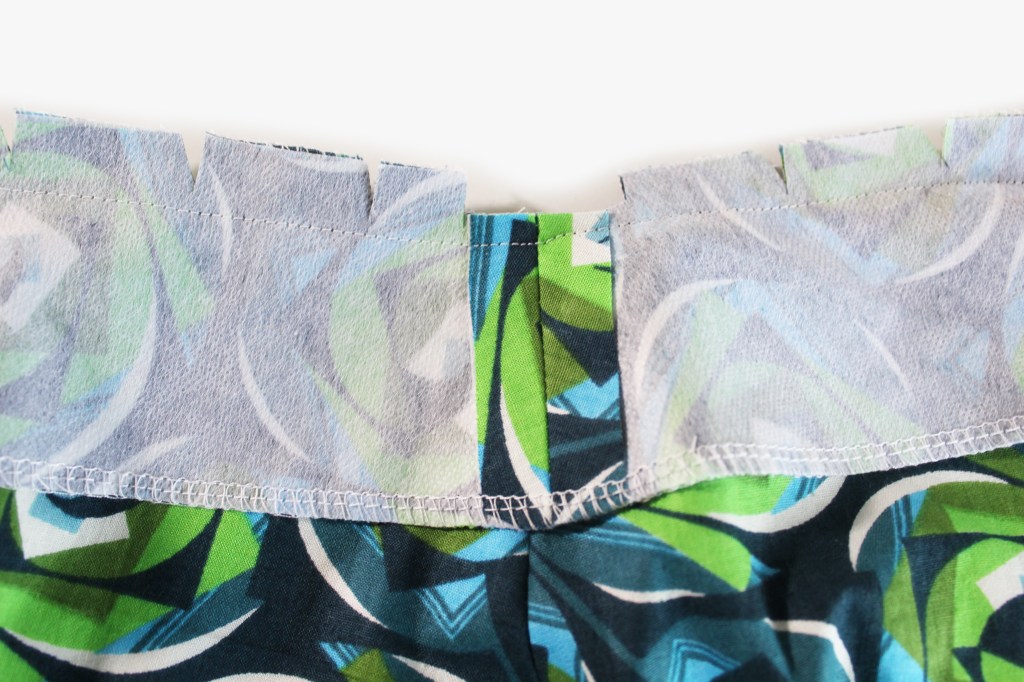

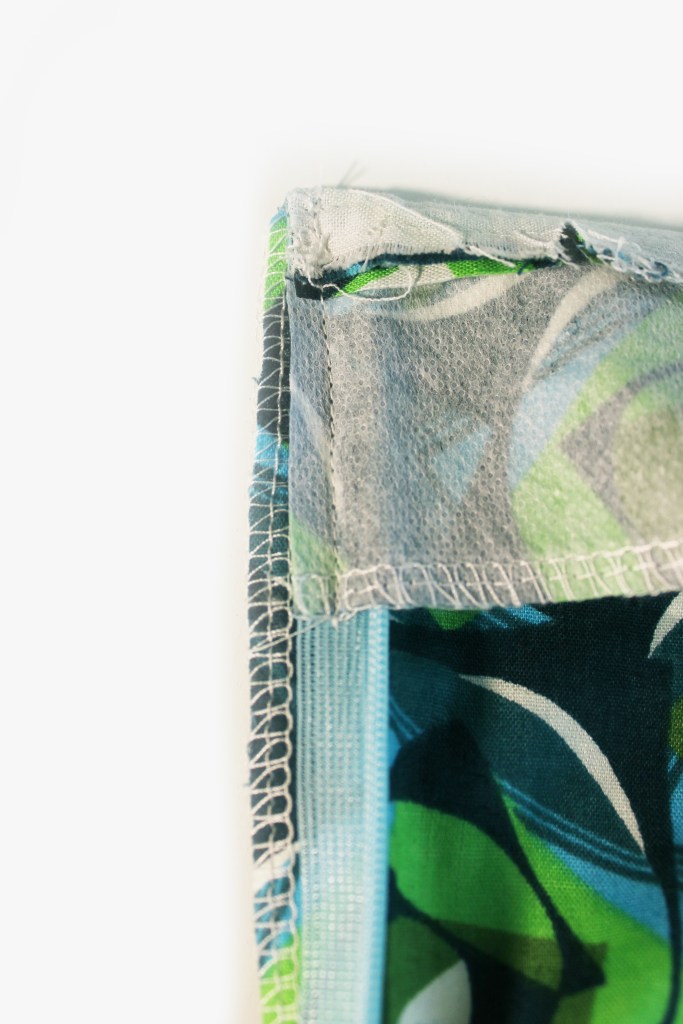
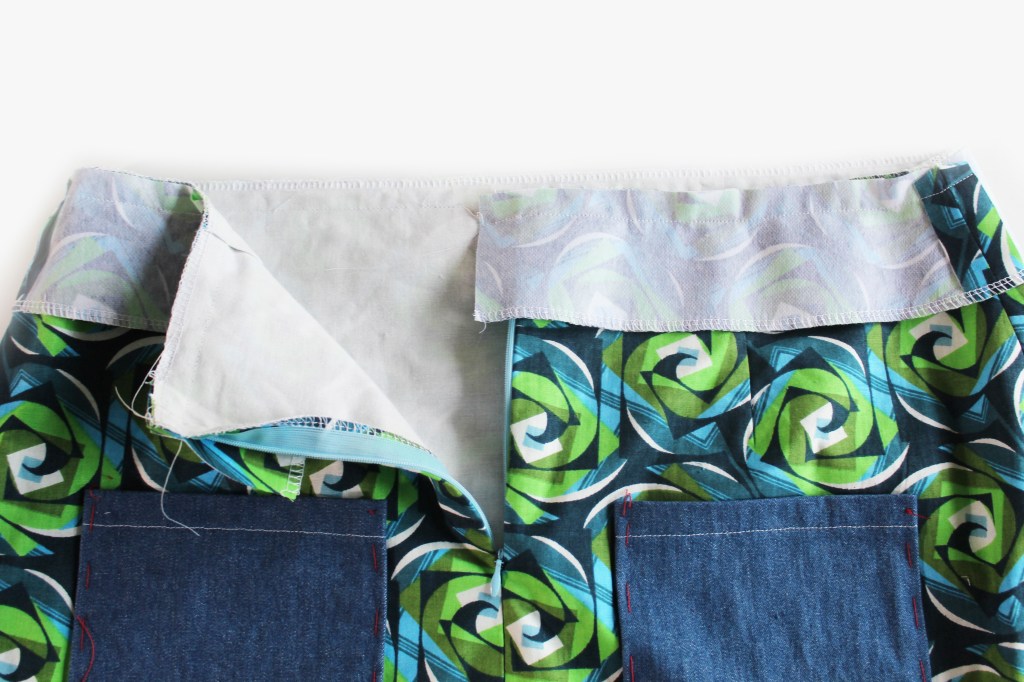
Fold the facing to the reverse side, pushing out the corners at the top of the zip.
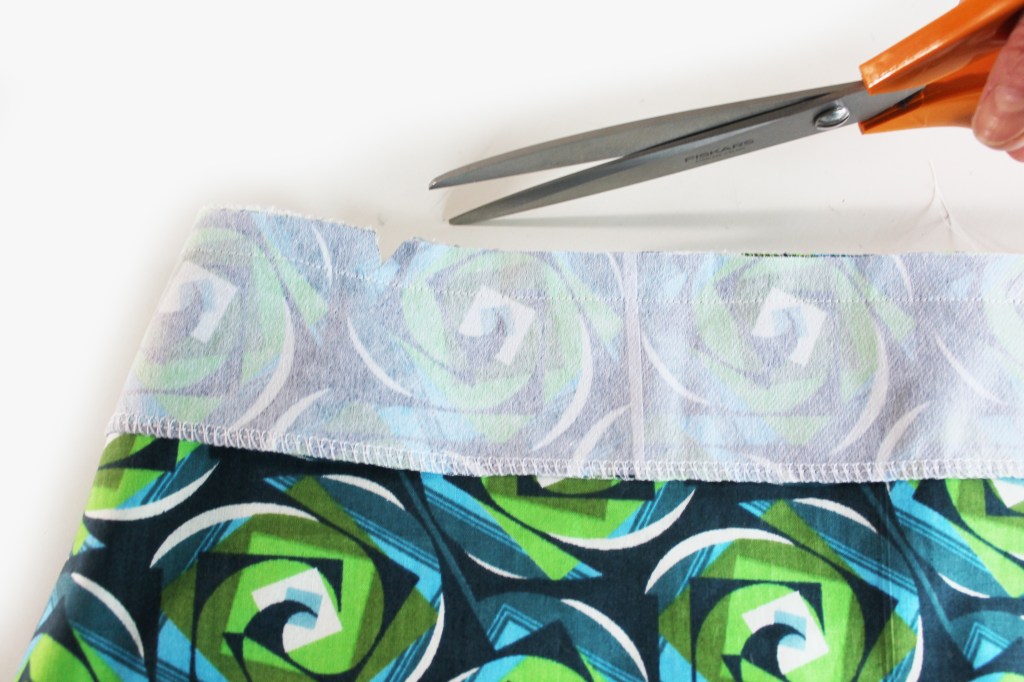
Pin the facing to secure it on the reverse side. Stitch the facing all around, close to the outer edge. Press.
Finally a bit of hemming on the lower edge of the skirt and bobs your uncle! There you have it!

All images are copyrighted by Fiona Hesford – Sewgirl.
Please do not copy or use any images without prior permission.
