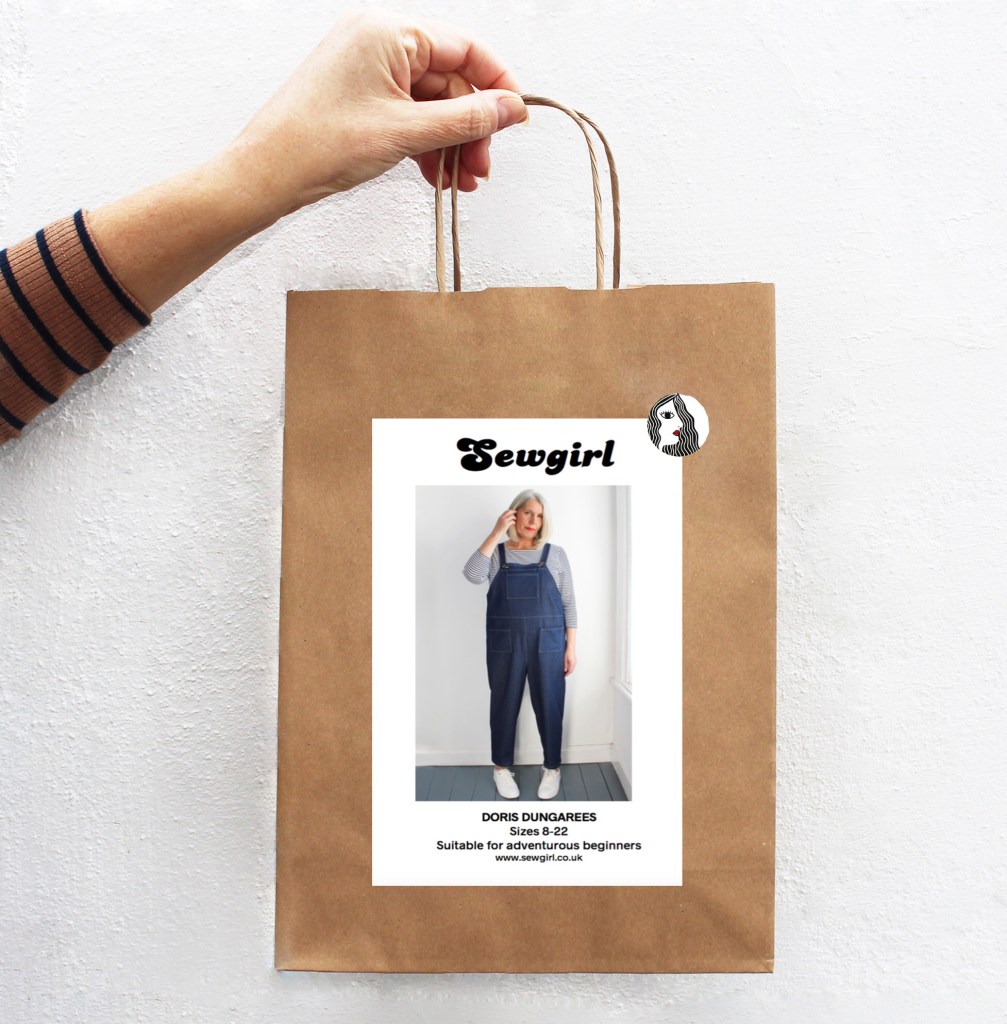
Hello Sarah
Many thanks for getting in touch, Im afraid I don’t have available as a hard copy pattern as such, however
I do have plans to make this pattern available as a PDF digital download in the near future if thats of interest.
I can let you know when it’s available to purchase.
Sorry I cant be of more help
Best regards
Fiona
Hello Louise – thanks for getting in touch. We will be working on bringing Milly back as soon as possible so if you subscribe to this blog you will be automatically notified when its published. Best regards Fiona at Sewgirl
Hello, I have your Joan Top sewing pattern which came from the Love Sewing magazine quite some time ago. I am wondering if the pattern includes and seam allowances and if so, how big are they. I do not have the magazine issue in my collection now so am unable to check for anything in the directions
Hi Sam- wow thats going back a bit!
I think its a 1cm seam allowance- here are some basic instructions which may help -All the best Fiona
Joan top by Sewgirl
A terry sweat top with long sleeves and shoulder button detail.
Material required:1.4m terry sweat fabric
6 x buttons (10mm)
Cutting guide
Front, Back- cut one each on the fold of the fabric.
Sleeves-cut two.
Front neck facing, Back neck facing- cut one each on the fold of the fabric
This is what you do
Neck facings and shoulder hems
1. Finish the raw outer edge only of the front and back neck facing pieces and the
shoulder edges.
2. Fold over 4cm at each front shoulder with the RST. Pin. Pic 1 With the RST, pin
the front neck facing to the front at the neck edge, overlapping the hem just
made. Pic 2
3. Sew around the neck edge. Trim the seam allowance to 5mm and across the
corners. Pic 3
4. Turn the facing to the WS, so the right side is outermost pushing out the corners
with a poking tool. Press. Pin the shoulder hems and facing all around,
aligning the seam-line to the fold. Hand tack. Sew across the shoulder hem,
then with the WS facing up, sew around the facing close to the outer edge.
5. Repeat for the back piece shoulder hems same as the front with a 1cm shoulder
hem.
6. With the RS facing up on both sides, place the front shoulder hems on top of the
back shoulder hems aligning the edges at the sides and hem edges. Pin to
hold. Machine tack stitch the raw side edges together.
7. With the RST, sew the front to back at the lower side edges below the armholes.
Finish the raw edges. Press.
Sleeves
8. Finish the sleeve at the cuff edges. Fold the sleeve piece RST aligning the raw
straight side edges. Pin. Sew. Finish the raw edge. Press. Repeat for the other
sleeve. Pic 4
9. With the sleeve RS outermost, pin to the body at the armhole, aligning the back
sections as indicated on the template. Hand tack stitch. Sew. Finish the raw
edge. Press. Repeat with the other sleeve piece. Pic 5
10. Fold, press and pin a 2cm single fold hem at the cuff edge. Stitch.
11. Finish the raw lower edge of the front and back. Make a 2cm single fold hem
as before. Pic 6
Sew on three buttons on each shoulder hem each side approx. 25mm apart to
secure the shoulder hem together. Pic 7
LikeLike
Do you sell the milky dress pattern? Craftworld.com keeps taking me to your site for the pattern, it’s an empire line dress pattern
LikeLike
Hello Sarah
Many thanks for getting in touch, Im afraid I don’t have available as a hard copy pattern as such, however
I do have plans to make this pattern available as a PDF digital download in the near future if thats of interest.
I can let you know when it’s available to purchase.
Sorry I cant be of more help
Best regards
Fiona
LikeLike
Pdf pattern would be awesome – I really liked the design, thank you
LikeLike
I’d really like the Milly dress pattern too same as above was directed from craftworld
LikeLike
Hello Louise – thanks for getting in touch. We will be working on bringing Milly back as soon as possible so if you subscribe to this blog you will be automatically notified when its published. Best regards Fiona at Sewgirl
LikeLike
Hello, I have your Joan Top sewing pattern which came from the Love Sewing magazine quite some time ago. I am wondering if the pattern includes and seam allowances and if so, how big are they. I do not have the magazine issue in my collection now so am unable to check for anything in the directions
LikeLike
Hi Sam- wow thats going back a bit!
I think its a 1cm seam allowance- here are some basic instructions which may help -All the best Fiona
Joan top by Sewgirl
A terry sweat top with long sleeves and shoulder button detail.
Material required:1.4m terry sweat fabric
6 x buttons (10mm)
Cutting guide
Front, Back- cut one each on the fold of the fabric.
Sleeves-cut two.
Front neck facing, Back neck facing- cut one each on the fold of the fabric
This is what you do
Neck facings and shoulder hems
1. Finish the raw outer edge only of the front and back neck facing pieces and the
shoulder edges.
2. Fold over 4cm at each front shoulder with the RST. Pin. Pic 1 With the RST, pin
the front neck facing to the front at the neck edge, overlapping the hem just
made. Pic 2
3. Sew around the neck edge. Trim the seam allowance to 5mm and across the
corners. Pic 3
4. Turn the facing to the WS, so the right side is outermost pushing out the corners
with a poking tool. Press. Pin the shoulder hems and facing all around,
aligning the seam-line to the fold. Hand tack. Sew across the shoulder hem,
then with the WS facing up, sew around the facing close to the outer edge.
5. Repeat for the back piece shoulder hems same as the front with a 1cm shoulder
hem.
6. With the RS facing up on both sides, place the front shoulder hems on top of the
back shoulder hems aligning the edges at the sides and hem edges. Pin to
hold. Machine tack stitch the raw side edges together.
7. With the RST, sew the front to back at the lower side edges below the armholes.
Finish the raw edges. Press.
Sleeves
8. Finish the sleeve at the cuff edges. Fold the sleeve piece RST aligning the raw
straight side edges. Pin. Sew. Finish the raw edge. Press. Repeat for the other
sleeve. Pic 4
9. With the sleeve RS outermost, pin to the body at the armhole, aligning the back
sections as indicated on the template. Hand tack stitch. Sew. Finish the raw
edge. Press. Repeat with the other sleeve piece. Pic 5
10. Fold, press and pin a 2cm single fold hem at the cuff edge. Stitch.
11. Finish the raw lower edge of the front and back. Make a 2cm single fold hem
as before. Pic 6
Sew on three buttons on each shoulder hem each side approx. 25mm apart to
secure the shoulder hem together. Pic 7
LikeLike