

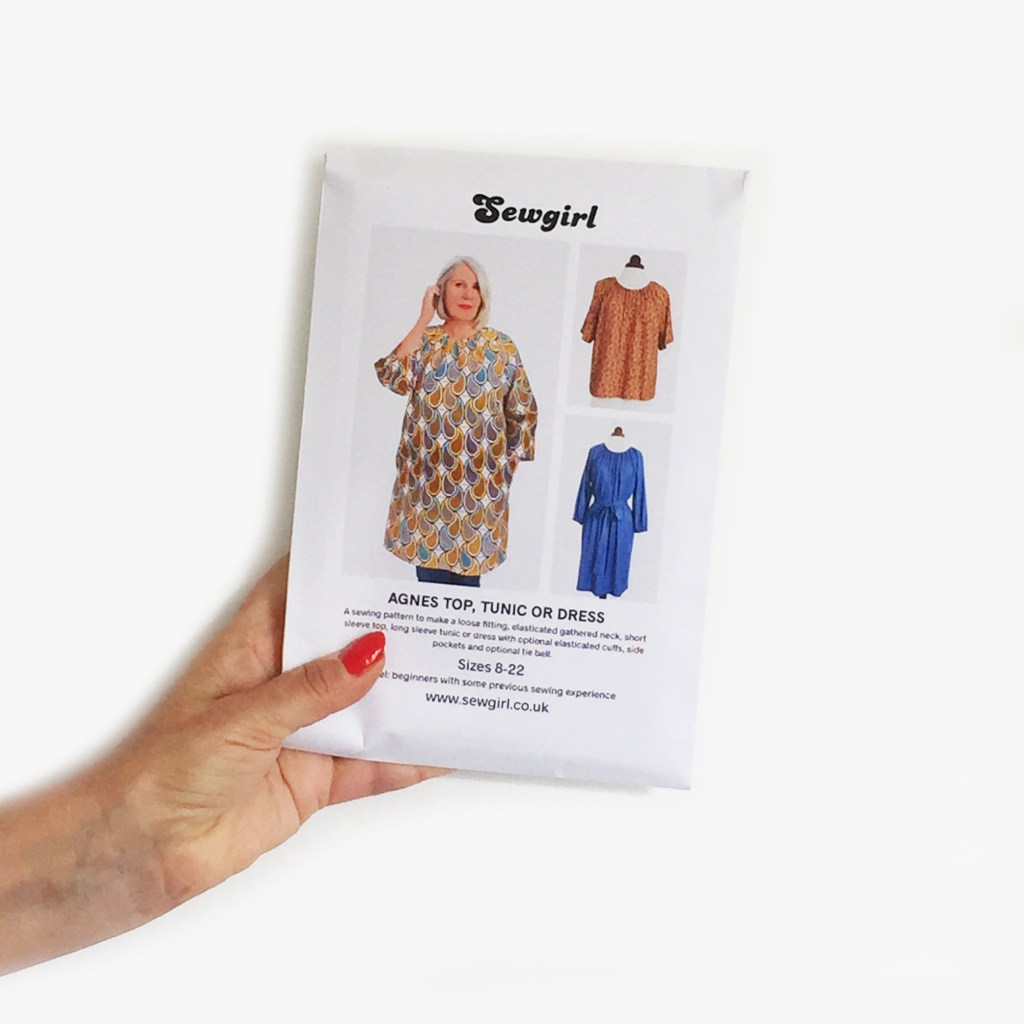
May I present Agnes? Another fabulous dressmaking pattern from the House of Sewgirl (fanfare please!).
This is a wonderfully simple, yet versatile sewing pattern, to make a top, tunic or dress which can be made in a variety of fabrics and style options, in sizes UK 8 to 22.
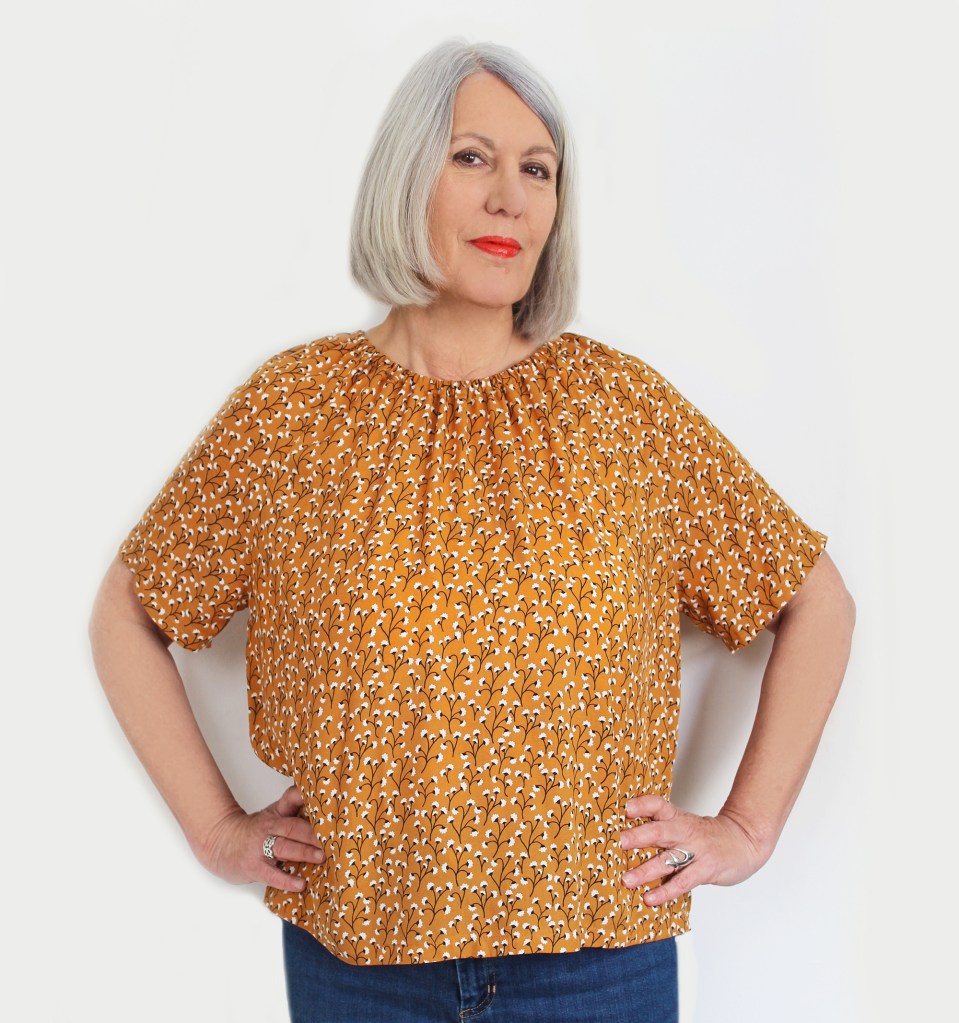
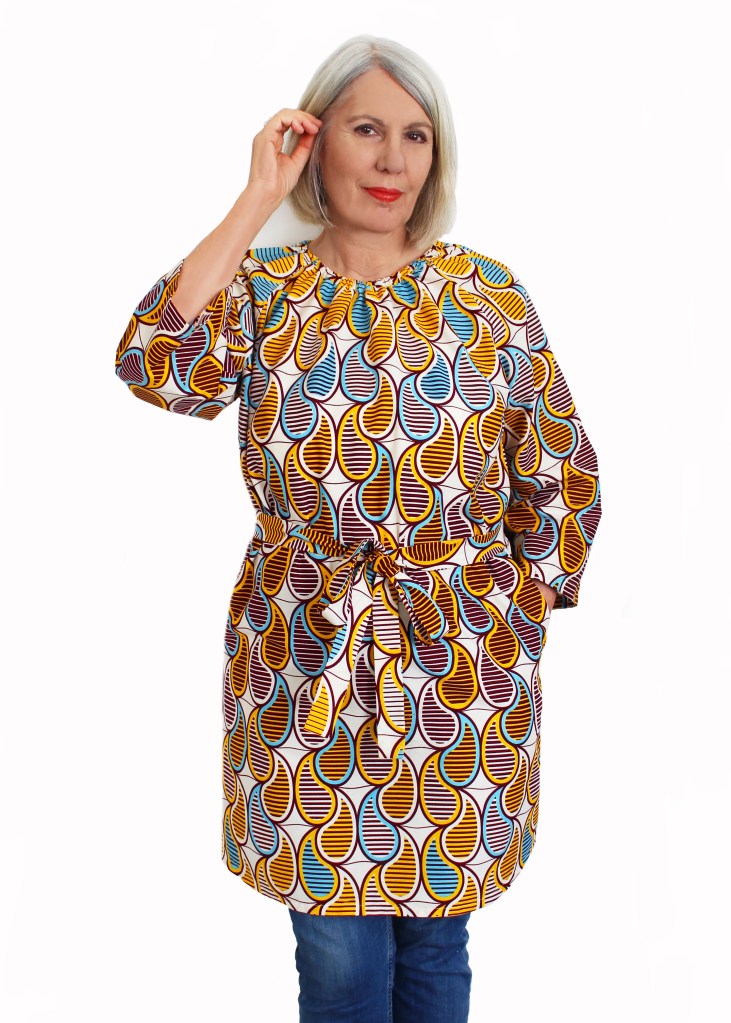
Agnes has a gathered elasticated neckline which you can adjust to suit you, with easy insert raglan style sleeves and a loose fit, so it’s extremely comfortable and flattering to wear. I imagine this would be an ideal holiday item of clothing, however its also great for everyday wear too.
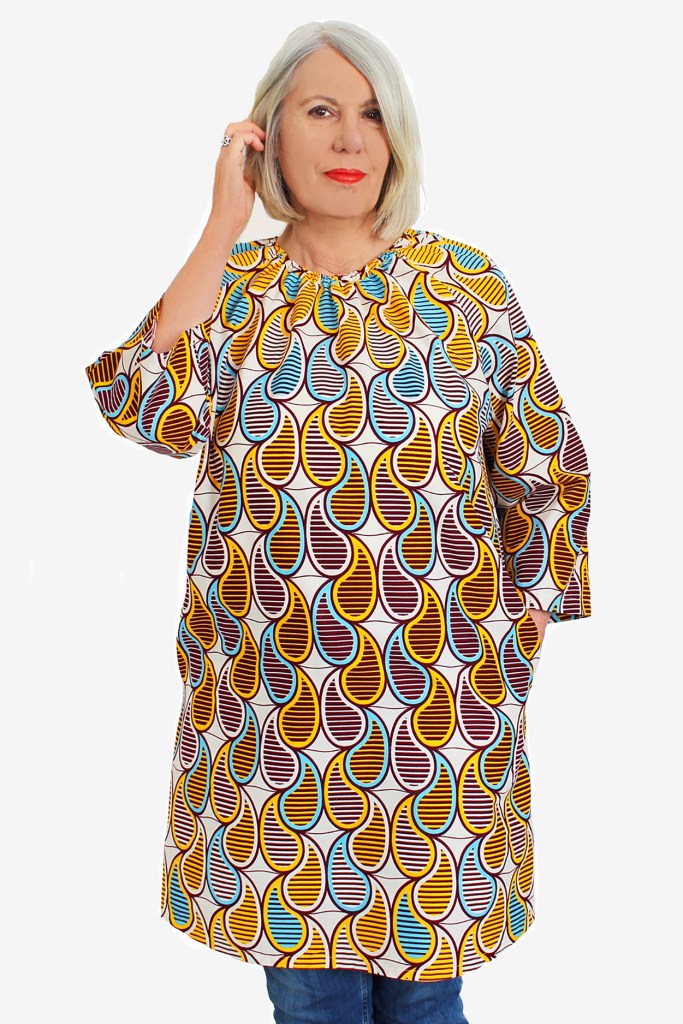
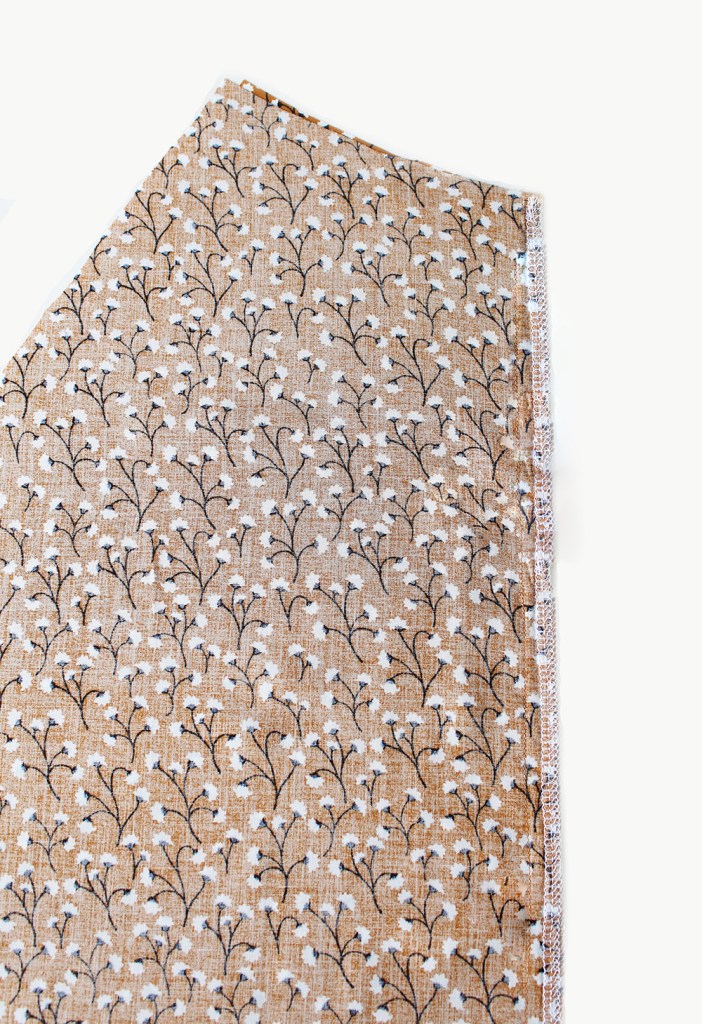
The dress (Version C-with an optional tie belt) can be made to look very chic, depending on the fabric you choose. I made the blue version in a linen/viscose stretch fabric, it also works well with medium or lightweight cotton, viscose fabric (see the Top Version A pic), lightweight linen or denim chambray.
Agnes top is great worn with jeans and the tunic with jeggings is also a winning team, or if you want a cool summer look, pop on the tunic dress with tights or bare legs and a pair of sandals and off you go.
Agnes has two lengths of sleeves which allow you to mix and match with each style. The long sleeves can be made with elasticated cuffs or left just hemmed. The tunic (Version B) has side pockets which you could also have on the dress if preferred.
Here is some info about sizes, finished garment measurements and fabric requirements.
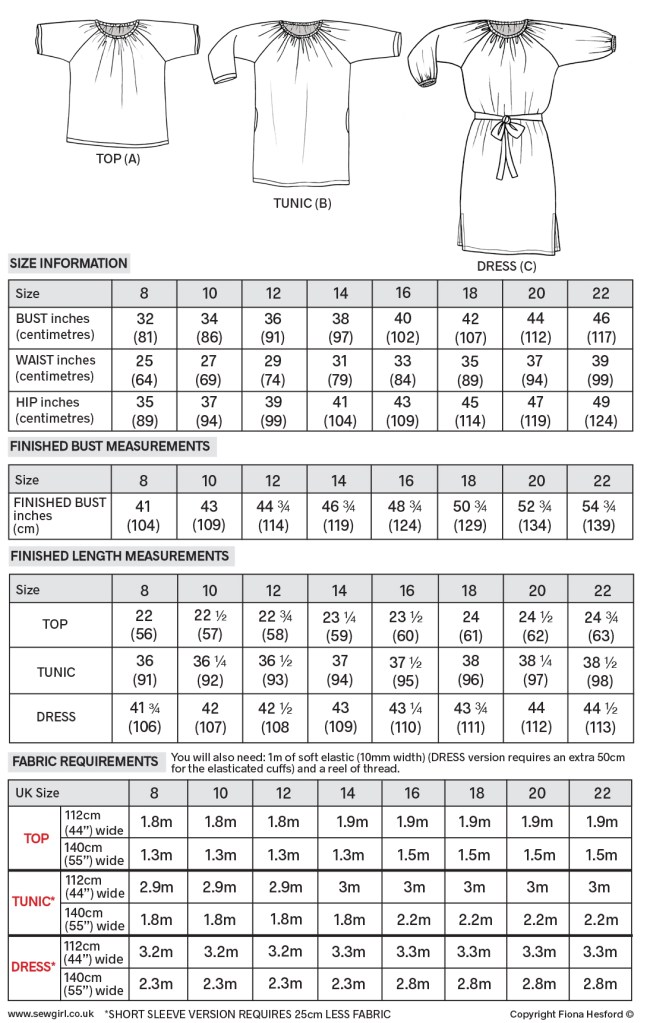
PLEASE NOTE: that if you are making a Dress version with fabric 140cm wide and don’t mind having a back seam on your Tie belt, then you can save at least 50cm on the fabric requirements by cutting two belt pieces across the width of the fabric following the 140cm wide Layplan. Join the Tie belt pieces together at the short edges to make one long piece.
So maybe you might like to know where the name Agnes came from?…. weeelllll……… when I lived in Paris (back with the age of the dinosaurs ha ha!), there was a French fashion designer called Agnes B. She hit the French fashion world, changing it forever. We all fell in love with her simple understated, yet very Parisian chic style. She became one of my fashion heroines. I loved the name so much that I gave it to my daughter as her middle name. And now Agnes has joined the Sewgirl family.
THIS IS HOW AGNES IS MADE
The seam allowance is 1.5cm (5/8″).
Please note the pattern also states a 1cm (3/8″) seam allowance but this is not correct.
POCKETS (Tunic B version)
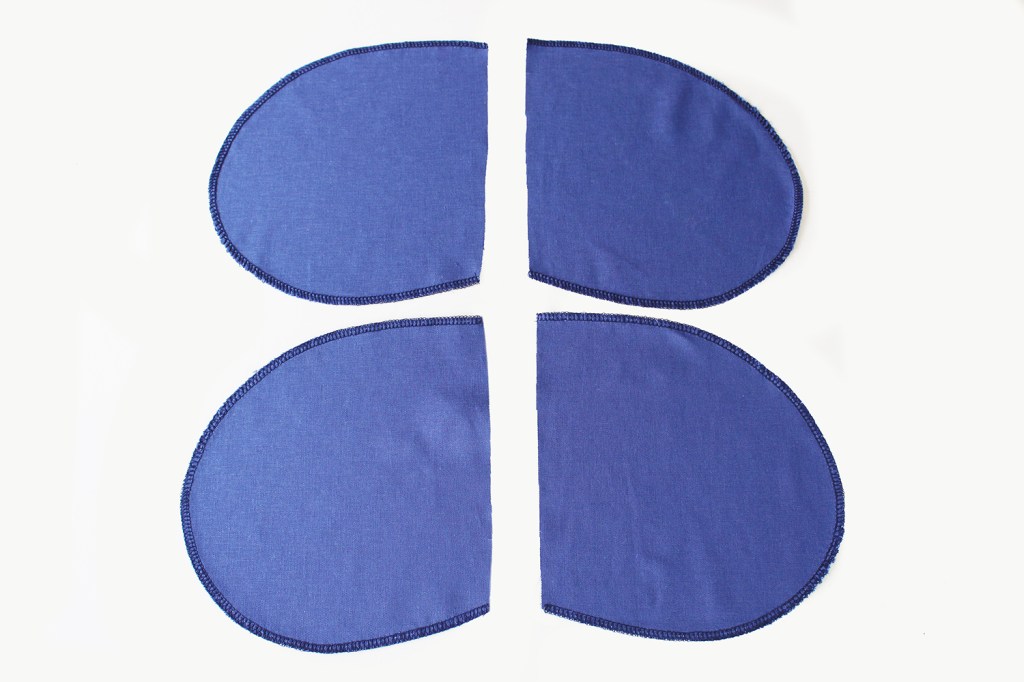
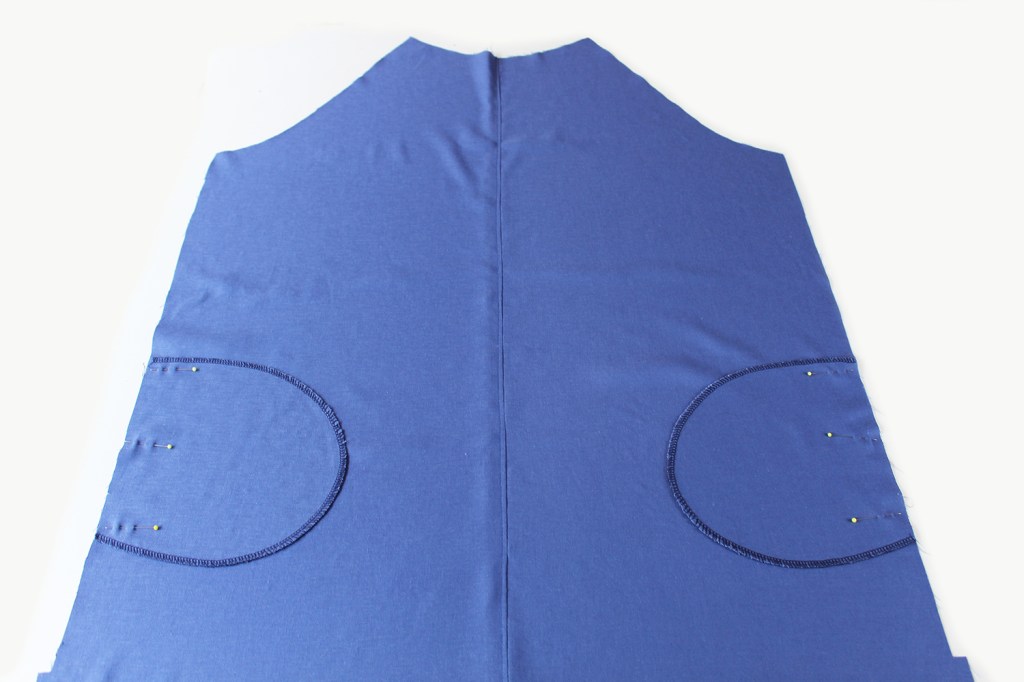
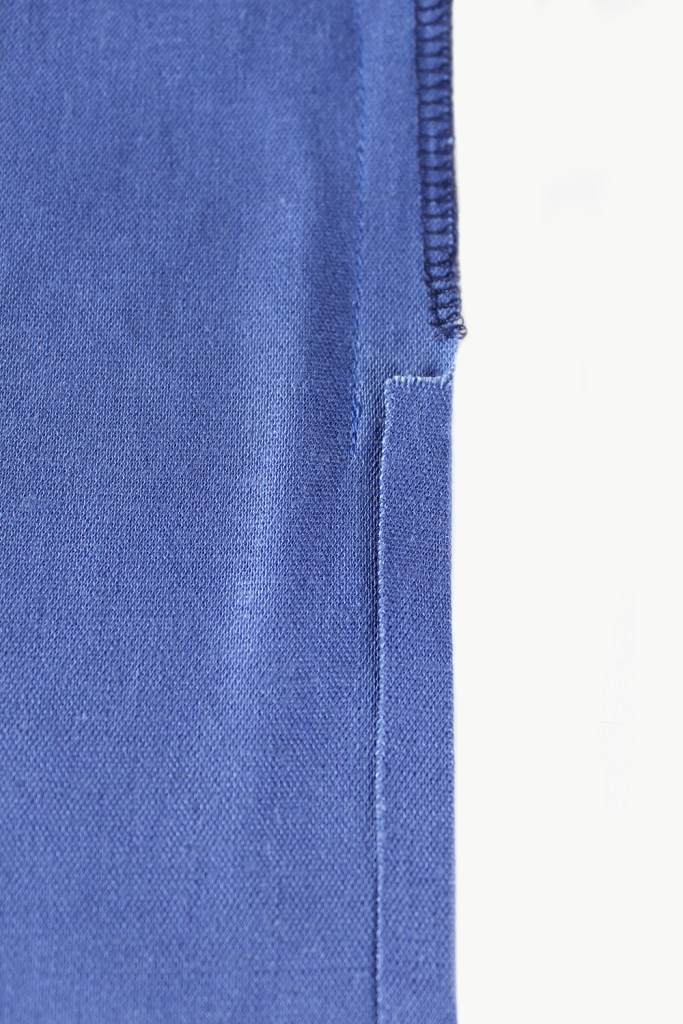
Finish the outer raw edges of the pockets if you have an overlocker- if you don’t have one – no worries! just leave the edge finishing bit until the end.
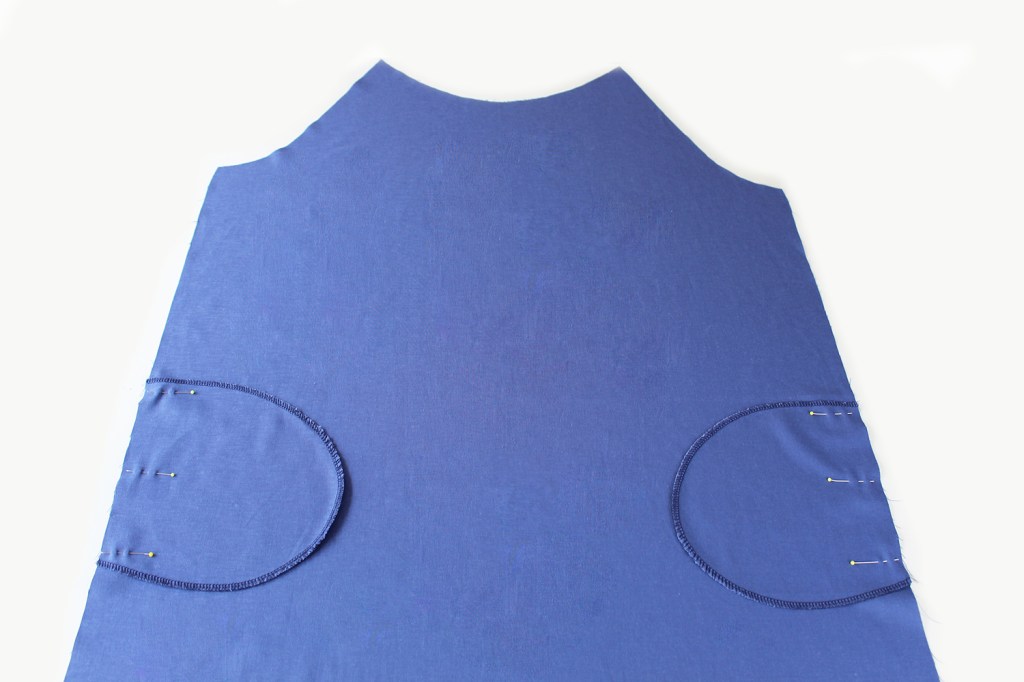
Pin one pocket at each side edge with the right sides of the fabric facing together. Sew. Press the pocket outwards, away from the body. Topstitch.
Pin the front to back at the side edges. Sew.
For the TUNIC only, sew around the pockets as you go.
Finish the edges together.
If making the DRESS, you will need to leave the lower side edge below the notch on each side open at this stage. See ‘SEWING THE SIDE SLIT’ section below for instructions.
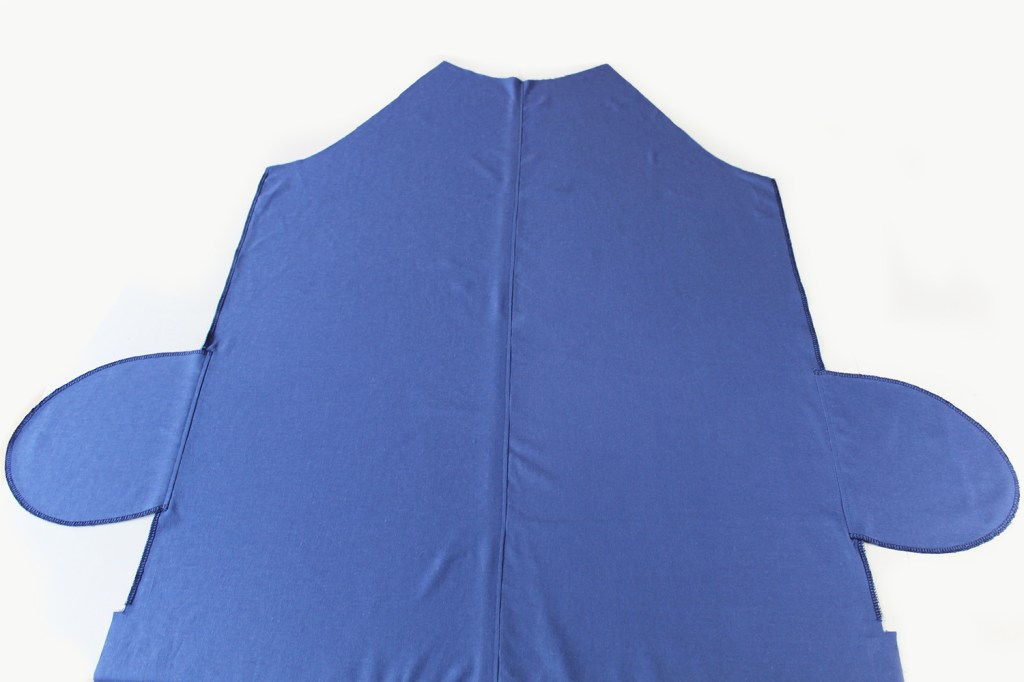
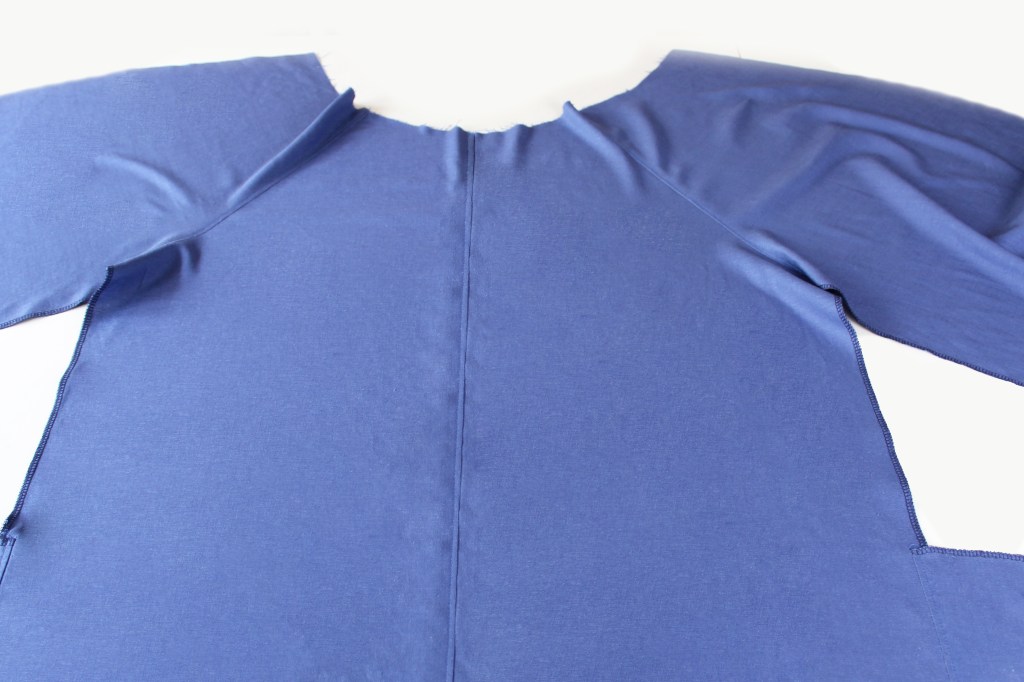
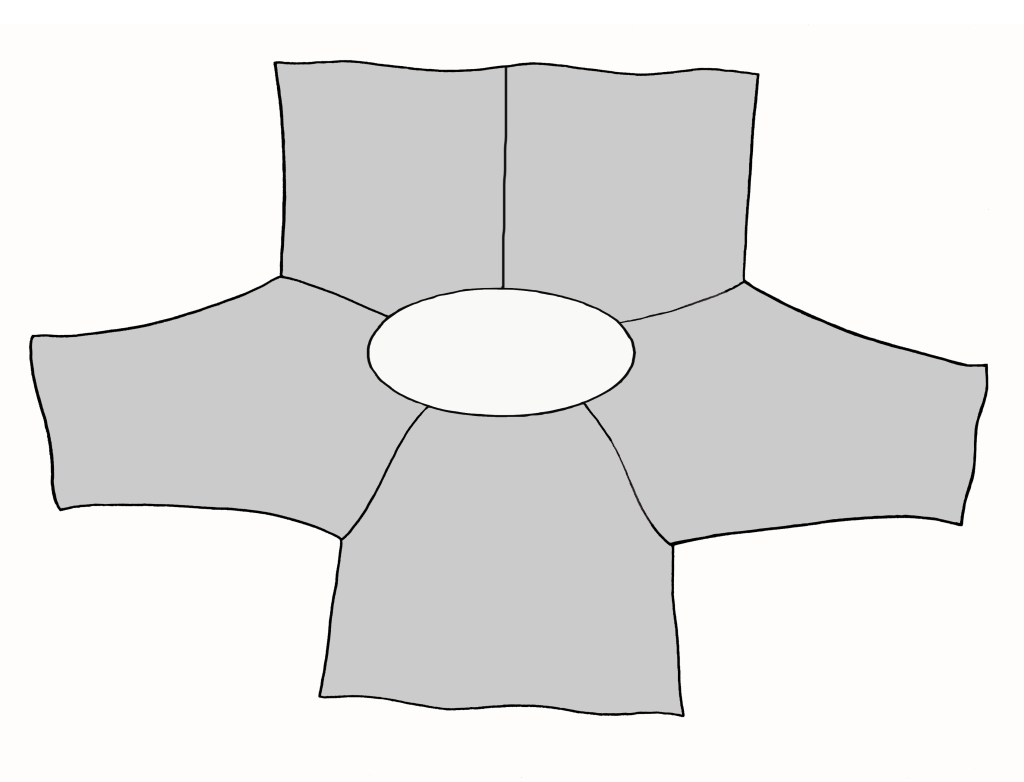
SEWING THE SLEEVES
Pin, then sew the front sleeve slanted edge, to the front piece at each side. Press the Sleeve outwards with the seam allowance pressed towards the Sleeve. Topstitch.
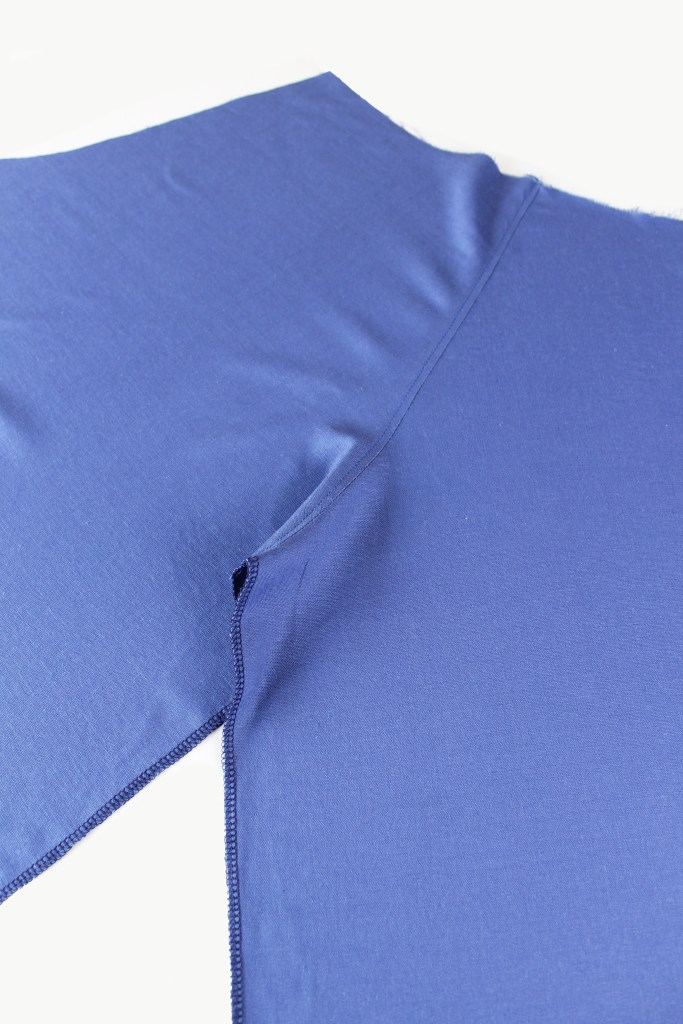
Repeat for the back sleeve with the back piece.
MAKING THE NECKBAND–METHOD 1-(if you don’t have an overlocker)
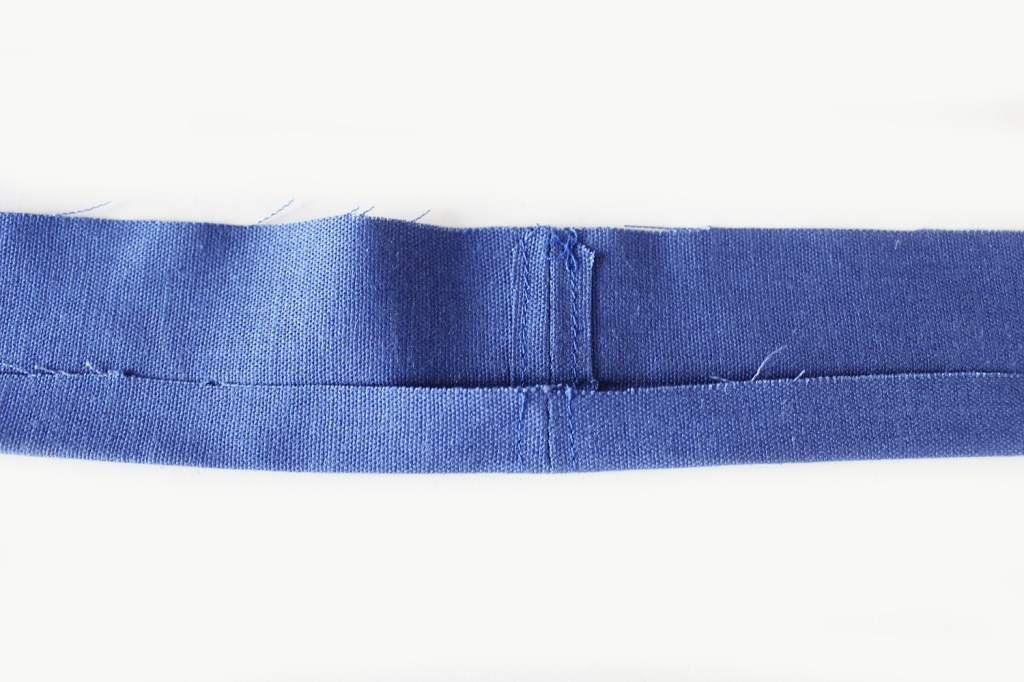
Join the neckband short edges with the fabric right sides facing together. Press the seam allowance open. Topstitch either side of the seam line. Trim off the excess seam allowance.
Fold over and press 1cm on one long raw edge of the neckband all around.
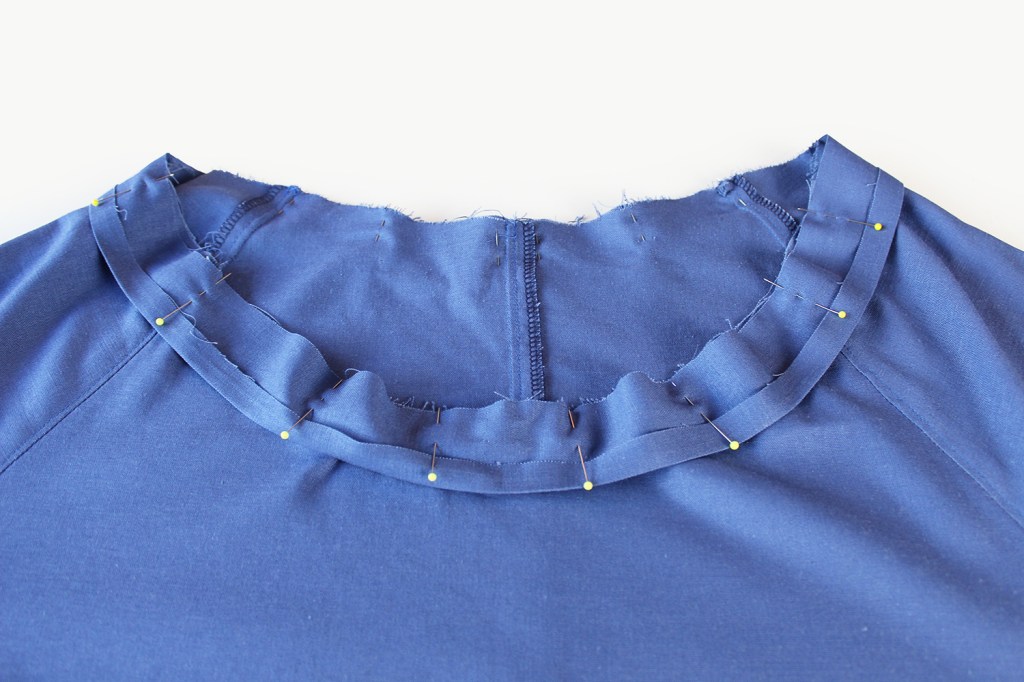
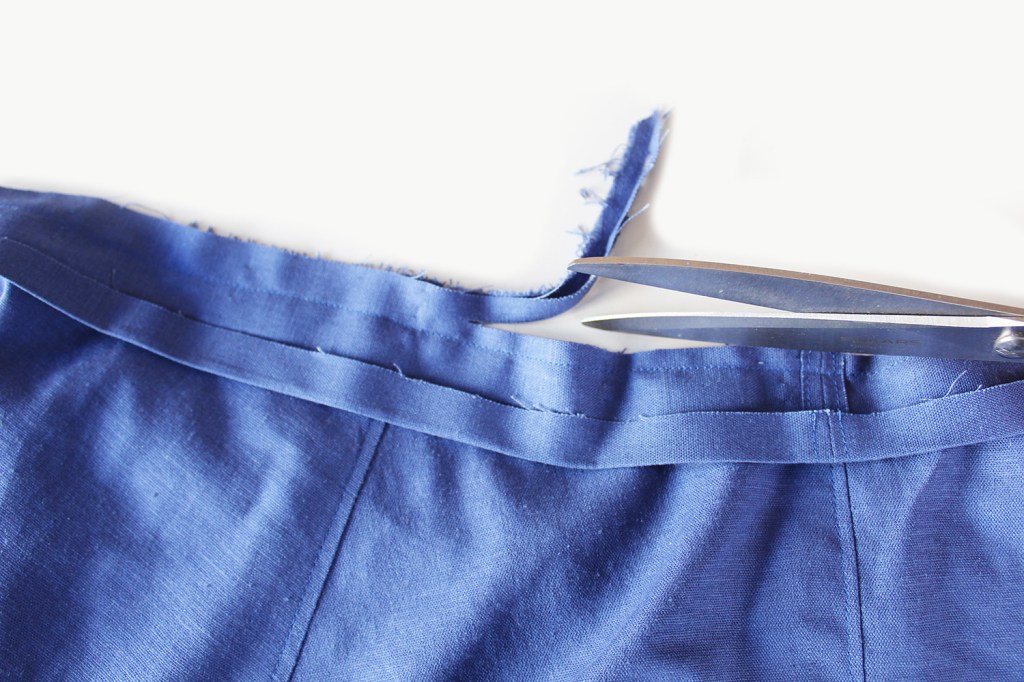
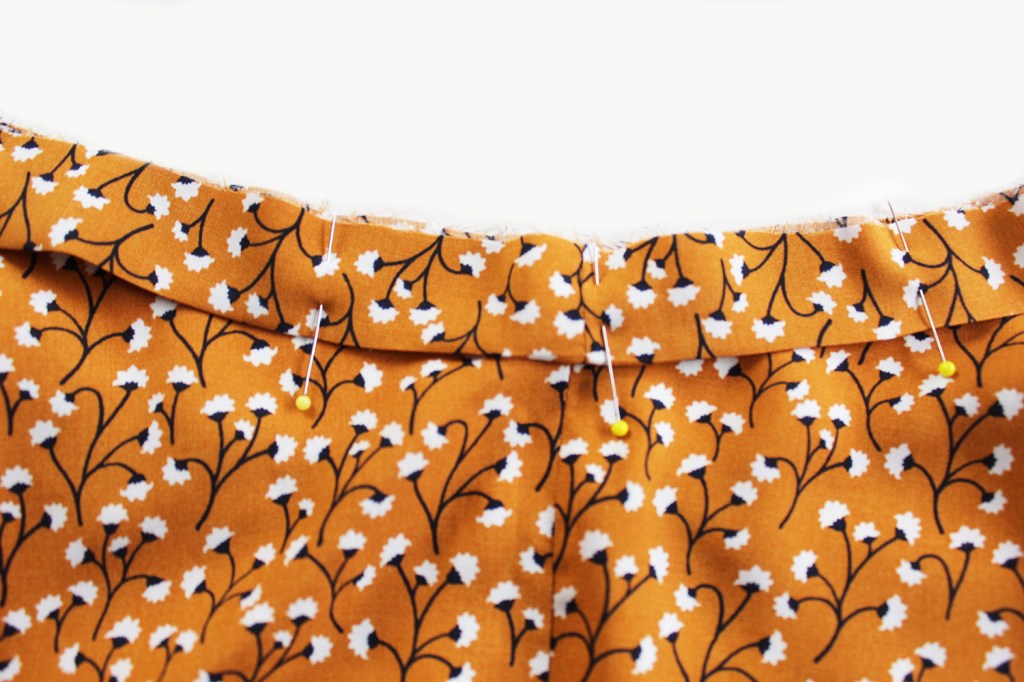
Pin the neckband, at the raw unfolded edge, to the raw neck edge all around, with the seam at the centre back. NB if you fancy making a drawstring version, position the seam line at the centre front instead. Sew. Trim off 1cm from the seam allowance all around.
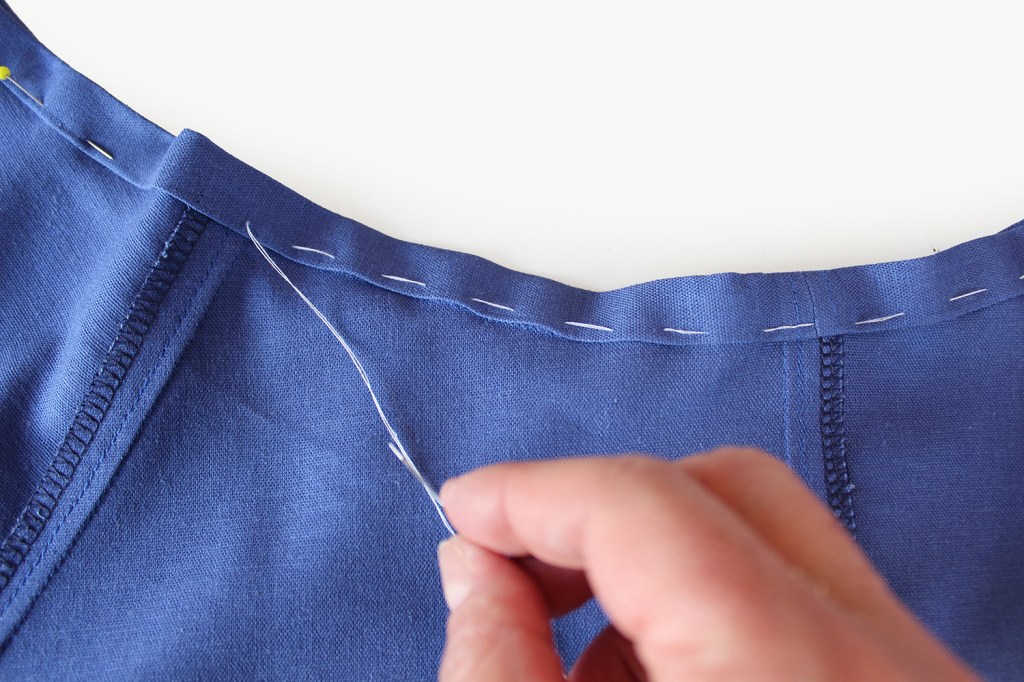
Press the folded edge over to the reverse side. Pin so that the edge is just covering the previous line of stitching. Hand tack. ‘Stitch in the Ditch’ * on the right side of the neckband, ensuring the neckband is stitched on the back of the fabric. NB make sure that there is a 1.5cm channel for the elastic.
- *’Stitch in the Ditch’ is when you stitch into the seam line on the right side, so that the stitches aren’t visible. Make sure that you are sewing the neckband edge on the reverse side. Its easy to miss it which is why hand tacking first is helpful.
Remove the tacking. Press. Now go to ‘INSERTING THE ELASTIC ‘
METHOD 2-(if you have an overlocker).
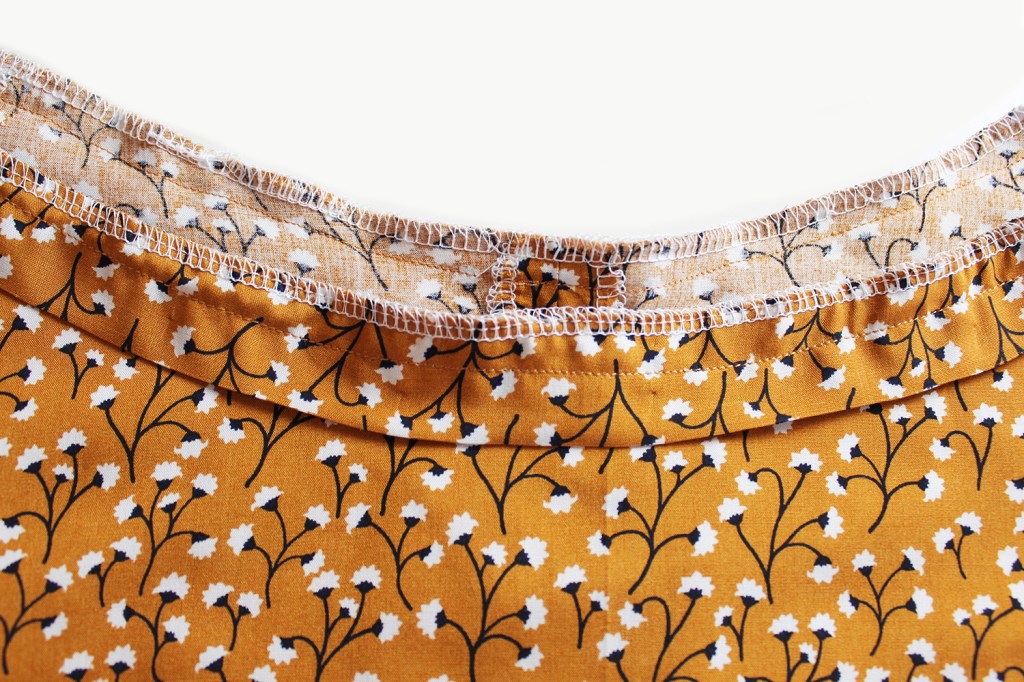
This method 2 is by far quicker and easier but only looks good if you have an overlocker.
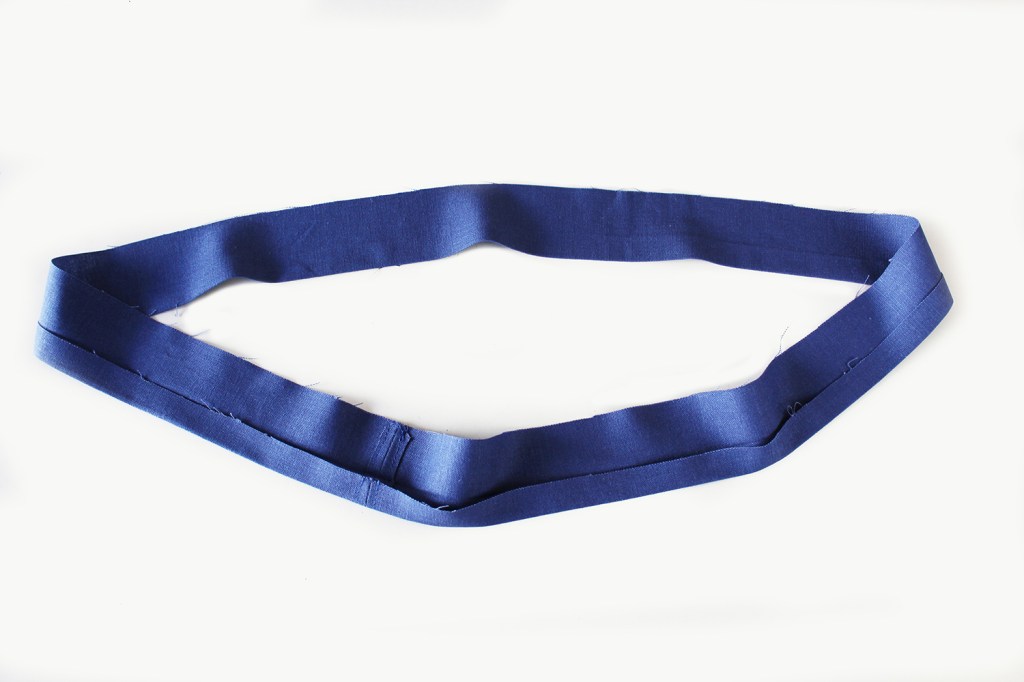
So, first you fold the neckband in half with the fabric wrong sides facing together. Press. Unfold. Sew the neckband short edges together (with the fabric right side facing together this time) to make a ‘ring’
Press the seam allowances open, topstitch either side of the seam line. Trim the seam allowance to 5mm.
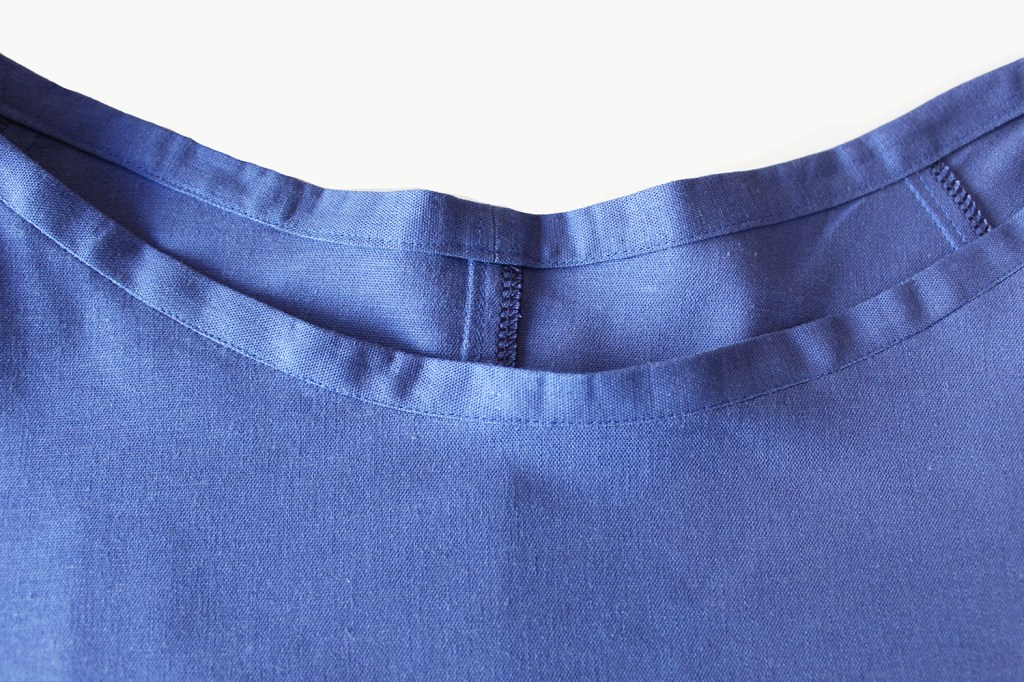
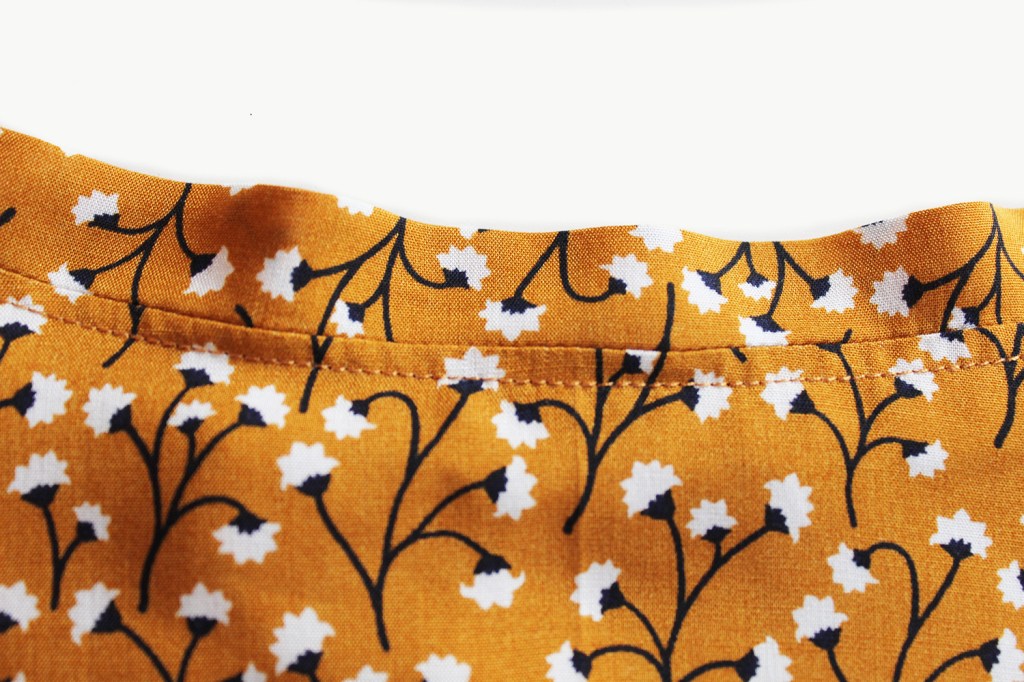
Fold the neckband over all around again so that the raw edges are matching and the fabric wrong sides are together. Pin to the neck edge with the seam at the centre back. NB if you fancy making a drawstring version have the seam line at the centre front. Sew all around. Finish the raw edges all around. Press the neckband upwards. Topstitch approx 3-4mm away from the seam on the dress side.
INSERTING THE ELASTIC
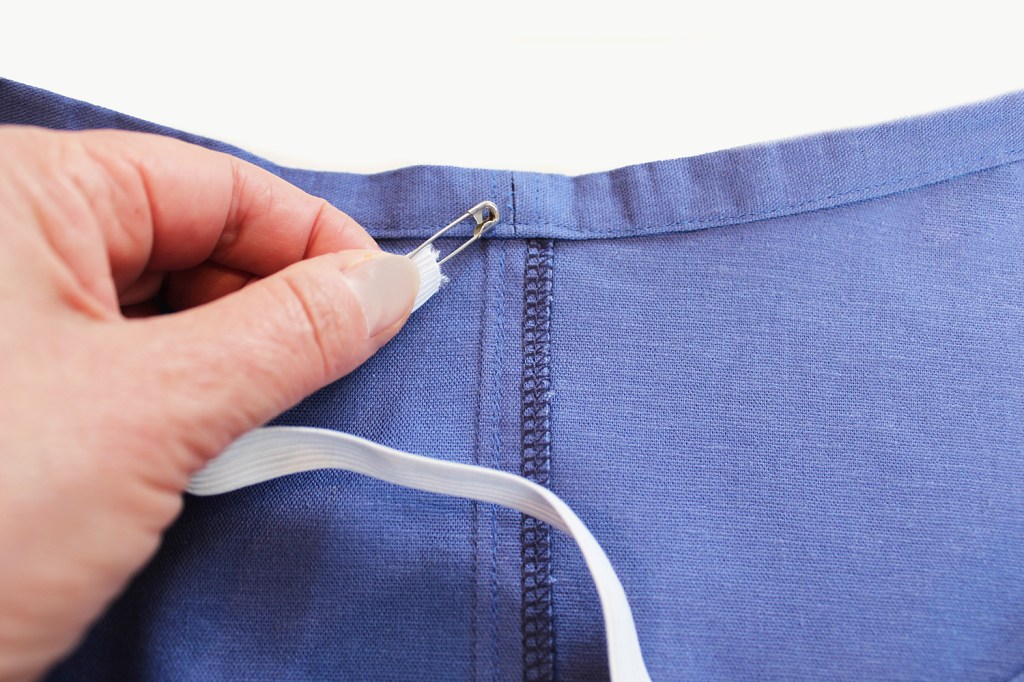
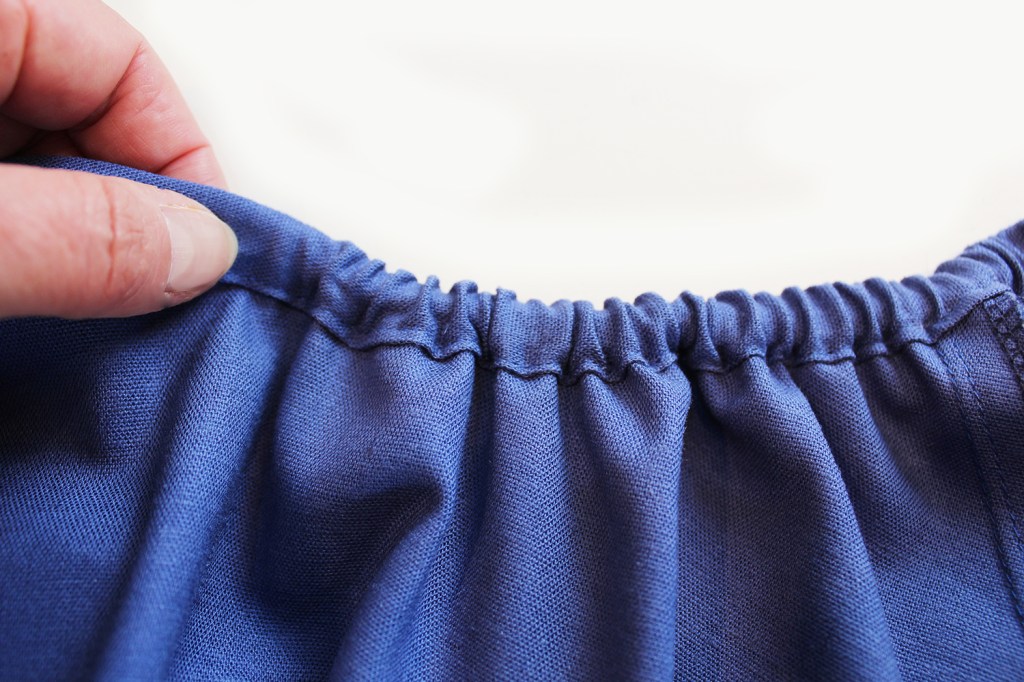
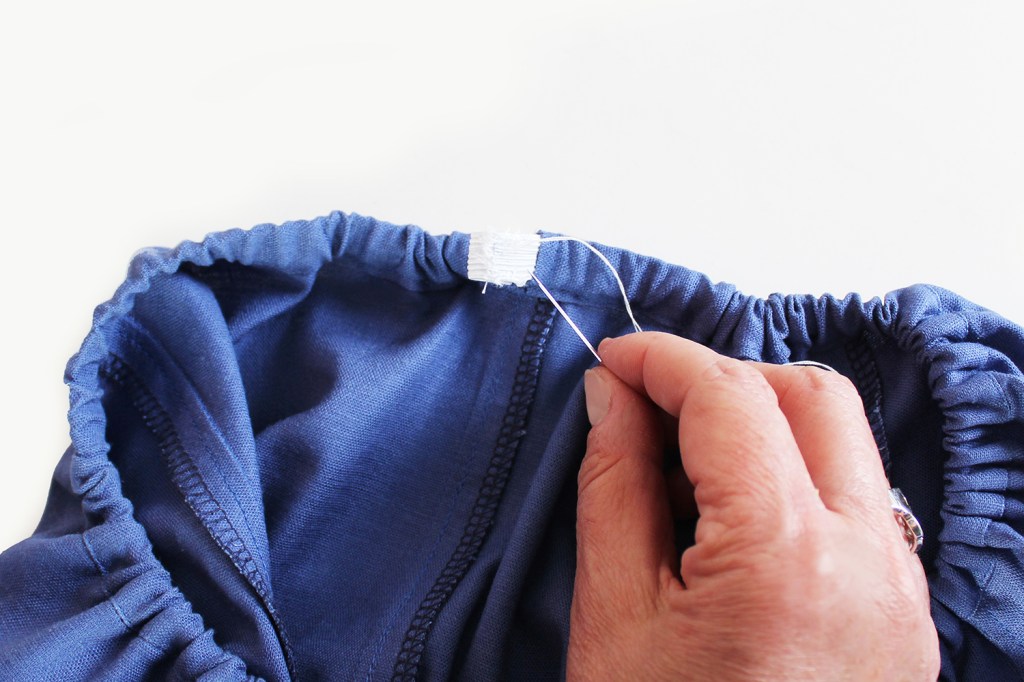
Attach a safety pin to one end of the cut length of elastic. Tip: cut the elastic piece approx 5cm longer allowing you to adjust it to your requirements. Nick one stitch on the inside back neckband seam enough to insert the safety pin/elastic. Feed the elastic through the channel, easing up the gathers as you go. Push out the same entrance hole. Pin together. Try on for size. Adjust if required. Sew the elastic ends together. Sew up the opening with a few hand stitches. Ease the neckline gathers evenly all around.
PATTERN HACK ALERT! – Front drawstring neckband alternative.
Its quite a nice idea to try this hack as a change from the elastic. It allows you to adjust the gathers according to your mood. Who doesn’t love an off the shoulder neckline? This drawstring alternative allows you to do that.
So follow the pattern as you would normally except when attaching the neckband, position the side seam at the centre front instead of the back.
Make a drawstring tie – cut out a 4cm x 112cm wide (or longer if you prefer) across the width of the fabric. Follow the same sewing steps as with the Tie Belt. Turn inside out through the opening at the centre. Tip- use a loop turner to help you.
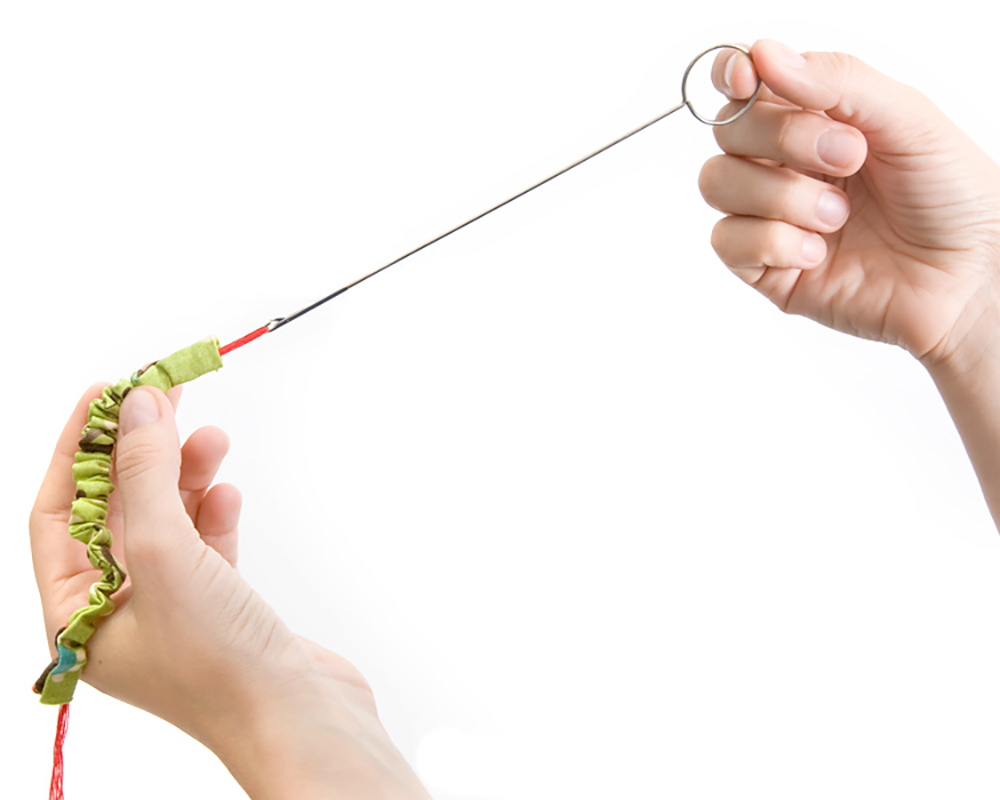
Nick one of the stitches of the neckband side seam. Attach a safety pin attached to one end of the tie and feed into and out of the opening. Ease the gathers, adjust to fit.
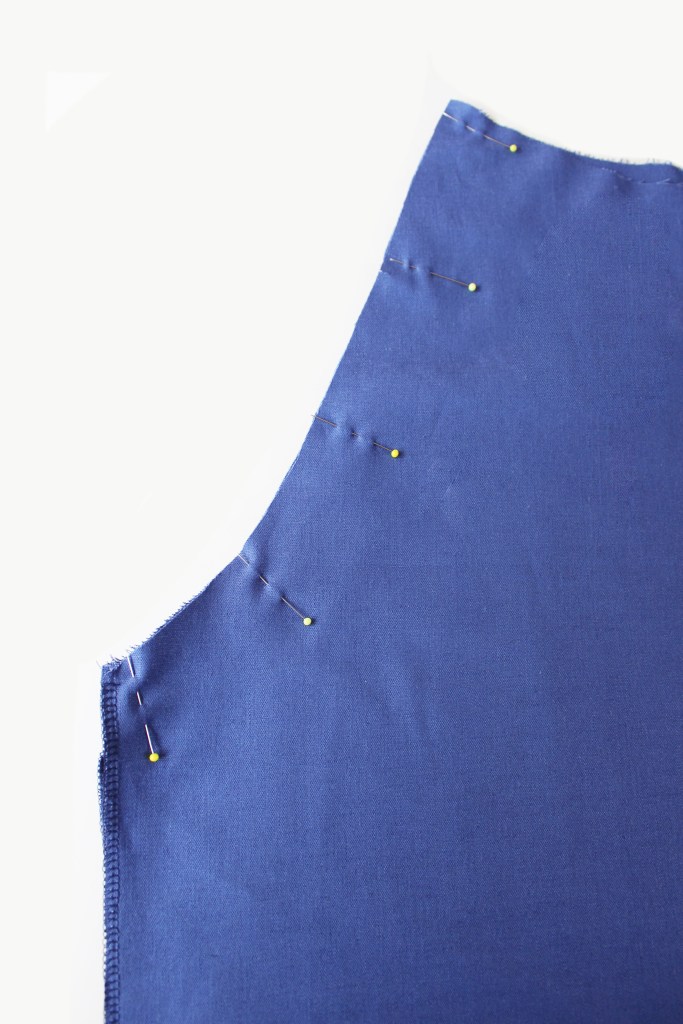
SEWING THE SIDE SEAMS AND SIDE SLIT

With the RST, pin the Front to Back at the side edges.
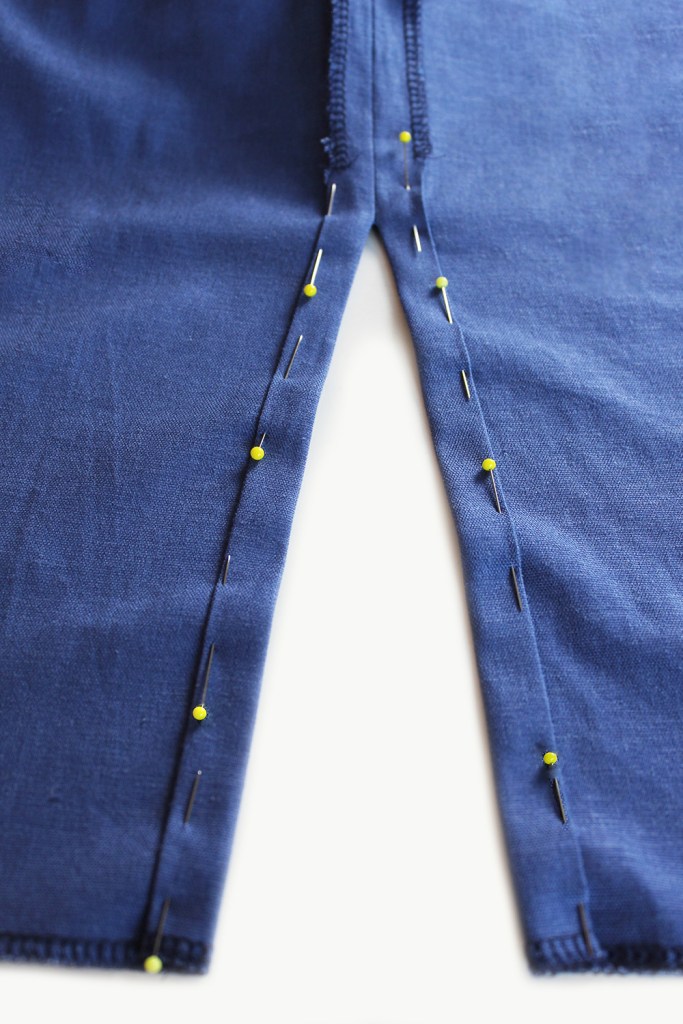
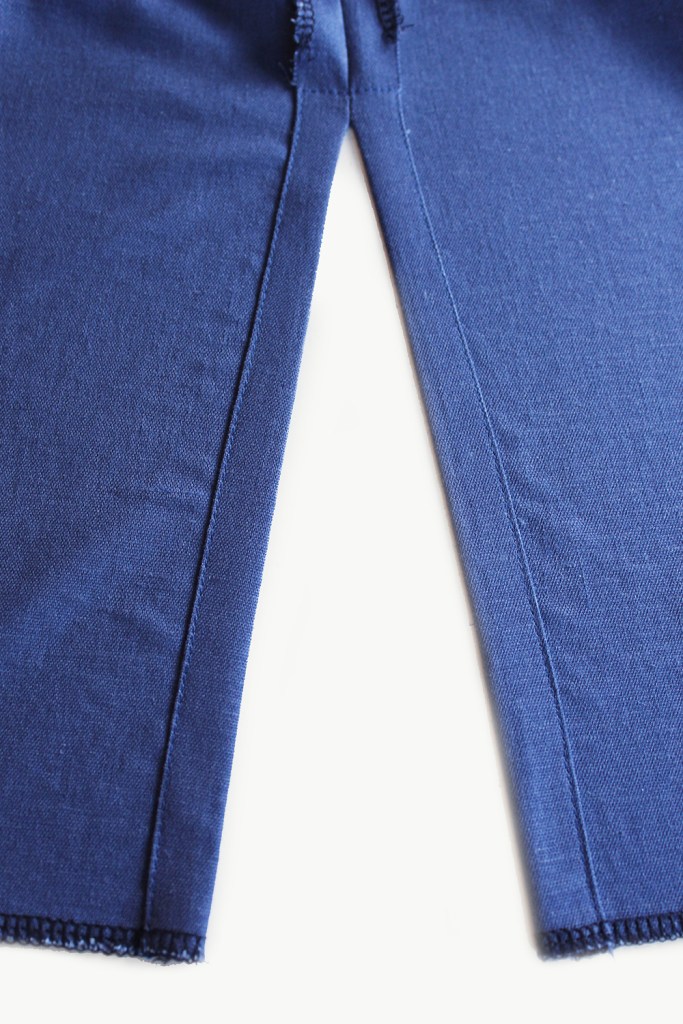
The Dress (C) version has a slit at each lower side edge. You can also put a small one in the Tunic (version B) if you fancy it or just sew the side seam up as normal, ignoring the seam allowance extension.
Fold over the side edge below the notch by 1cm. Press, then fold the seam allowance back to make a side hem on each side. Pin. Sew close to the hem edge on each side.
HEMMING
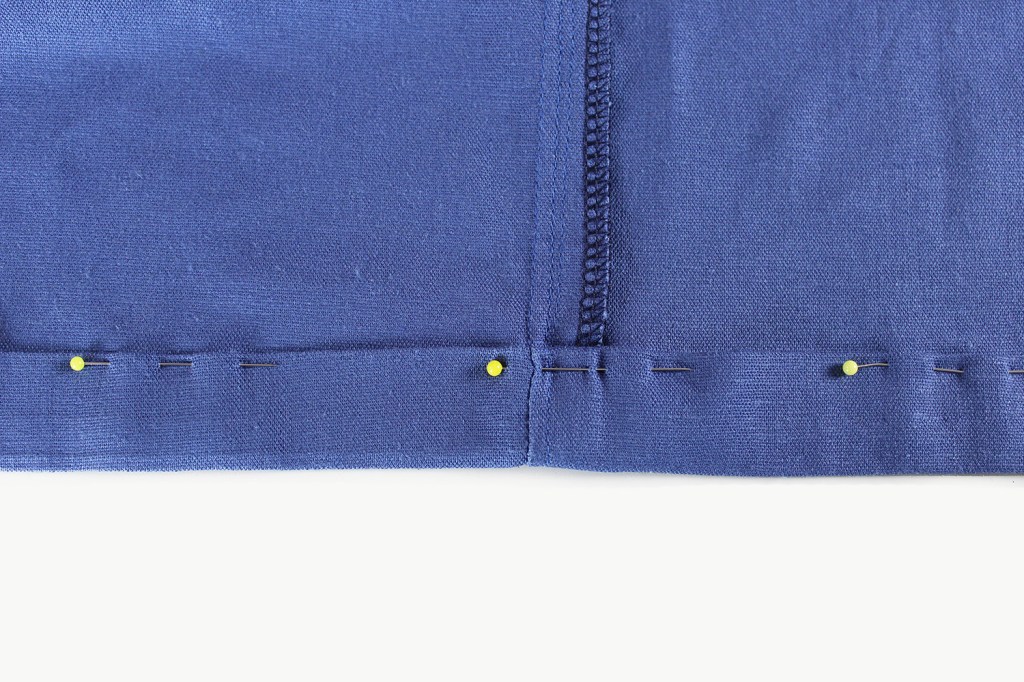
Fold over and pin the lower edge of the dress, tunic or top. Sew. Press.
Make a small hem on the sleeve cuff edge in the same way. For the Dress (C) version, insert elastic into the cuff hem in the same way as with the neckband.
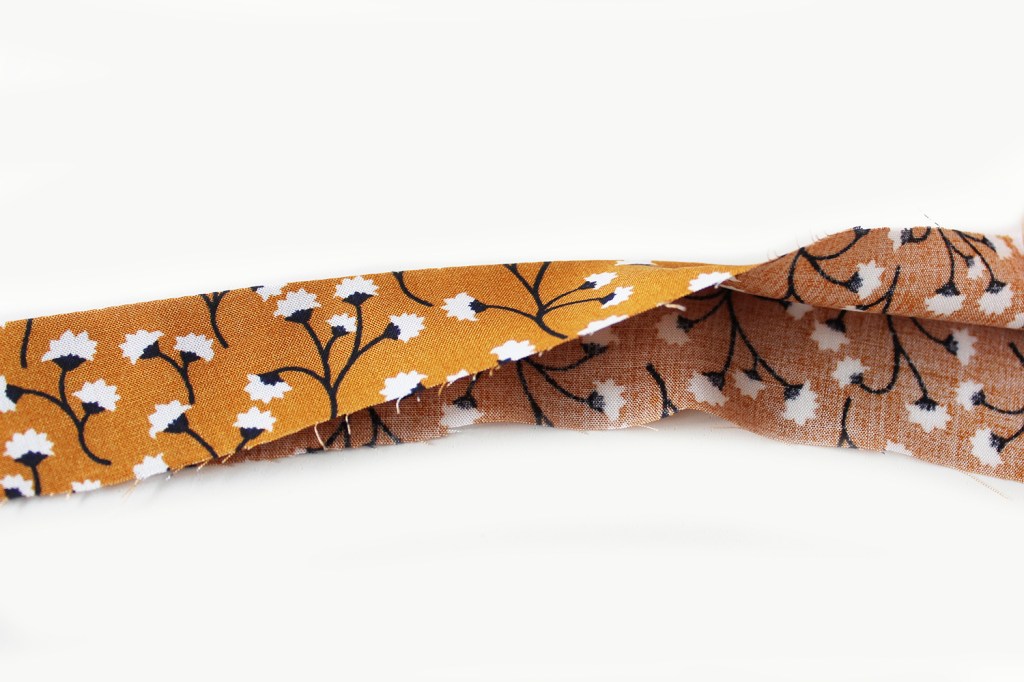
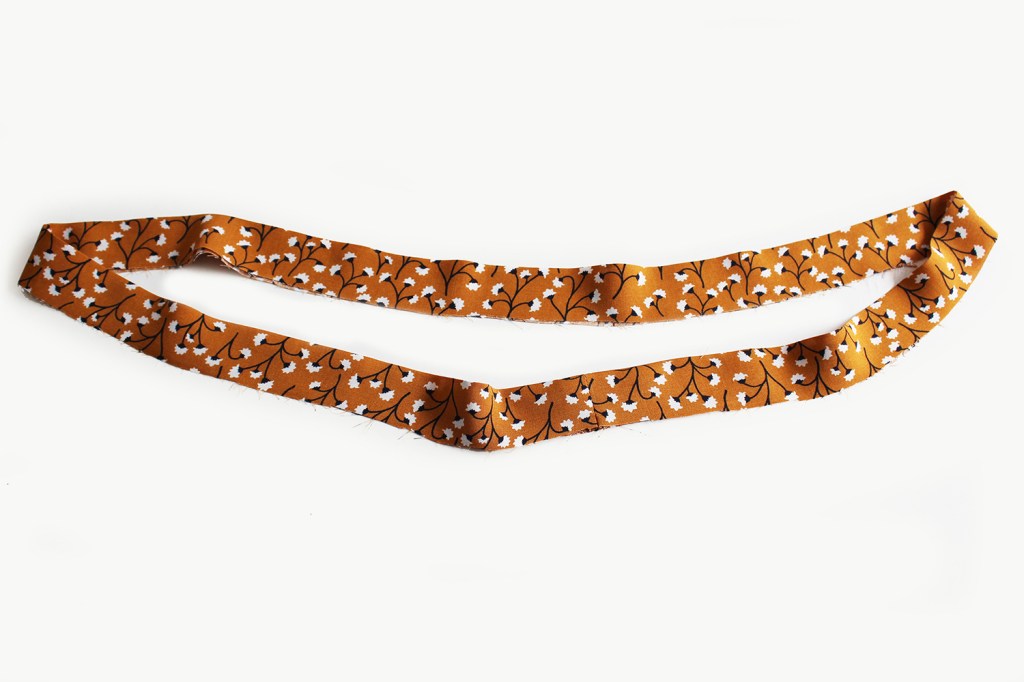
TIE BELT
The Tie Belt on the dress is optional, it gives the dress more shape and a different look. You could also put a Tie belt on the tunic if you fancy it.
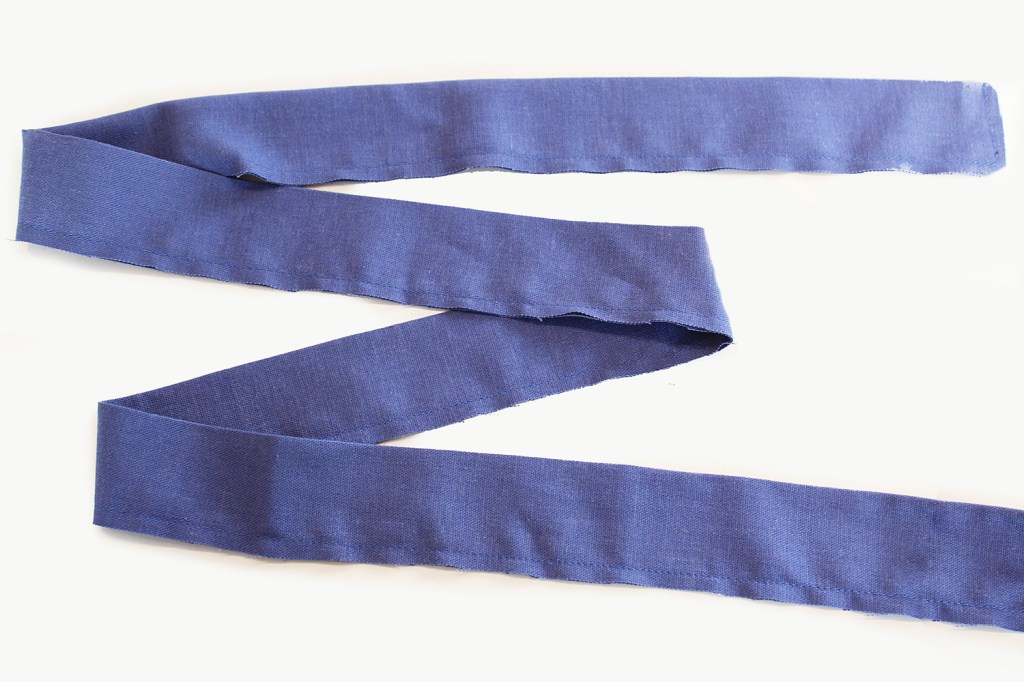
Fold over the Tie belt piece in half widthways. Pin then sew down the raw edge sides leaving a 4cm section unstitched at the centre of the long side. Snip the seam allowance to 5mm. Turn the belt inside out, push out the corners. Press, sew up the opening or Topstitch all around -which sews up the opening at the same time.
And there you have it! Ready to rock!


All text and images are subject to copyright.
Please ask prior permission if you would like to use any of the content.
