

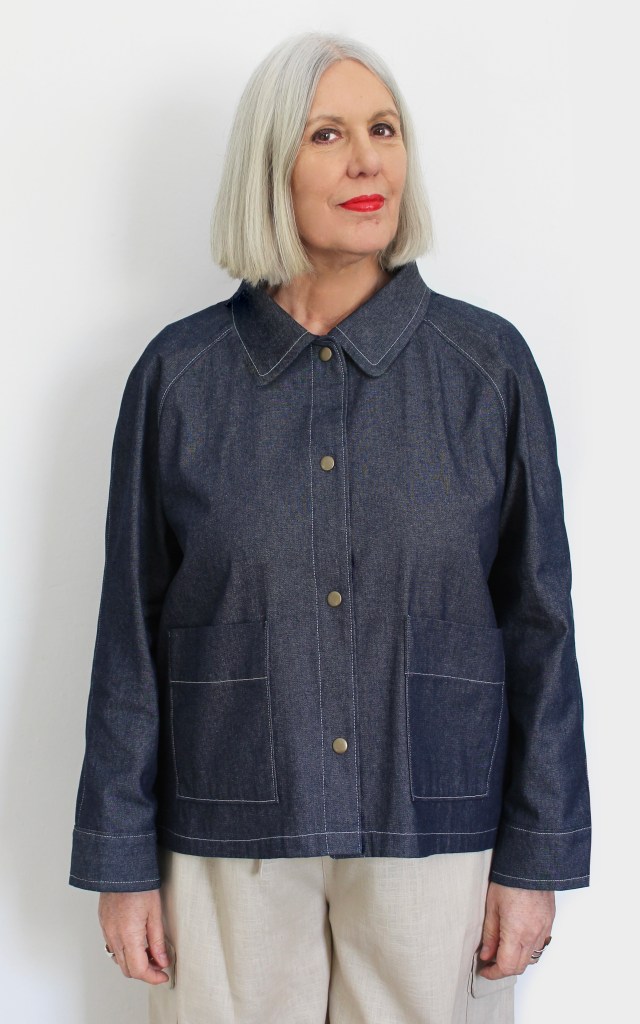
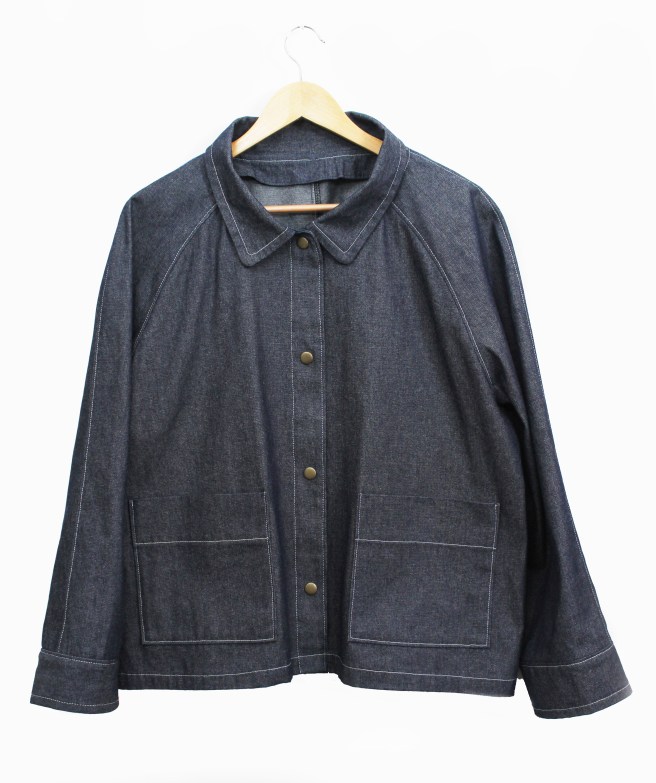
JOSIE JACKET pattern by Sewgirl- a lovely addition to any wardrobe. Chic and stylish, team up with skirts (Cecily or Dotty) or trousers (Elsie or Nora) for a timeless style and comfortable fit. Boxy in shape, with easy to insert raglan style sleeves, collar, cuffs and two large patch pockets. The jacket is fastened up by four buttons (as top image) or alternatively snap press studs (lower image).
Josie is available in all sizes from:
Small (UK 8-10), Medium (UK 12-14), Large (16-18), XL (20-22) and 2XL (24-26).
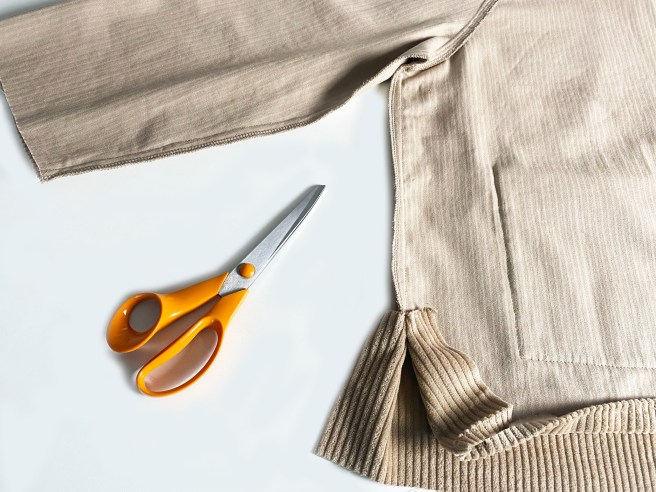
Suitable fabrics to make Josie are 4.5 whale cord, 8oz denim, cotton canvas, or any medium weight cotton fabric.

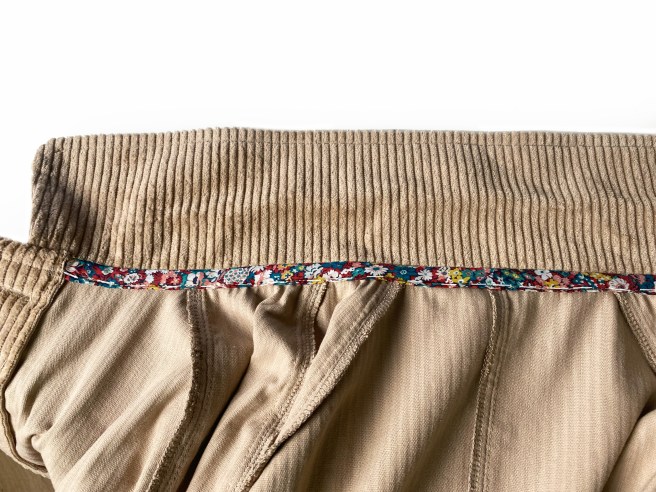
You can see with this picture that I’ve used a piece of Liberty fabric to make the bias binding for the neck seam raw edge. I’ve also made a double line of stitching around the pockets and with the denim version, stitched a single line with contrast thread instead. I used a standard sewing thread in an off white colour. Sometimes I like to use two ends of thread together for extra stitch definition, by putting a second reel on the feeder, a topstitch thread could be used but I prefer a more subtle line of stitching.

Josie Jacket measurements and info..

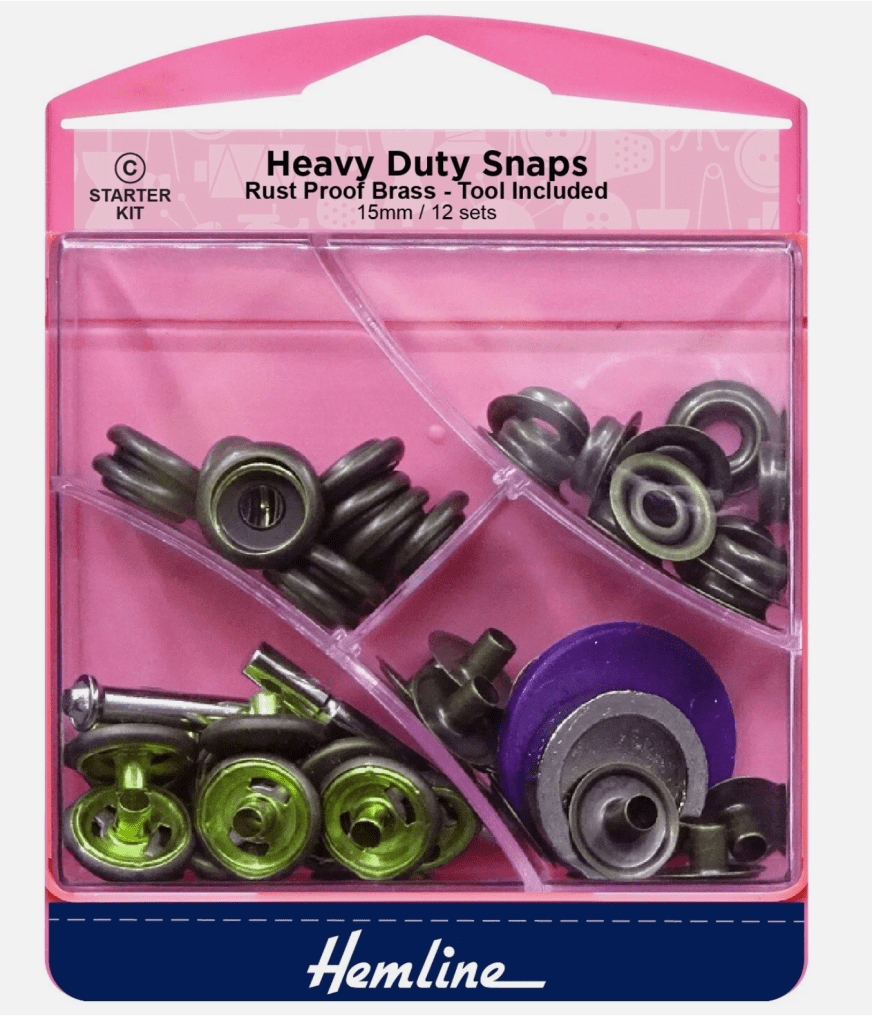
Instead of using buttons, I made the denim jacket version with these heavy duty snaps. They come with a tool, all you need is a hammer and one pack makes 12 sets, enough for 4 jackets!
HOW TO MAKE JOSIE JACKET
Here are abridged step by steps about making Josie. The pattern includes a fully illustrated booklet with more in-depth instructions and glossary. Seam allowance is 1cm (3/8″).
All pattern pieces have notches which should be transferred to the pattern after cutting out. Buttonhole positions should be marked on the Front with some tailor tack stitches or an invisible marker pen.
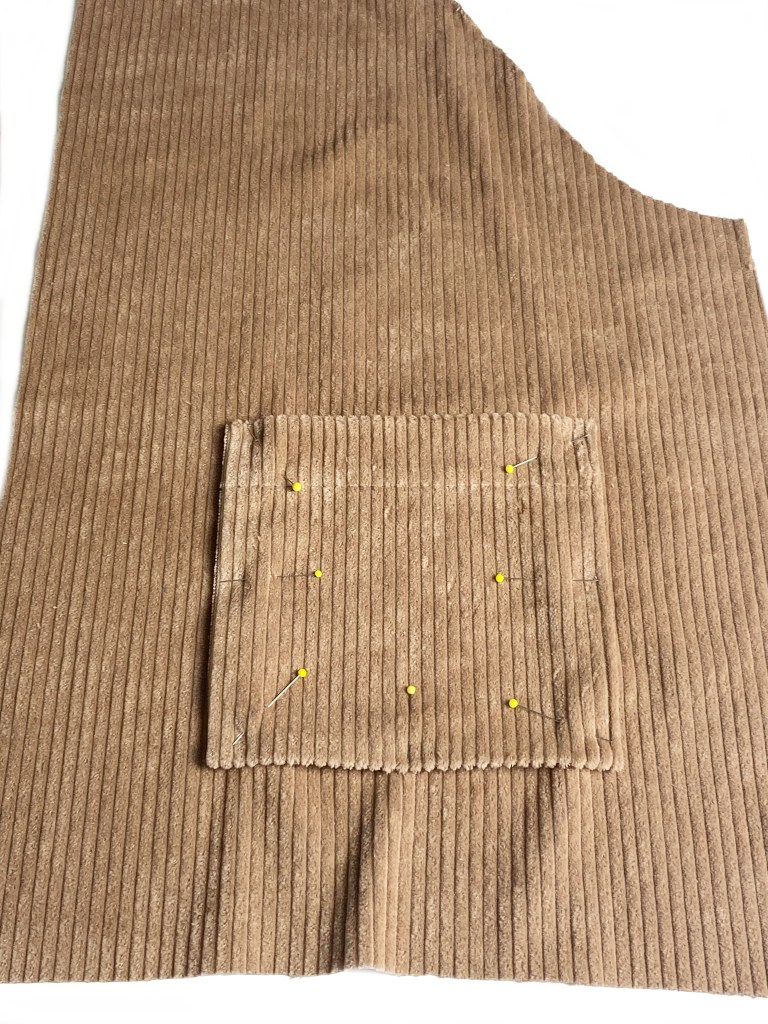
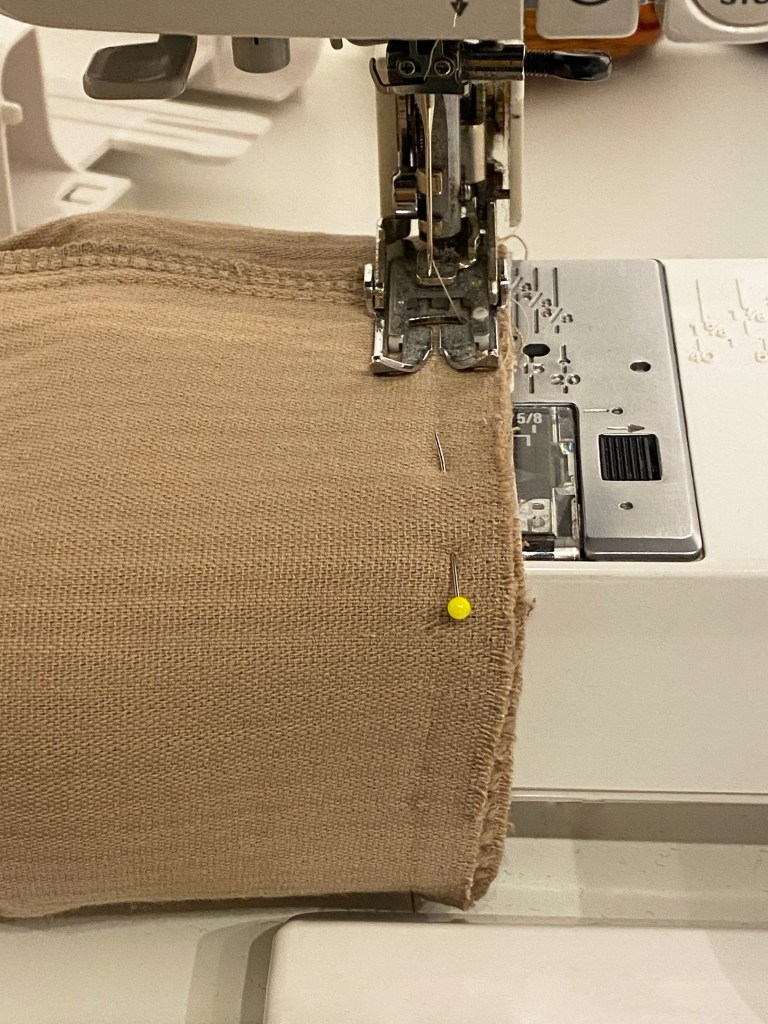
POCKETS
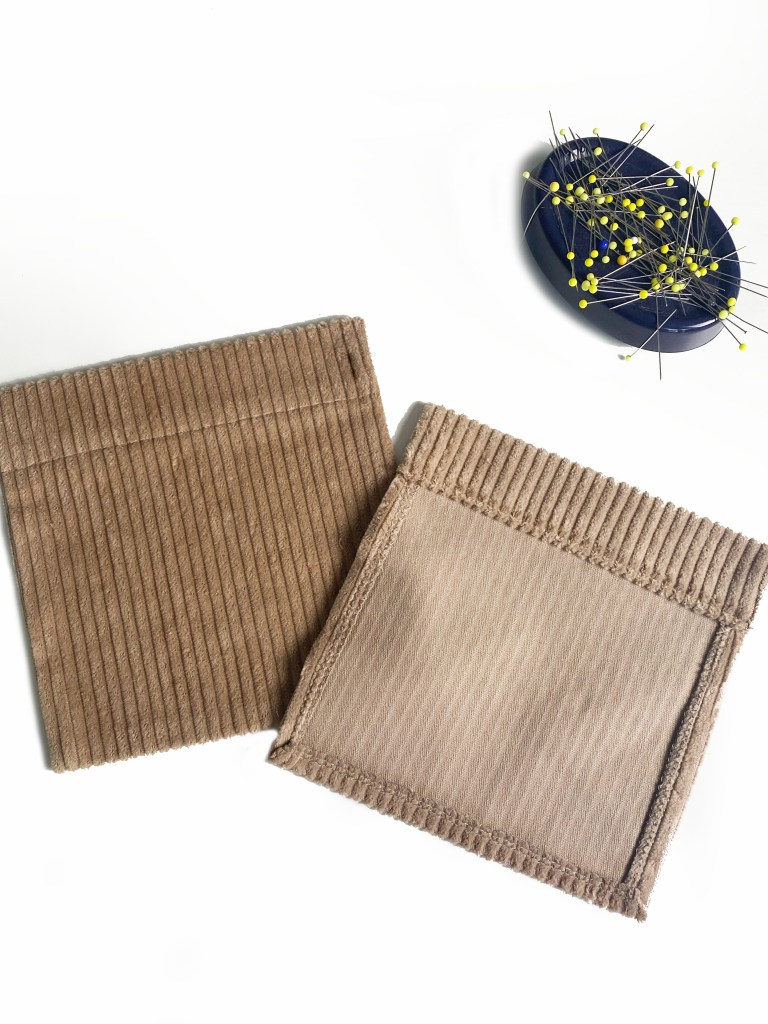
First make up the pockets. Pin to the Jacket front pieces and stitch in place. The pattern templates show you where to place them.
JOINING THE BACK PIECES
Sew together the Back pieces, finish the seam allowance raw edges then press to one side. Topstitch.
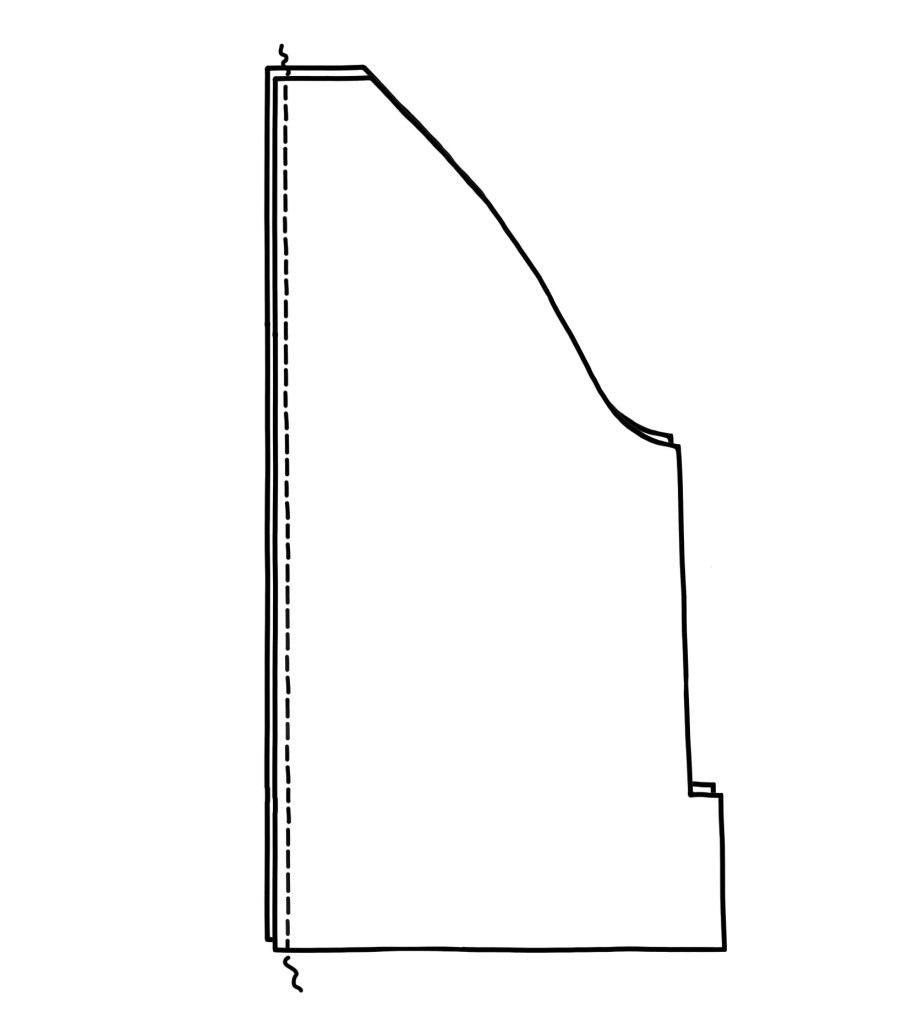
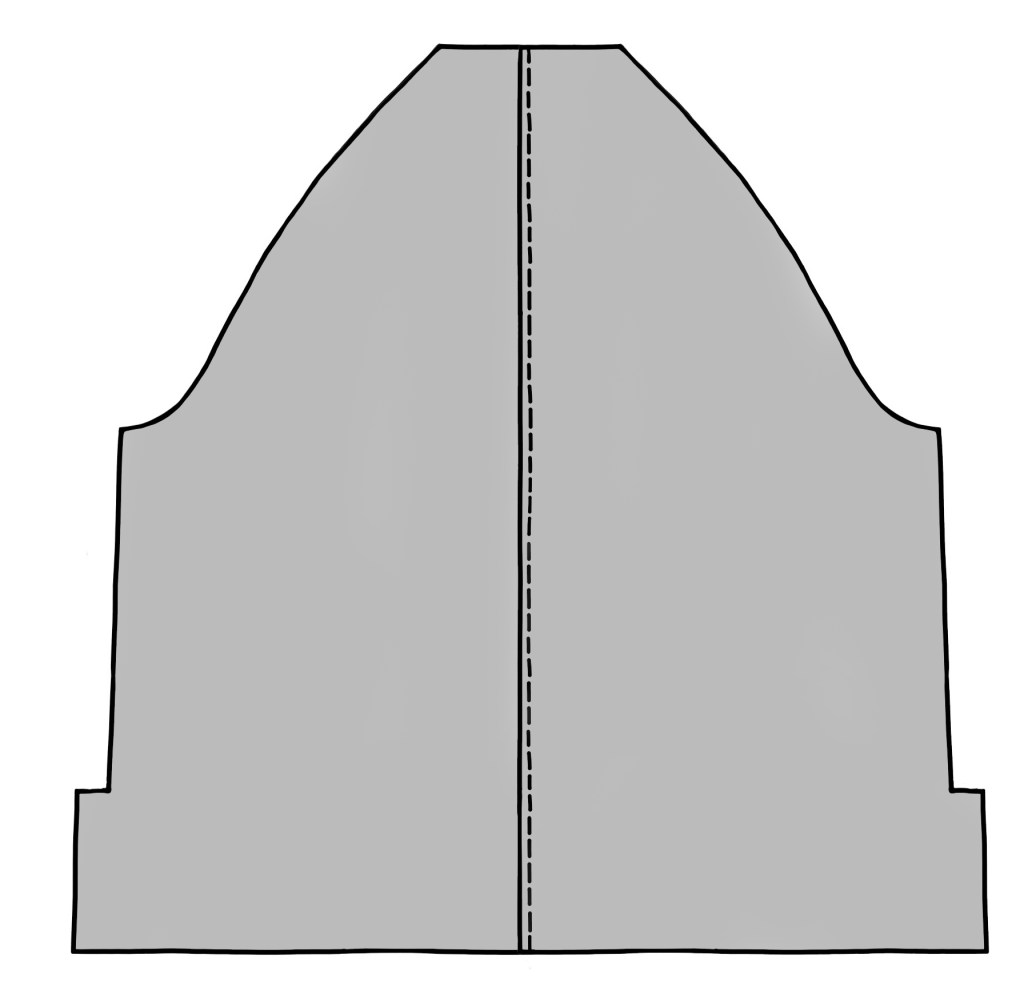
ATTACHING THE SLEEVES
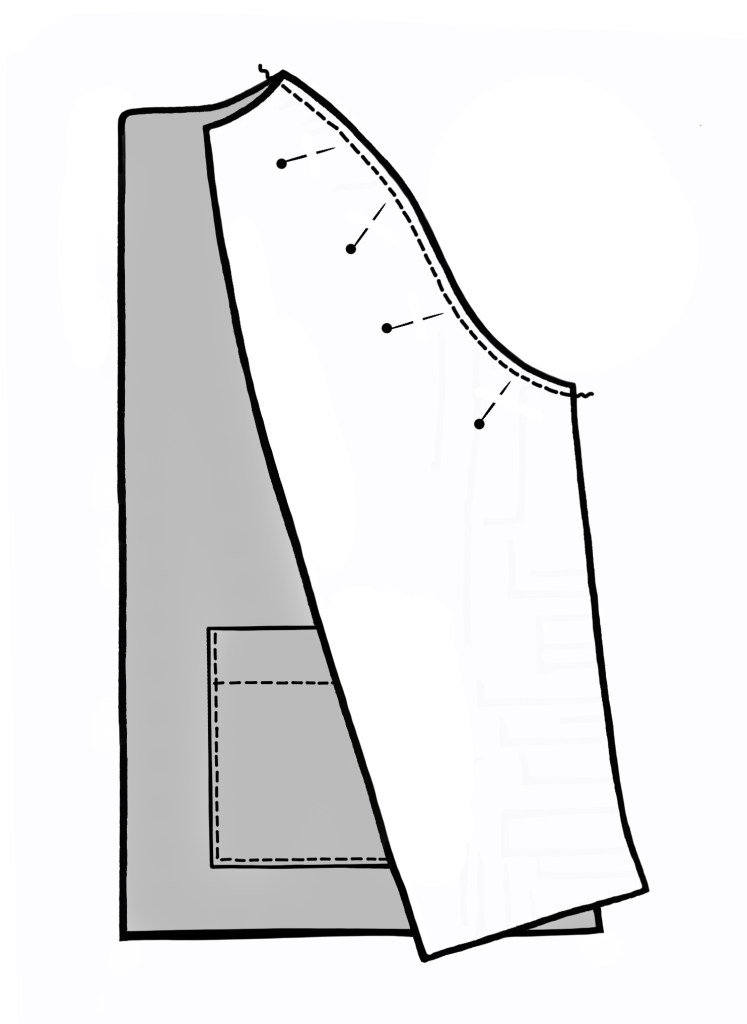


Join the Front Sleeve to the Front on each side.

Join the Back Sleeve to the Back on each side.
Join the Front to Back at the Sleeve top edge.
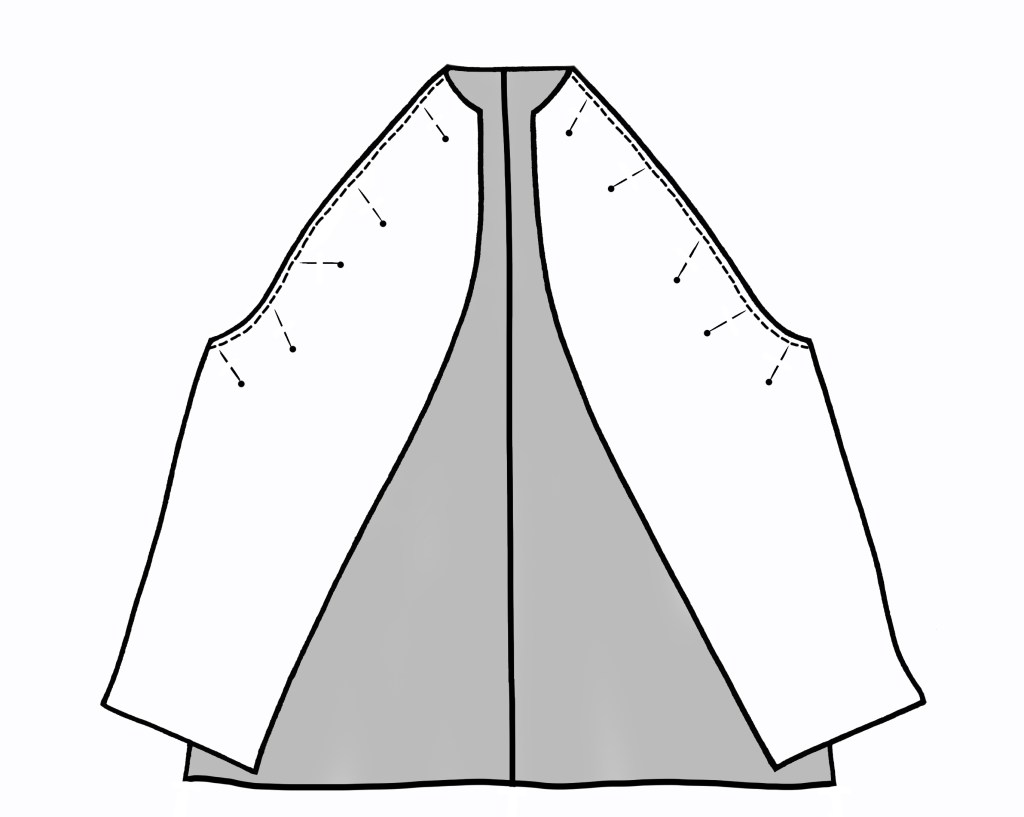
JOINING THE FRONT TO BACK & SIDE SLITS

Join the Back Sleeve to the Back on each side.
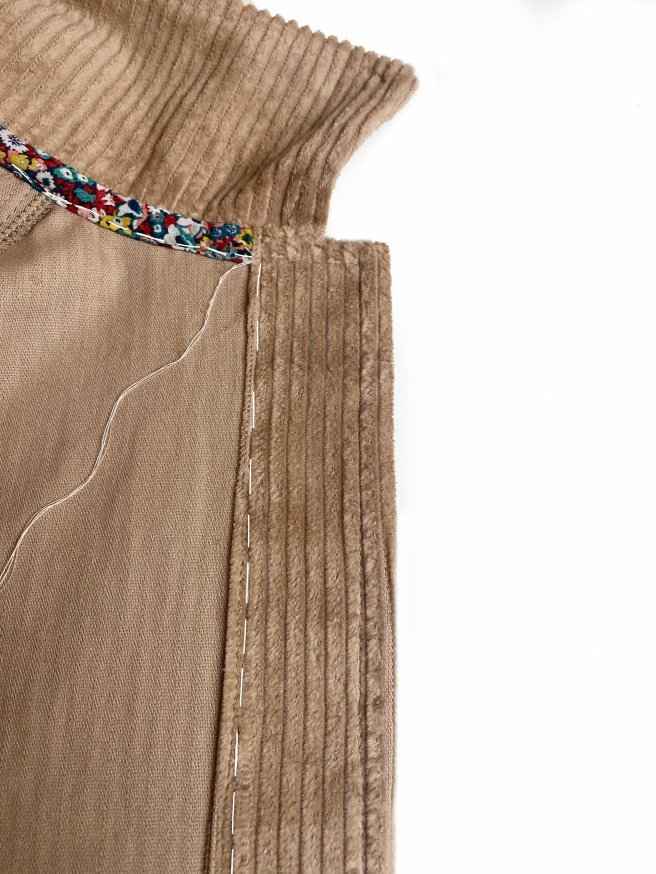
Sew the Front to Back leave the seam open below the notches. This is for the side slits.

Turn under a small hem at each side slit edge. Sew all around.
COLLAR
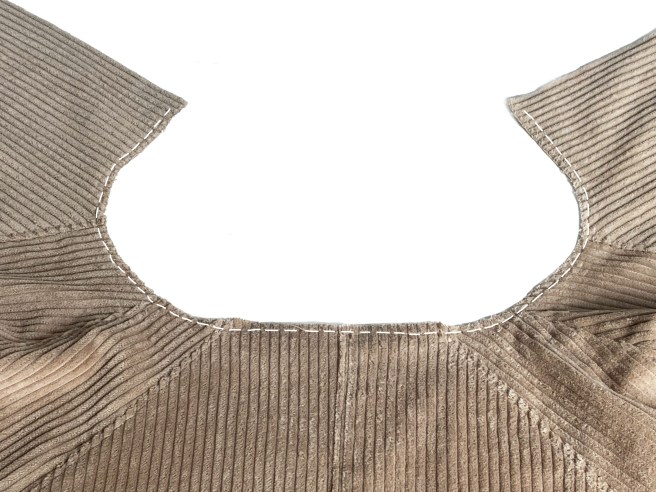
Staystitch around the neck edge. It prevents it stretching.


Make the Collar.


Pin the Collar to the back neck right sides together. Hand or machine tack.
FACING
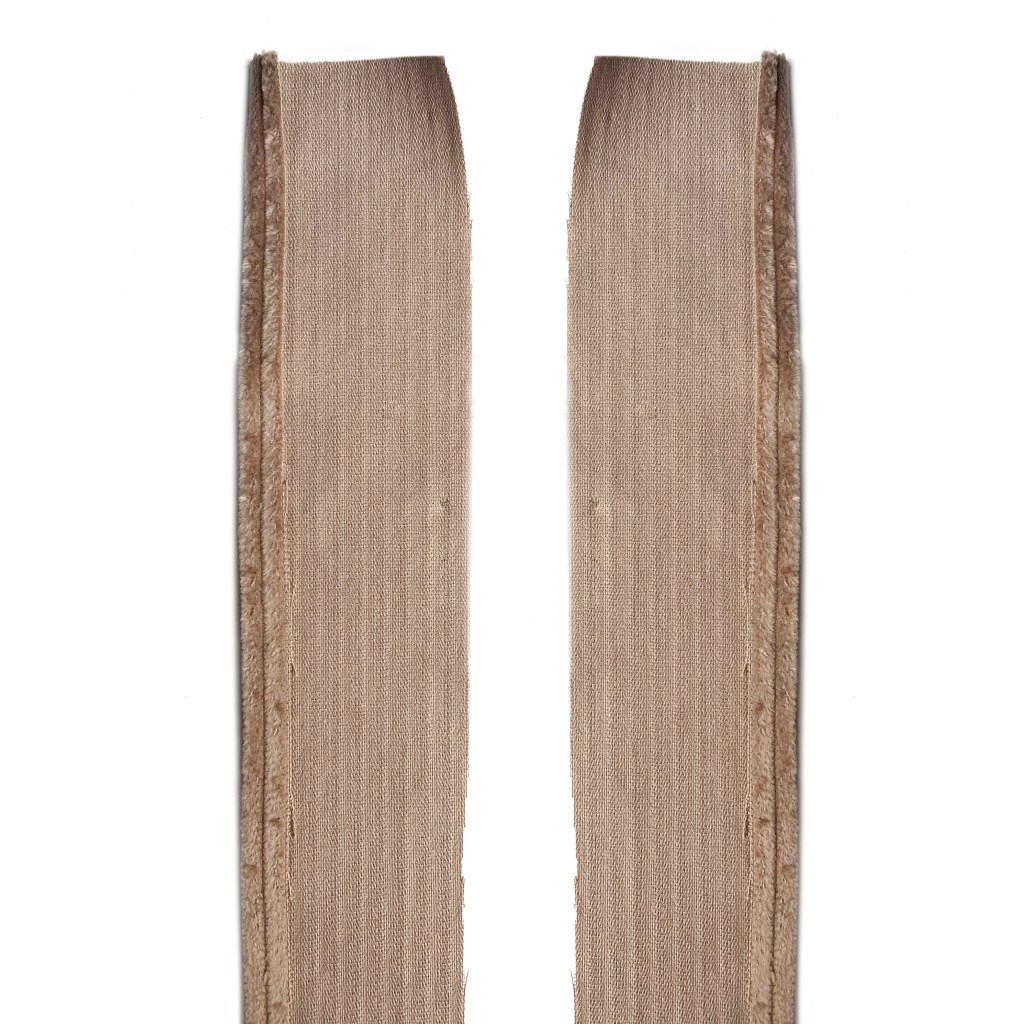

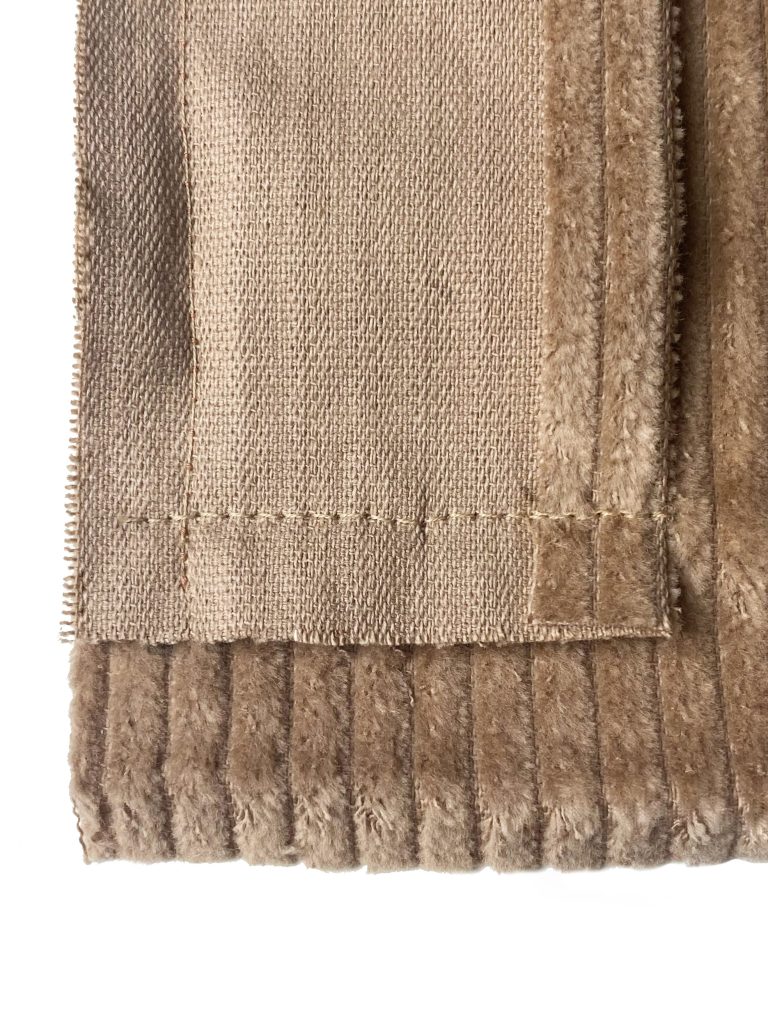
Fold over 1cm on opposite long edges of the Facing pieces. Pin to the Front. The Facing is shorter at the lower edge so don’t worry! – this is to accommodate the hem. Sew.down the long outer edge and across the lower short edge.
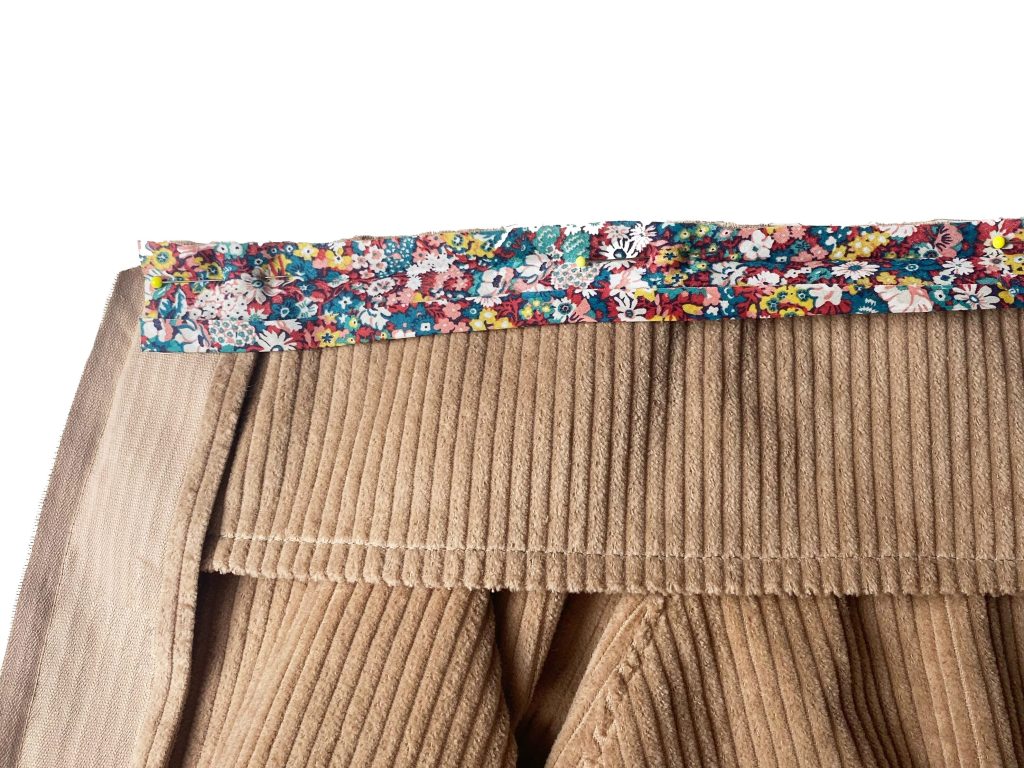
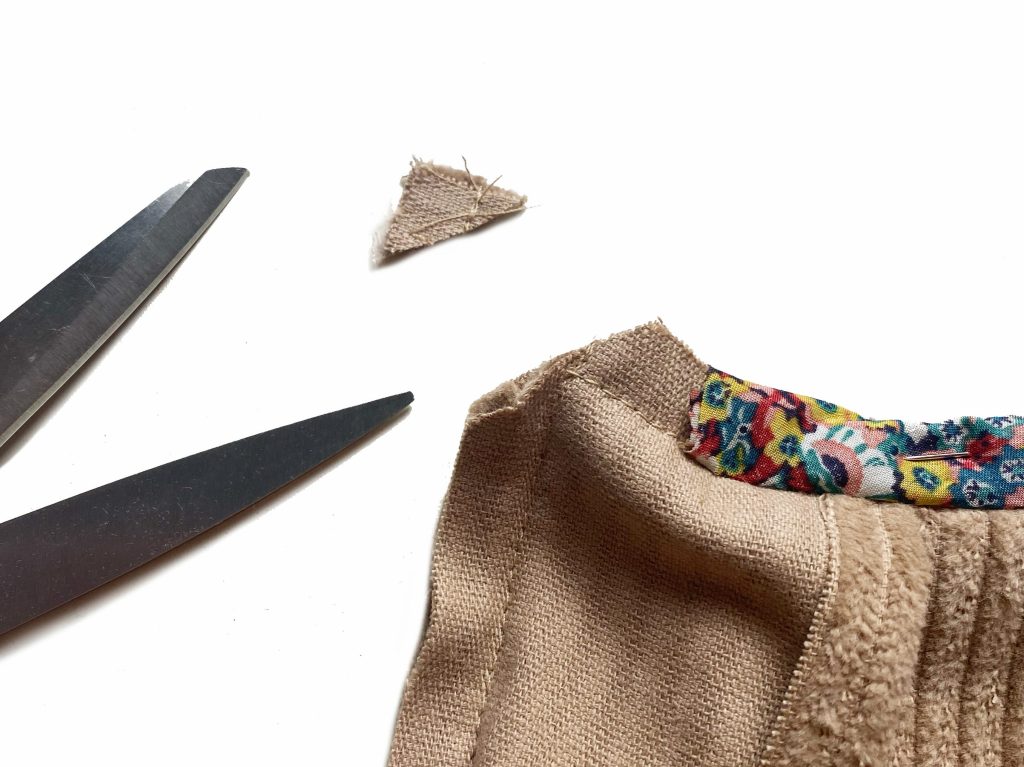
Attach the Binding to the Neck seam raw edges. Clip the seam allowance corners each side.
Turn the Facing to the wrong side, pushing out the corners from the inside with a poking tool. Turn under the hem at the lower edge. Hand Tack. Sew all around. Remove tacking.

BUTTONHOLES
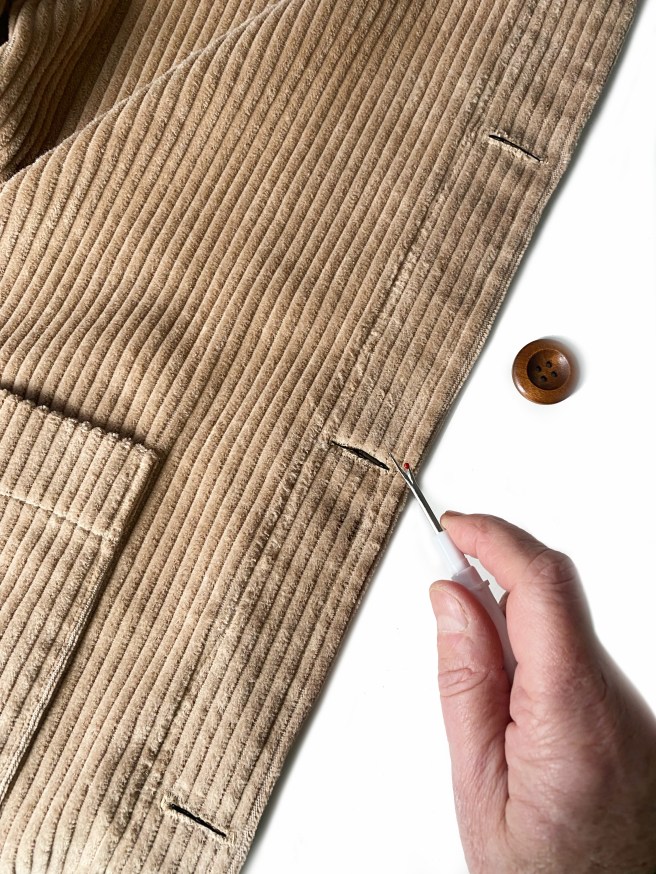
Make the buttonholes in the marked positions or use snap fasteners as shown below in the denim version. Sew on buttons if you have made buttonholes.
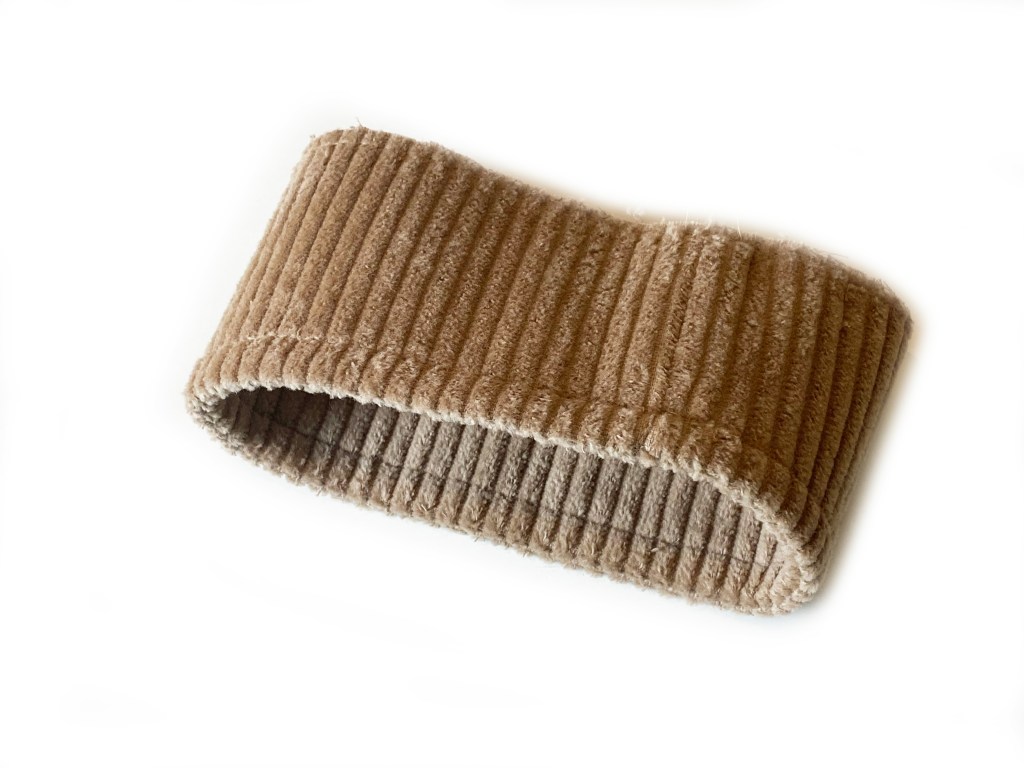
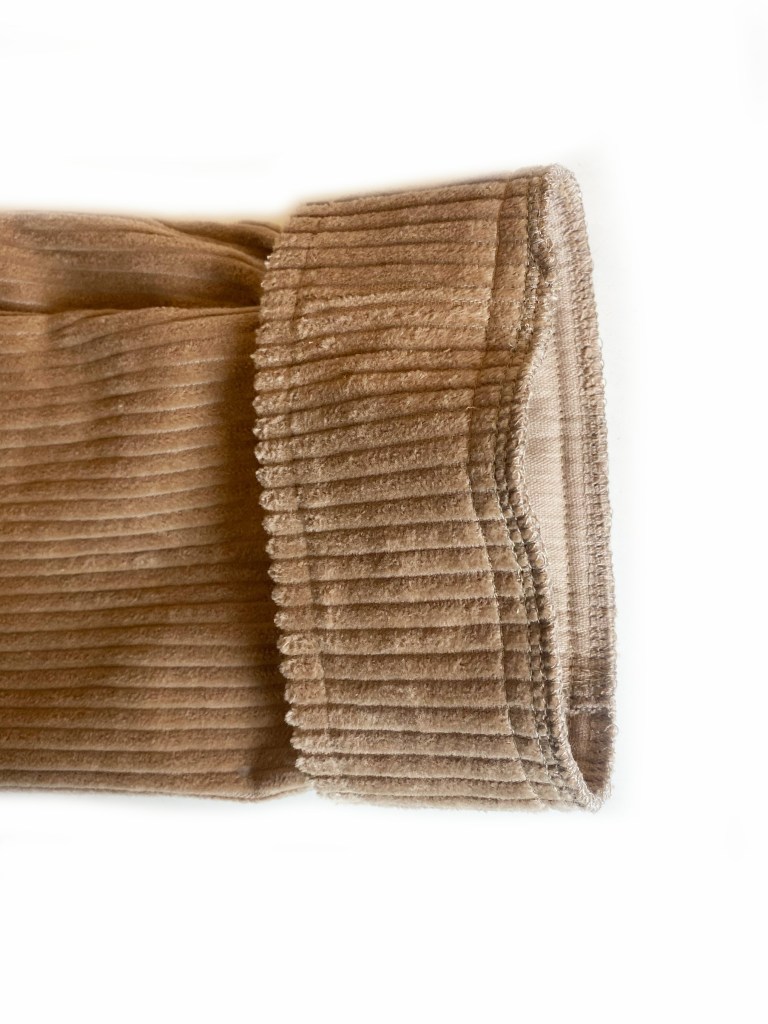
CUFFS


There you have one lovely jacket.


All text and images are subject to copyright. Fiona Hesford. Sewgirl 2025
Please ask prior permission if you would like to use any of the content of this post.
