Peggy Top with hemmed short sleeves Peggy Top with short elasticated sleeves
So here we are at last…..a long awaited top!!! Yaaay!
This one is so chic and versatile too, you can dress it up or wear in a relaxed weekend sort of way. I’ve made the short version in a cool cotton voile and the long sleeved version in a snuggly cotton/linen denim look twill which is lovely and soft. Both these fabrics (and Peggy top pattern) are normally stocked on my ETSY SHOP subject to availability.
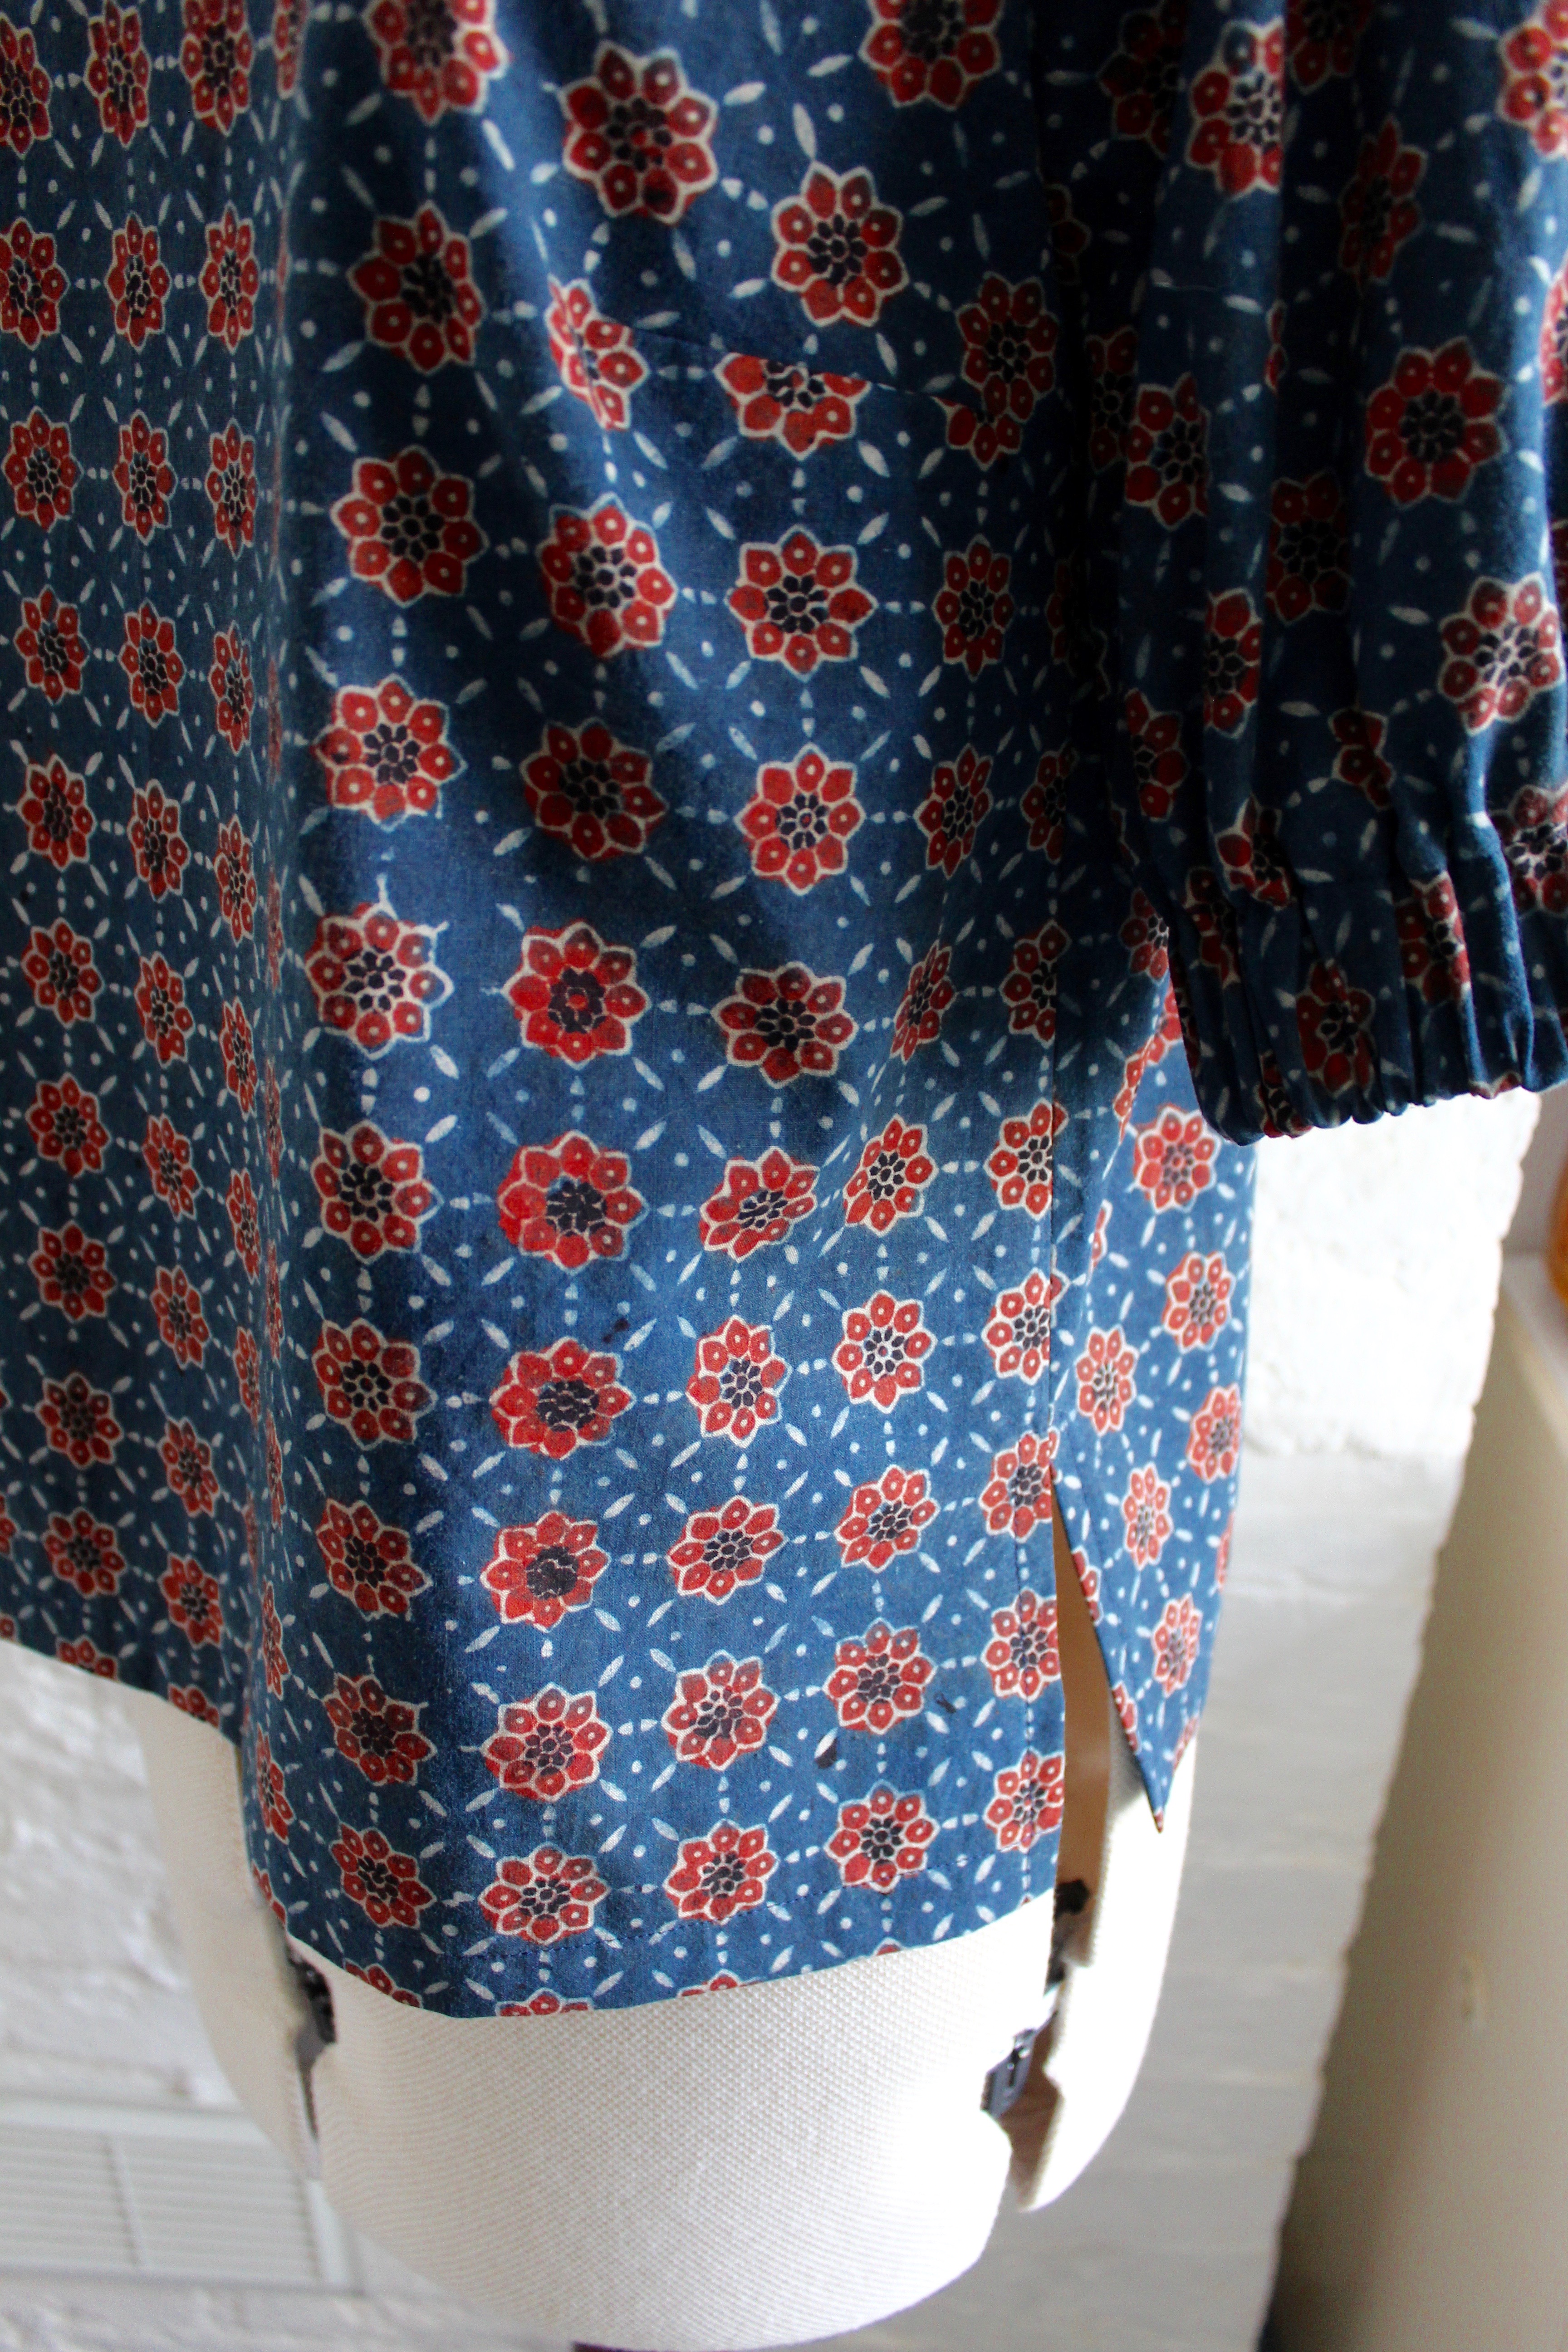
Peggy top can be made in two different sleeve lengths, long or short. You can either just hem the sleeve edge, as shown in the above left picture or add an elasticated channel as shown in the right hand picture to make a lovely subtle puff sleeve effect. It also has a nice side slit opening, so its very comfortable to wear.
The top pattern kit looks like this and comes with fabric, pattern templates, instructions, a piece of elastic, interfacing and a self cover button all packed up in a recycled kraft bag with handles. Yummy!
So let me talk you through this easy to make top. Well, its round necked, boxy shape with bust darts and a rather nice back neck loop and button opening (see below).
Peggy top is suitable for adventurous beginners, so maybe you’ve cut your teeth on cushions and bag projects and would like to try some simple dressmaking, well this would be a perfect starter pattern as its really quite a straightforward make. Why not take a look at this condensed tutorial blogpost and it will give you an idea about whats involved.
Here are some measurements for you to check over. The pattern is good for sizes 8-20 by the way. If you need to make adjustments to the pattern, check out the tutorials such as Adjusting a Bust dart.
Seam allowance is 1cm (3/8″), however if you prefer to use a 1.5cm (5/8″), then just add 5mm to the outer edges (except for those which are ‘Place on fold’).
Finish raw edges with a zigzag stitch or an overlocker.
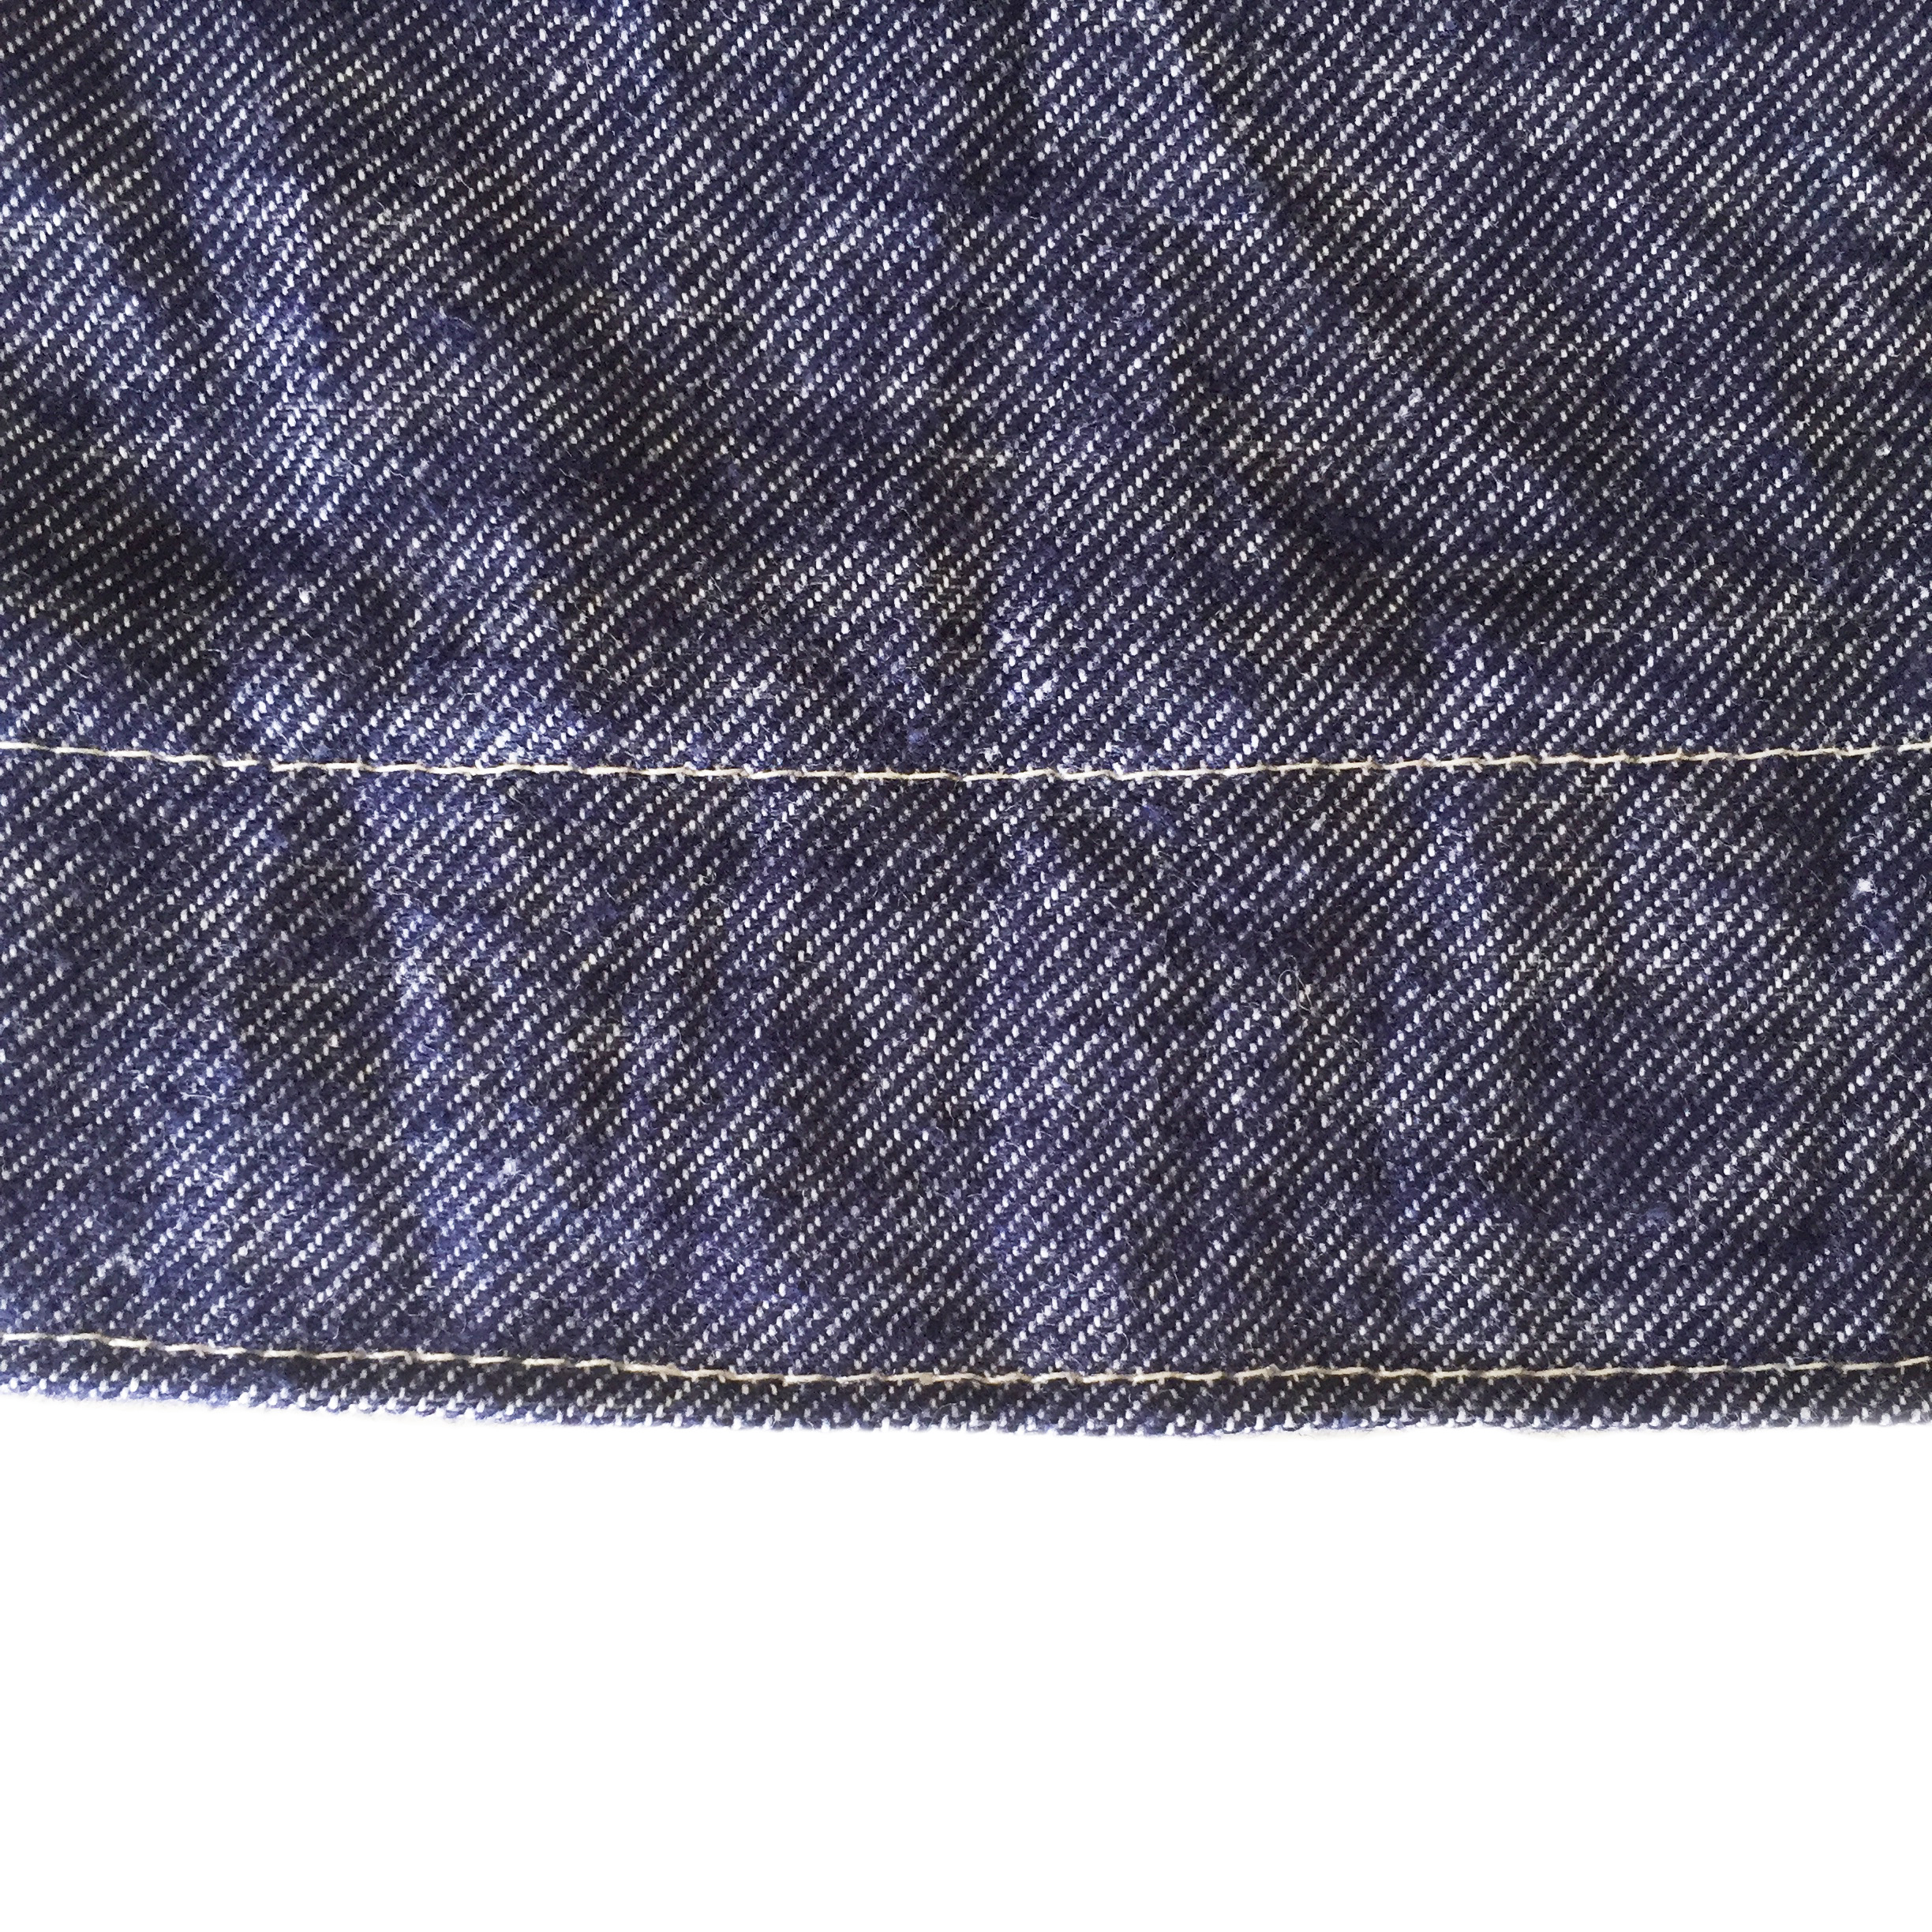
You may like to use a contrast colour thread for the topstitching, as I did with the long top to get that ‘jeans’ stitch detail. You don’t need a special topstitch thread in particular, just a colour that will show up).
CUTTING GUIDE – are all shown in the instructions booklet.
HOW TO MAKE PEGGY TOP
On the pattern you can see lots of lines for each Dart size. Each size has two lines: one (outer line) is the ‘cutting’ line and one (inner line) which is the ‘stitch’ line. See the diagram below, Ive marked size 8 Dart lines in yellow (cutting line) and pink (stitch line), to show you more clearly. Its a good idea to mark the required two lines as I have done on your pattern to make them easier to see.Fold the dart so that the RST(right sides together) and the dart raw edges are aligned. Mark your stitch line using a ruler and pencil which runs 1cm parallel to the cutting line.
Sew along the ‘stitch’ line, leaving long thread ends which are tied together and trimmed. Press the darts downwards.
Finish the raw edges of the centre back. Sew the back pieces together with the right sides together, leaving the top section unstitched. Press.
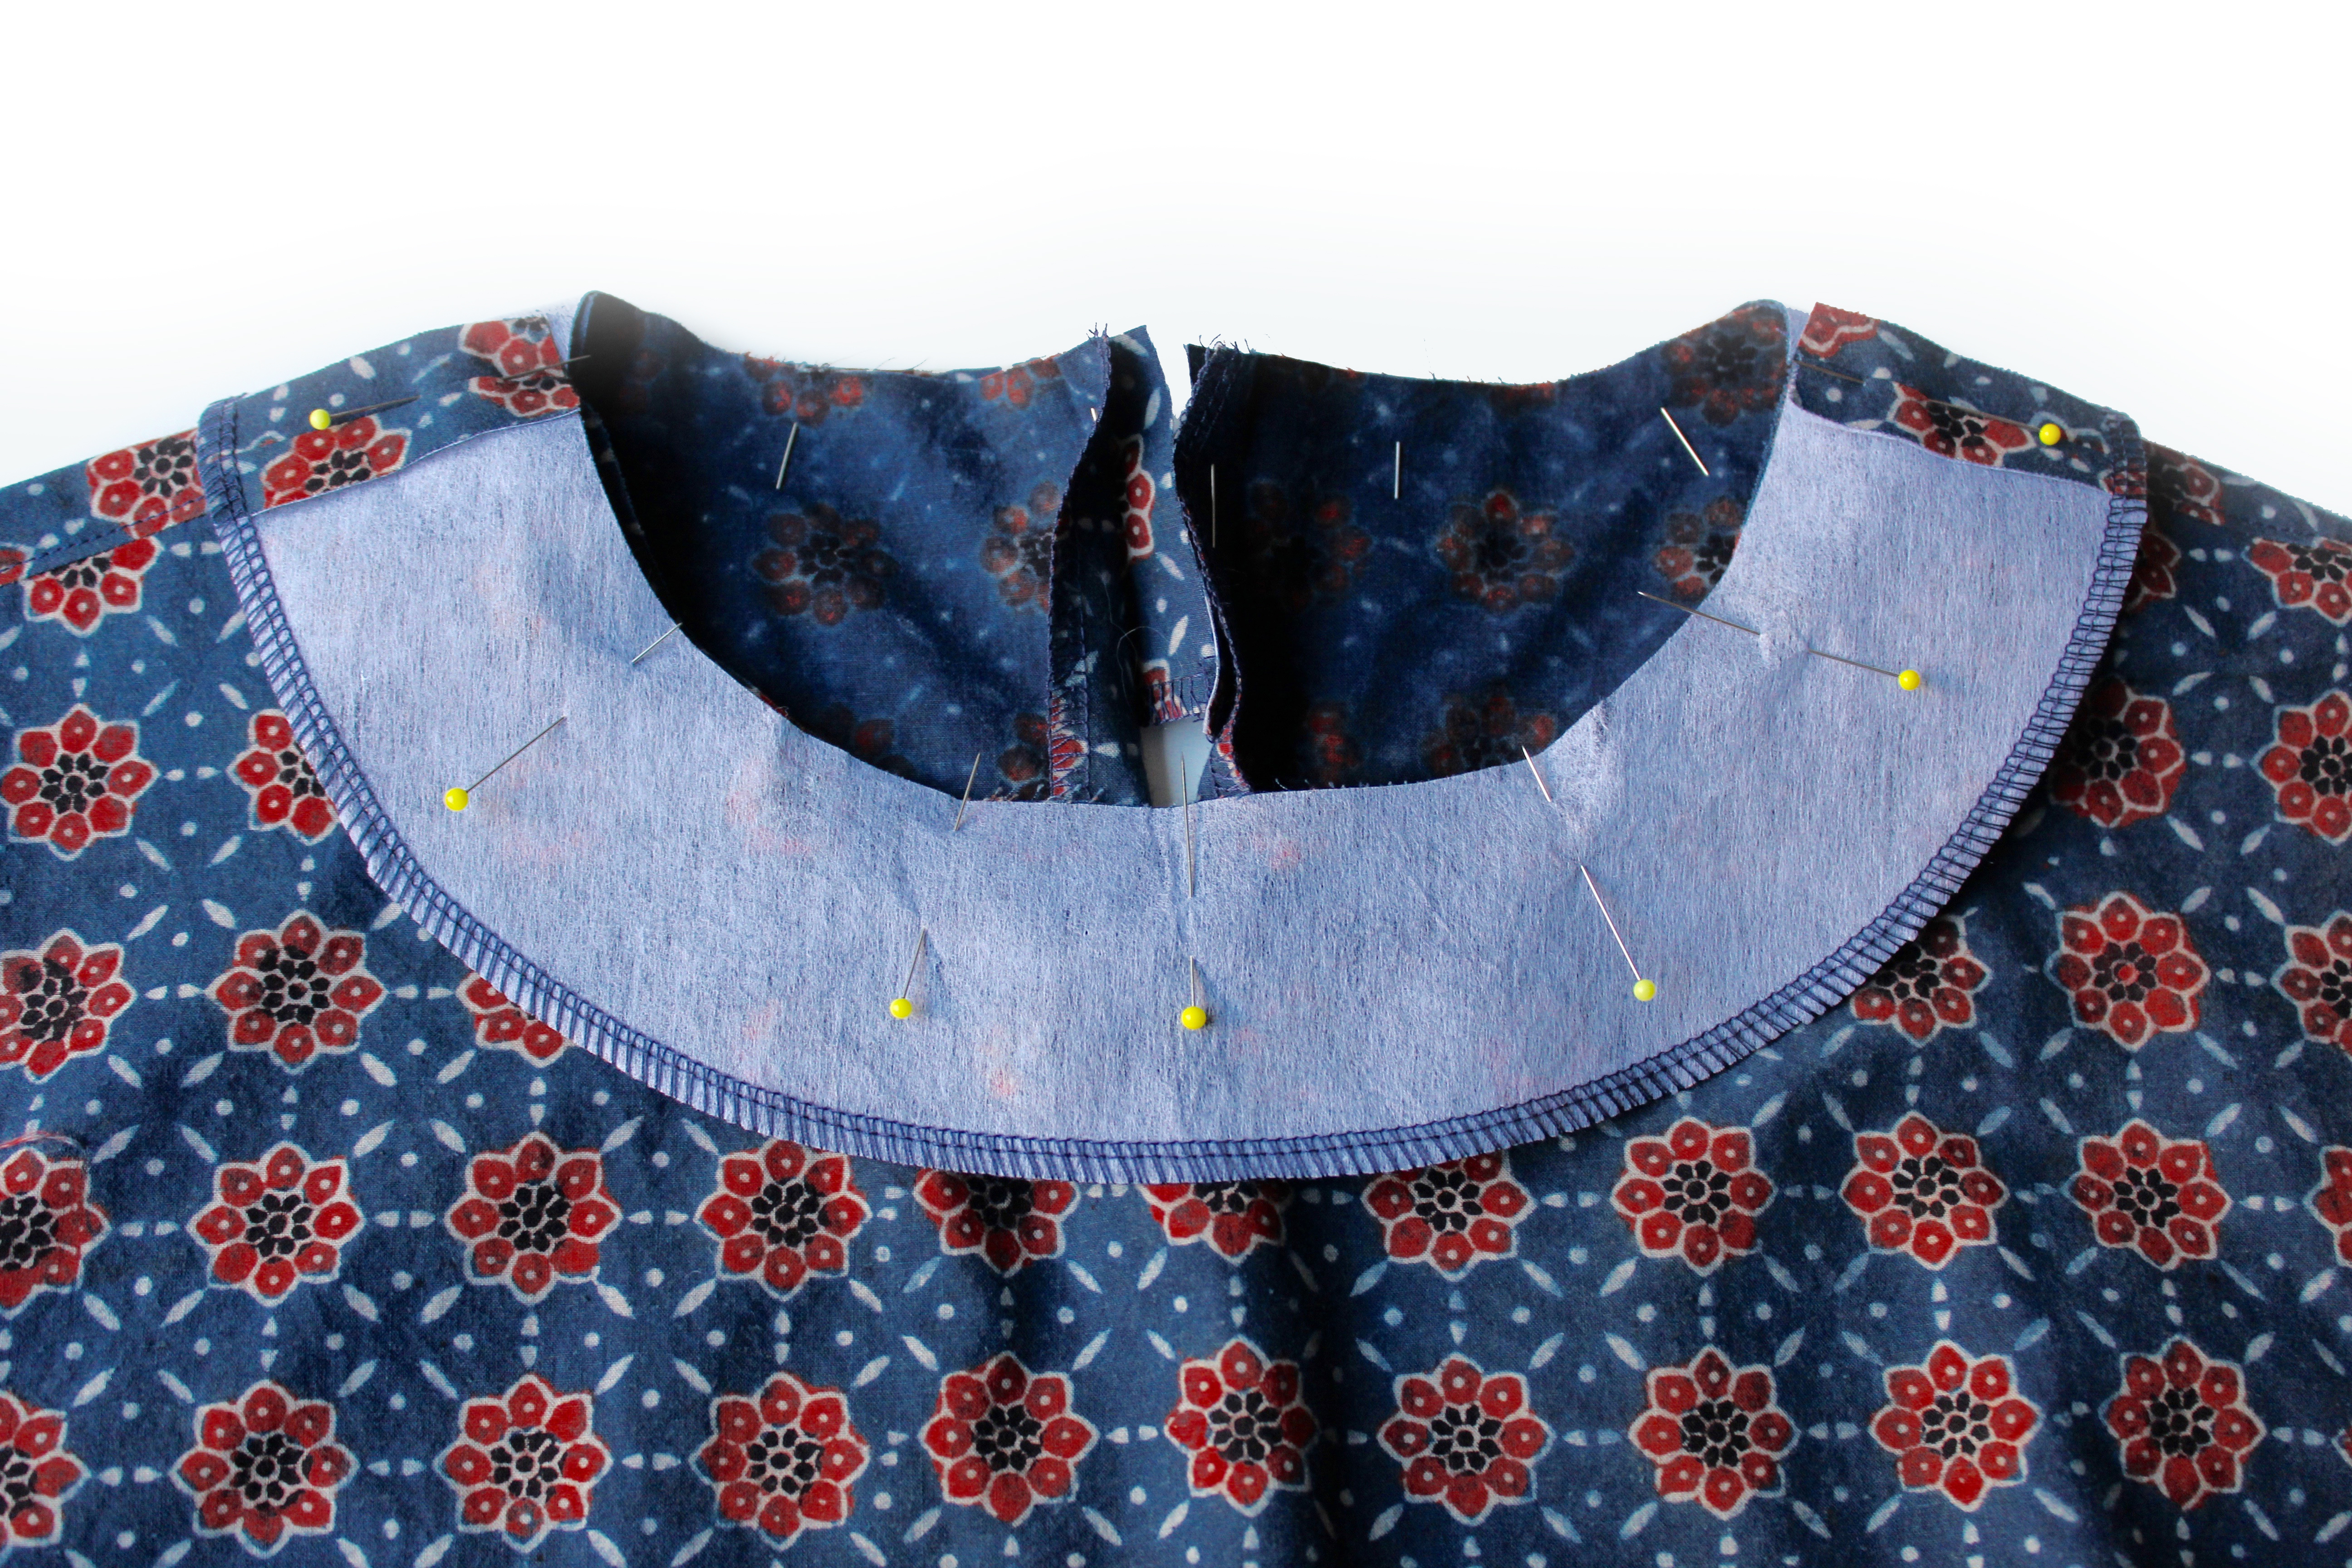
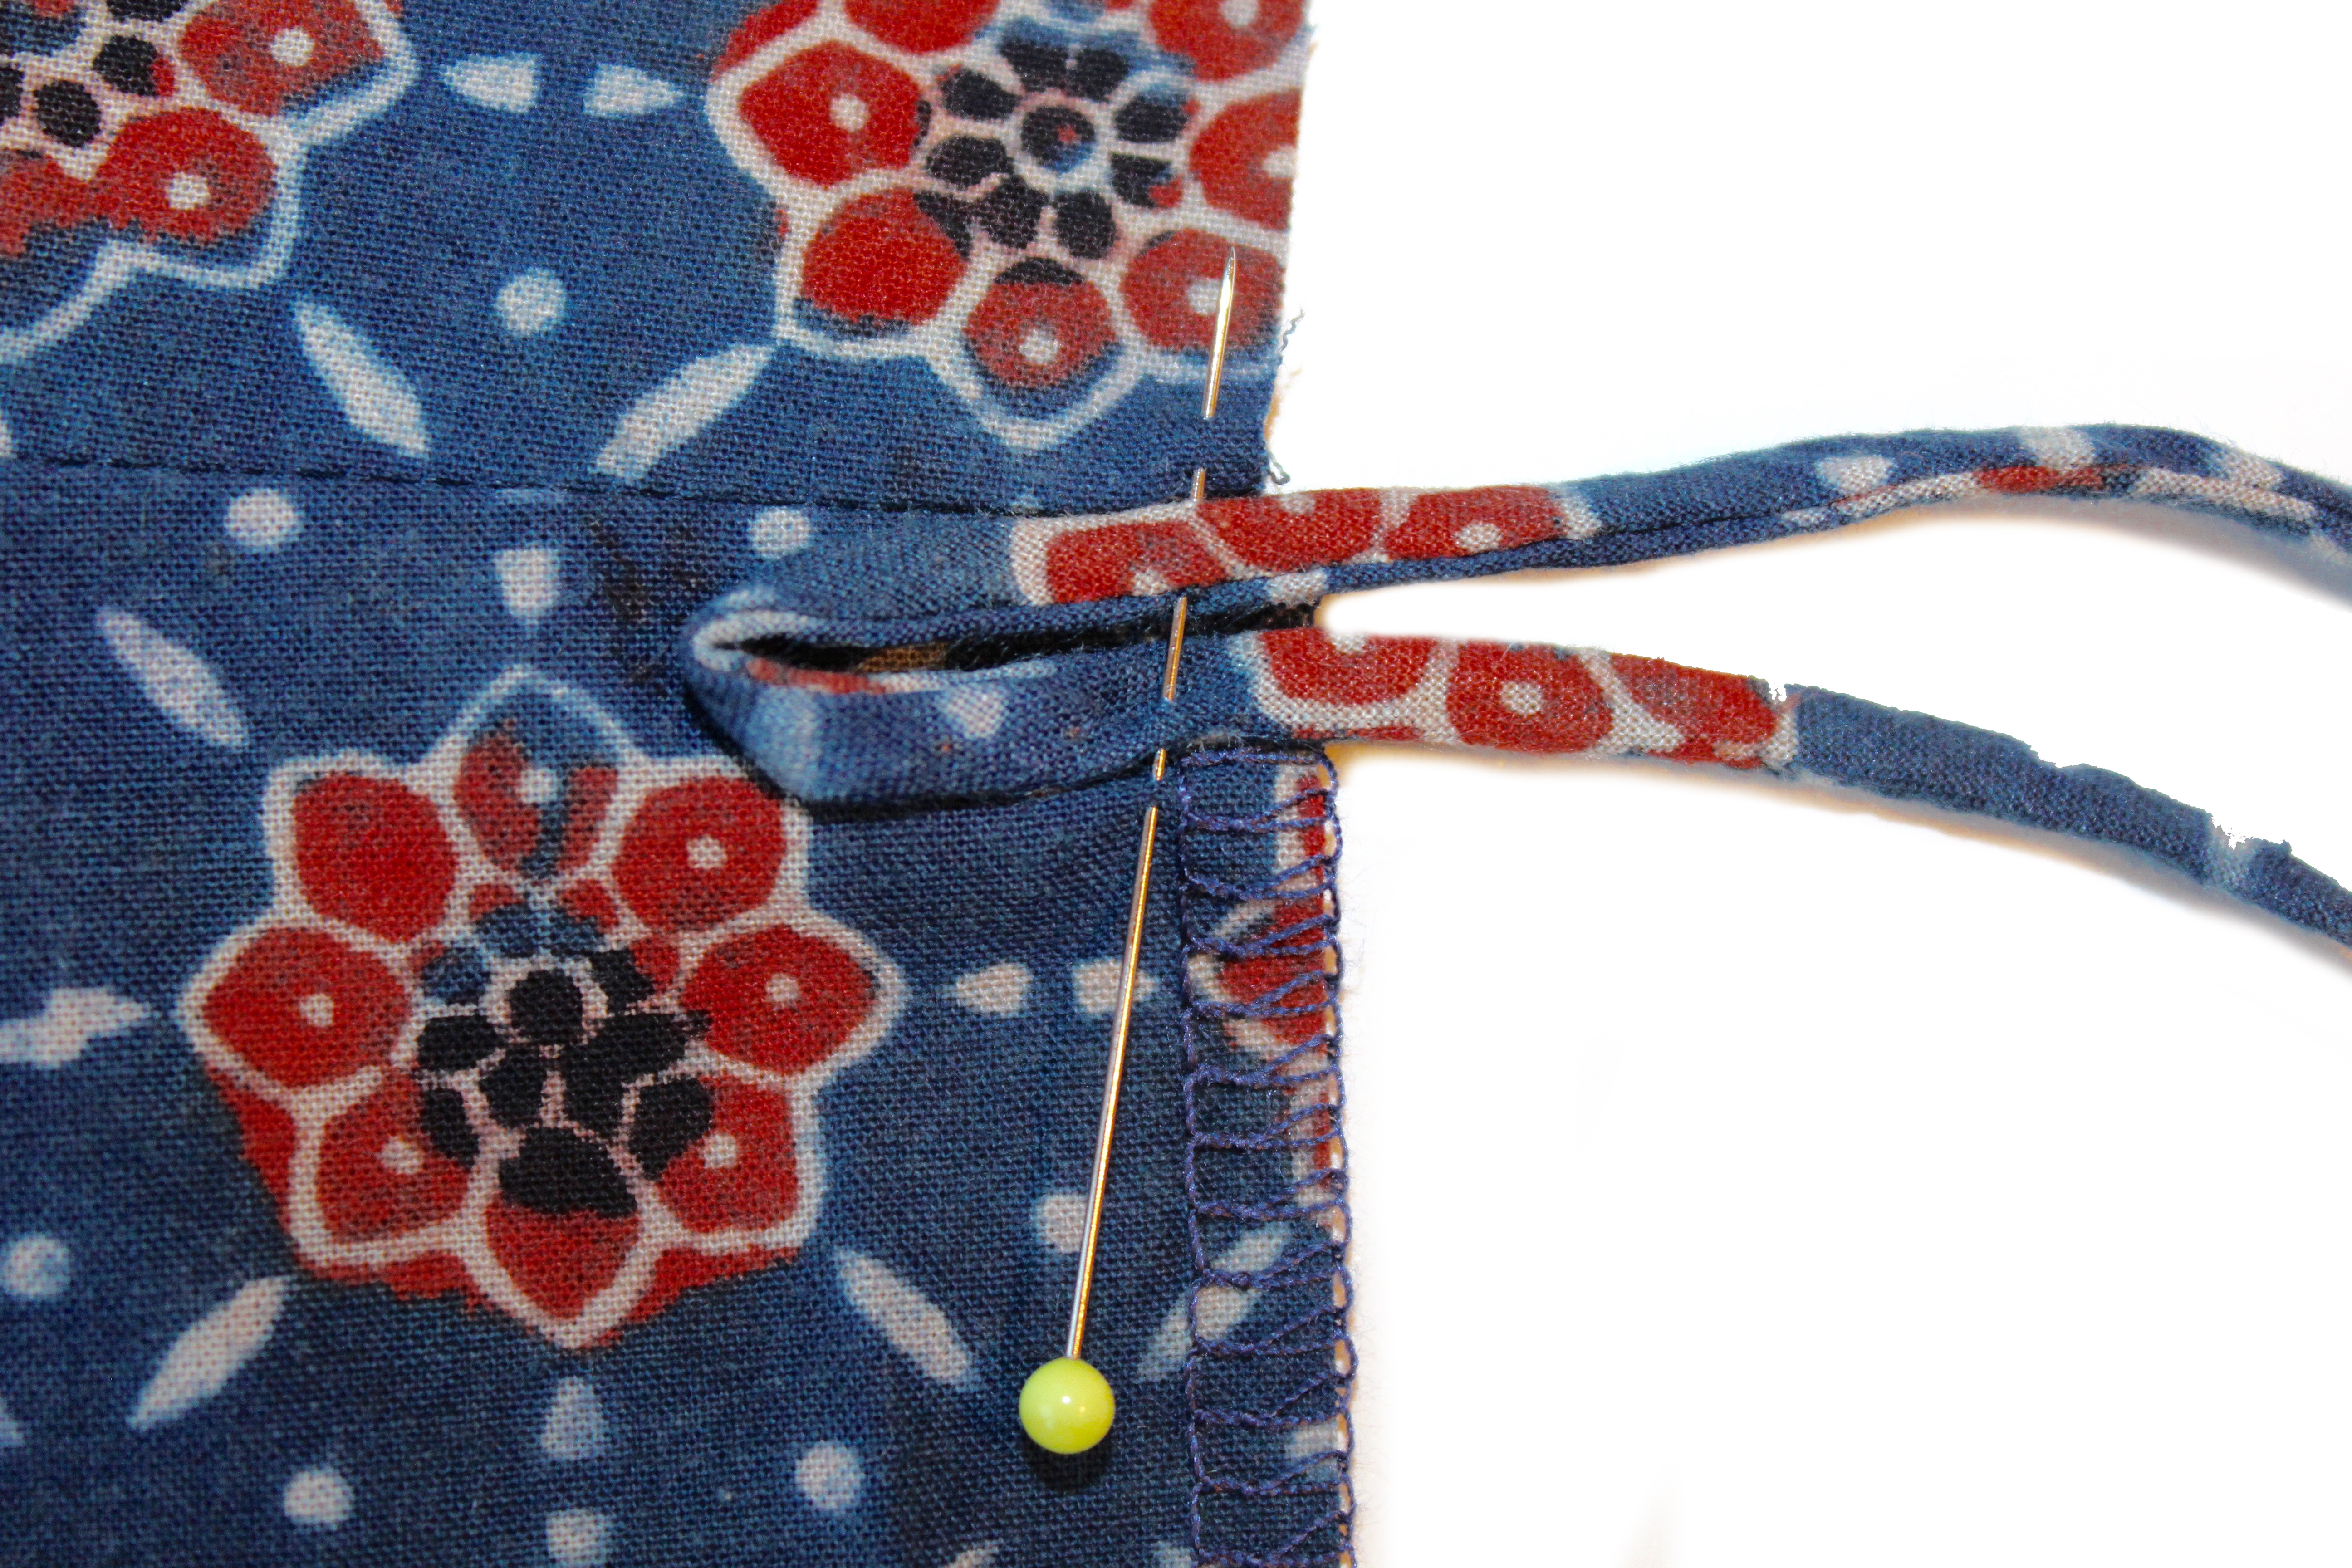
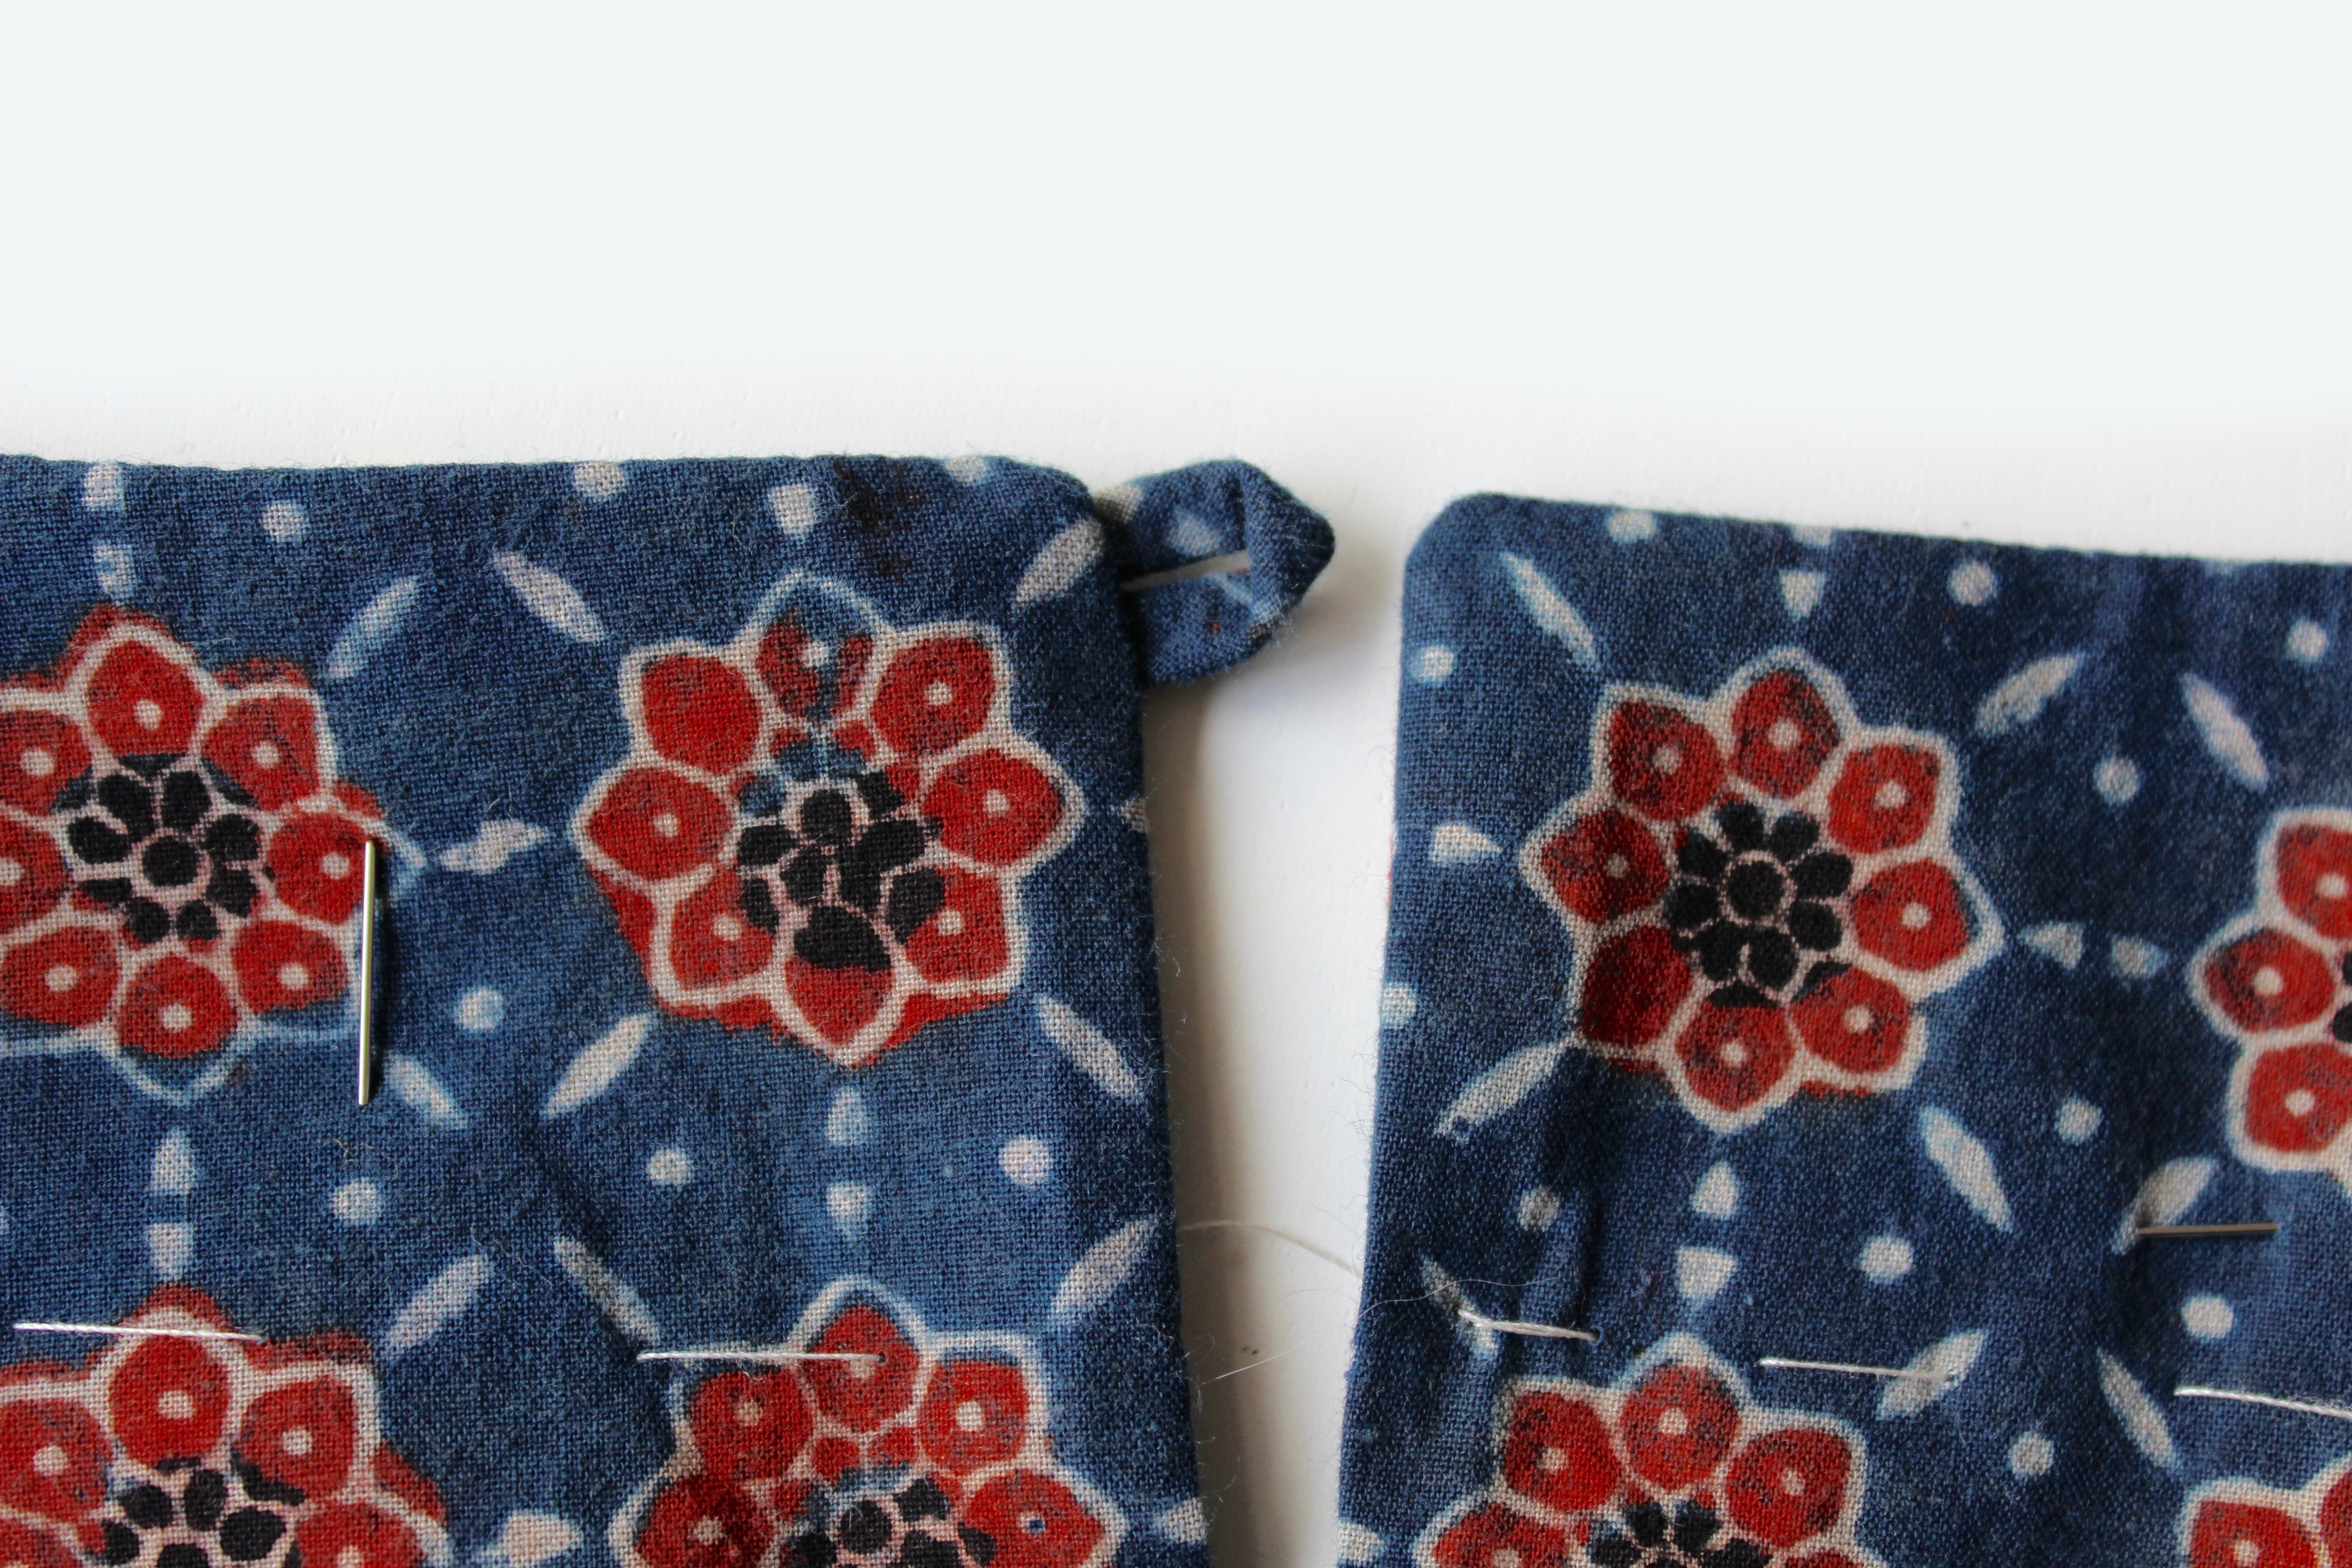
Join the front to back at the shoulder edges. Finish the raw edges. Press them towards the back, then topstitch on the right side. Stay stitch around the neck edge (a line of stitching within the seam allowance to stop the curved section from stretching). Join the facing pieces at the short edges. Press the seam allowances open. Finish the outer edge only. Pin the facing to the neck raw edge. Sew. Nick the seam allowance with small V’s. Careful not to snip your stitching! Press the facing away from the body. You’ve prepared your rouleau as described in the instructions. Pin to the back neck opening just below the seam as shown above. You will need to adjust it to fit your button. Tack stitch to secure. Fold back the facing at the short sides and stitch down the opening edges to secure the rouleau underneath. Trim your seam allowance corners and any excess rouleau ends. Turn the facing to the reverse side, pushing out the corners with a poking tool. Out pops your lovely loop! Pin the front to back at the side edges below the armhole. Finish the raw edges. Press.
SHORT ELASTICATED SLEEVES (For long sleeves scroll down to the next section….)
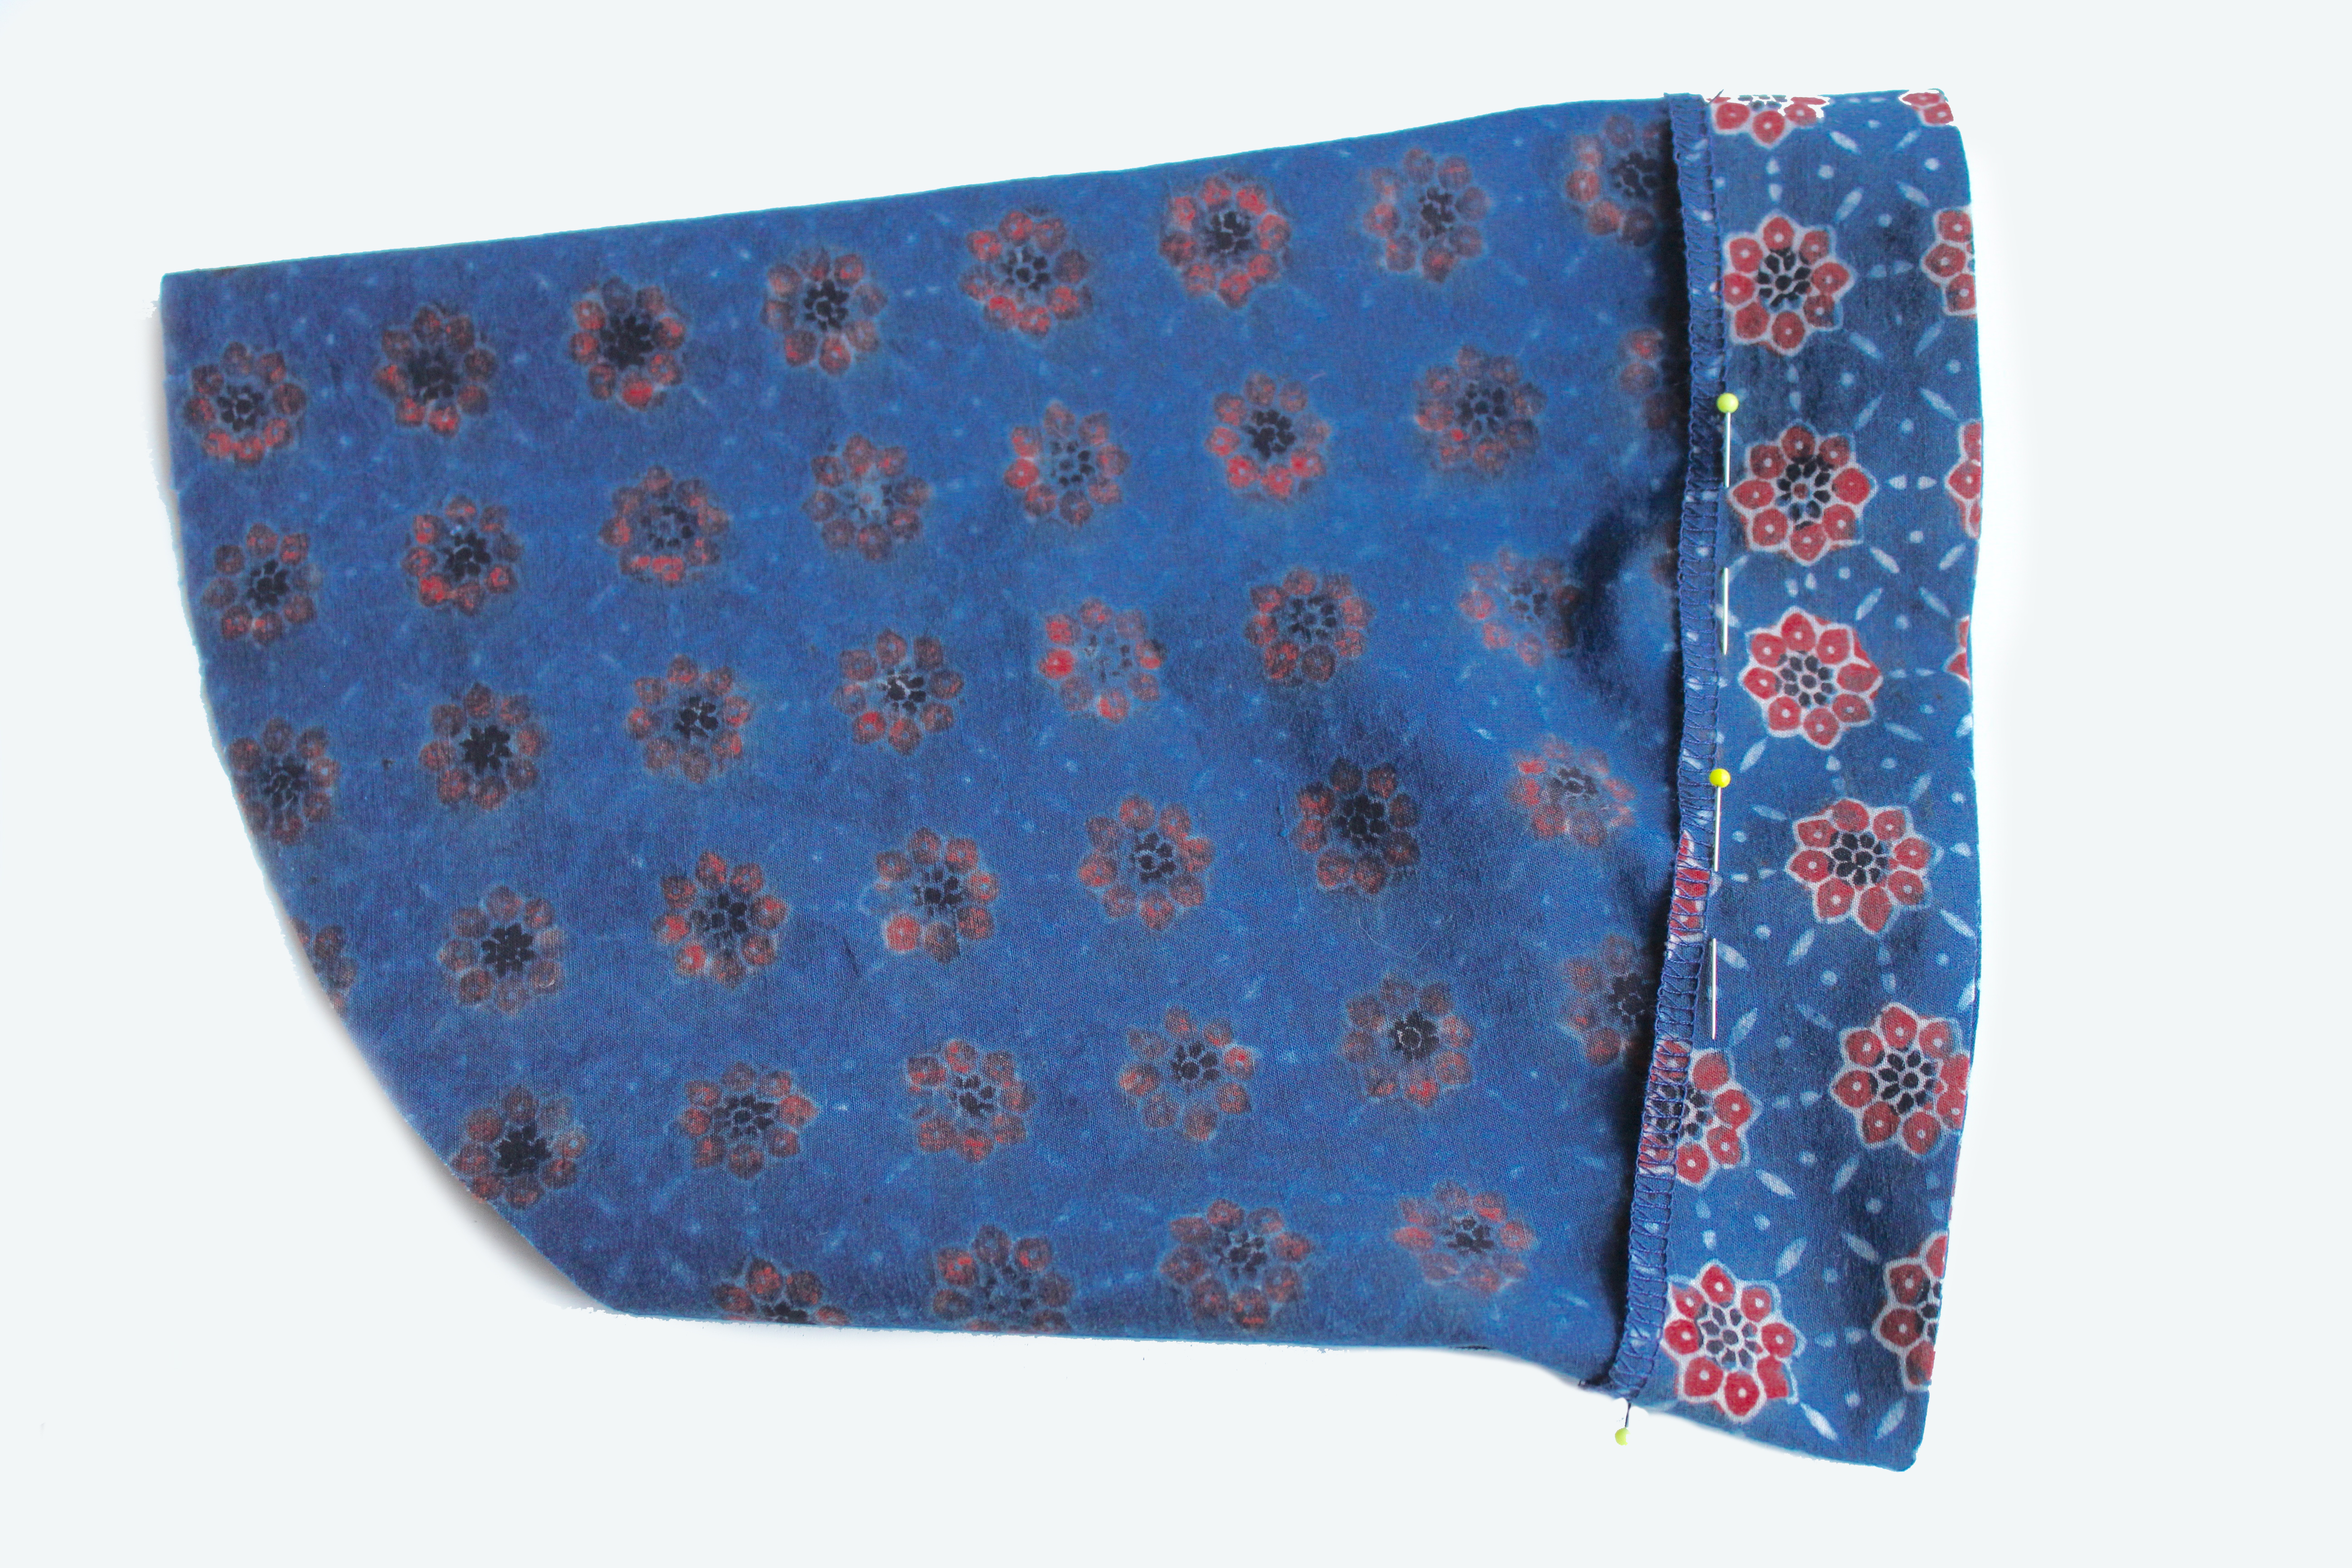
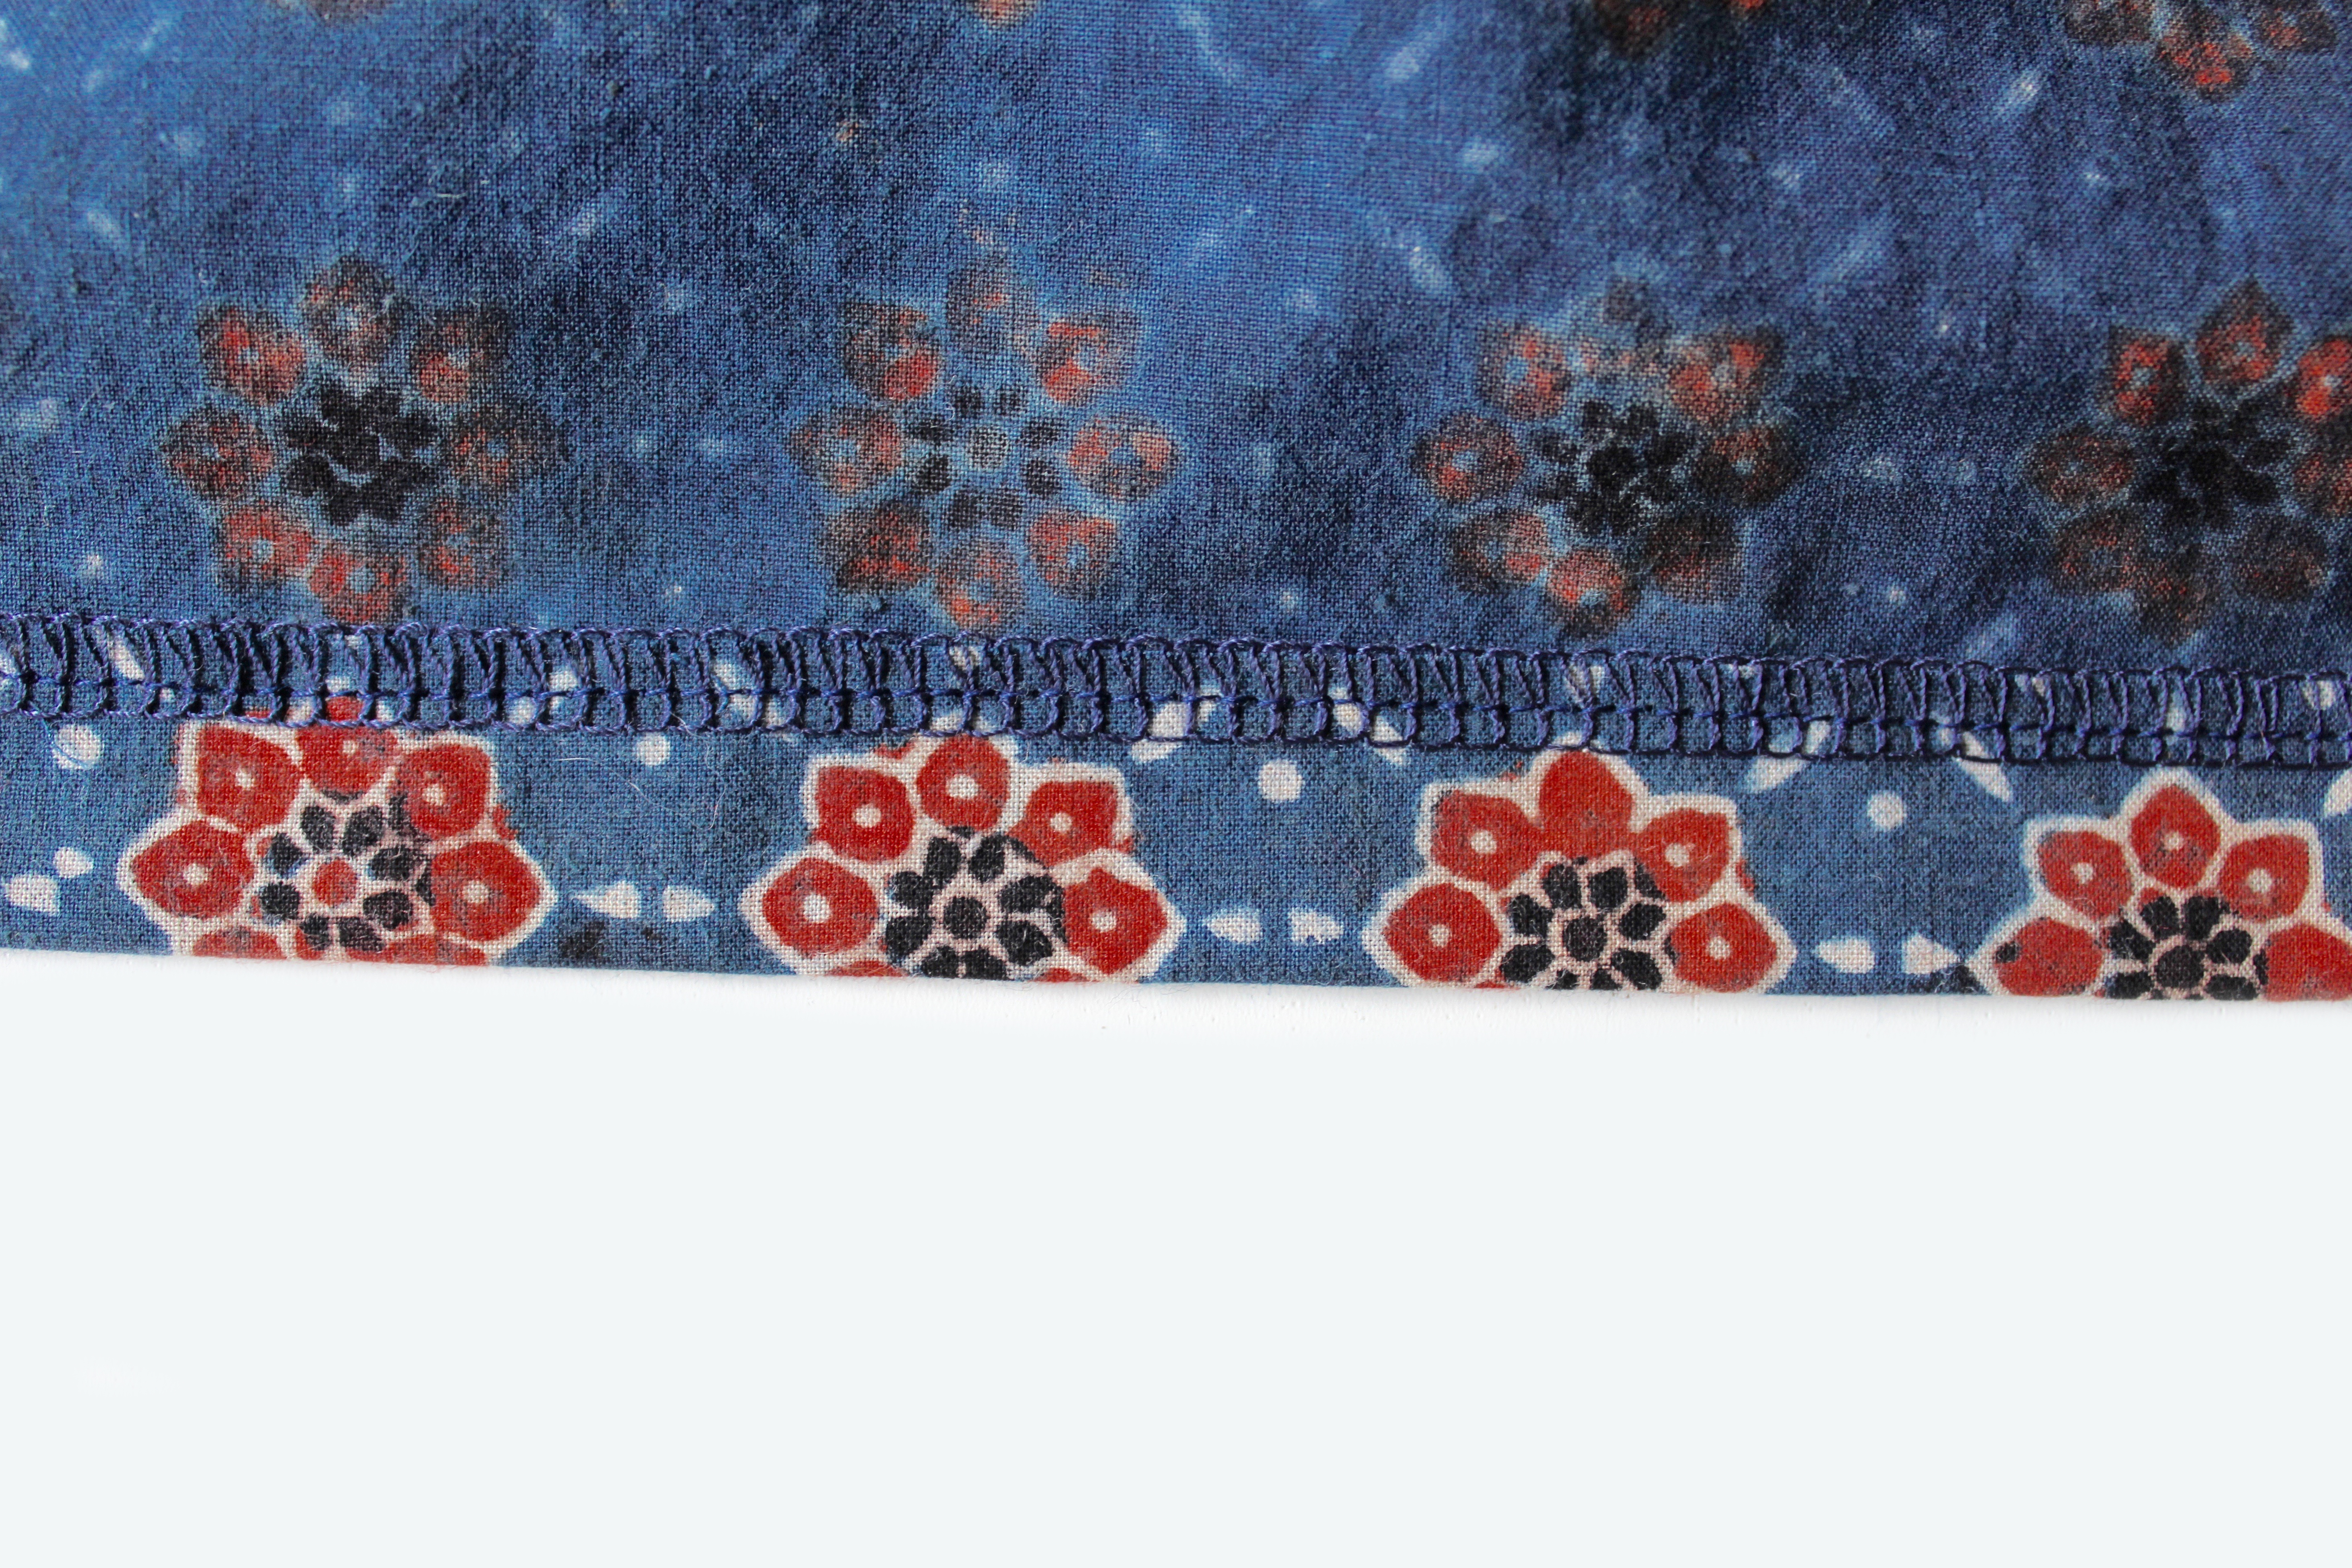
Pin the sleeve together at the side raw edges. Sew. Finish the raw edge. Press. Repeat for the other sleeve. Now make either just a simple hem at the edge or if you prefer an elasticated cuff, continue to the next section and follow the instructions below. Pin the Elastic channel piece together at the short edges. Press the seam allowances open. Pin the longest edge to the sleeve cuff edge with the right sides together. Press away from the sleeve. Fold back the elastic channel so that the seam line is aligned with the fold. NB. If you don’t have an overlocker you could turn under a small hem to neaten the edge. Pin. Sew close to the edge leaving a 4cm opening at the side seam section. Feed in the elastic (cut to size) with a safety pin. Sew together at the ends when you are happy with the fit. Sew up the opening. Ease the elastic evenly.
LONG ELASTICATED SLEEVES
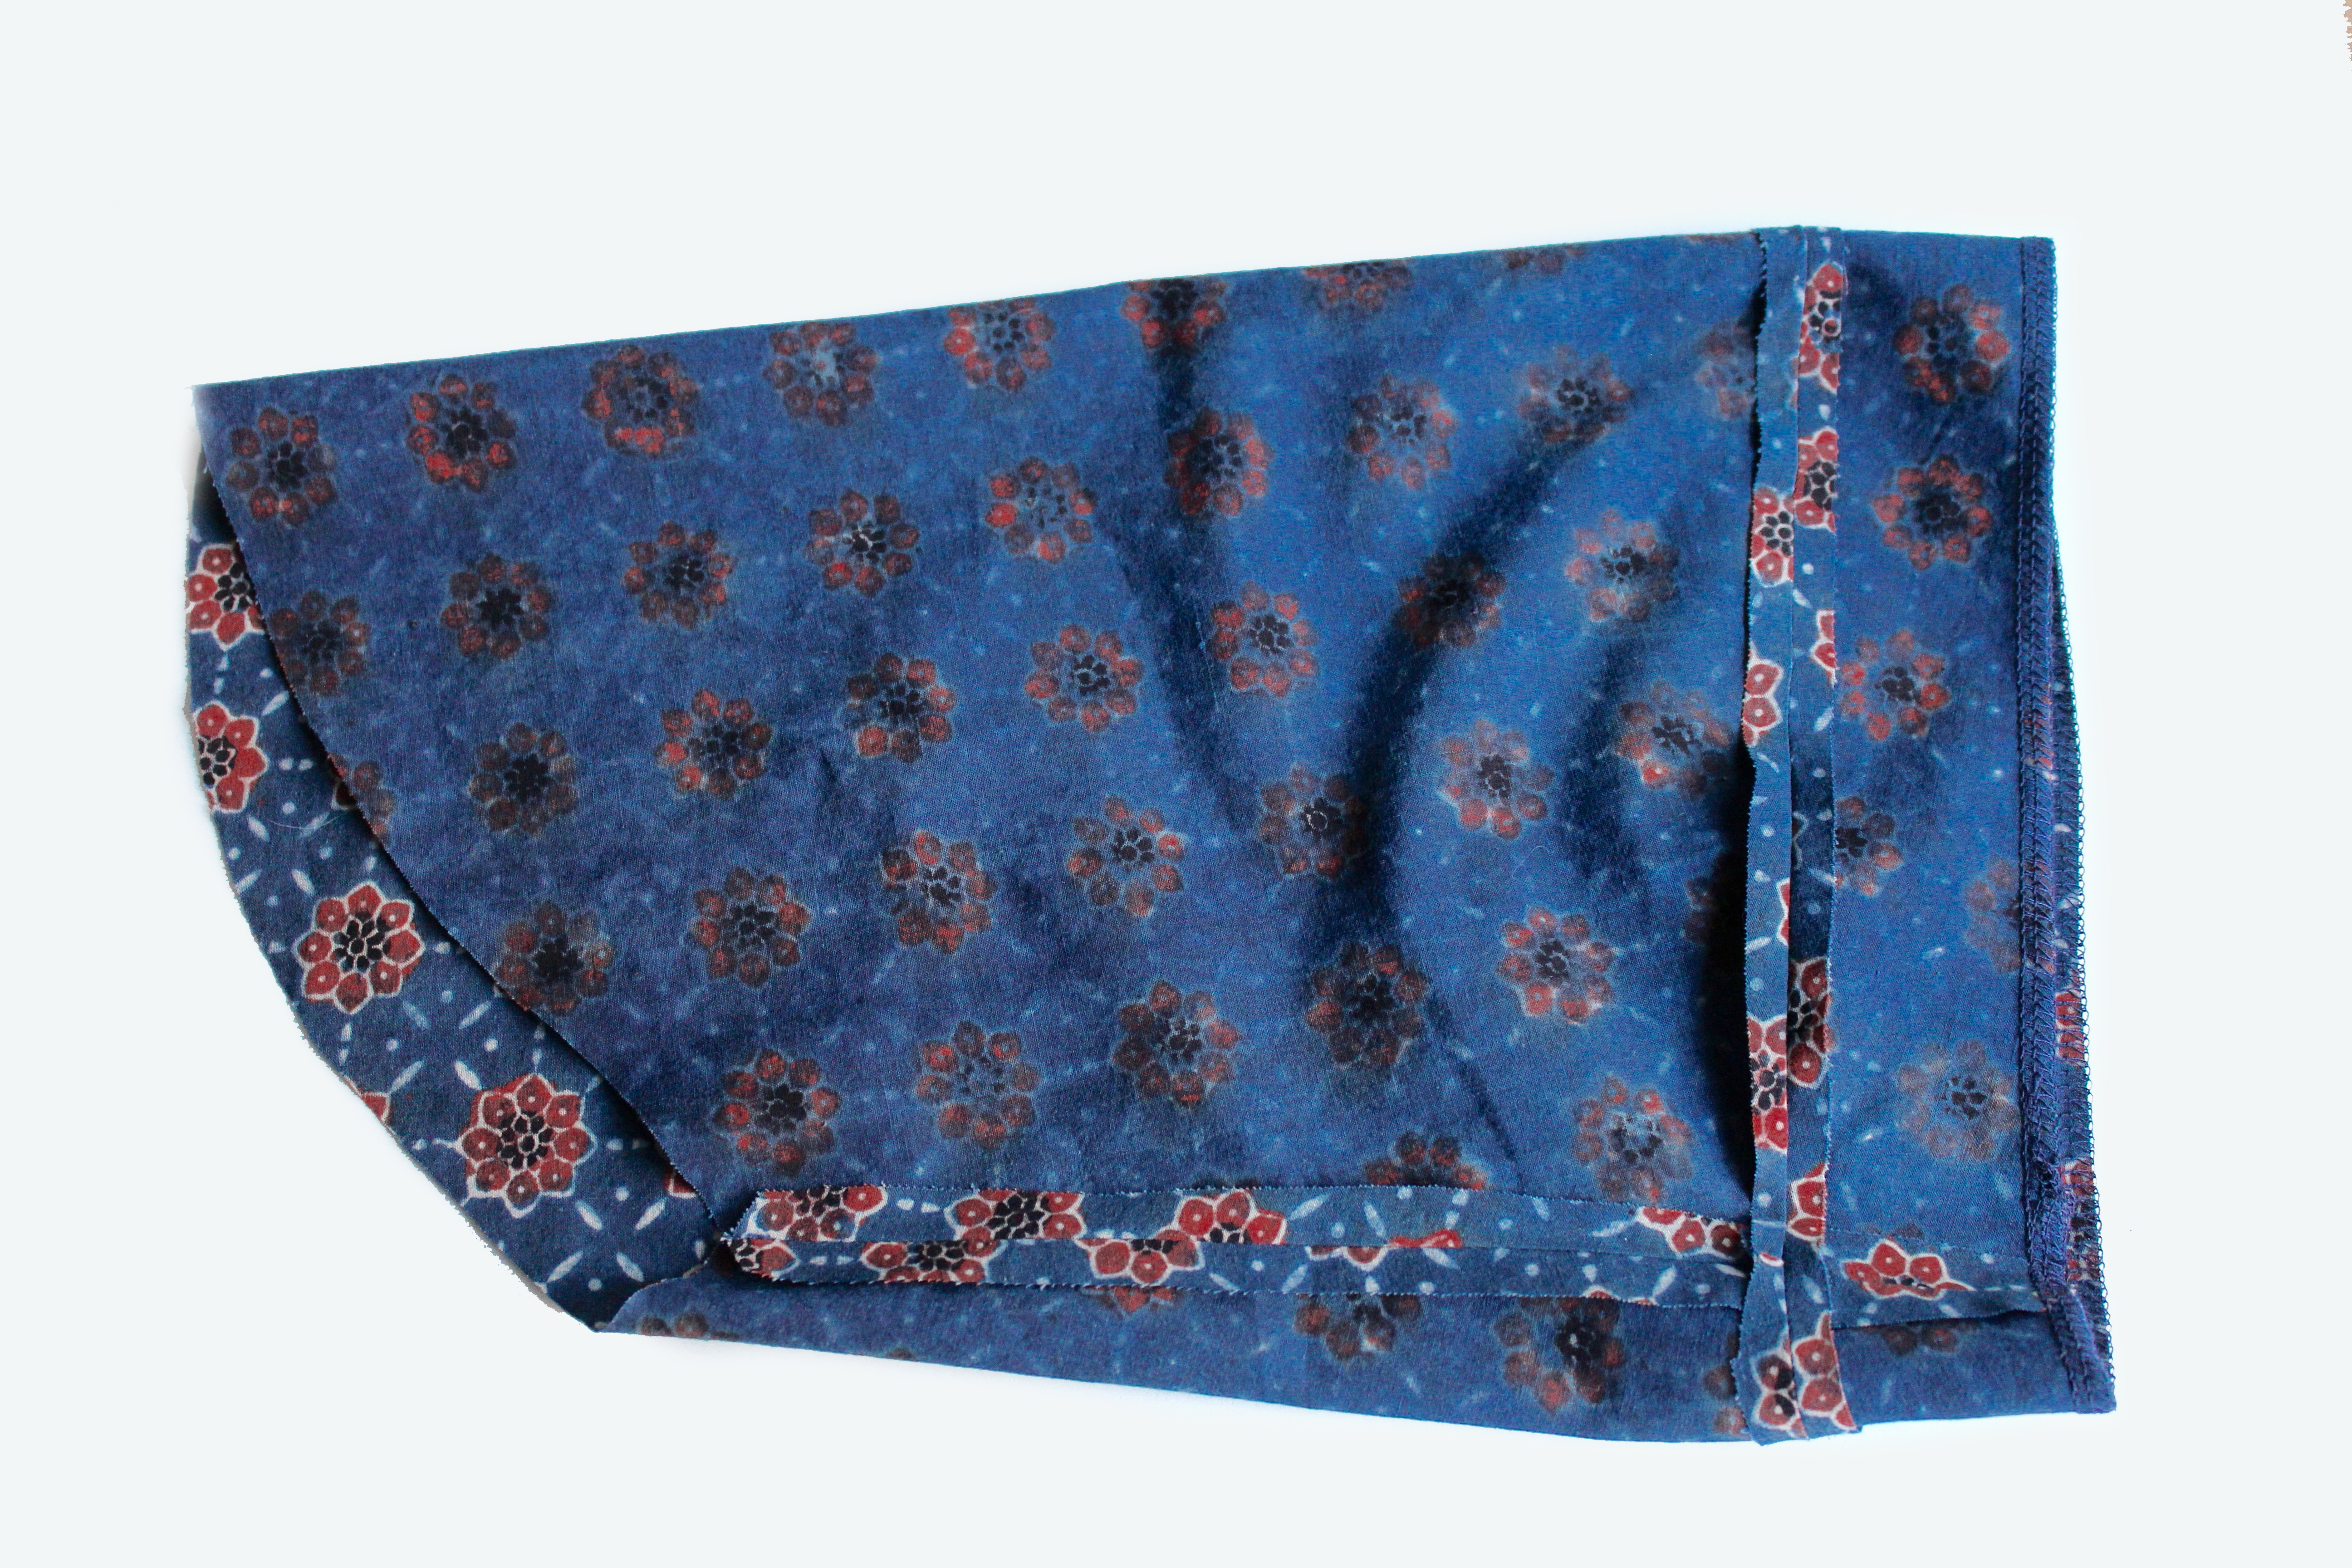
Fold over 1cm then again 3cm at the cuff edge, press. Stitch all around, leaving a 3cm opening. Stitch again 3mm from the far outer edge ensuring you have left a 25mm space for the elastic. You can see here there are two lines of stitching one to secure the hem at the outer edge and one just inside the outer cuff edge. Insert the elastic (cut to size) into the hem with a safety pin, adjust to fit comfortably. Sew the elastic ends together securely. Sew up the opening. Pin then hand tack the sleeve to the armhole, making sure you align the back section of the sleeve head (as indicated by two notches on the pattern) to the back. Sew. Finish the raw edge. Repeat for the other sleeve. Press the seam allowance towards the sleeve and topstitch. Hem the lower edge. Topstitch around the side slits to finish them off nicely.
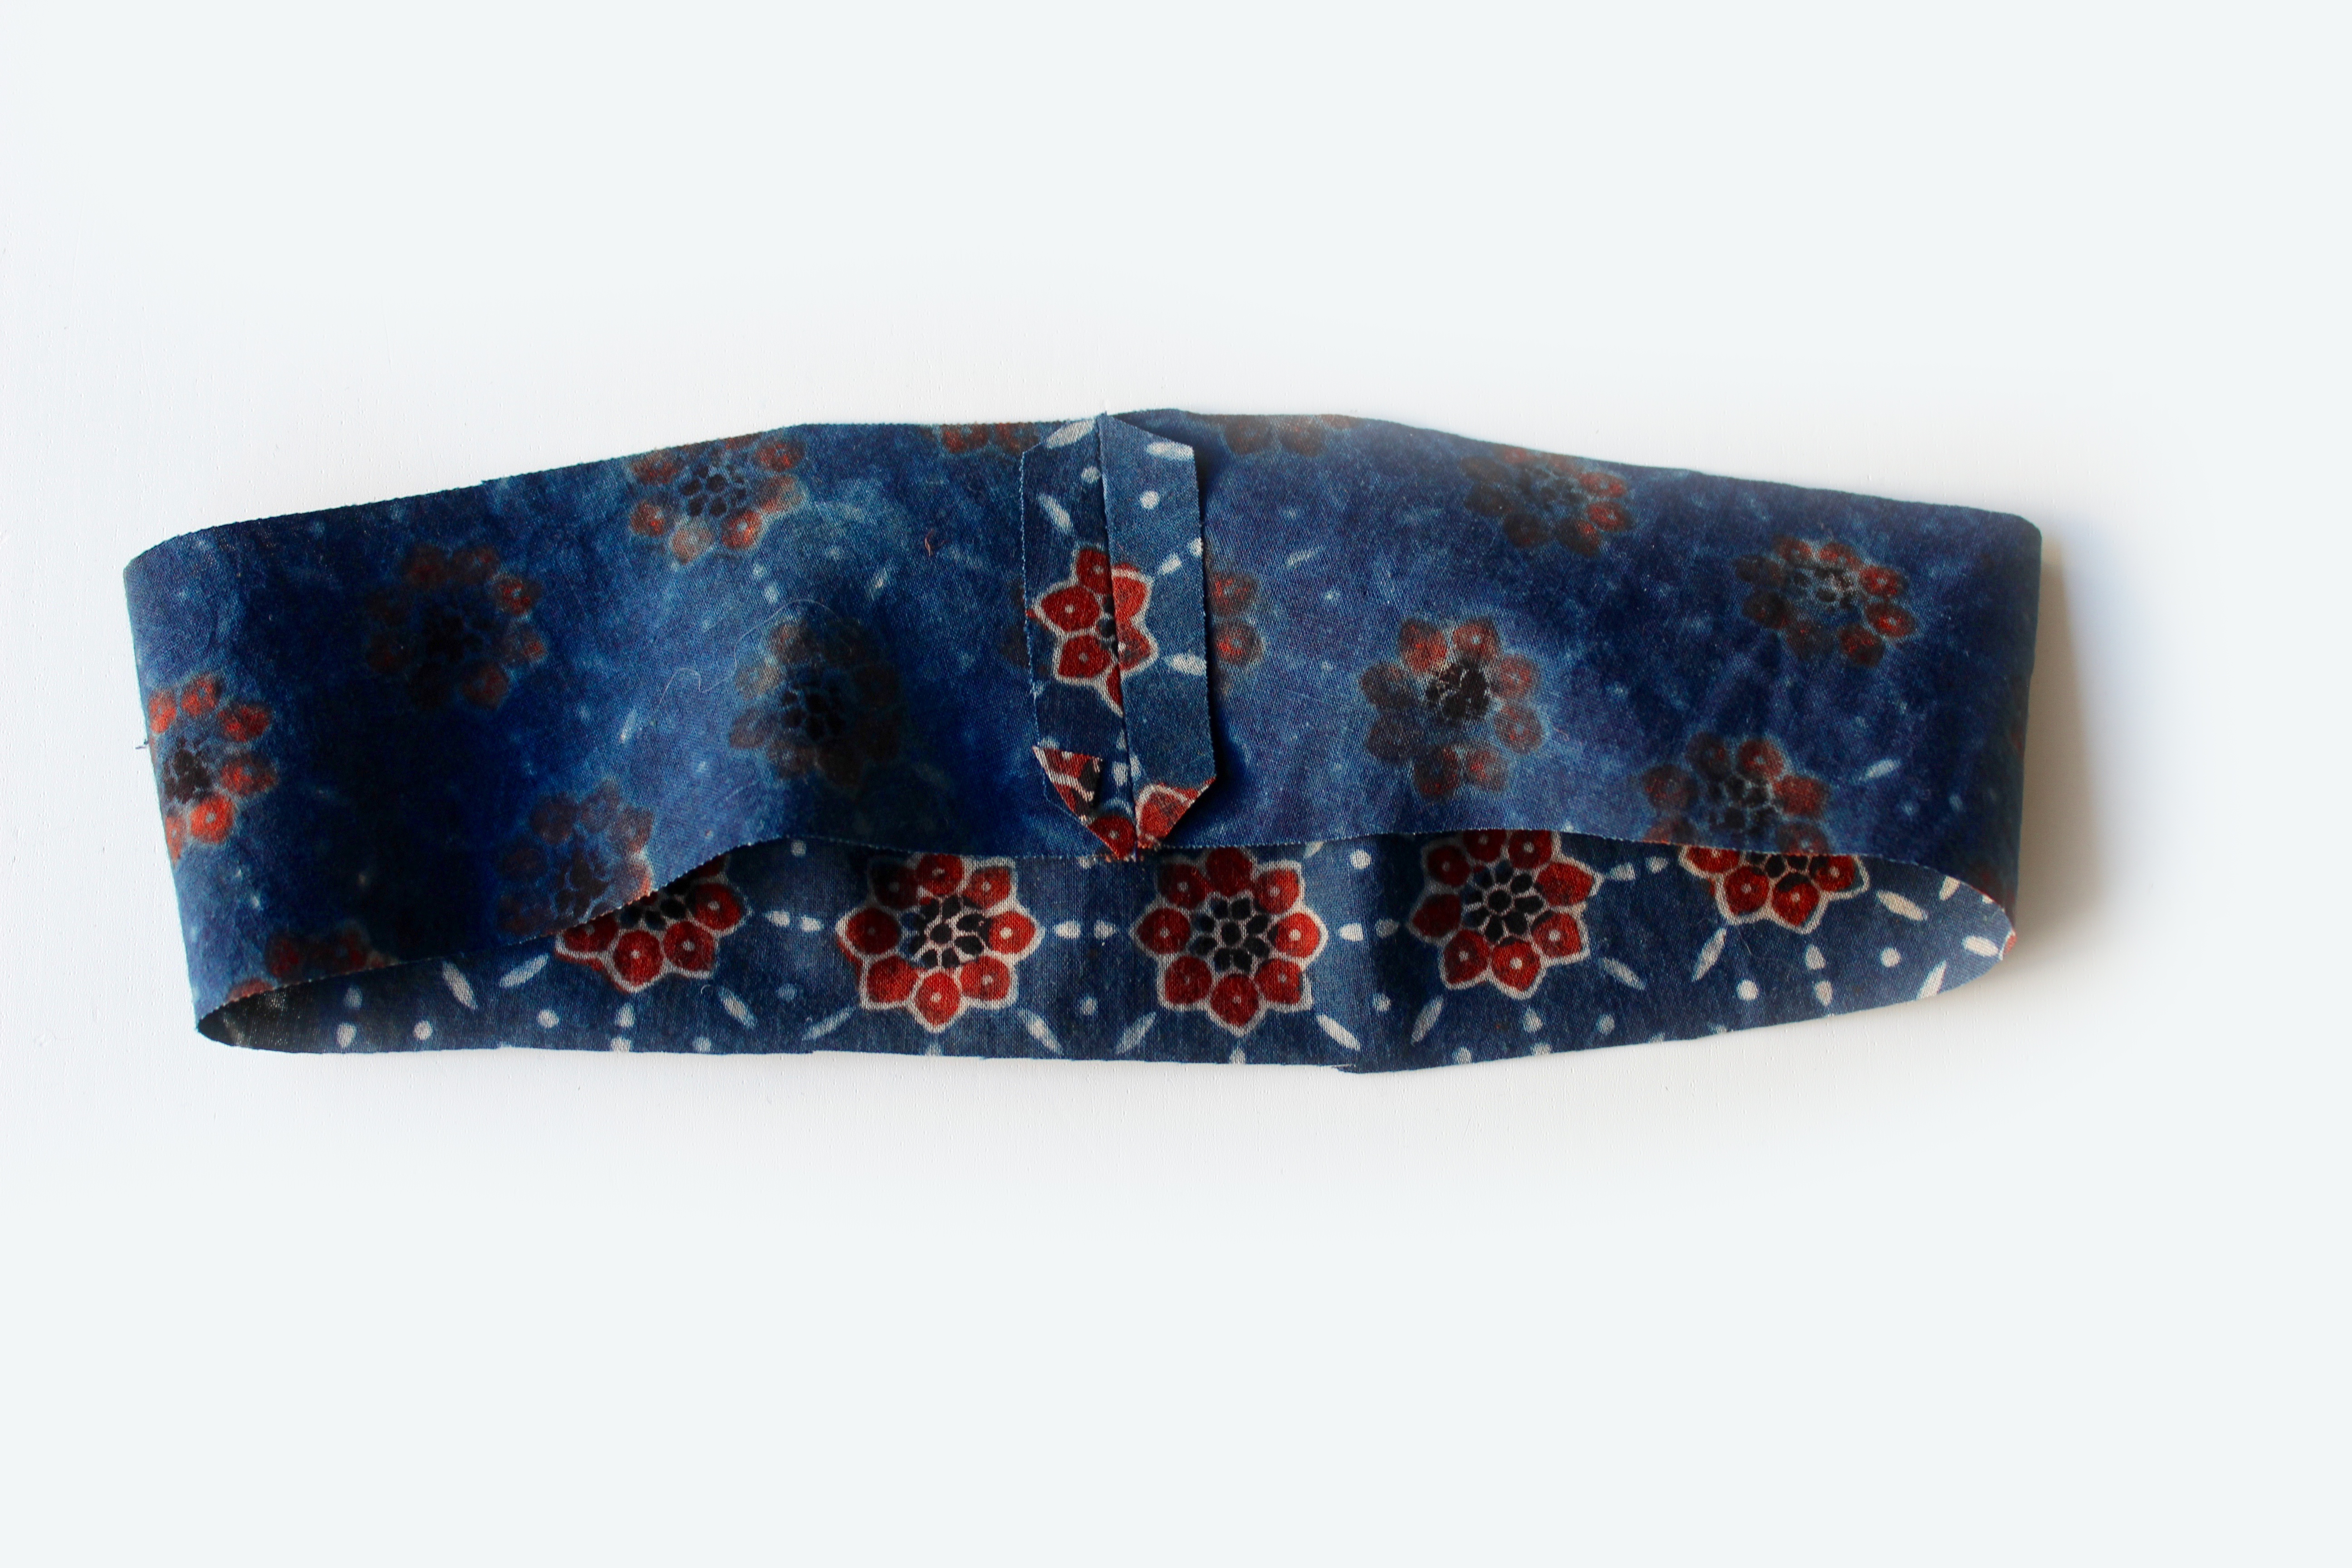
Self cover buttons… (who doesn’t love a covered button? )
For a 15mm button, cut a piece of fabric approx 25-30mm in diametre. Sew a line of running stitches around the outer edge, pull the threads to gather up the fabric. With the button back placed to one side, pop your button head into the crater and pull the threads some more so that it tightens around the shank. Tuck the raw edges under the claws. Insert the button back on over the shank and push firmly until you hear it snap together. Sew your lovely button on to the back neck opening opposite the loop. I’m very chuffed with my new Peggy top!
All text and images are subject to copyright by Fiona Hesford. Please ask permission if you wish to use any content.
Hi Sandra – I assume you mean the Hilda tunic hack frill sleeves ? Yes I think this would work really well for Peggy top too. Best regards Fiona at Sewgirl
 Peggy Top with long sleeves


 On the pattern you can see lots of lines for each Dart size. Each size has two lines: one (outer line) is the ‘cutting’ line and one (inner line) which is the ‘stitch’ line. See the diagram below, Ive marked size 8 Dart lines in yellow (cutting line) and pink (stitch line), to show you more clearly. Its a good idea to mark the required two lines as I have done on your pattern to make them easier to see.
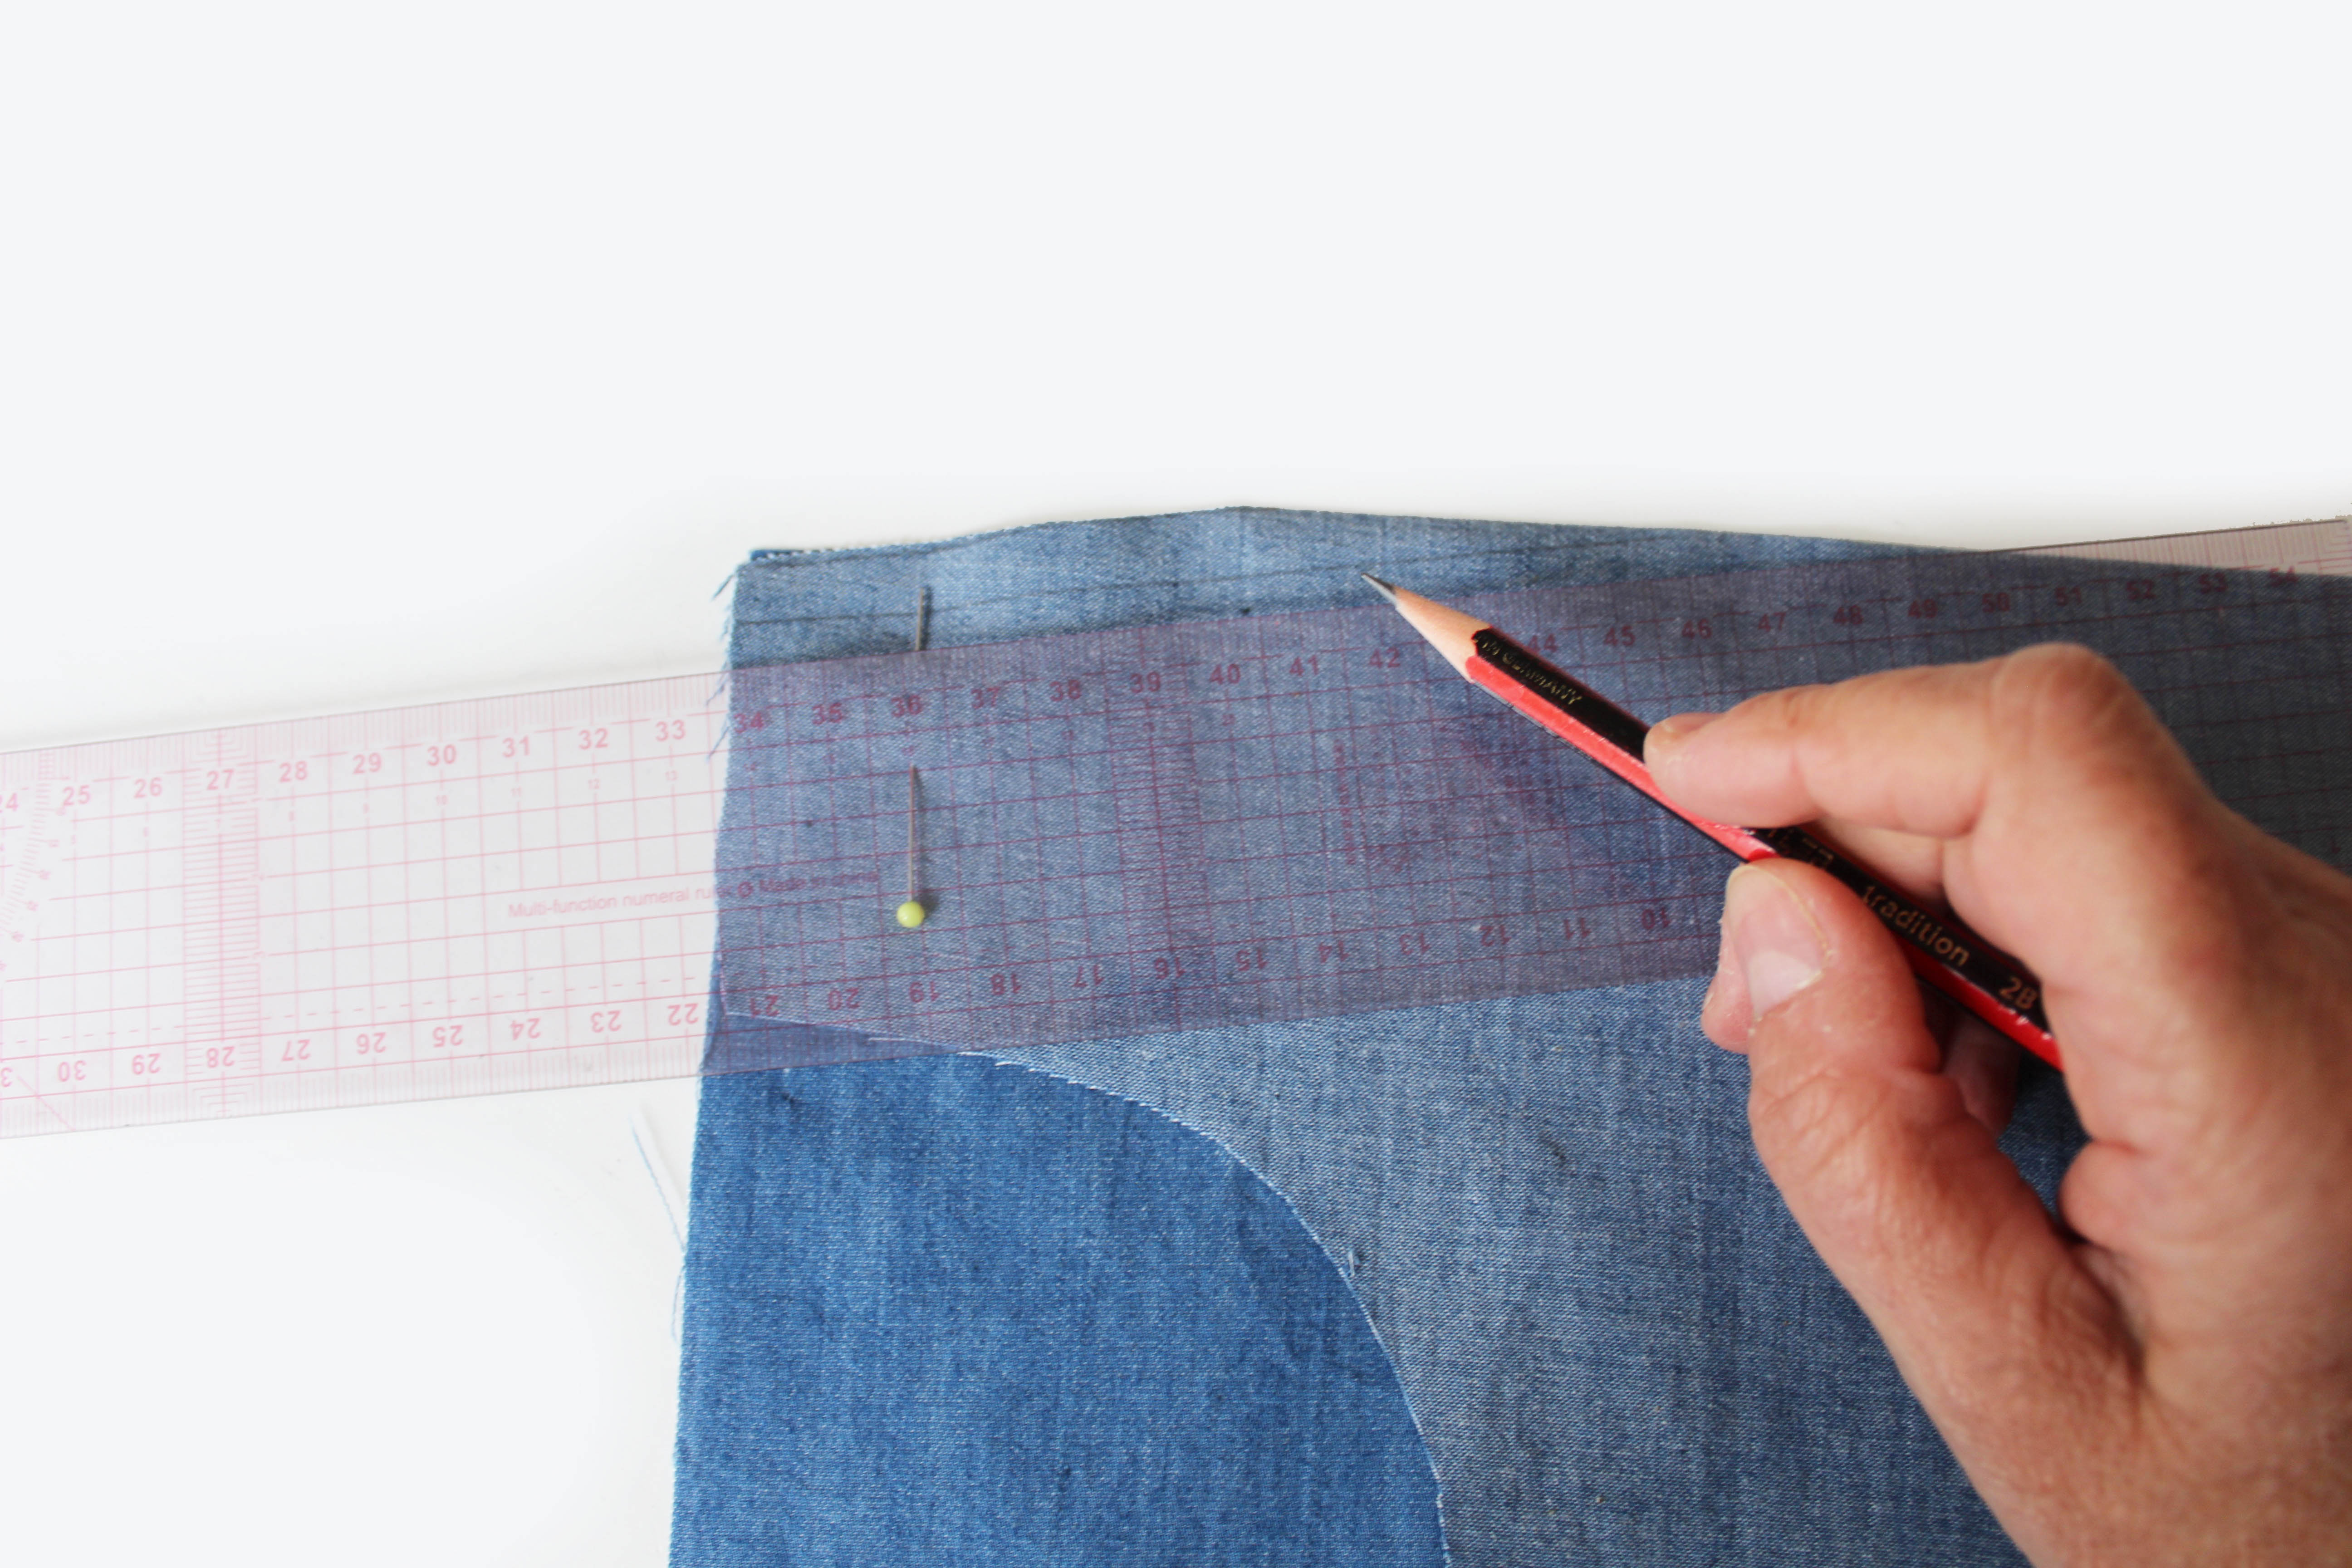 Fold the dart so that the RST(right sides together) and the dart raw edges are aligned. Mark your stitch line using a ruler and pencil which runs 1cm parallel to the cutting line.
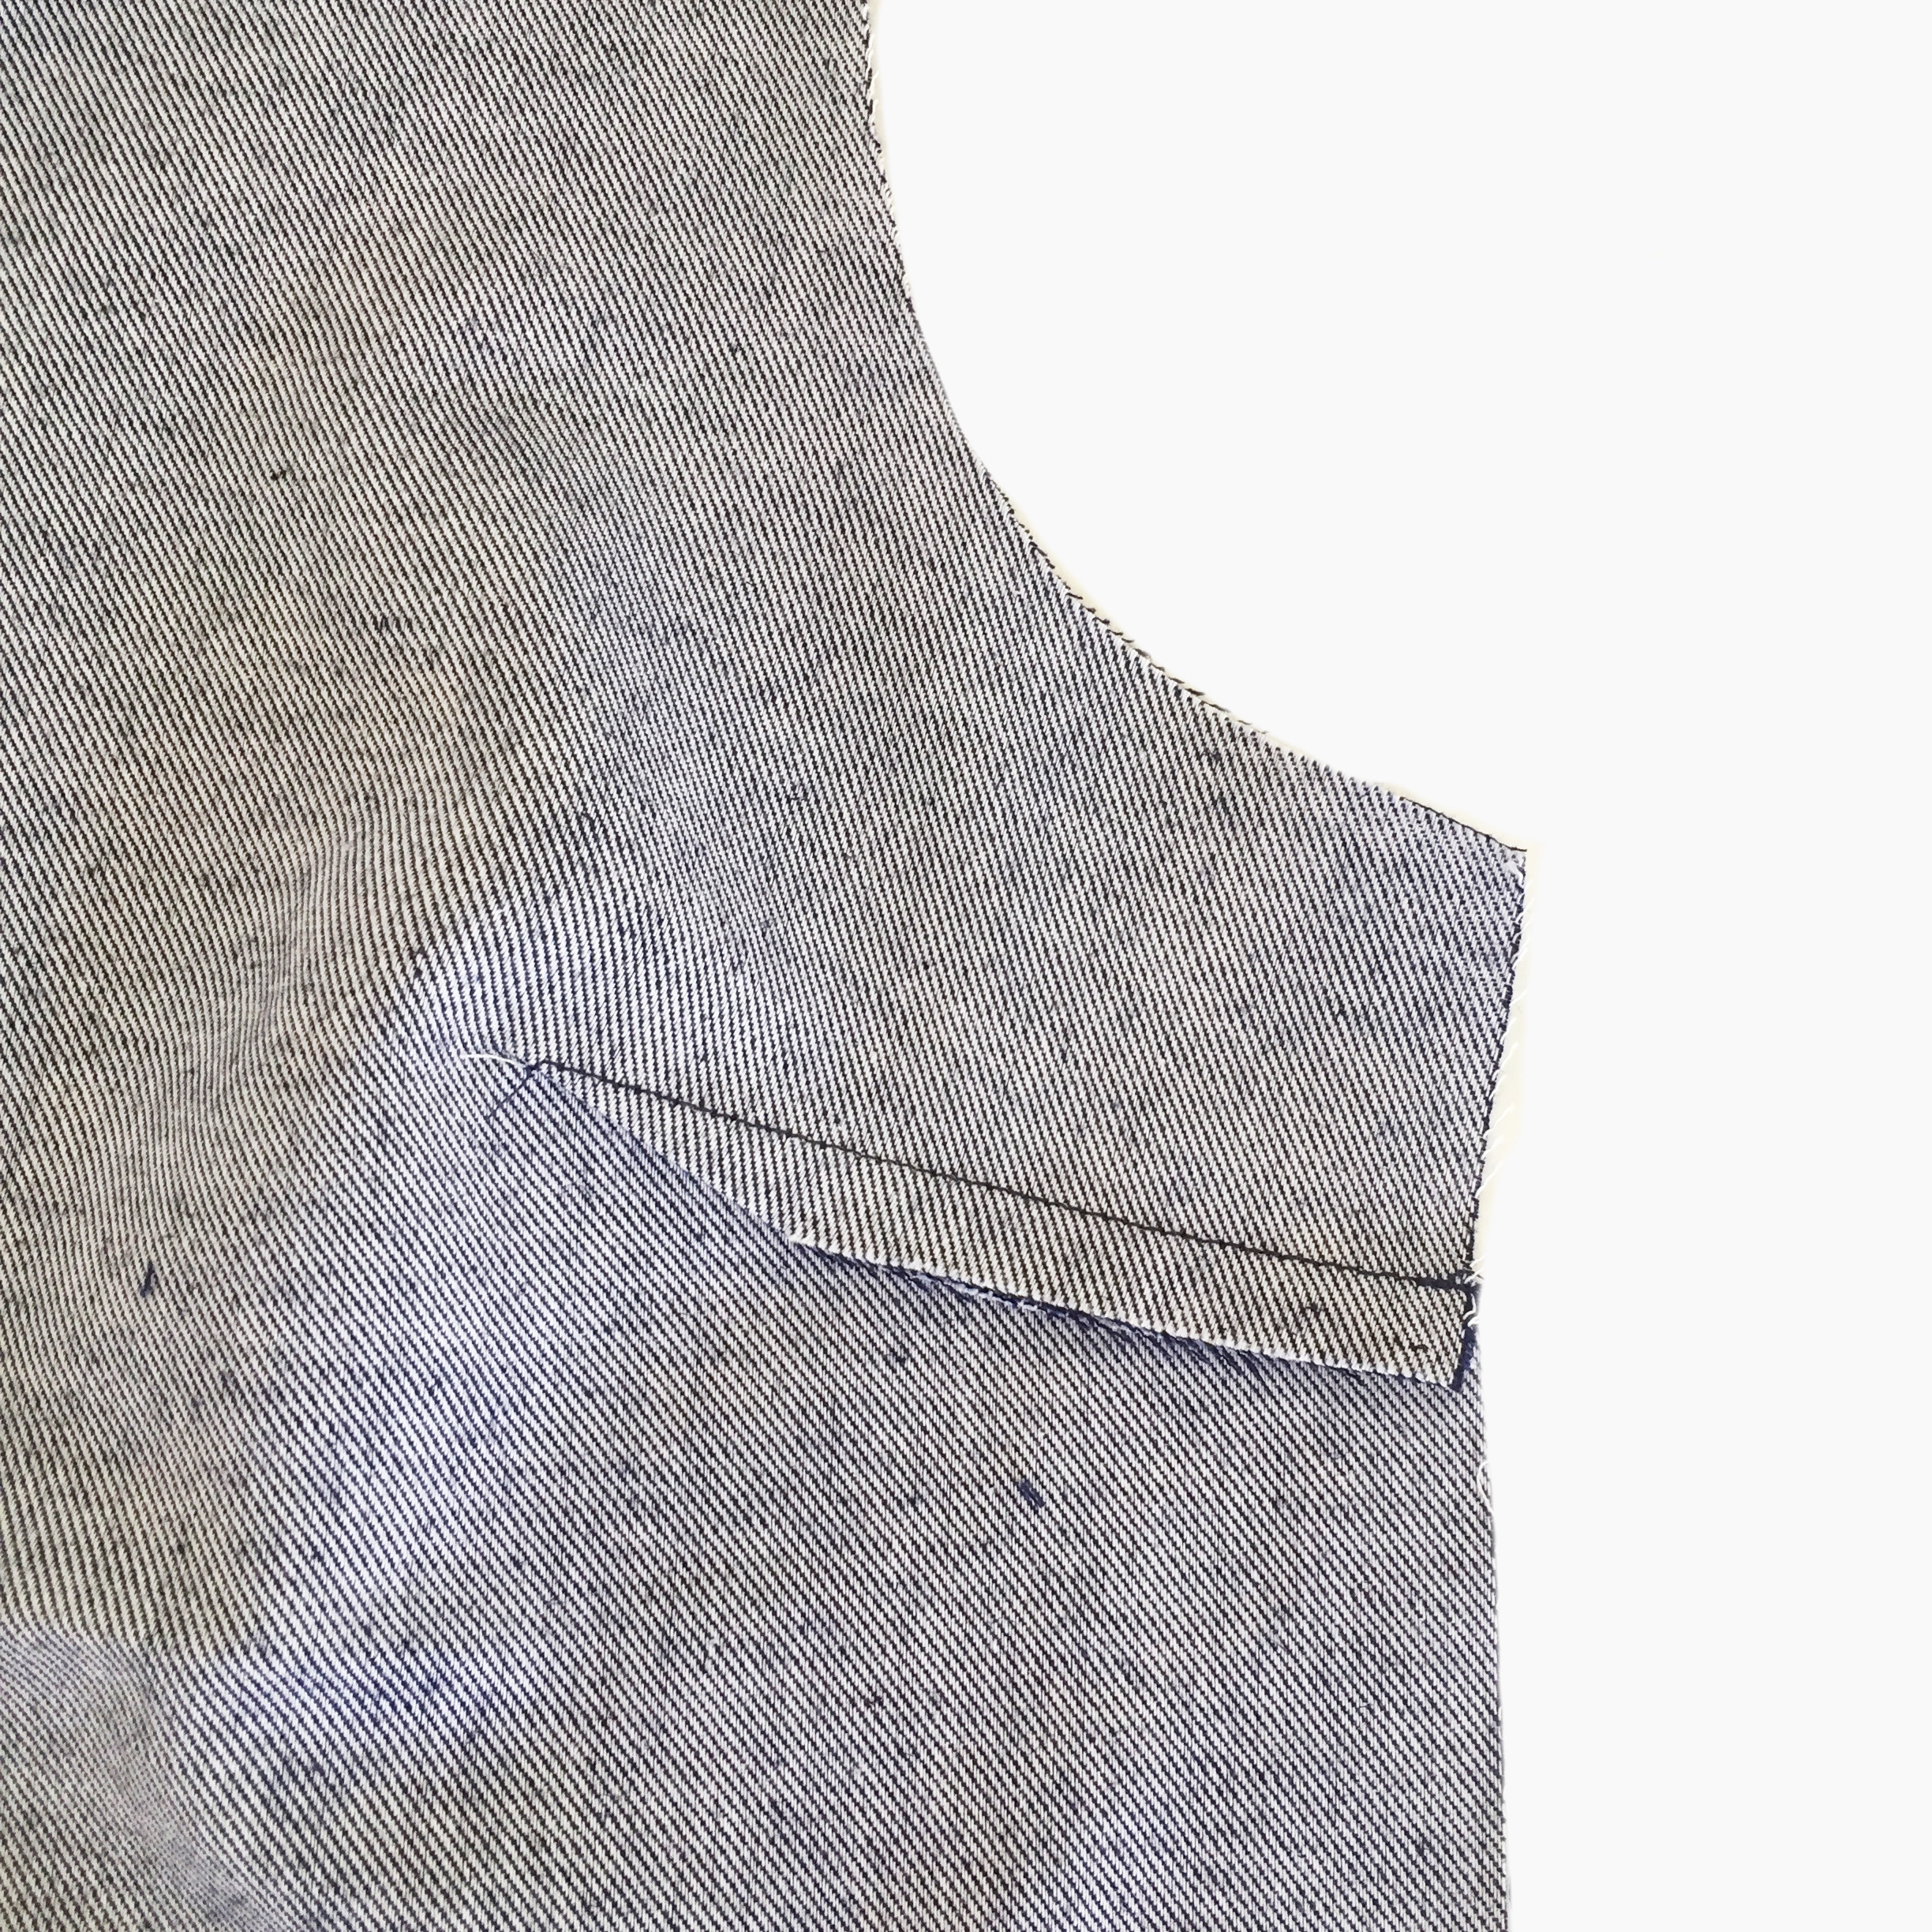
 Finish the raw edges of the centre back. Sew the back pieces together with the right sides together, leaving the top section unstitched. Press.


Just wondering if the frilled sleeve hack for the edith tunic would work with the peggy top short sleeves ?
LikeLike
Hi Sandra – I assume you mean the Hilda tunic hack frill sleeves ? Yes I think this would work really well for Peggy top too. Best regards Fiona at Sewgirl
LikeLike