CROSS BODY BAG

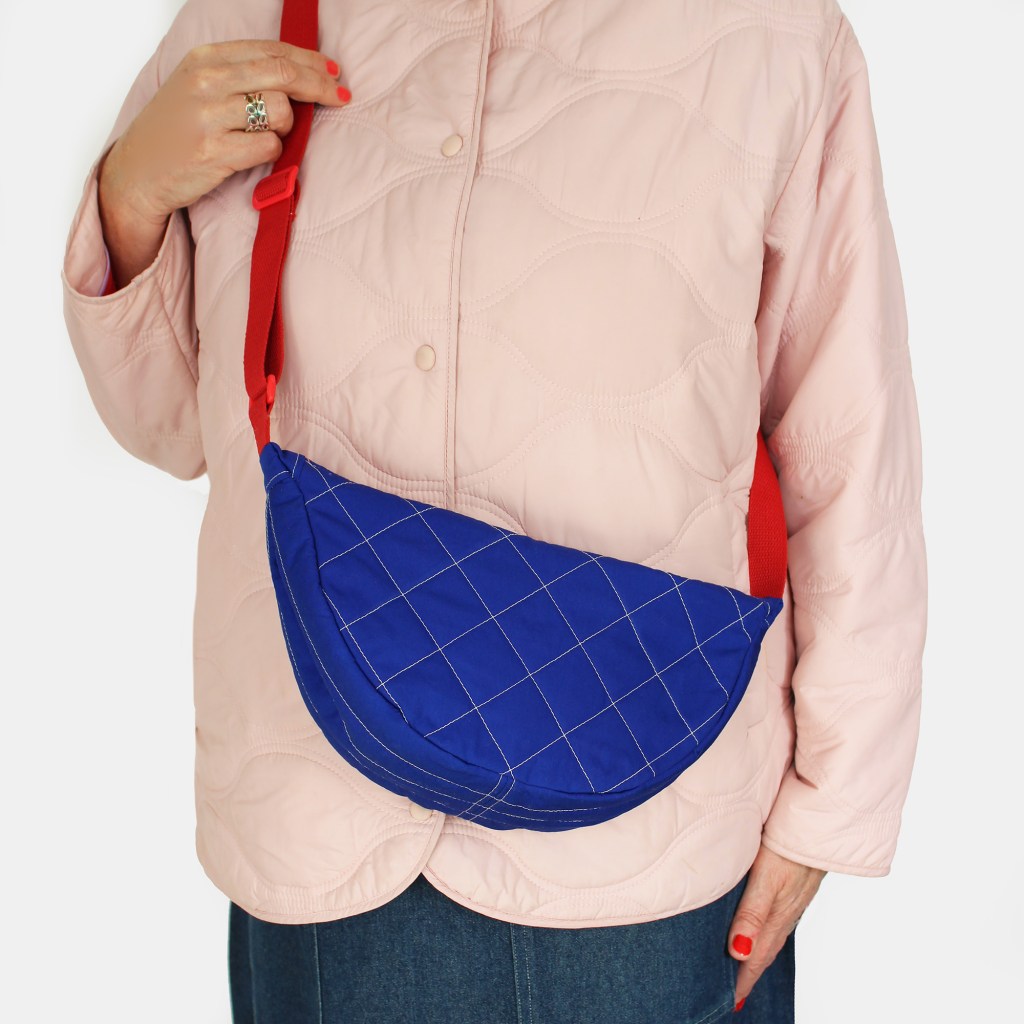
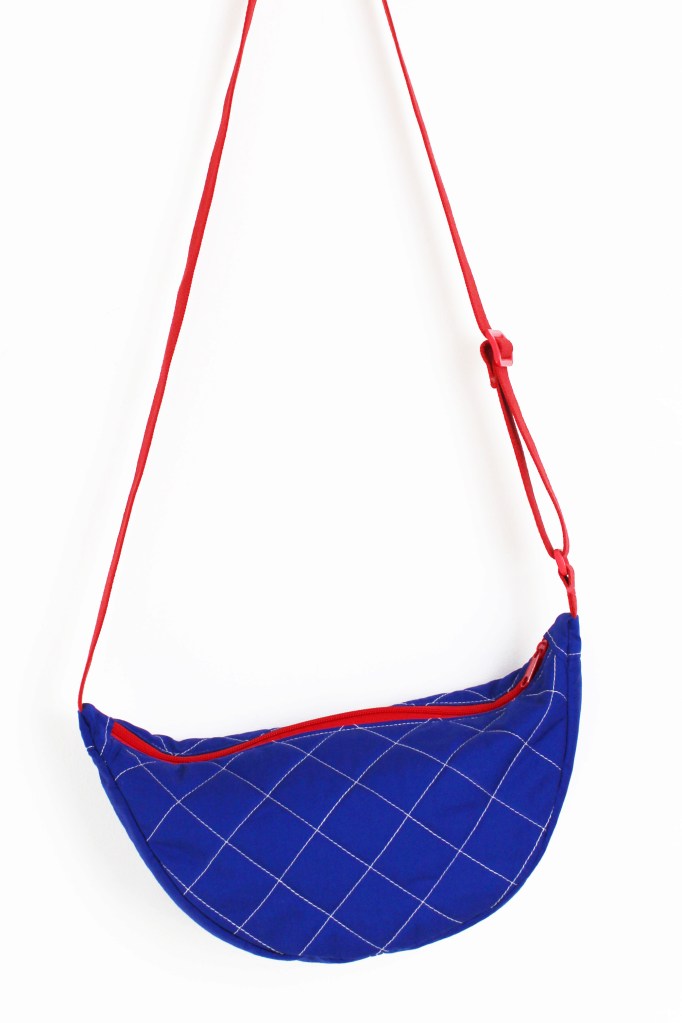
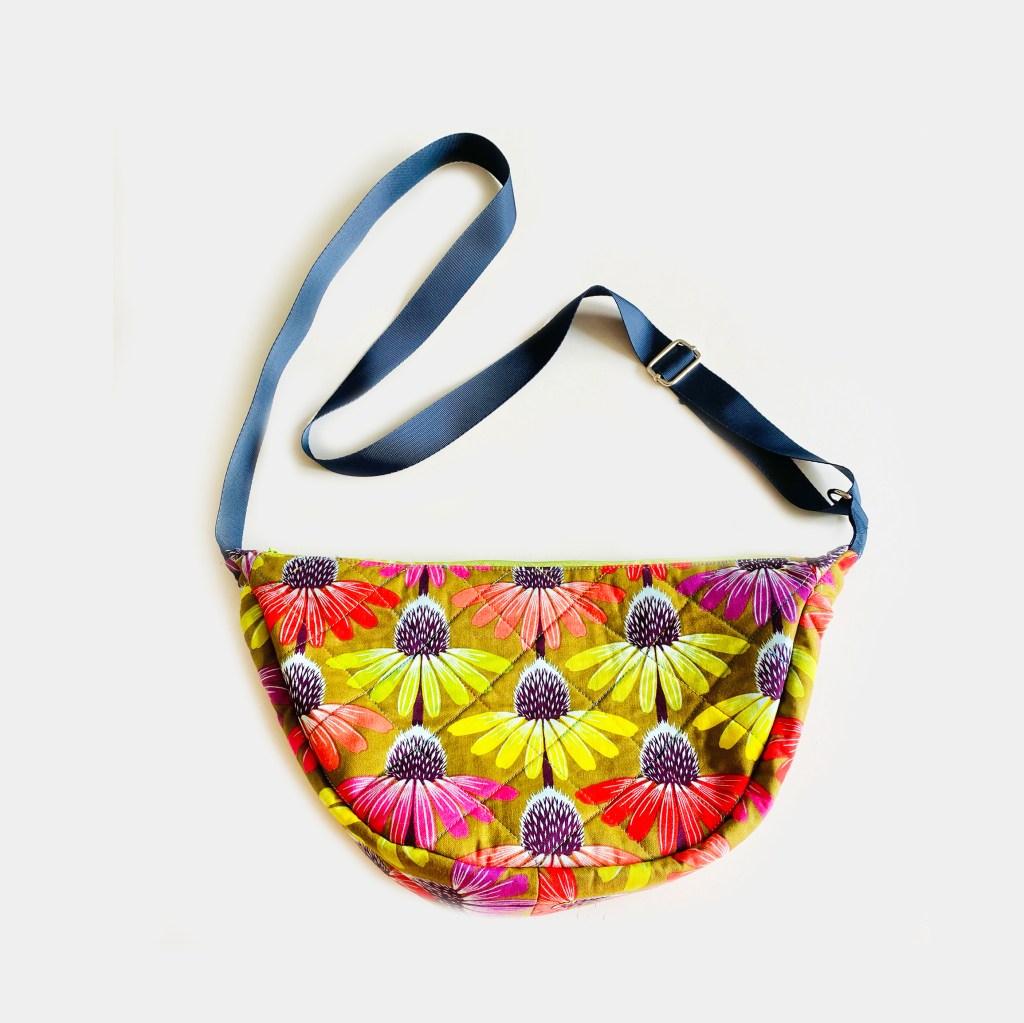
This useful, ergonomic bag, designed by Sewgirl, is great for everyday use. Its surprisingly roomy inside, with a zip fastening, inner pocket and a long adjustable strap. Make in your favourite gorgeous printed cotton fabrics or simple plain denim, corduroy, velvet or cotton with funky patterned lining.

Suitable for any medium-weight fabric, with cotton lining and fleece interfacing.

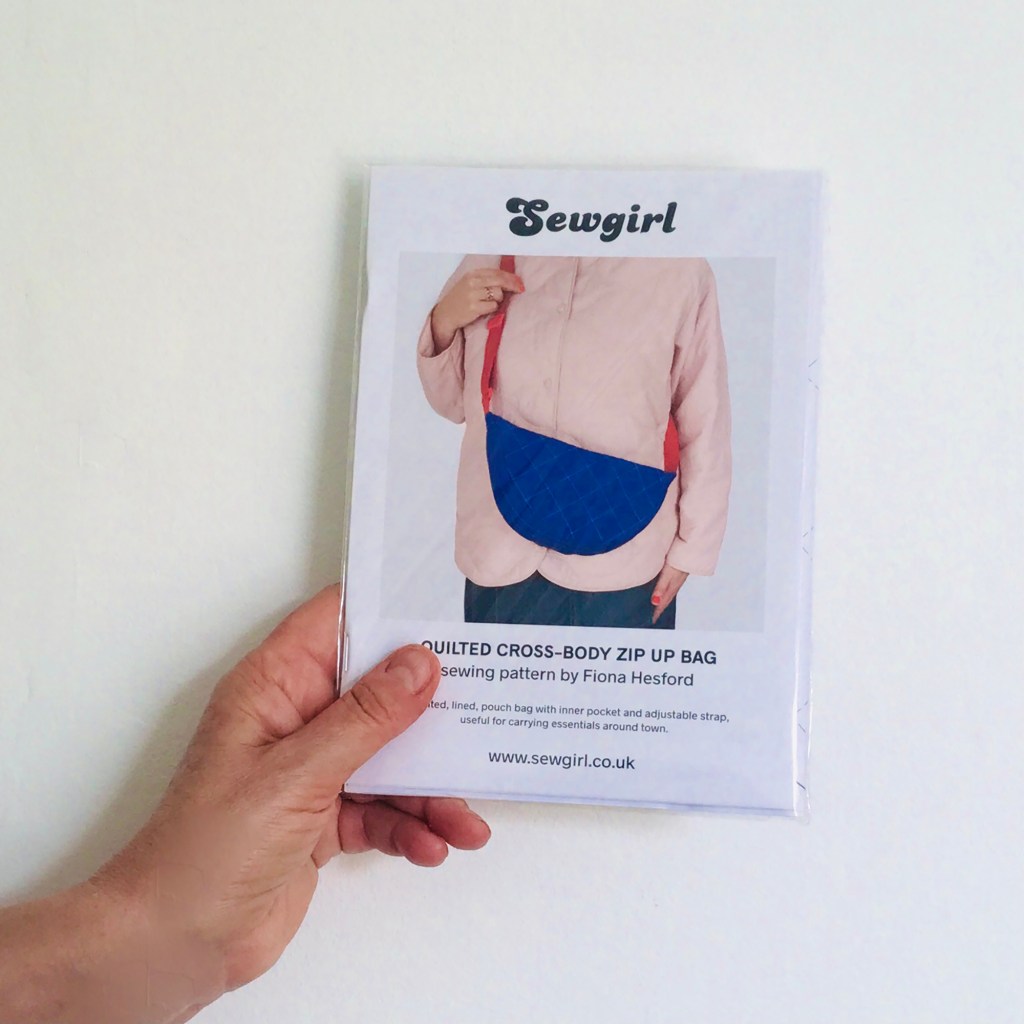
Cross body bag is available to buy both as a paper pattern and also a PDF download.
How to make the Cross Body Bag
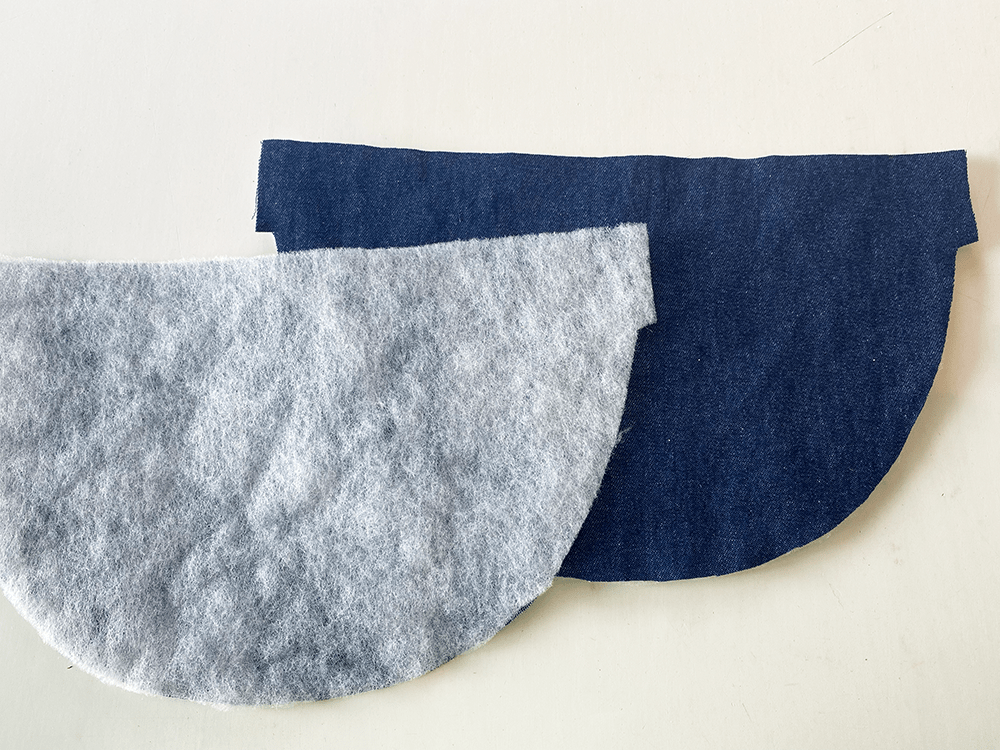
Add fleece interfacing to the Front and Back outer pieces and the Base outer pieces(Visilene H630 is good).

QUILTING: You can add quilting lines wherever you fancy such as trellis pattern on the outer bag and tramlines on the base which are marked on the templates, or why not cook up your own quilting line designs to make it unique to you? Alternatively, leave this bit out if you prefer and just leave plain and let the fabric pattern be the star of the show!

Tip; Iron or stick (with textile spray glue) to a larger piece of interfacing, then trim the excess around each piece. Lining and tabs do not need interfacing.

Base section
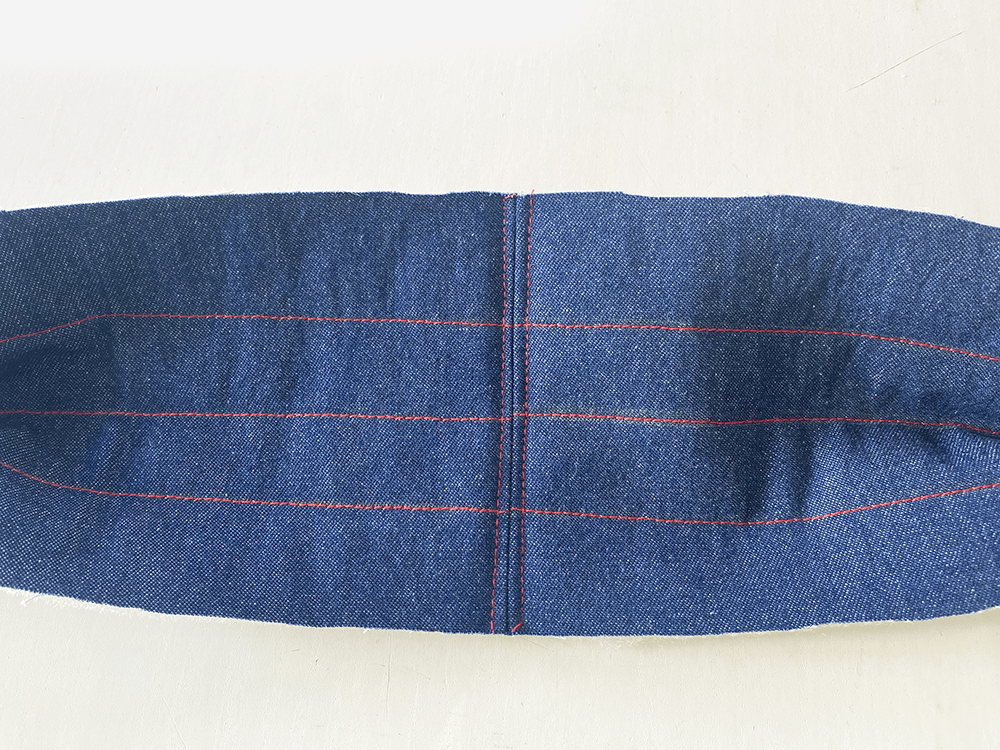
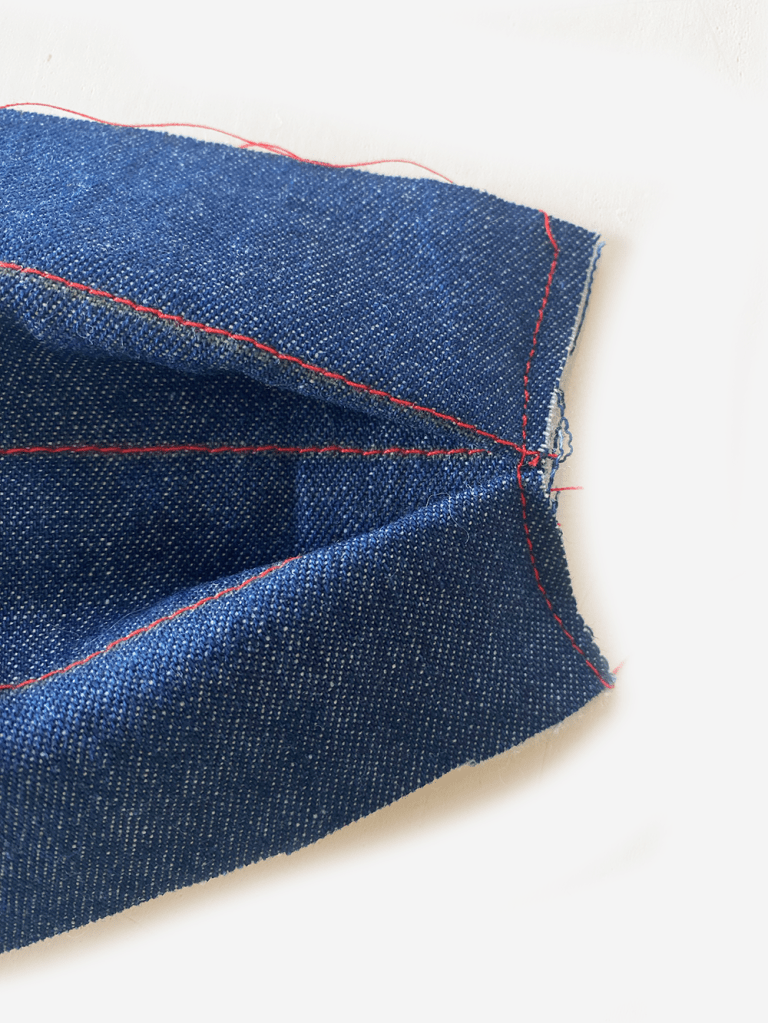
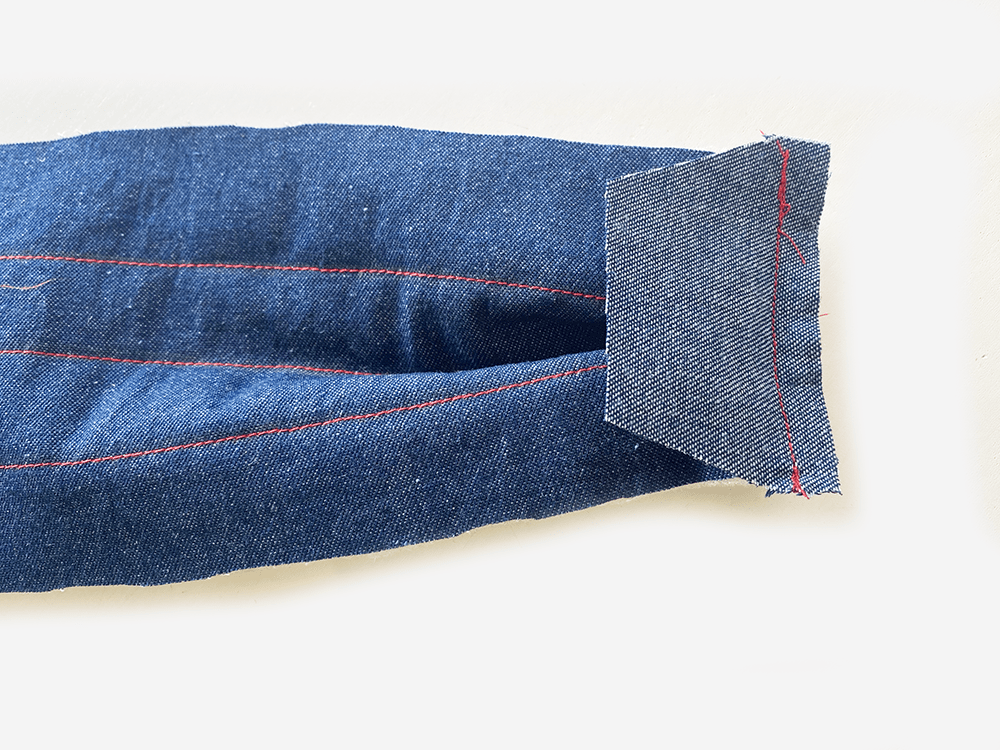
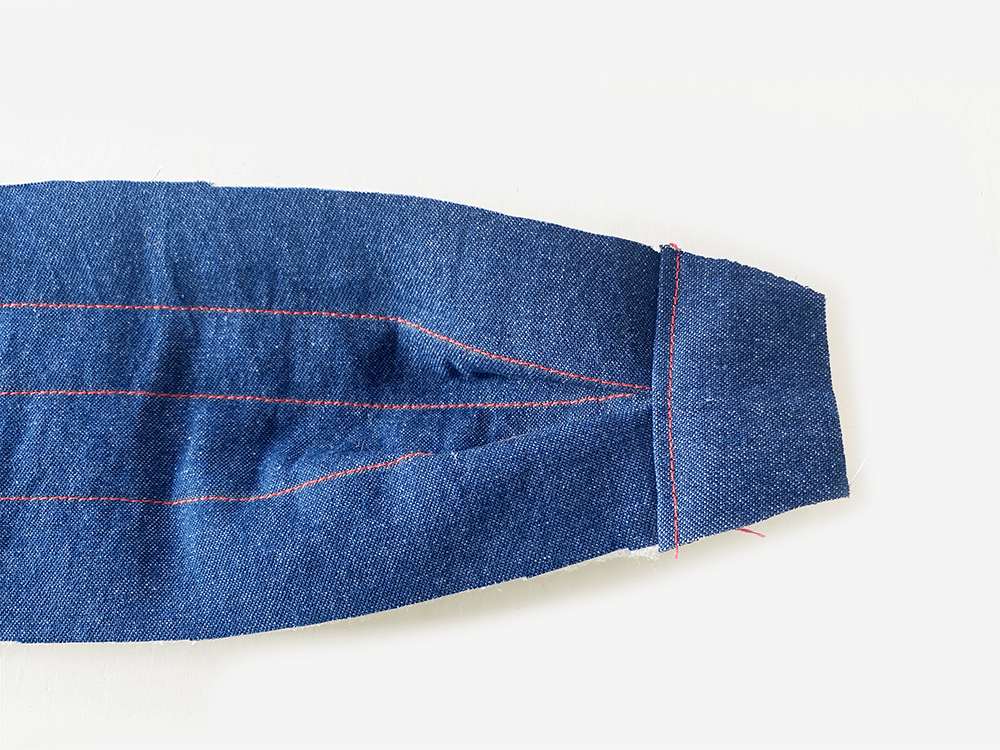
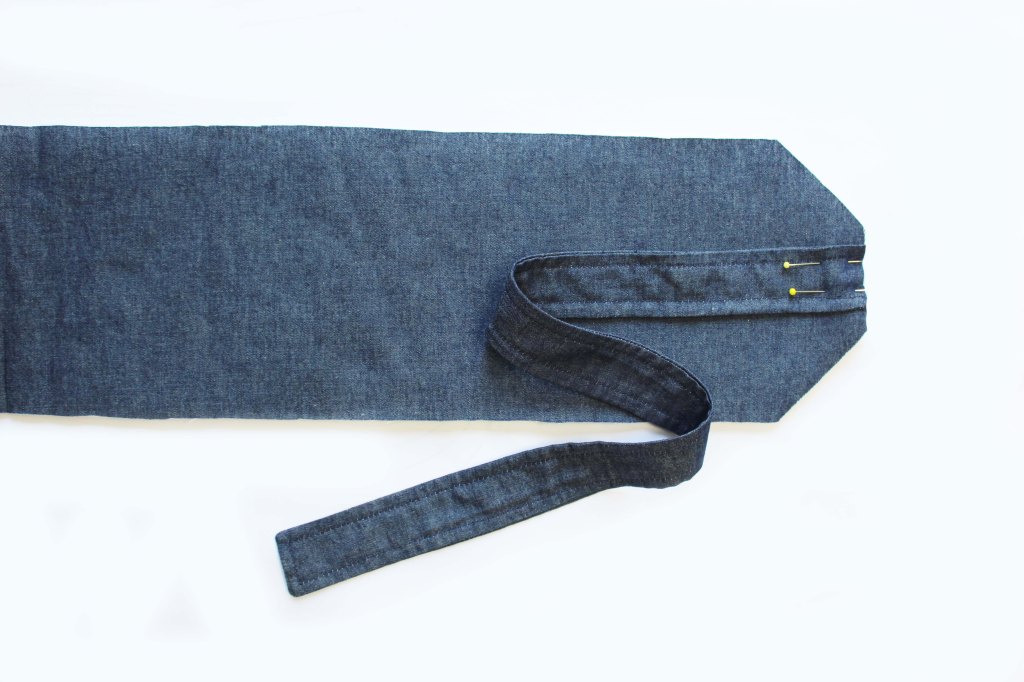
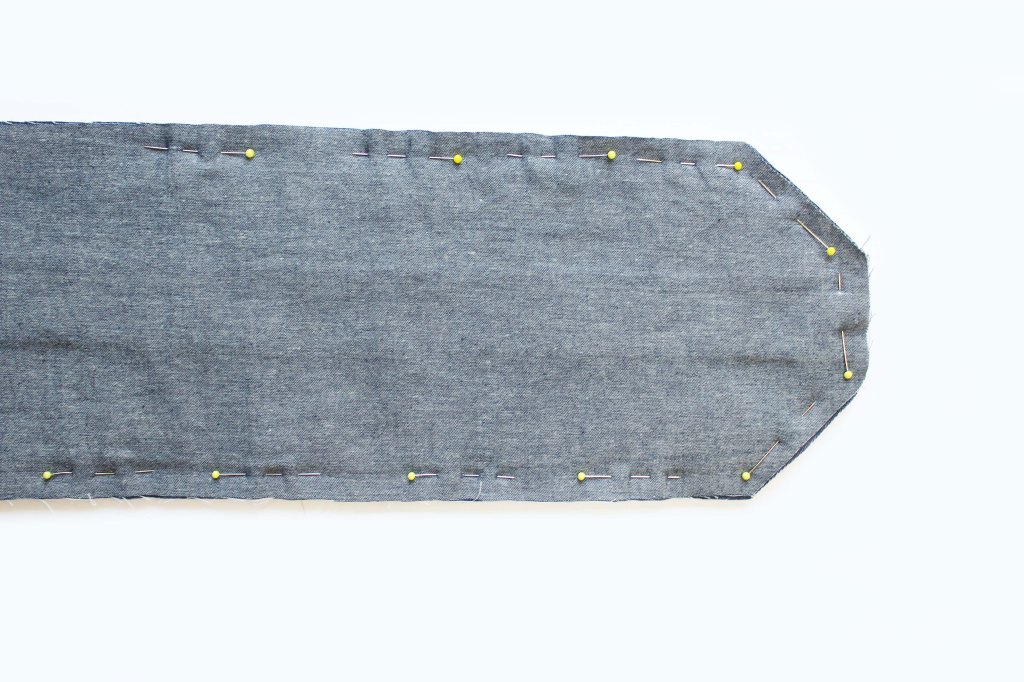
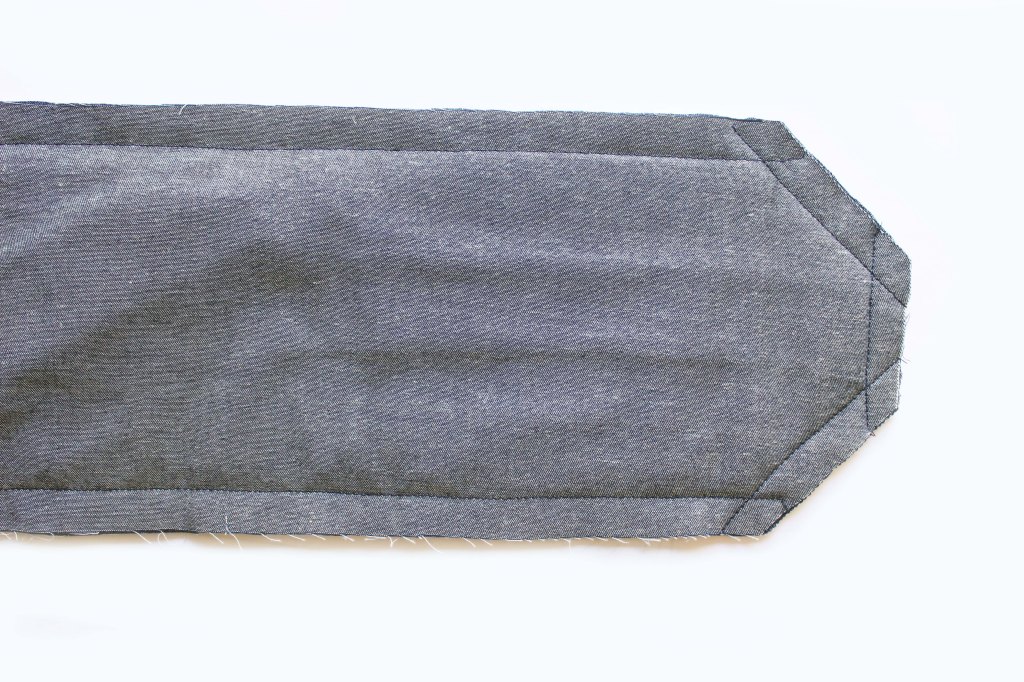
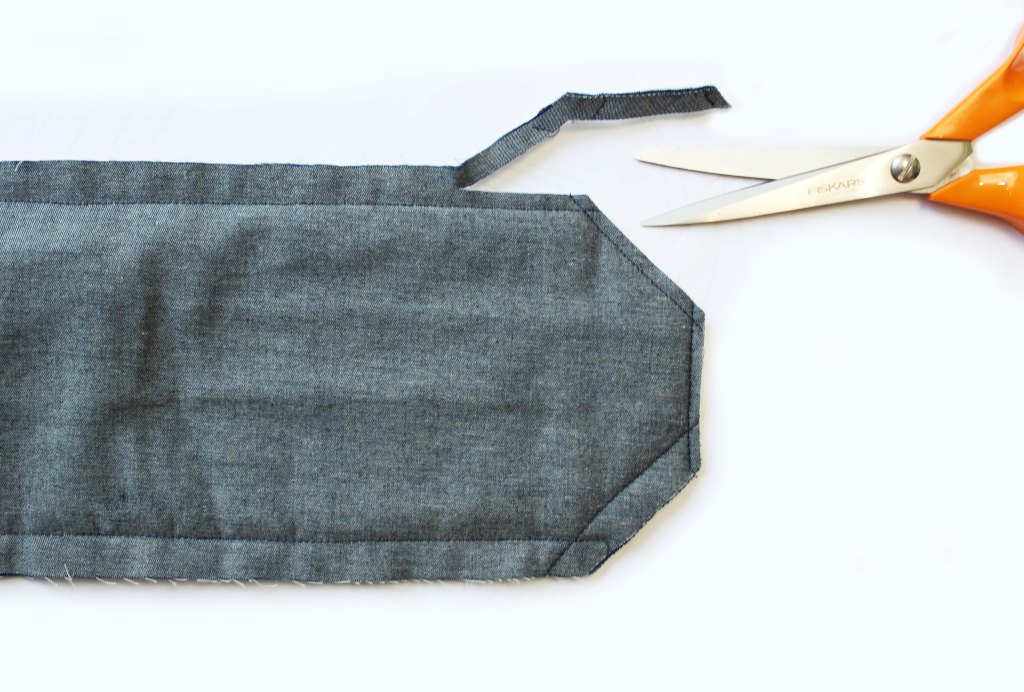
So you can see here that Ive added the fleece to the Base sections and stitched some tramlines exactly as marked on the template. (Pic 1) Then join the Base sections, pin right sides together. Stitch. Press the seam allowance open. Topstitch. (Pic 2) Make a pleat at each short side edge. Machine tack to hold. (Pic 3) Pin the Tab on top of pleats. Stitch across. (Pic 4) Press outwards. Topstitch on the Tab side of the seam.

Repeat these steps with the two Lining Base pieces and two lining tab pieces.
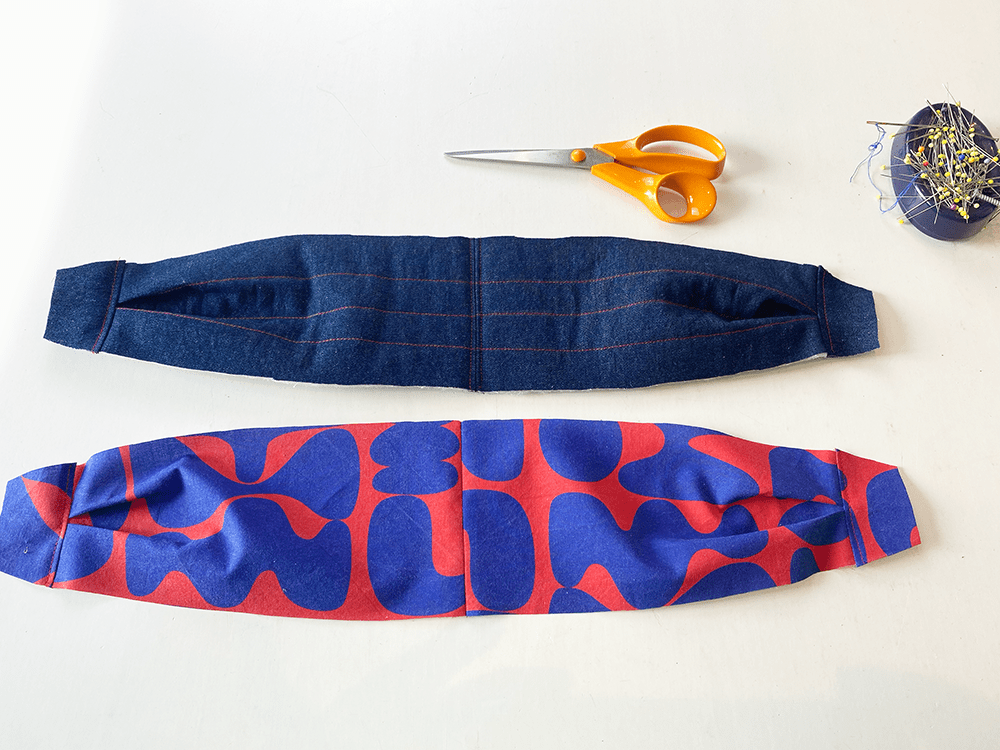
So you should have two pleated base sections: one in Outer fabric and one in Lining. Both with their tabs attached.
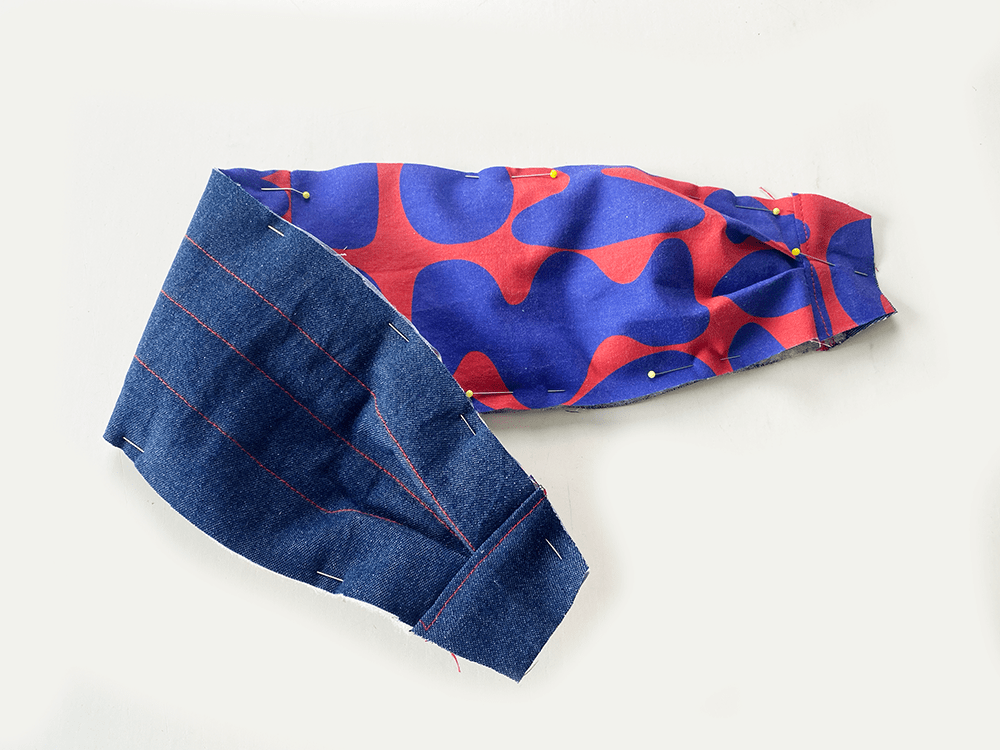
With the wrong sides facing together. Pin the two base pieces (Outer and Lining) together all around the other edge. Machine tack within the seam allowance all around the outer edge to secure them together.

Lining Pocket
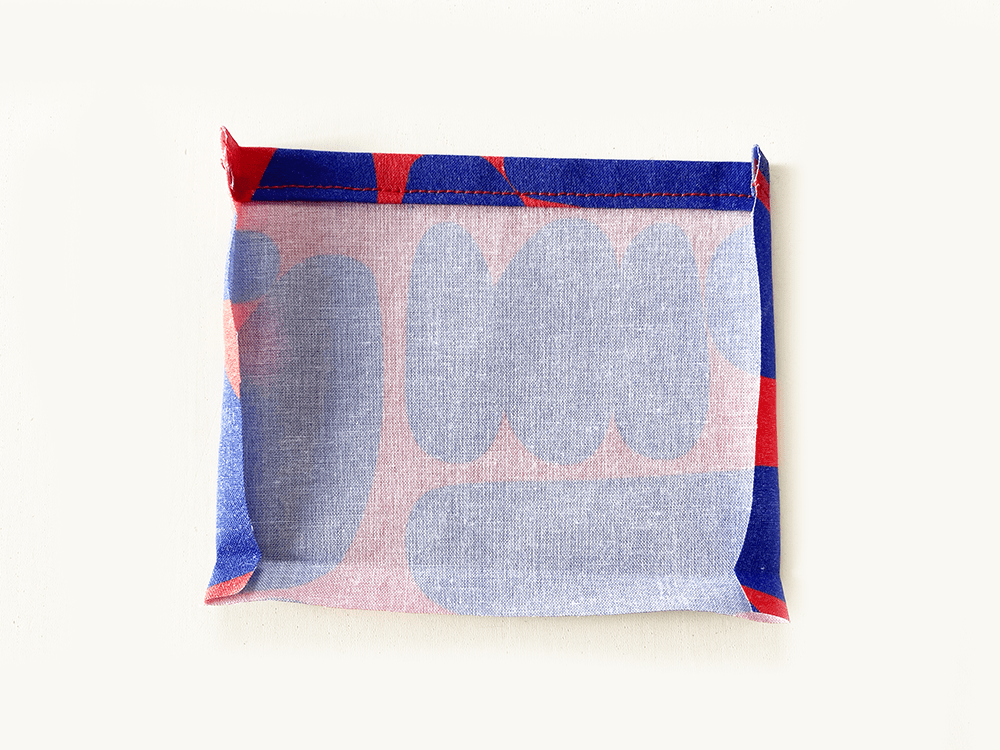
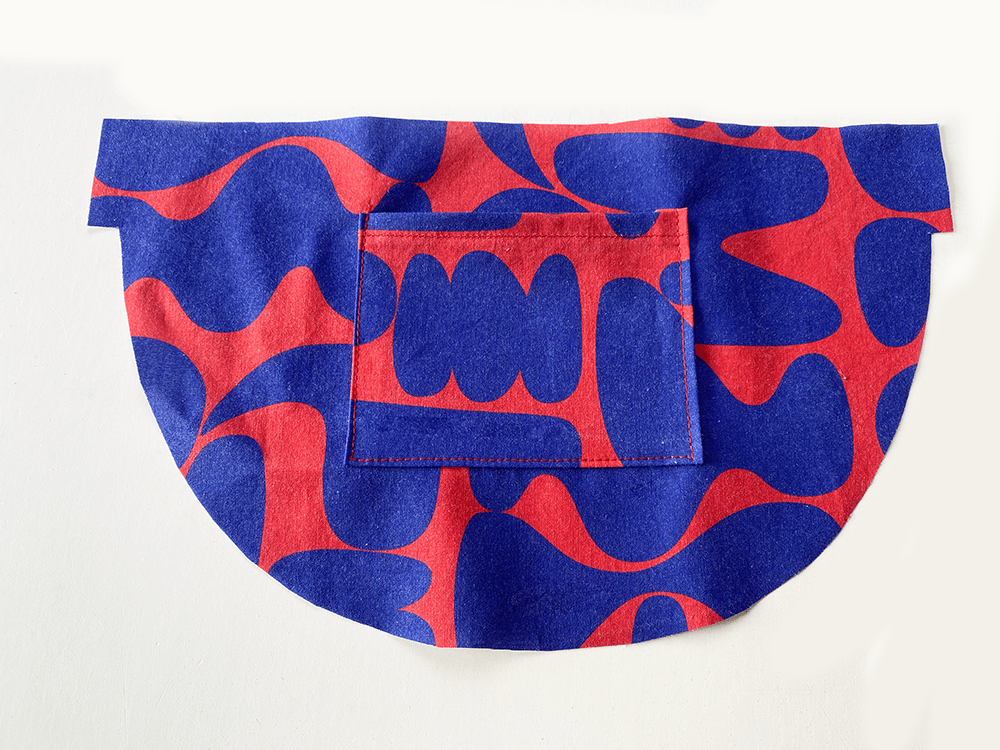
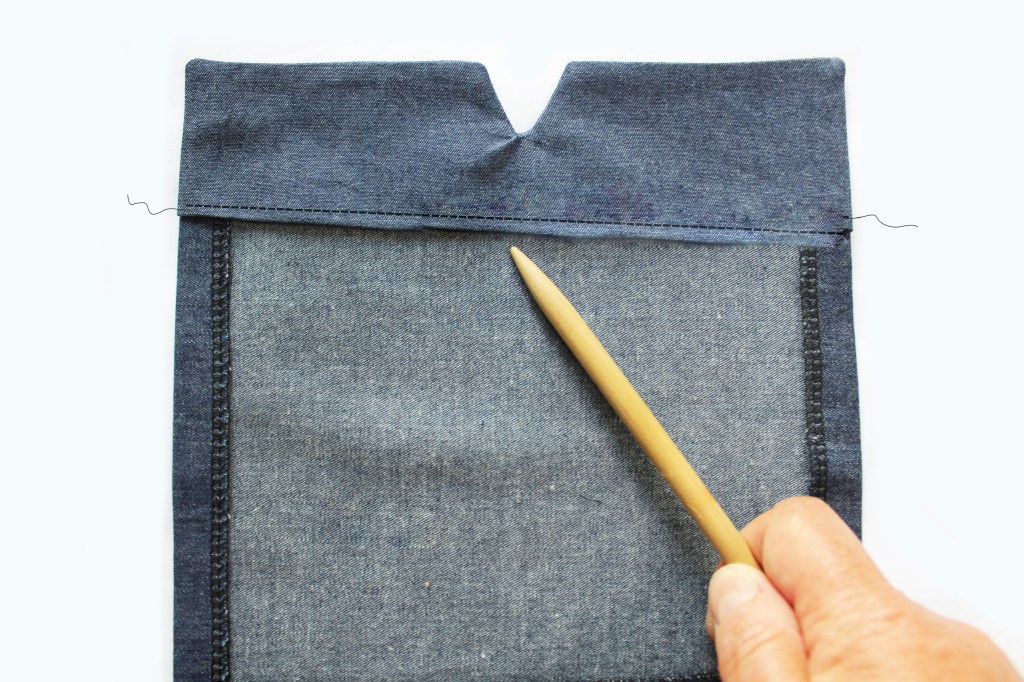
Fold over and press the top (long) edge of the pocket. Sew. Fold over and press the remaining three pocket sides. Pin to one Lining Bag piece. Topstitch around the three folded edges.

Attaching the Zip

I like to use no 5 continuous zipping but you can use a standard dress zip instead (not open ended).
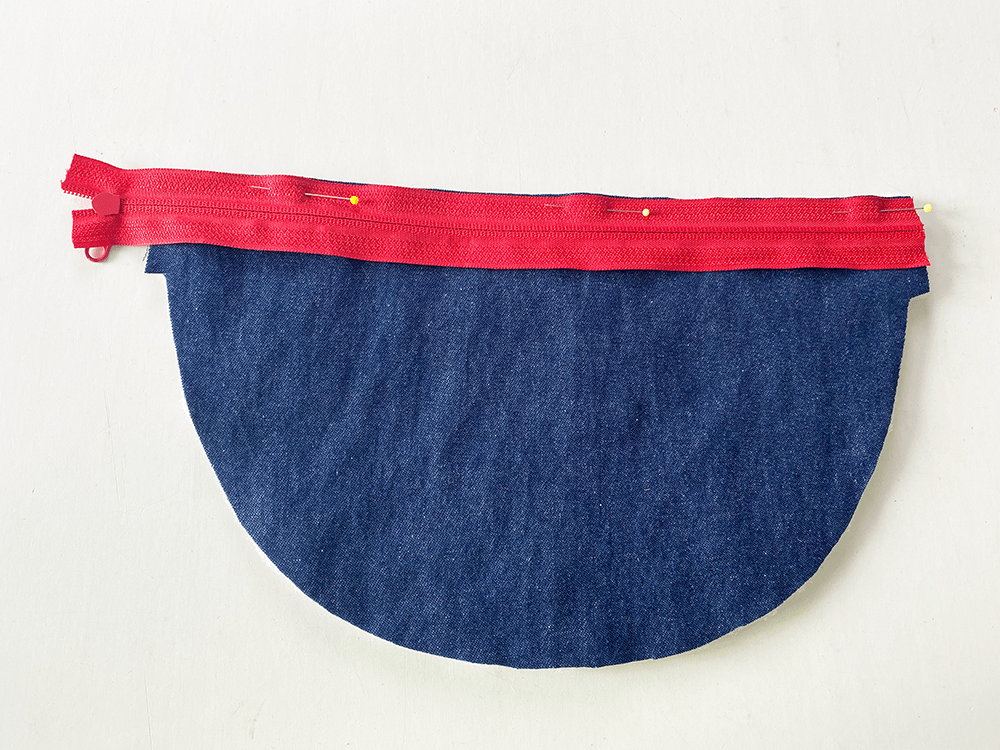
With the zip right side facing downwards, pin the zip fabric edge to one Outer Bag top edge right side. Sew 1cm from the raw edge. Press. (Tip: swing the needle position towards to zip teeth or attach a zip foot).
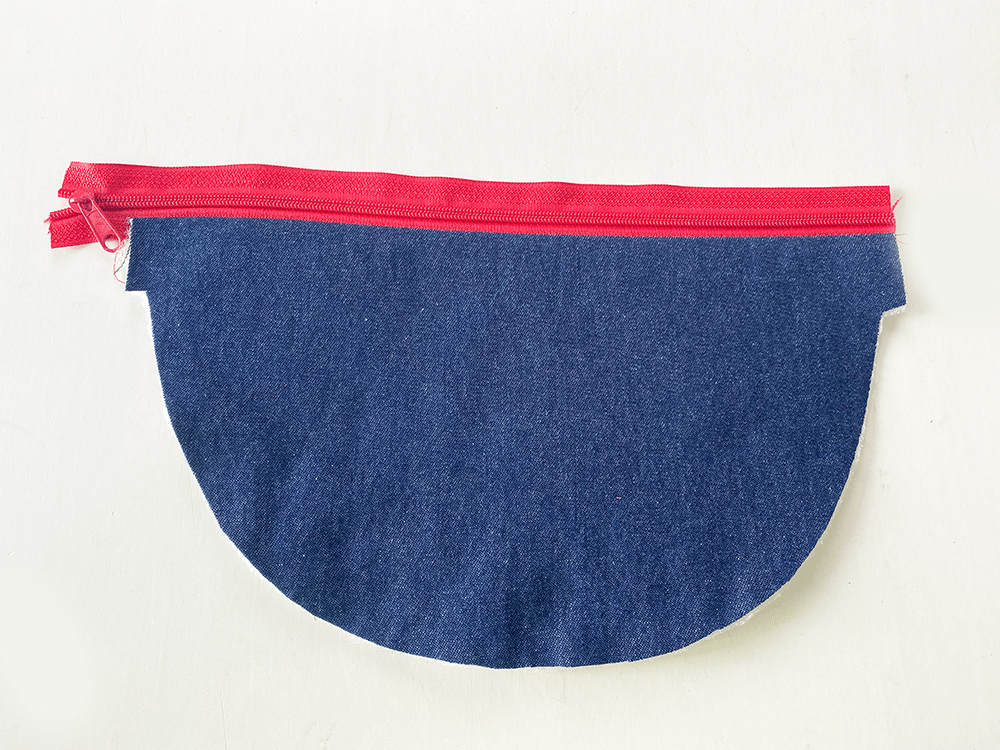
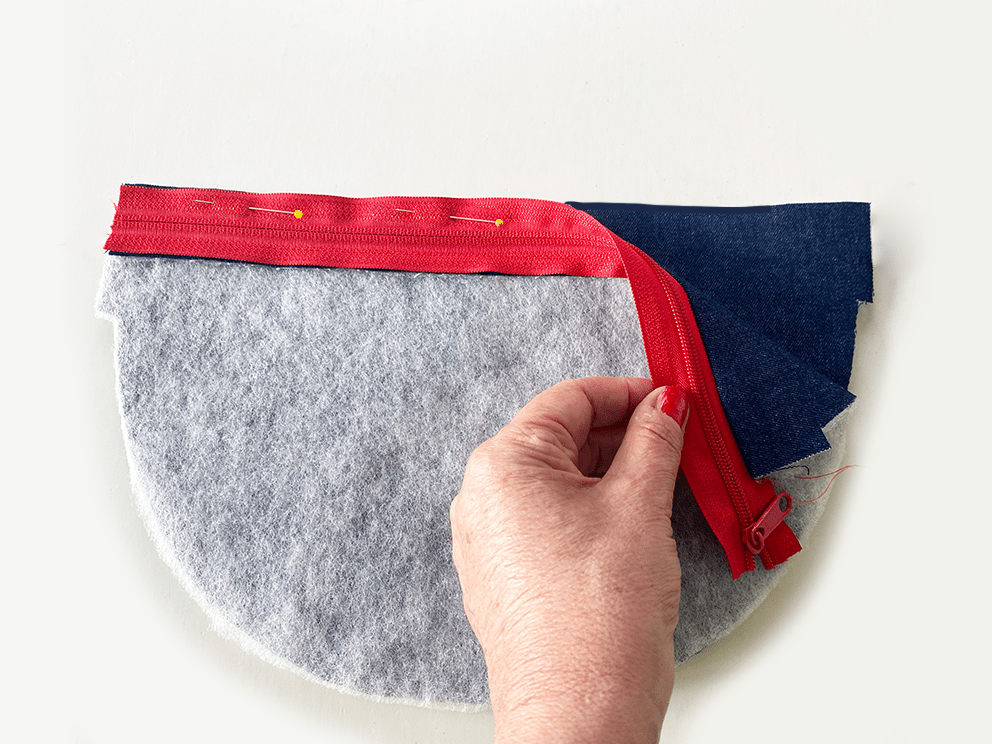
Pin the Zip fabric edge to the top raw edge of the second Bag Outer piece. Make sure the right side of the zip is facing the right side of the fabric.
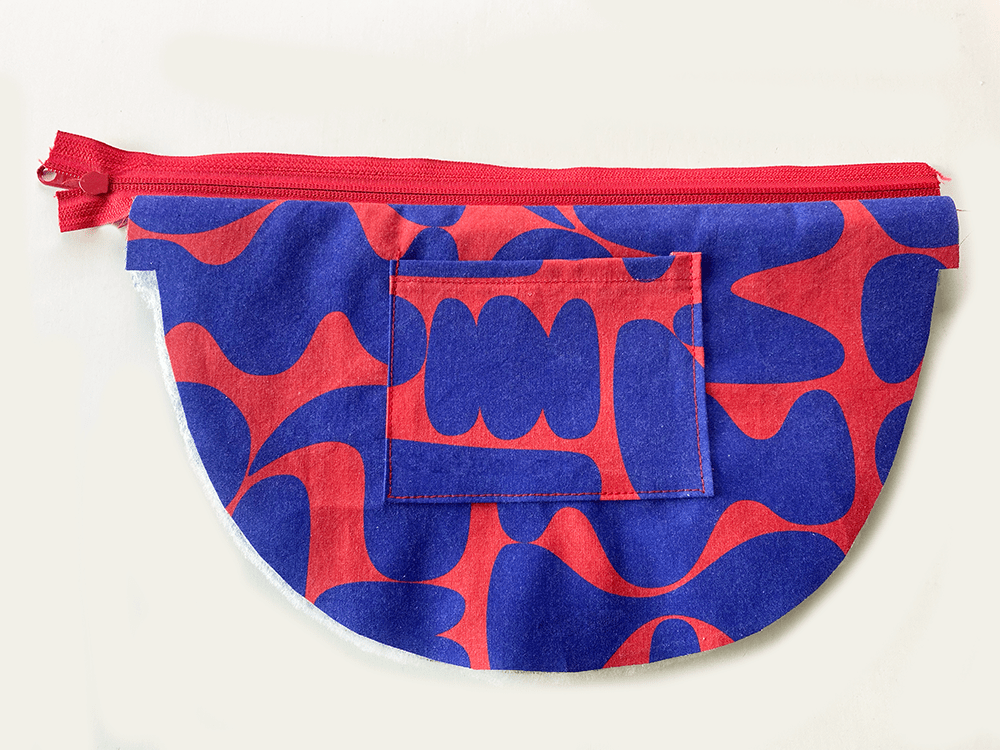
Now repeat with the Lining and the other side of the Zip tab ….think “zip sandwich’.
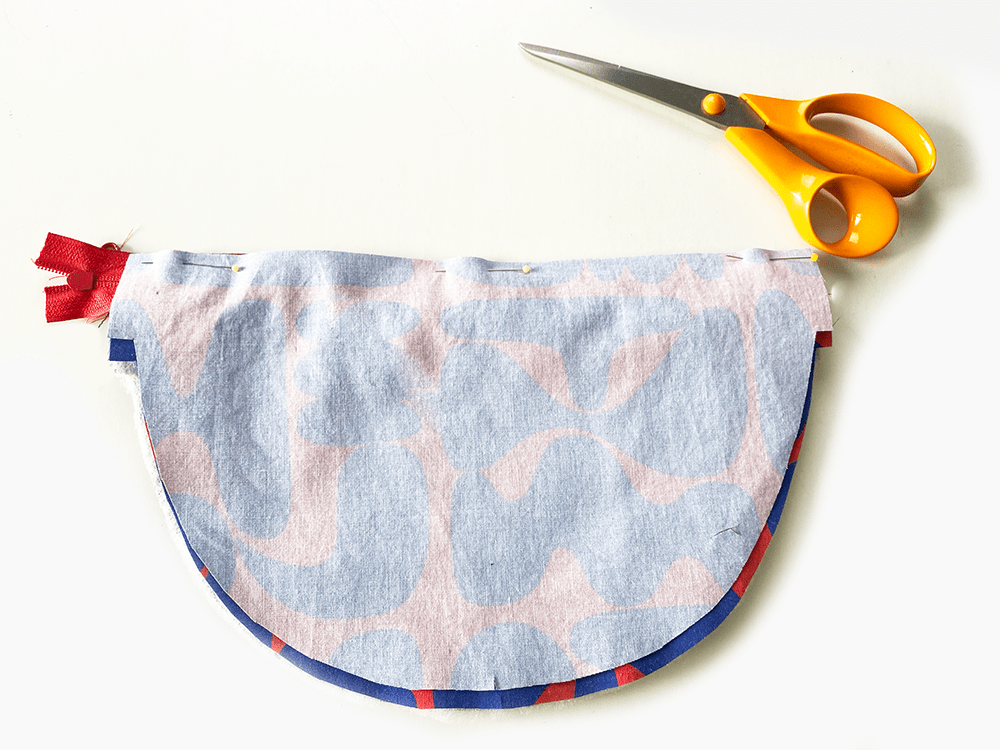
Then repeat with the remaining lining piece and the other side of the zip on the opposite side.
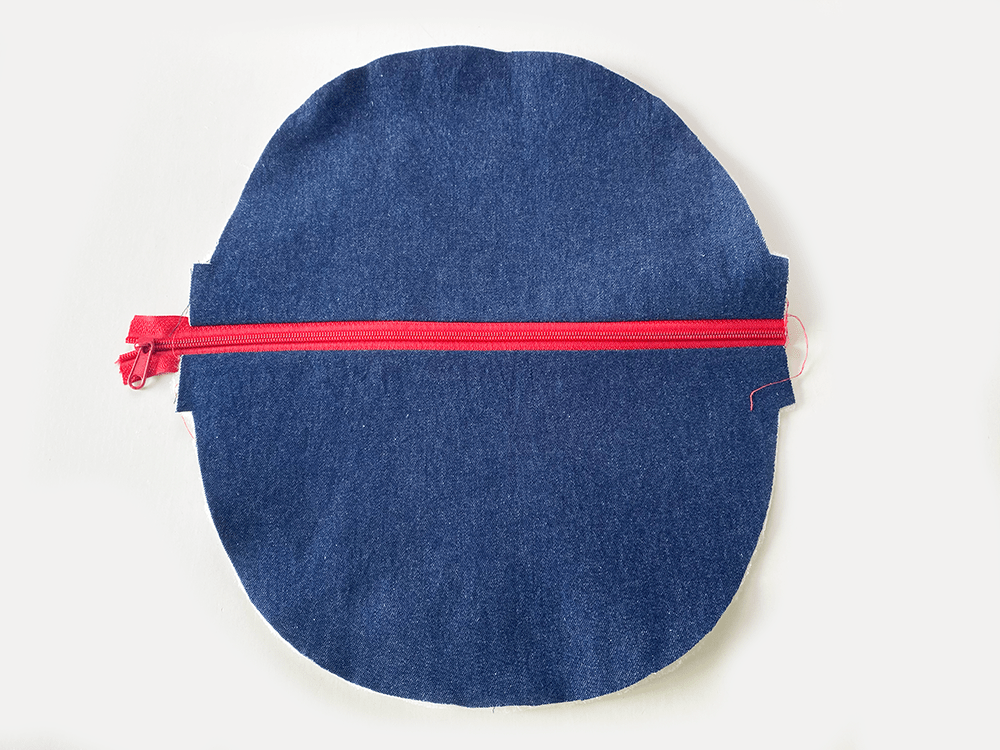
Front and Back Outer.
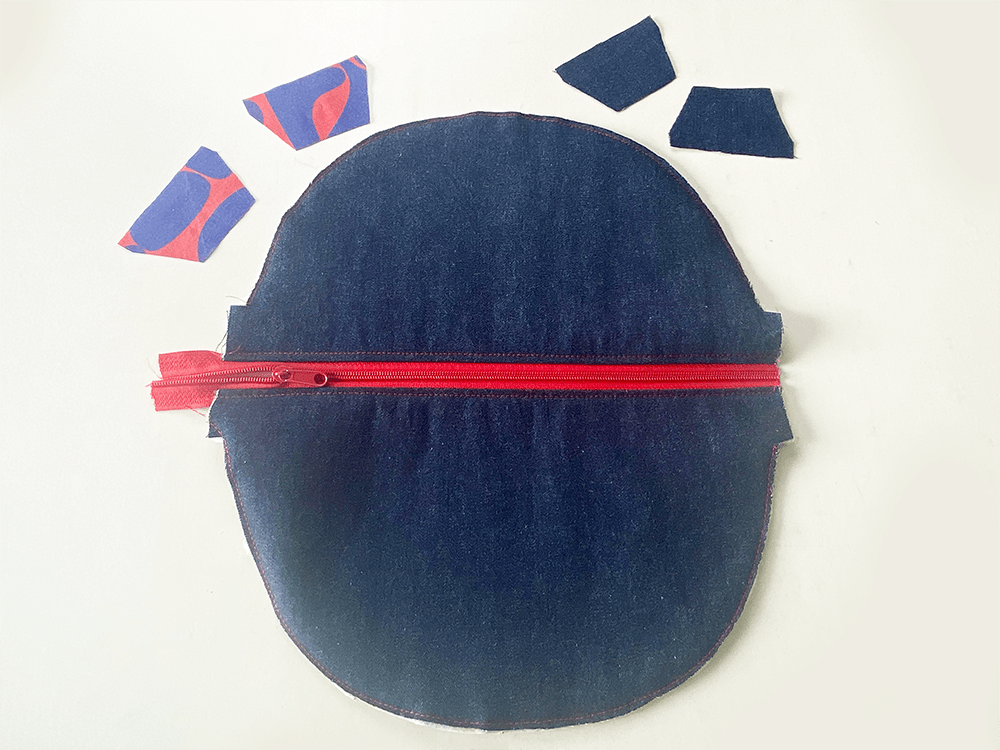
Topstitch either side of the zip with the Lining pressed open on the reverse side. Machine tack the Lining and outer together all around. Push the Zip head into the bag section, secure the zip ends together. Now grab your tabs…..

Tabs
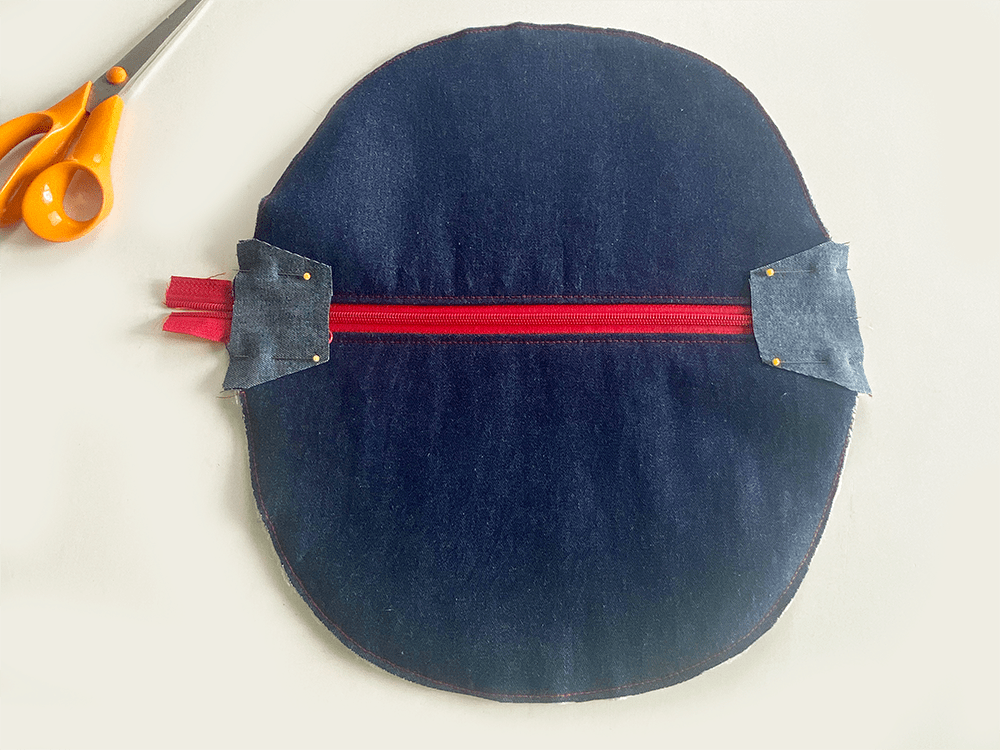
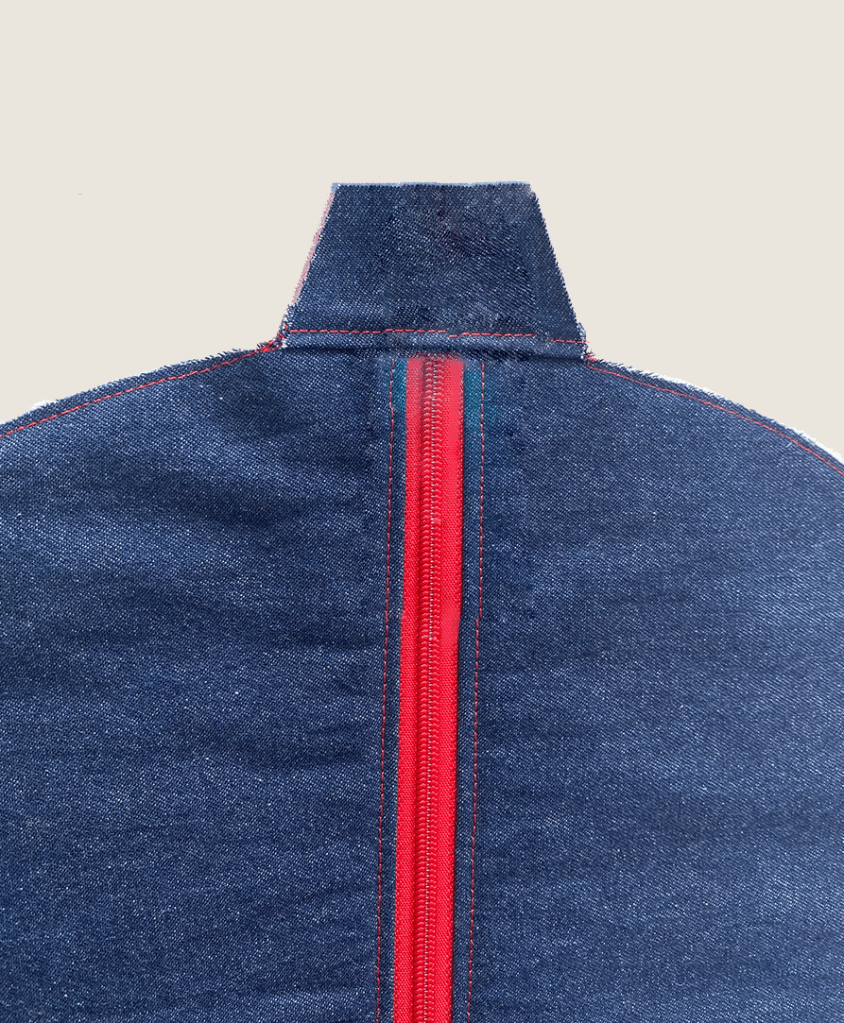
Pin the Outer Tabs at each side. Ensure the zip open ended sides are together.
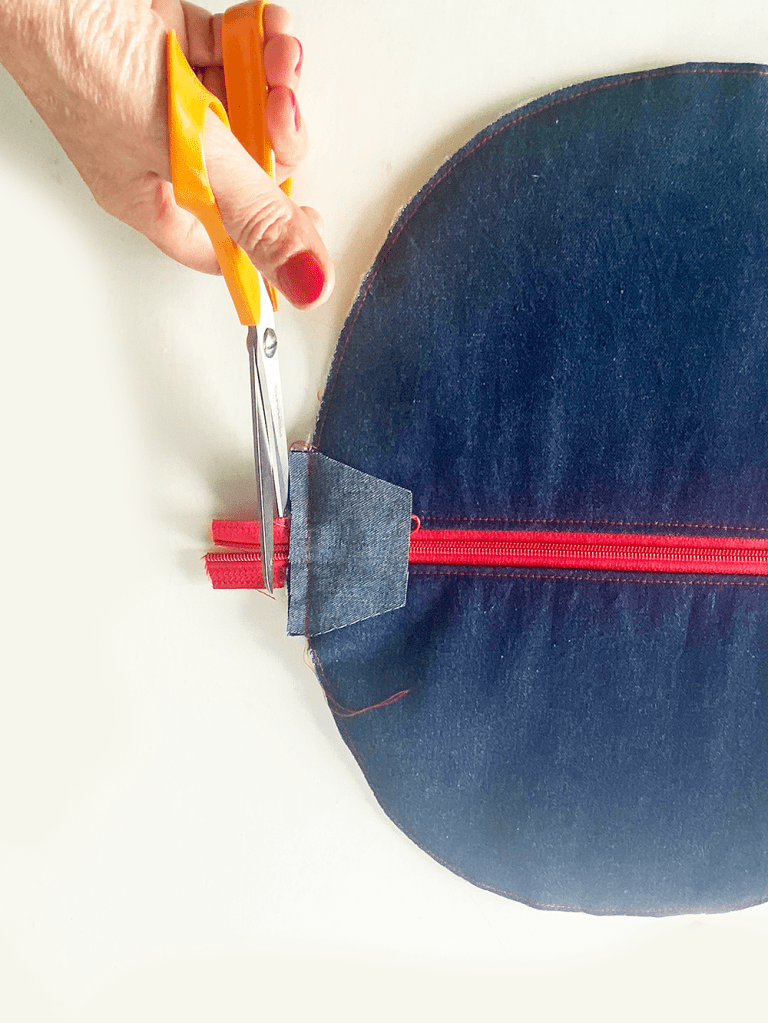
Sew across the Tab. Trim off any excess zip extending beyond the bag. Press the Tab outwards.
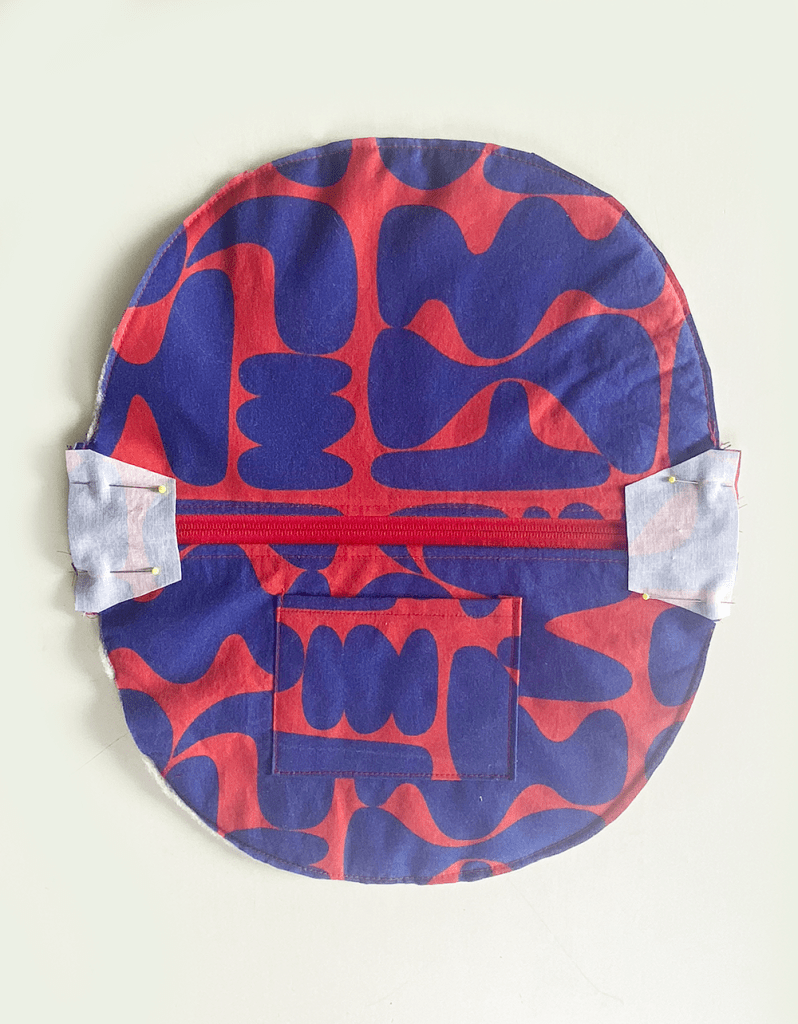
Pin the Lining Tabs to the Lining inside. Sew. Press the Tabs outwards.
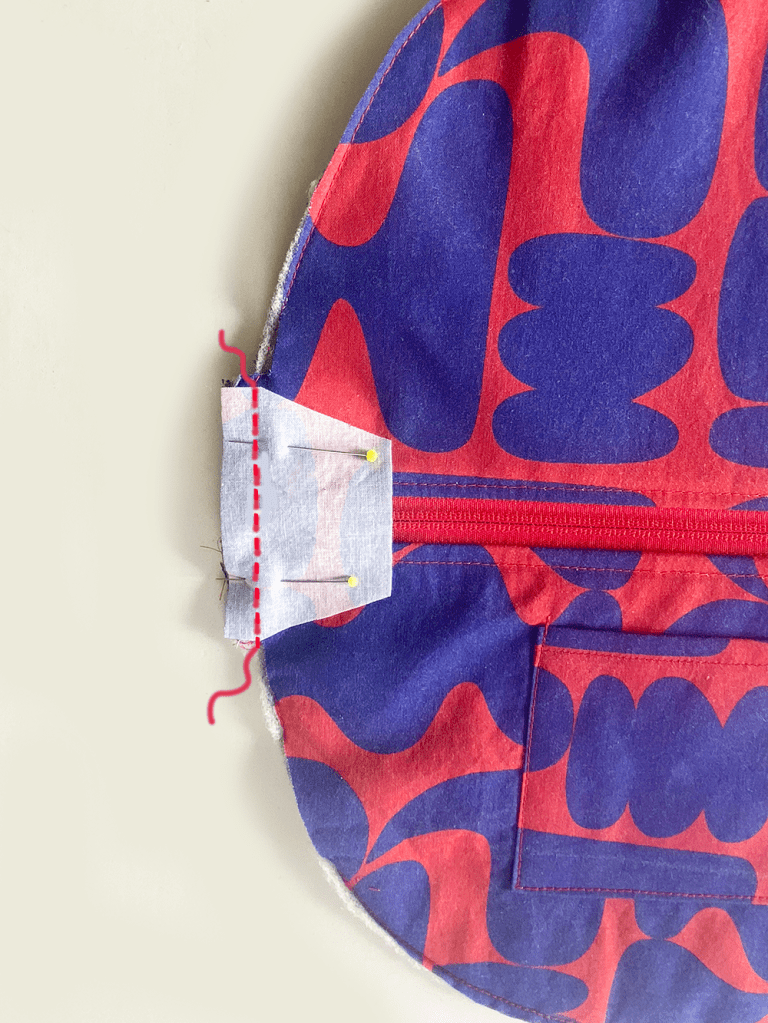
Stitch across the Tab. Press outwards. Topstitch across the Tab on the Right right close to the seam line.
Attaching the Strap

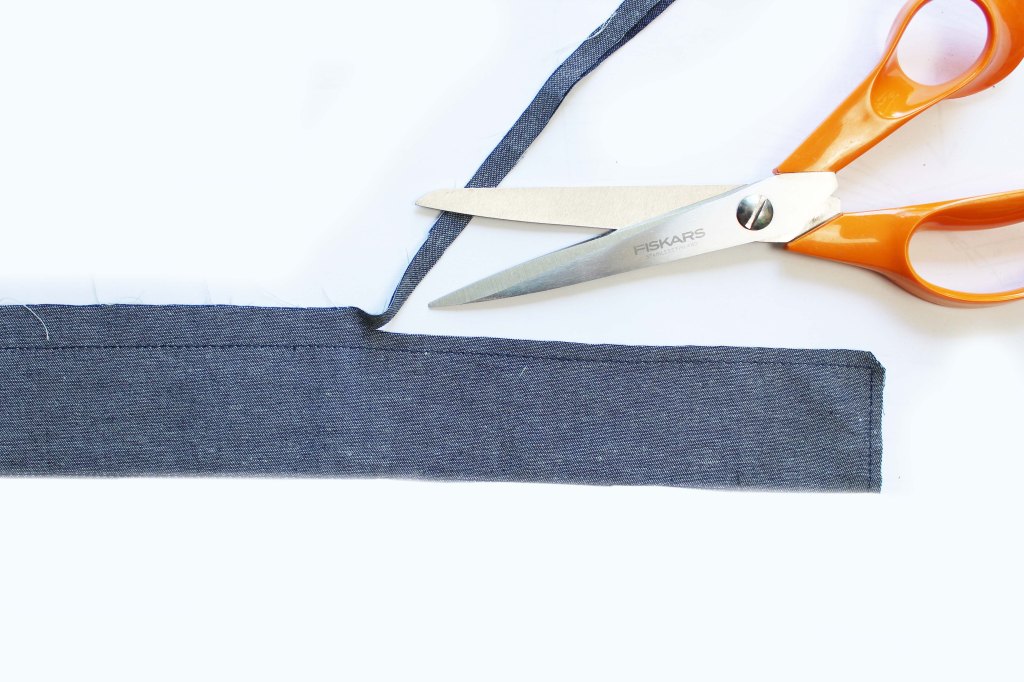
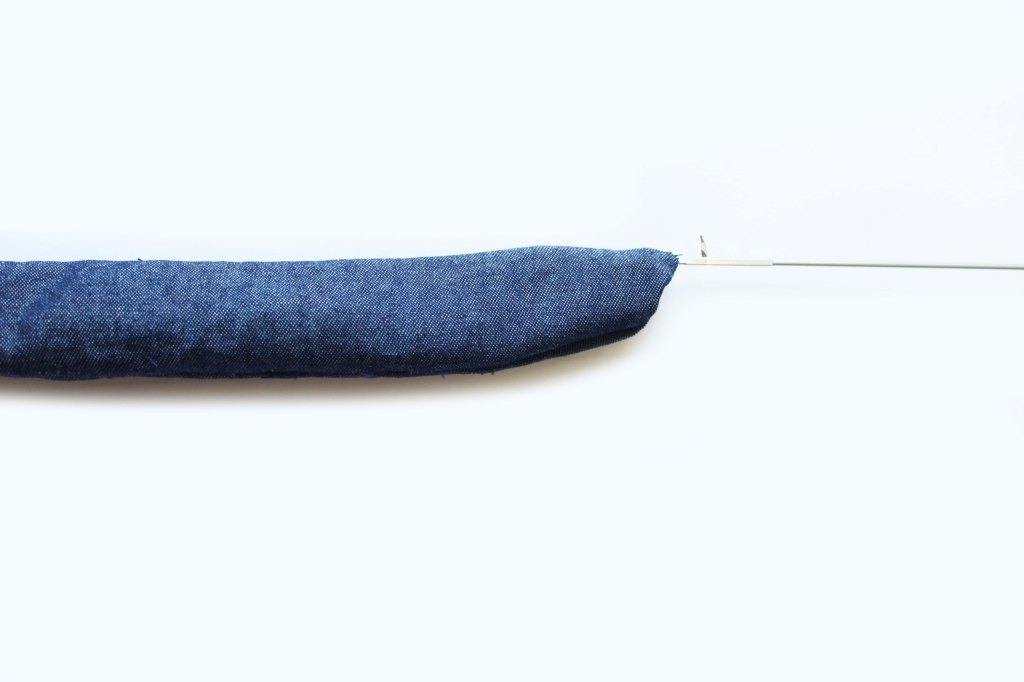
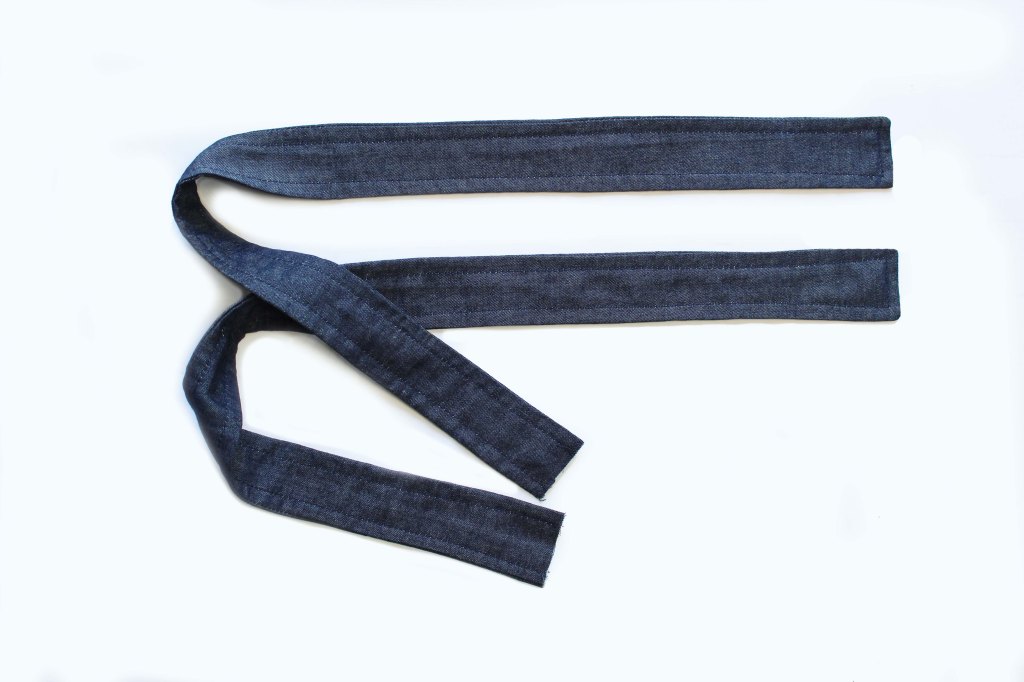
You can make your own strap or use a pre bought woven 1″ /25mm cotton webbing. If making your own strap you will need to cut a strip of outer fabric 7cm wide by 140cm/ 150cm (55″-60″). Fold in the outer long edges each side by 1cm, press. Now fold the strap in half aligning the long folded edges. Press. Sew.
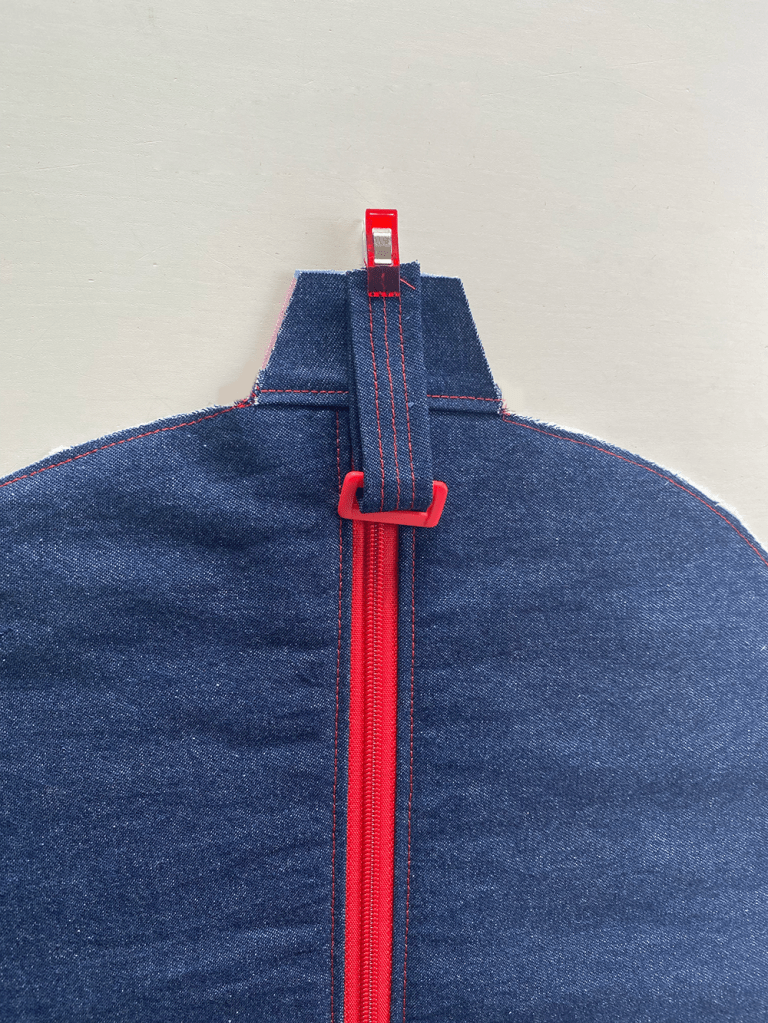
Insert the rectangle ring or D-ring to the Strap short piece. Fold in half. Pin the raw edges to the Tab short edge, positioned centrally.
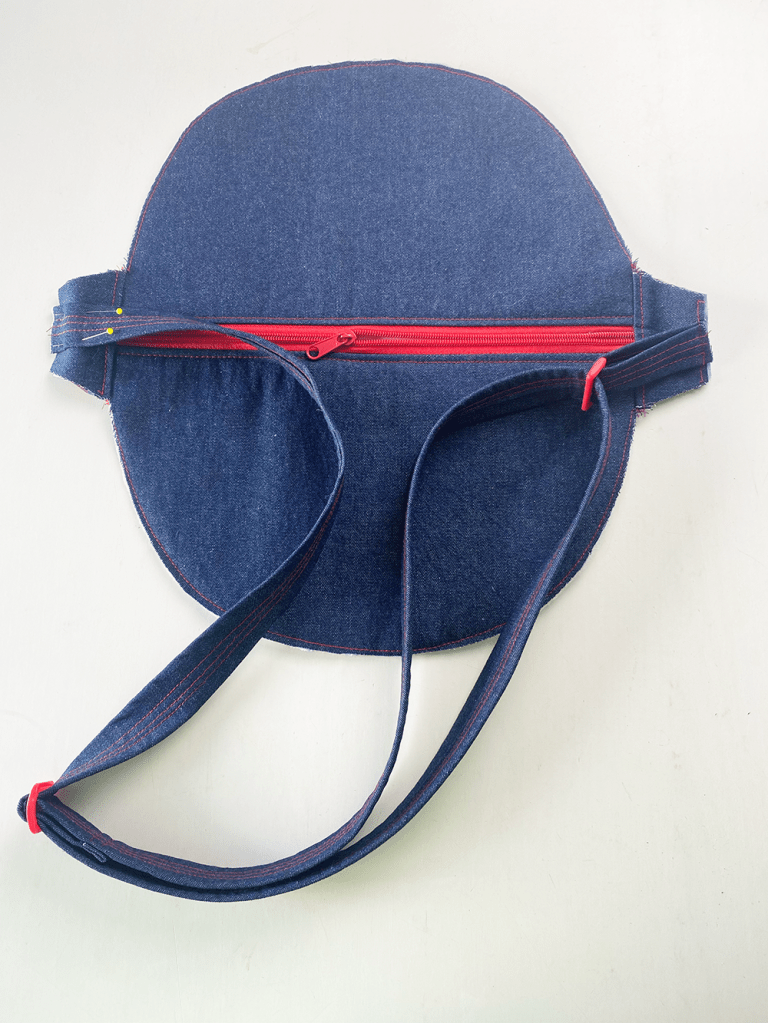
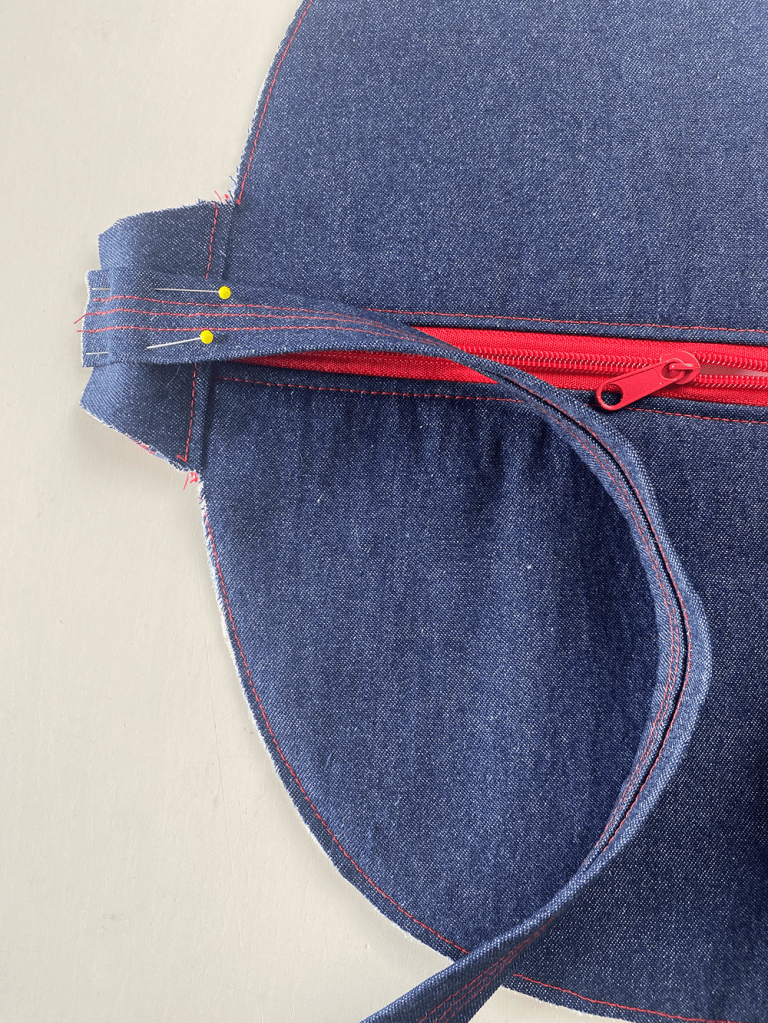
Insert one end of the long strap piece into and out of the Rectangle slider. Sew to the strap to secure the slider. Then insert the opposite end into and out of the attached ring, pass it up and over the slider centre bar, then extend out to the opposite Tab end, positioned centrally. Pin. Sew.
Joining the Bag to the Base section
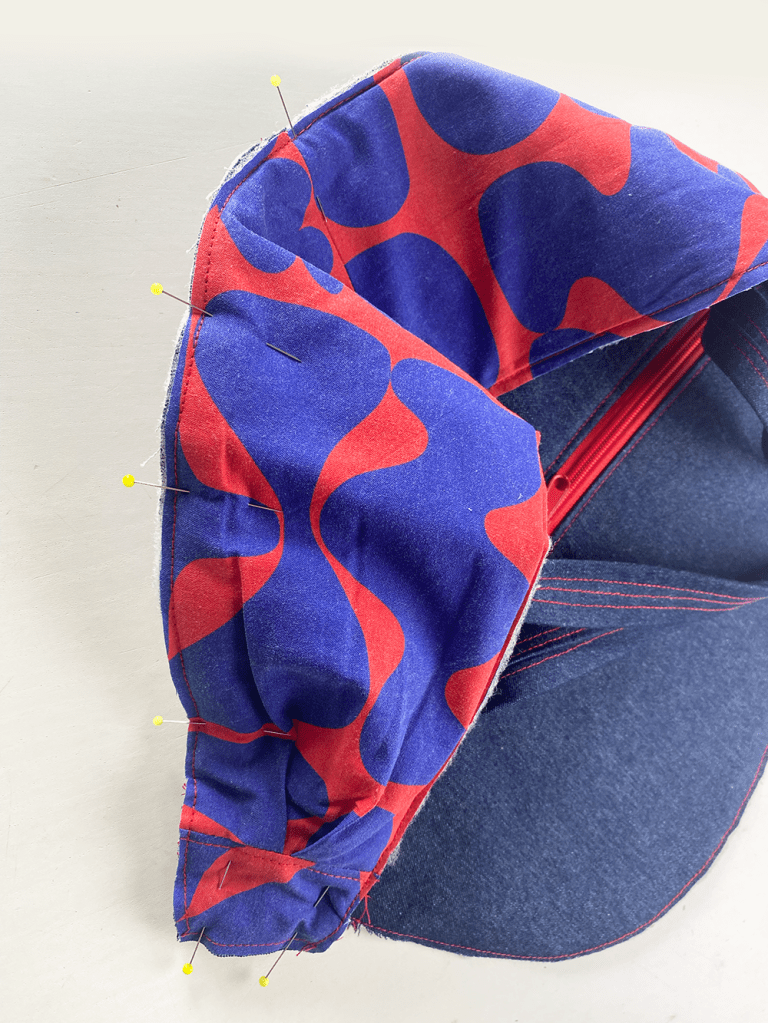
Pin or clip the Base to the bag, aligning the outer raw edges. Tip: work on one side at a time, matching up the centre points and the Tab ends. Hand tack to secure temporarily. Sew each side from the bag centre to the Tab each side. Remove tacking after sewing. Tip: it helps to swing the needle position over to the left to make sewing easier.
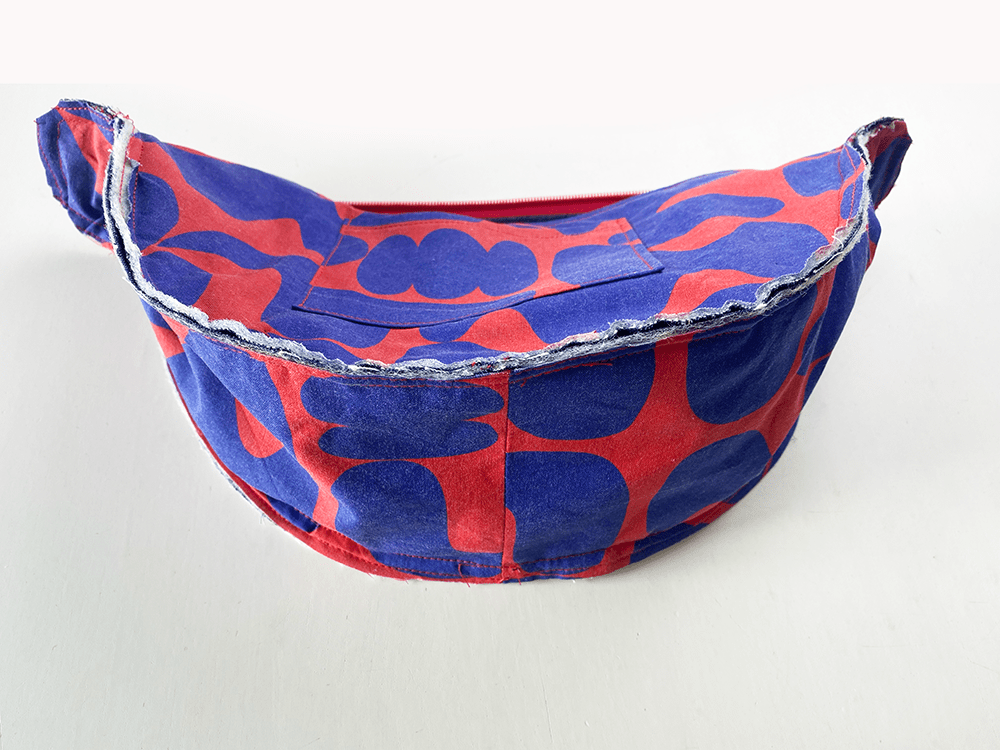
The bag is left with two raw edges inside which can be finished with an overlocker or, for a much neater finish, use a length of bias binding.

BINDING THE RAW EDGES: You will need a 1m (1 yd) length of 25mm (1″) binding into two equal lengths. Sew one unfolded side to one side of the seam. Fold the binding over the raw edge, then stitch down the other side. Trim the excess binding.
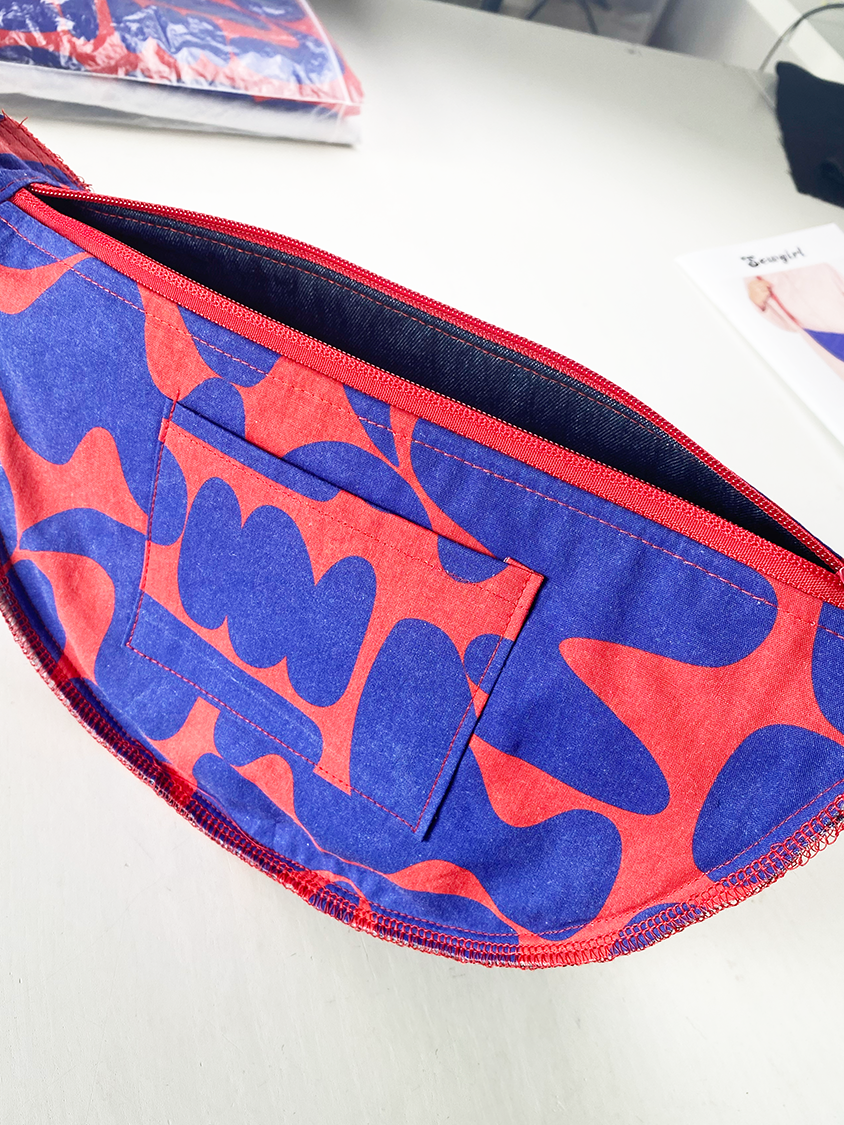
Turn the bag inside out, push out the tab ends by pulling the strap.
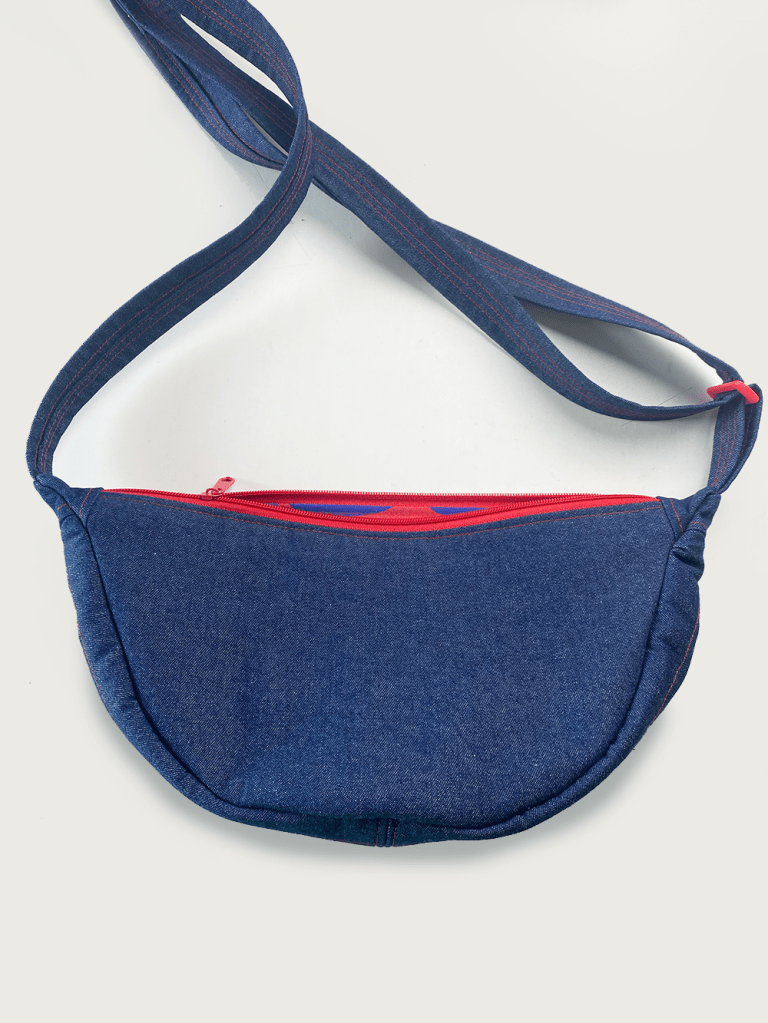
Press the bag, poking out the seam edges from the inside with a poking tool such as a chunky knitting needle or a chopstick.
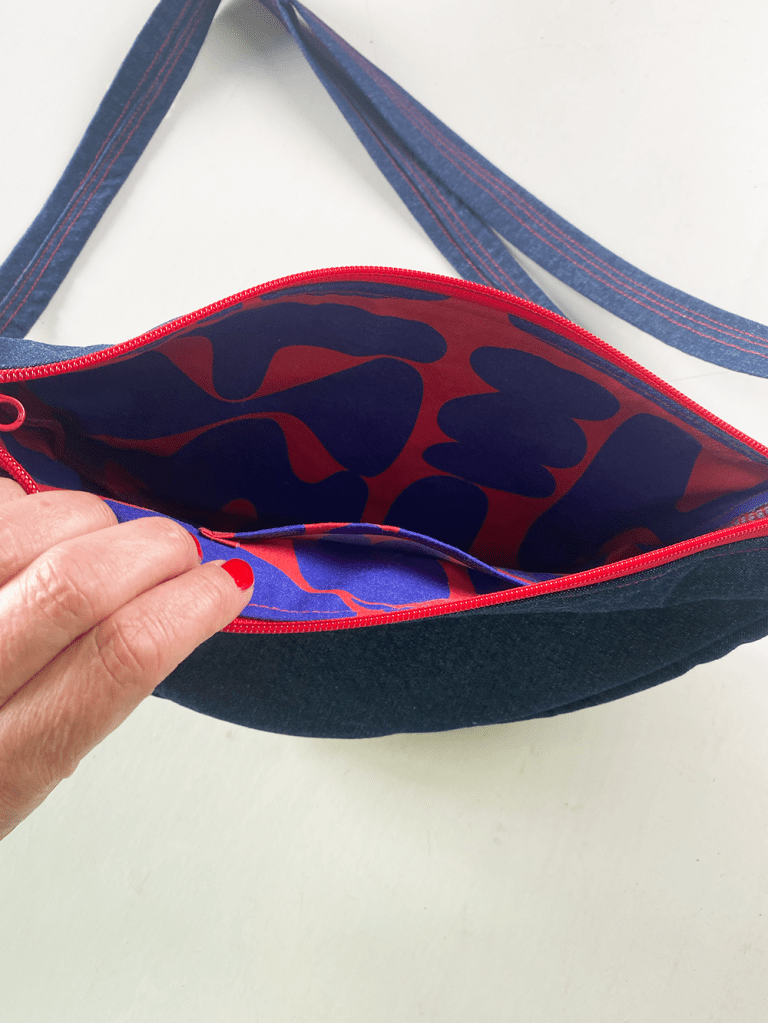
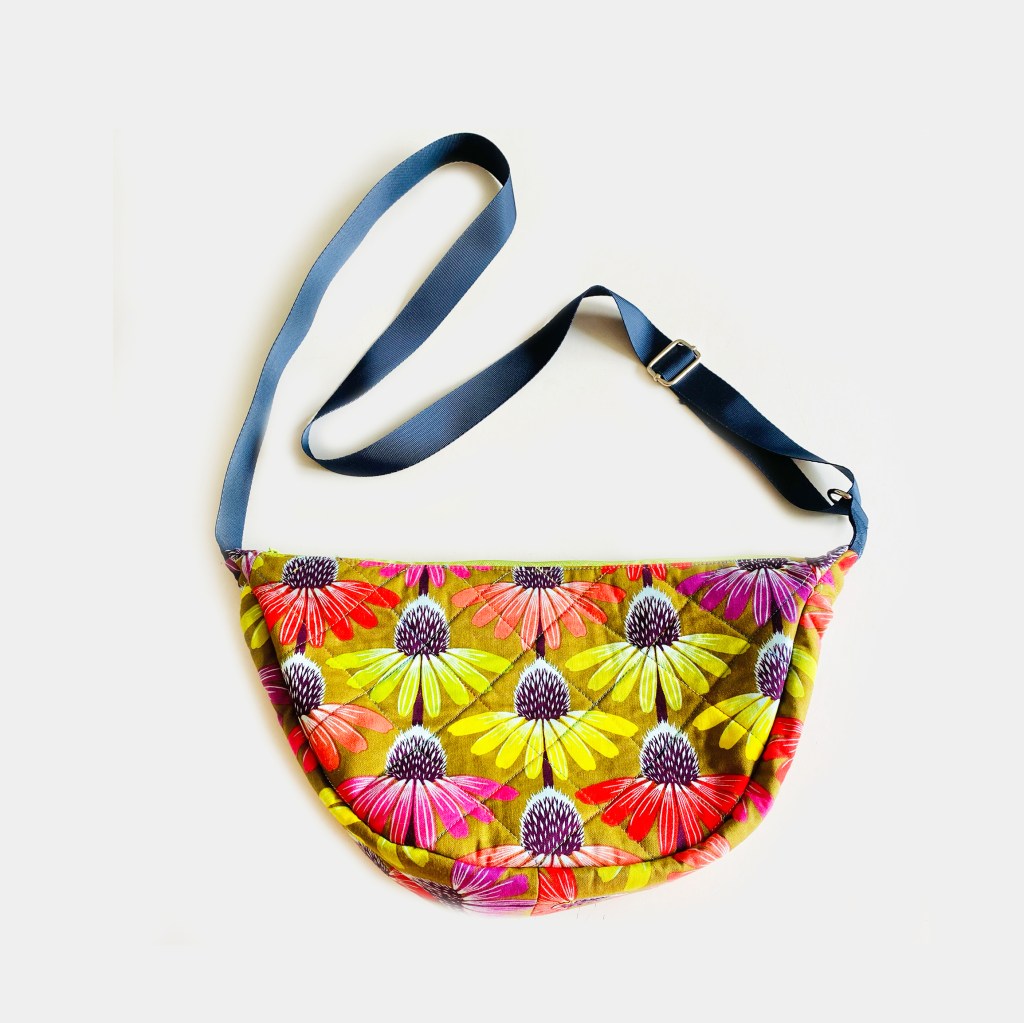
All images and text are subject to copyright. Sewgirl 2024
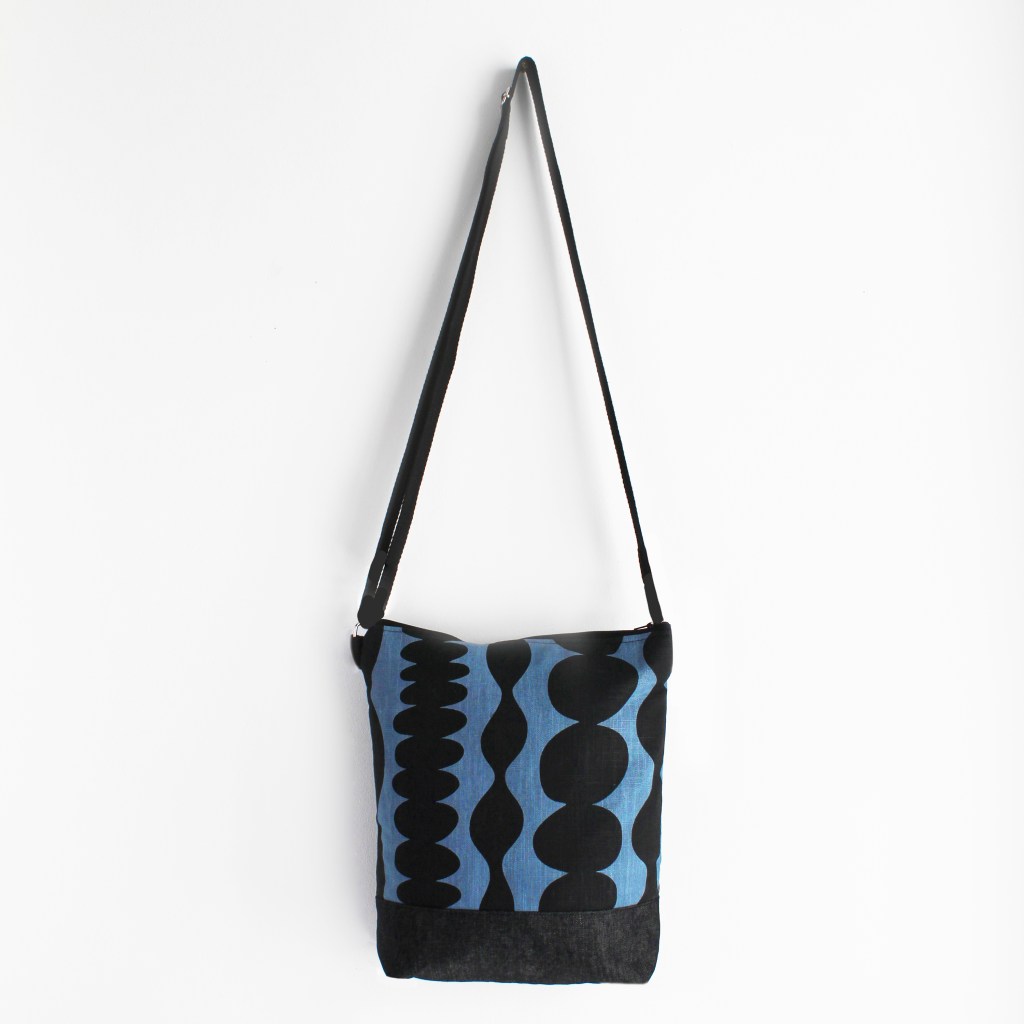
HAND SCREEN PRINTED FABRIC KITS

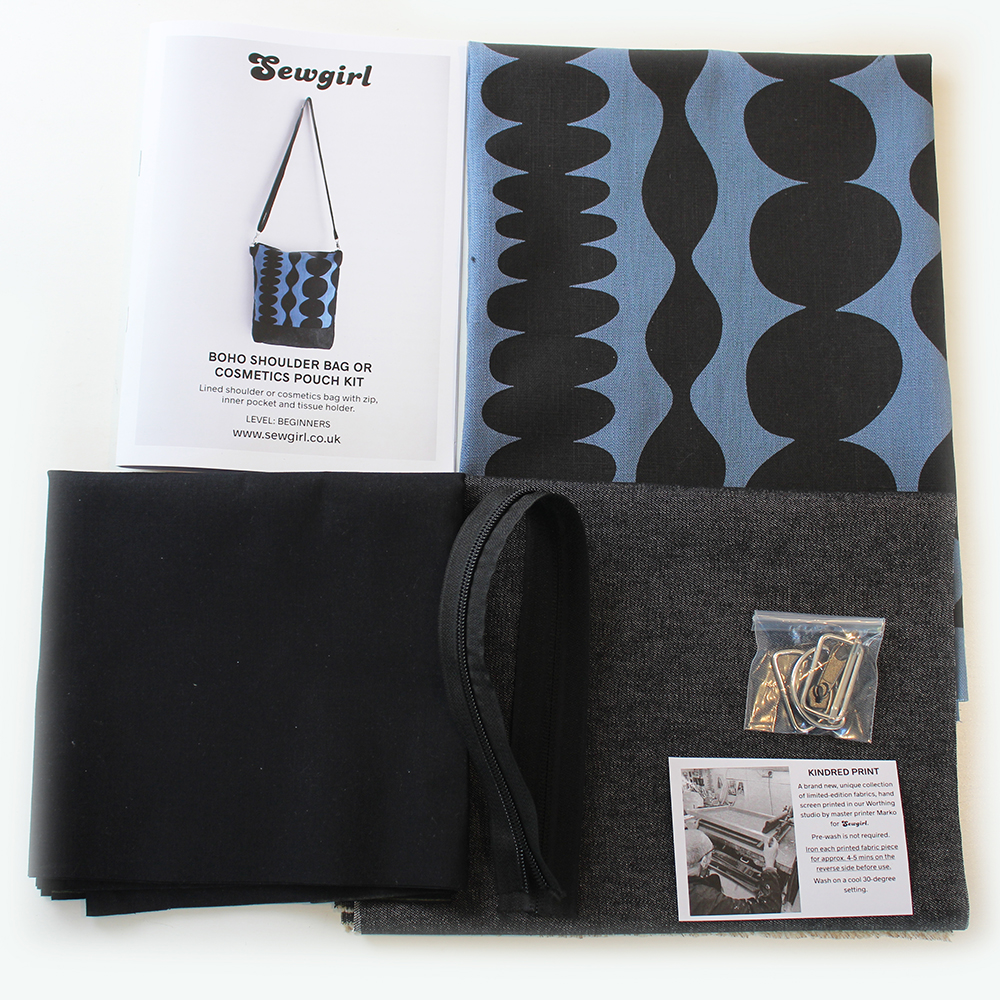
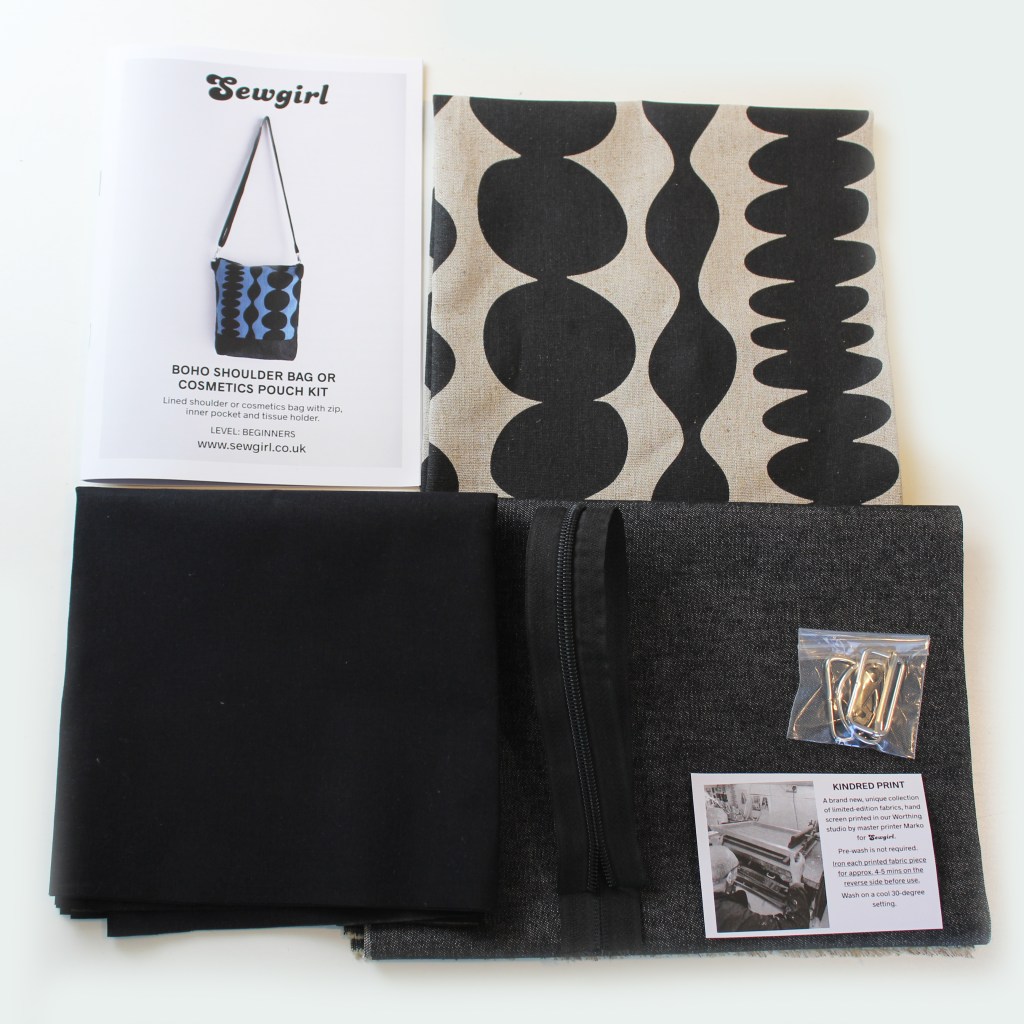
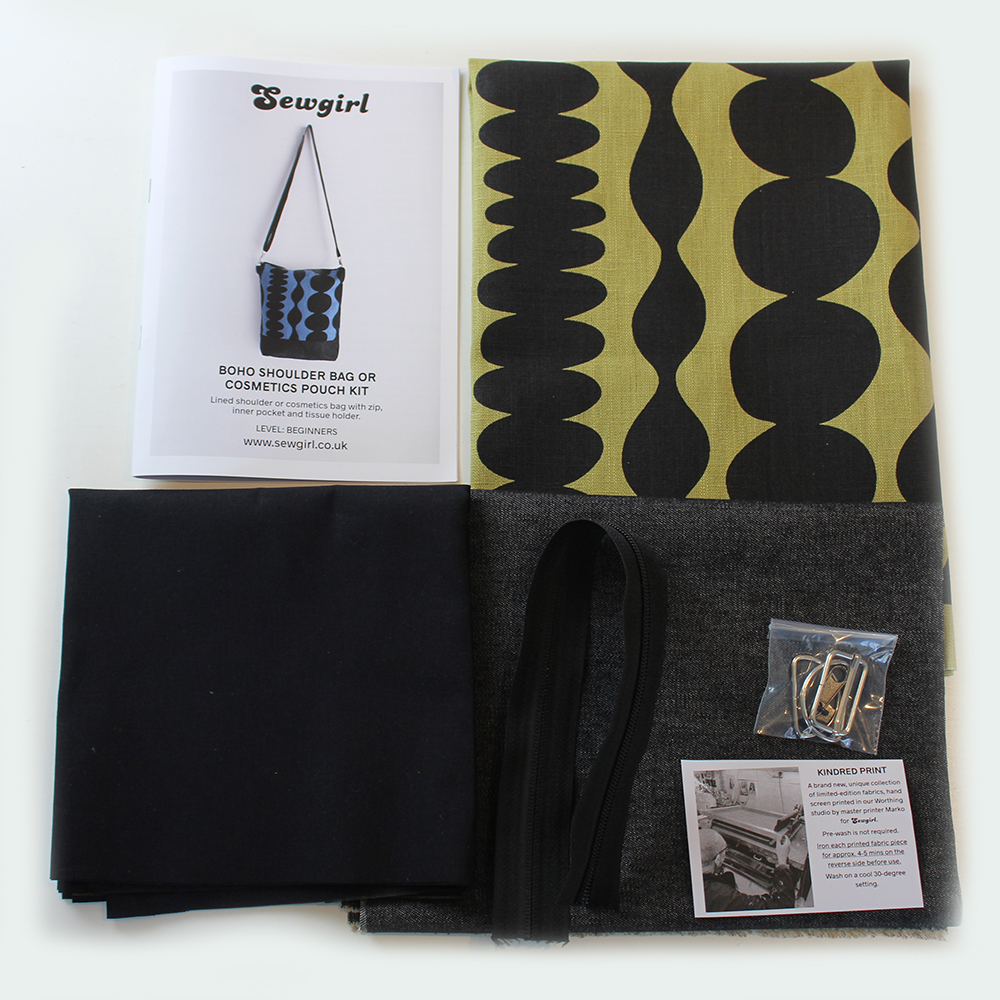
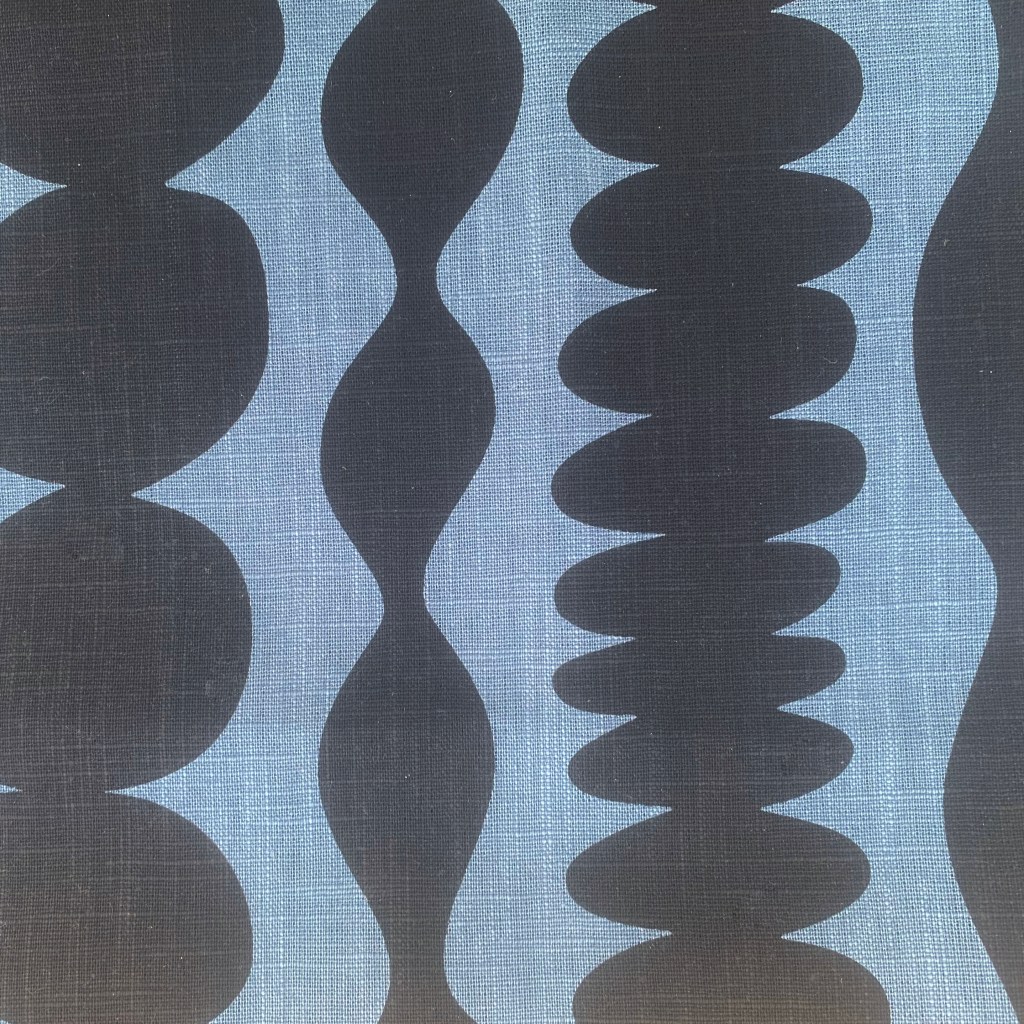
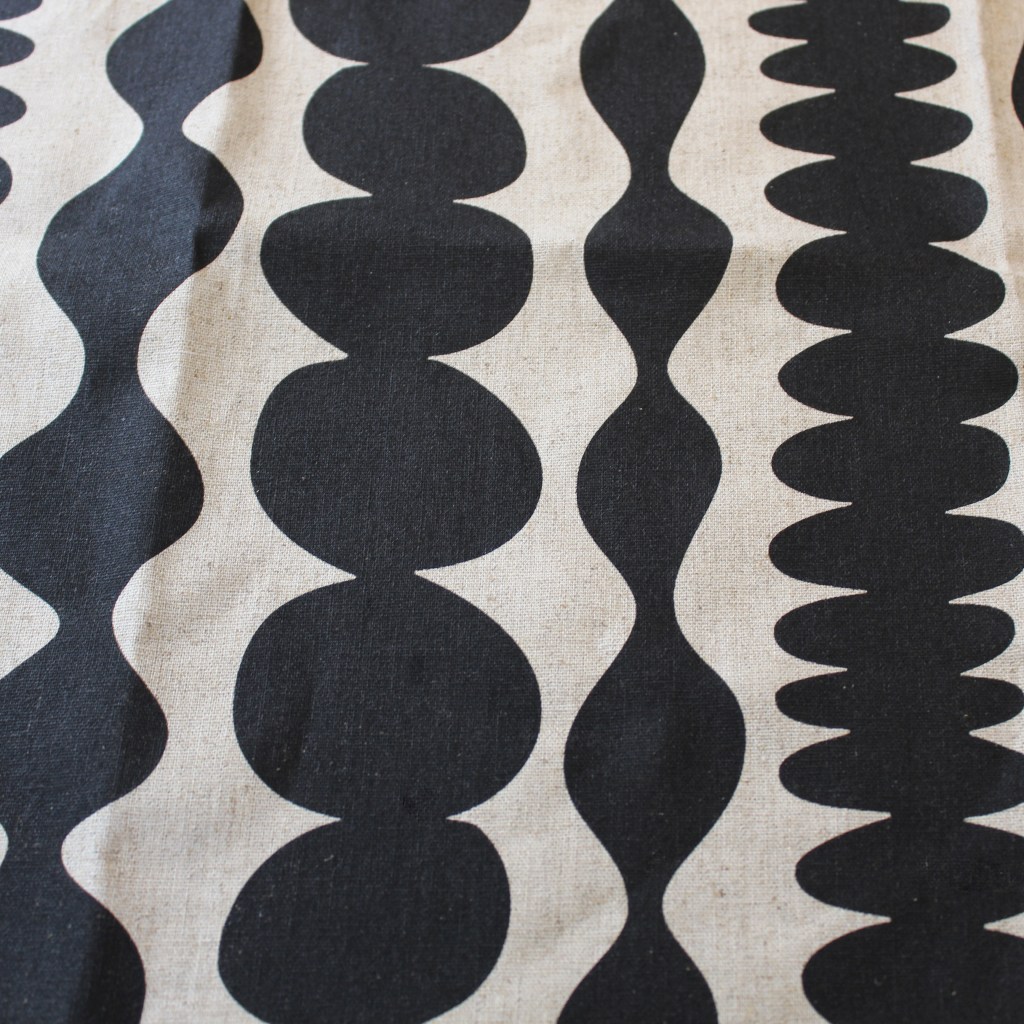
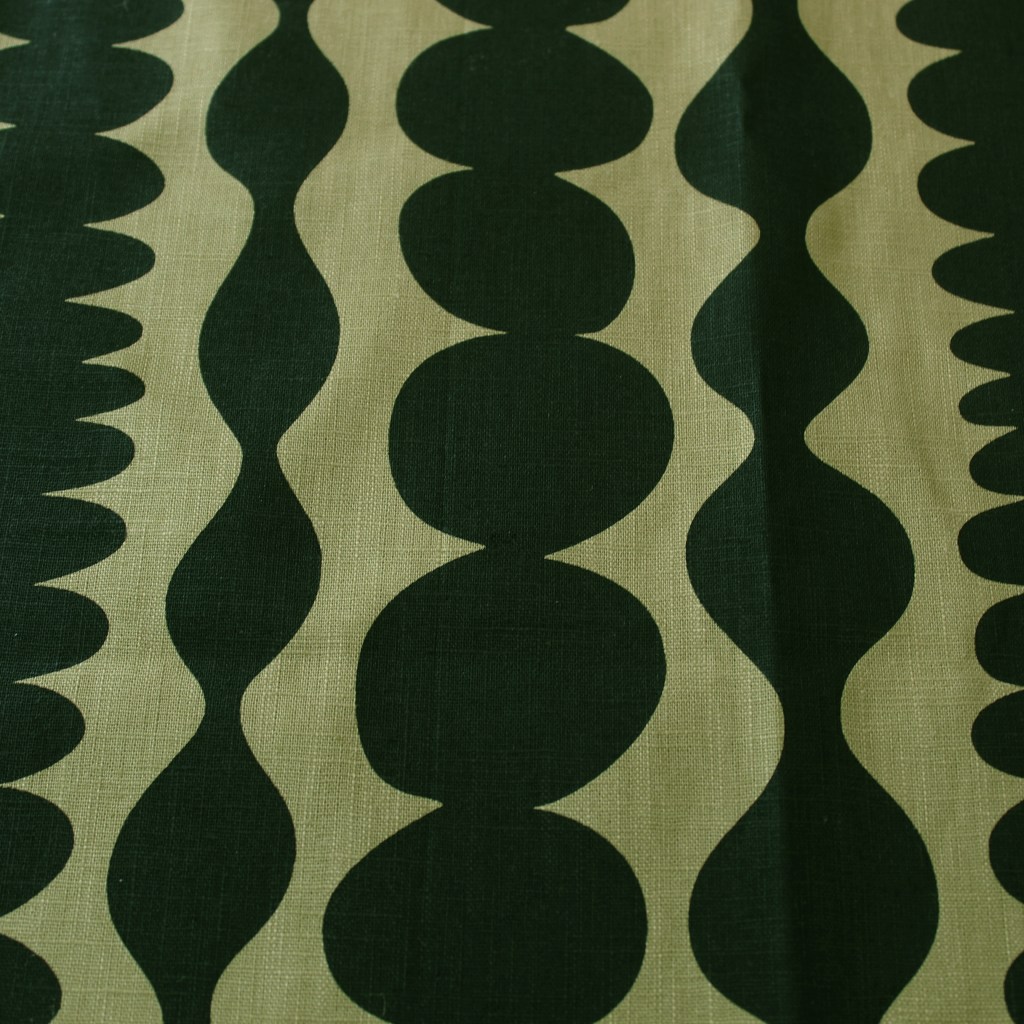
BOHO BAG in ‘Wobble’ fabric

Shoulder bag KIT in Linen mix hand printed fabric with denim base, adjustable strap and inner pocket.

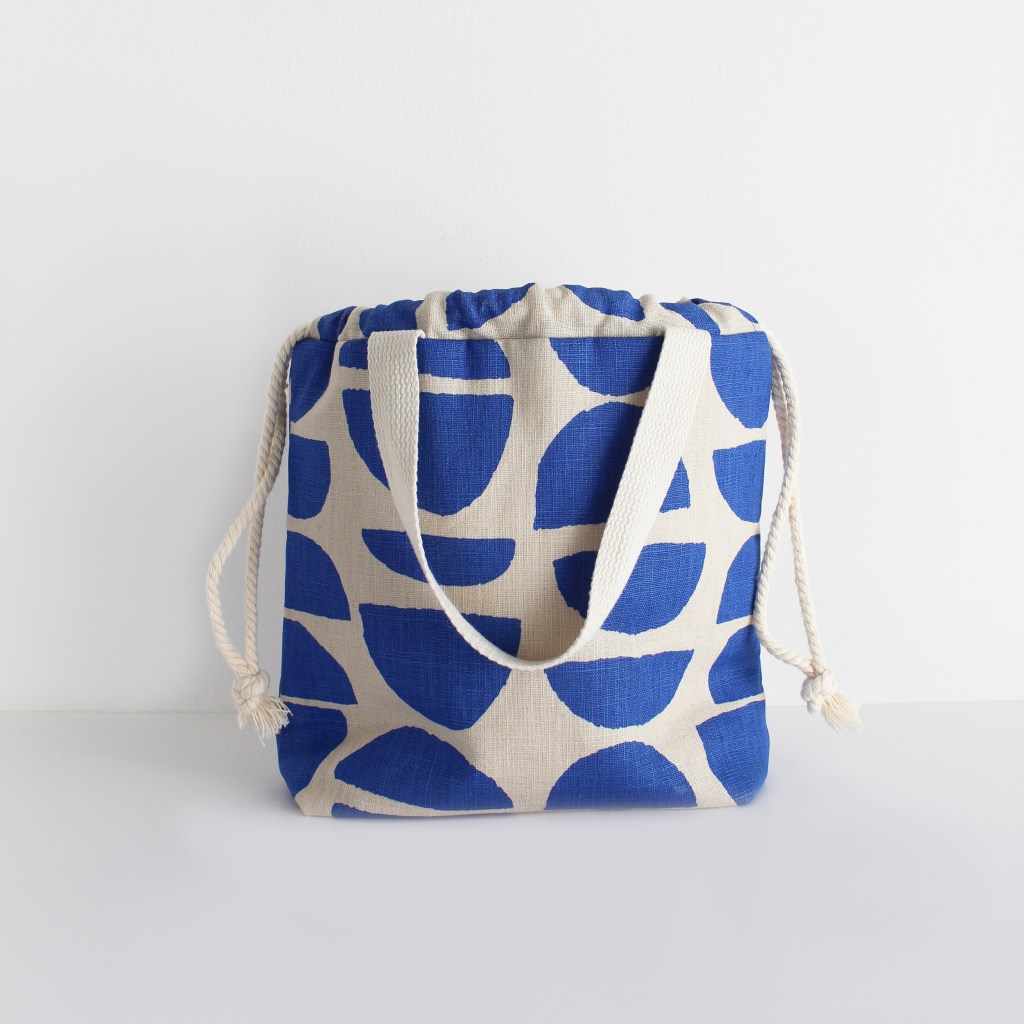
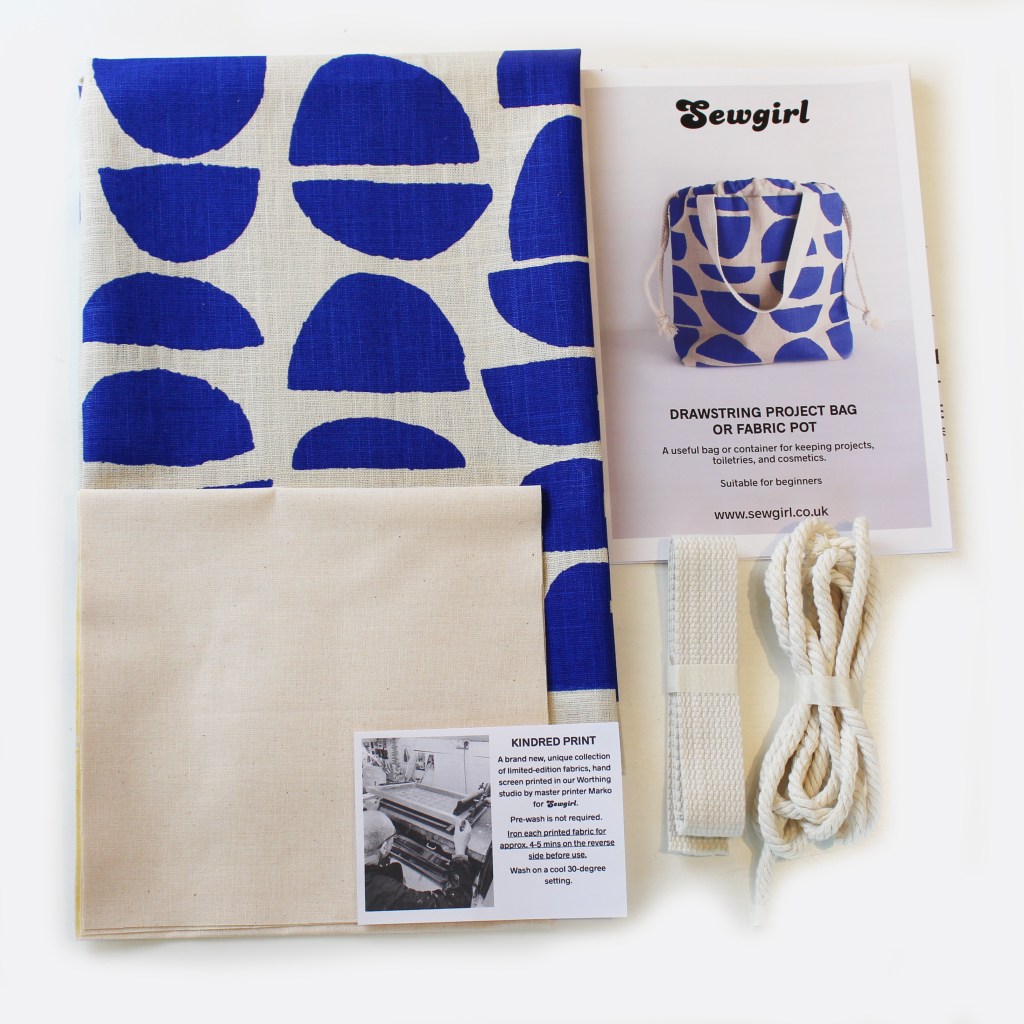
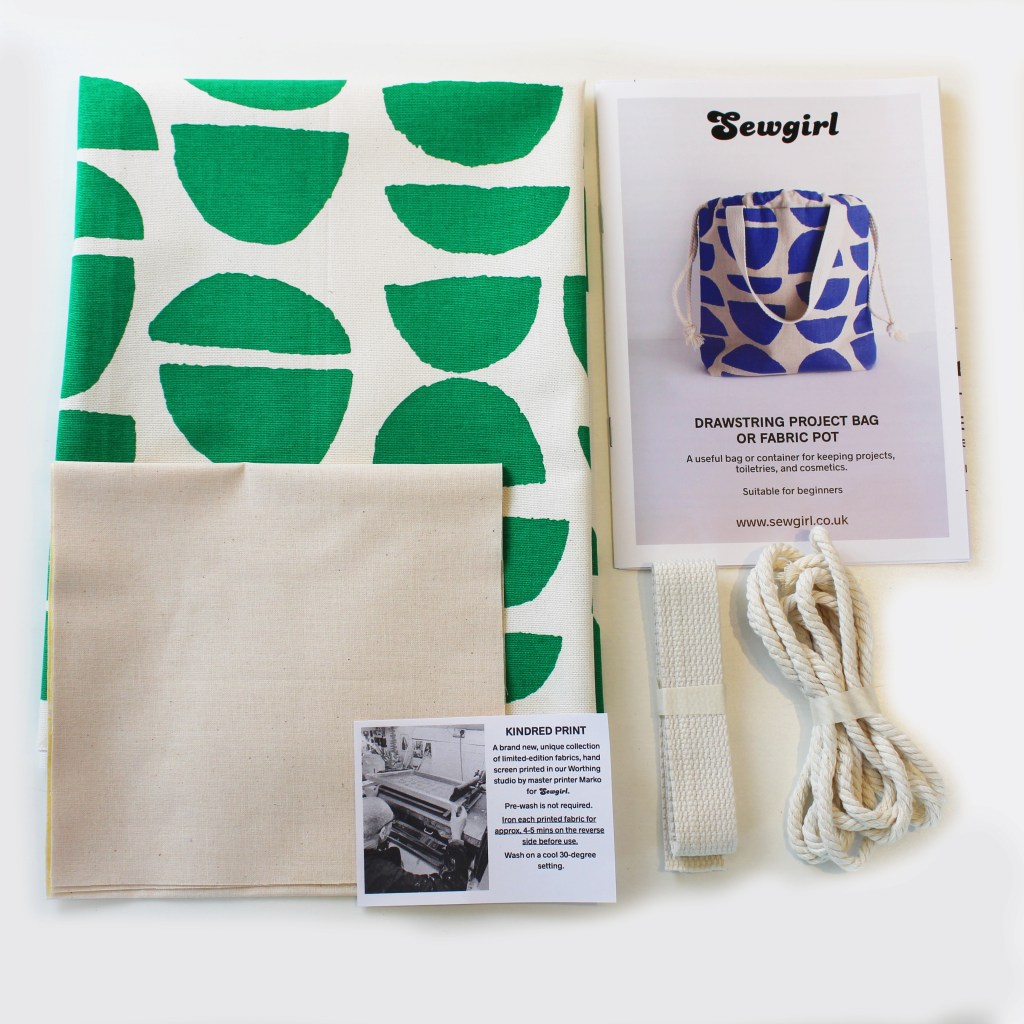
DRAWSTRING BAG OR POT KIT in ‘Scoop’ fabric

Drawstring bag KIT in linen mix hand printed fabric with cord handles, webbing straps and inner pocket.
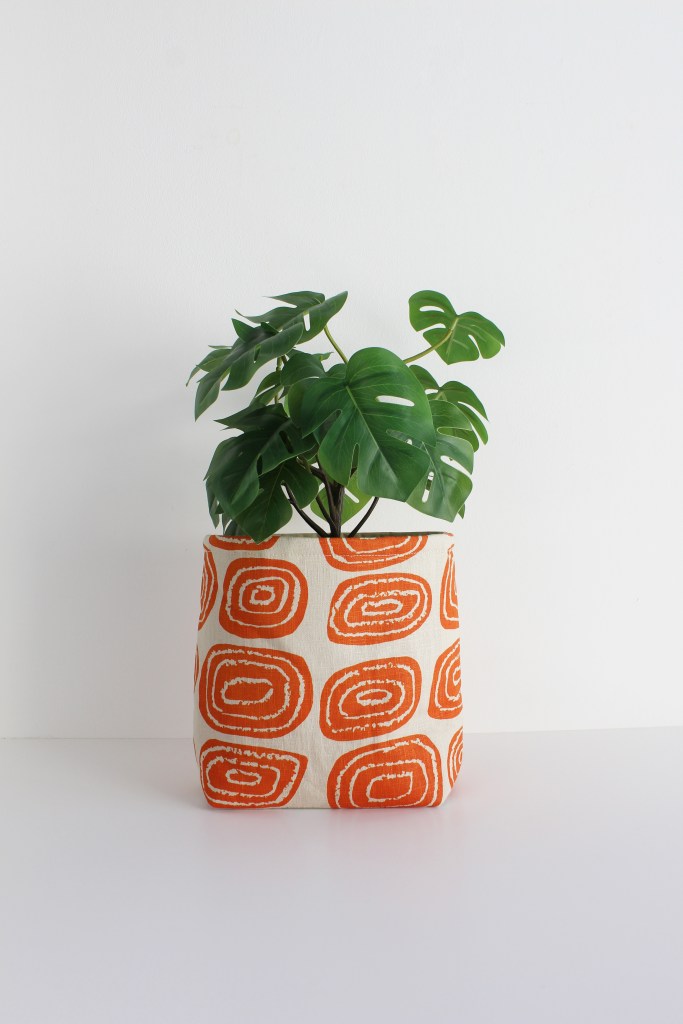
Fabric pot version shown in ‘Ripple’ fabric

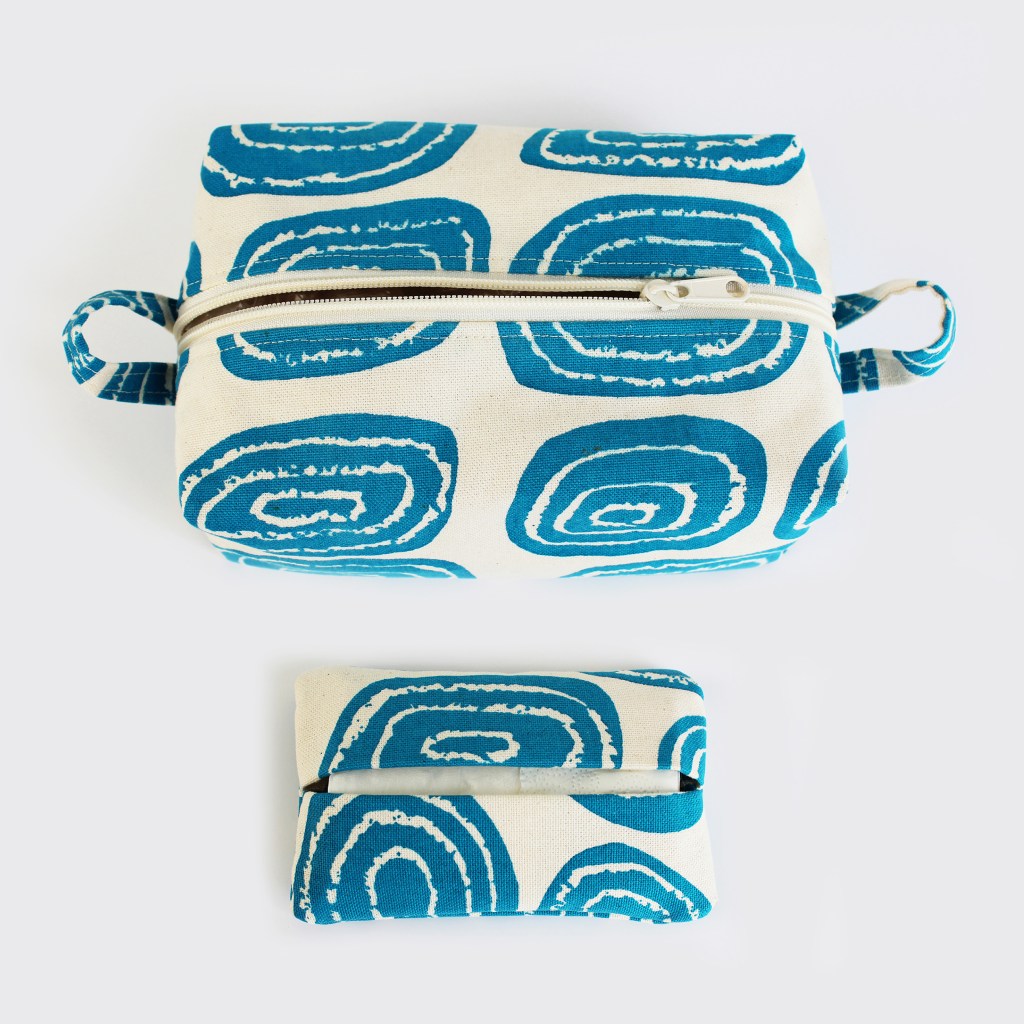
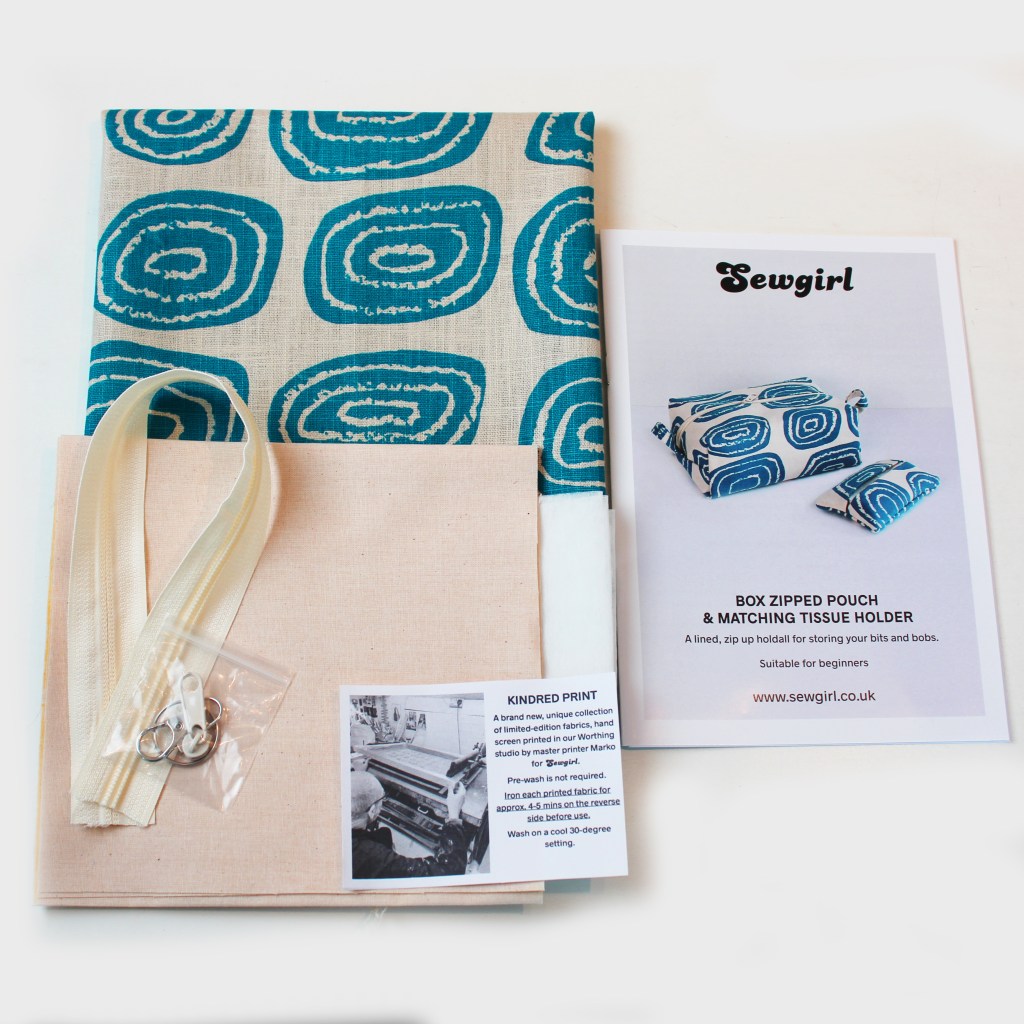
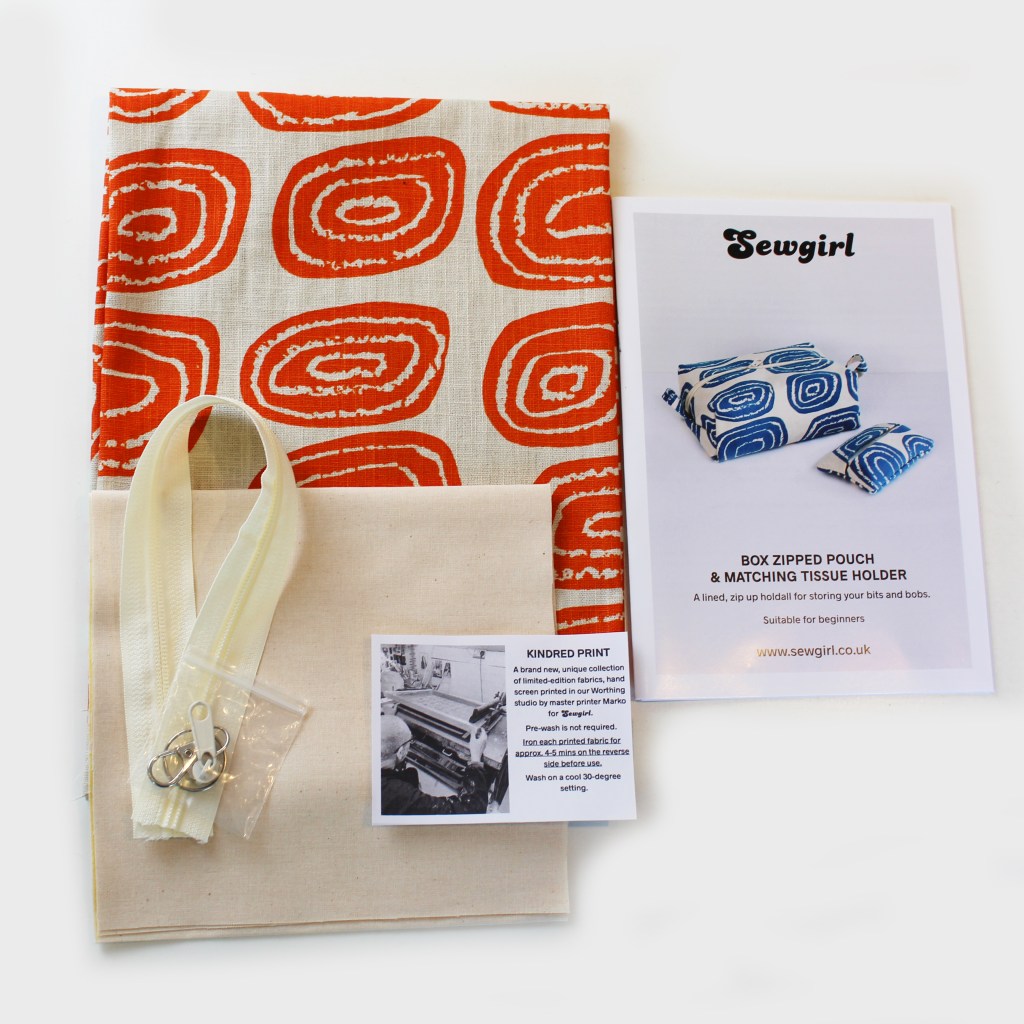
ZIPPED BOX POUCH KIT in ‘Ripple’ fabric

Zipped box pouch KIT with loop handles and tissue holder in linen hand printed fabric.

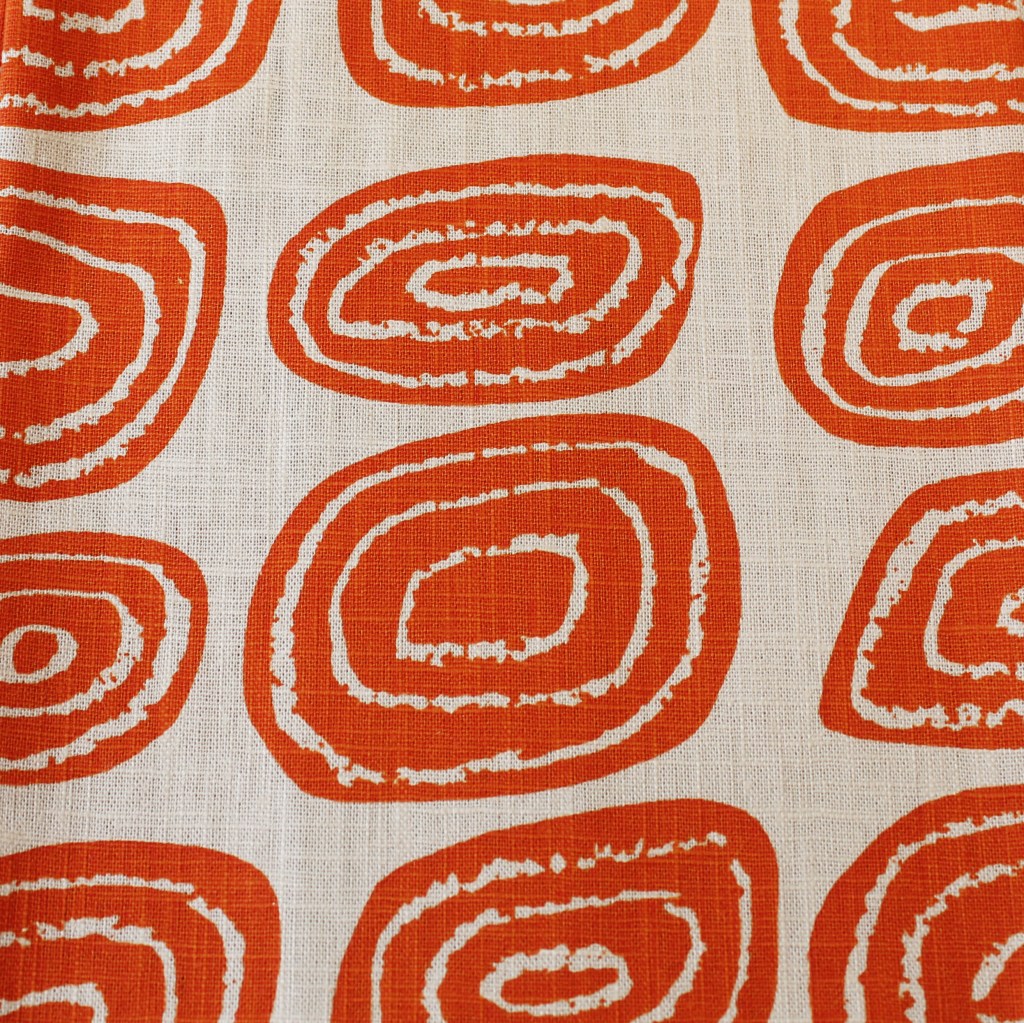
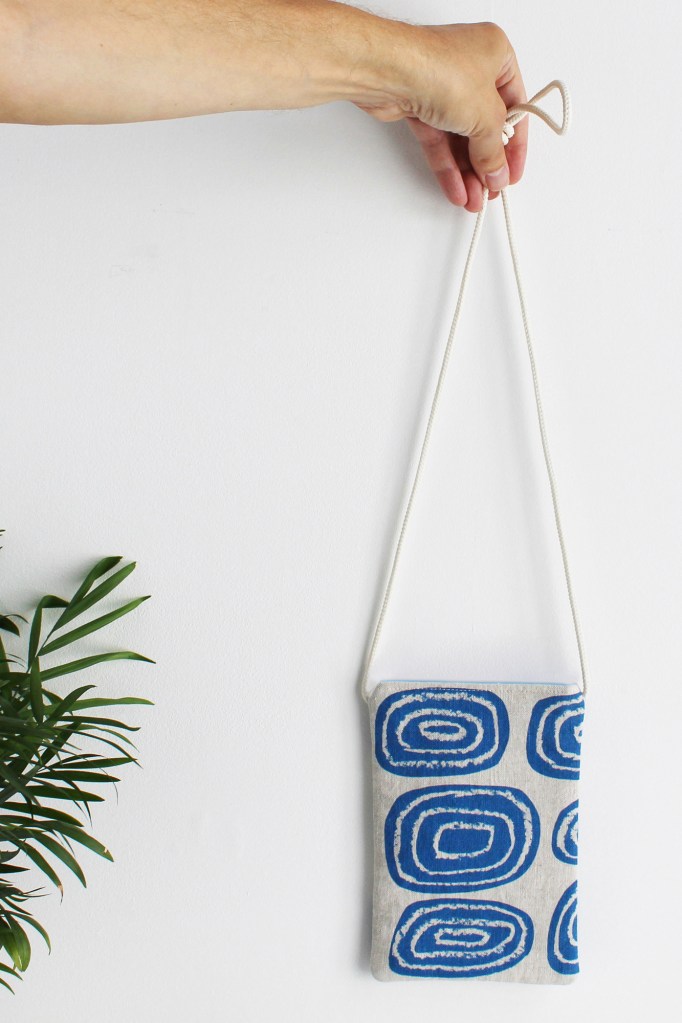
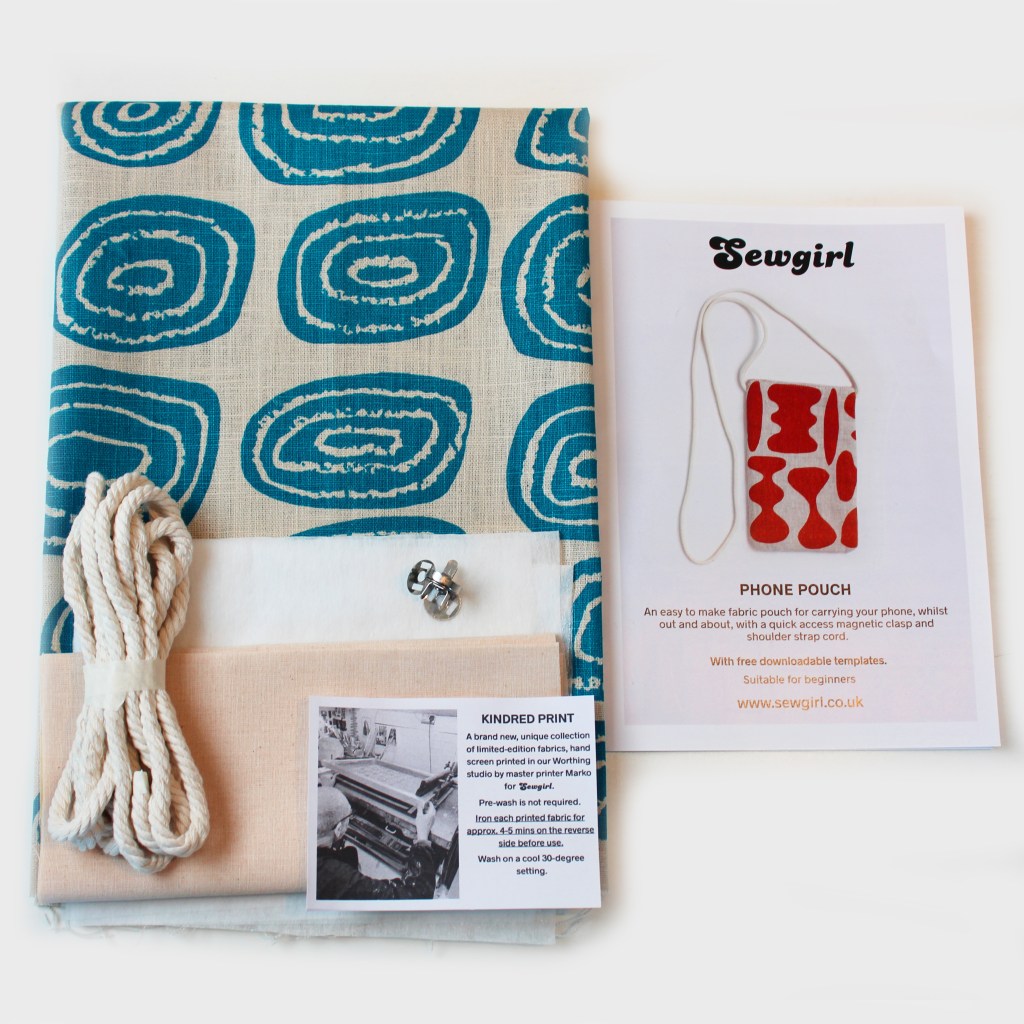
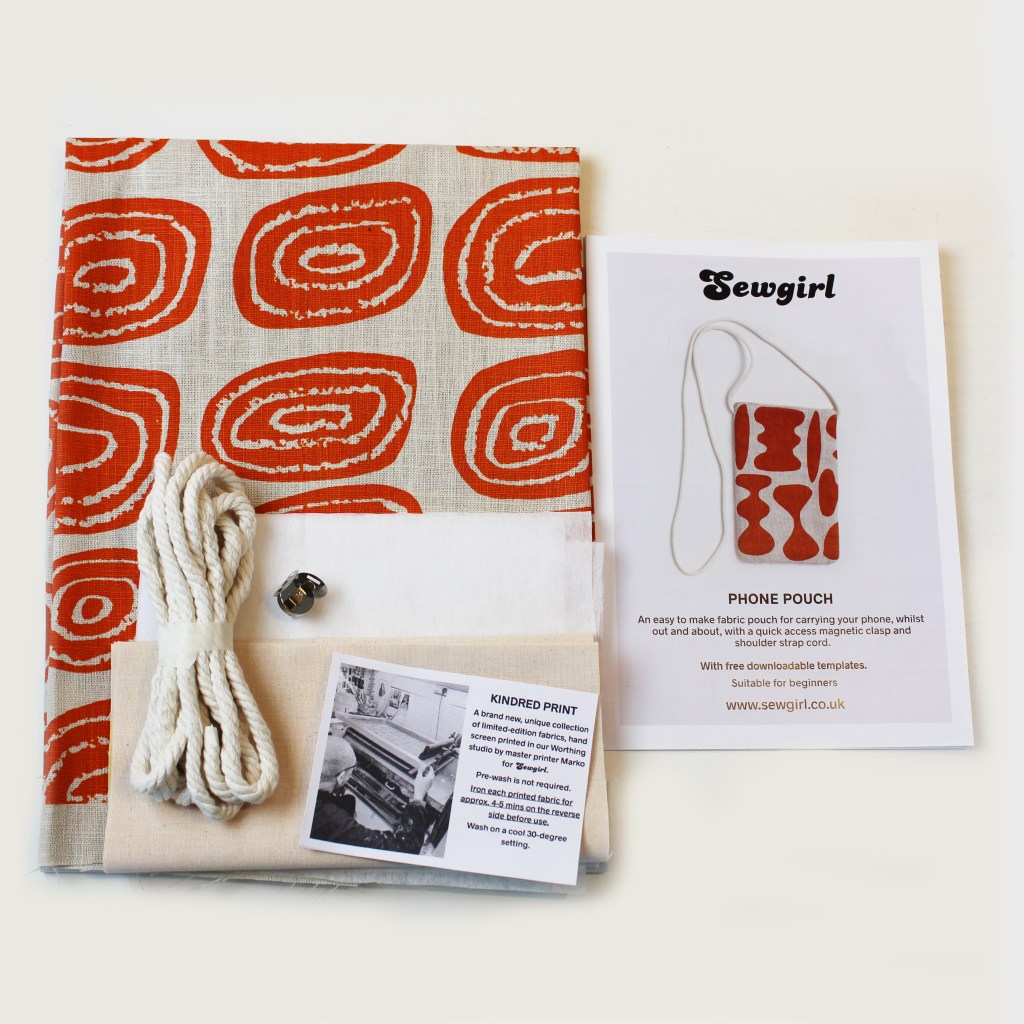
PHONE or GLASSES HOLDER KIT

Lined Phone or glasses holder KIT with cord strap and magnetic clasp.

All images and text are subject to copyright Sewgirl 2024. Patterns are not for commercial use.

BEATRICE DRESS

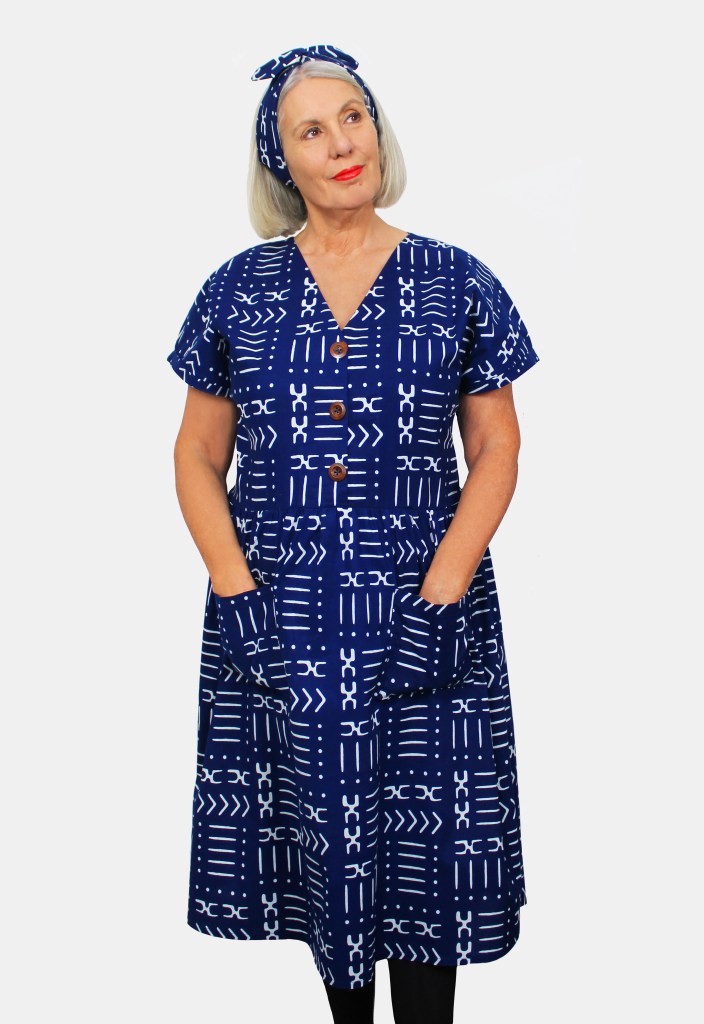
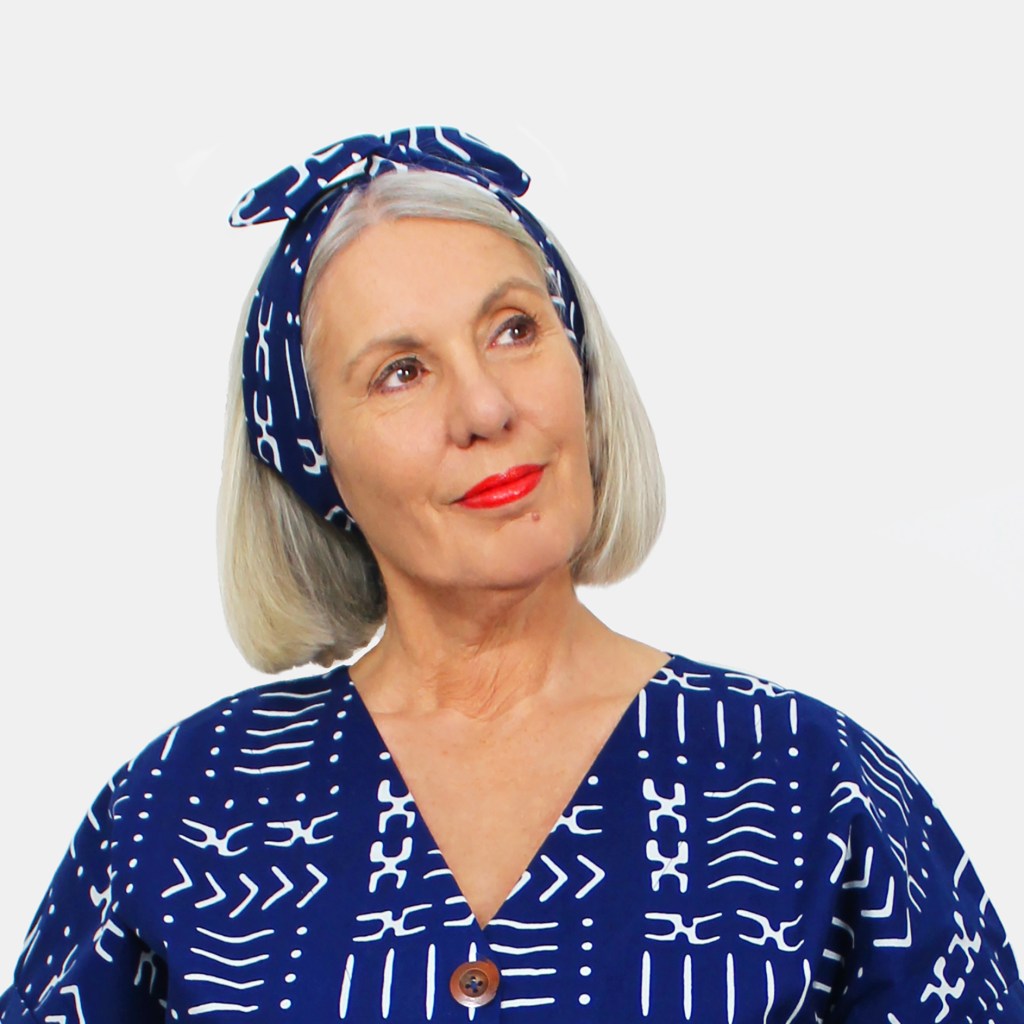
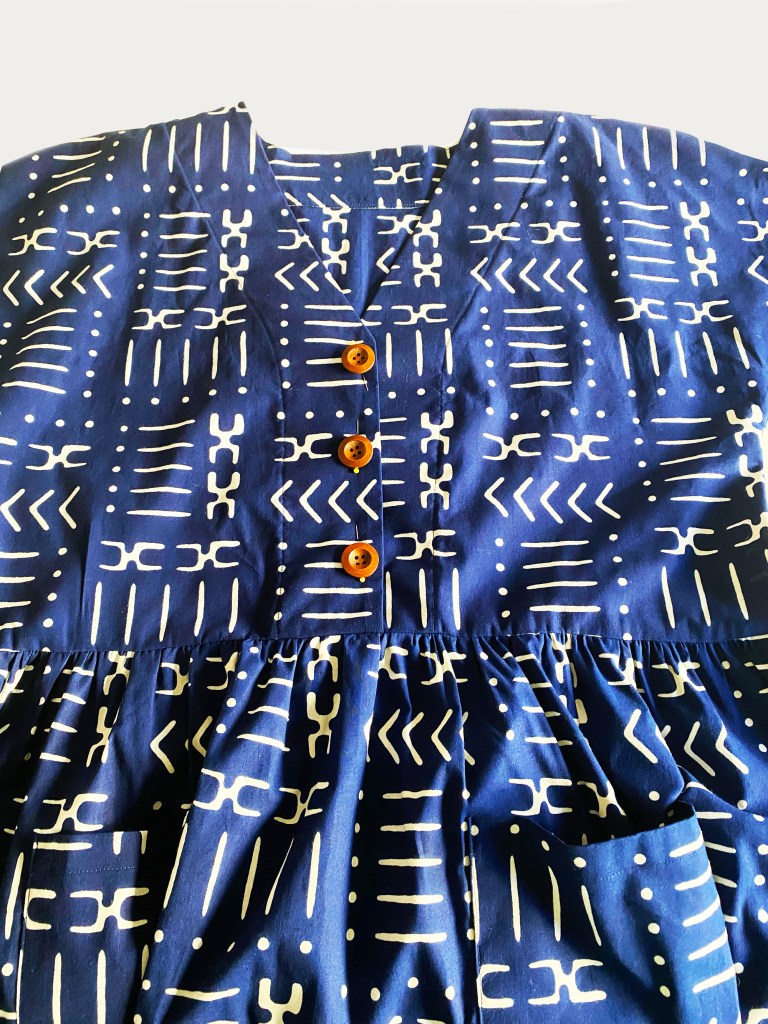
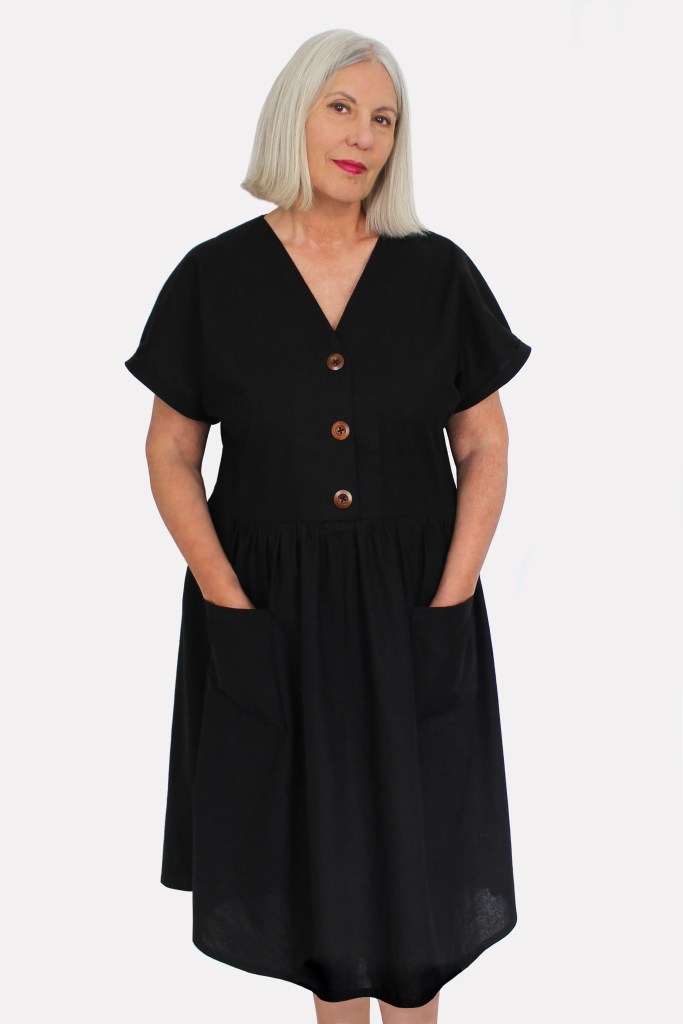
Beatrice dress has a V-neck, button down bodice with ‘cap’ style grown on sleeves, with fold back hems, great for wearing with cardigans and jackets.

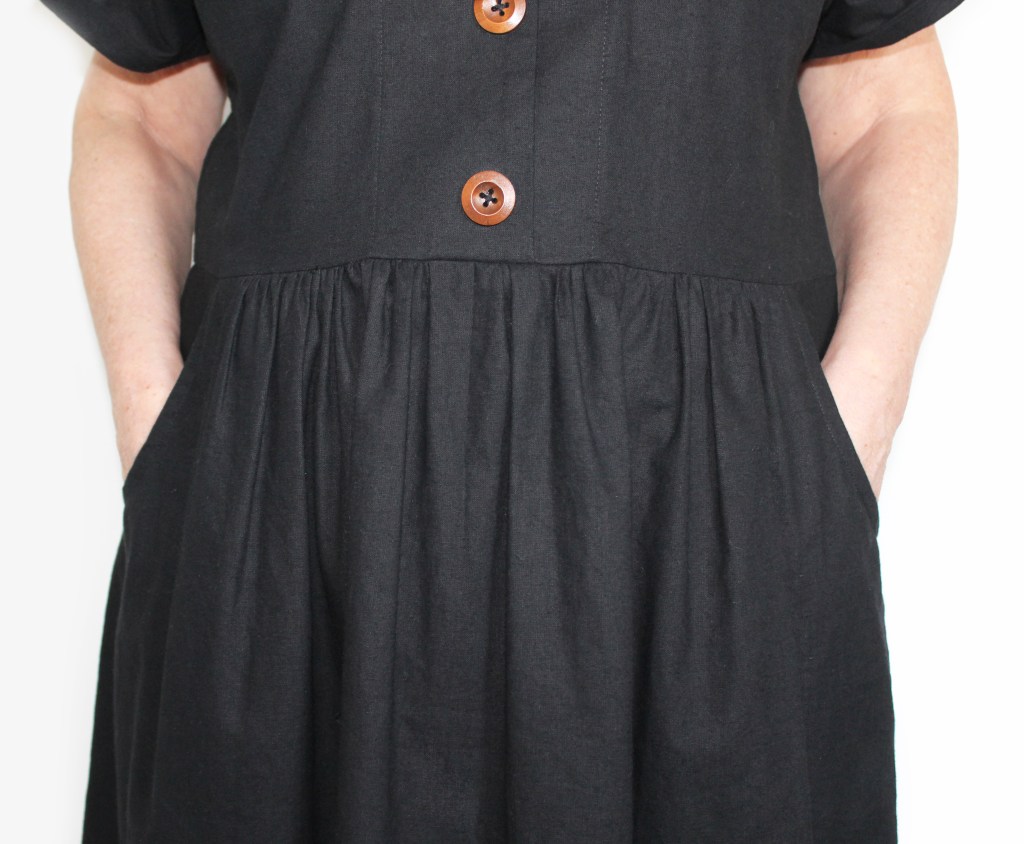
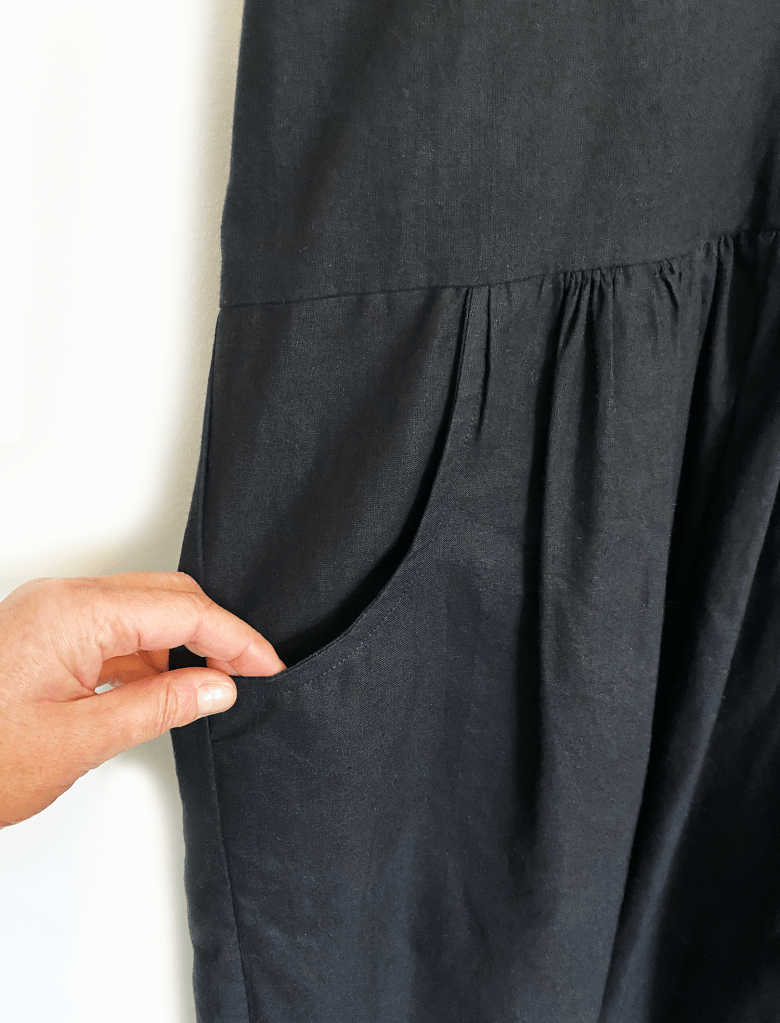
The skirt section is gathered on to the bodice, with a shirt style curved hem detail at each lower far side.

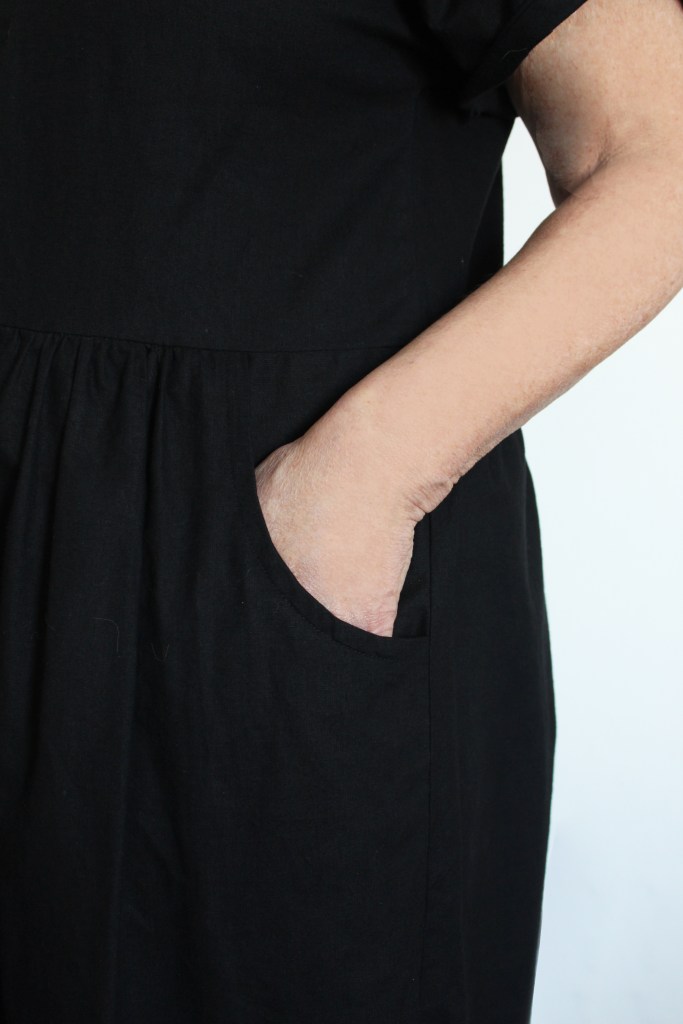
Patch pockets are a must, with an alternative downloadable pocket hack pattern (see the end of this page for details).

Beatrice is a loose fitting, stylish, comfortable dress, suitable for everyday wear as well as special occasions.

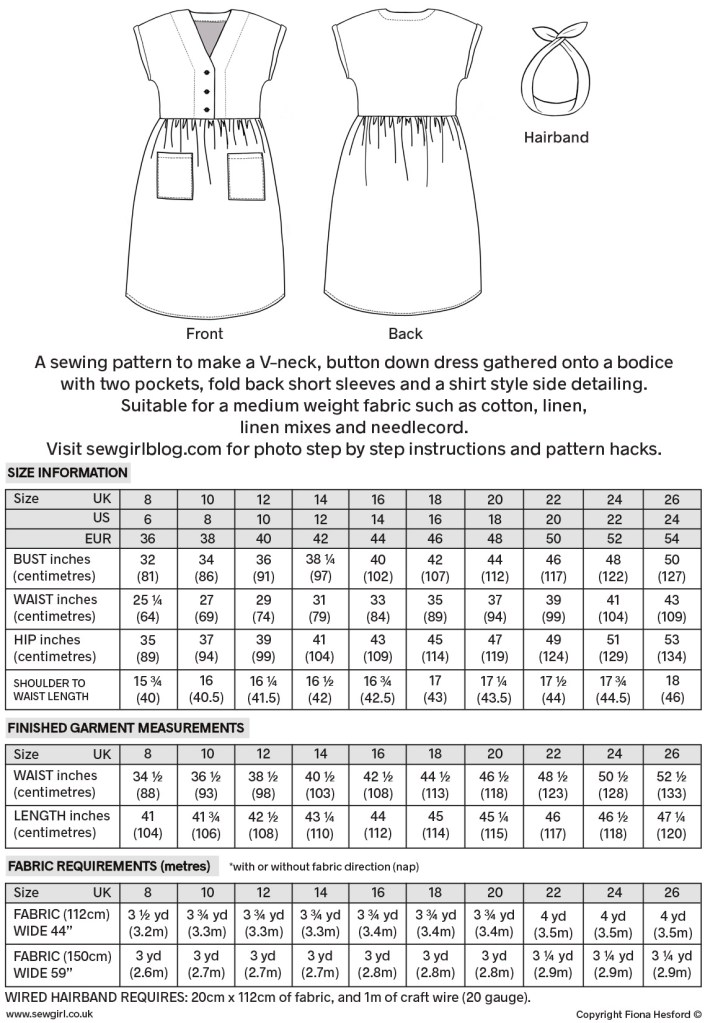
Sizes 8-26.

Suitable for beginners/intermediates.

The beauty of the grown on sleeve is that you don’t have to insert a sleeve which can sometimes be rather tiresome (although frankly, I really enjoy setting in sleeves and find it very satisfying). Anyway, I digress….. Beatrice has three feature buttons at the front of the bodice…..however if you fancy leaving off the buttonholes and just sewing them on to the centre front overlap then feel free to do so (I won’t tell on you!) because, hey presto! its possible to pop the dress on easily over your head without having to open up the buttons. How fab is that?

Beatrice looks great in plain cotton or linen as well as patterned fabric. That Italian mama look is a classic!

And one other thing- you get the instructions to create a matching wired hairband included in the pattern.

Ta dah!

Here is a copy of the info you find on the back of the pattern.

The inspiration behind Beatrice is a French actress called Beatrice Dalle.

In 1986 I moved to Paris to live and work in the fashion industry for 6 years. When I arrived the film ‘Betty Blue‘ had just come out, starring the incredible Beatrice Dalle. She embodied the Parisian style that was an inspiration to a young English girl starting out her career in the industry. I truly can’t believe I’m still working in fashion almost forty years on. Thanks Beatrice!

How to make the Beatrice Dress.

This page shows you the basics- the pattern instructions contain more in depth text and illustrations.

Seam allowance is 1cm.

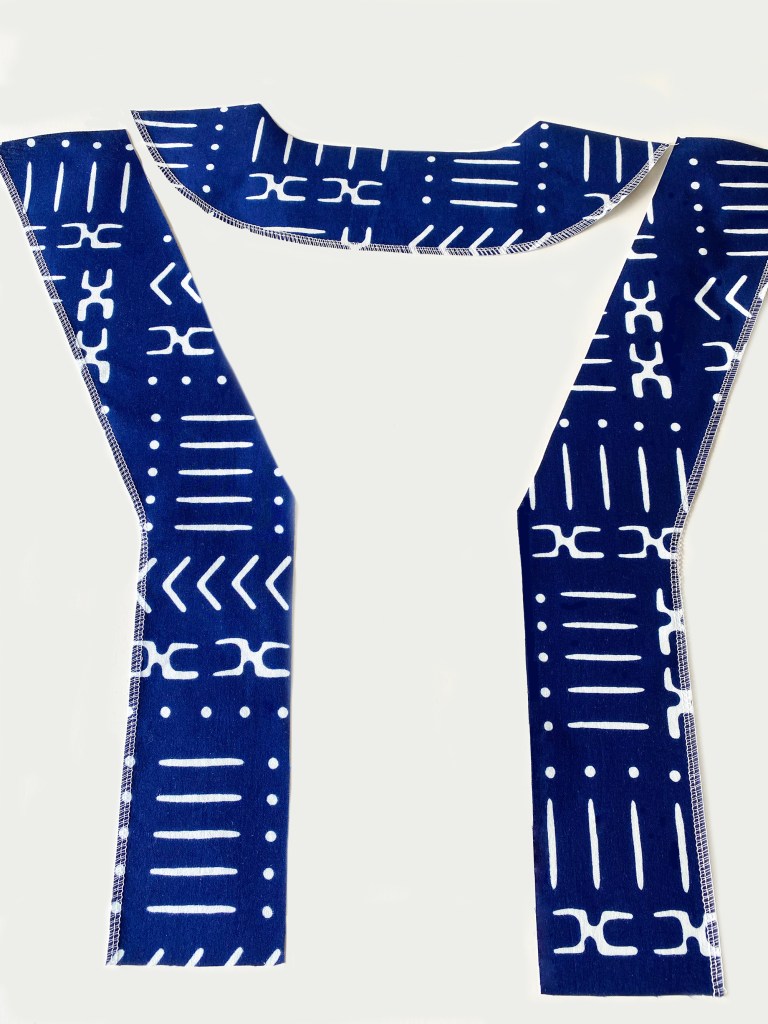
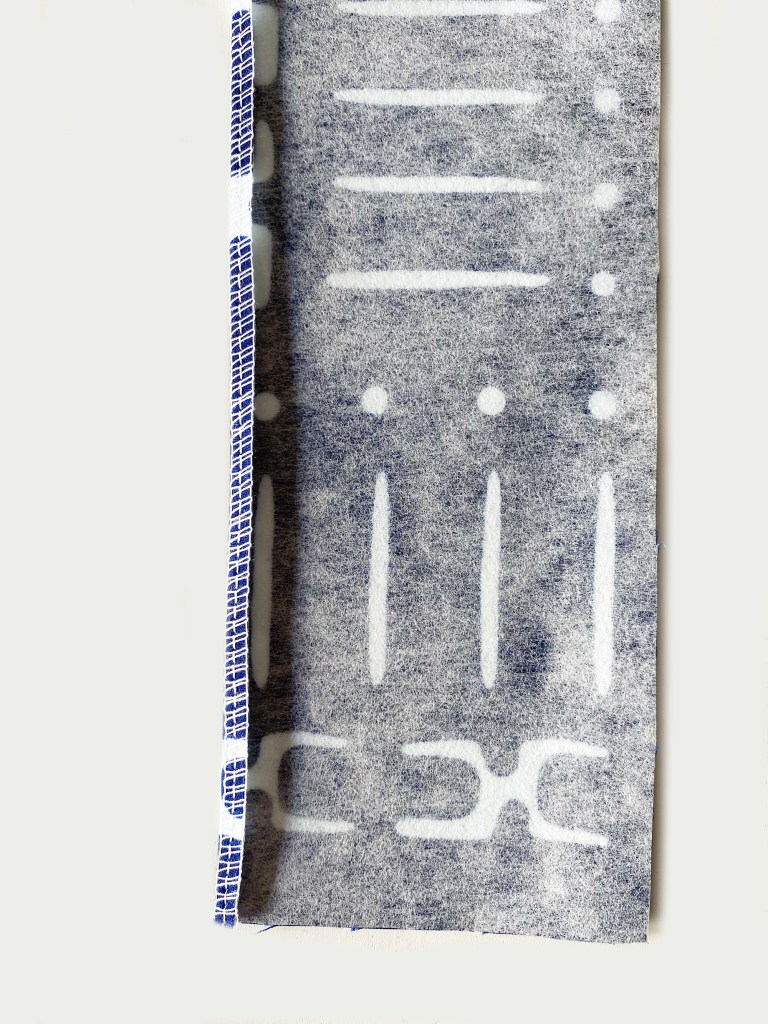
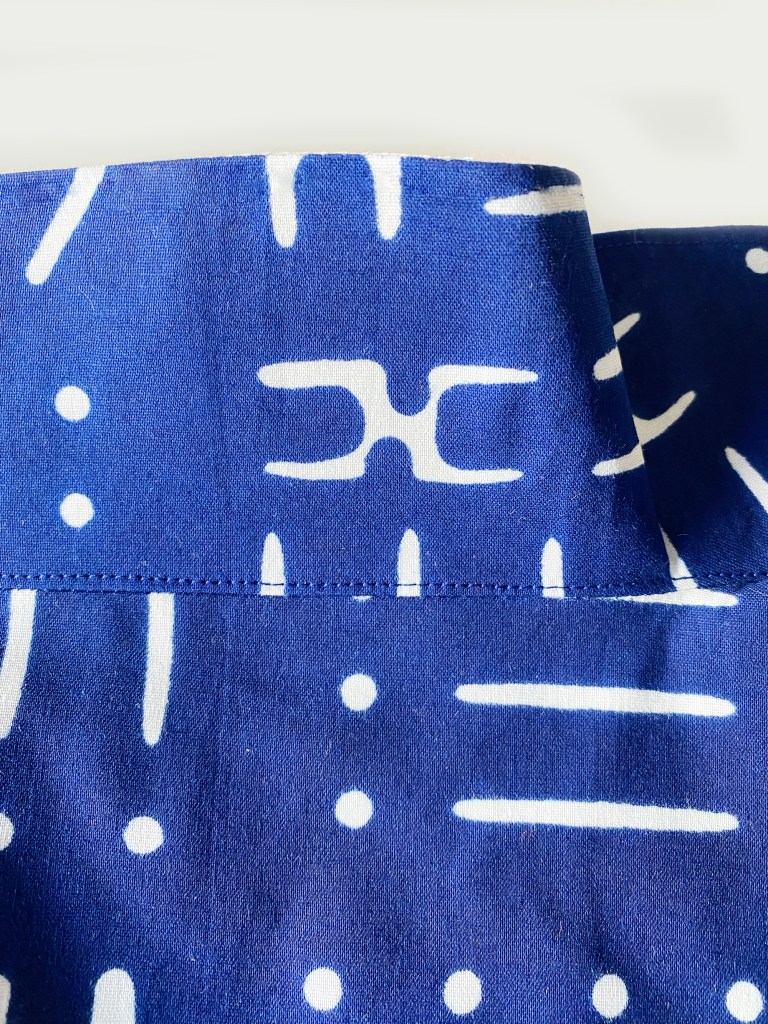
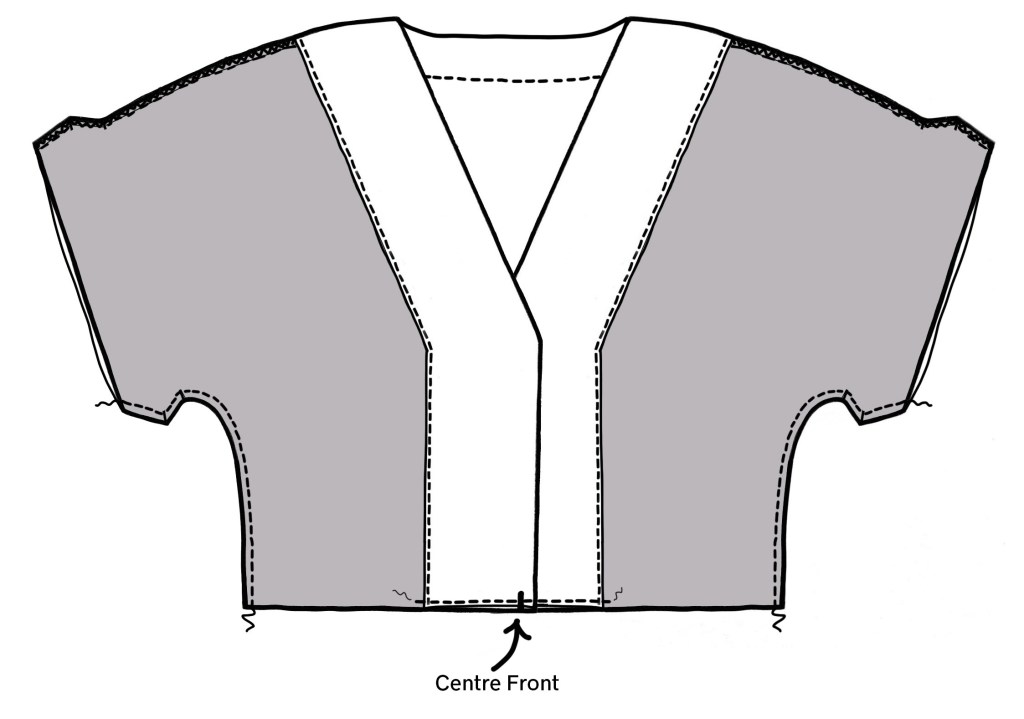
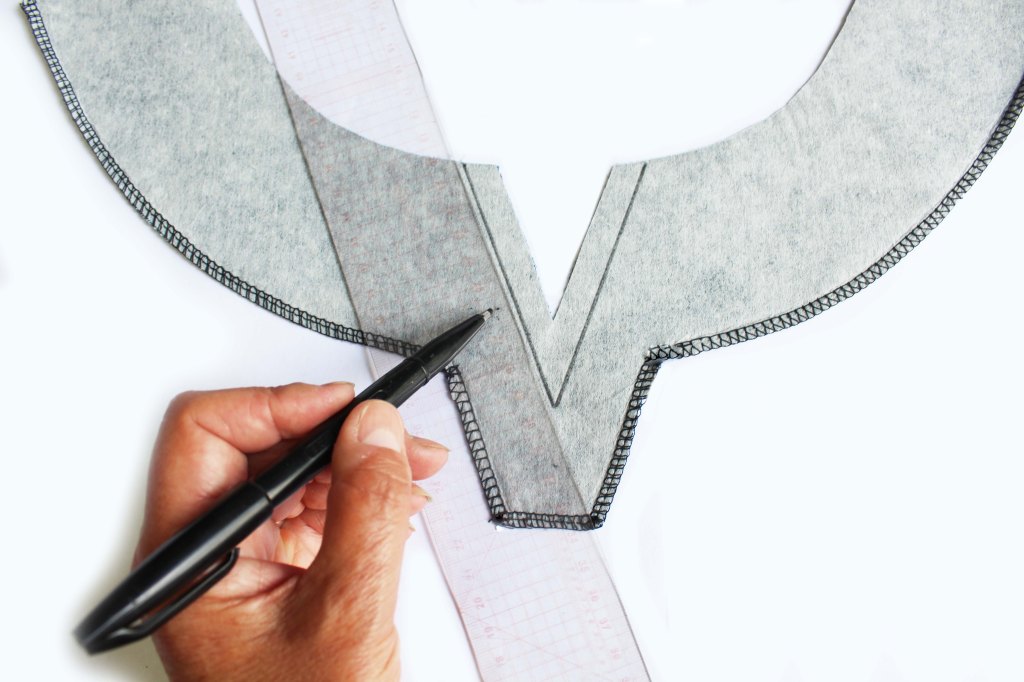
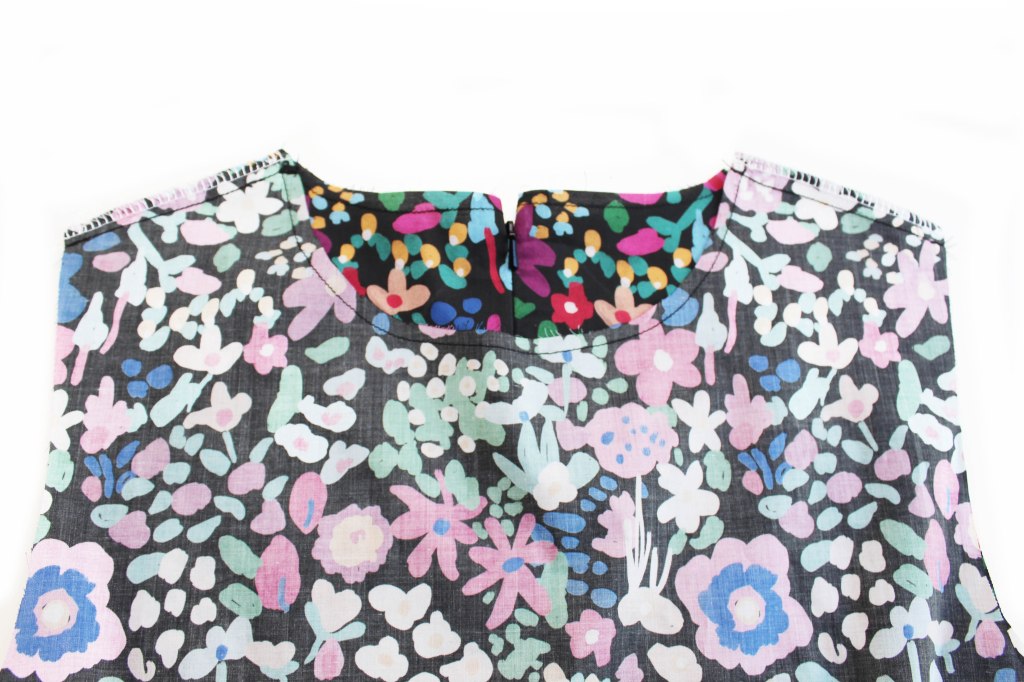
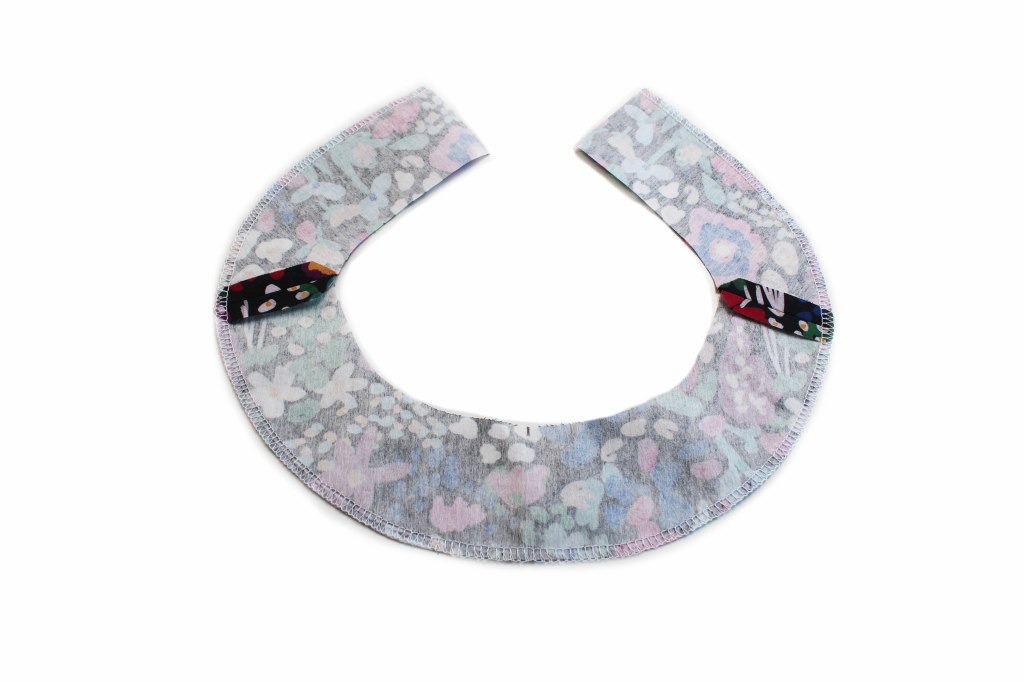
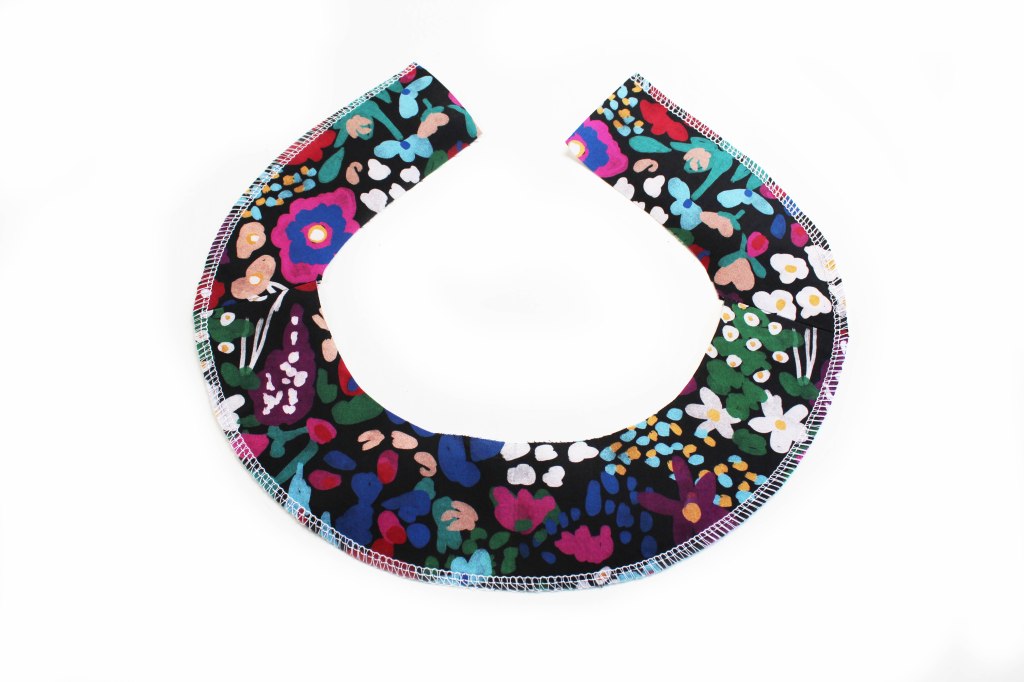
FRONT & BACK NECK FACINGS-After Staystitching* the Front and Back Bodice neck edges, the Facing pieces are folded and pressed over 1cm at the outer raw edges. Do not stitch them at this stage. (* see the pattern glossary for instructions about staystitching).

Back Neck Facing

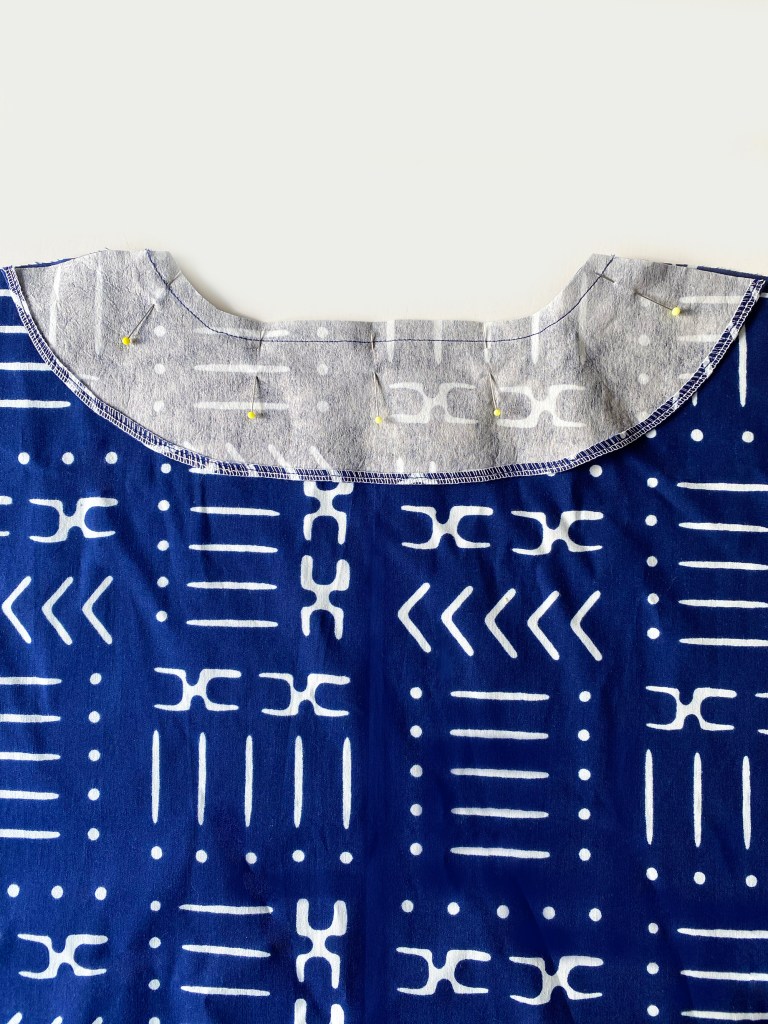
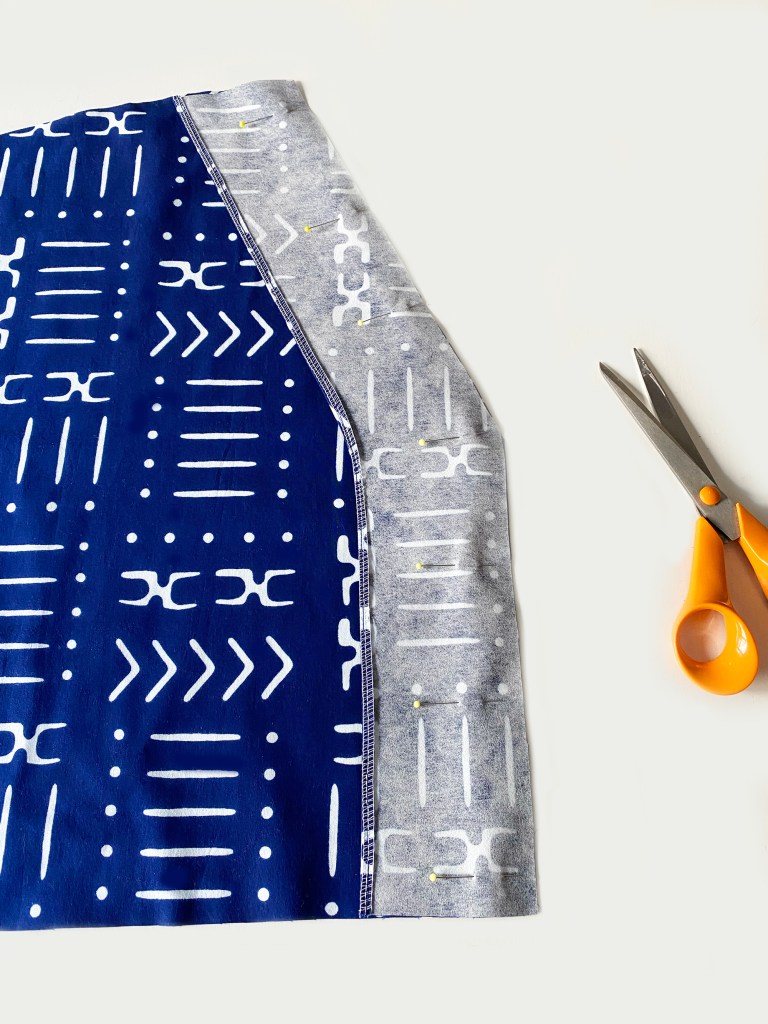
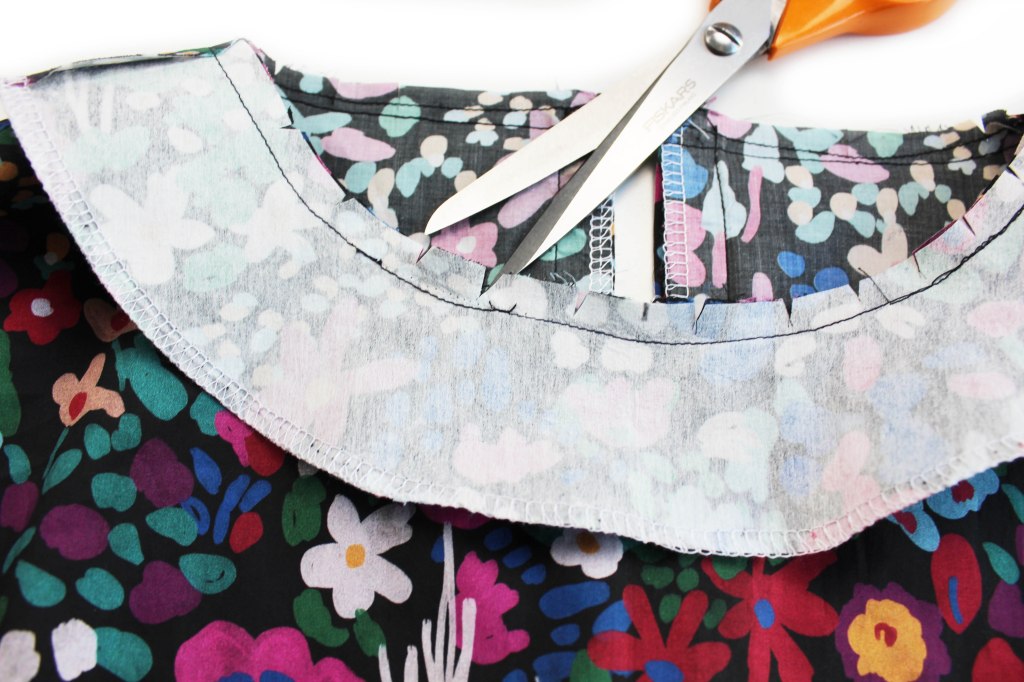
Pin the Back Neck Facing to the Bodice Neck edge with the right sides facing. Sew along the neck edge only.
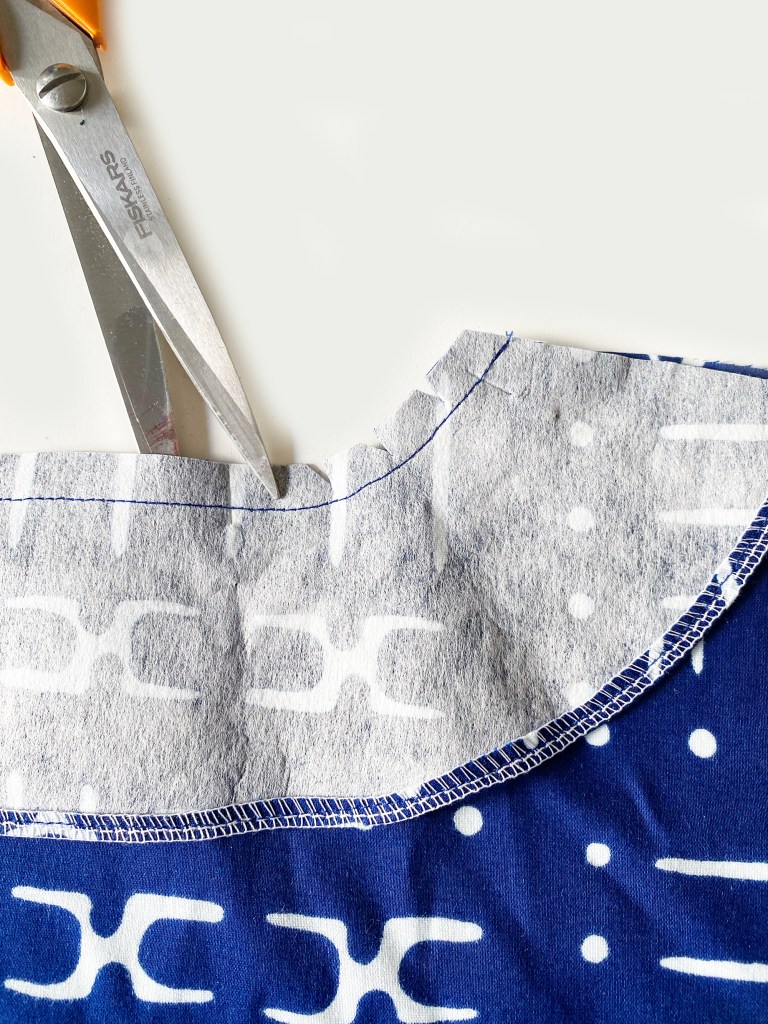
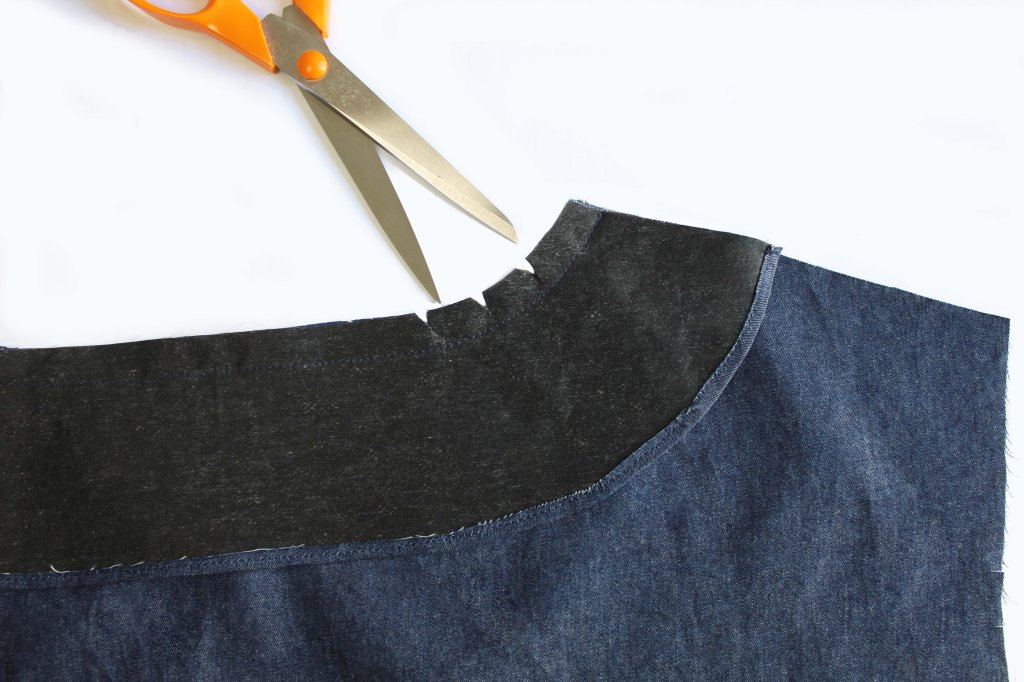
Nick the seam allowance curved sections.
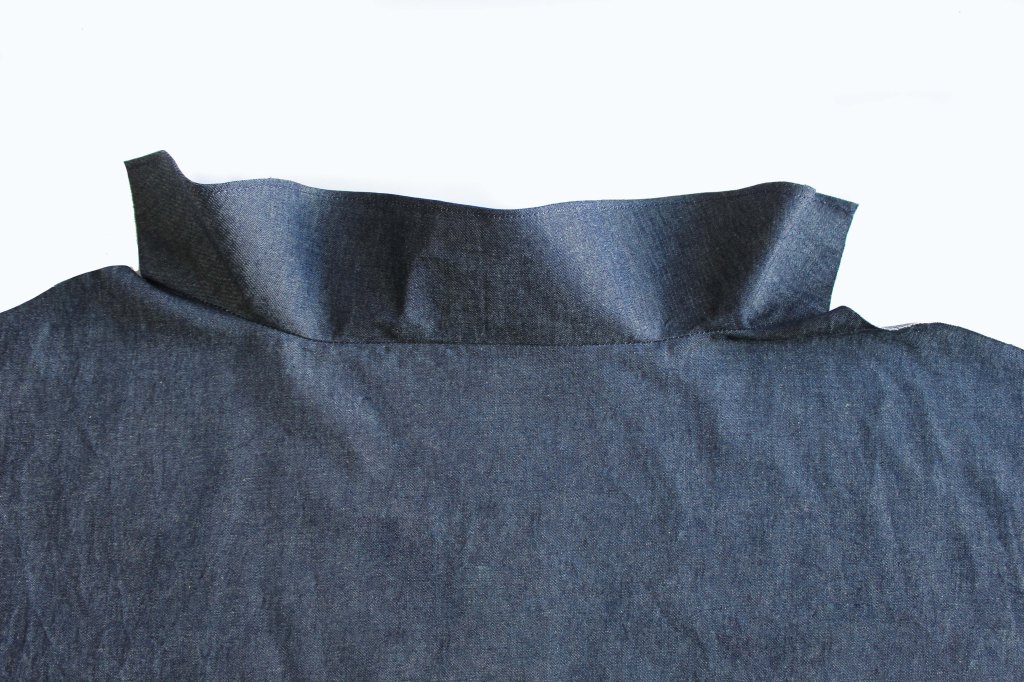
Press the Facing upwards.
Understitch*

Front Neck Facing

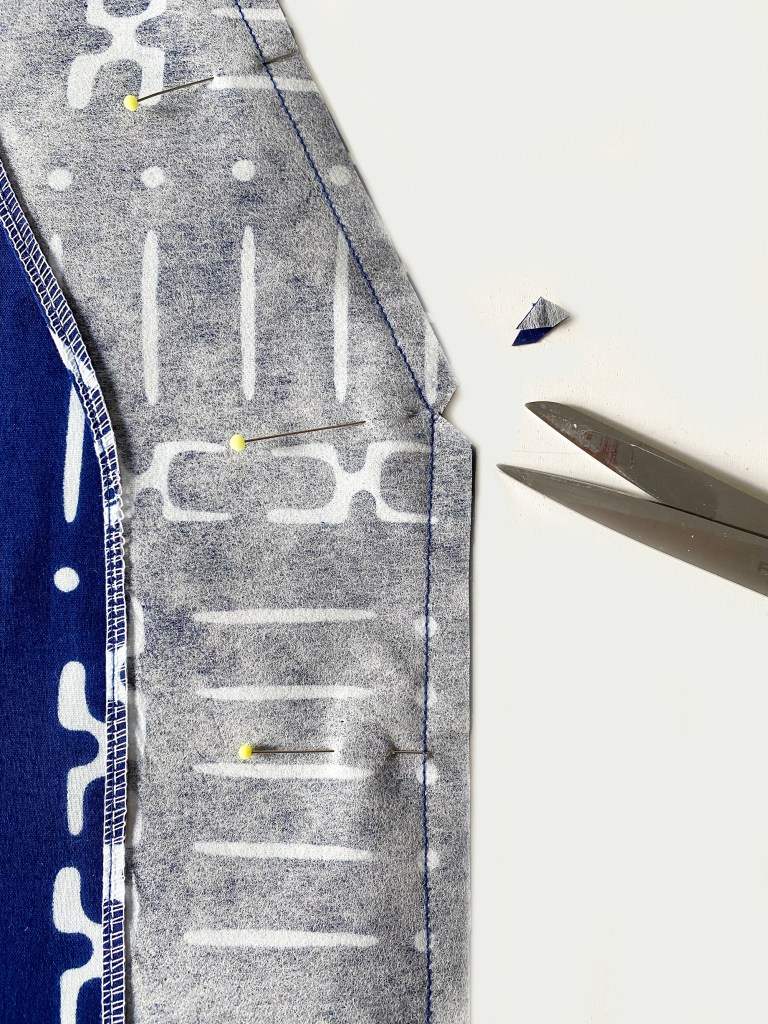
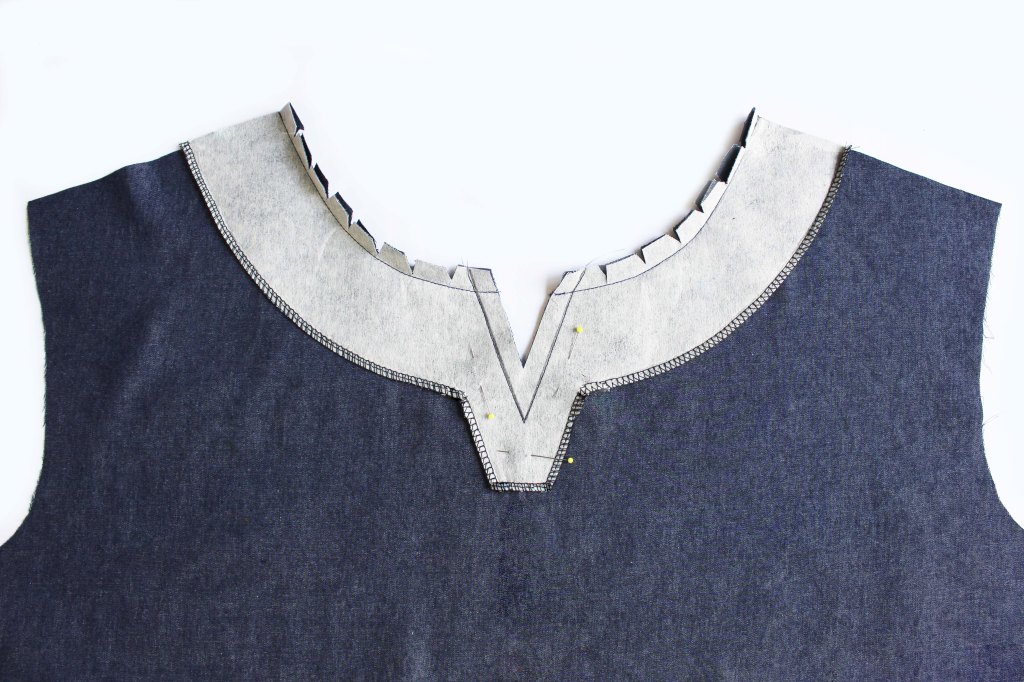
Pin the Front Neck Facing to the Front vertical edge. with the fabric right sides together.
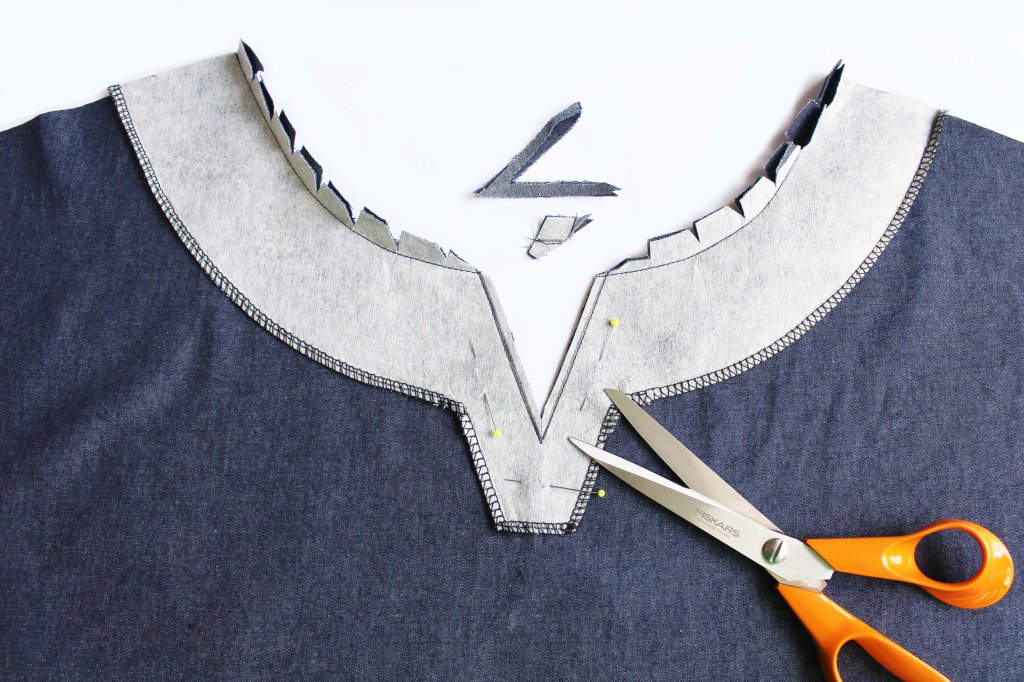
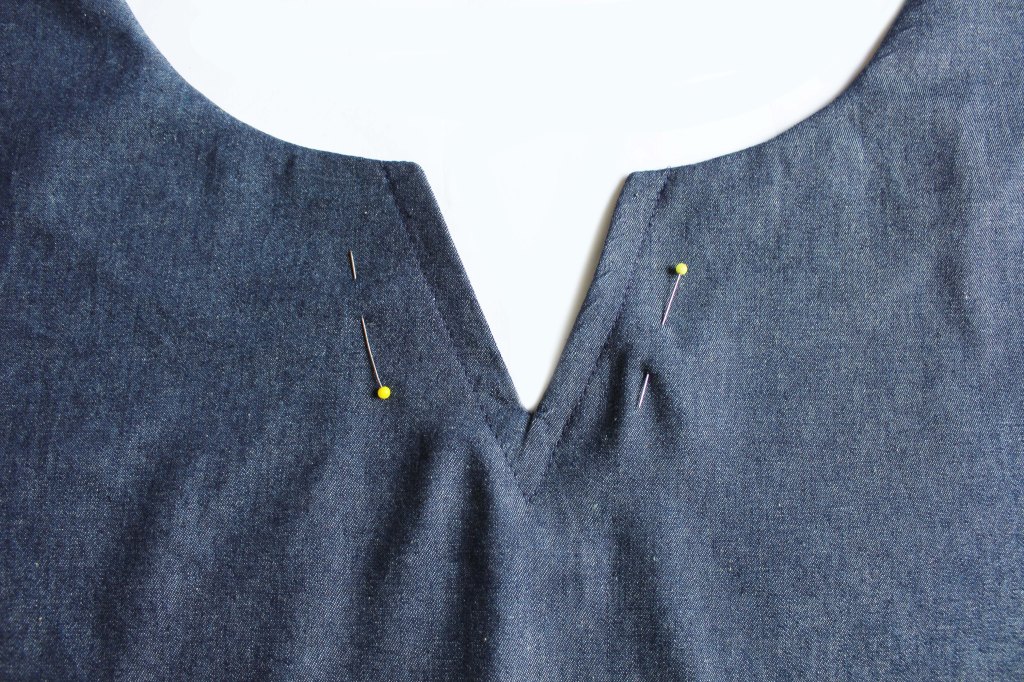
Sew down the outer edge only. Nick the slanted section with a small V.
Press the Front Neck Facing away from the Bodice. Understitch on the Facing side.
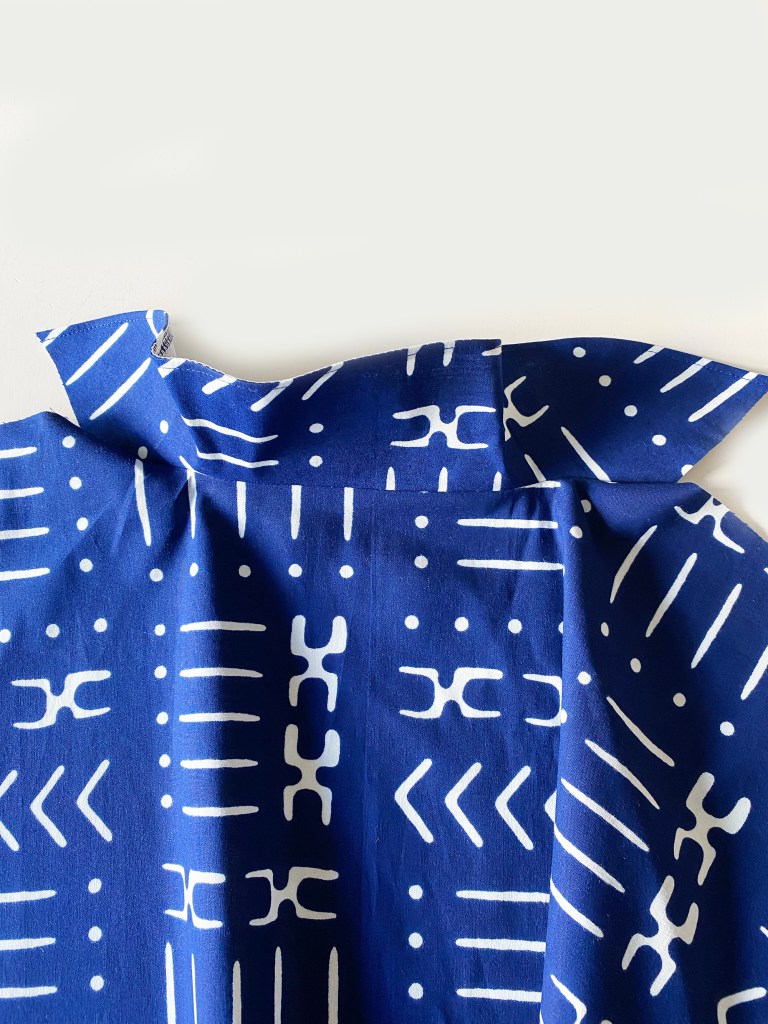
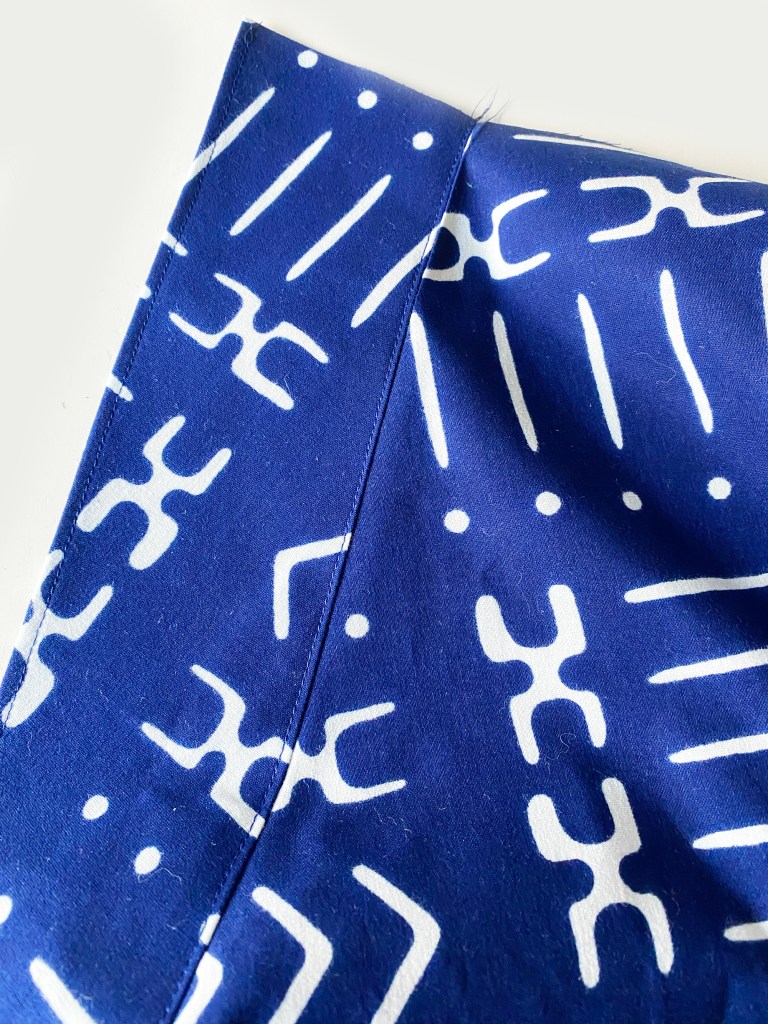
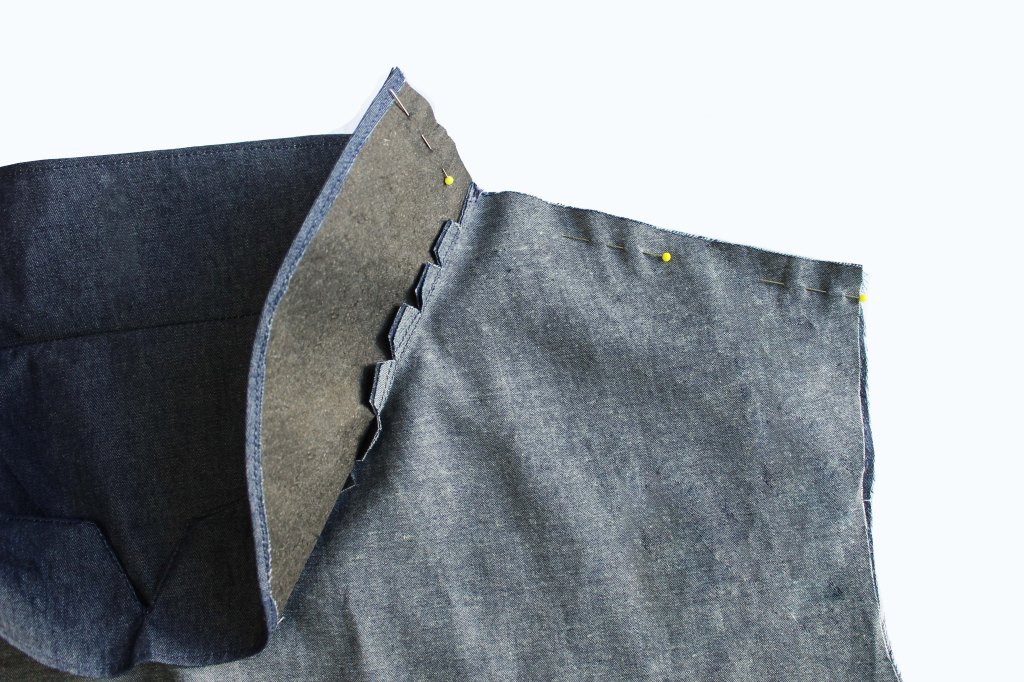
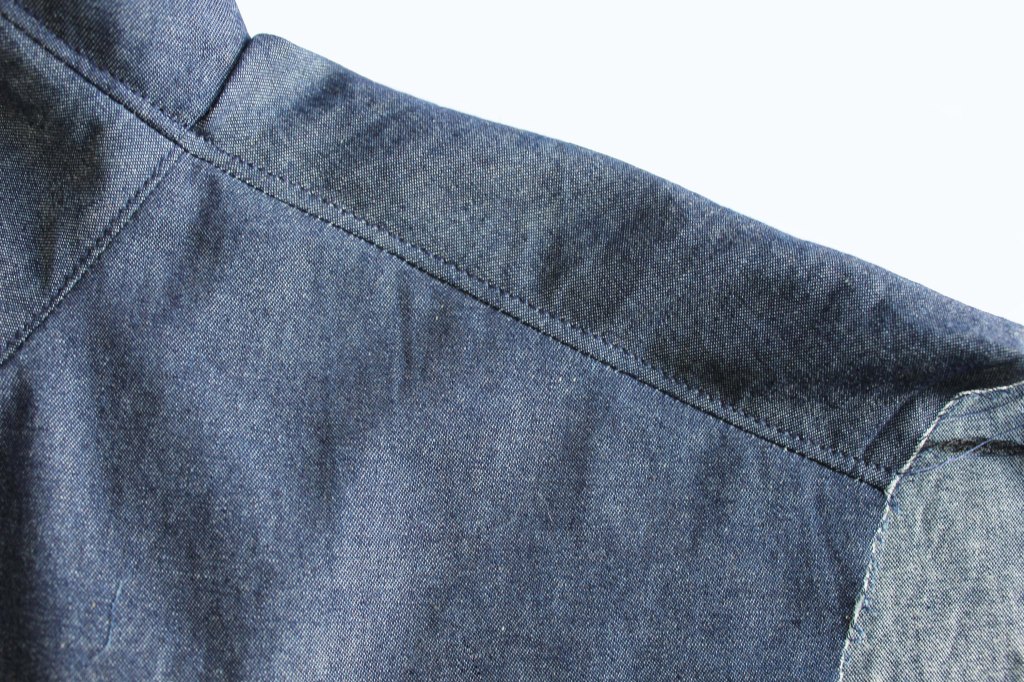
Join the Shoulder edges and Facing short edges. Fabric right sides facing together. Finish the raw edges together. Press he seam allowance towards the back. Topstitch the shoulder seam on the right side of the fabric.
Finally, pin the Facing to the Bodice at the folded, outer edge all around. Tack stitch. Topstitch close to the Facing outer folded edge all around.

Press.

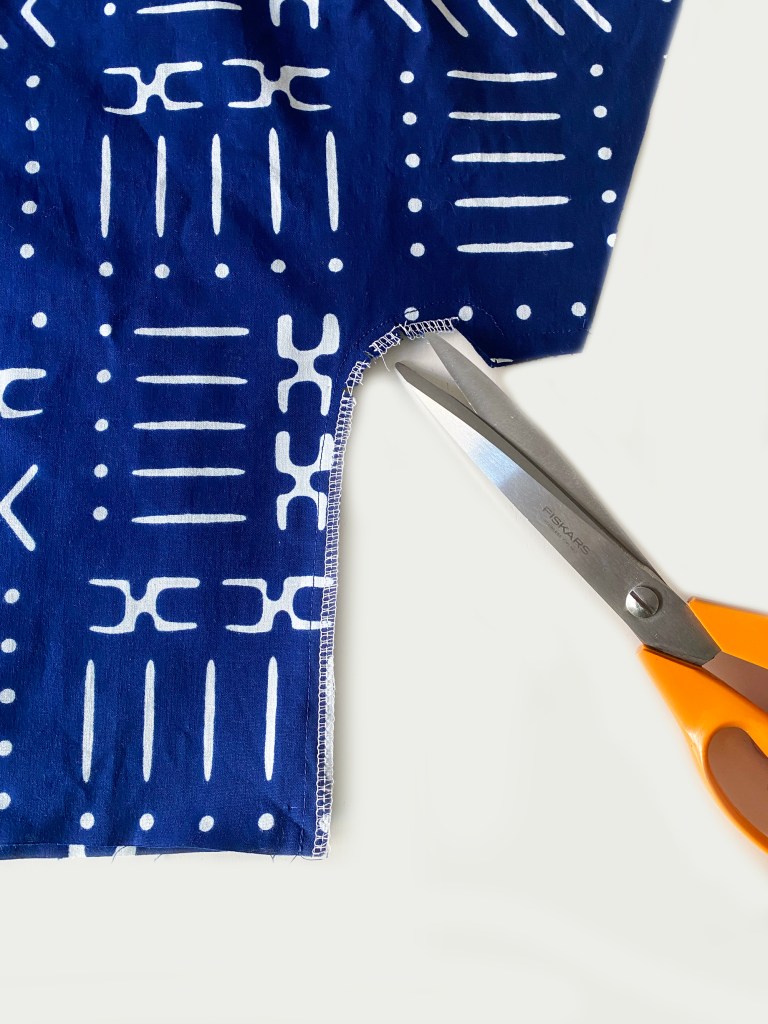
Join the Front to Back at the underarm edges. Finish the raw edges, Nick the curved underarm seam allowance.
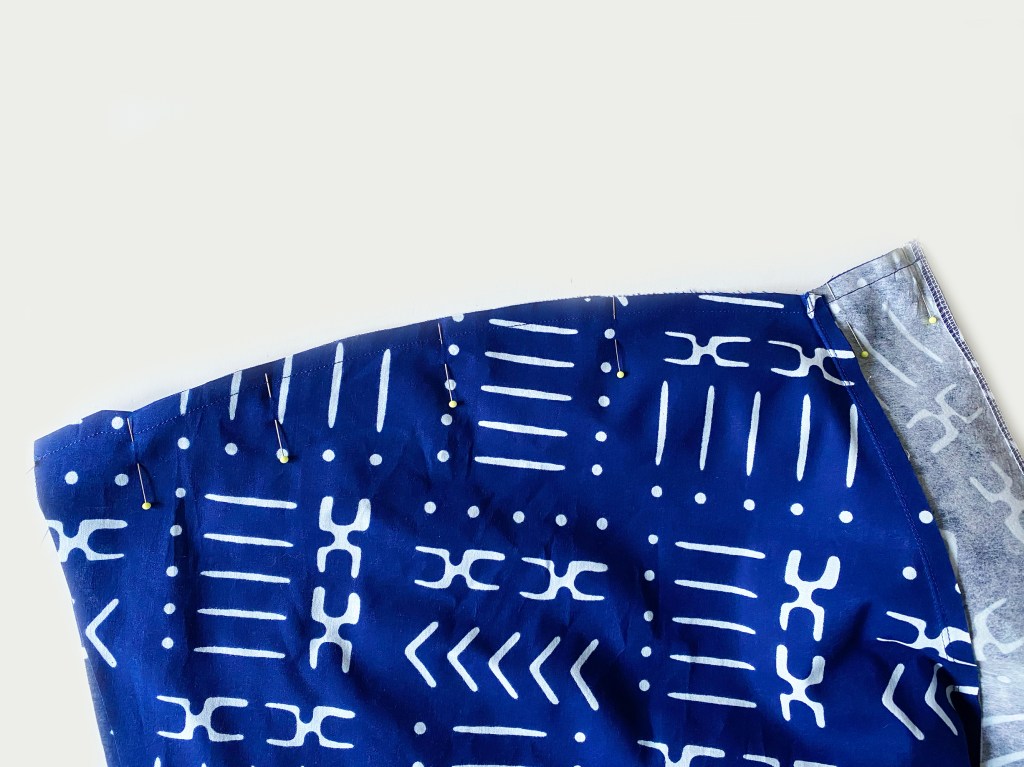
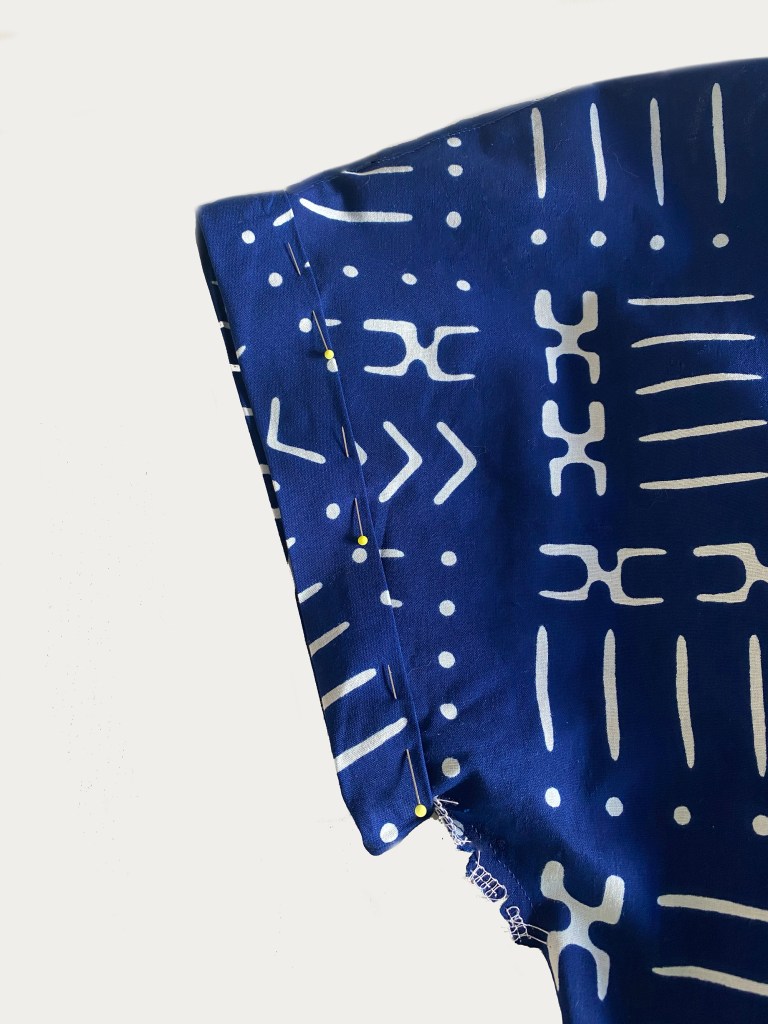
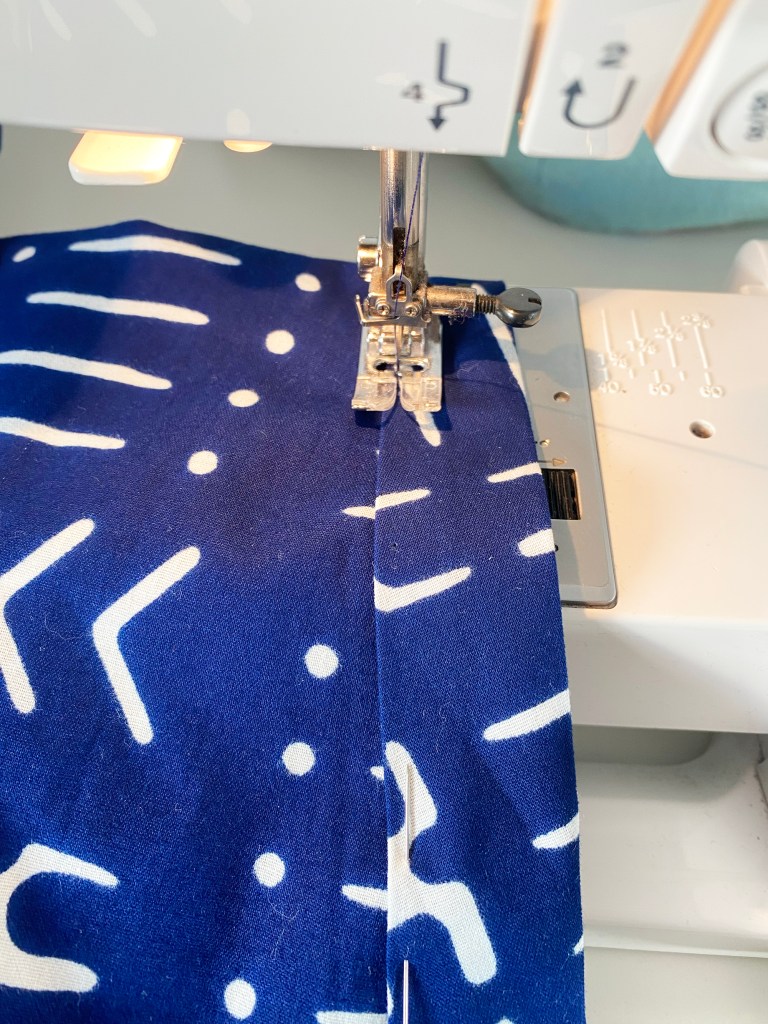
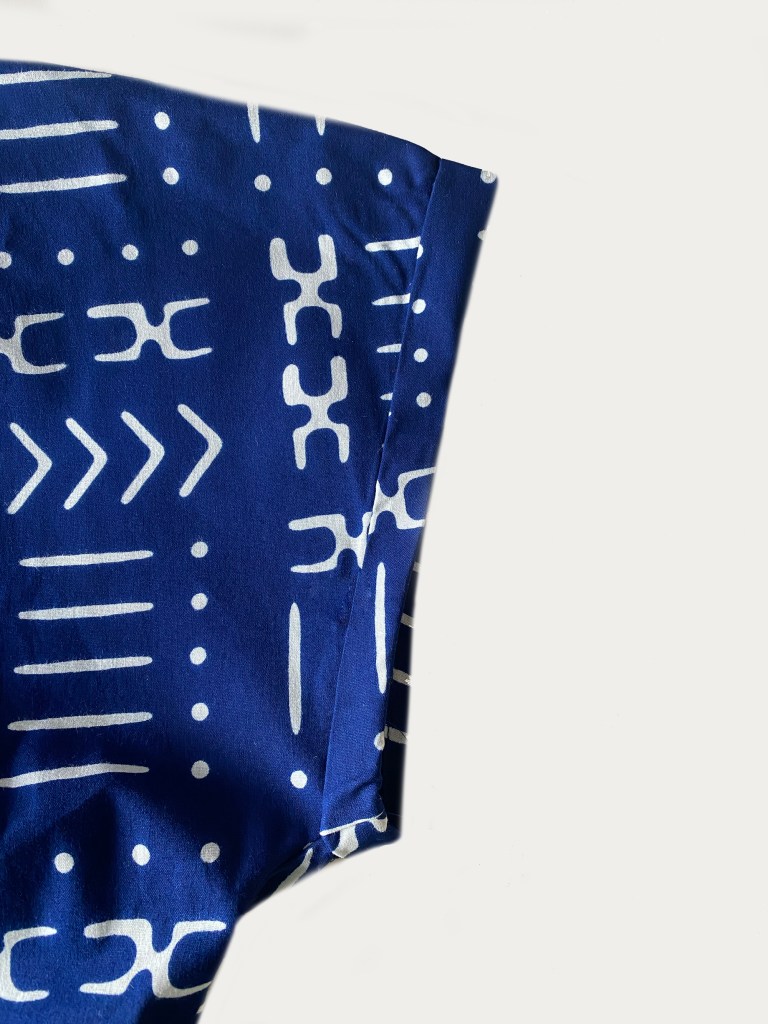
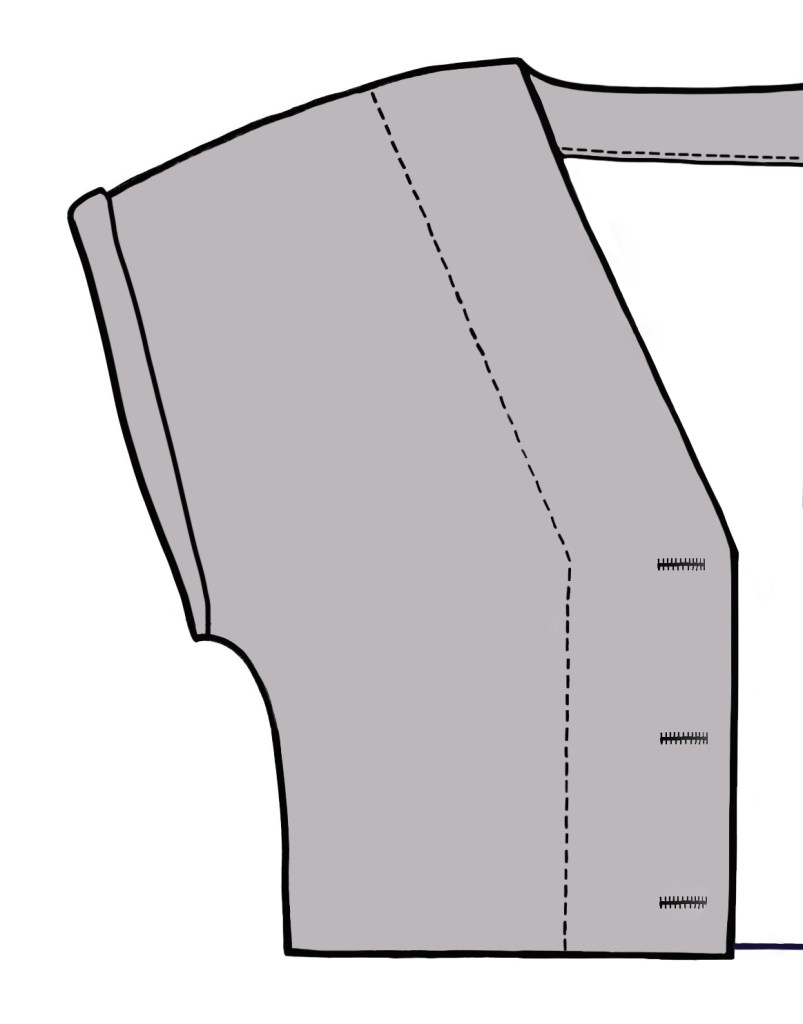
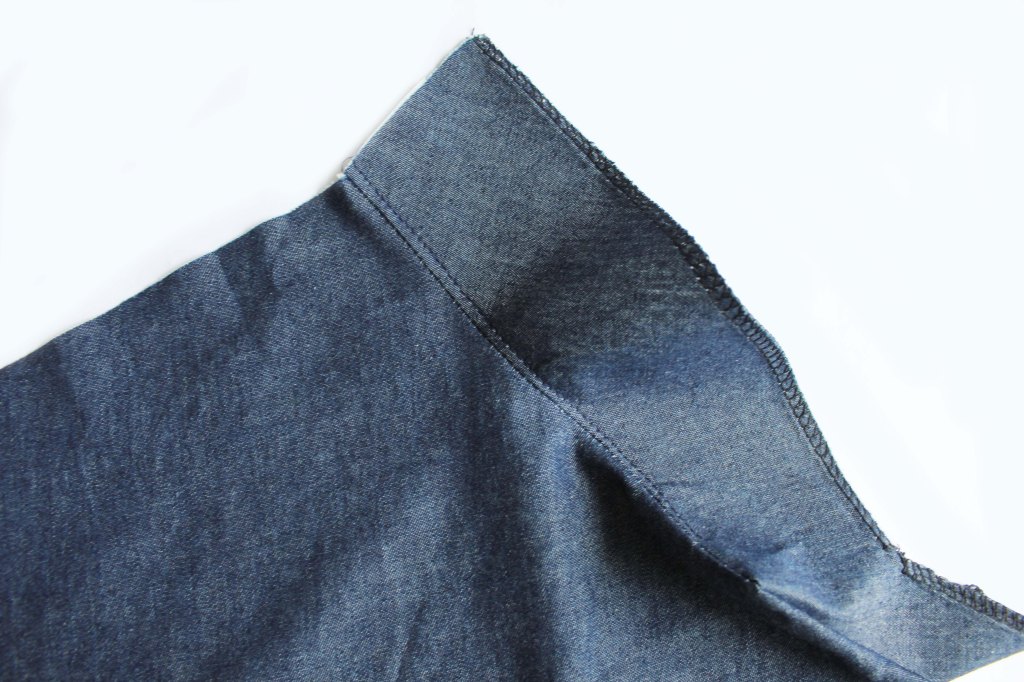
Fold over and press a hem at the sleeve edge. Stitch.
Tip: remove the machine table to insert the sleeve around the Free arm.
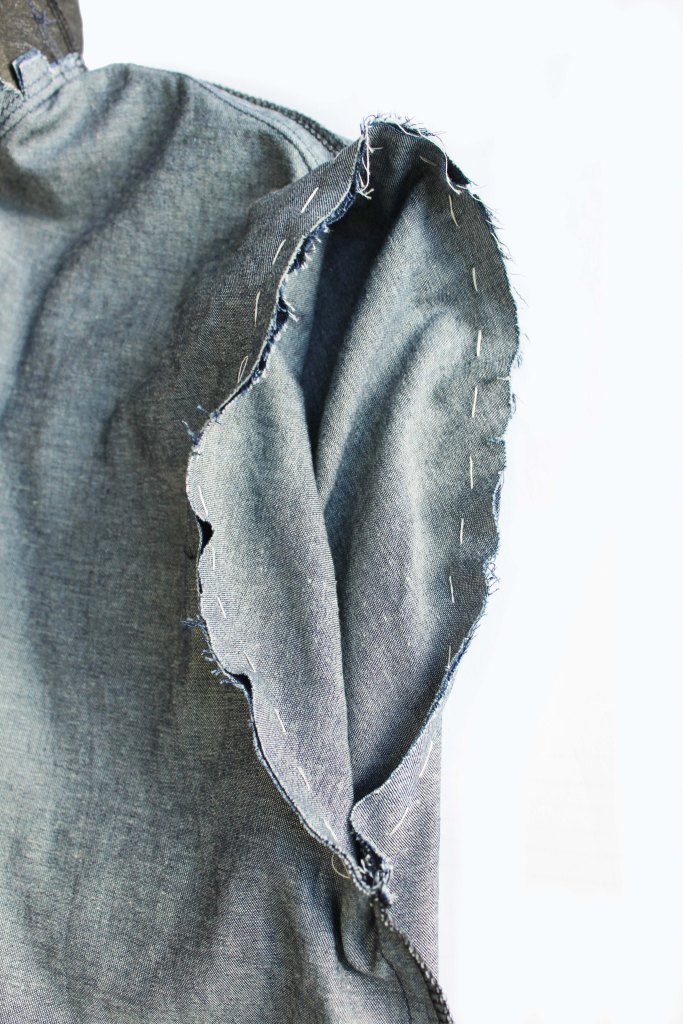
Then fold it back 2cm approx. on the right side. Press. Make a few hand stitches on the underarm and shoulder seams to secure in position.
Mark out and sew the buttonholes with a buttonhole guide. Open them down the centre with a stitch ripper. Alternatively, if you are a complete beginner, or don’t fancy doing buttonholes, fear not! leave them off and just sew on buttons at the end.
With the right sides facing together, match up the centre front points. Machine tack the facings together. Pin together the Front to Back at the side edges. Sew. Finish the raw edges together. Press them towards the Back.

Skirt section/pockets

If you want to do the Inserted Pocket hack version. Follow the Dowloaded instructions from this point (at the end of this page).

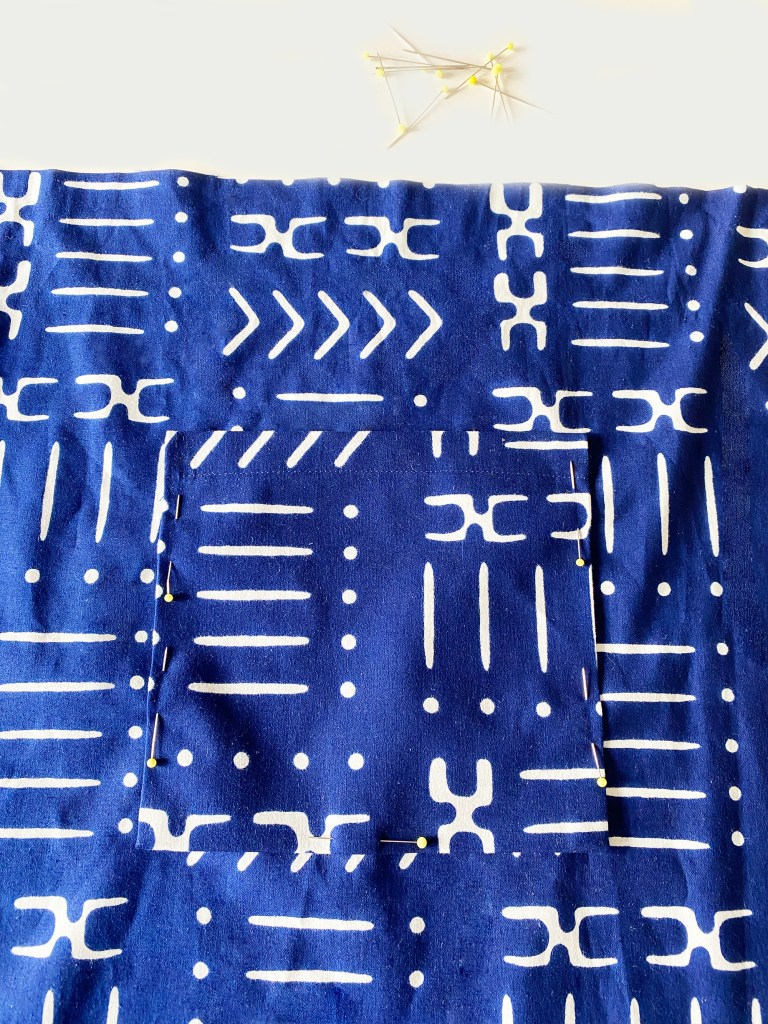
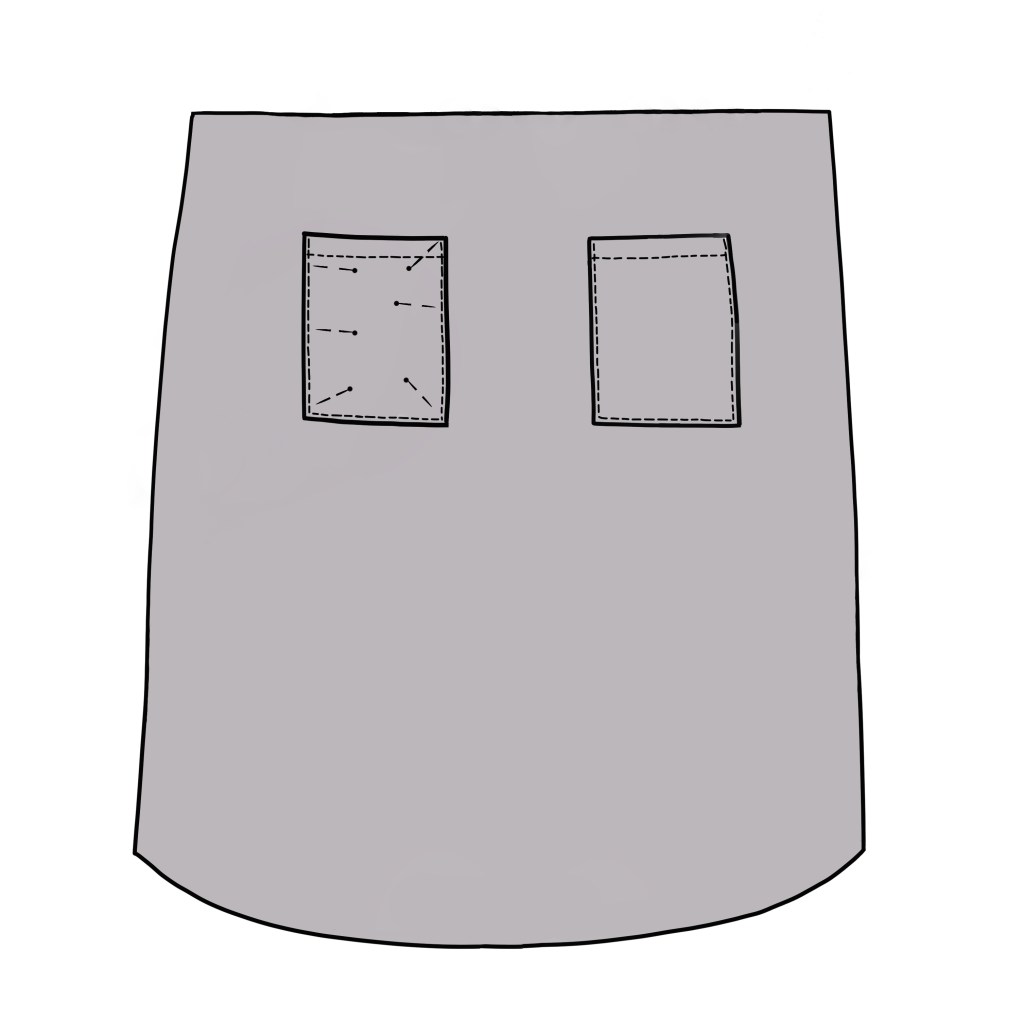
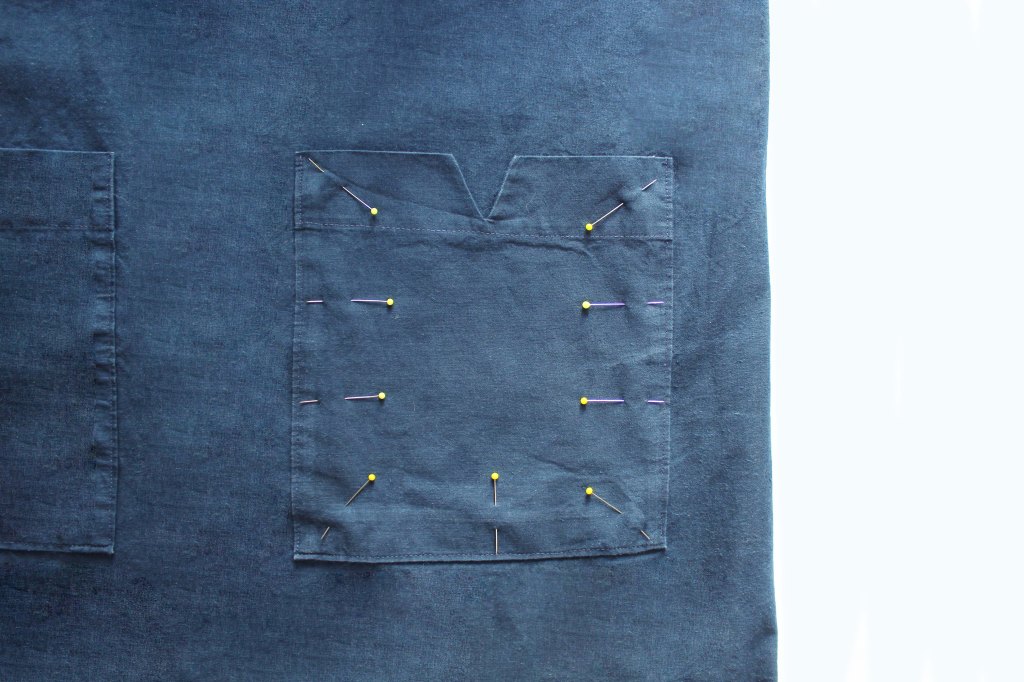
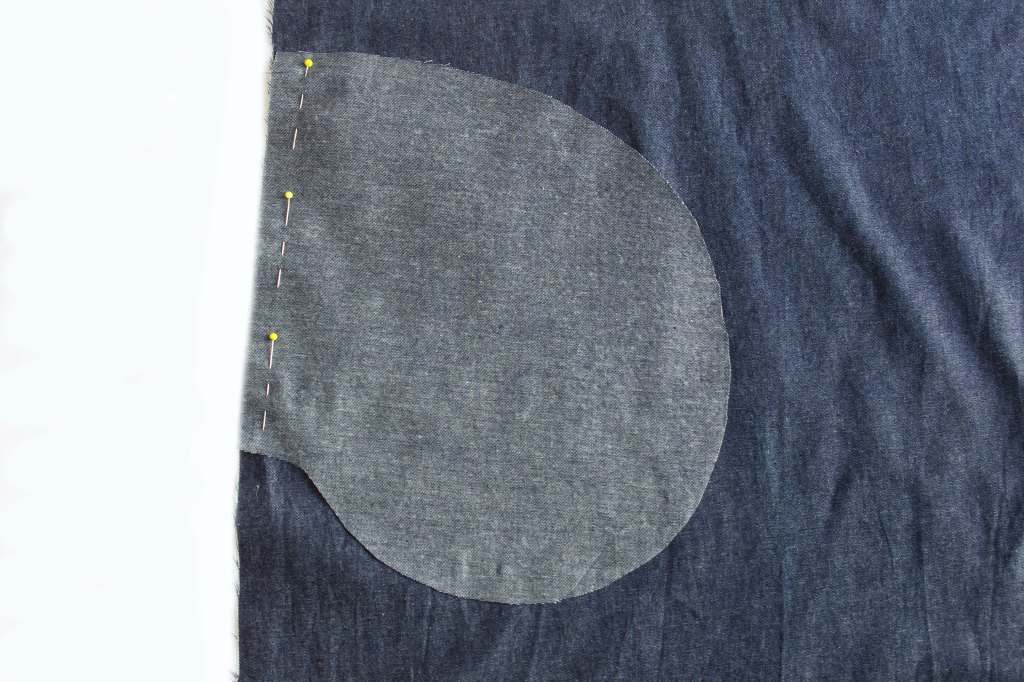
Make the pockets following the pattern instructions and pin them in position.
Sew around the pocket three edges, leave the top hemmed edge open.
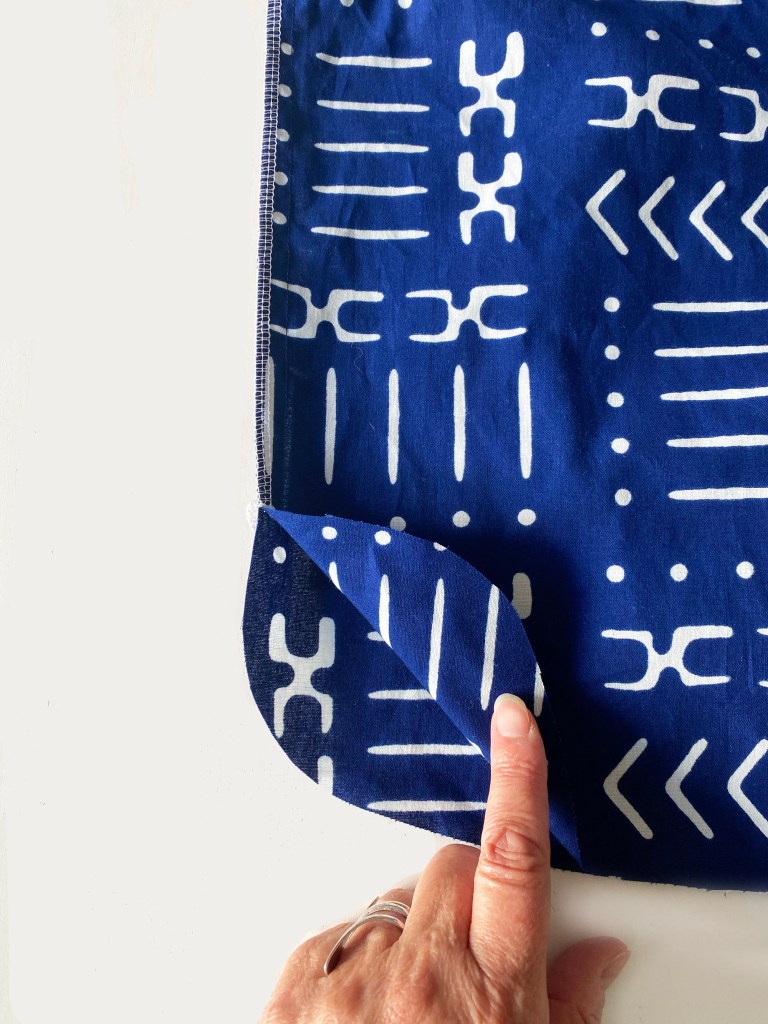
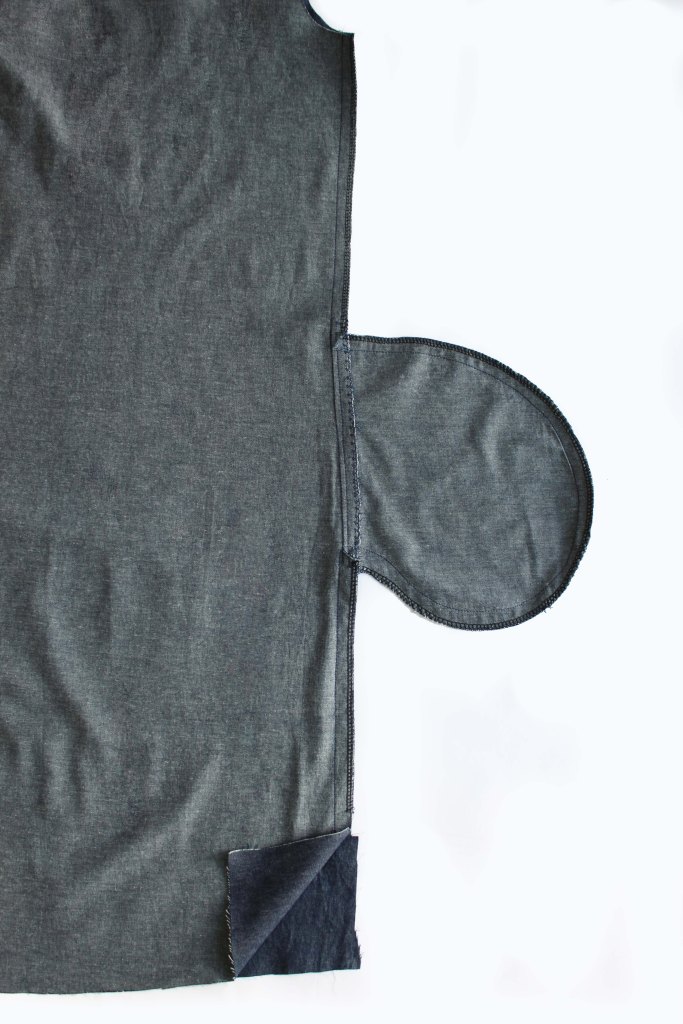
Join the Front and Back skirt pieces at the side edges. Sew down to the dot marker on each far side. The side curved section below the dot marker should be left open.
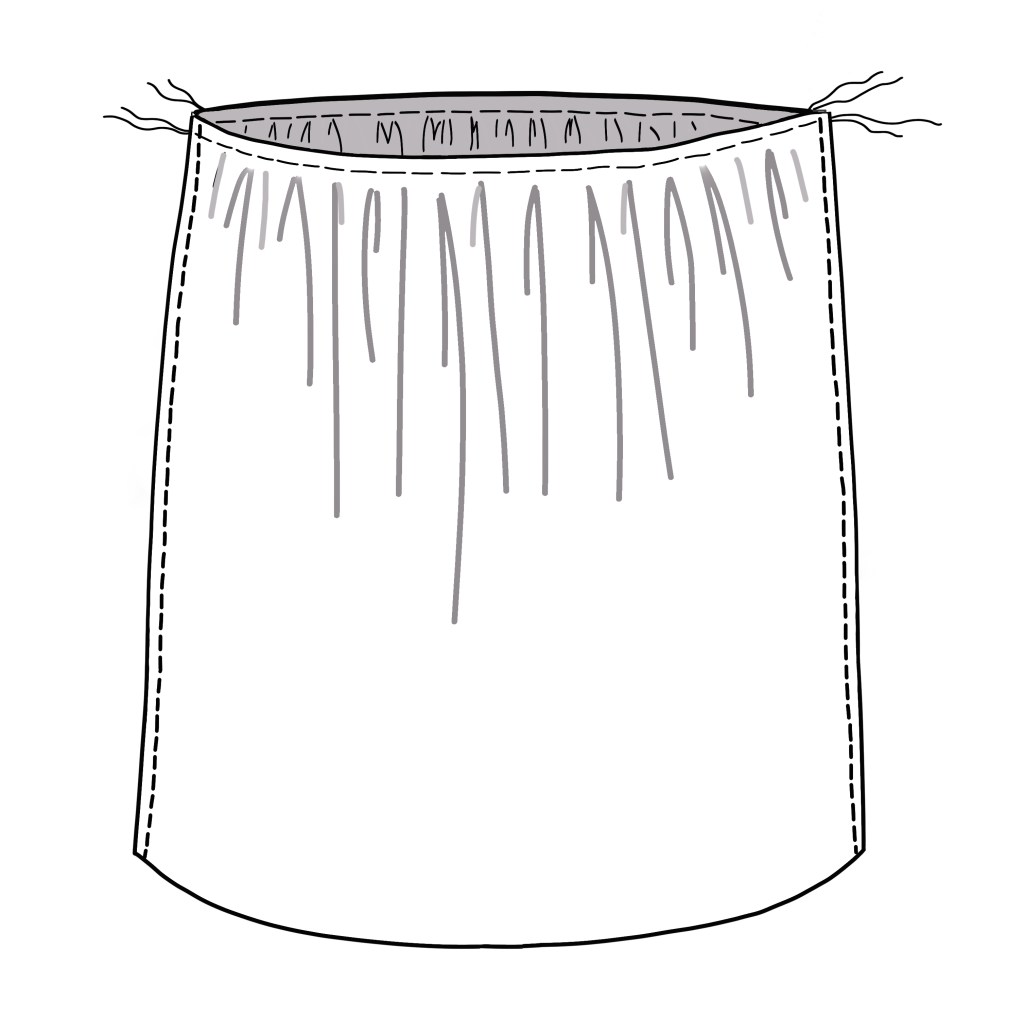
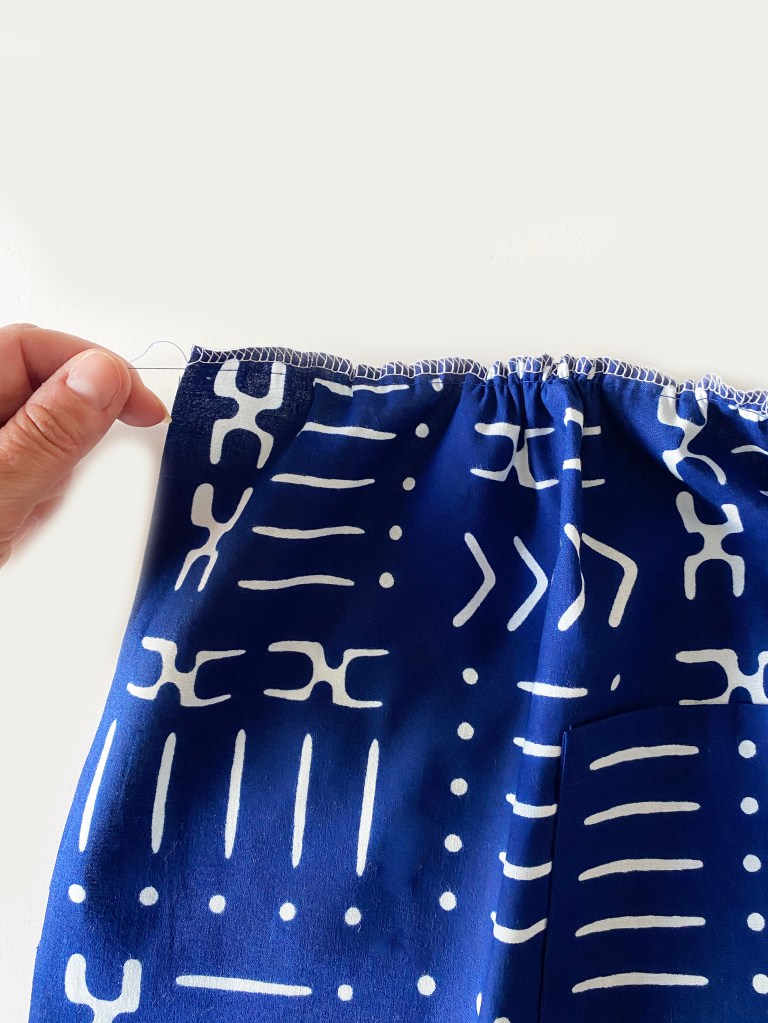
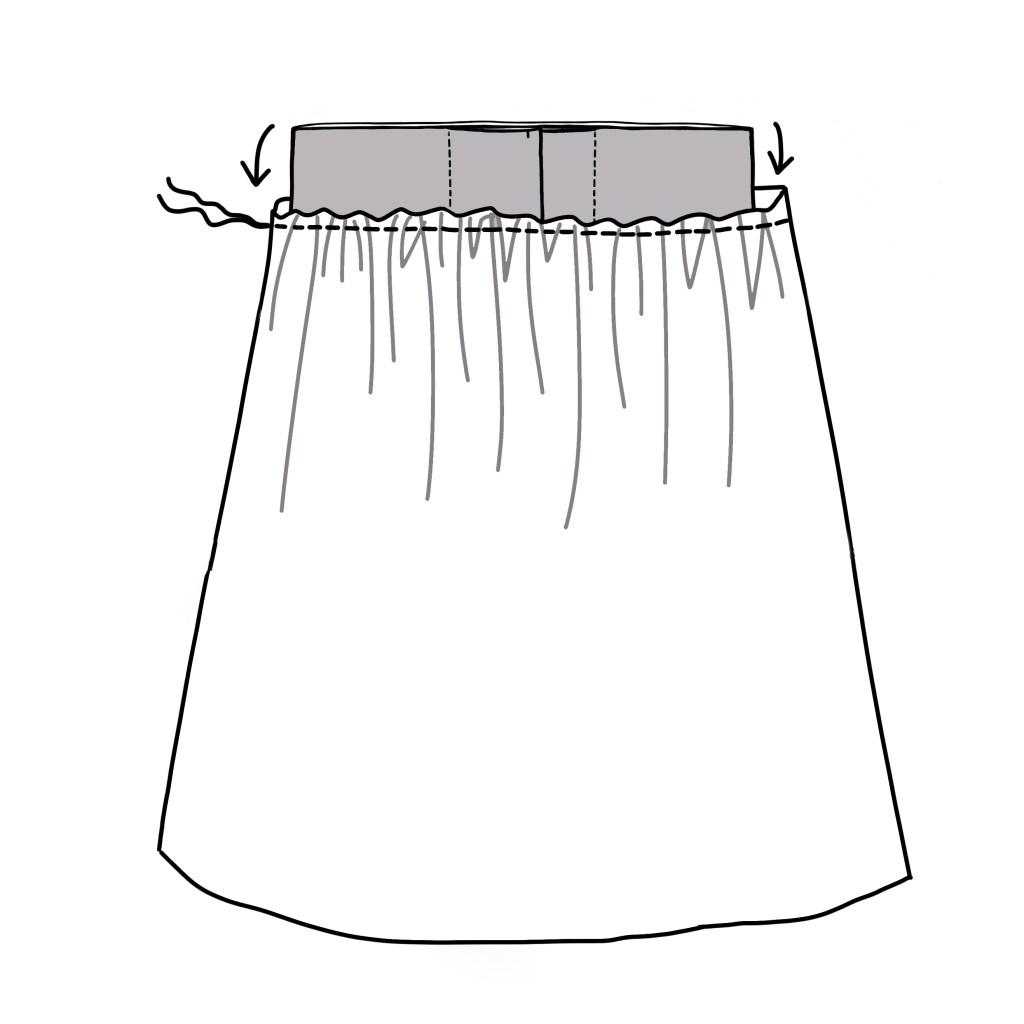
Pull up the gathers and distribute the gathers evenly.
With the Bodice right side outermost and the Skirt wrong side outermost, pin the top gathered edge of the skirt to the lower edge of the Bodice, matching up the side seams and the centre points. Sew. Tip: Hand tack first for ease of sewing.
Sew the buttons in positions as marked on the template, to match the buttonholes.

There you have it.

POCKET HACK

So do you fancy a different style of pocket? Well here goes! This one is a super way to update your dress. Its an inserted style of pocket. Easy to make with a couple of templates and step-by-step instructions which you can download below.

You could also do some really creative things with it, like making the Pocket Lining in a different fabric or edging it with a bit of Liberty binding, even matching it up with binding around the neck edge and sleeve cuff. Oooo….. endless possibilities. Its so nice to customise a pattern and make it unique.

All images and text are subject to copyright. Please ask permission if you would like to use them.

POPPY COCOON DRESS

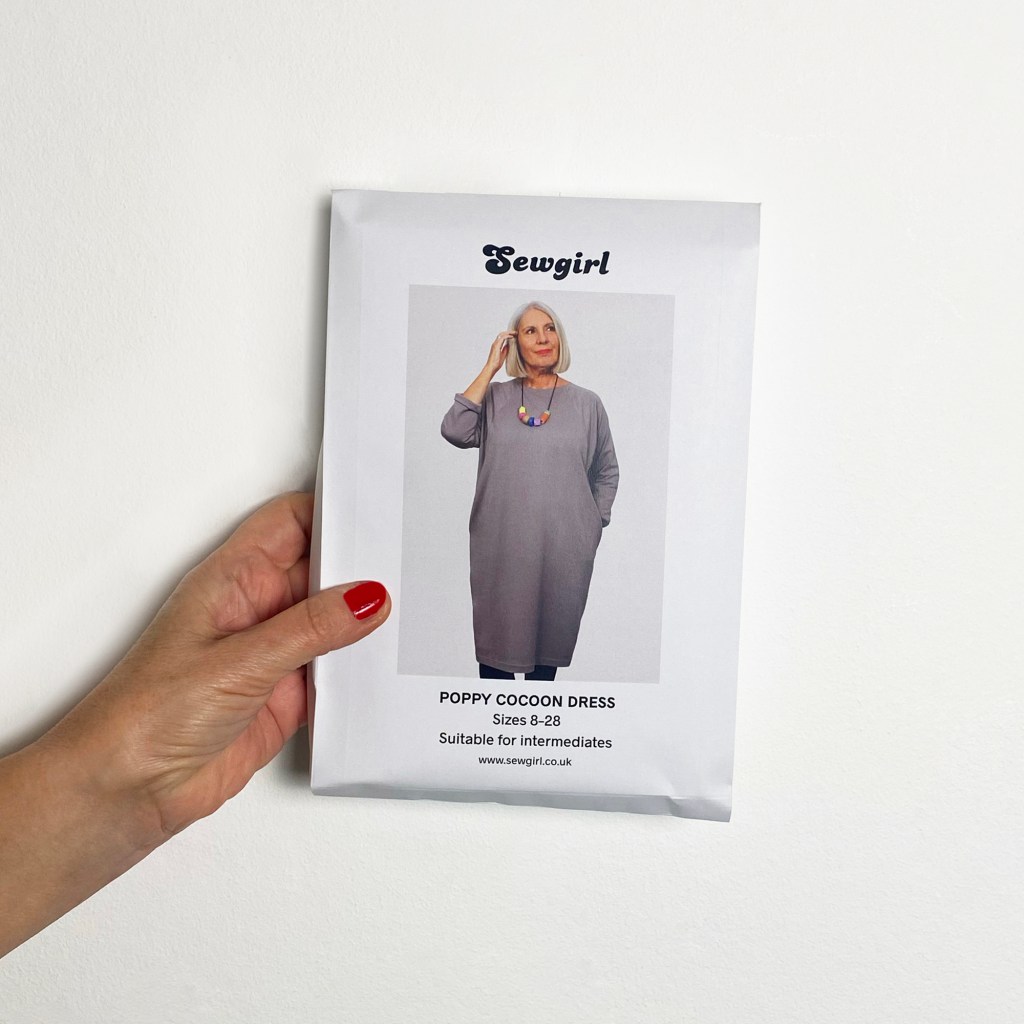
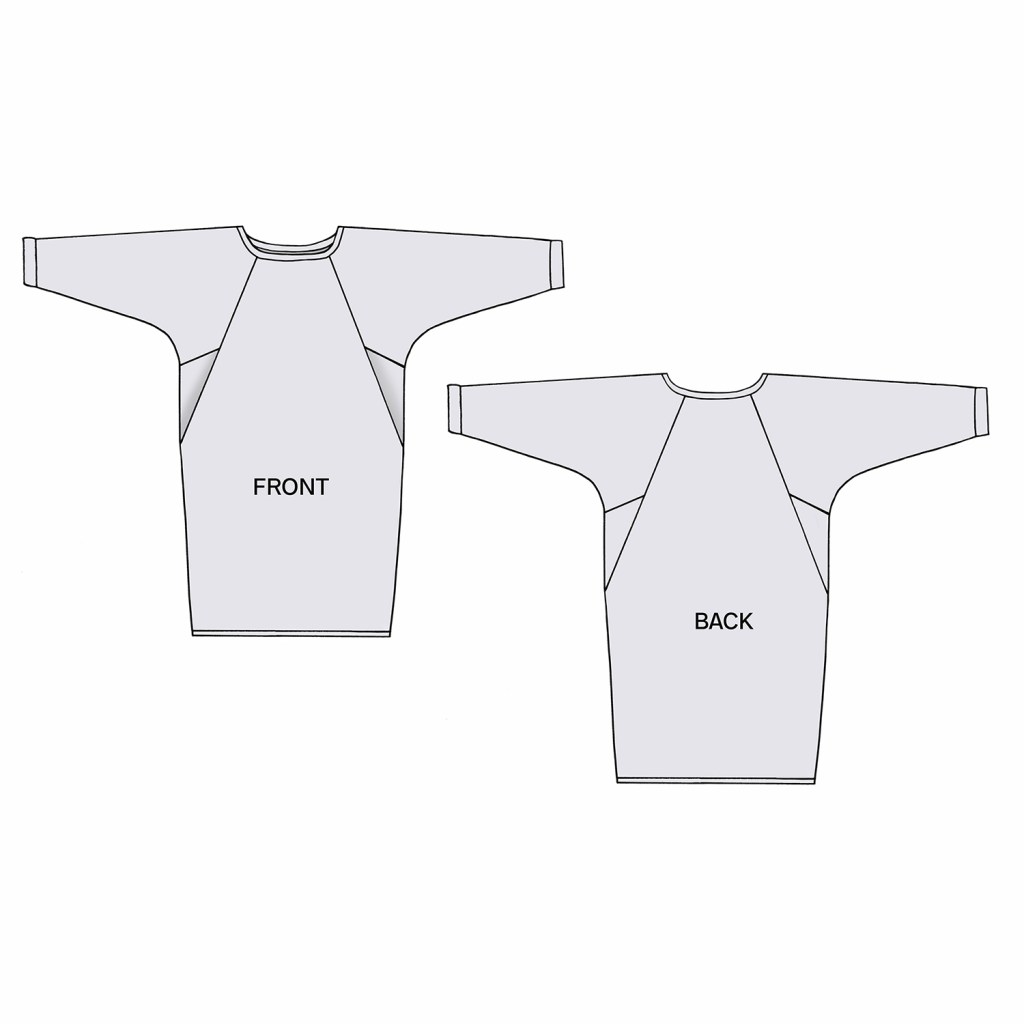
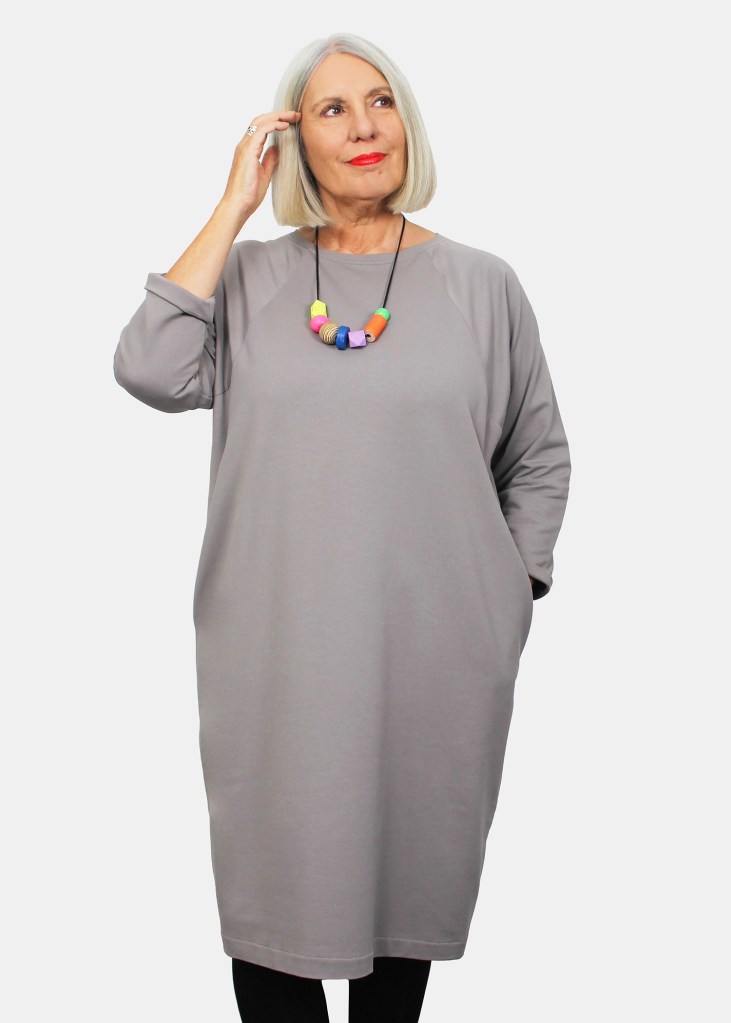
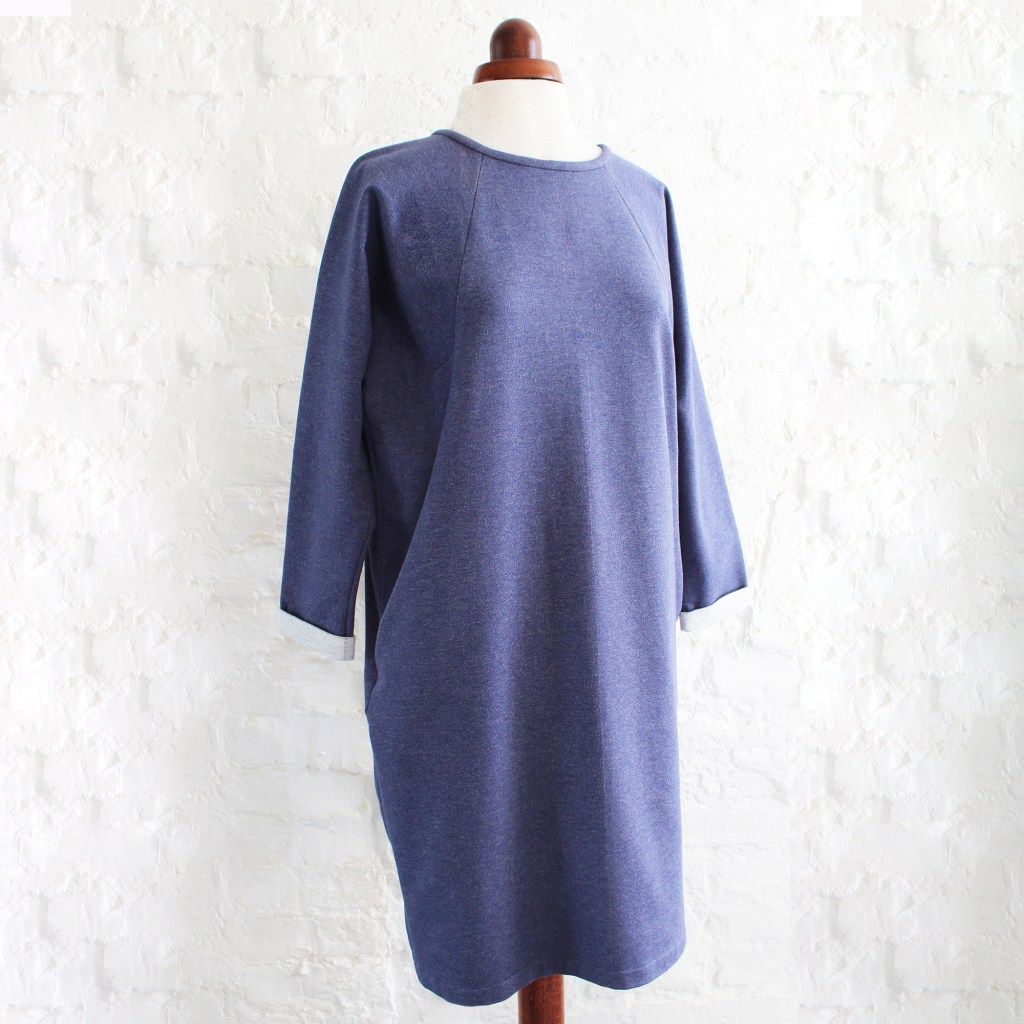
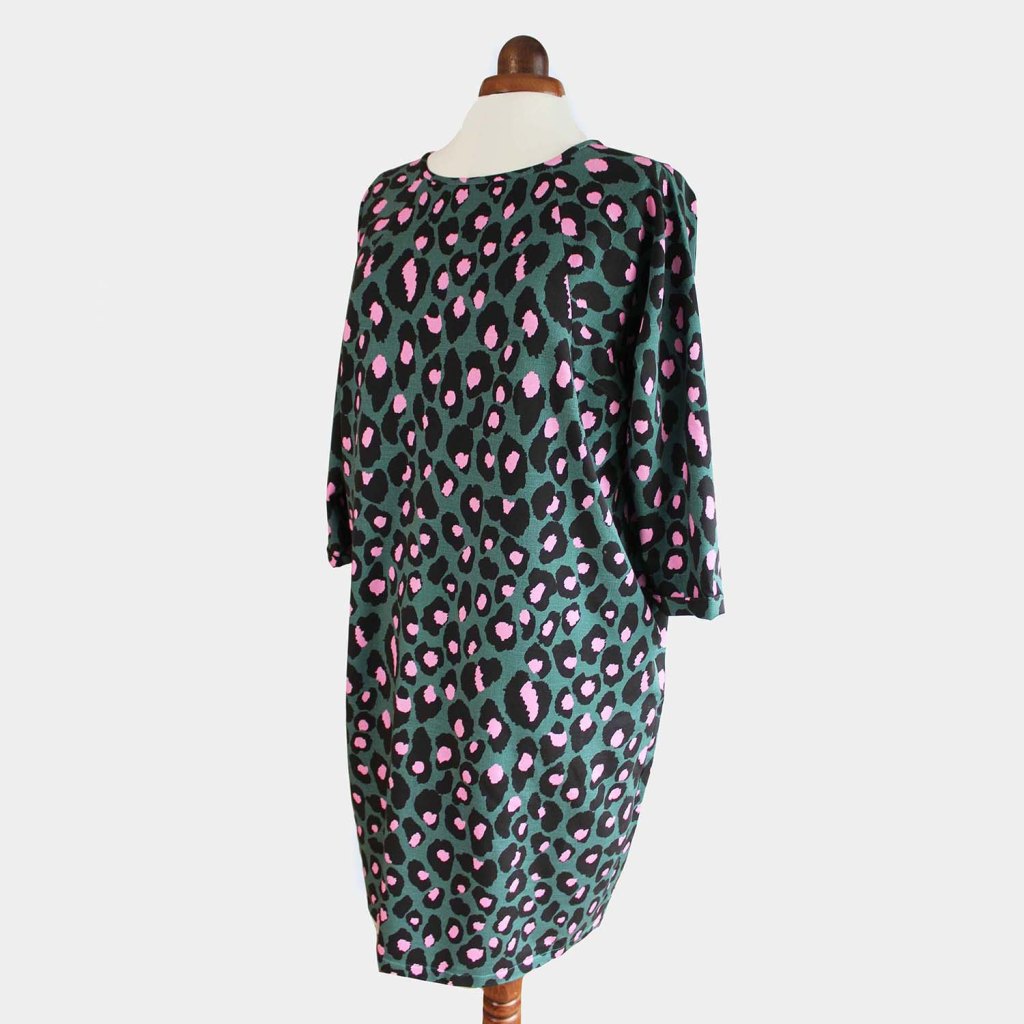
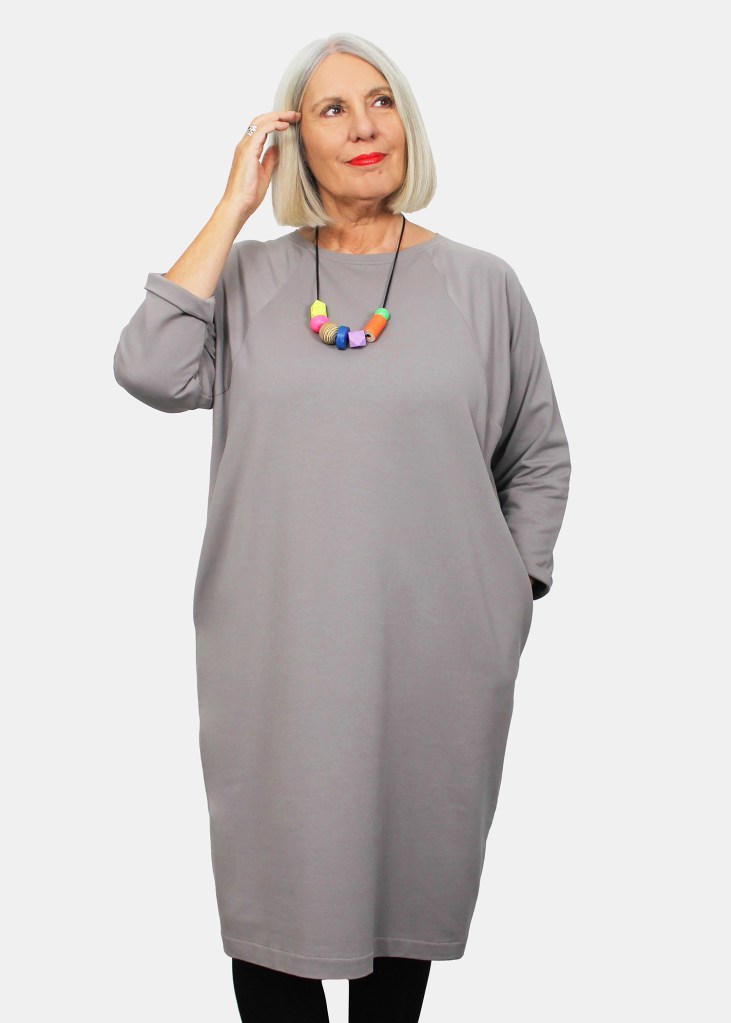
Poppy Cocoon dress is a loose-fitting, comfortable, everyday round neck, cocoon shaped, tunic with pockets set into a raglan sleeve. The pattern comes in all sizes from 8-28.

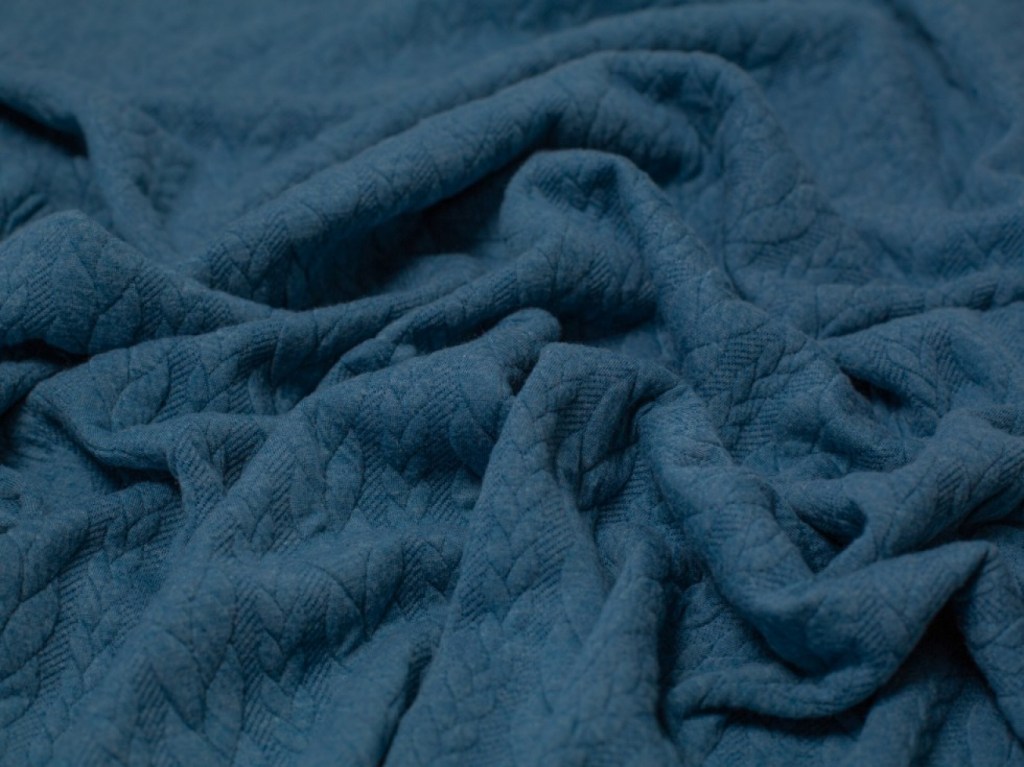
Make in soft sweat fabric (see below) or loop back jersey or a medium weight two way stretch fabric such as a cable knit would be nice. Minerva fabrics have some lovely ones.

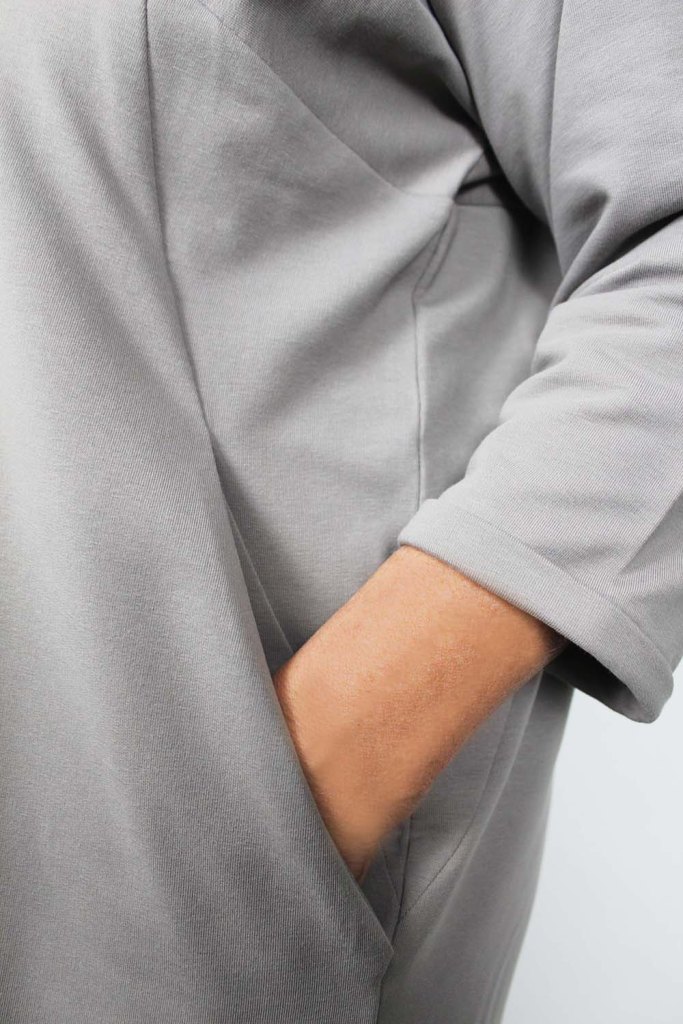
The lovely thing about this pattern is the pockets set into the deep raglan style sleeve and the side gusset which help create its ‘Cocoon’ shape.

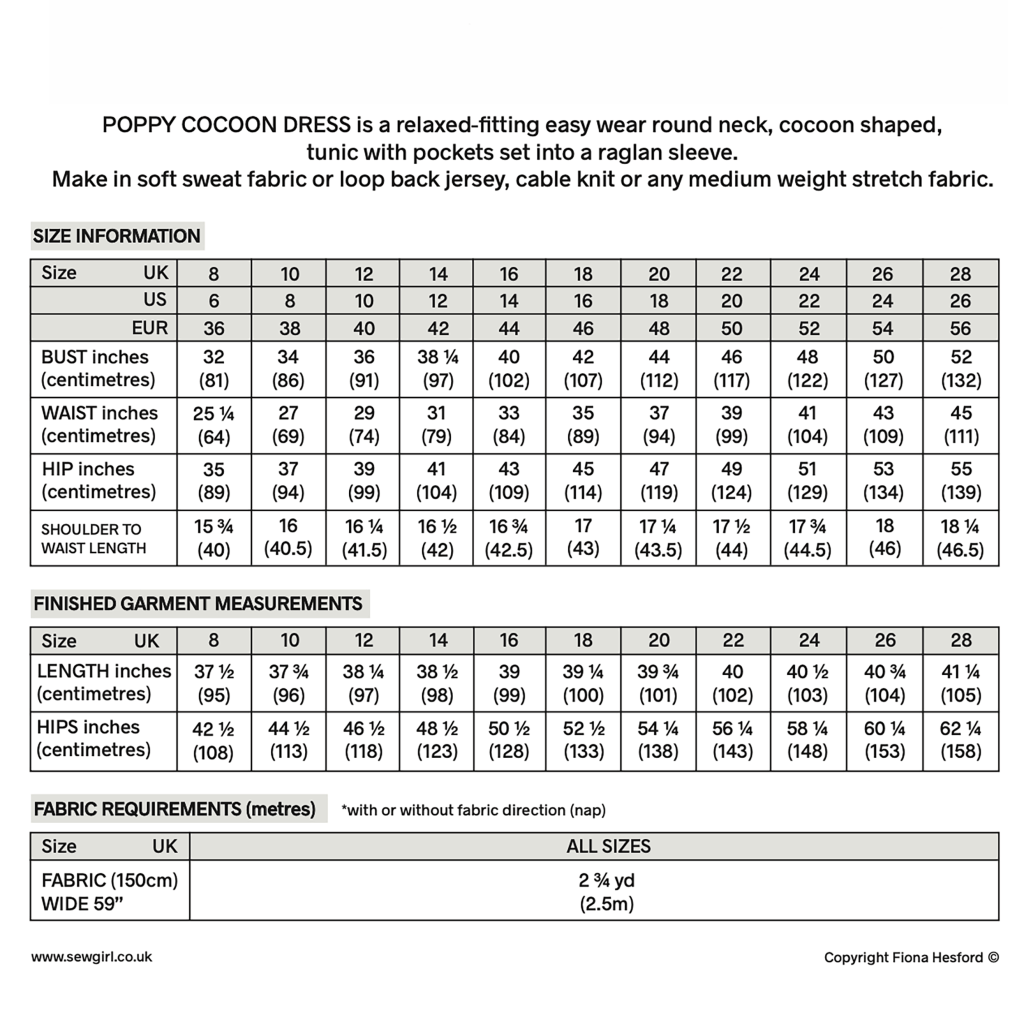
Here are size info, finished garment details and fabric requirements which are found on the reverse side of the pattern pack.

A few things to know….

Mark the notches with small 5mm nick within the seam allowance.

Seam allowance is 1cm.

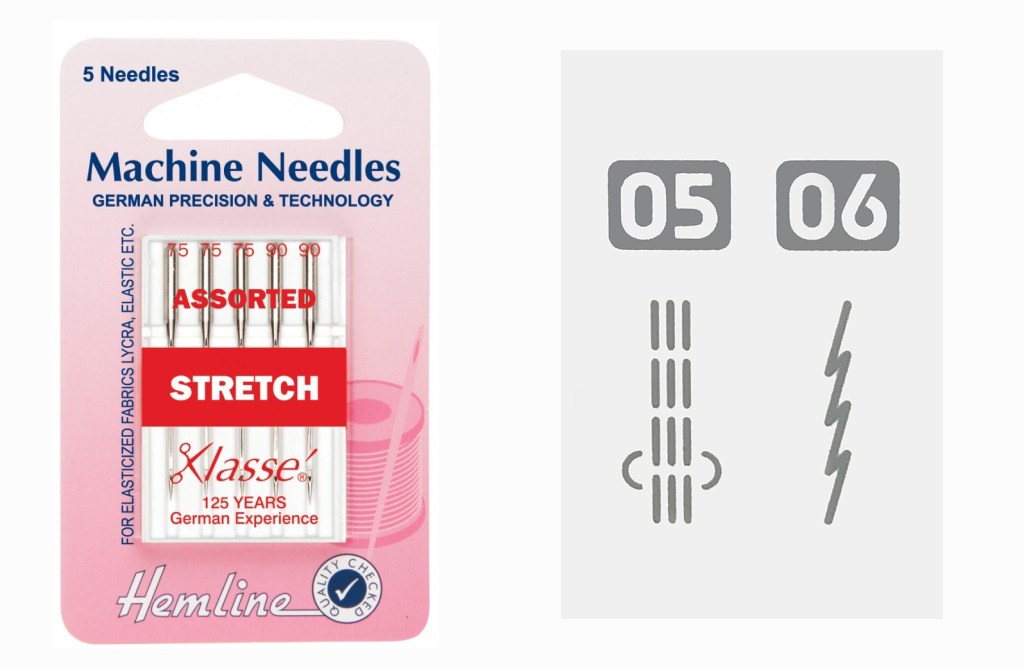
Insert a jersey needle or a in your machine and use a stretch stitch machine setting.

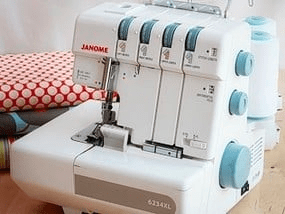
Jersey fabric doesn’t tend to fray, so either leave the edges unfinished or use an over locker to finish them.

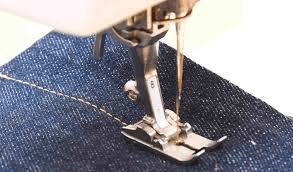
Topstitch- a line of longer length stitching (2.8mm) on the right side of the fabric close to the seamline.

RST/WST– Right Sides Together/Wrong Sides Together.

MAKING POPPY COCOON DRESS

1JOINING THE SIDE FRONT & BACK TO THE SLEEVES

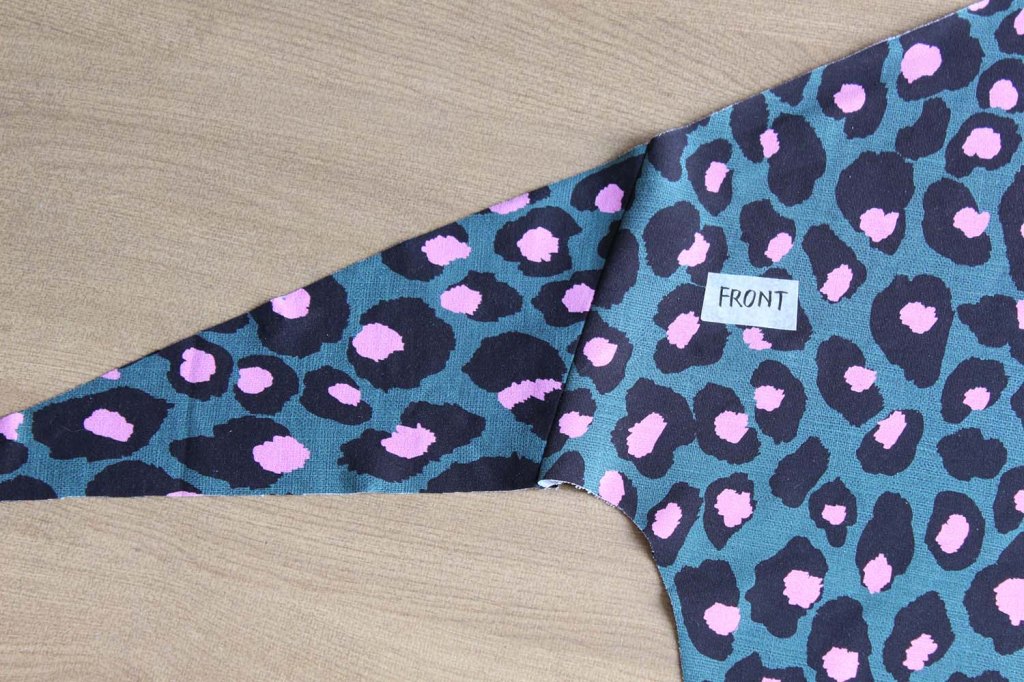
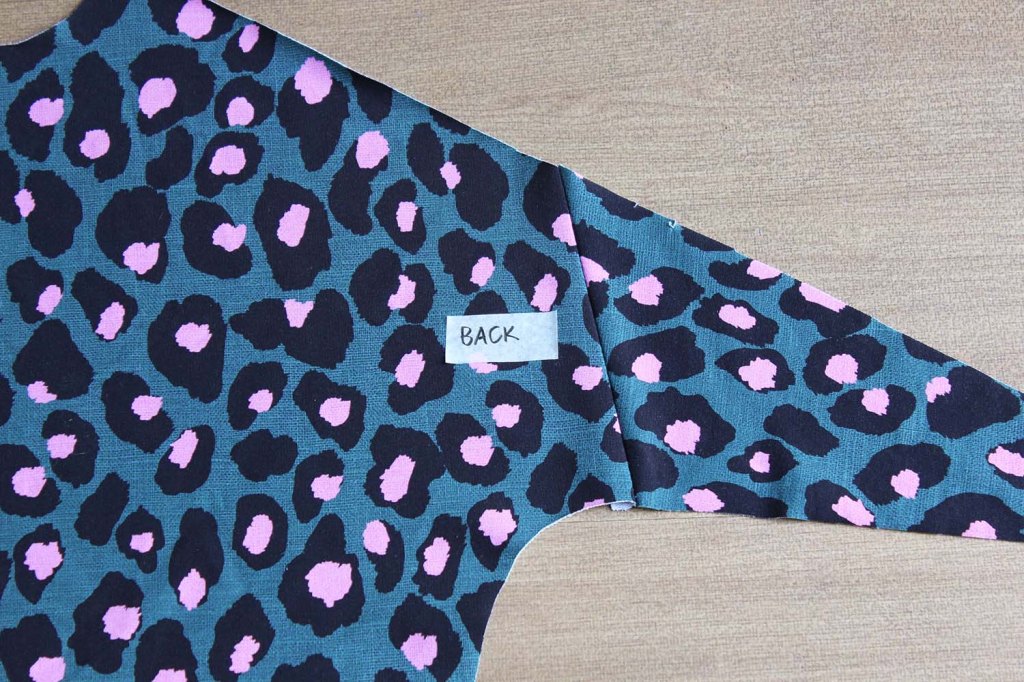
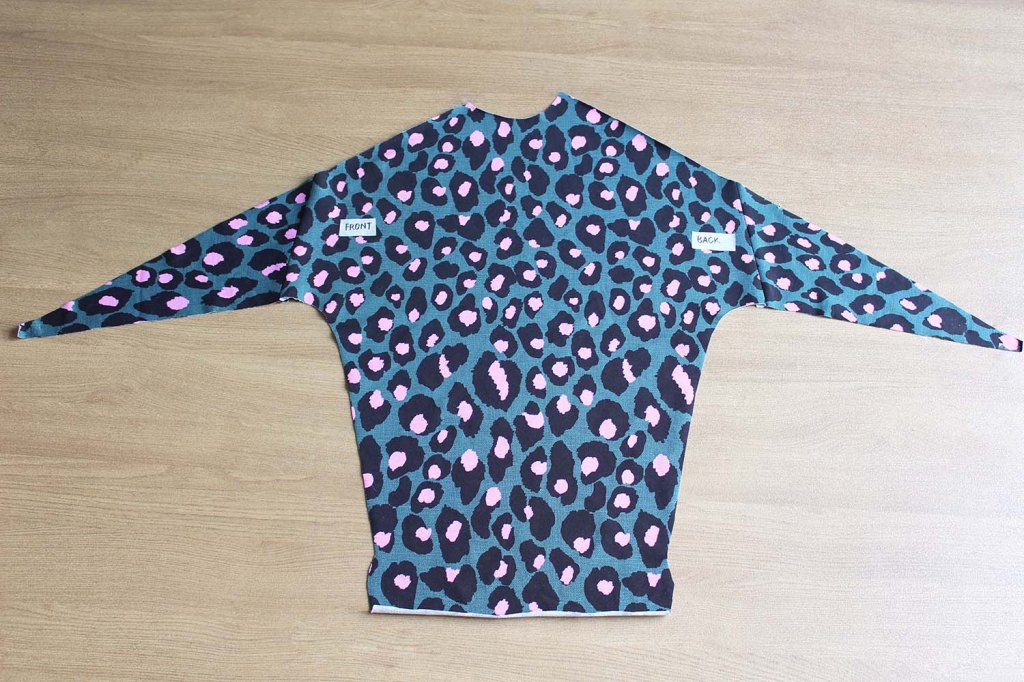
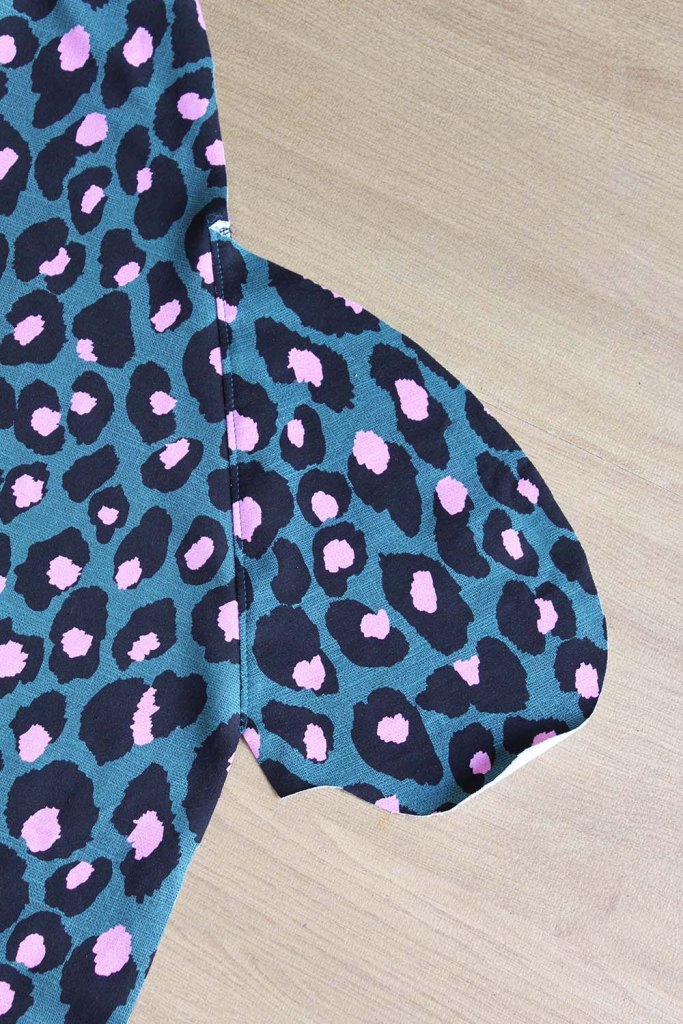
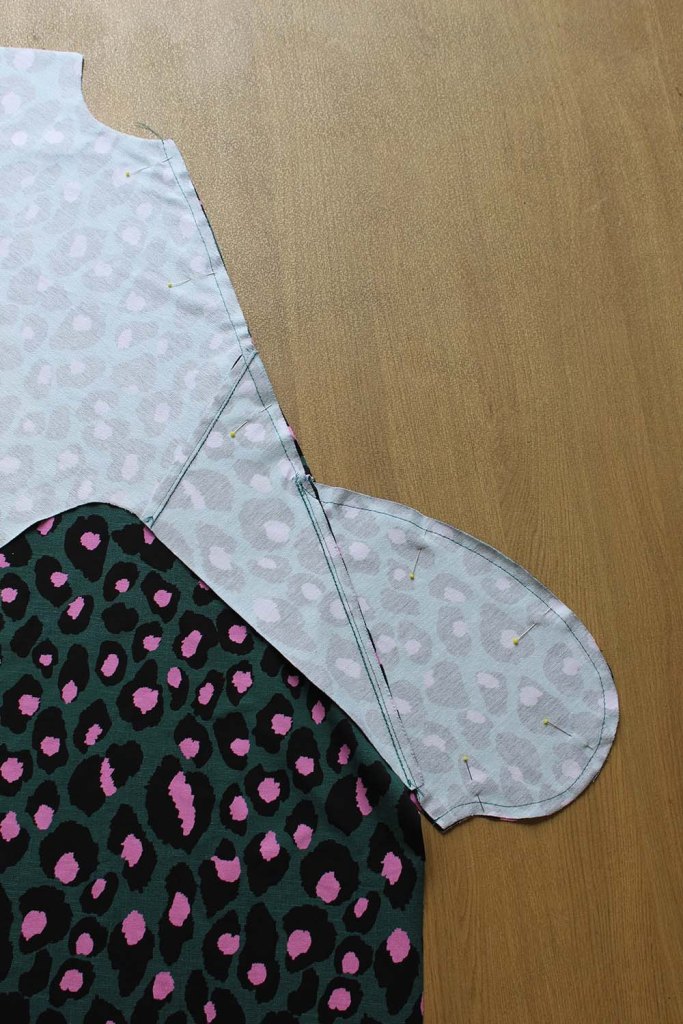
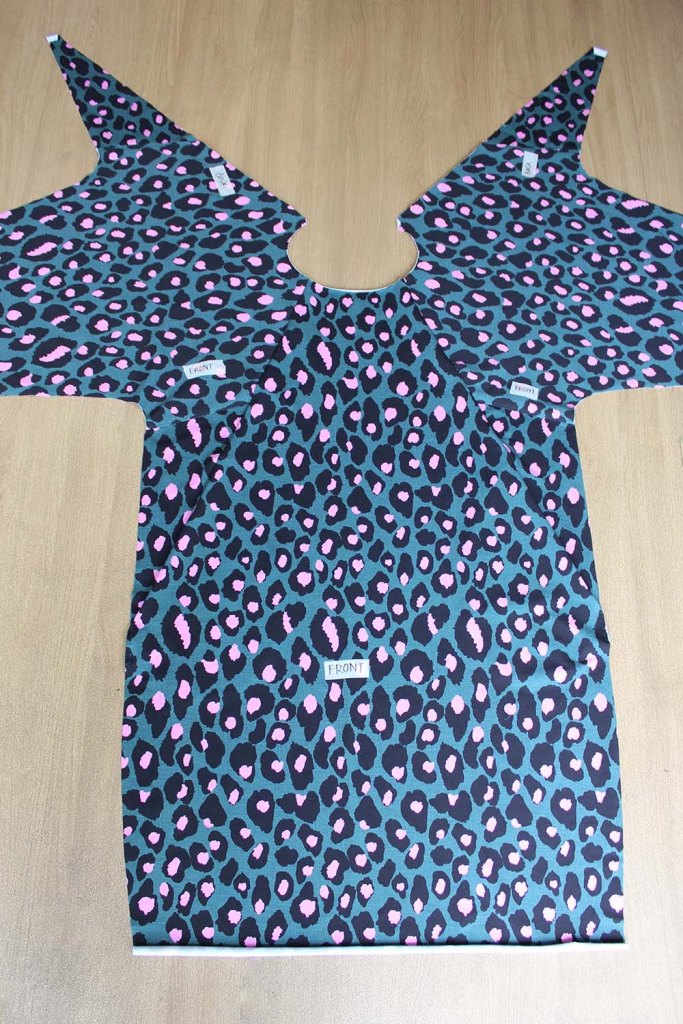
With the RST, pin the Side Front (piece 3) to the Sleeve (piece 5) front section short edge. Sew. Press away from the Sleeve with the seam allowances towards the Sleeve on the reverse side. Topstitch on the Sleeve side. By the way, see how Ive stuck some masking tape on the fabric piece indicating what it is. This is such a good trick which I use all the time, especially when pieces are so similar to each other.

Repeat for the other Side Front and Sleeve front section. 

With the RST, pin the Side Back (piece 4) to the Sleeve Back section short edge. Sew. Press away from the Sleeve with the seam allowances towards the Sleeve on the reverse side. Topstitch on the Sleeve side.

Repeat for the other Side Front and Sleeve front section. 

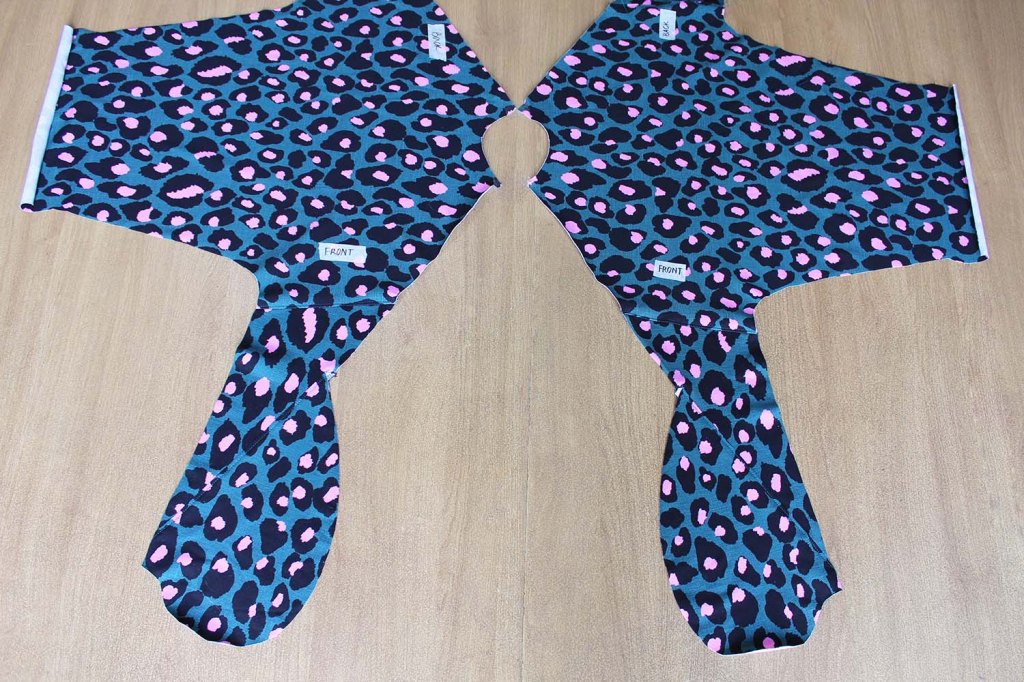
Both Sleeves now have both Side Front and Side Back pieces attached.

POCKETS

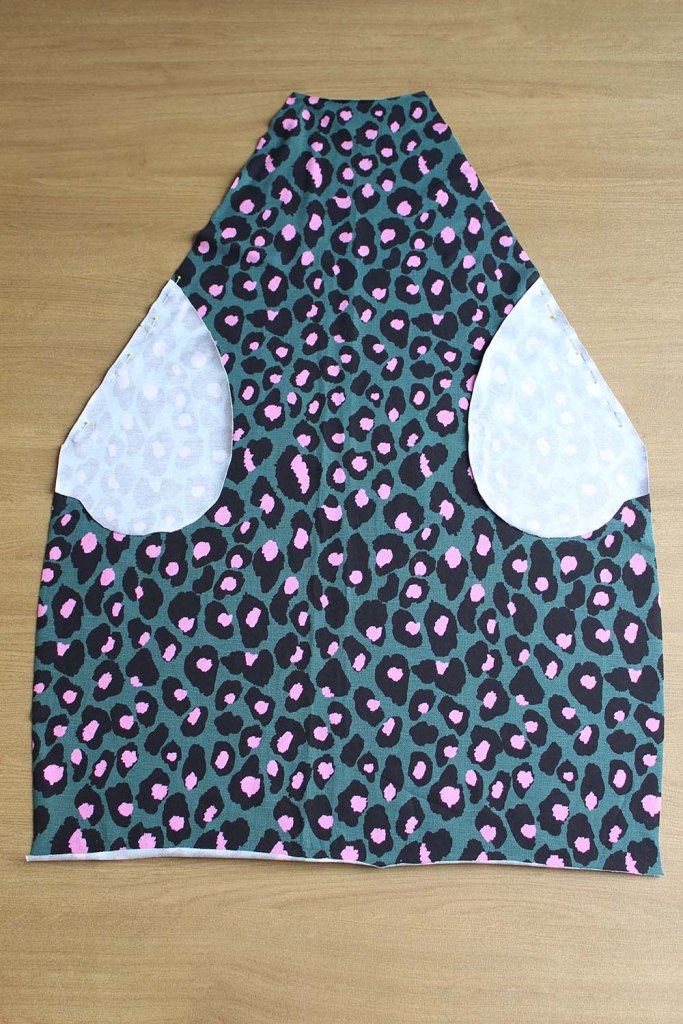
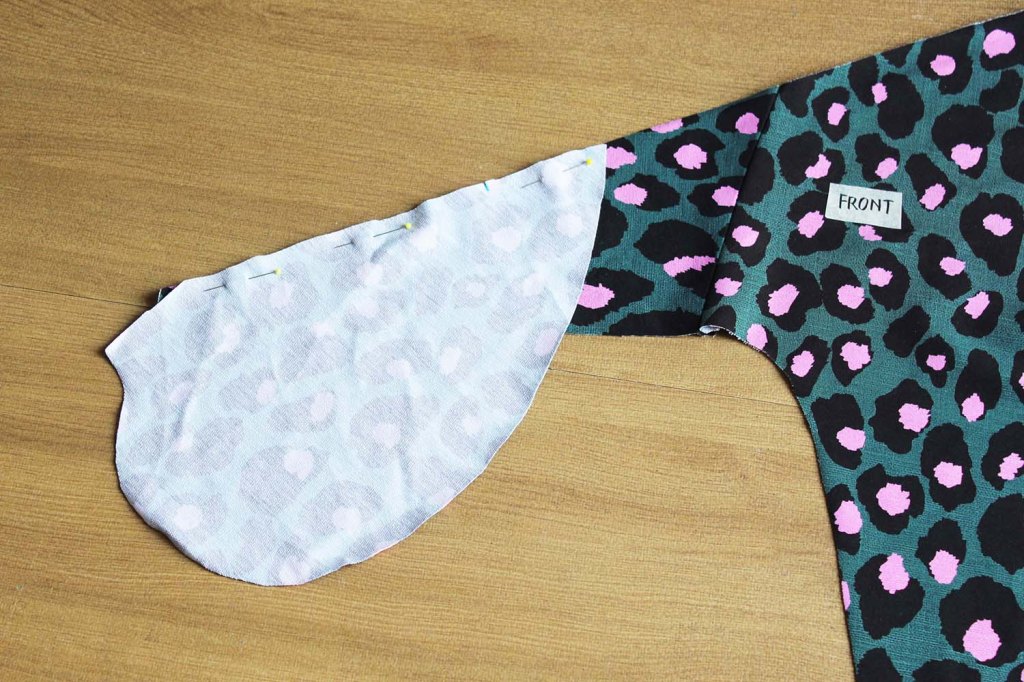
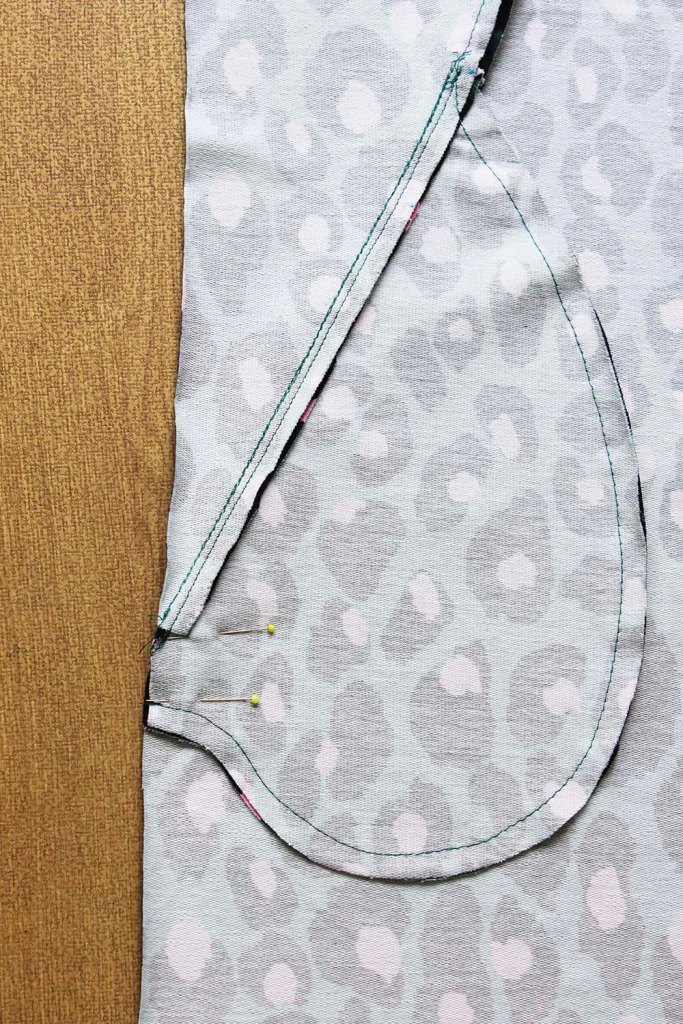
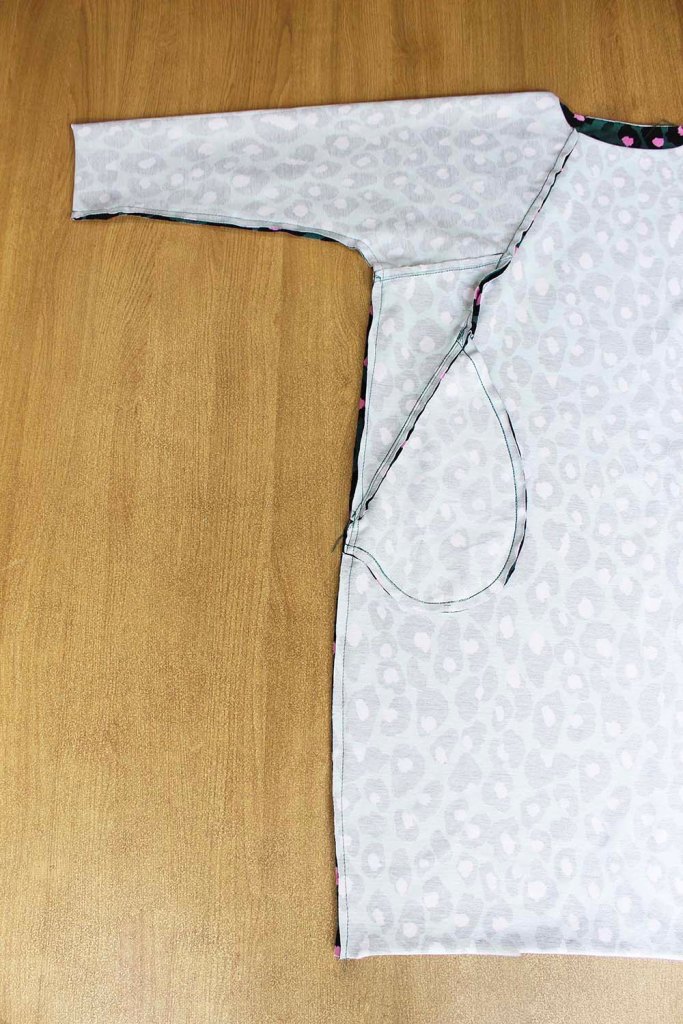
With the RST, pin one Pocket (piece 6) at each side of the Front slanted edges, aligning the notches. Sew. Press the seam allowance towards the Pocket on the reverse side. Topstitch on the Pocket side.

With the RST, pin one Pocket to the Side Front/Sleeve piece, aligning the notches. Sew. Press the Pocket away from the Side Front. Topstitch on the Pocket side.

Repeat for the remaining Pocket and Side Front piece.

Both Sleeve pieces now have both Side Front (with Pocket piece) and Side Back attached.

SLEEVES

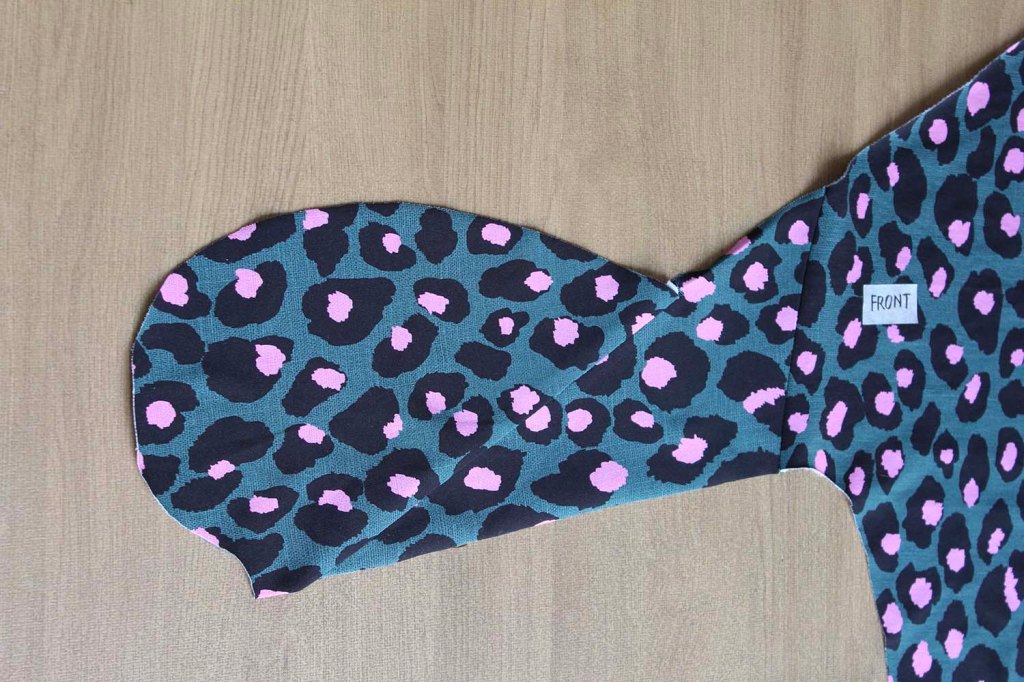
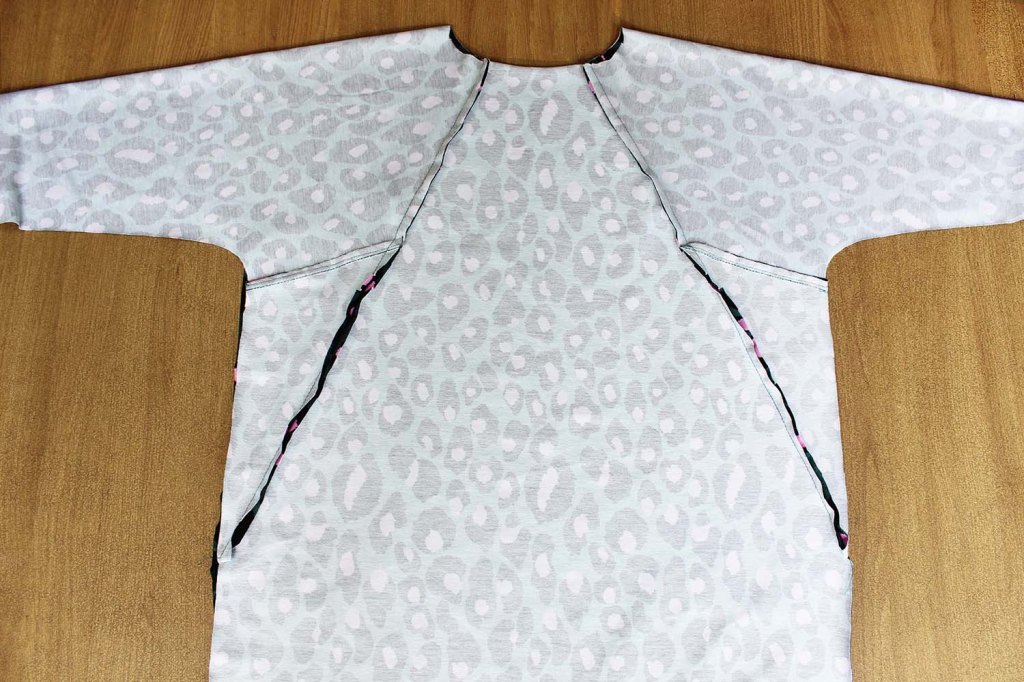
With the RST, pin the Front to the Sleeve front section at the slanted edge, aligning the Pocket outer raw edges. Sew. Press the Sleeve away from the Front with the seam allowances pressed towards the front on the reverse side.

On the wrong side, press the Pockets towards the Front. Match the Pocket short raw side edges to the Front side edge. Pin. Machine tack within the seam allowance.

JOINING THE FRONT AND BACK

With the RST, pin the Back to the Back Sleeve at the long slanted raw edges each side, aligning the notches. Sew. Press the seam allowances towards the Back.

With the RST, pin the Front to the Back at the side edges from the lower hem to the cuff edge, aligning the underarm sleeve cross seams. Sew. Press.

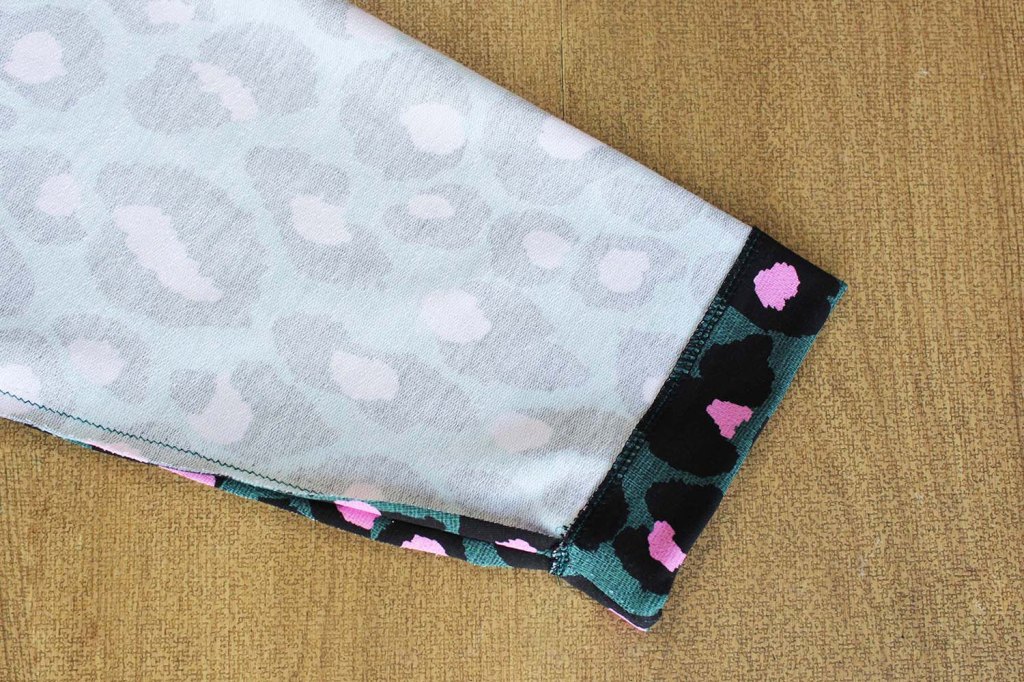
Fold 1cm at the cuff, then fold over 3cm. Stitch all around. Press.

With the dress right side outermost, fold back the cuffs 2cm each side.  

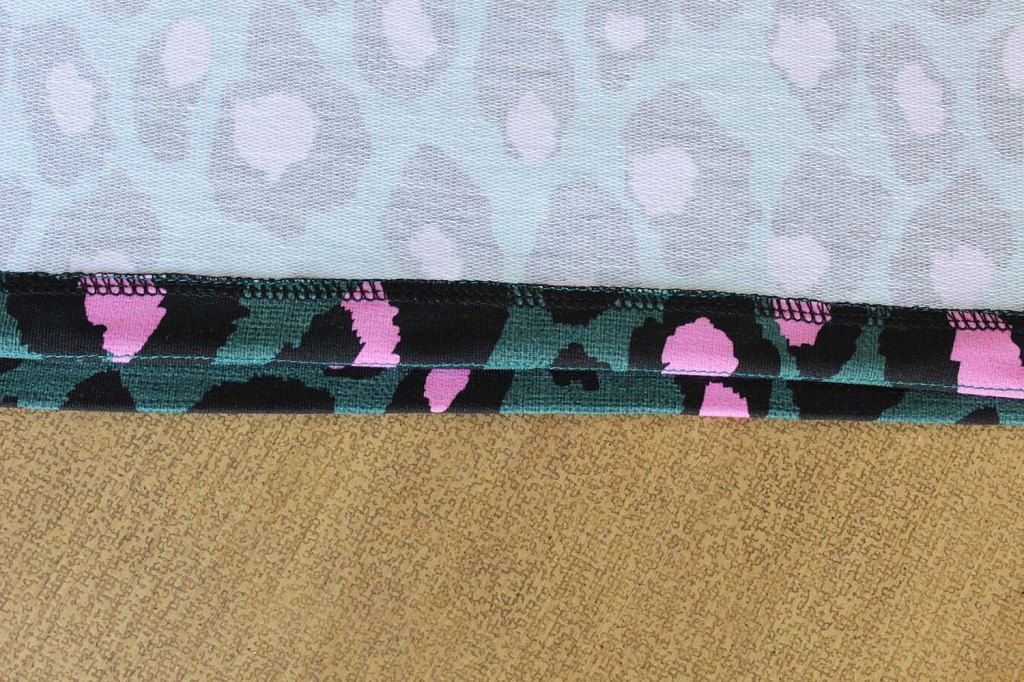
Make a 2cm hem fold at the lower edge of the dress or as required length. Sew all around. Press.

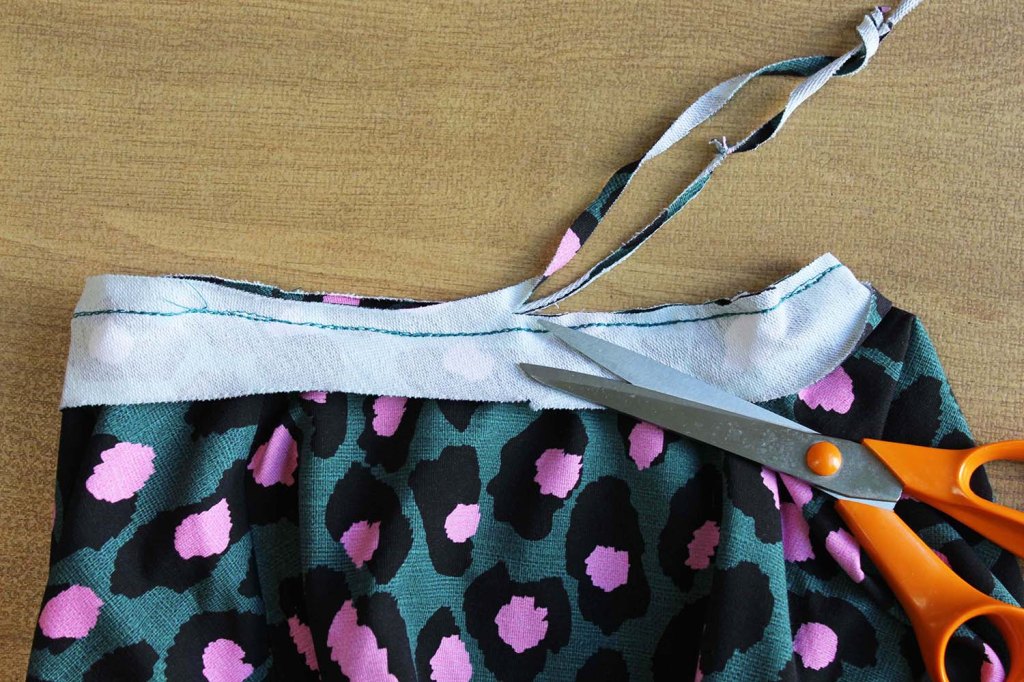
NECKBAND BINDING

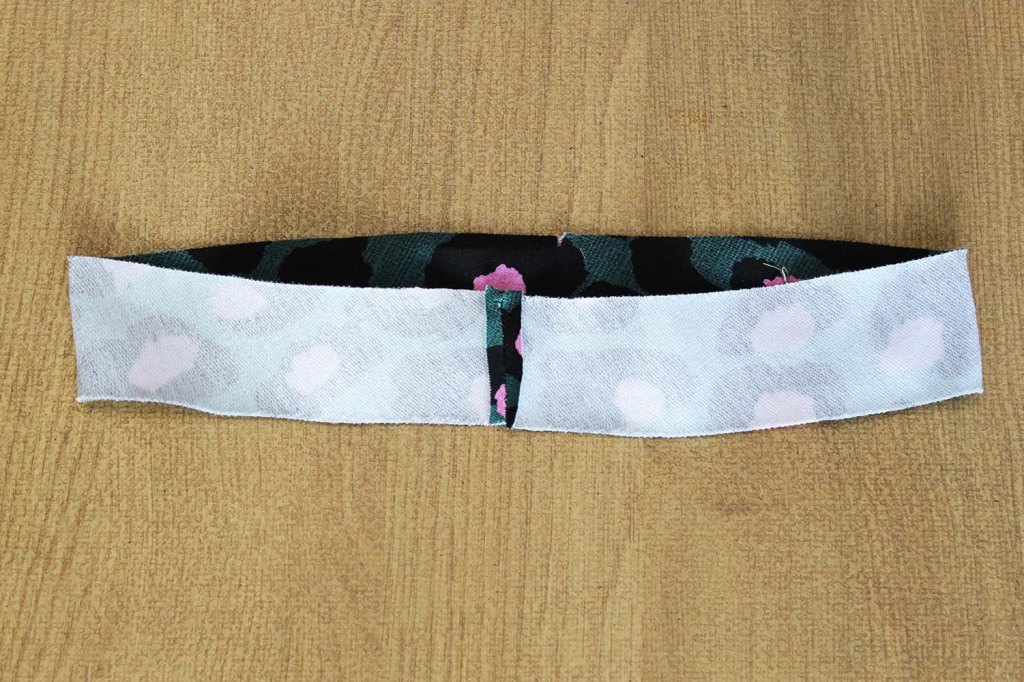
With the RST, join the Neckband (piece 7) at the short sides to make a ring. Trim the seam allowance to 5mm.

With the RST, pin one Neckband raw edge to the neck all around, aligning the seam to the centre back. Sew.

Trim the seam allowance to 5mm. Press the band away from the dress.

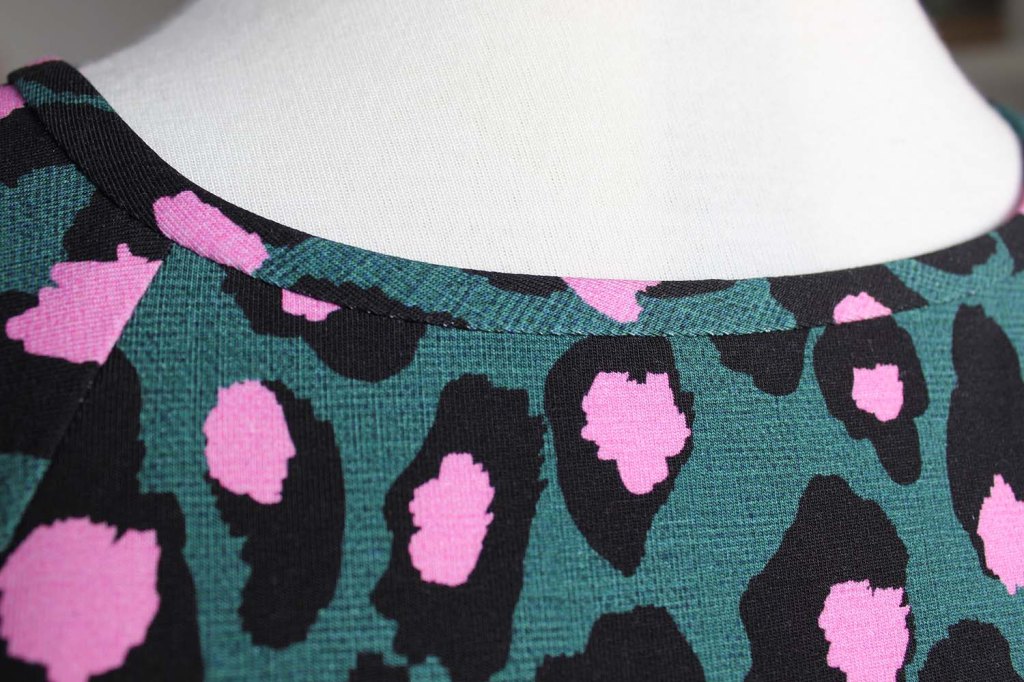
Press under 1cm at the Neckband outer raw edge. Fold the Neckband over, to the wrong side, encasing the raw edges. Pin. Hand stitch all around to secure.

Ta dah! There you have one lovely cocoon dress.

All images and text are copyrighted by Fiona Hesford T/a Sewgirl.

Please ask prior permission if you would like to use any content.

VALERIE SHIFT DRESS WITH OBI BELT

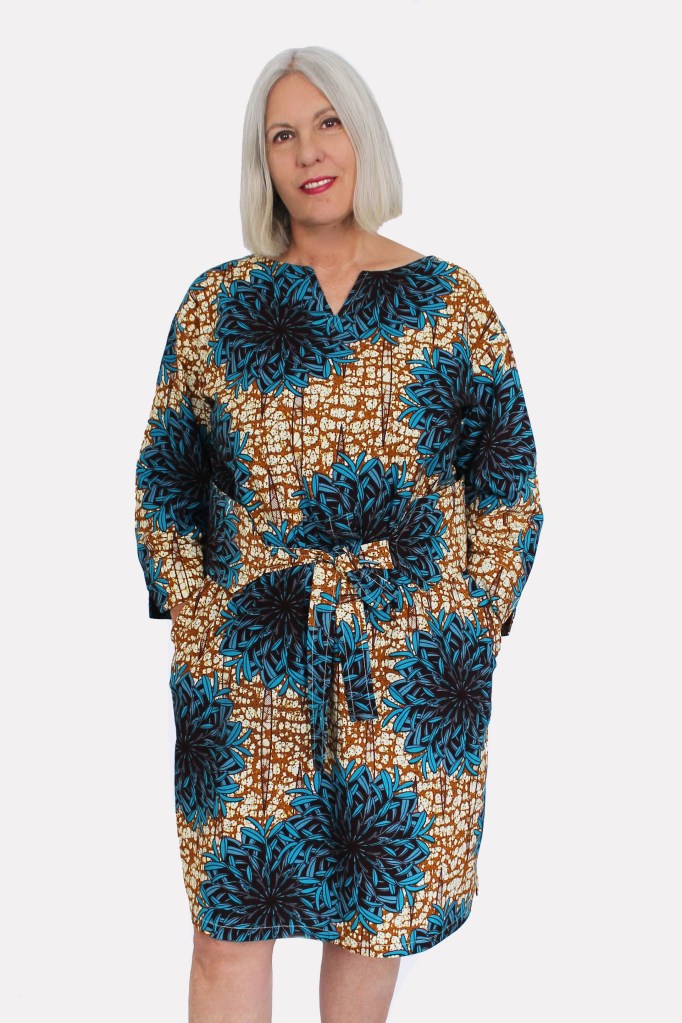
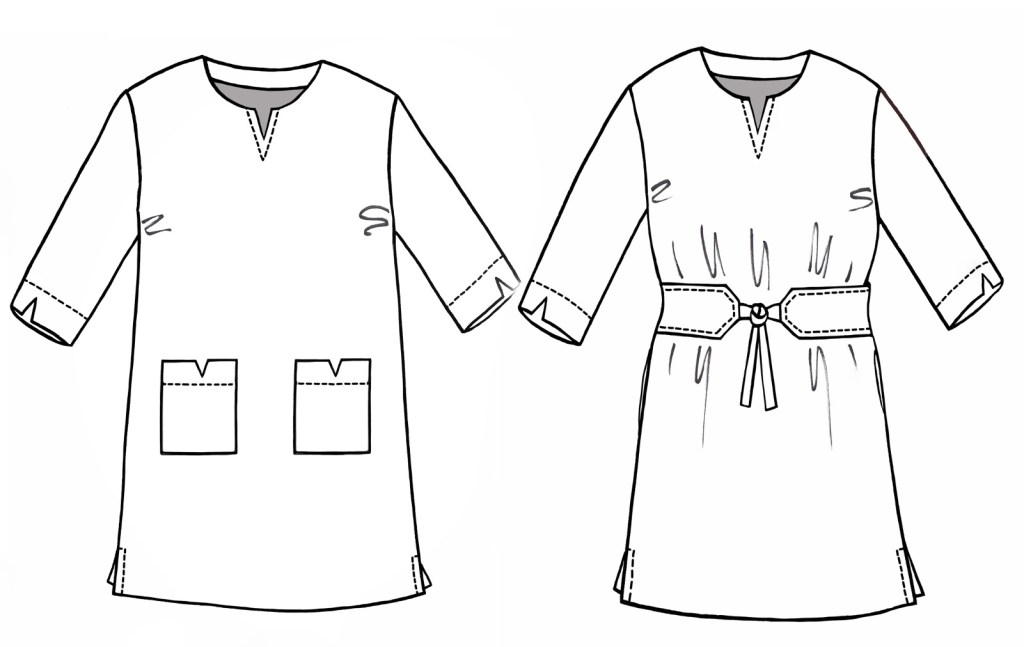
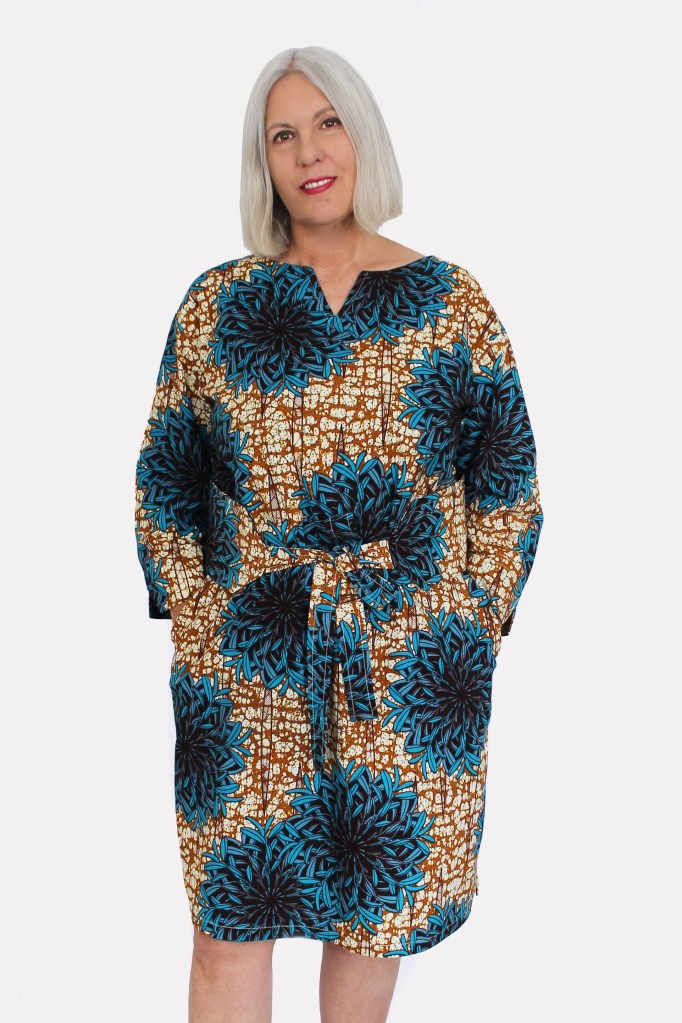
Valerie shift dress is a relaxed fit, beginners pattern, suitable for all seasons. A simple, pop over the head style, with no darts, three quarter length sleeves (short sleeve template is also available to download), a choice of two styles of pockets (patch or side) and an optional Obi belt.

A small V detail at the neck, cuffs and patch pocket edges, gives a modern twist.

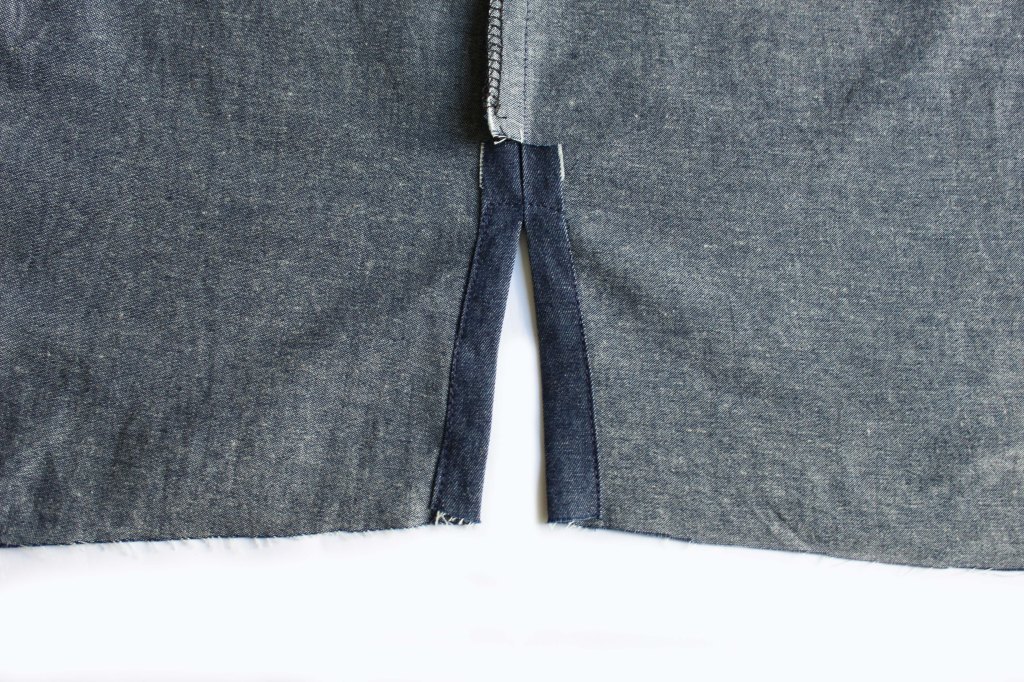
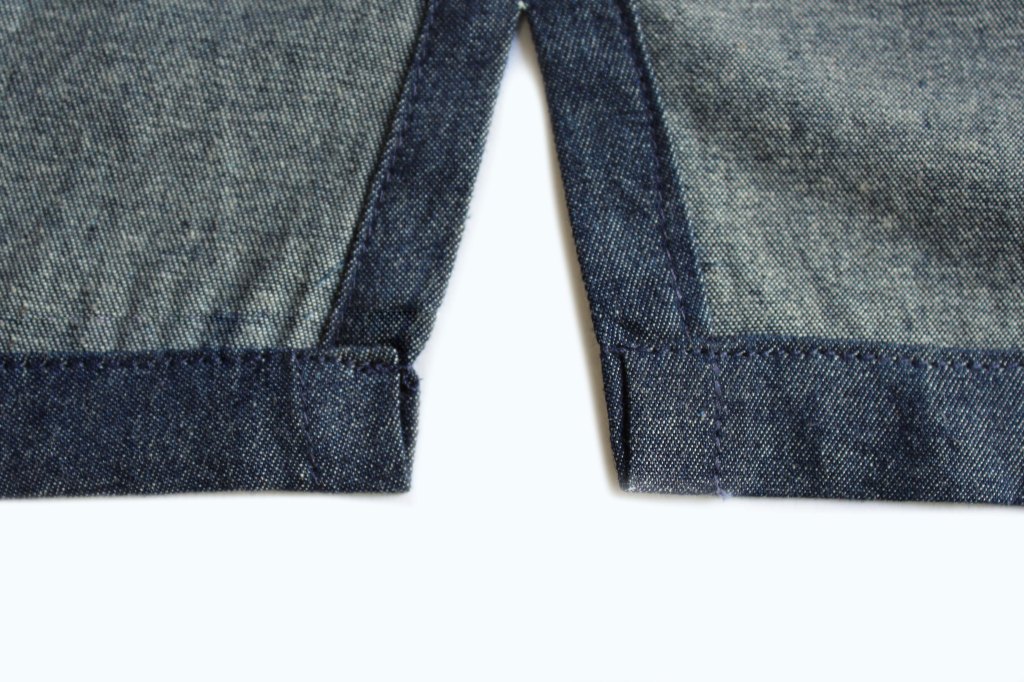
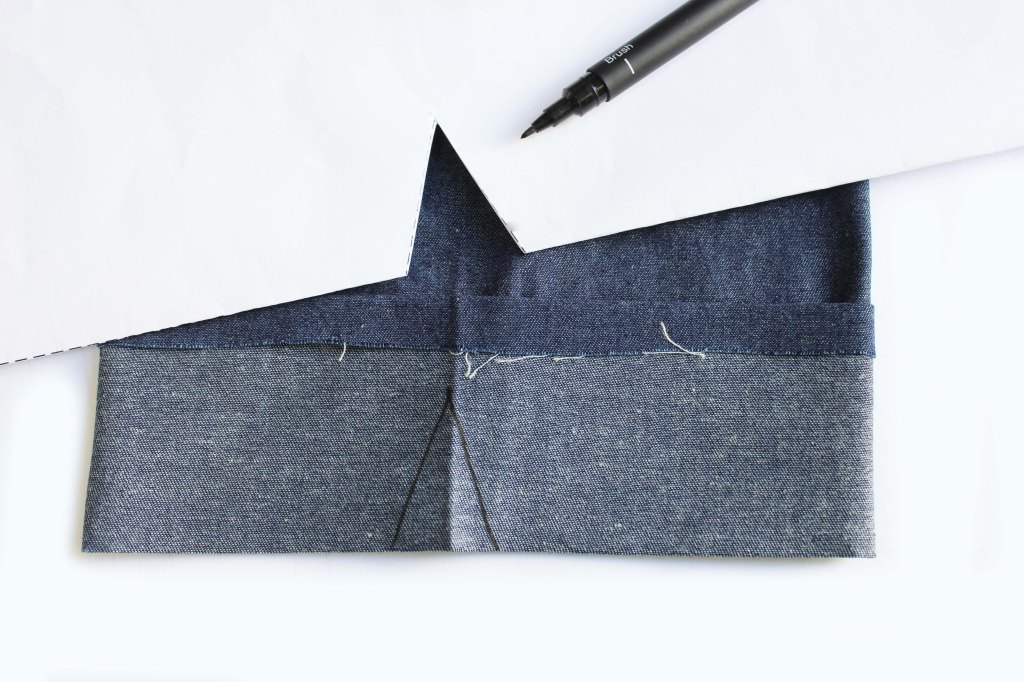
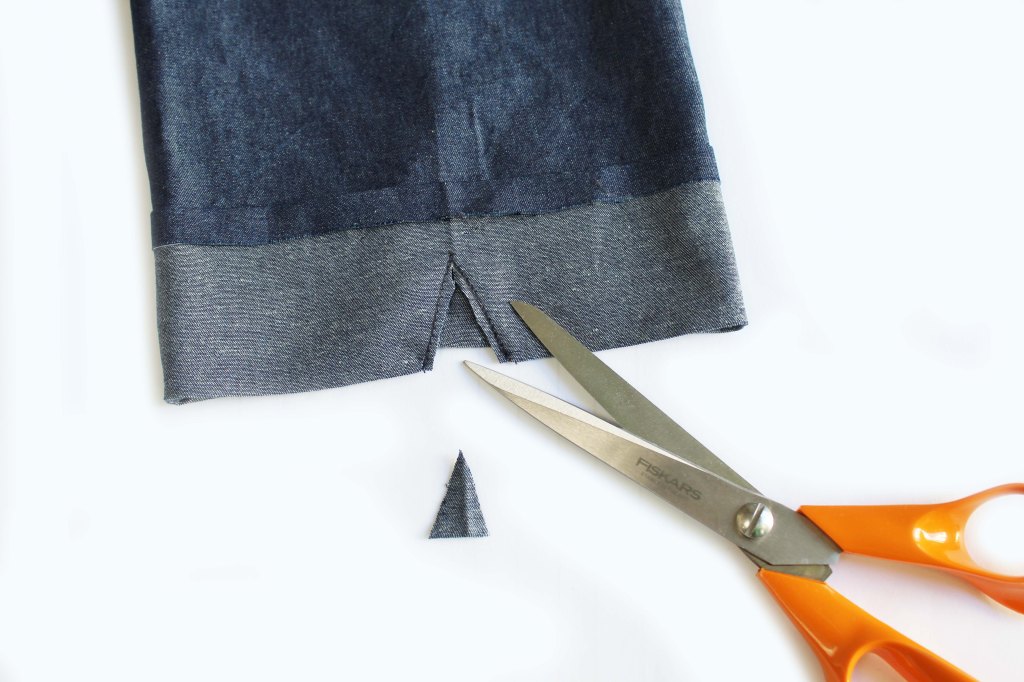
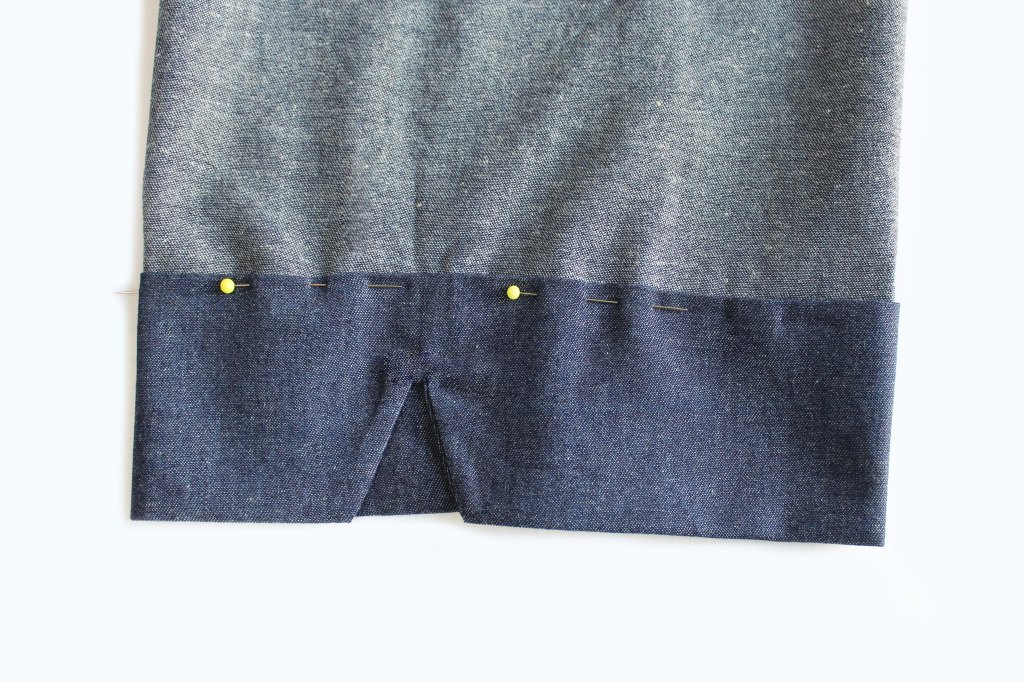
The dress length is designed to extend to just below the knee, with a small slit at each side hem. I designed this shift dress to be an easy project, to make in a variety of fabrics and a comfortable garment, suitable to wear everyday.

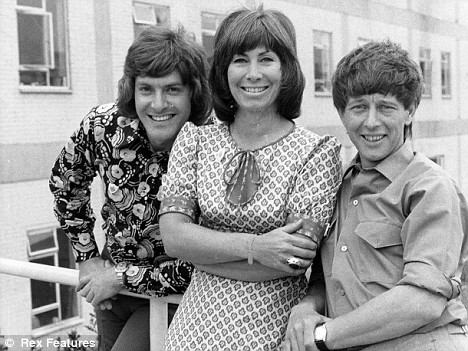
Valerie Singleton with side kicks Peter Purves and John Noakes.

This shift dress pattern was inspired by my childhood TV hero, Valerie Singleton, star of BBC’s ‘Blue Peter ‘ during the 60’s and 70’s. She is a British national treasure and inspiration behind this design.

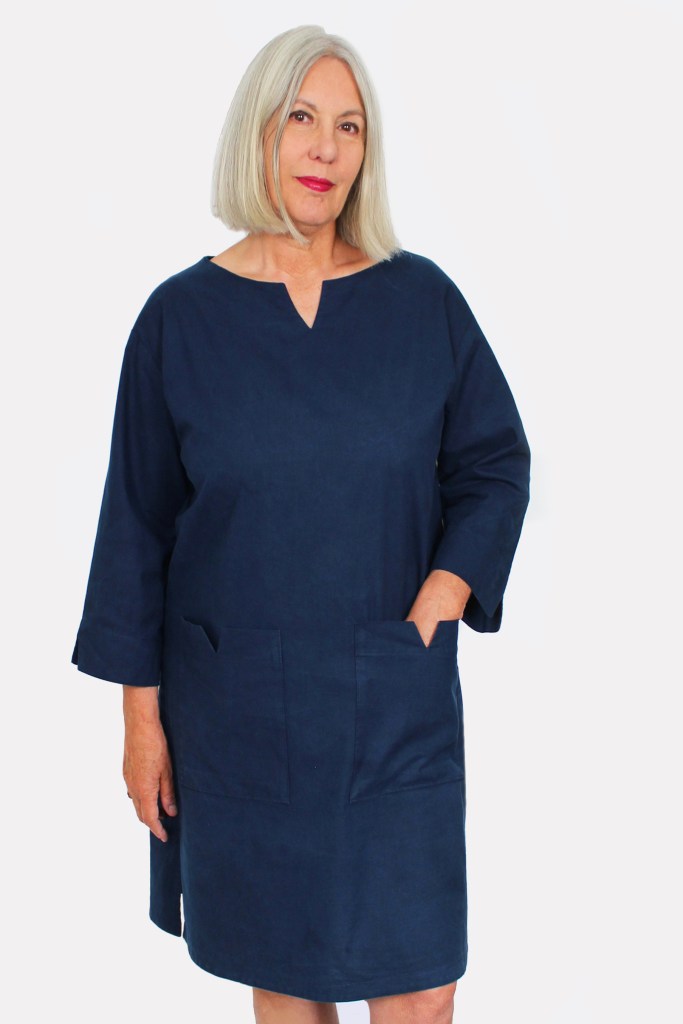
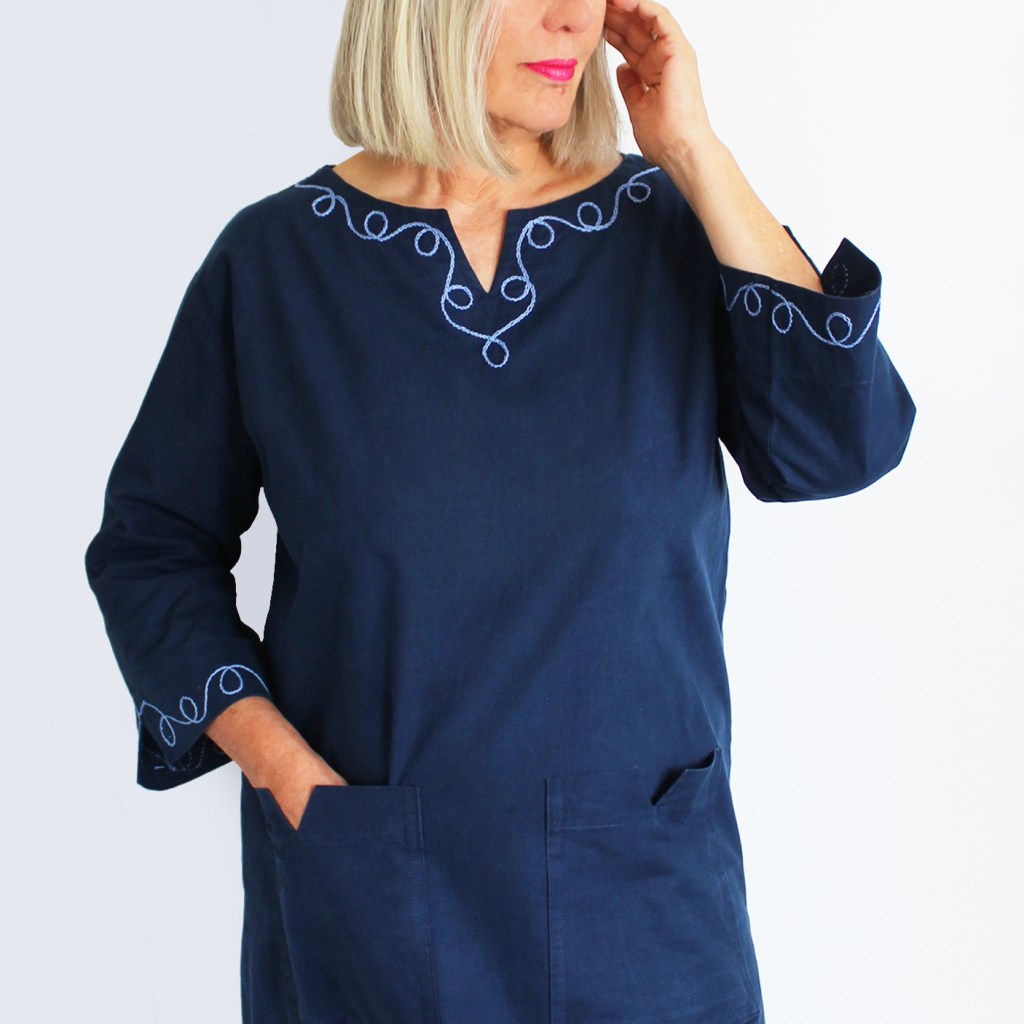
Valerie in navy cotton fabric with patch pockets

Suitable fabrics to make Valerie- medium weight cotton, denim, poplin, linen, linen /cotton, or needlecord.

Front with patch pockets or side pockets with Obi Belt.
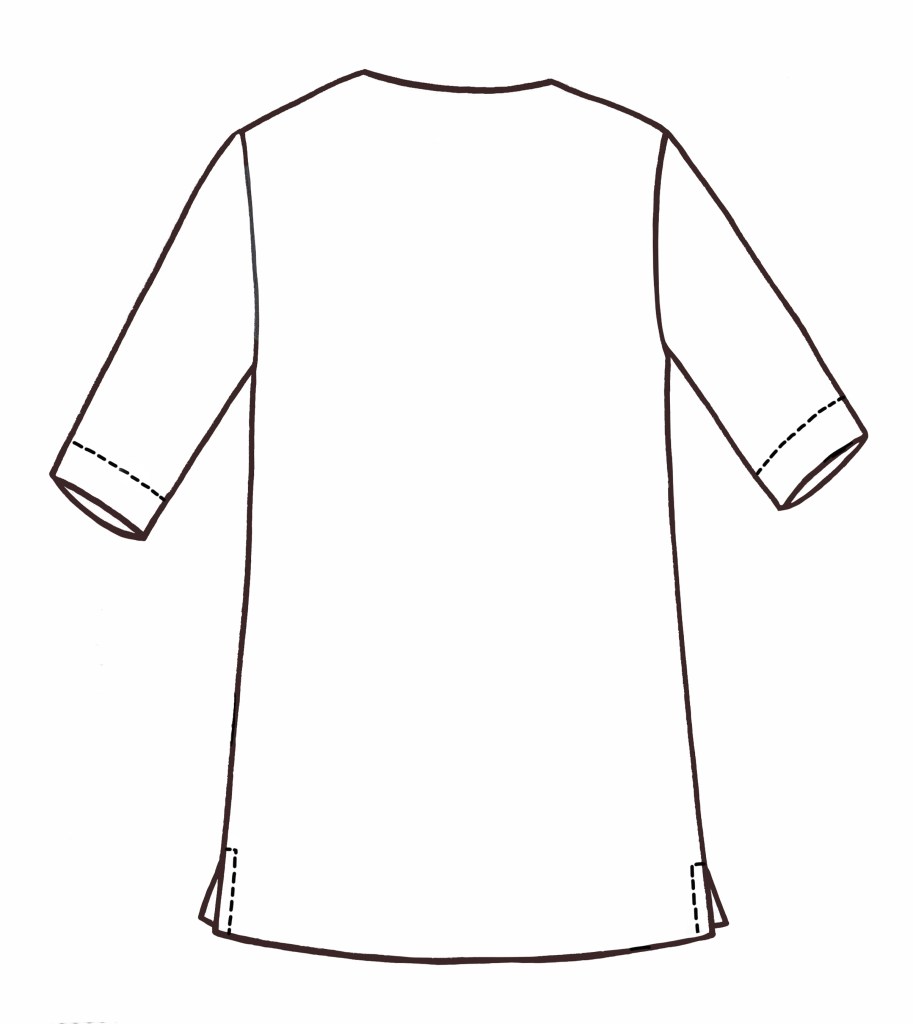
Back view

EMBROIDERY DESIGN ADD-ON

Why not add some embroidery to your shift with this simple chain stitch design around the neckline and cuffs. You can download the design here. Important: Ensure your print settings are at scale 100%. Check the test square before printing off all 3 x A4 pages.
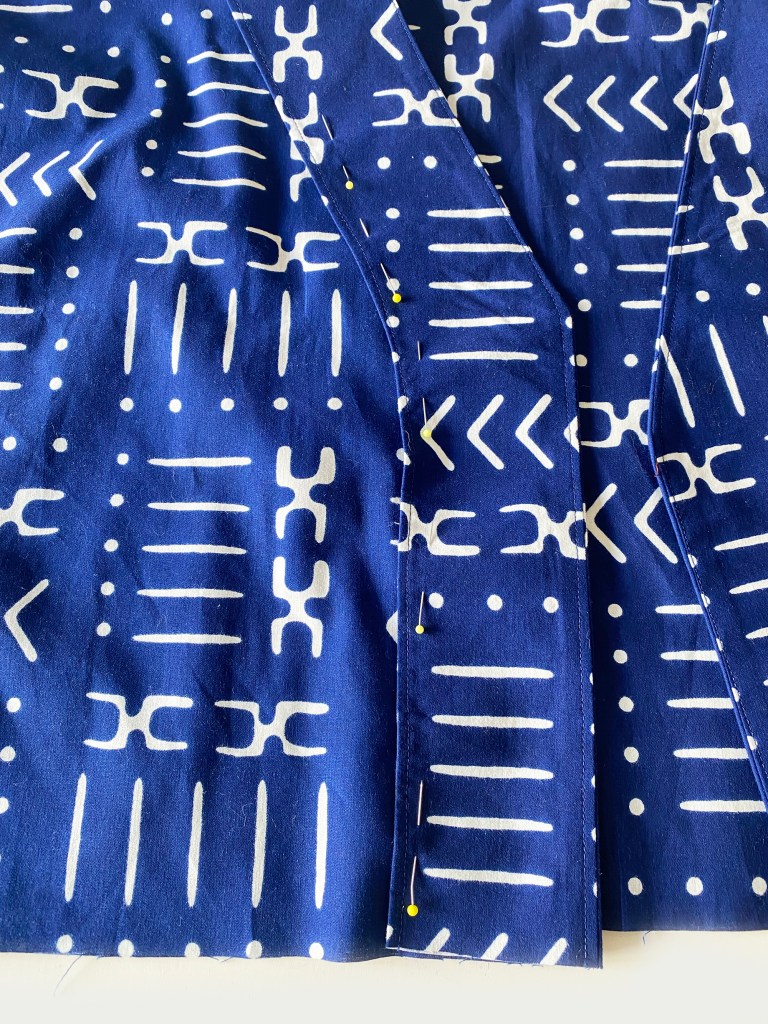
SHORT SLEEVE TEMPLATE ADD-ON

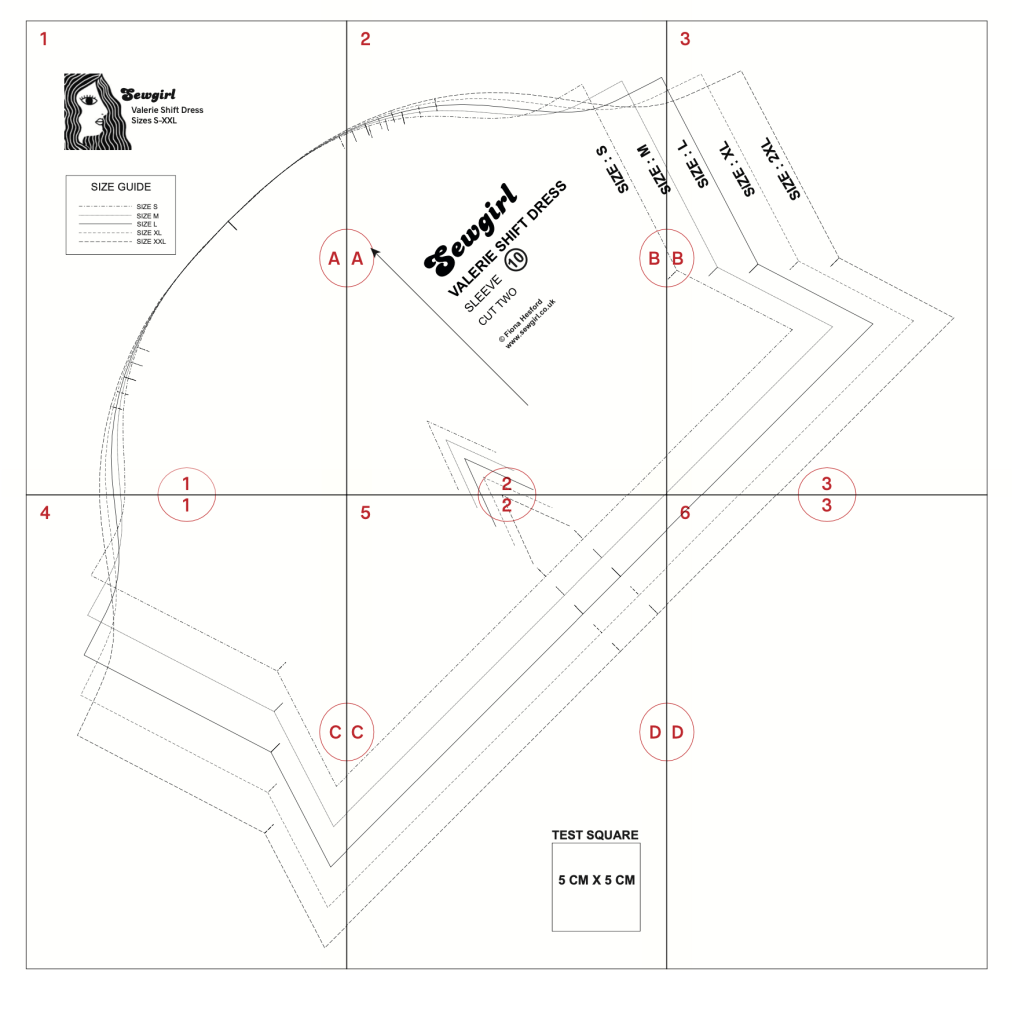
You can also download a free short sleeve template here. Just print off the 6 pages on a home printer on to A4 size paper, cut out the rectangles and stick them together to make a short sleeve piece.
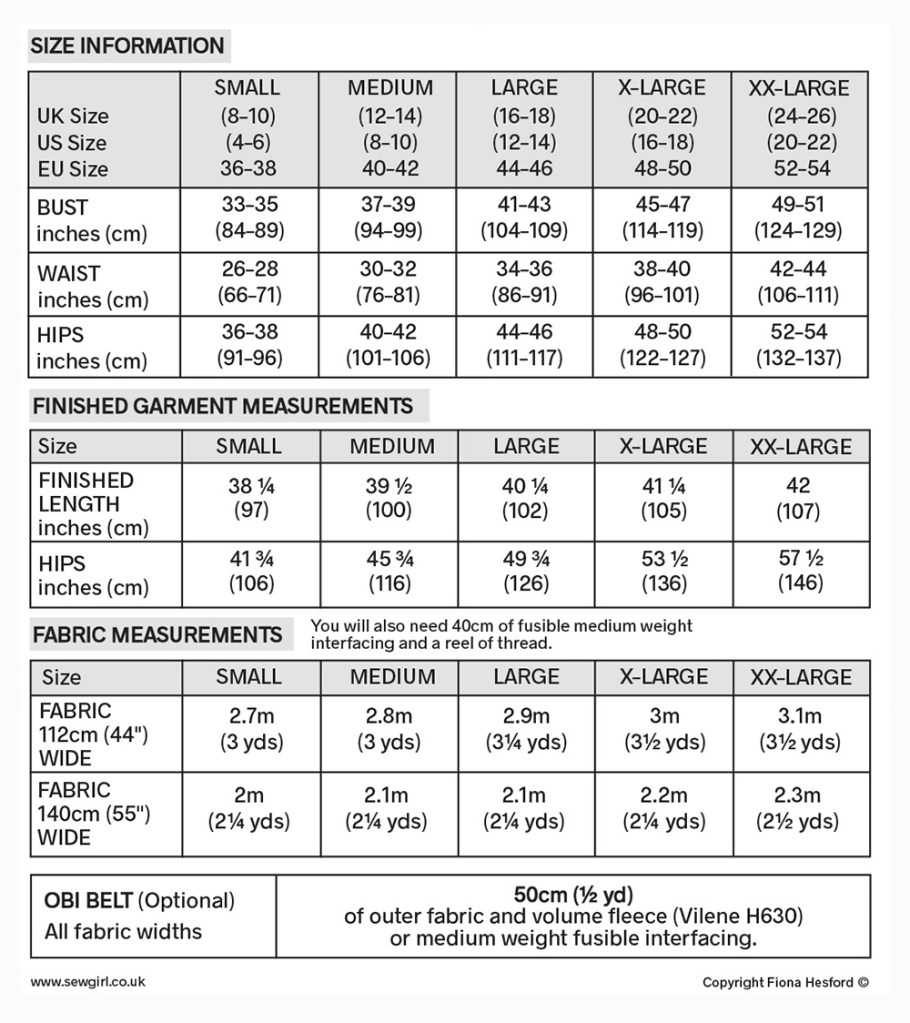
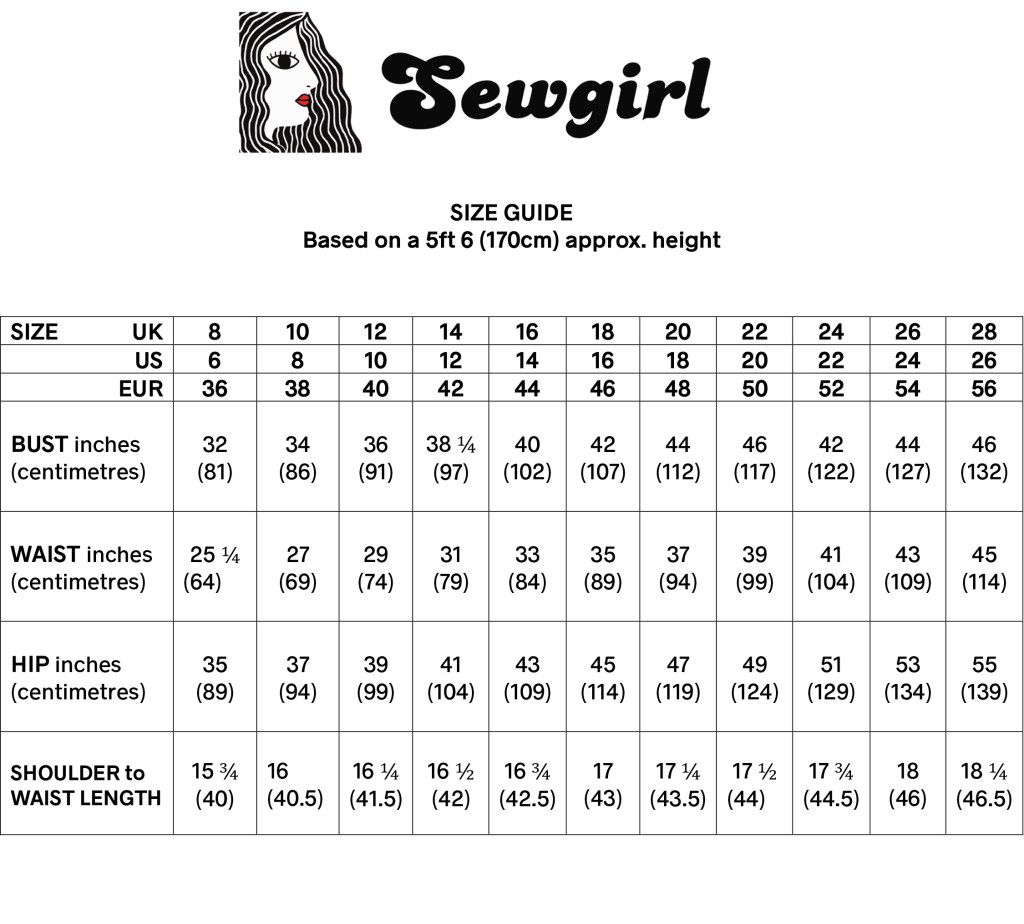
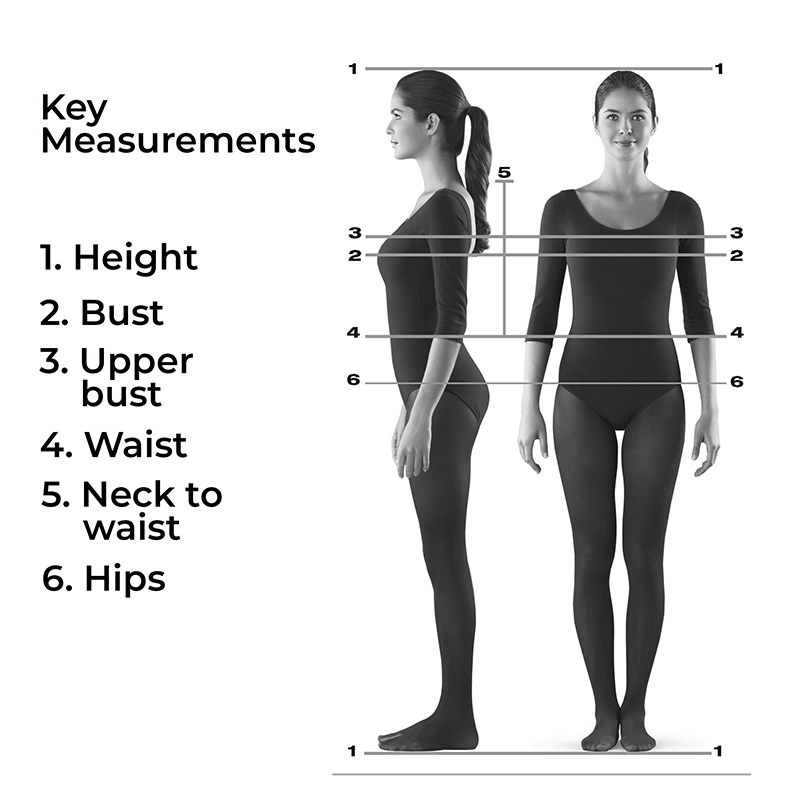
SIZE GUIDE/ FINISHED GARMENT/FABRIC REQUIREMENTS

Obi Belt (optional)

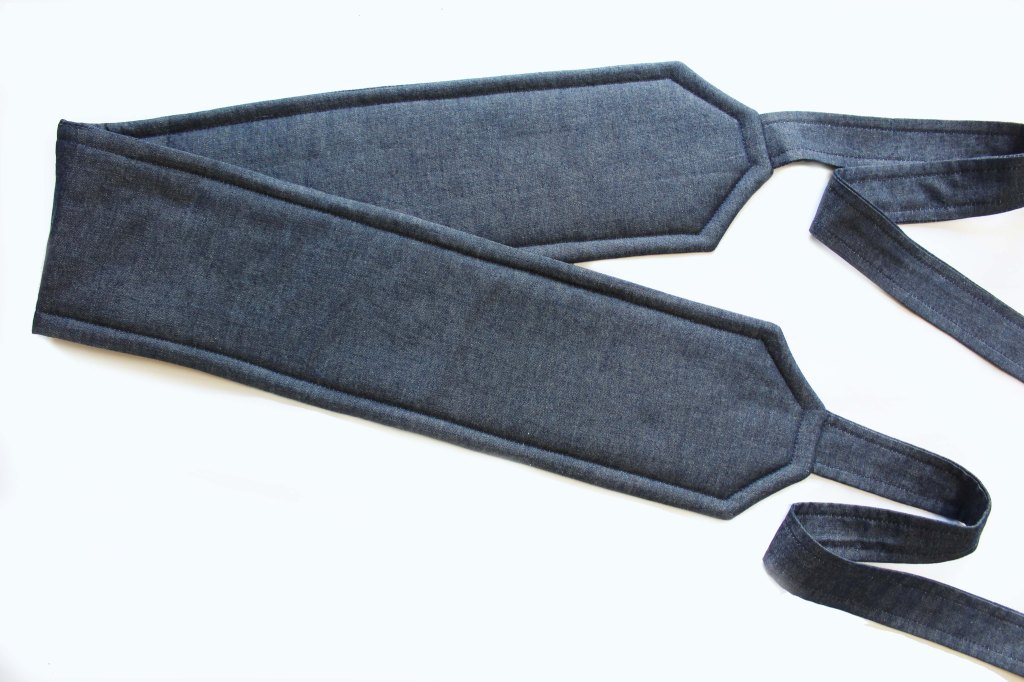
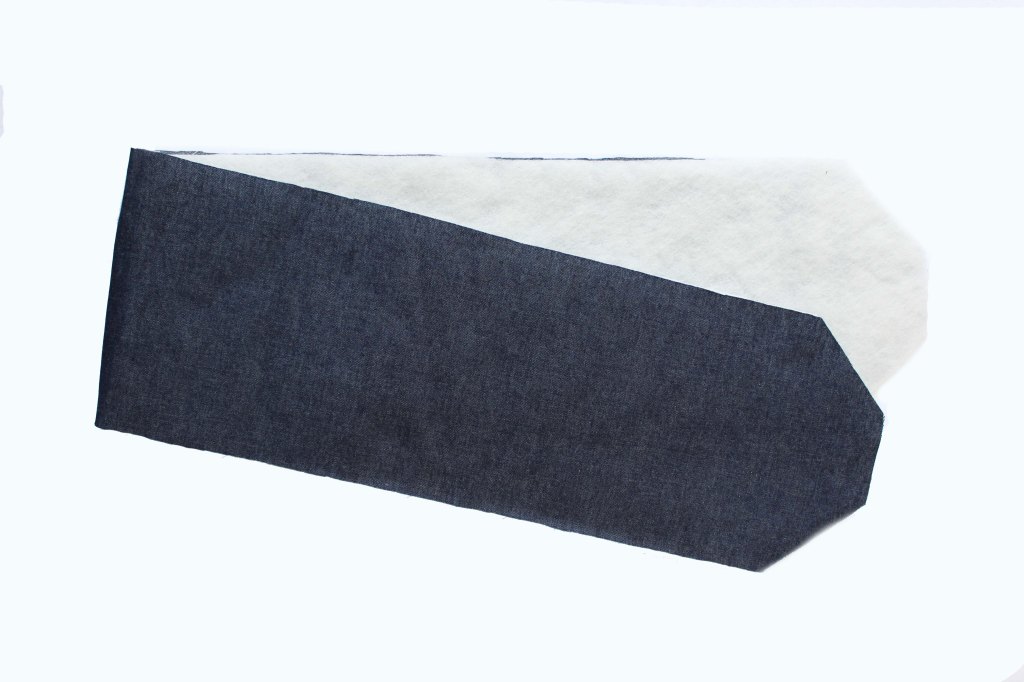
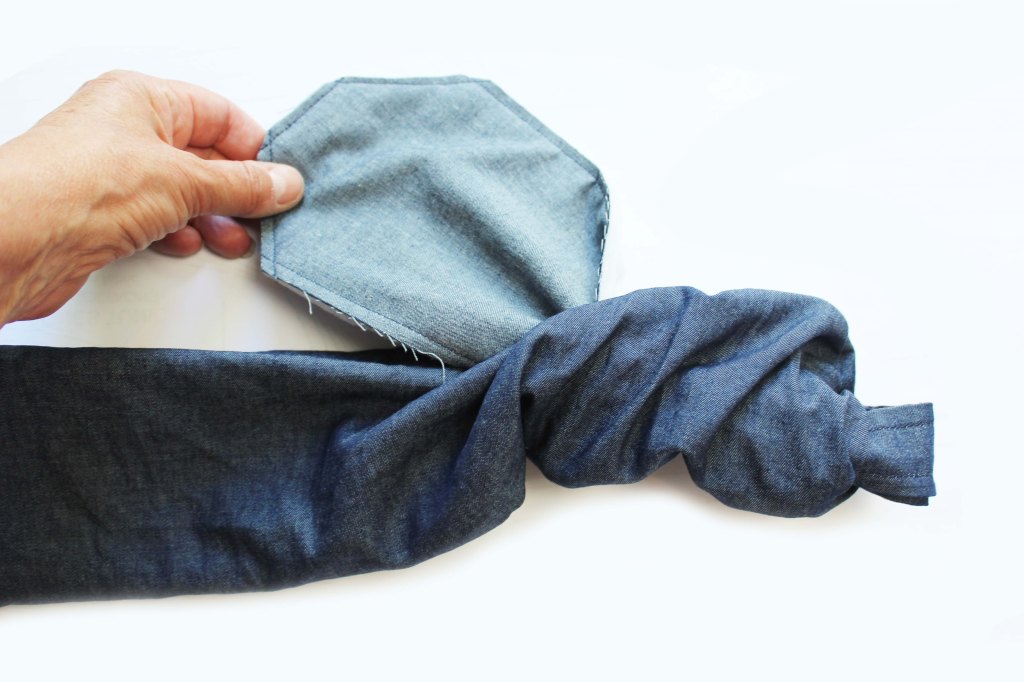
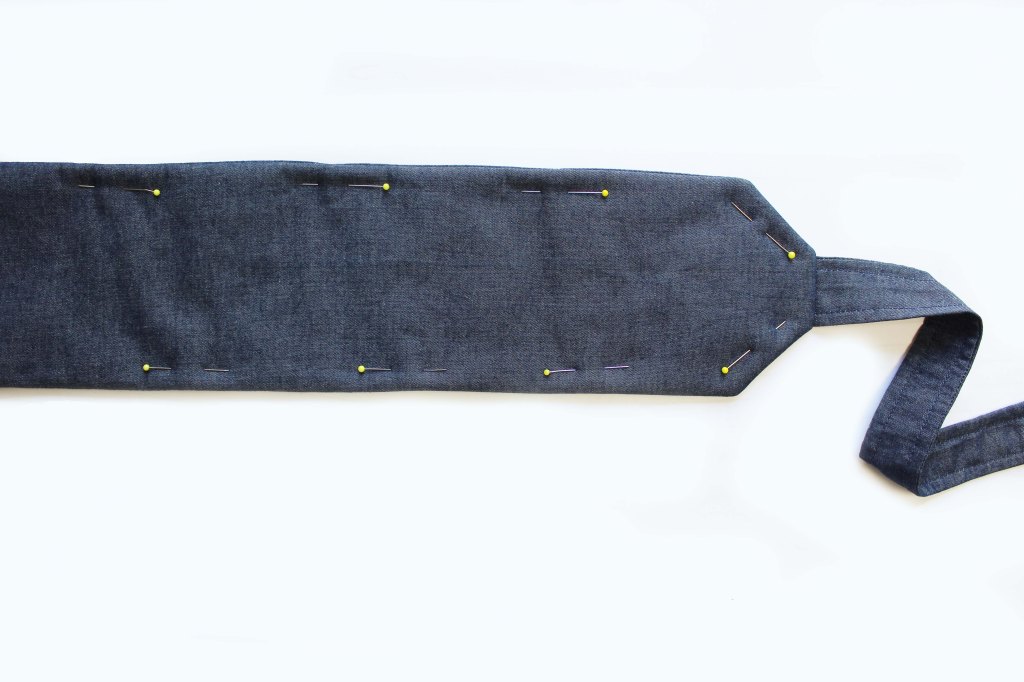
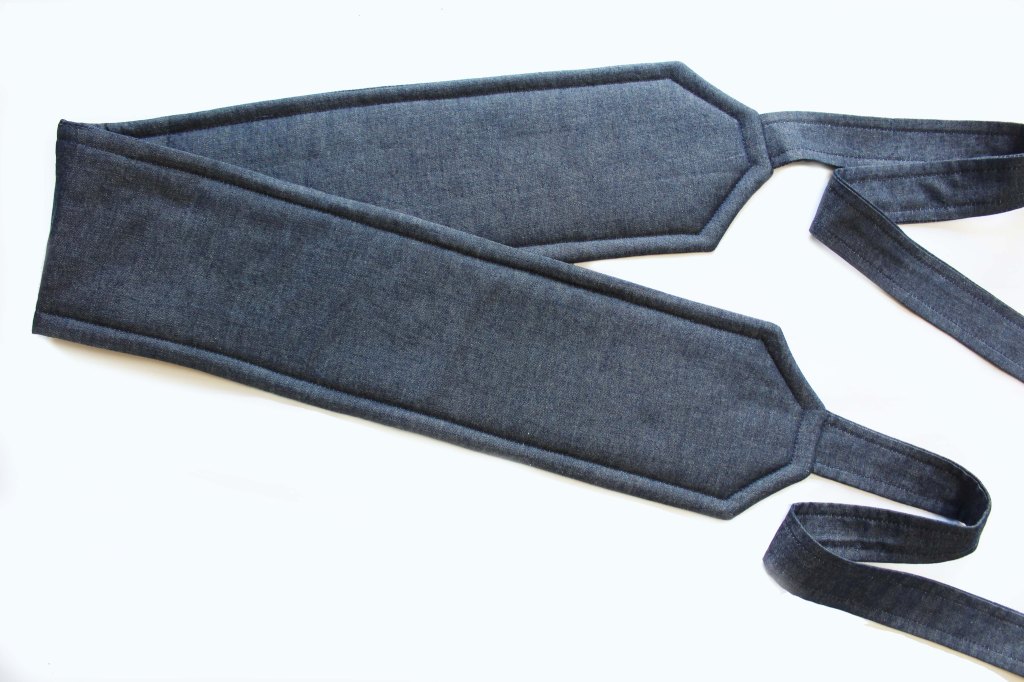
Of course you don’t have to make the dress with the belt, but I have to say that if you make one lined with some fusible fleece (Vilene H630 or H640), its like someones giving you a big hug all day long!

So this is how you make the Valerie Shift. NB. This is an abridged version of the pattern instructions.

POCKETS

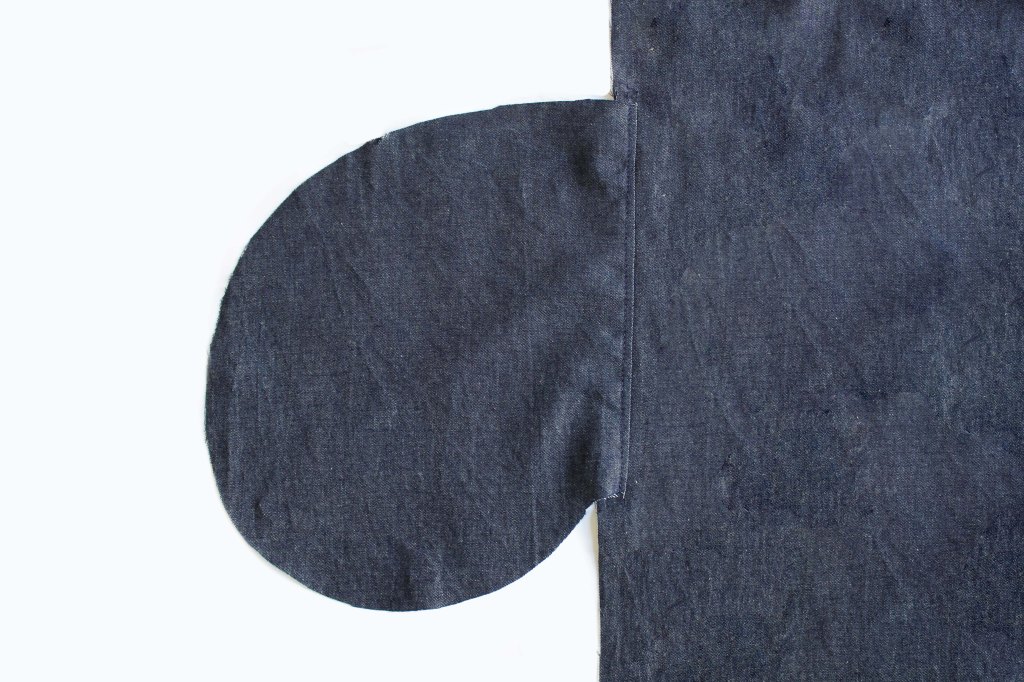
SIDE POCKETS VERSION (optional) For Patch Pocket version go to the next step.

First pin the pockets to the side edges of the front and back. Sew down the side edges.
Press the pockets outwards and topstitch.

PATCH POCKETS VERSION

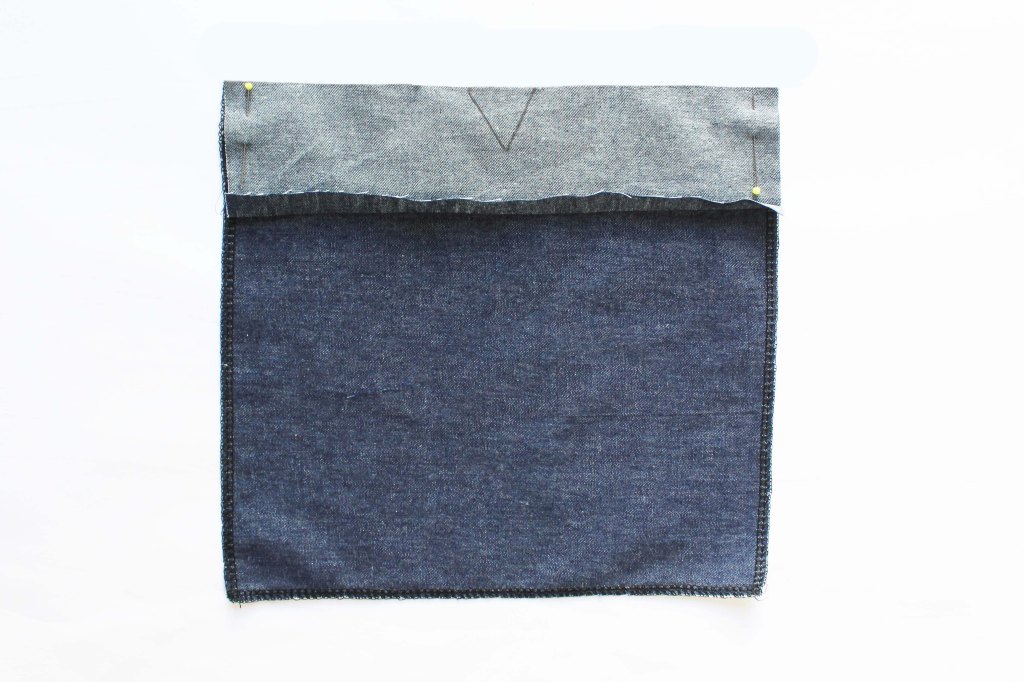
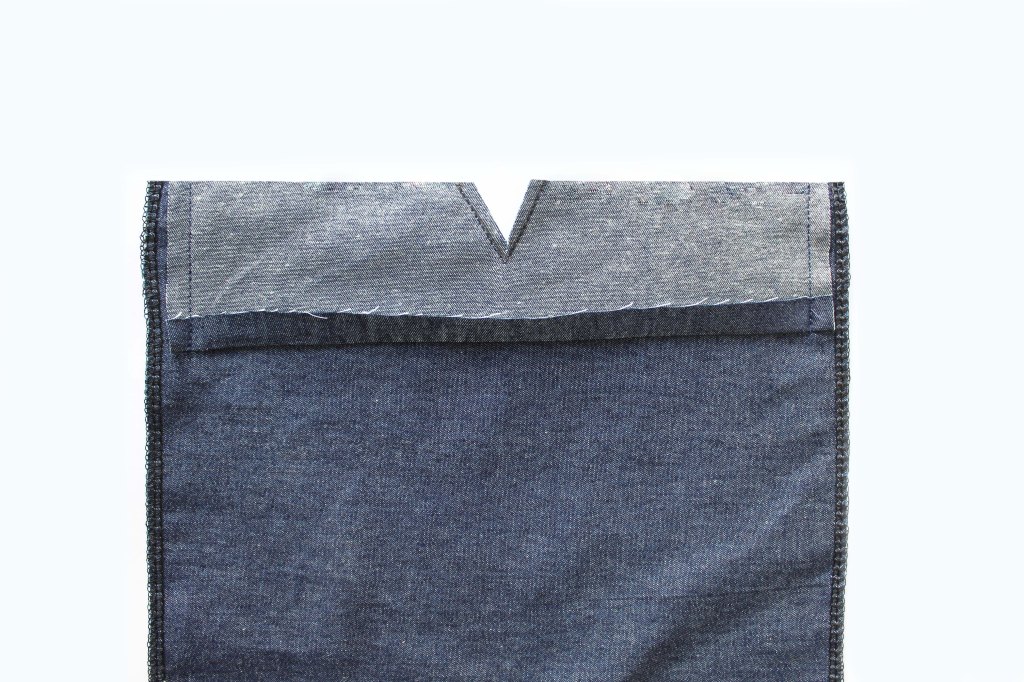
NECK FACINGS

Trim the V- detail.
Join the shoulder seams. Press to the Back.
Understitch.
Hem the lower edge of the dress Front and Back.

SLEEVES

Pin the Sleeve to the armhole. Sew. Press. Topstitch.

OBI BELT

All images and text are copyrighted by Fiona Hesford.

Please ask prior permission if you wish to use any of the content. Thank you.

TALLULAH TEA DRESS

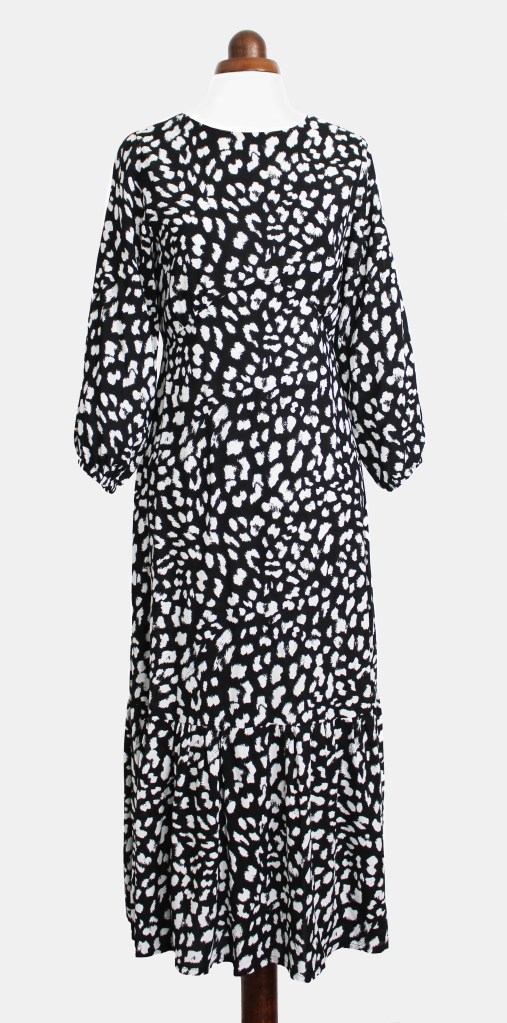
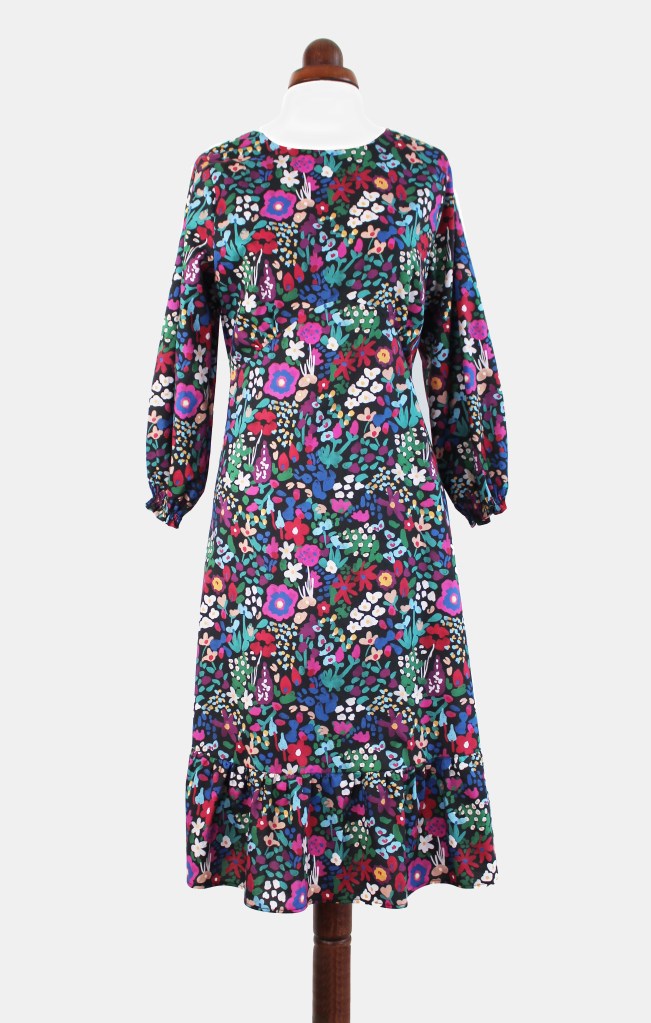
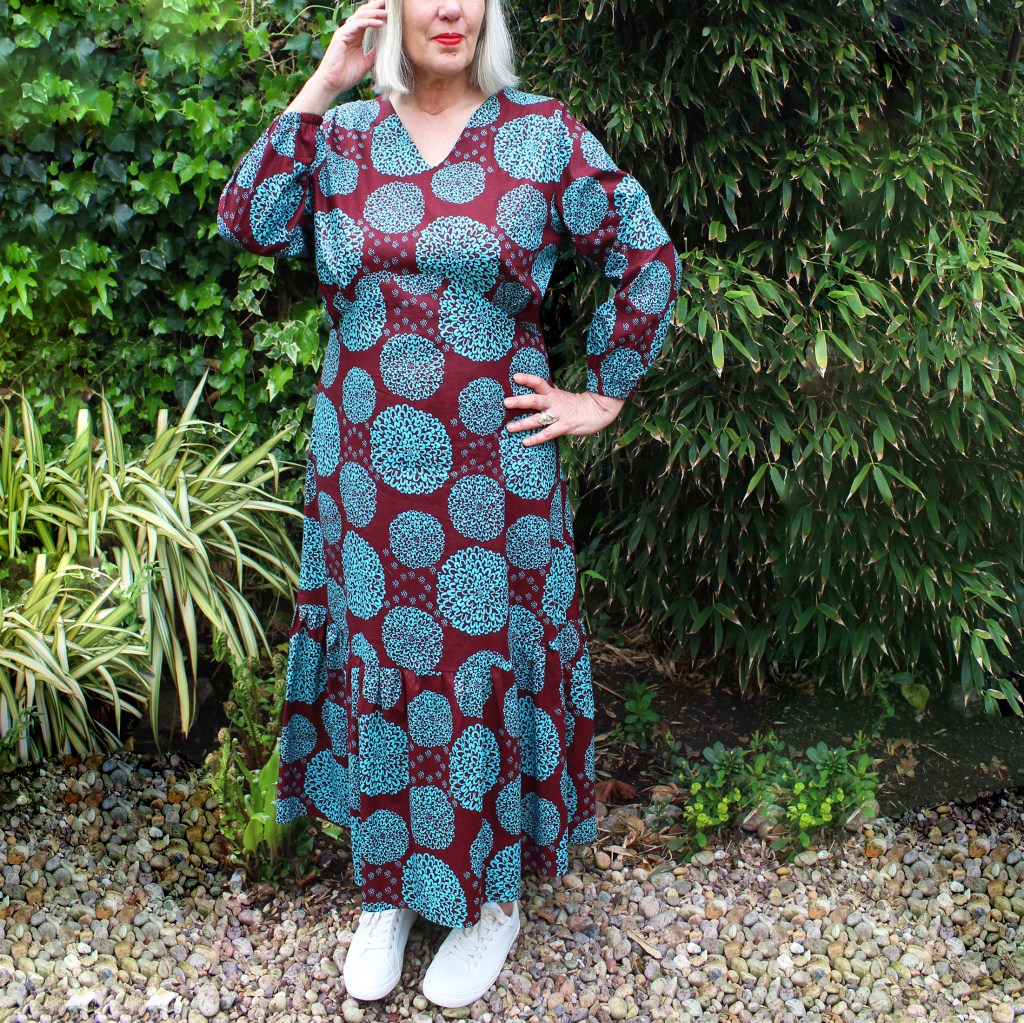
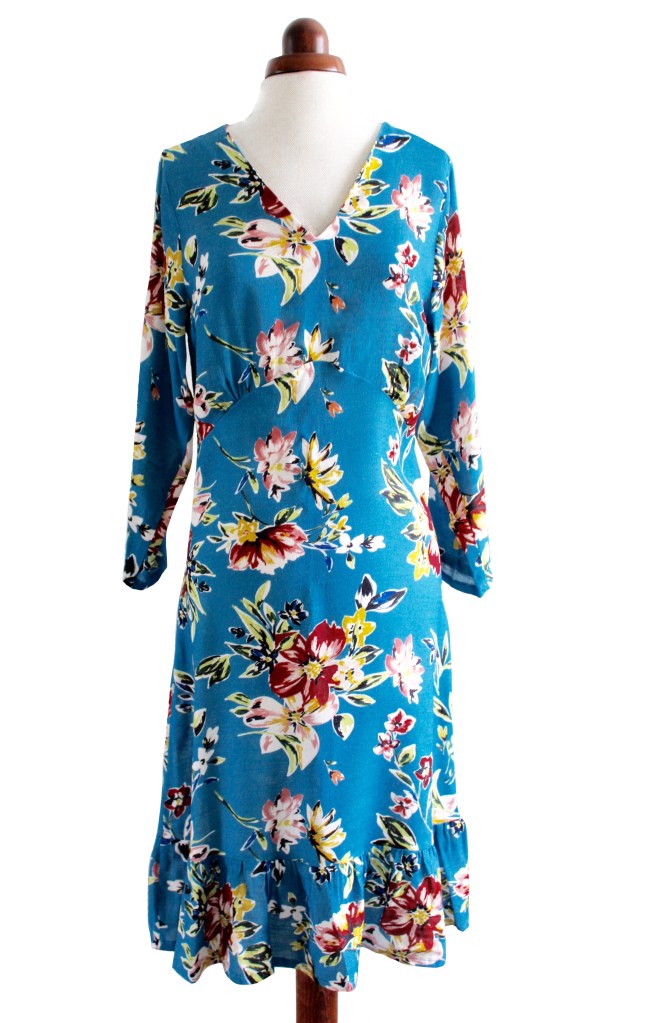
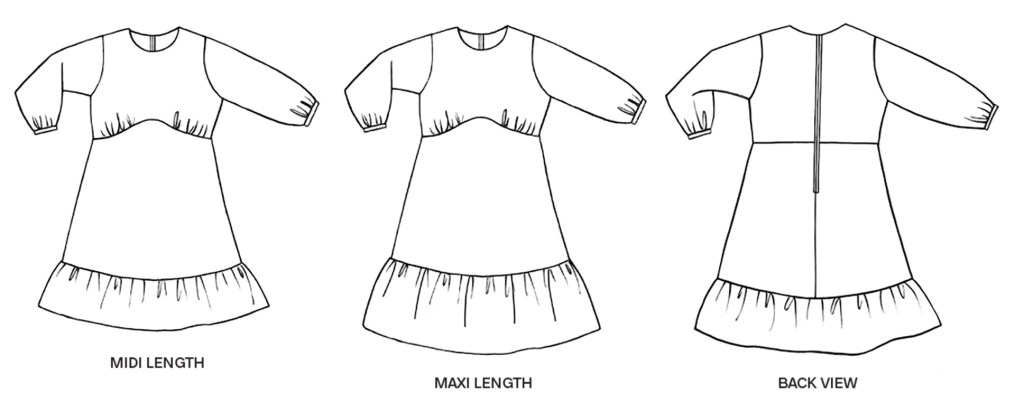
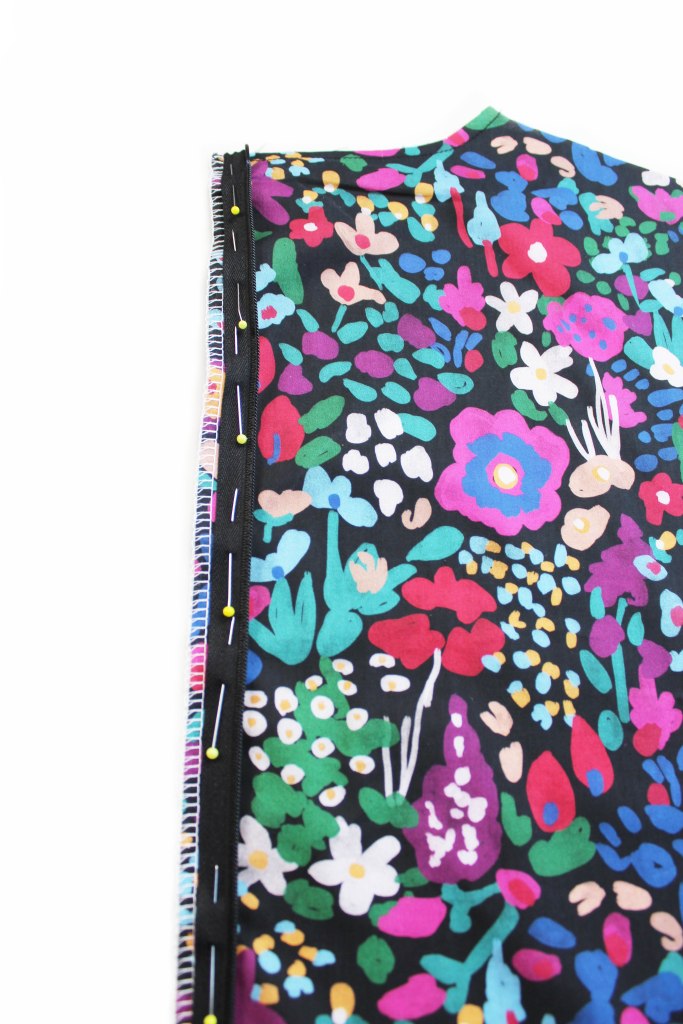
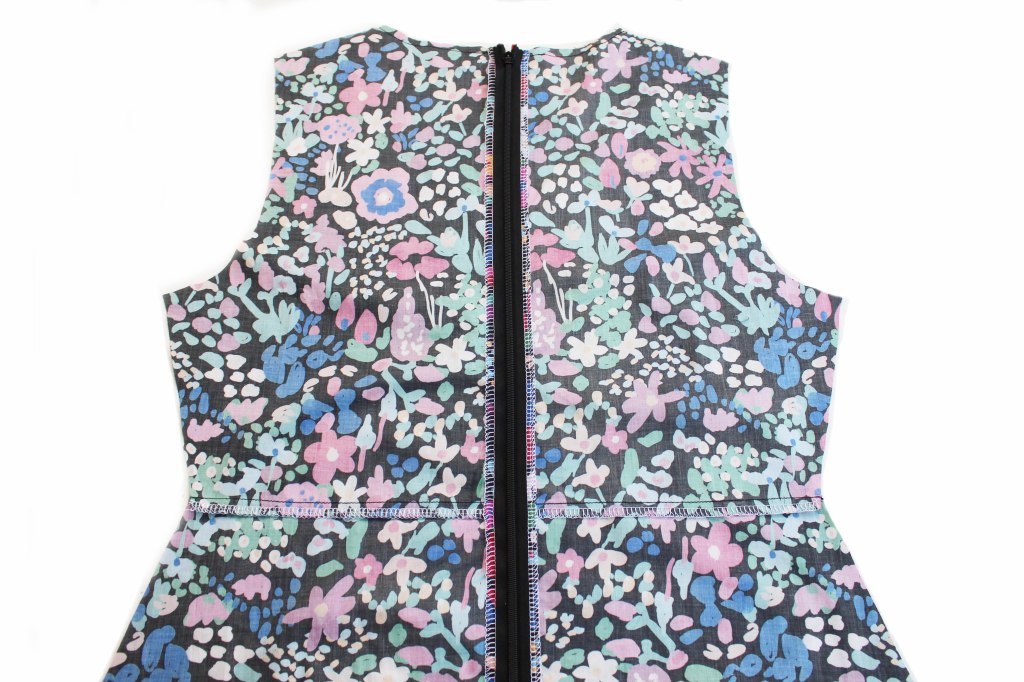
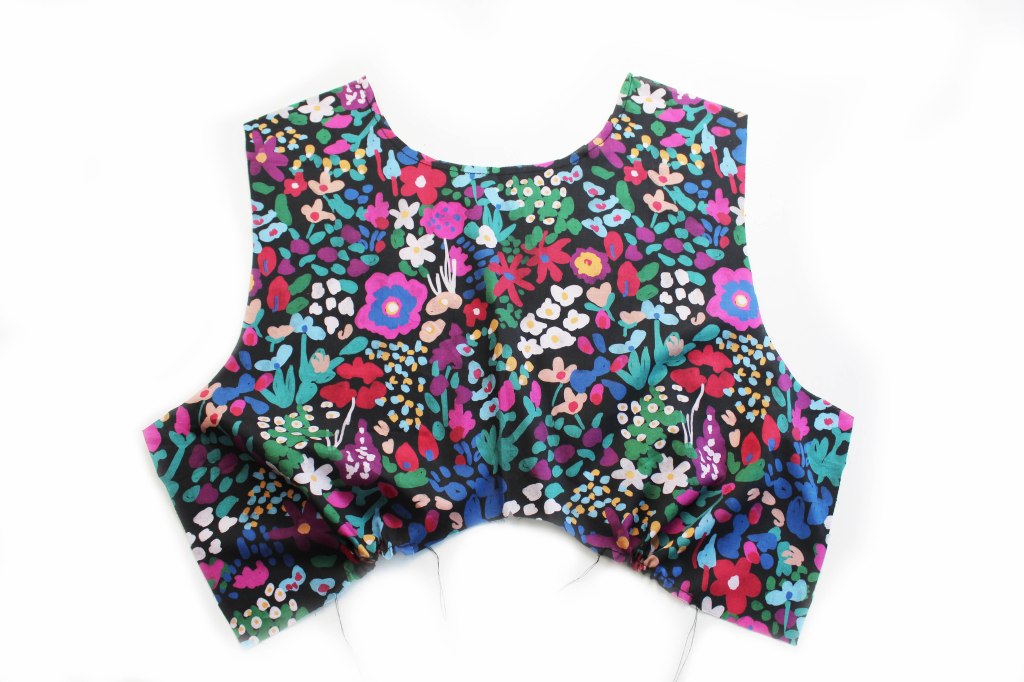
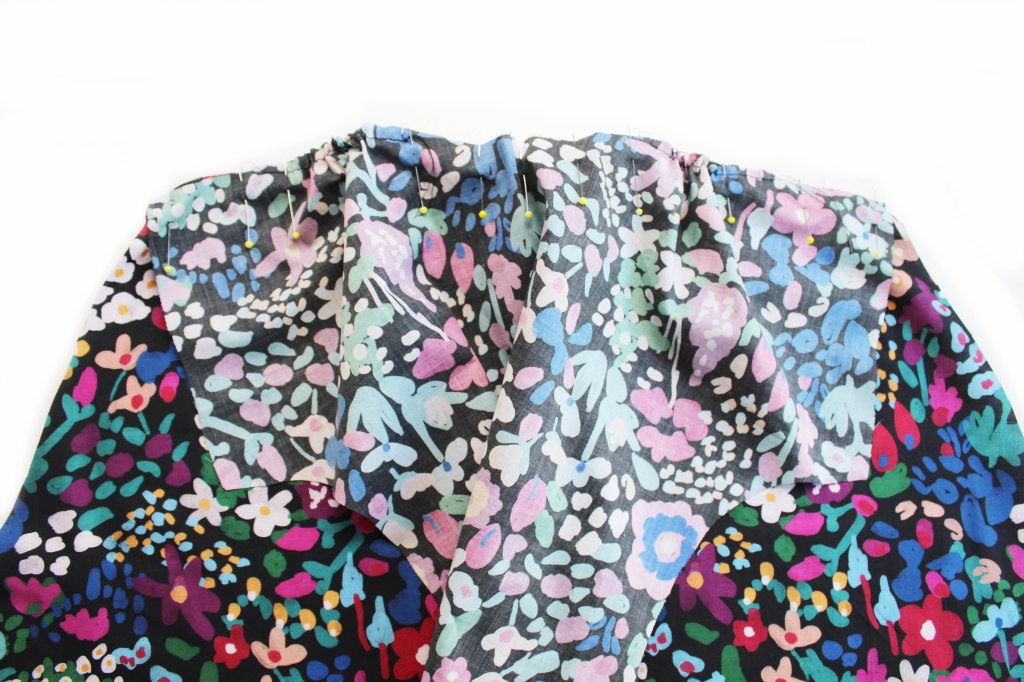
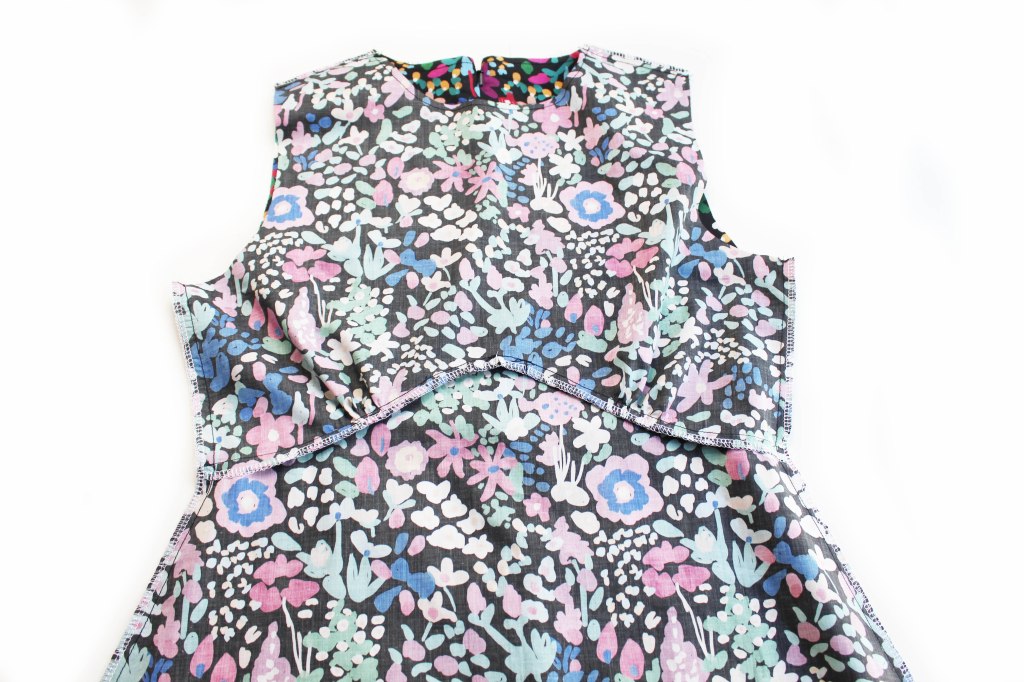
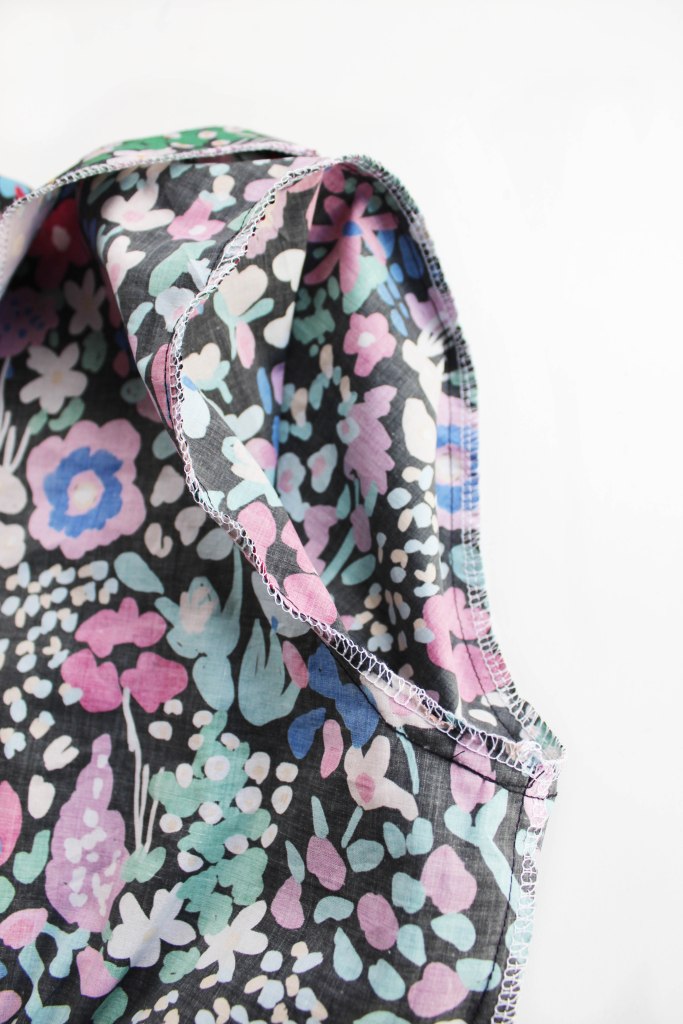
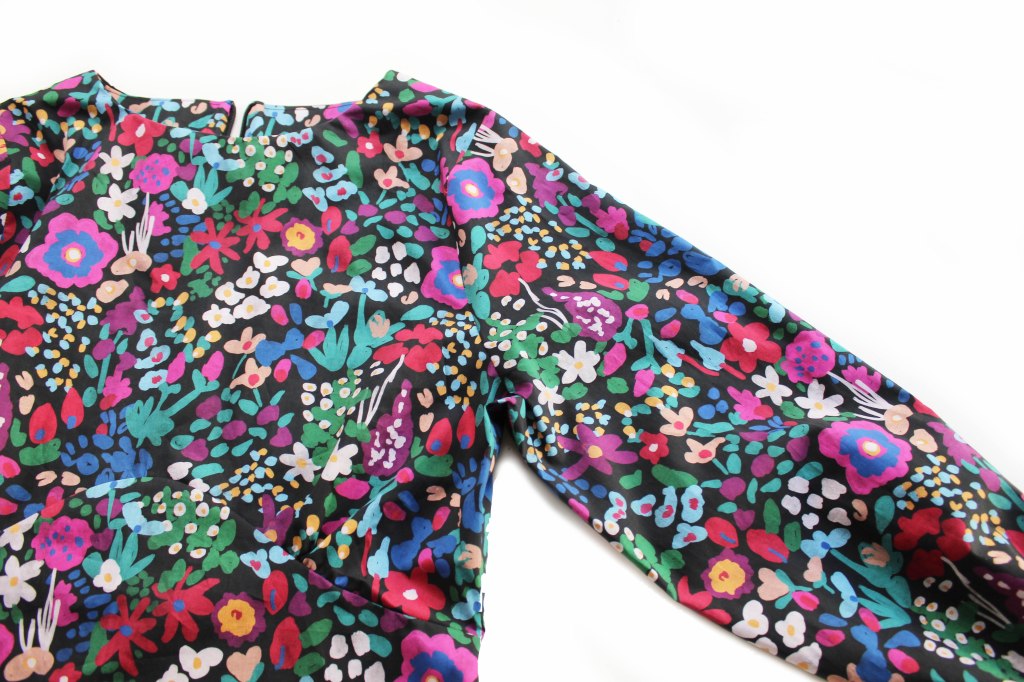
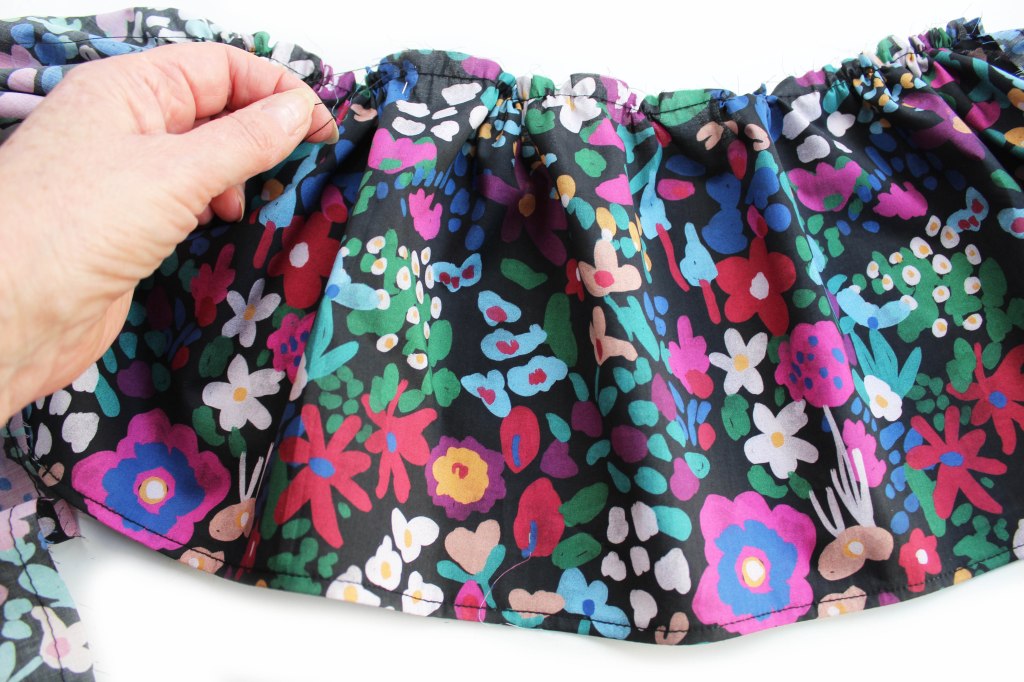
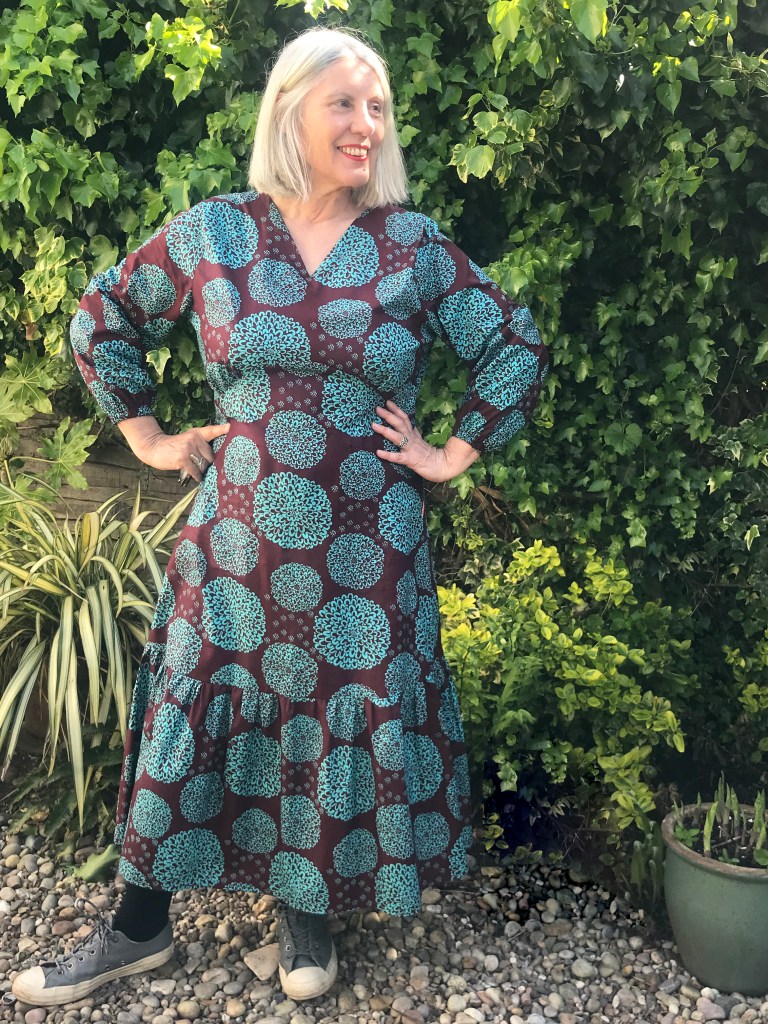
TALLULAH TEA DRESS with a round neck, gathered empire bust line, long sleeves with elasticated cuffs, centre back zip and frill in two lengths making it either midi or maxi lengths.

This slimline dress is not only elegant but a comfortable fit and very on trend, designed to be worn everyday or on special occasions.

Tallulah dress is simple to make with extra help on the blog when inserting the zip and also a FREE add-on template to make a V-neck option. Just go to menu and click on the TALLULAH HACK page below the Tallulah page. Enter the password which you will find written on the pattern inside back page. On the Tallulah hack page you will find the downloadable pattern which you can print off at home or copy shop on to four A4 pages. Stick these together to make the new Front and Front V-neck facing template. Simple and easy! On the Tallulah Hack page you will also find step by step instructions about how to make a V-neck version.

V-NECK HACK

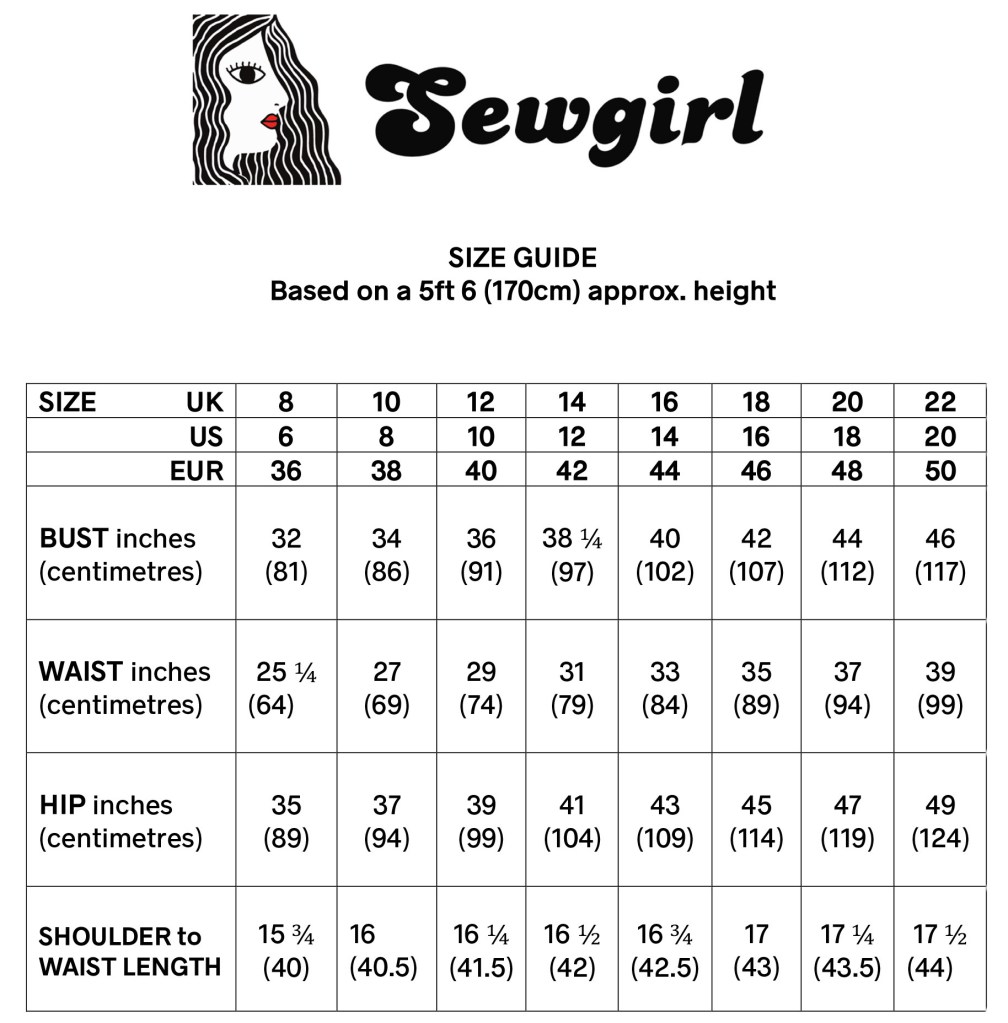
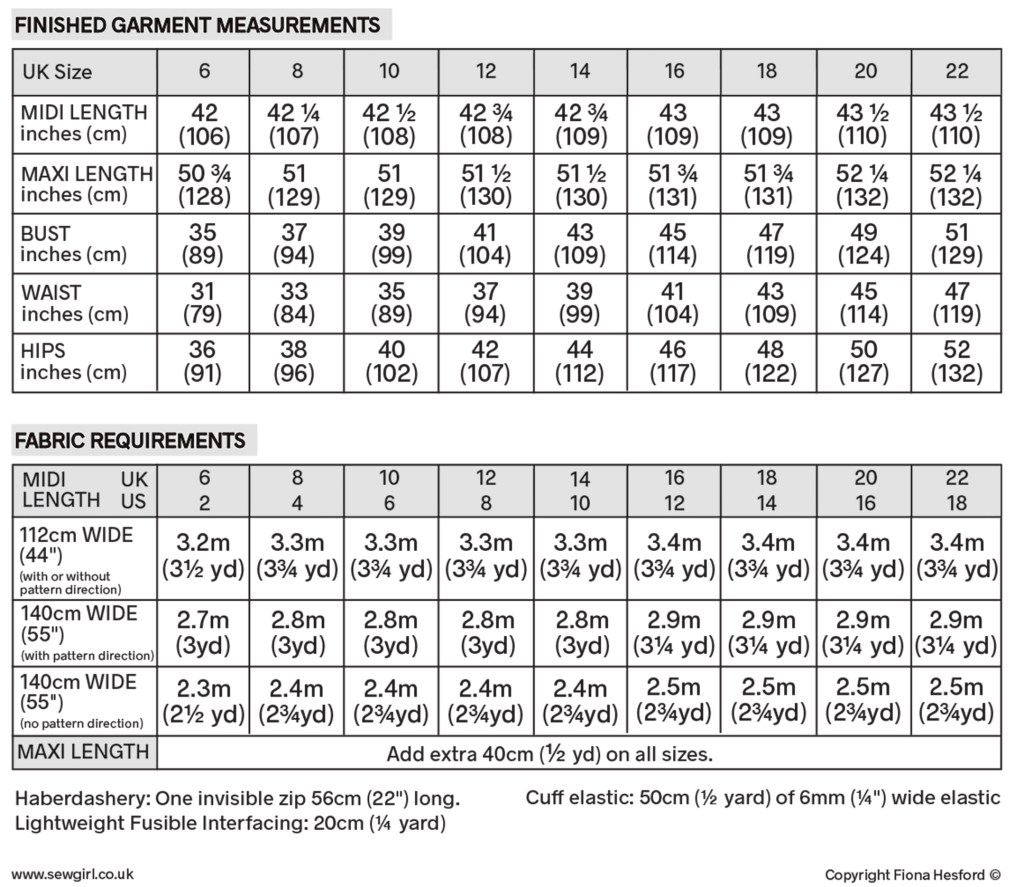
Here is information about sizing, finished garment details and fabric requirements.

This blogpost shows a condensed version of the instructions which go into more detail in the instruction booklet.

ADJUSTING THE PATTERN

I advise making a toile or sample garment of this dress in cheap fabric (or an old sheet) beforehand to check the fit . You may require some adjustments to the pattern.

The most common adjustment with an empire line pattern is at the bust line, so I have added some tips at the bottom of this page to help you get the right fit with your Tallulah pattern.

Scroll down to the end of this blogpost to see details.

HOW TO MAKE TALLULAH TEA DRESS

BUST ADJUSTMENT

Adjusting a bust in an empire line pattern is slightly different to a normal pattern with a dart. There are two issues to consider: Bodice length and Bust size.

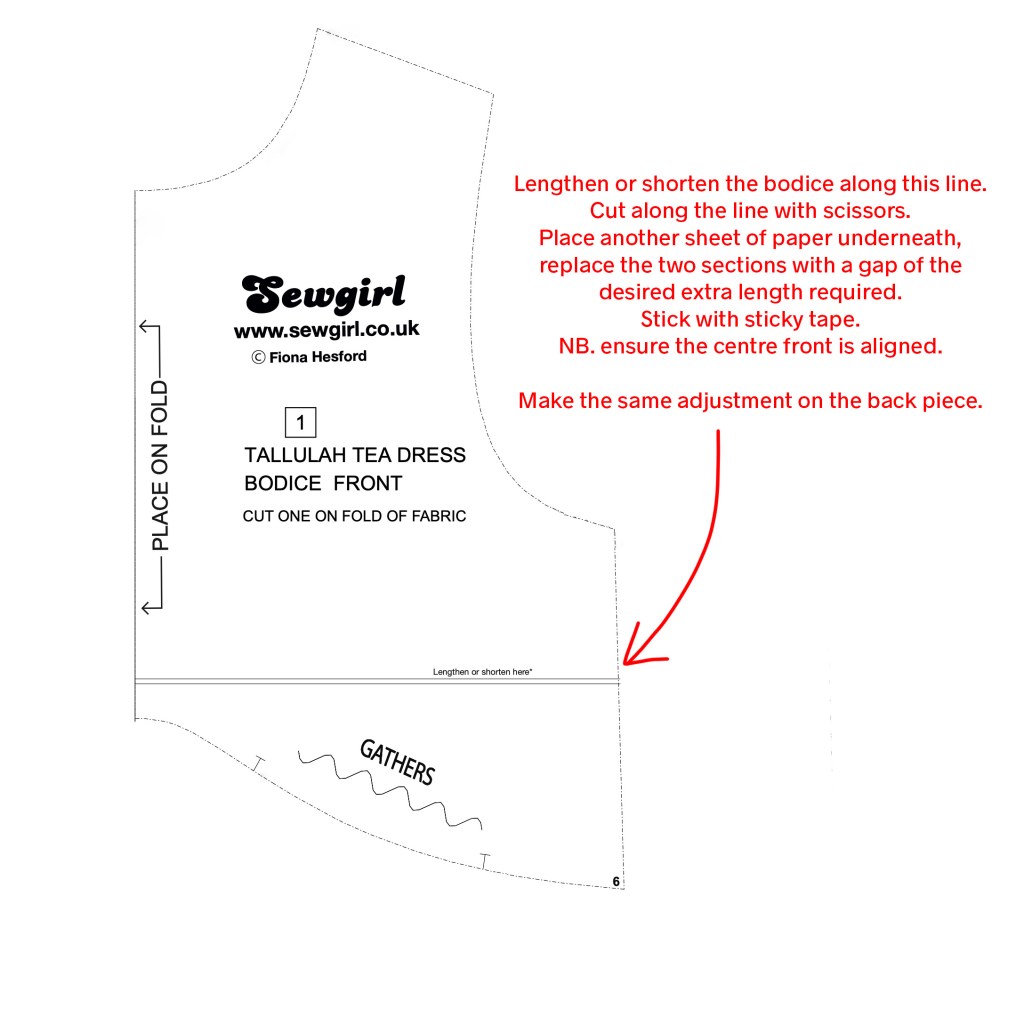
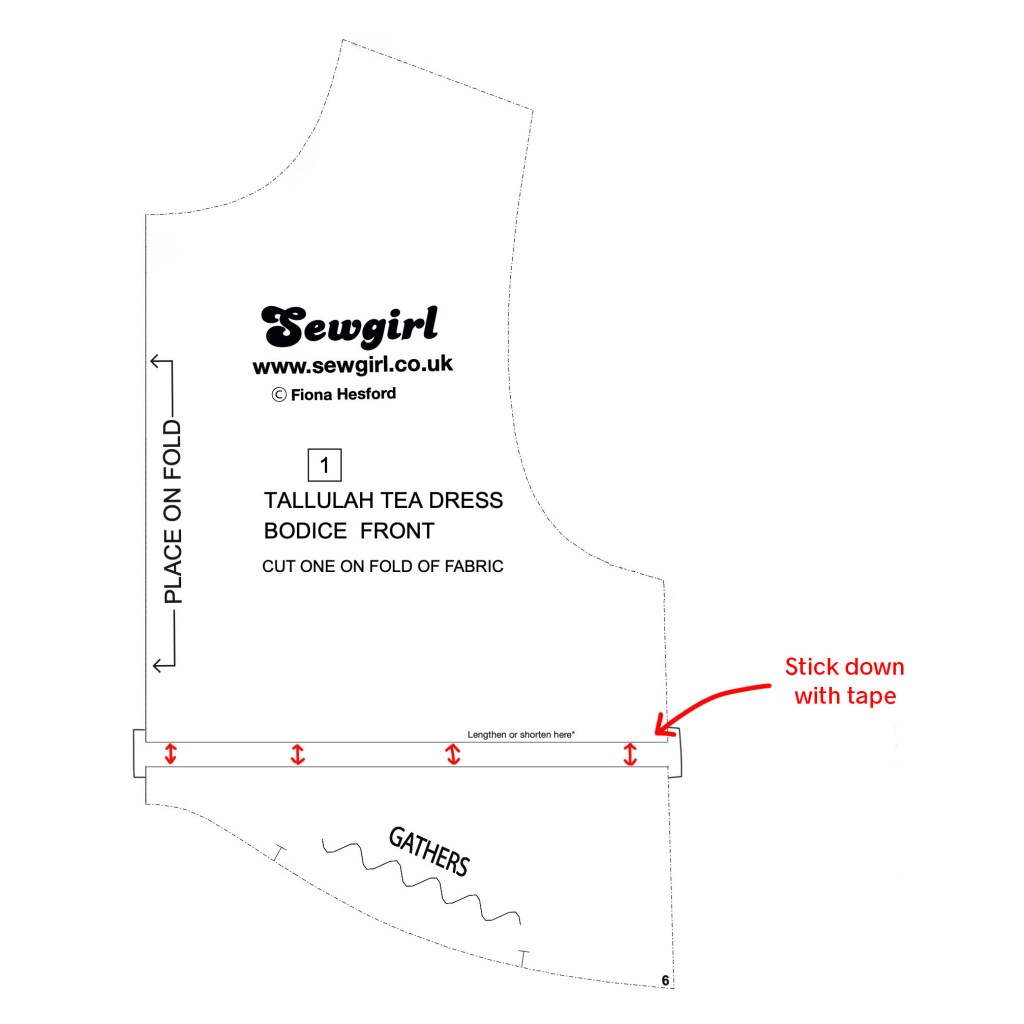
1. ADJUSTING THE BODICE FRONT LENGTH

So you have made a toile or sample garment and you are finding that the bustline is coming a bit high. It is a common fact that, as we age, our bustline is lower than when we were younger. Having said that, some people may have inherited a longer or shorter bodice than the norm (whatever that maybe!). So for whatever reason you may need to lower (or raise) the bodice bustline. This is how we do it…..

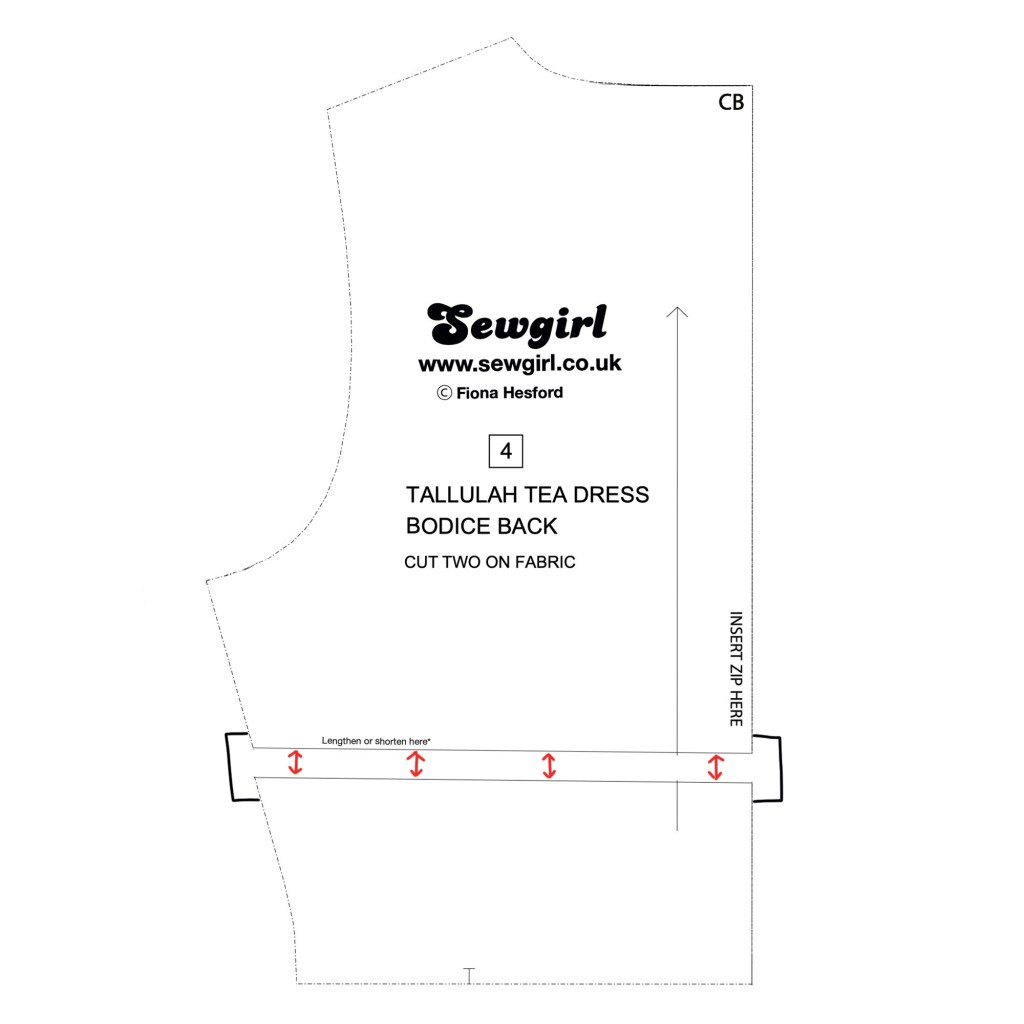
1. ADJUSTING THE BODICE BACK LENGTH

Adjust the Bodice Back in the same way as the Front. Trim along the horizontal lengthen lines. Separate the two pieces to the same measurement as the Bodice Front. Place paper underneath. Stick in position.

You may need to adjust at the outer side edge to align the two pieces. NB ensure that the centre back edges and grainlines are aligned.

OVERALL LENGTH ADJUSTMENT

One last thing worth pointing out when lengthening/shortening the bodice is that the overall dress length will also be shorter/longer. To compensate you may choose to shorten the Skirt Front and Back accordingly, using the lengthen lines on the pattern template. To do this, use the same method as with the Bodice Front and Back.

2. ADJUSTING THE BUST SIZE

Bodice front needs more room to accommodate a larger cup size? or maybe you want to make the bust smaller?

Fear not ….its so easy to adjust.

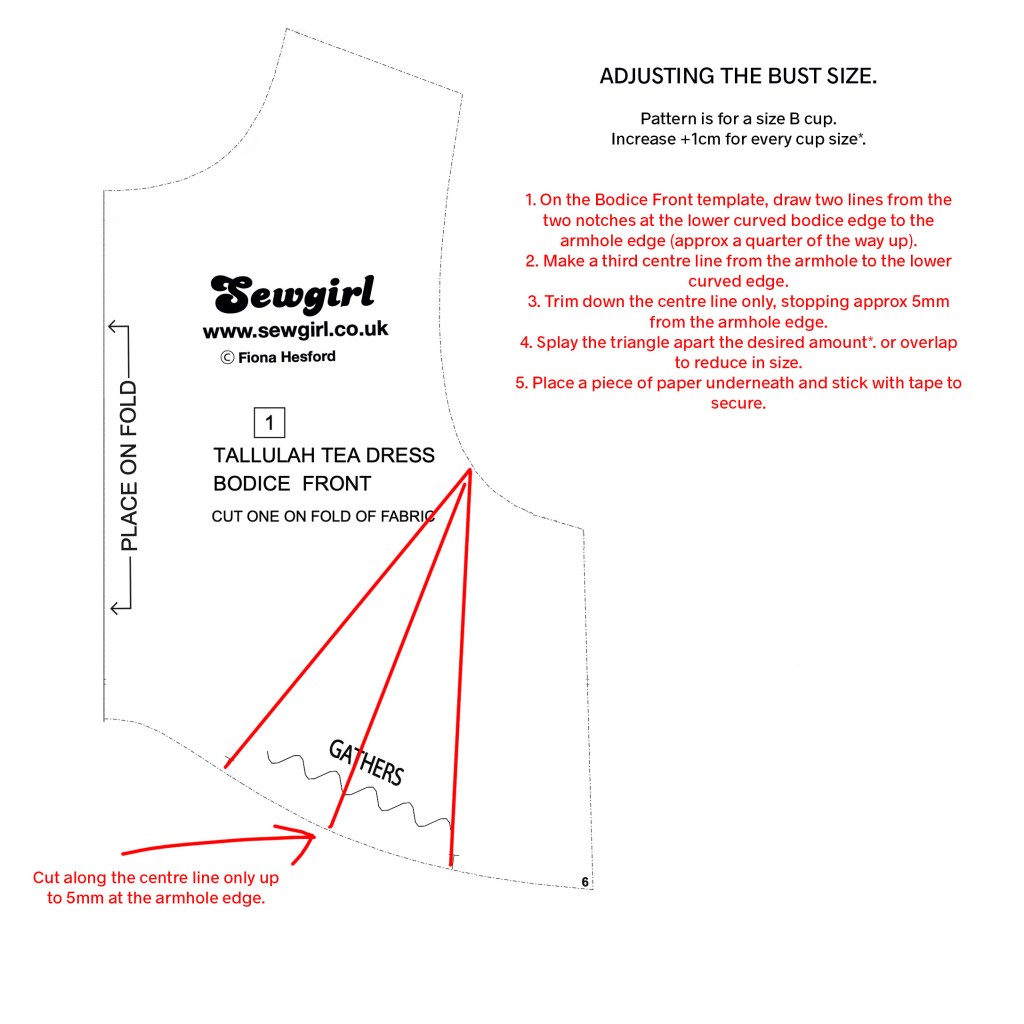
Draw two lines from the notches at the lower curved edge, to the armhole edge, approx a quarter of the way up.

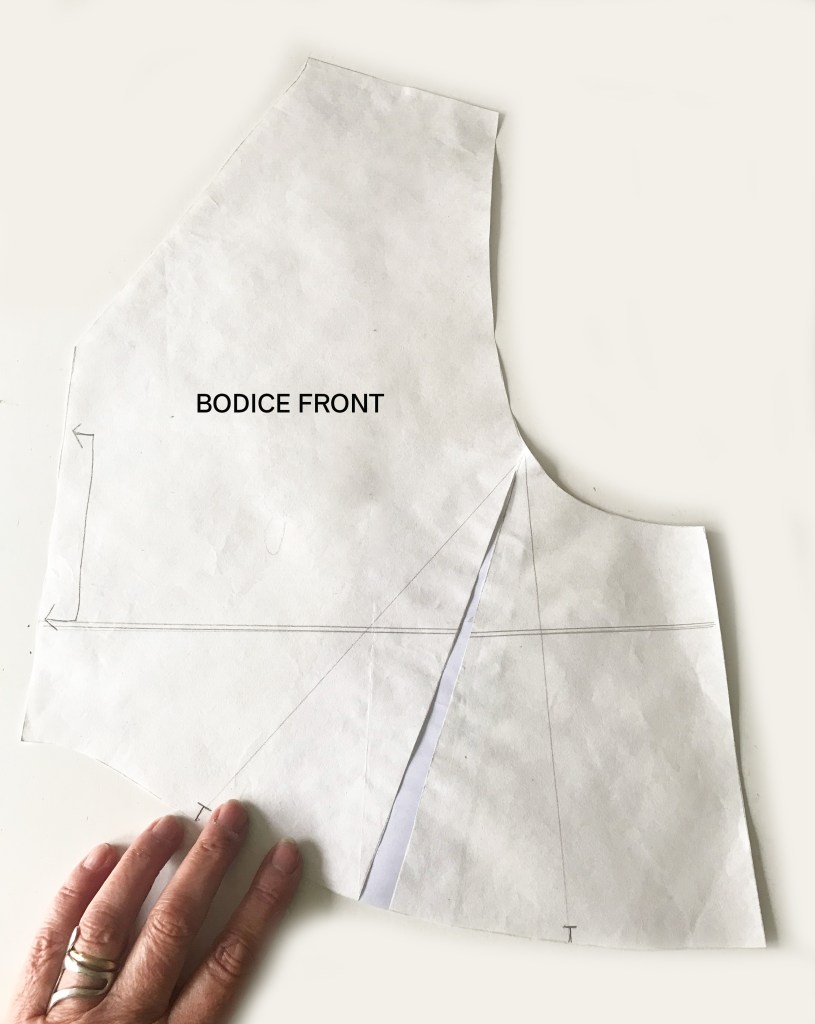
Then draw a line centrally between the two lines just drawn. Cut along this centre line, but stop just before (5mm) from the armhole edge. This allows you to splay open or together. Obviously splaying apart the two lines makes the bust bigger and overlapping makes it smaller.

The pattern is designed for a bust cup size B, so if you need to enlarge to a size C then add 1cm between the two lines. Then each size requires a further 1cm. To reduce the bust to A cup- reduce by -1cm.

A= -1cm

B= 0cm

C= +1cm

D= +2cm

DD= +3cm…..

When you have made the correct adjustment, place a piece of paper behind the pattern and tape it down.

Continue as normal with the pattern. You will have a little extra fabric between the notches to gather up for an enlarged bust and a little less to gather up for a decreased bust size. Whichever way, the notches still match up with the Skirt Front and the armhole measurement remains the same. Happy days.

All images are subject to copyright. Please ask prior permission to use them. Thank you.