BIBI QUILTED JACKET

(Password is all in capital letters)
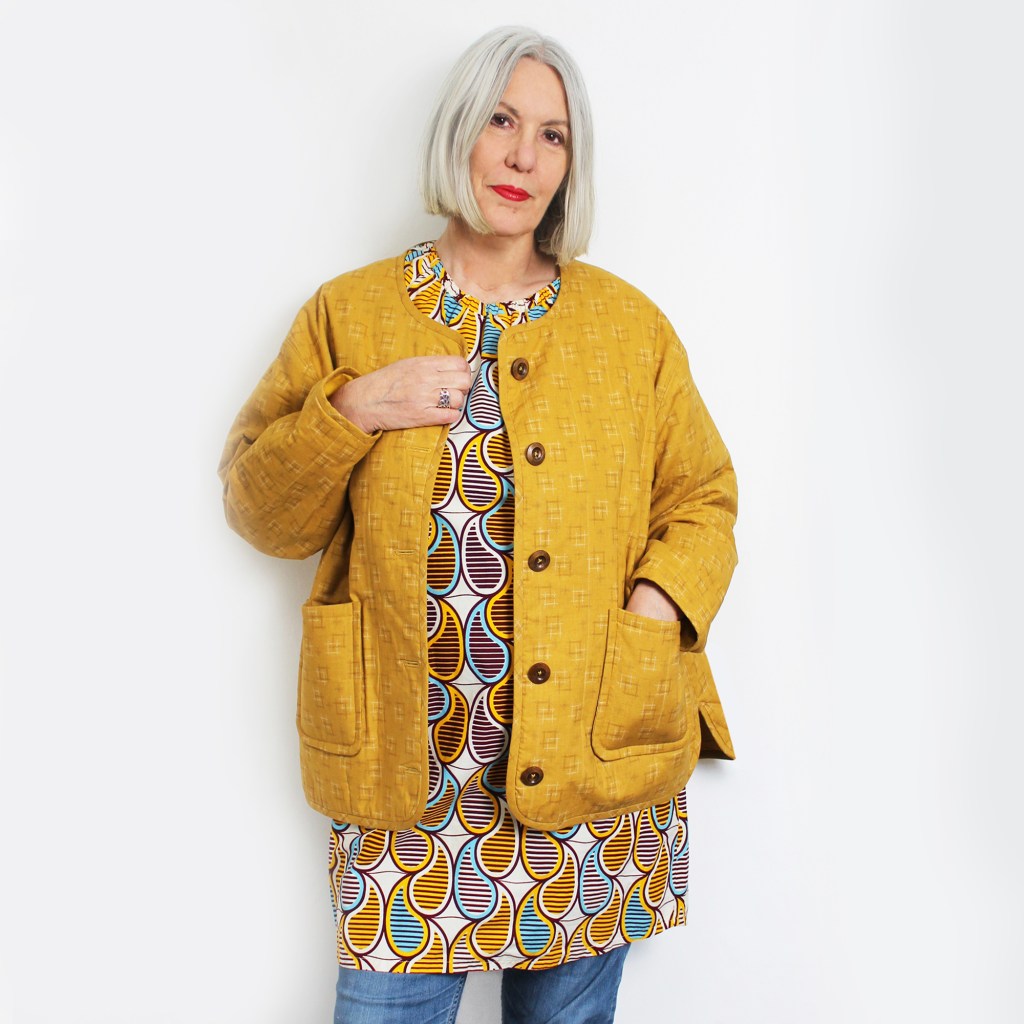
Bibi Quilted Jacket is a timeless garment that you will want to make again and again in lots of different fabrics. It is edged with binding with curved side edges, two easy quilted pockets with button up or snap fastenings.
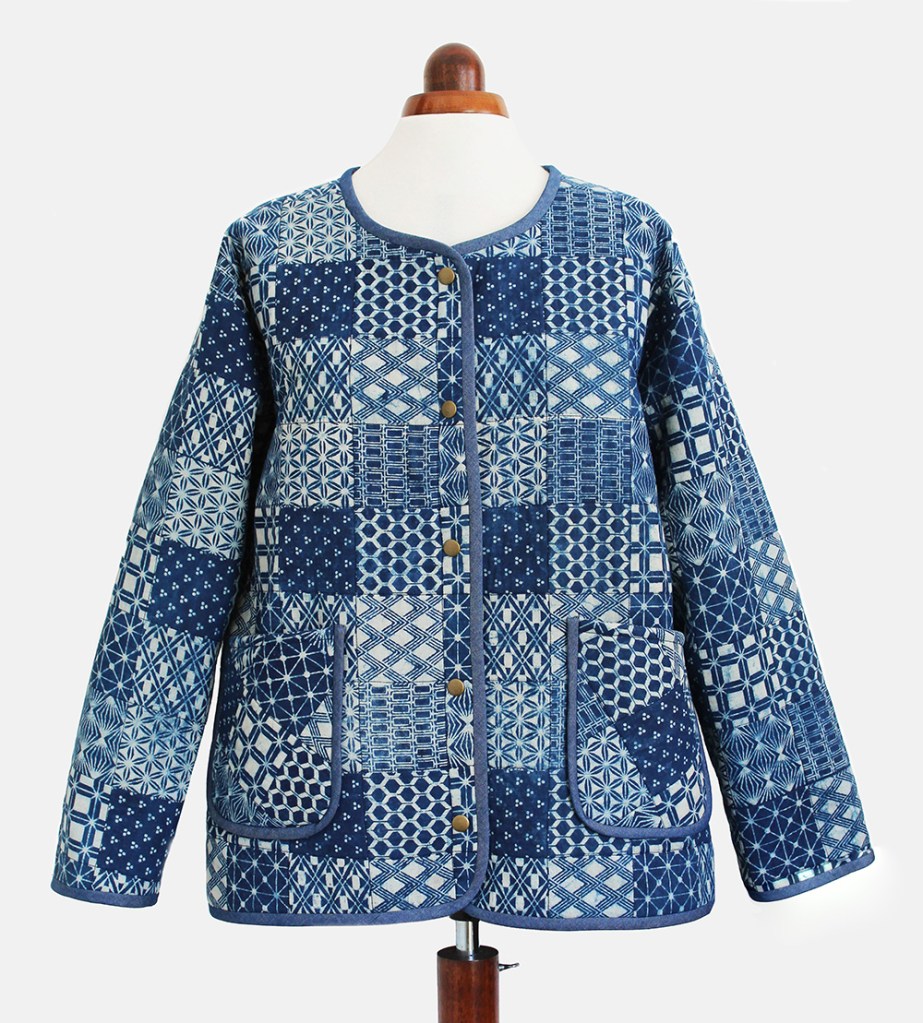
Make in patched fabric, single fabric or pre-quilted- the choice is yours. Its great for making a Kantha style jacket unique to you!

Patchwork jacket

The blue jacket above has been made in lightweight pre-printed, indian block printed, patchwork fabric with heavy duty snap fasteners in bronze. It has been quilted using a lightweight wadding such as Vilene H630 or 2oz polyester wadding (see wadding guide below). Alternatively why not make your own patchwork jacket using different pieces of lightweight cotton fabric to achieve a similar effect.

With Applique

This jacket has been made with a striking applique design by Sewgirl. You can access this design on the shop as a pdf download.
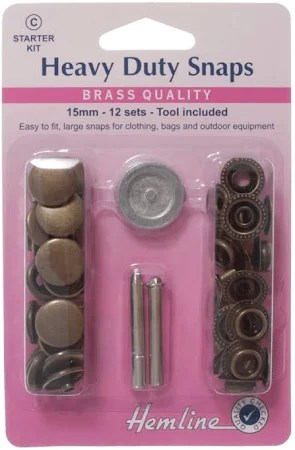
These are the perfect snap fasteners to use for Bibi jacket. Really heavy duty and easy to apply with the tools supplied and you have enough for two jackets!. Click on the image above for a link to buy them from Oh Sew Crafty.

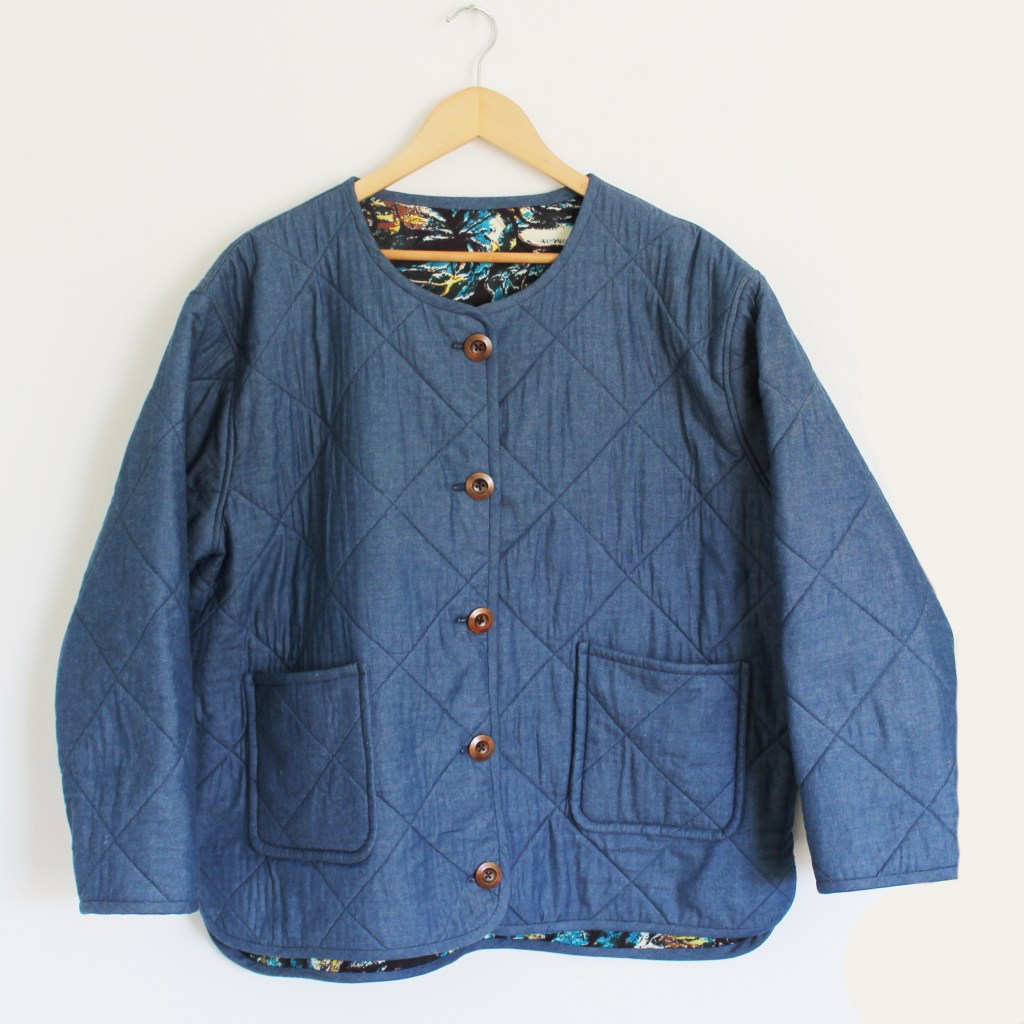
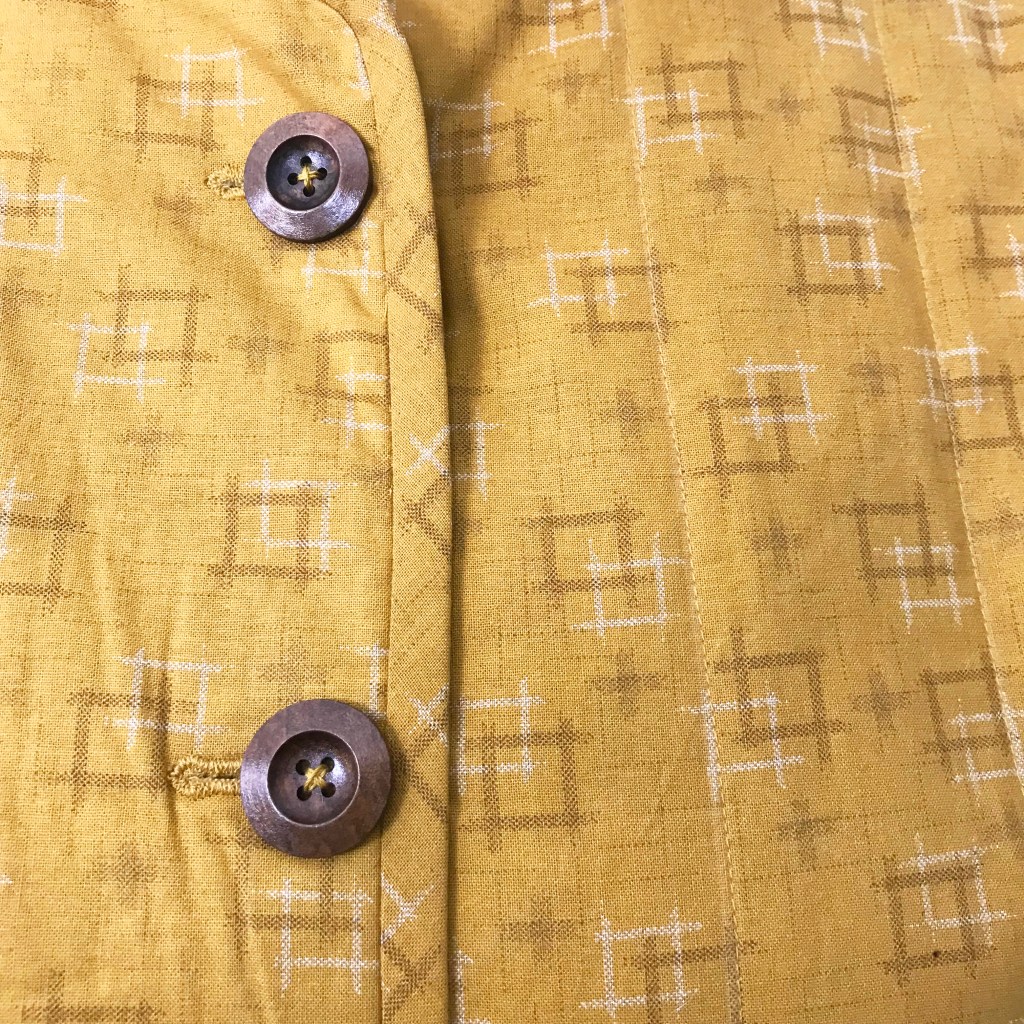
I’ve made this jacket in a lightweight denim with an African fabric lining (as shown above) and another in a mustard cotton in an Ikat design for the outer fabric with a plain cotton lining (left pic). Bibi is a very comfortable relaxed garment suitable for all seasons. It’s a simple make and oh so snuggly to wear.

Here are some measurements and info you will need to know from the back of the pattern.

Making the Bibi Jacket involves some simple quilting. You can choose from sewing tramlines or criss-cross quilt lines its up to you, both are marked out on the pattern. Of course, you could make your own style of quilting lines- or even go freestyle, or why not make a jacket from a piece of patched fabric? Maybe you were going to make a quilt but never quite made it that far. Why not use it for something to wear?
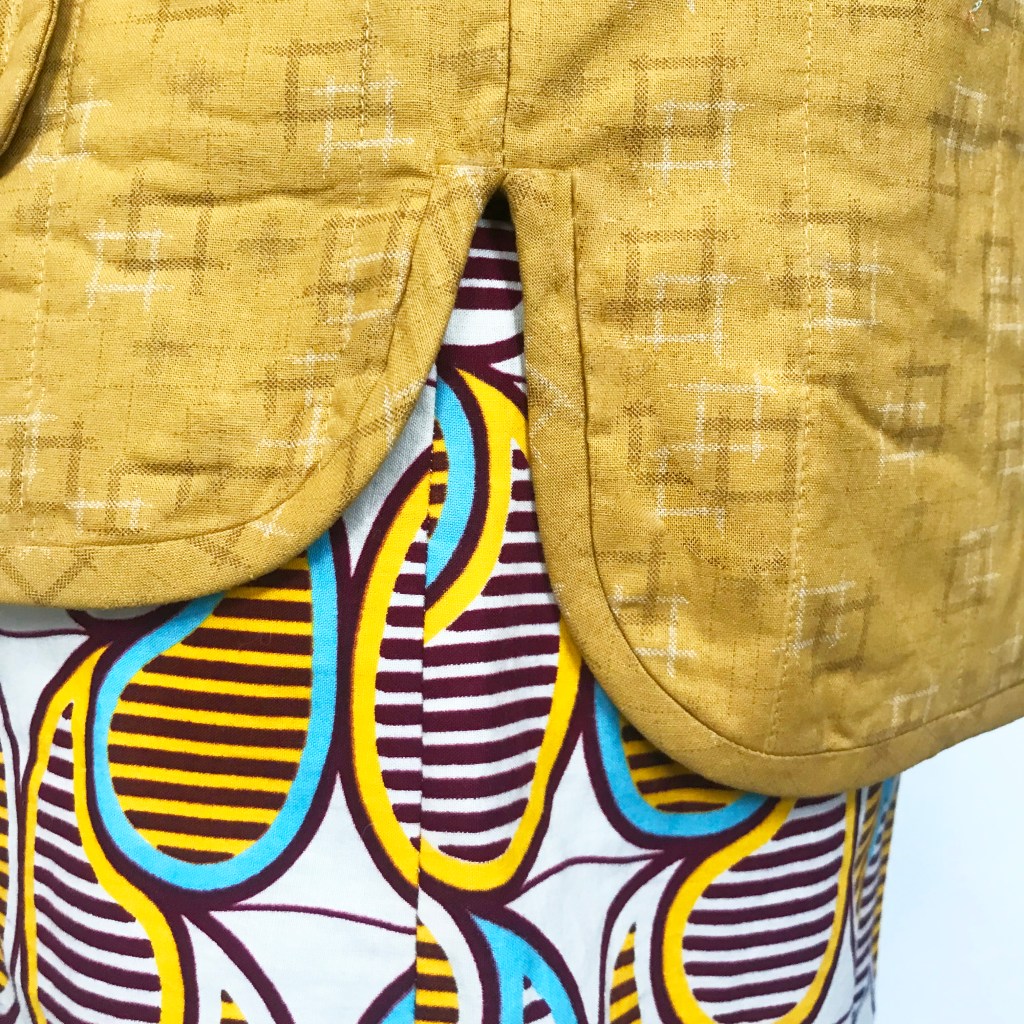
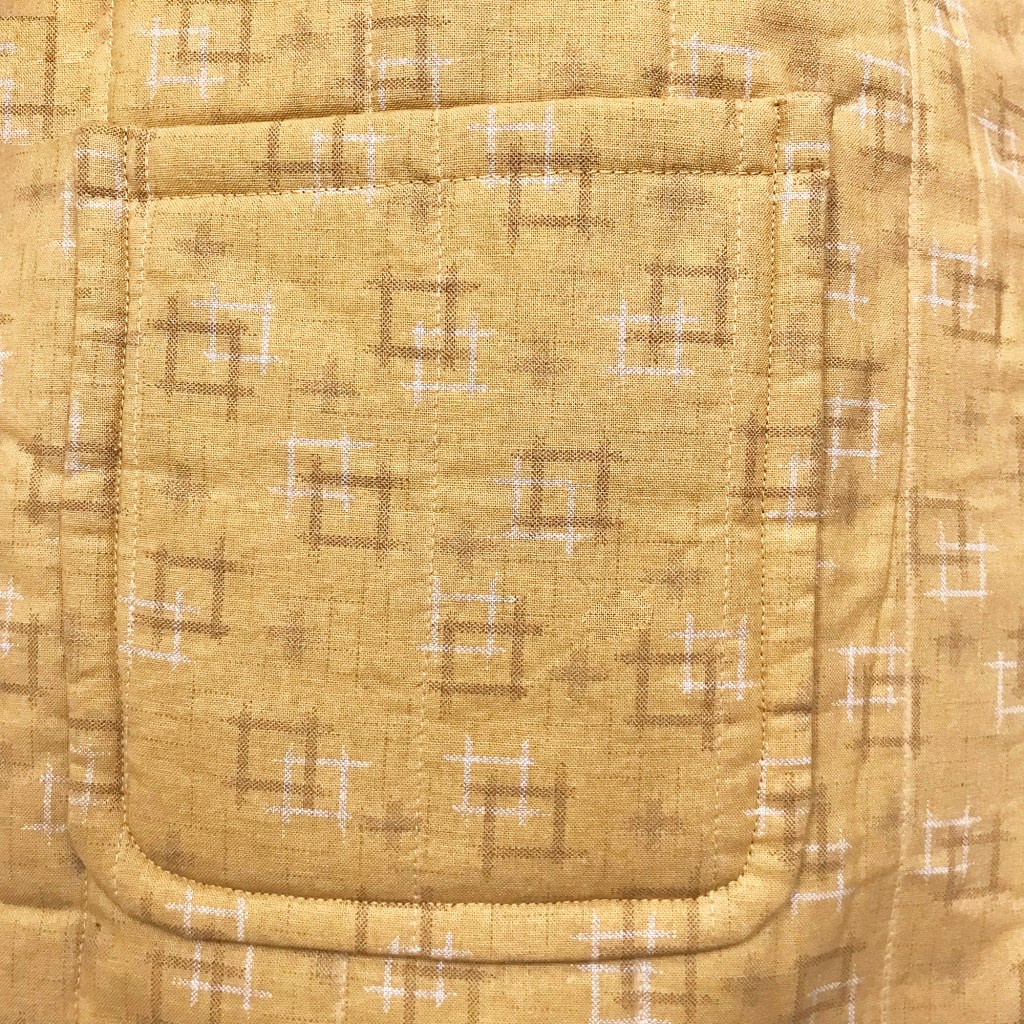
curved side hem detail
quilted pockets give protection
Five nice chunky buttons or use snap fasteners if preferred.
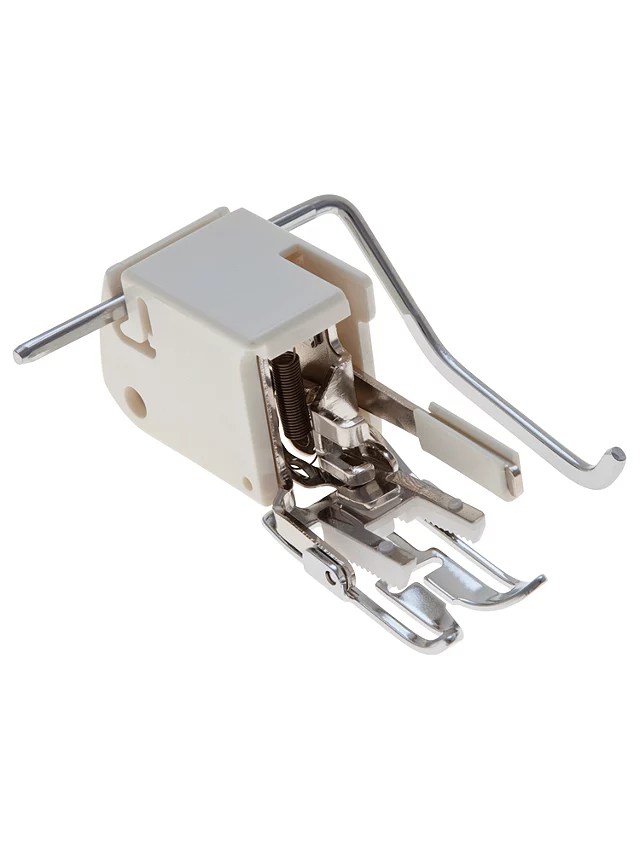
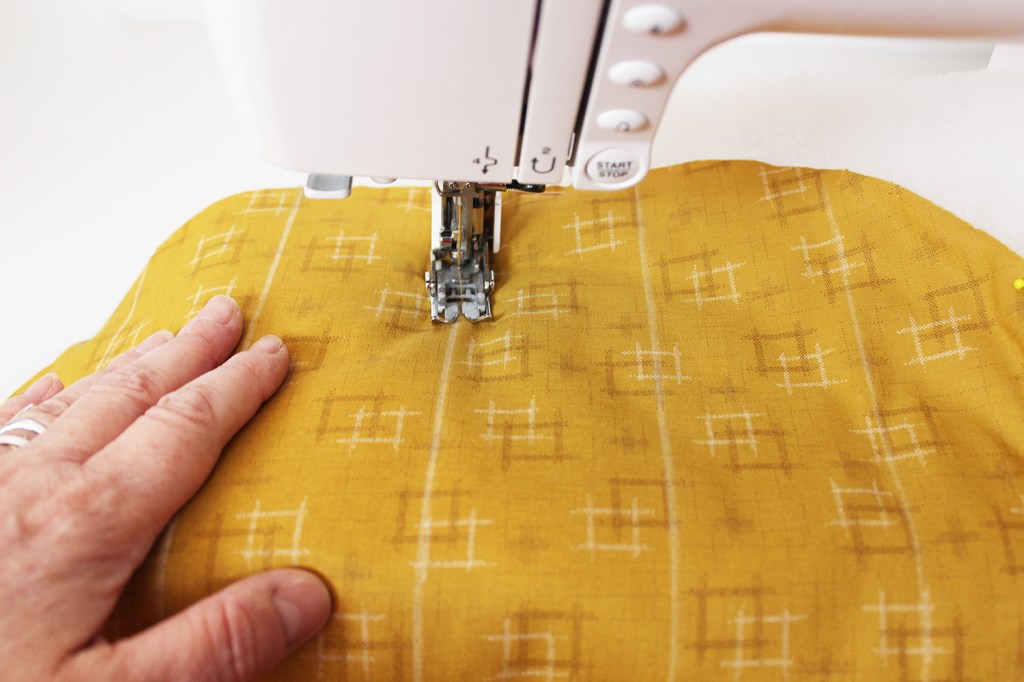
If you own a walking foot attachment for your machine its helpful to use when quilting fabric
….just sayin!

LETS TALK WADDING!

Ok, so you can buy pre-quilted fabric, but its so much more fun to create your own. You can use just about any type of medium/lightweight fabric for the outer and lining. Remember that it doesn’t want to be too heavy- think light!

Here are some examples of wadding that Ive used….

  1. Vilene H640/H630 fusible Fleece (loft)- its fusible, made of polyester, very practical because you can just iron it on, but it is on the pricey side, as its not very wide (36″). You would probably need about three metres depending on size. You can get this from Empress Mills.
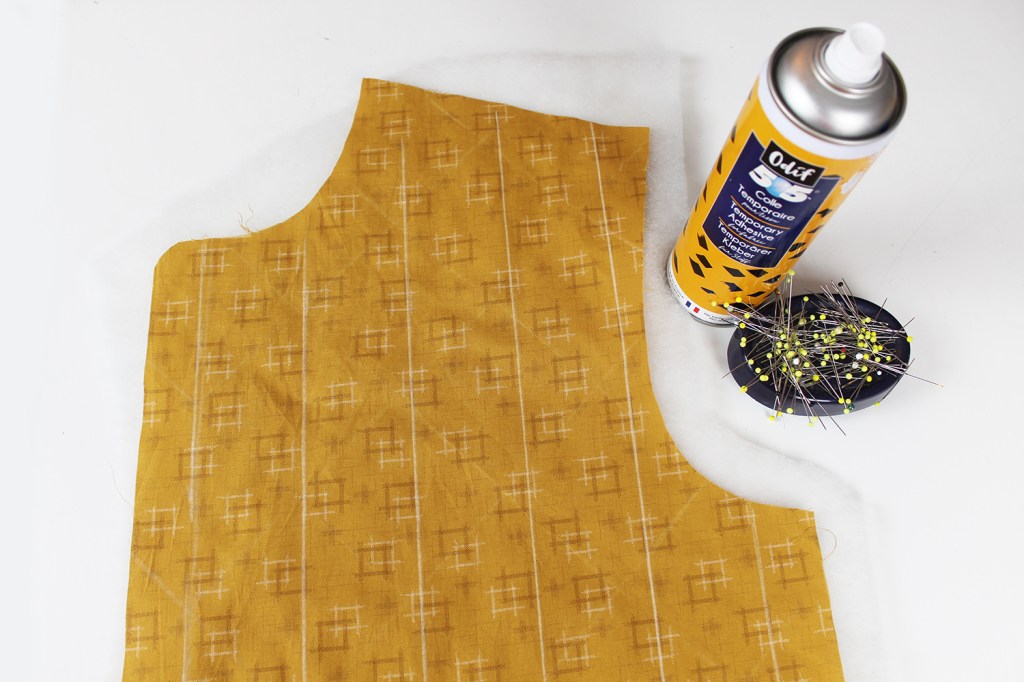
  2. 2oz Polyester wadding– cheap as chips and a good alternative- use spray textile glue to fix in place or lots of tacking, with a wide width (54″). You would probably need a couple of metres of this depending on size. You can get from Empress Mills .
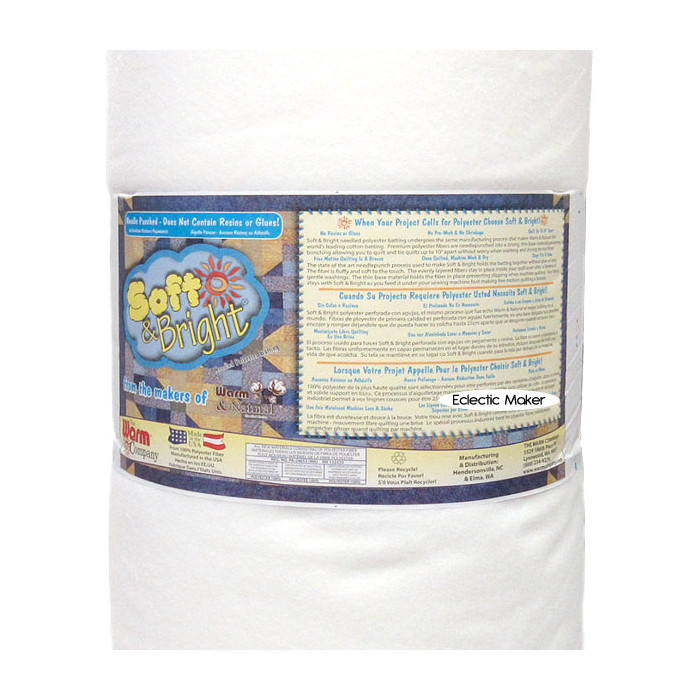
  3. Quilting batting such as a basic ‘warm & white’ polyester one is a great alternative as its usually very wide you wont need as much. This one ‘Soft & Bright’ available from Empress Mills is 90″ wide so probably 1.5m would suffice depending on size. This one is much thicker and heavier than the other two and not so easy to work with but still makes a good jacket.
Vilene H640 or 630
2oz Polyester wadding

HOW TO MAKE THE BIBI JACKET

SEAM ALLOWANCE IS 1CM (3/8″)

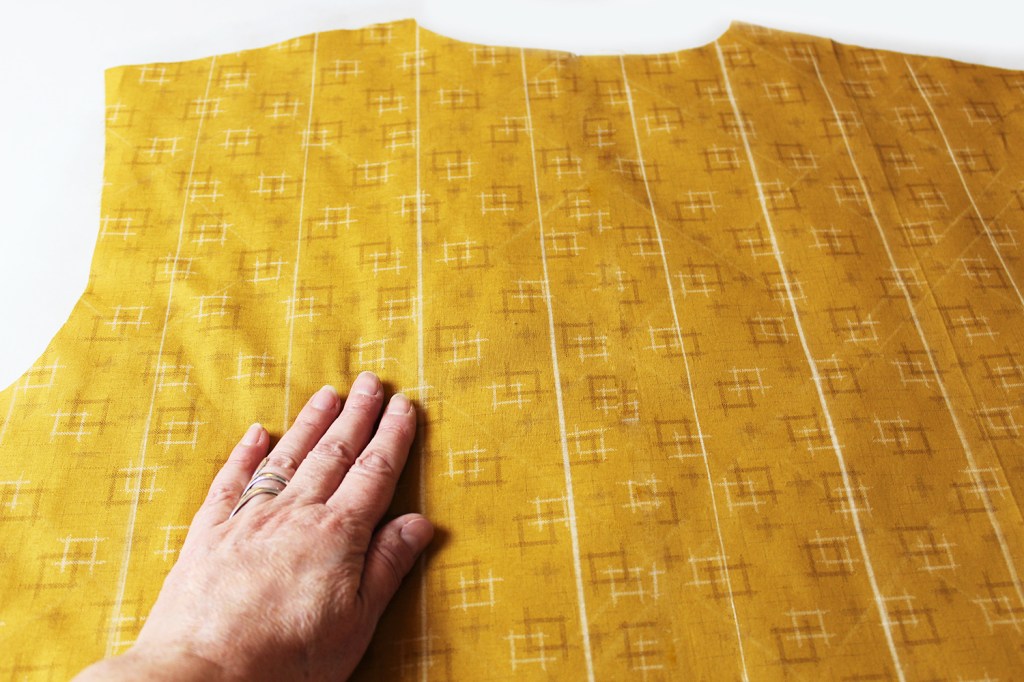
First cut out the fabric pieces from the pattern templates. Mark out the quilt lines with chalk or a fabric marker. Fuse the wadding or fusible fleece to the reverse side of each piece (Fronts, Back, Sleeves and Pockets).

Stitch along the lines with a longer stitch length (2.8mm). Stitch on the right side of the fabric to secure the two layers together. Quilt all the pieces backed with wadding.

QUILTING THE FABRIC

Mark out the quilting lines with tailors chalk or an invisible marker pen.

POCKETS

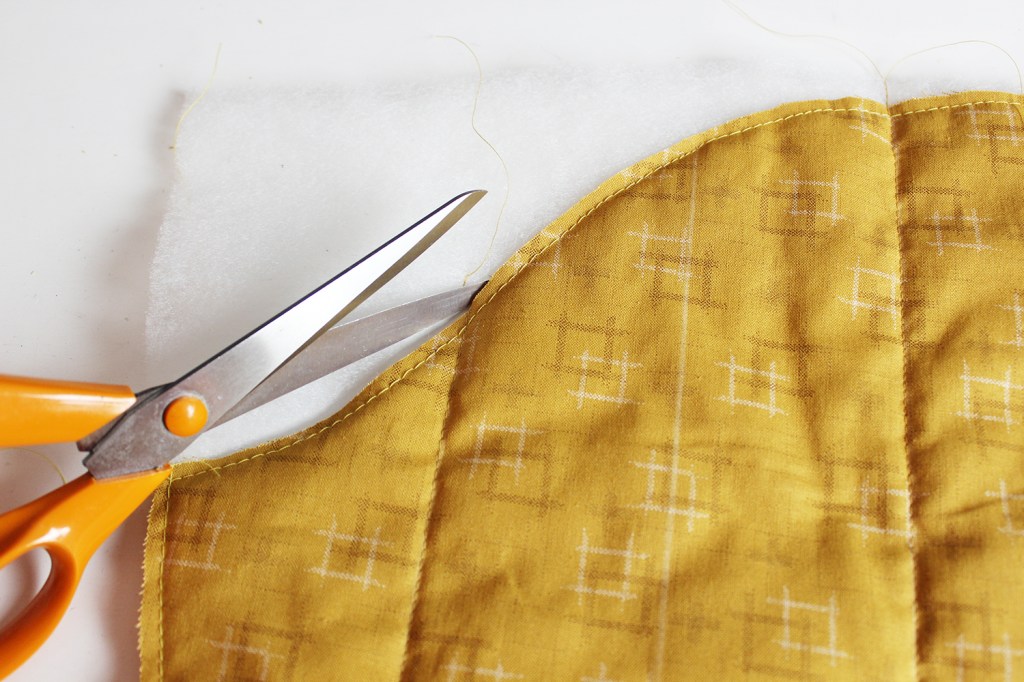
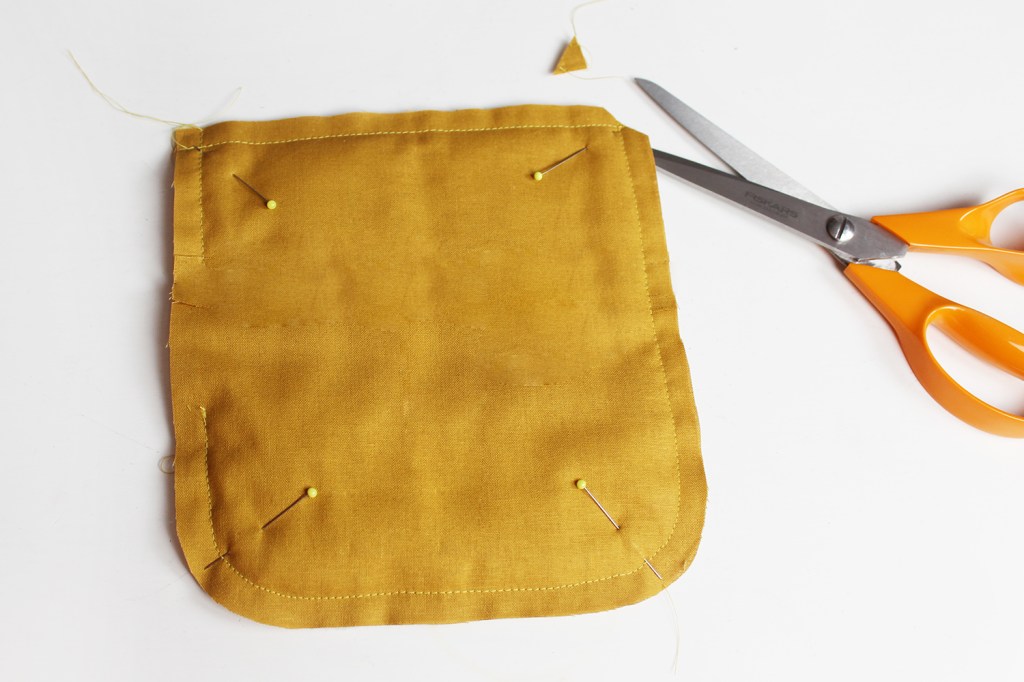
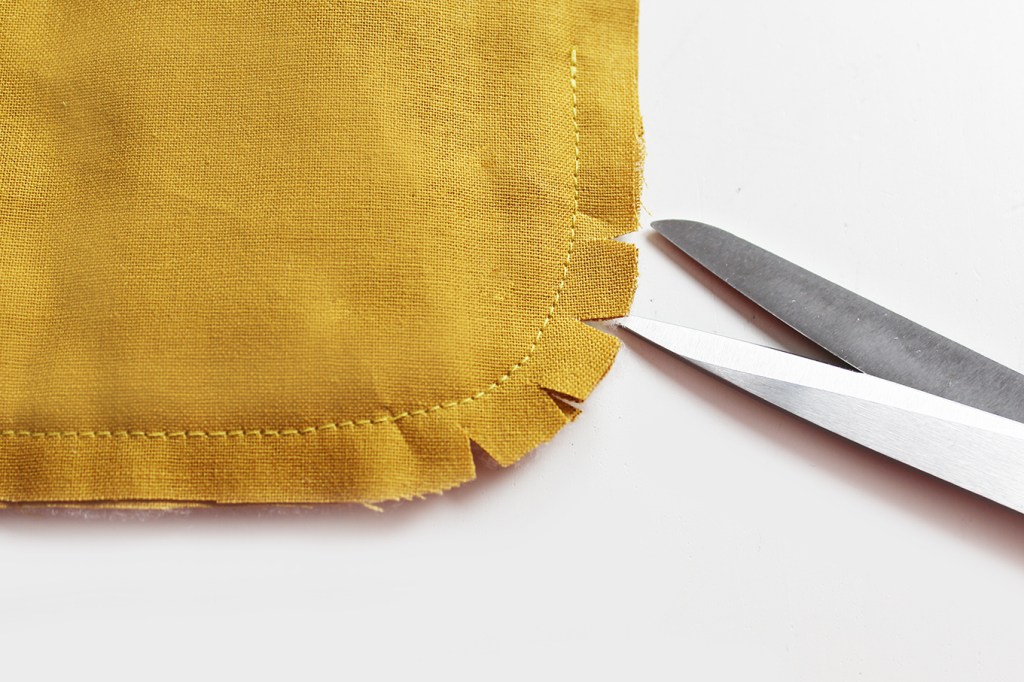
Lay the pocket lining together with the pocket, right sides facing together. Sew all around, leaving an opening on the short side edge of approx 4cm (1 1/2″). Trim across the seam allowance corners. Nick the curved seam allowances. Turn inside out through the opening. Press, pushing out all the edges from the inside with a poking tool. Hand sew up the side opening.

Repeat with the second pocket and lining.

Pin the pocket to the jacket front. See the Pocket position on the template.
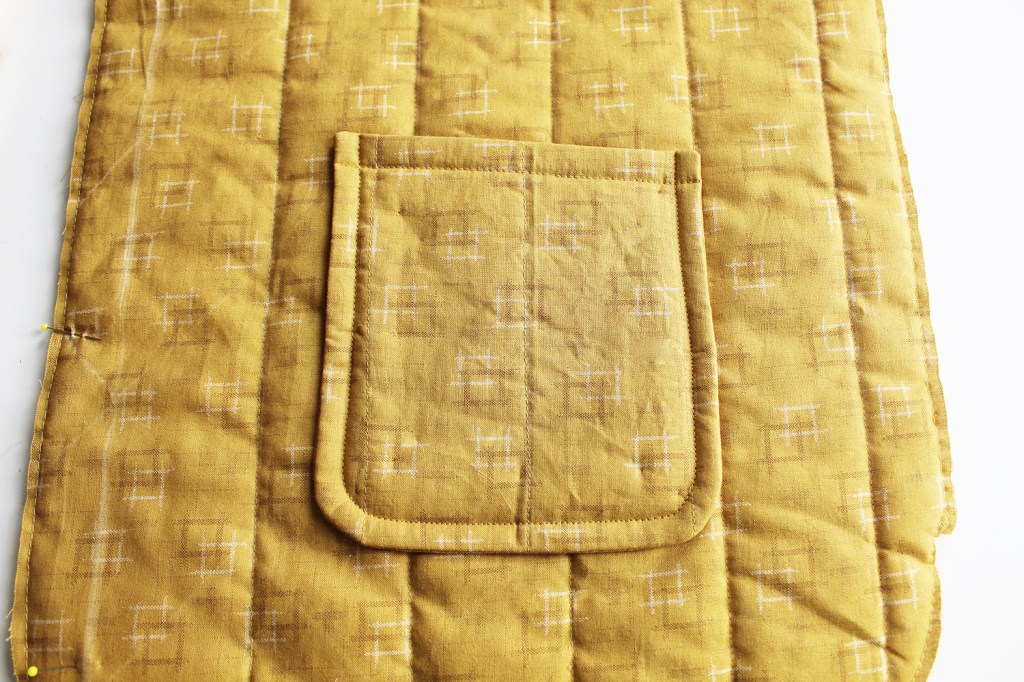
Topstitch the Pocket 1cm away from the outer edge all around leaving the top edge open. Press. Repeat with the other Pocket.
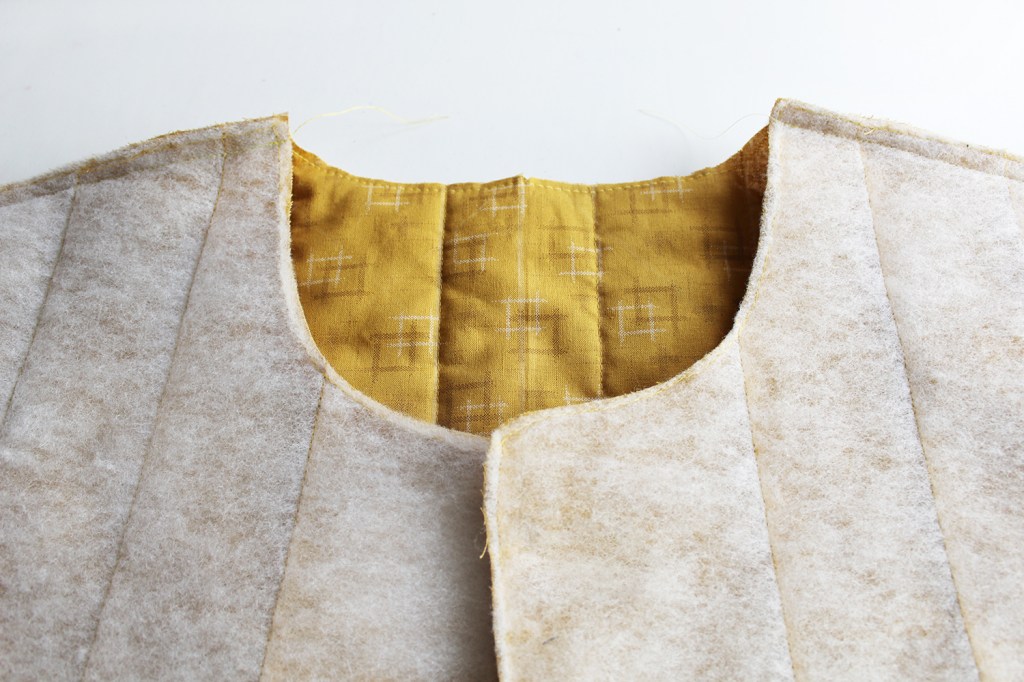
Join the shoulder edges with the right sides together. Press the seam allowances towards the back. Topstitch.

Join the side edges of the front and back below the armhole to the notch. Press the seam allowances open.

SLEEVES
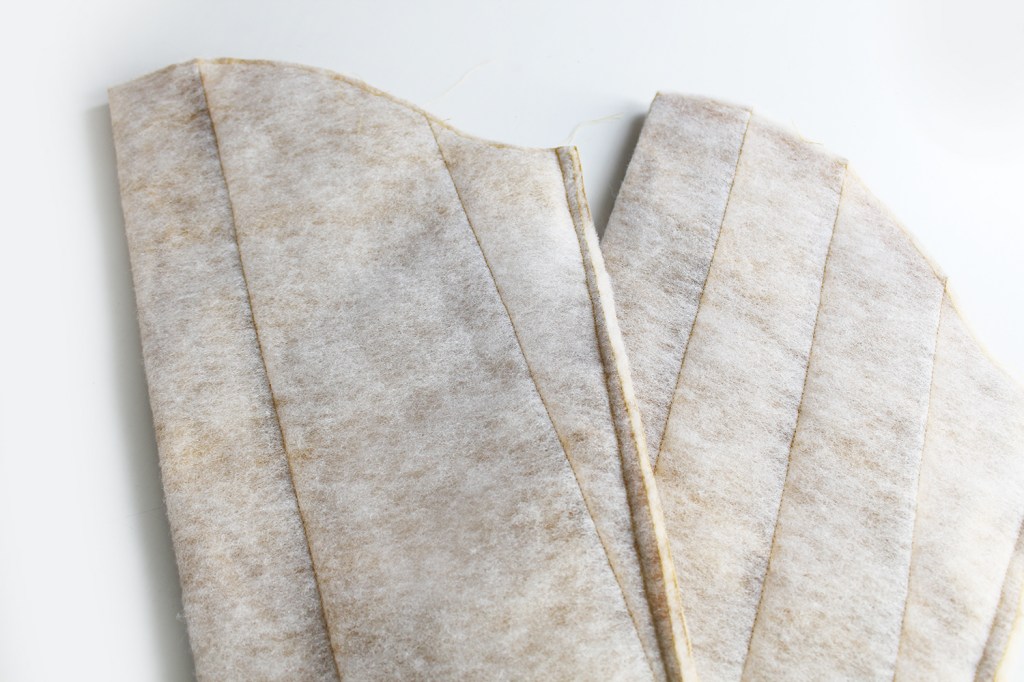
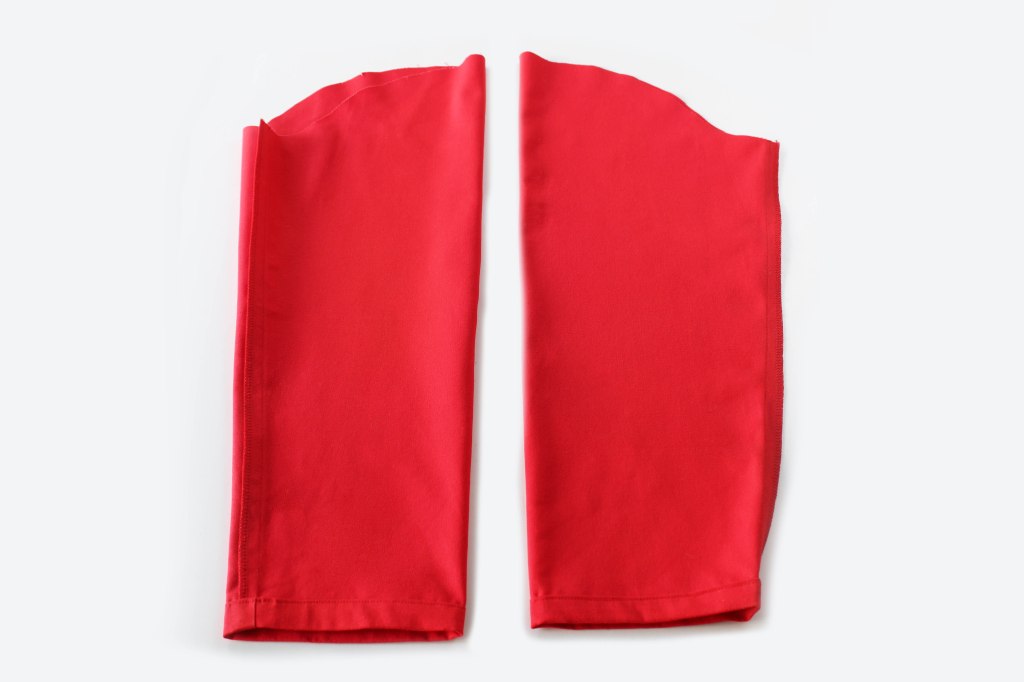
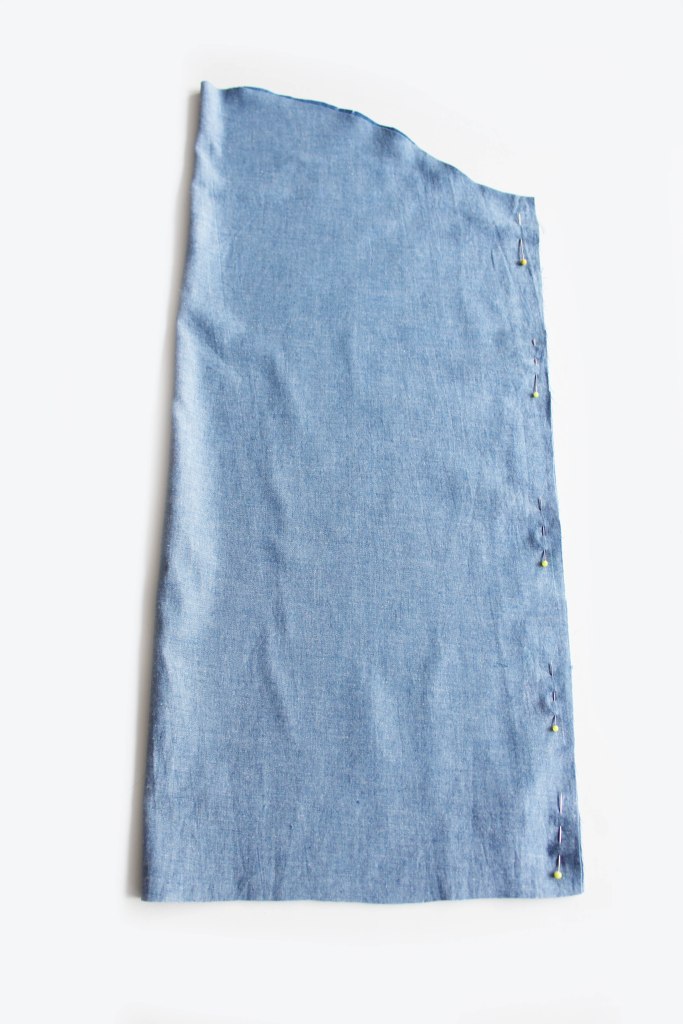
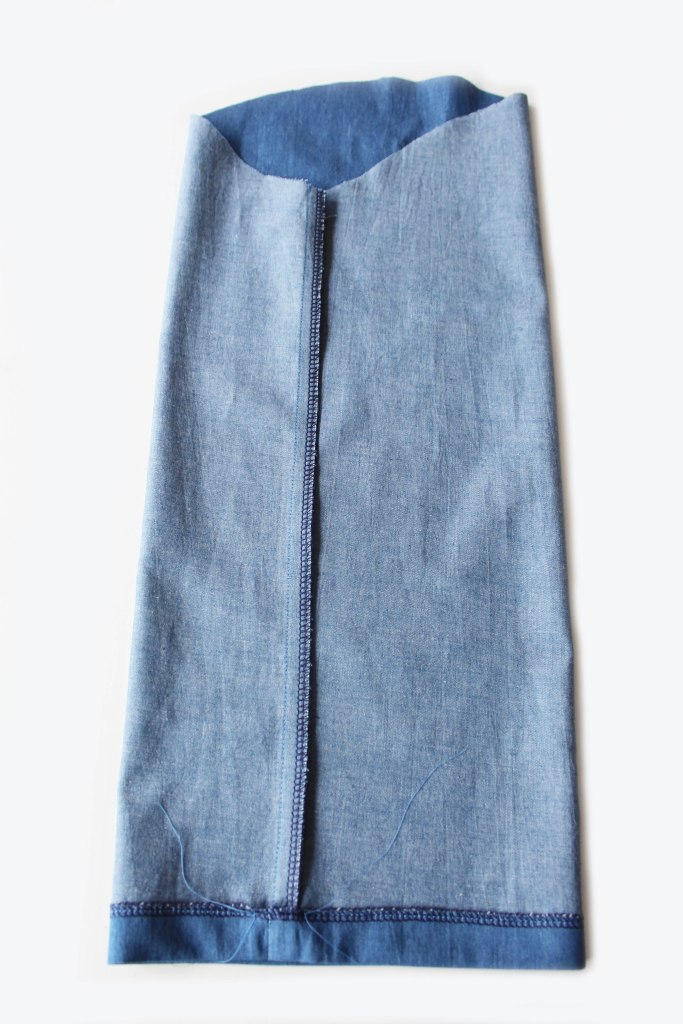
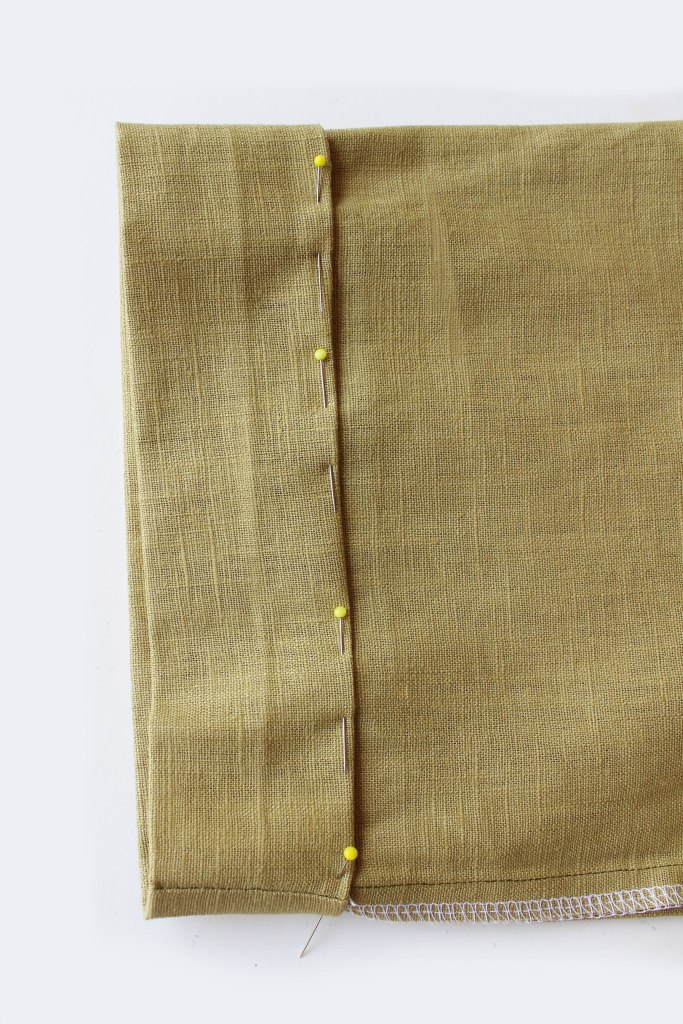
Fold the Sleeve piece in half aligning the long vertical raw edges. Pin. Sew. Press the seam allowances open.

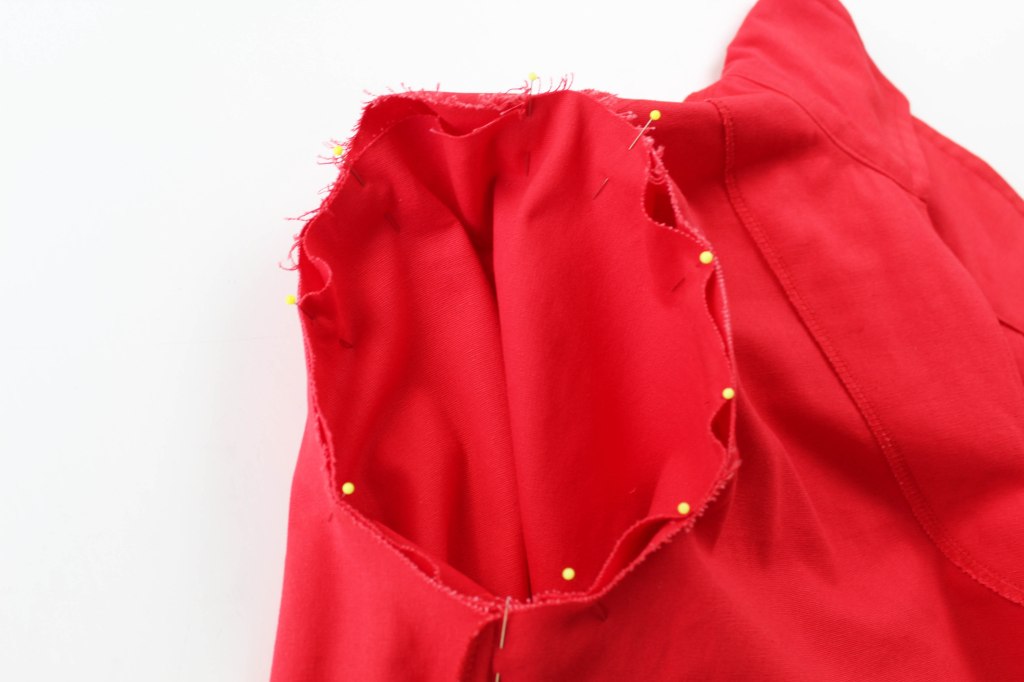
With the right sides facing together, insert the sleeve to the armhole, aligning the raw edges and the back and front sections. Pin. Hand tack. Sew.

Topstitch the sleeve seam. Repeat with the other sleeve.

LINING

SEW THE LINING FRONT TO BACK AT THE SHOULDER EDGES. ATTACH THE SLEEVES IN SAME WAY AS BEFORE WITH THE OUTER FABRIC.

INSERT THE LINING INTO THE OUTER JACKET WRONG SIDES TOGETHER. PIN ALL AROUND MATCHING UP THE RAW EDGES.

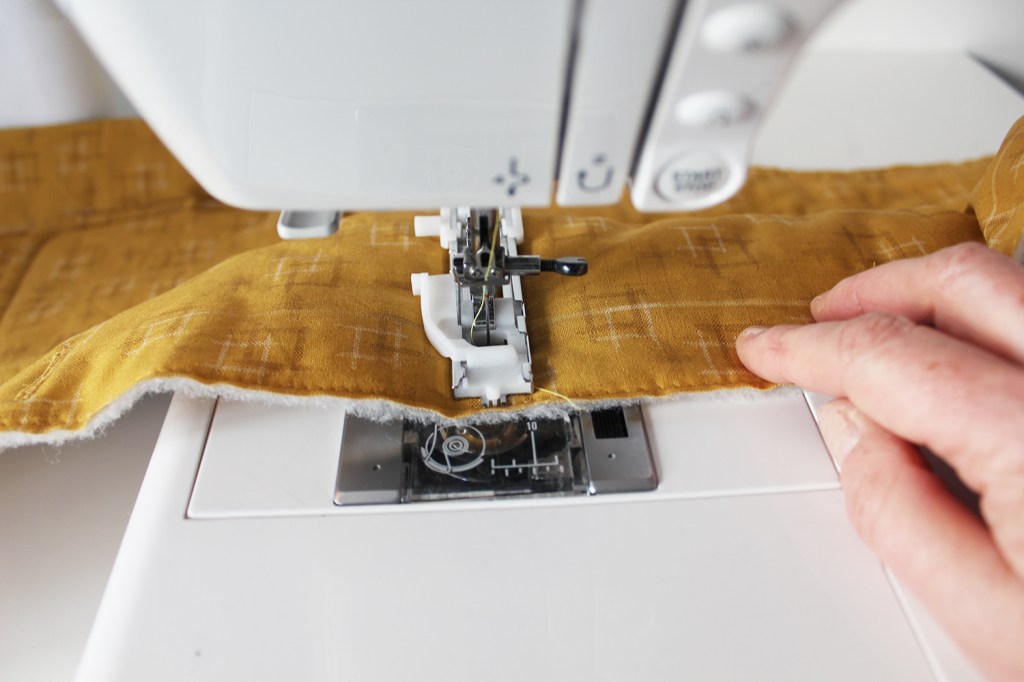
Machine tack around the raw edges to secure the three layers together.

BUTTONHOLES
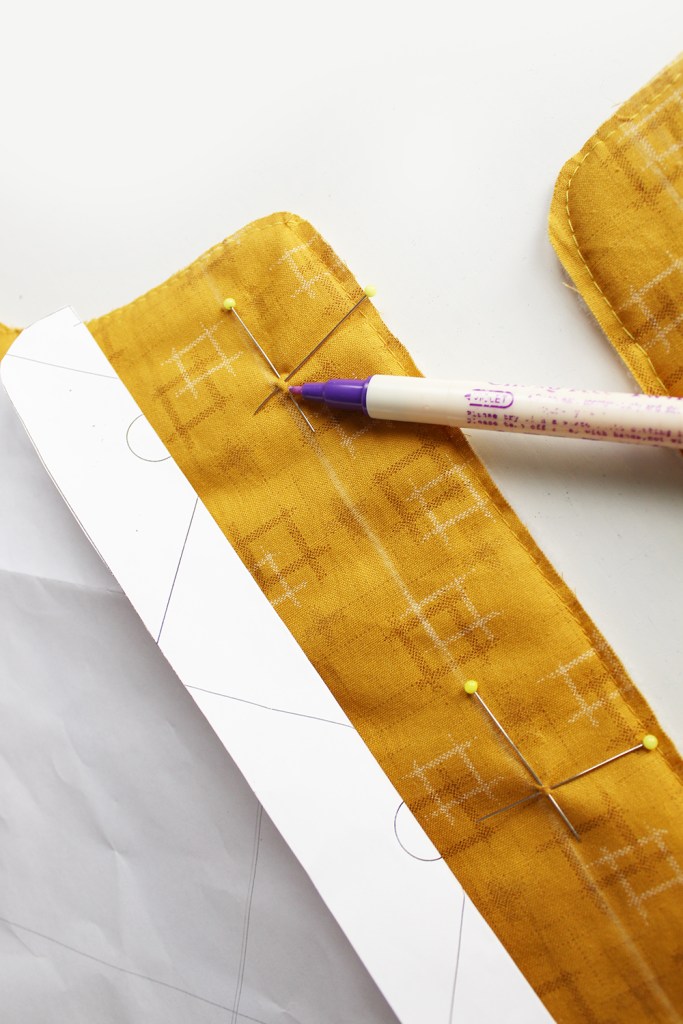
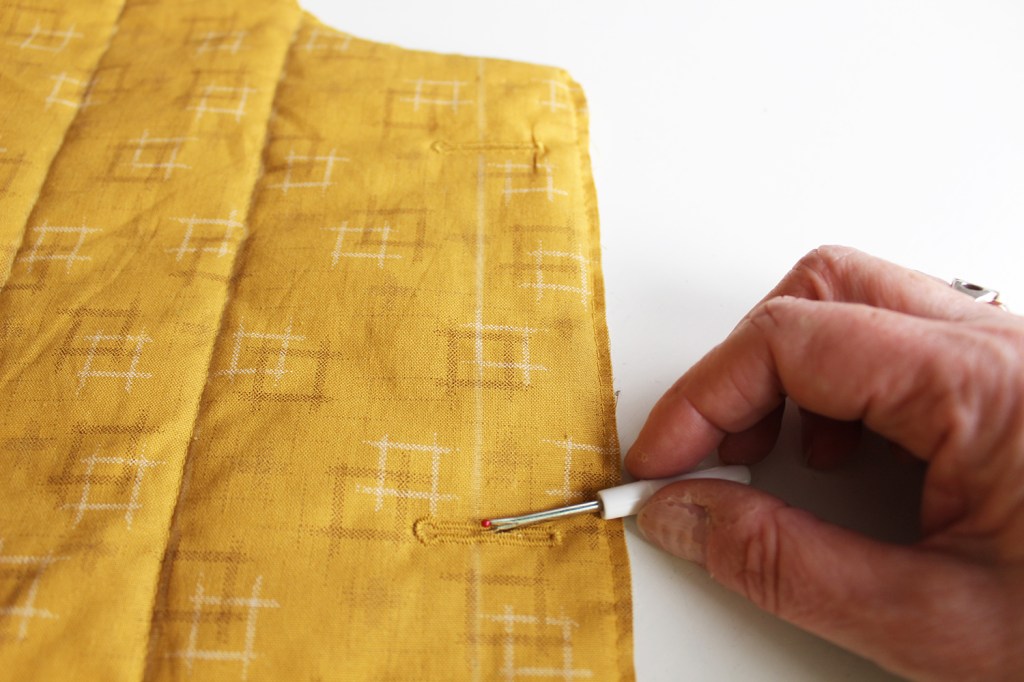
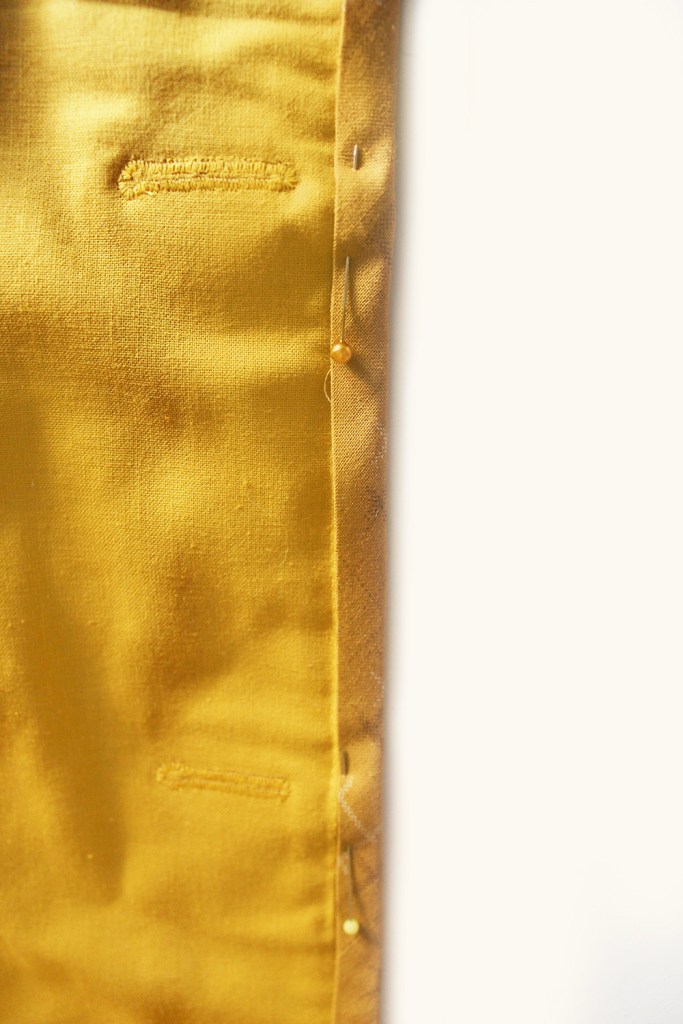
Mark out the buttonholes in position as shown on the template. Sew the five buttonholes. Tip: make a ‘practise’ buttonhole with a leftover piece of the three layer fabric. When you are happy with the size compared to the buttons, use this to mark out the starting point each of the buttonhole positions so that its centre aligns with the jacket centre (as shown by the notch at the neck centre front). Sew the buttonhole away from the centre front raw edge.

BIAS BINDING

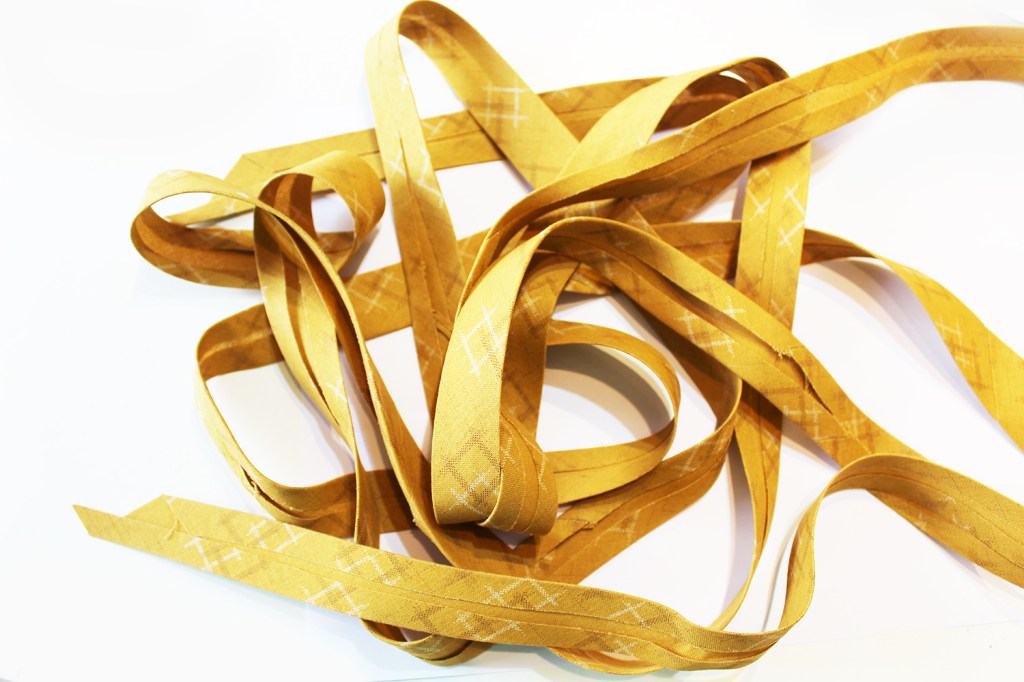
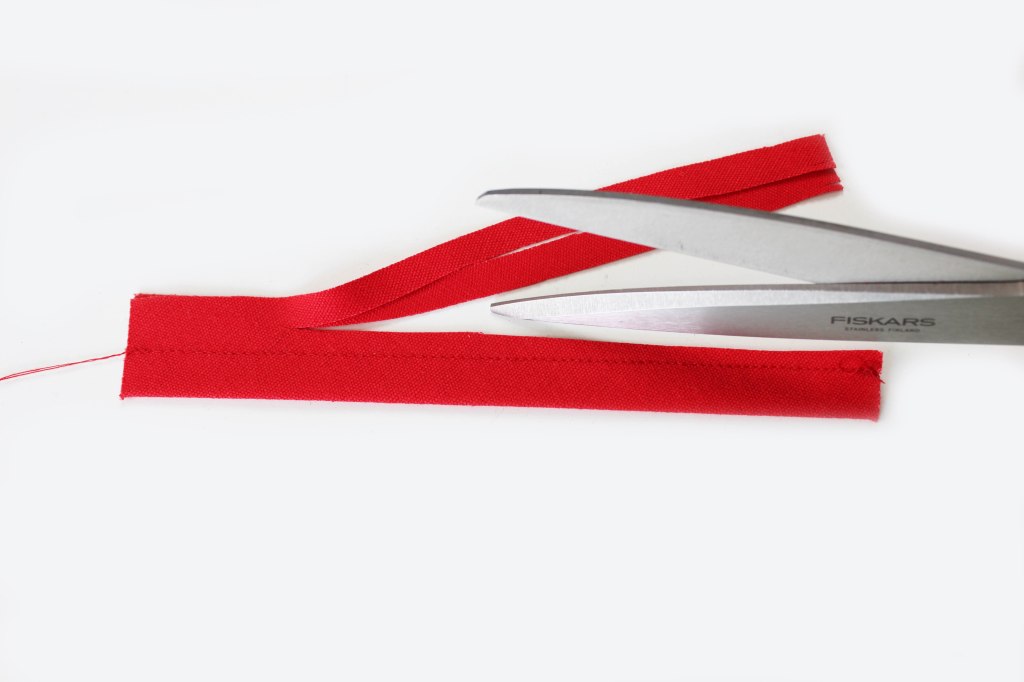
Making Your Own (buy ready made 1” (25mm) bias tape as an alternative).

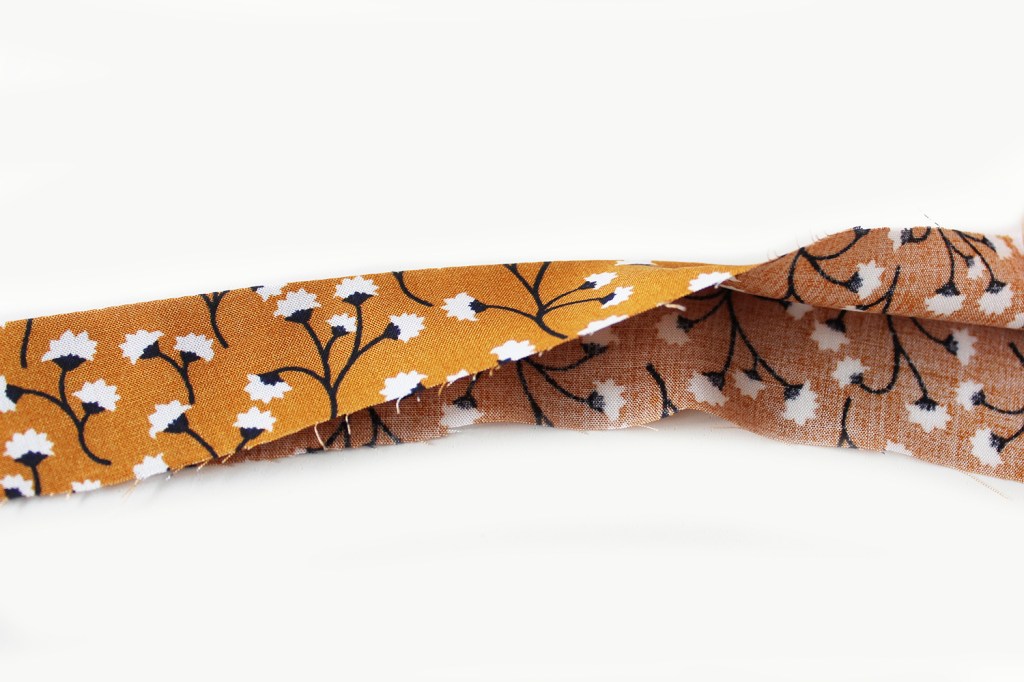
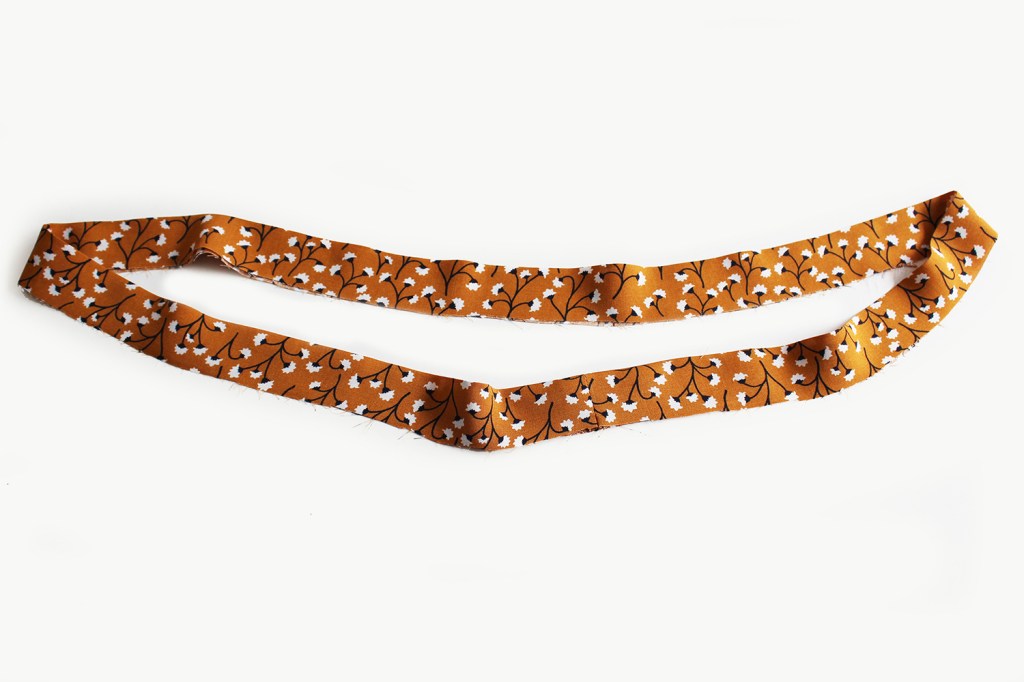
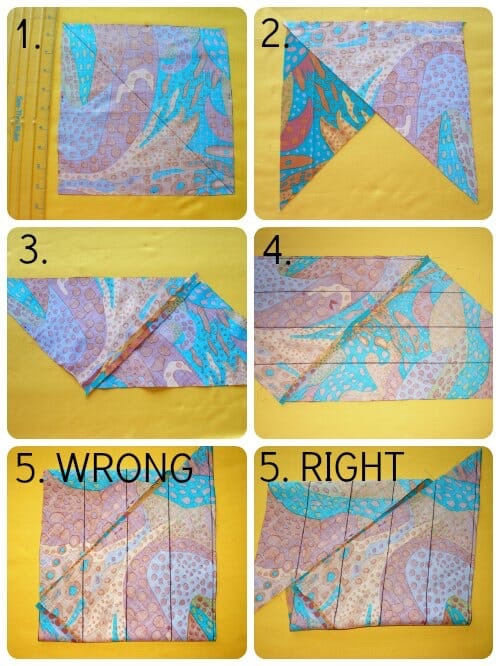
The image below shows step by steps about how to make up to 200″ of bias binding from just a half metre of fabric. It’s a really useful method for saving money and getting the most of your fabric.
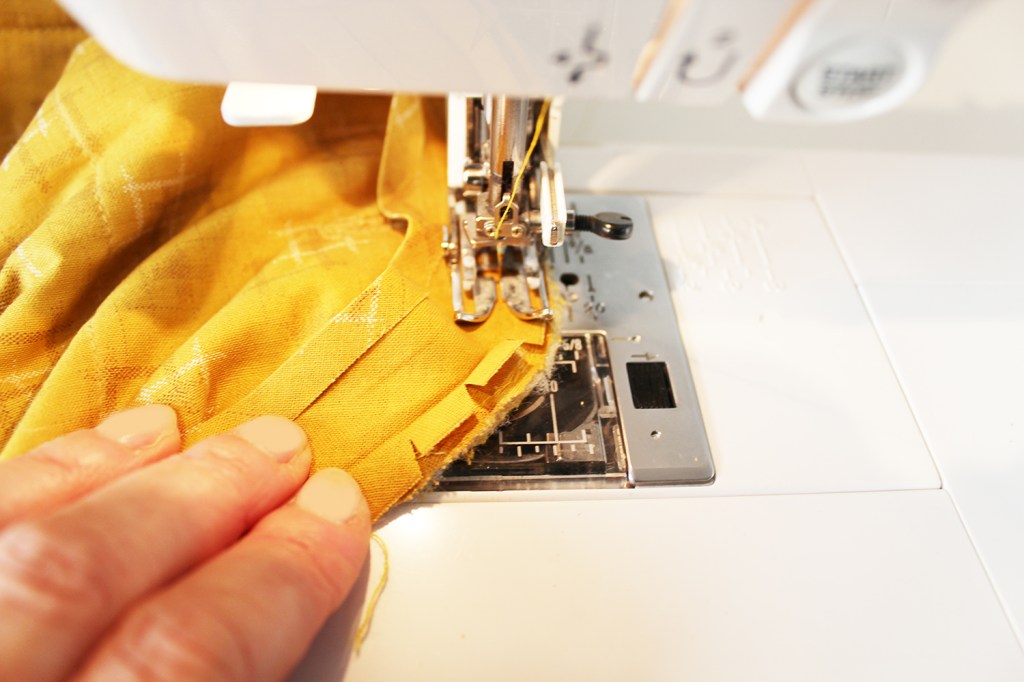
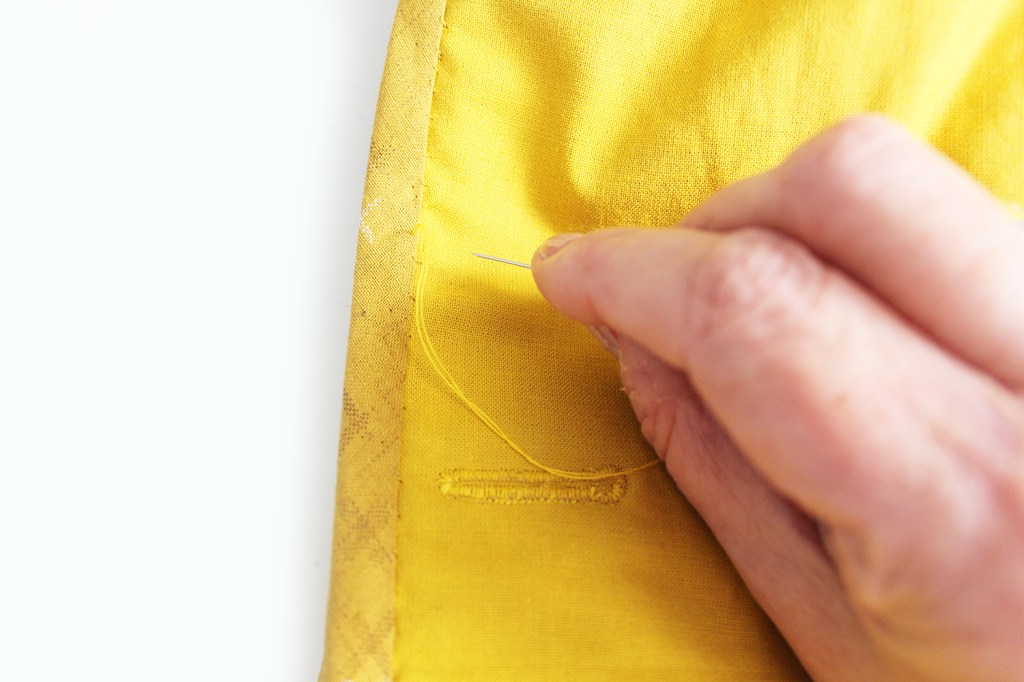
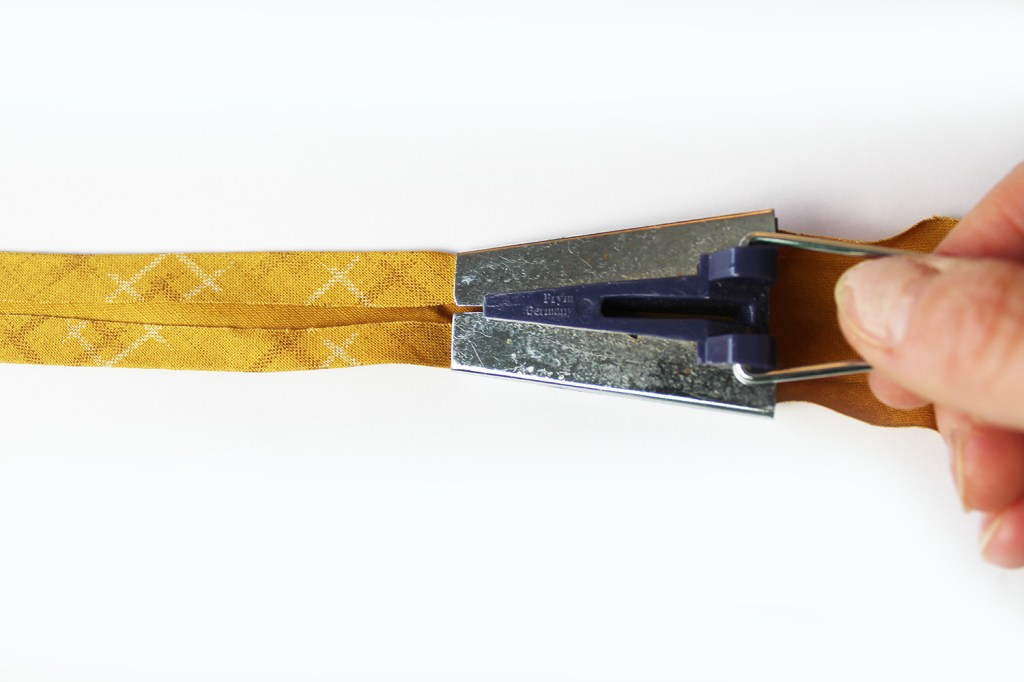
After making your binding strip, using a binding tape maker tool (see below image), fold over the edges of the binding. Pin the binding to the raw edge, starting at the shoulder seam. Sew all around. Fold the binding over to the reverse side. Press. Pin. (Hand tacking really helps to secure the edge before hand stitching all around). Sew the binding edge by hand on the reverse side with small over-stitches to secure the edge all around.
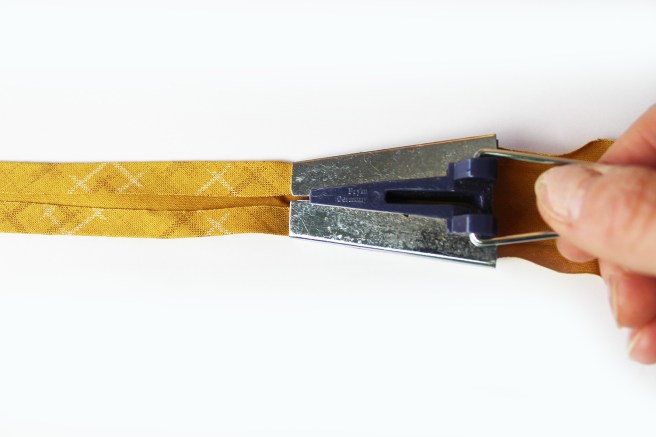
BIAS BINDING MAKER TOOL

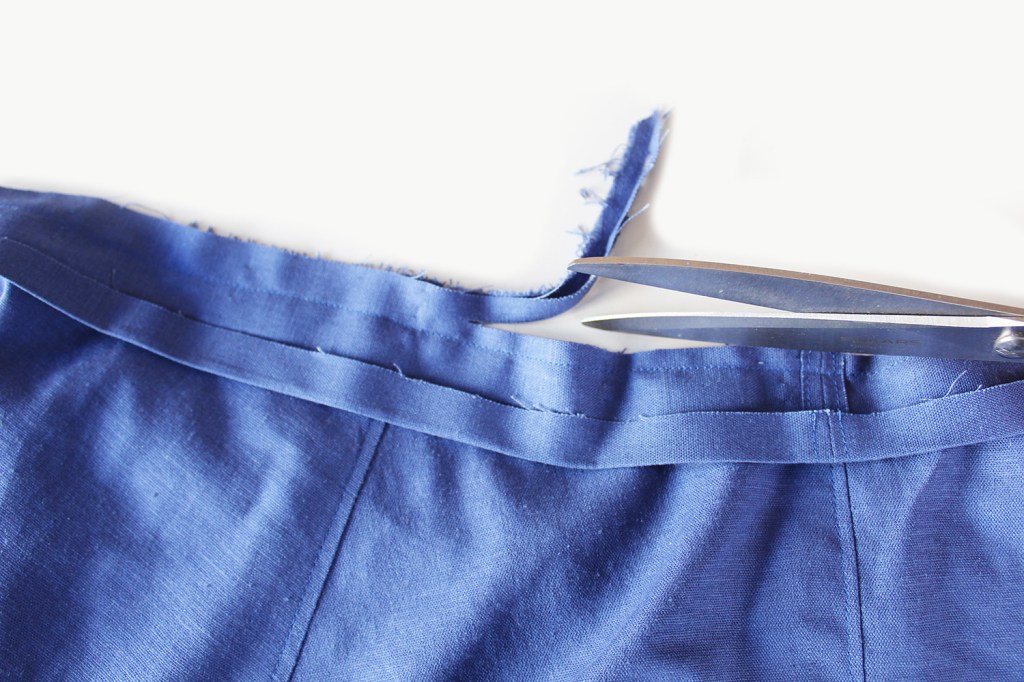
Tip: When you reach the side seam, trim the binding with a small fold under at the far end, then start again on the back with a new binding piece, folding it under at each side seam.

Attach the cuff binding to the cuff edges in the same way as before.
Sew on the five buttons.

And off you go!

All images and text are subject to copyright by Sewgirl. Please ask permission if you wish to use any of the images.
ST IVES UNISEX TOP

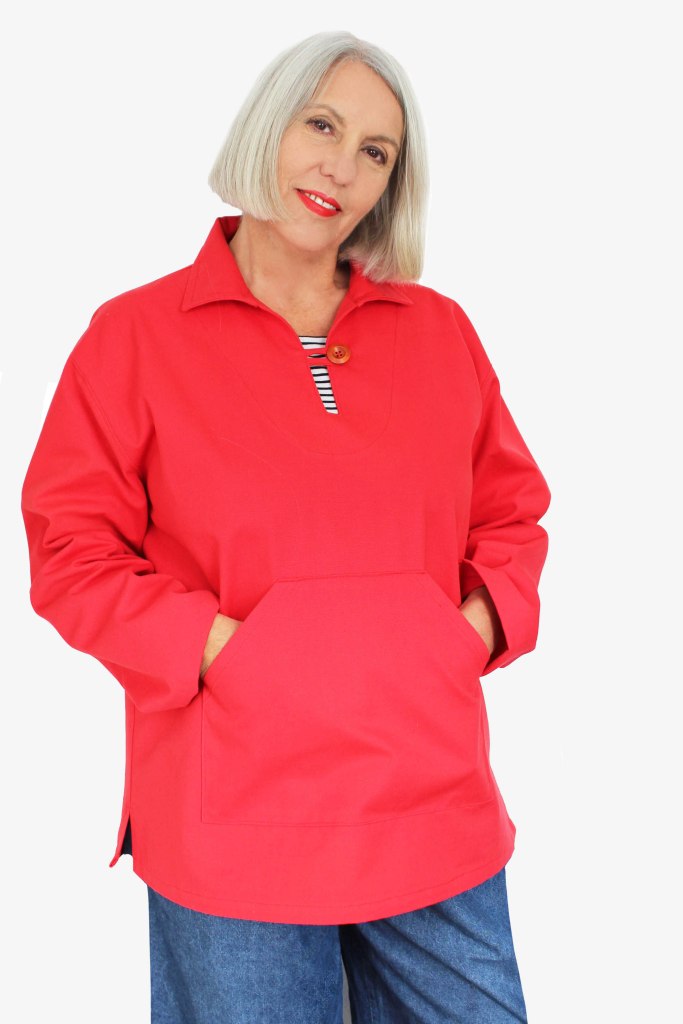
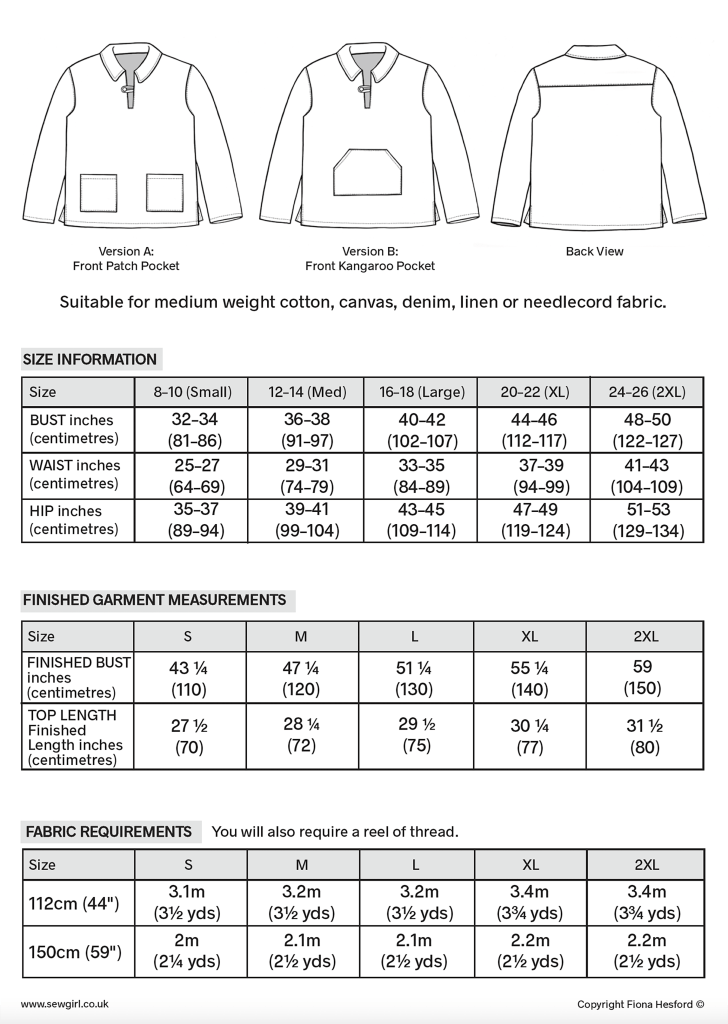
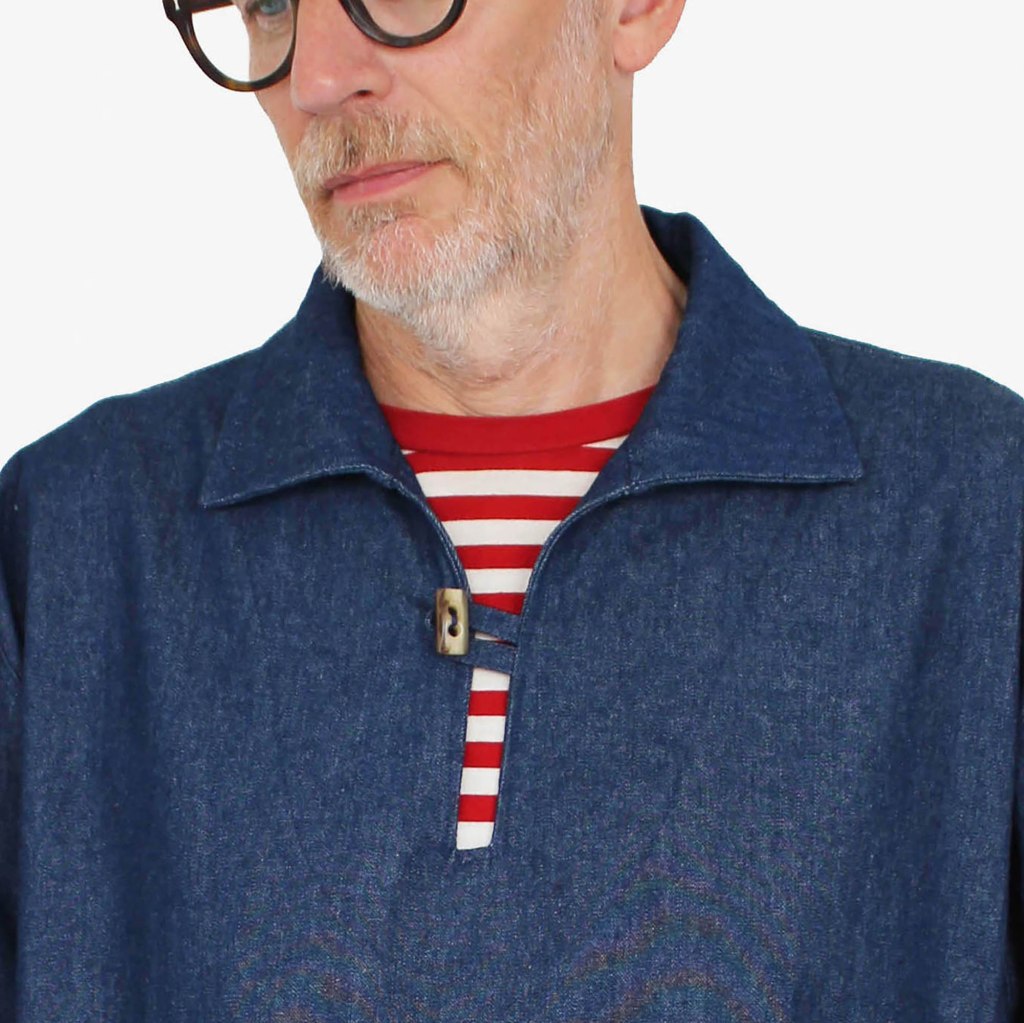
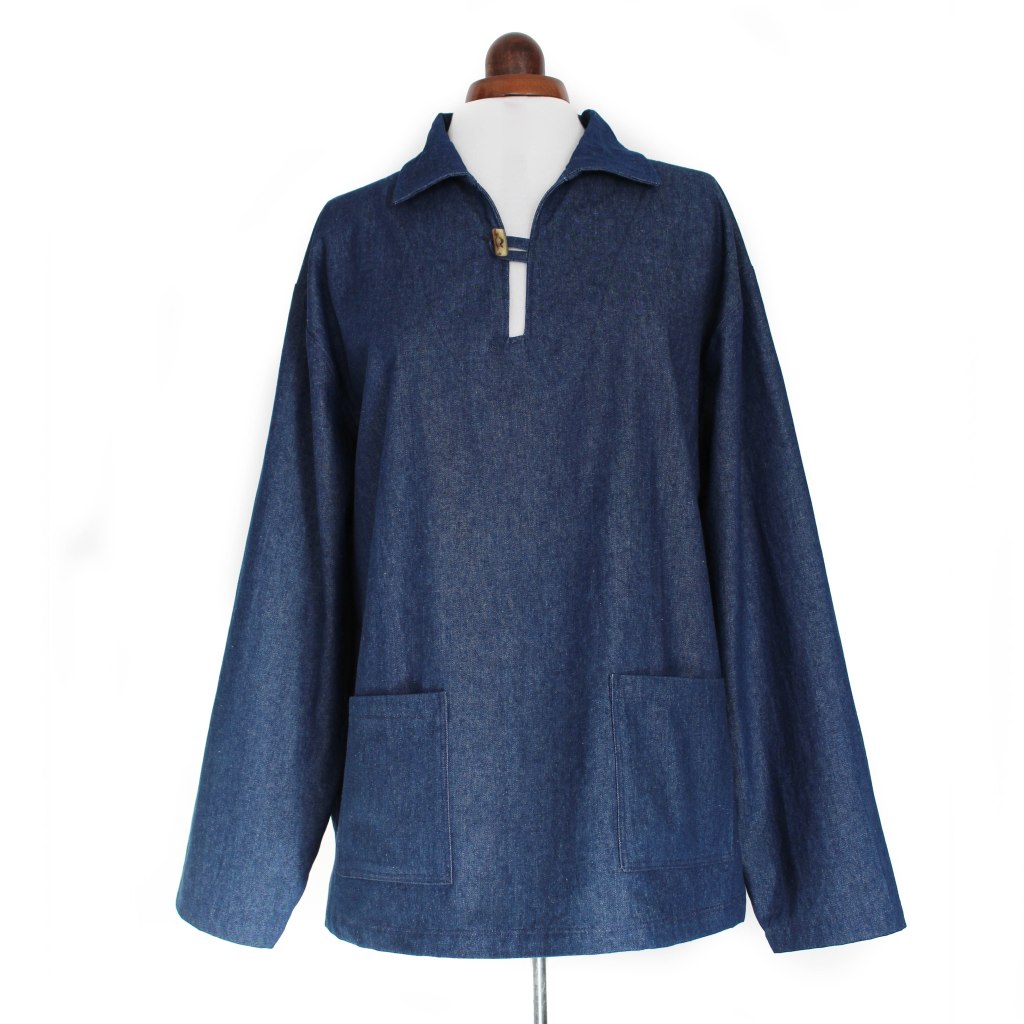
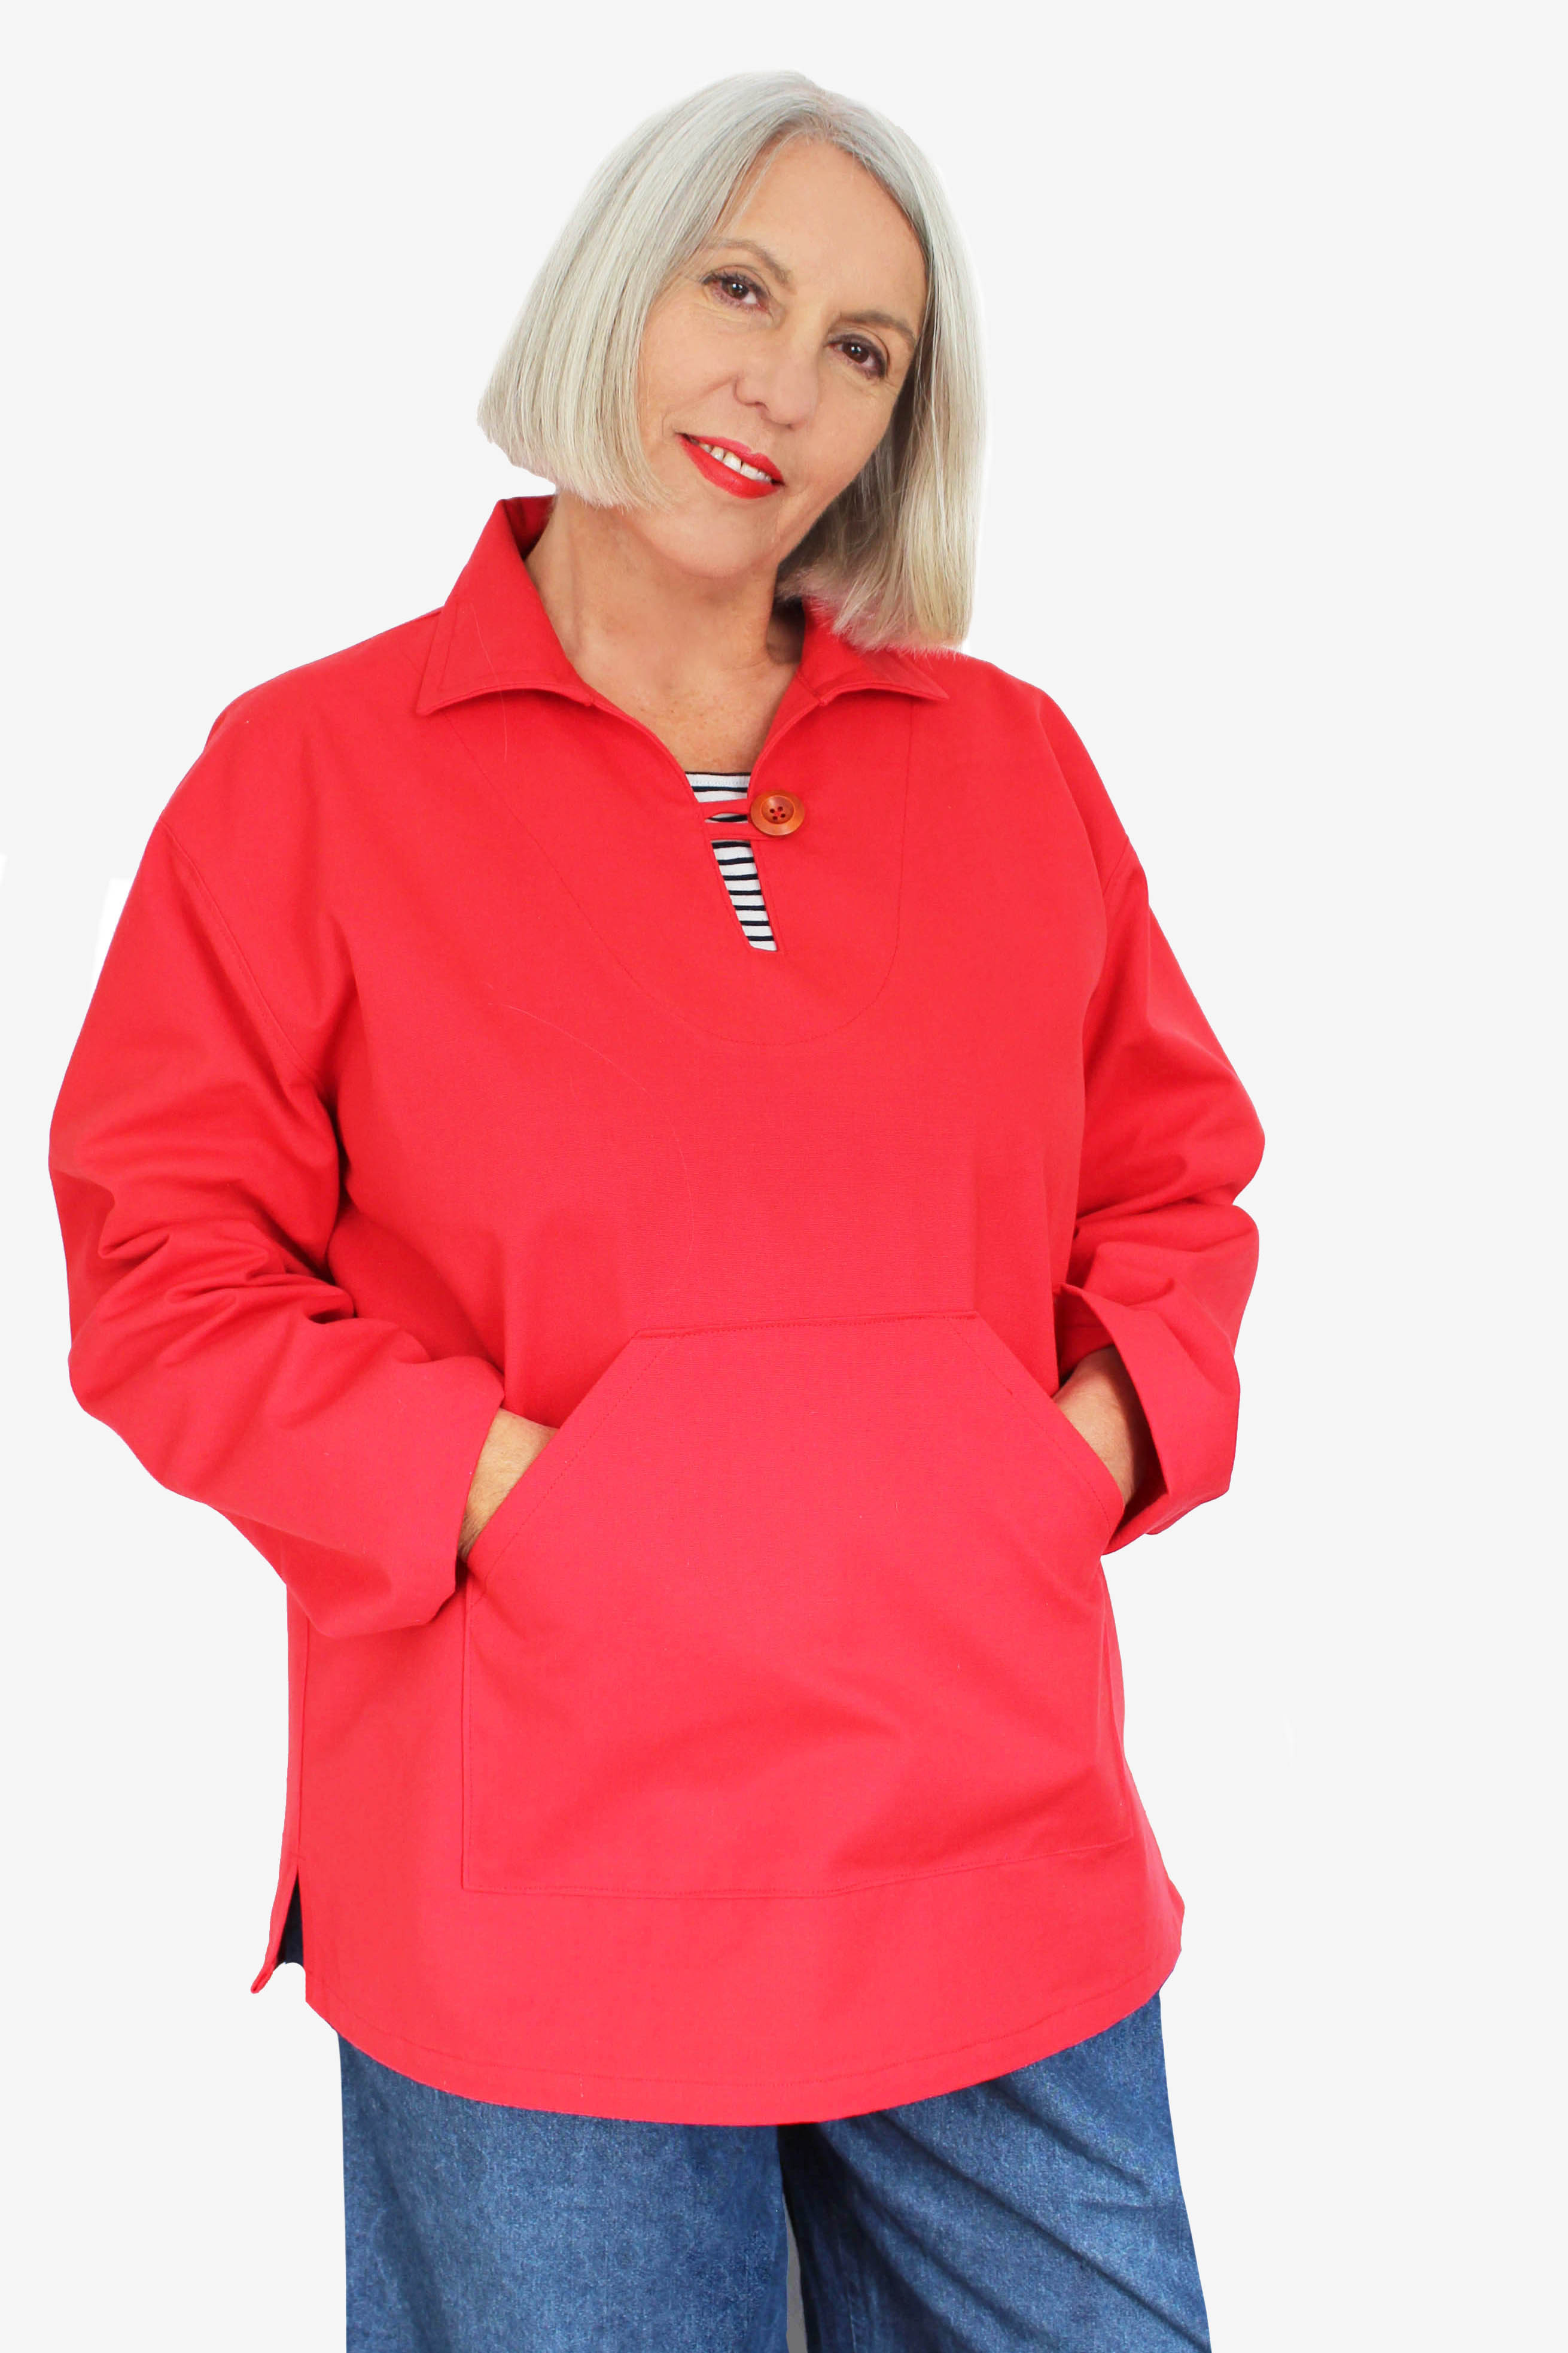
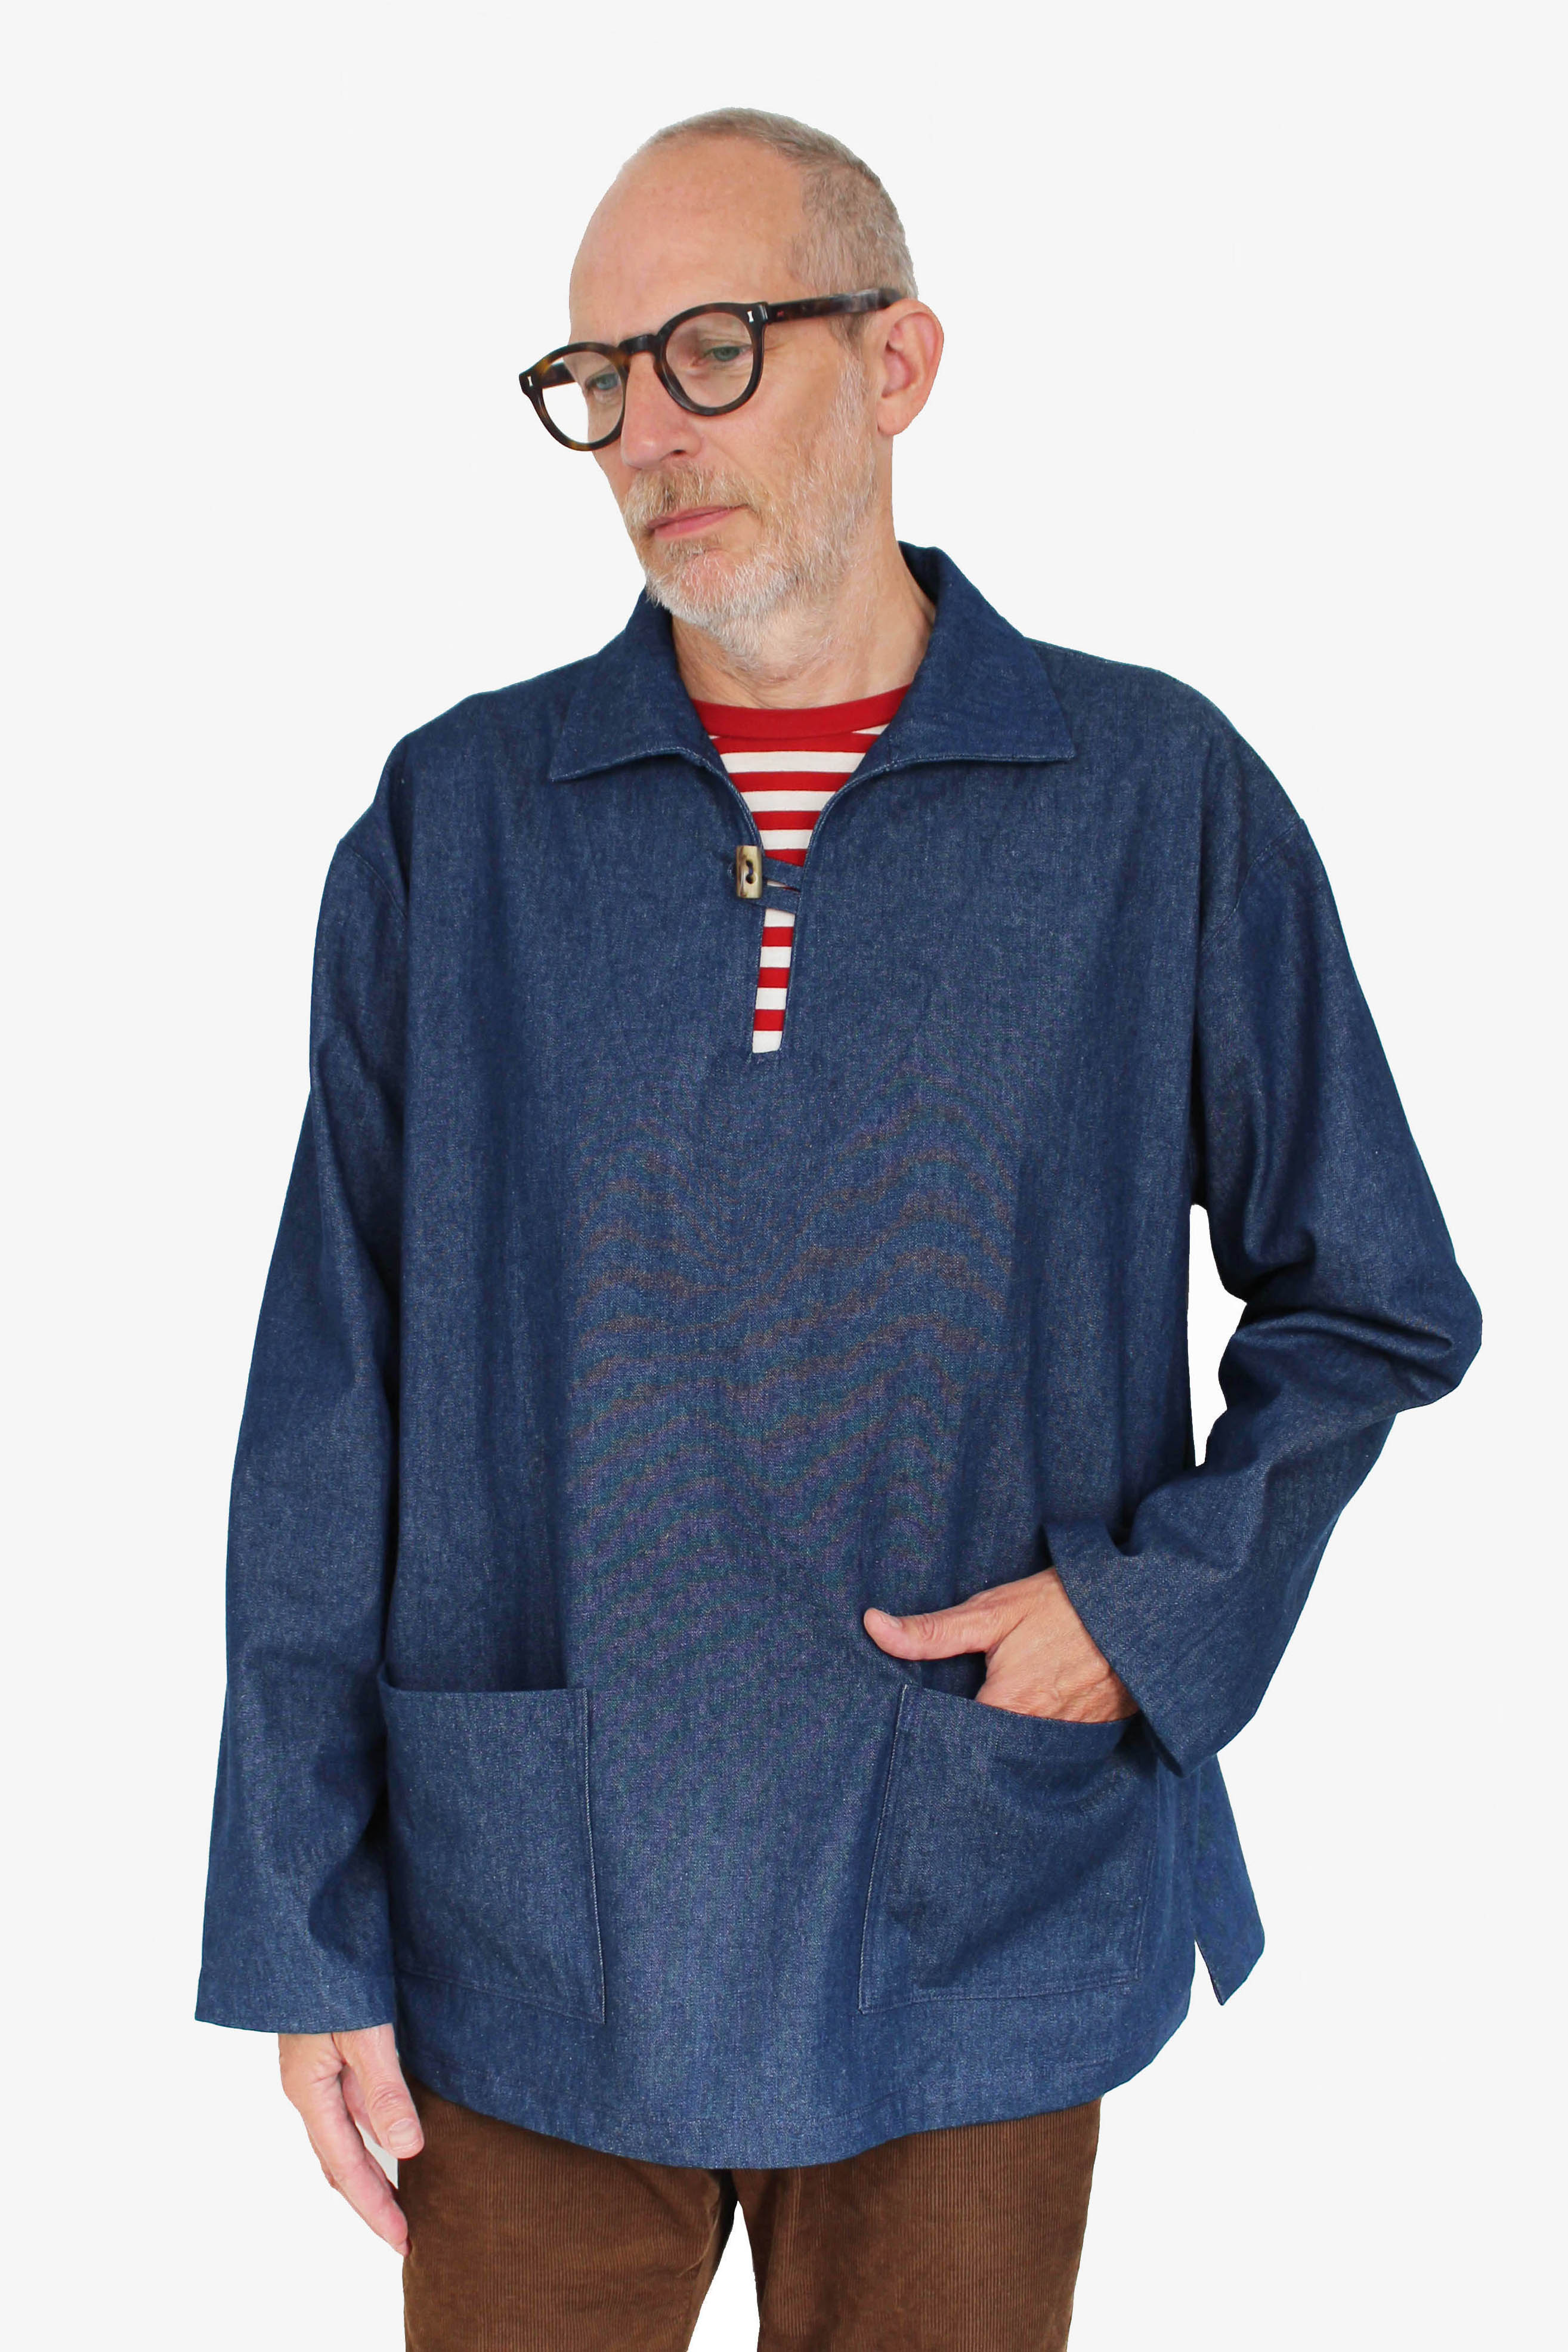
The first Unisex top pattern by Sewgirl and here we are… Mr and Mrs Sewgirl…. wearing our lovely tops! The red canvas one features the Kangaroo pocket feature and the denim blue has a patch pocket version- both pockets are included in the pattern which is sized from Small to 2XL( see size guide for details).

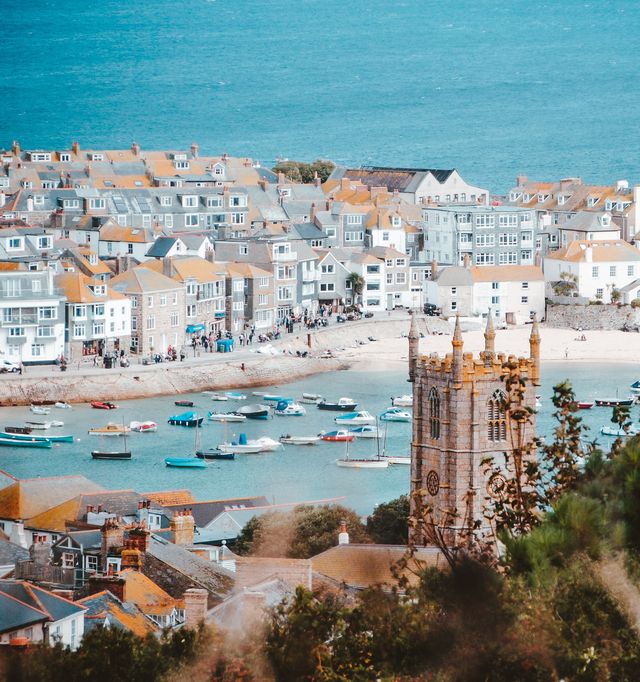
We named this top pattern after one of our favourite places in Cornwall -St Ives- a fishing village on the South West tip of England. It’s famous for its artistic heritage, home to Tate St Ives and many artists who flock to the bay for its amazing quality of light.

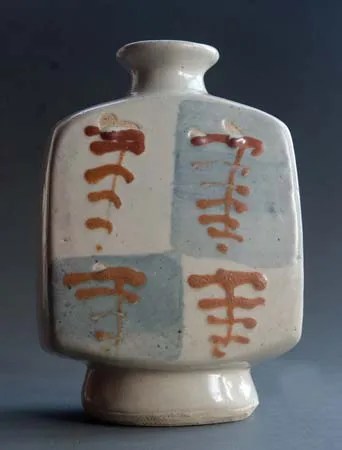
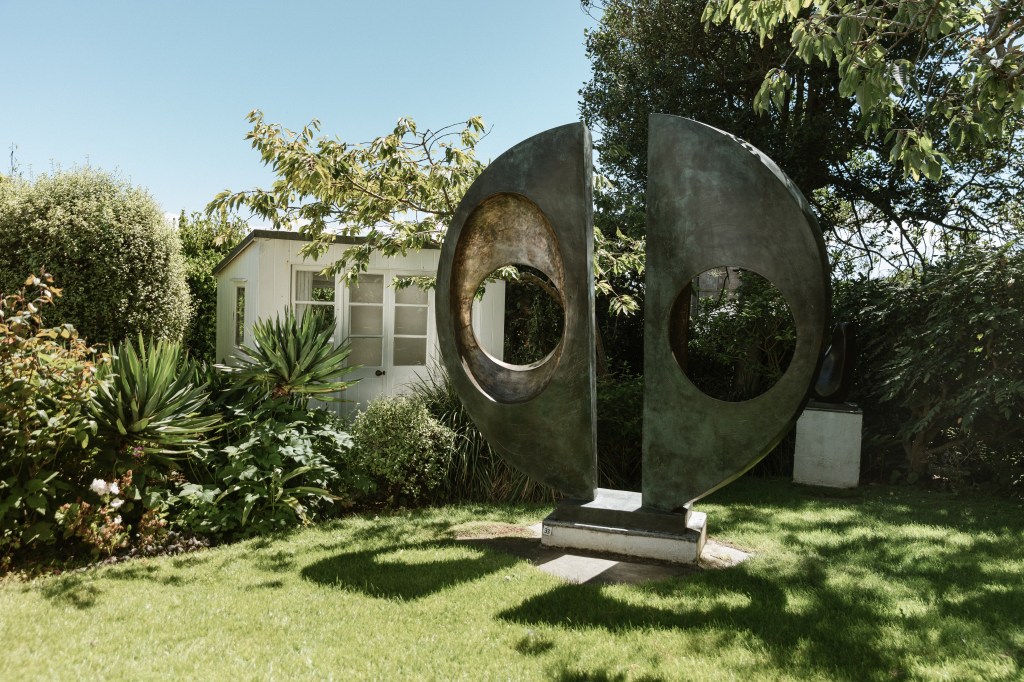
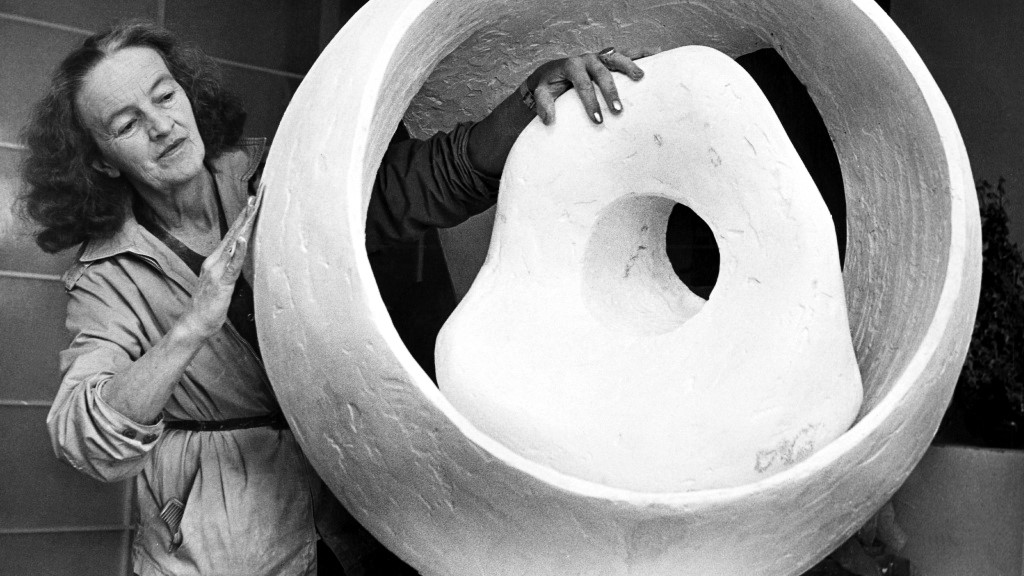
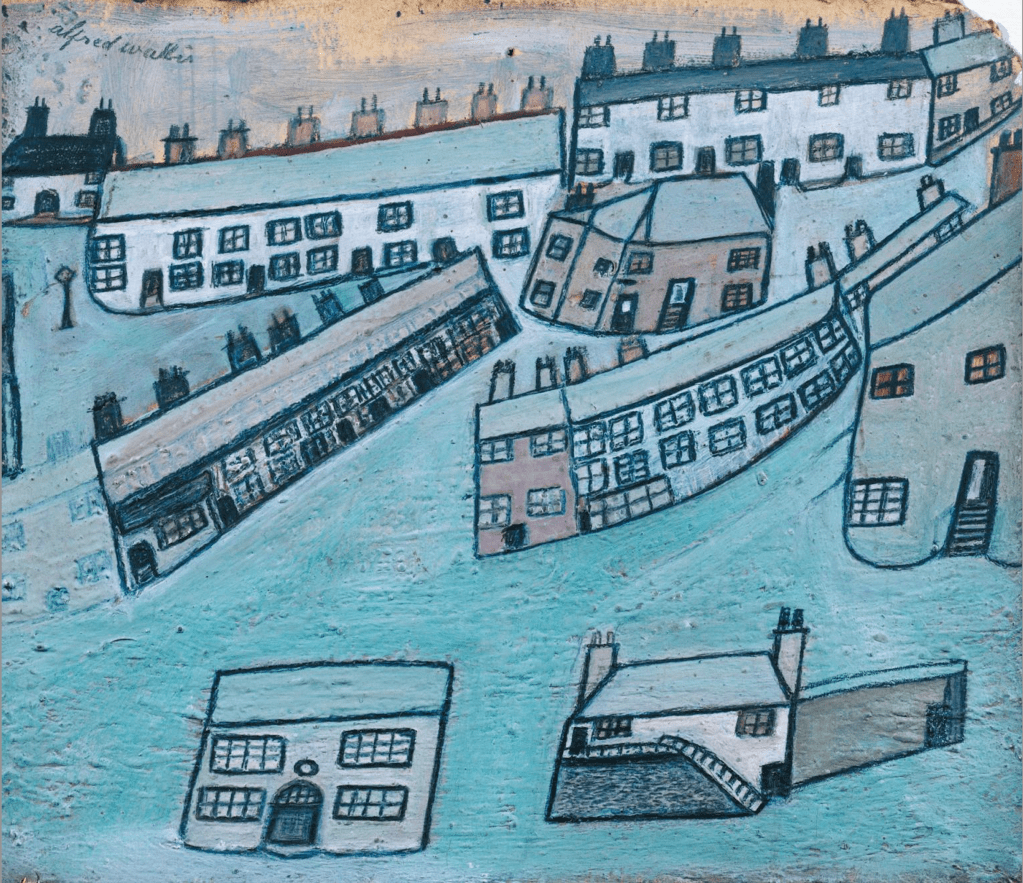
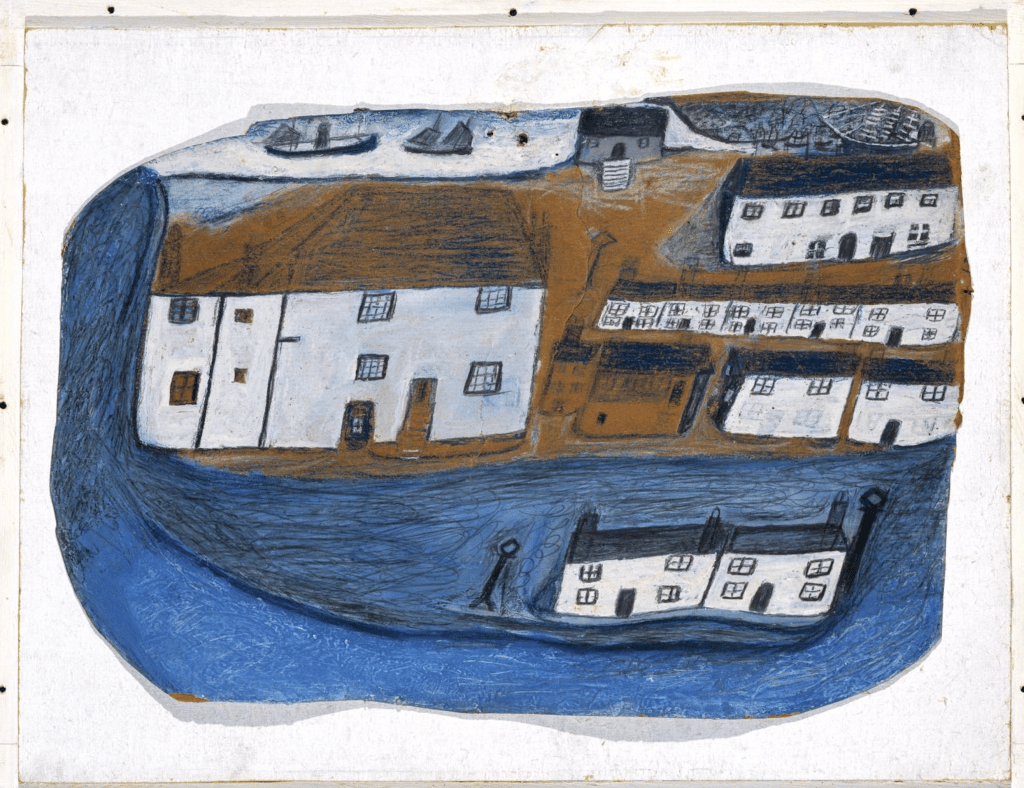
We love visiting the sculptress, Barbara Hepworth’s house and garden, it’s also where the artist Alfred Wallis and celebrated ceramicist Bernard Leach lived and worked. Many other artists are connected to this wonderful place nestling on the Cornish coast. Its our homage to a special place.

This is a straightforward pattern, loose fitting artists style top suitable for working in, gardening, pottery, sailing or just day to day living. Practical, comfortable and fun to make. Hopefully, like me, you will want to make one for all the family.

Suitable fabrics to make the St Ives top are soft cotton canvas, denim, needlecord, medium weight cotton.

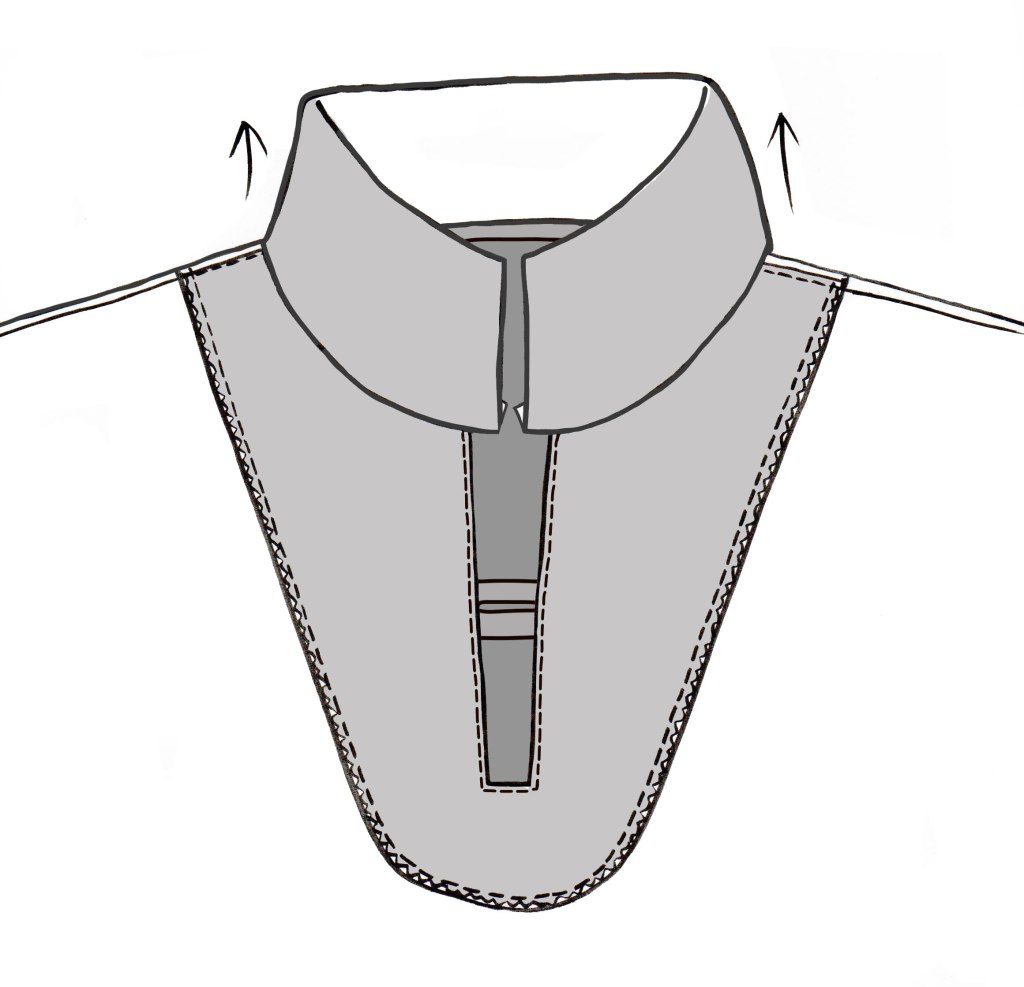
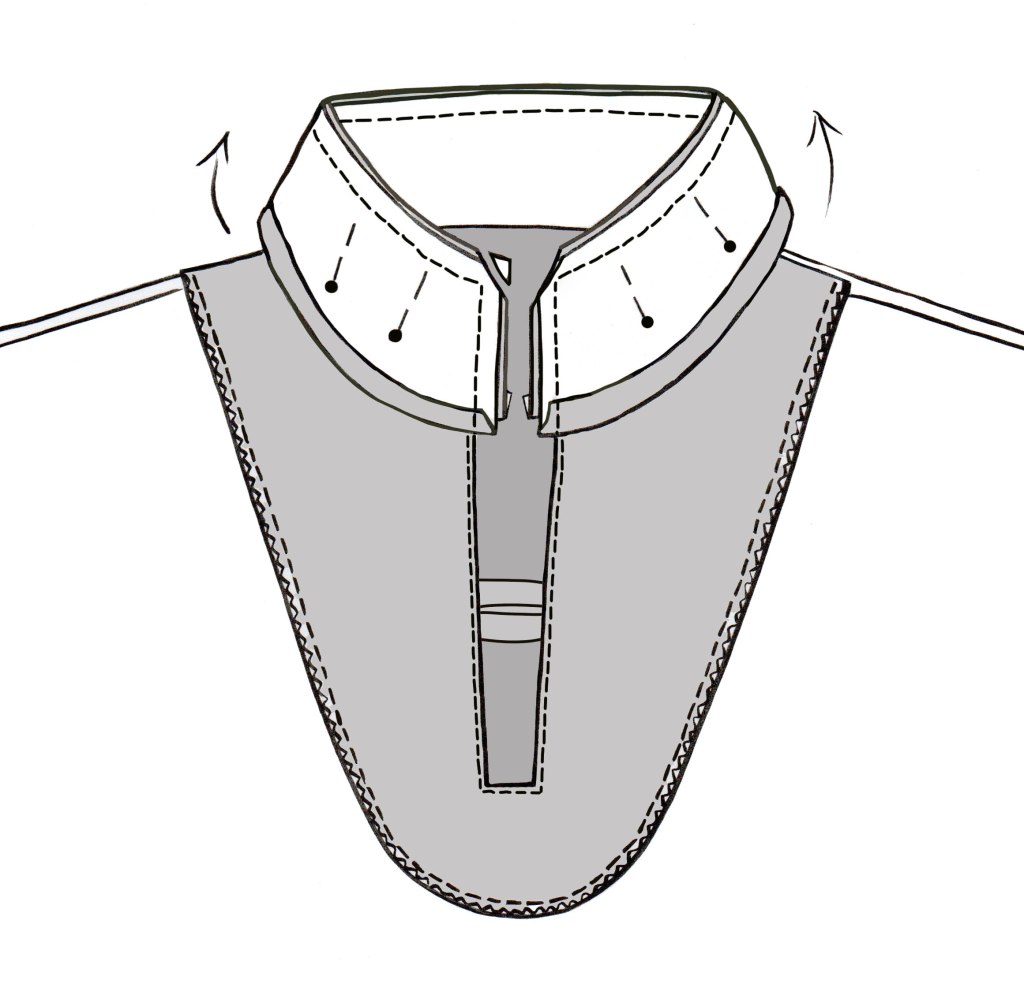
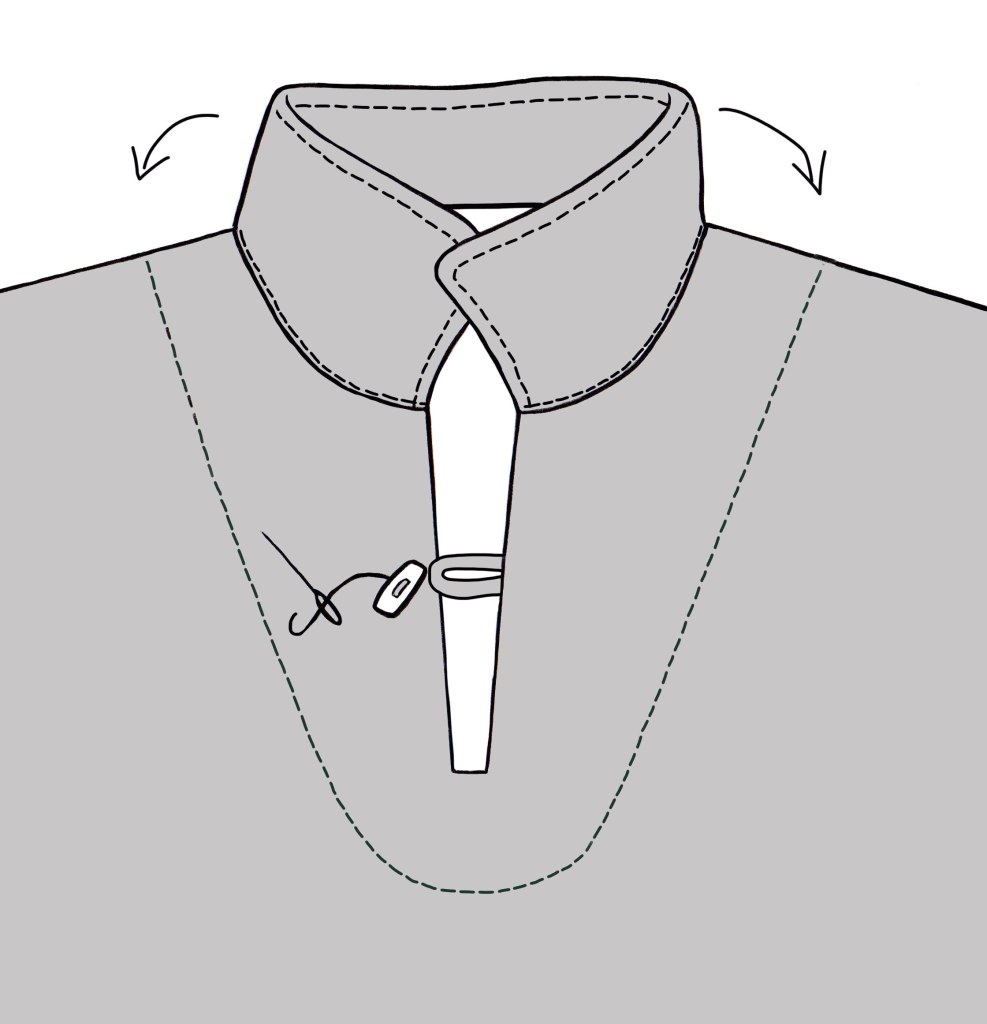
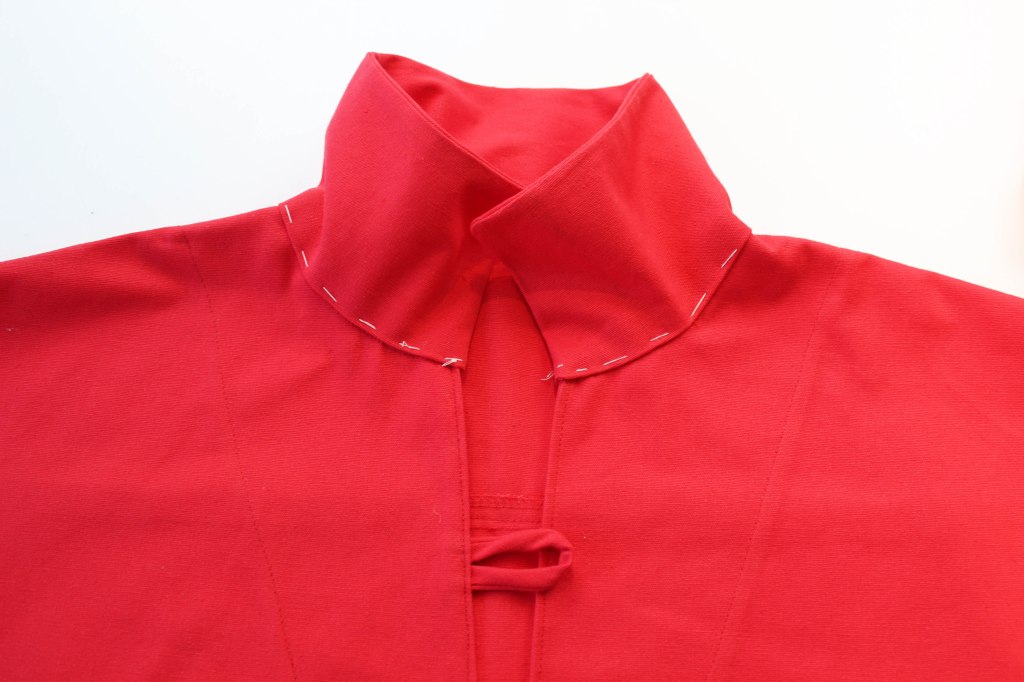
Here are some step by step images which show you how the top is made. More info is written in the pattern. To purchase the pattern click this link will take you to the Etsy Shop.

HOW TO MAKE THE ST IVES TOP

Prepare the Loop.

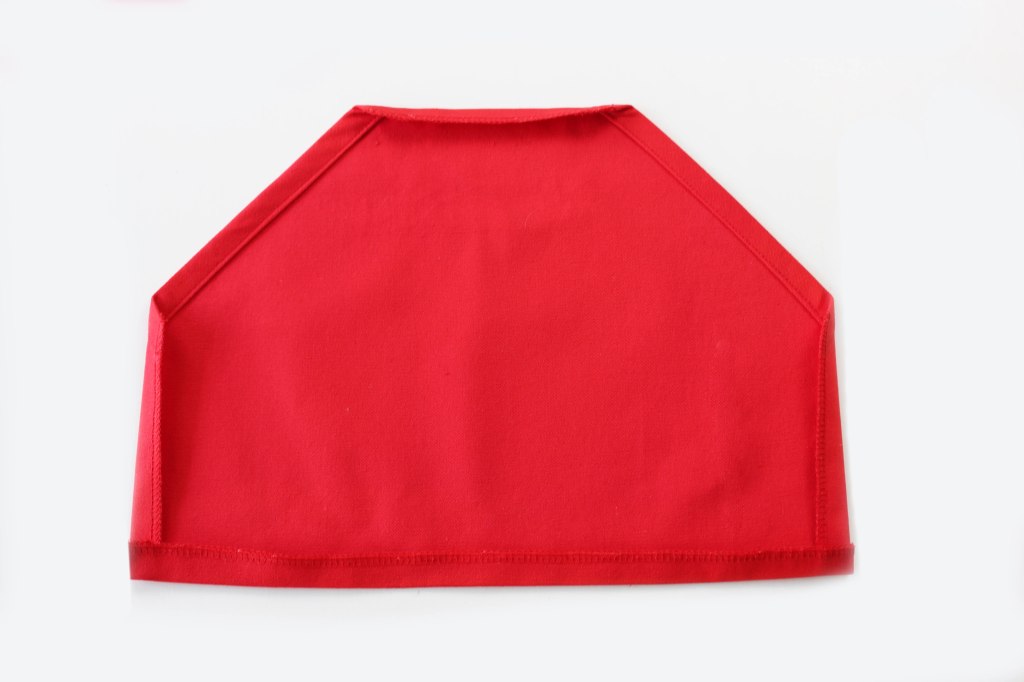
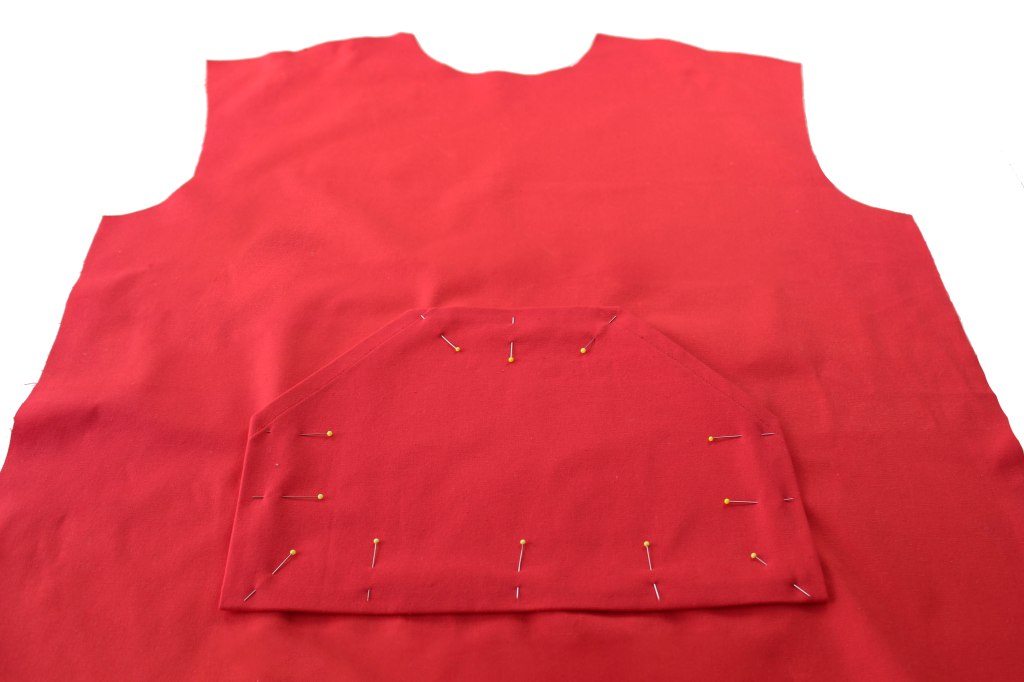
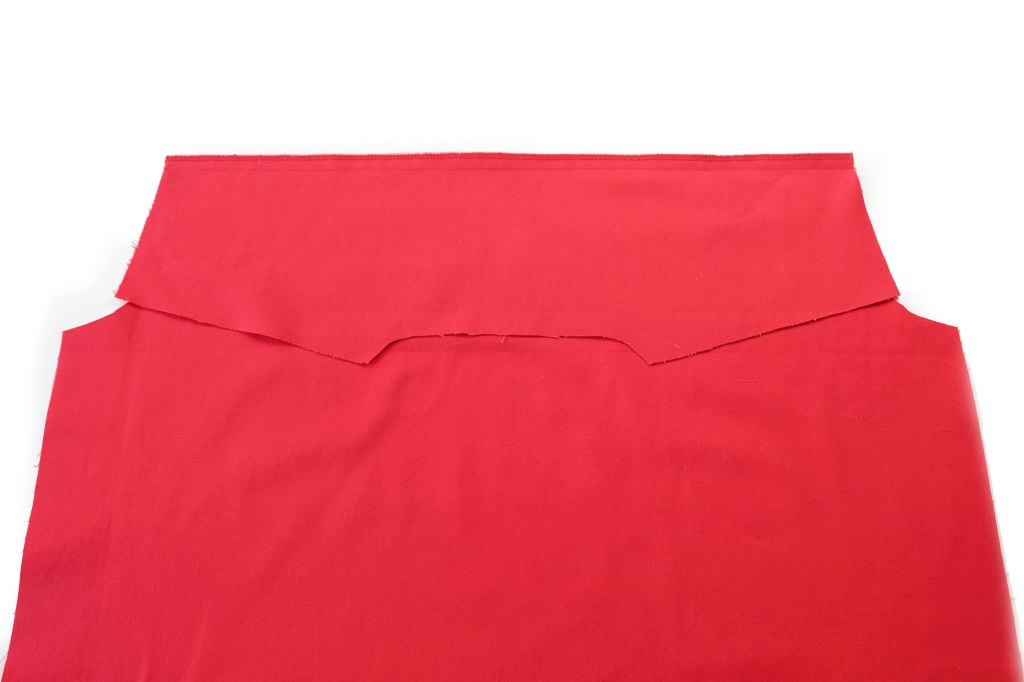
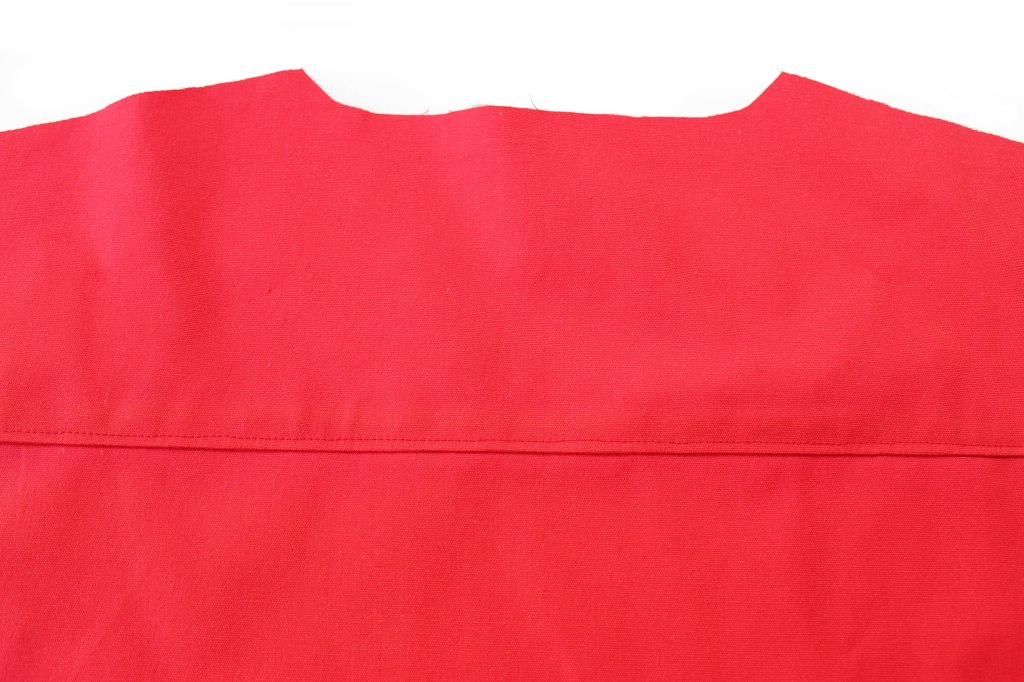
KANGAROO STYLE POCKET

Pin to the Front piece.Sew all around, leaving the hem section unstitched.

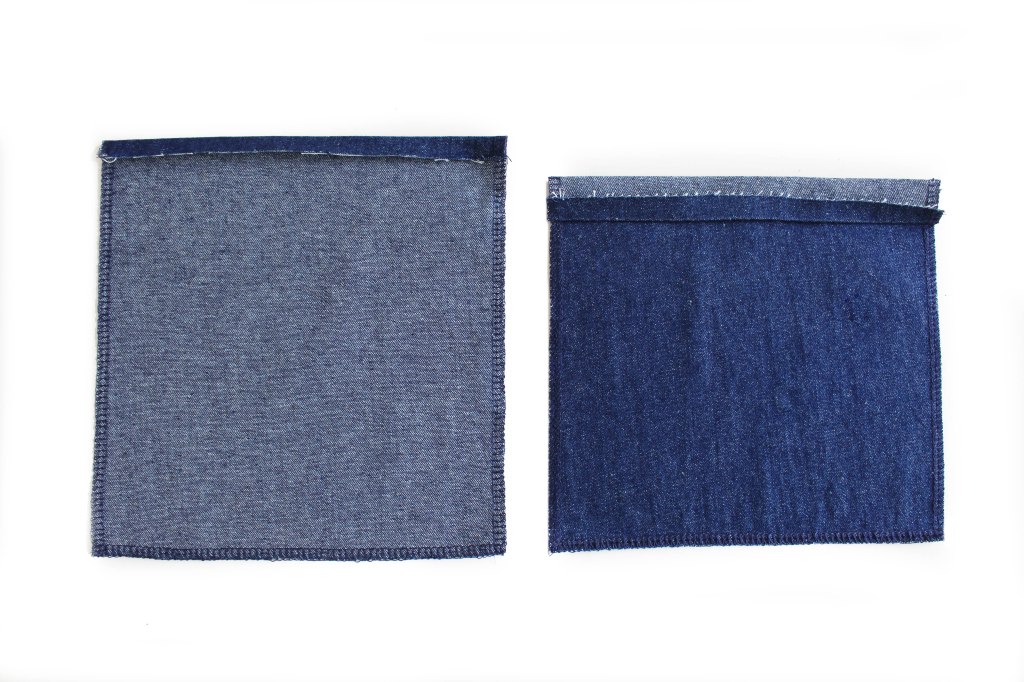
or PATCH POCKETS

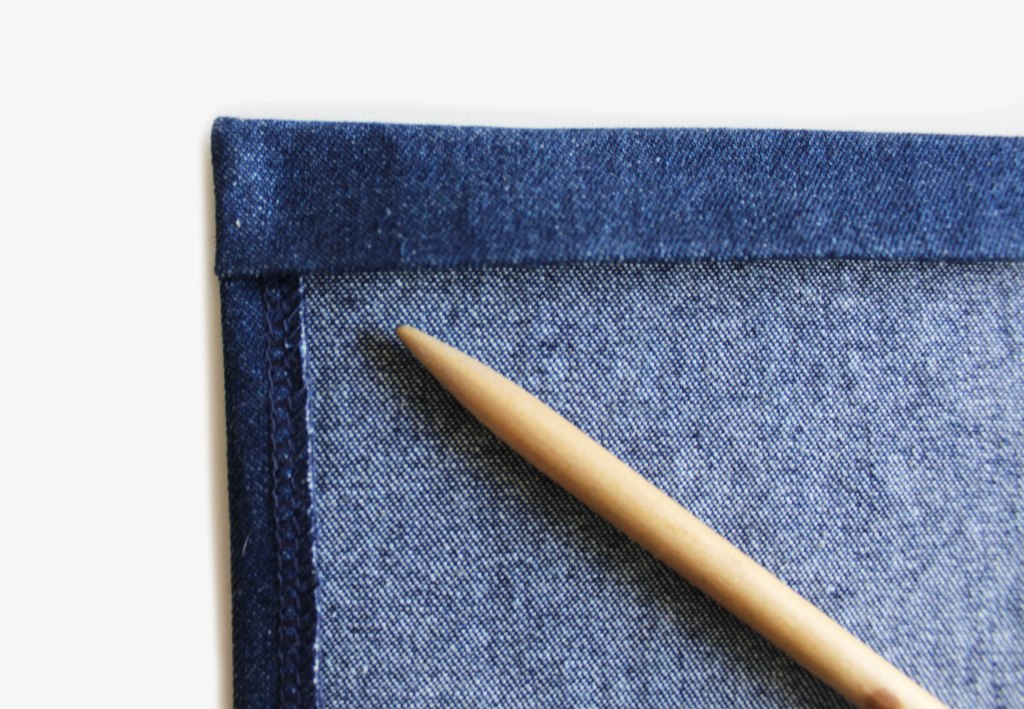
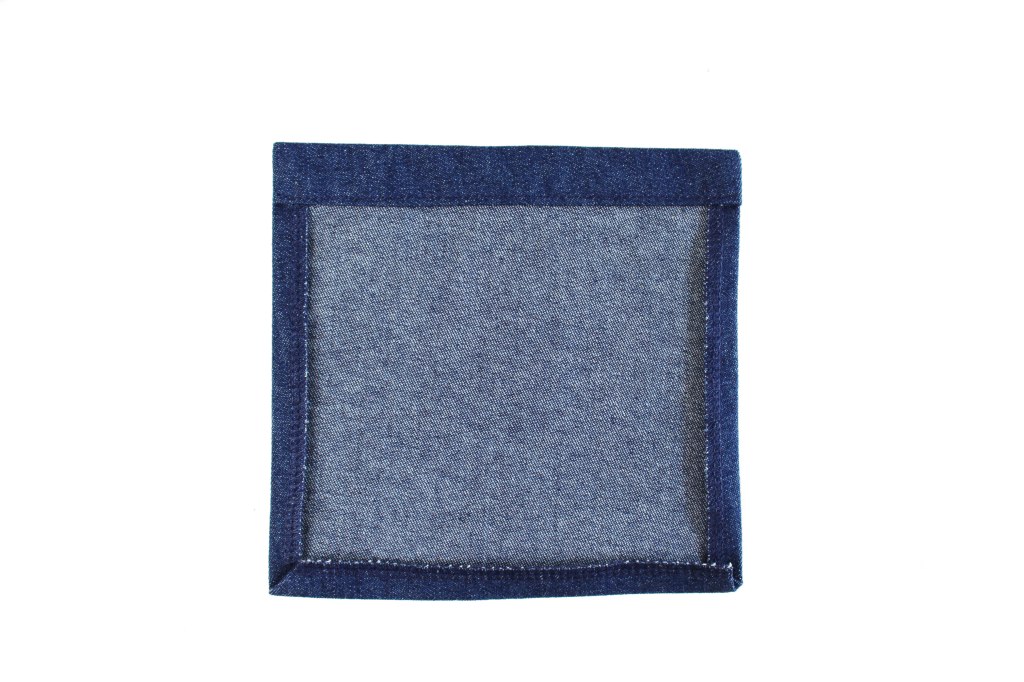
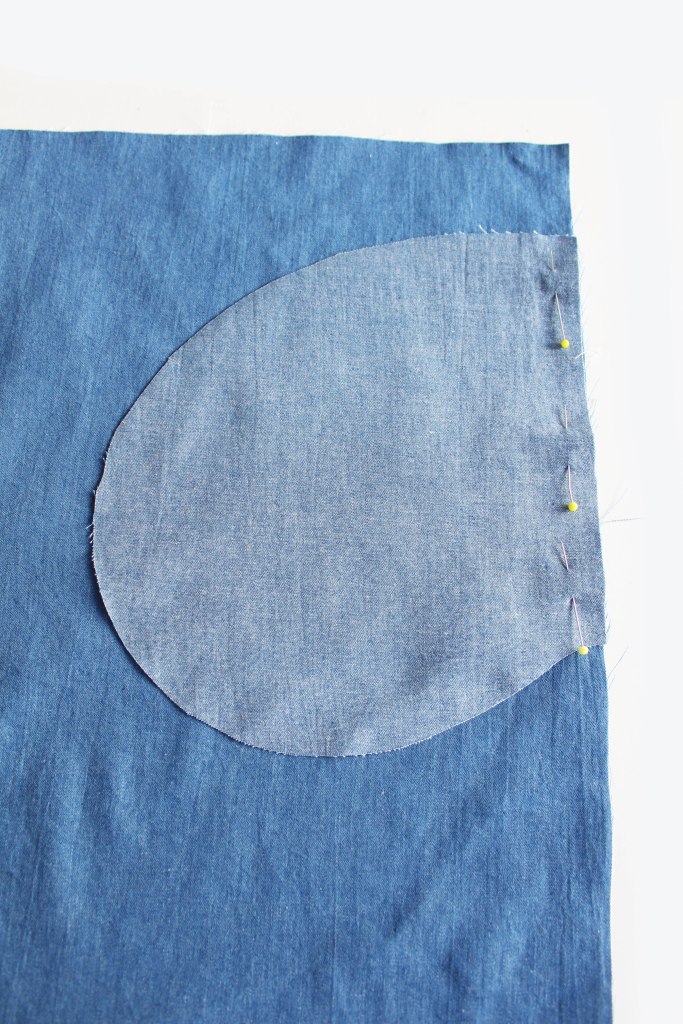
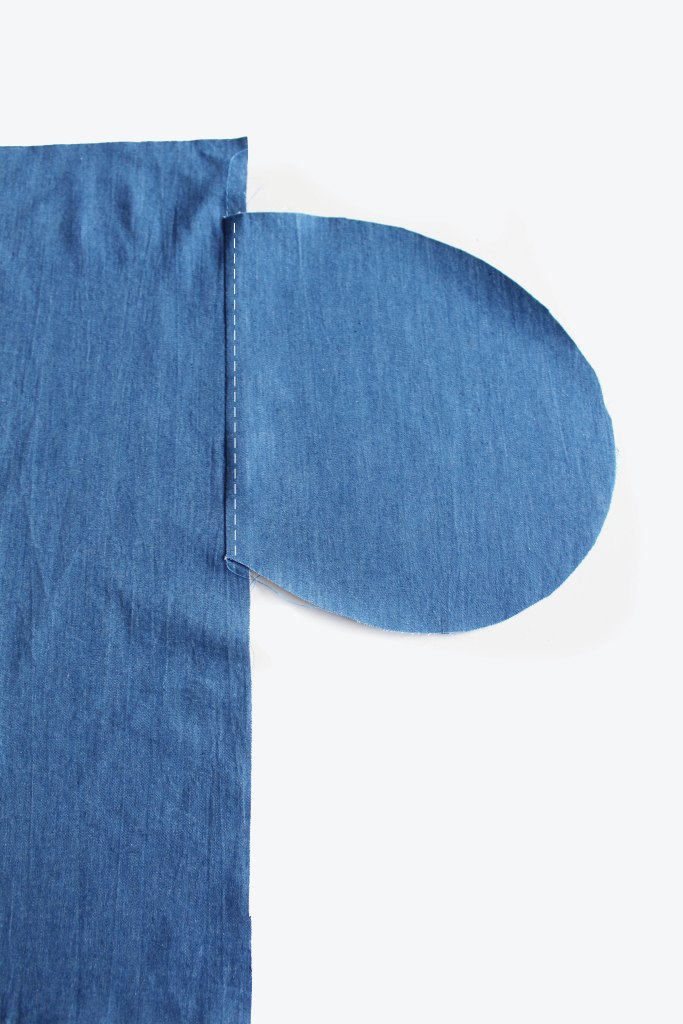
Fold over the top edge of the patch pockets. Stitch. Fold over and press the remaining three edges.

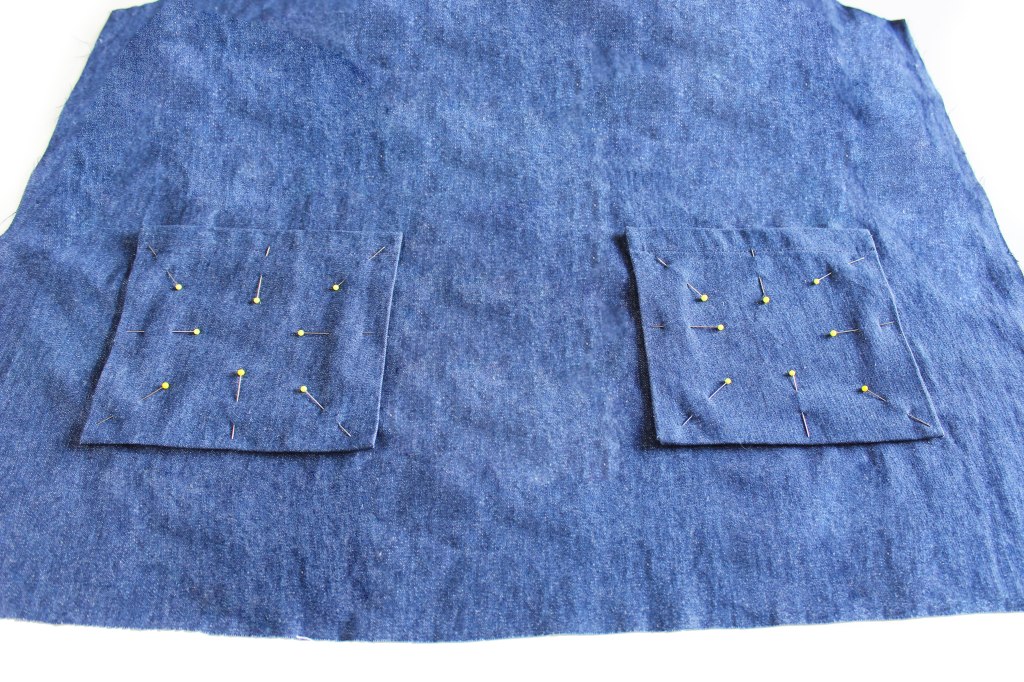
Pin to the Front piece. Sew, leaving the top hemmed edges unstitched.
All images are copyright Fiona Hesford. Please ask prior permission if you wish to use any of the content of this post. Thank you.

AGNES TOP & DRESS

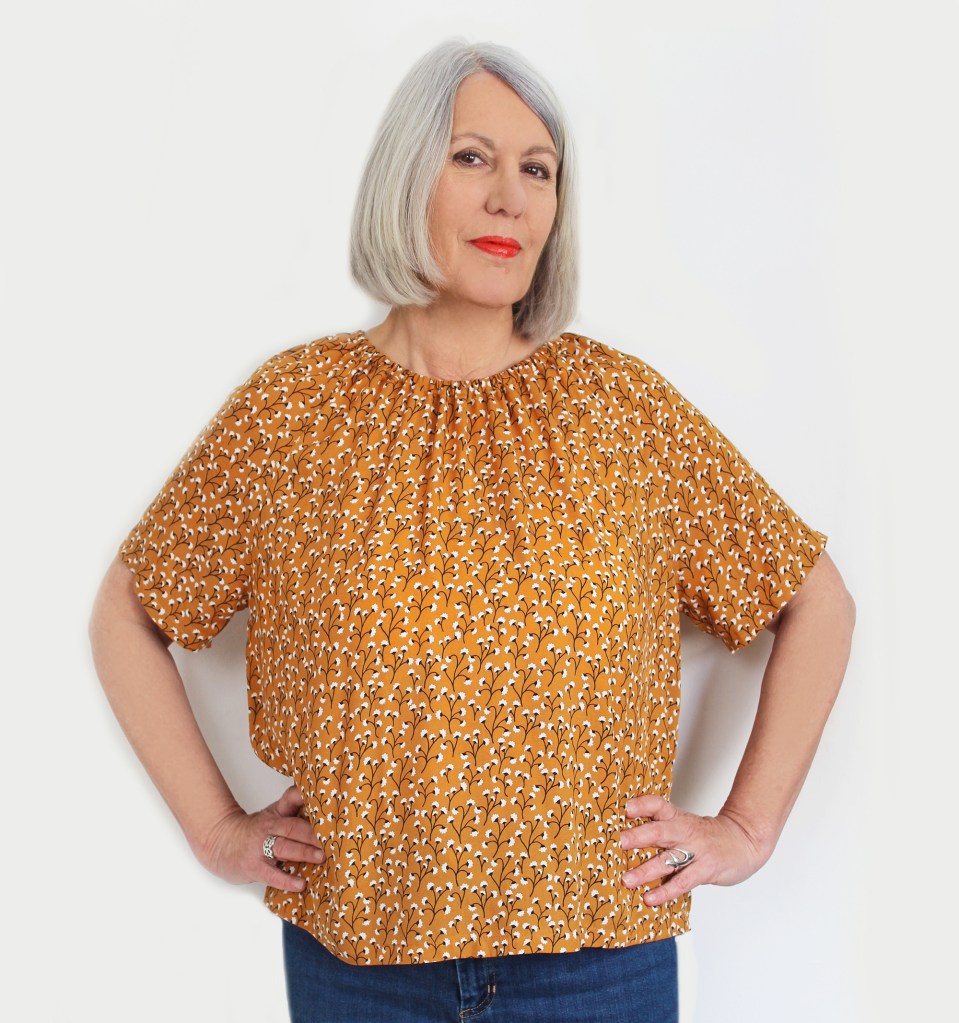
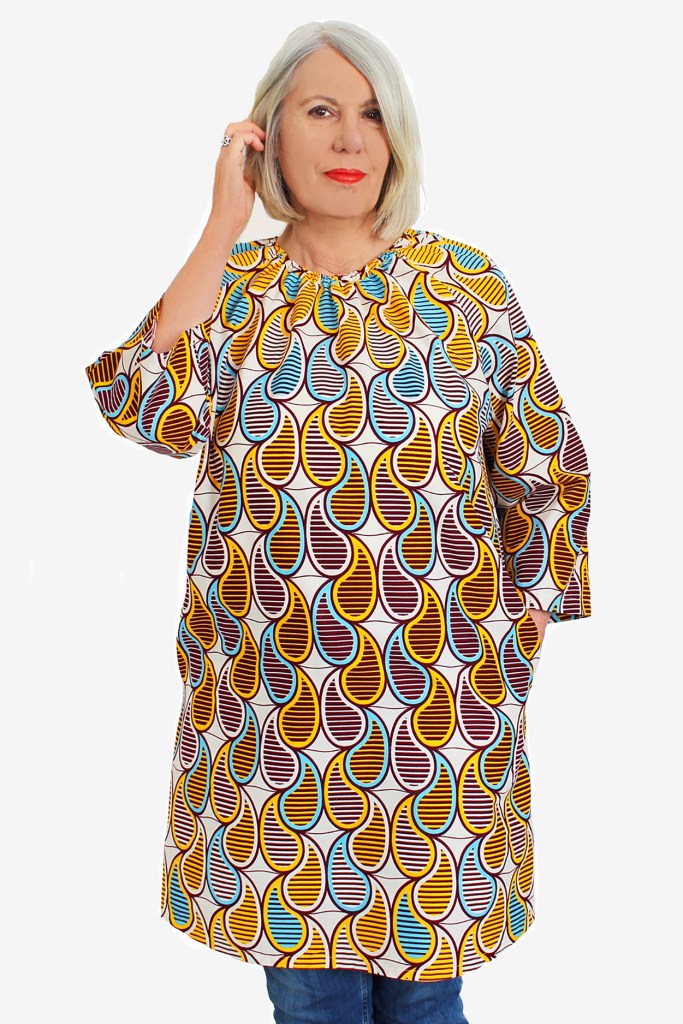
Agnes Top with short sleeves in viscose fabric.
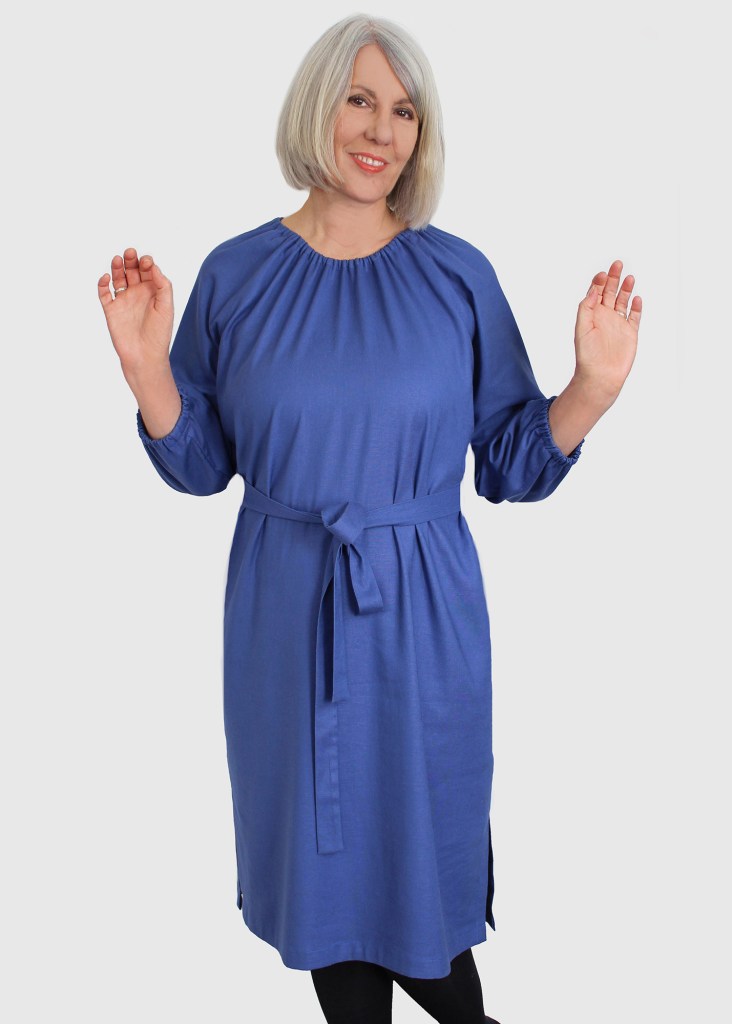
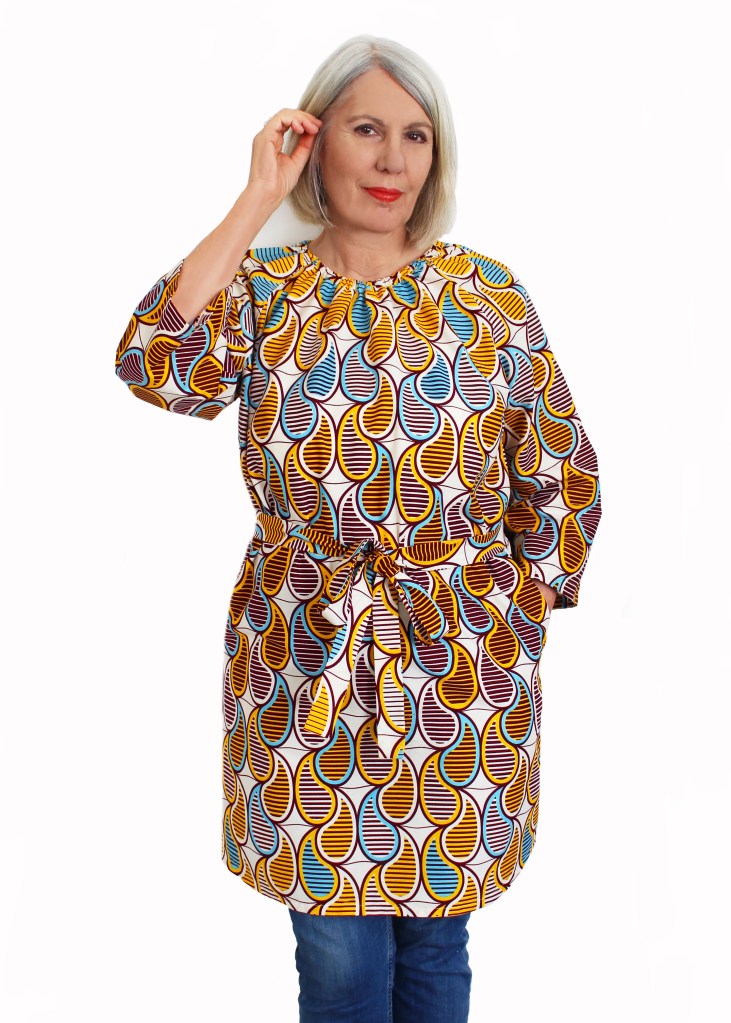
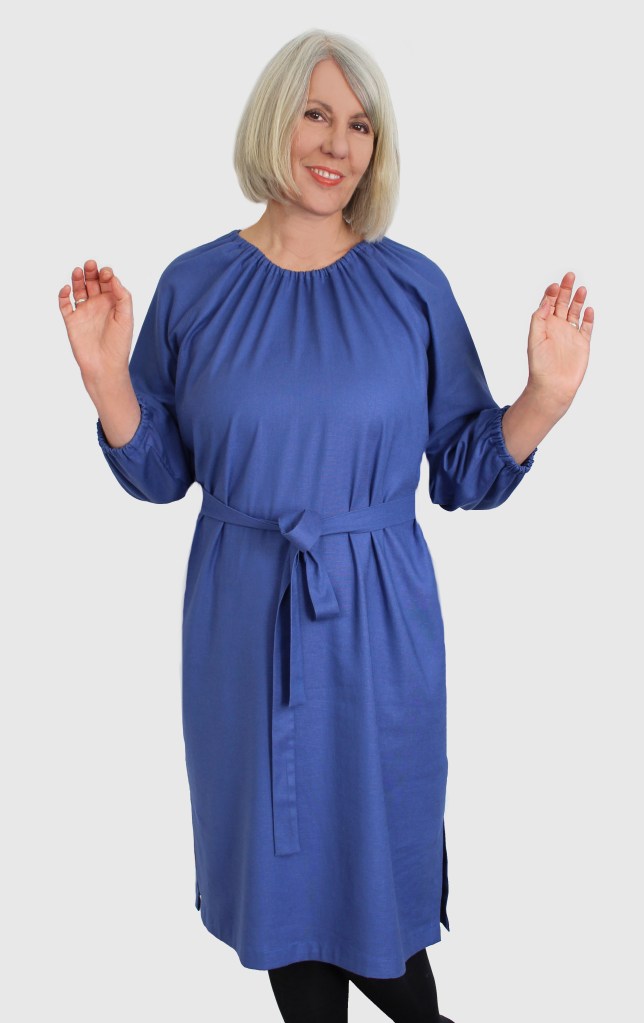
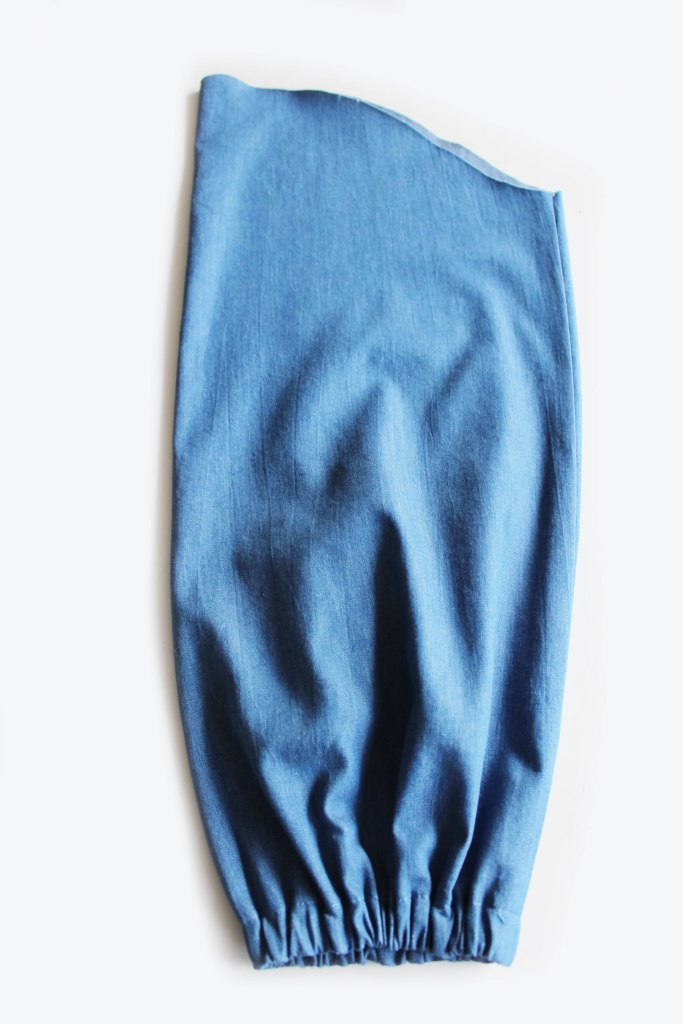
Dress with Tie Belt and gathered elasticated cuffs

May I present Agnes? Another fabulous dressmaking pattern from the House of Sewgirl (fanfare please!).

This is a wonderfully simple, yet versatile sewing pattern, to make a top, tunic or dress which can be made in a variety of fabrics and style options, in sizes UK 8 to 22.

Agnes has a gathered elasticated neckline which you can adjust to suit you, with easy insert raglan style sleeves and a loose fit, so it’s extremely comfortable and flattering to wear. I imagine this would be an ideal holiday item of clothing, however its also great for everyday wear too.

The dress (Version C-with an optional tie belt) can be made to look very chic, depending on the fabric you choose. I made the blue version in a linen/viscose stretch fabric, it also works well with medium or lightweight cotton, viscose fabric (see the Top Version A pic), lightweight linen or denim chambray.

Agnes top is great worn with jeans and the tunic with jeggings is also a winning team, or if you want a cool summer look, pop on the tunic dress with tights or bare legs and a pair of sandals and off you go.

Agnes has two lengths of sleeves which allow you to mix and match with each style. The long sleeves can be made with elasticated cuffs or left just hemmed. The tunic (Version B) has side pockets which you could also have on the dress if preferred.

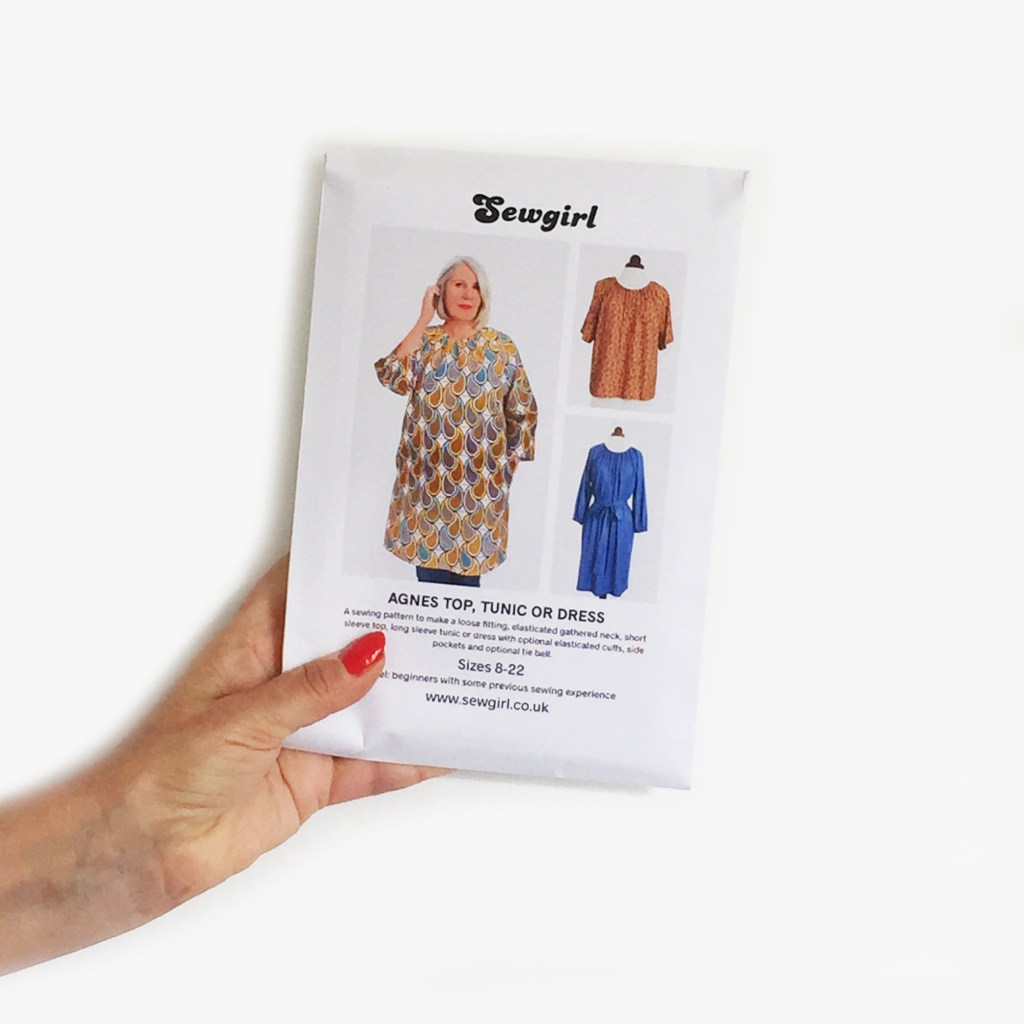
Agnes sewing pattern by Sewgirl

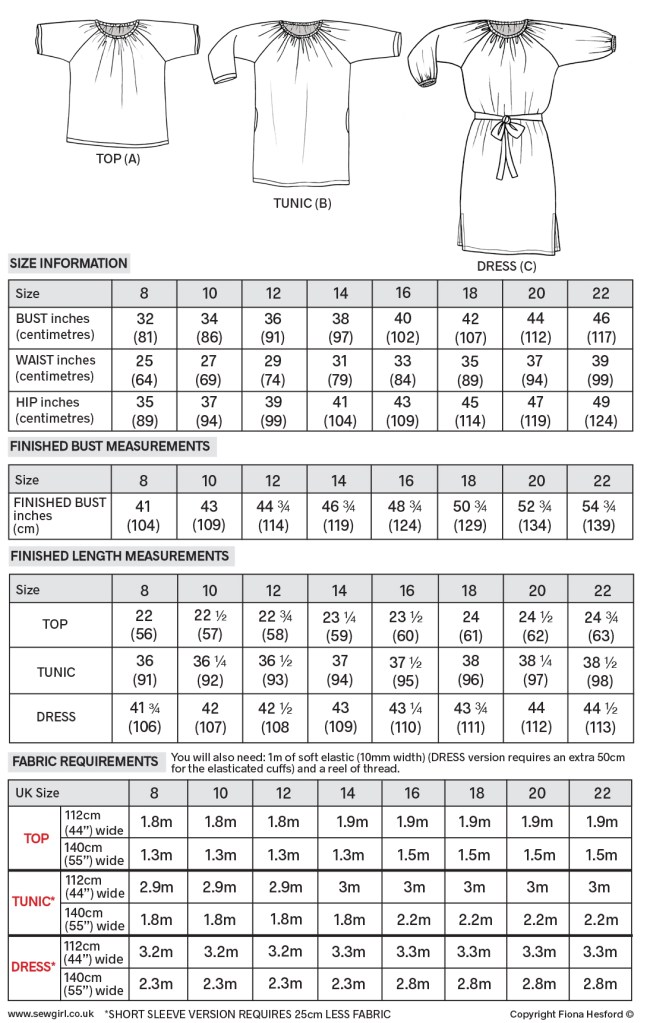
Here is some info about sizes, finished garment measurements and fabric requirements.

PLEASE NOTE: that if you are making a Dress version with fabric 140cm wide and don’t mind having a back seam on your Tie belt, then you can save at least 50cm on the fabric requirements by cutting two belt pieces across the width of the fabric following the 140cm wide Layplan. Join the Tie belt pieces together at the short edges to make one long piece.

So maybe you might like to know where the name Agnes came from?…. weeelllll……… when I lived in Paris (back with the age of the dinosaurs ha ha!), there was a French fashion designer called Agnes B. She hit the French fashion world, changing it forever. We all fell in love with her simple understated, yet very Parisian chic style. She became one of my fashion heroines. I loved the name so much that I gave it to my daughter as her middle name. And now Agnes has joined the Sewgirl family.

Agnes B

THIS IS HOW AGNES IS MADE

The seam allowance is 1.5cm (5/8″).

Please note the pattern also states a 1cm (3/8″) seam allowance but this is not correct.

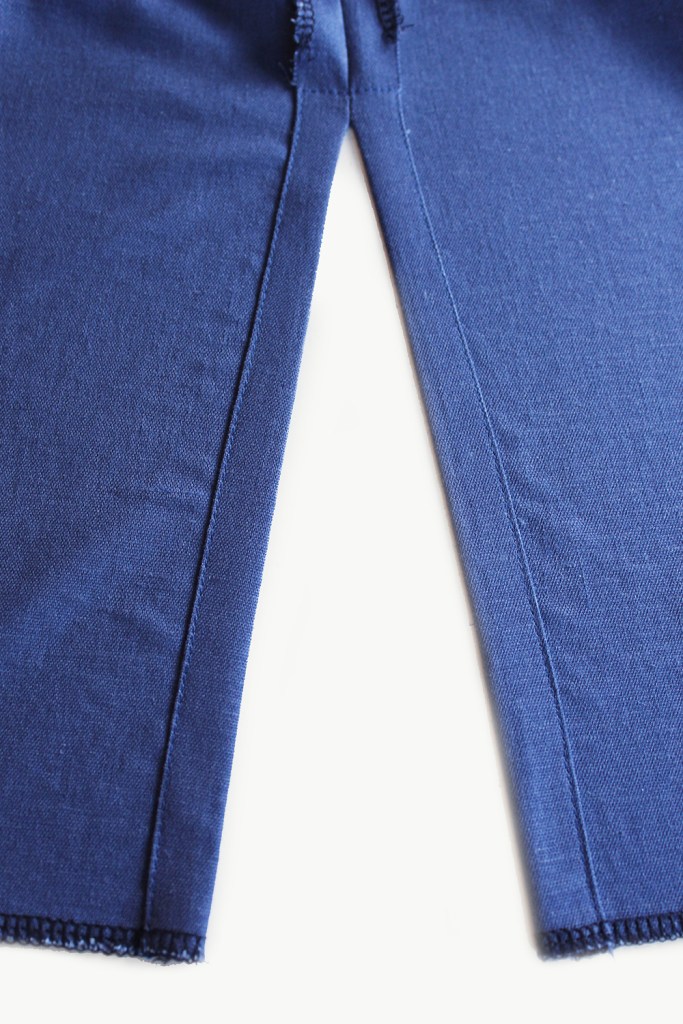
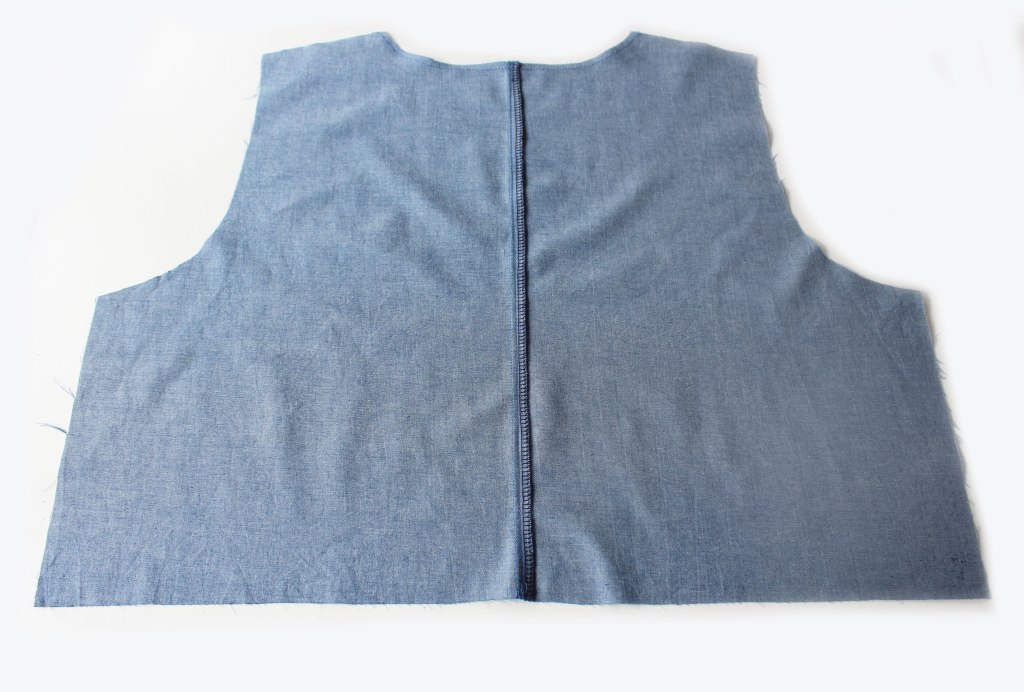
First, sew together the back pieces. Press the seam to one side. Topstitch.

POCKETS (Tunic B version)

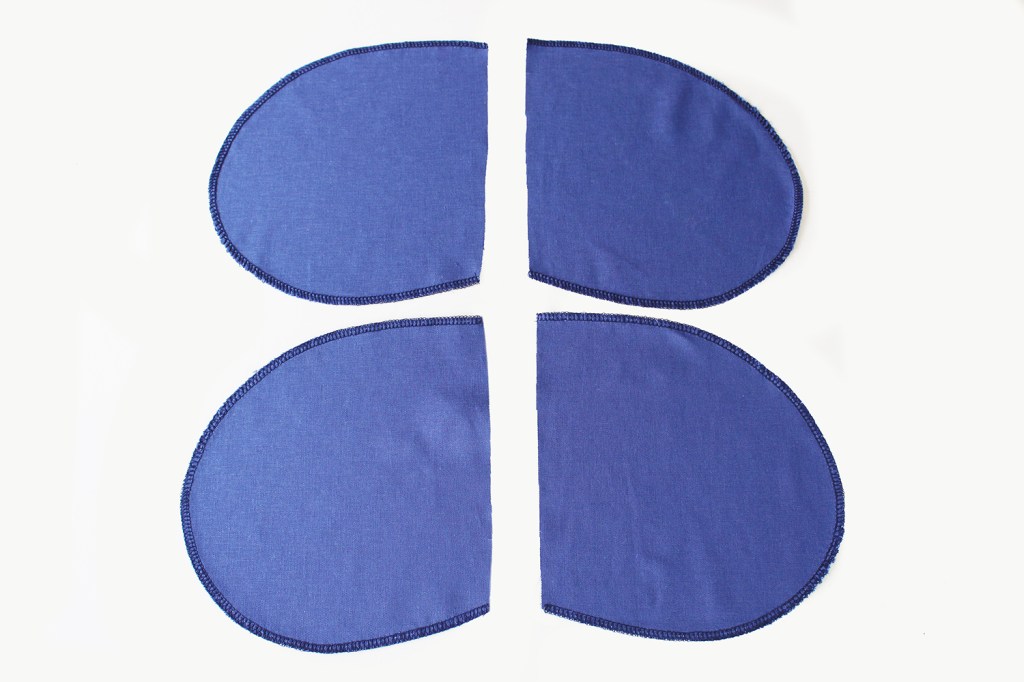
Finish the outer raw edges of the pockets if you have an overlocker- if you don’t have one – no worries! just leave the edge finishing bit until the end.

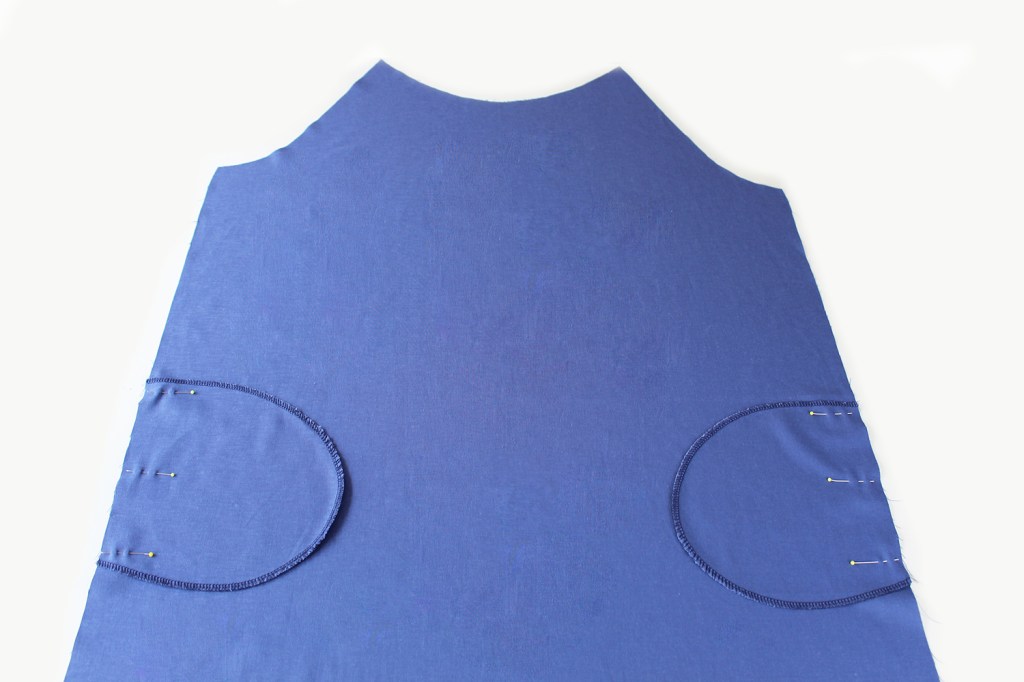
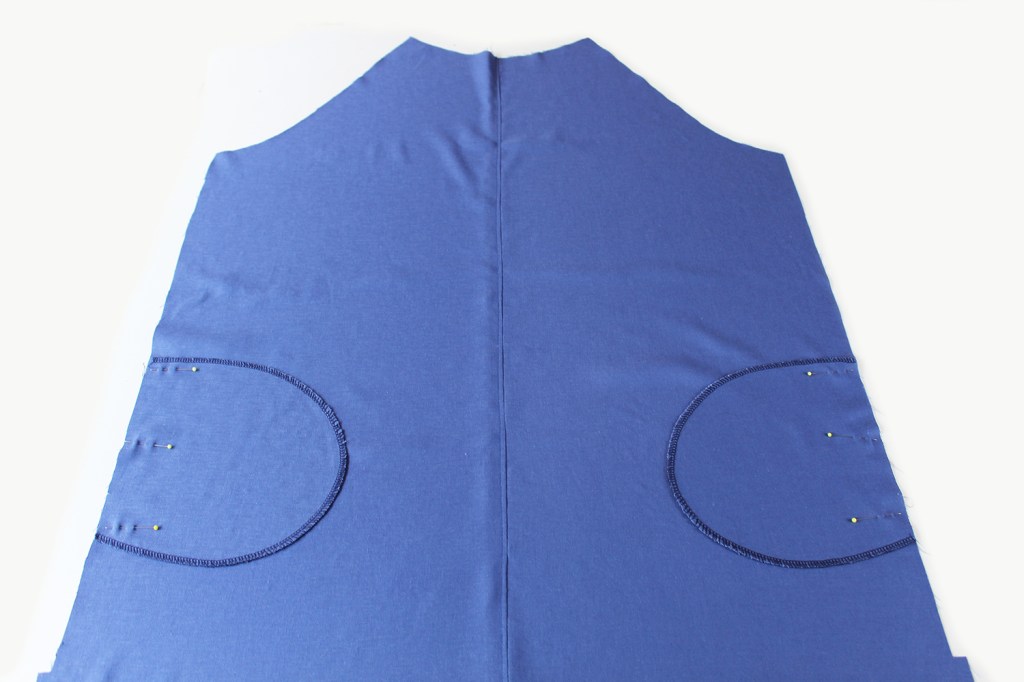
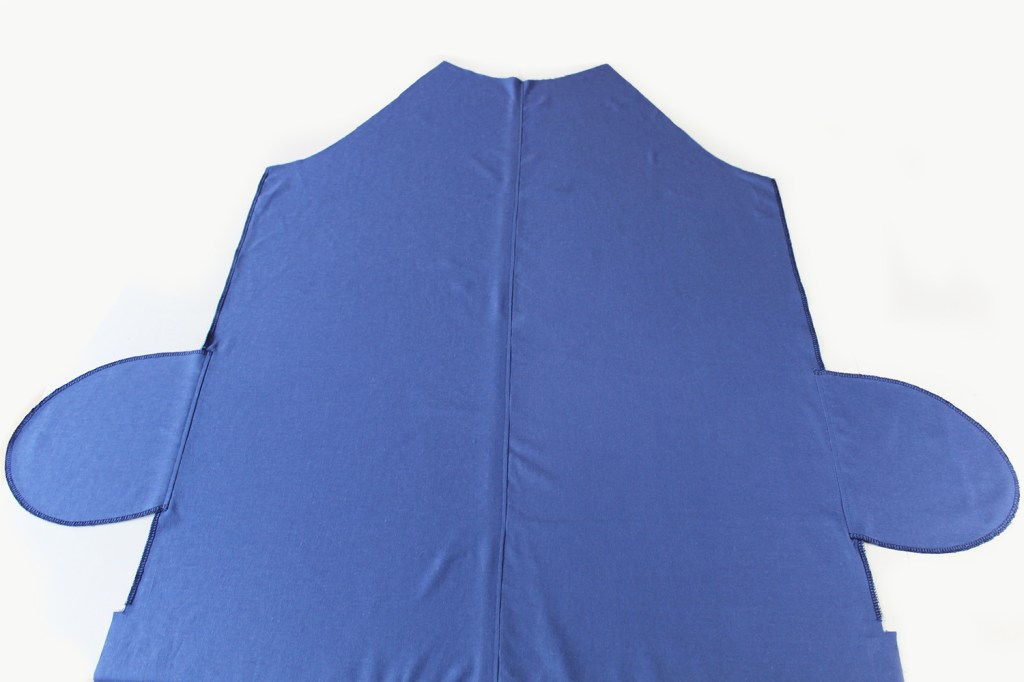
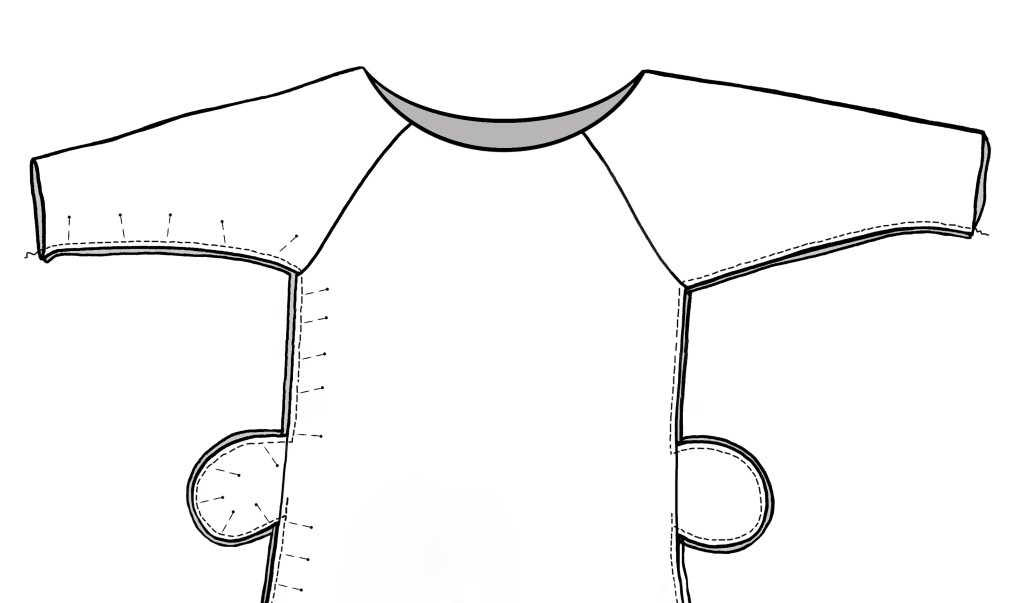
Pin one pocket at each side edge with the right sides of the fabric facing together. Sew. Press the pocket outwards, away from the body. Topstitch.

Pin the front to back at the side edges. Sew.

For the TUNIC only, sew around the pockets as you go.

Finish the edges together.

If making the DRESS, you will need to leave the lower side edge below the notch on each side open at this stage. See ‘SEWING THE SIDE SLIT’ section below for instructions.

SEWING THE SLEEVES

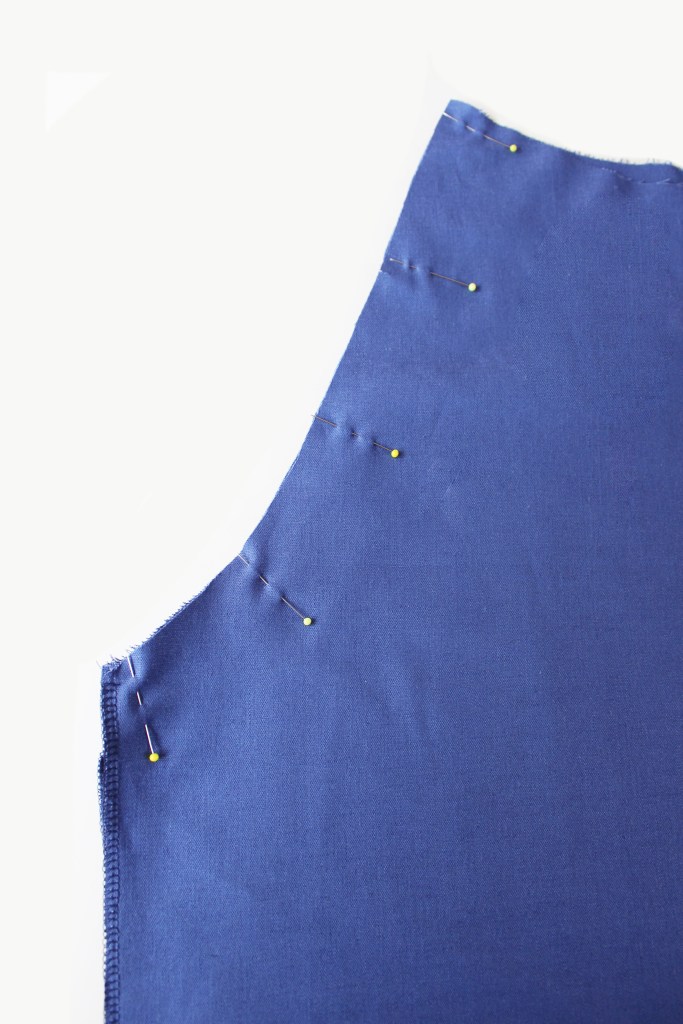
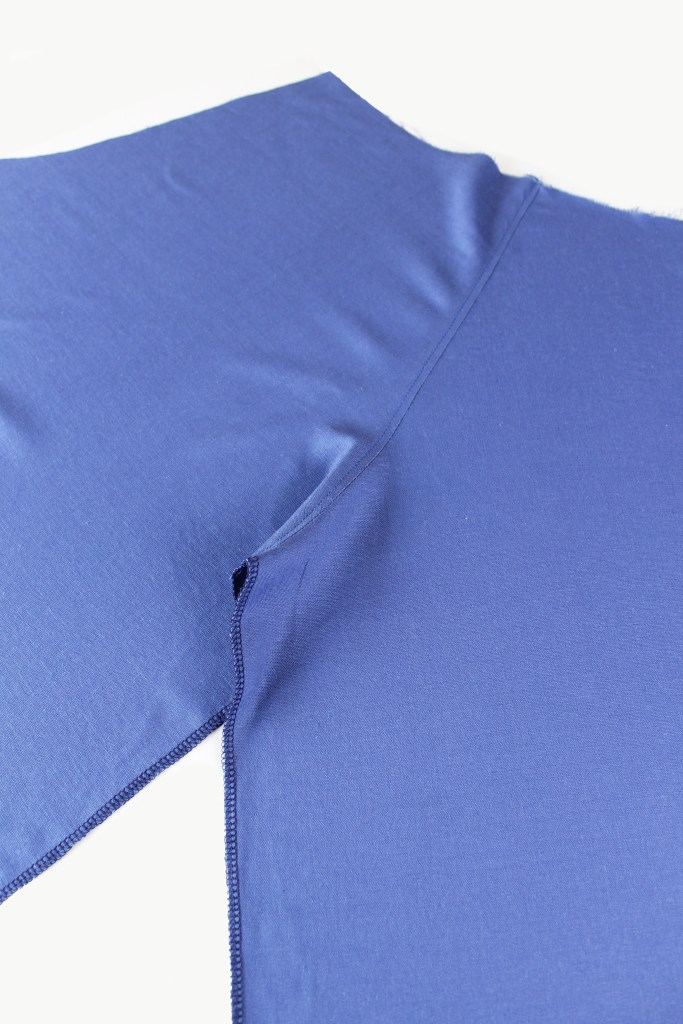
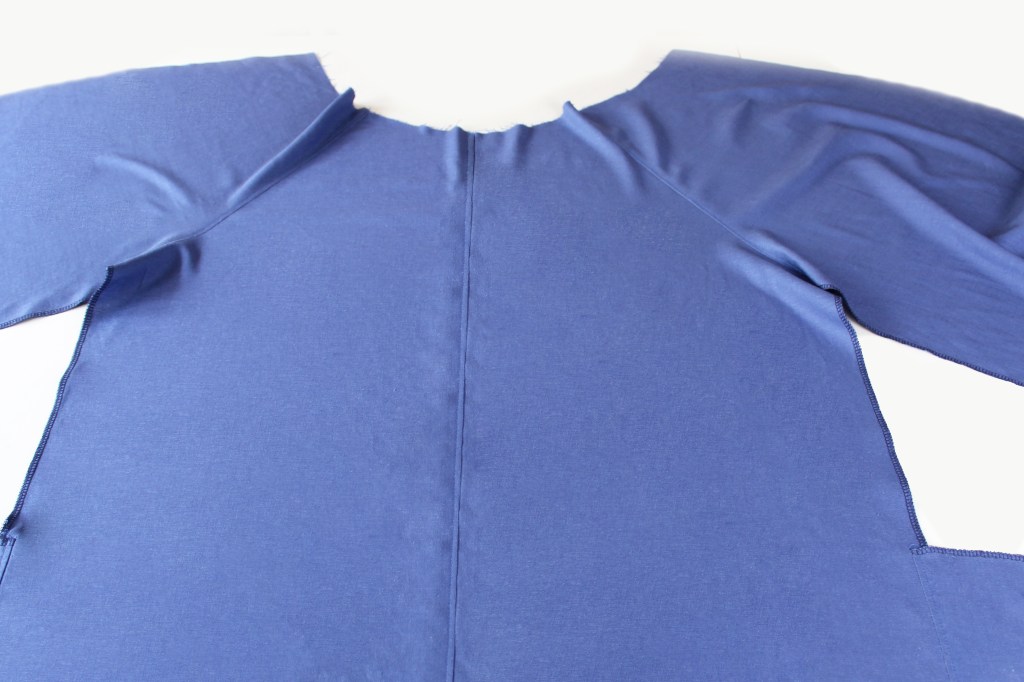
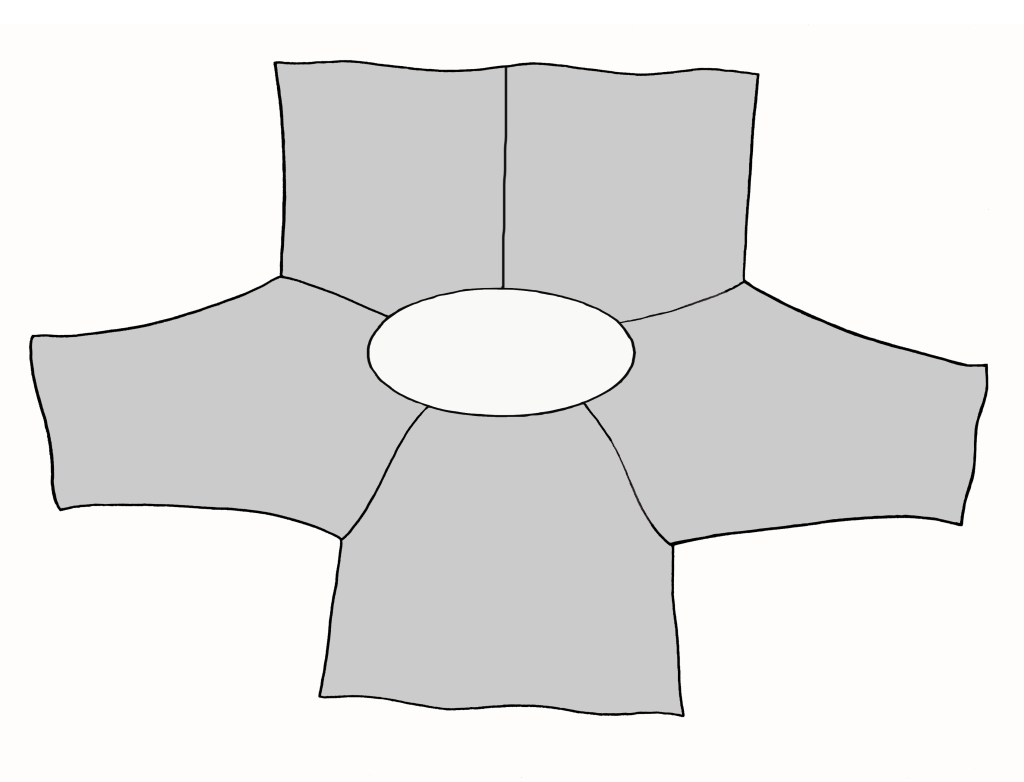
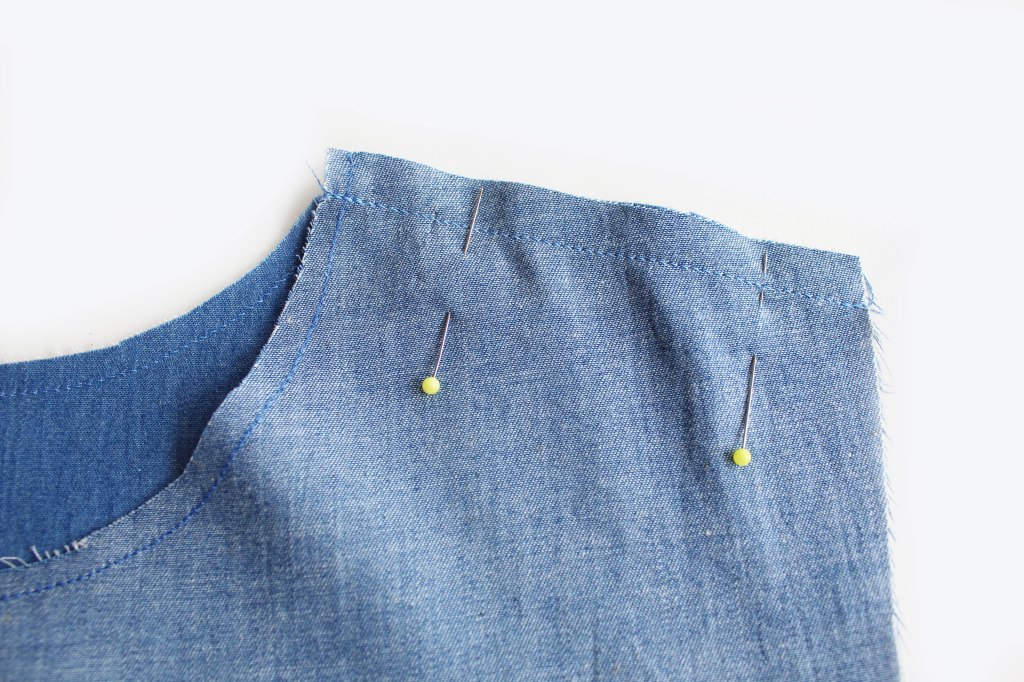
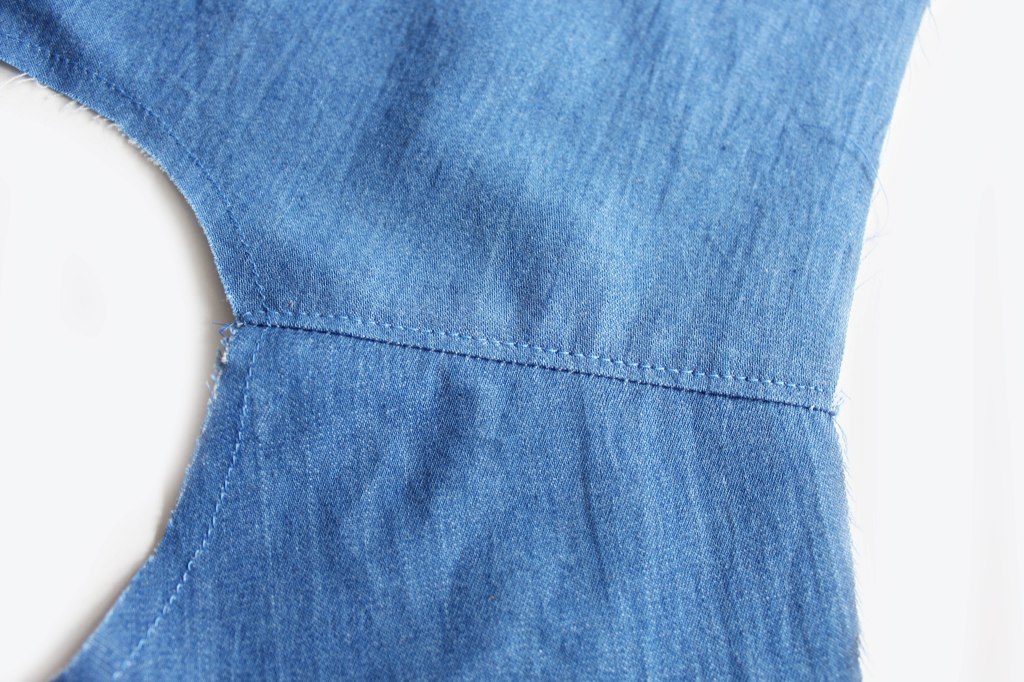
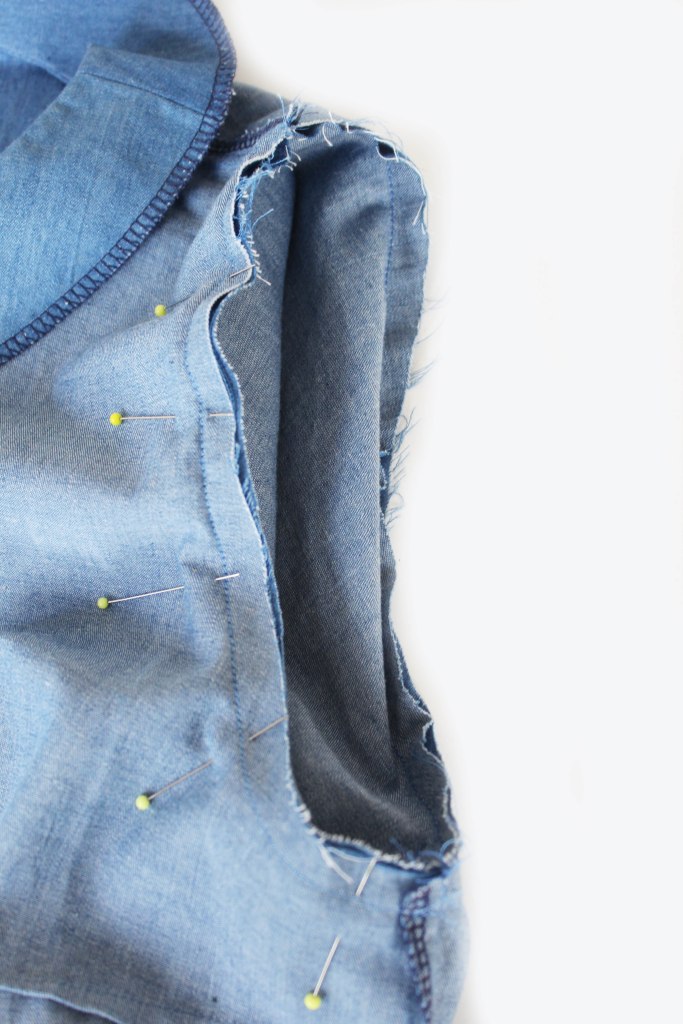
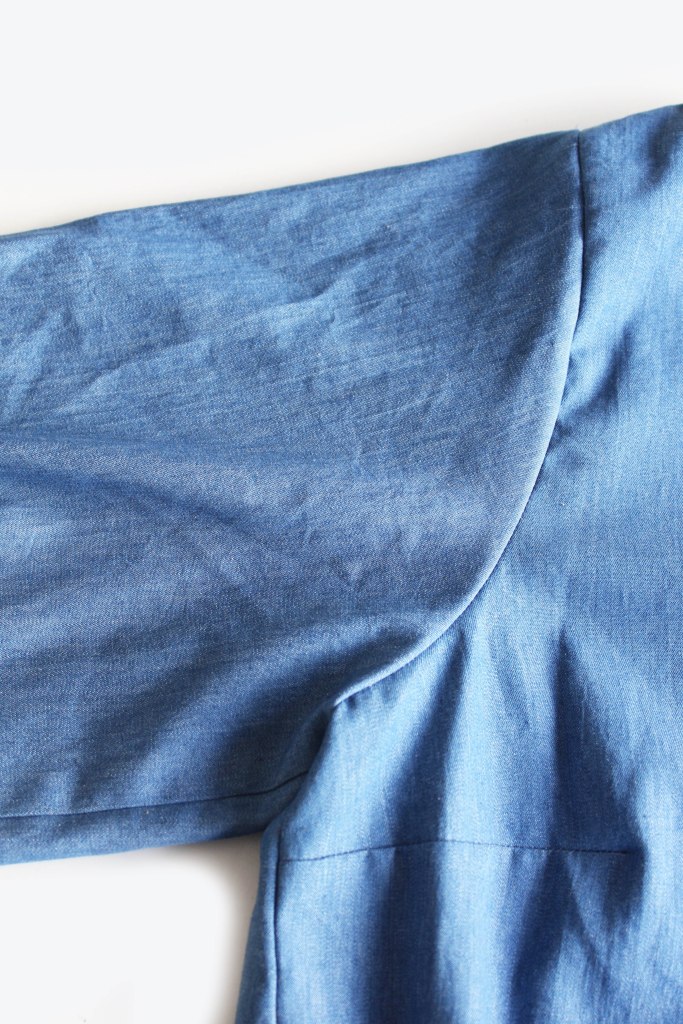
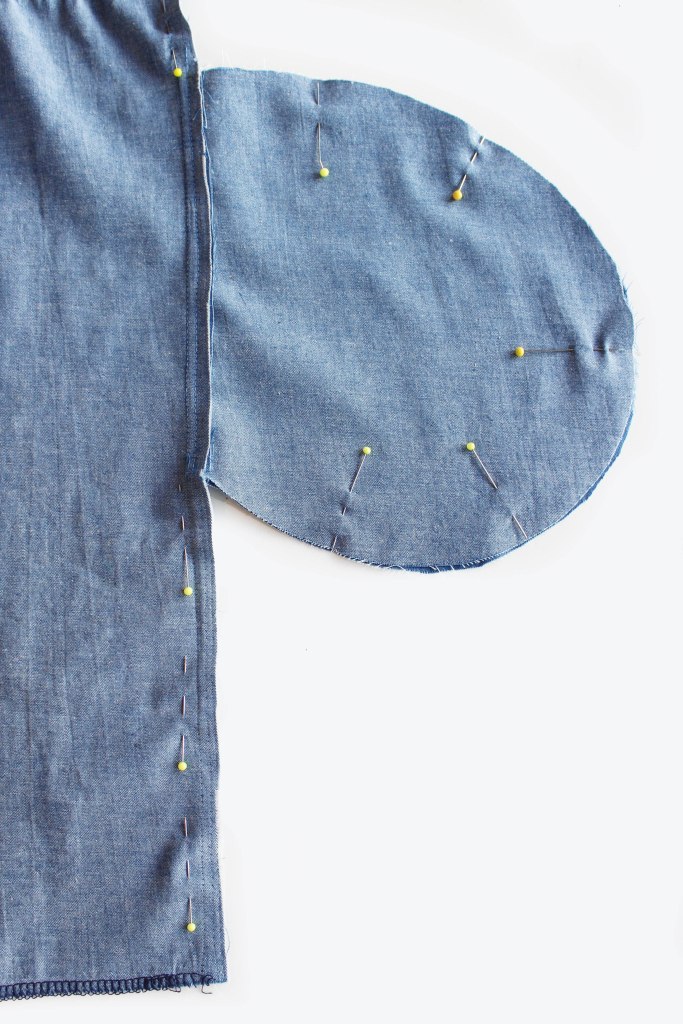
Pin, then sew the front sleeve slanted edge, to the front piece at each side. Press the Sleeve outwards with the seam allowance pressed towards the Sleeve. Topstitch.

Repeat for the back sleeve with the back piece.

MAKING THE NECKBAND–METHOD 1-(if you don’t have an overlocker)

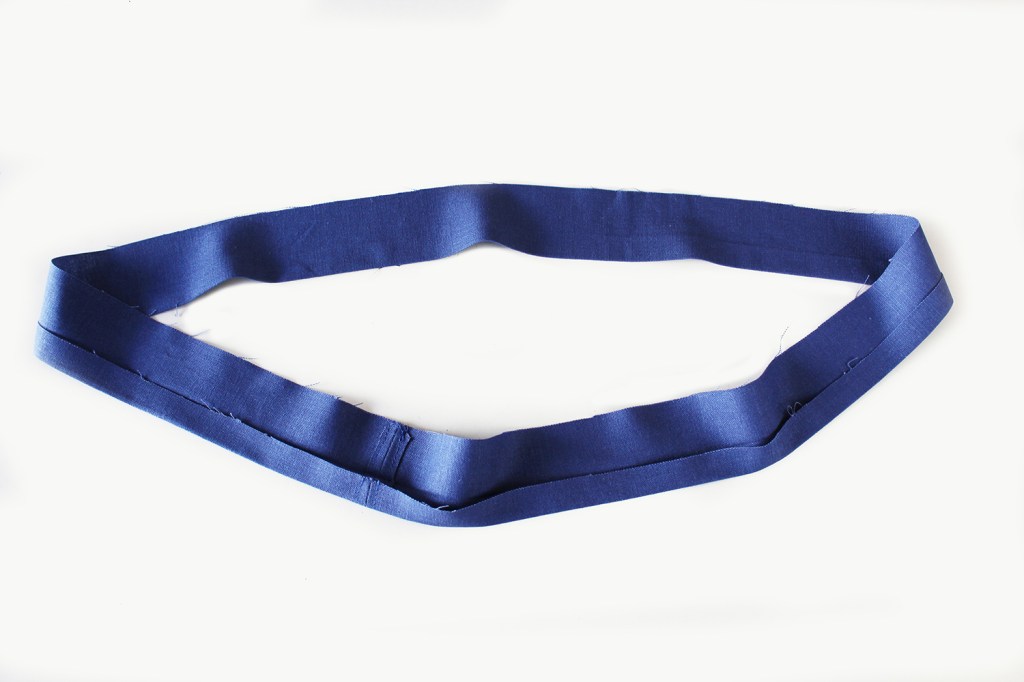
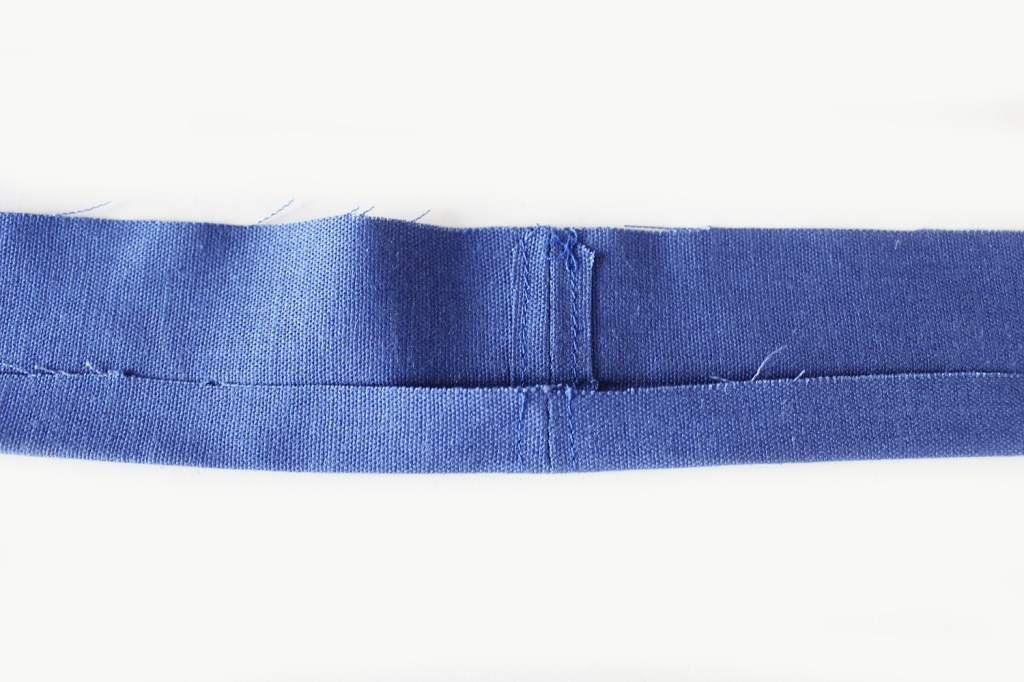
Join the neckband short edges with the fabric right sides facing together. Press the seam allowance open. Topstitch either side of the seam line. Trim off the excess seam allowance.

Fold over and press 1cm on one long raw edge of the neckband all around.

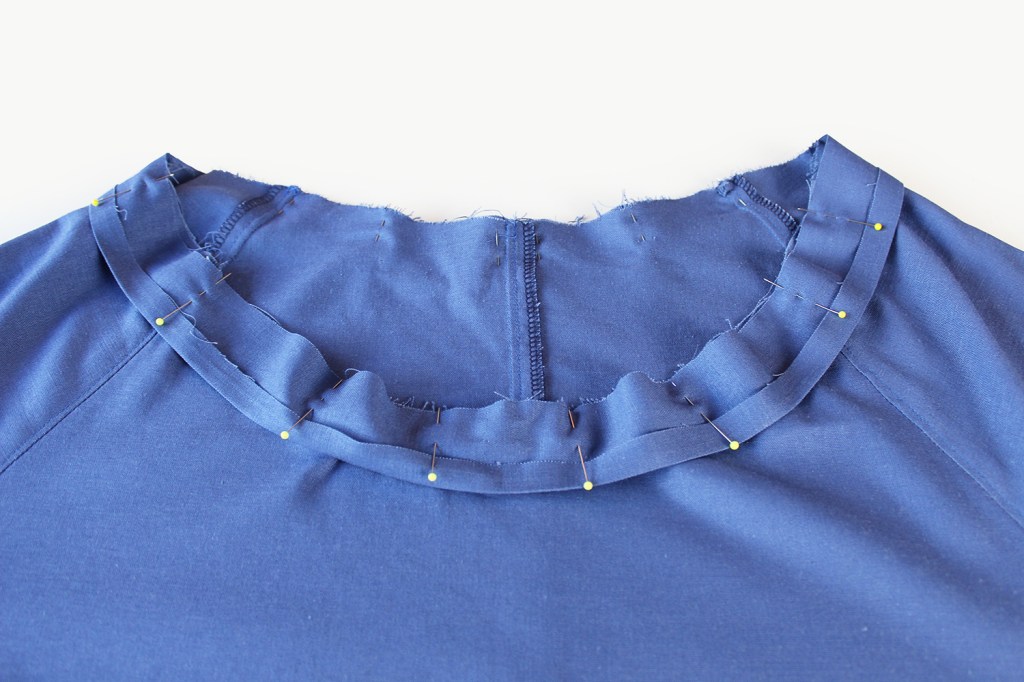
Pin the neckband, at the raw unfolded edge, to the raw neck edge all around, with the seam at the centre back. NB if you fancy making a drawstring version, position the seam line at the centre front instead. Sew. Trim off 1cm from the seam allowance all around.

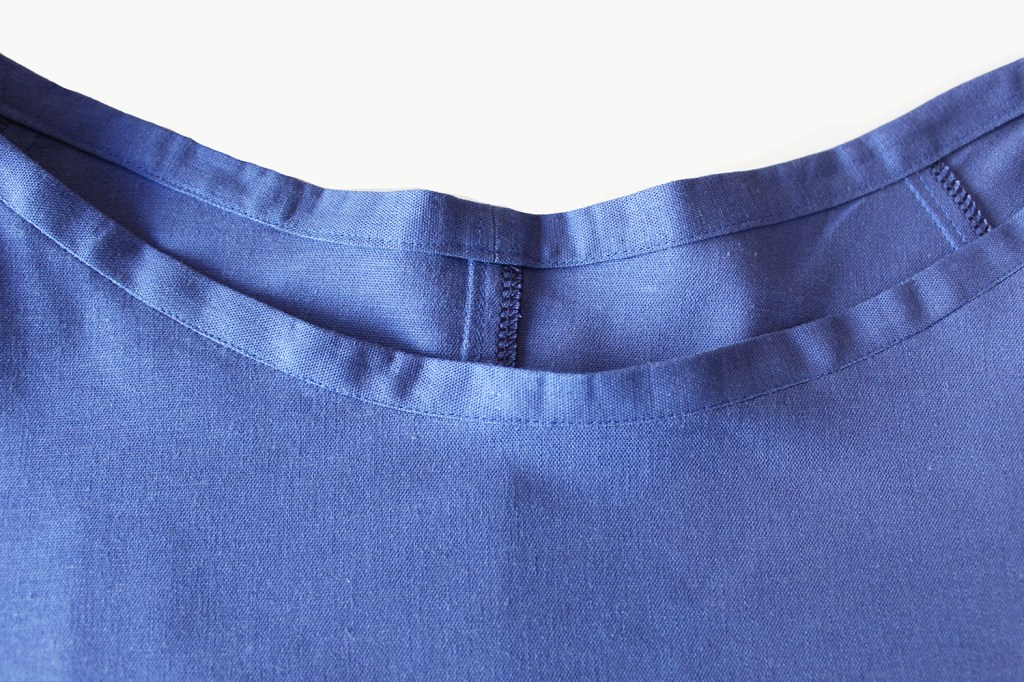
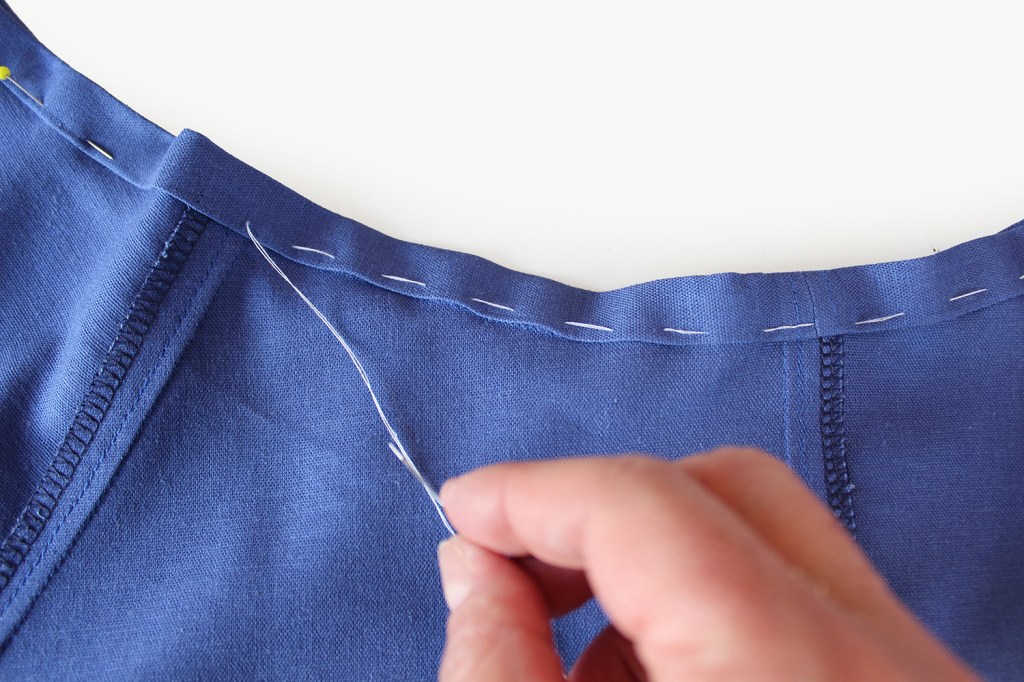
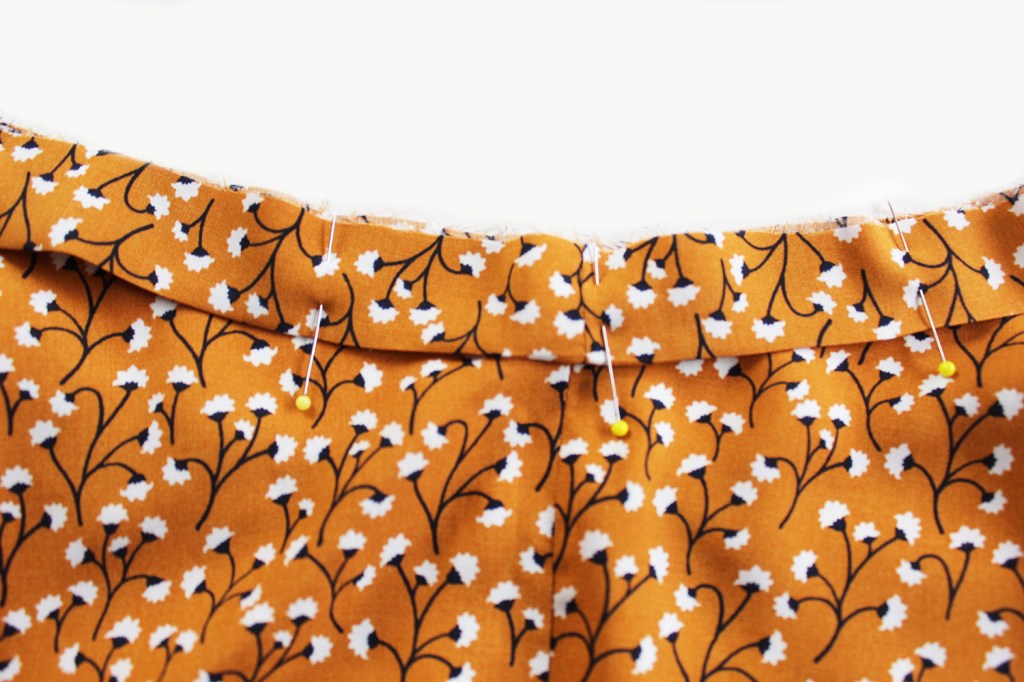
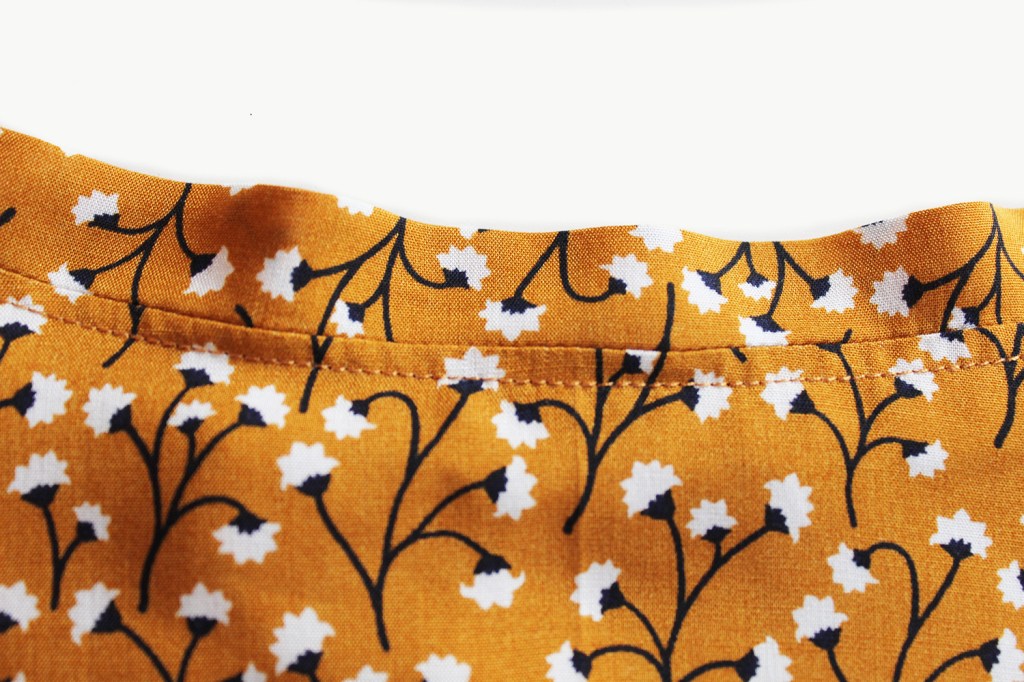
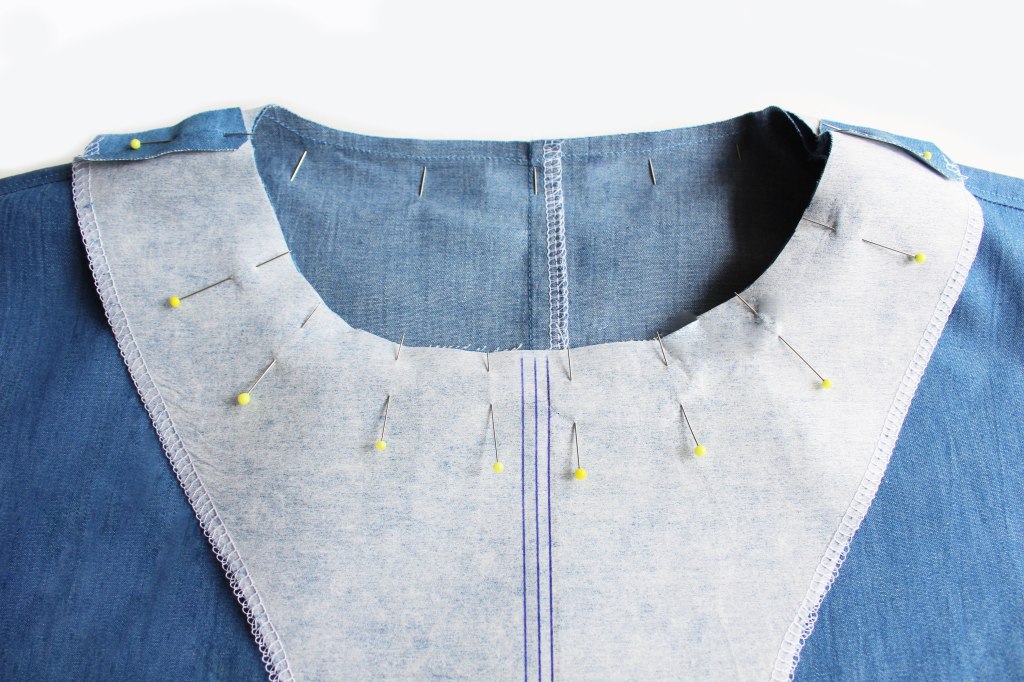
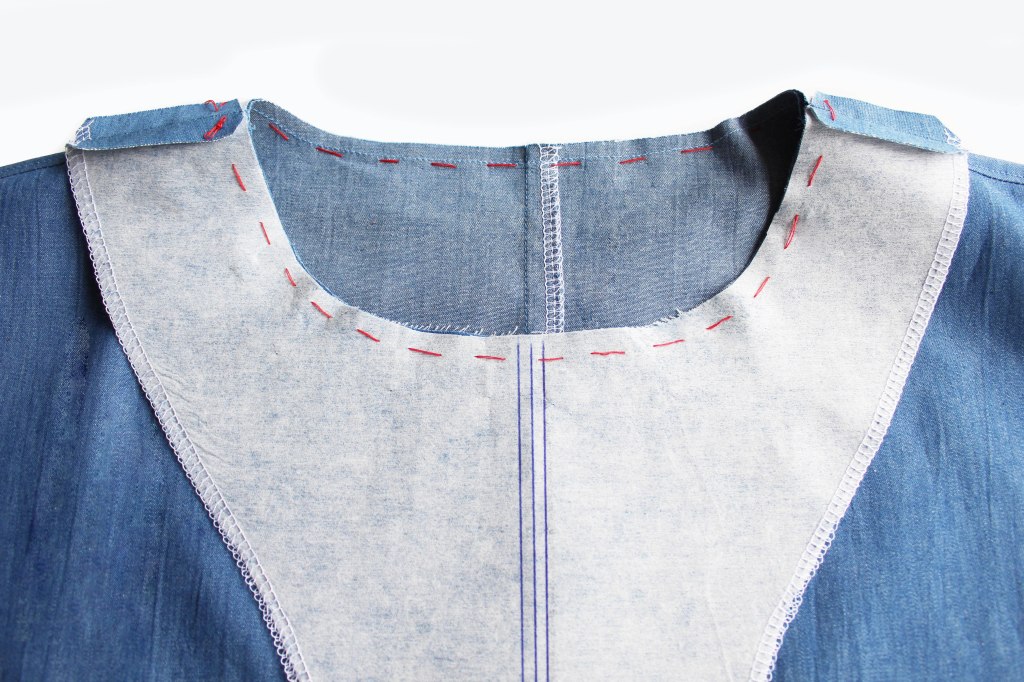
Press the folded edge over to the reverse side. Pin so that the edge is just covering the previous line of stitching. Hand tack. ‘Stitch in the Ditch’ * on the right side of the neckband, ensuring the neckband is stitched on the back of the fabric. NB make sure that there is a 1.5cm channel for the elastic.

  • *’Stitch in the Ditch’ is when you stitch into the seam line on the right side, so that the stitches aren’t visible. Make sure that you are sewing the neckband edge on the reverse side. Its easy to miss it which is why hand tacking first is helpful.

Remove the tacking. Press. Now go to ‘INSERTING THE ELASTIC ‘

METHOD 2-(if you have an overlocker).

This method 2 is by far quicker and easier but only looks good if you have an overlocker.

So, first you fold the neckband in half with the fabric wrong sides facing together. Press. Unfold. Sew the neckband short edges together (with the fabric right side facing together this time) to make a ‘ring’

Press the seam allowances open, topstitch either side of the seam line. Trim the seam allowance to 5mm.

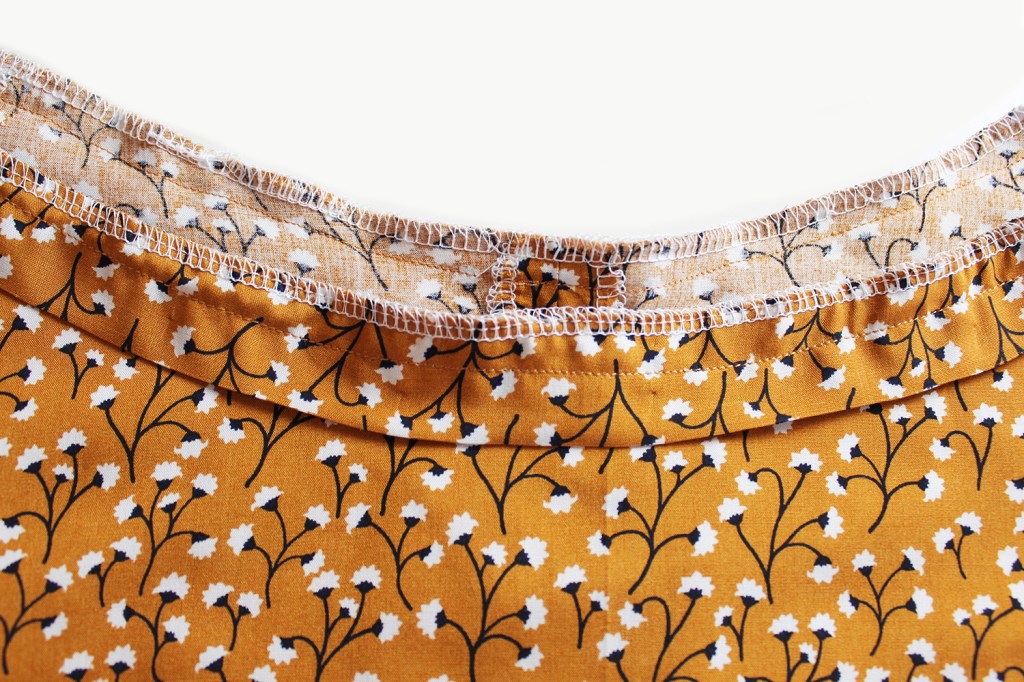
Fold the neckband over all around again so that the raw edges are matching and the fabric wrong sides are together. Pin to the neck edge with the seam at the centre back. NB if you fancy making a drawstring version have the seam line at the centre front. Sew all around. Finish the raw edges all around. Press the neckband upwards. Topstitch approx 3-4mm away from the seam on the dress side.

INSERTING THE ELASTIC

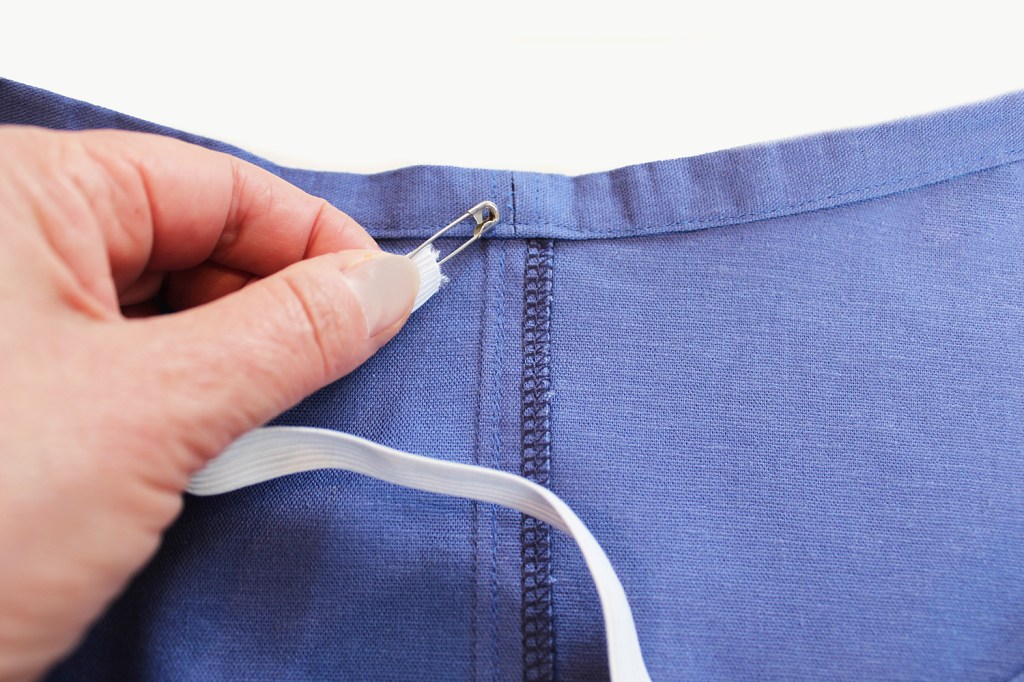
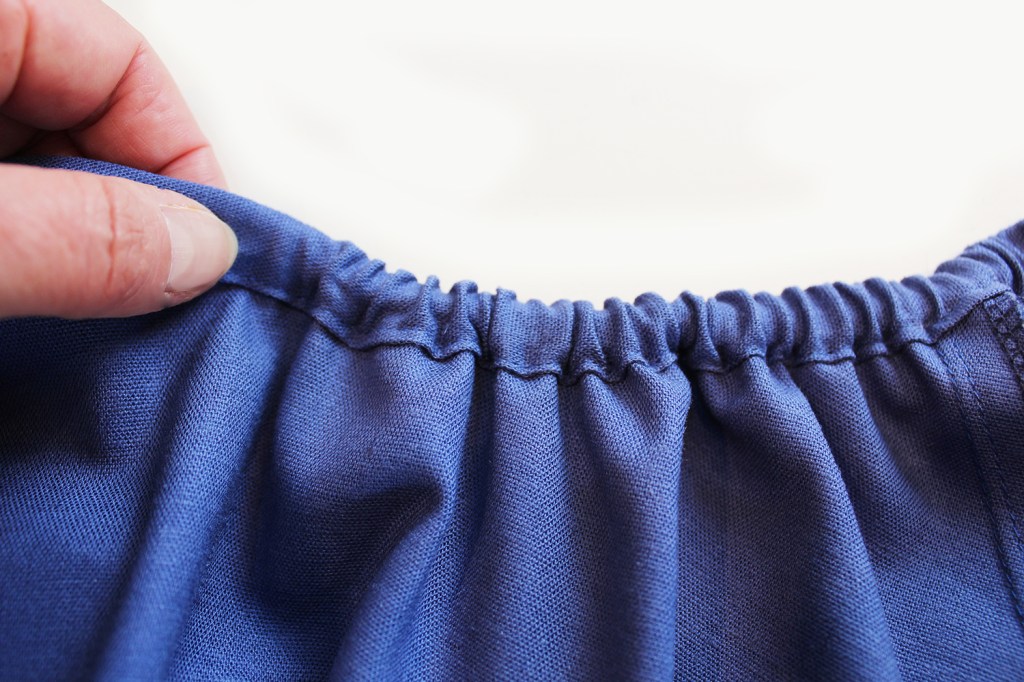
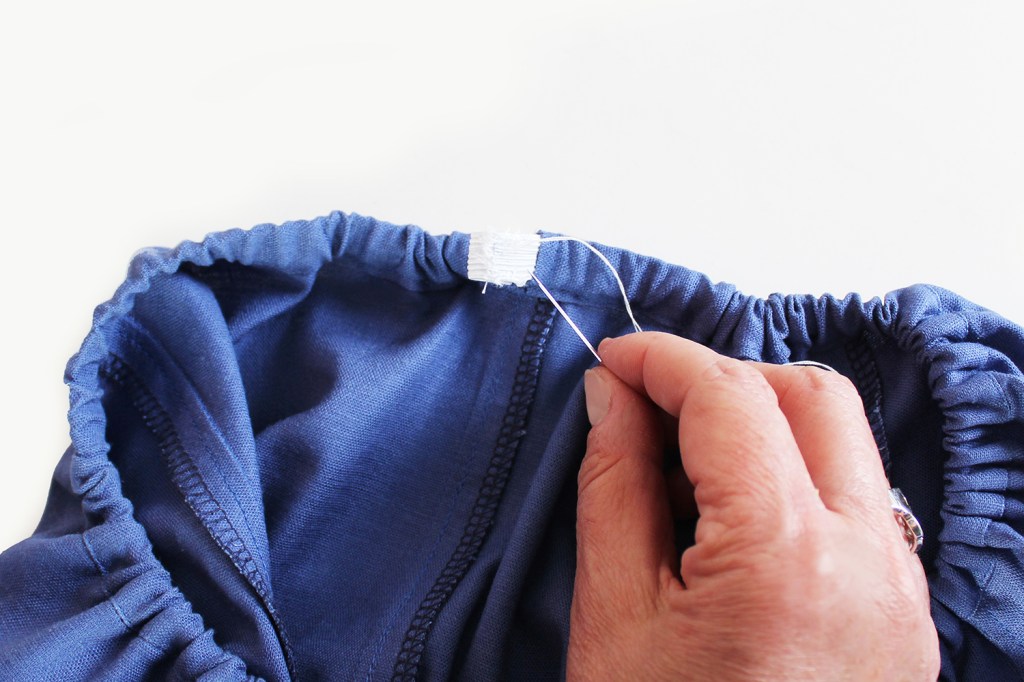
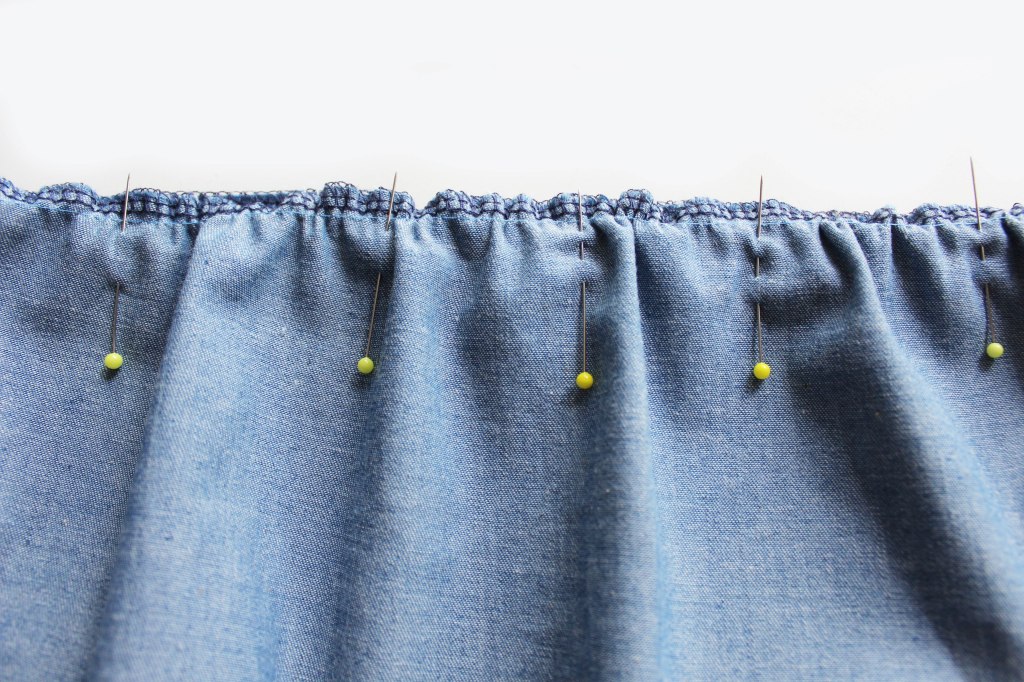
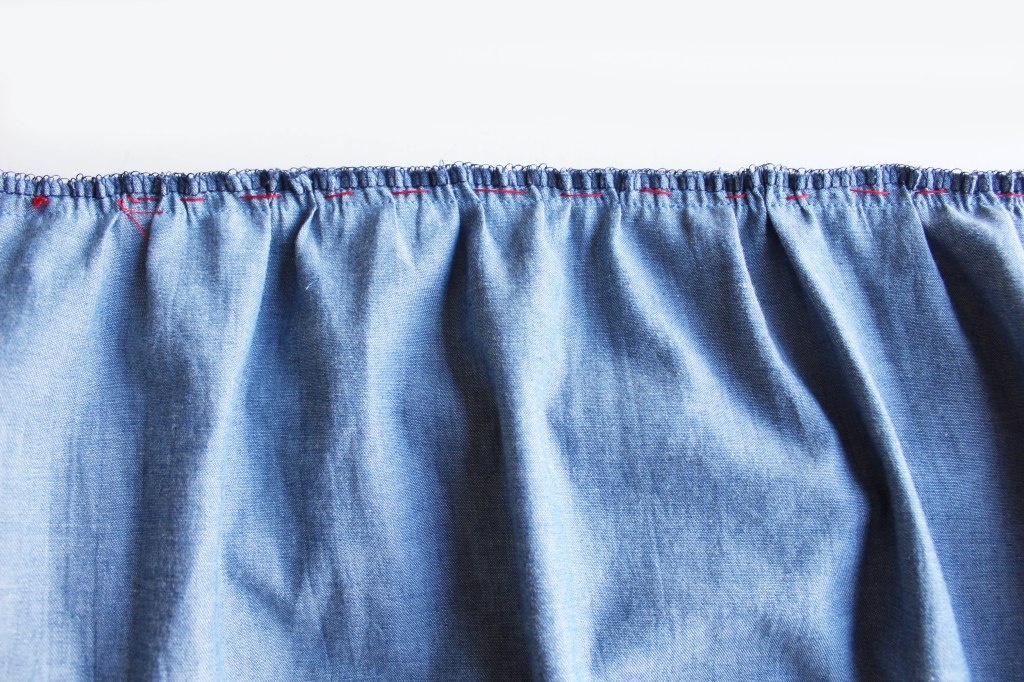
Attach a safety pin to one end of the cut length of elastic. Tip: cut the elastic piece approx 5cm longer allowing you to adjust it to your requirements. Nick one stitch on the inside back neckband seam enough to insert the safety pin/elastic. Feed the elastic through the channel, easing up the gathers as you go. Push out the same entrance hole. Pin together. Try on for size. Adjust if required. Sew the elastic ends together. Sew up the opening with a few hand stitches. Ease the neckline gathers evenly all around.

PATTERN HACK ALERT! – Front drawstring neckband alternative.

Its quite a nice idea to try this hack as a change from the elastic. It allows you to adjust the gathers according to your mood. Who doesn’t love an off the shoulder neckline? This drawstring alternative allows you to do that.

So follow the pattern as you would normally except when attaching the neckband, position the side seam at the centre front instead of the back.

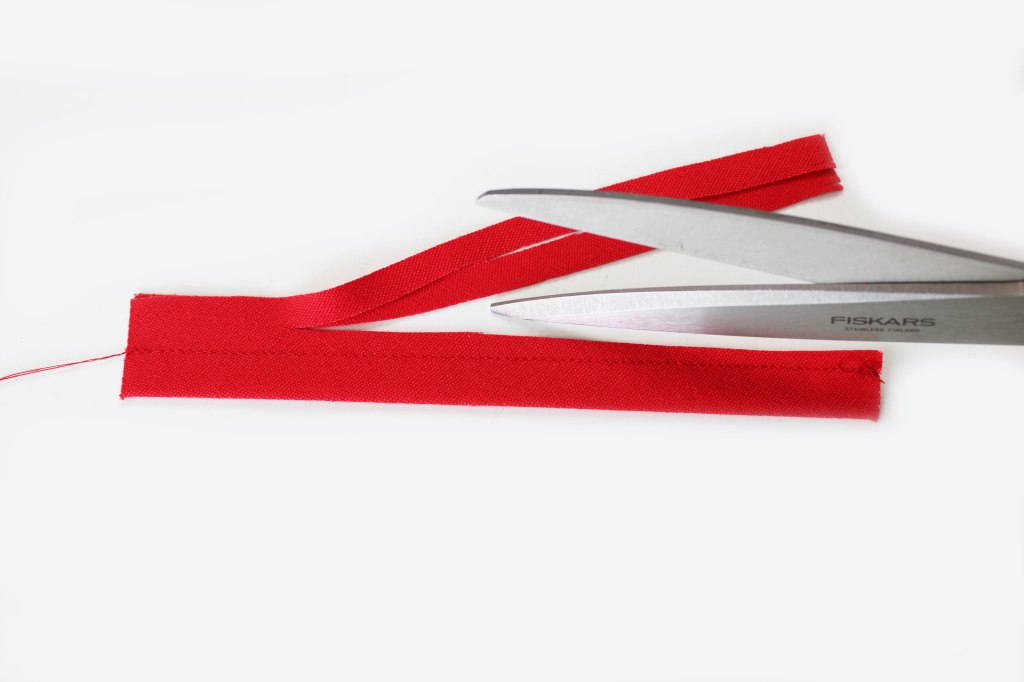
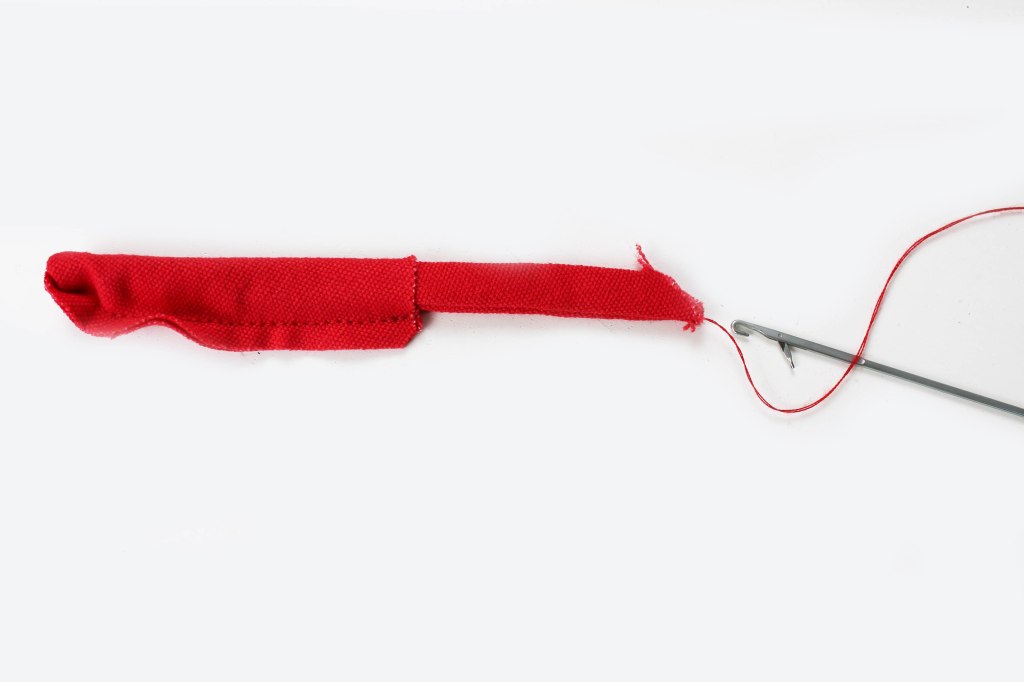
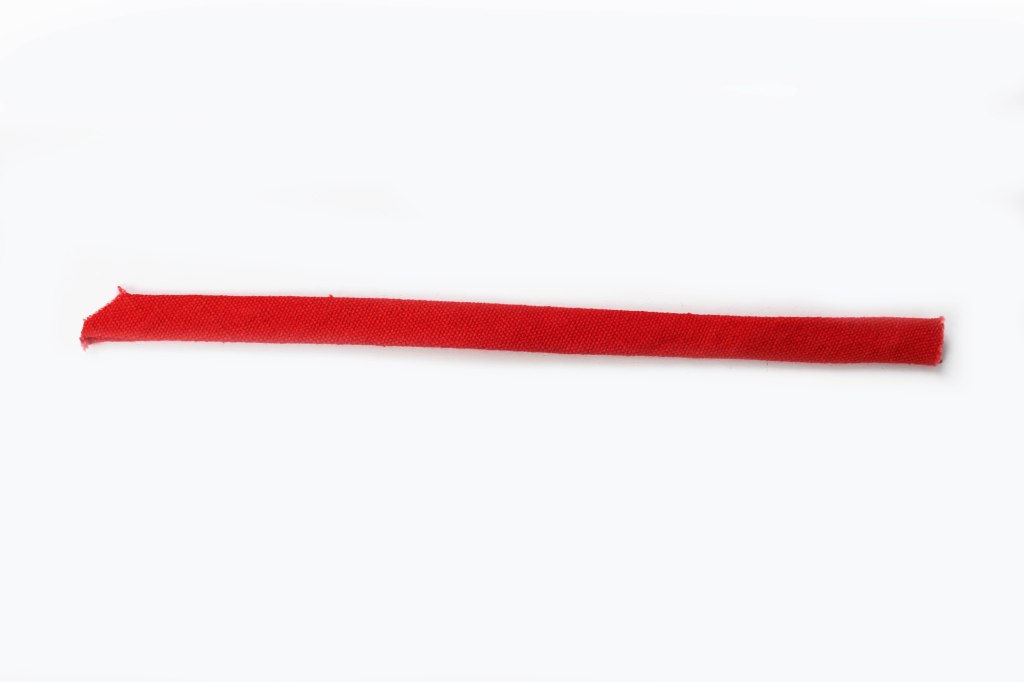
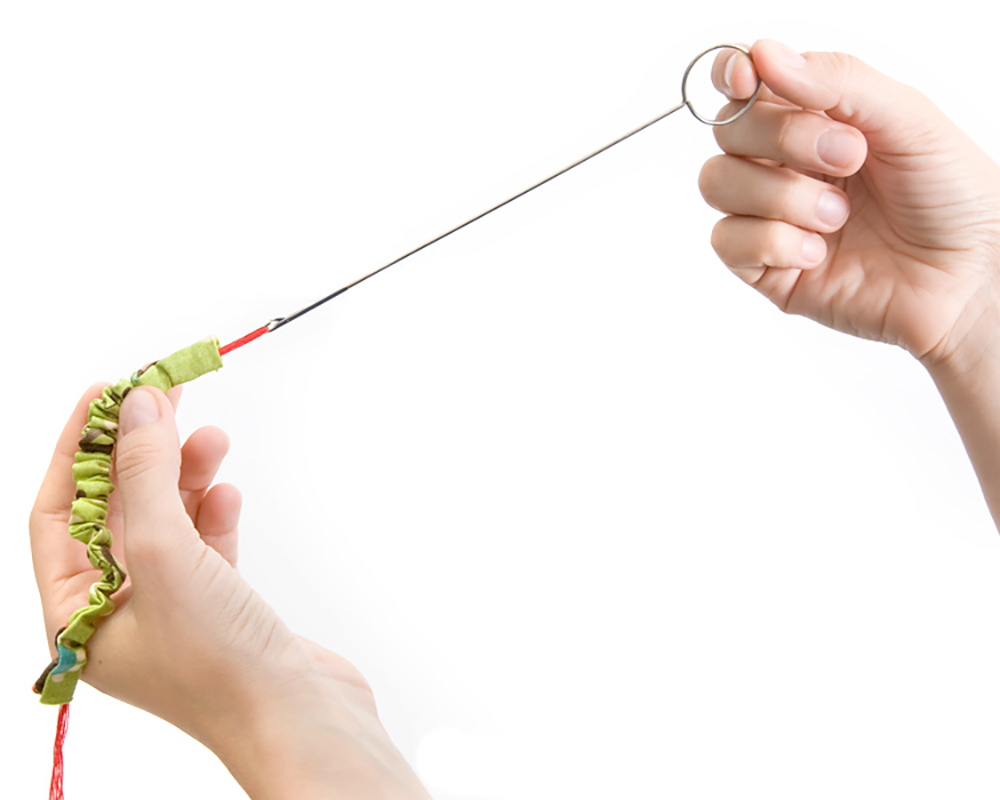
Make a drawstring tie – cut out a 4cm x 112cm wide (or longer if you prefer) across the width of the fabric. Follow the same sewing steps as with the Tie Belt. Turn inside out through the opening at the centre. Tip- use a loop turner to help you.

Loop turner

Nick one of the stitches of the neckband side seam. Attach a safety pin attached to one end of the tie and feed into and out of the opening. Ease the gathers, adjust to fit.

SEWING THE SIDE SEAMS AND SIDE SLIT

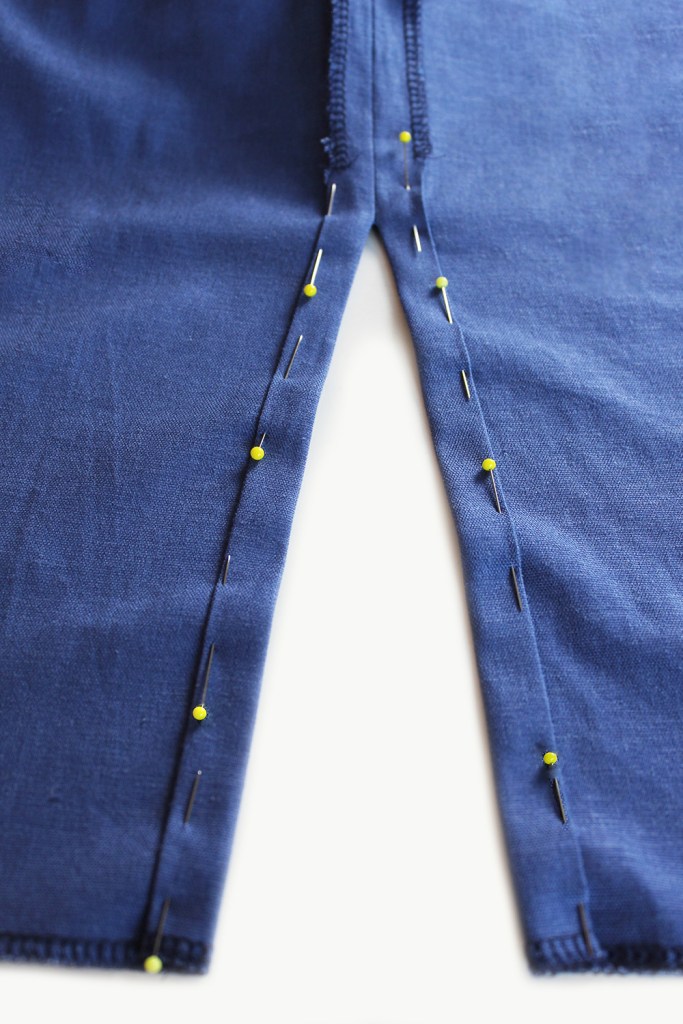
With the RST, pin the Front to Back at the side edges.

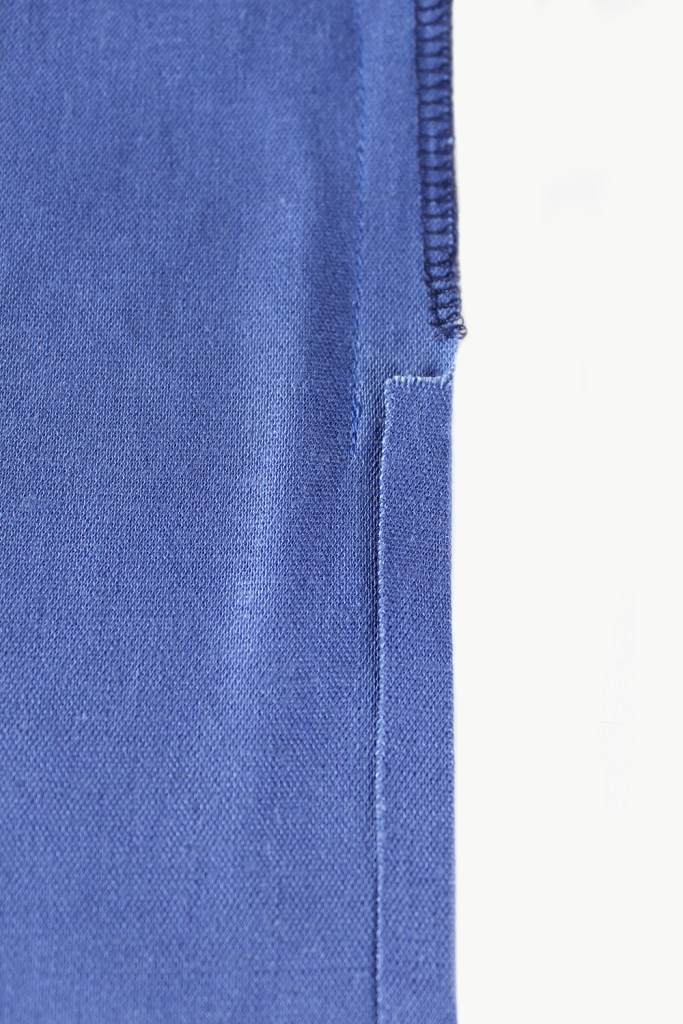
The Dress (C) version has a slit at each lower side edge. You can also put a small one in the Tunic (version B) if you fancy it or just sew the side seam up as normal, ignoring the seam allowance extension.

Fold over the side edge below the notch by 1cm. Press, then fold the seam allowance back to make a side hem on each side. Pin. Sew close to the hem edge on each side.

HEMMING

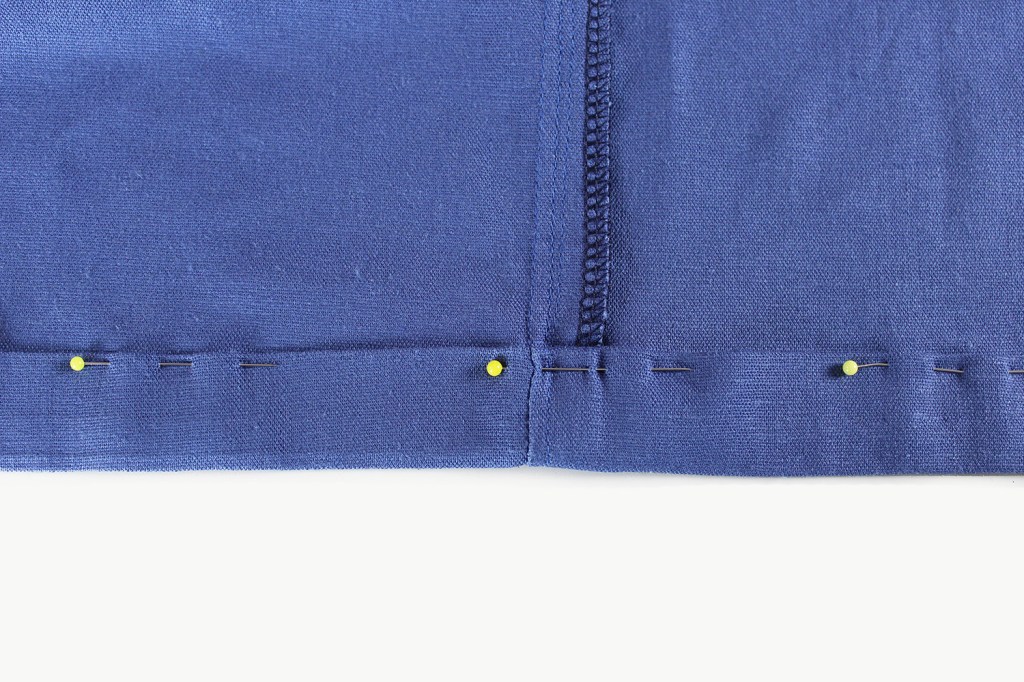
Fold over and pin the lower edge of the dress, tunic or top. Sew. Press.

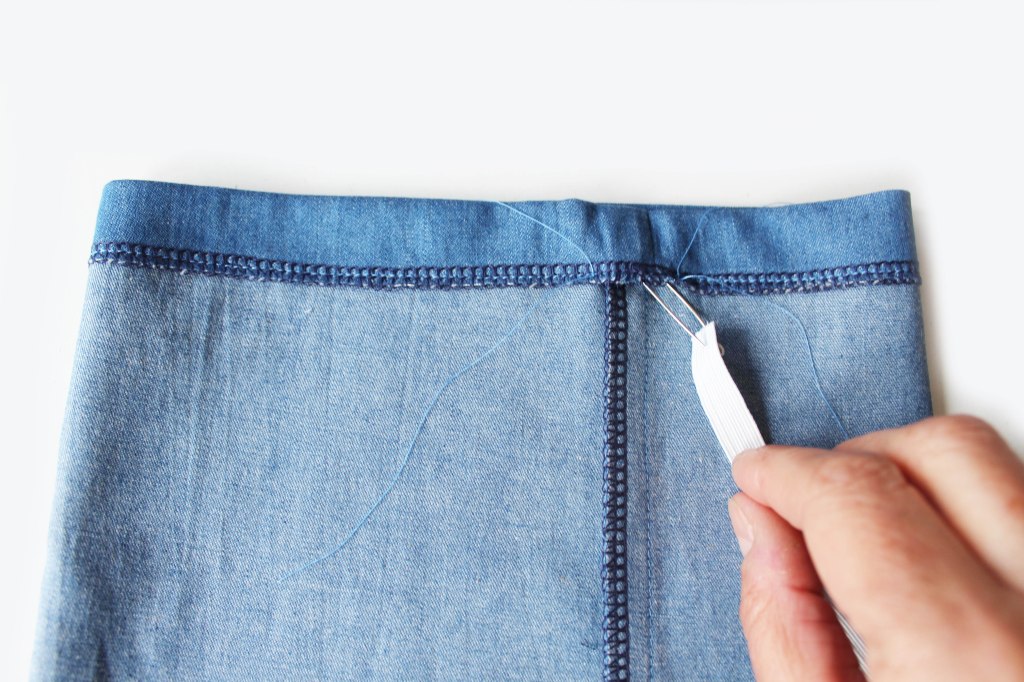
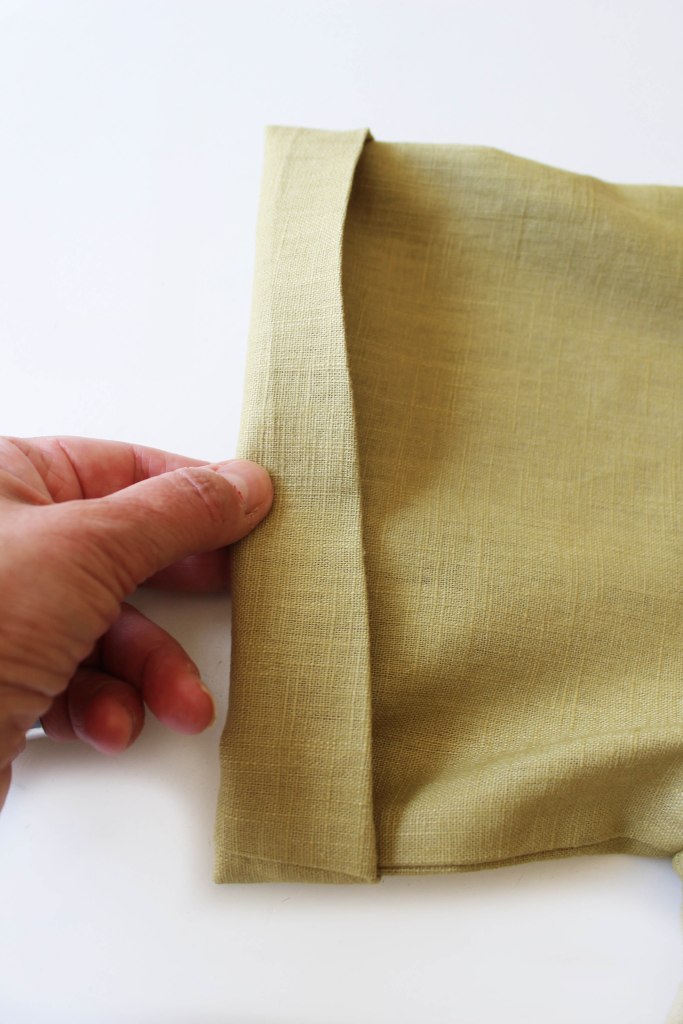
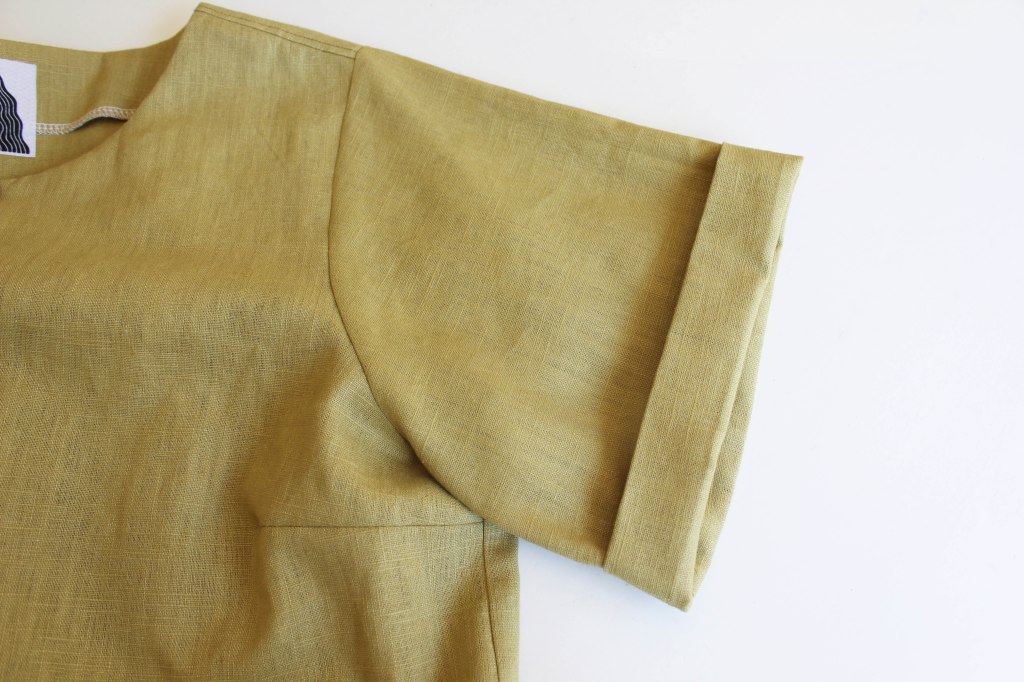
Make a small hem on the sleeve cuff edge in the same way. For the Dress (C) version, insert elastic into the cuff hem in the same way as with the neckband.

TIE BELT

The Tie Belt on the dress is optional, it gives the dress more shape and a different look. You could also put a Tie belt on the tunic if you fancy it.

Tunic with optional tie belt

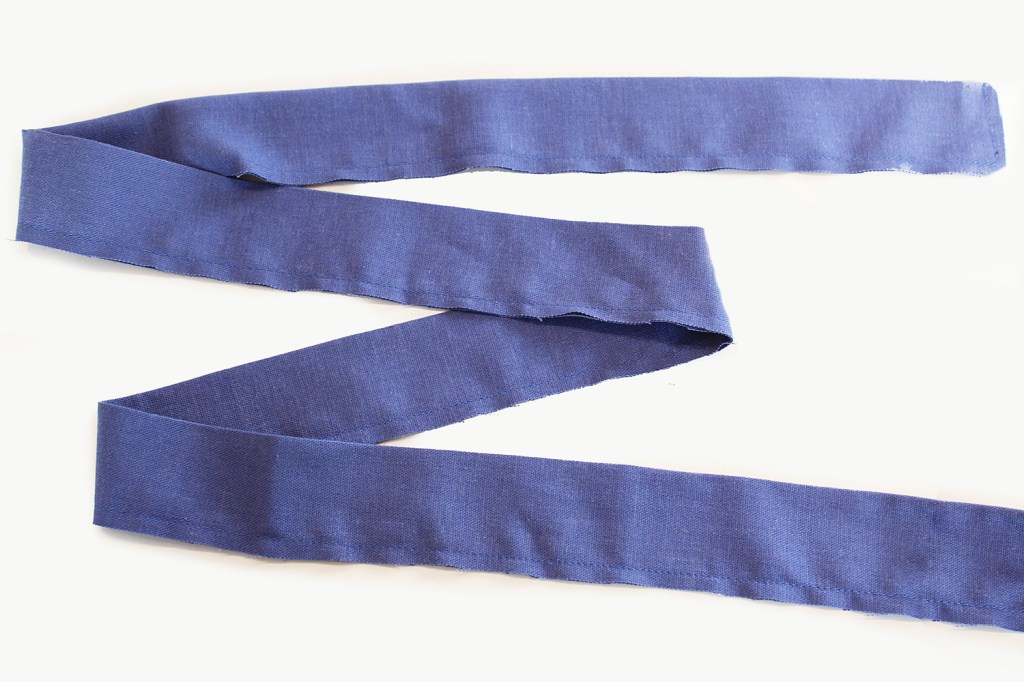
Fold over the Tie belt piece in half widthways. Pin then sew down the raw edge sides leaving a 4cm section unstitched at the centre of the long side. Snip the seam allowance to 5mm. Turn the belt inside out, push out the corners. Press, sew up the opening or Topstitch all around -which sews up the opening at the same time.

And there you have it! Ready to rock!

All text and images are subject to copyright.

Please ask prior permission if you would like to use any of the content.

BAG PATTERNS

PHONE BAG

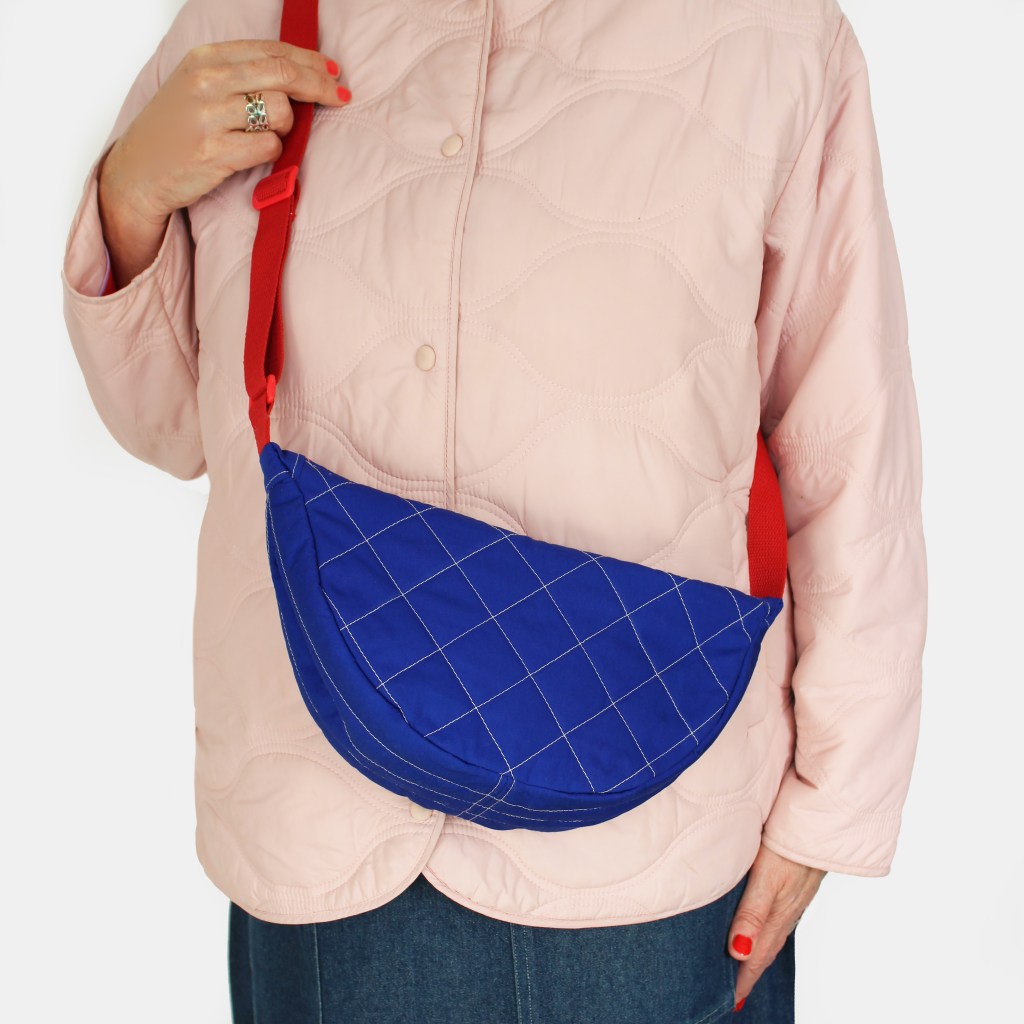
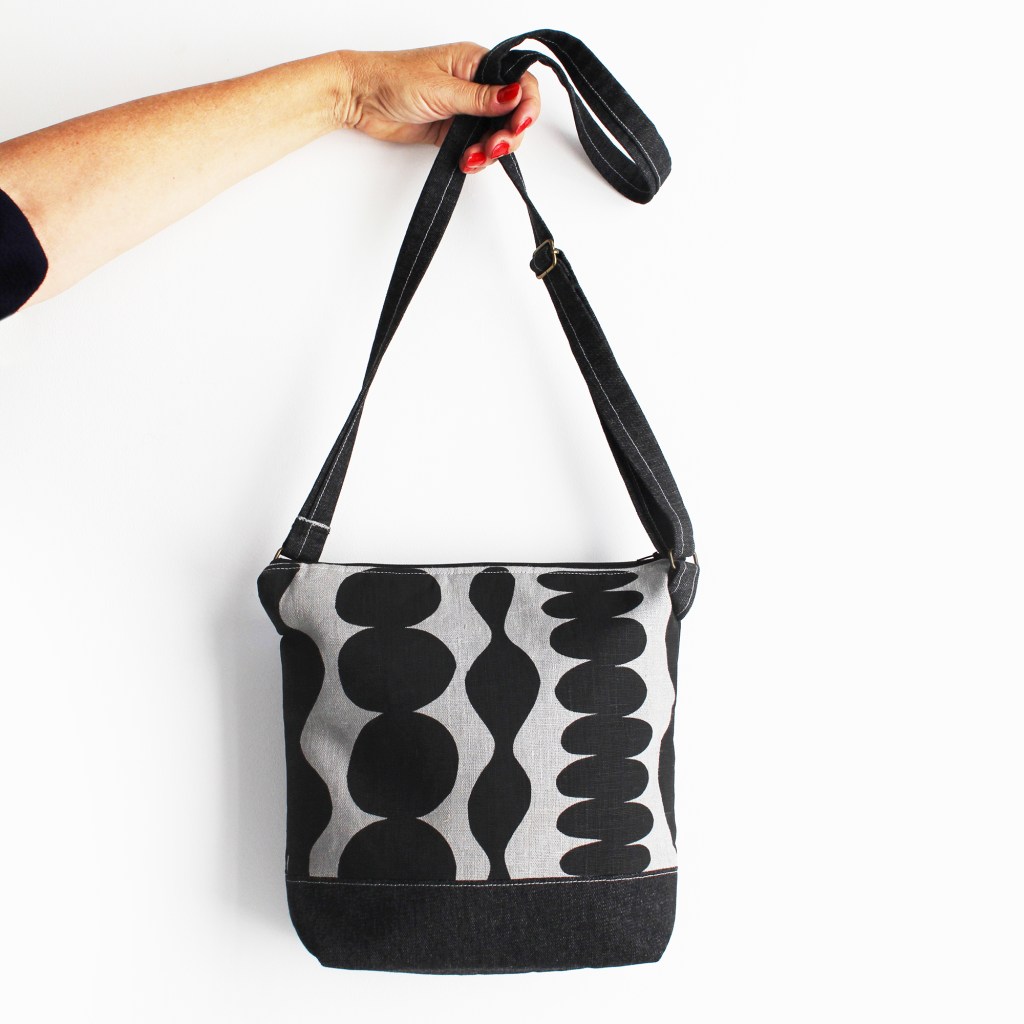
CROSS BODY BAG

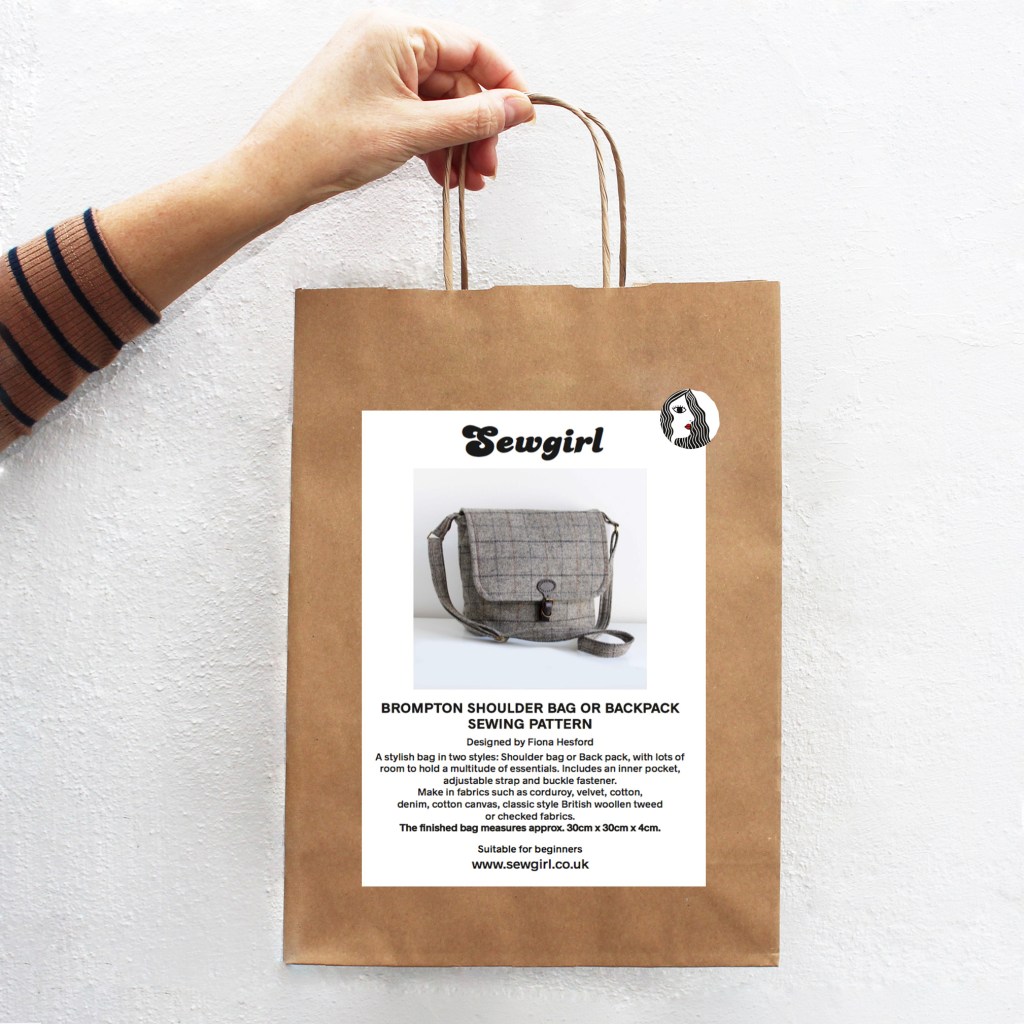
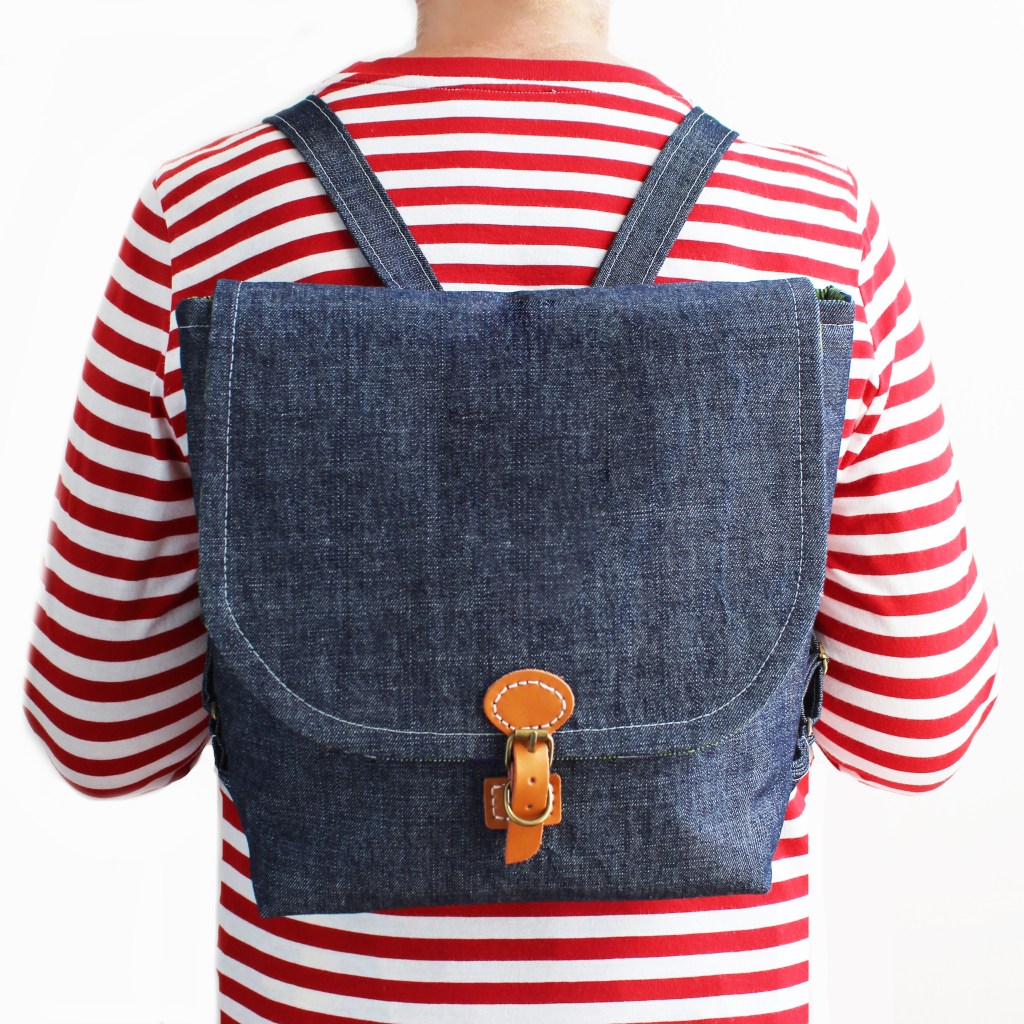
BROMPTON BACKPACK or MESSENGER BAG

BOHO BAG

PORTOBELLO BAG

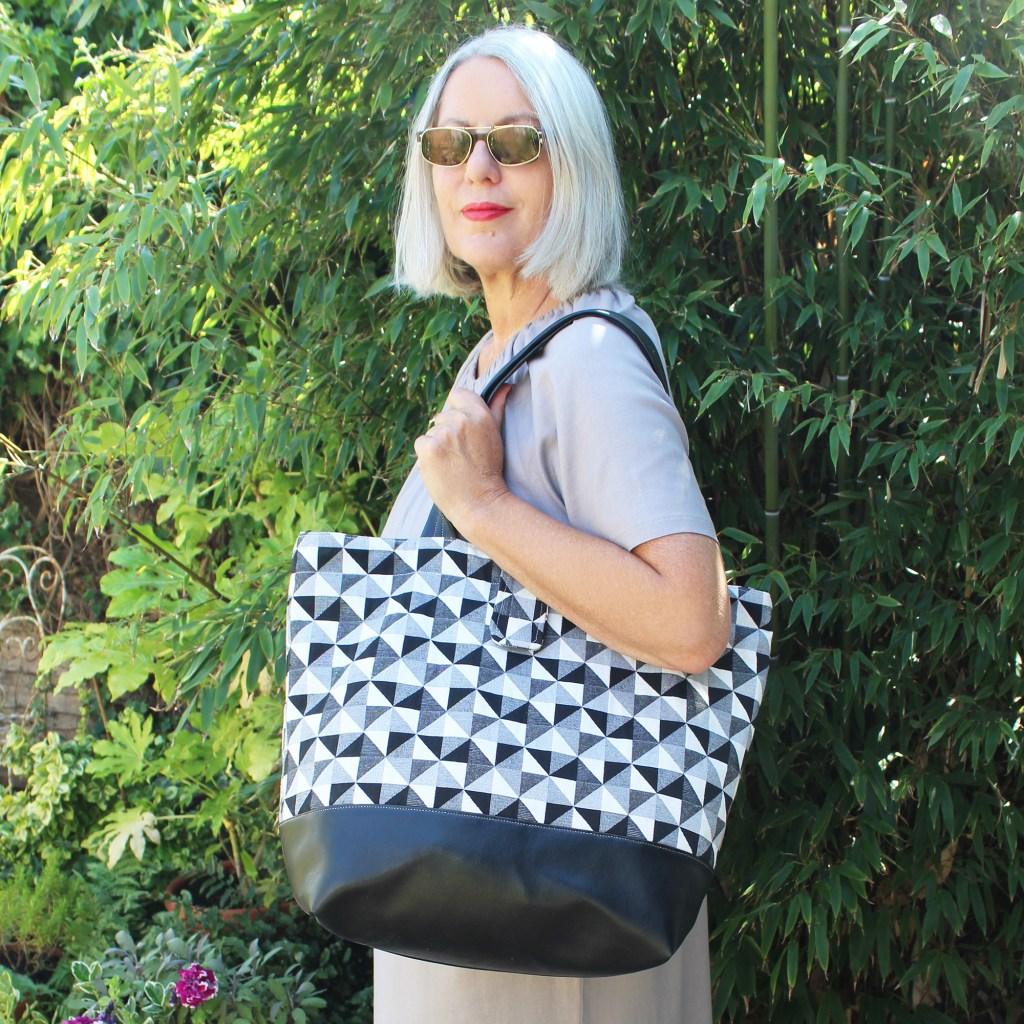
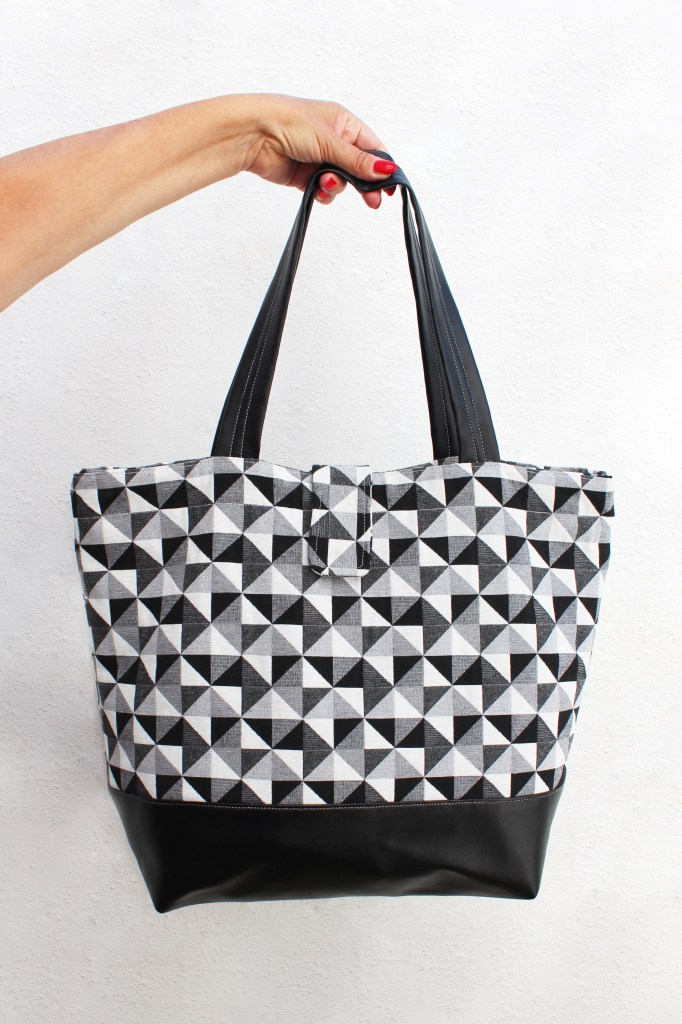
HOXTON TOTE

WHITSTABLE BAG

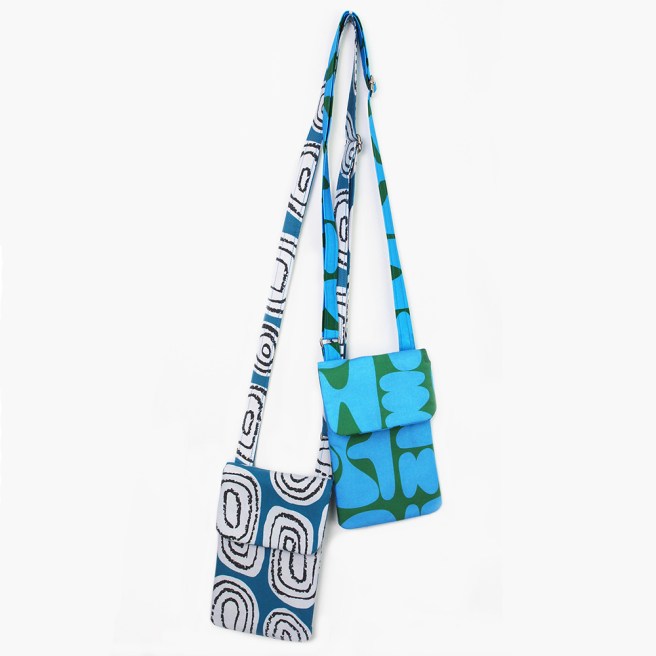
PHONE BAG in Kindred fabric by Sewgirl*

*PHONE BAG Pattern errata – please note that text on the bottom left image on page 4 should read ‘Back’ instead of Front and the bottom right picture should read ‘Front’ instead of Back.

CROSS BODY BAG
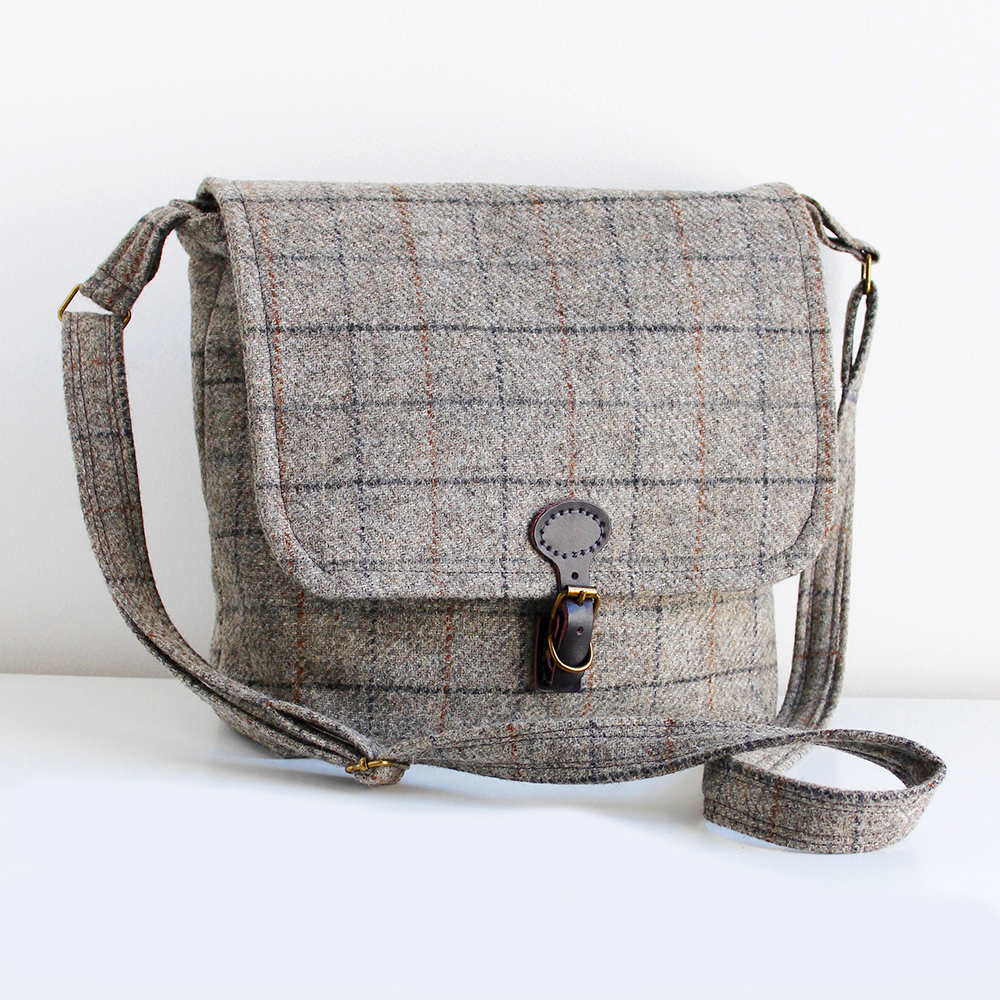
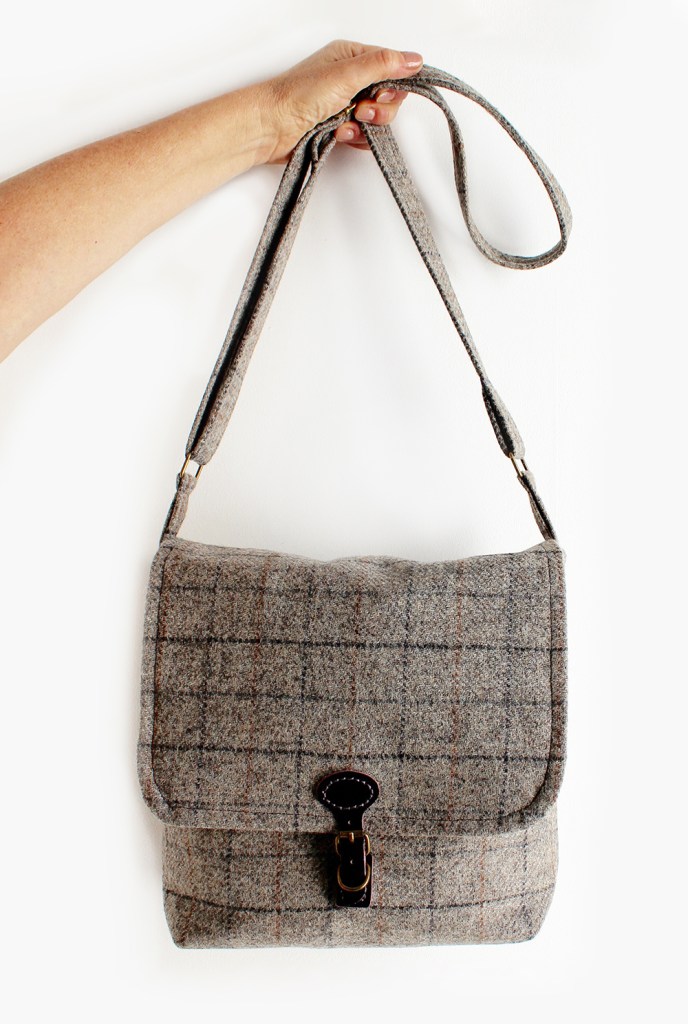
BROMPTON BAG
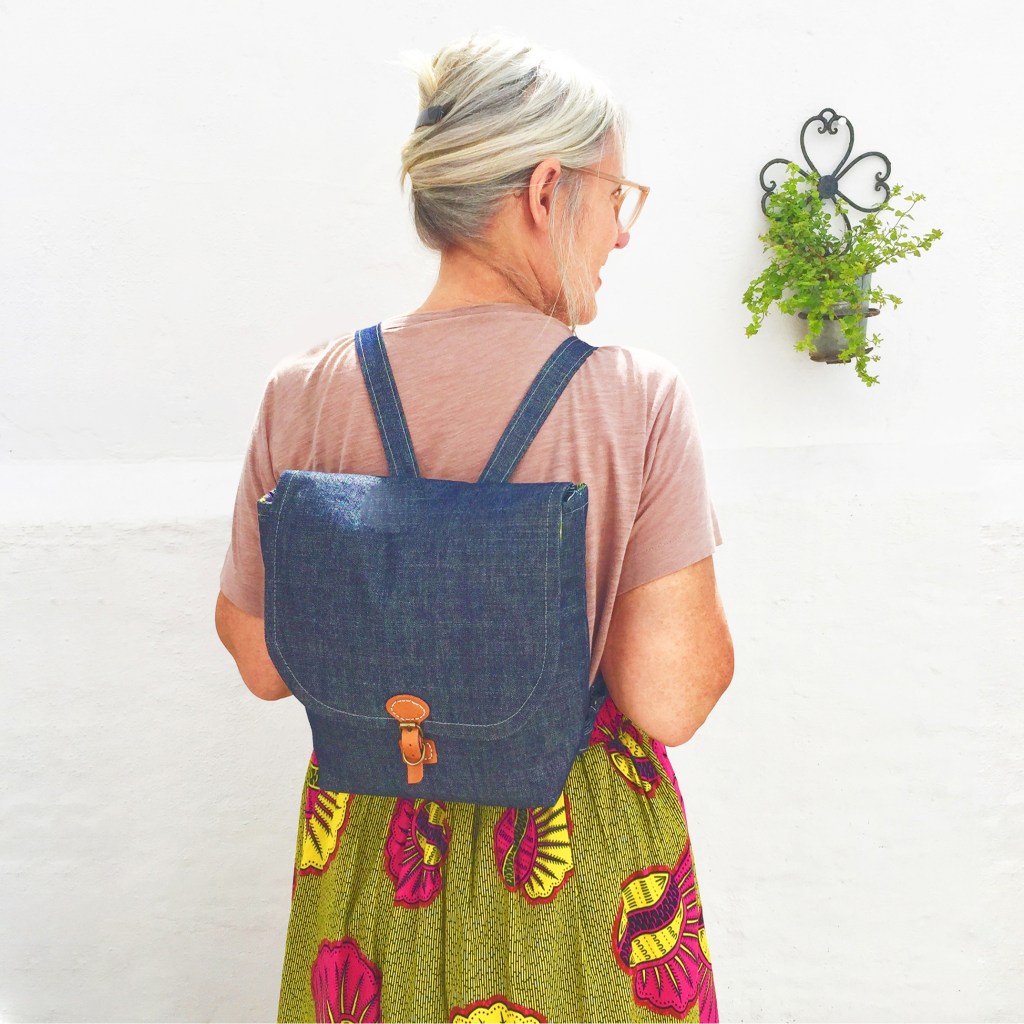
backpack version in denim
BROMPTON BAG
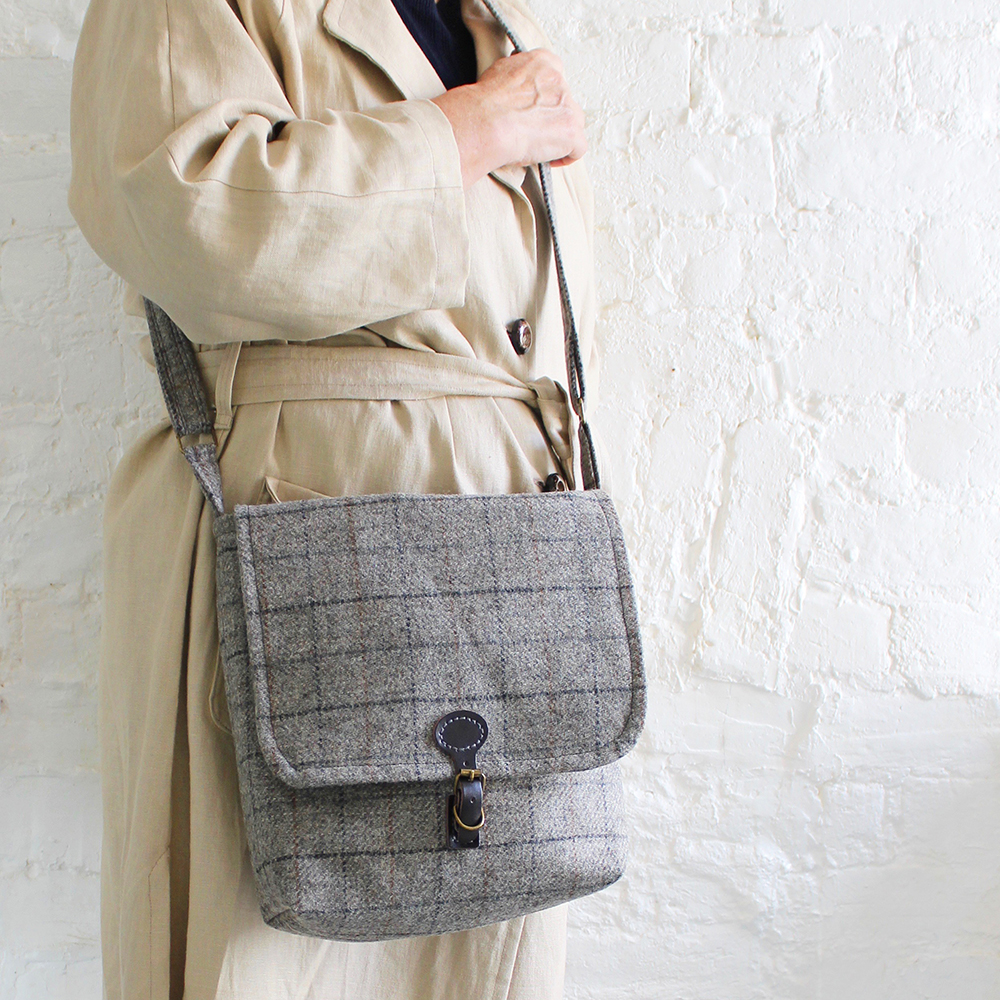
shoulder messenger bag version in British wool
BOHO ZIPPED BAG & COSMETICS PURSE WITH TISSUE HOLDER
in KINDRED HAND PRINTED FABRIC
WHITSTABLE WEEKEND BAG
in woven tapestry and pleather

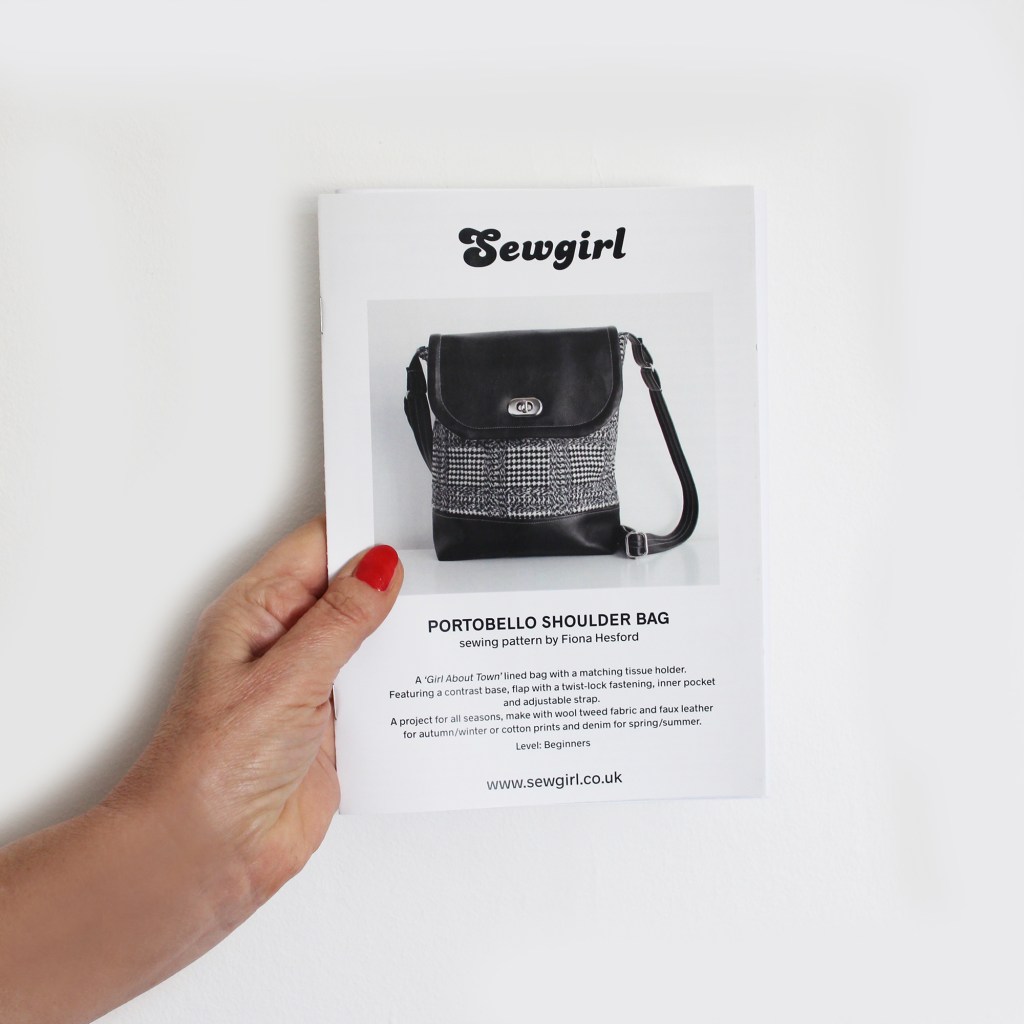
PORTOBELLO BAG
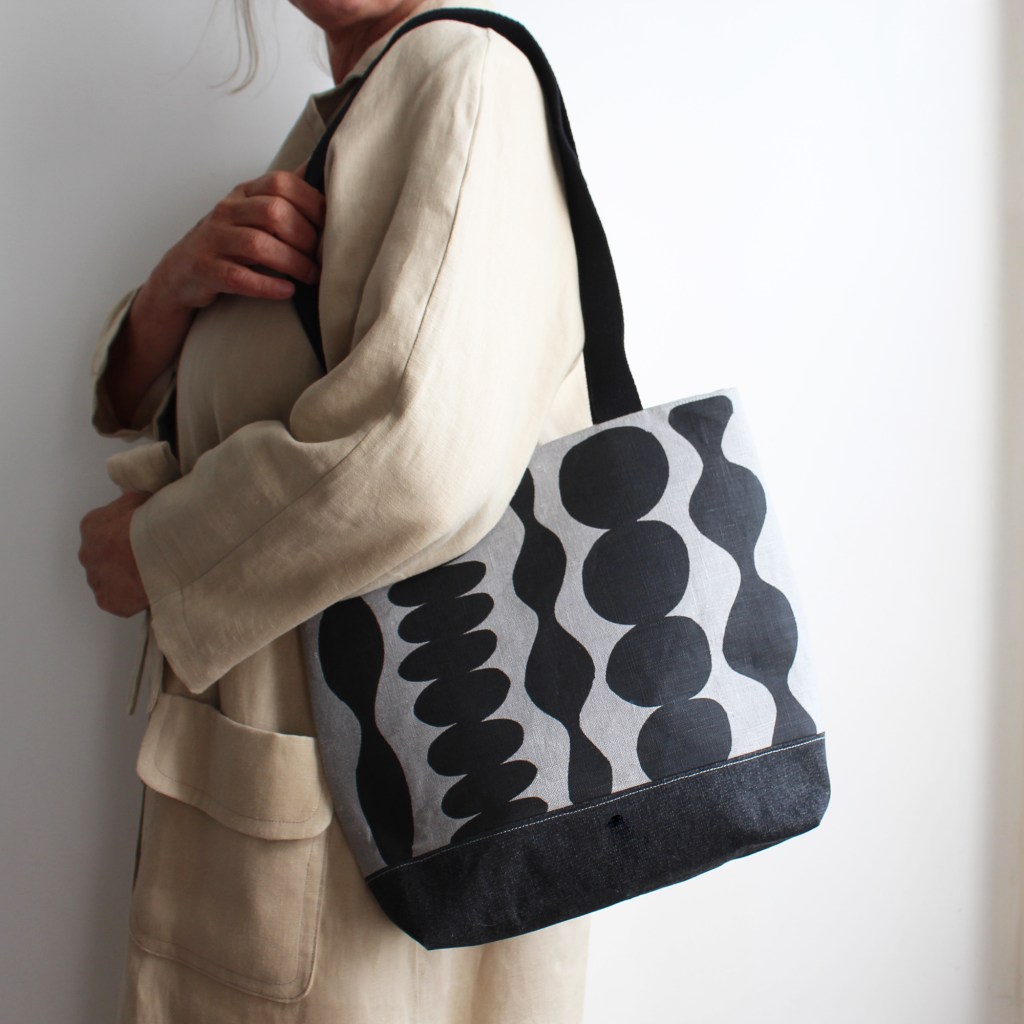
HOXTON TOTE
in KINDRED HAND PRINTED FABRIC

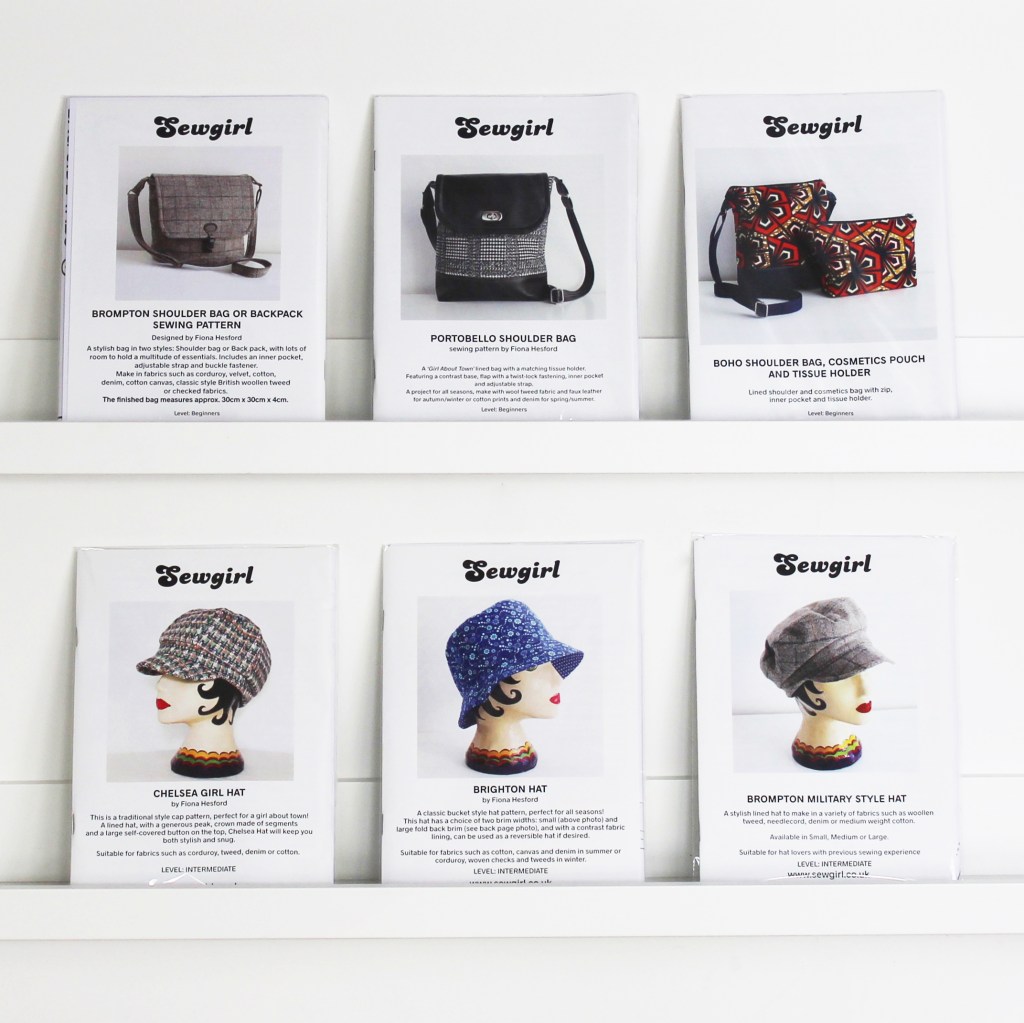
Making bags is one of my passions. Shoulder bags, back packs, cosmetic or baguette purses, I love them all! What a great way to get pattern into your daily life in a practical way. There are three bag patterns in the Sewgirl range: BROMPTON, which is both a Backpack and Shoulder messenger bag in one pattern, PORTOBELLO which is a ‘girl about town’ smaller shoulder bag and a BOHO bag which is a casual zip purse/bag.

All patterns come with actual size templates and a step by step illustrated booklet showing you every step of your bag making journey.

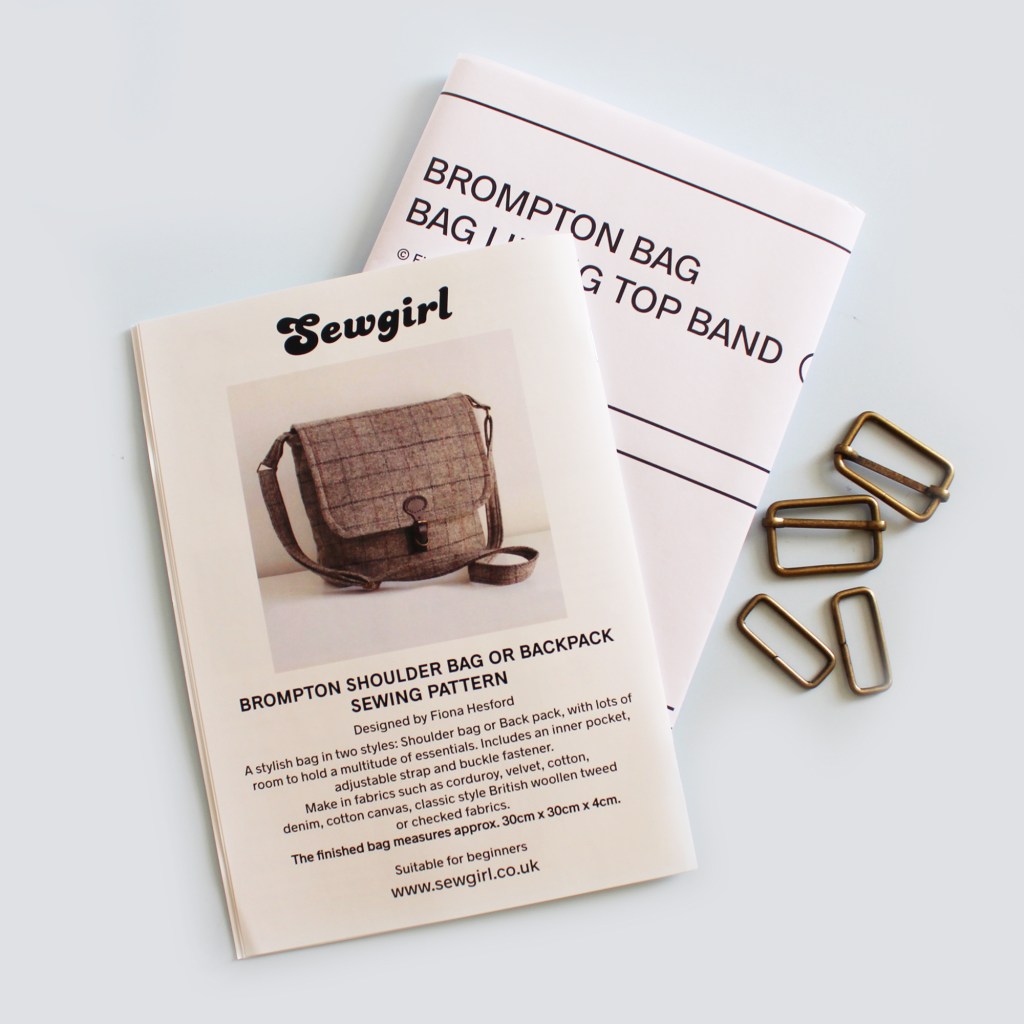
BROMPTON BAG KIT
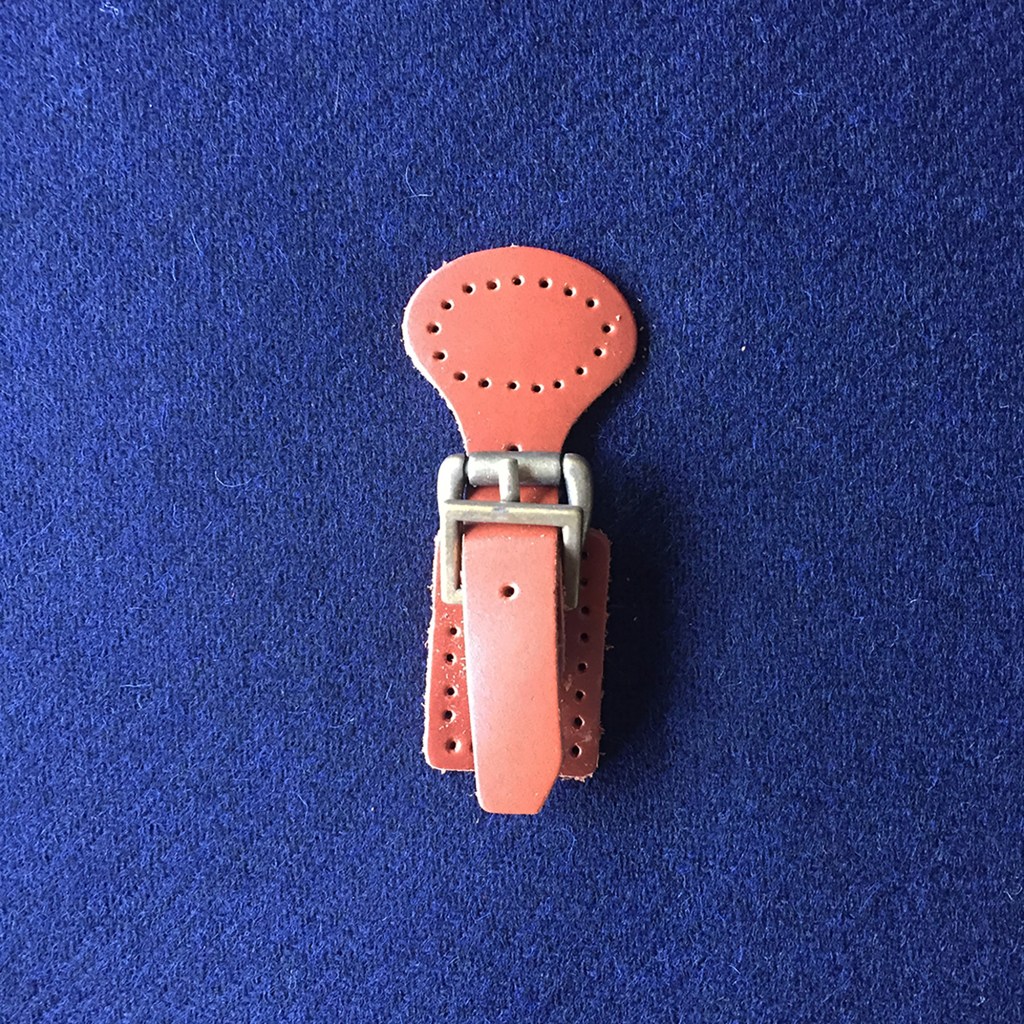
Brompton bag comes as a kit which contains fabric, lining, pattern with templates,
metal bits and leather buckle.

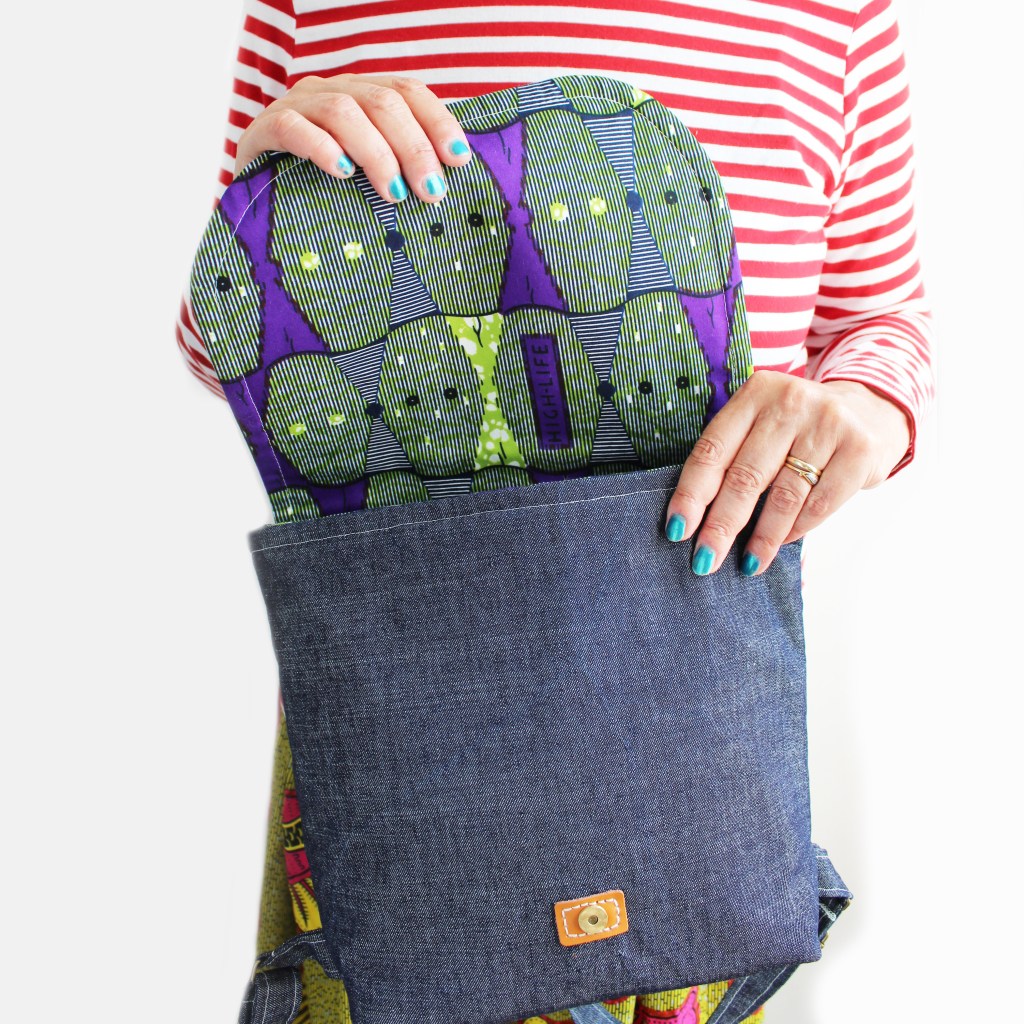
Get funky with denim and a funky wild cotton print lining!
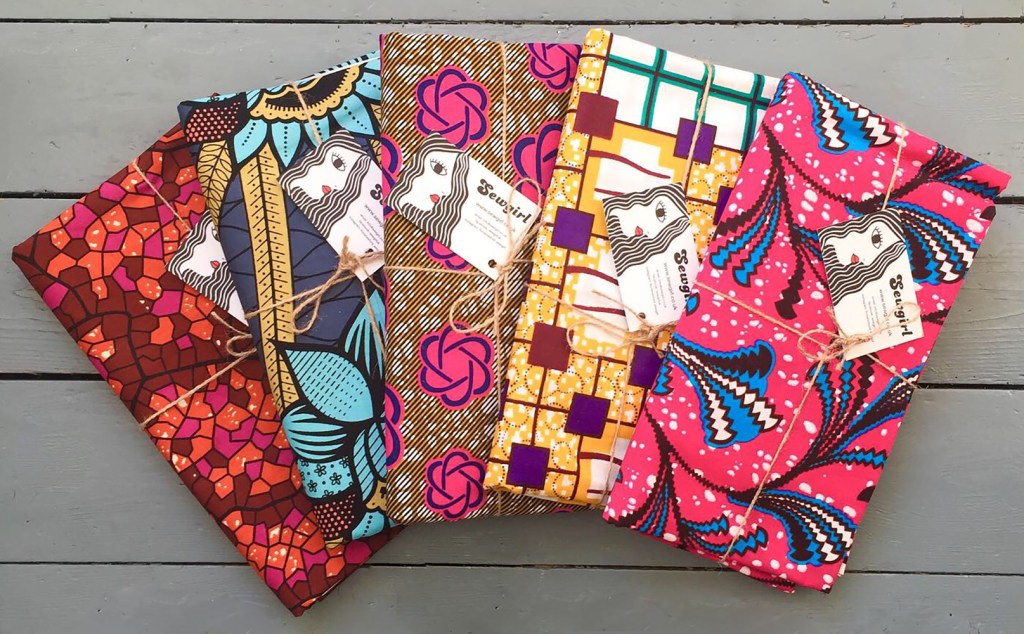
African fabric can look stunning with denim for spring/summer
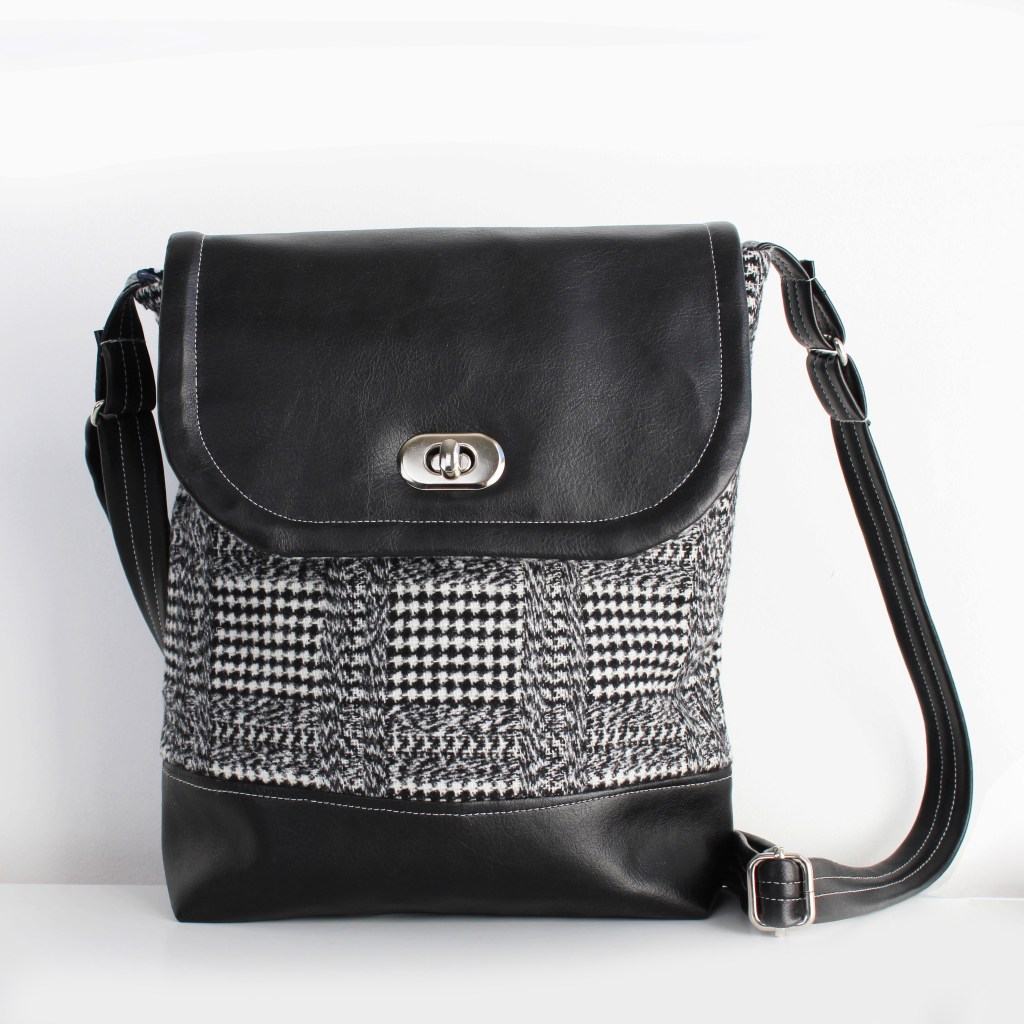
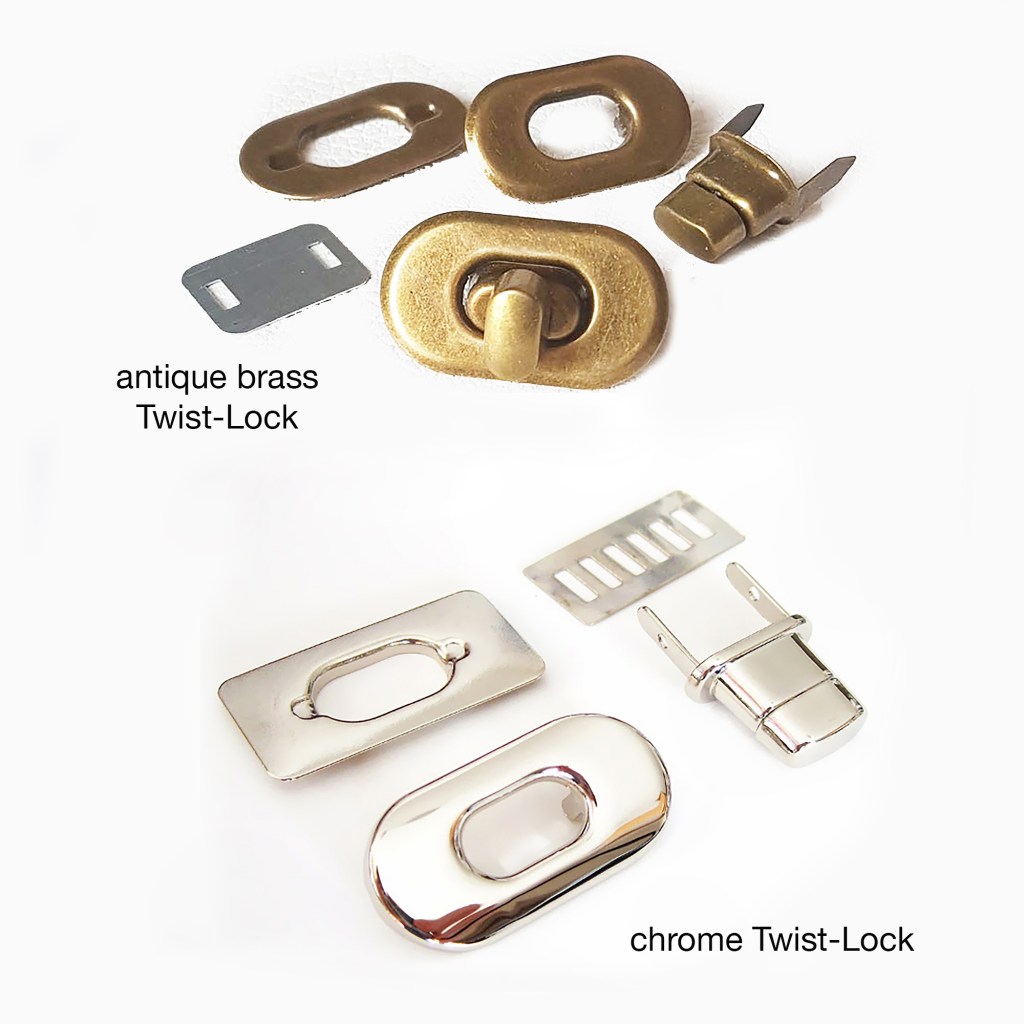
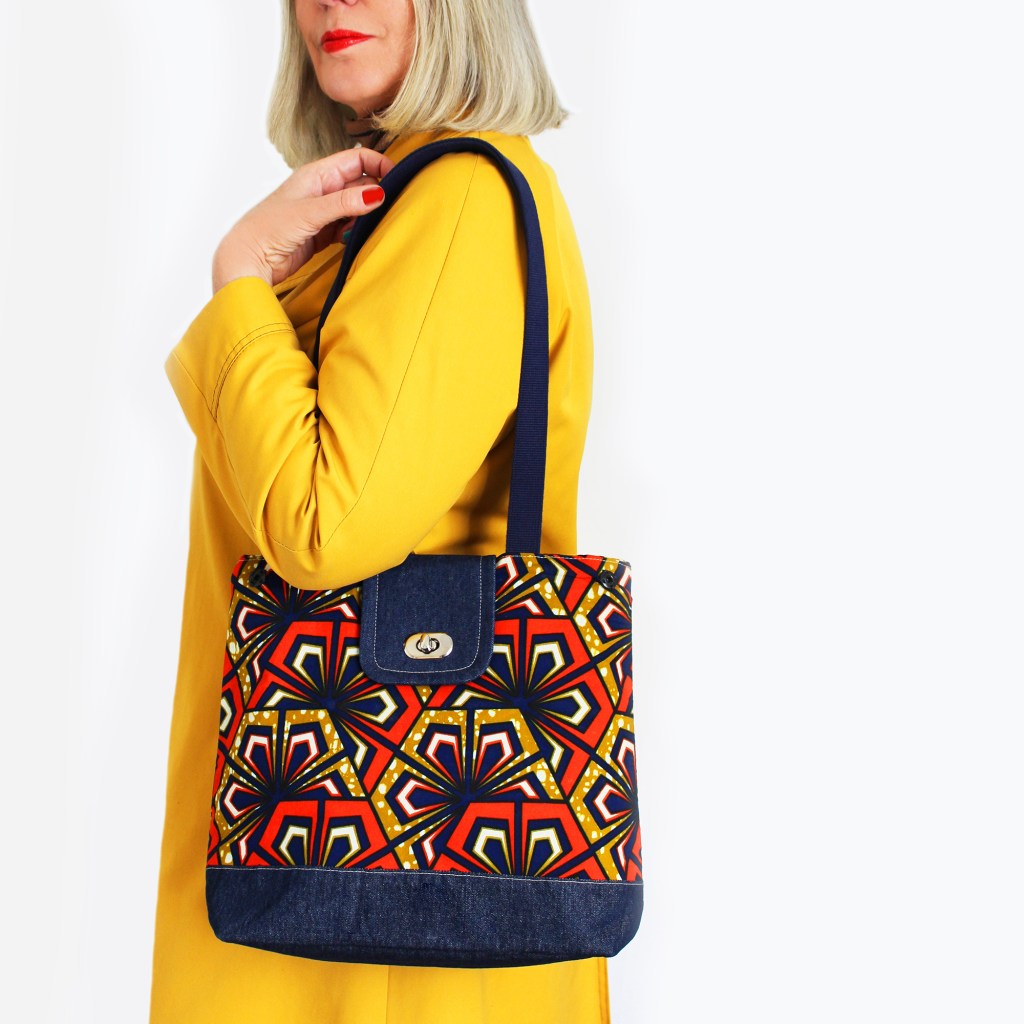
Twist lock fastenings are great to use, available as an add on with the Portobello bag pattern.

Here is a good Noodle Head YouTube tutorial about inserting a Twist-lock (otherwise known as a Turn Lock) that may help you when inserting this type of fastening.

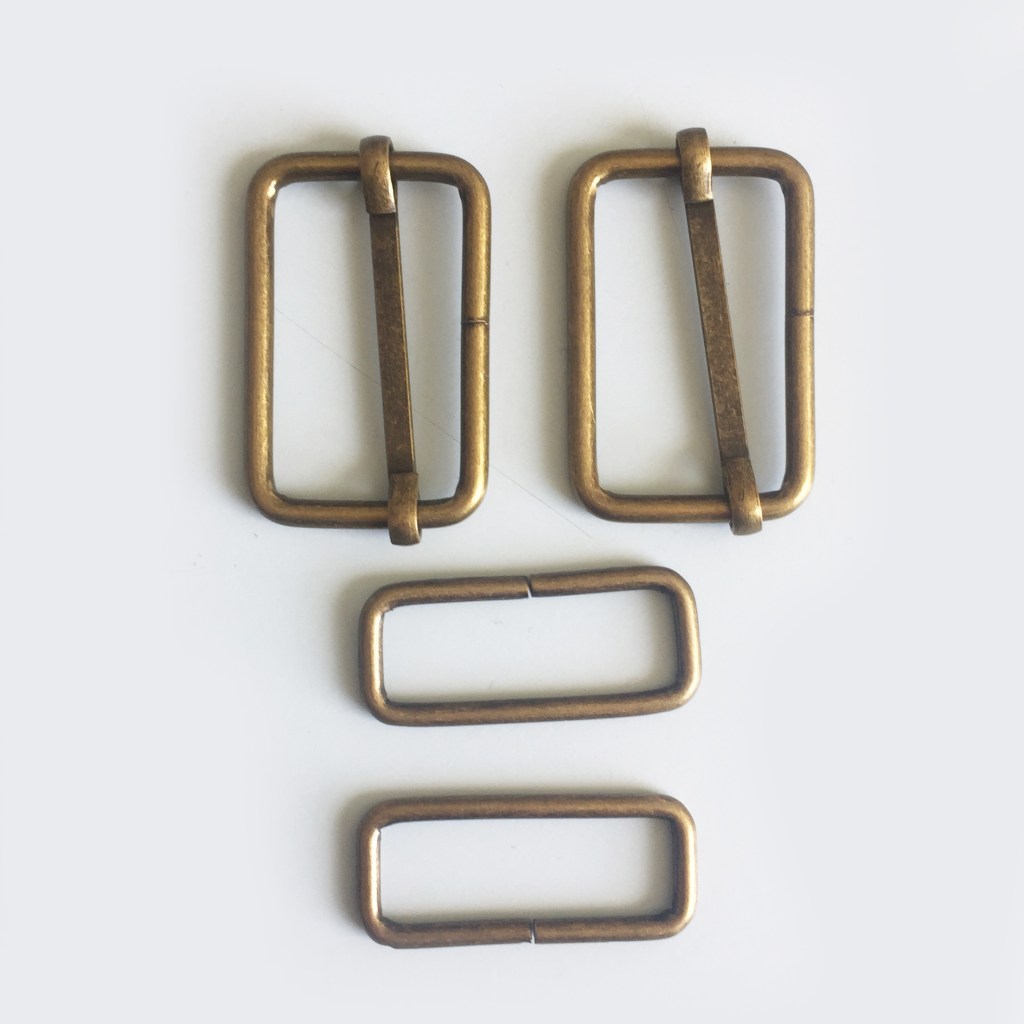
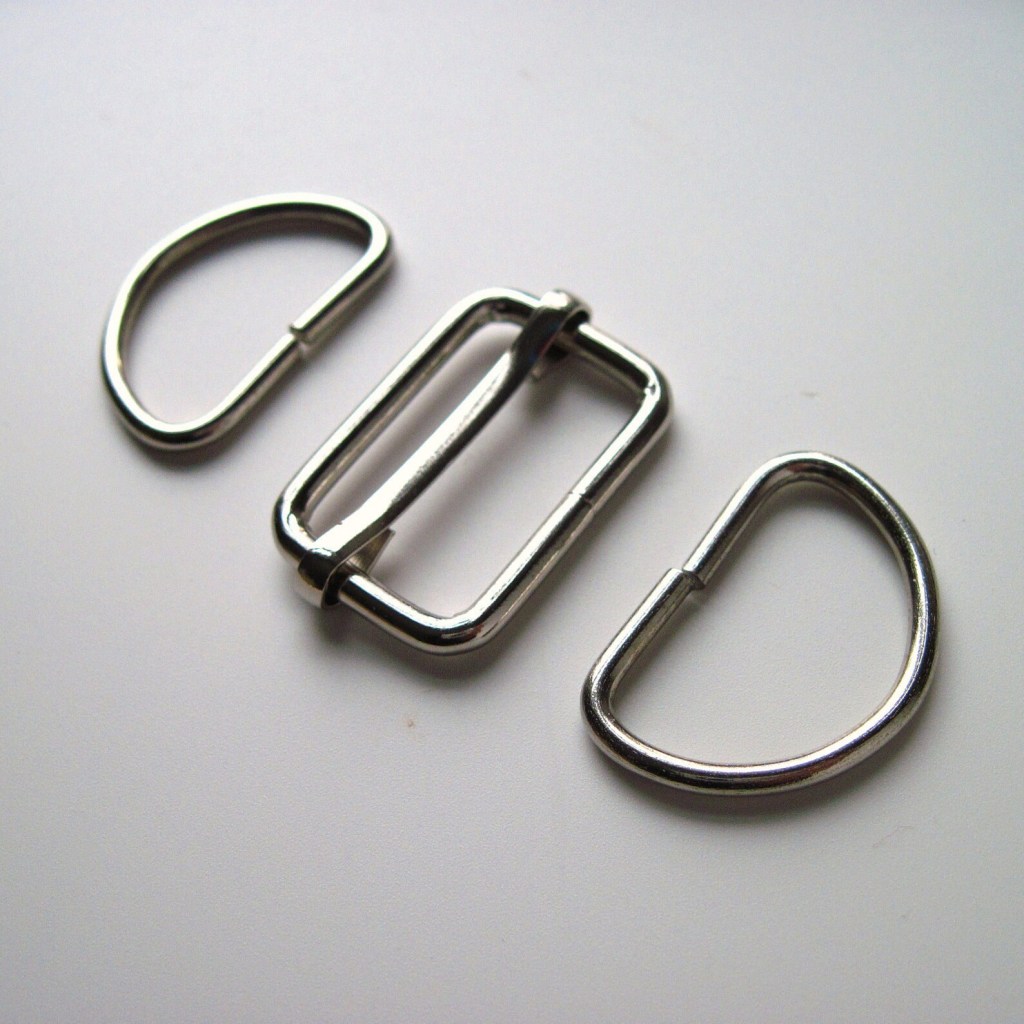
And a choice of metal sliders and rectangles in chrome or antique brass can be added to your pattern order.

HOXTON TOTE

HOXTON TOTE
WHITSTABLE WEEKEND BAG

PATTERN ERRATA: please note that the seam allowance is 1cm and the lining should be cut to the measurements specified and not traced using the outer as a template.

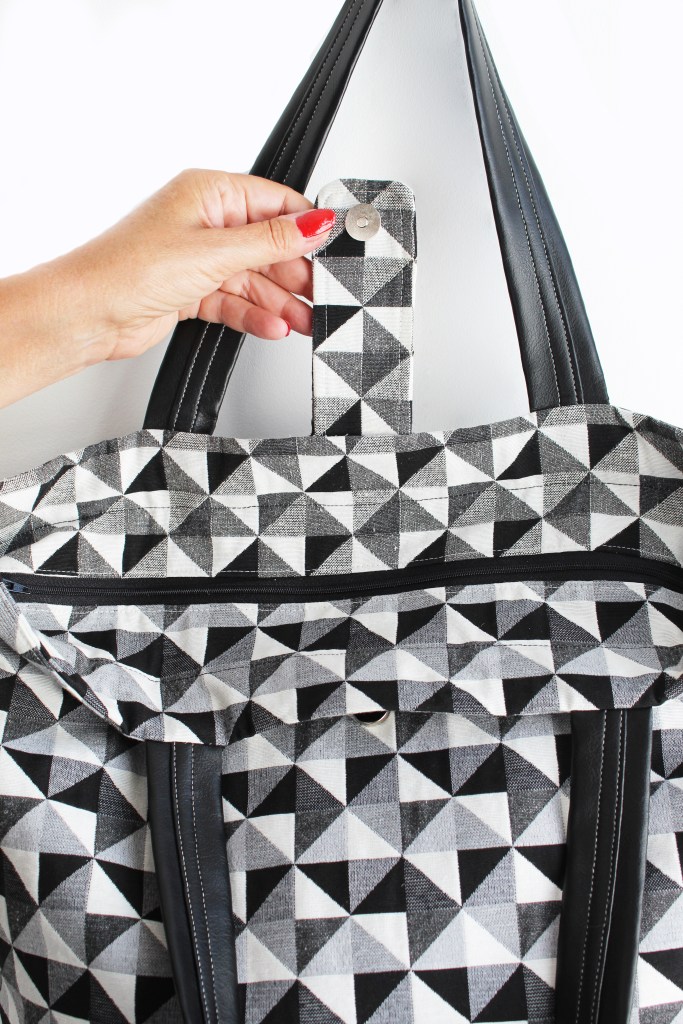
INVERTING ZIP & FLAP WITH MAGNETIC CLASP
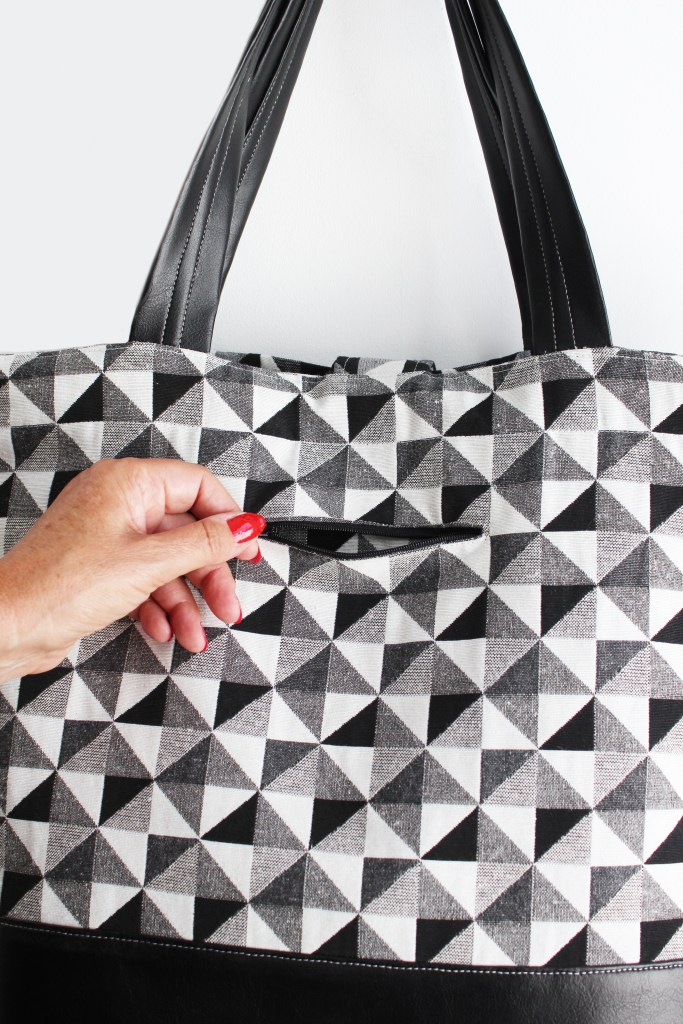
LETTERBOX ZIP
BROMPTON BACKPACK

To purchase a bag pattern or kit please visit the Sewgirl shop (link button below).

All images and text are copyright Fiona Hesford.

Please ask permission if you would like to use any of the images in this blogpost.

Thankyou

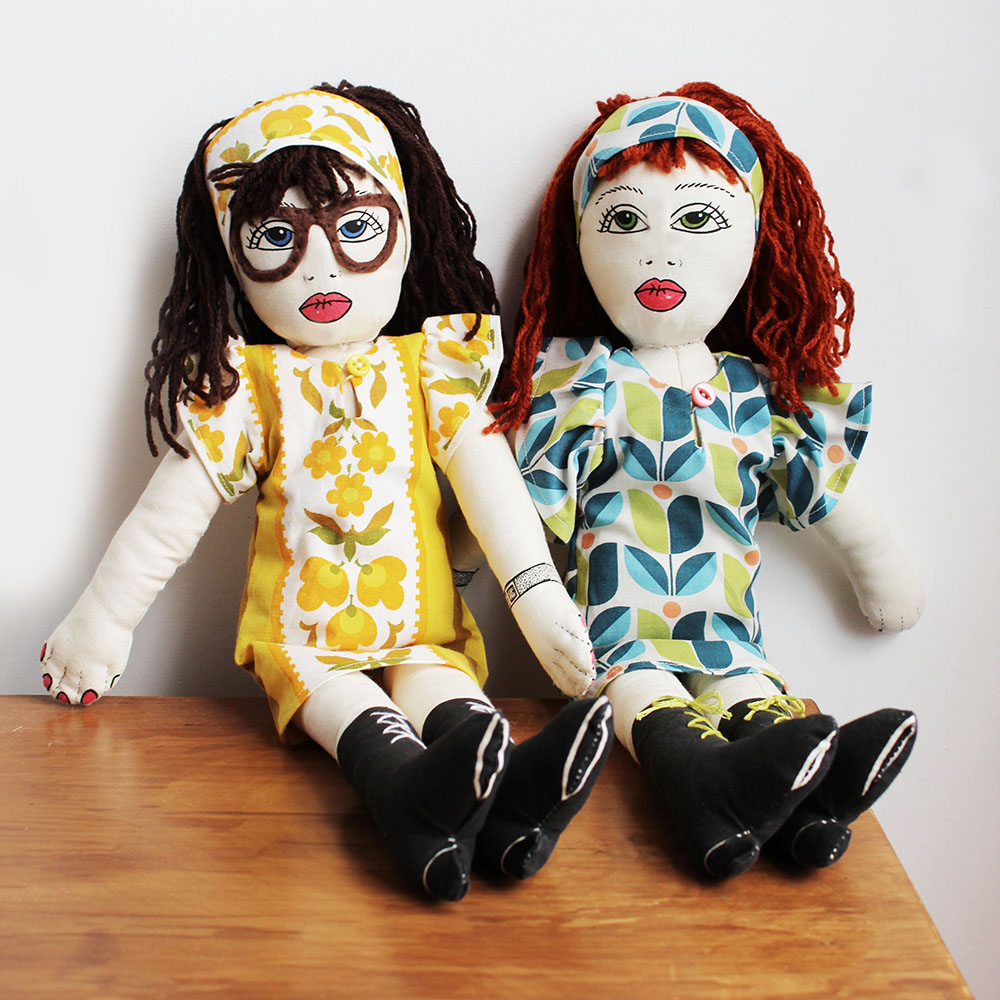
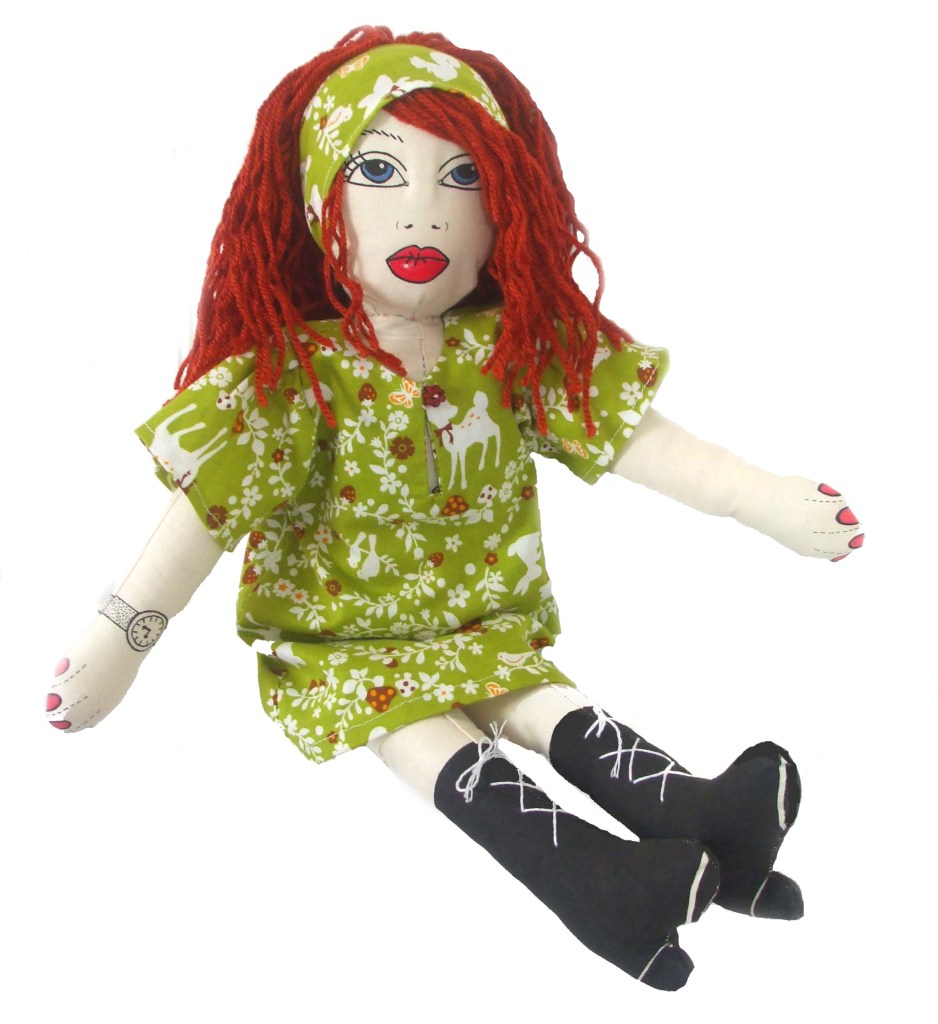
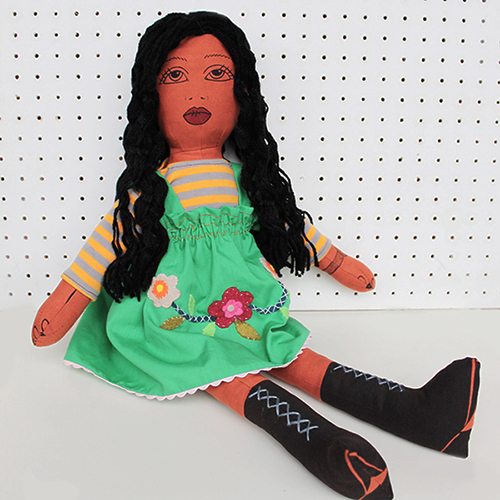
SEWGIRL DOLL

Sewgirl dollies

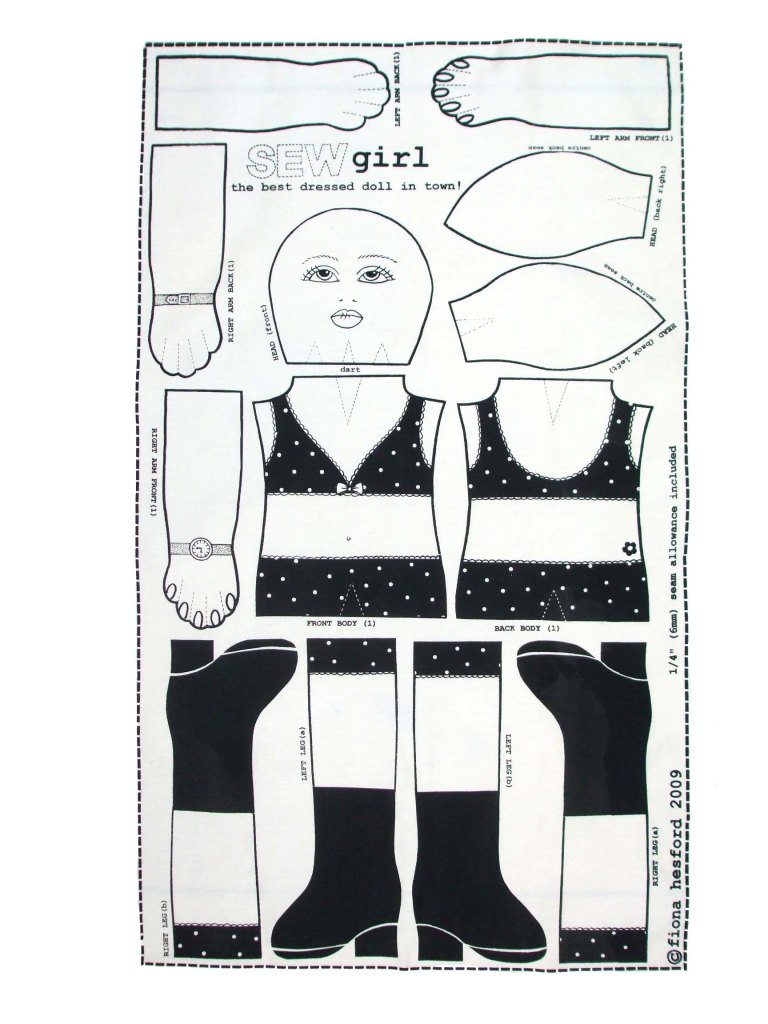
Sewgirl Doll is a fashion doll made from a unique printed cotton panel. She features a watch, daisy tattoo, little natty boots and cute spotty undies.

Cut out the pieces, sew her up, stuff her, add hair and make her clothes from the templates that you can download for free from this page.

Instructions about making the doll are also available to print from this blog page.

You can embroider or paint in her eyes, lips and nails with marker pens or embroidery thread and just add detail as you wish. She is canvas for your creativity.

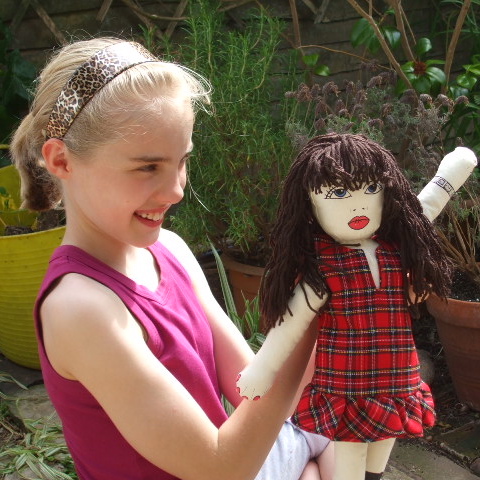
Heres my daughter Tilly enjoying hours of fashion fun!
This unique cotton printed panel- just cut out the pieces and sew up following the downloadable instructions below.
Sewgirl has even got a watch and a tattoo and natty little boots.
Funky style- she loves to dress up
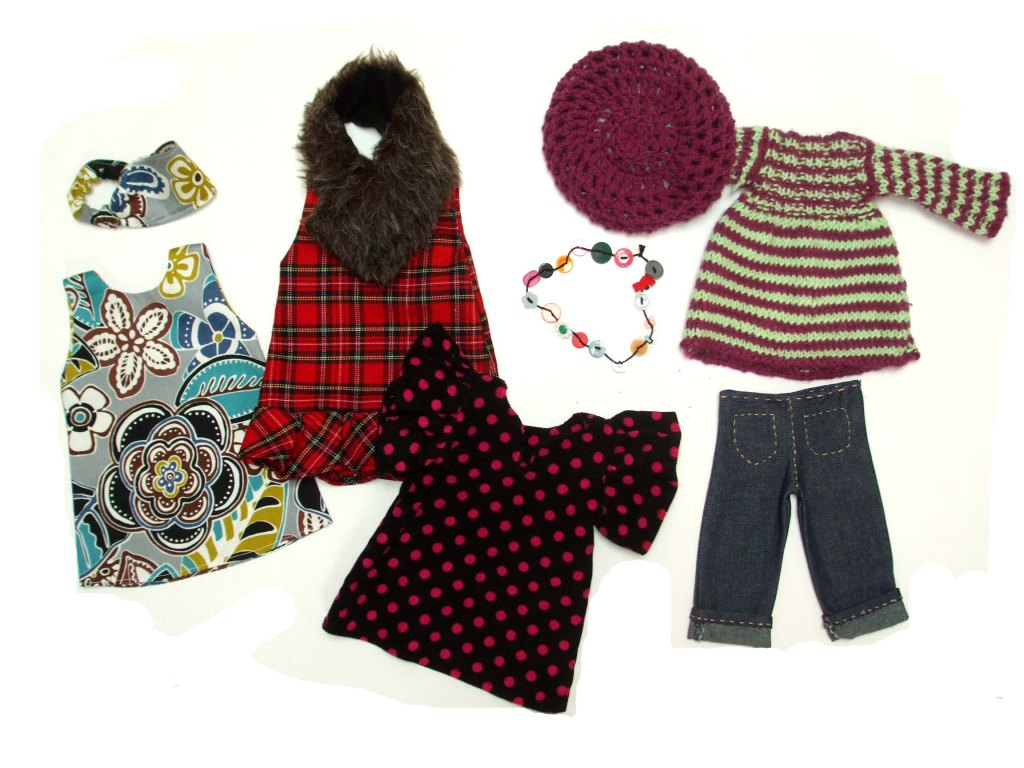
Make her clothes from downloadable templates- dress, jeans, tunic top, knitted jumper, a pair of glasses to cut out from felt and stitch on.
Copyright Fiona Hesford
All rights reserved.

PIPPY PYJAMAS

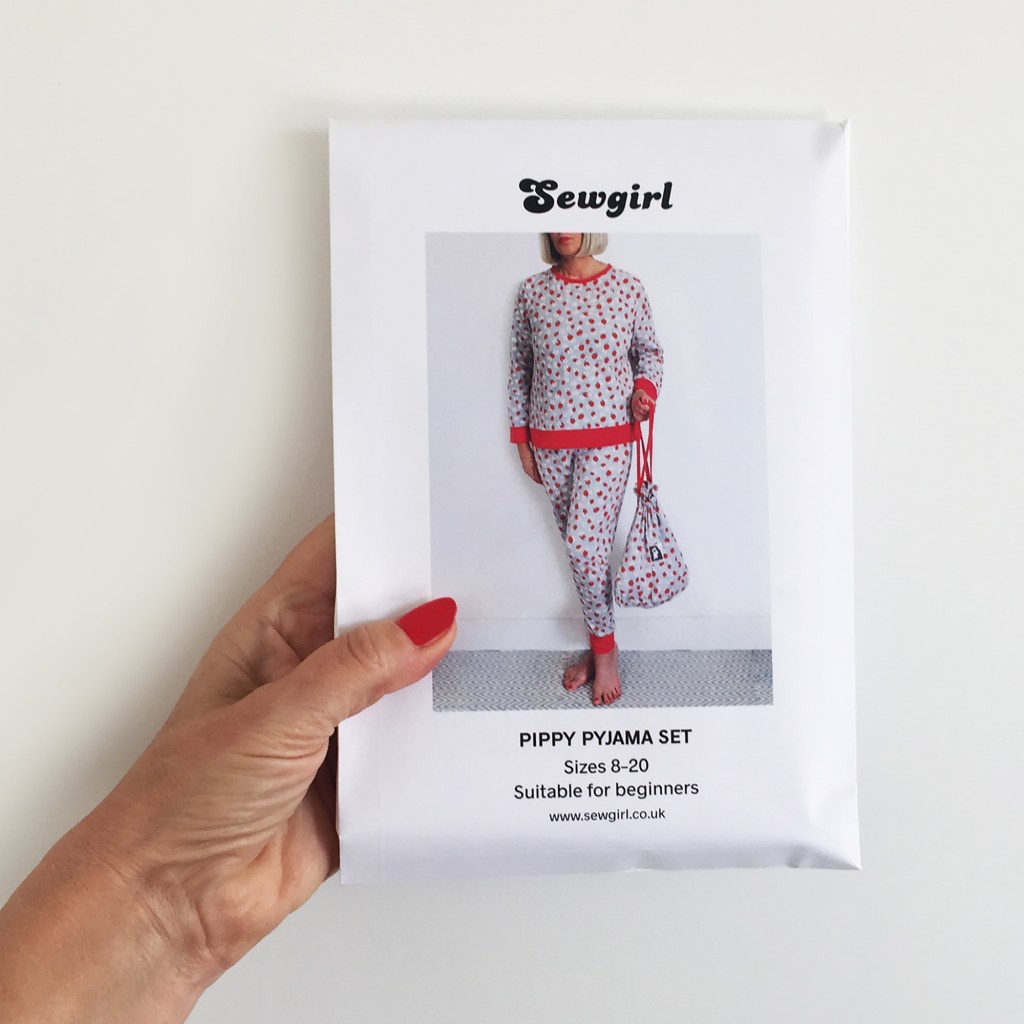
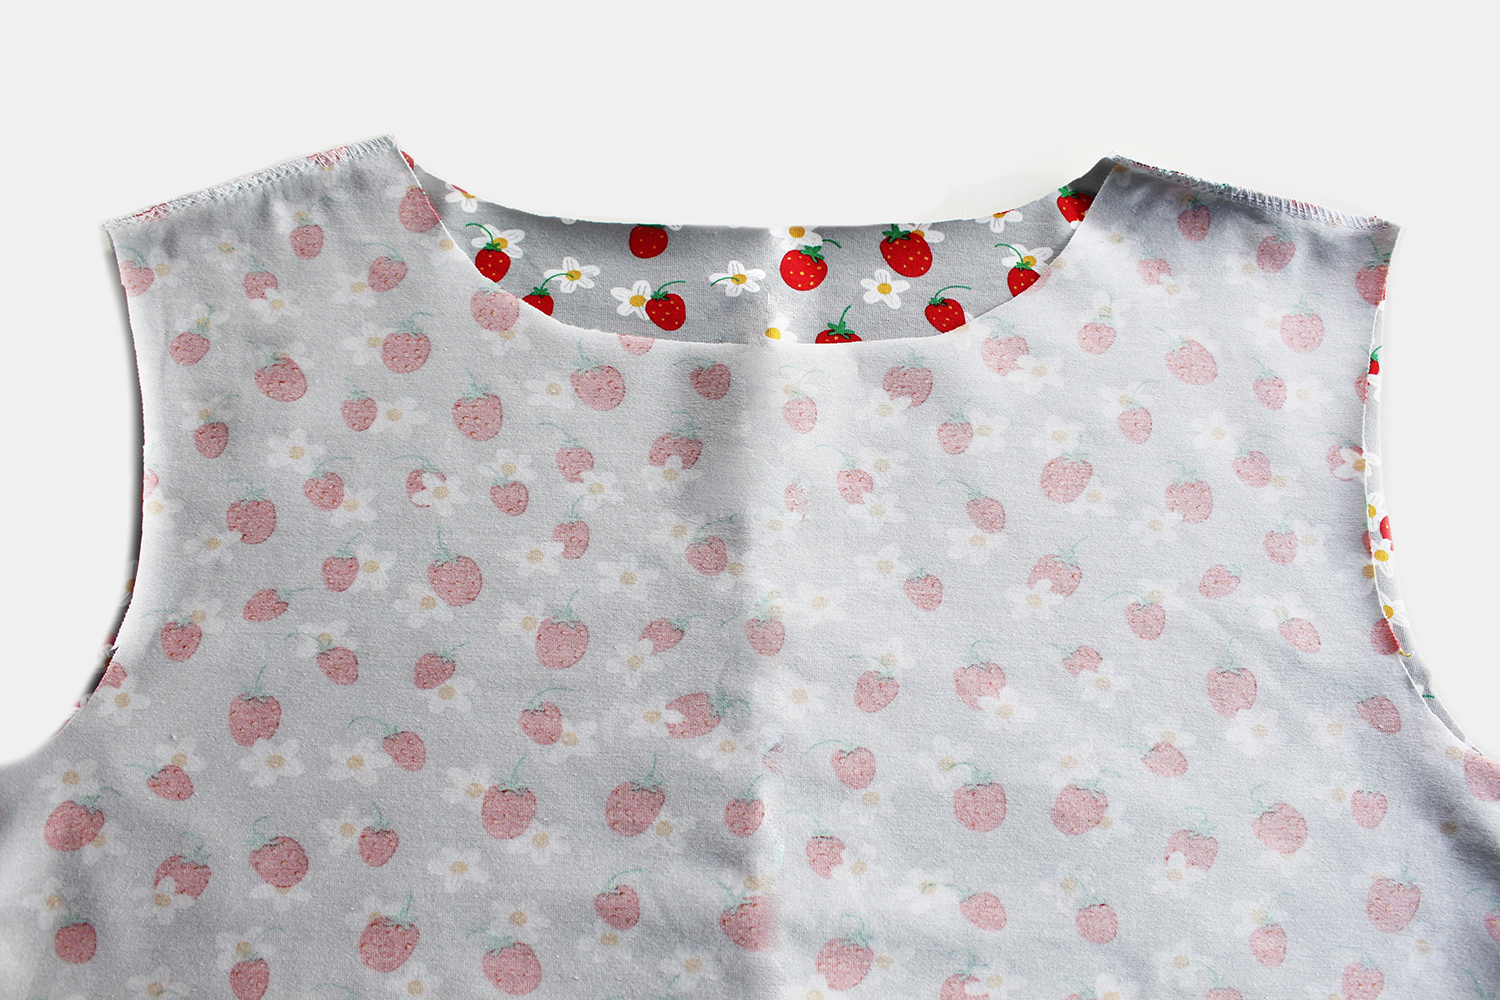
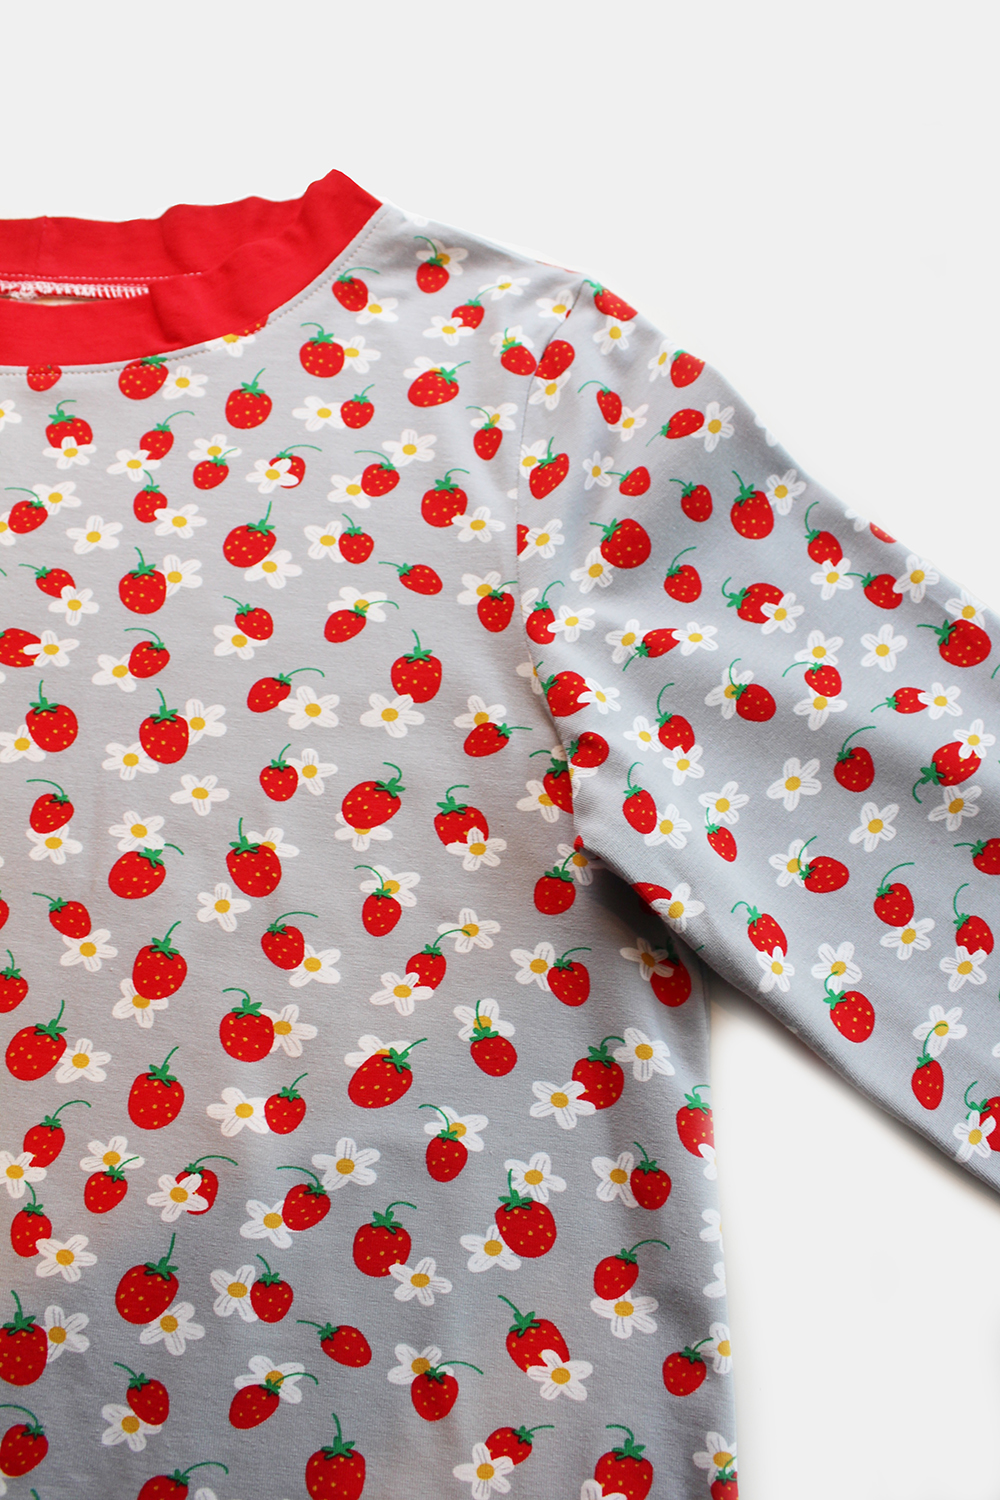
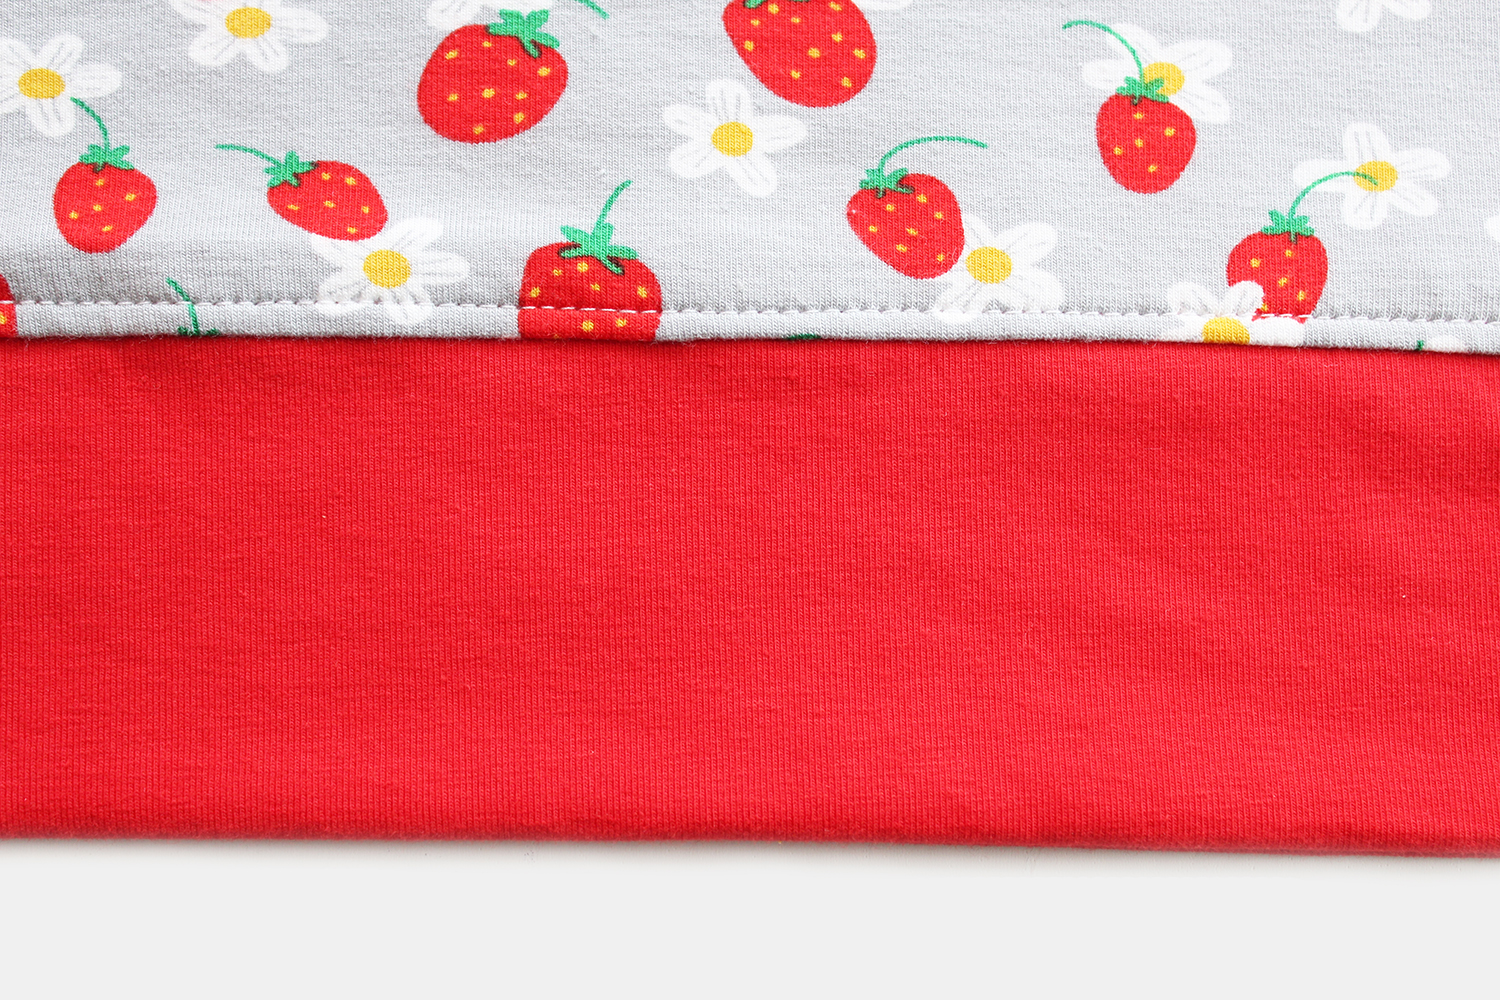
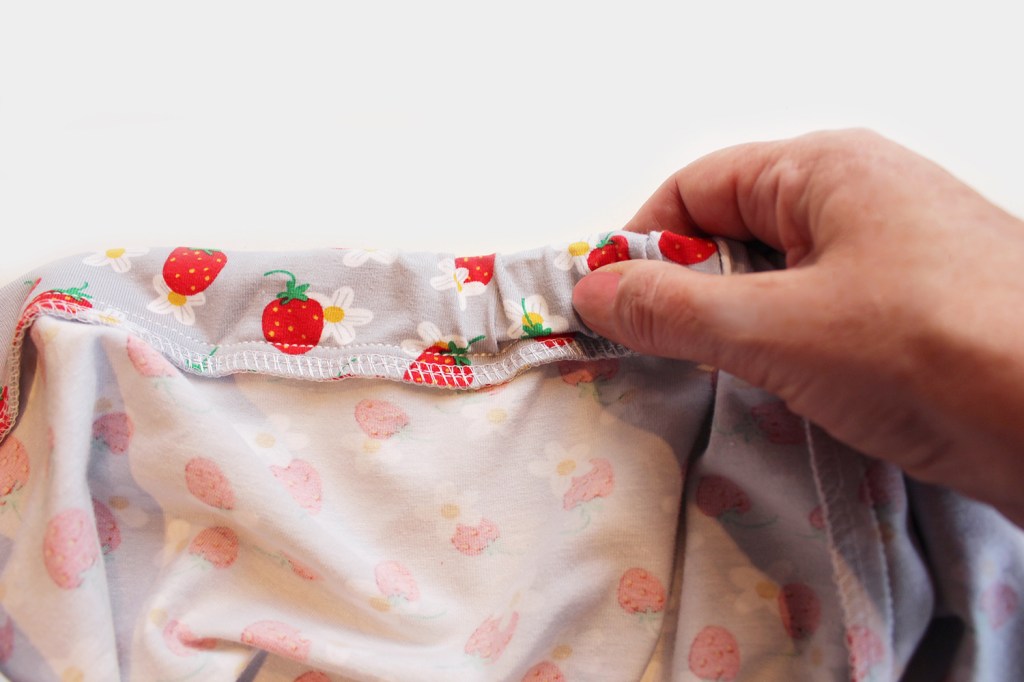
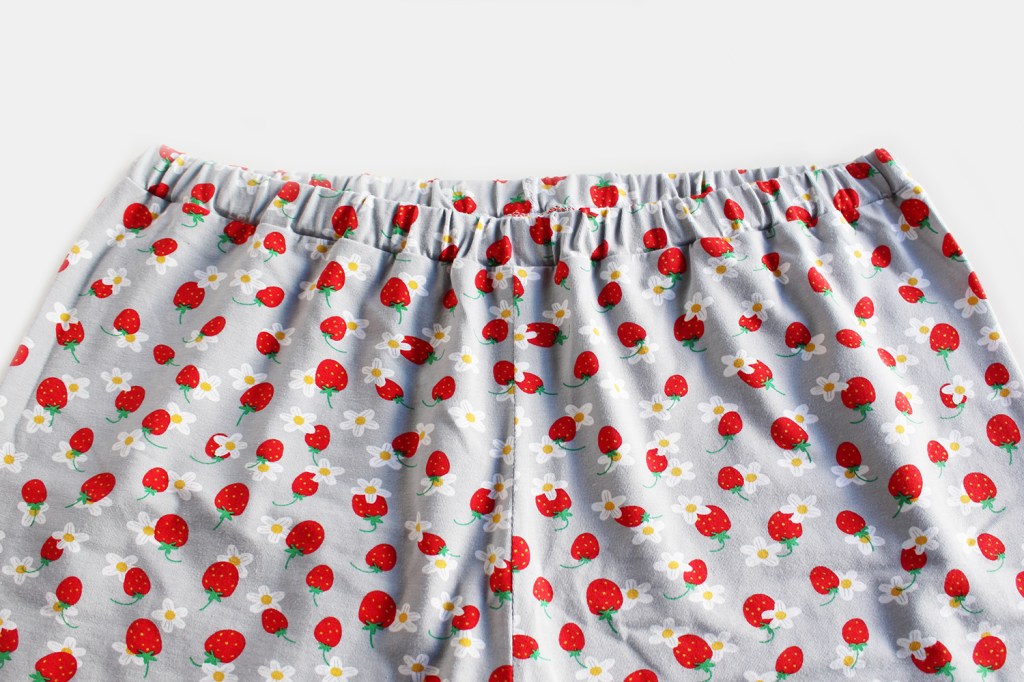
A lovely pair of comfortable pyjamas In organic stretch jersey with contrast bands

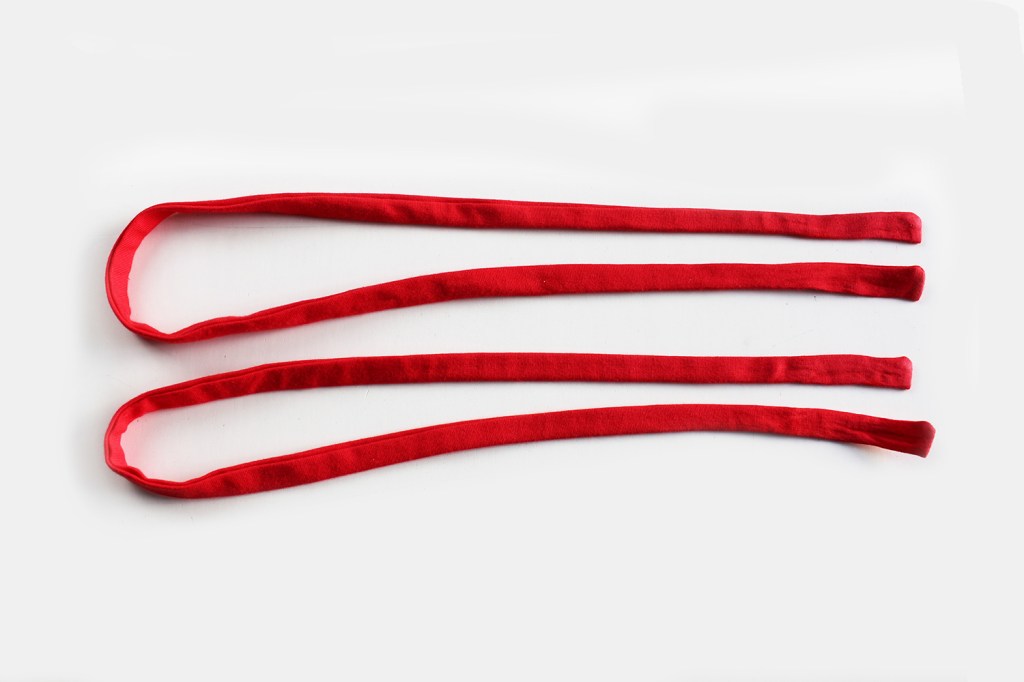
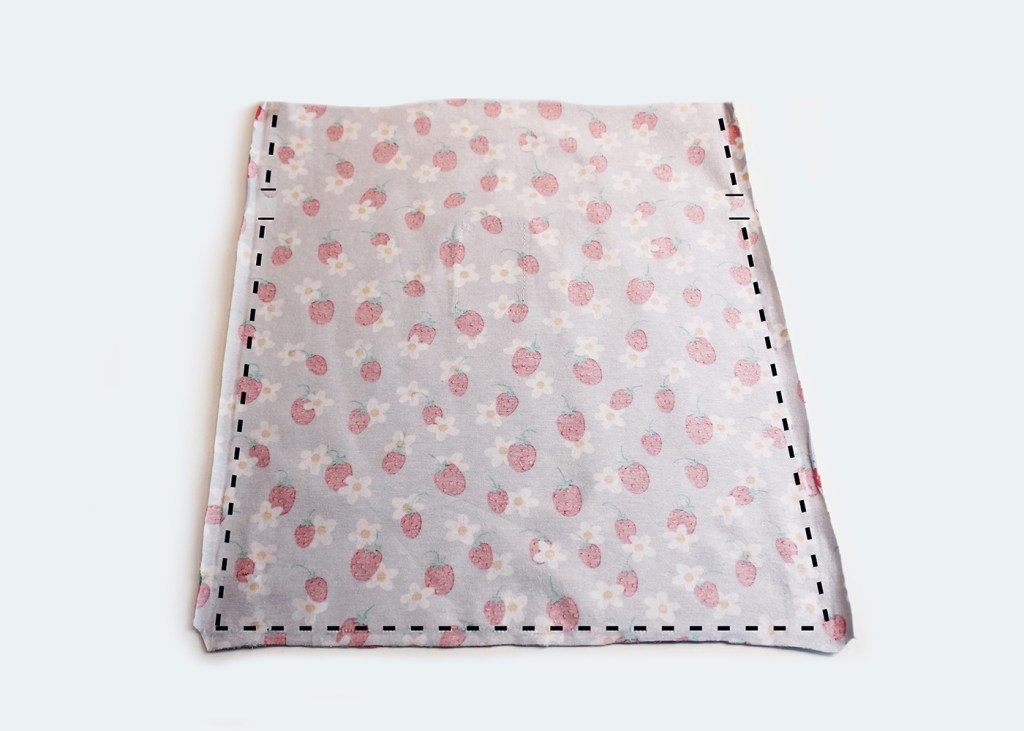
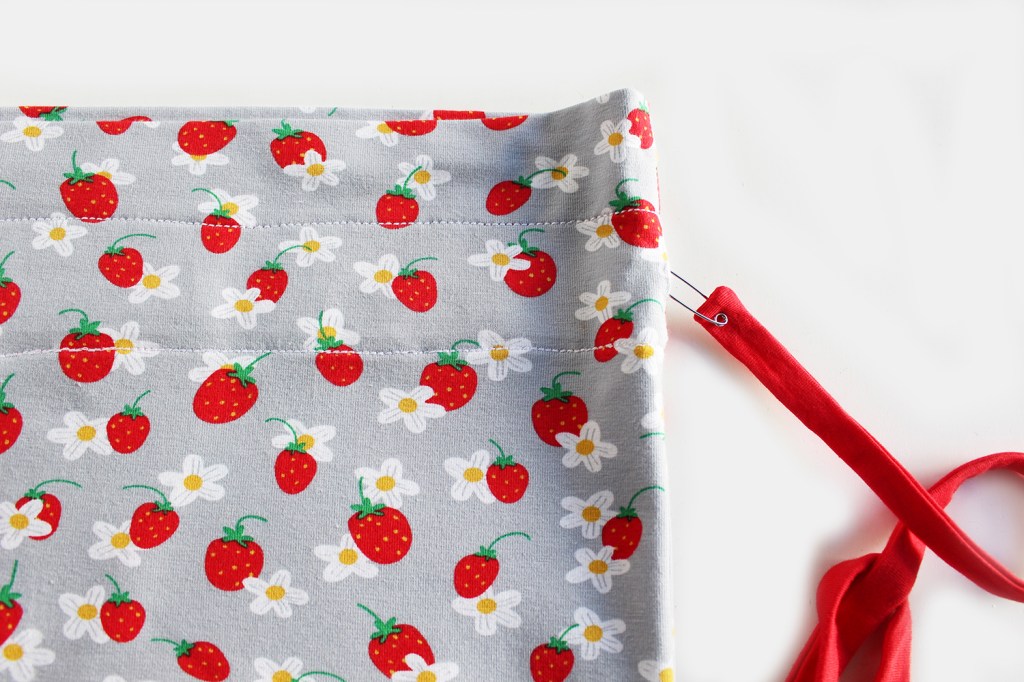
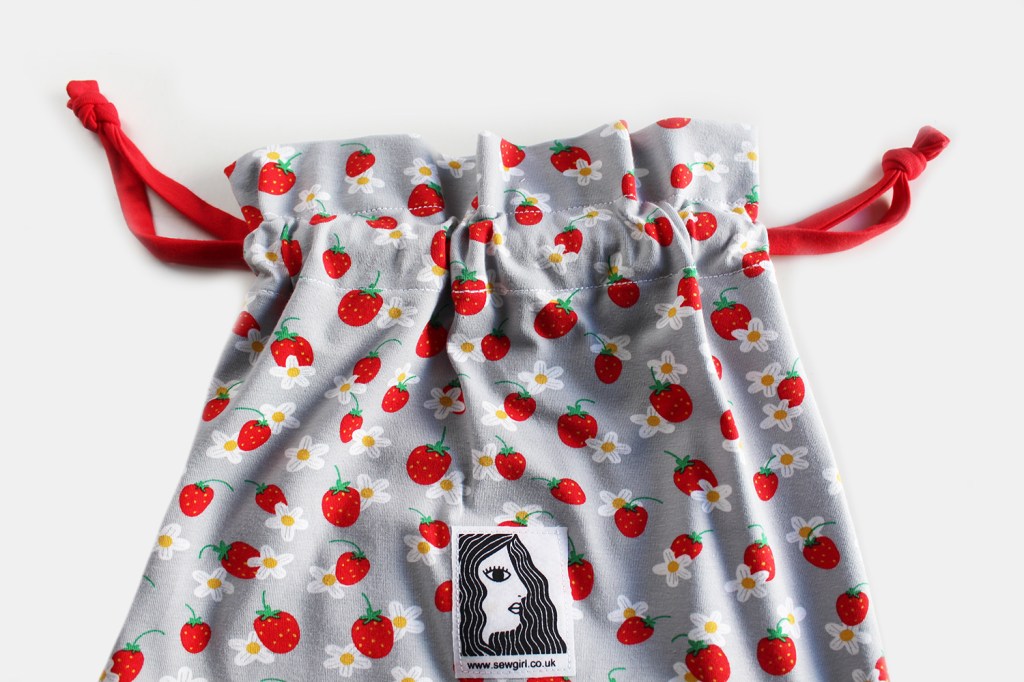
What a fab beginners bedtime project and such to fun make!, with its matching drawstring bag to keep them in. Actually, this pattern is SO much more than just pyjamas! you could make the top as an everyday garment and the bottoms as sweat or jogging pants, so its pretty versatile practical pattern that you will make again and again.

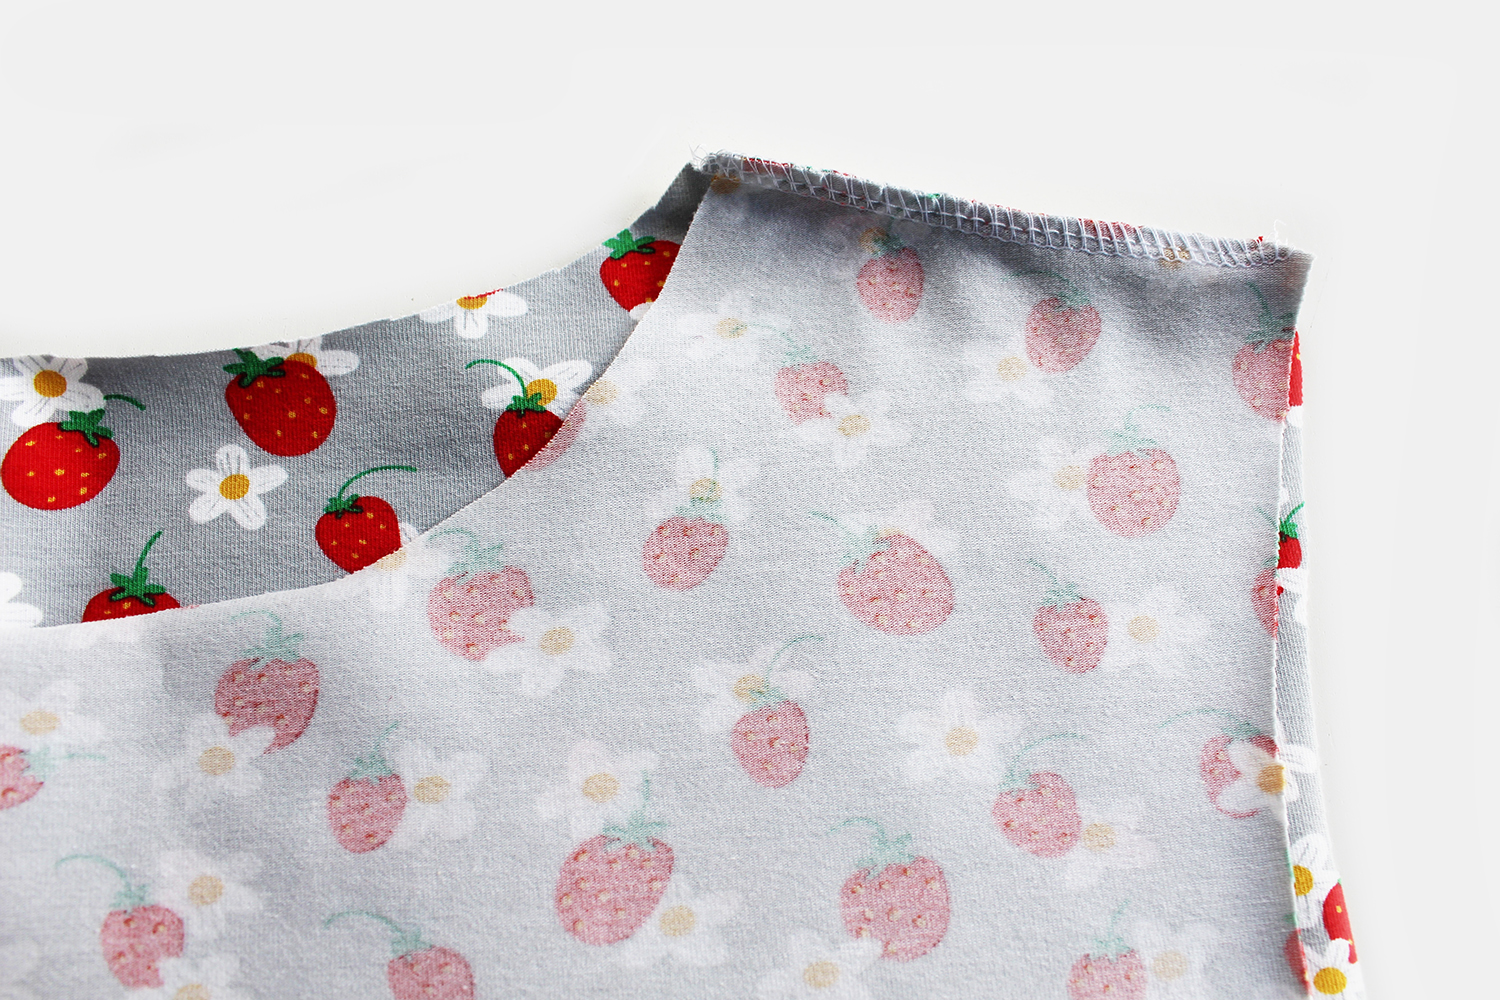
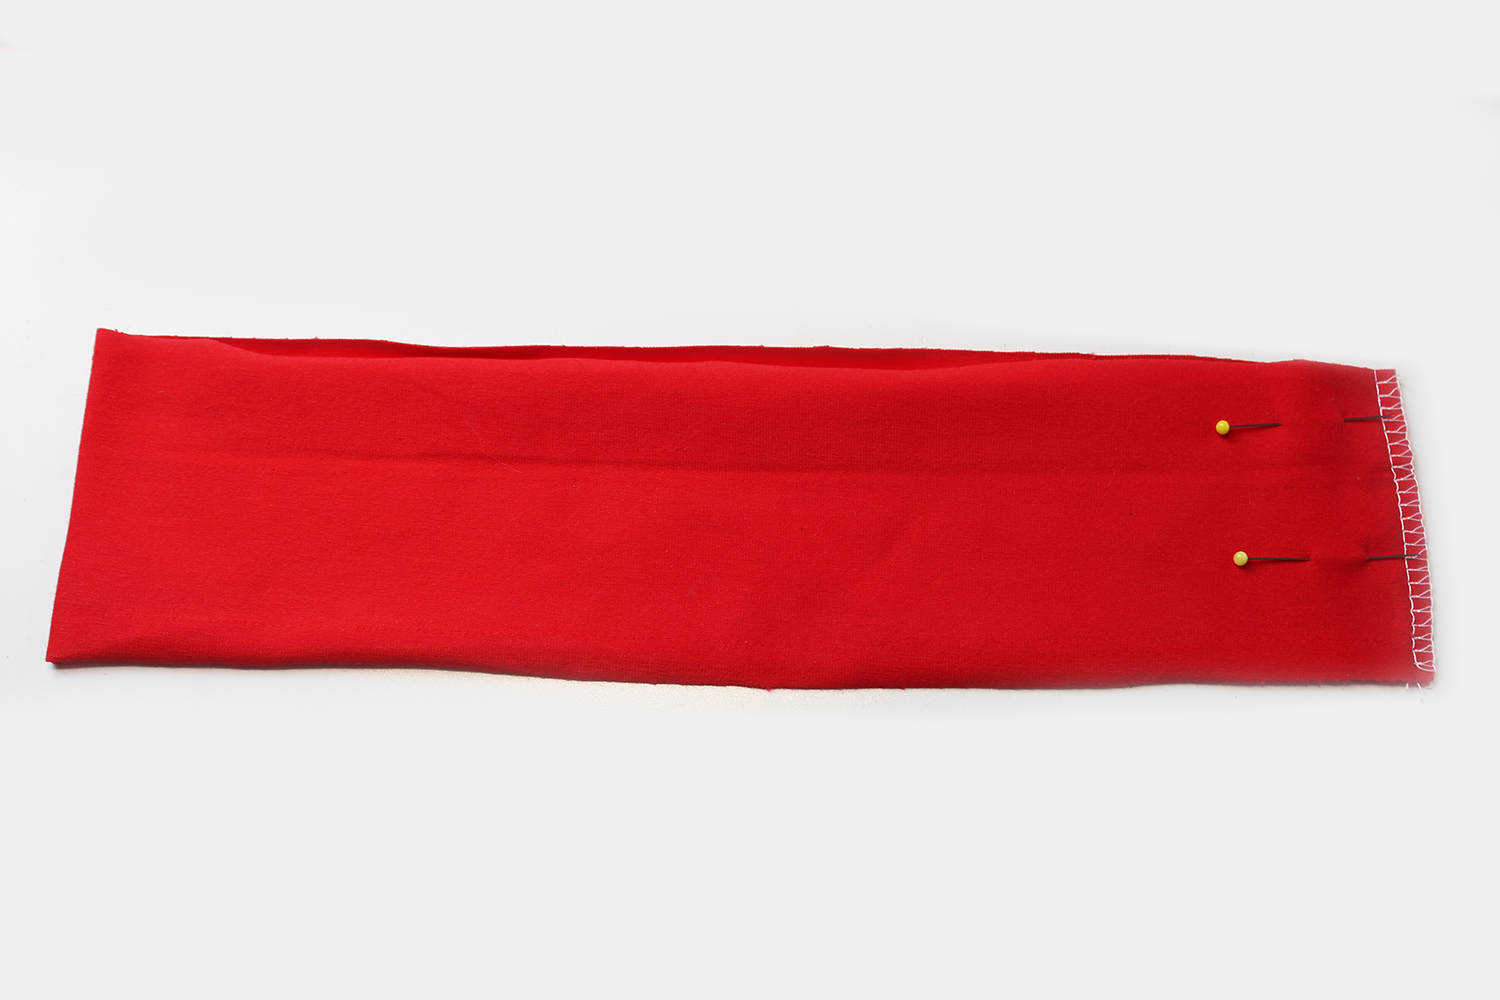
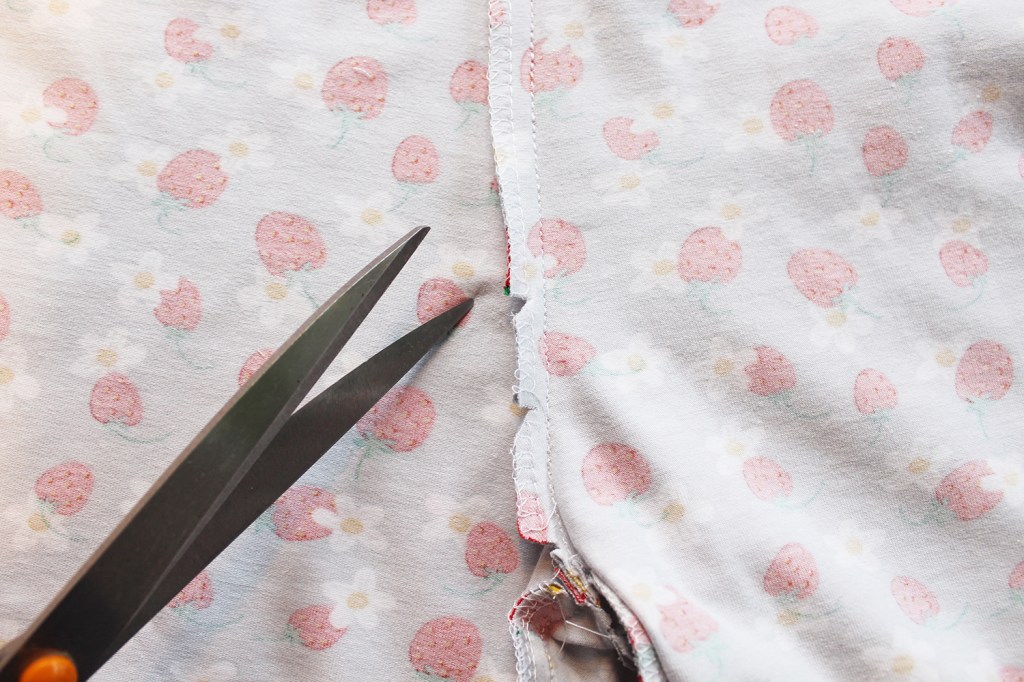
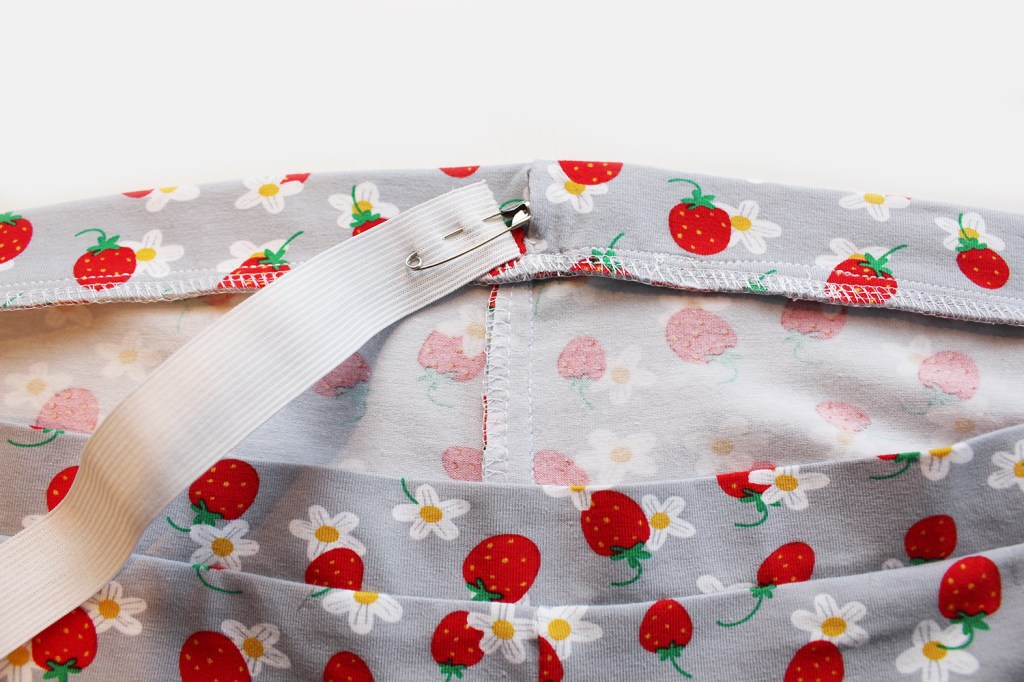
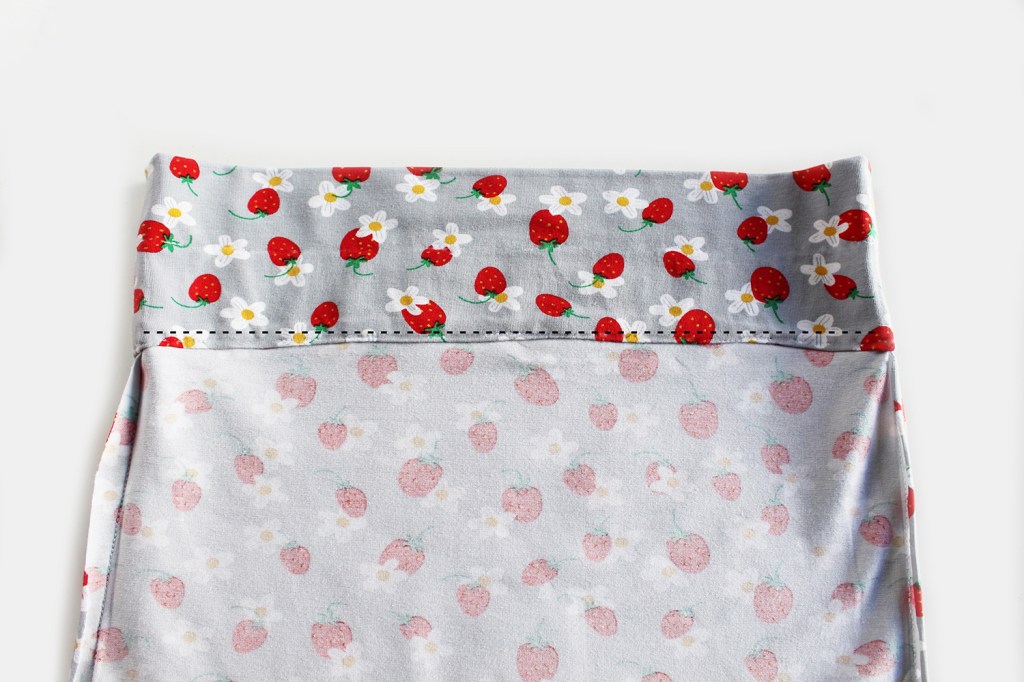
Using stretch jersey is very forgiving, making it a great beginners fabric choice, just pop a ‘stretch’ or ‘ballpoint’ needle on your machine and off you go. And by the way, don’t worry if you don’t own an overlocker, most cotton stretch jersey fabrics don’t tend to fray anyway, so why not just leave your edges raw.

This blogpost gives you an overview of how the Pyjamas are made, to give you an idea about whats involved before you buy.
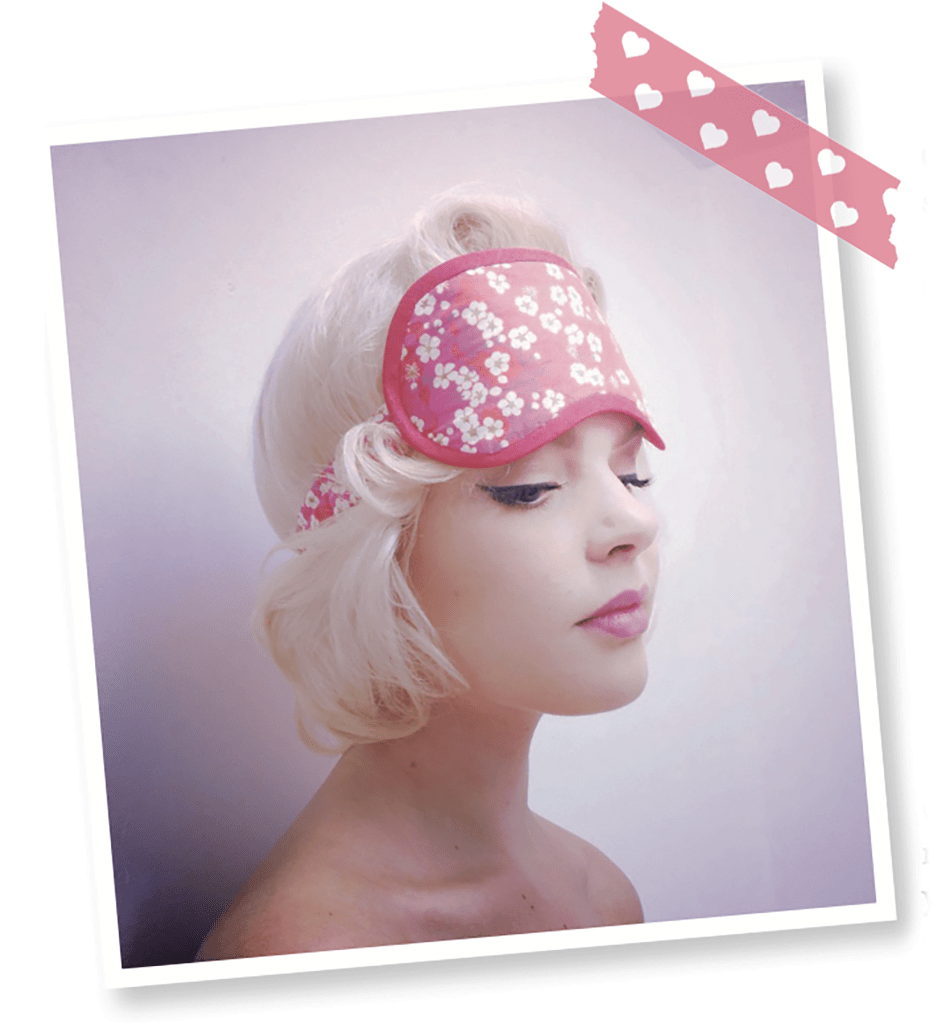
Sleep mask download below

Also If you fancy making a Sleep Mask why not download this free pattern and template. Just make sure to print off the template at 100%.

HOW TO MAKE PIPPY PYJAMAS

All images and text are subject to copyright. Please ask prior permission if you would like to use any of the contents of this blogpost

MAISIE SWEATER DRESS & TOP

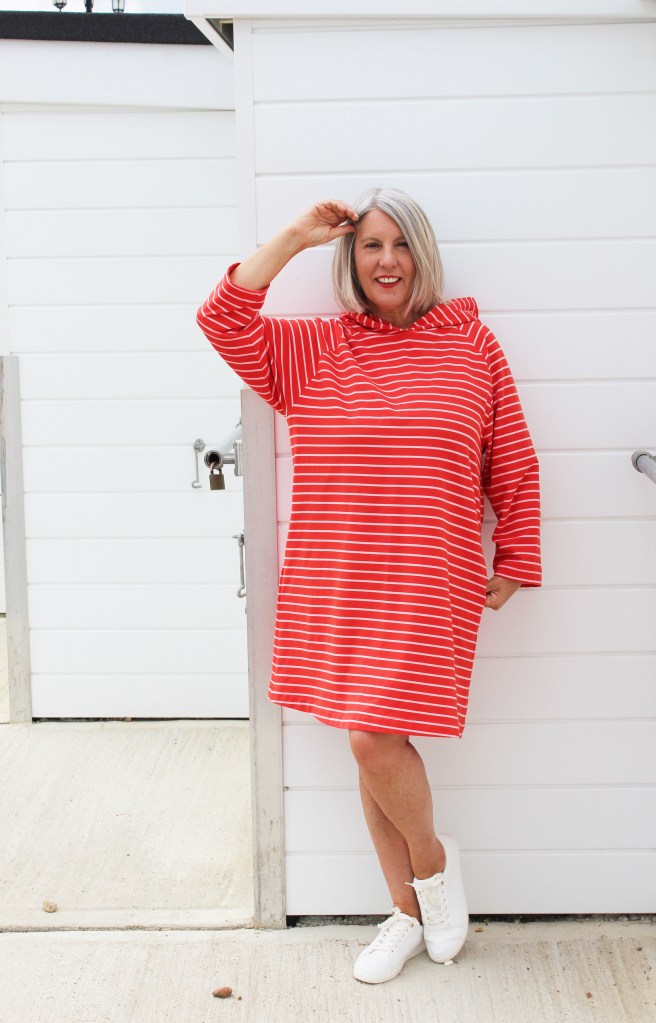
On Worthing beach in Maisie dress (with hood and side pockets).
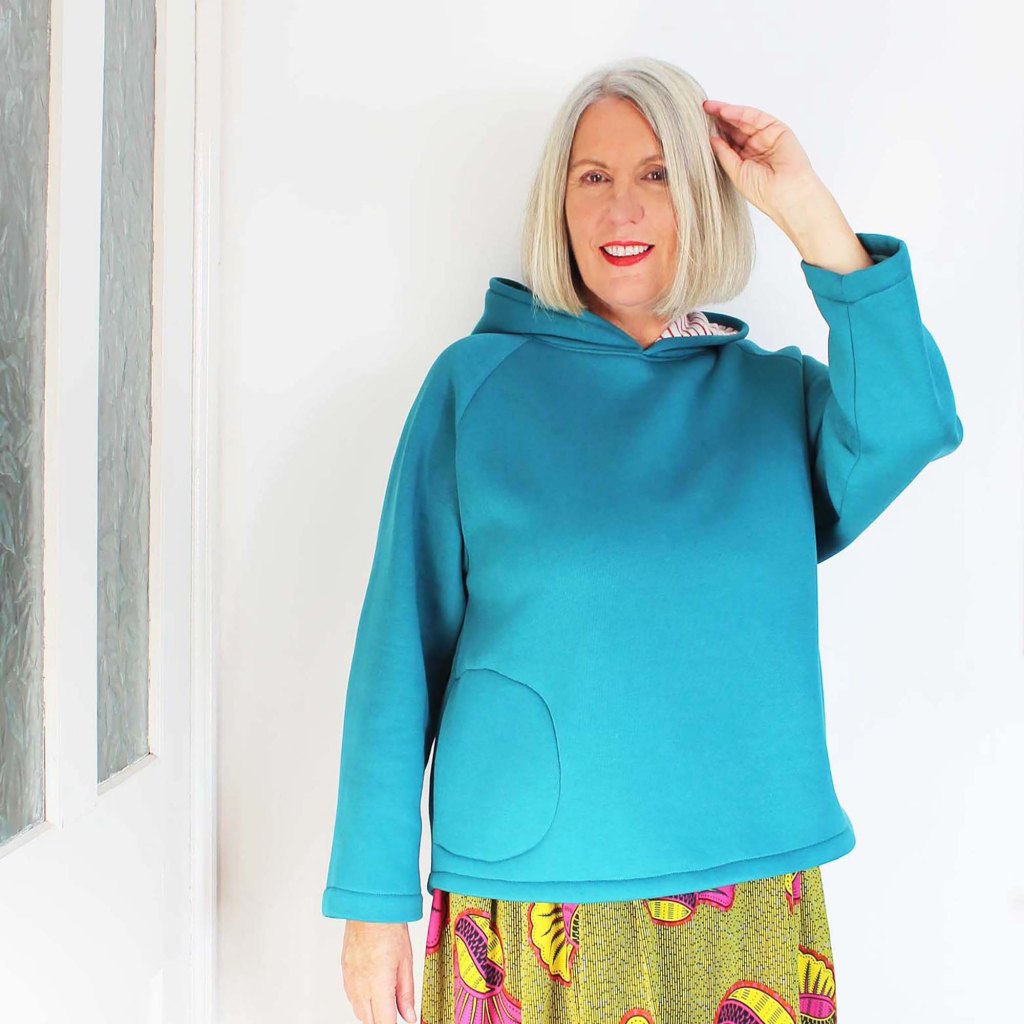
In fleece back sweat fabric with side pockets and hood
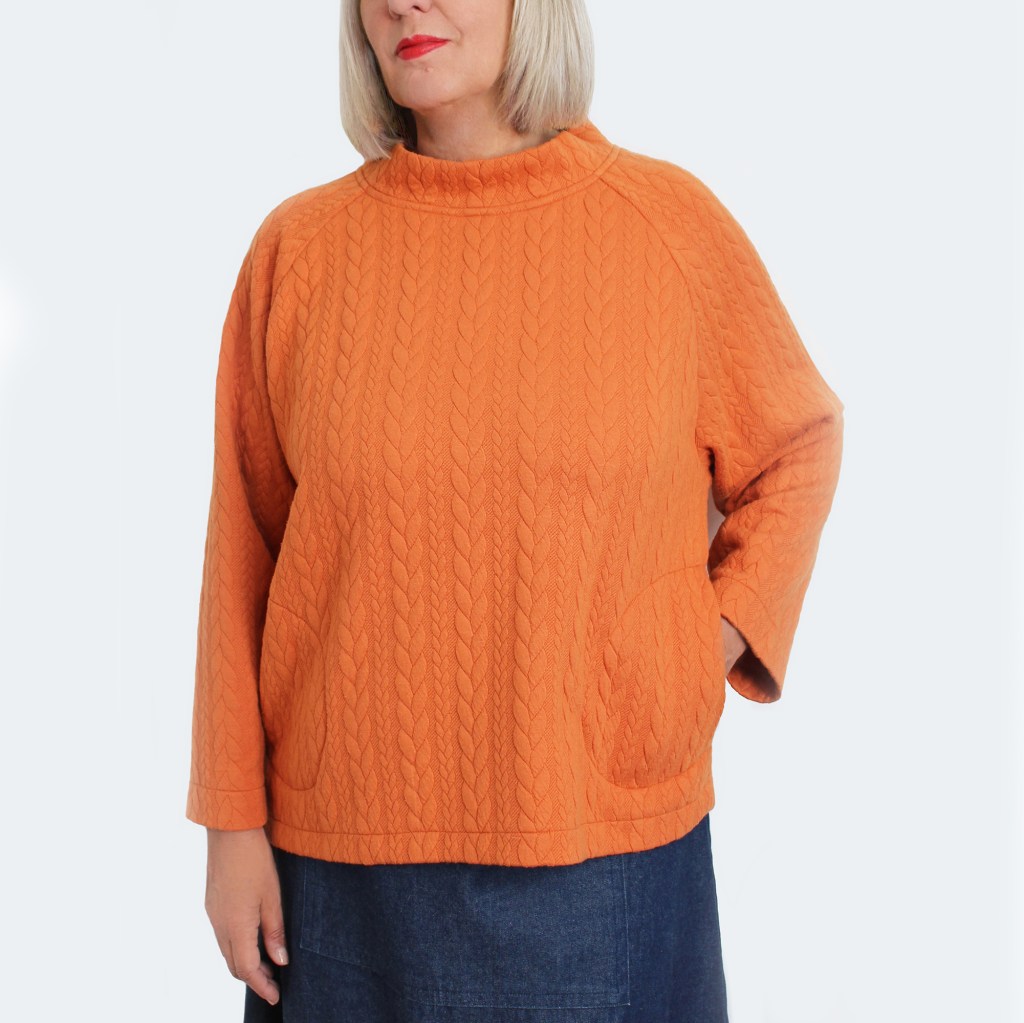
Maisie top (with side pockets and neckband).
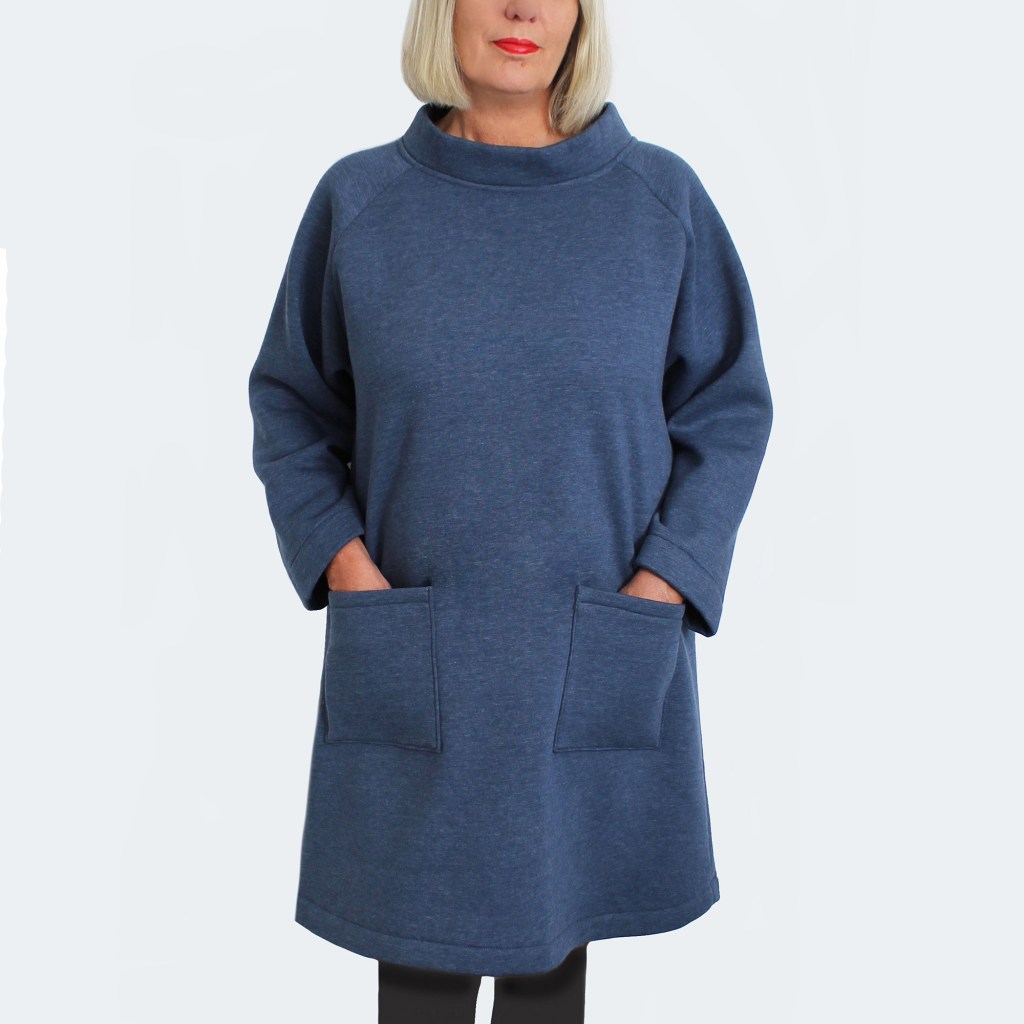
Maisie dress in sweat shirting fabric (with neckband and patch pockets).

So….at last! a Sewgirl beginners stretch jersey project- its been a long time coming. A nice and snuggly garment inspired by my trips to the beach and wanting to feel cosy when I go for my sea swims (yes you heard right!) I’m planning on swimming through the winter….hmm! We will see if that happens.

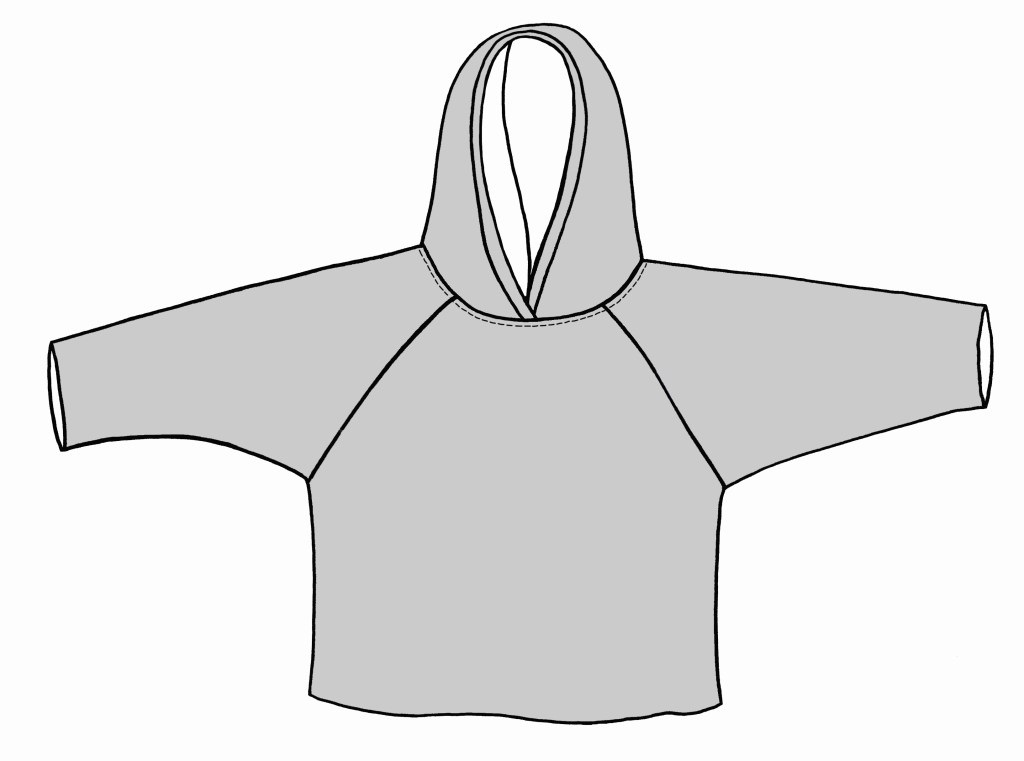
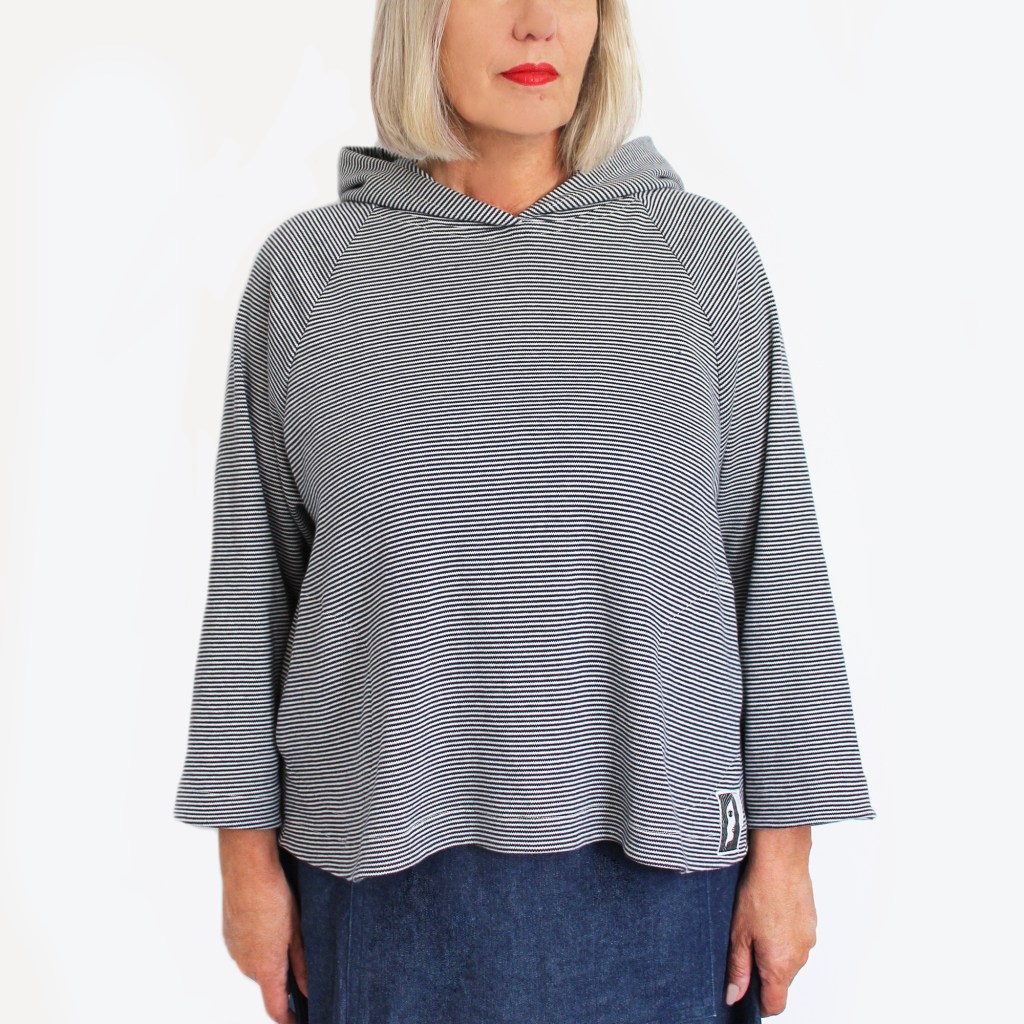
So what can I say about Maisie? Its comfy, cosy, oversized so lots of room for lumps and bumps (and I have my fair share of those!). Its got easy peasy raglan sleeves -yay! This pattern gives you options to make it in a choice of two lengths -a dress or top, with either side or patch pockets and a hood or high neckband, lots of choices on offer with this one. I popped a choice of pockets because I LOVE POCKETS! There- I said it.

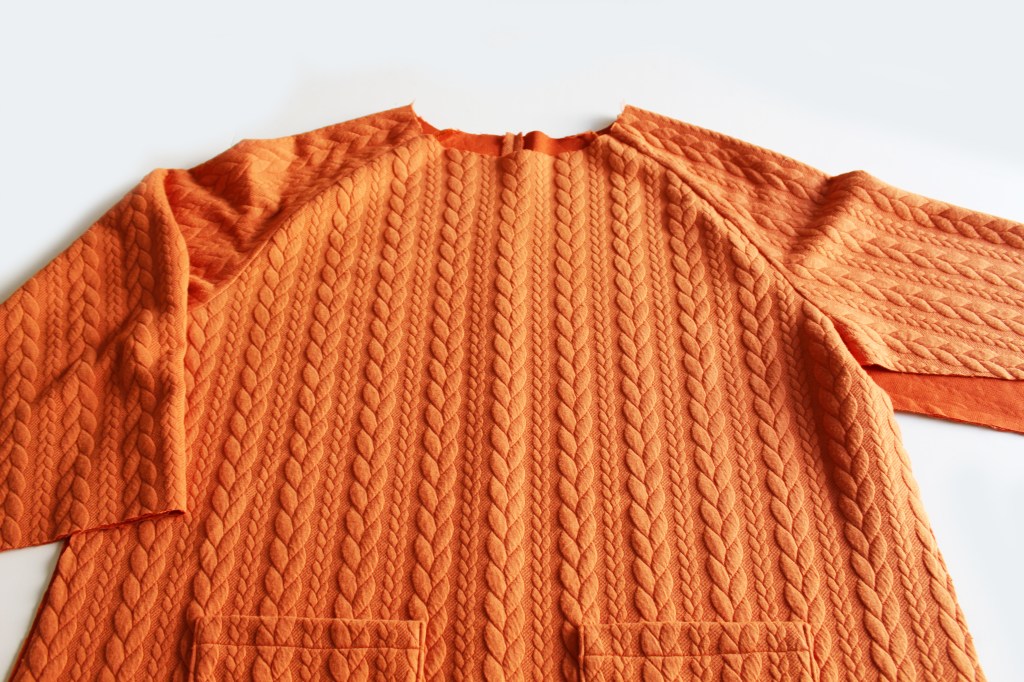
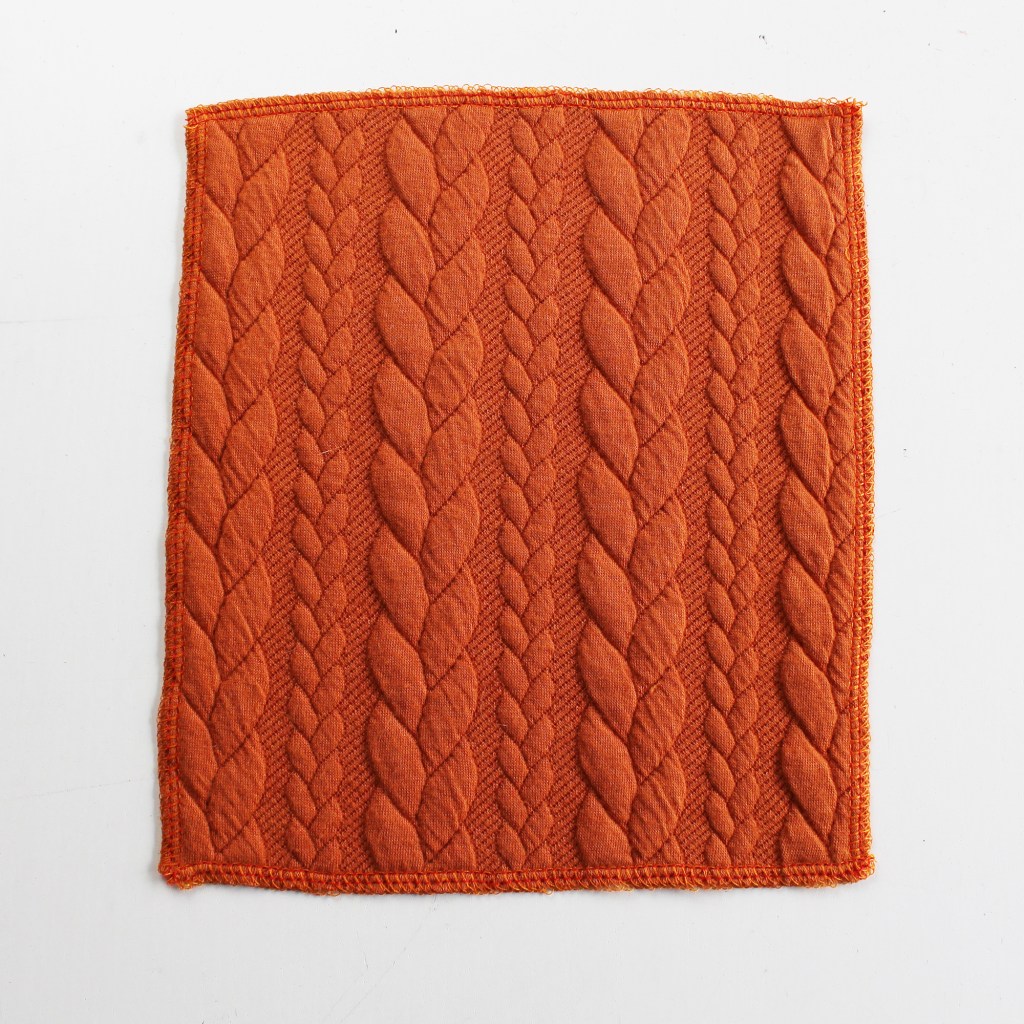
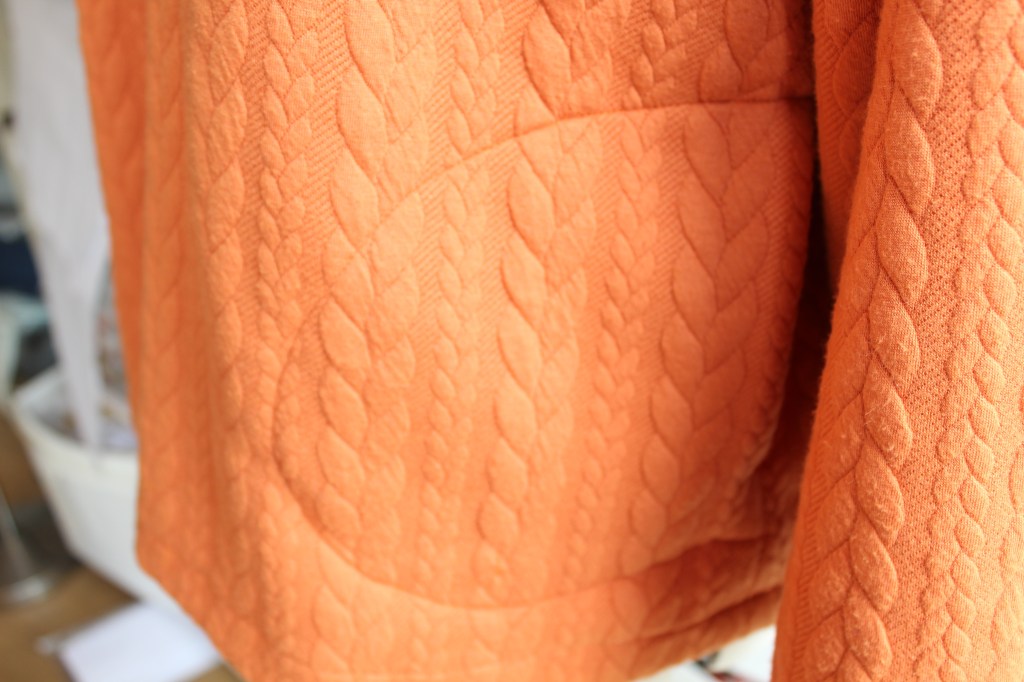
Fabrics suitable for this garment: Stretch! So think sweatshirt fabric, terry or loop back jersey is perfect too. Medium weight stripy jersey is also fab, but make sure its not too lightweight, you need something with a bit of structure to it. Try sourcing one from The Cornish Haberdashery -they have some nice coloured jersey knit stripes. Any knit fabric is good too, for the orange jumper top I used a cable knit fabric by Minerva.com and its great!

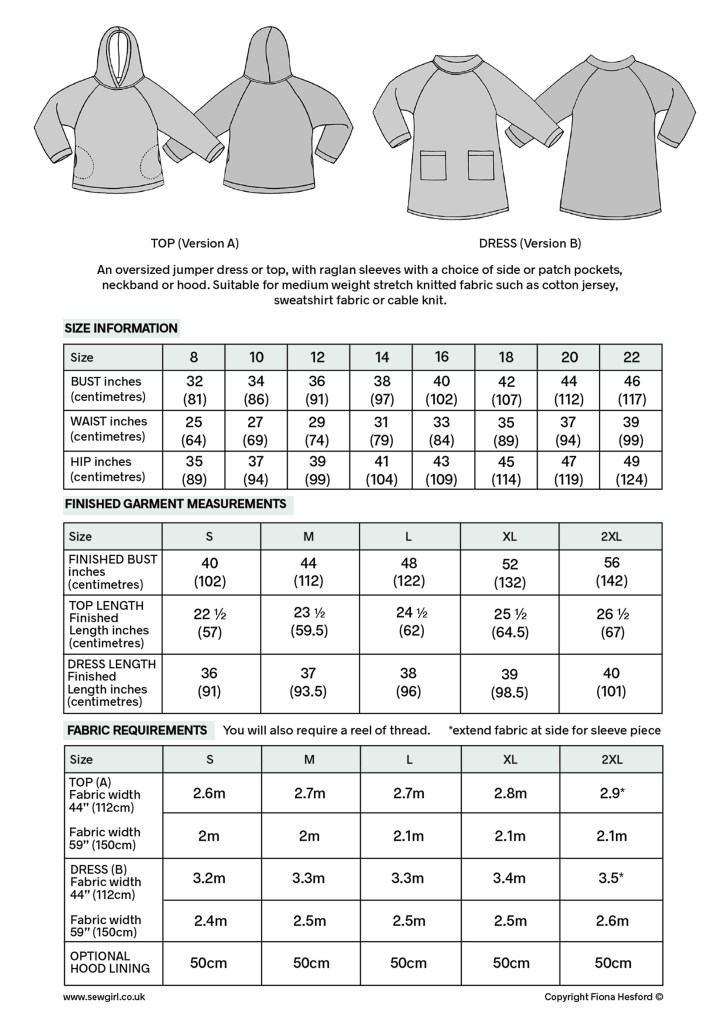
So here is a chart with all the info you need about sizing, finished garment measurements and fabric requirements.

This is how to make Maisie Top or Dress.

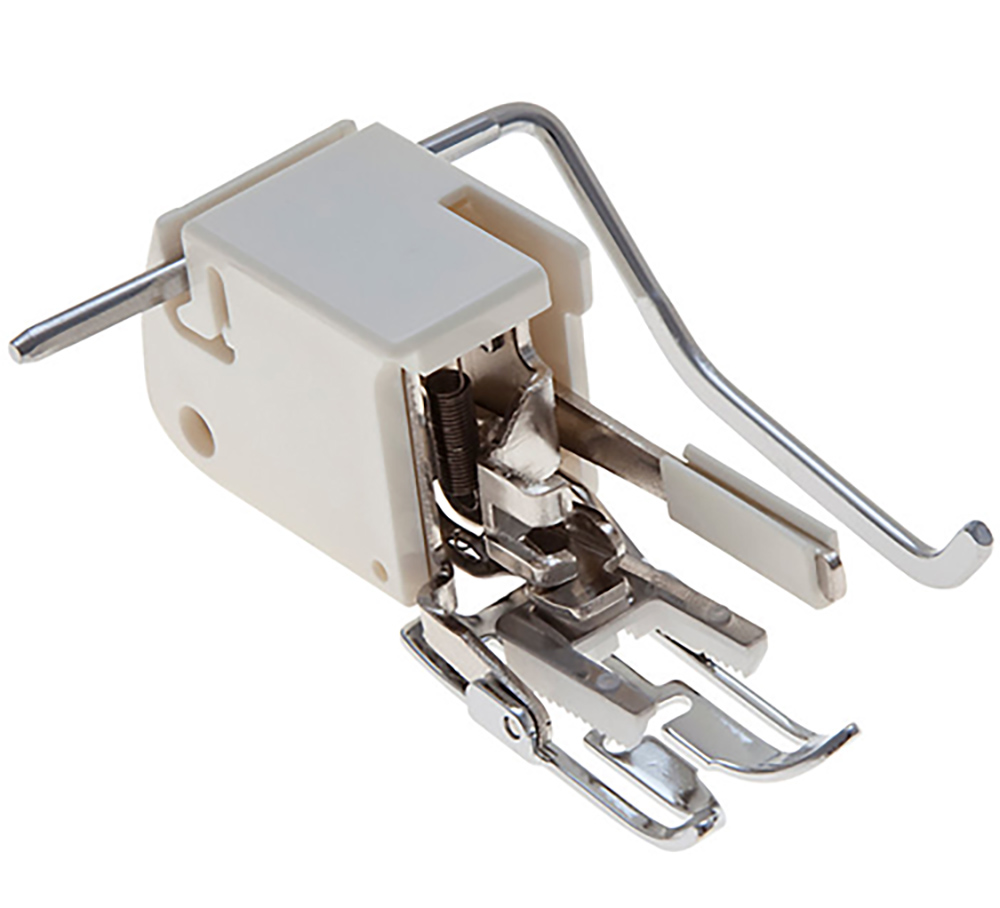
Tips: I find it really helpful when sewing bulky fabrics to use a Walking Foot. This is not a ramble whilst you sew – ha ha! Its an attachment for your machine which has a rolling mechanism under the foot to help move the fabric along and it looks like this one, but don’t worry, if you haven’t got one.

A walking foot attachment

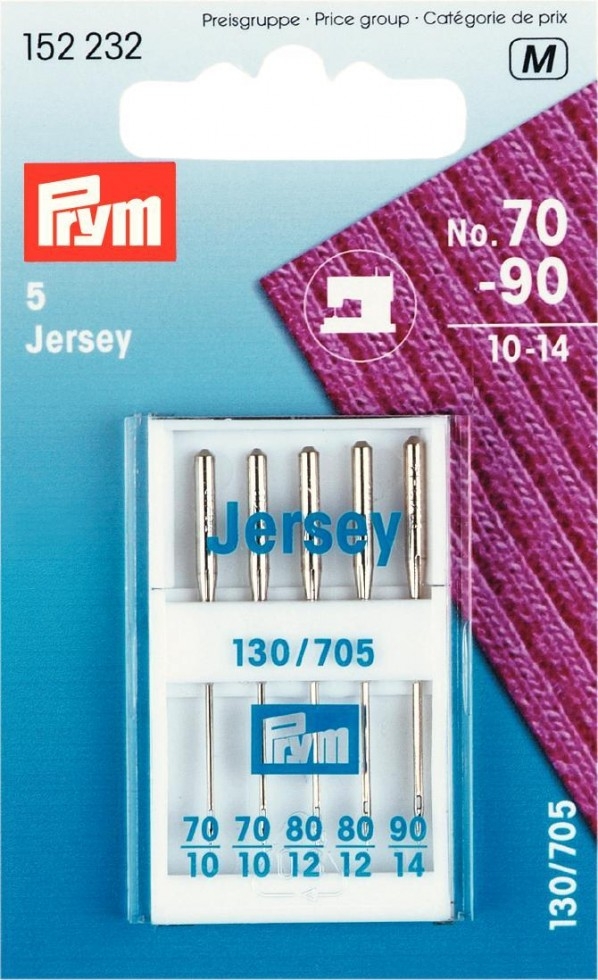
Also its a good idea to pop a jersey or ballpoint needle on your machine. It prevents snagging the elastane fibres in the fabric. You can get these from Minerva.com or your local sewing store.

Ballpoint needle

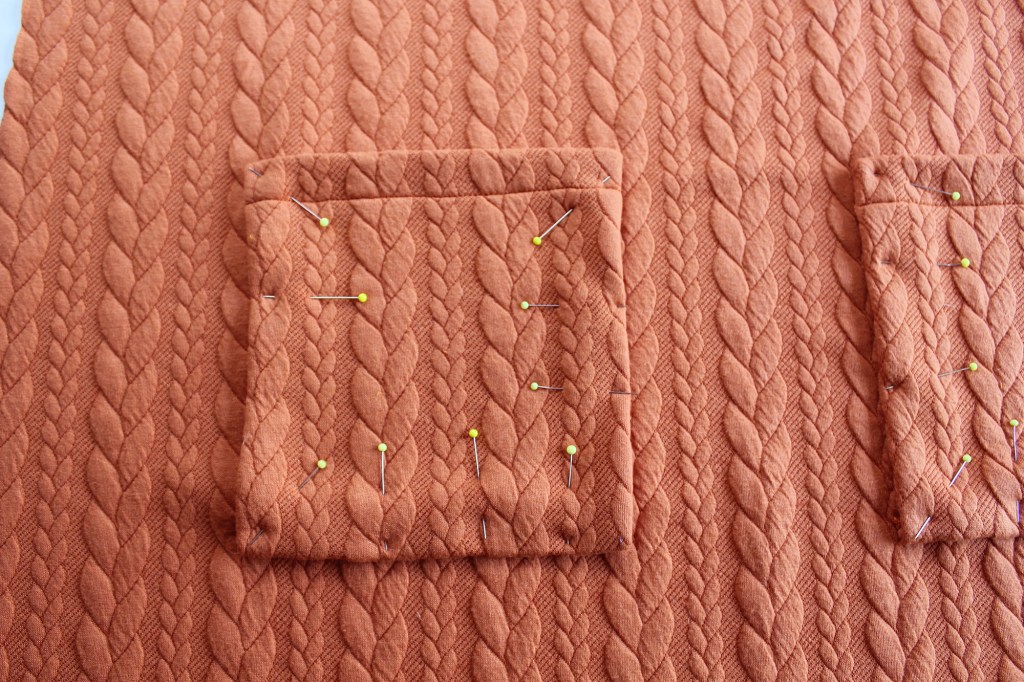
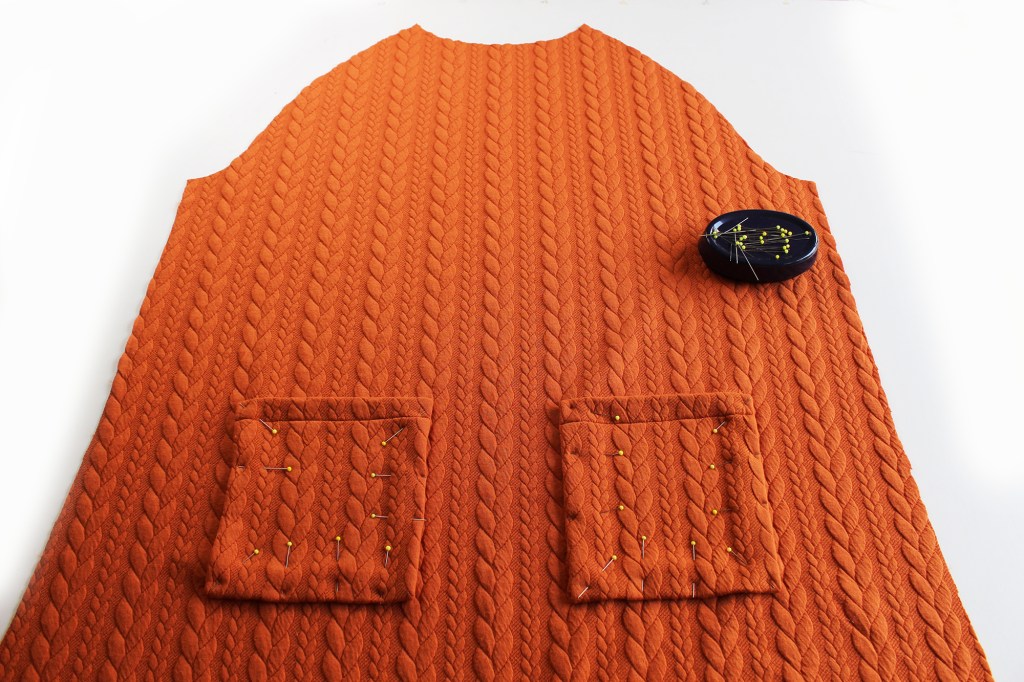
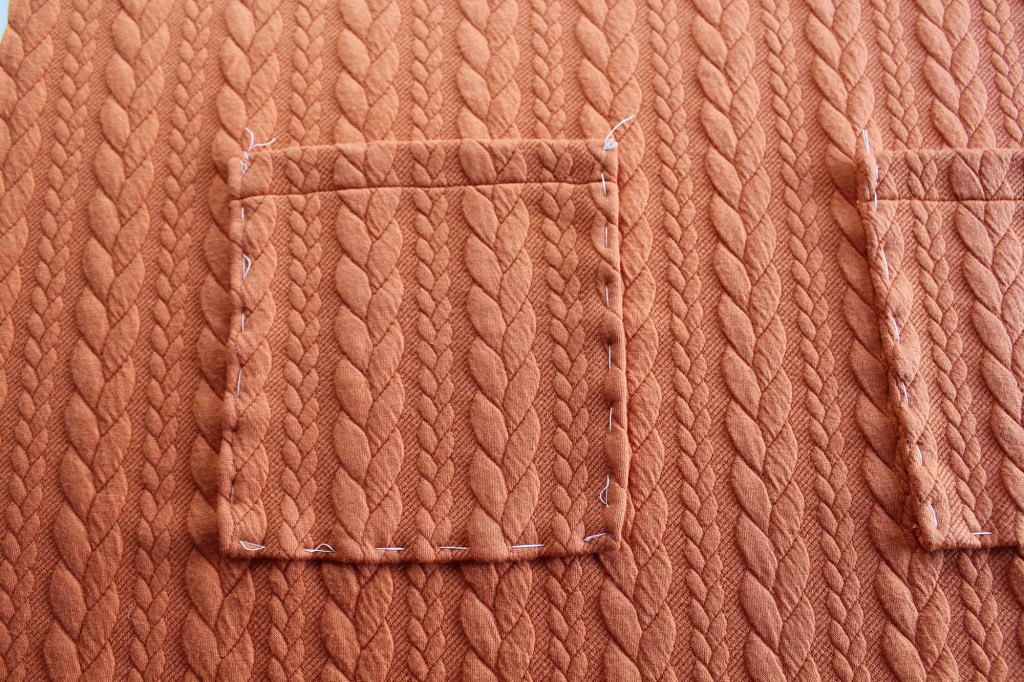
First prepare the PATCH POCKETS, if you are doing side pockets go to the next step.

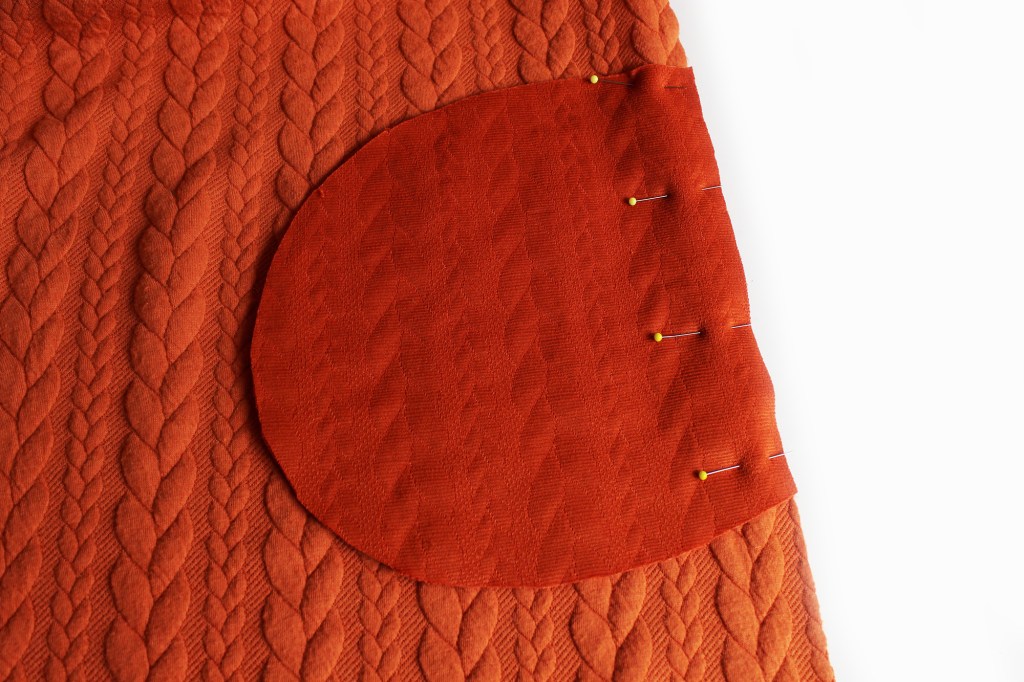
Pin one pocket piece straight edge at each side edge of the Front and Back. Press away from the body. Topstitch on the pocket side.
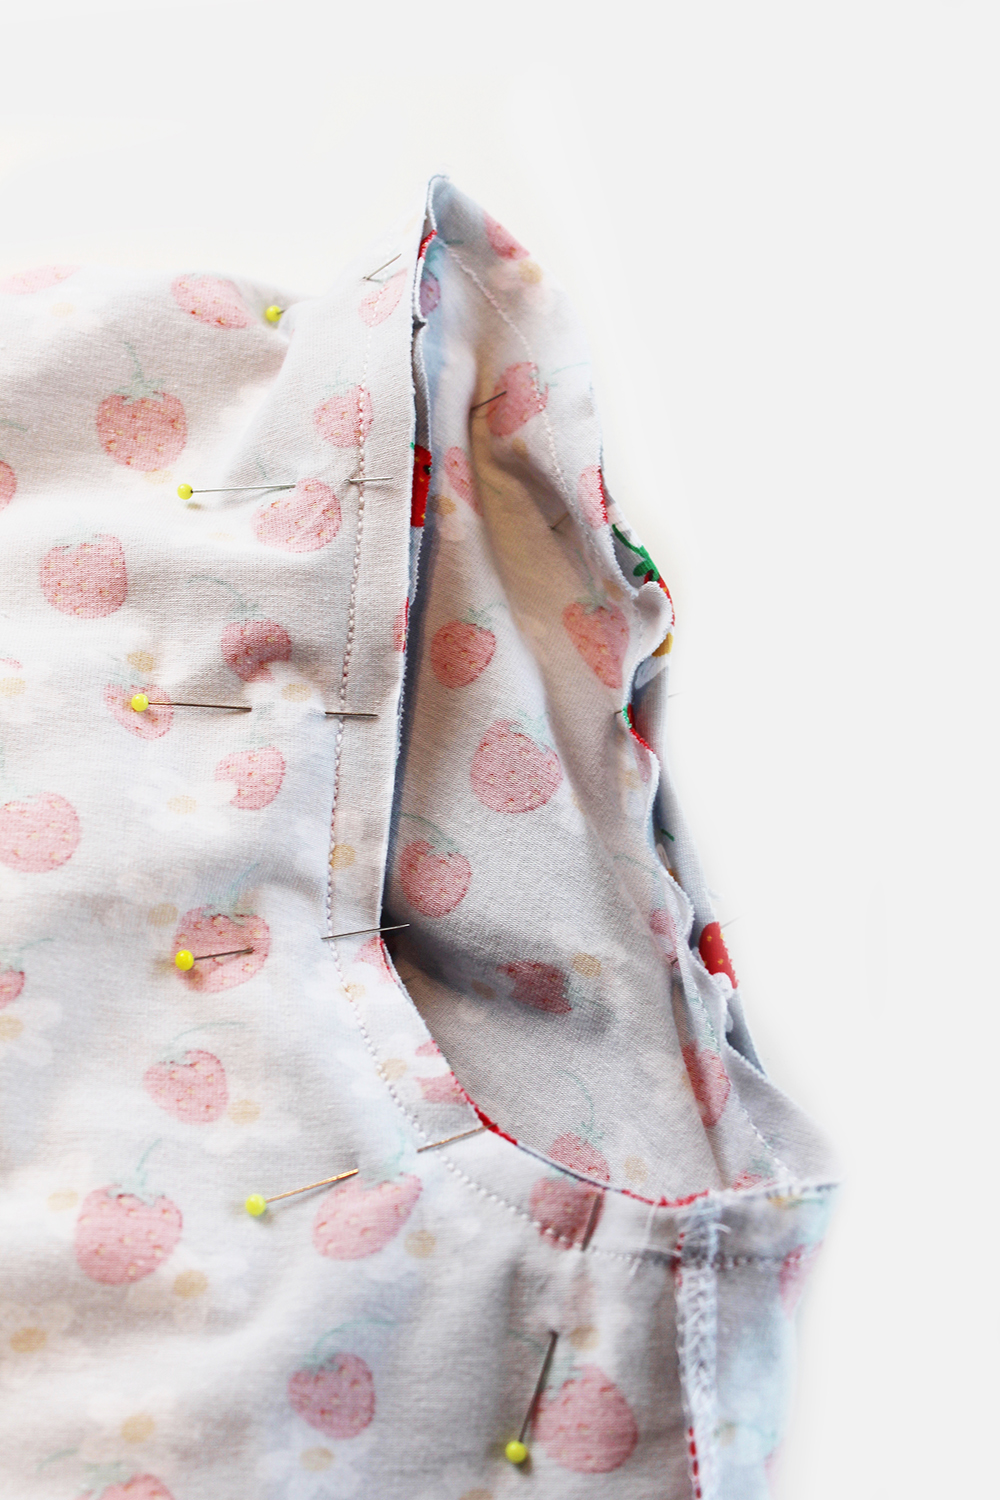
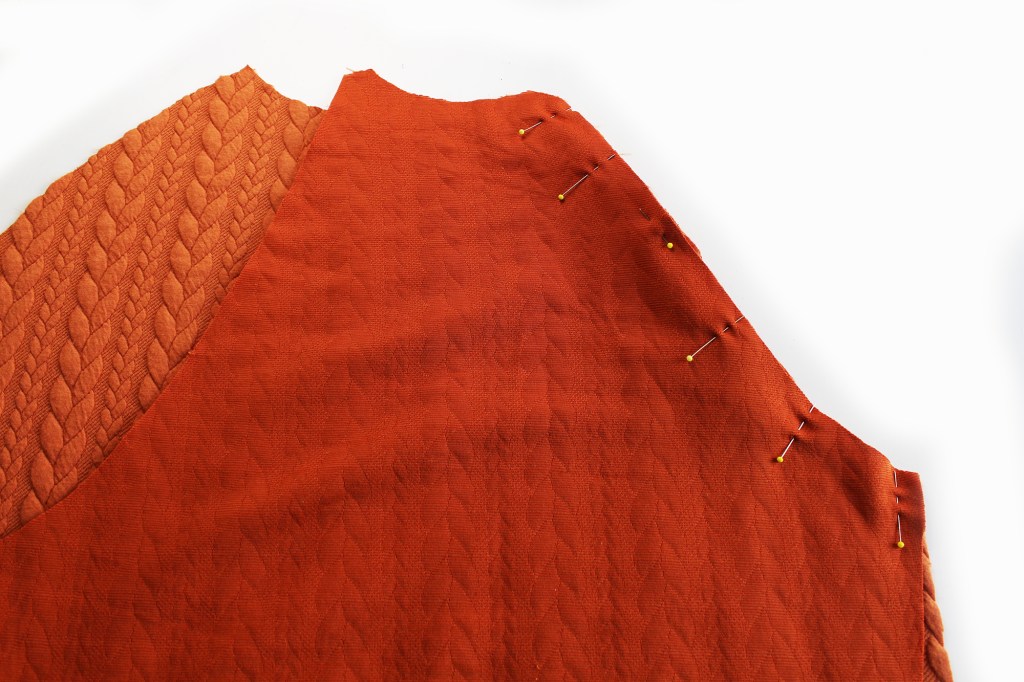
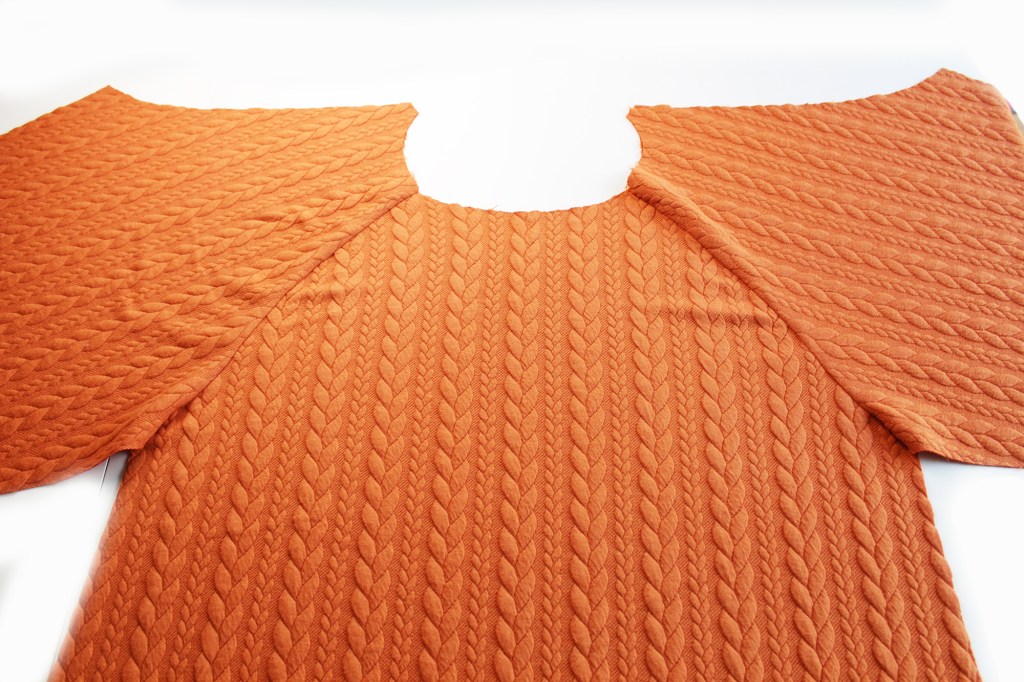
Pin one sleeve (front edge) to the Front each side.
Press the sleeves away from the body
Join the sleeves (back edges) to the Back. Press.
With the RST, join the Front to Back at the side edges. Finish the raw edges together.

NECKBAND (for Hood version go to ‘HOOD’ section)

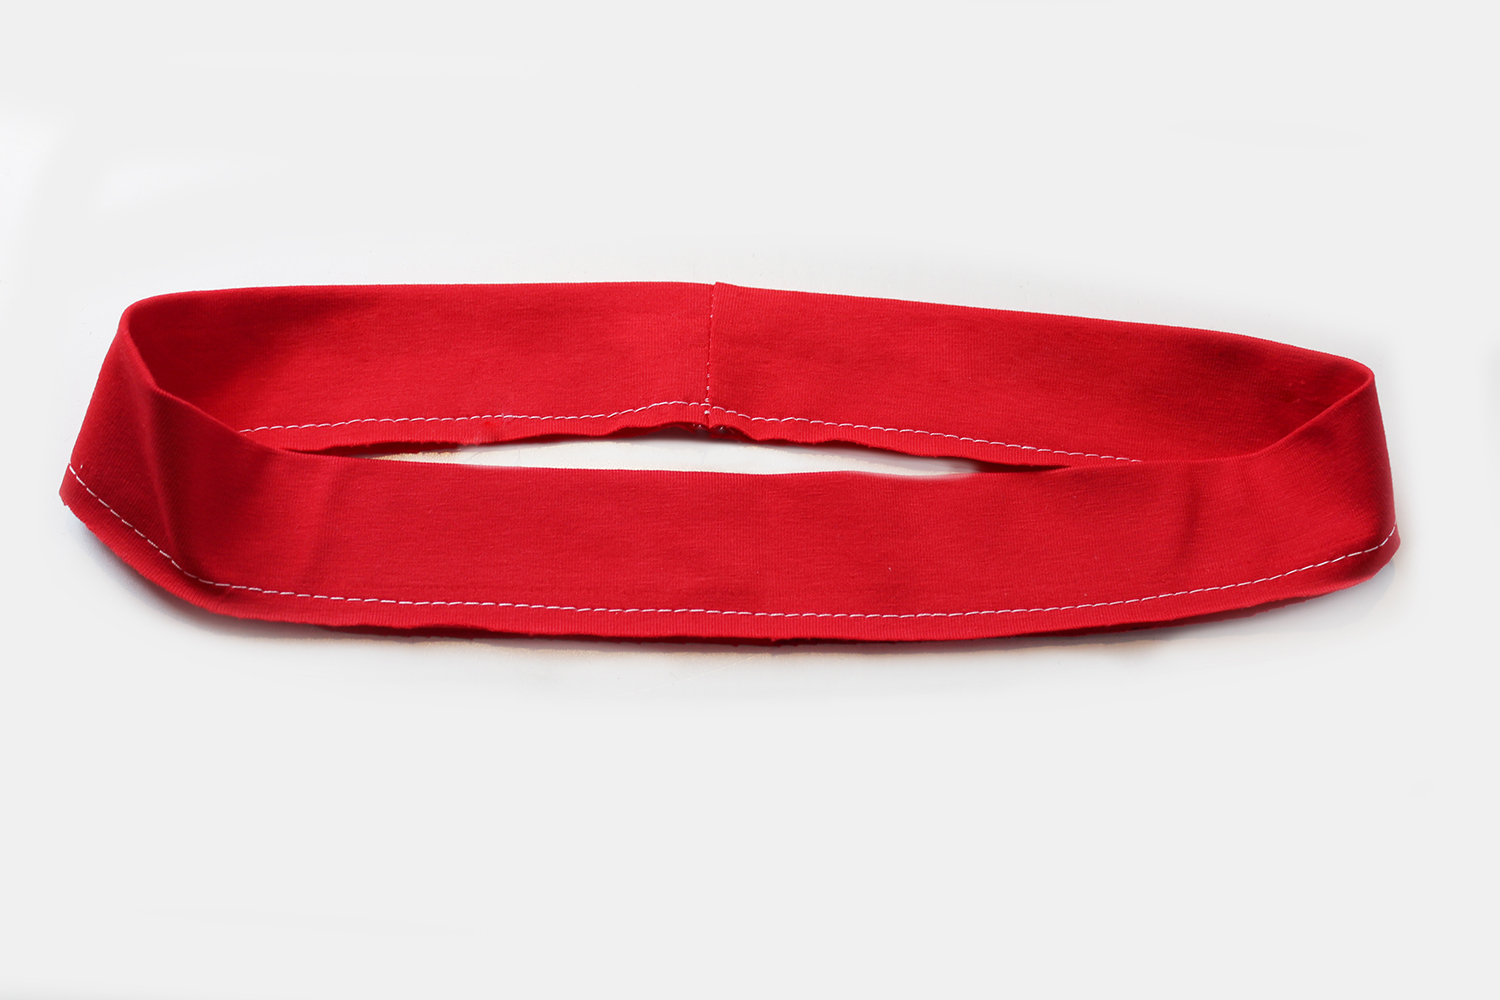
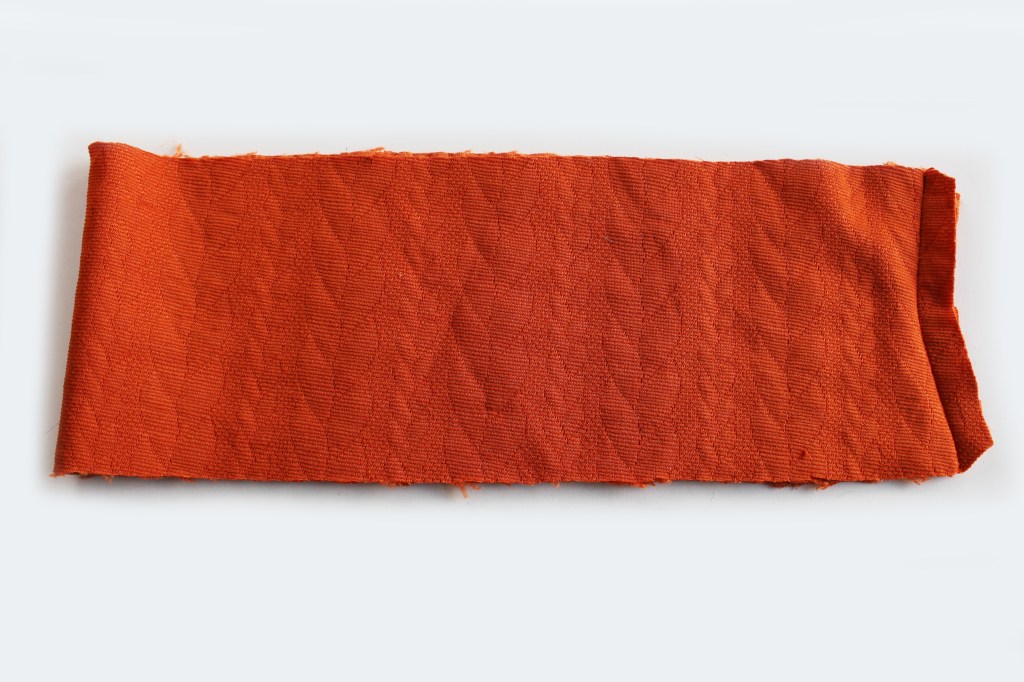
Pin the short edges together with the RST (right sides together). By the way, if you prefer to make a narrower neckband, just cut a neckband piece half the width and with a straight short edge and follow the same instructions.
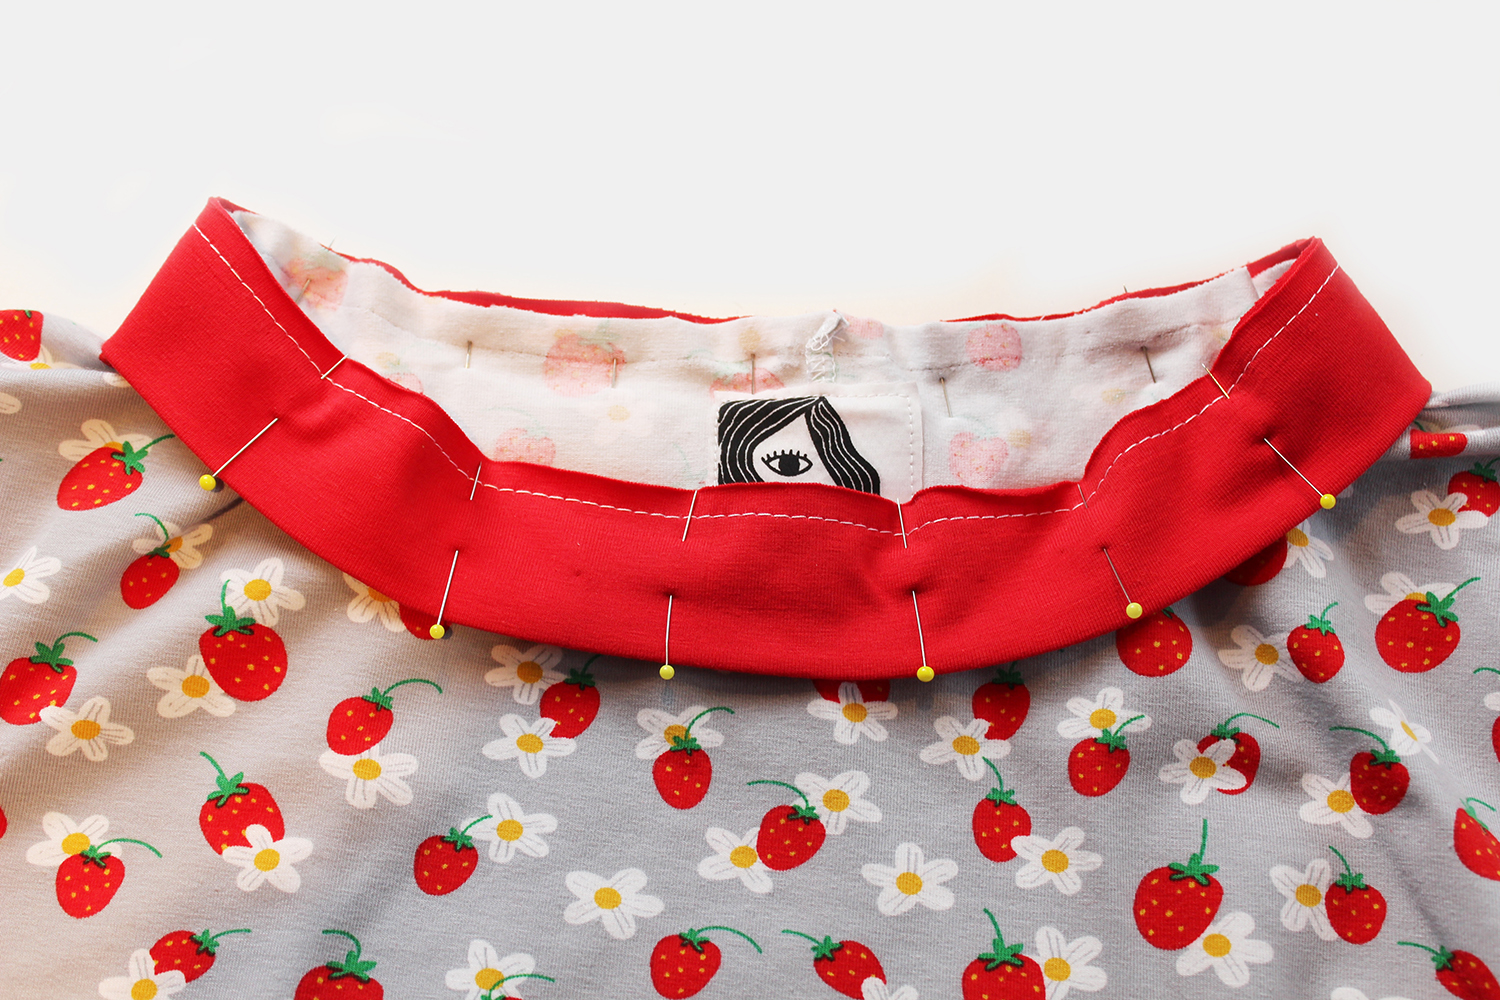
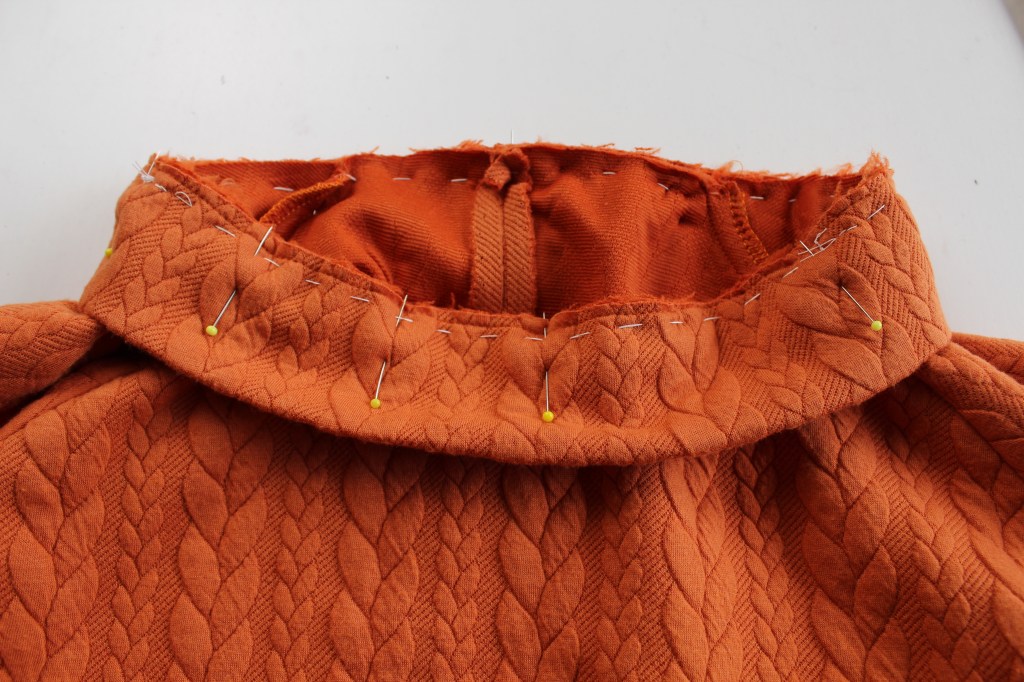
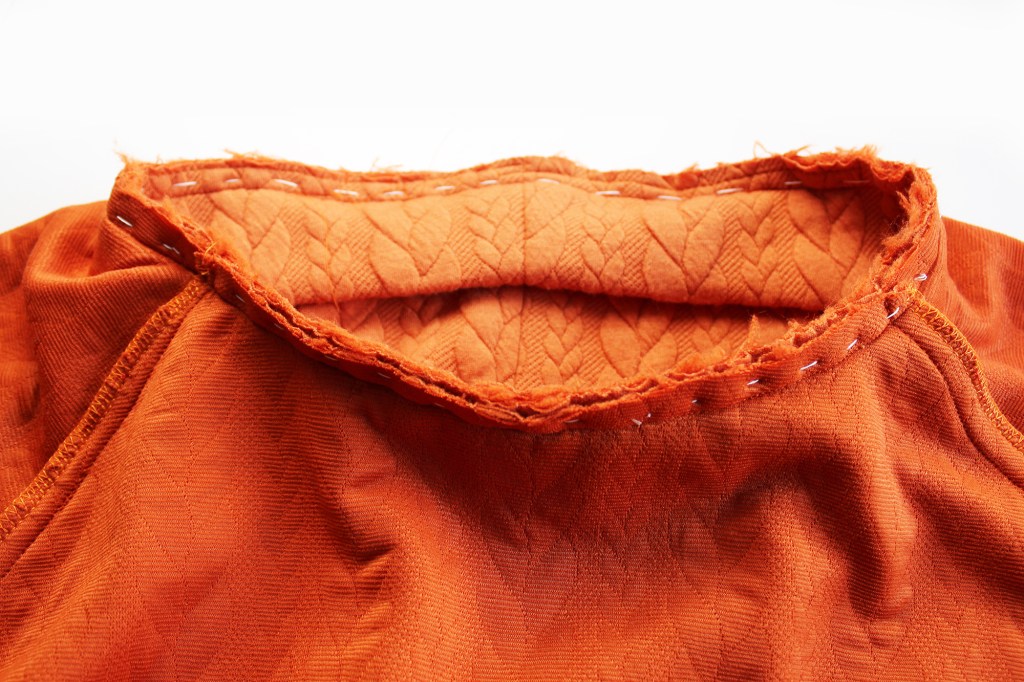
Fold the neckband in half with the wrong sides together, then pin to the neck edge all around, aligning the notches to the shoulder seams. Hand tack.
Sew. Finish the raw edge. Press the neckband upwards and the seam allowance downwards. Topstitch around the neckline on the right side of the garment.
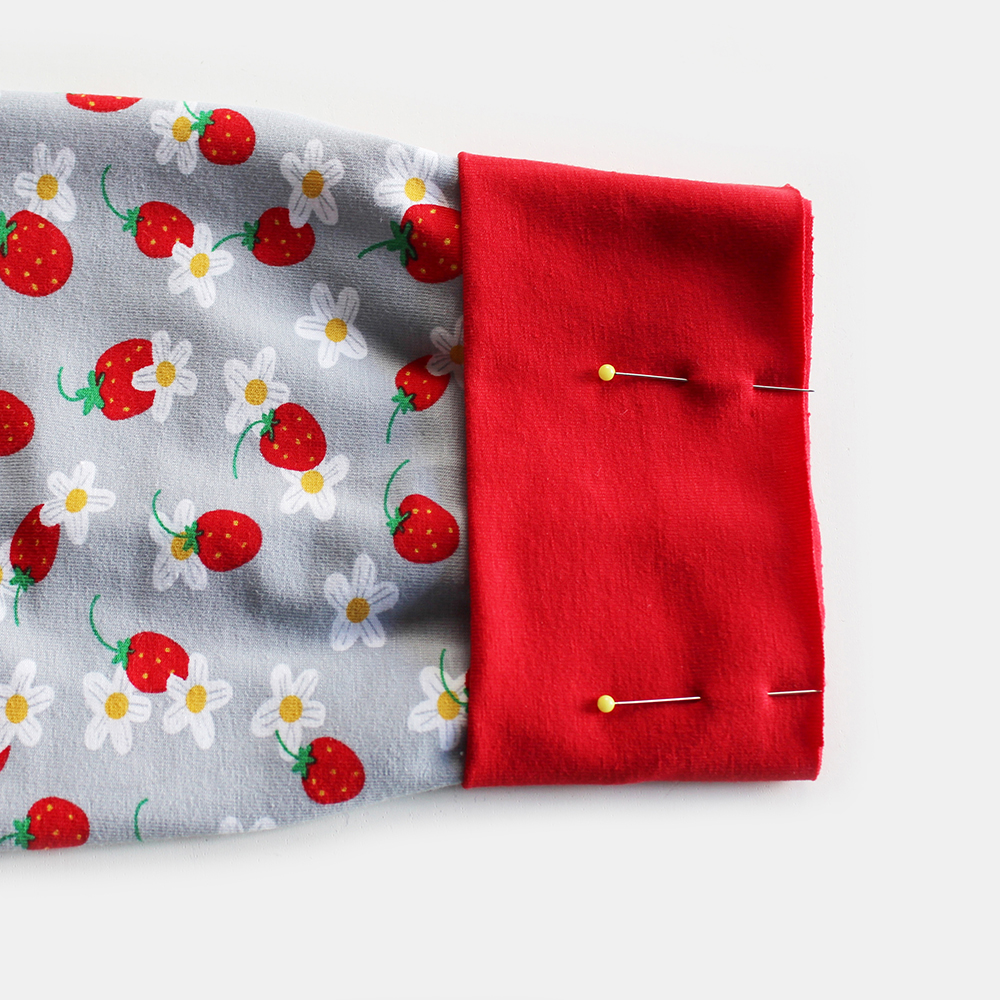
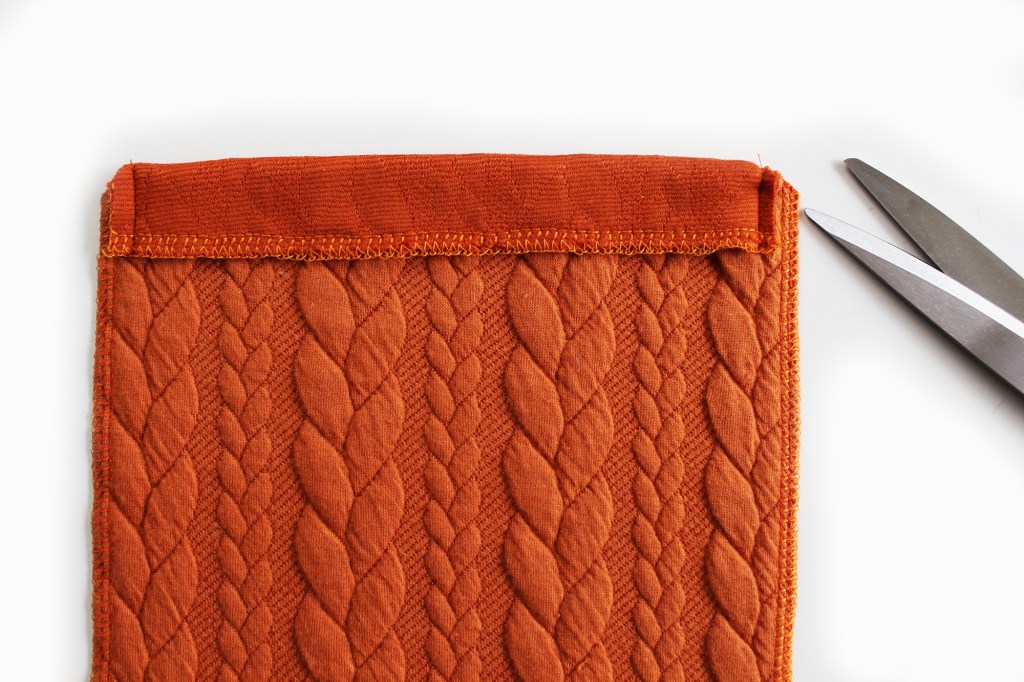
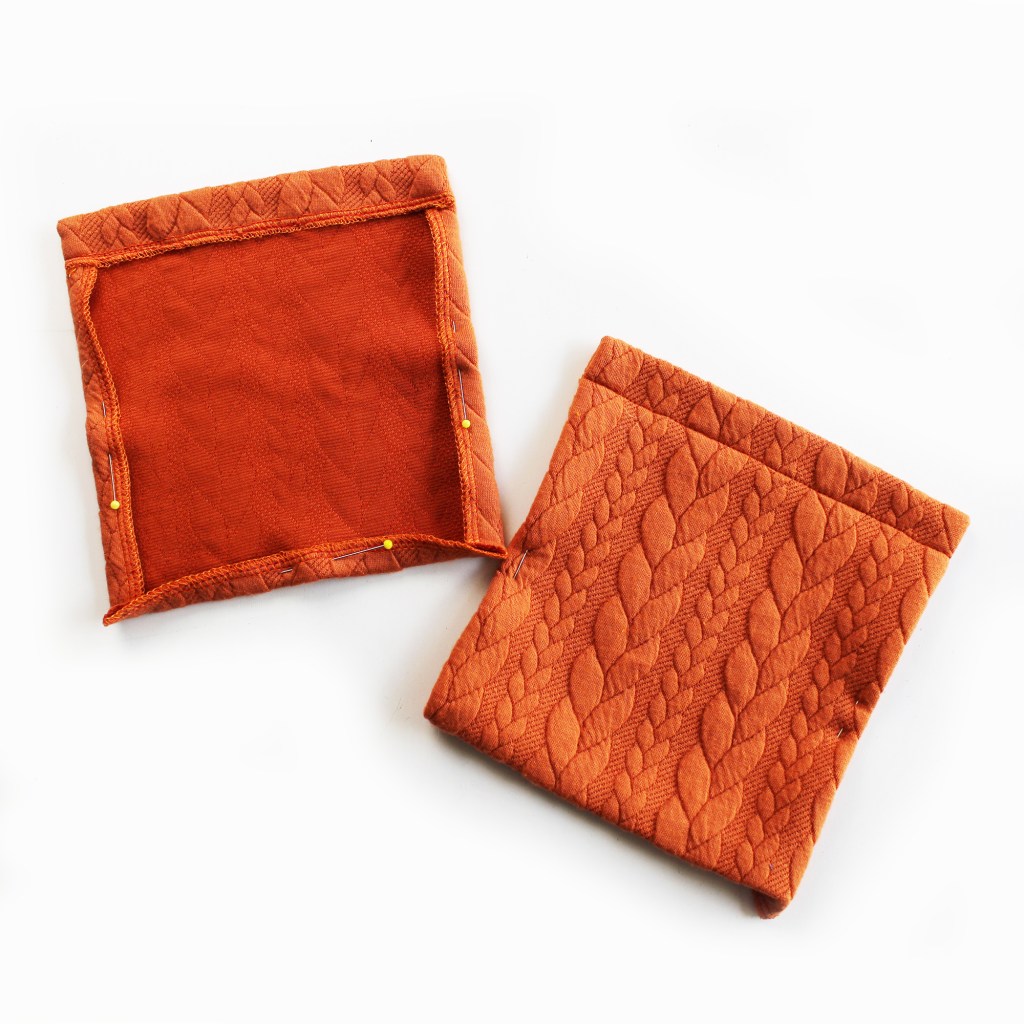
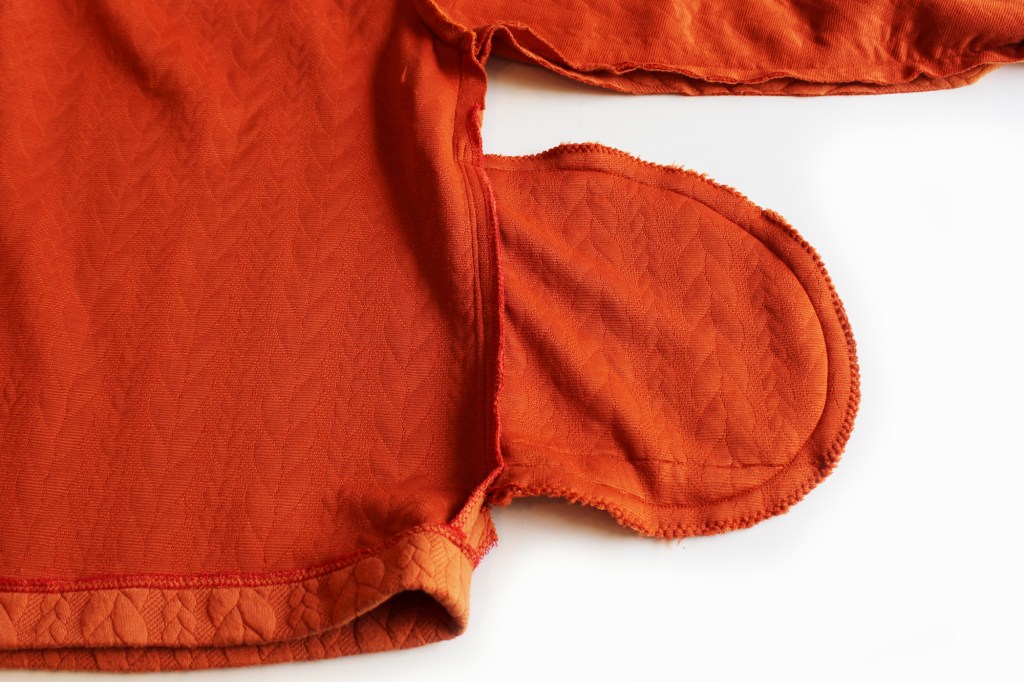
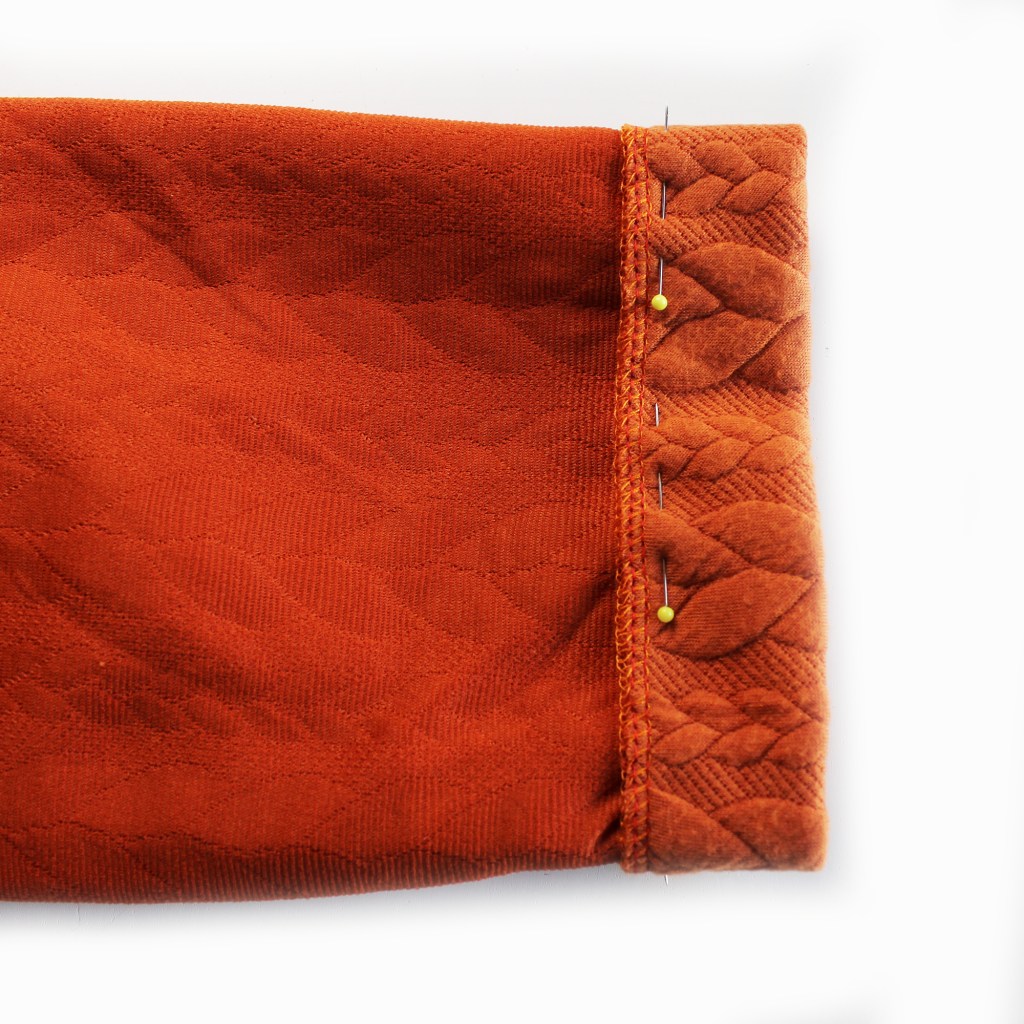
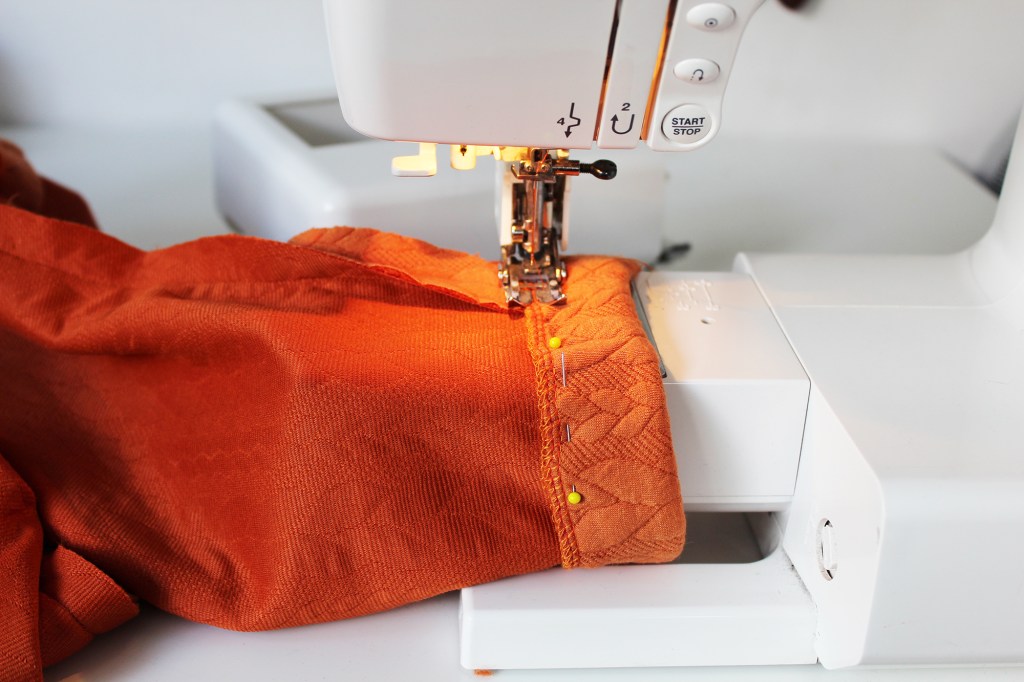
Pin the cuff hem. Single fold if you have an overlocker, double fold (1cm then 2cm) if you dont. Alternatively you may prefer to add a cuff. If so here is a how to printed tutorial about how to do so.

Sew the cuff hem.
Pin then sew the lower hem.
Topstitch the pocket all around. Sew on the wrong side, following the previous line of stitching around the pocket.

MAKING A HOOD

HOOD VERSION
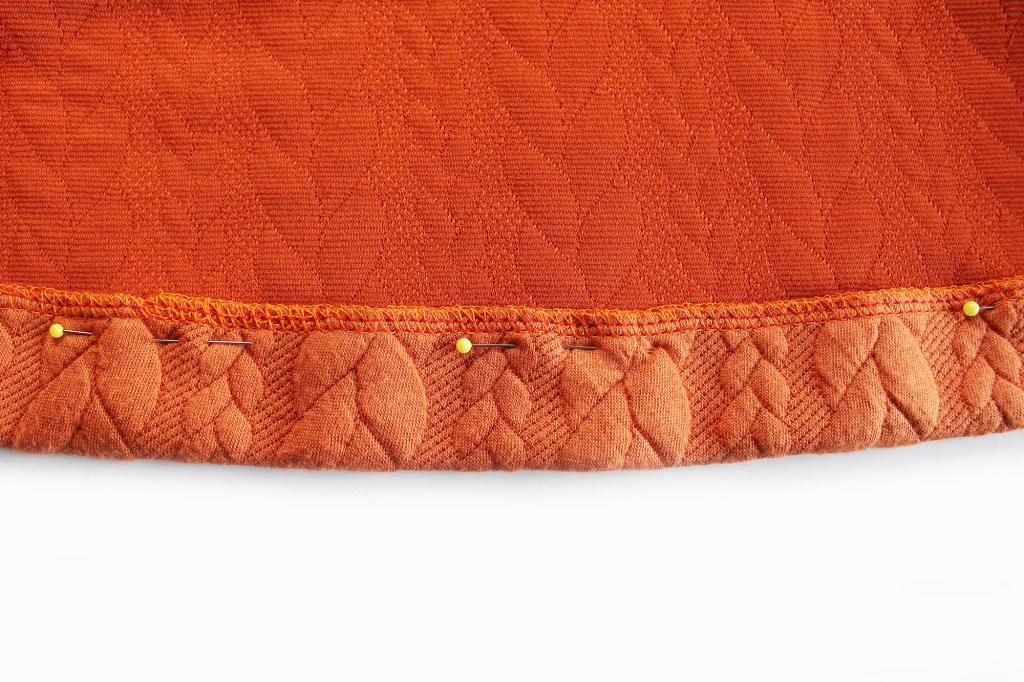
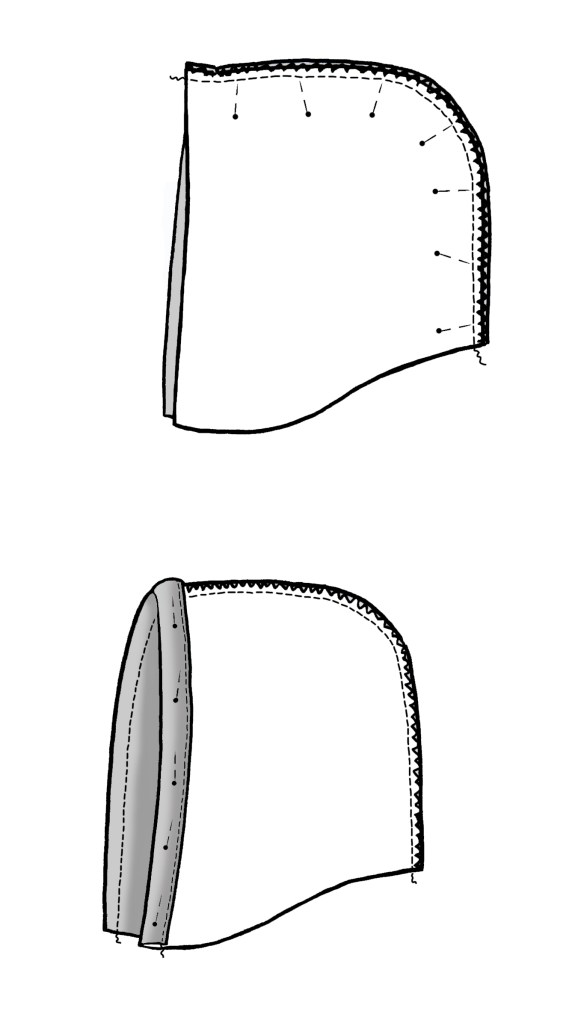
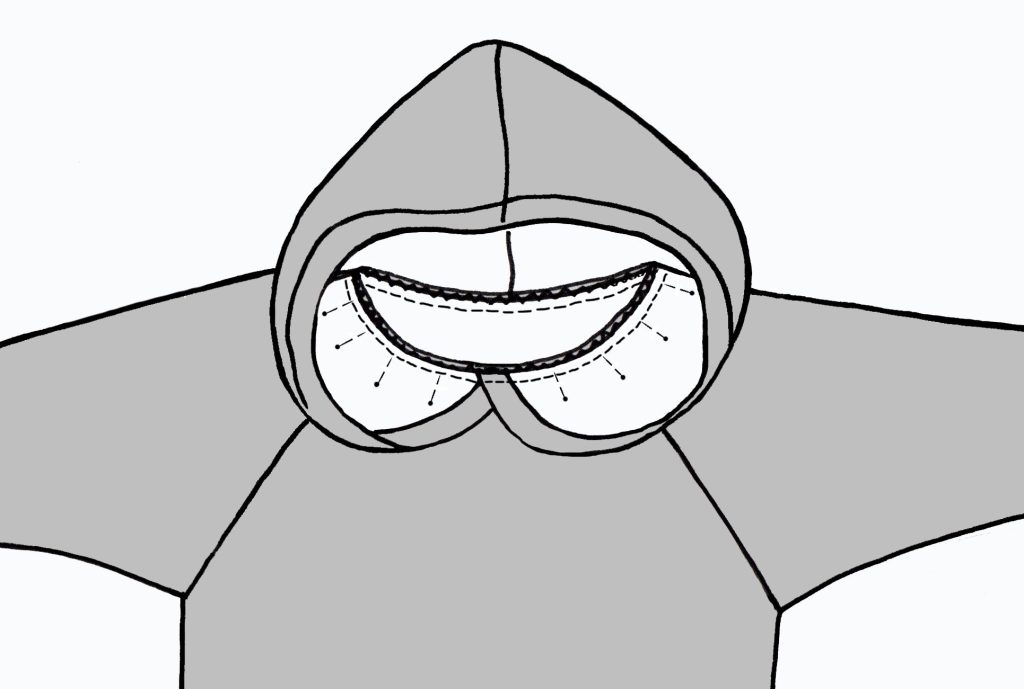
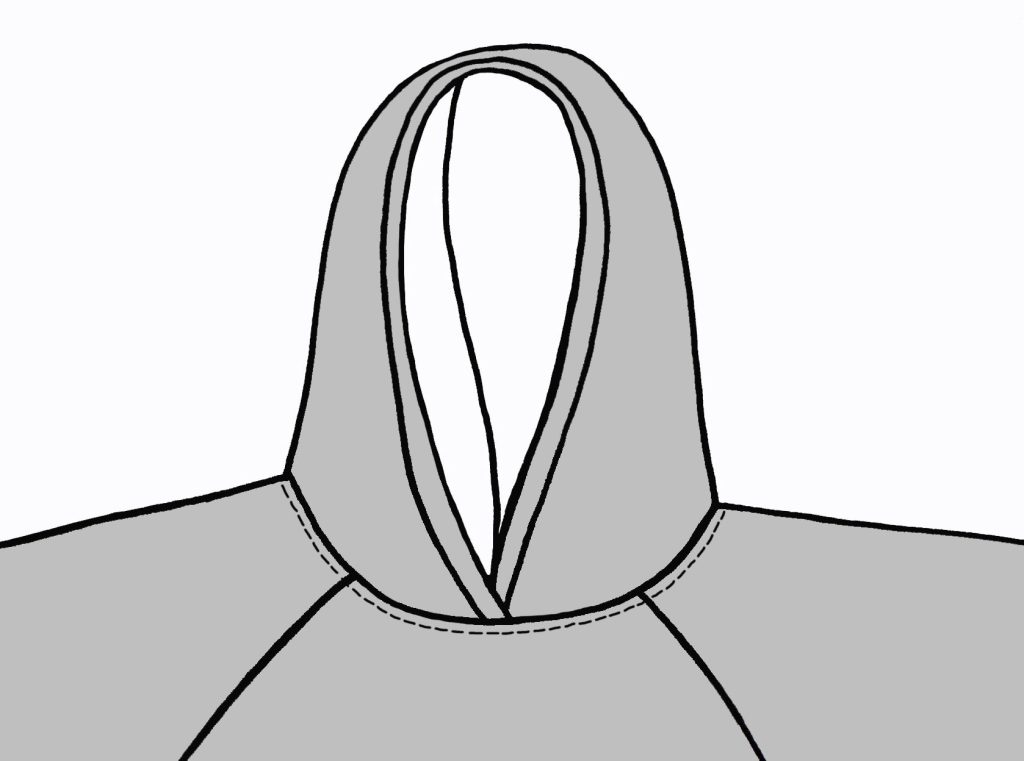
Pic 1. Pin the two Hood pieces at the outer curved edge with the right sides of the fabric facing together. Sew. Finish the raw edge. Pic 2. Fold back the straight edge 1cm then again 2cm. Press, pin then stitch.
Pin to the neck edge all around with the RST. Finish the raw edges together.
Press the Hood upwards and the seam allowance downwards on the reverse side. Press. Pin, then top stitch all around.
Lovely hooded top with side pockets ready to go!

All content is copyrighted by Fiona Hesford please ask prior permission if you would like to use any of the text or images.
FRIDA DRESS and TOP

Indigo cotton 4oz denim from the Etsy shop (link in menu).
Linen fabrics from the Etsy shop (link in menu).
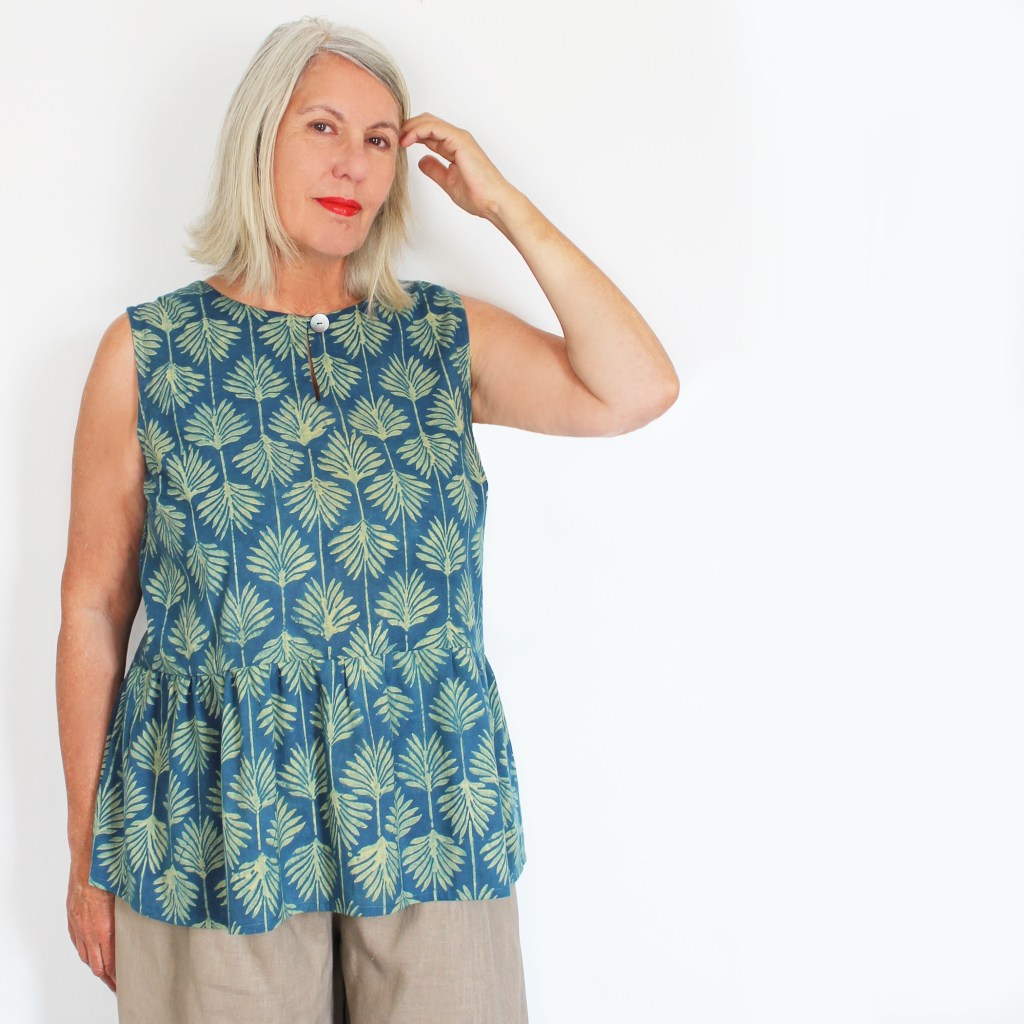
Sleeveless top version. Fabric by Slubbedprints.co.uk
For a tutorial about how to adjust the armhole for a sleeveless version scroll to the bottom of the page

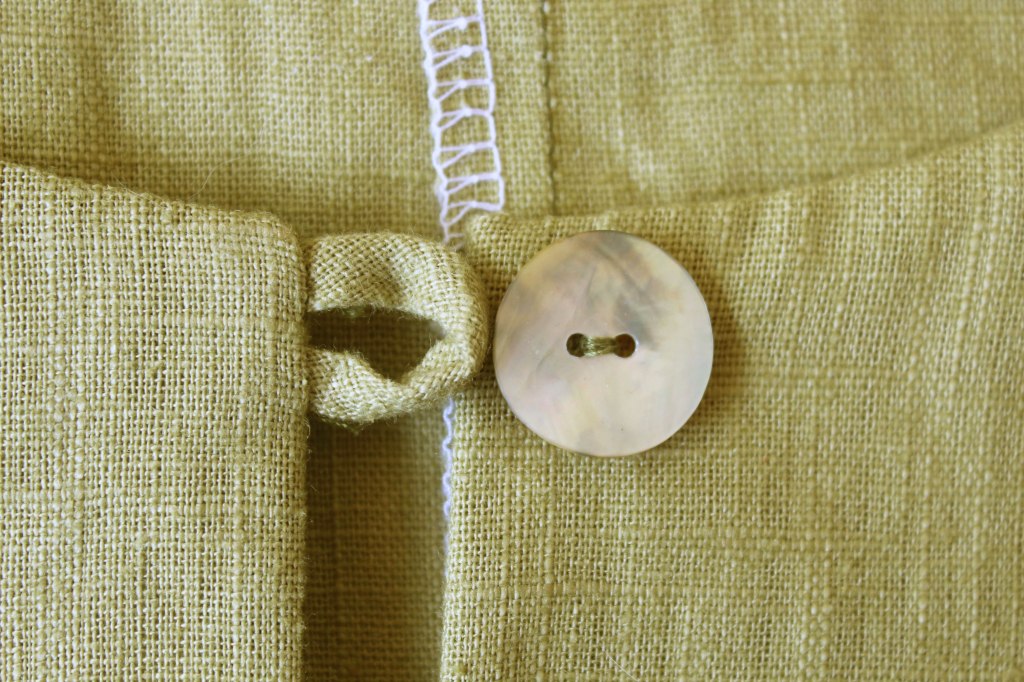
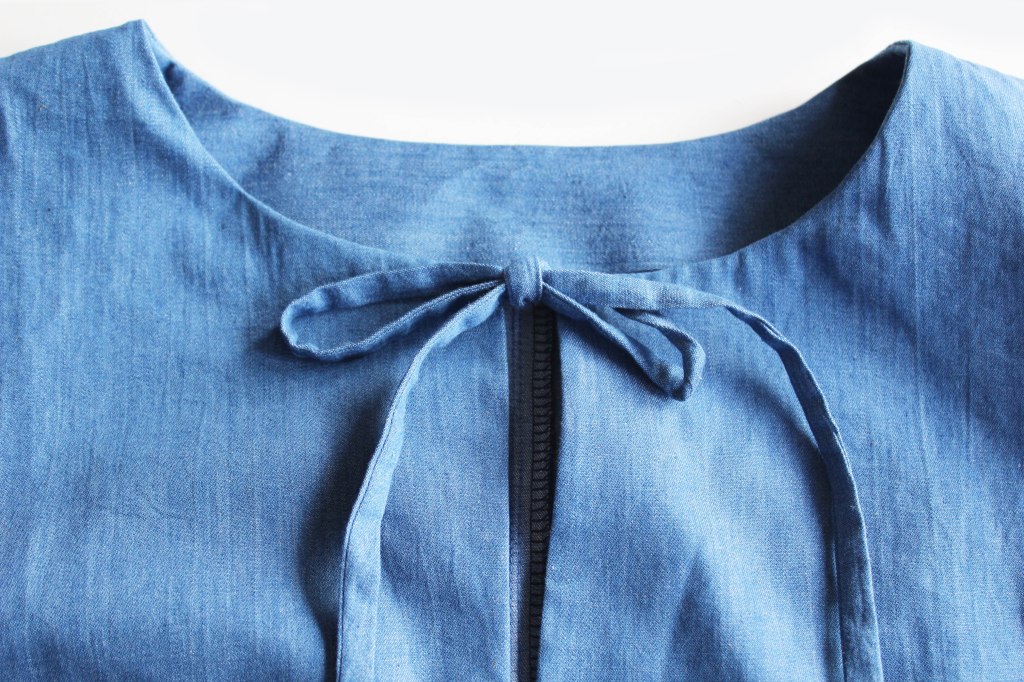
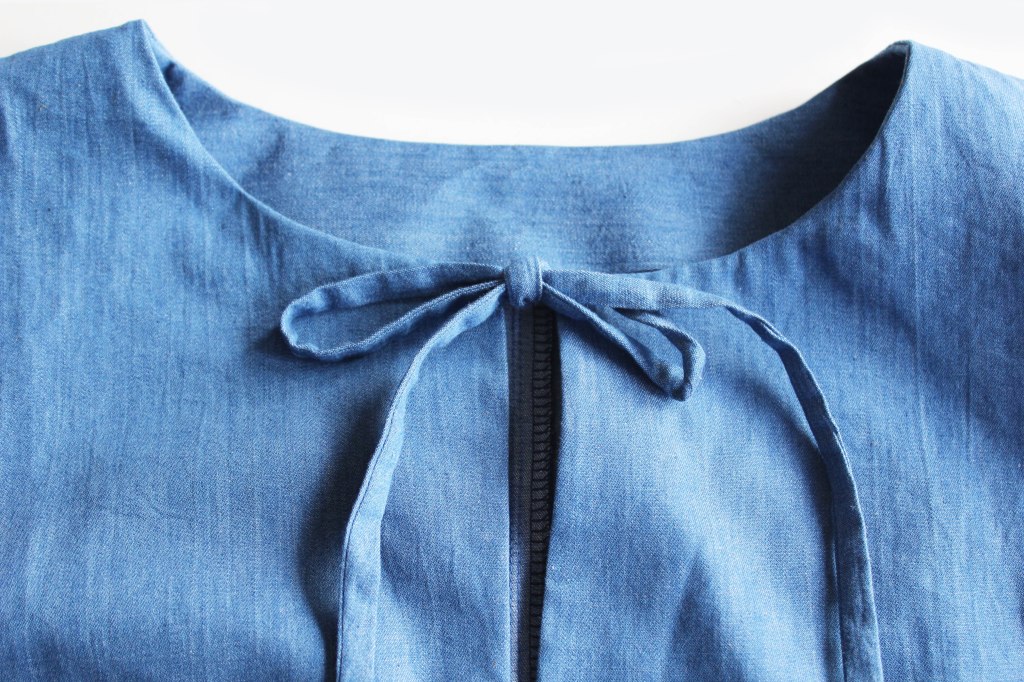
There are two neckline fastenings to choose from…..

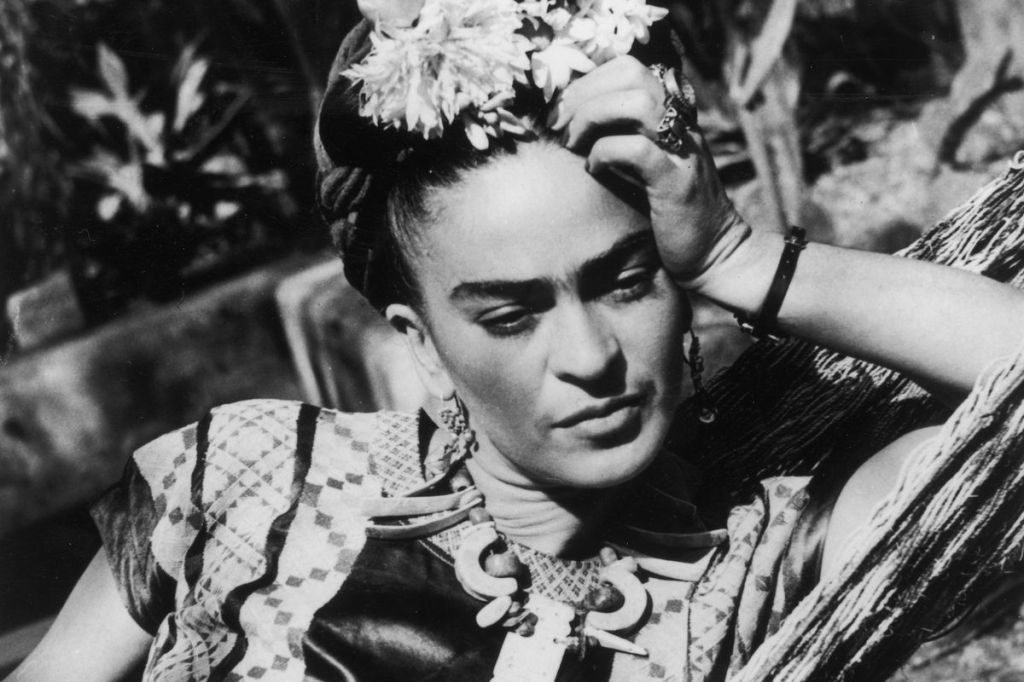
Frida dress named after the one and only Frida Khalo of course. A woman known for her fashion style as well as her work as a remarkable artist.

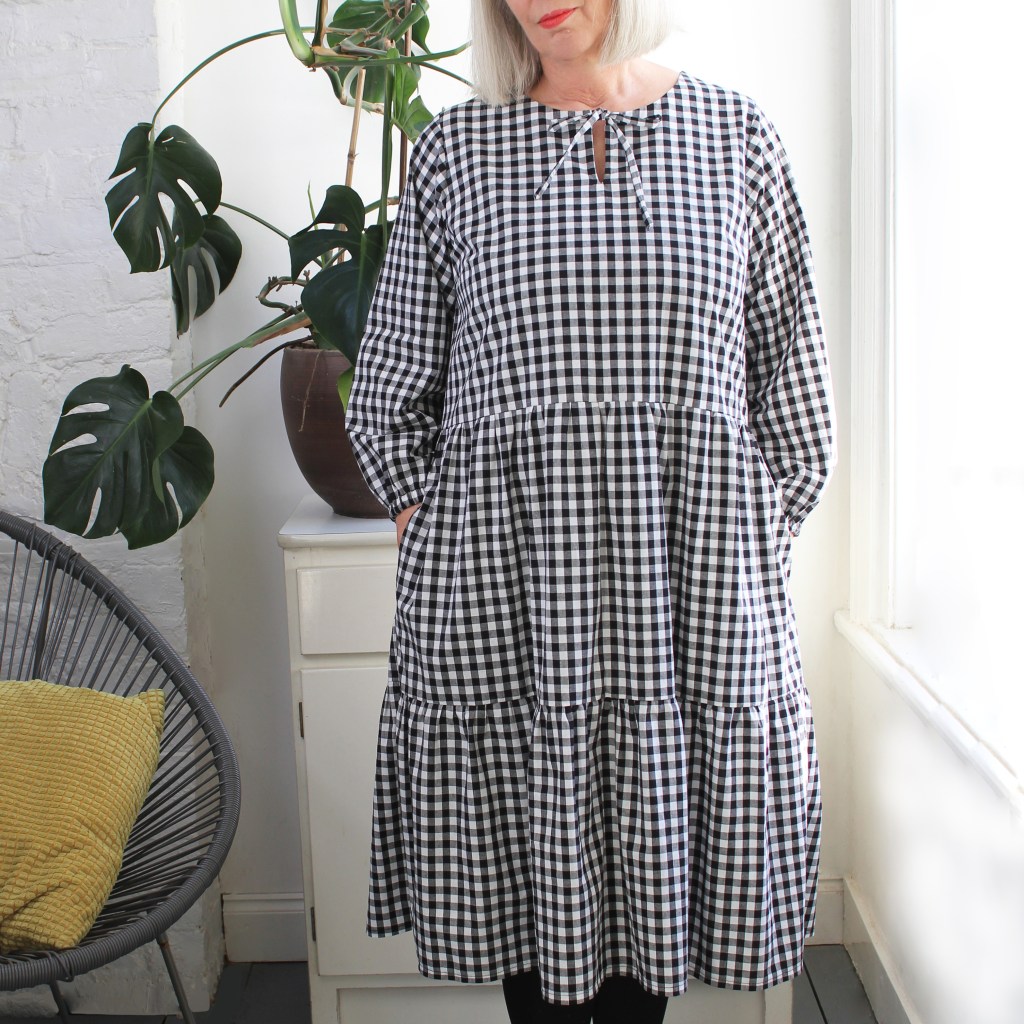
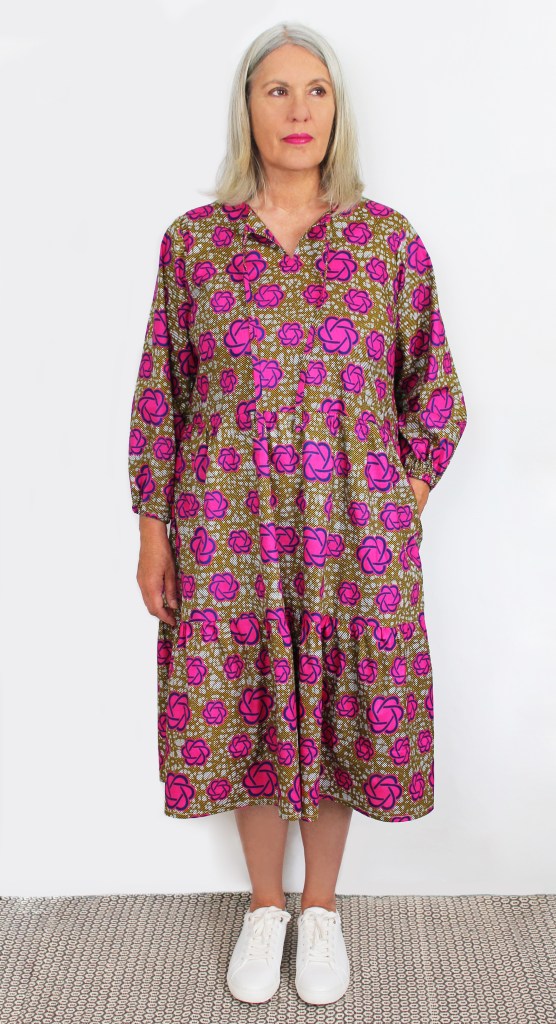
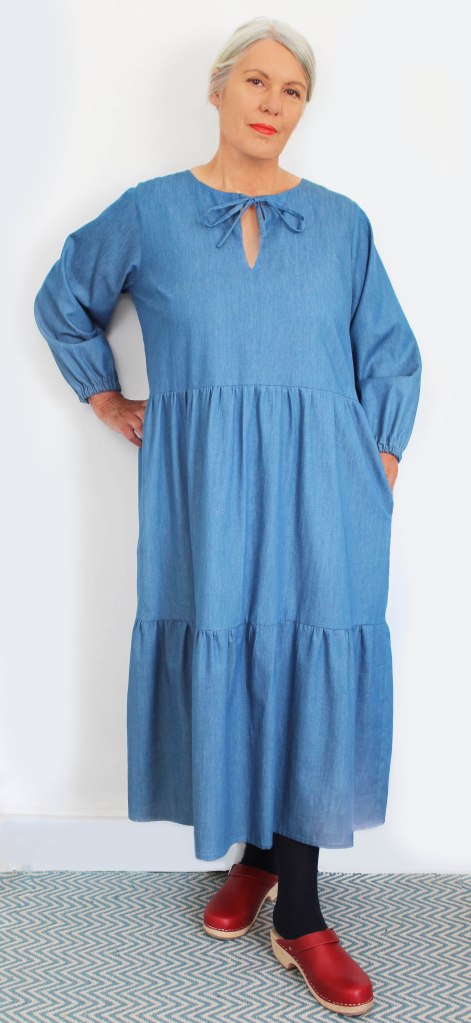
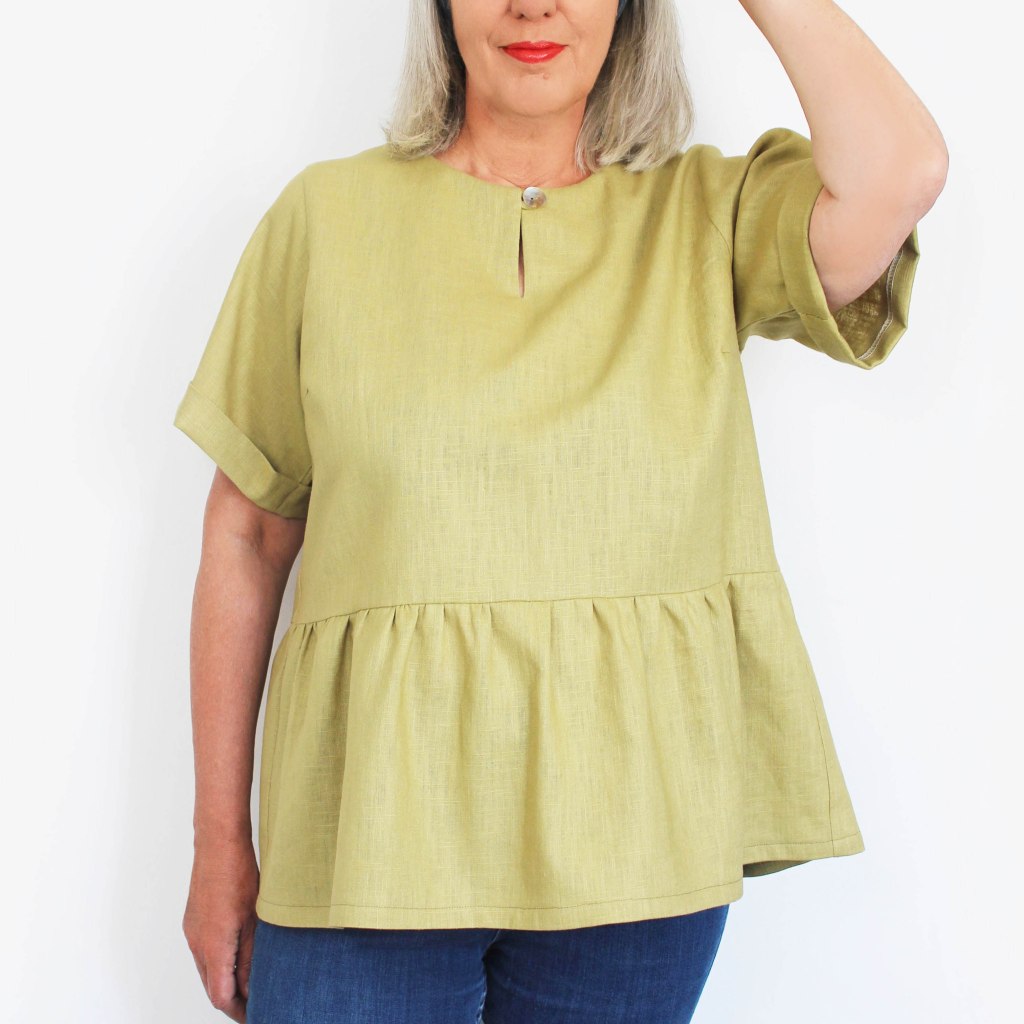
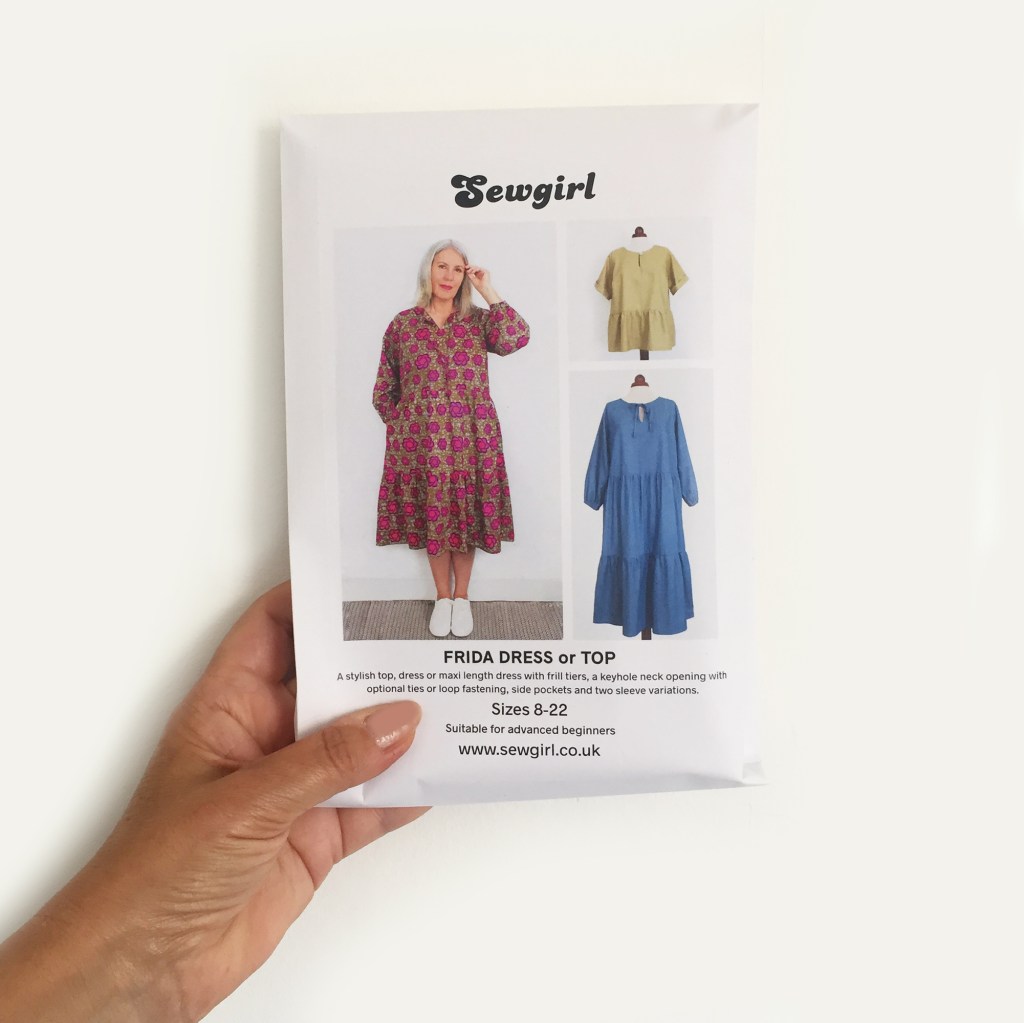
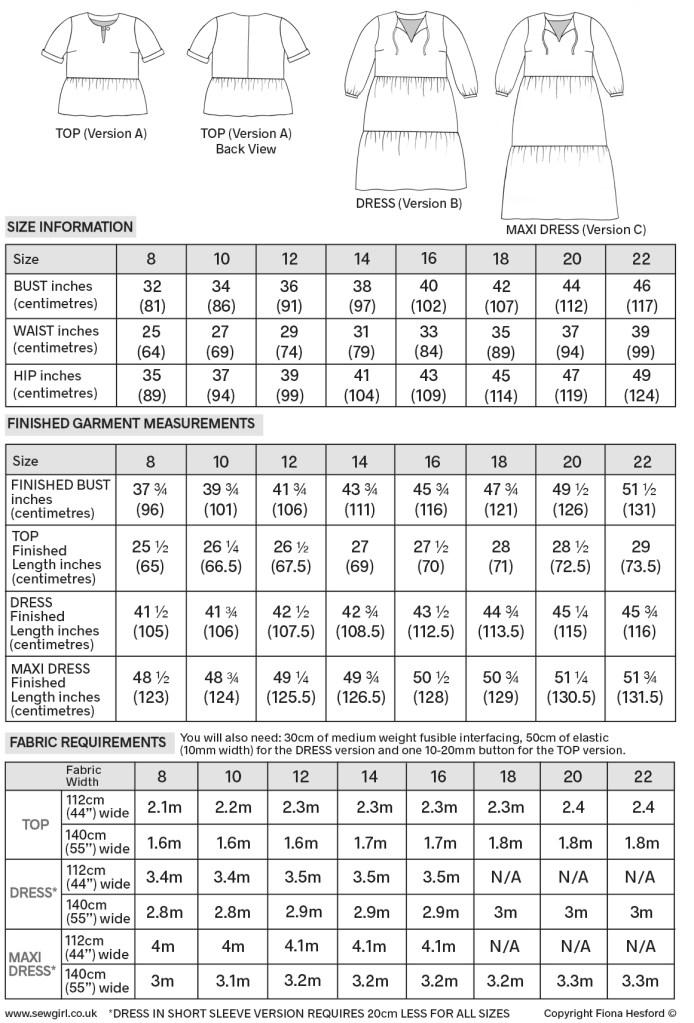
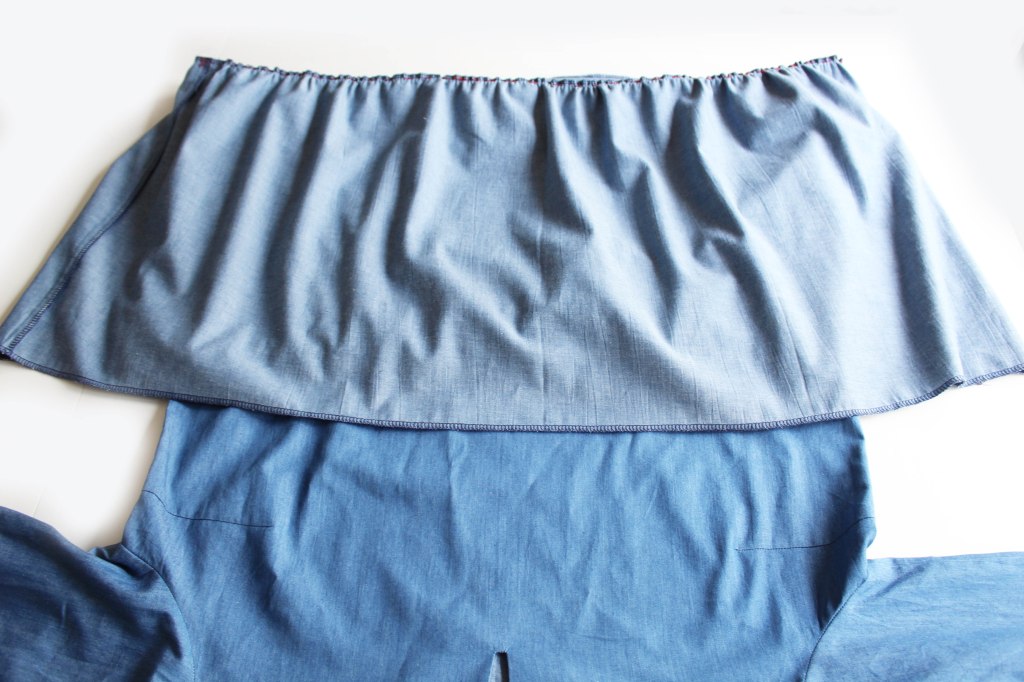
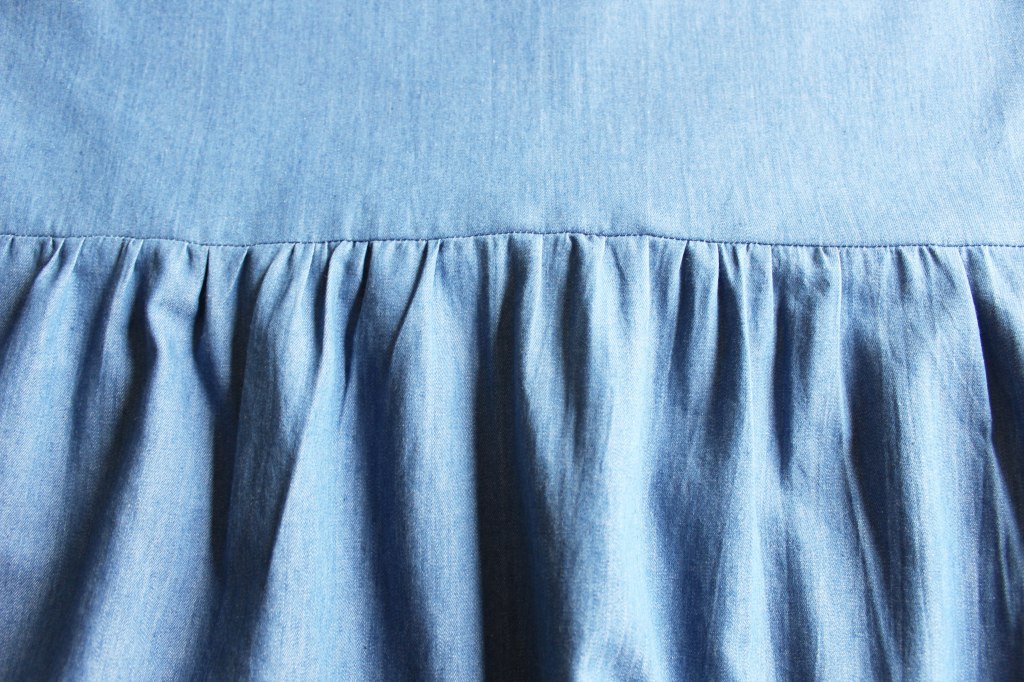
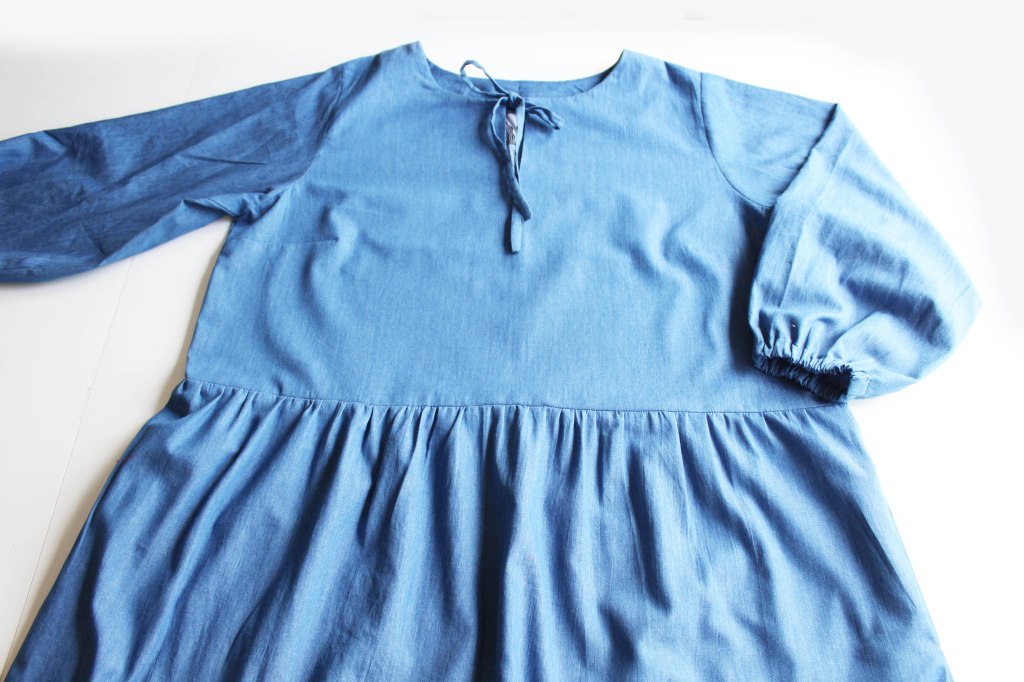
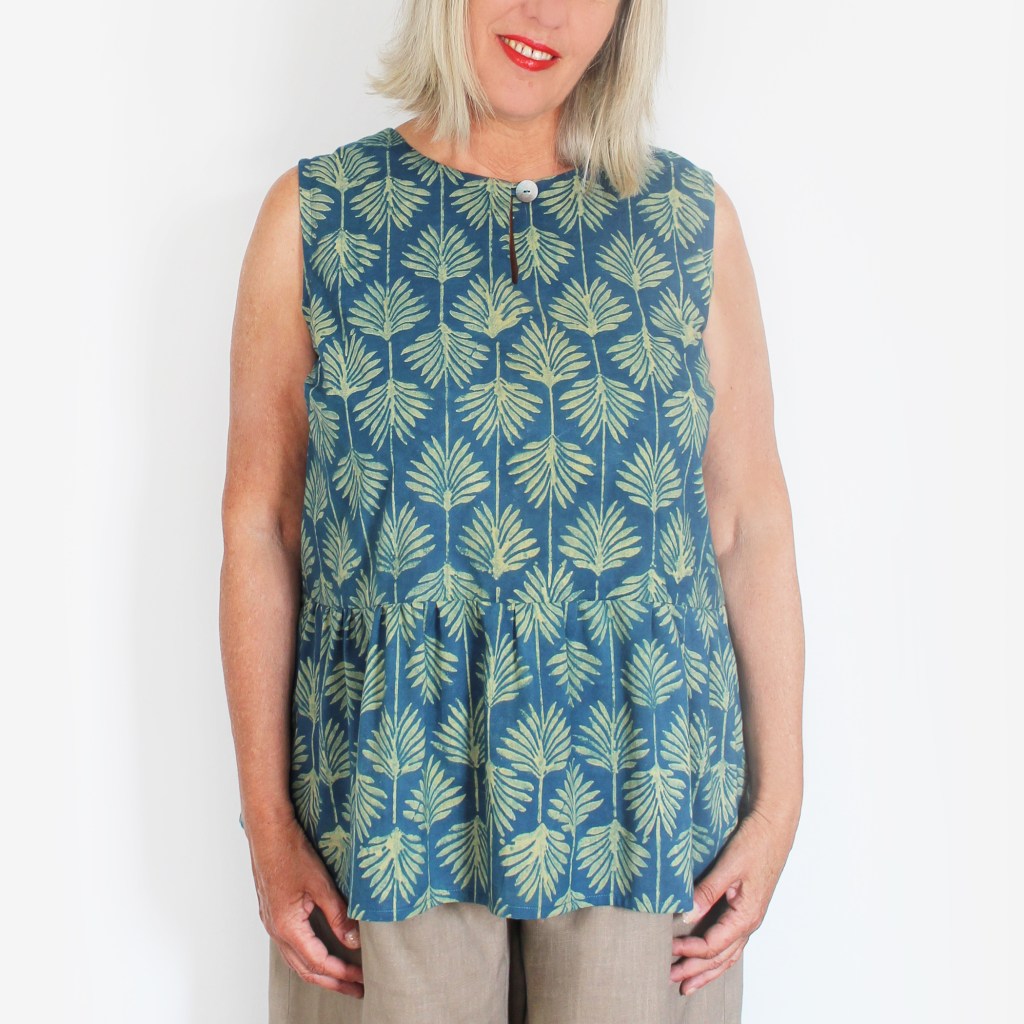
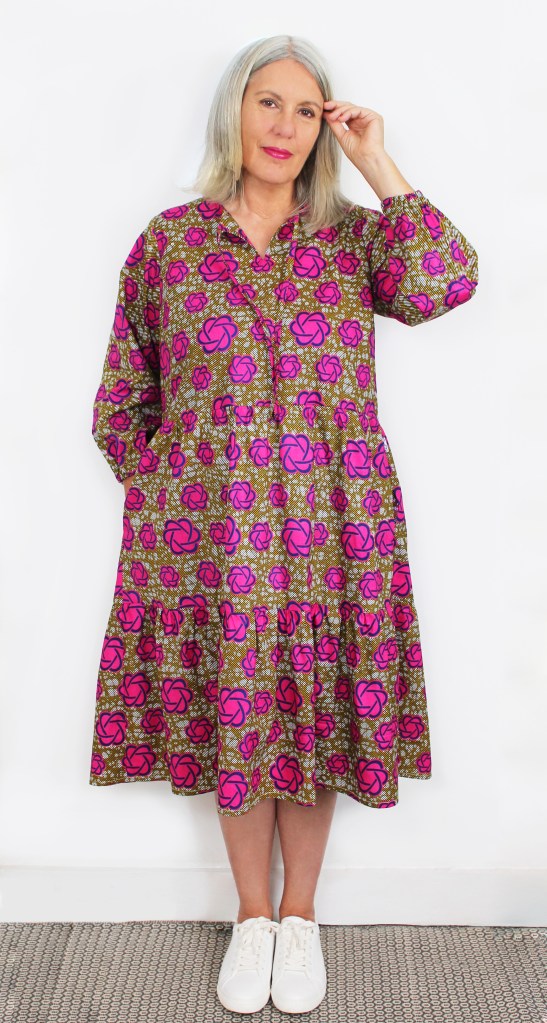
Frida can be made into a top, dress or maxi dress as shown in the pictures above. It has one (top version) or two frill tiers (dress version), with a keyhole neckline with either ties or a loop and button fastening at the neckline. There are two side pockets and sleeves which are three quarter length elasticated for the dress or short fold back cuffs for the top. Please see the chart below for the finished garment measurements.

This is an easy pattern for beginners with some previous sewing experience. Techniques involved are gathering up the frills, inserting ties, a facing, I think theres nothing too difficult involved – its a really fun project to sew. If you feel a bit daunted by the tie/loop insertion, take a peek at the video tutorial that I have linked to this blogpost.

Fabrics suitable for making Frida are cotton (African fabrics are great), denim chambray (4oz denim available from my Etsy shop is perfect for this project see SHOP link in menu), ramie, viscose and lightweight linen.

Please see the chart below for fabric requirements.

Please note that you will also need 30cm of med fusible interfacing, 50cm of elastic (10mm wide) and for the top one button (10-20mm).

LARGER SIZES WITH NARROW WIDTH FABRIC

With sizes 20 and 22 in the dress and maxi dress, add on an extension at the side of the fabric to accommodate the Frill pieces. You should have fabric left over at the side of the Frill pieces 4b/4c.
This is a calf length dress however you can make a shorter dress by using two (A) tiers which will make it on the knee length (shown on a 5ft 7″ height person).

The pattern instruction booklet will show you the pieces to cut out according to your fabric width, using the layplans as a guide.

SEAM ALLOWANCE IS 1cm

Here are some of the stages of making up Frida to show you how its done.

HOW TO MAKE FRIDA

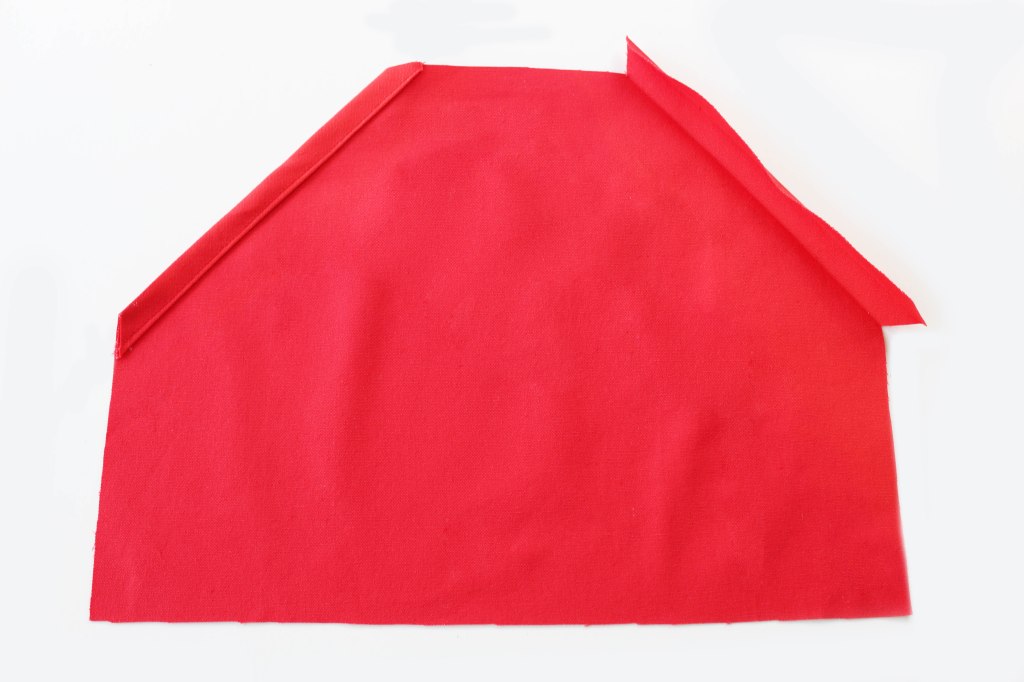
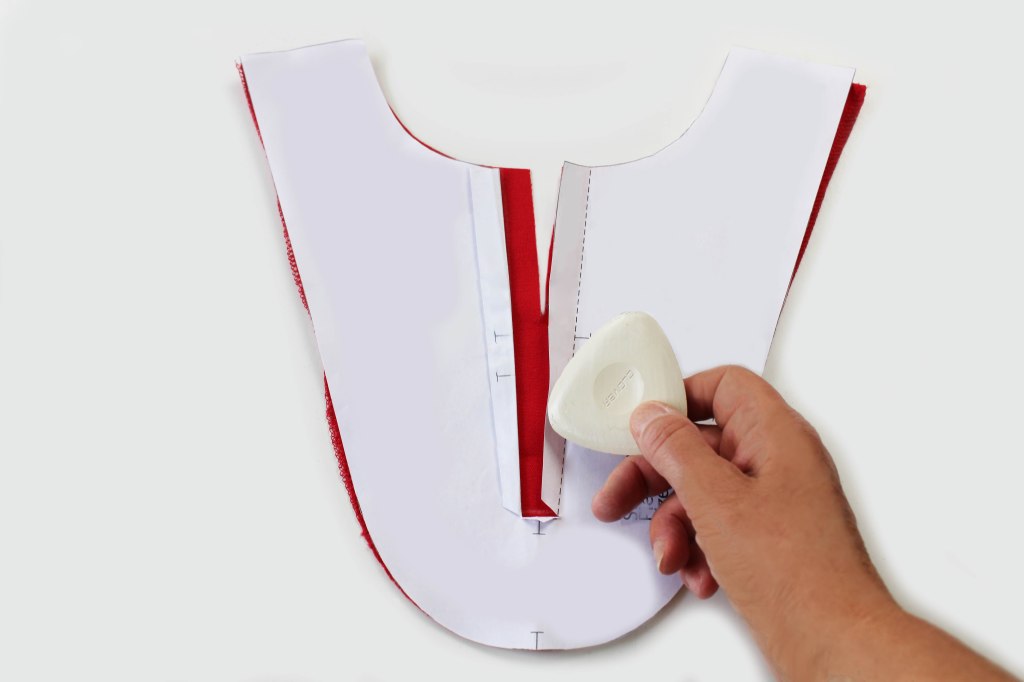
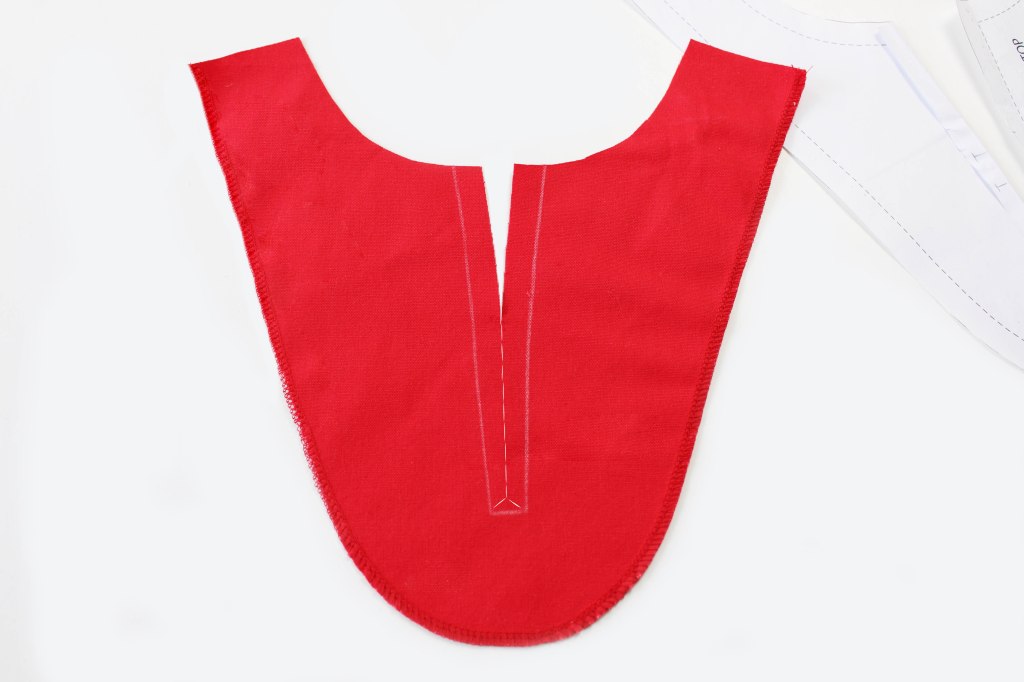
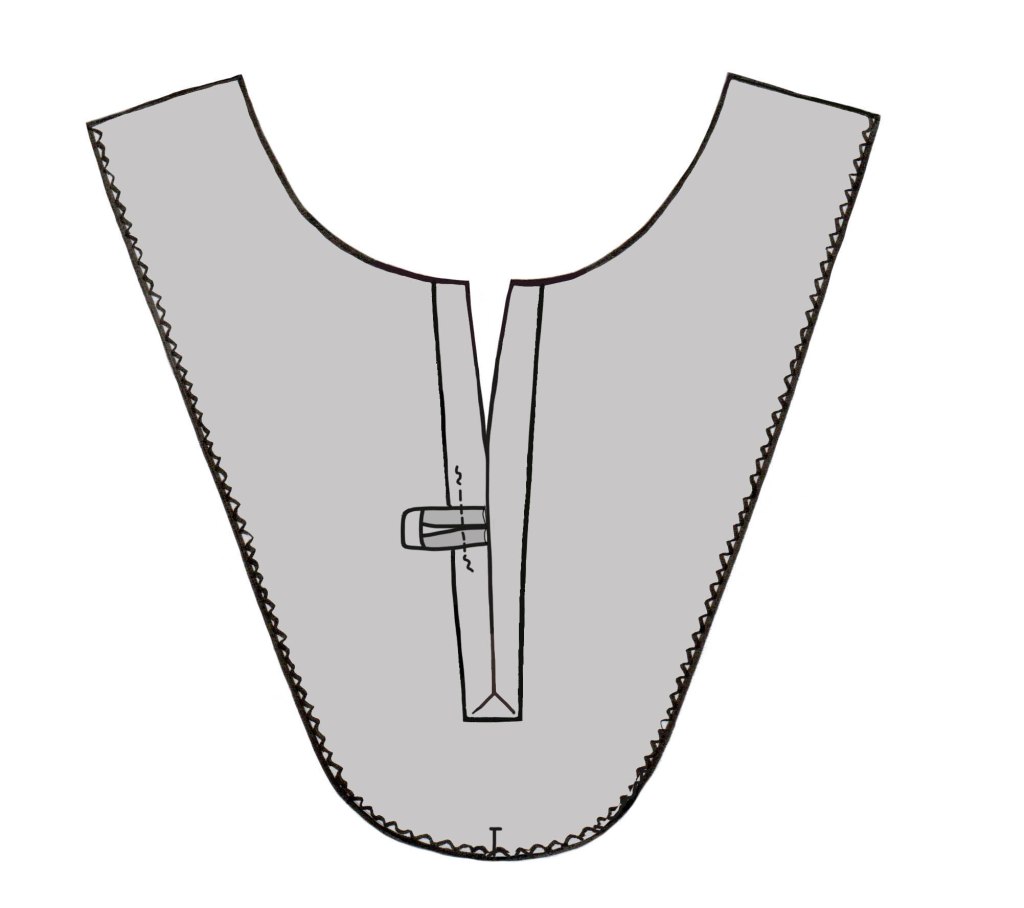
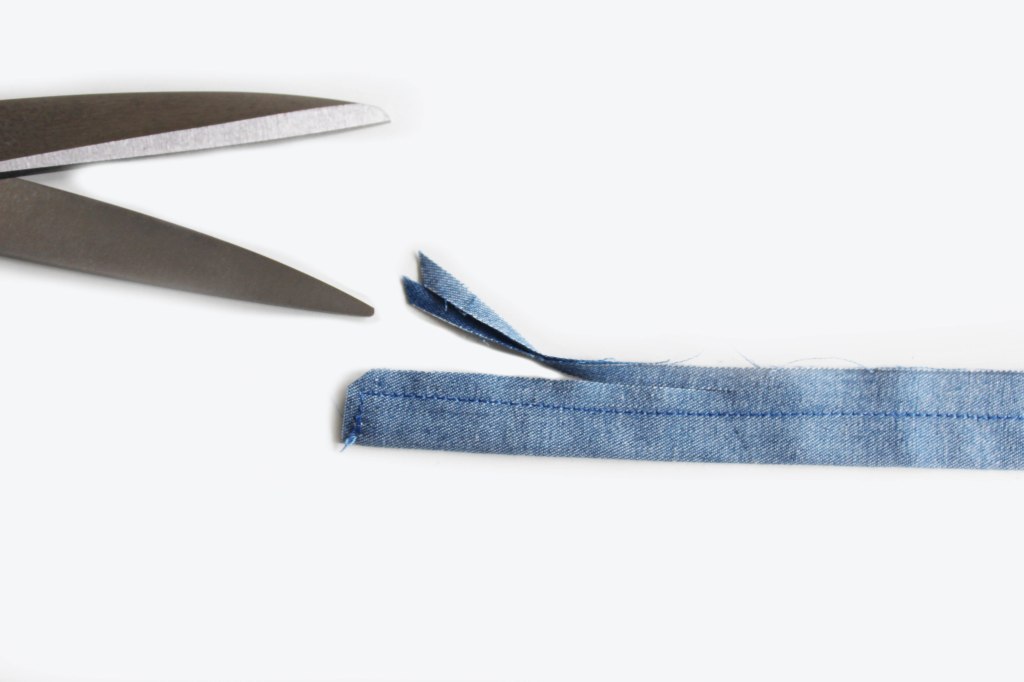
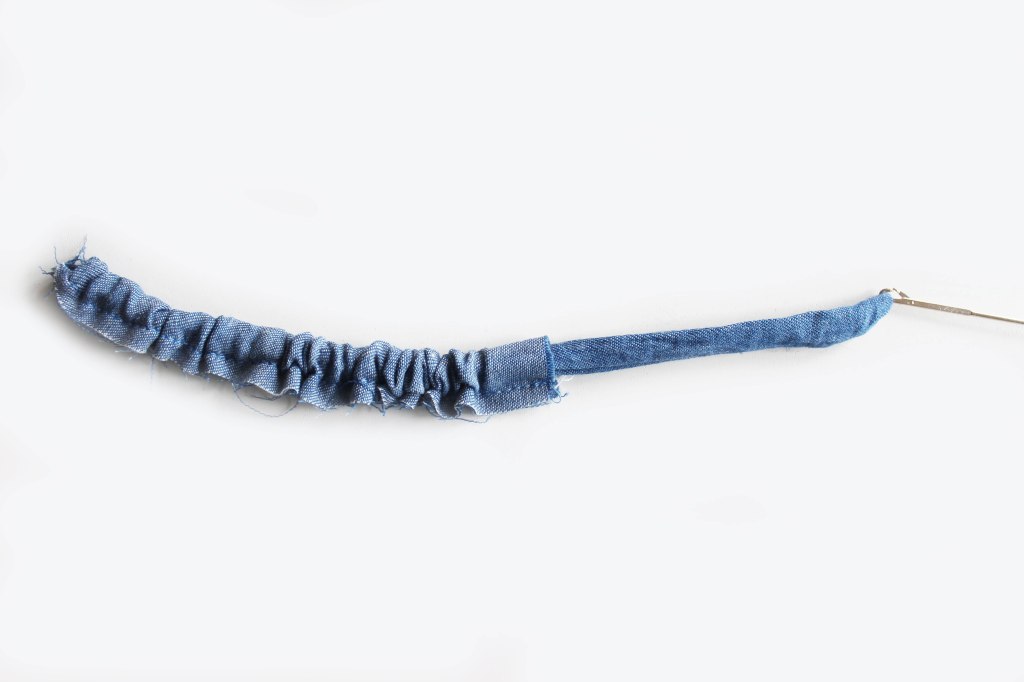
FIRST PREPARE THE TIES OR LOOP

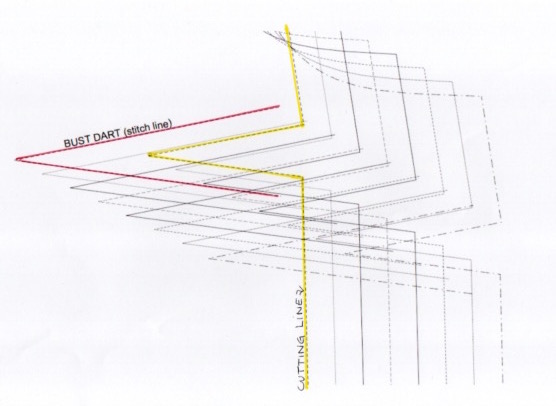
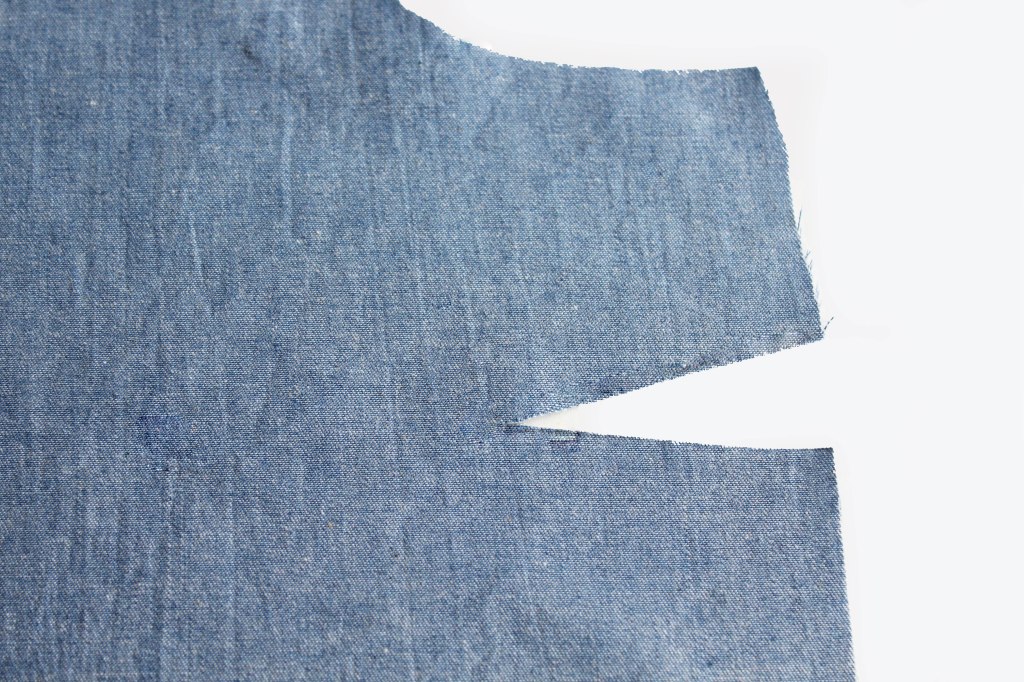
MAKING THE DARTS

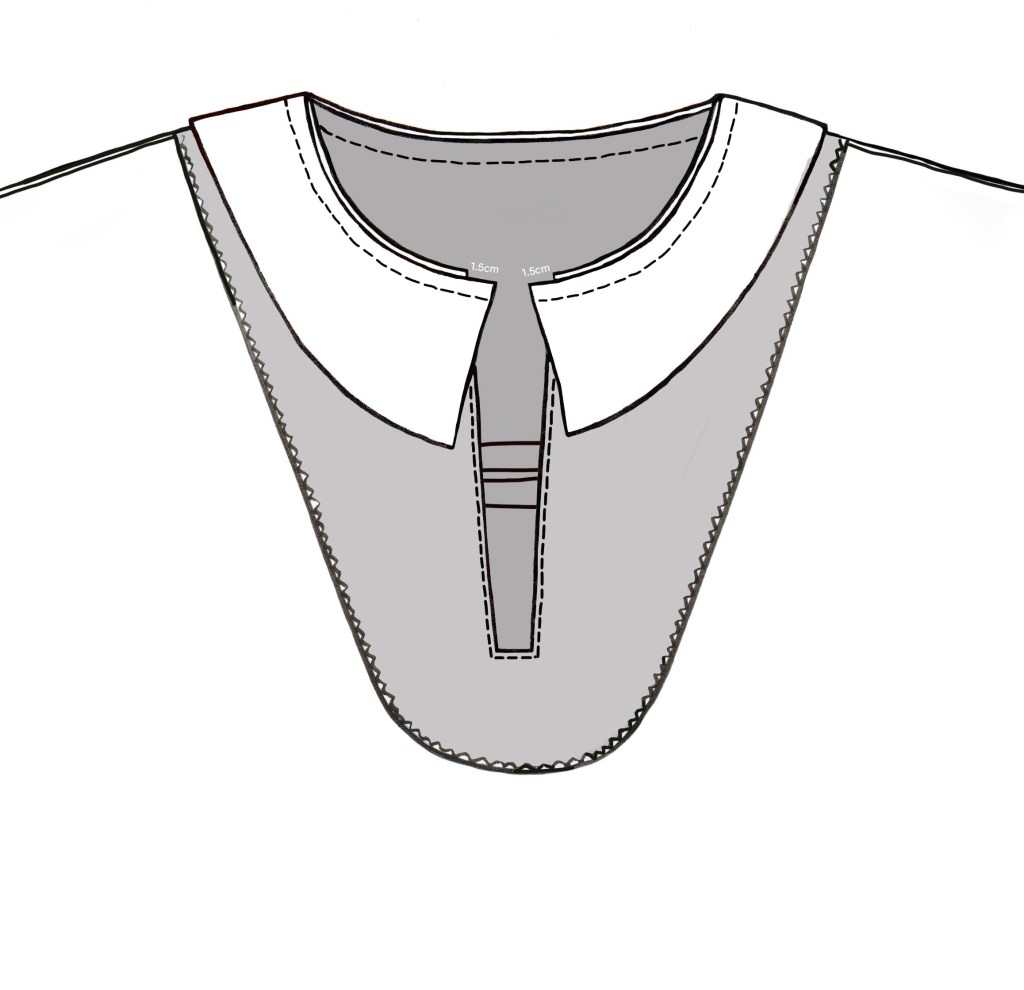
On the pattern you can see lots of lines for each Dart size. Each size has two lines: one (outer line) is the ‘cutting’ line and one (inner line) which is the ‘stitch’ line. See the diagram below, Ive marked size 8 Dart lines in yellow (cutting line) and pink (stitch line), to show you more clearly. Its a good idea to mark the required two lines as I have done on your pattern to make them easier to see.

JOINING THE FRONT TO BACK

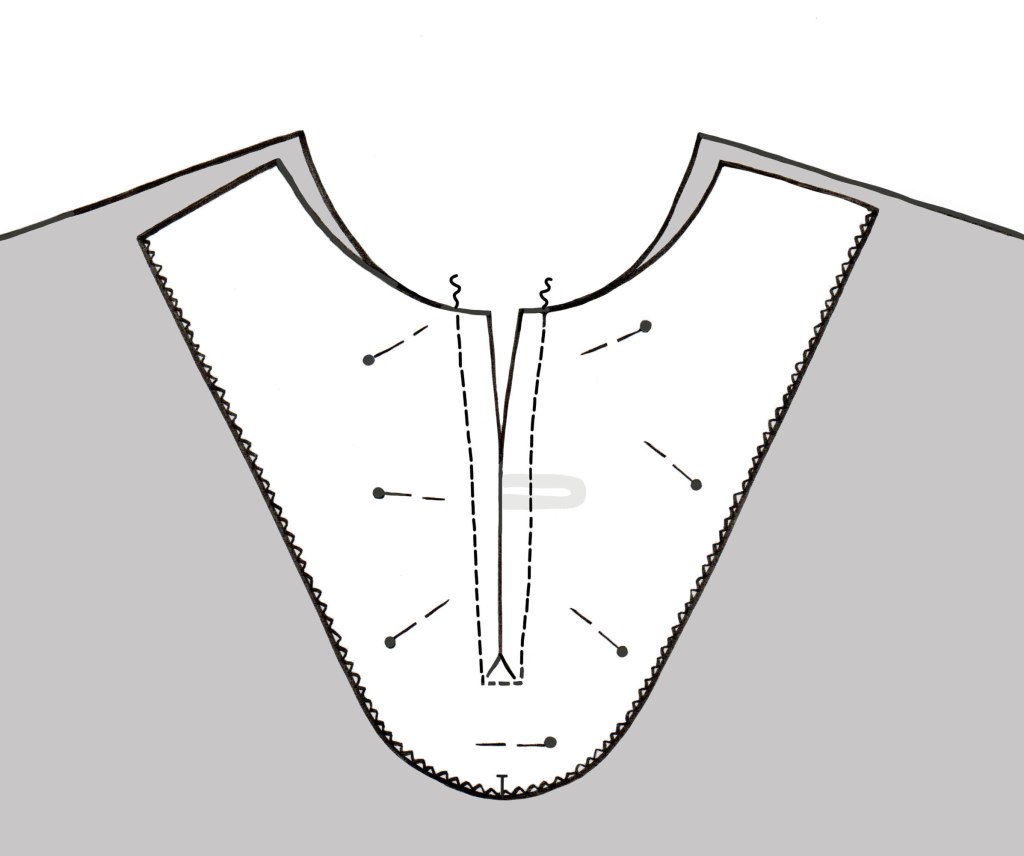
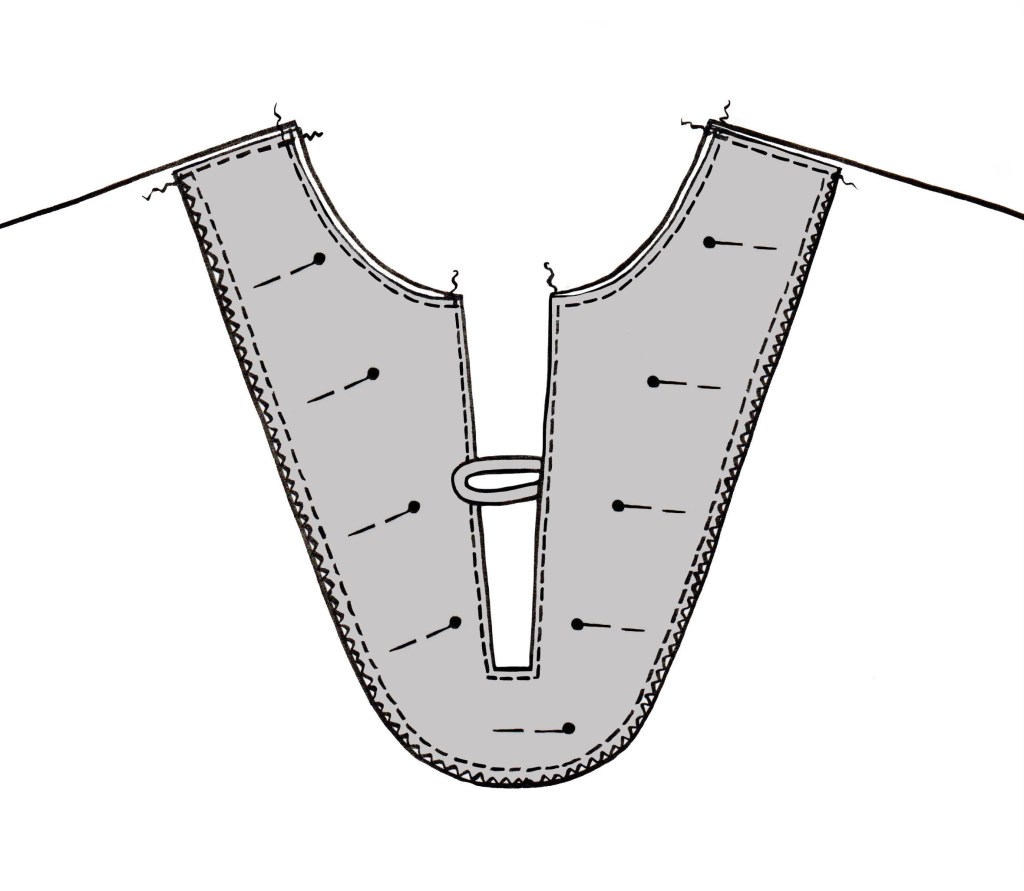
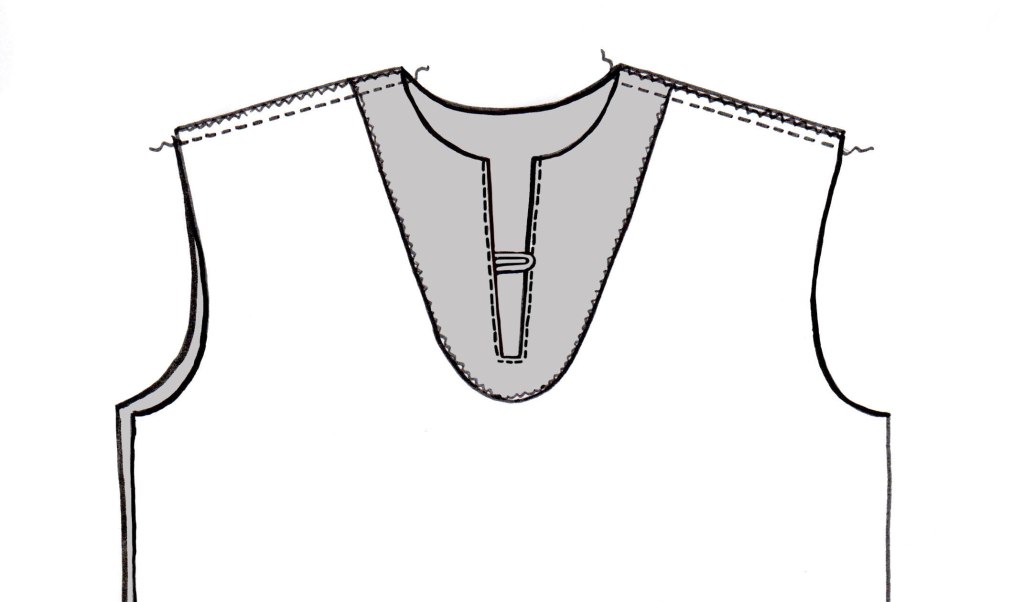
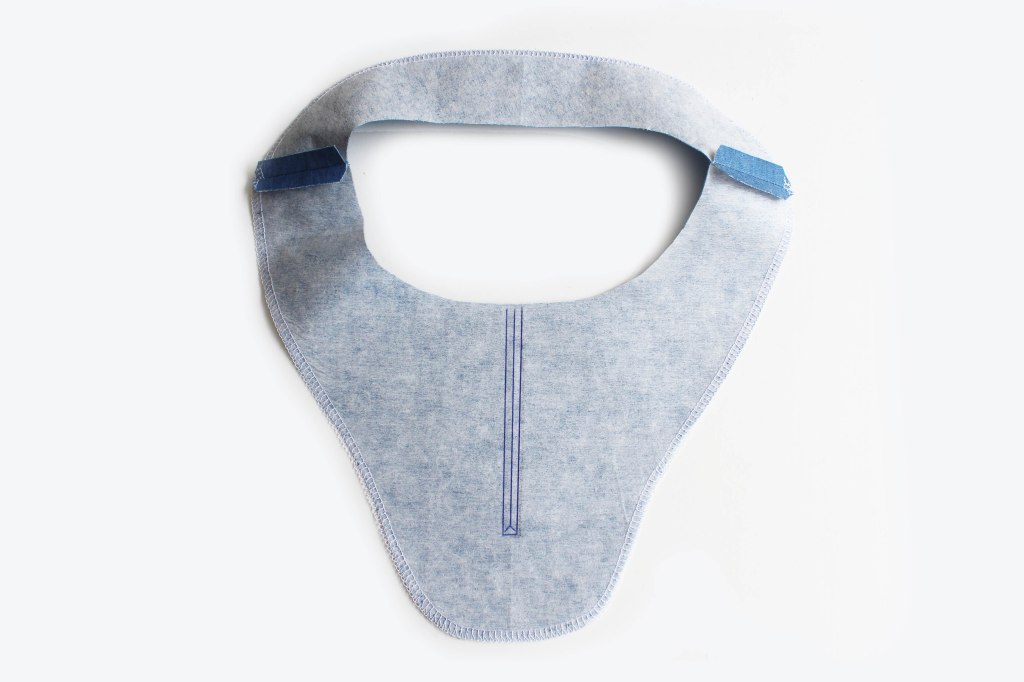
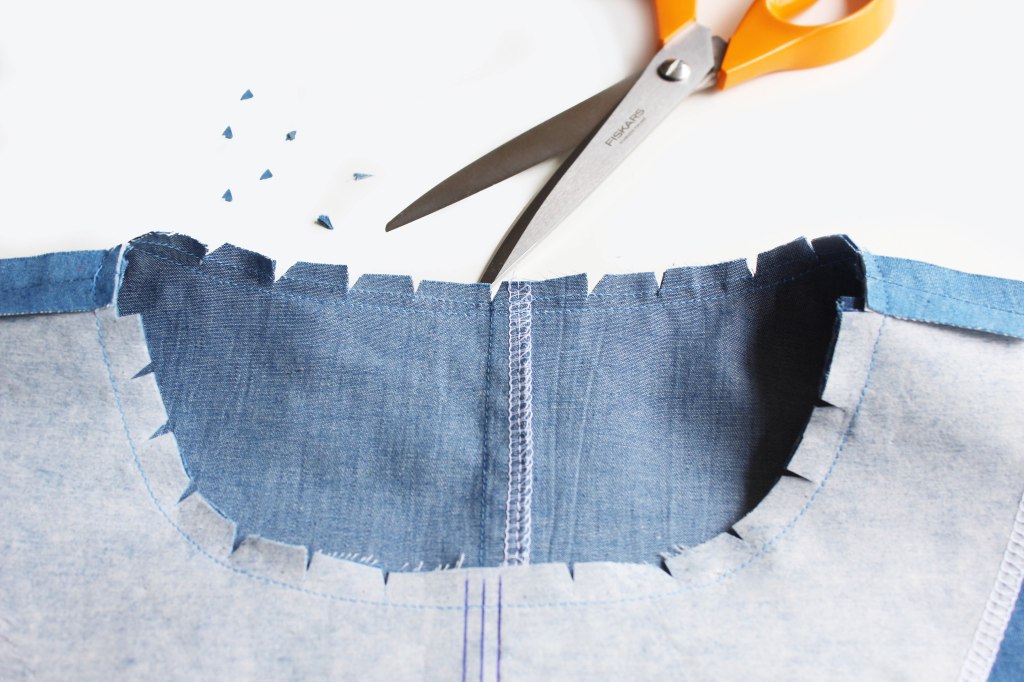
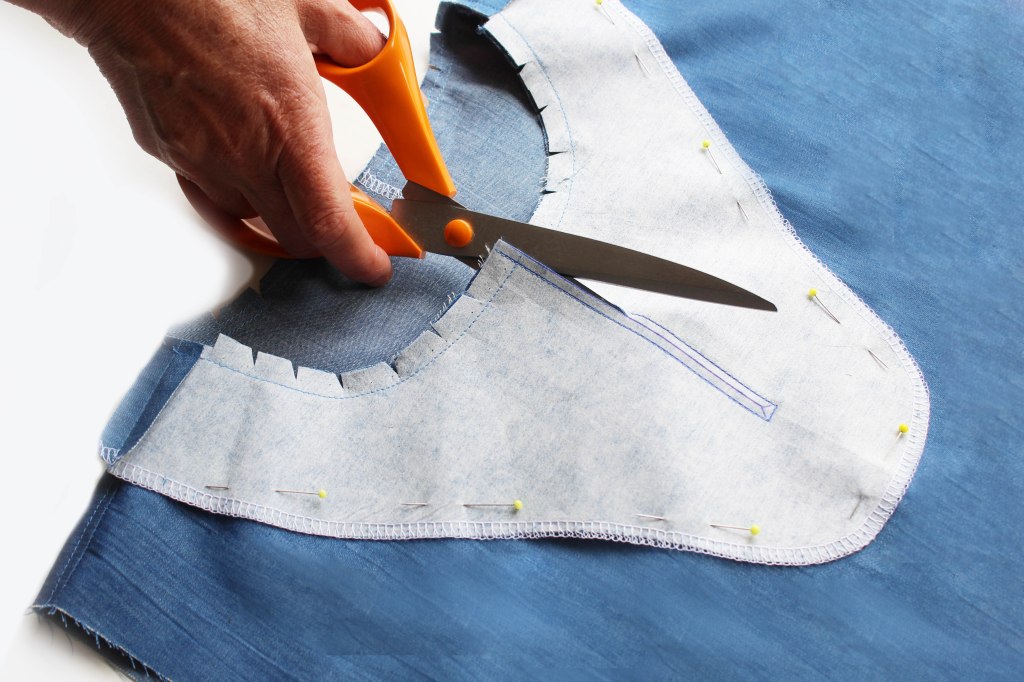
FACINGS

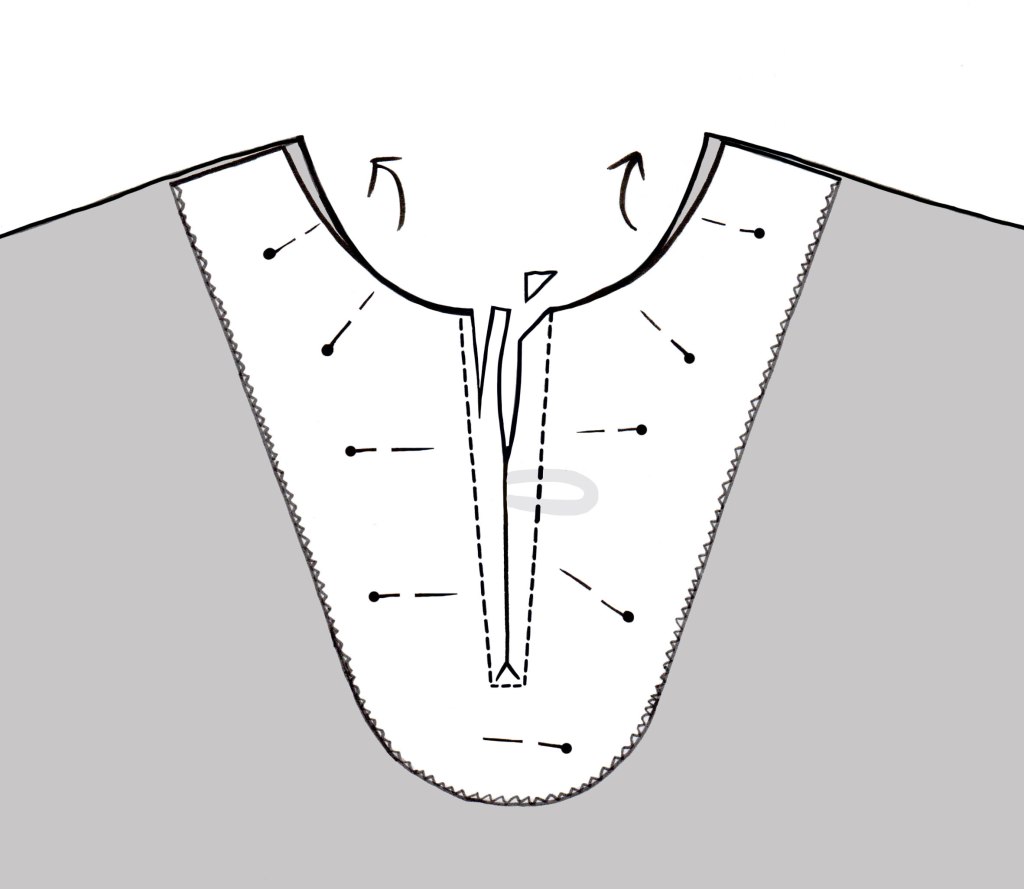
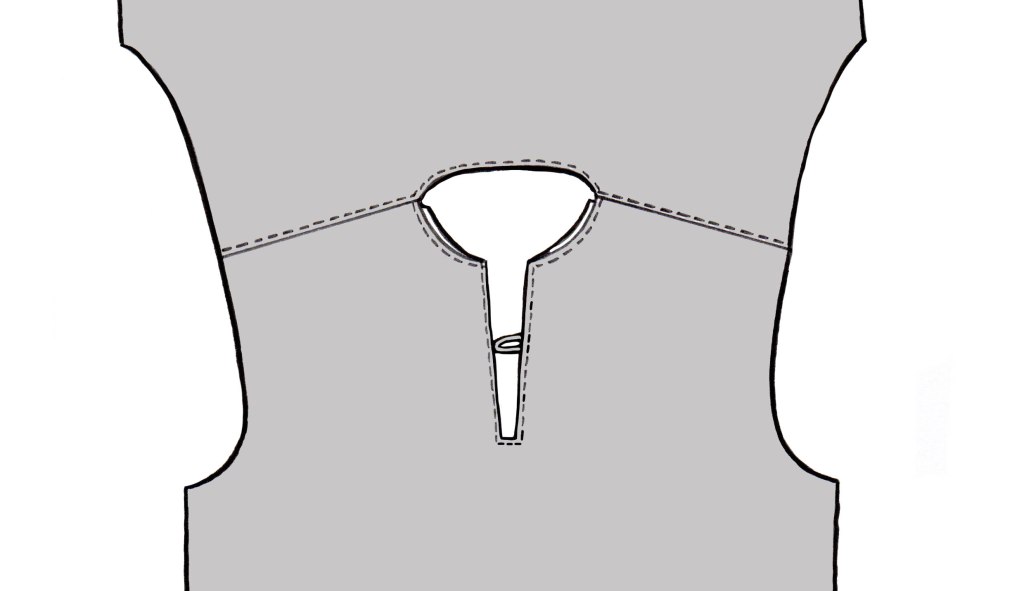
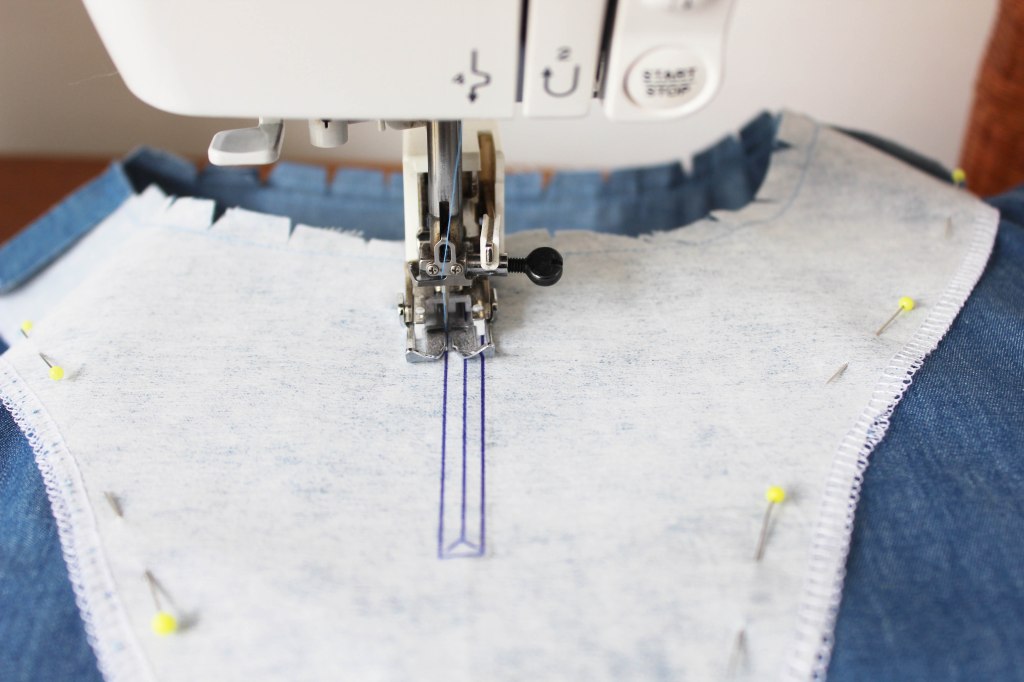
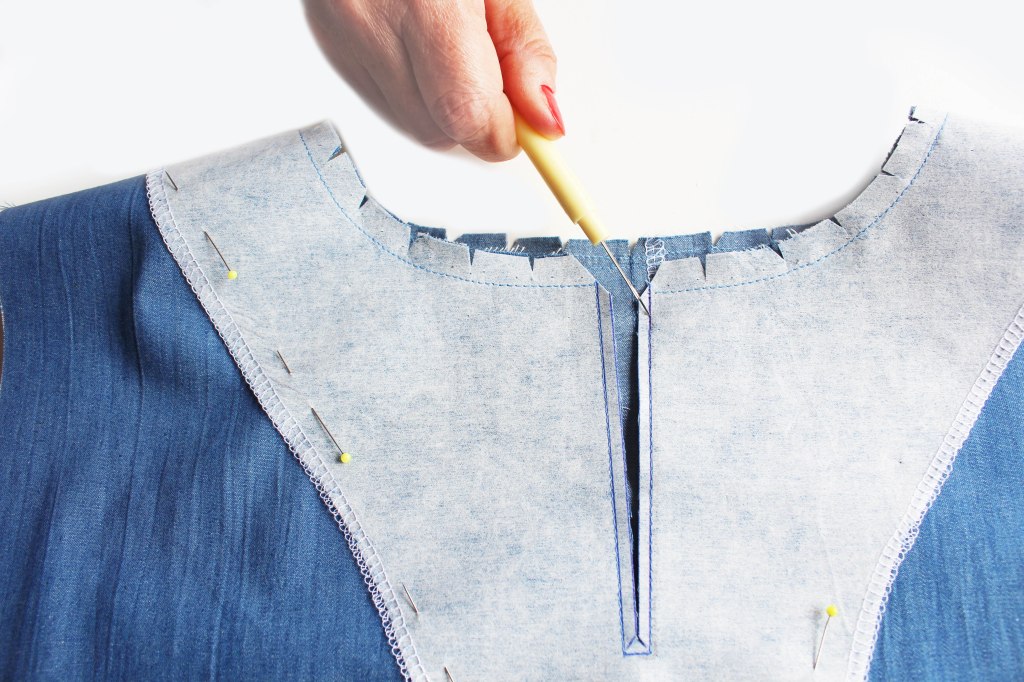
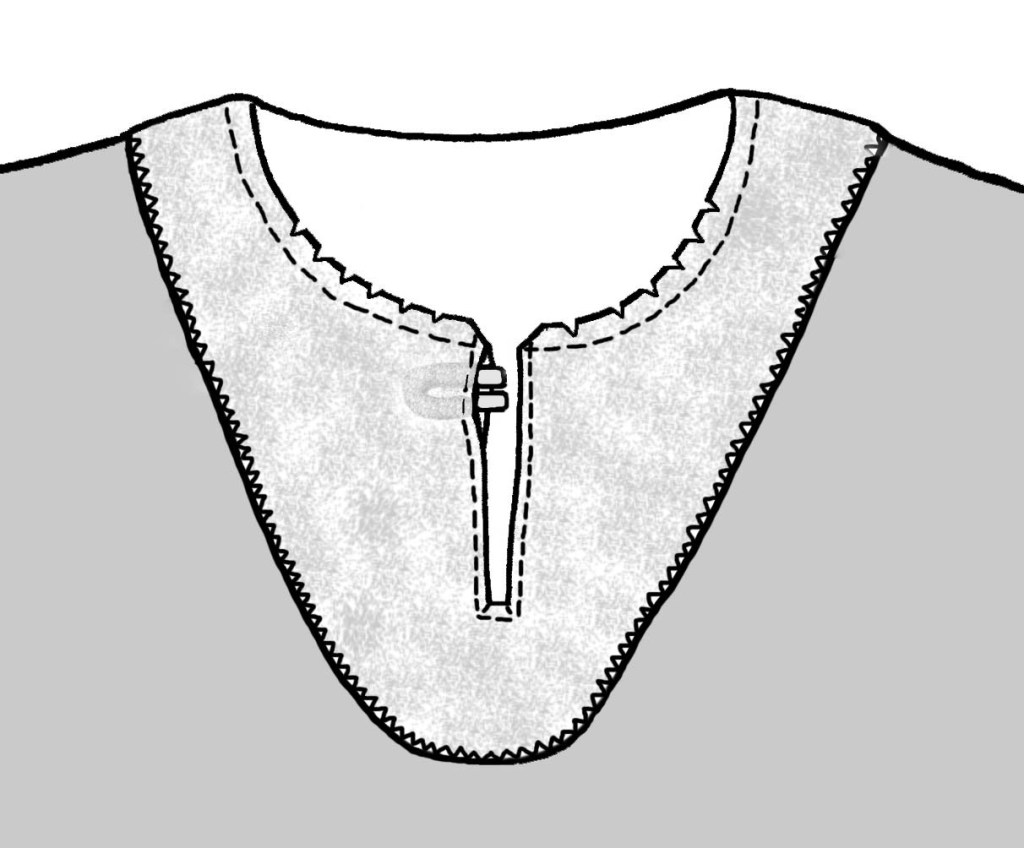
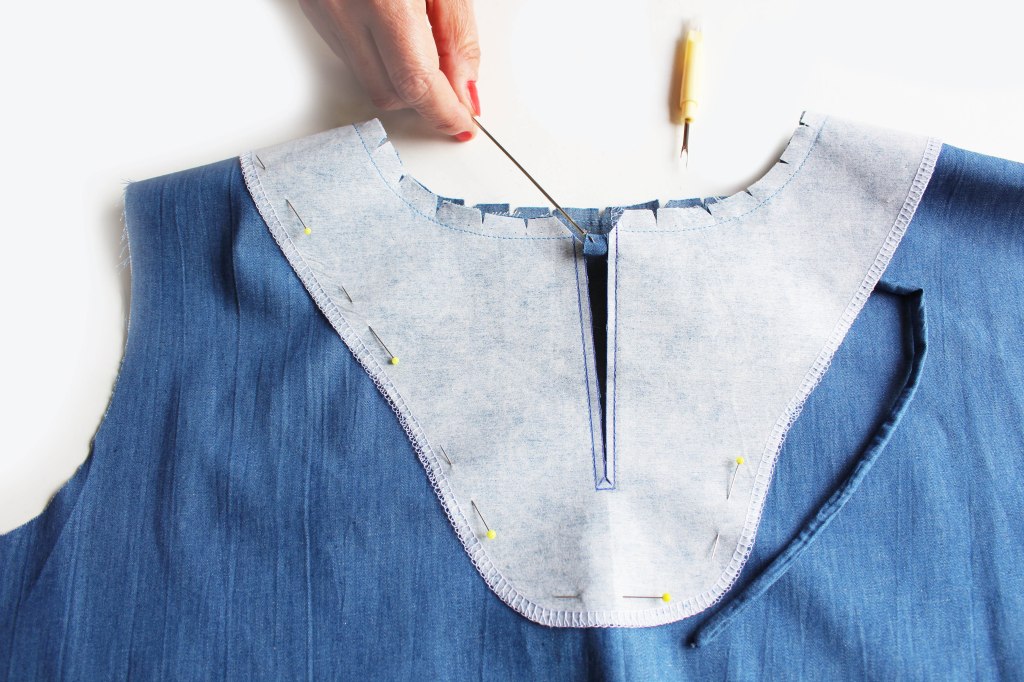
INSERTING THE TIES OR LOOP

SLEEVES

FRILLS

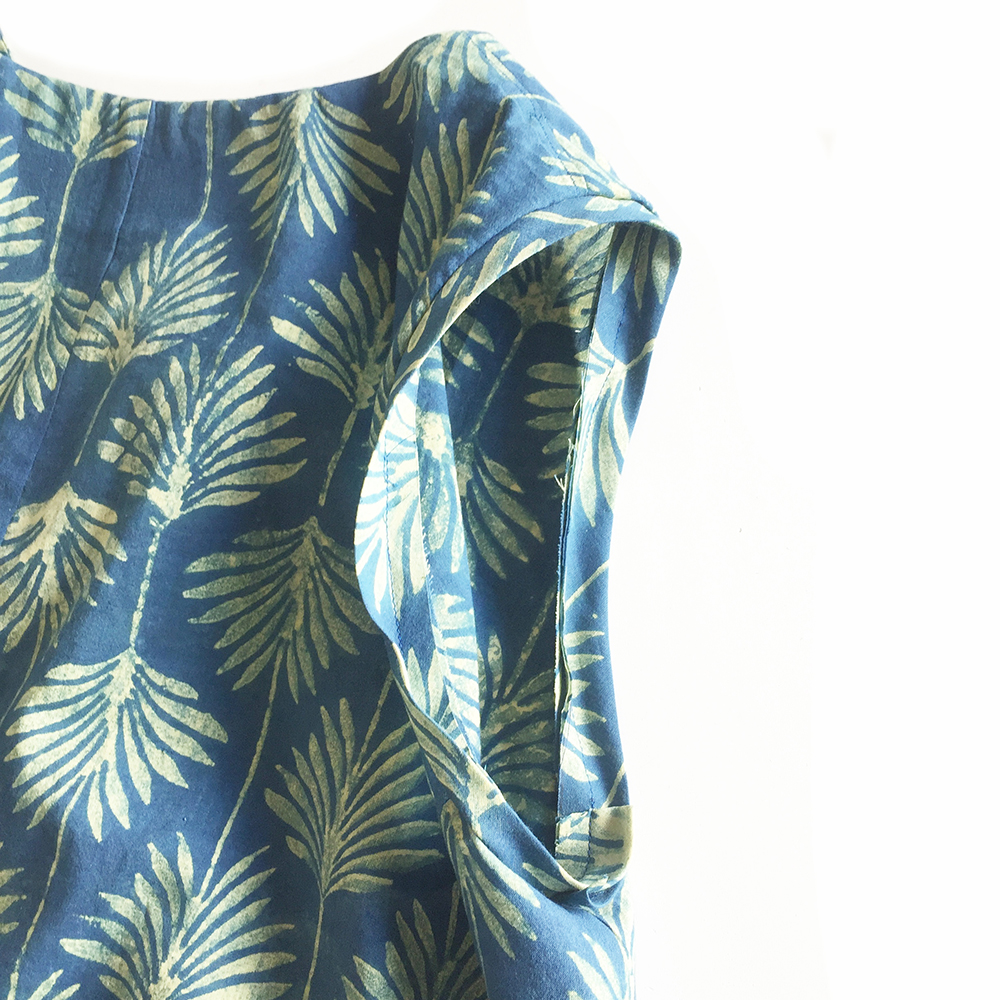
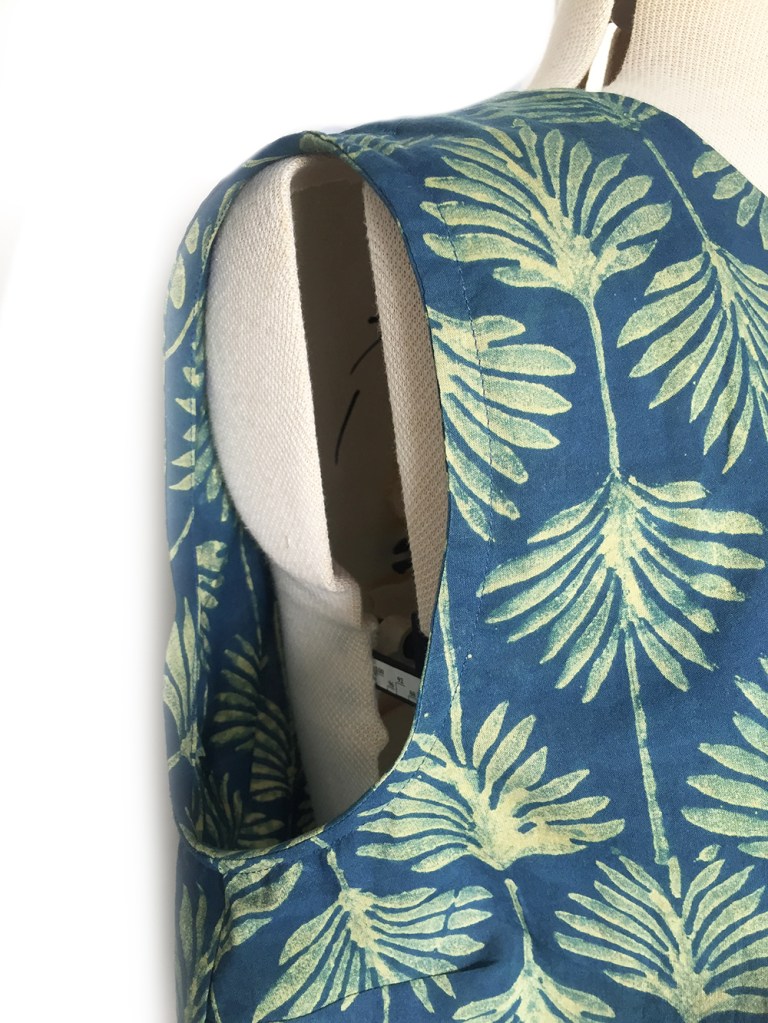
Top (Sleeveless Version A) Leave the sleeves off and edge with bias binding.
Fabric by Slubbed Prints

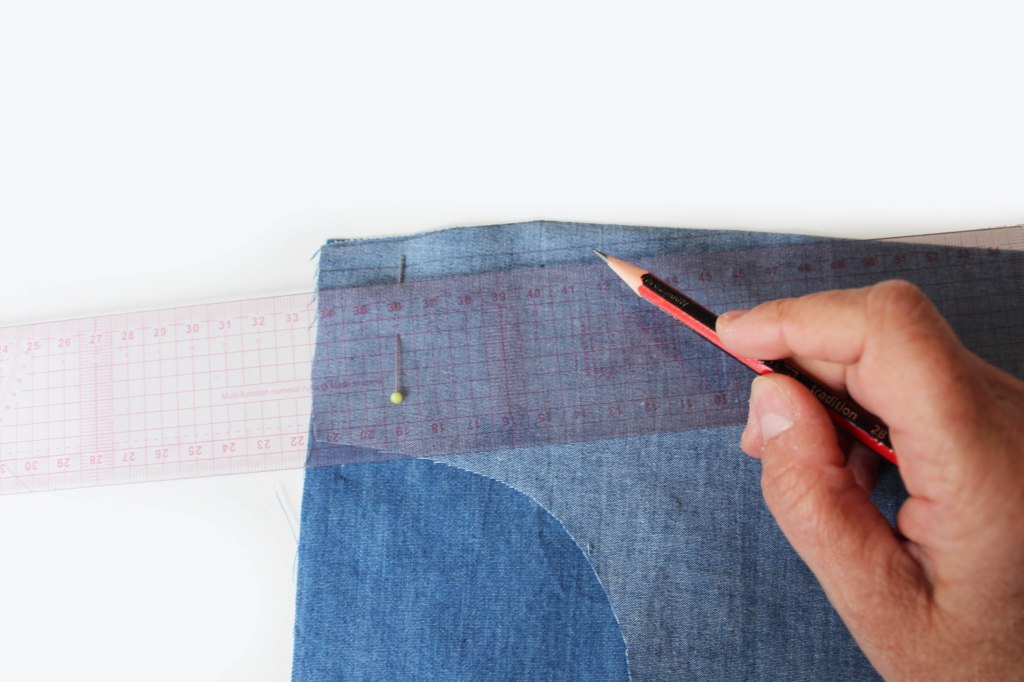
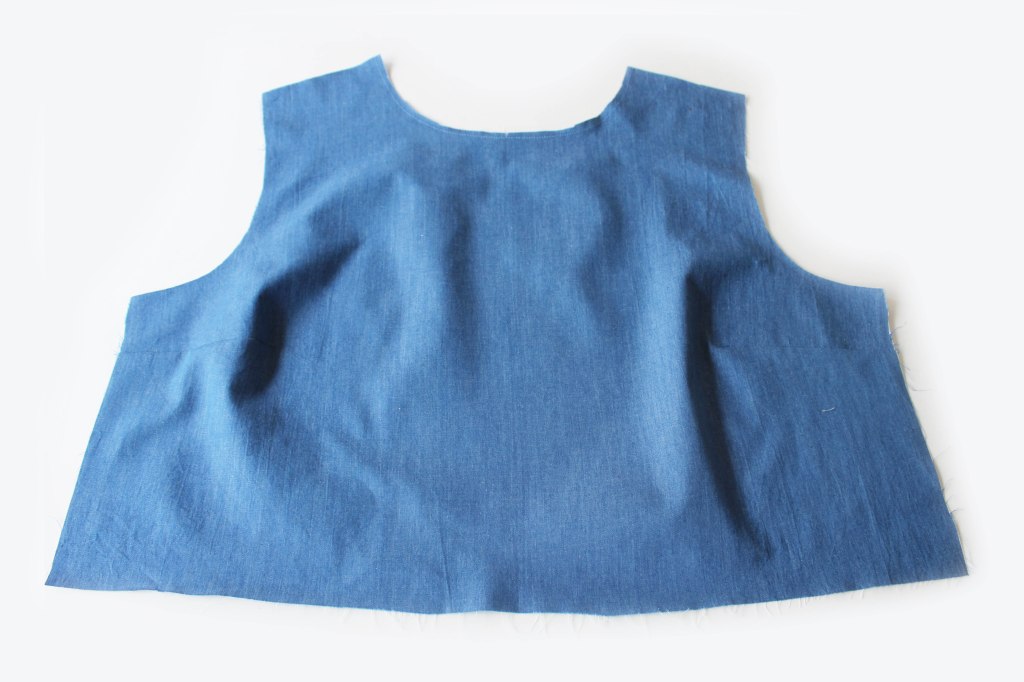
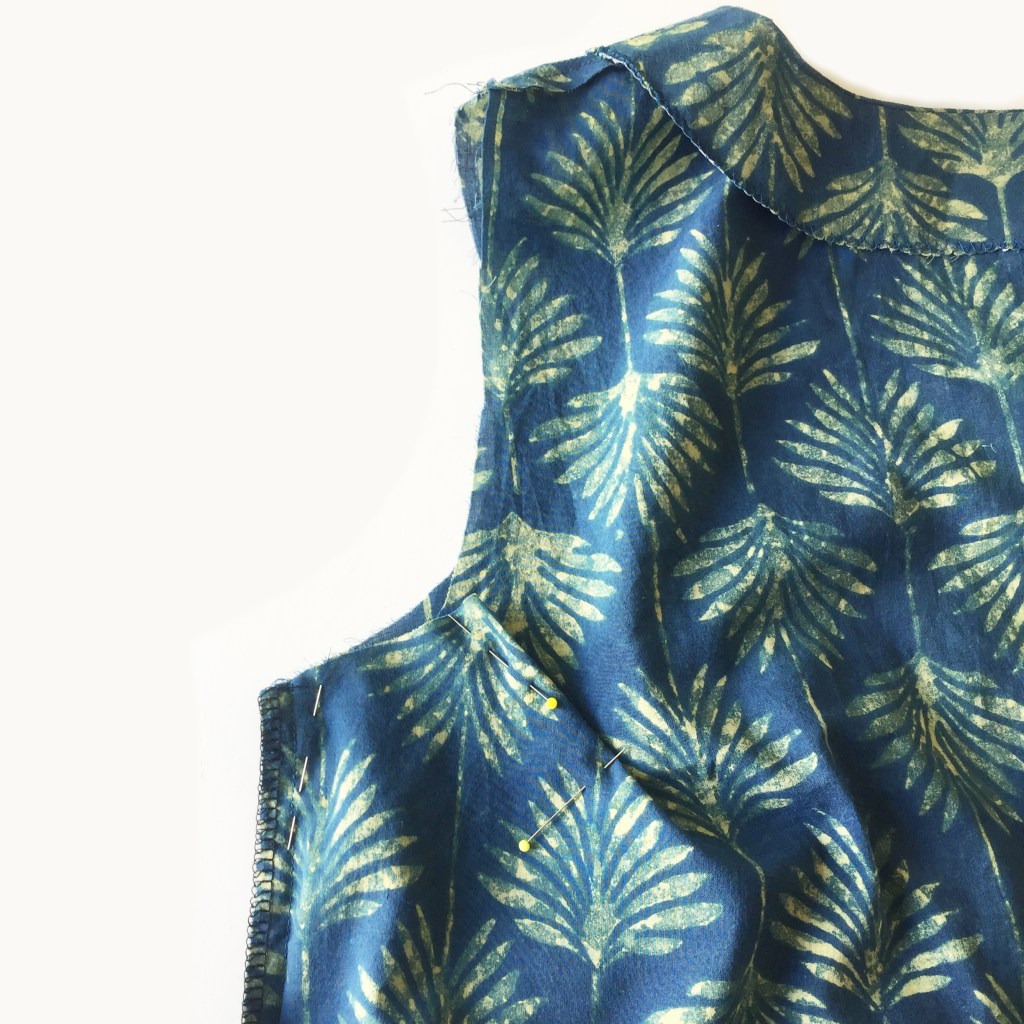
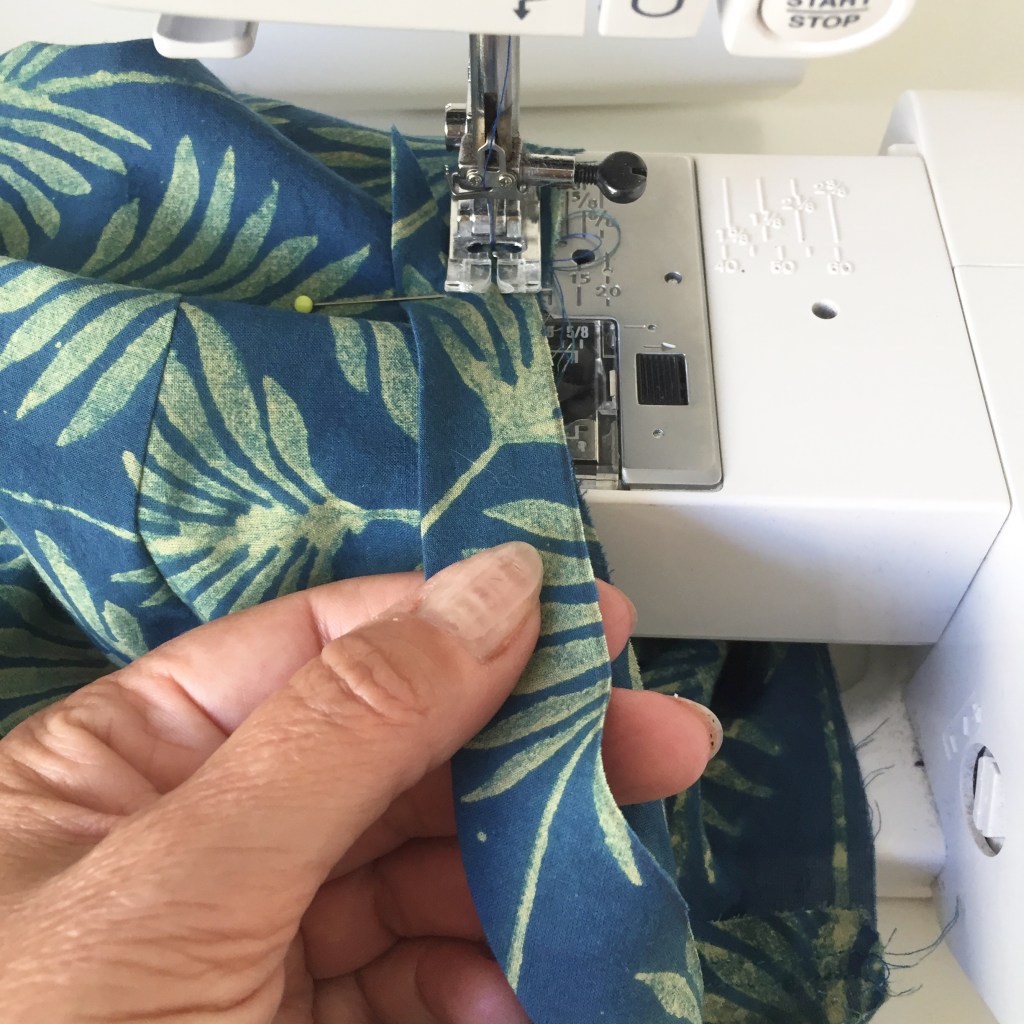
HOW TO MAKE ADJUSTMENTS TO THE ARMHOLE FOR A SLEEVELESS VERSION

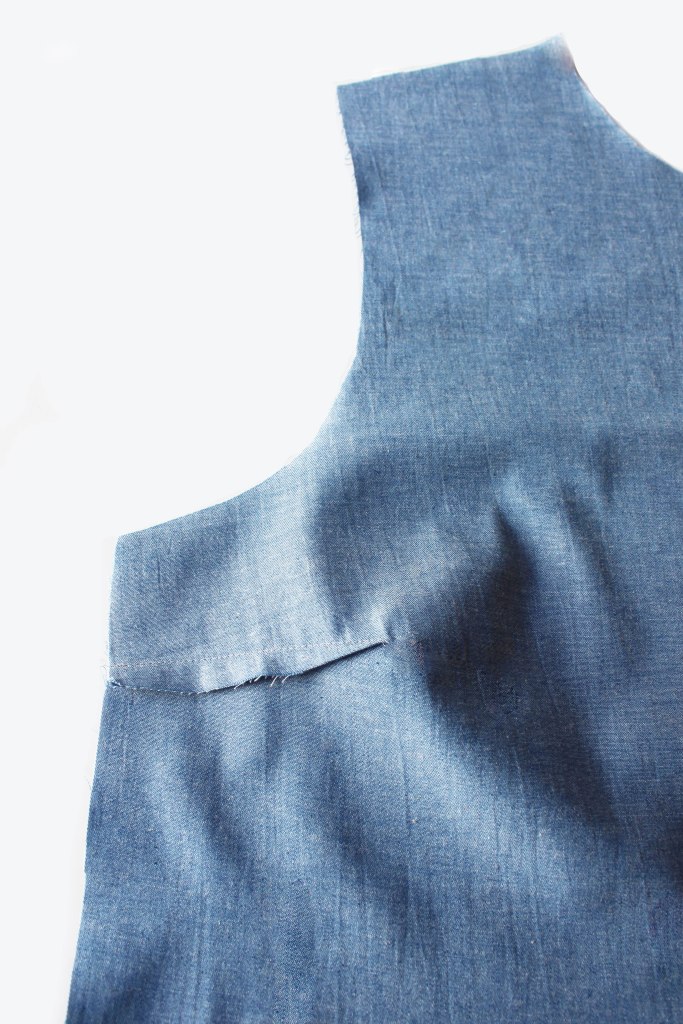
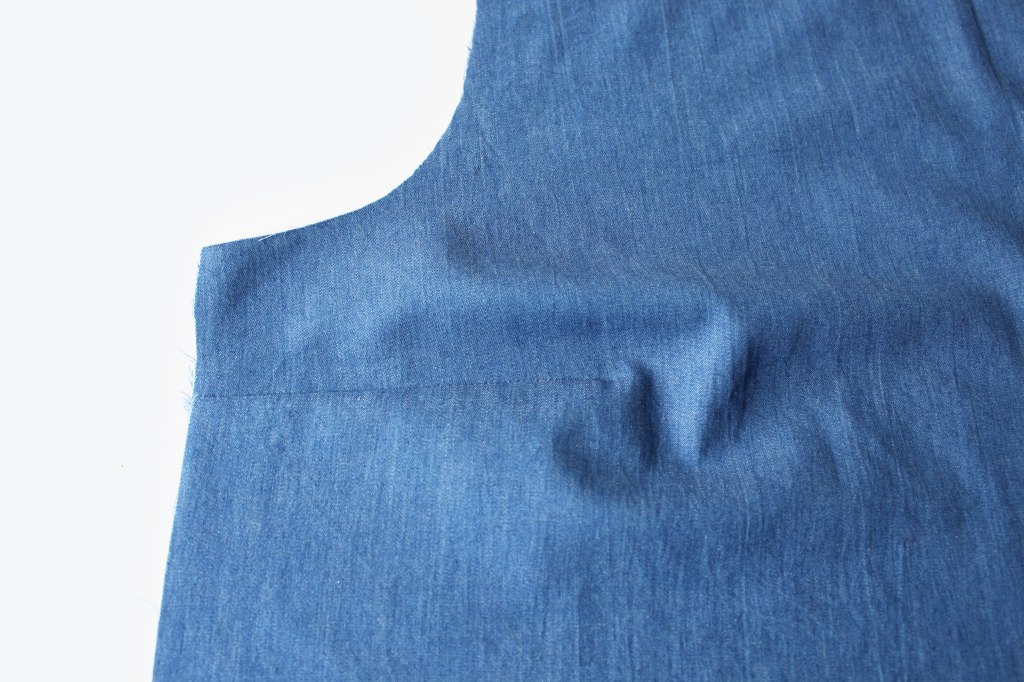
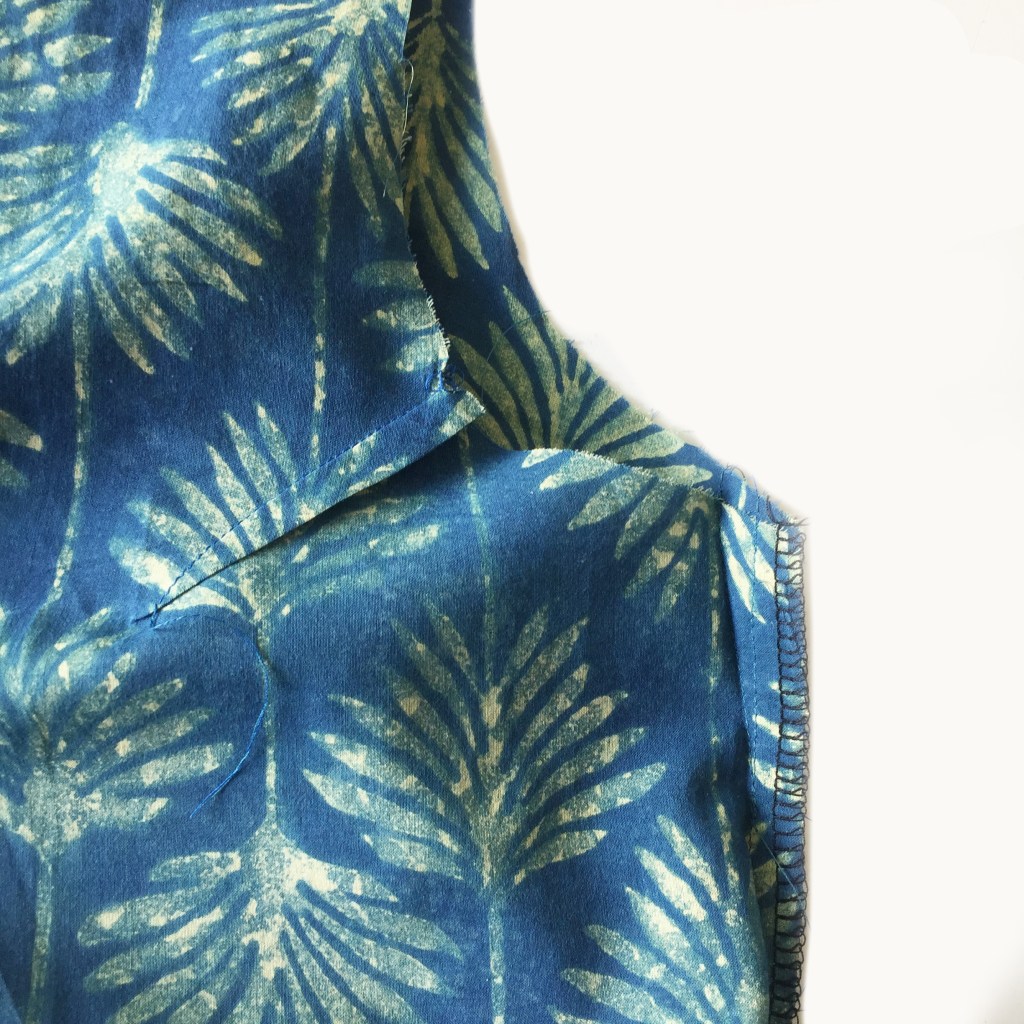
To reduce the armhole, making it less gapey, I recommend pinning in approx 1cm at each side seam, from the top of the armhole to the dart. Also make a small dart at the back section of the armhole about a third of the way up. I made mine approx 1cm (ie 2cm when folded) but you may need more or less.
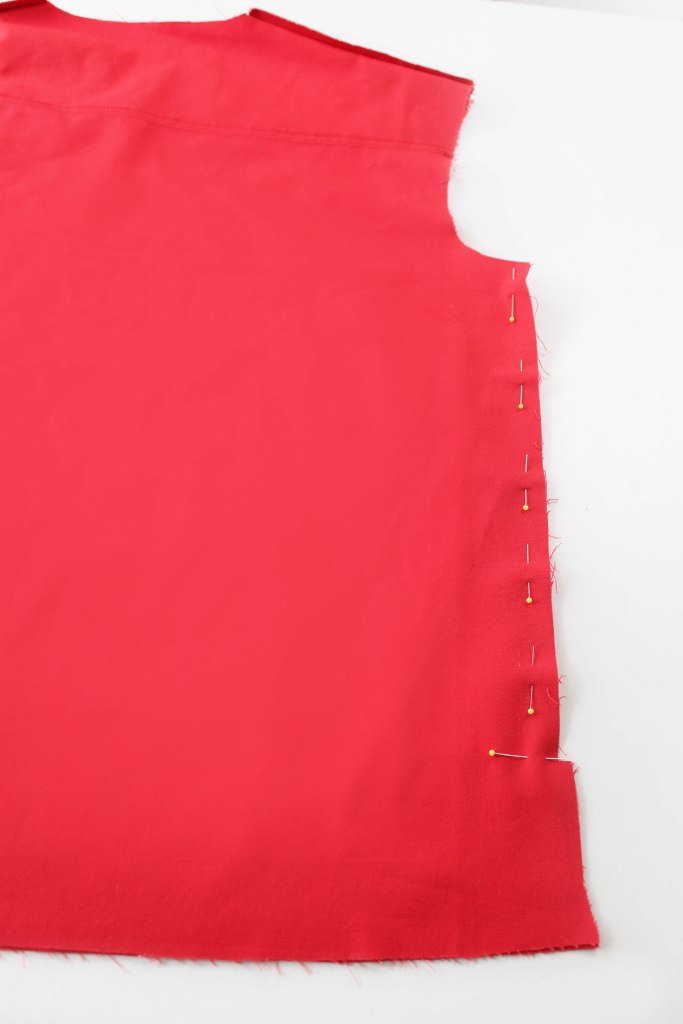
Try the top on and see how it looks and feels, remember theres going to be a further 1cm taken off by the seam allowance of the binding. If you are happy with the fit, sew the dart and side seam adjustment. Press.
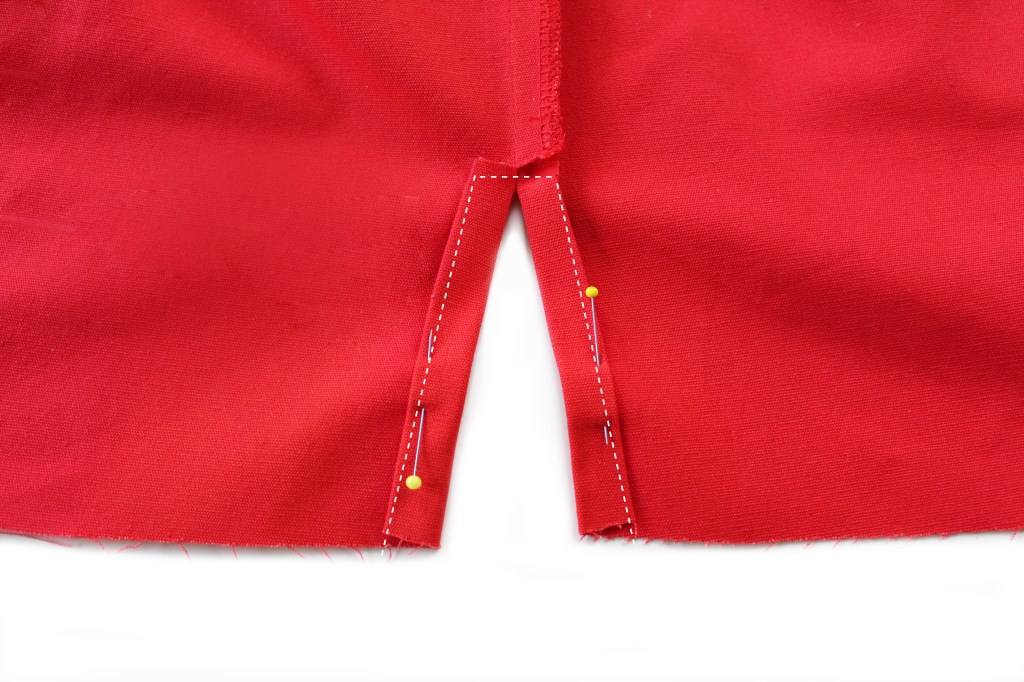
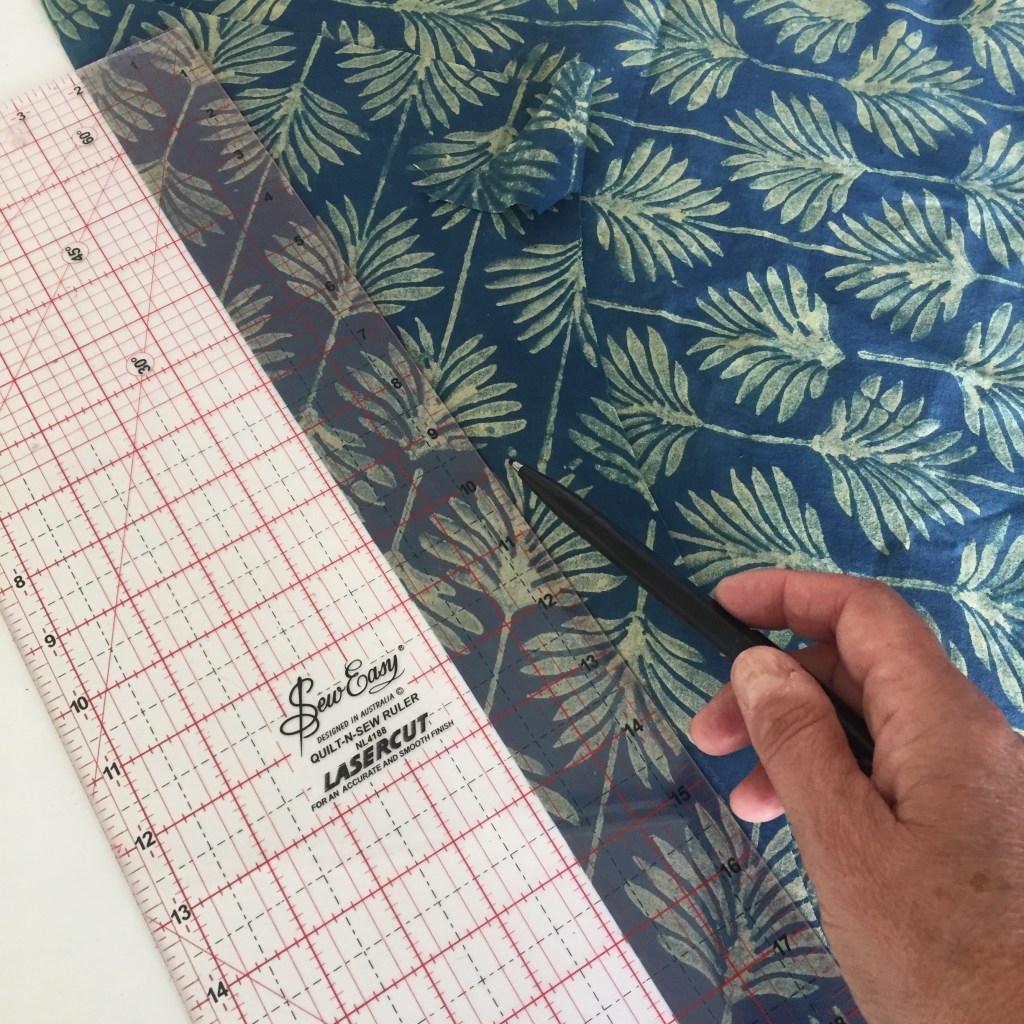
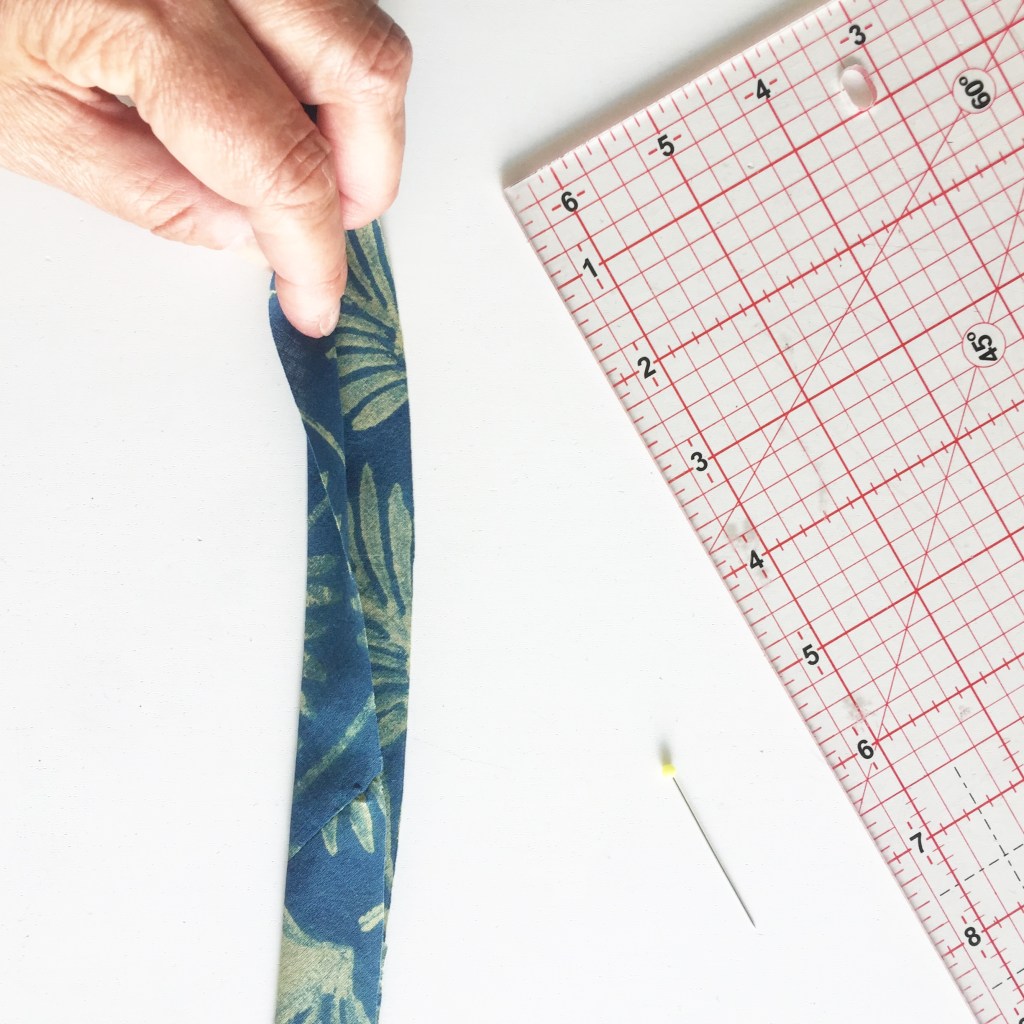
Now make your bias binding. Cut two strips of fabric approx 5cm wide and length to accommodate each armhole.
Fold each strip in half so that the raw edges are matching and the wrong sides facing together. Press.
Starting from the underarm side seam, aligning the raw edges of the binding and armhole, stitch the binding to the armhole, overlapping a little where they meet. I find you don’t need to pin it first, but you do need to ease or stretch it slightly as you sew.
Press the binding away from the armhole with the seam allowance pressed towards the top.
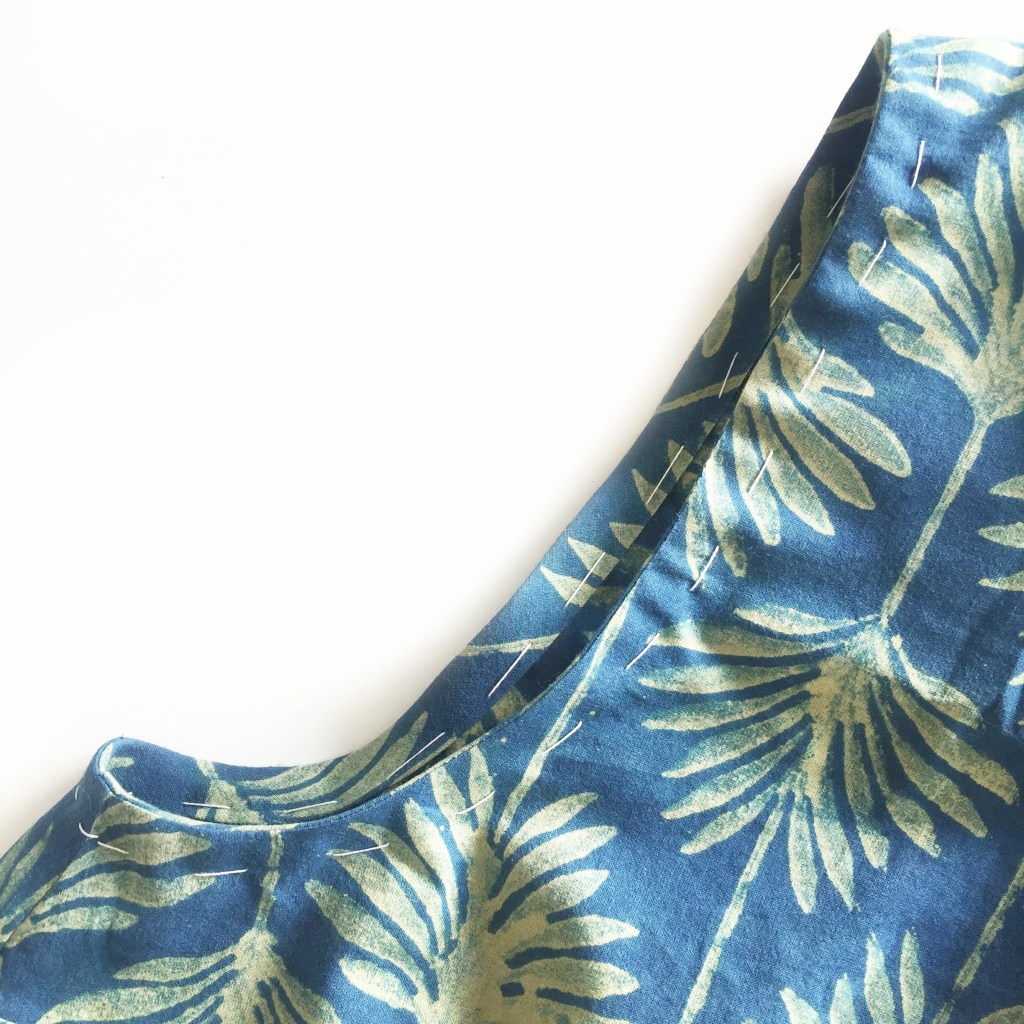
Fold the binding to the reverse side. Press. Pin then hand tack all around. This makes it so much easier when sewing on the machine.
Stitch all around on the machine, then remove all tacking stitches. Press.
There you have it!
Dress (Version B)
Maxi Dress (Version C)

All photos and text are subject to copyright by Fiona Hesford T/A Sewgirl .
Please ask permission before copying any imagery prior to use. Thank you.