
Cushions how we love them!
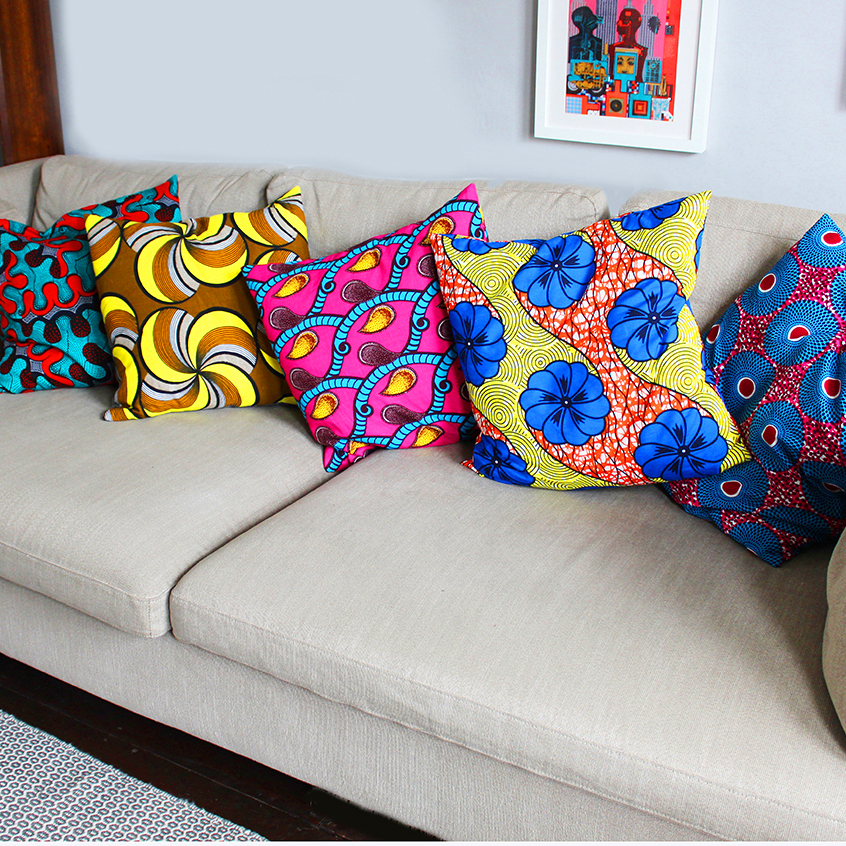
Square ones, round ones, plain, multicoloured they support the backs of the world! They give a colour pop to our sofas, garden furniture and beds, like pieces of art brightening up our homes.
A cushion is a wonderful thing. As my husband put it “what is it with women and cushions?” Well, he’s the first one to bolster himself up with a morning cuppa in bed, so I think that men secretly love them just as much as we do!
Anyway down to business…..
HOW TO MAKE A SQUARE ENVELOPE CUSHION
Here is a tutorial about how to make an envelope cushion. To make a 16″ square envelope cushion you will need:
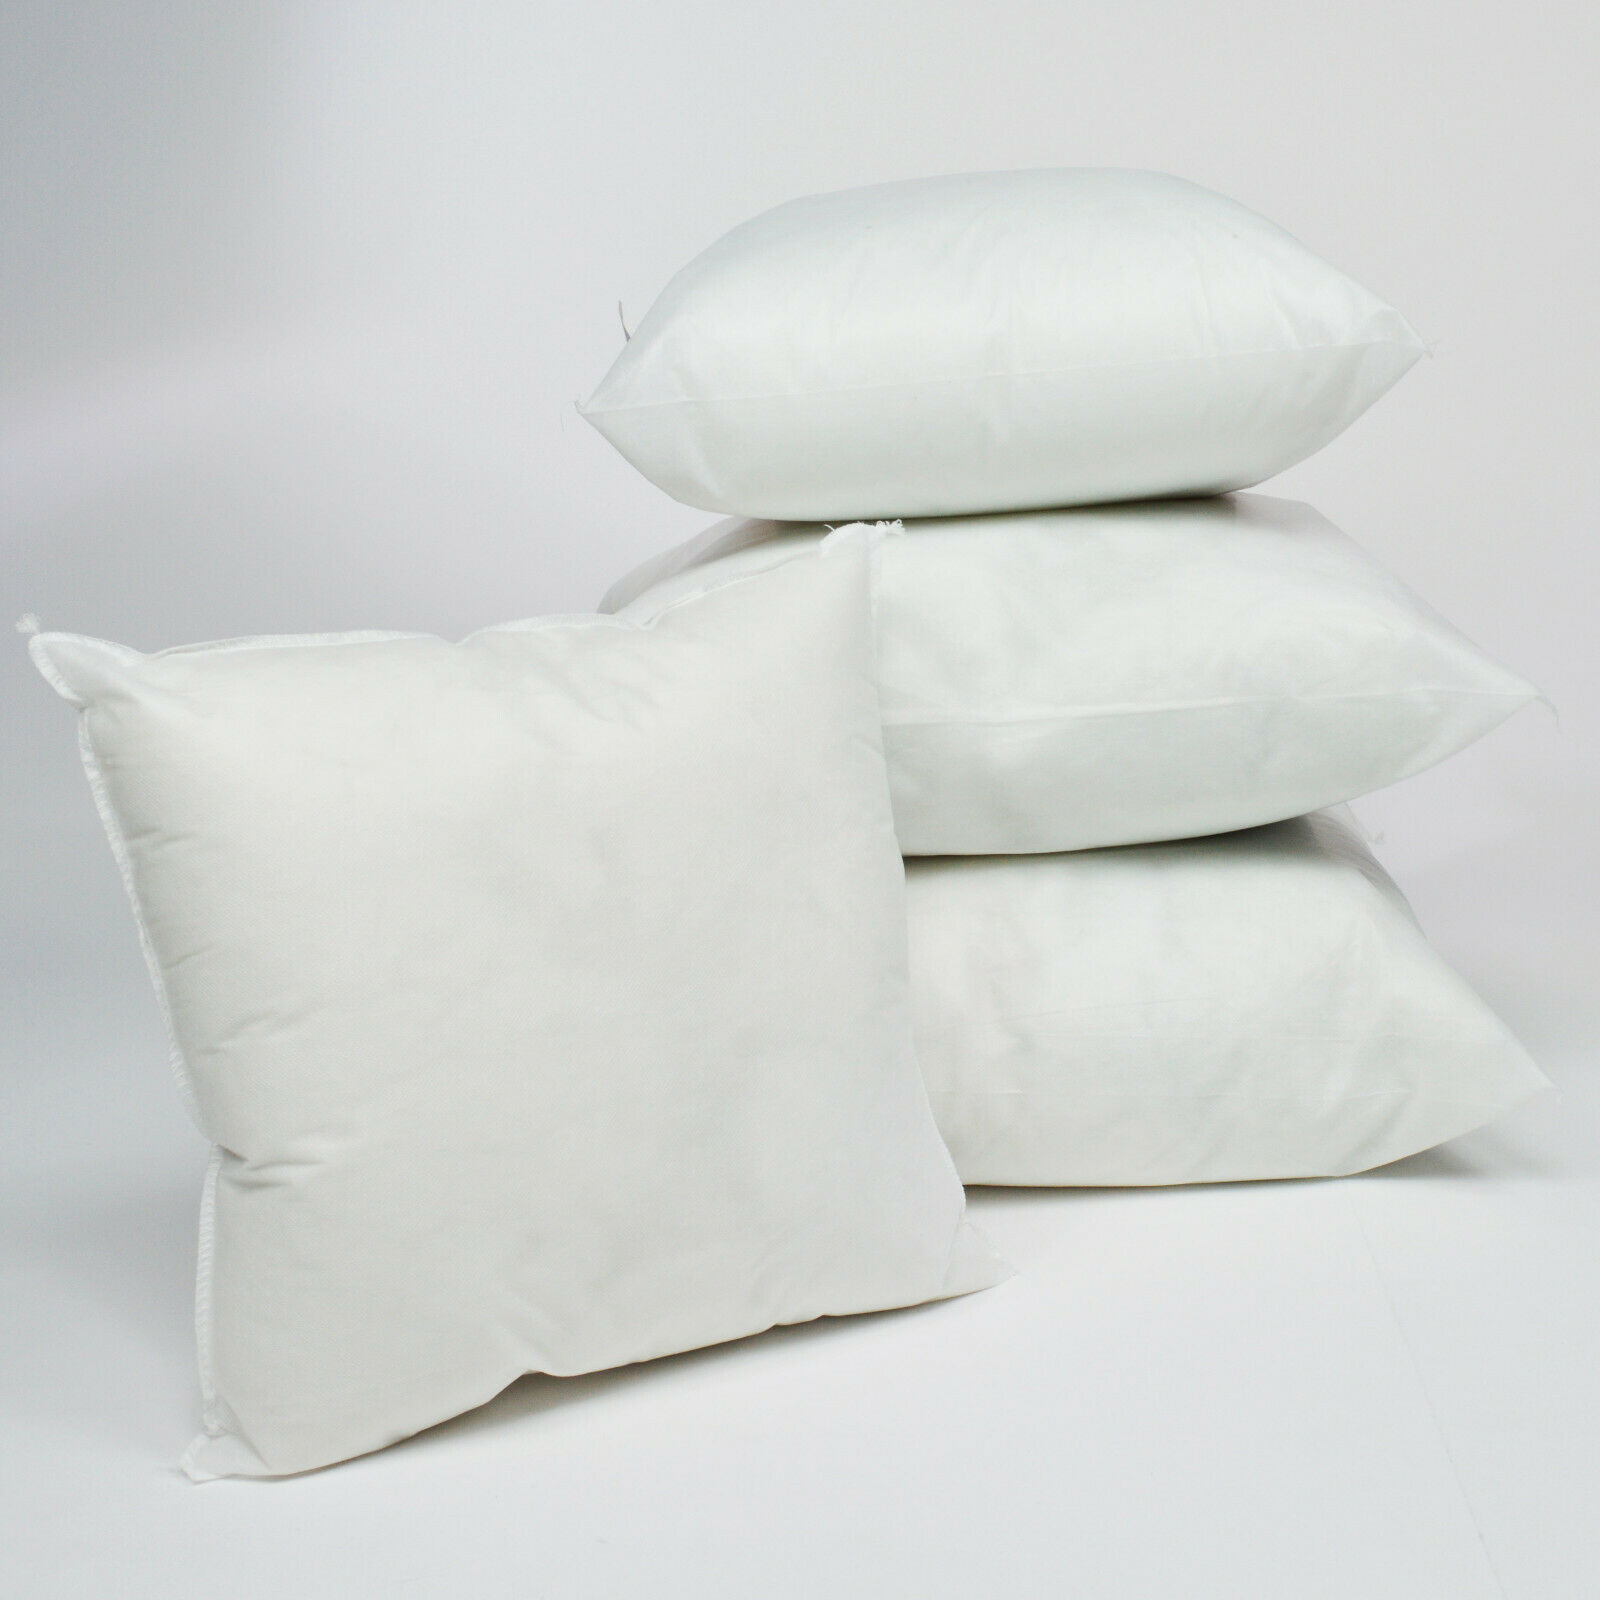
50cm of main fabric, a reel of thread, two 25mm buttons (optional) and a cushion pad inner (polyester or feather).
You can get pads here on ebay
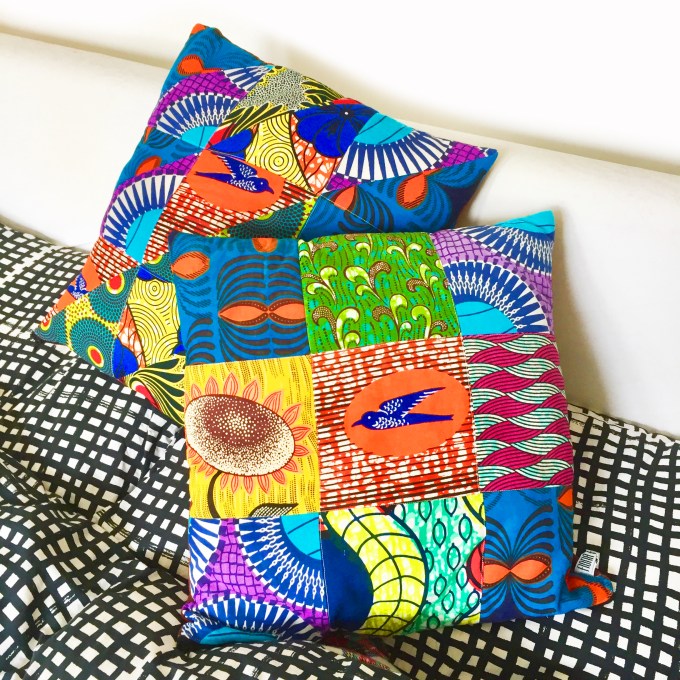
You can make a cushion from all sorts of fabric. Ive made these ones in Ankara fabric, commonly known as African Dutch wax, which I think look great in simple patchwork squares and triangles. With their bold clashing patterns and vibrant colours they cheer up any room up no end!
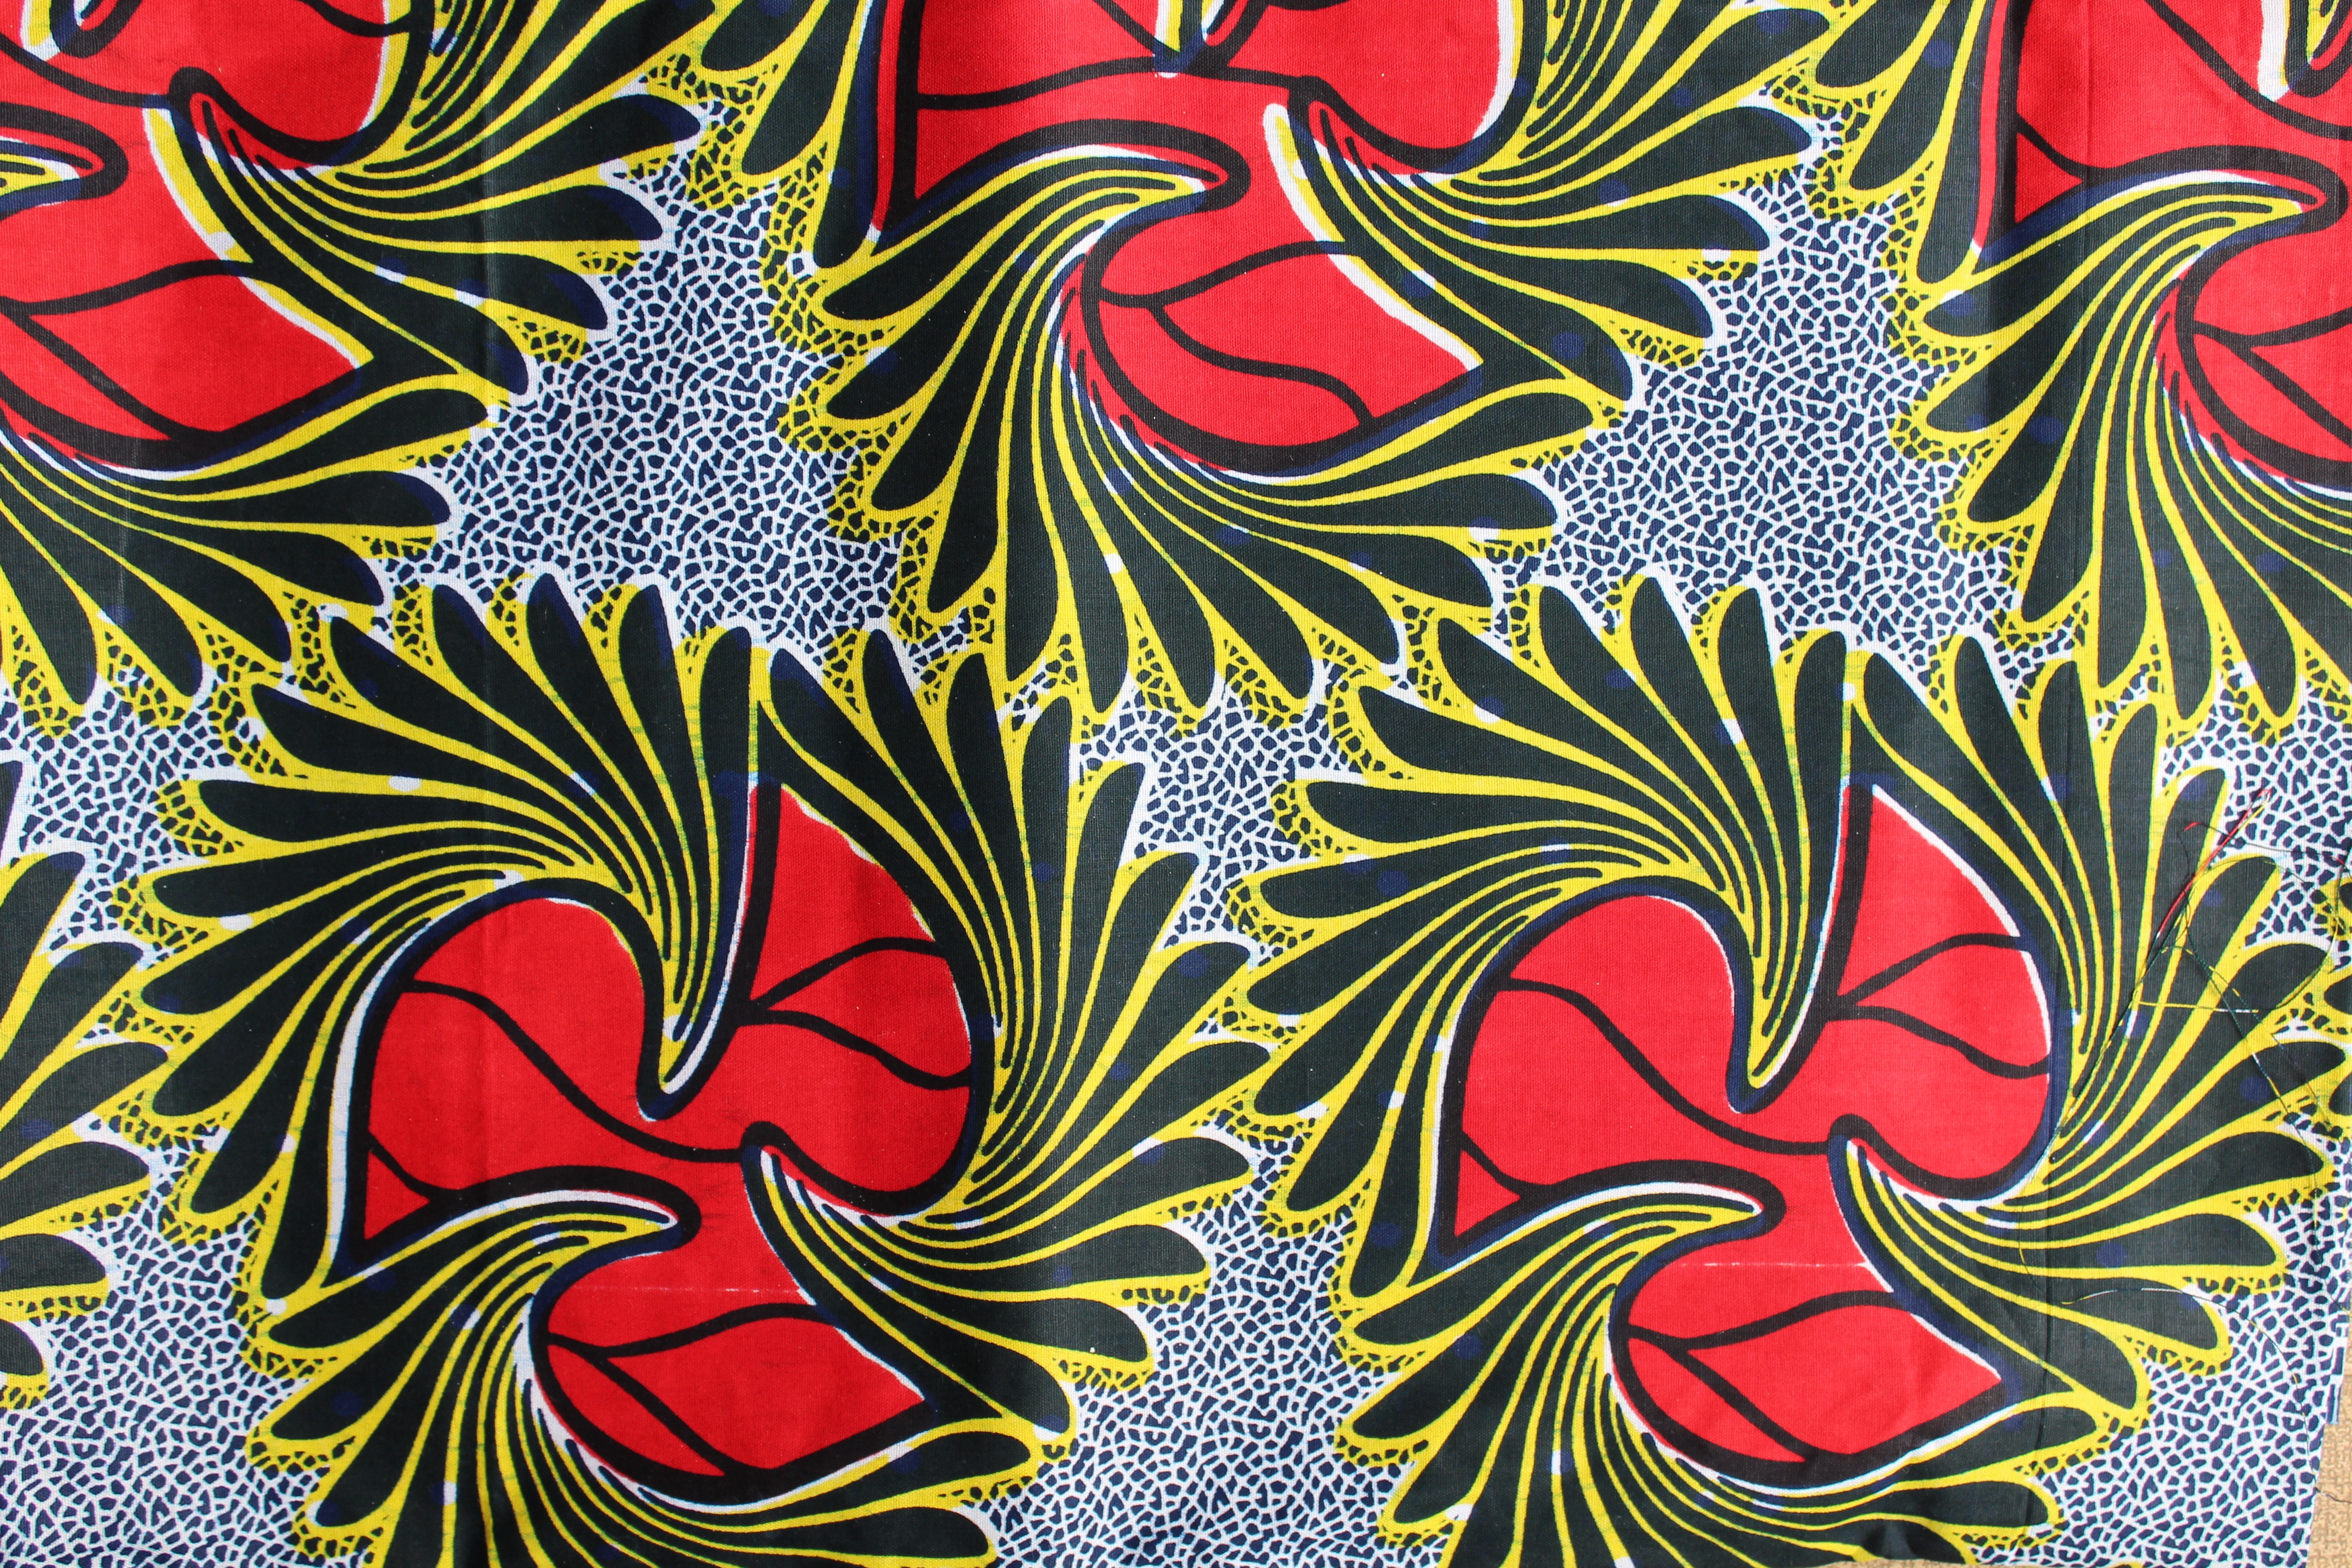
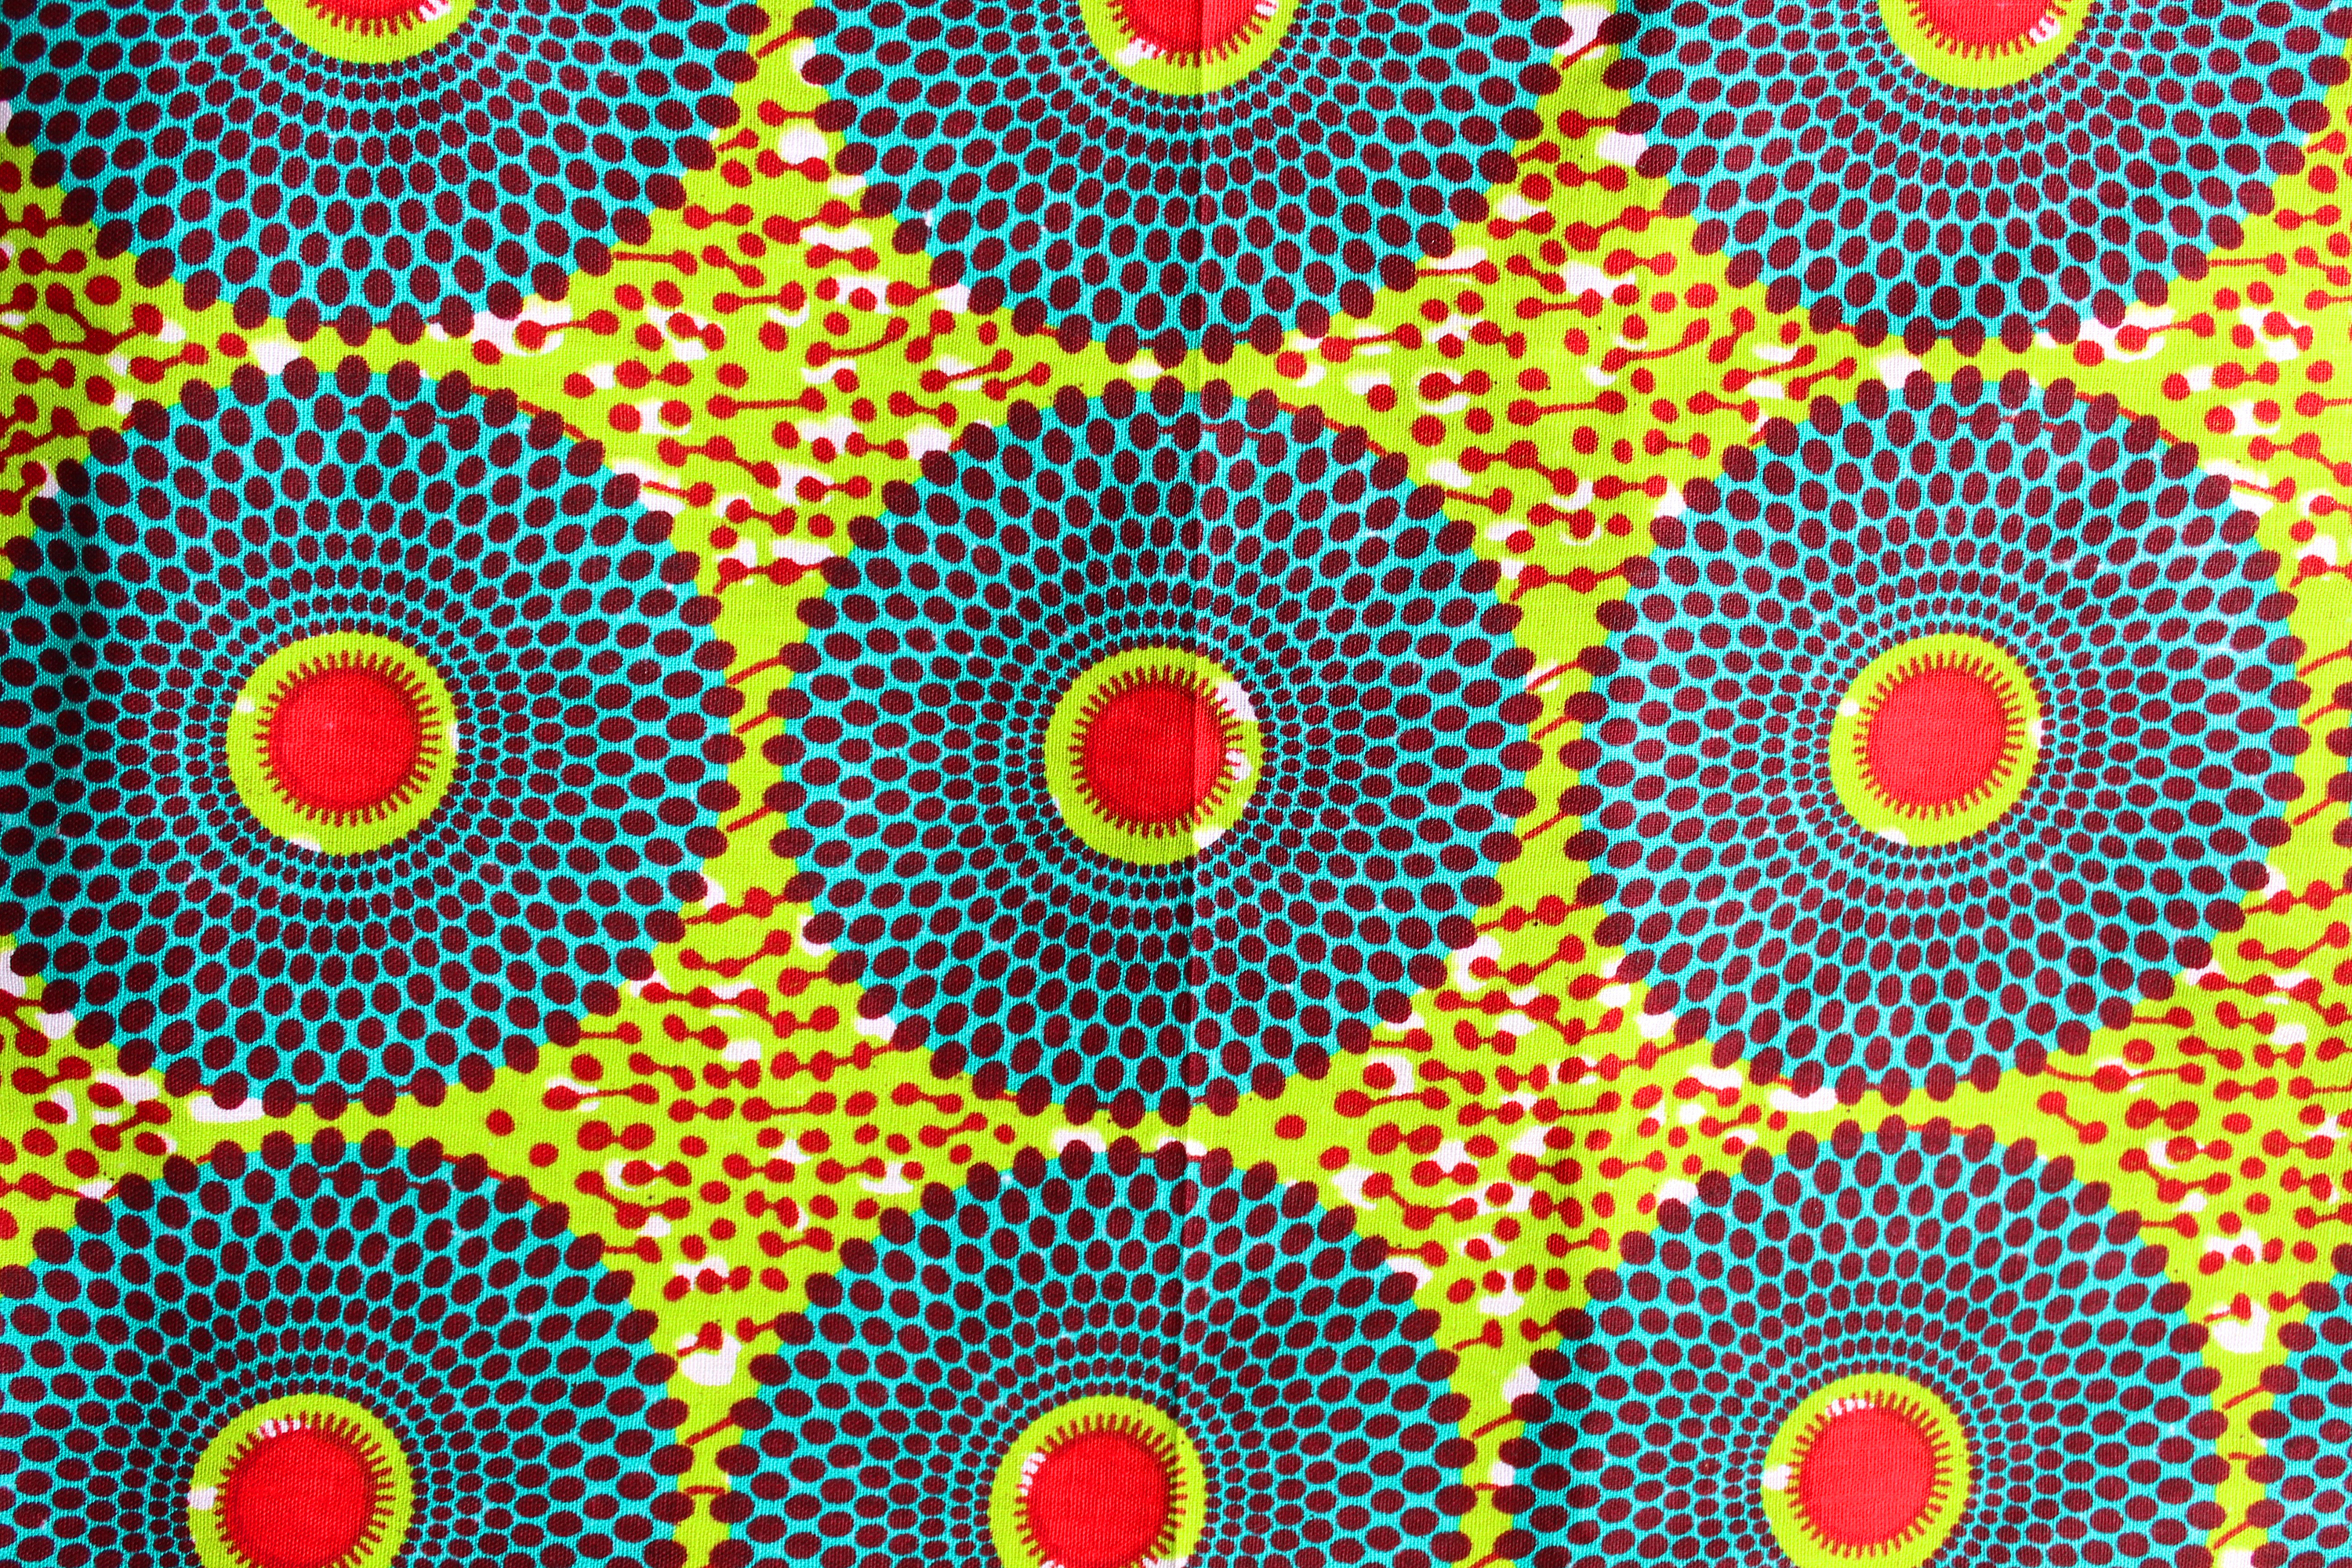
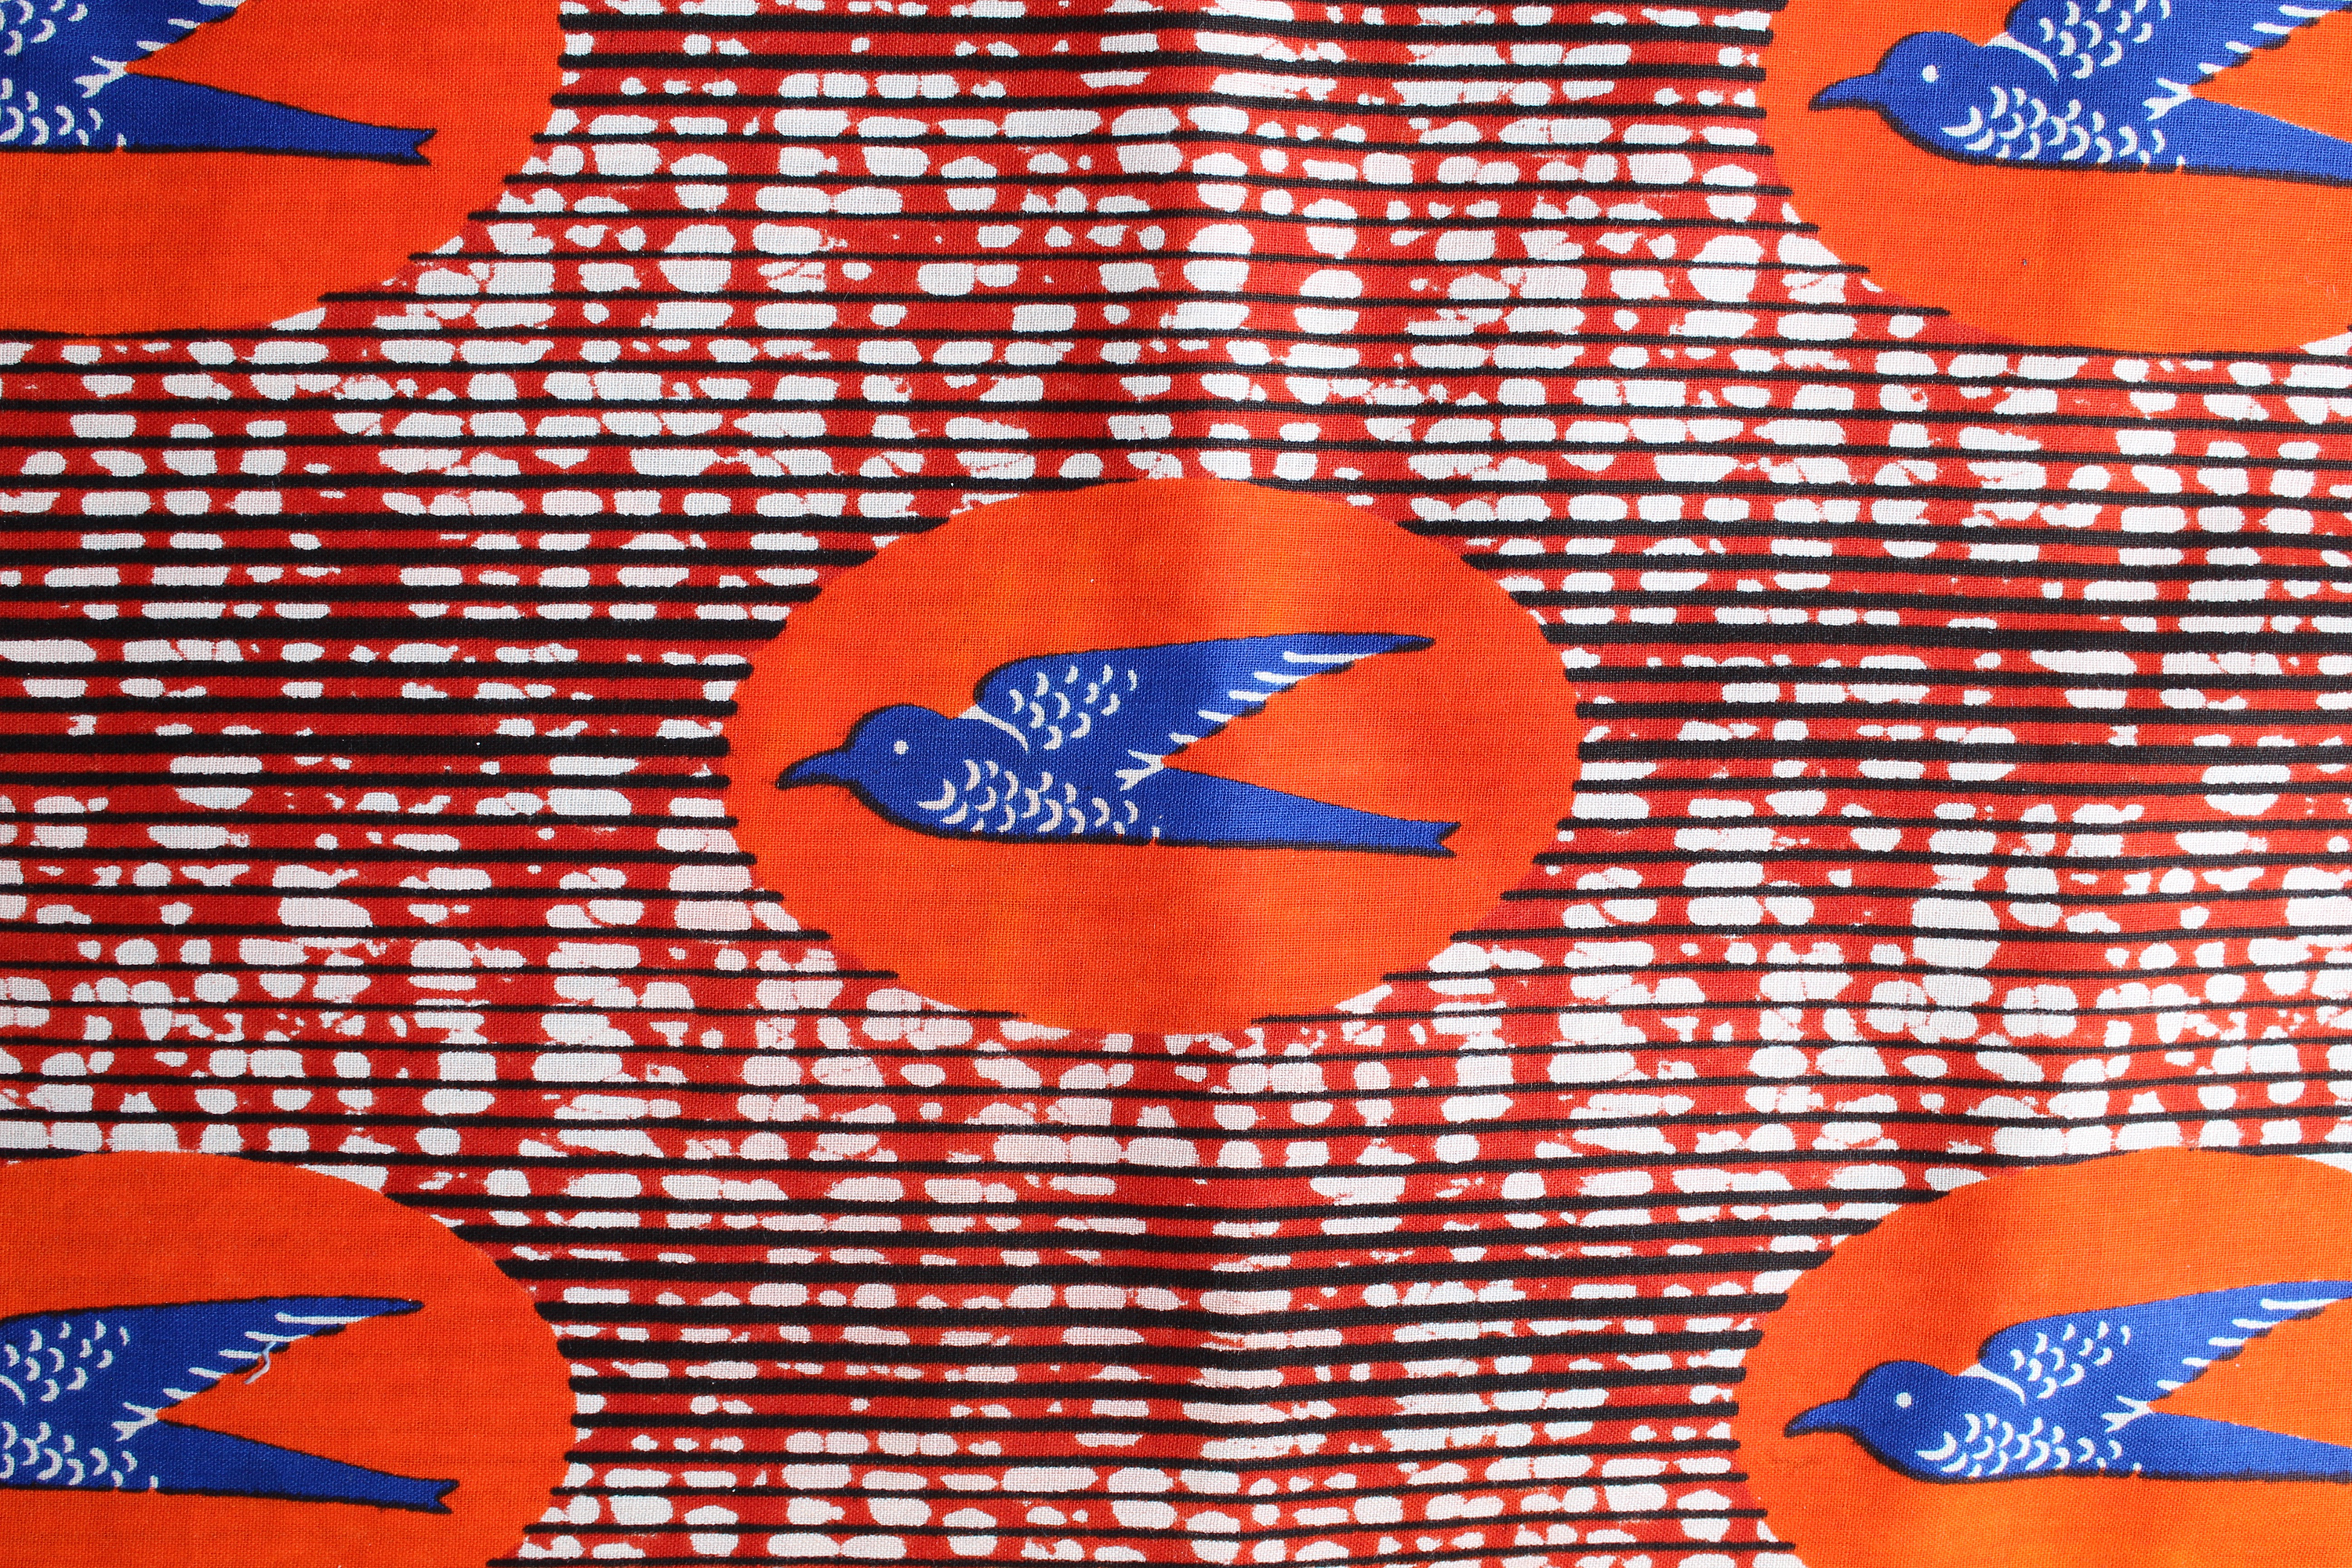
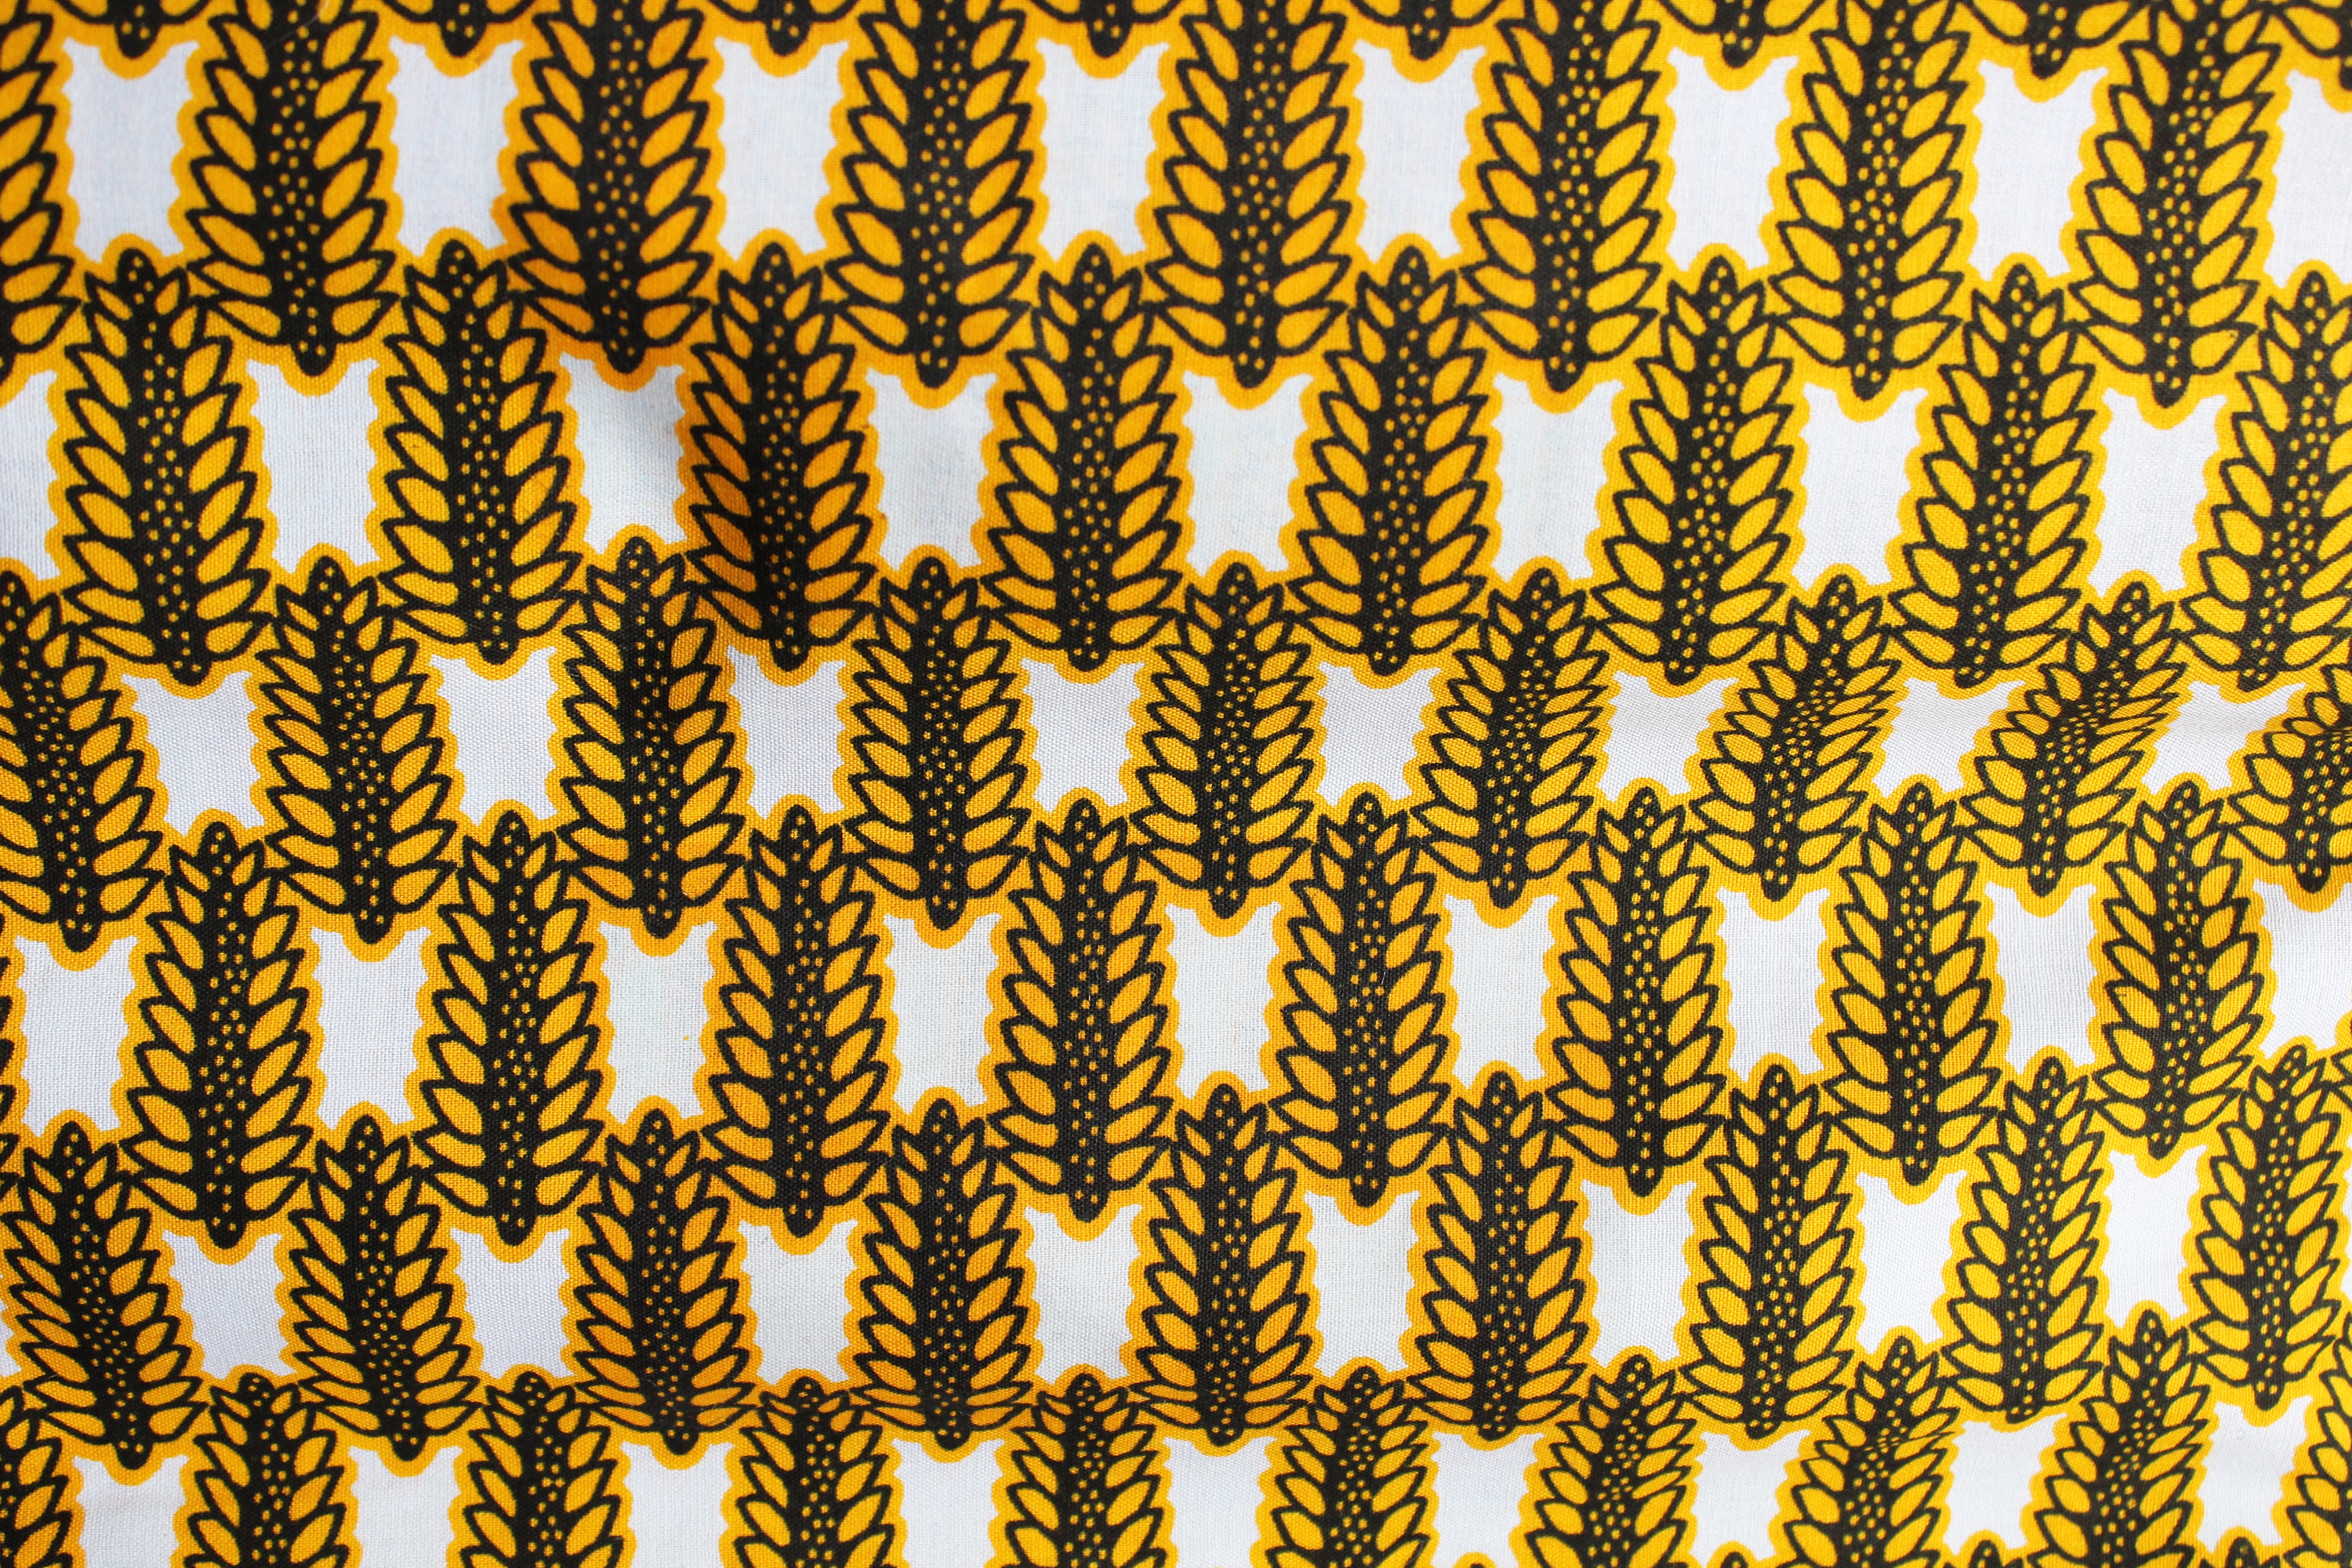
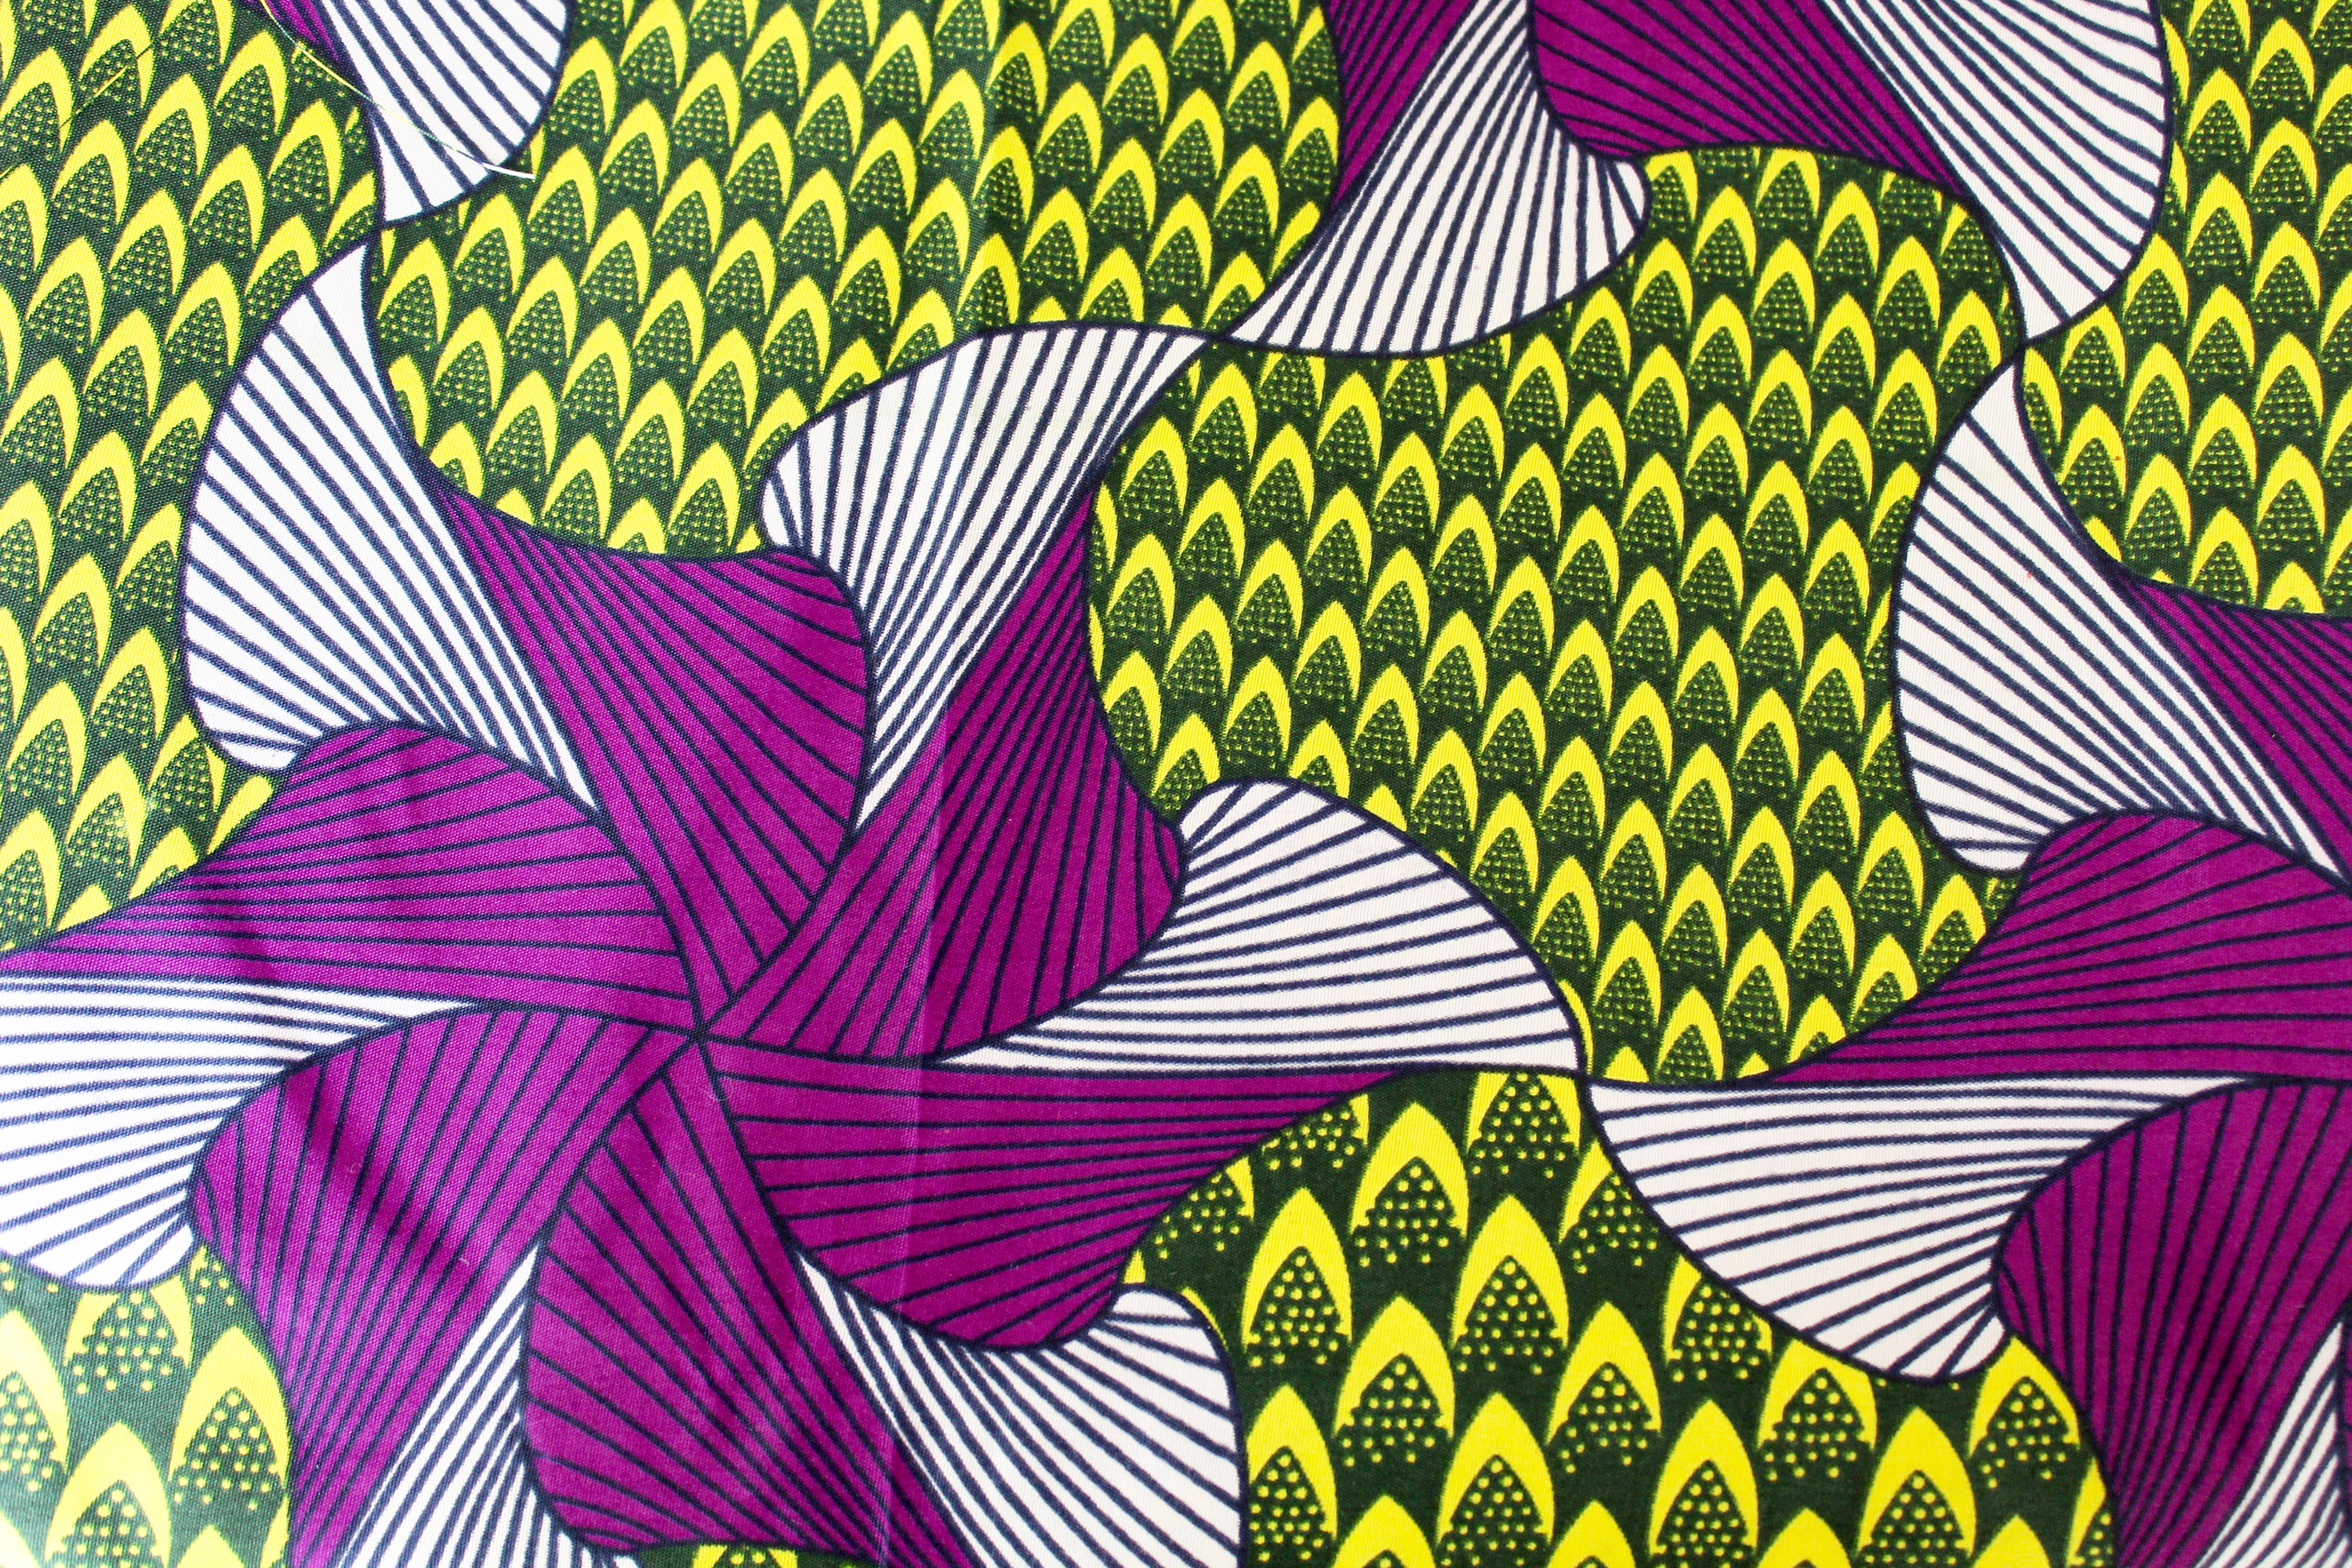
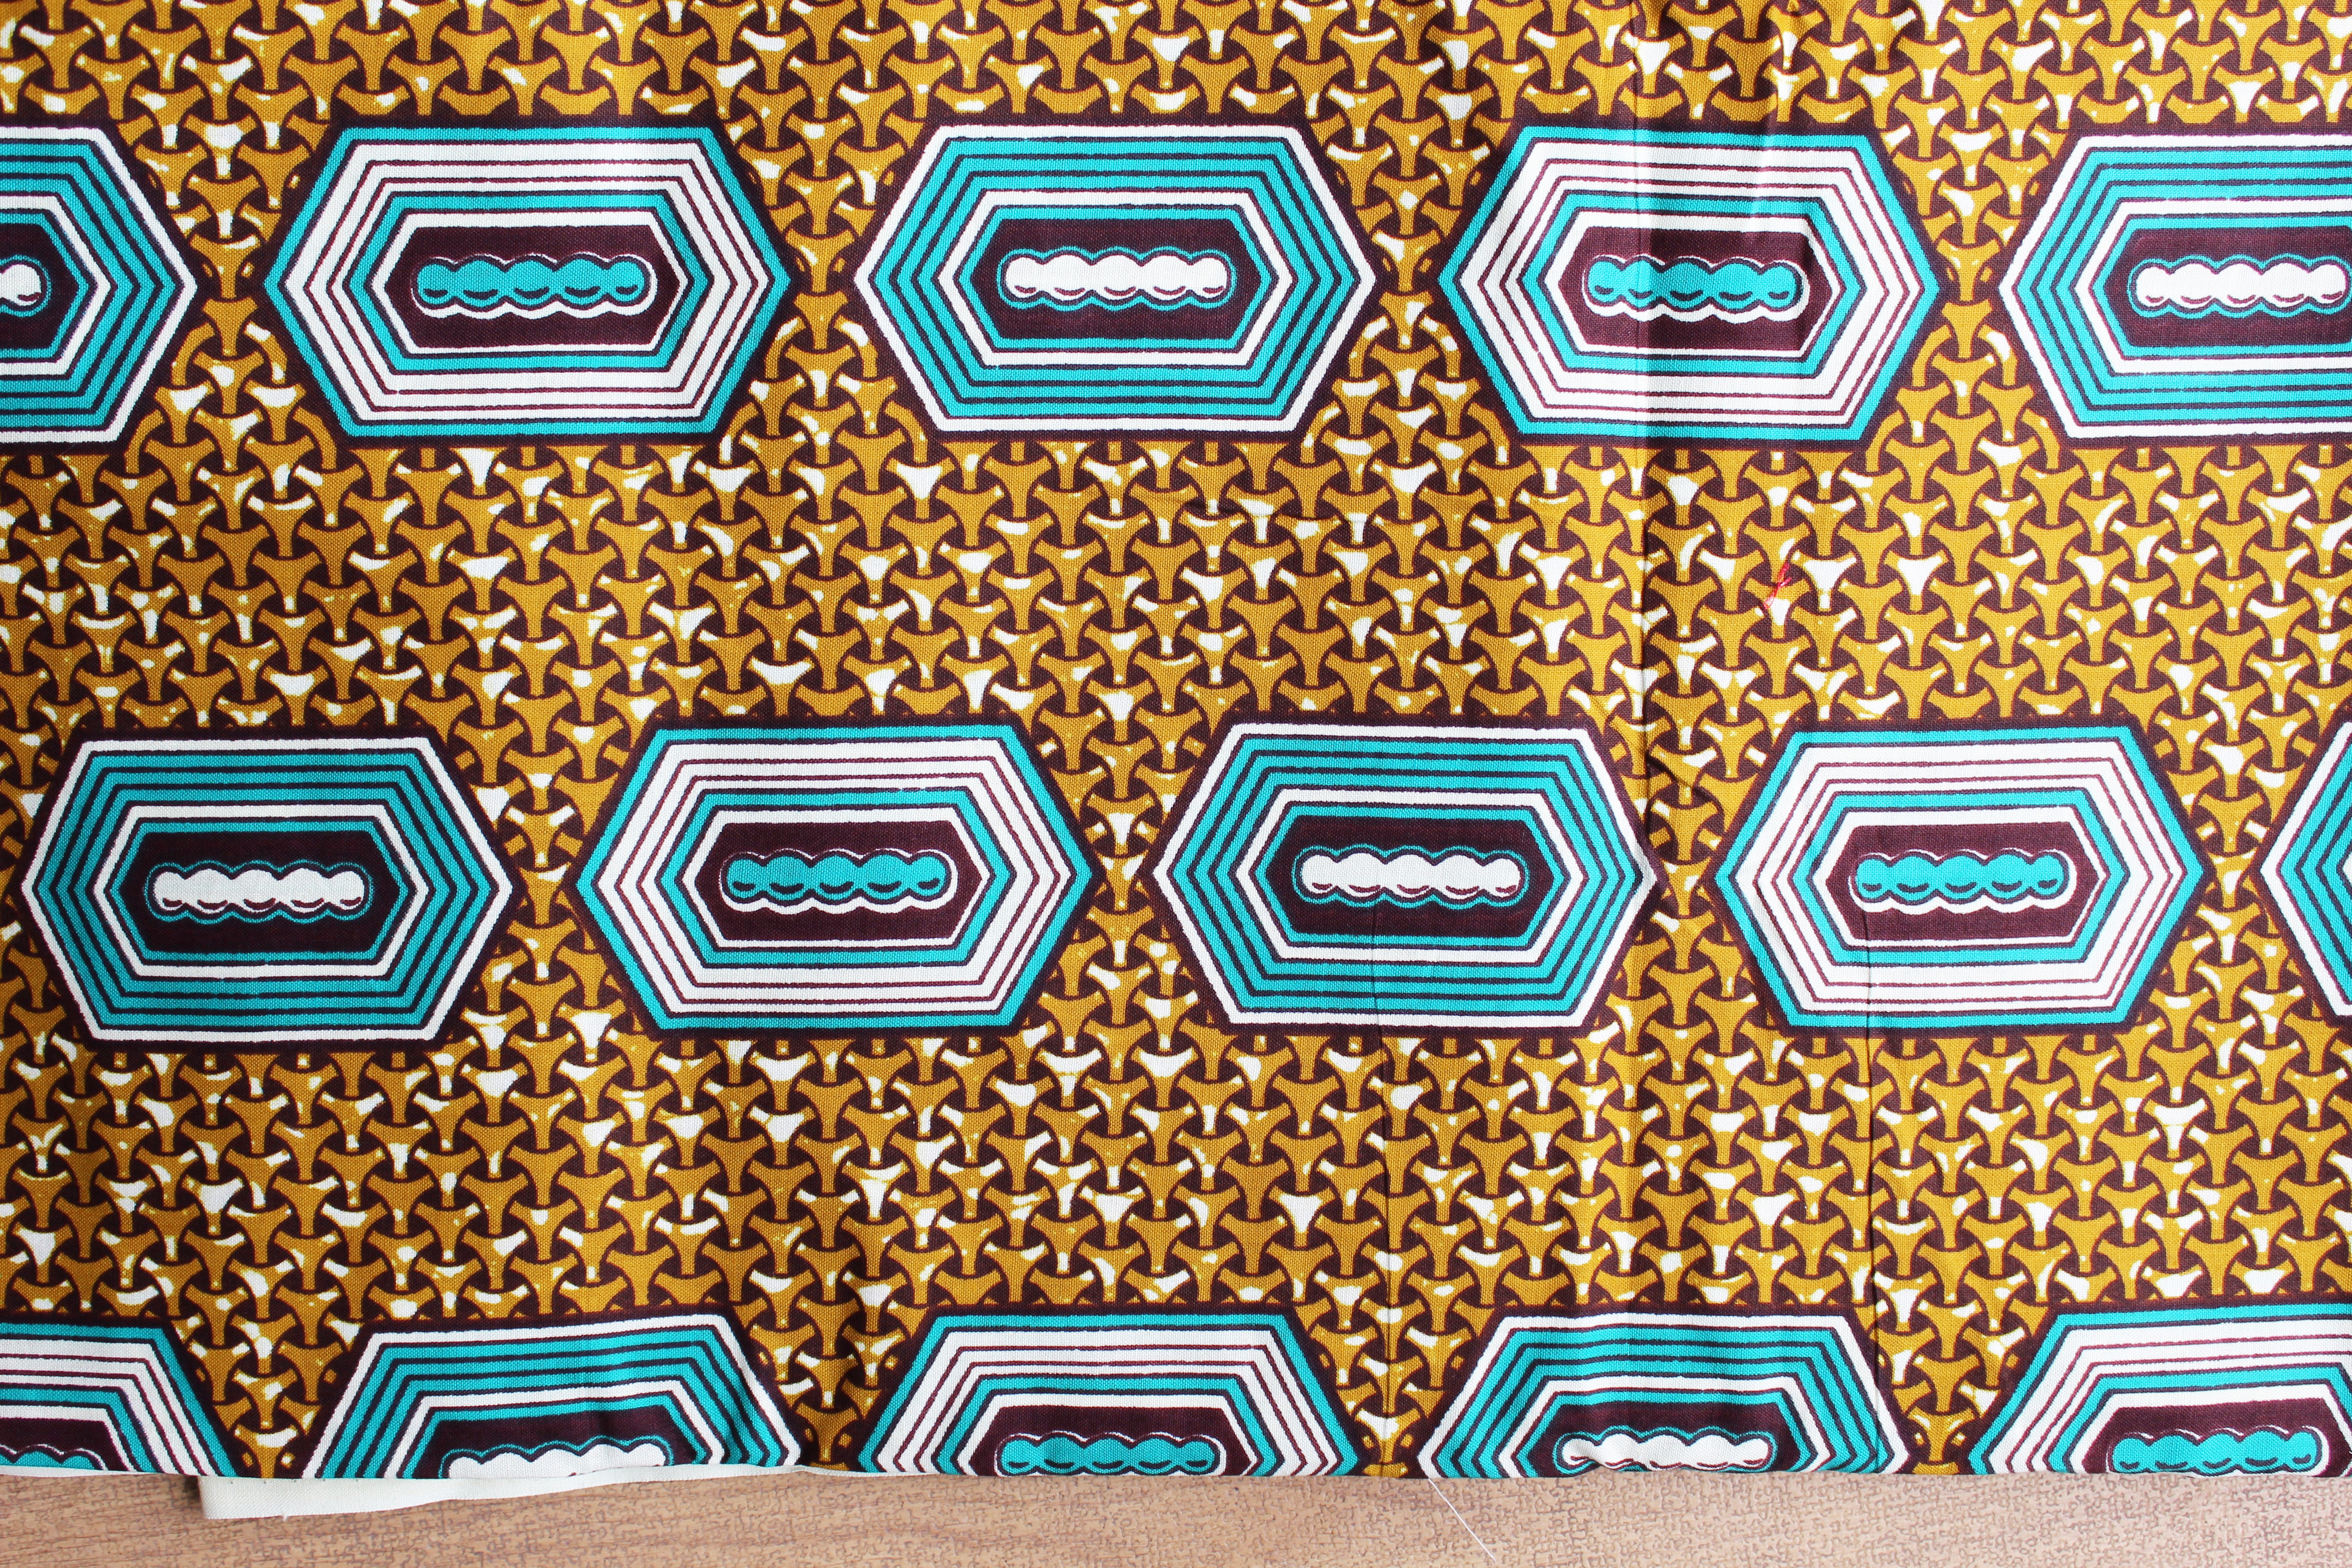
By the way, I also have a small video on Facebook and Instagram showing you my fabrics in my Funky Kitchen and Lounging around showing you my cushions in situ. Just saying!
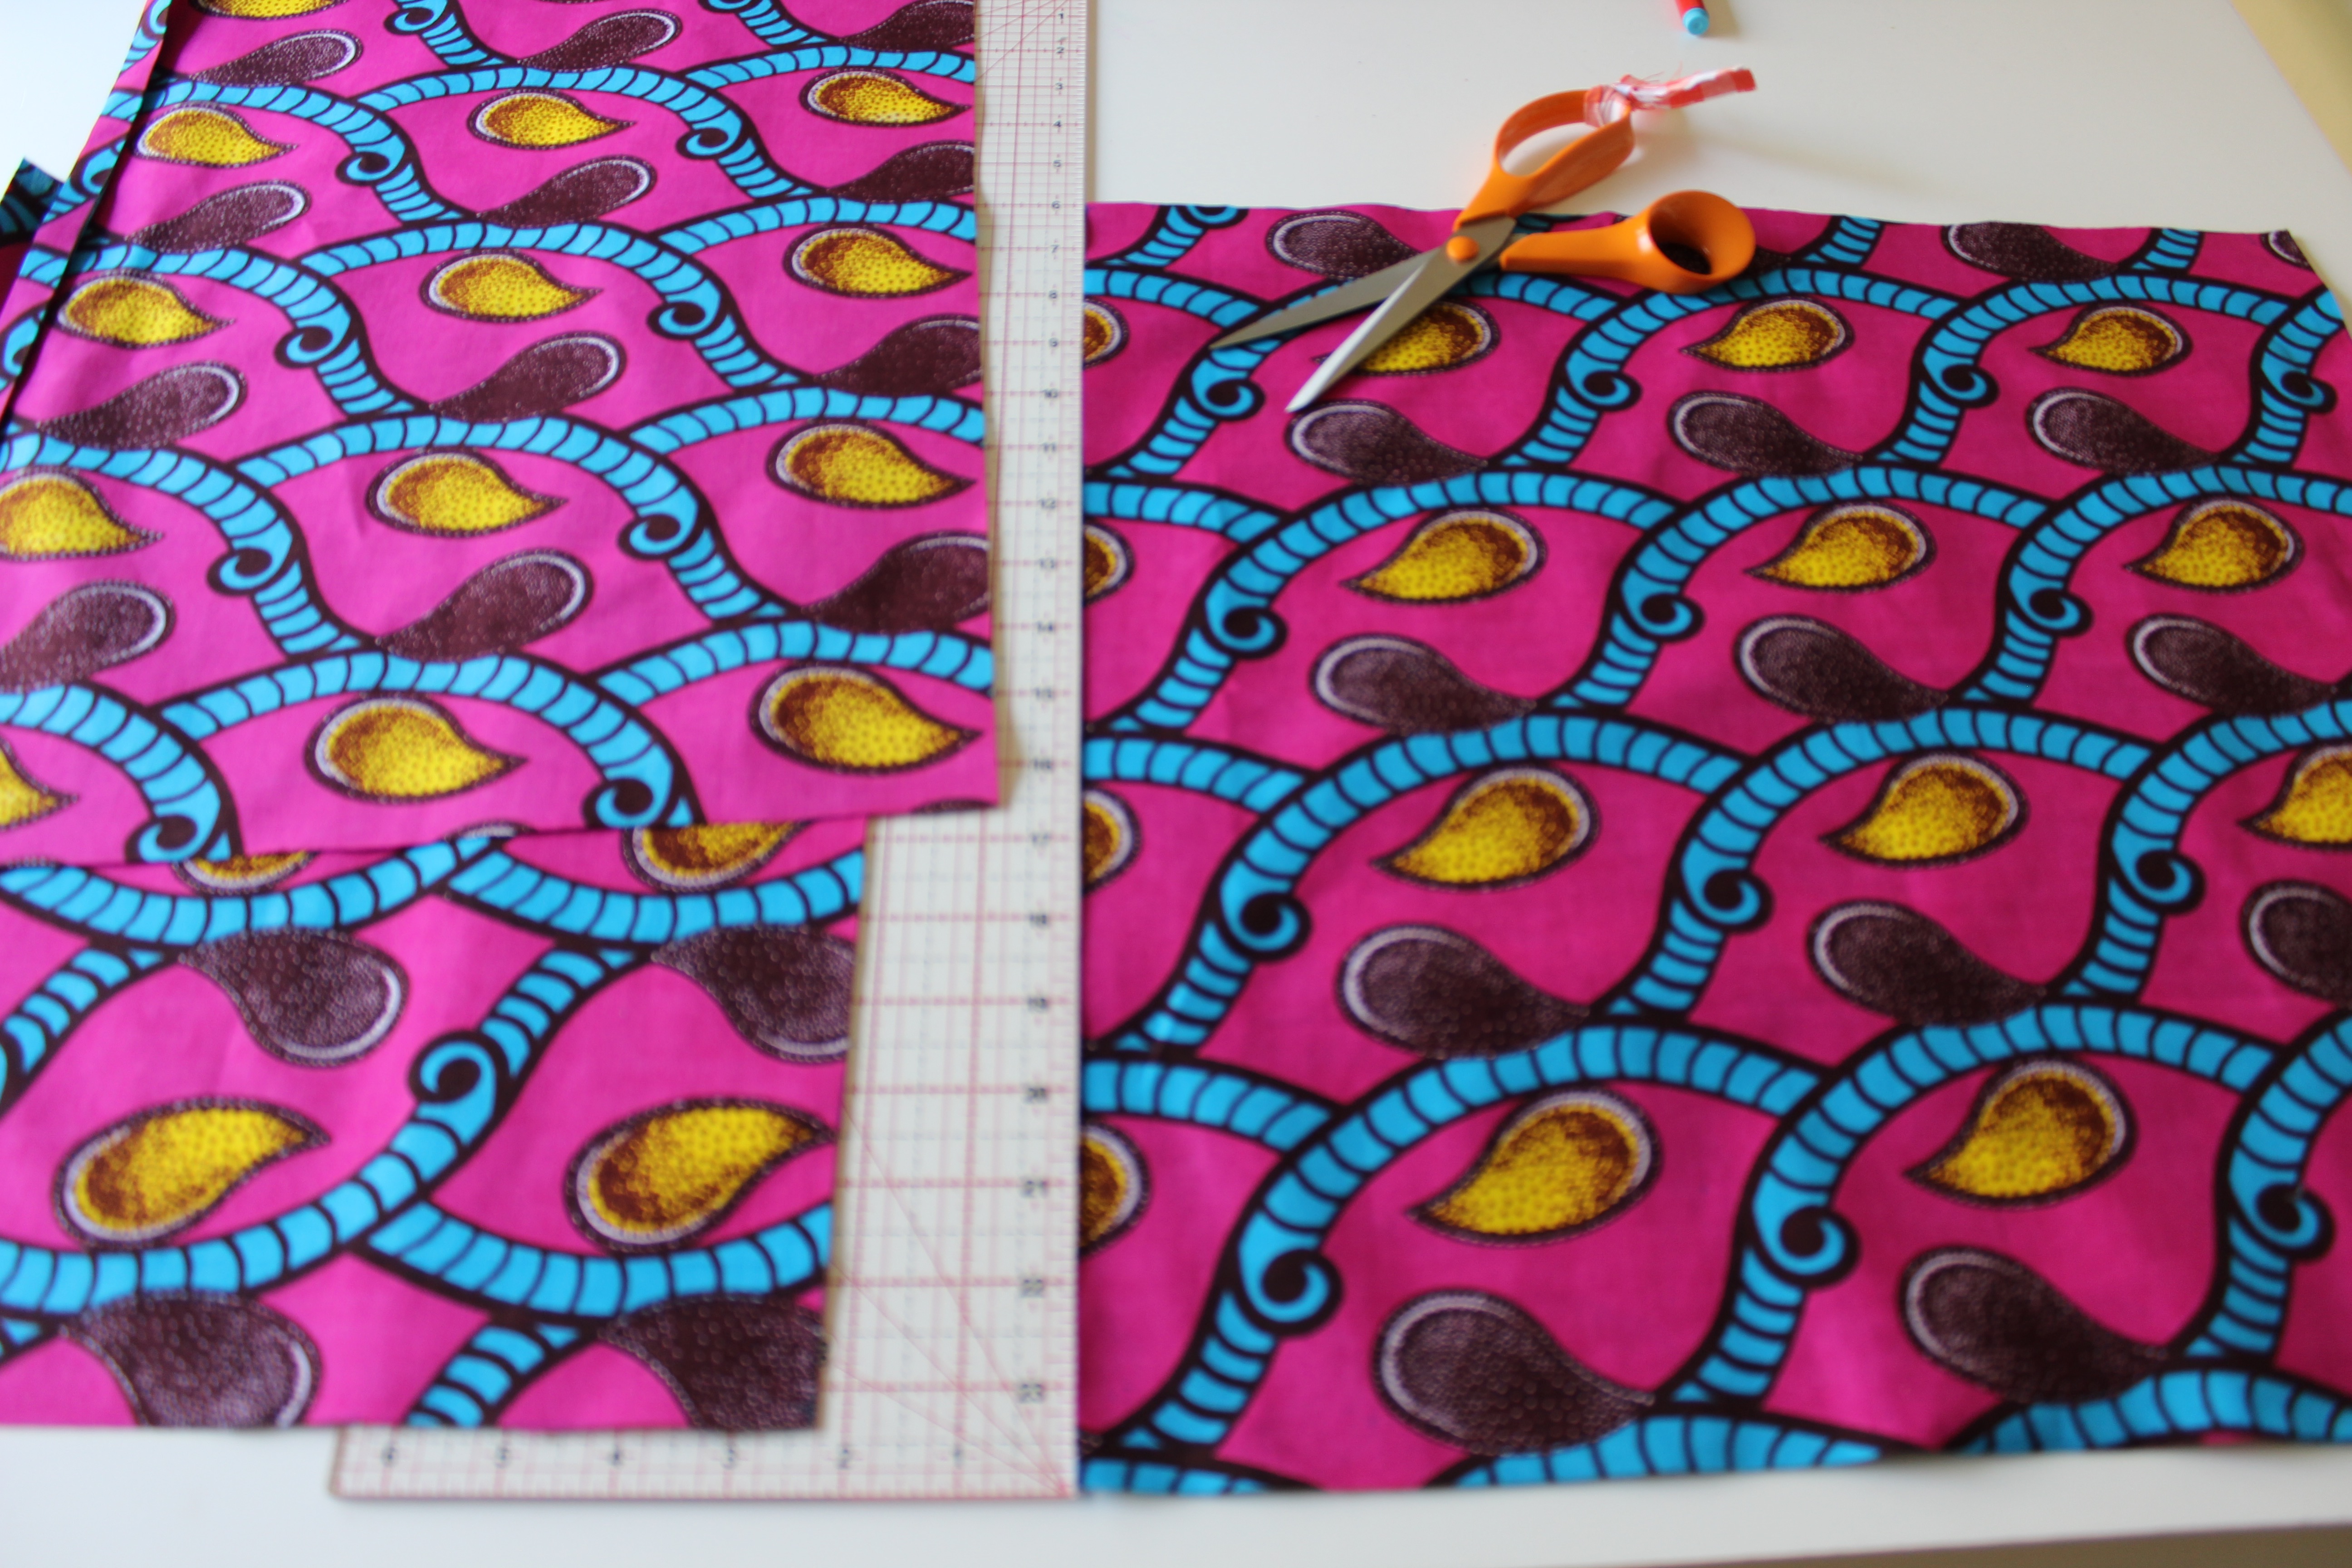
So you have a good pair of scissors and a ruler, you need get cutting out the pieces.
For a 16″ cushion you need to:
Cut out one piece 43cm x 43cm (front) and two pieces 43cm x 35cm (back).
*With the two back pieces, fold over and press 1cm then again 2cm at one long edge on each piece. 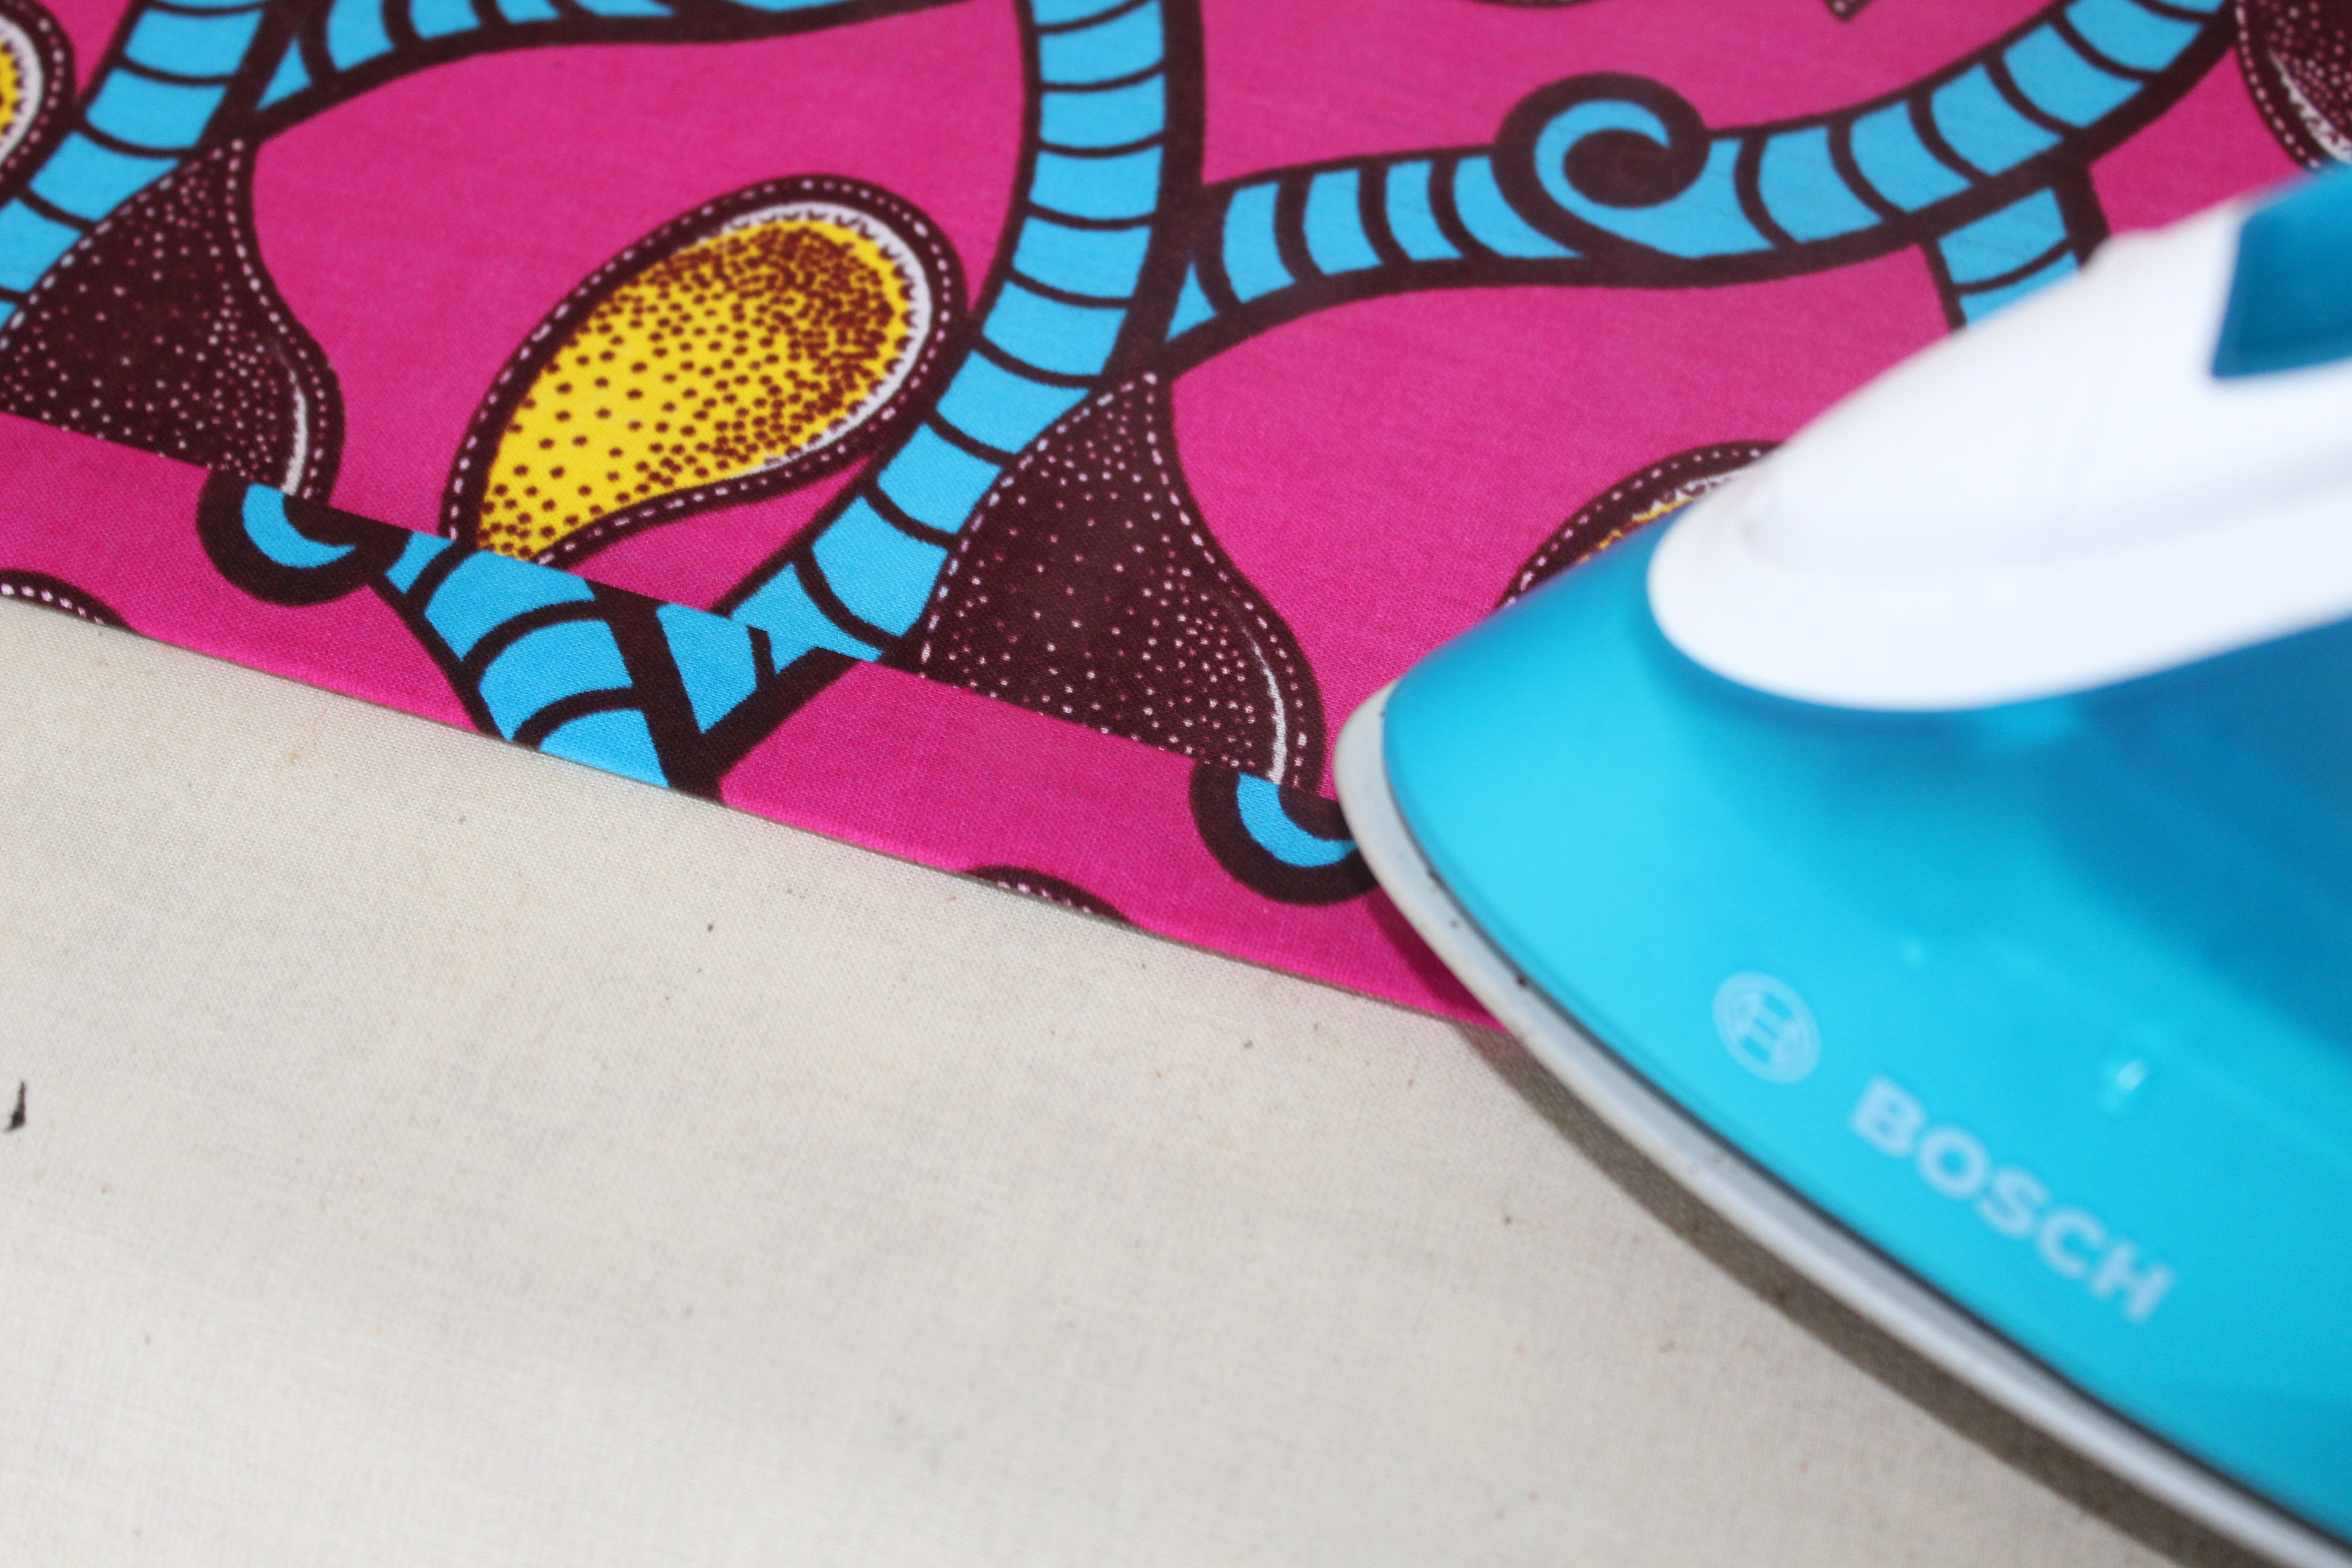 Pin, then sew close to the inner fold to make two back pieces with hemmed finished edges.
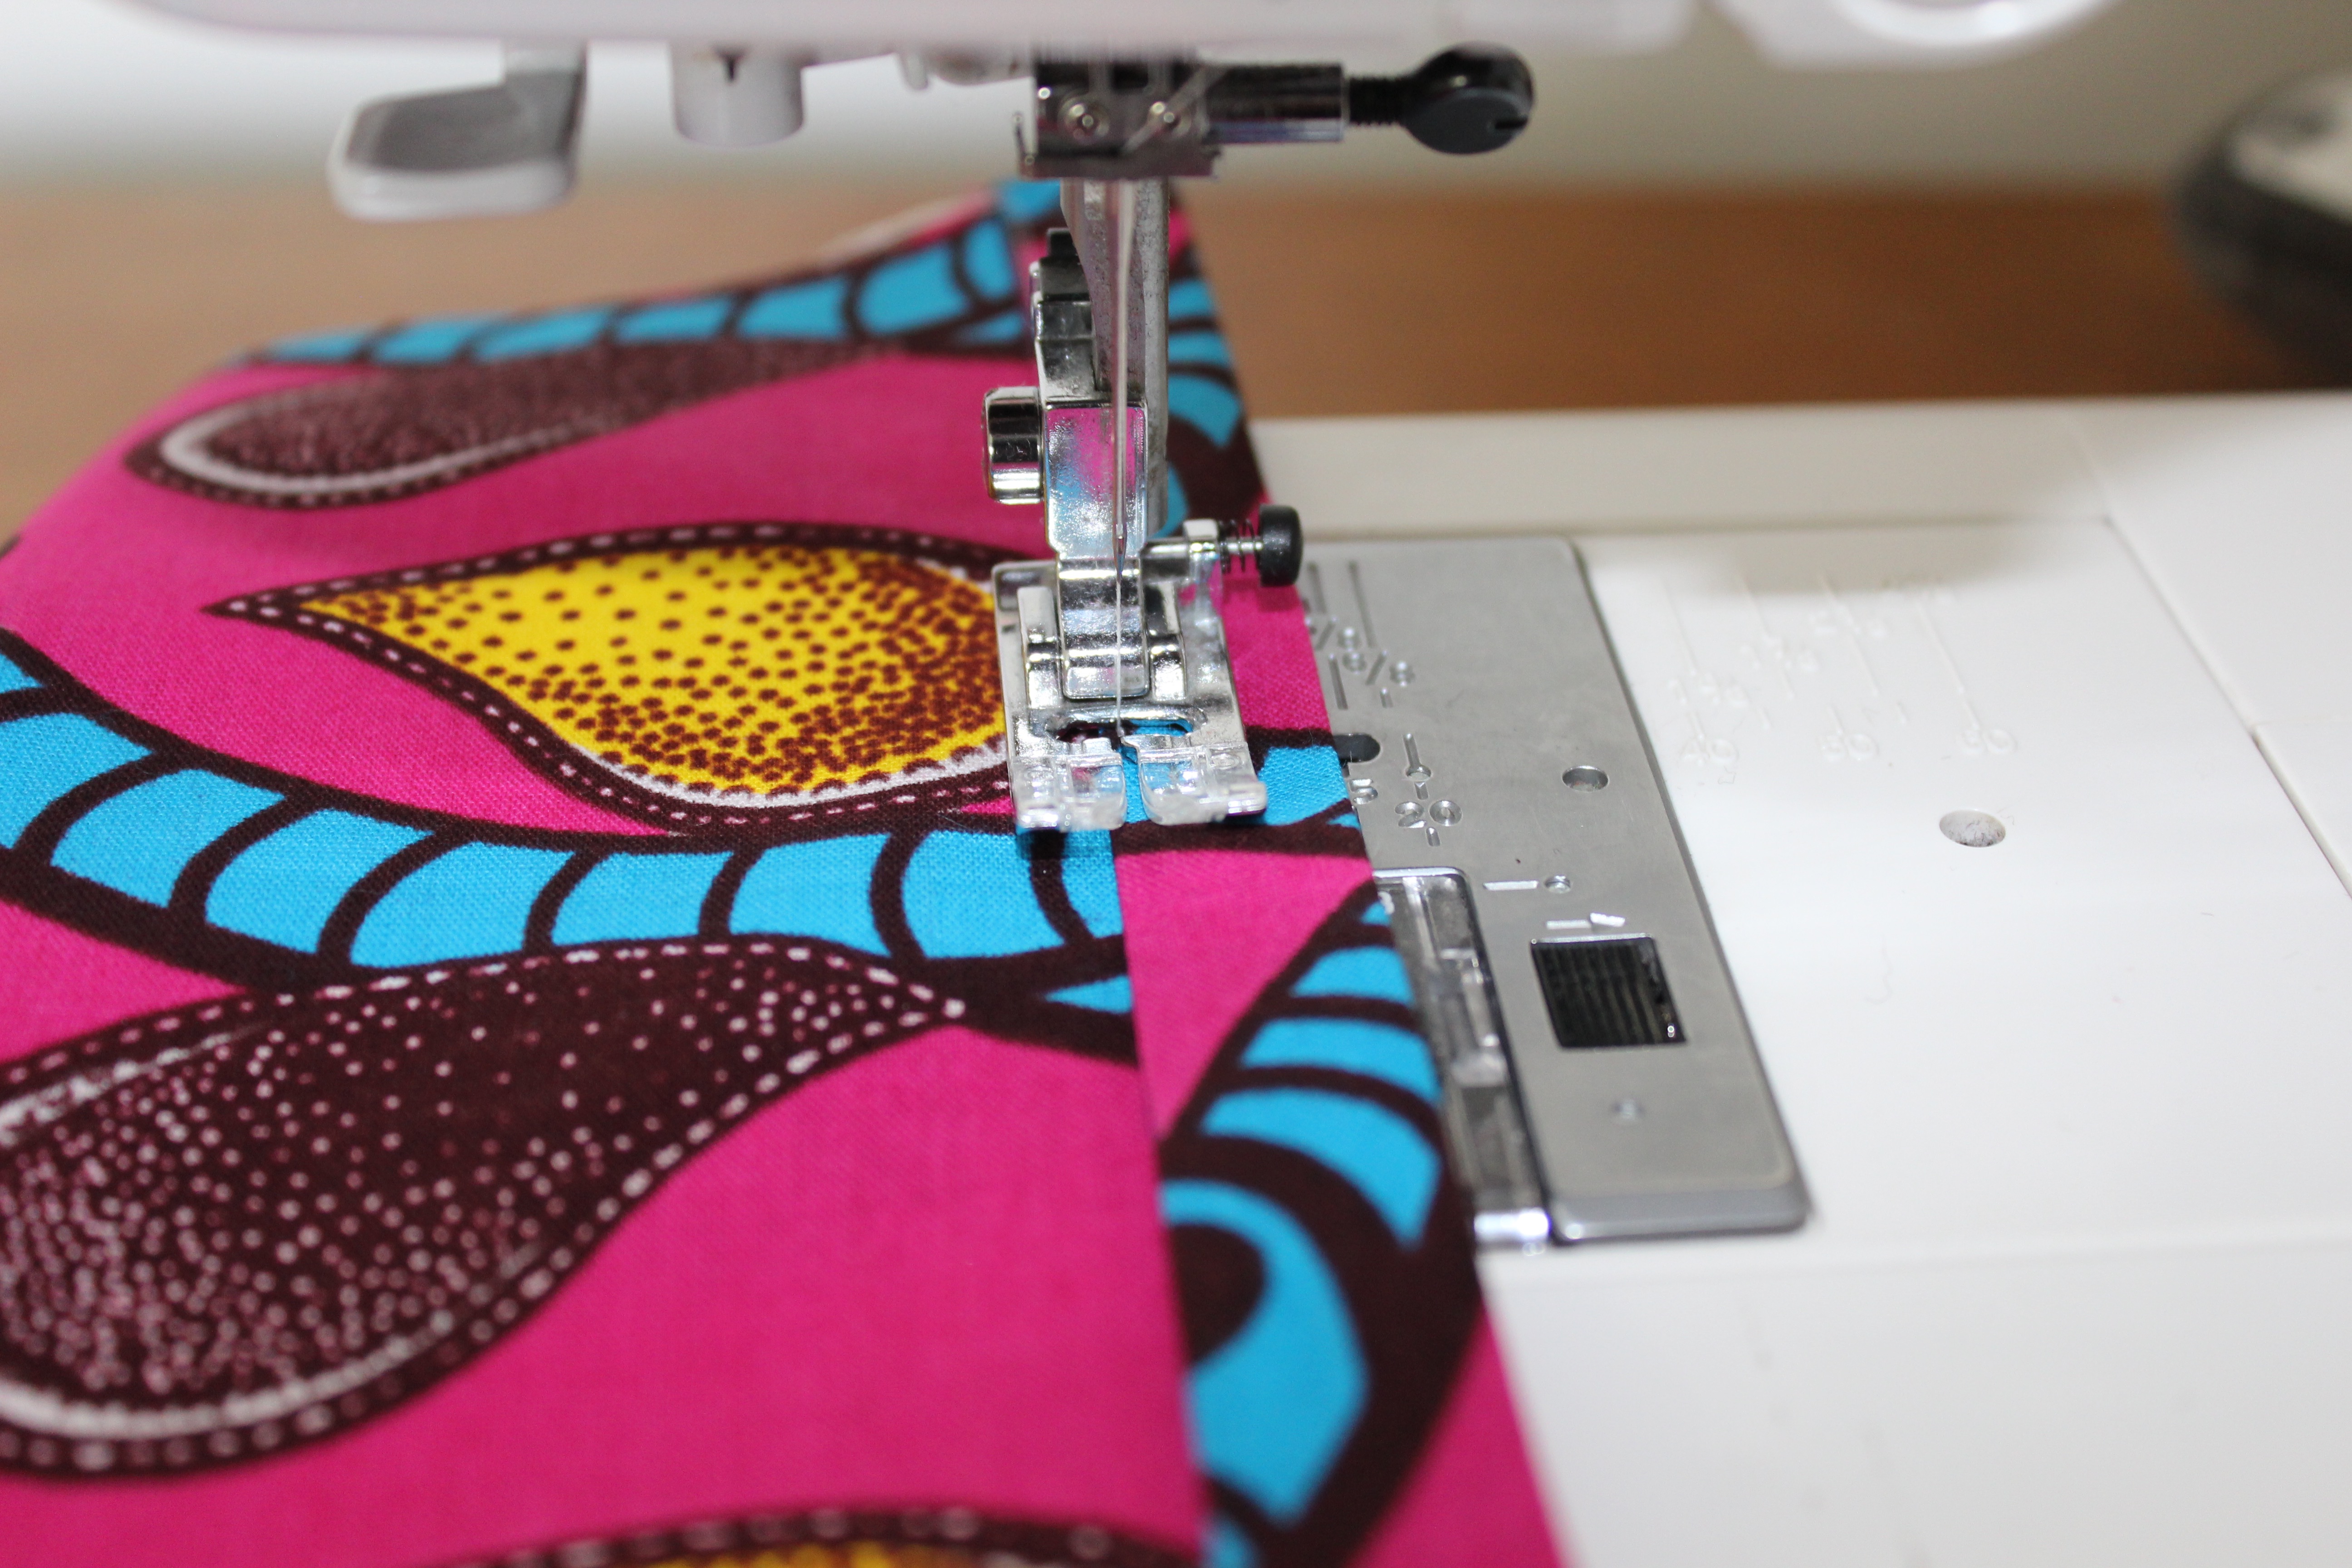 If you would like to insert a buttonhole and button fastening, do so at this stage after making the back hems.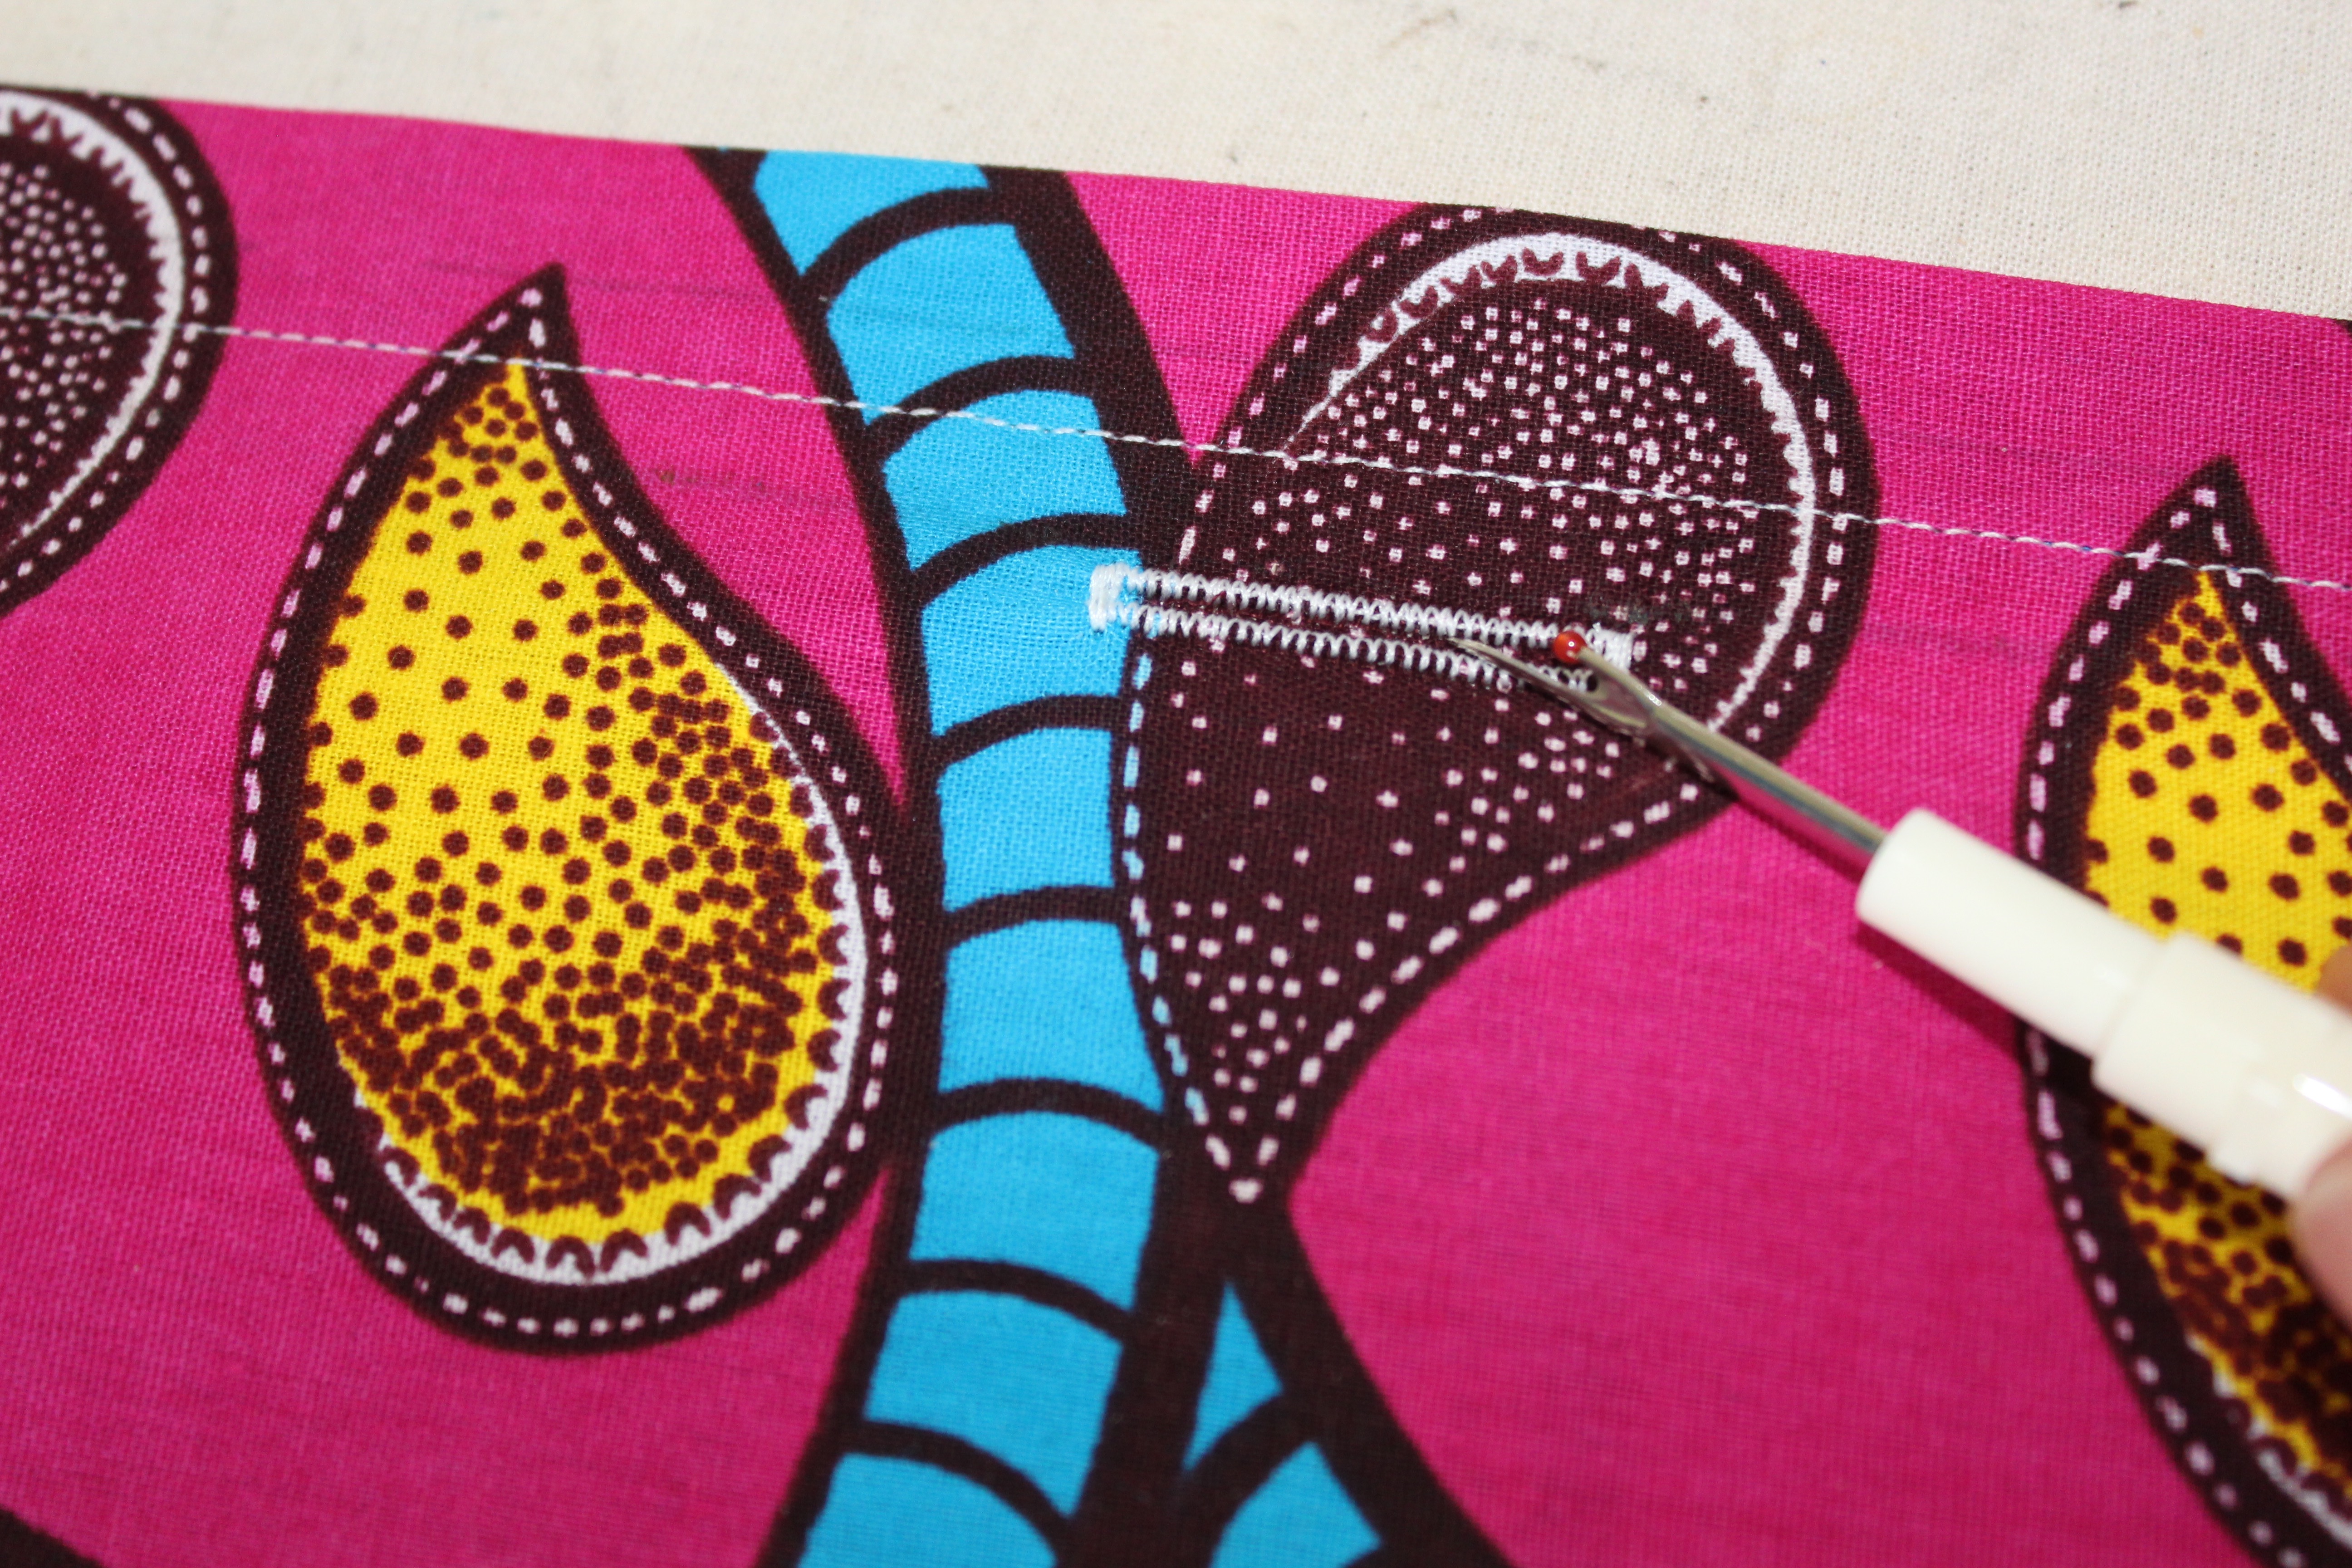
You may have a one step buttonhole attachment – see below for the different types.
Here are links to You tube video tutorials about how to make a one or four step buttonholes:
How to make a one step buttonhole
How to make a four step buttonhole
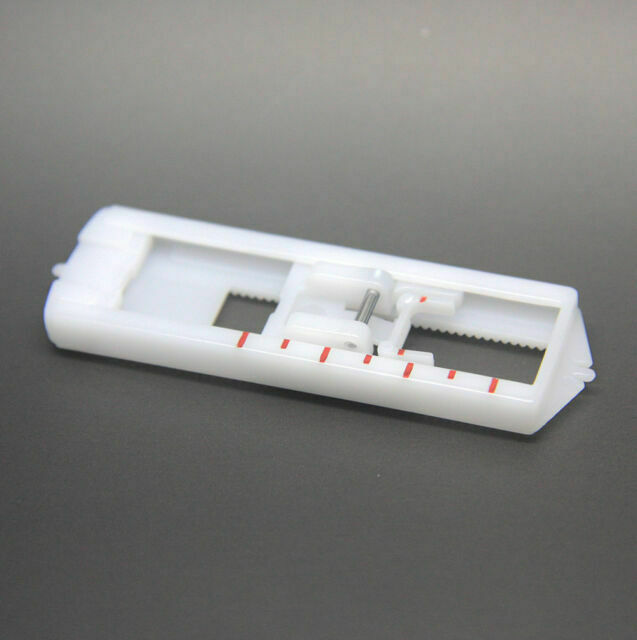
Not sure which one you have with your machine? Well if you have an attachment like this in pic 1 its a four step:
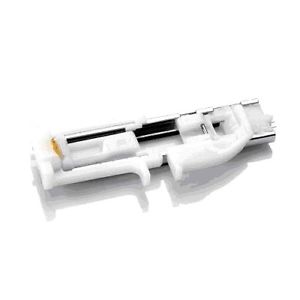
Or a one step buttonhole attachment looks like this…..
If you don’t have either, it’s possible your machine doesn’t buttonhole, in which case, leave your cushion opening open on the back, thats no big deal!
So, place one or two buttonholes on the back, I like to place one centrally on the hem or two approx 15cm apart. The buttons are stitched on at the end.
If you don’t want to add buttons, just skip this stage.
Now to sew the cushion together.
With the right sides of the fabric together, matching the raw three sides, place one back piece at each side on top of the front piece so that the hemmed sides overlap at the centre. Pin all around.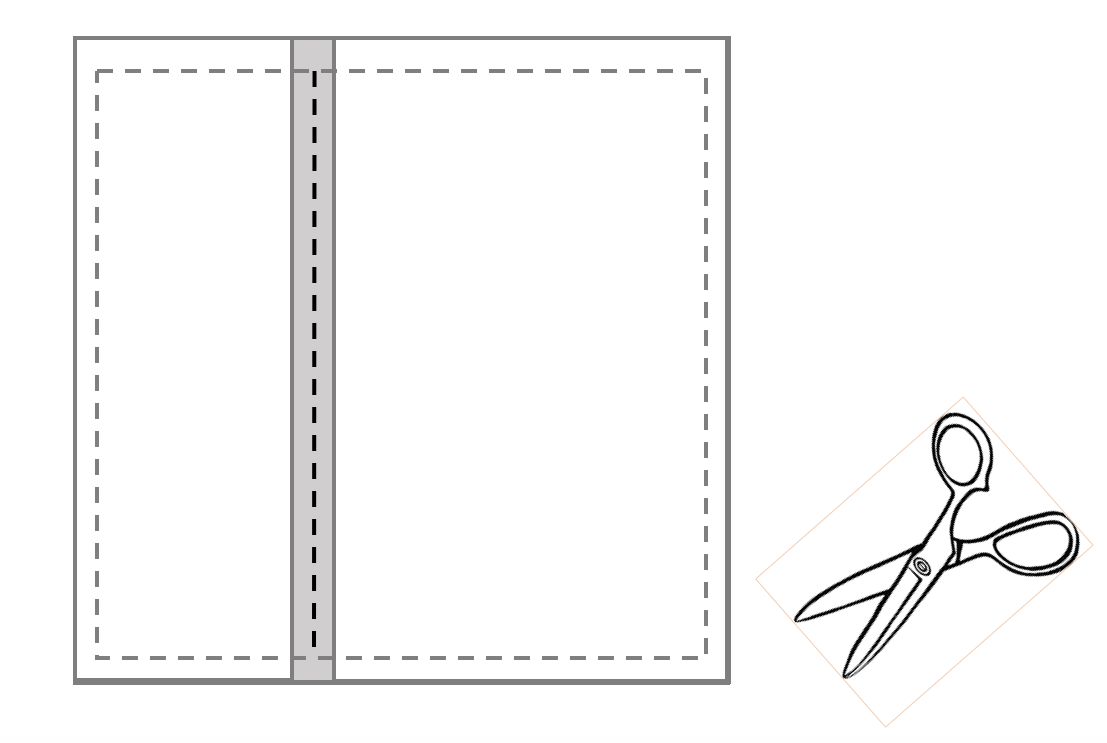
Sew all around the outer edge with a 1cm seam allowance, drop the needle into the fabric at the corners when pivoting at the corner to avoid losing your place.
Zig zag the raw edge all around to stop fraying.
Trim across the seam allowance corners, this reduces the bulk and makes the corners more pointy.
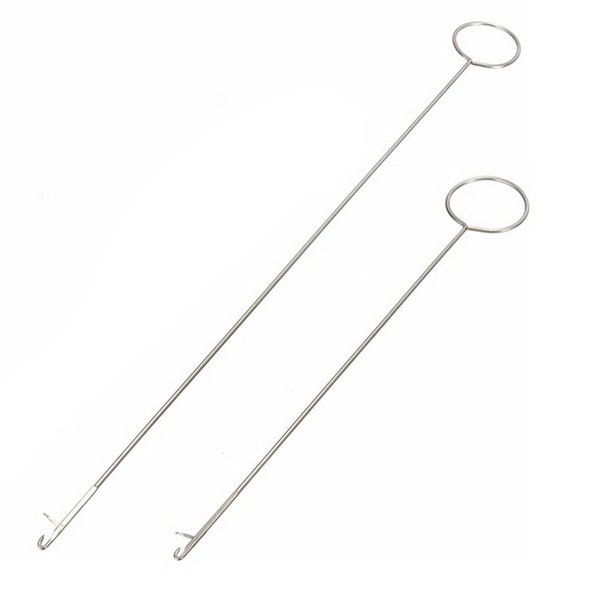
Turn inside out and push out the corners with a poking tool, a knitting needle, chopstick or scissors end are all good but take care not to poke a hole in your corner! (been there done that!).
Press and insert a cushion pad. Let your cushion relax into its pad and then mark the button position through the centre of each buttonhole. Sew on the buttons in position.
Enjoy! **
HOW TO MAKE AN 18″ SQUARE PATCHWORK CUSHION
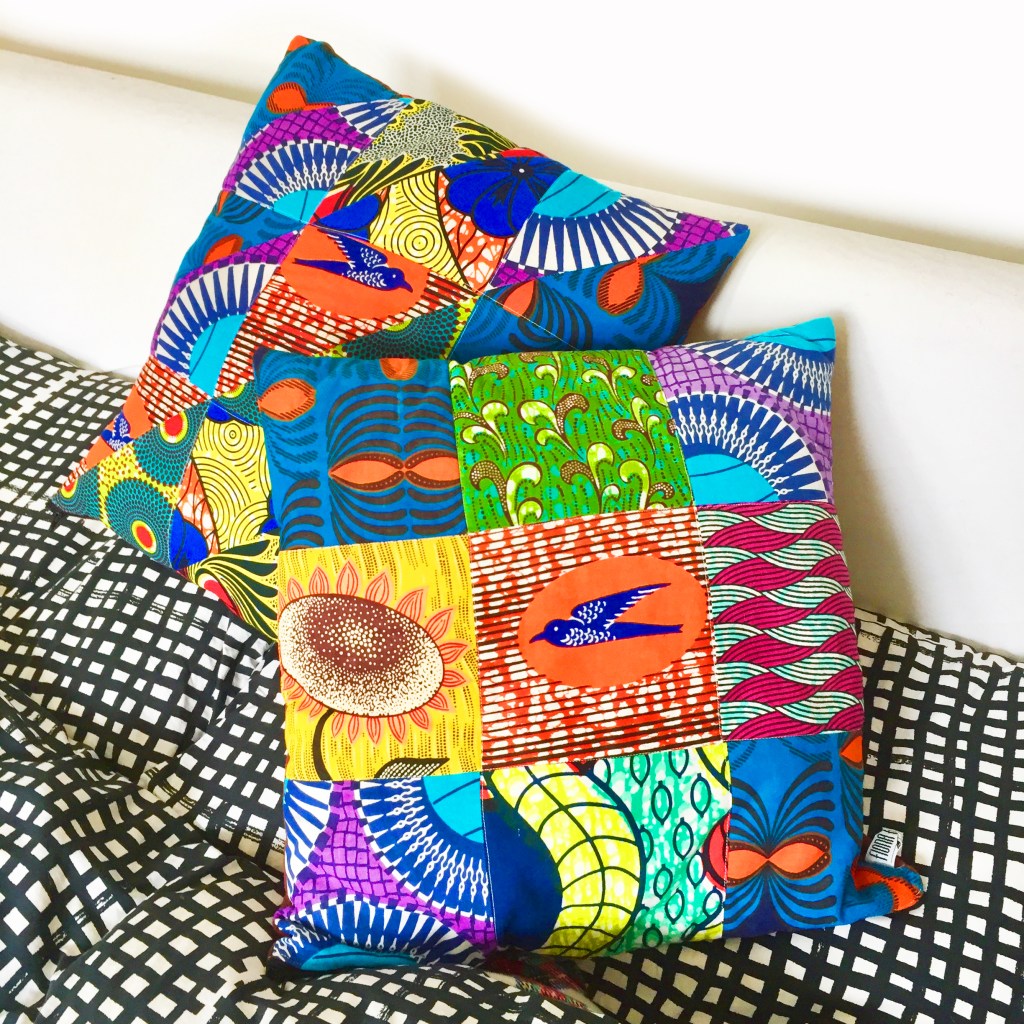
Now who fancies making a patchwork cushion? Heres an 18″ one I made from African fabric.
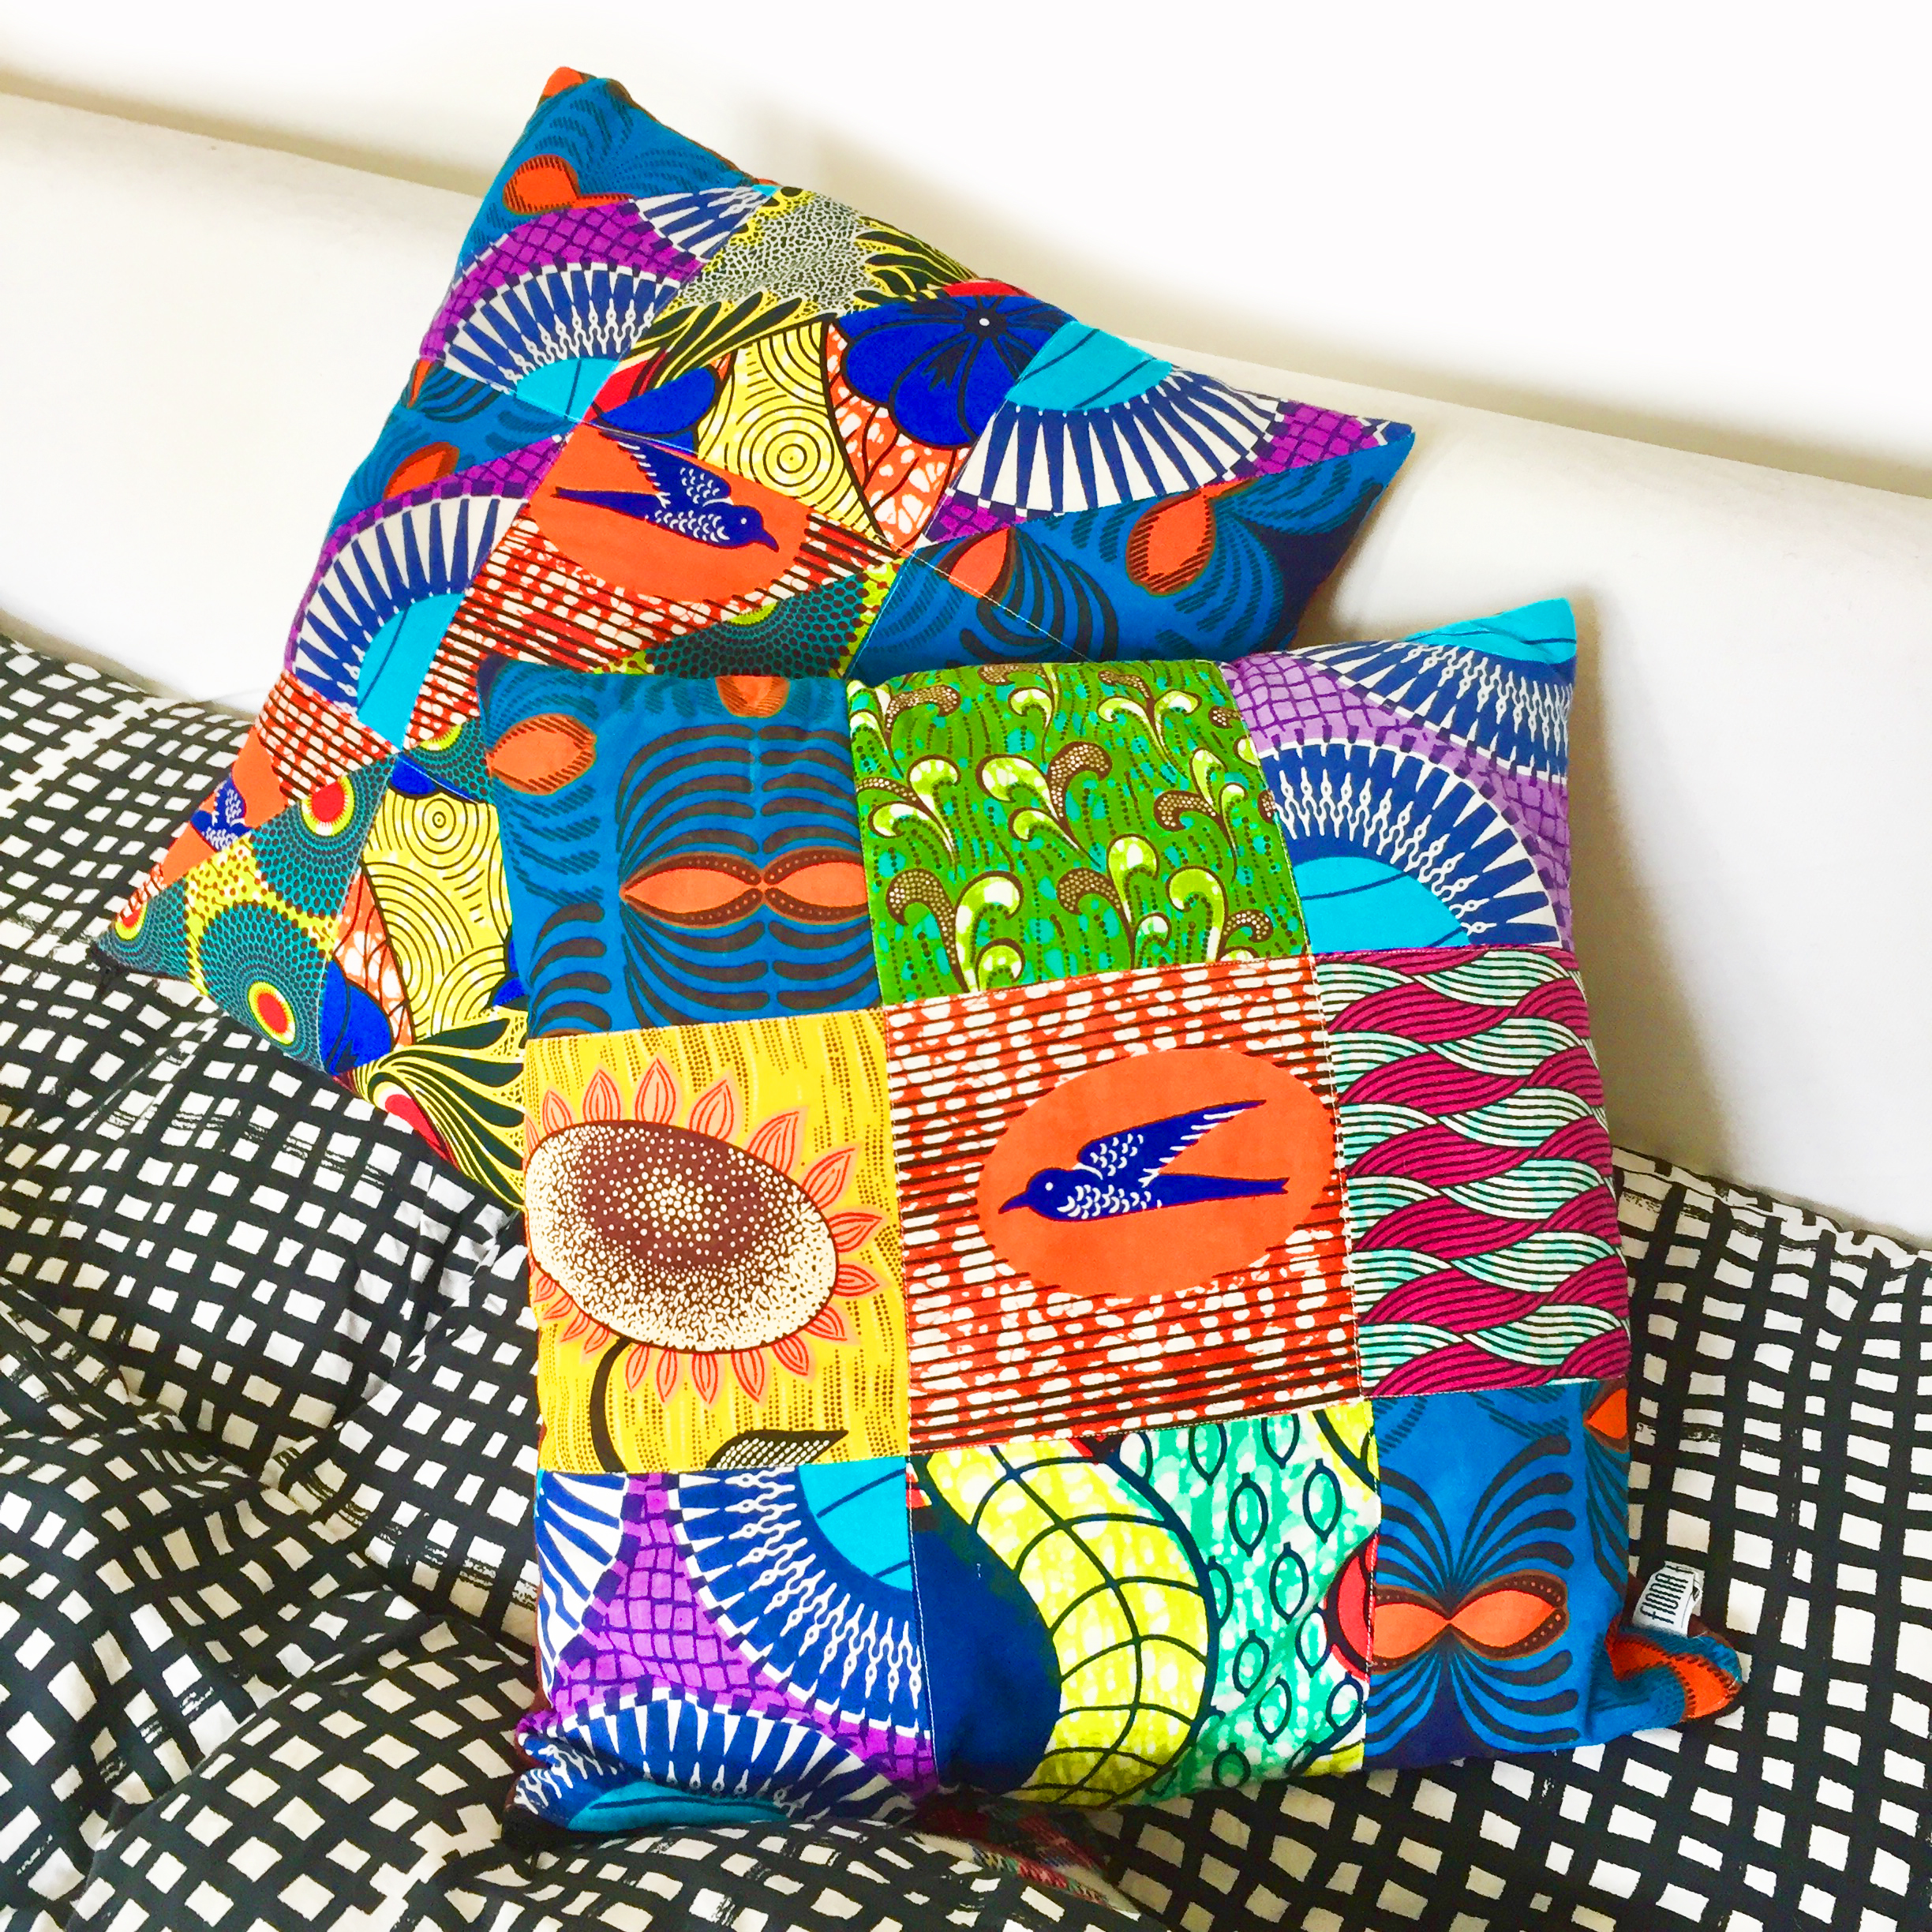
To make a patched front (I like to have a plain linen back) but you could also patch the back too.
To make an 18″ patch cushion you will need to cut:
FRONT PIECE: 9 squares of different fabric 16 cm x 16cm (6 1/4″)
BACKING: one piece 47cm x 47cm (18.5″ x 18.5″) (linen, cotton fabric is good) if you are putting a zip in or two pieces 47cm x 35cm for an envelope style backing. Repeat in Batting* if you would like to quilt your fabric
BATTING*: use a bamboo one for eco friendliness heres a good one, Polyester or cotton thin batting would also work. EBAY BATTING SUPPLIER 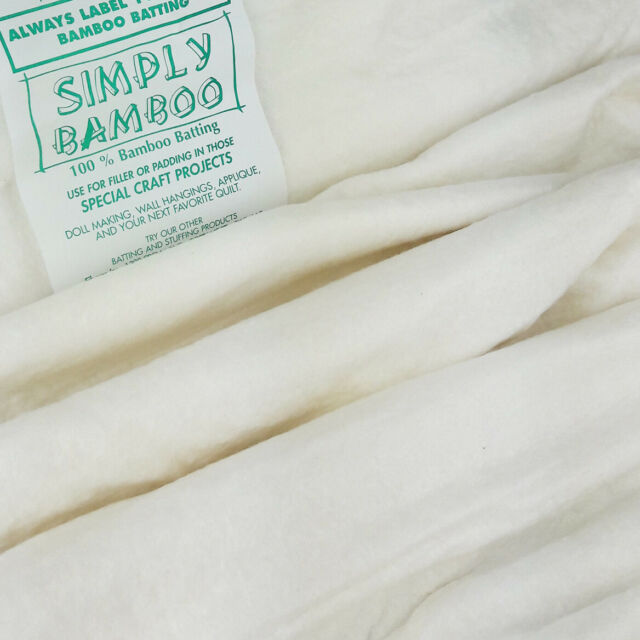
PATCHING TOGETHER THE PIECES
Arrange your squares in the formation you require and in 3 rows of 3.
With the right sides of the fabric together and the raw edges aligned, pin pieces 1 & 2 together and sew with a 1/4″ (6mm) seam allowance. Then sew piece 3 to the piece 2 you have just sewn. Press the seam allowance to one side. Repeat for the remaining 2 sets of three squares so you have 3 sets of 3 altogether. Tip: press your seam allowances in opposite directions on each band.
When you have completed three strips of 3 squares, join the first band to the second and then the second to the third, again with the right sides of the fabric together and raw edges aligned.
If you would like to quilt your front piece this is the stage to lay your batting to the reverse side of your front piece and back piece(s). Pin or fuse with fabric spray glue if you have it.
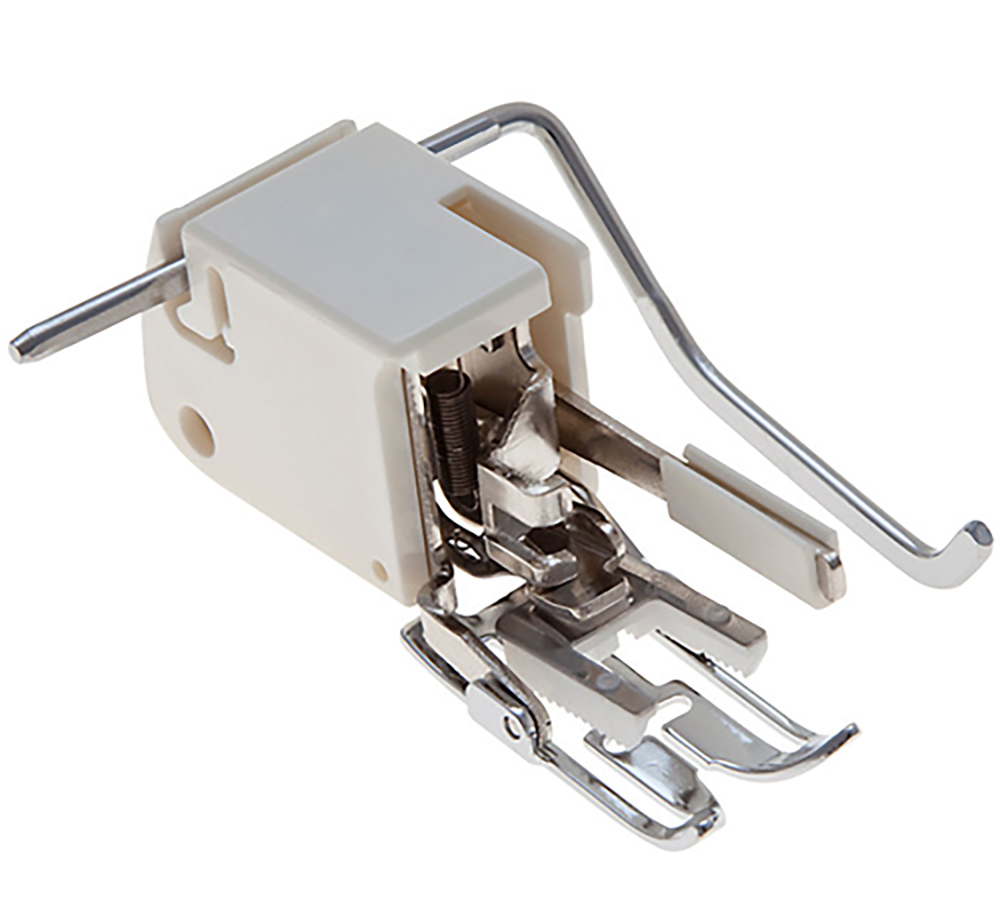
Quilt the front piece (and back too if you would like more stitch detailing) as required, you may need to insert a walking foot on your machine to ease the flow of the fabric.
Press. Now continue with the instructions for constructing the cushion same as the envelope cushion above * to **
Now, if you would like to make a cushion with half triangle squares (its the one shown above at the back) just cut out 9 slightly larger squares 6 1/2″ (16.5cm). Make your triangles by following this video tutorial…
HOW TO MAKE HALF TRIANGLE SQUARES
When you have your 9 half triangle squares completed, patch them together as shown in the previous tutorial for the patchwork cushion.
Then follow the instructions as before for making the envelope cushion as from * to **
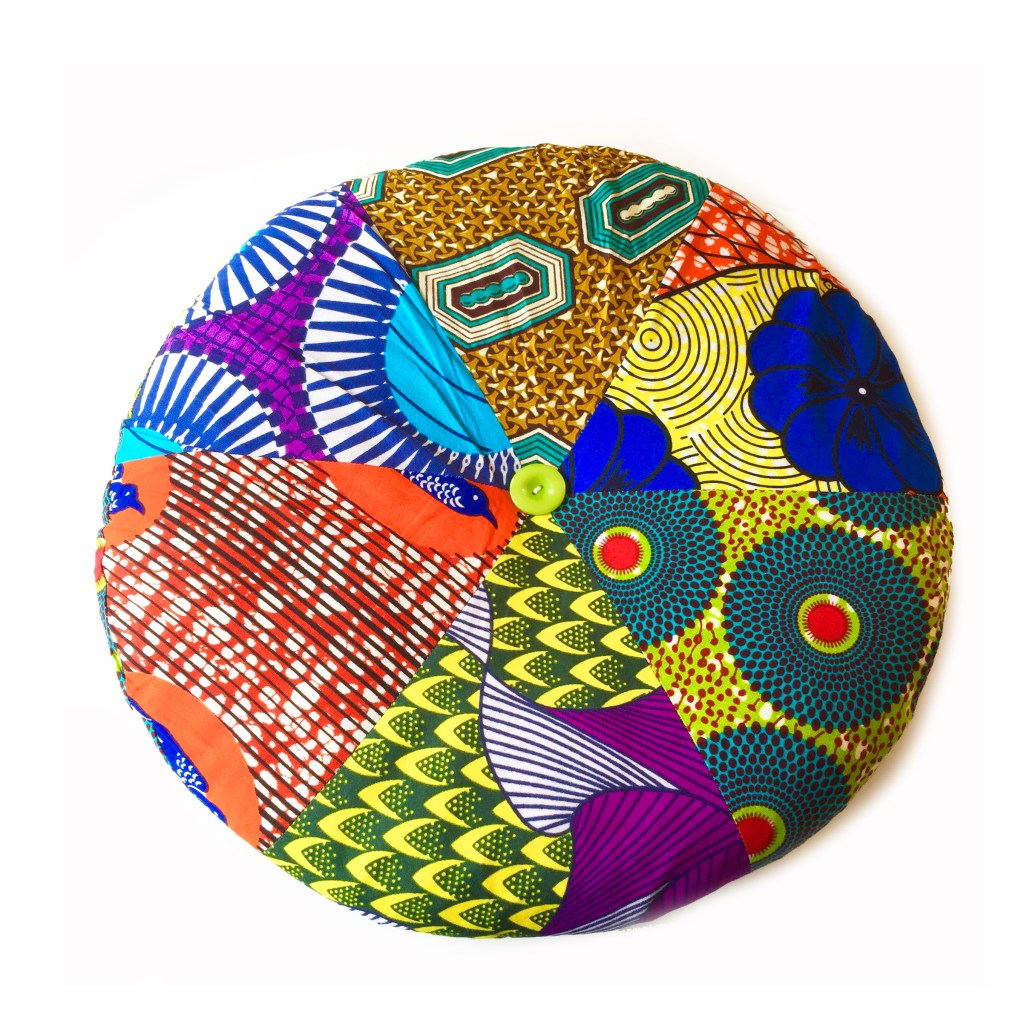
Now to make a circular cushion with segments like this one
HOW TO MAKE A ROUND SEGMENTED CUSHION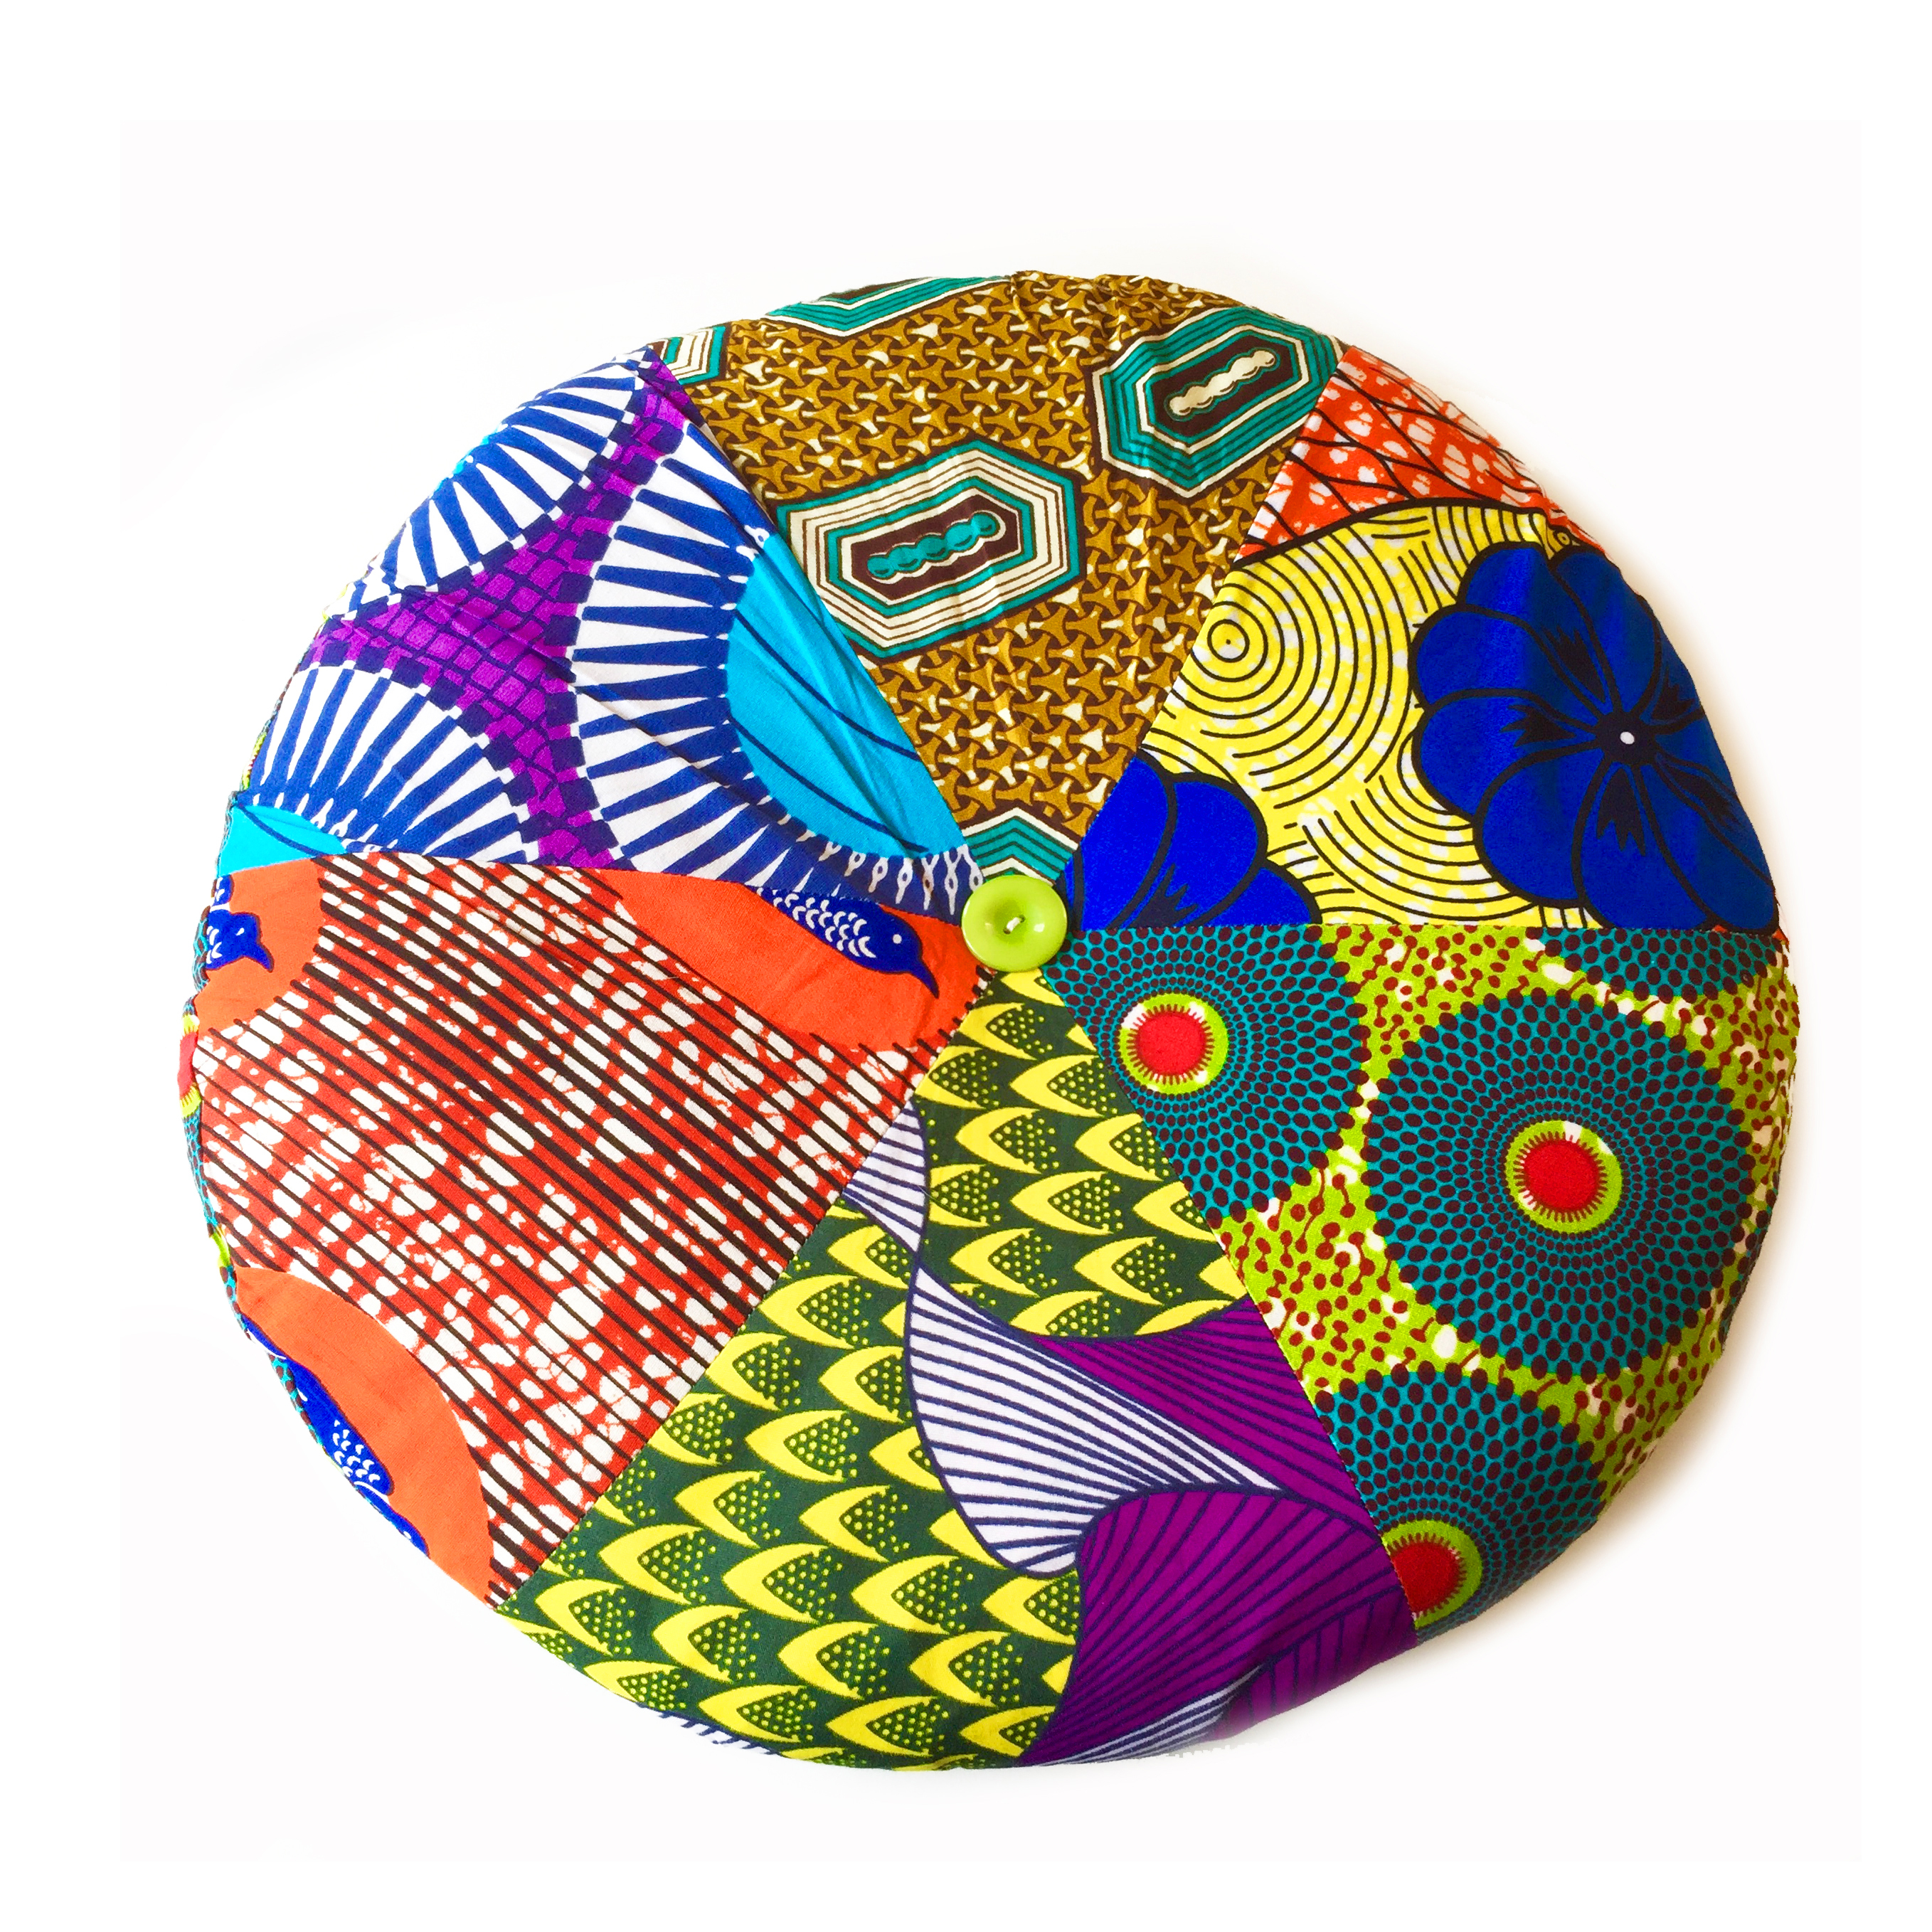
To make a cushion like this one you will need to download and print off two copies of this file for the template, make sure you print at 100% scale and check the 5cm measure on the file:
Cushion Segment Template download
You need 6 pieces of different fabric prints 25cm x 25cm (10″ x 10″), backing fabric 50cm x 50cm, two 25mm-30mm buttons, one round 18″ cushion pad. Ebay cushion pad shop.
From the constructed template cut out one piece each in the different fabrics. Sew two pieces together with the long sides aligned and the right sides of the fabric together*. Press. Then sew on the third segment to the two part piece so you have two pieces of 3 joined segments.
Then sew the two semi circle pieces of 3 segments together, aligning the longest edges with the RST* Press. You can add batting to the reverse side if you would like.
Finally with the RST, pin the circle piece to the square backing piece. Stitch all around the curved outer edge 1cm from the edge but leave one section unstitched for inserting the cushion. Insert the cushion. Stitch up the opening with a small slip stitch. Sew on the buttons at the centre either side, passing the needle from one side to the other and pulling tight so that it pulls the cushion in at the centre and covers the corner bits.
Pop inside a round cushion pad and give it a squidge!

 So ta dah! here she is! …. Mildred!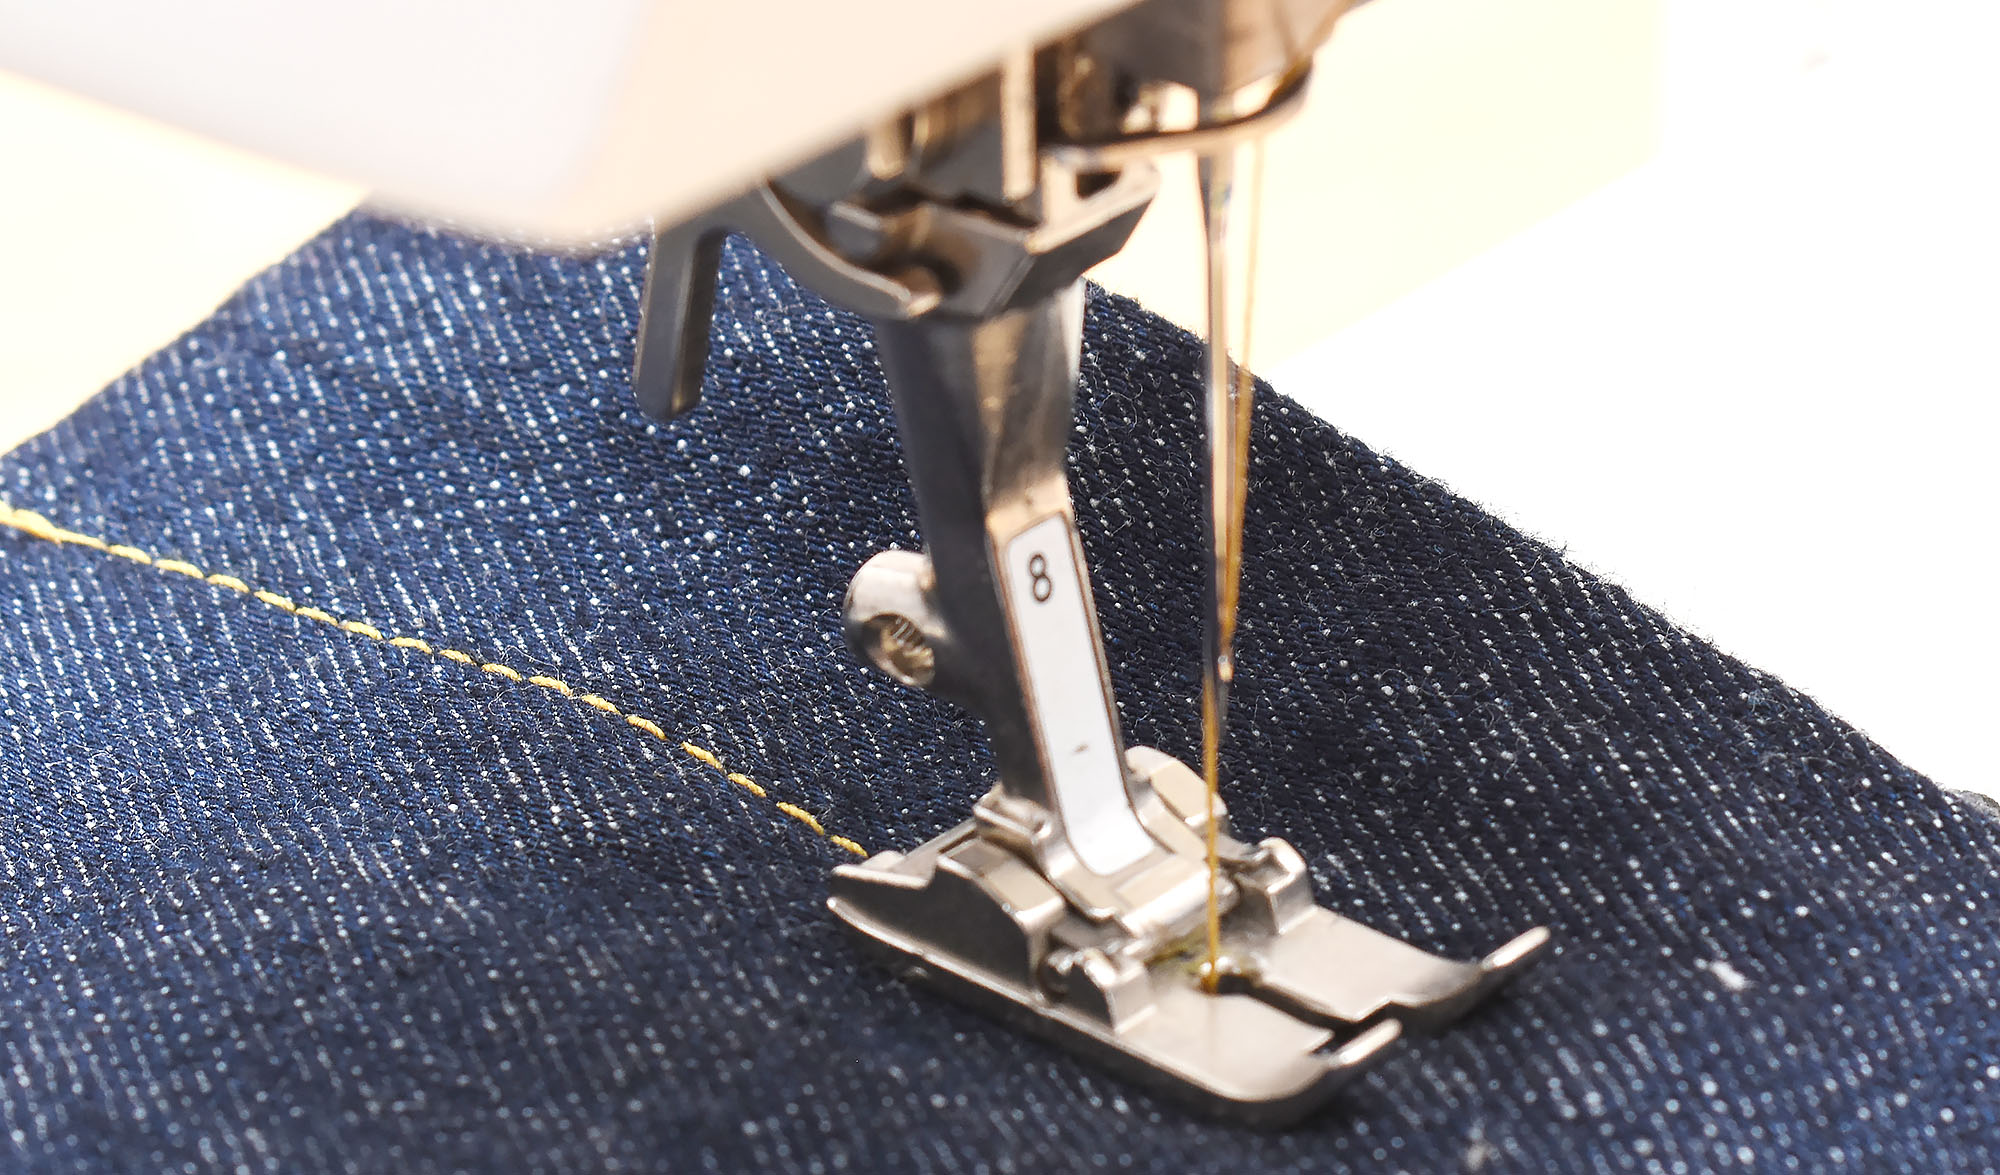
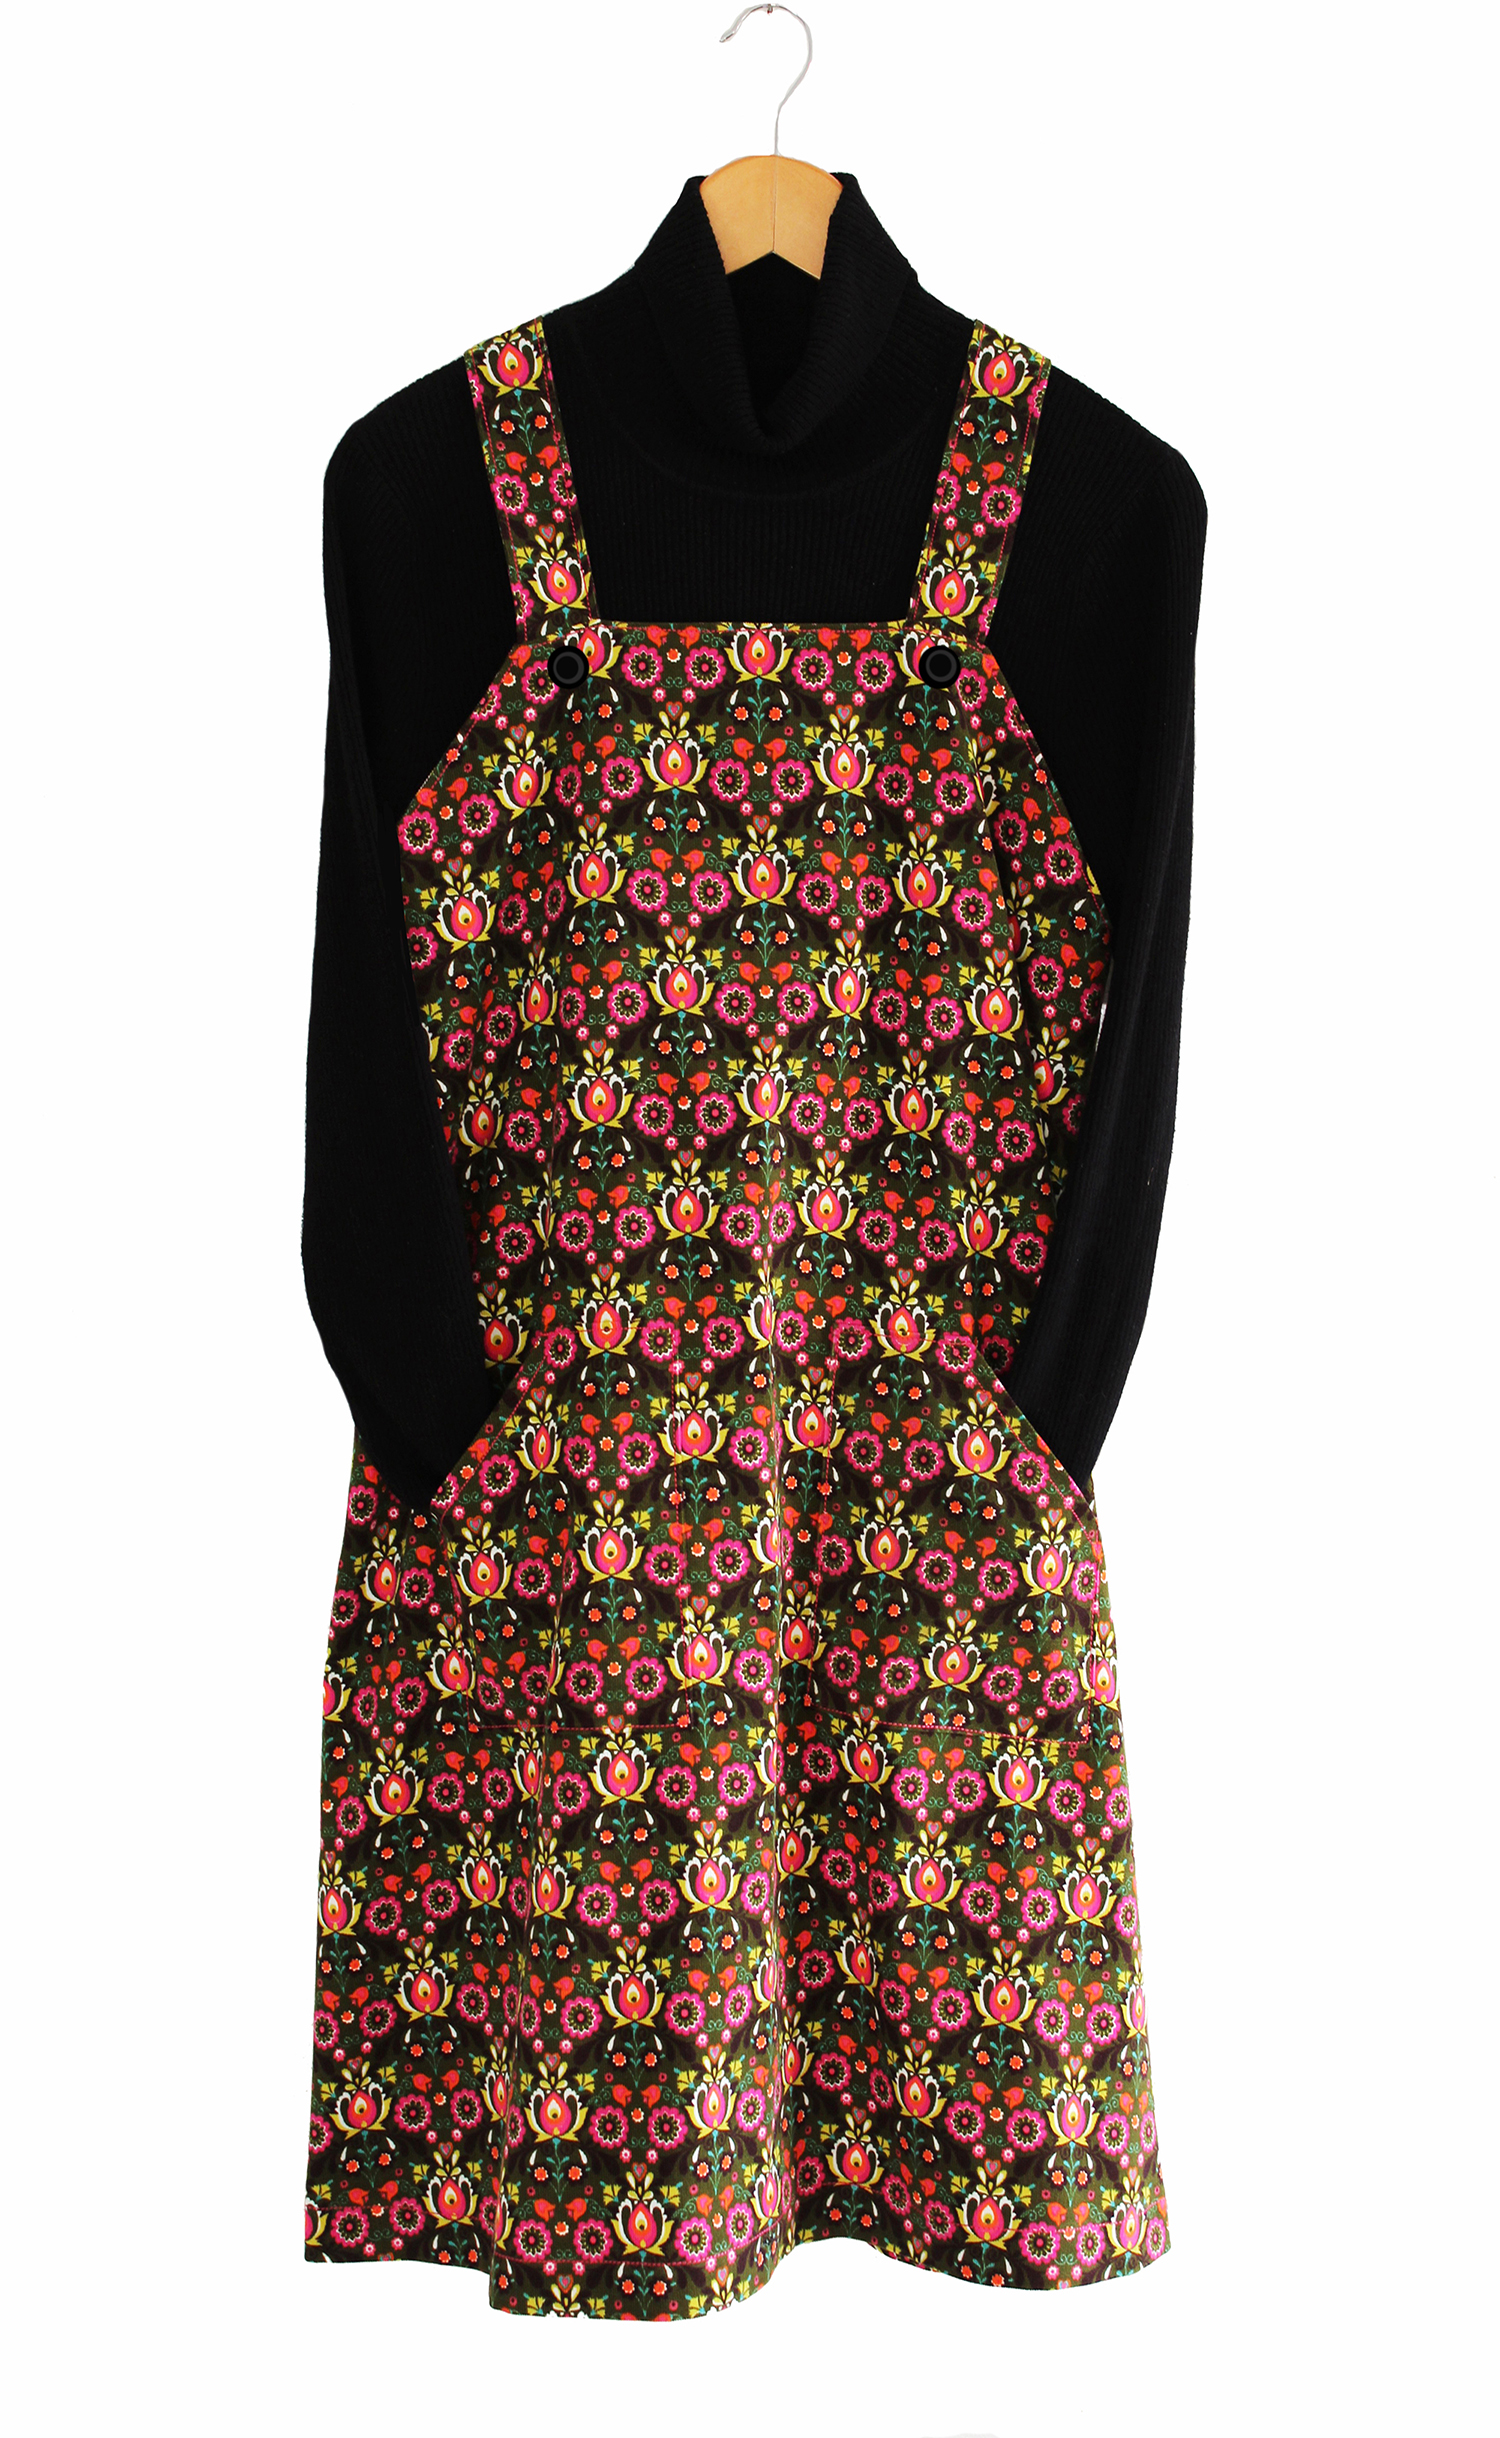
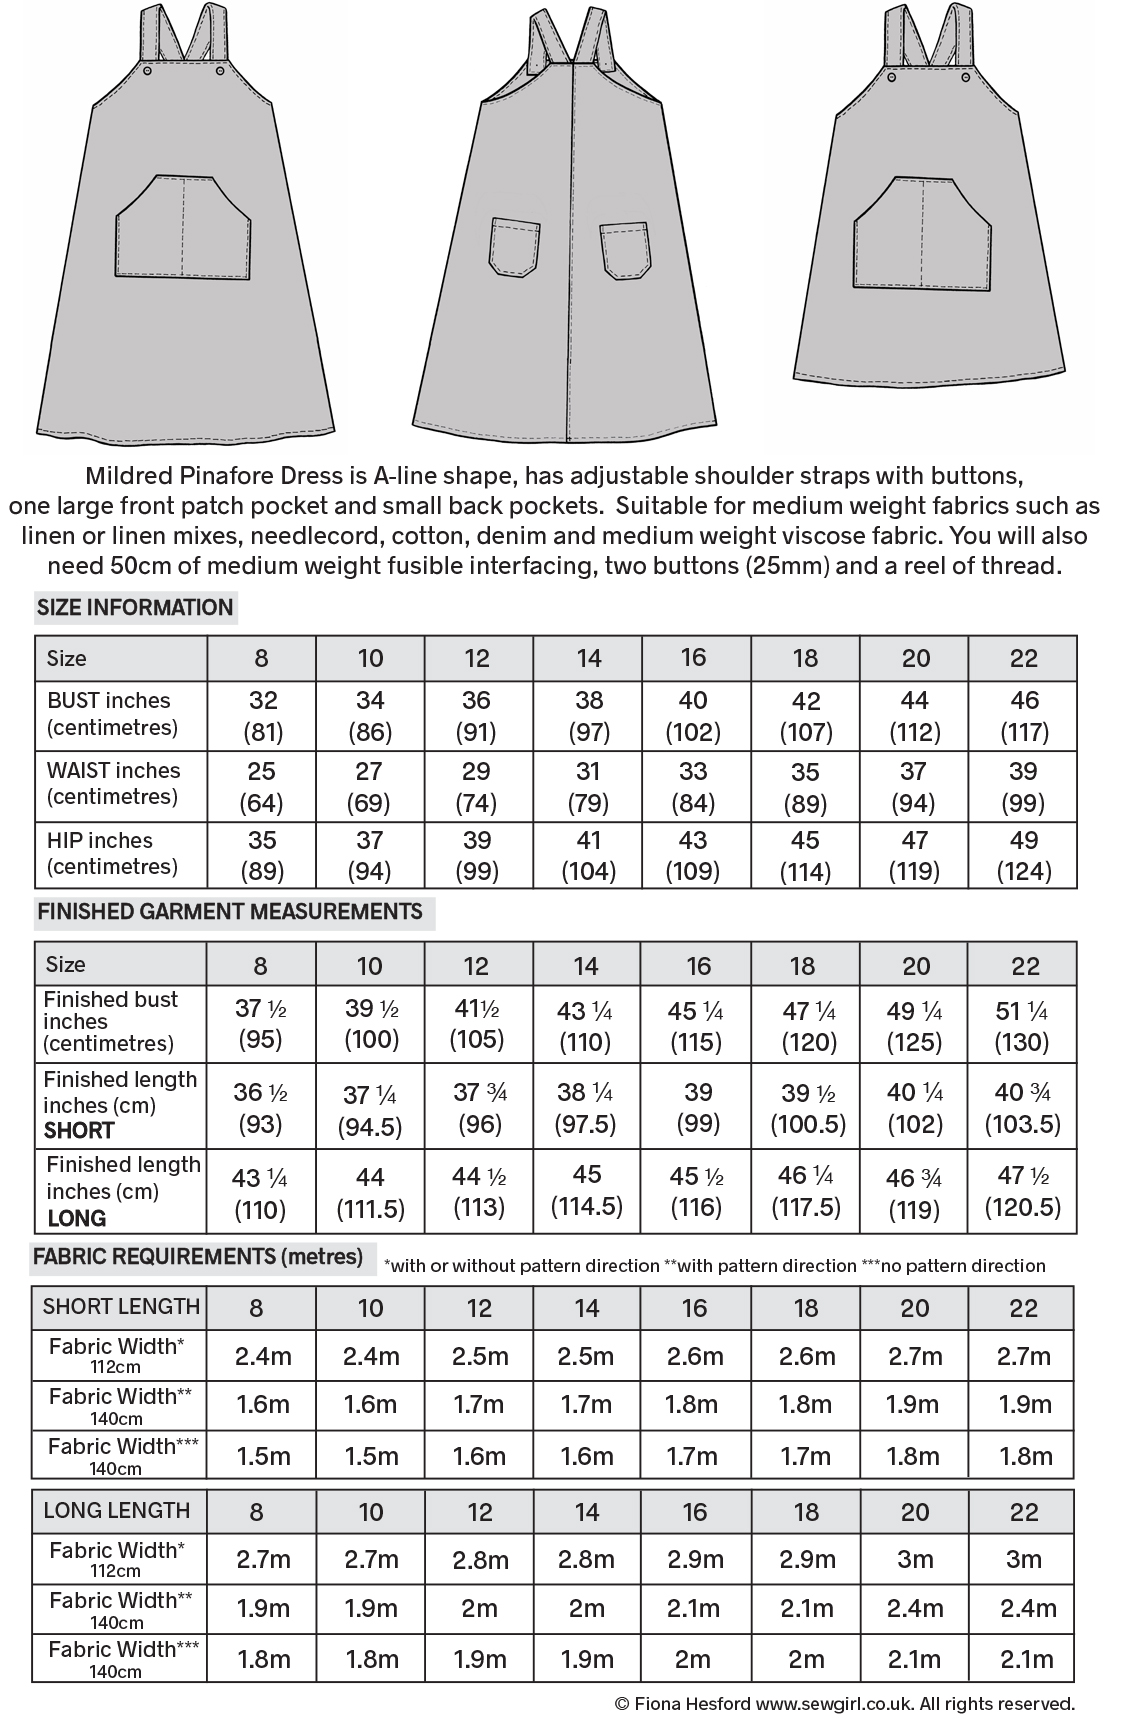

 Then, turn them inside out.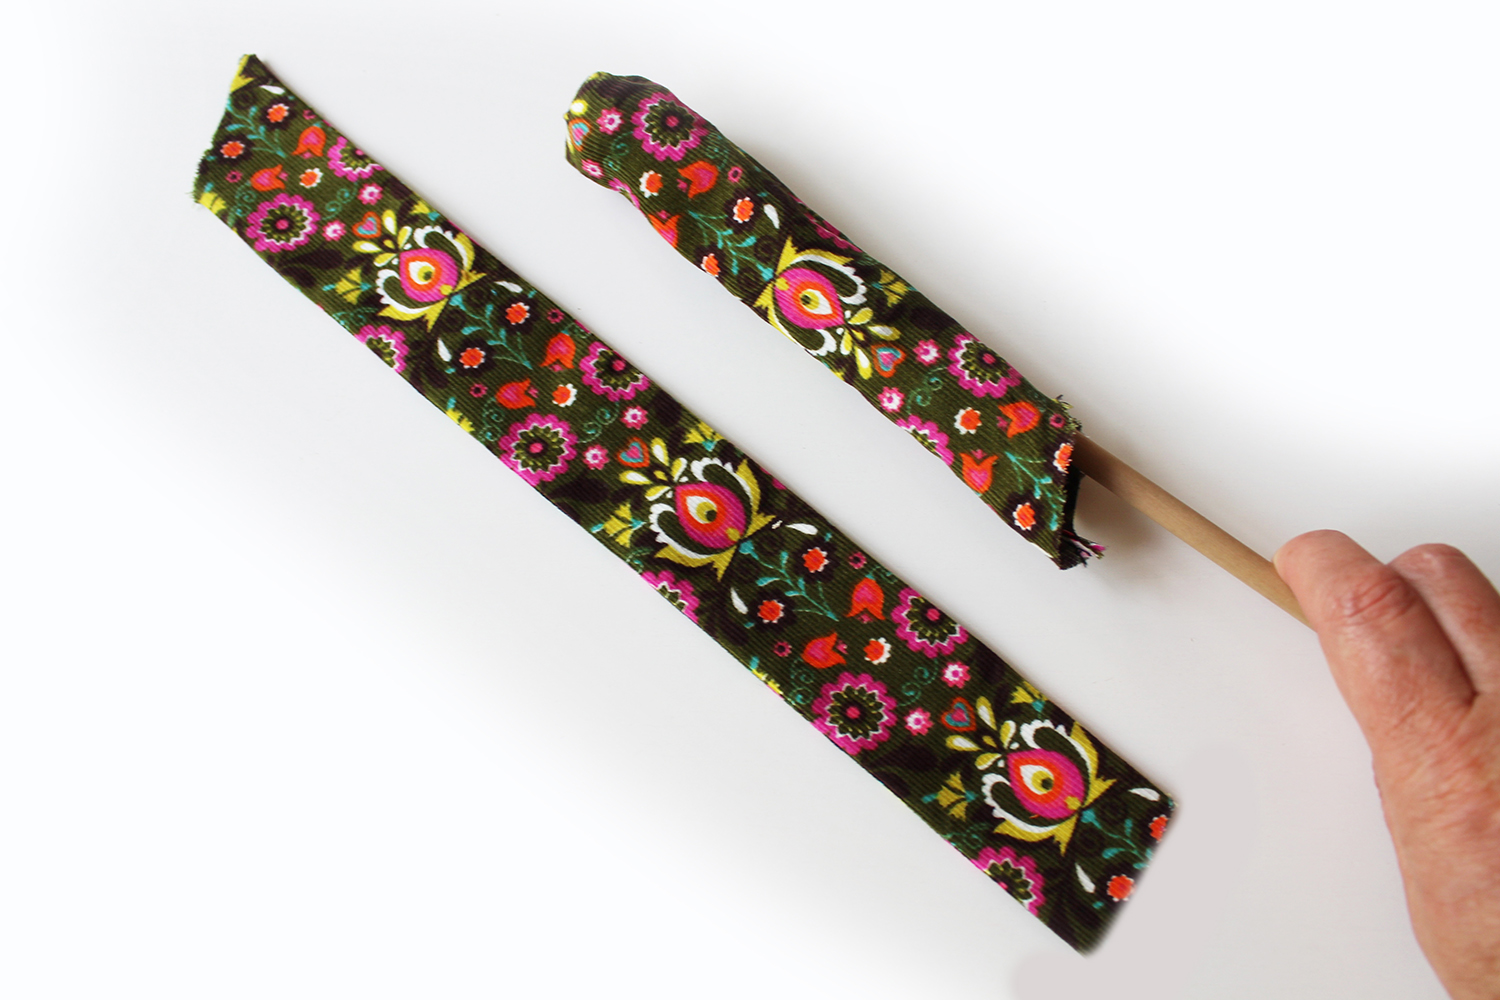
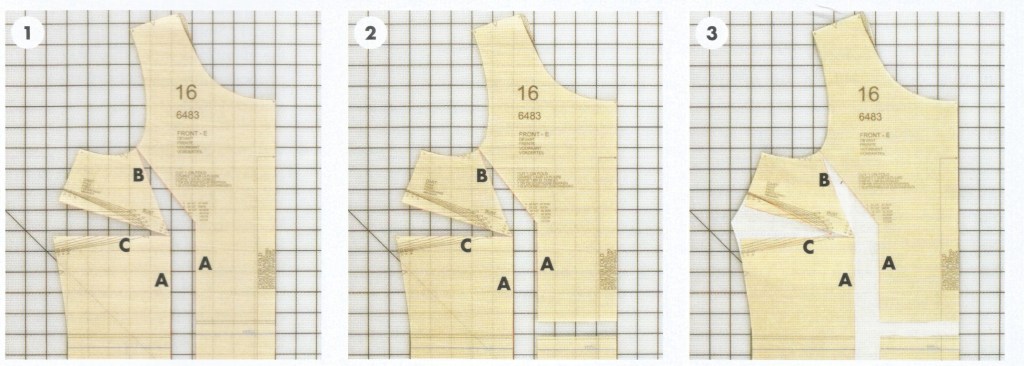
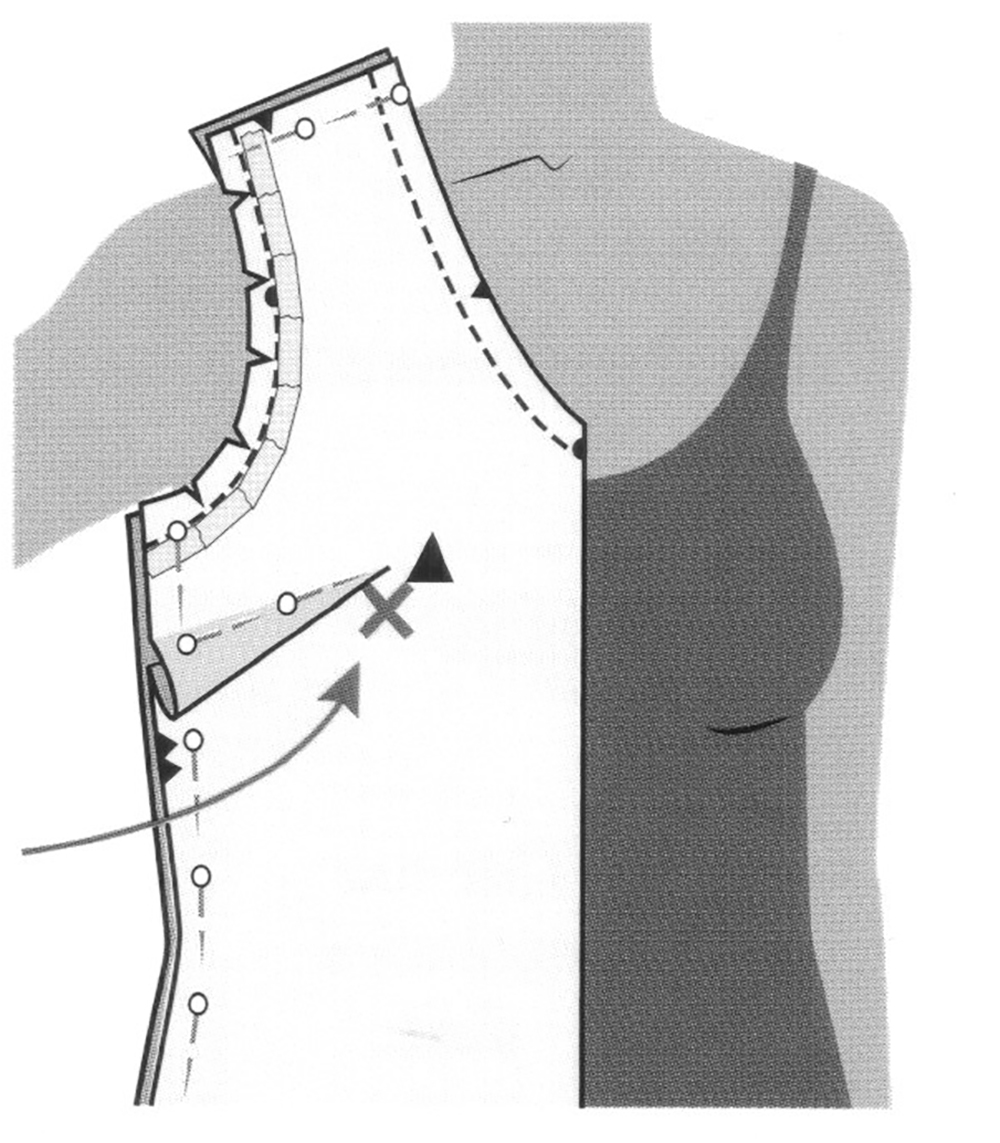
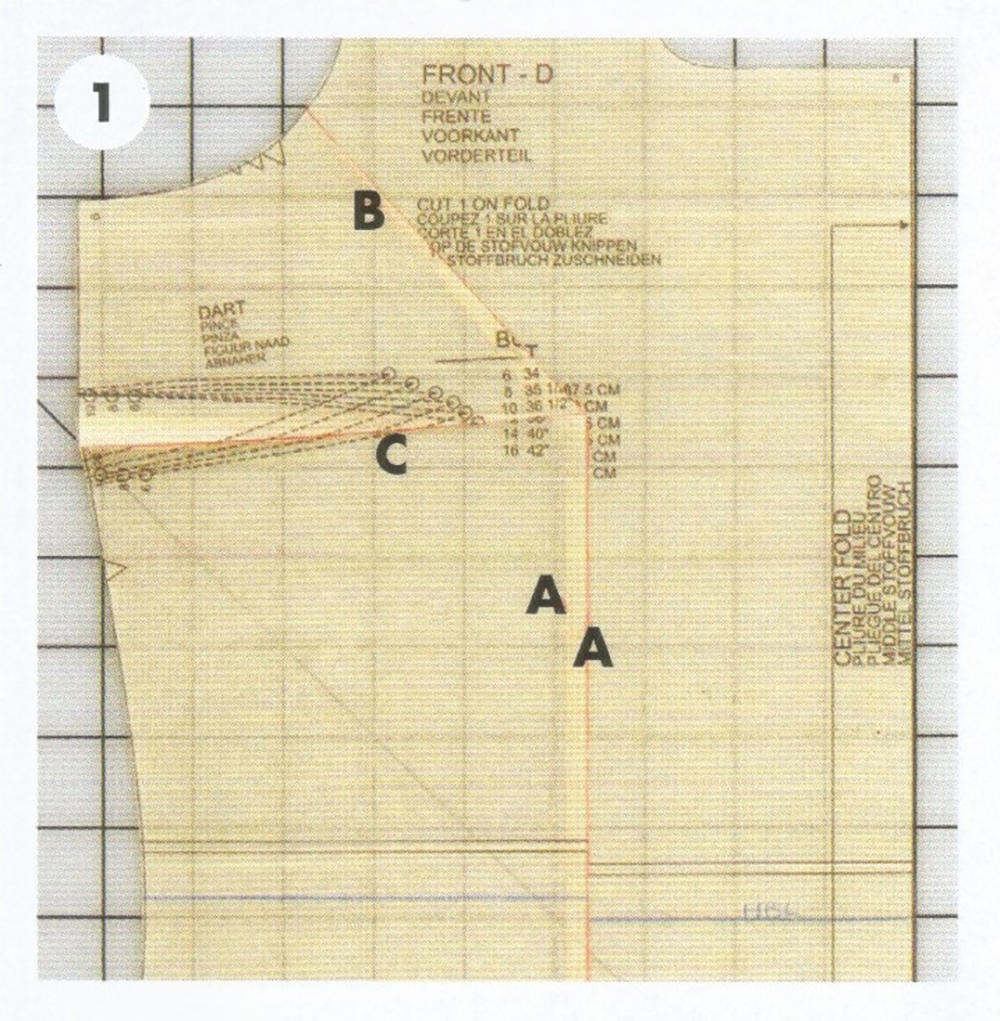
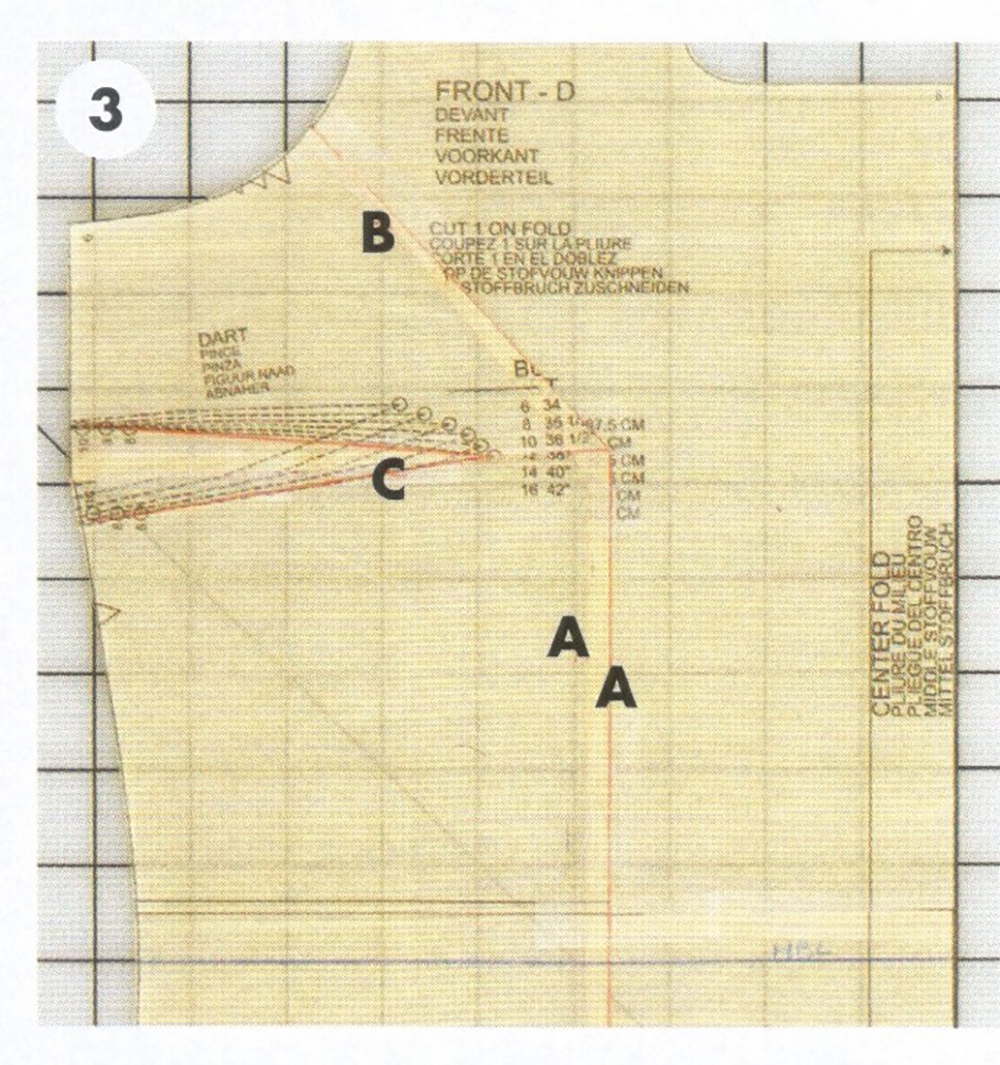
 To move a dart position up or down you can do by one of two methods:



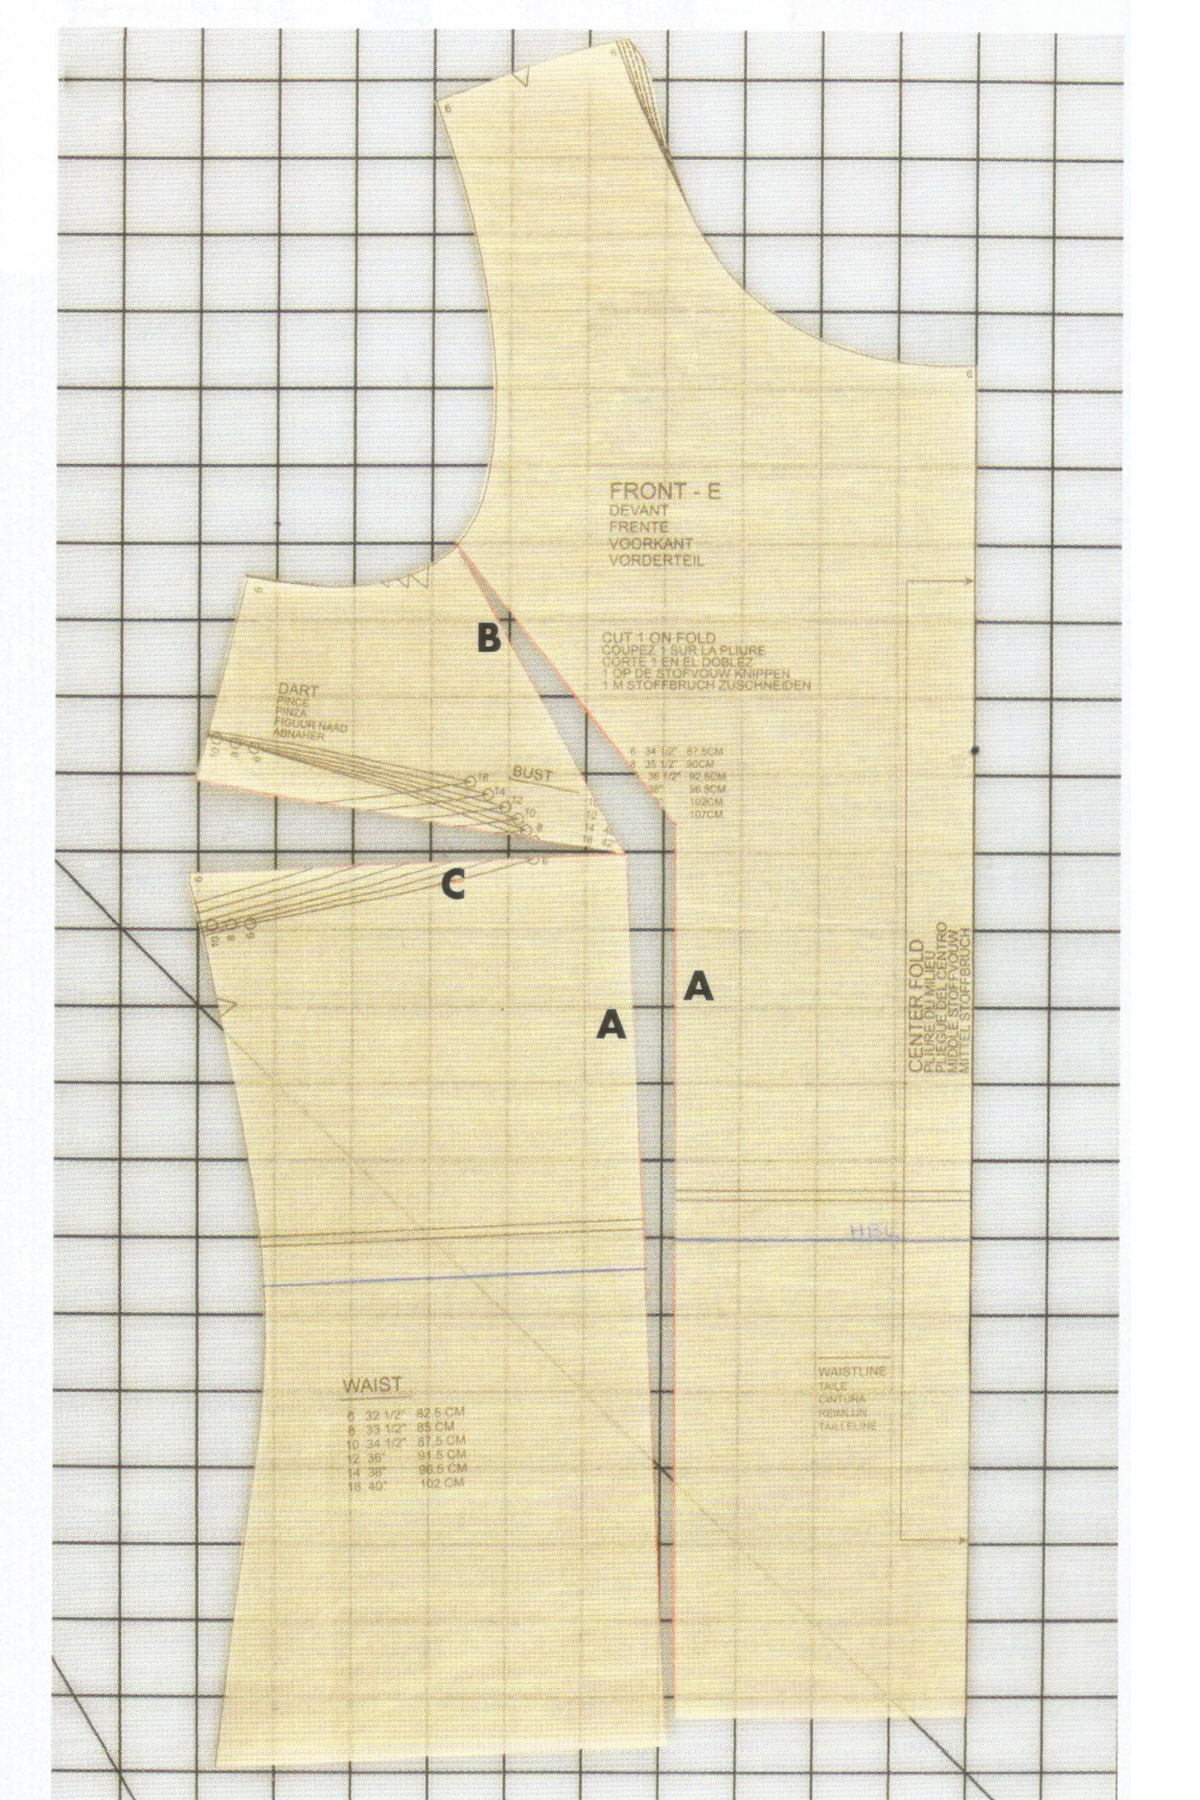
 Cut a line across perpendicular to the line A, move so the pattern is aligned at the lower edge. Place a piece of paper behind each open section and tape in position.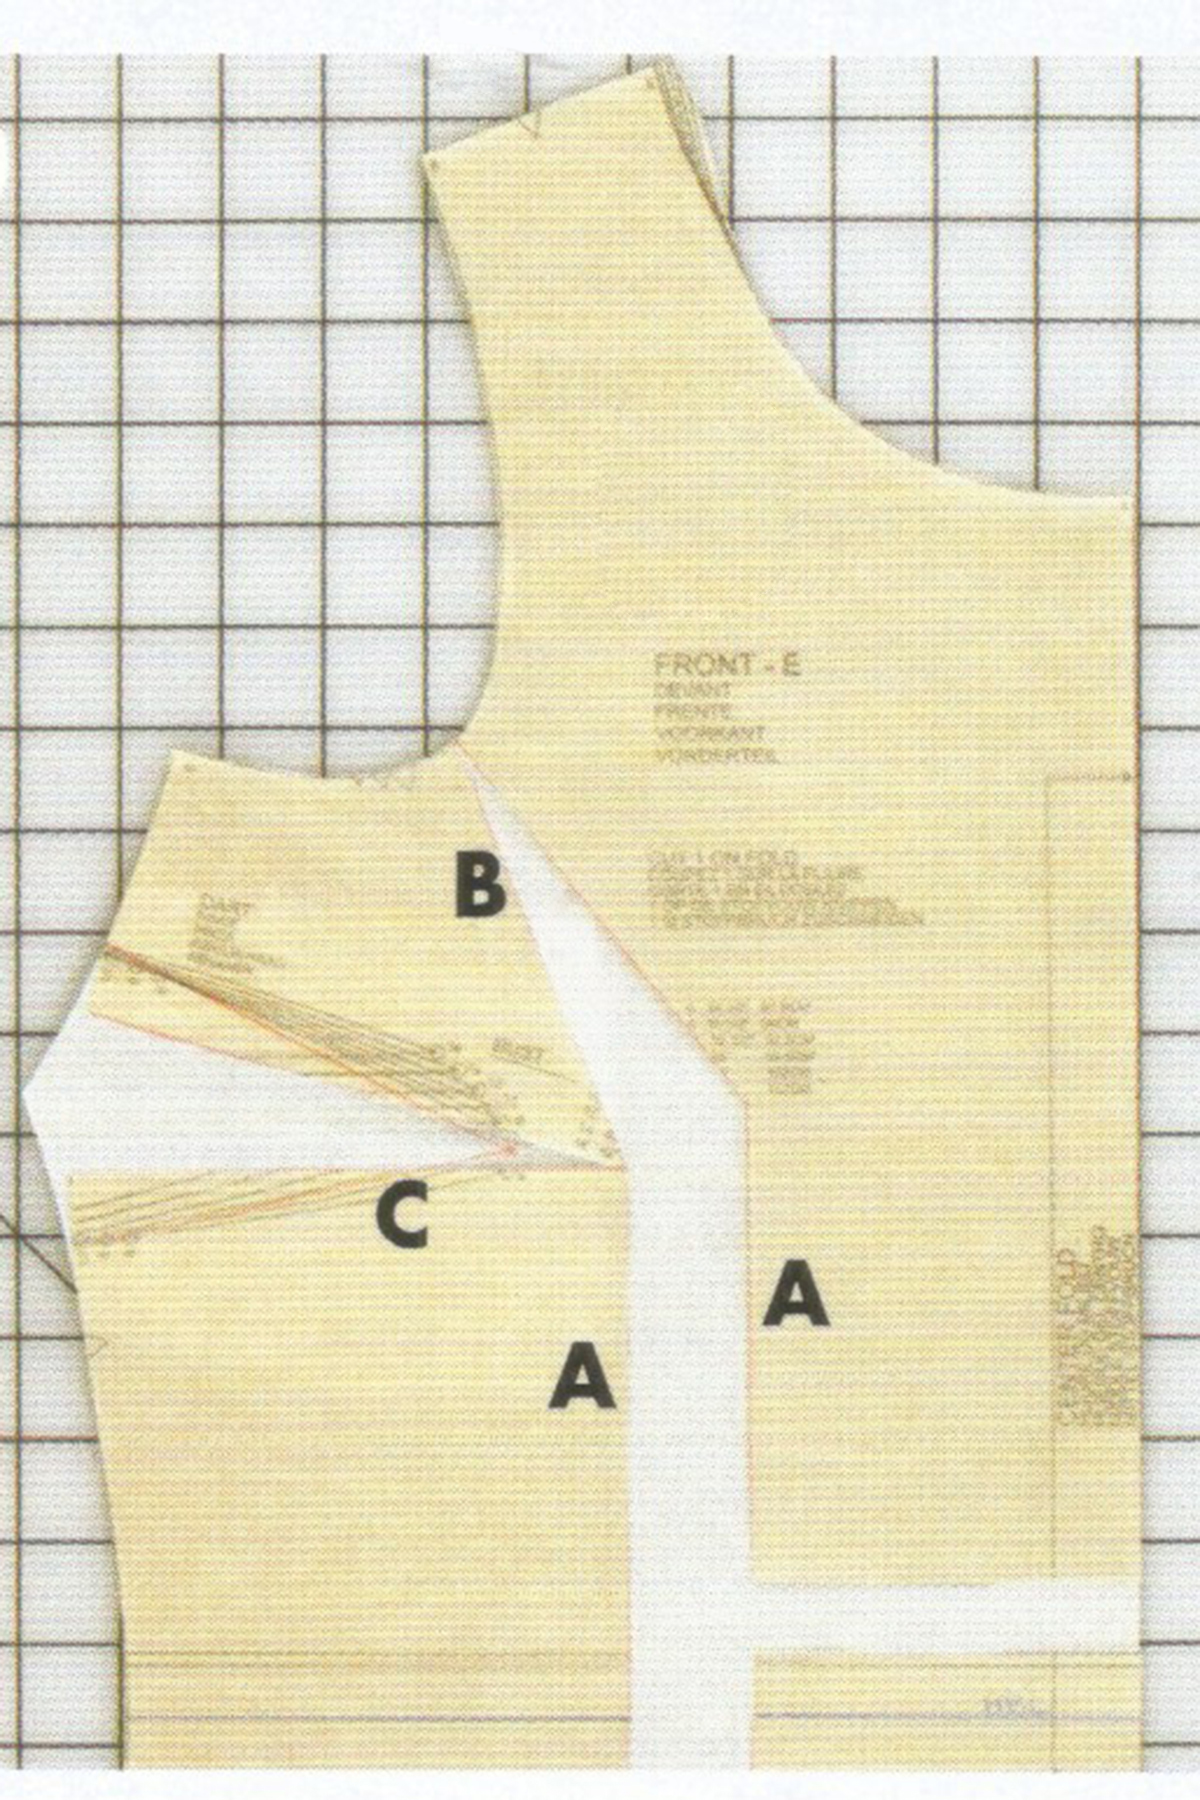



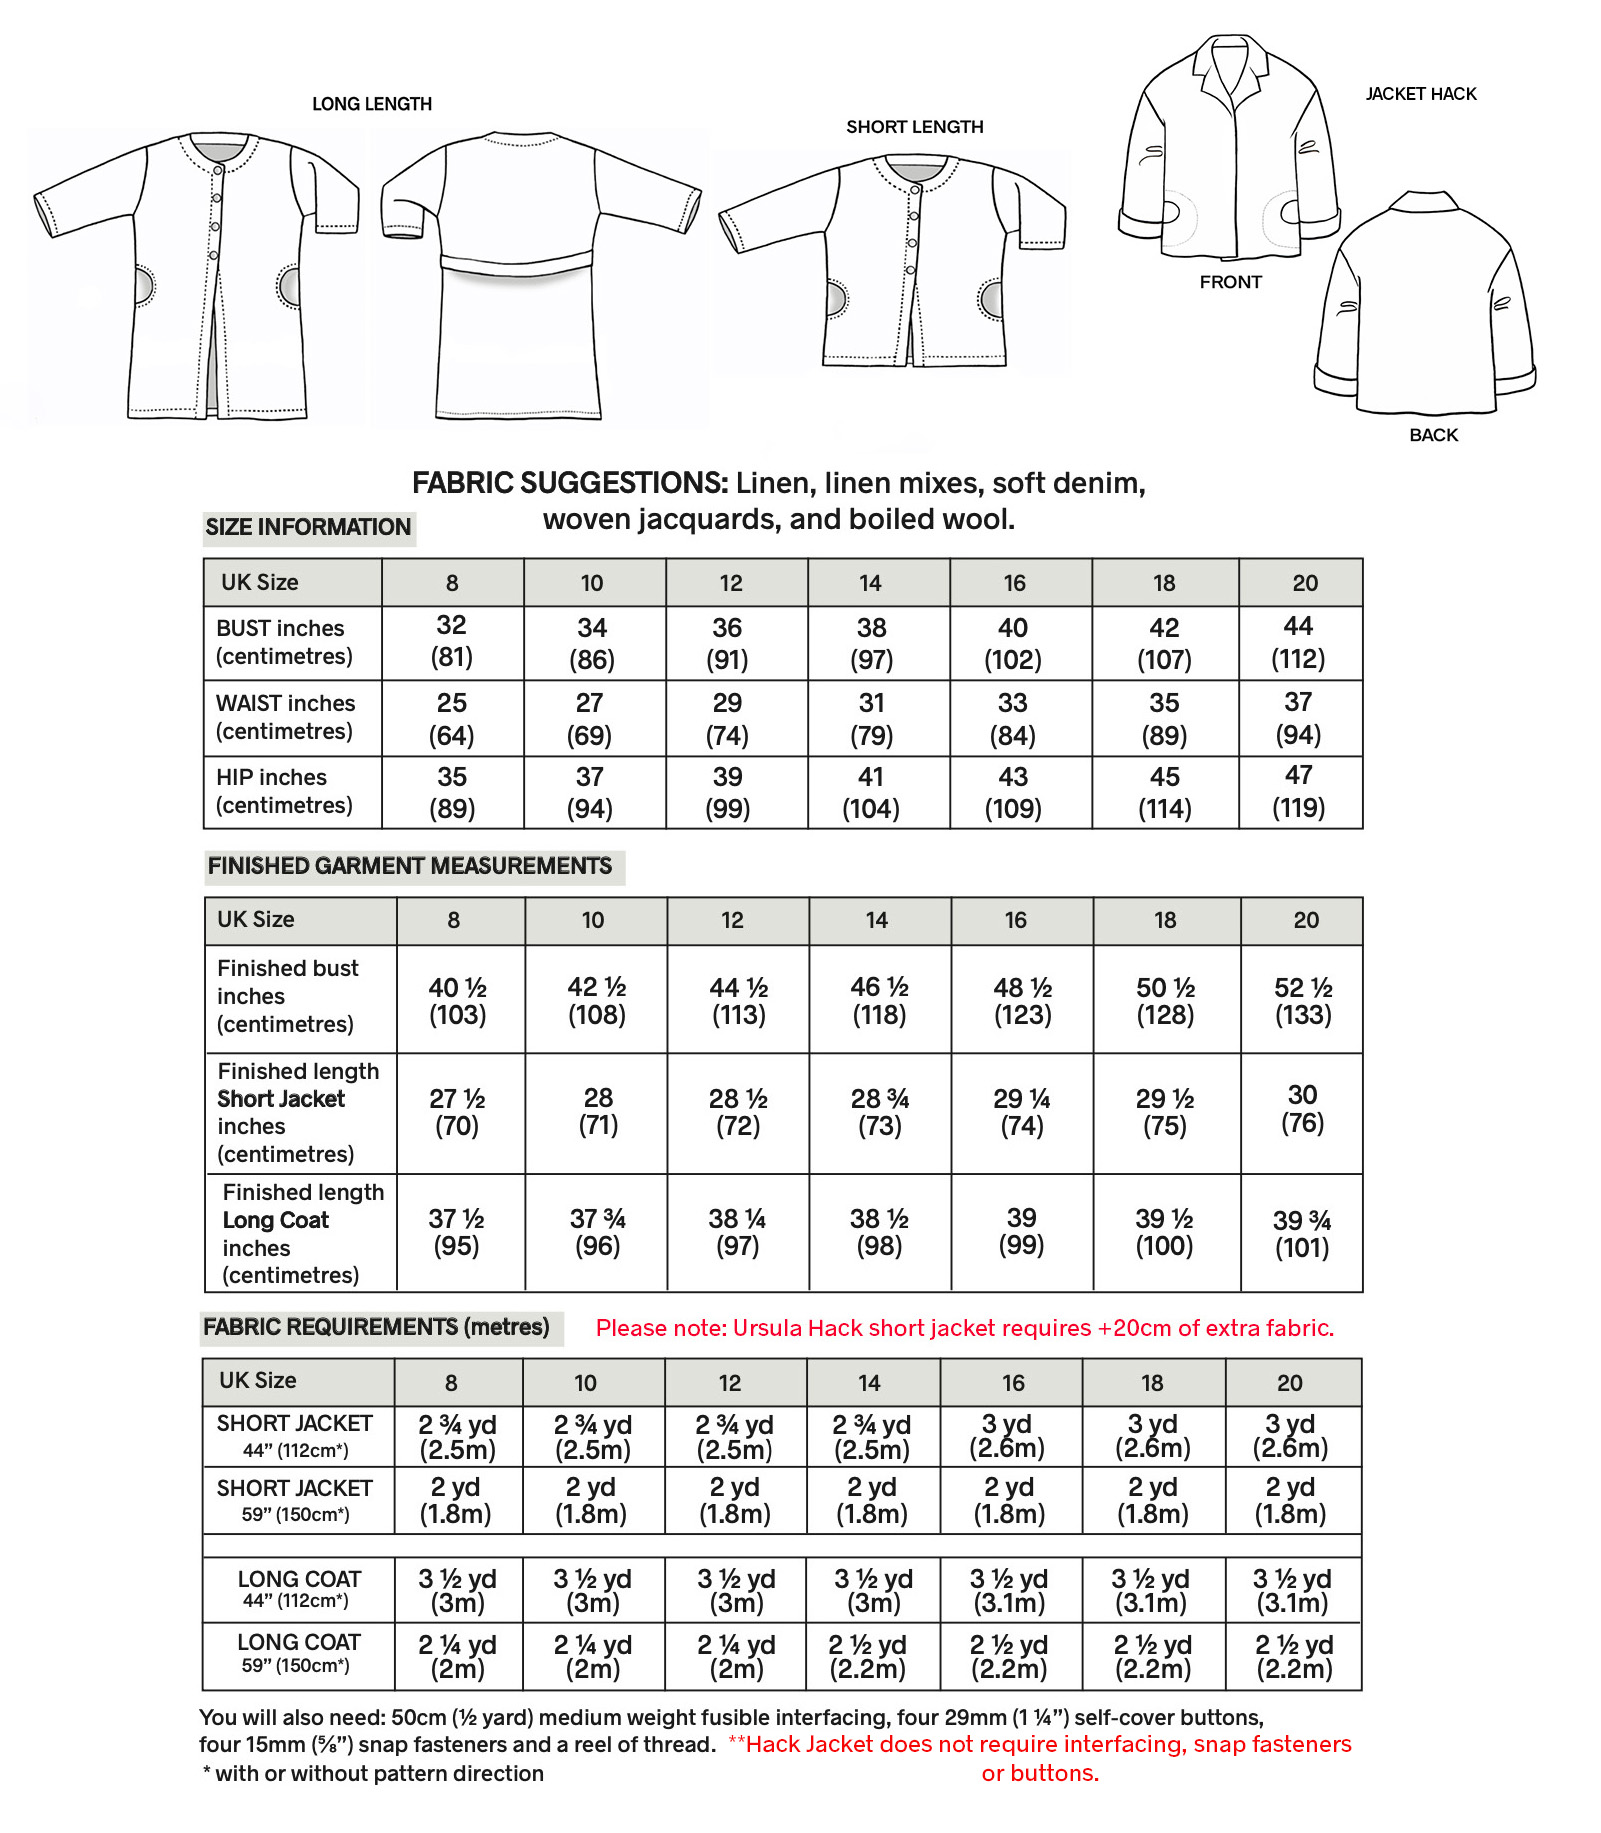
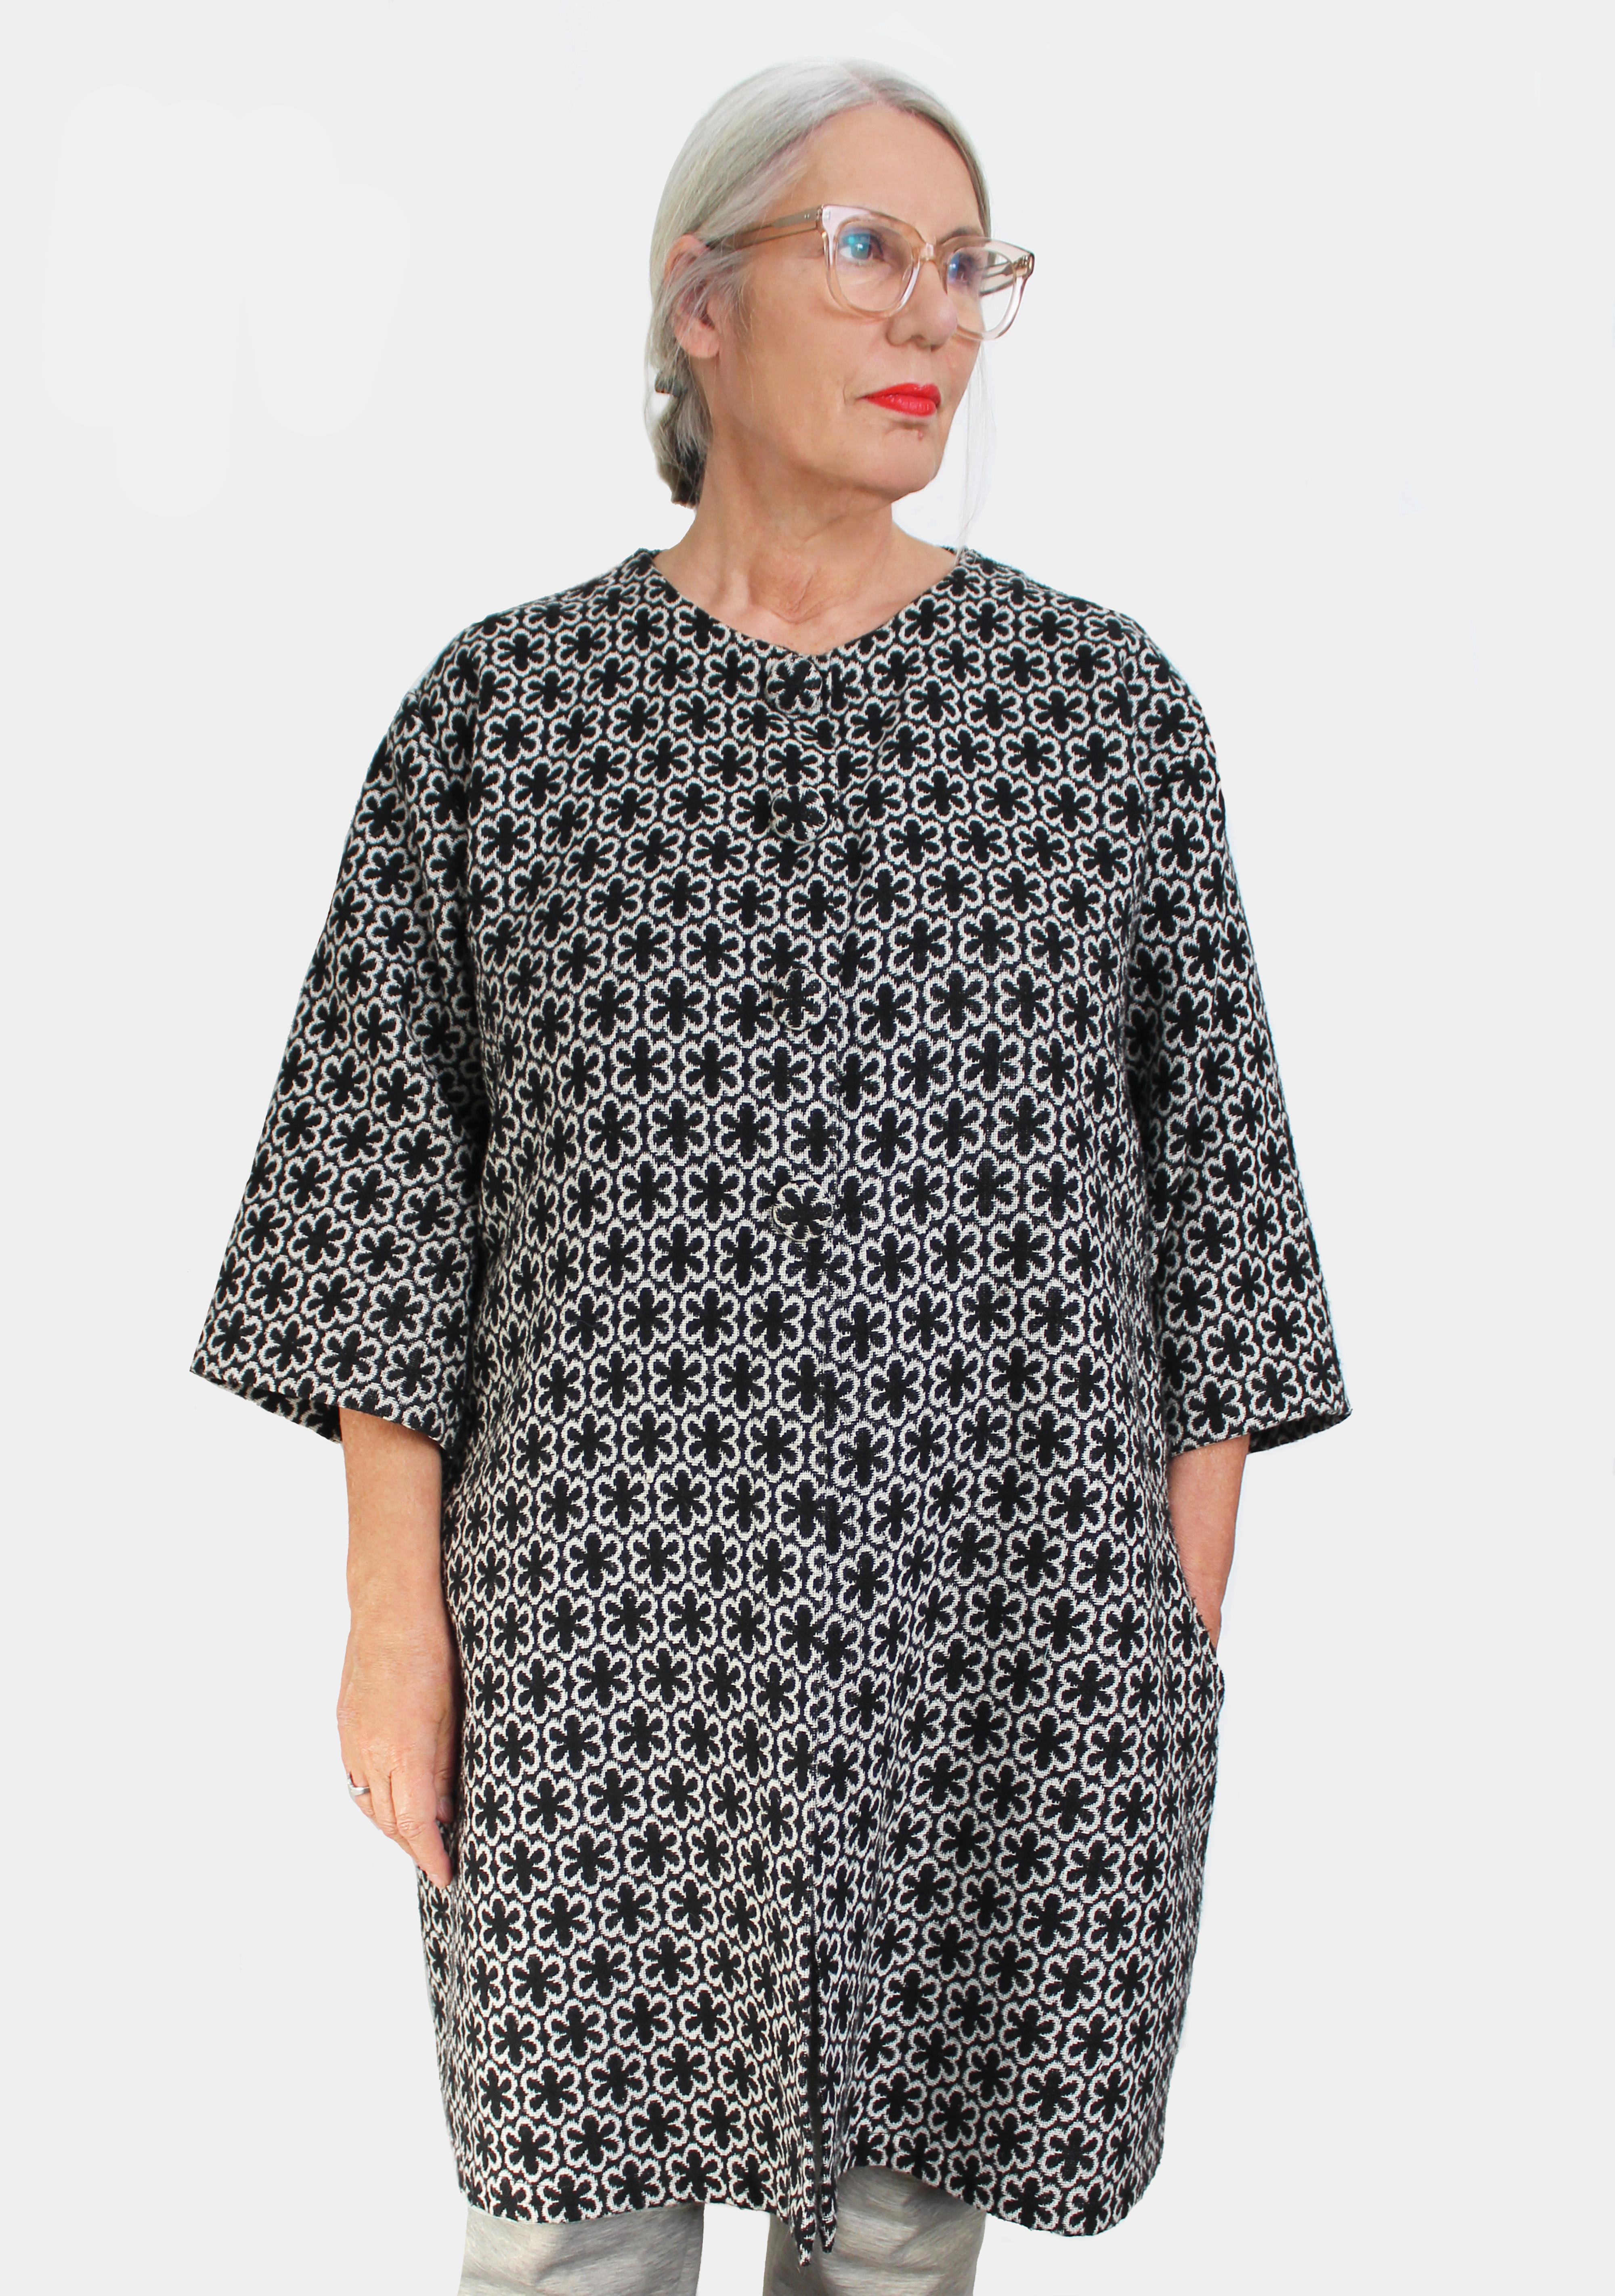 Long version front view in wool mix jacquard.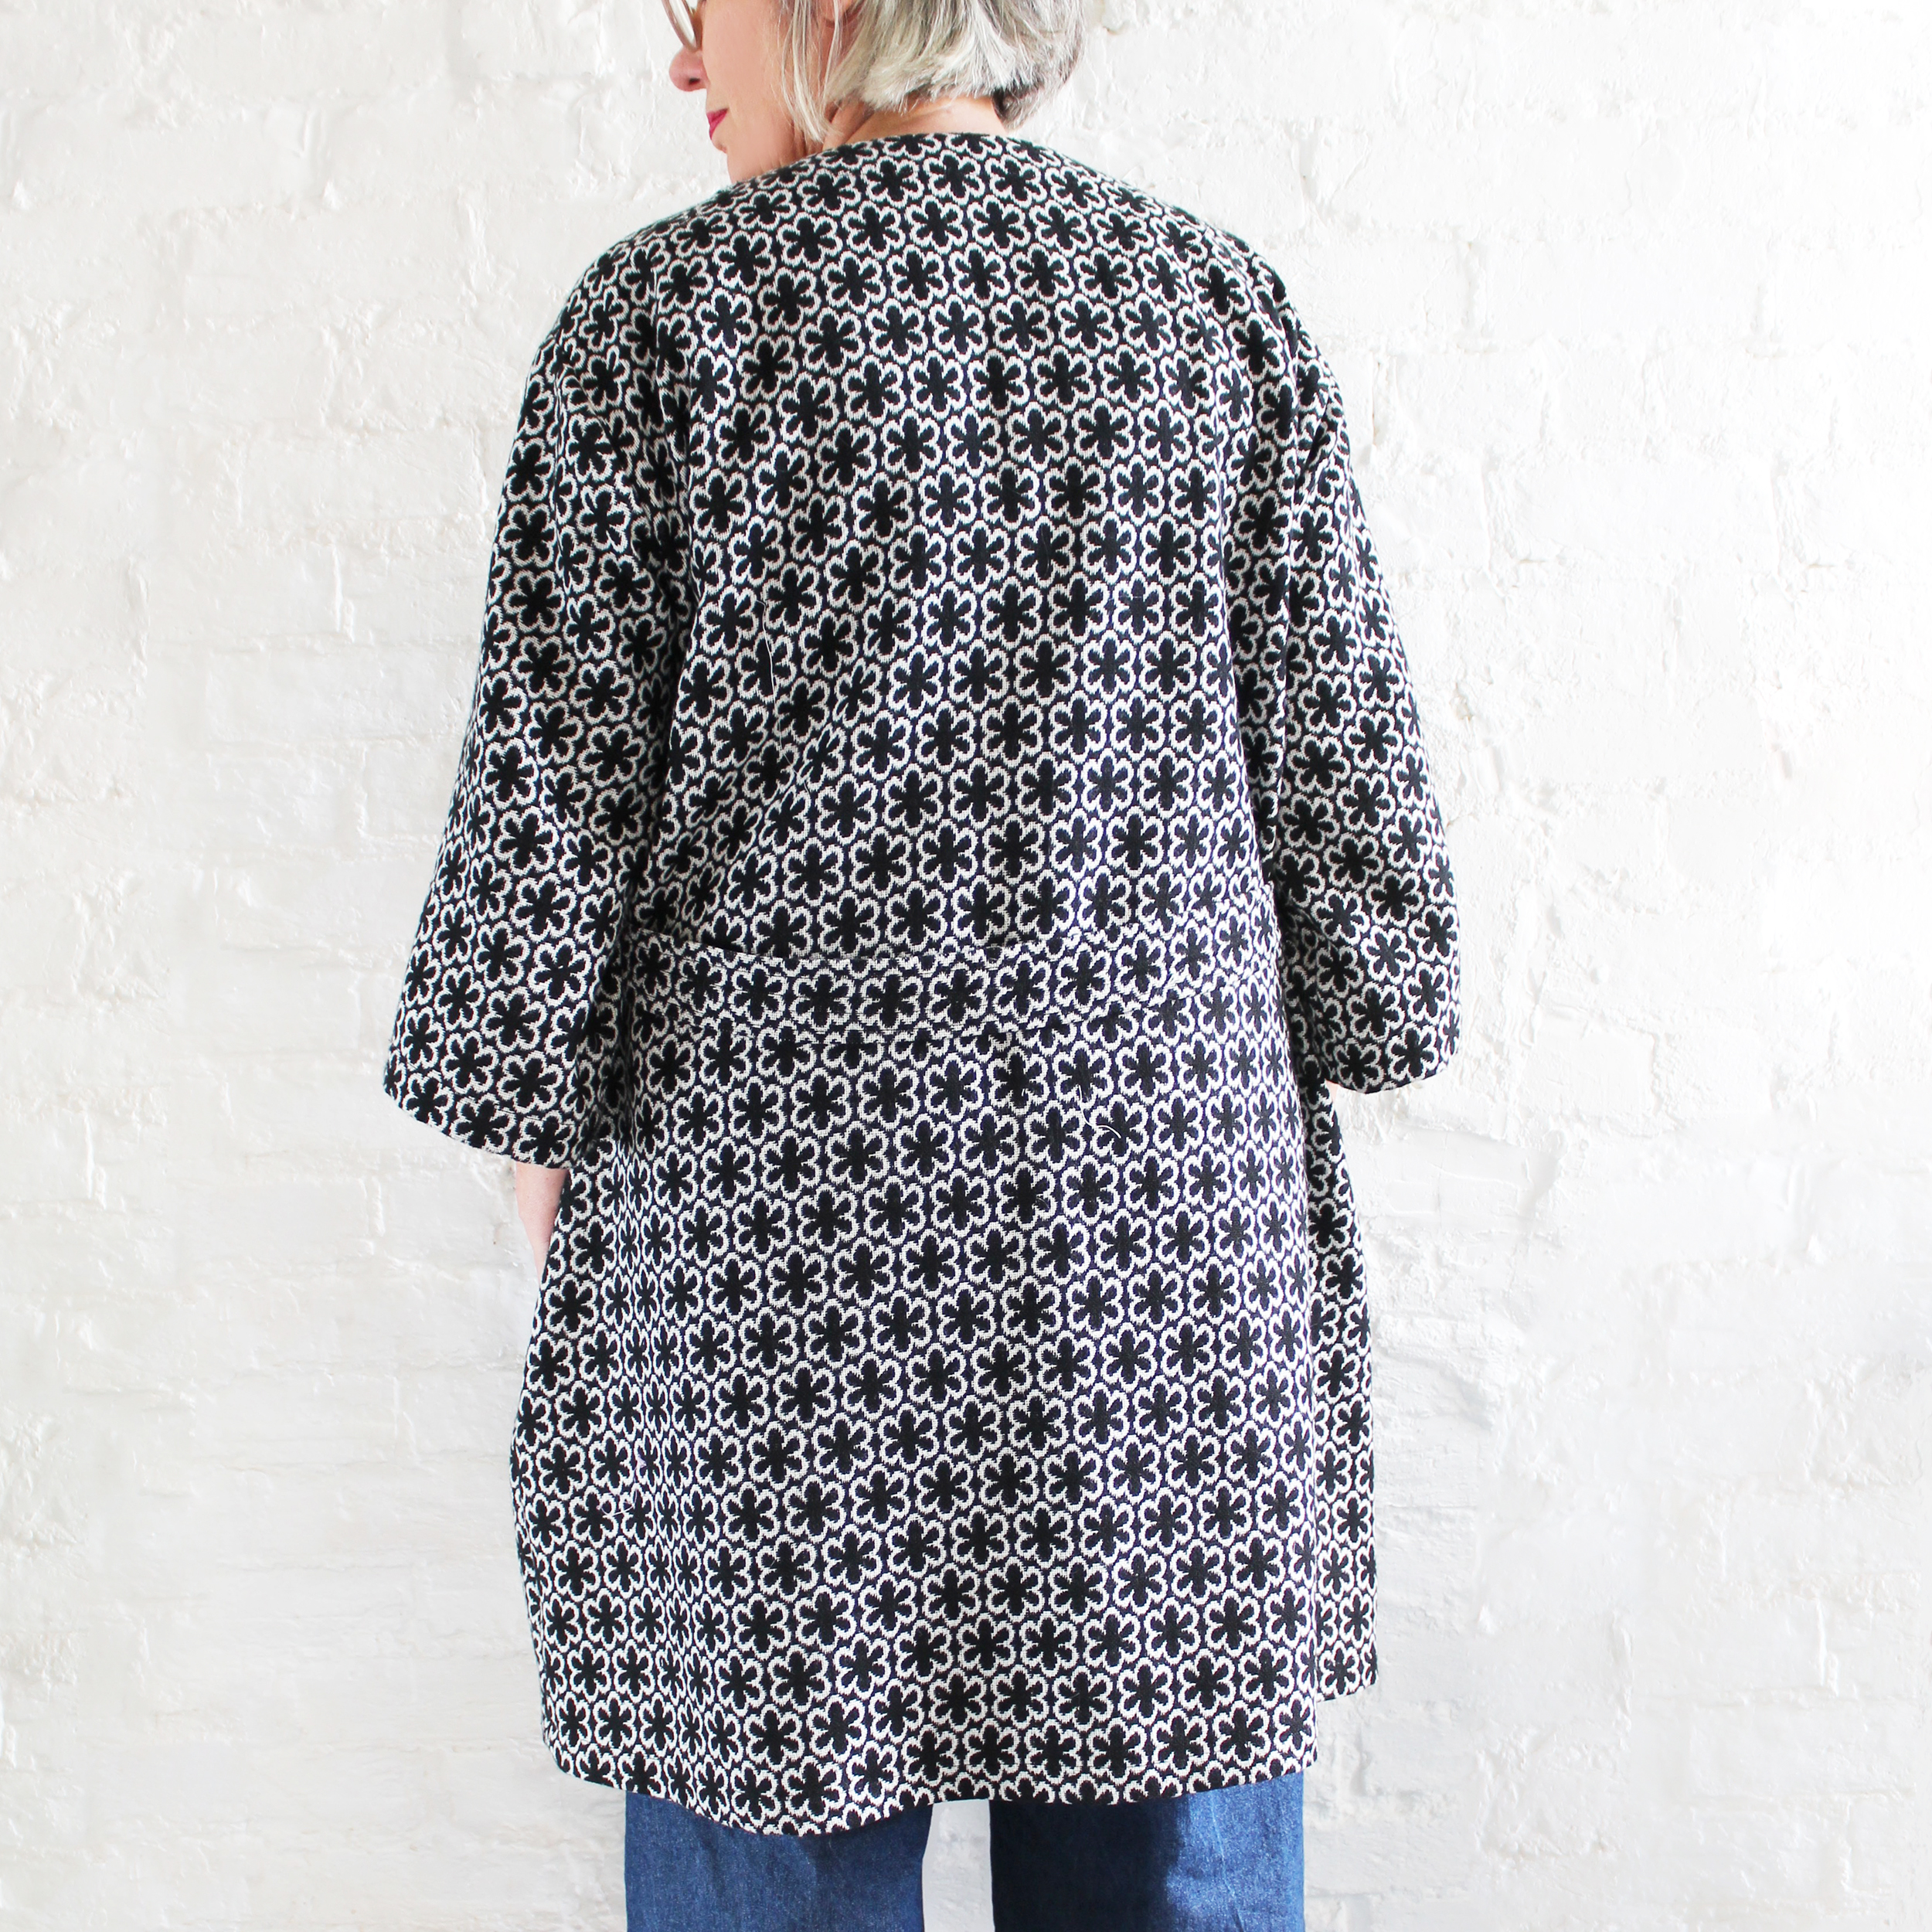
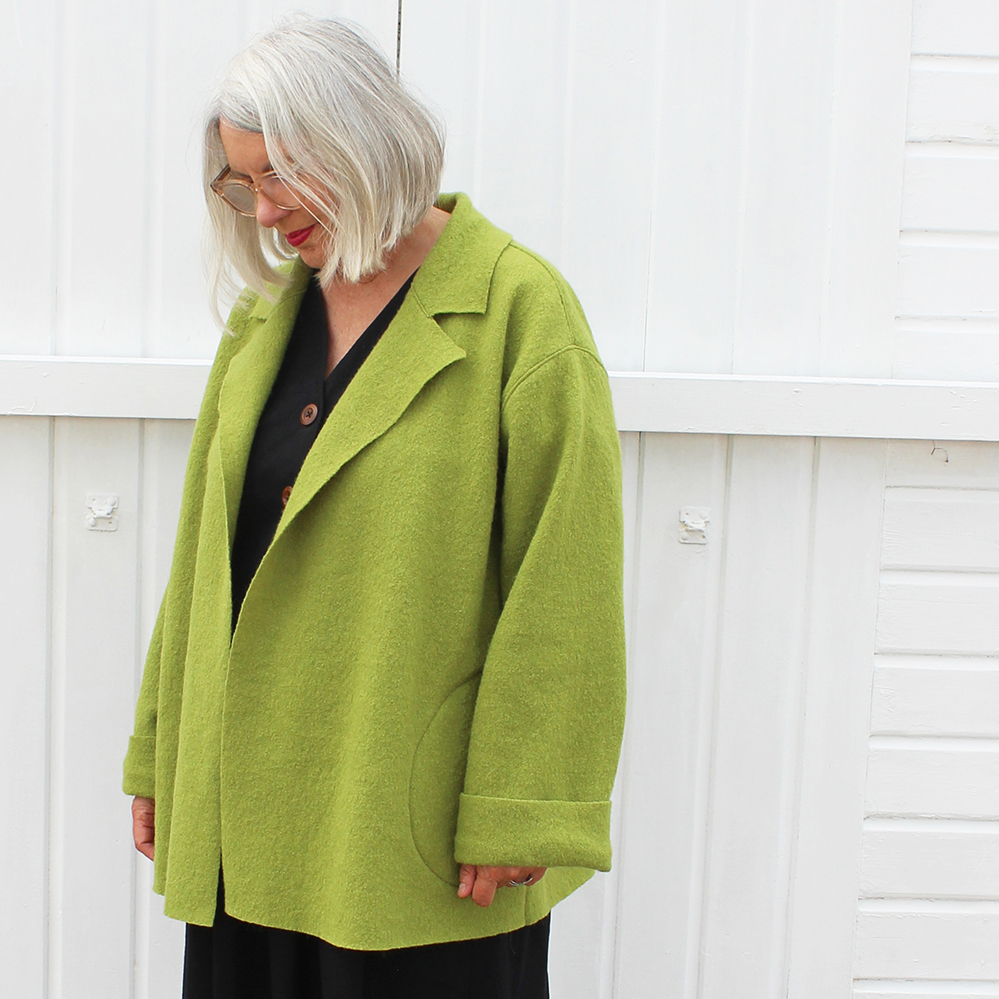
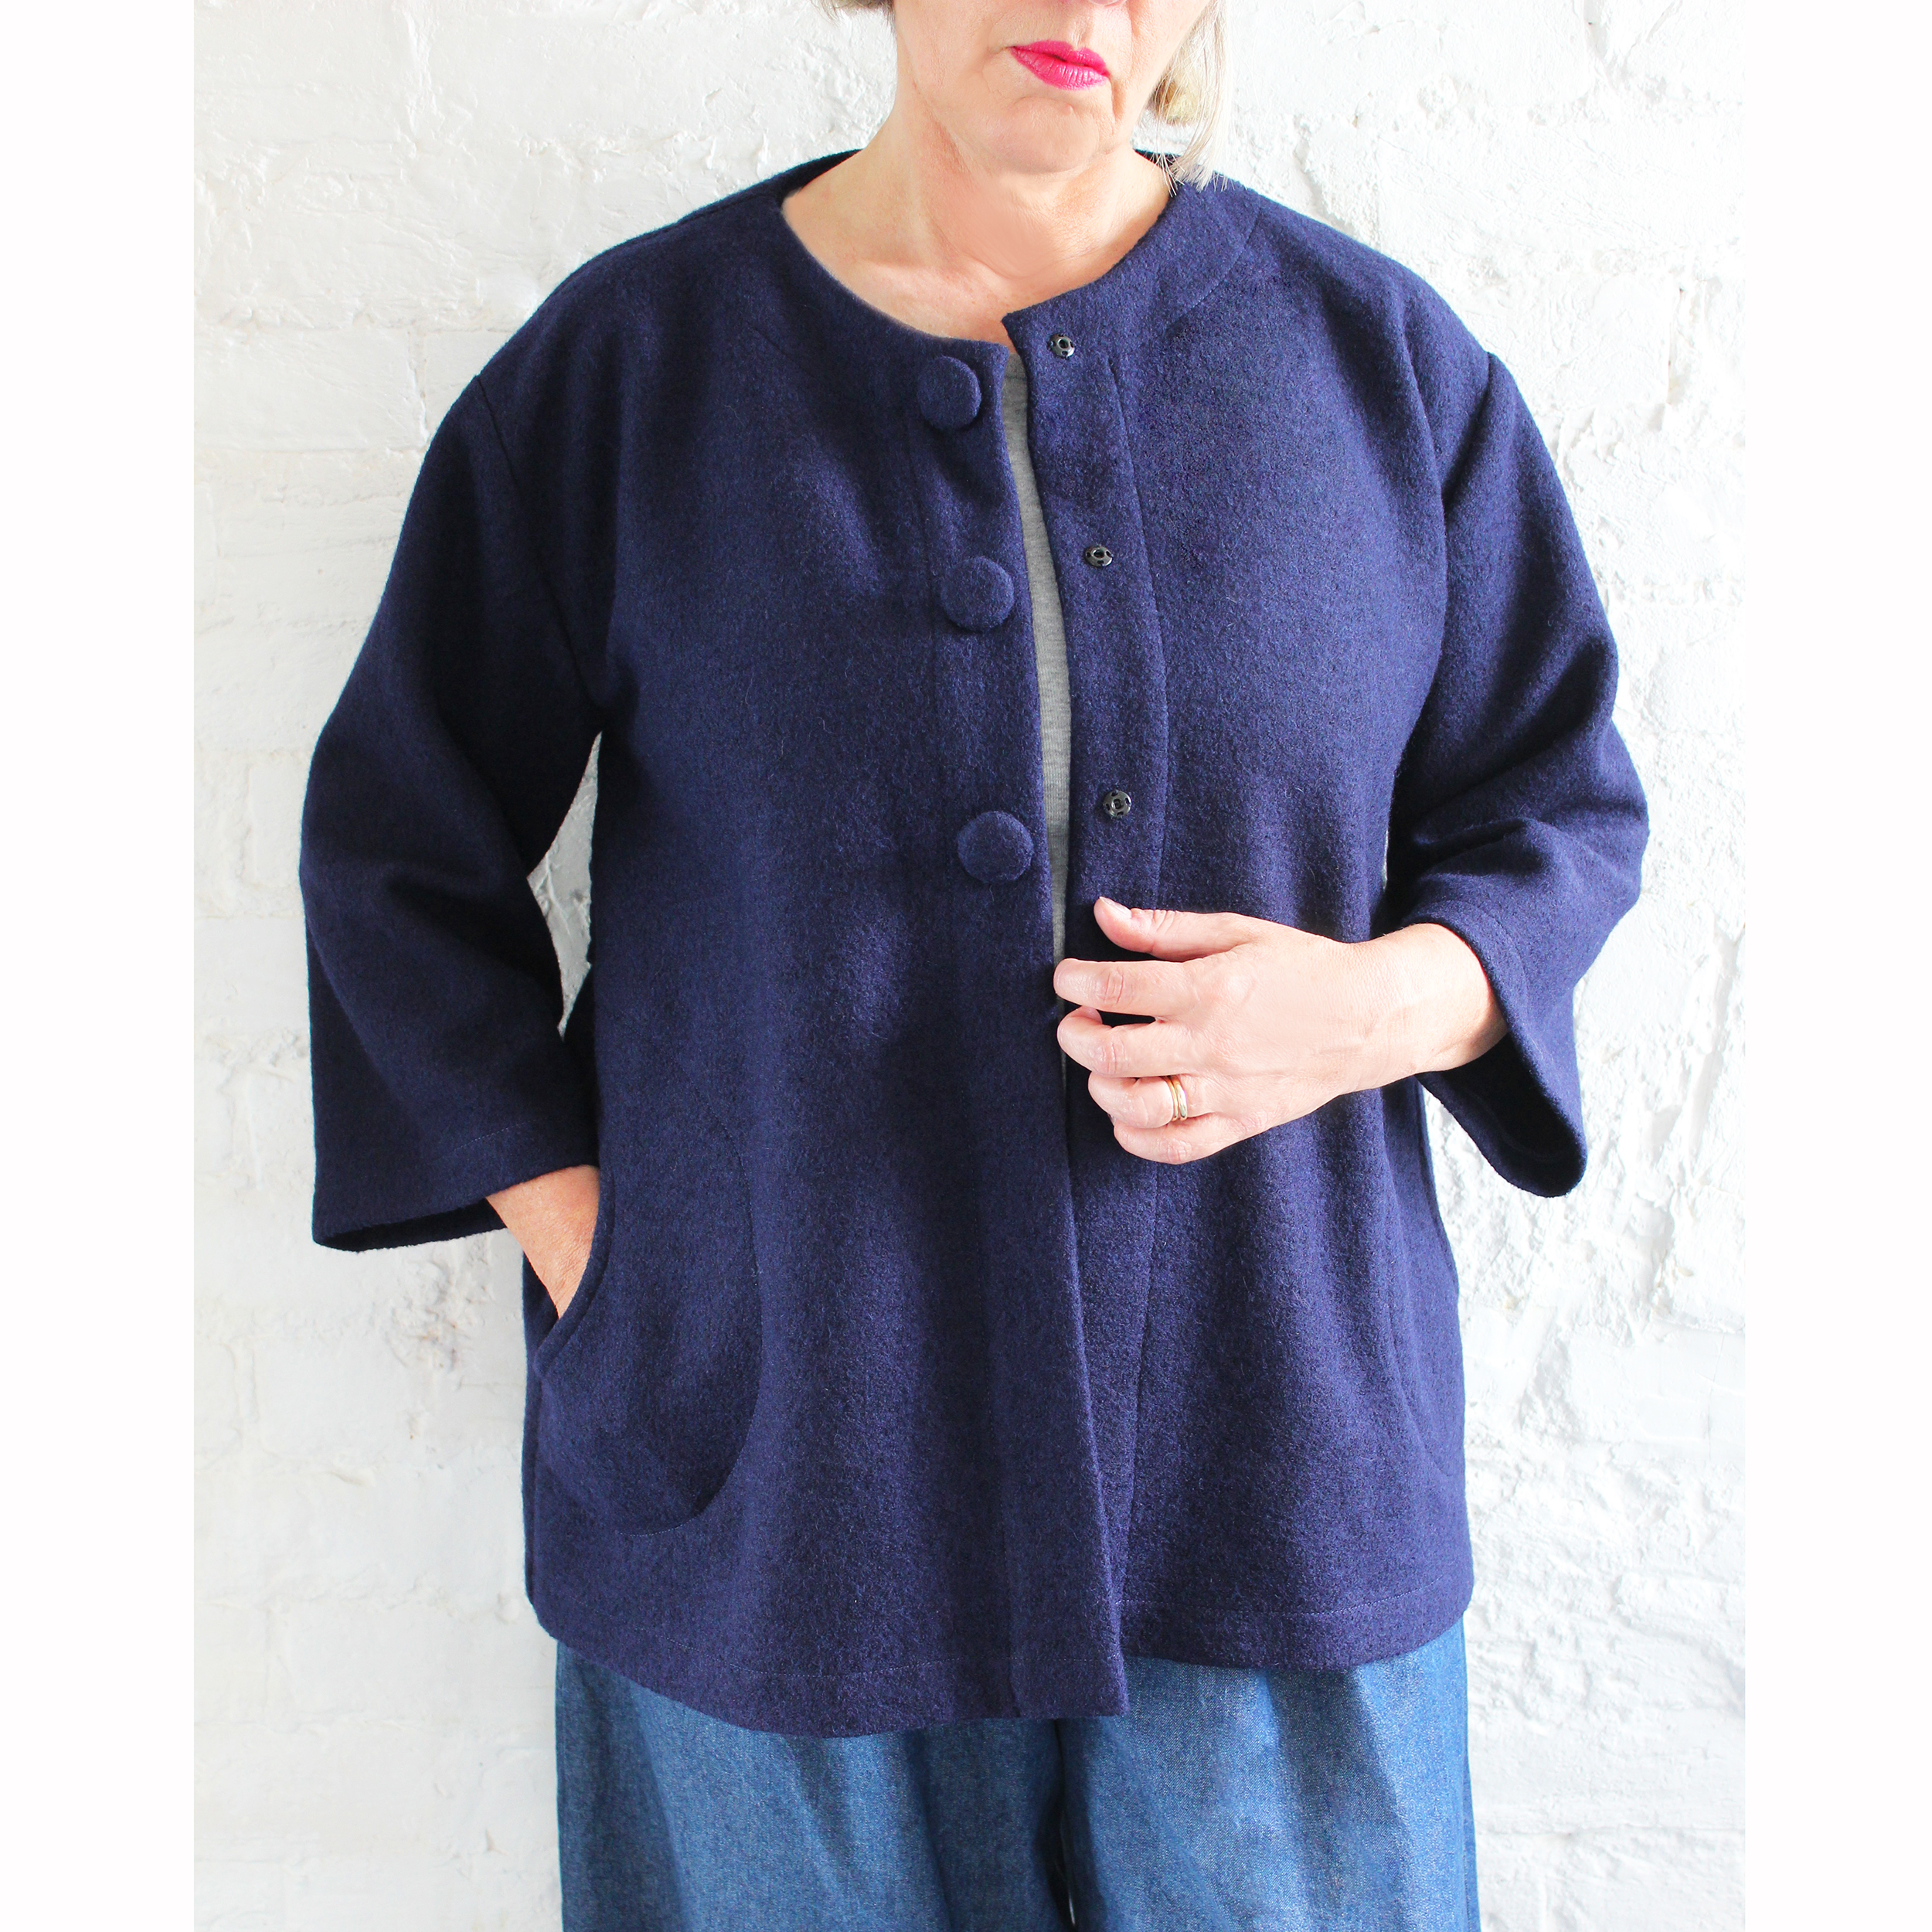 Short jacket version in boiled wool
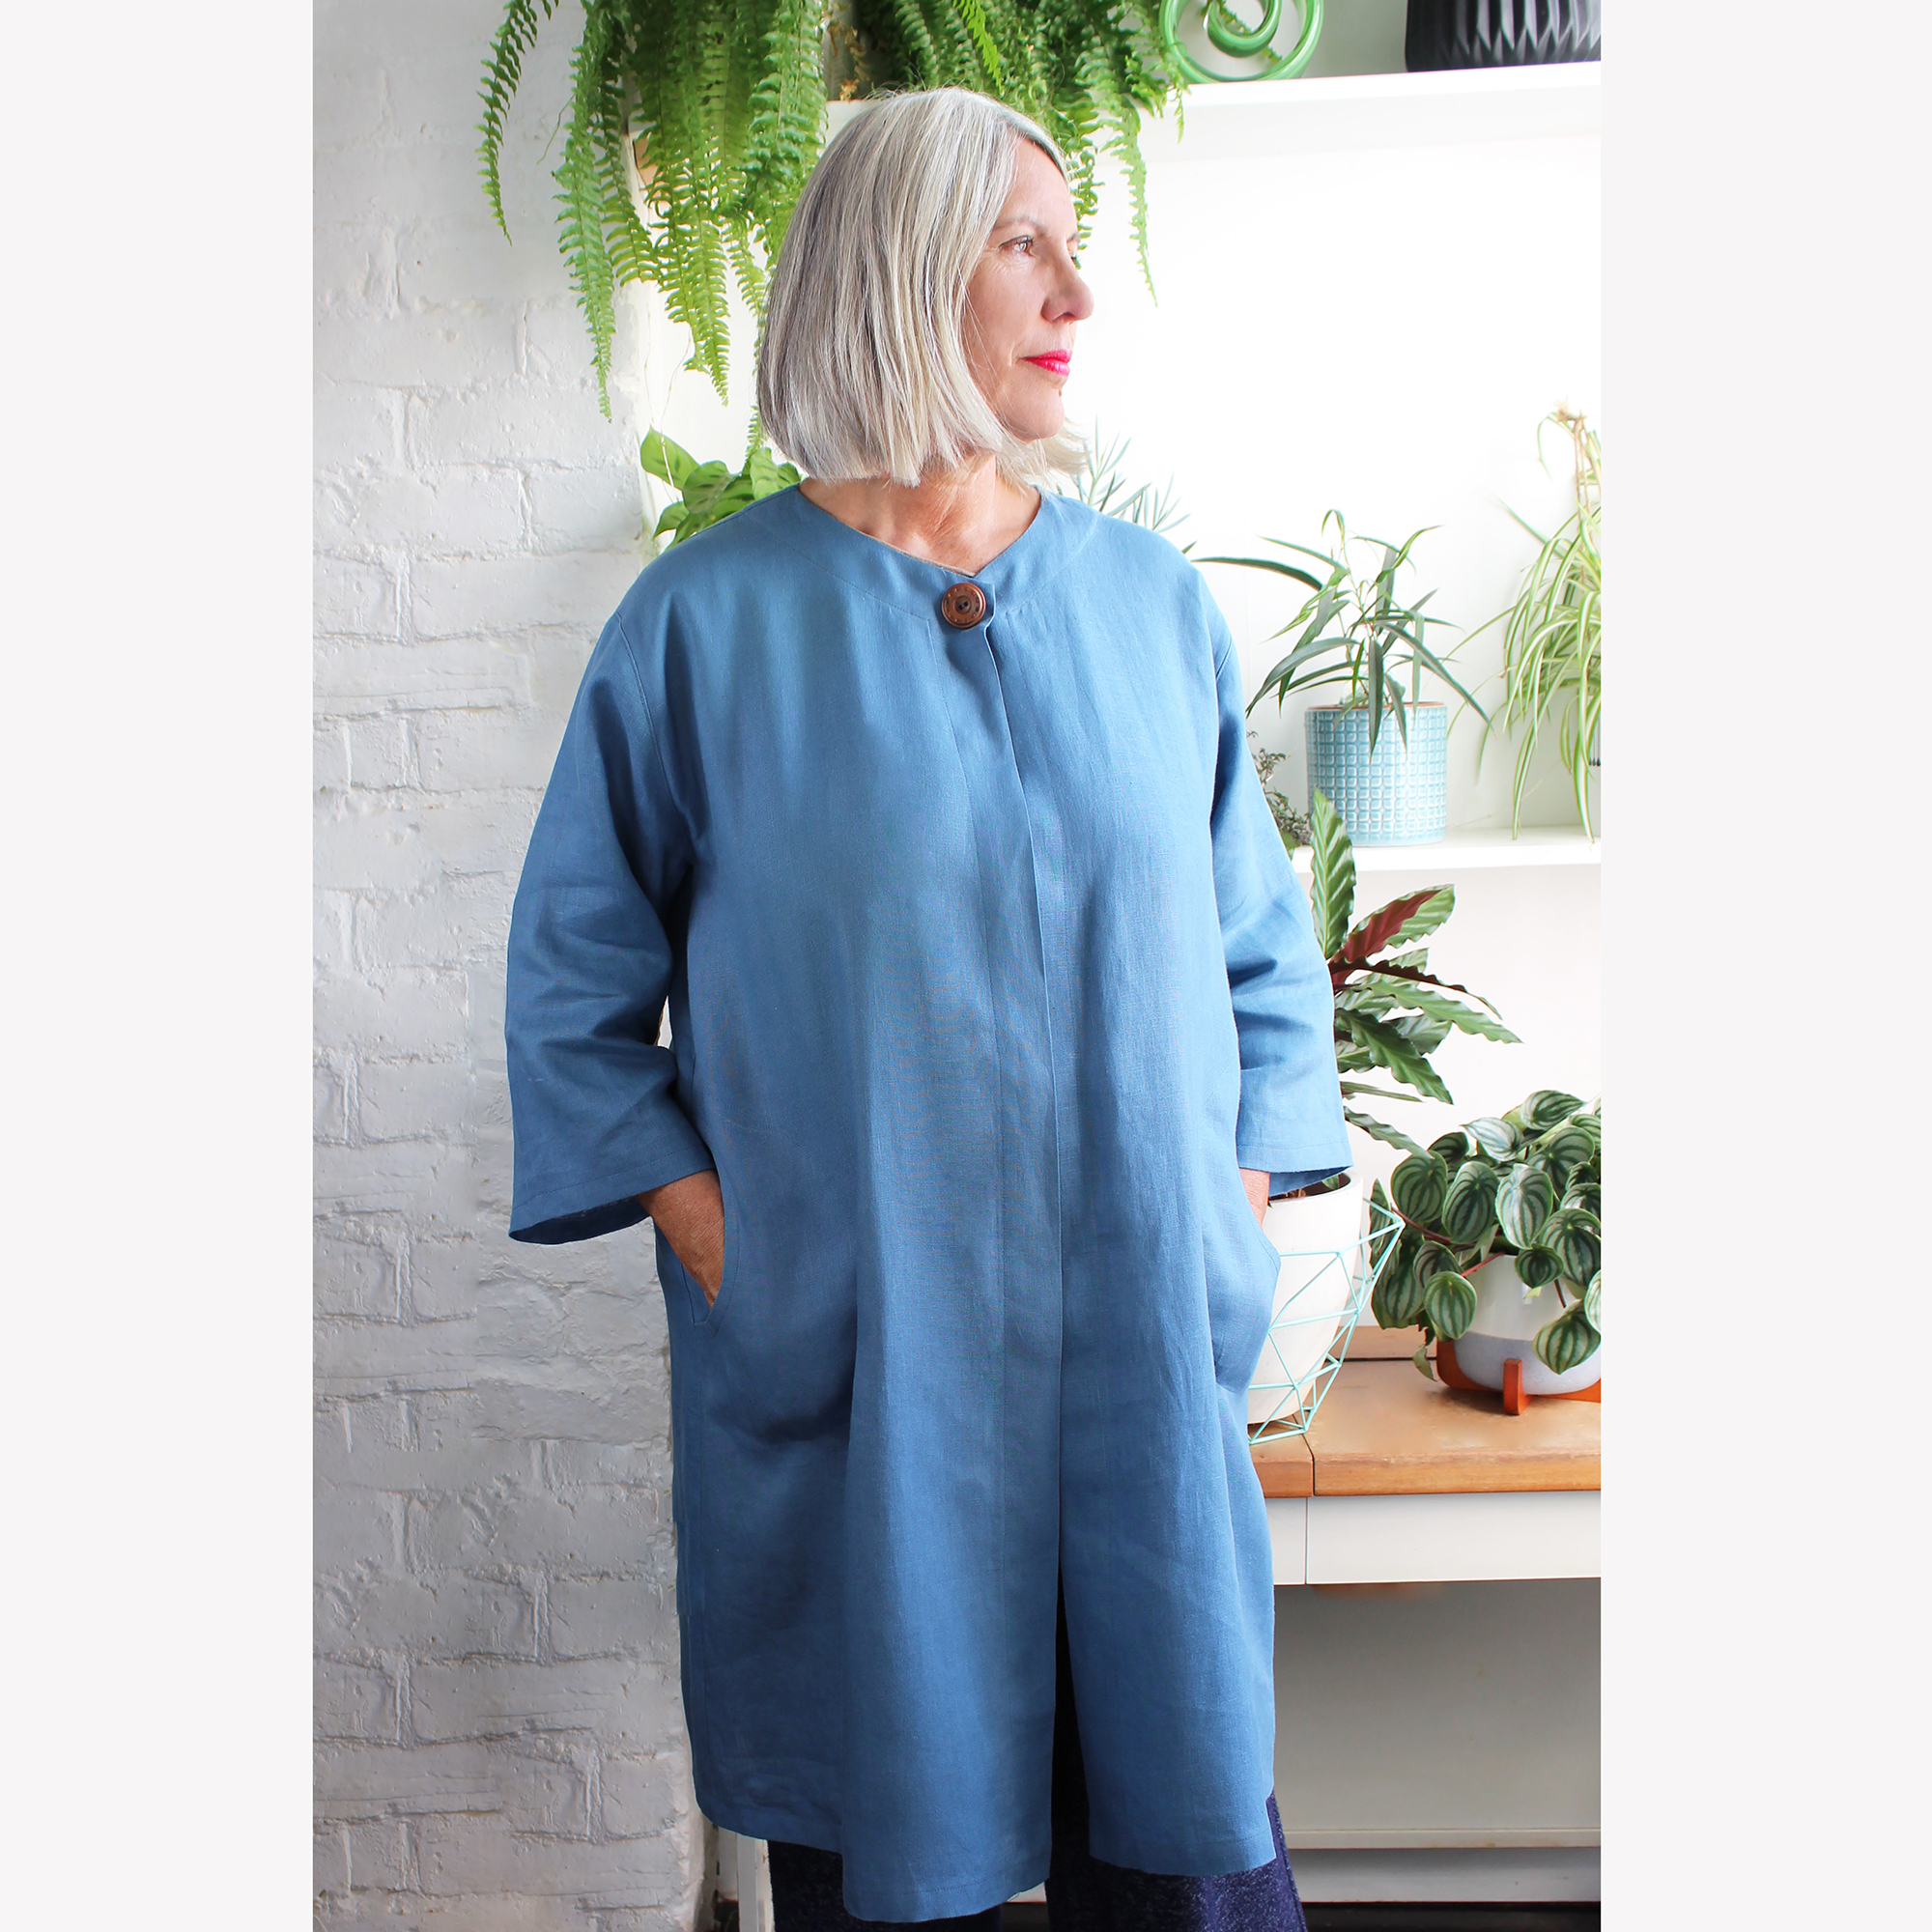 Ursula adopts a ‘duster coat’ style when made in linen as shown above.
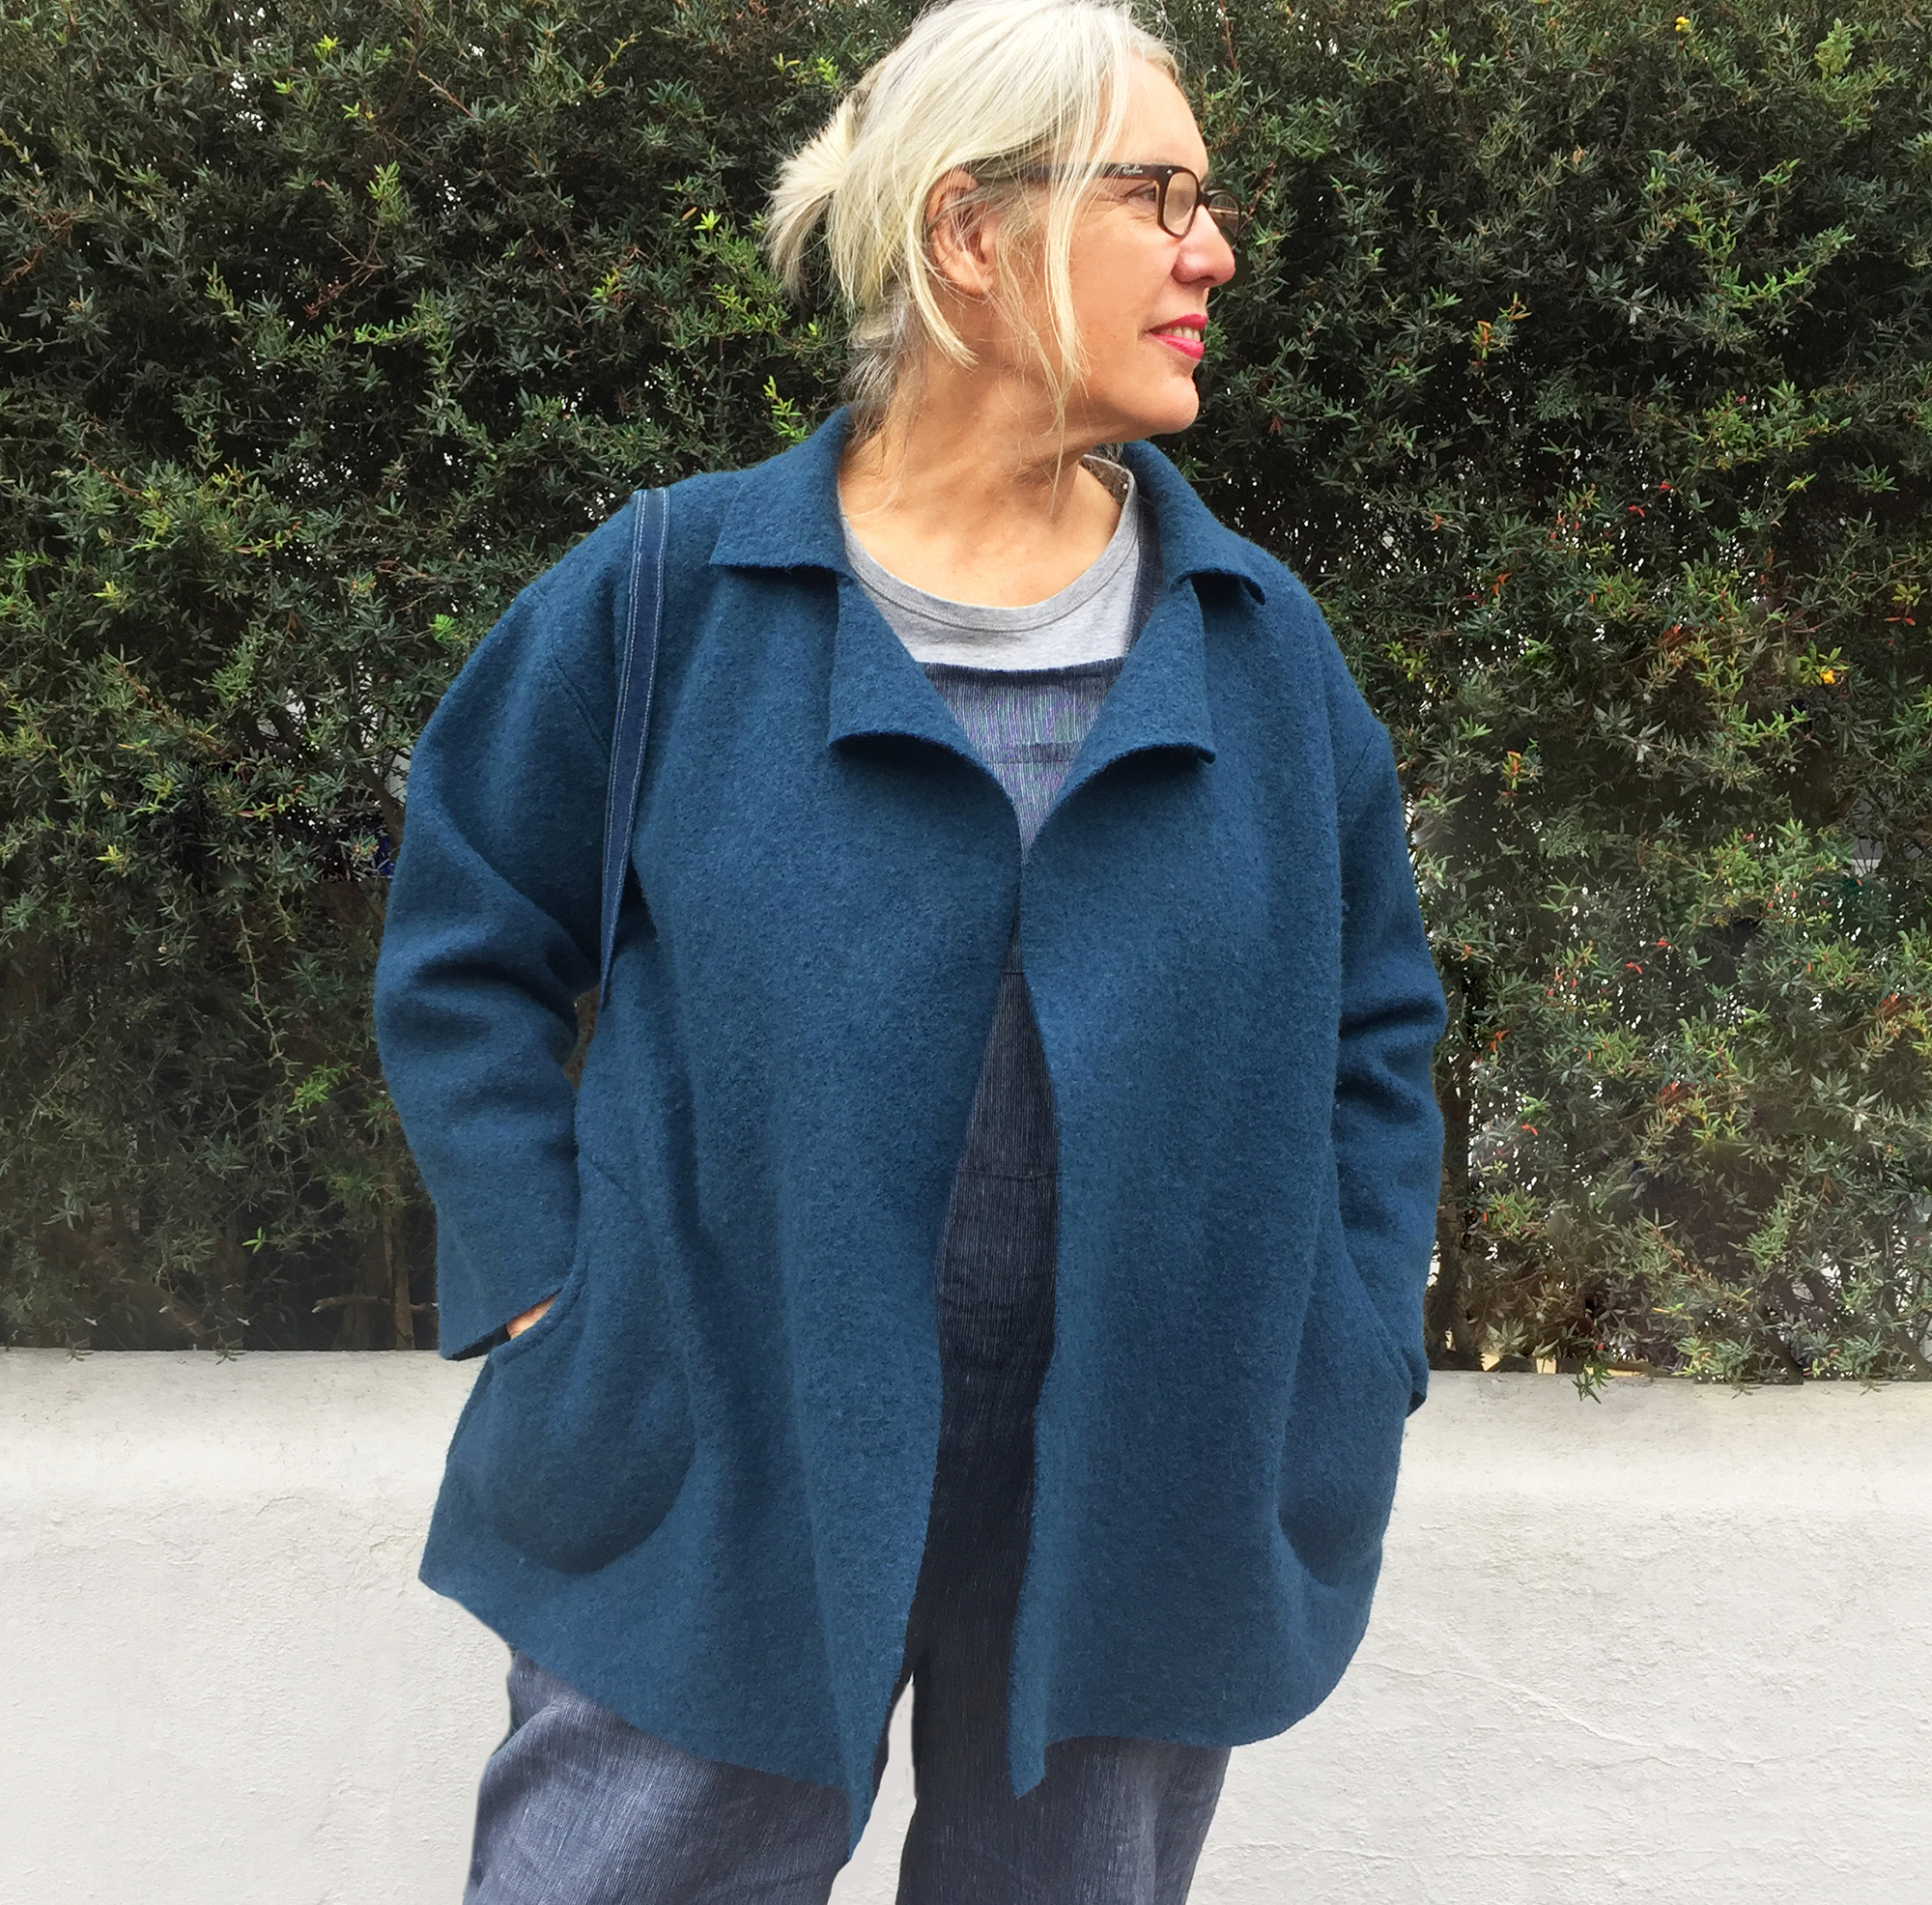
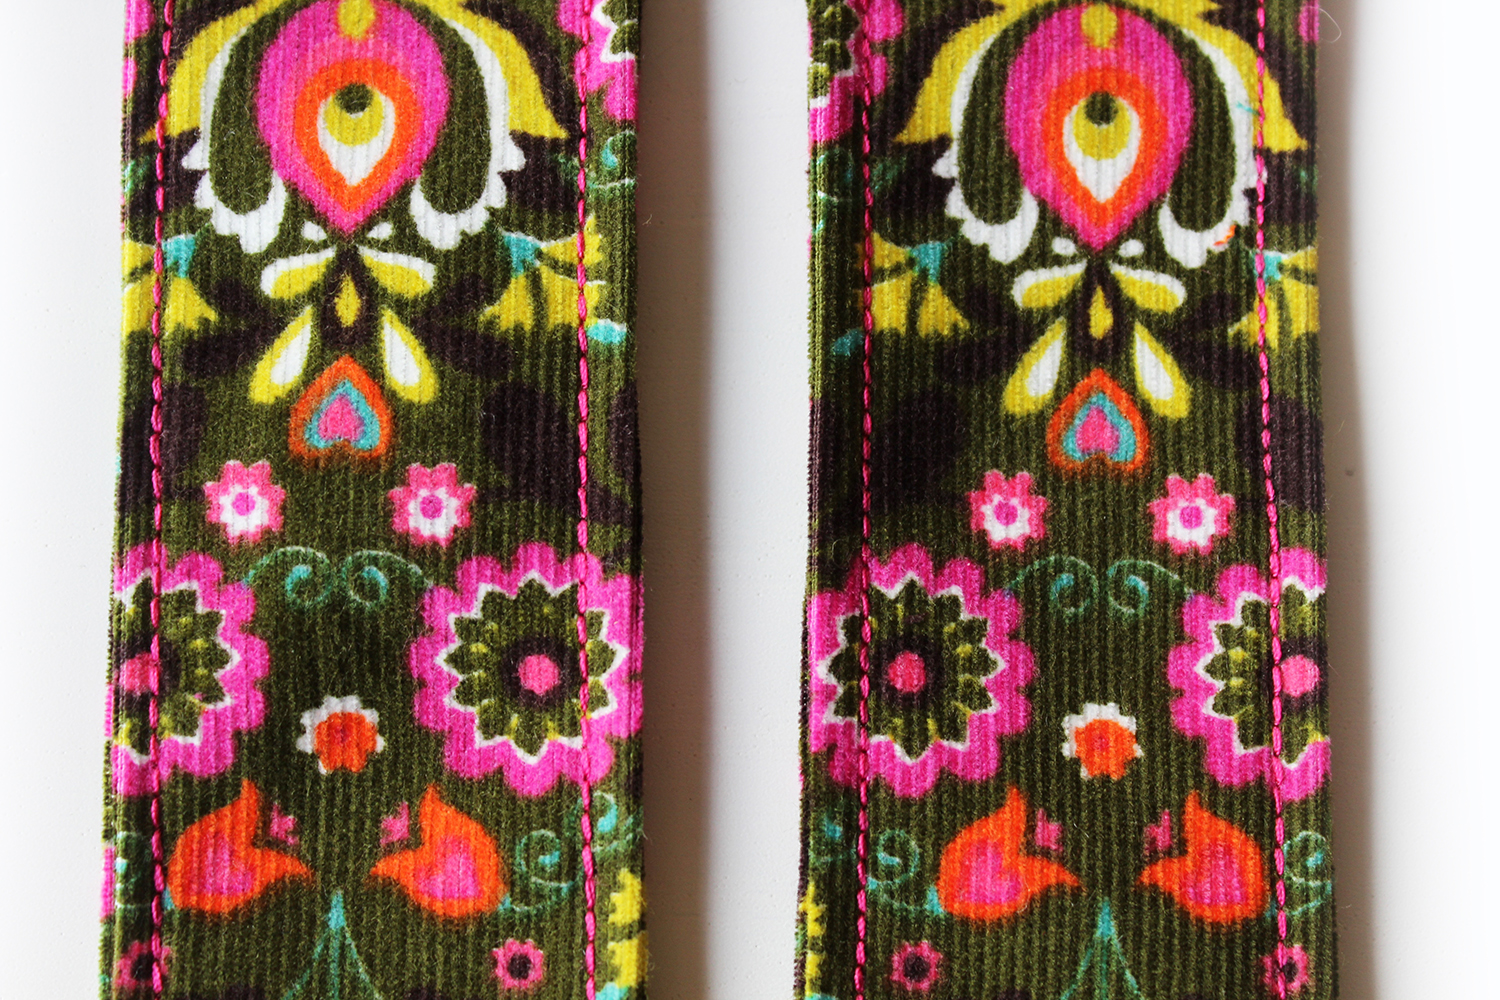
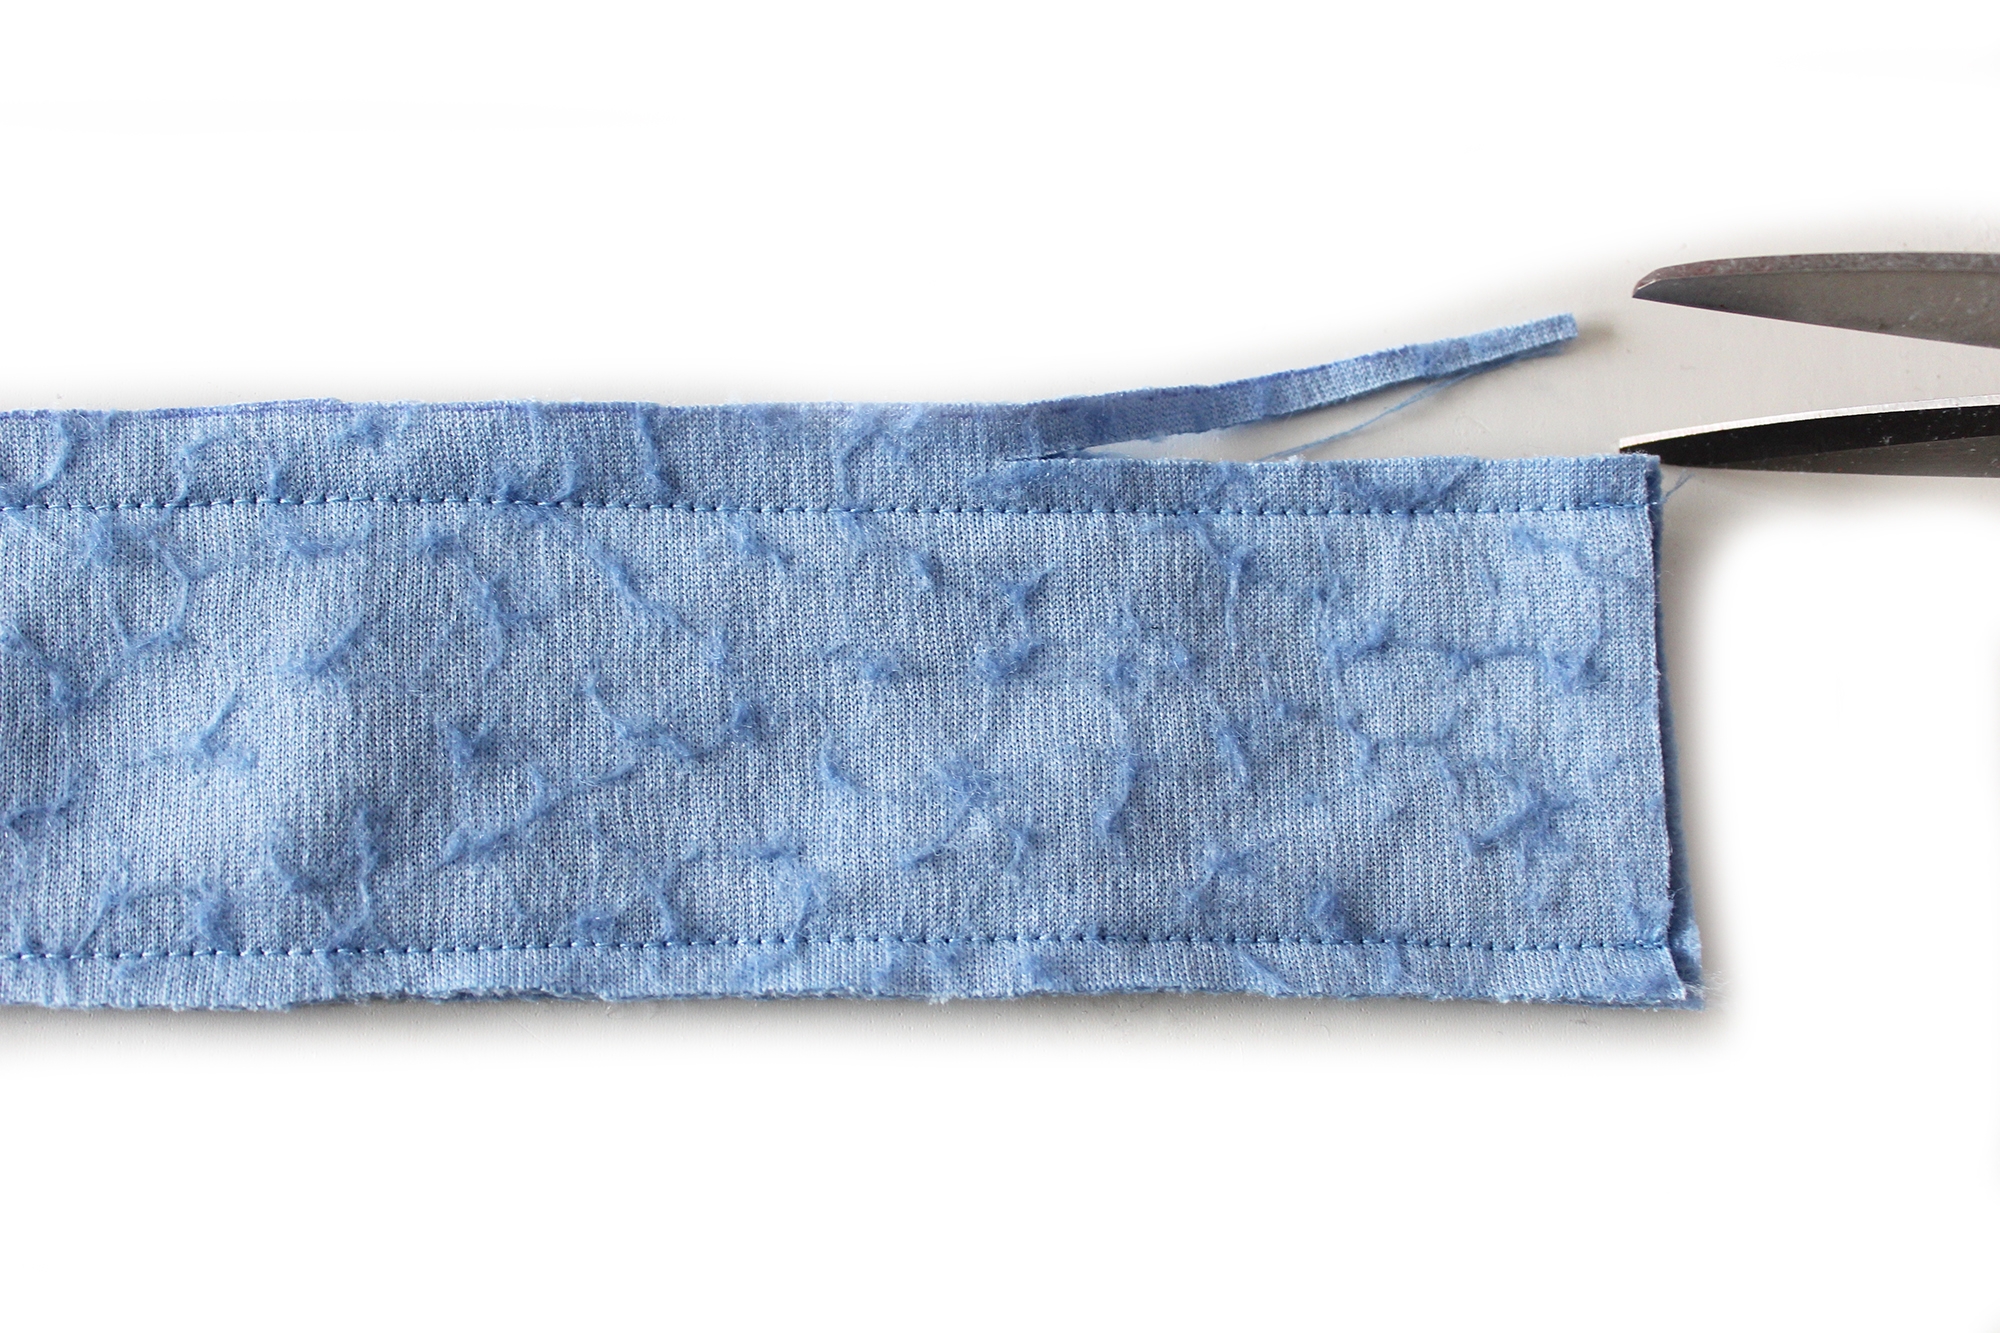 The Back belt is optional but I think its nice feature to the rear angle! Stitch down each side, then turn inside out. Press.
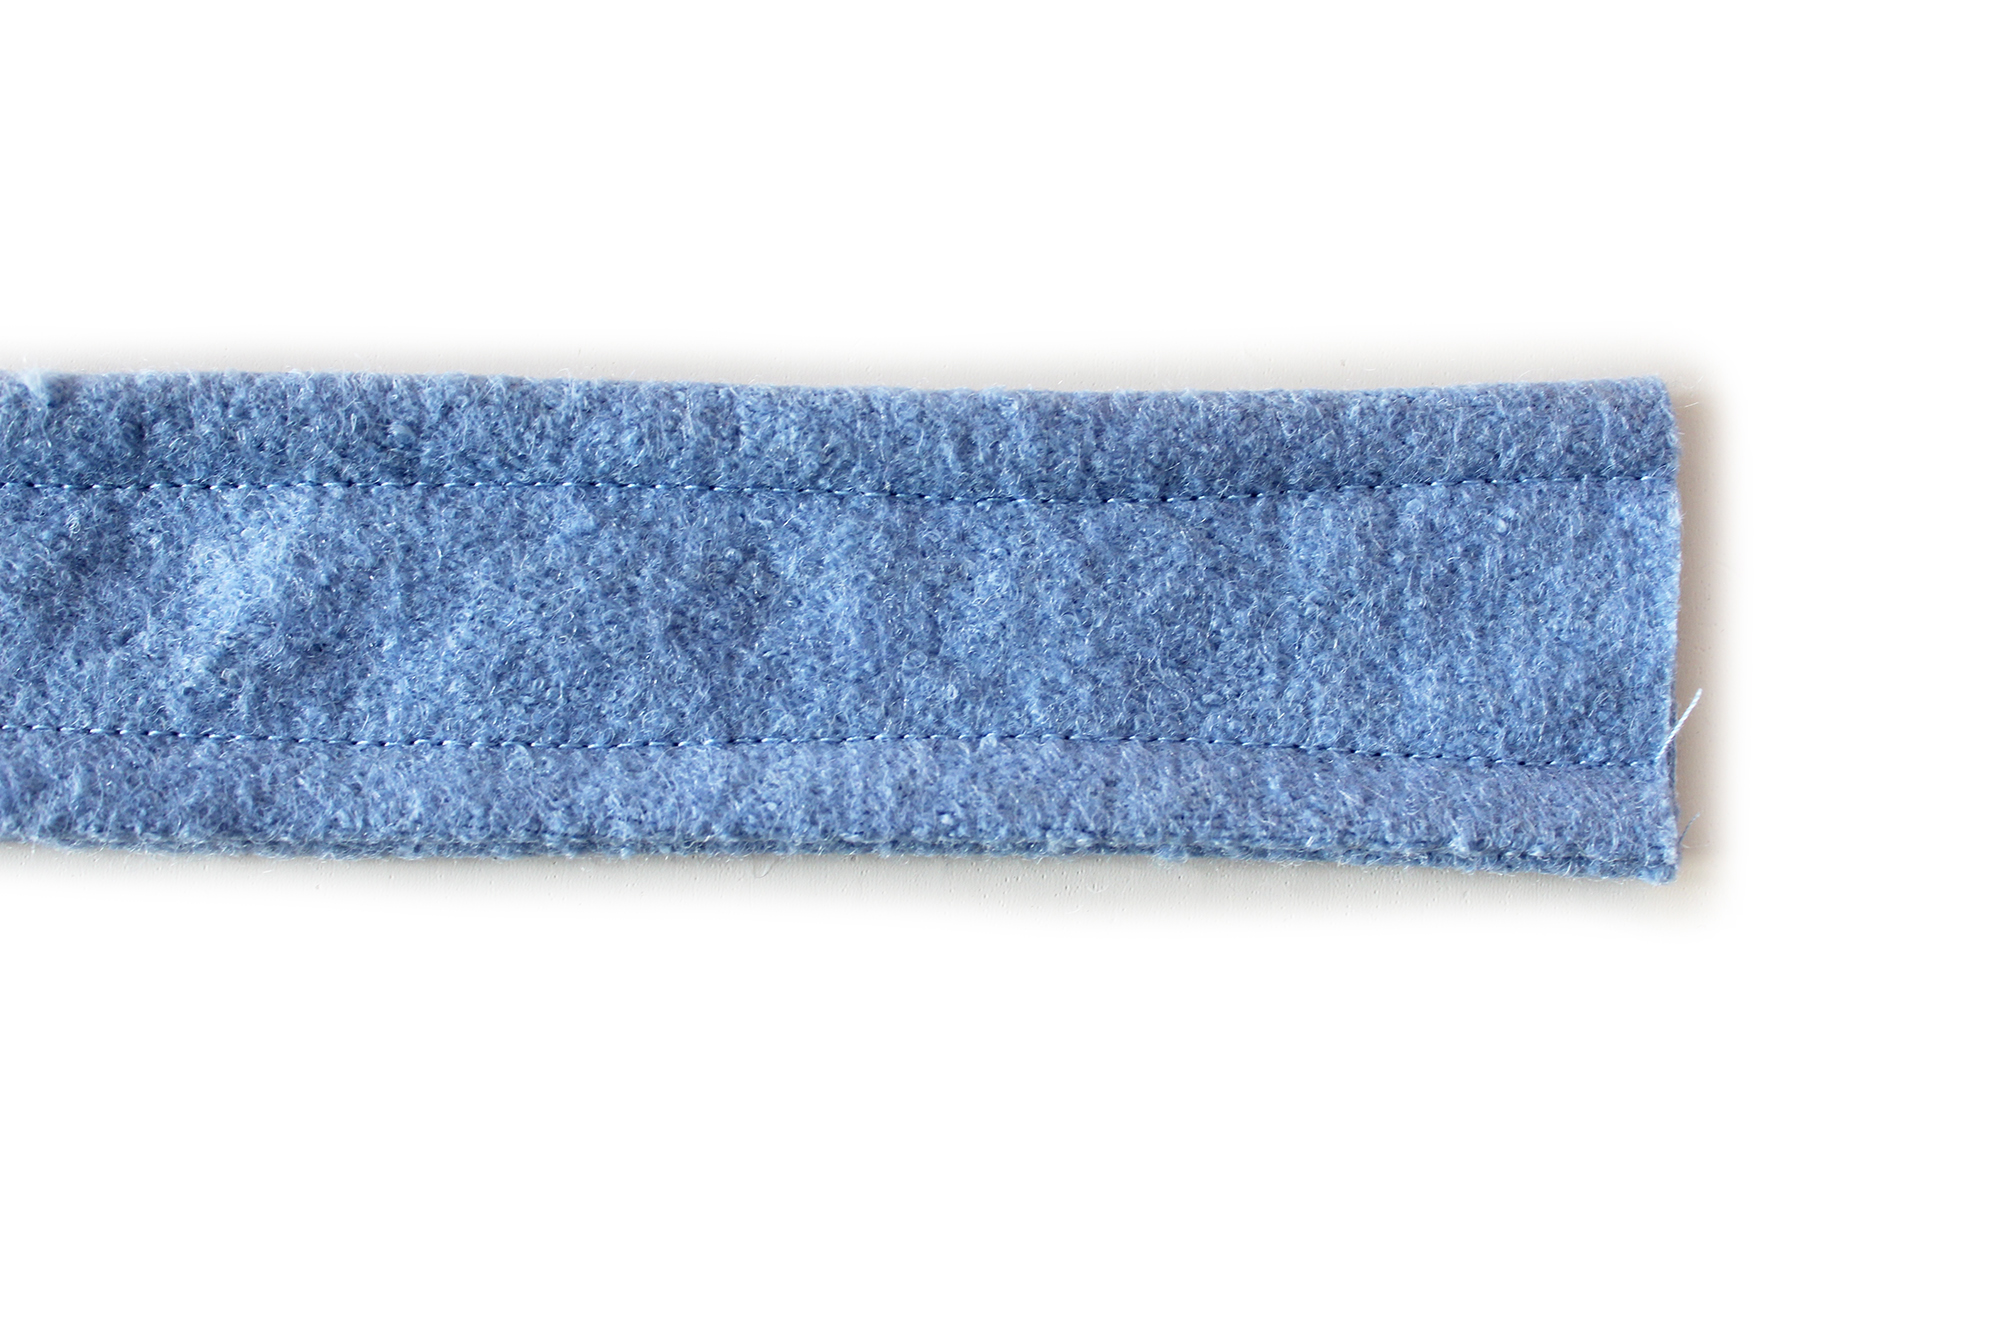 Top stitch down each side.
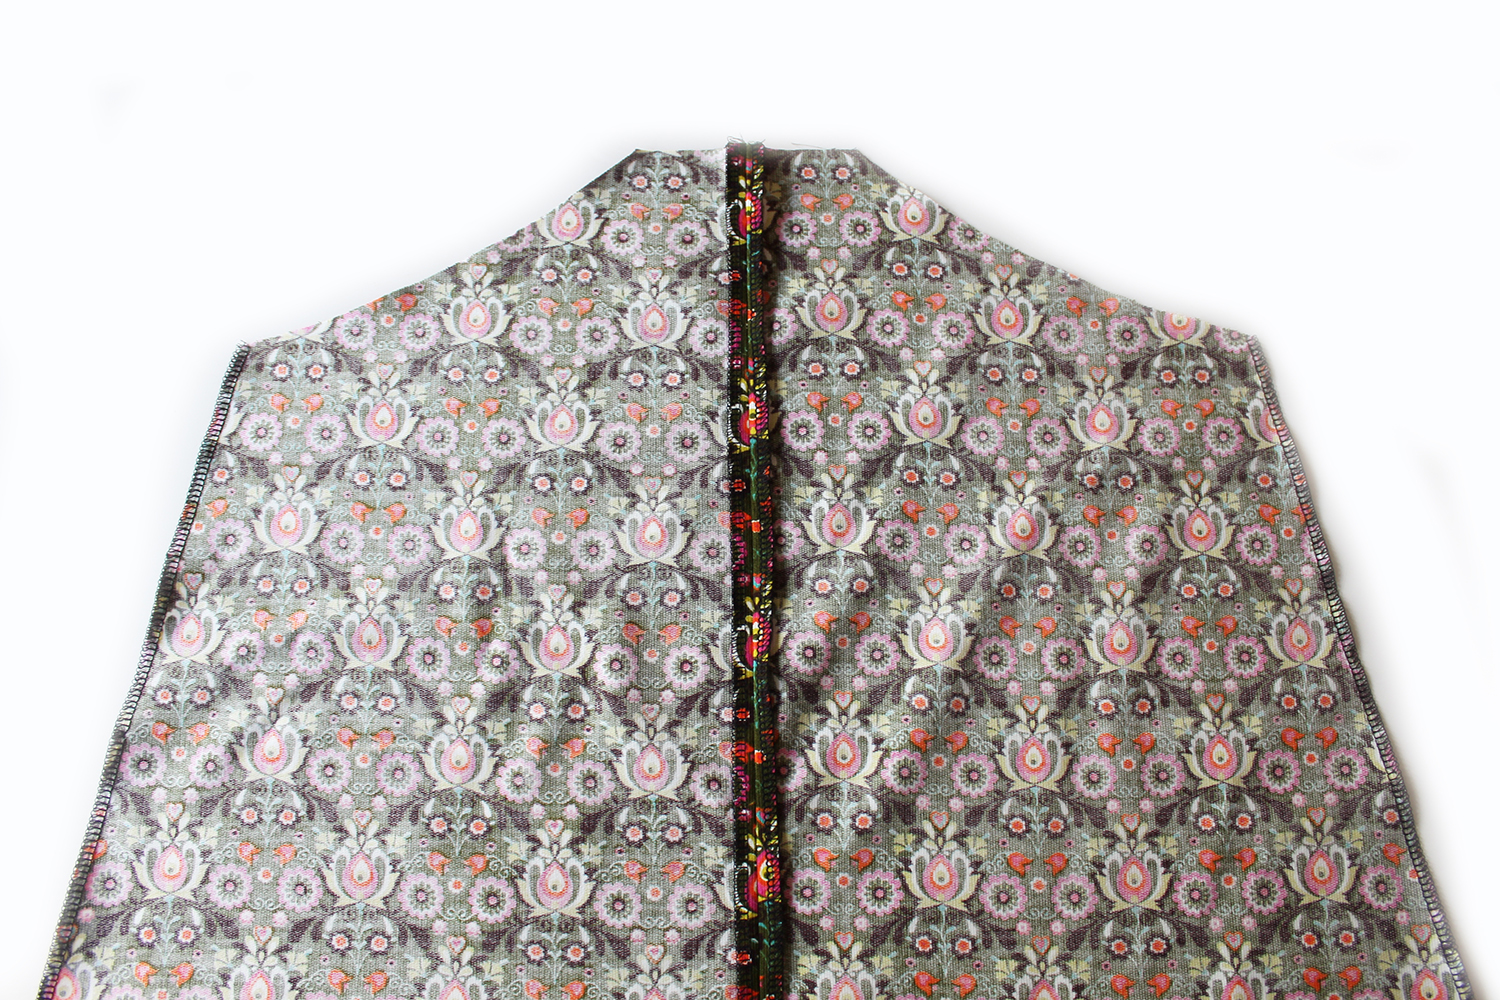
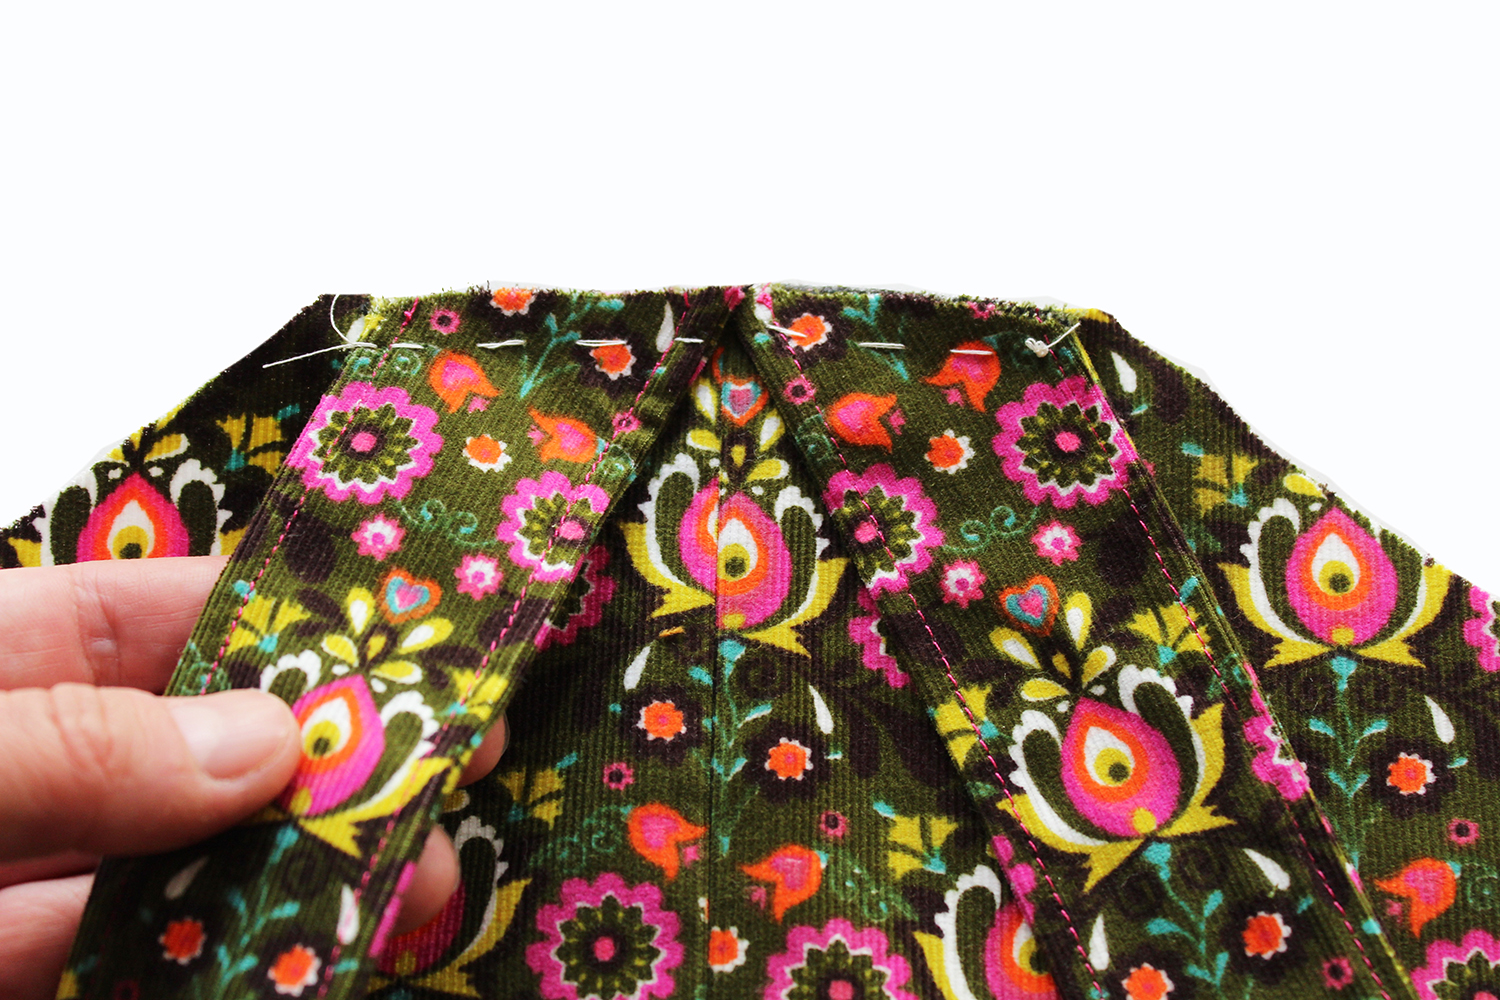
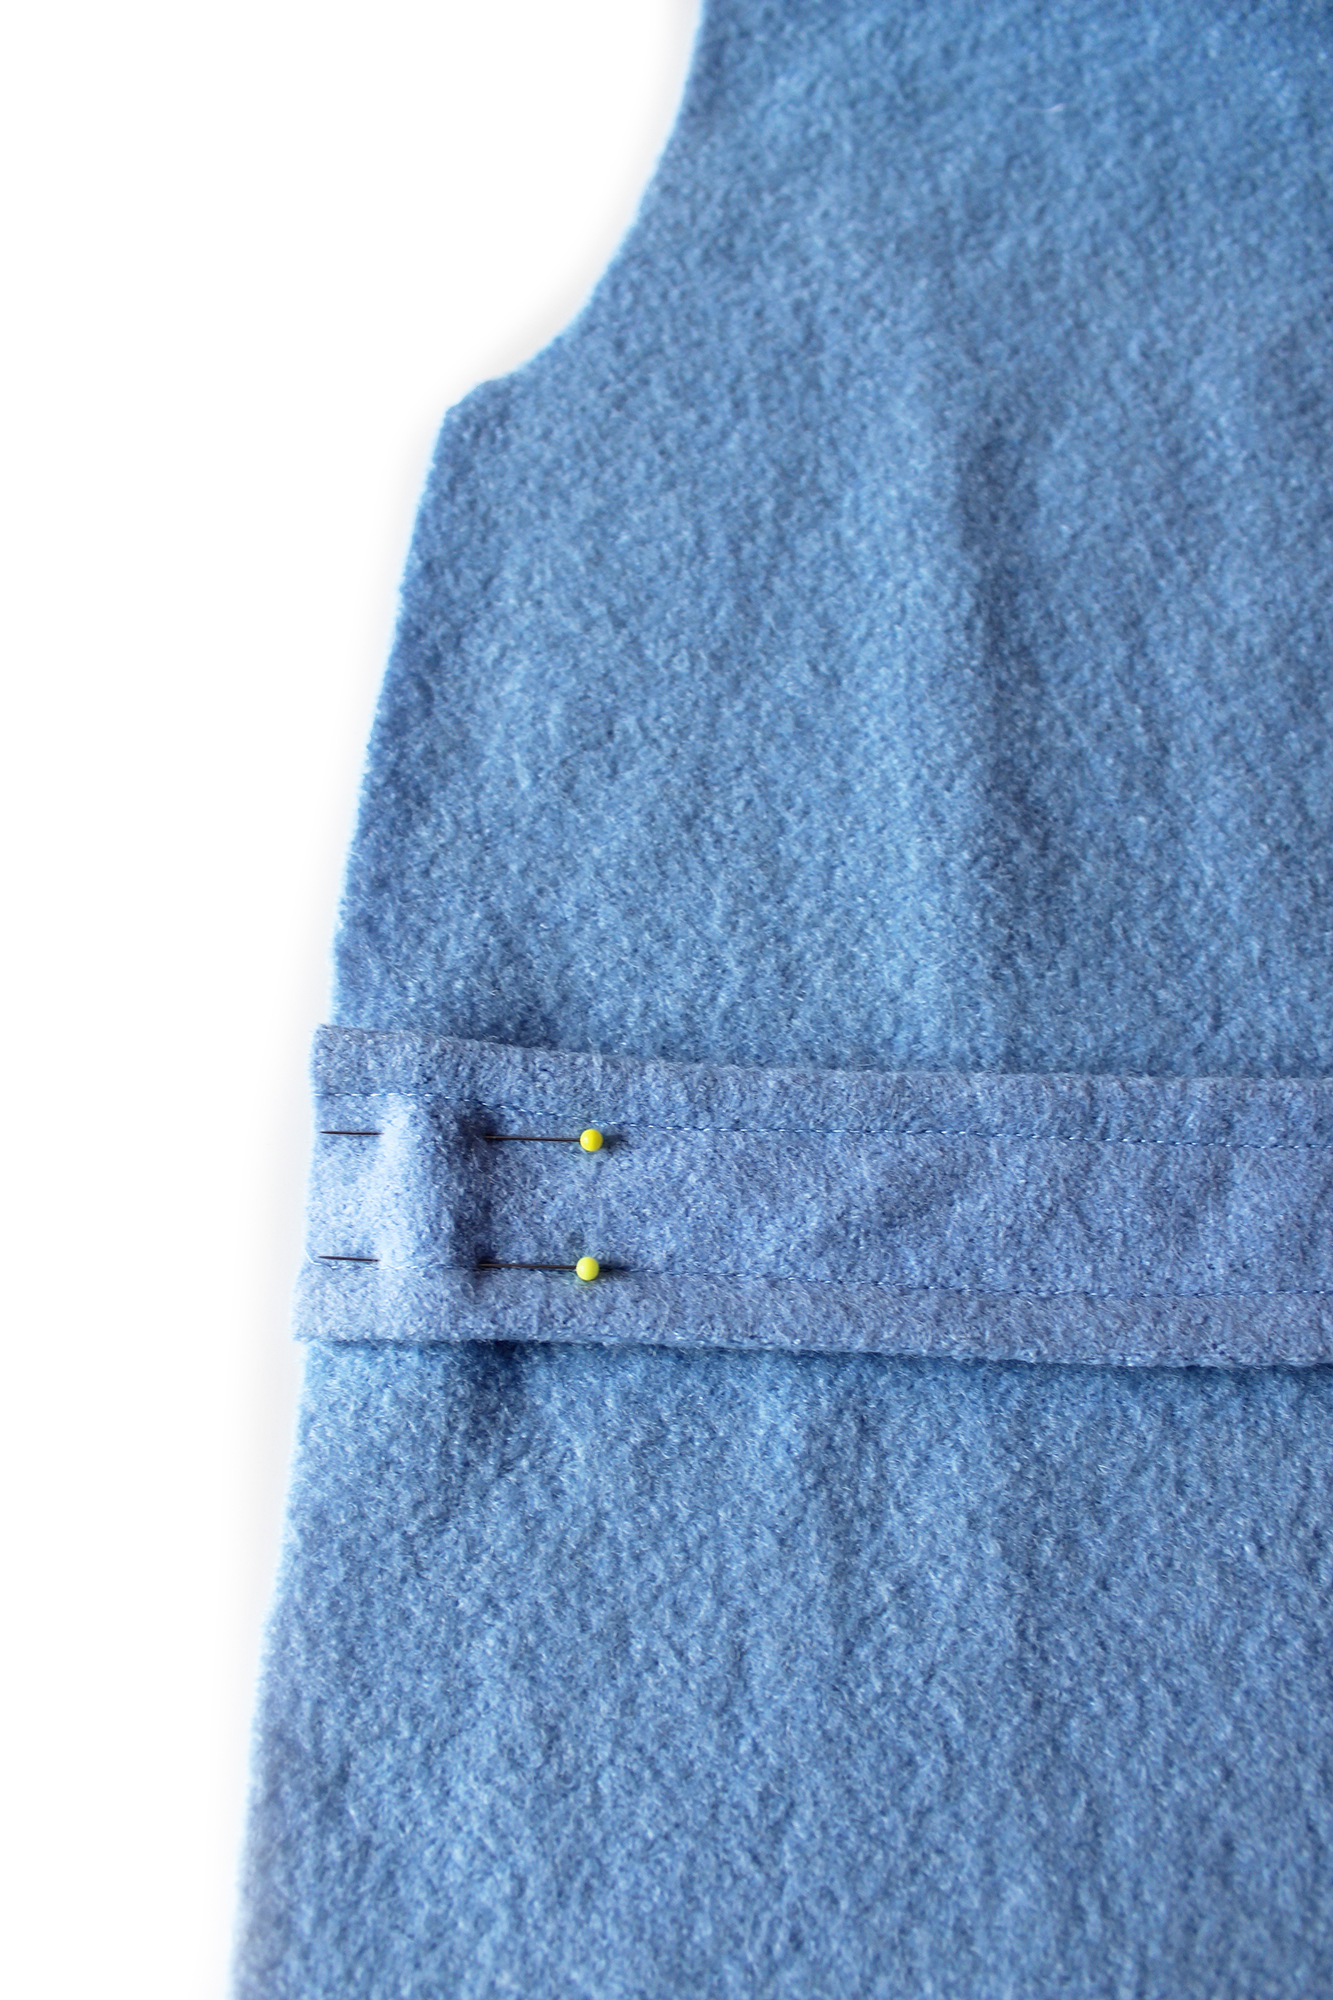 Pin the back belt to the back piece at each side. Machine tack within the seam allowance.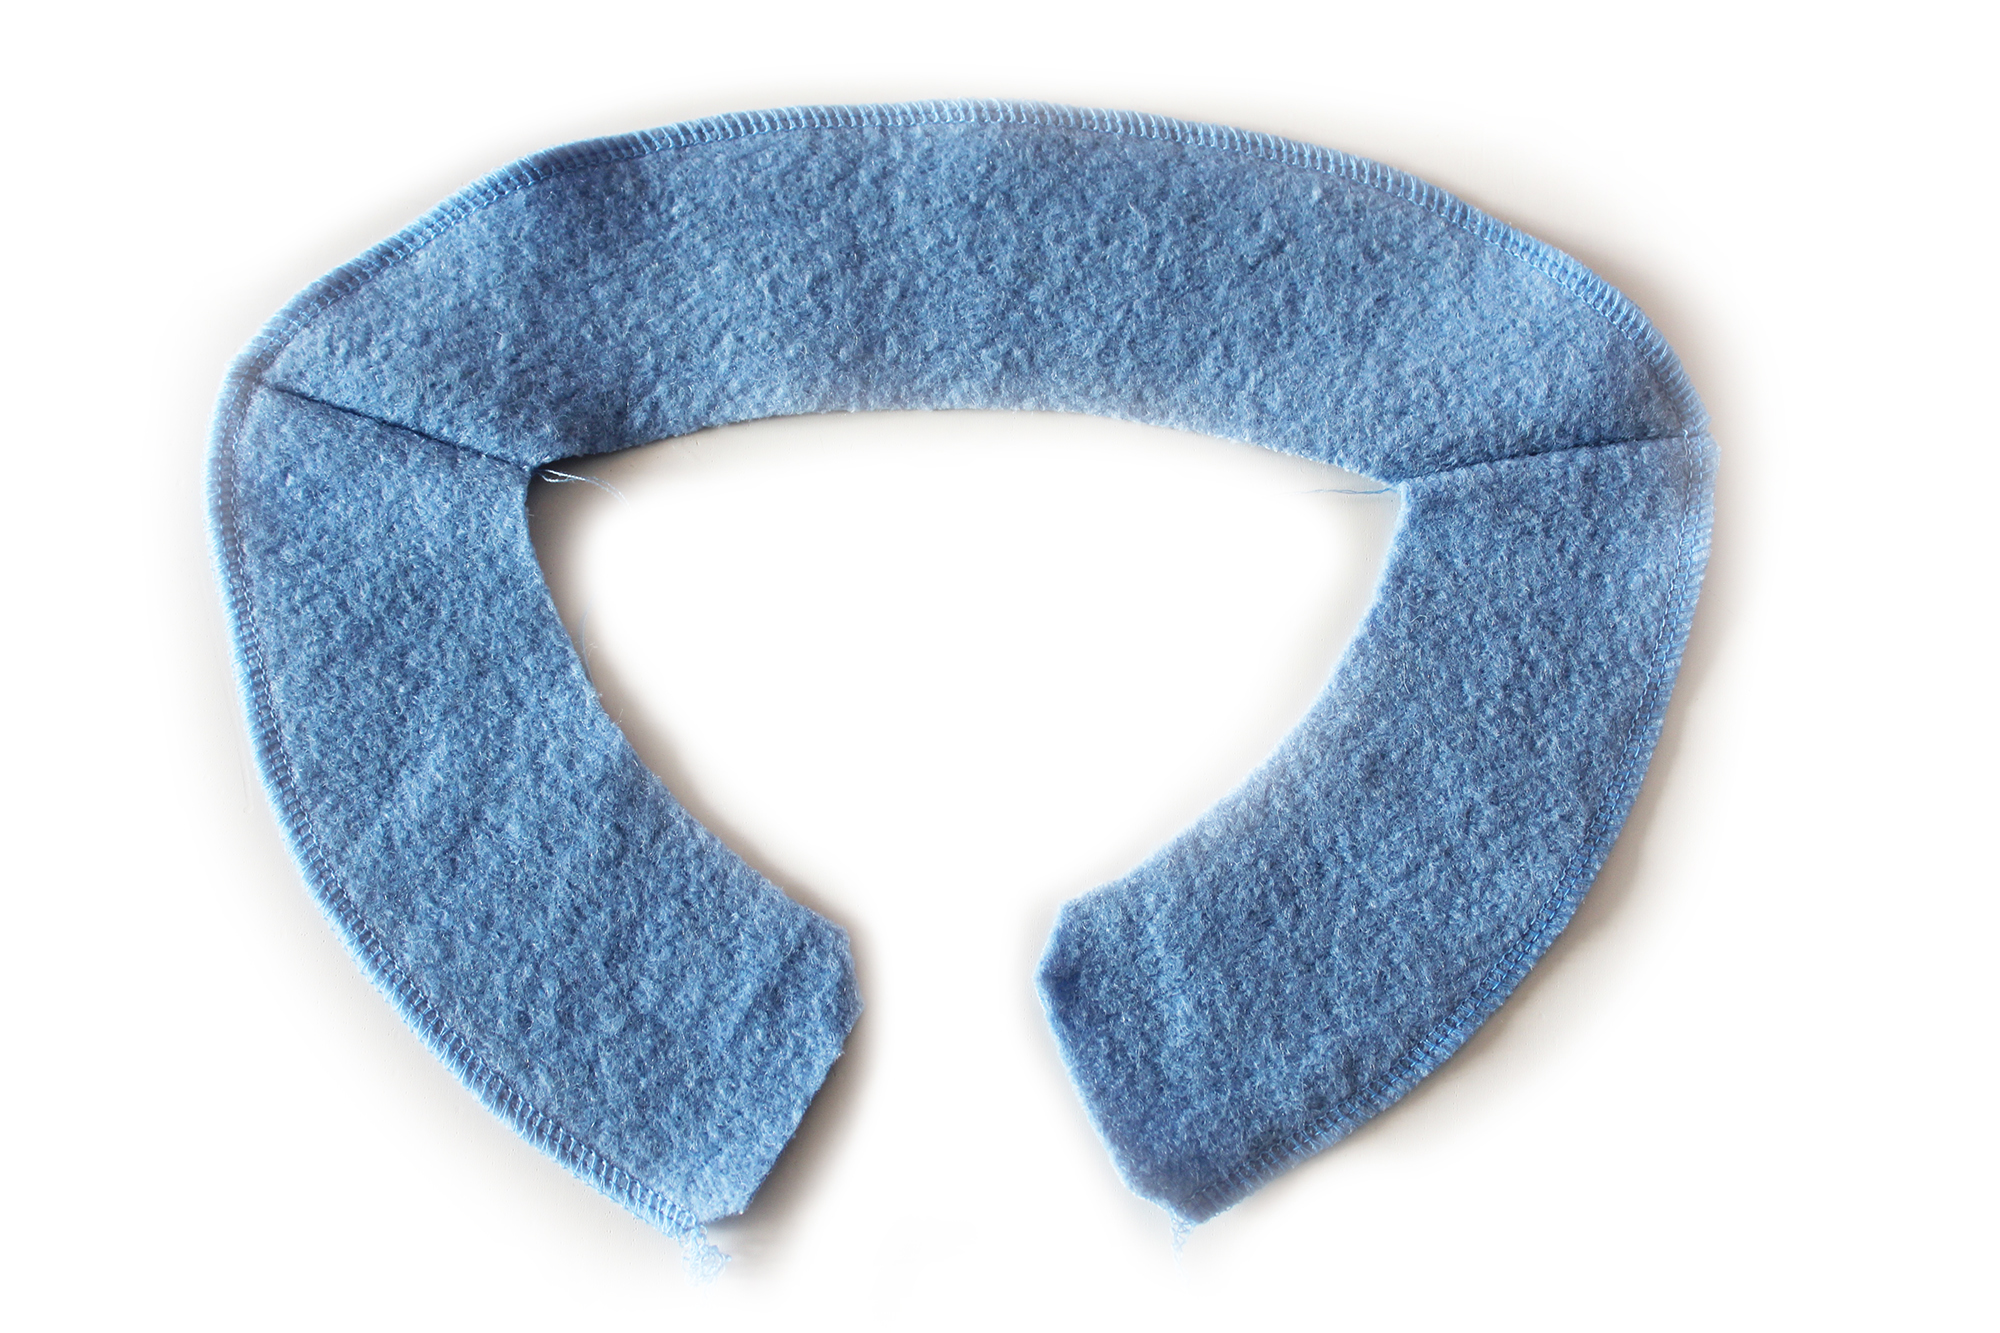
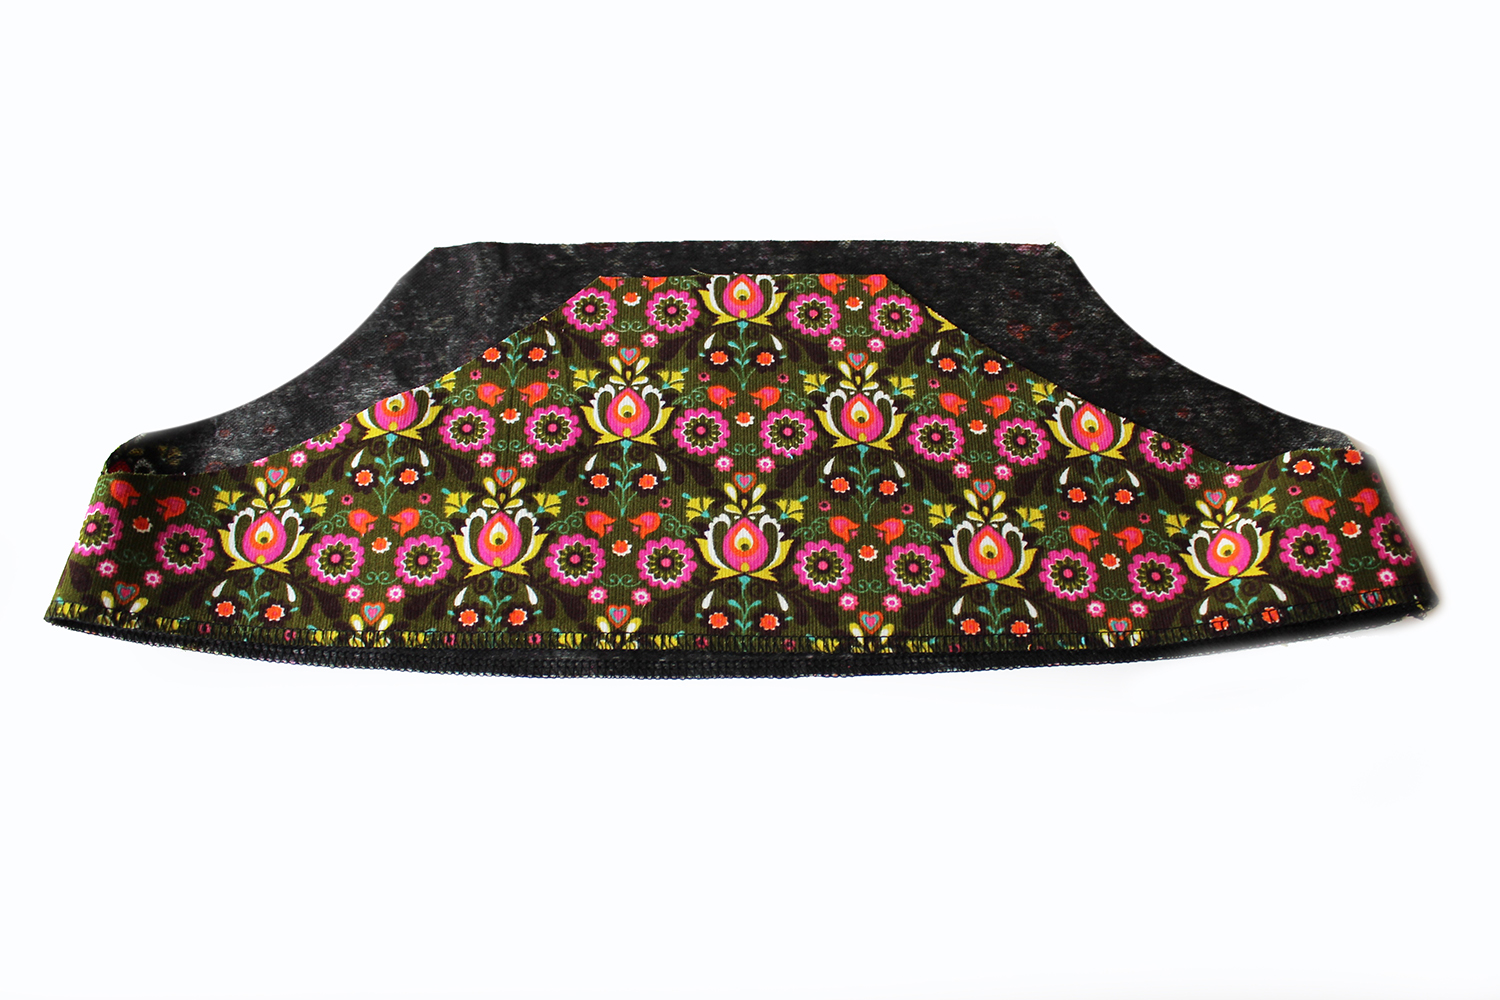
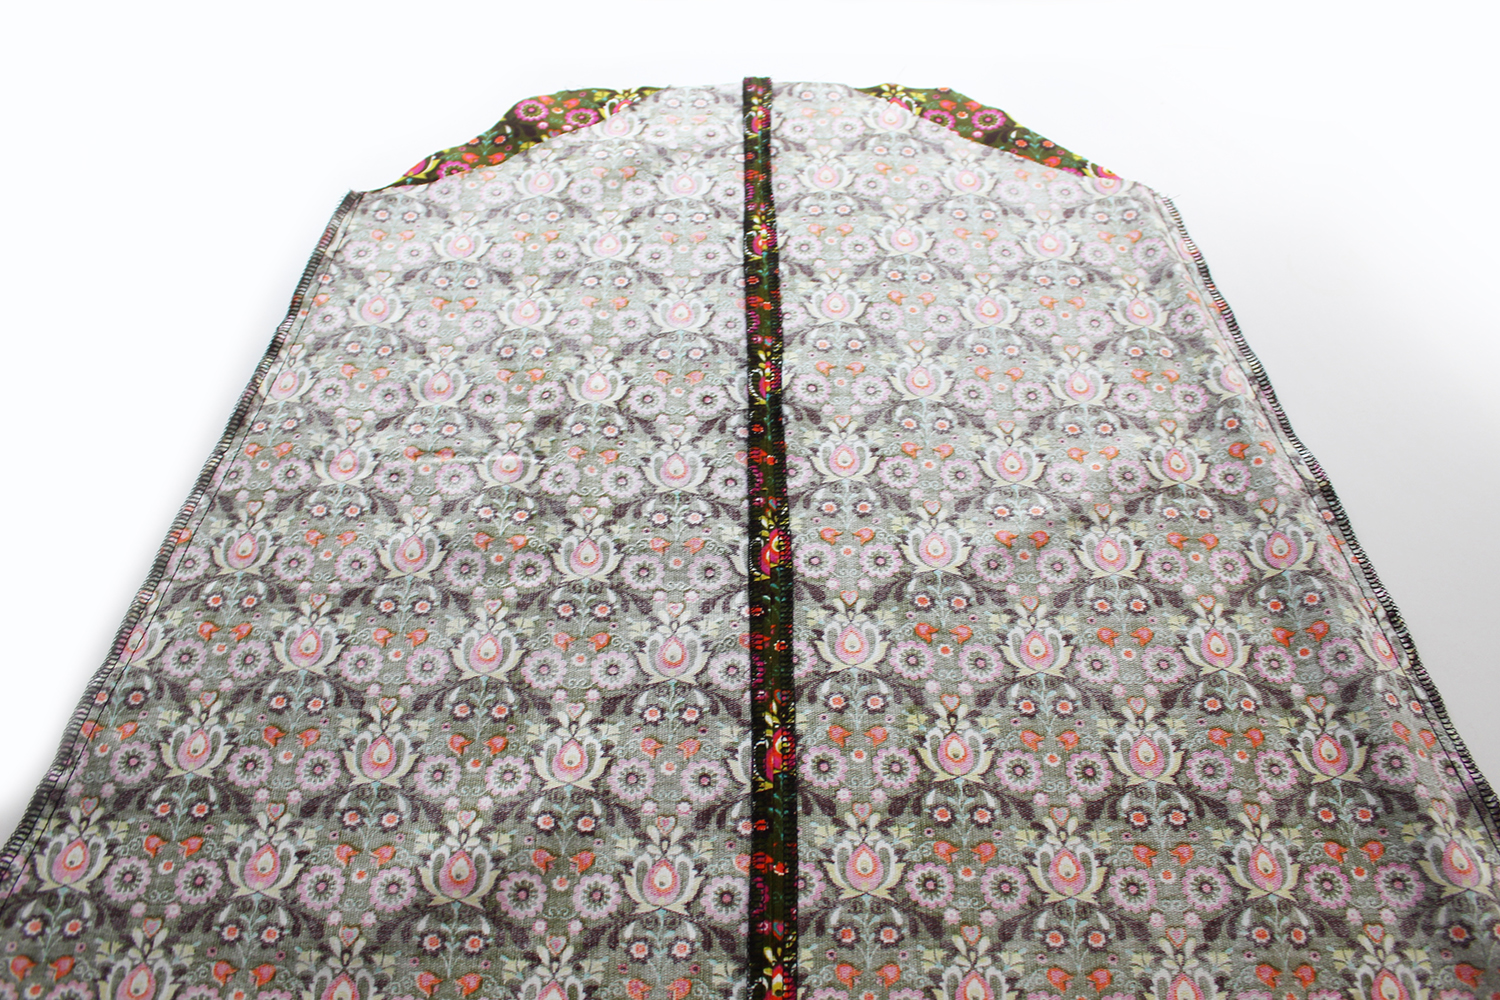
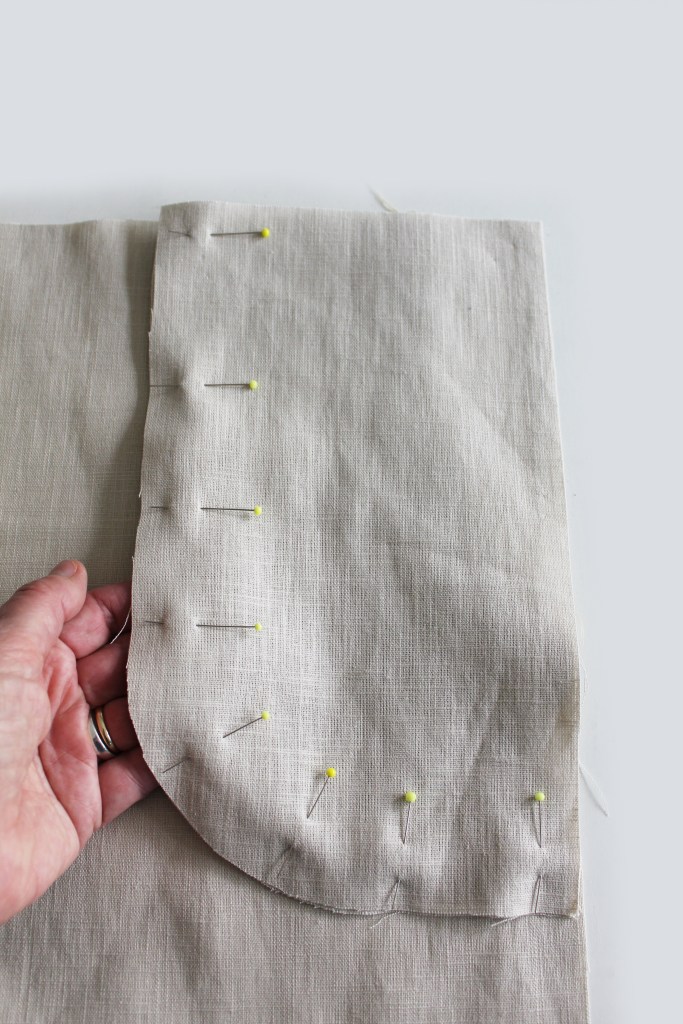
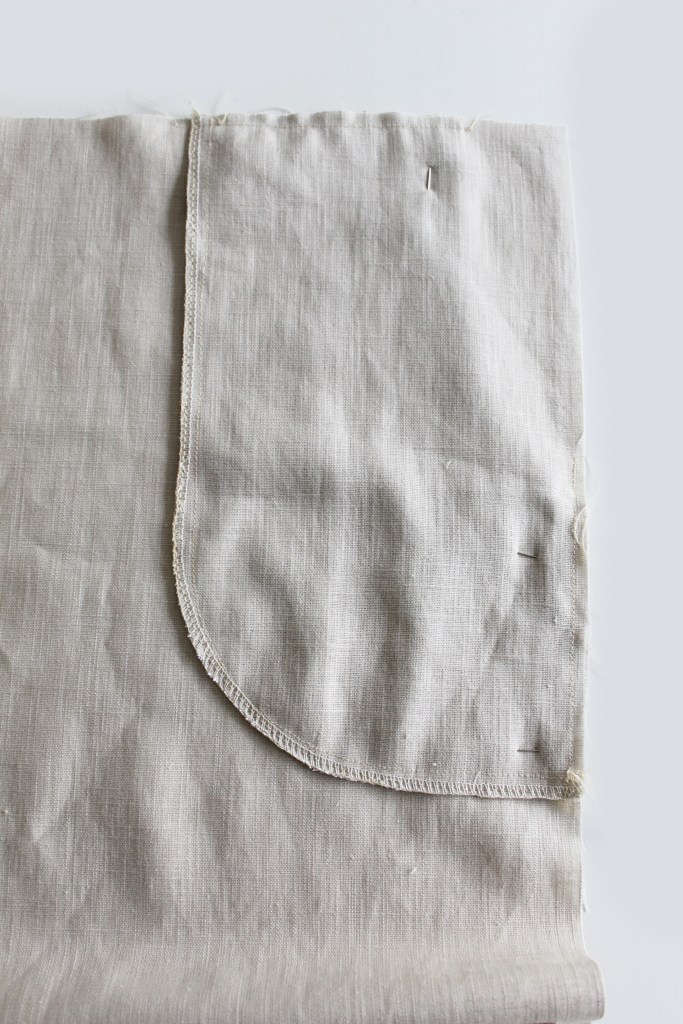
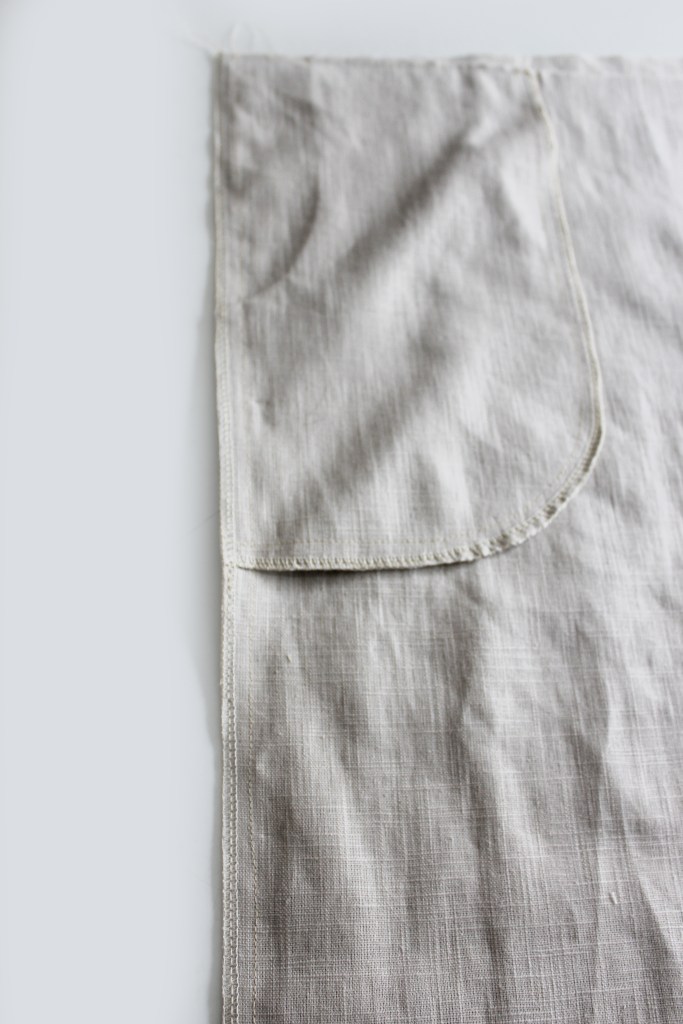
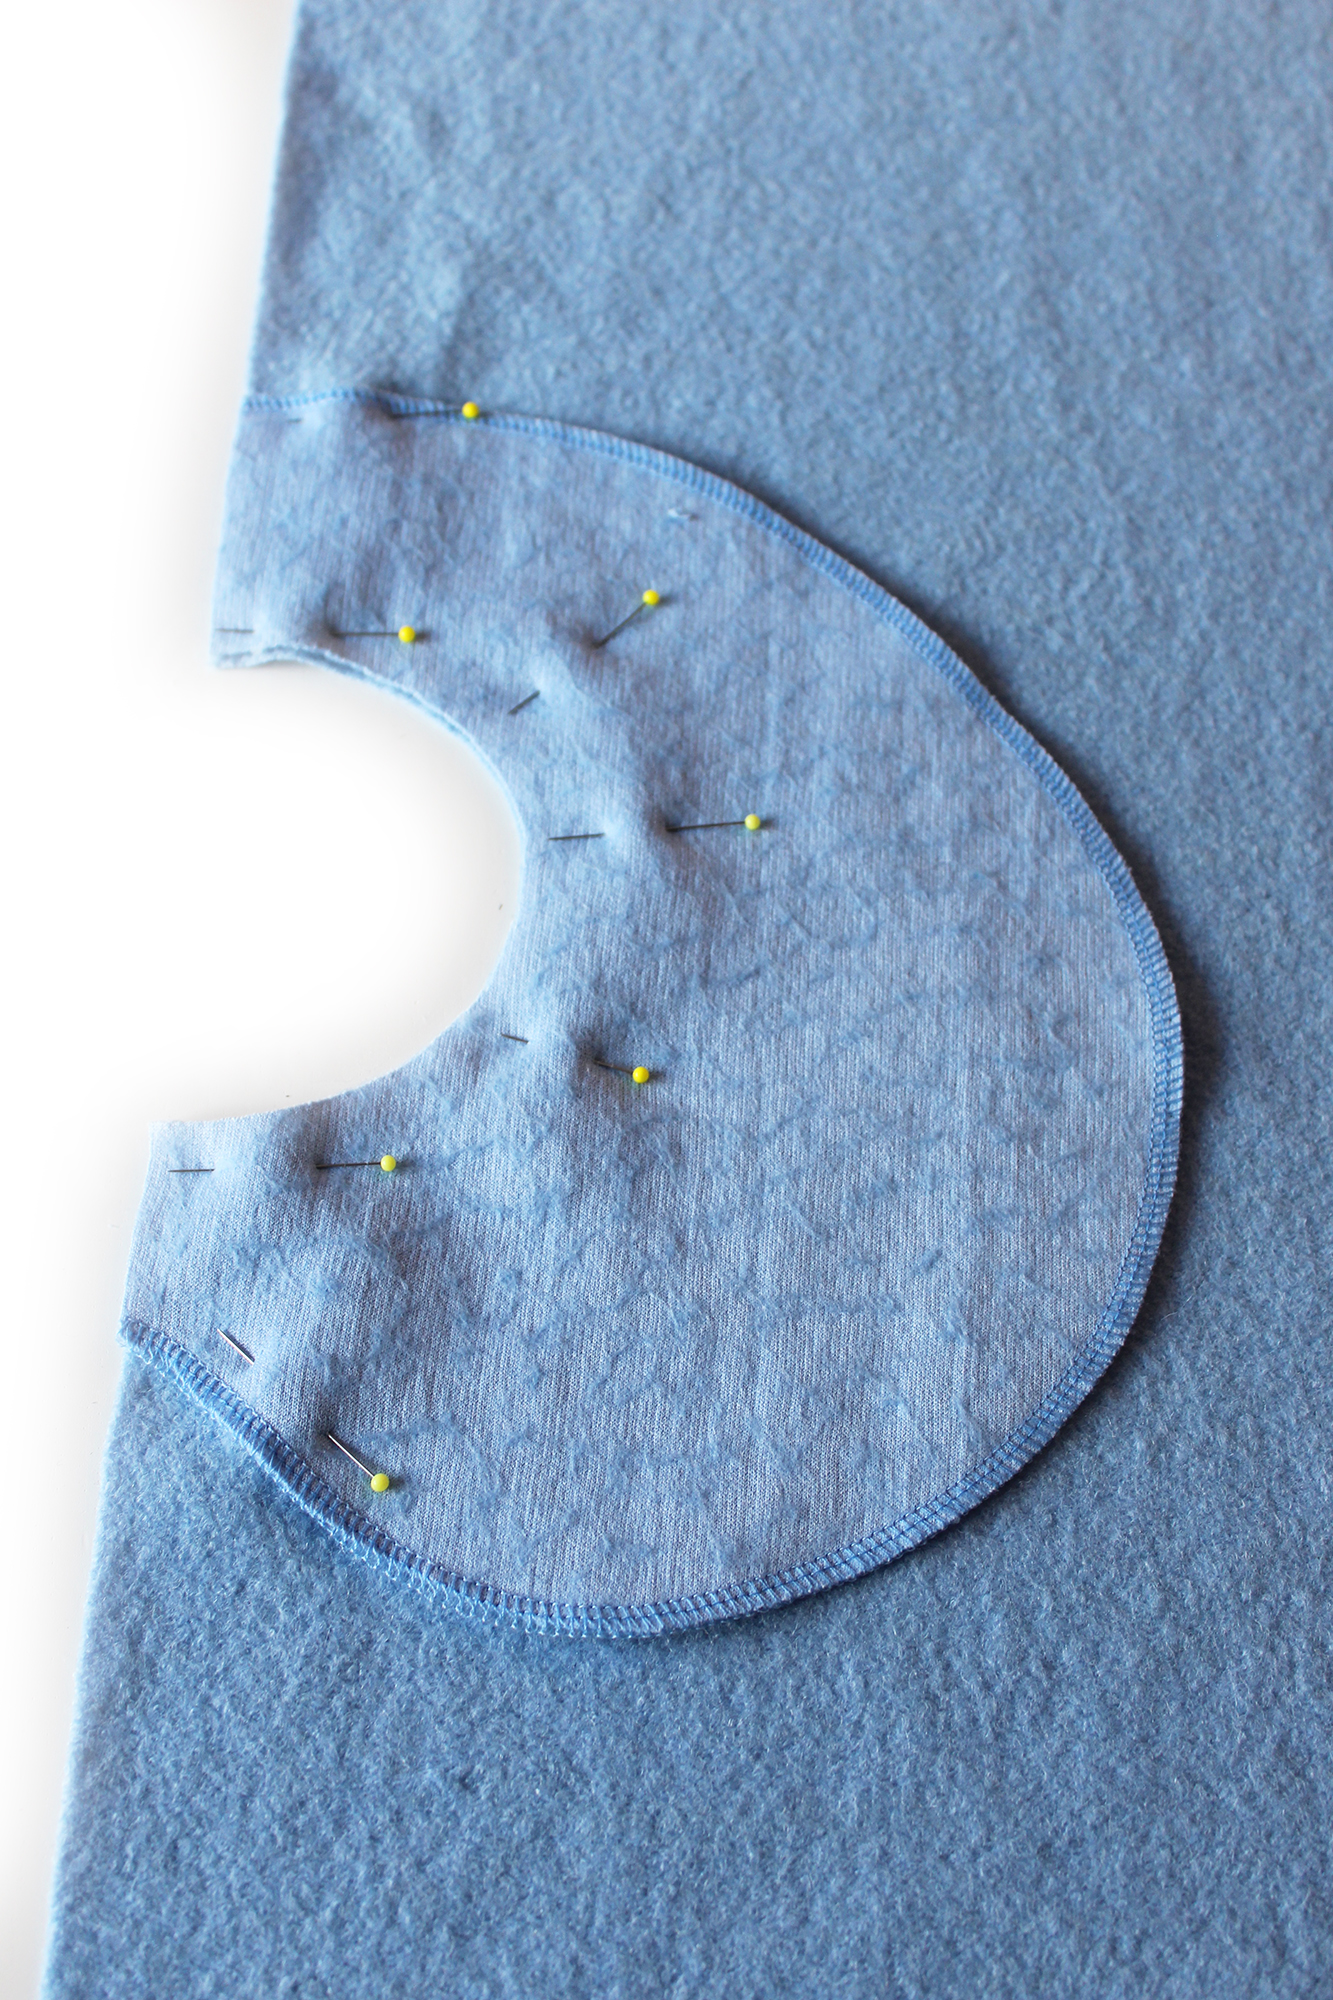 Finish the outer edge of the pockets and pocket lining pieces. Pin the pocket piece at each side matching the curved edge. Sew. Clip the seam allowances.
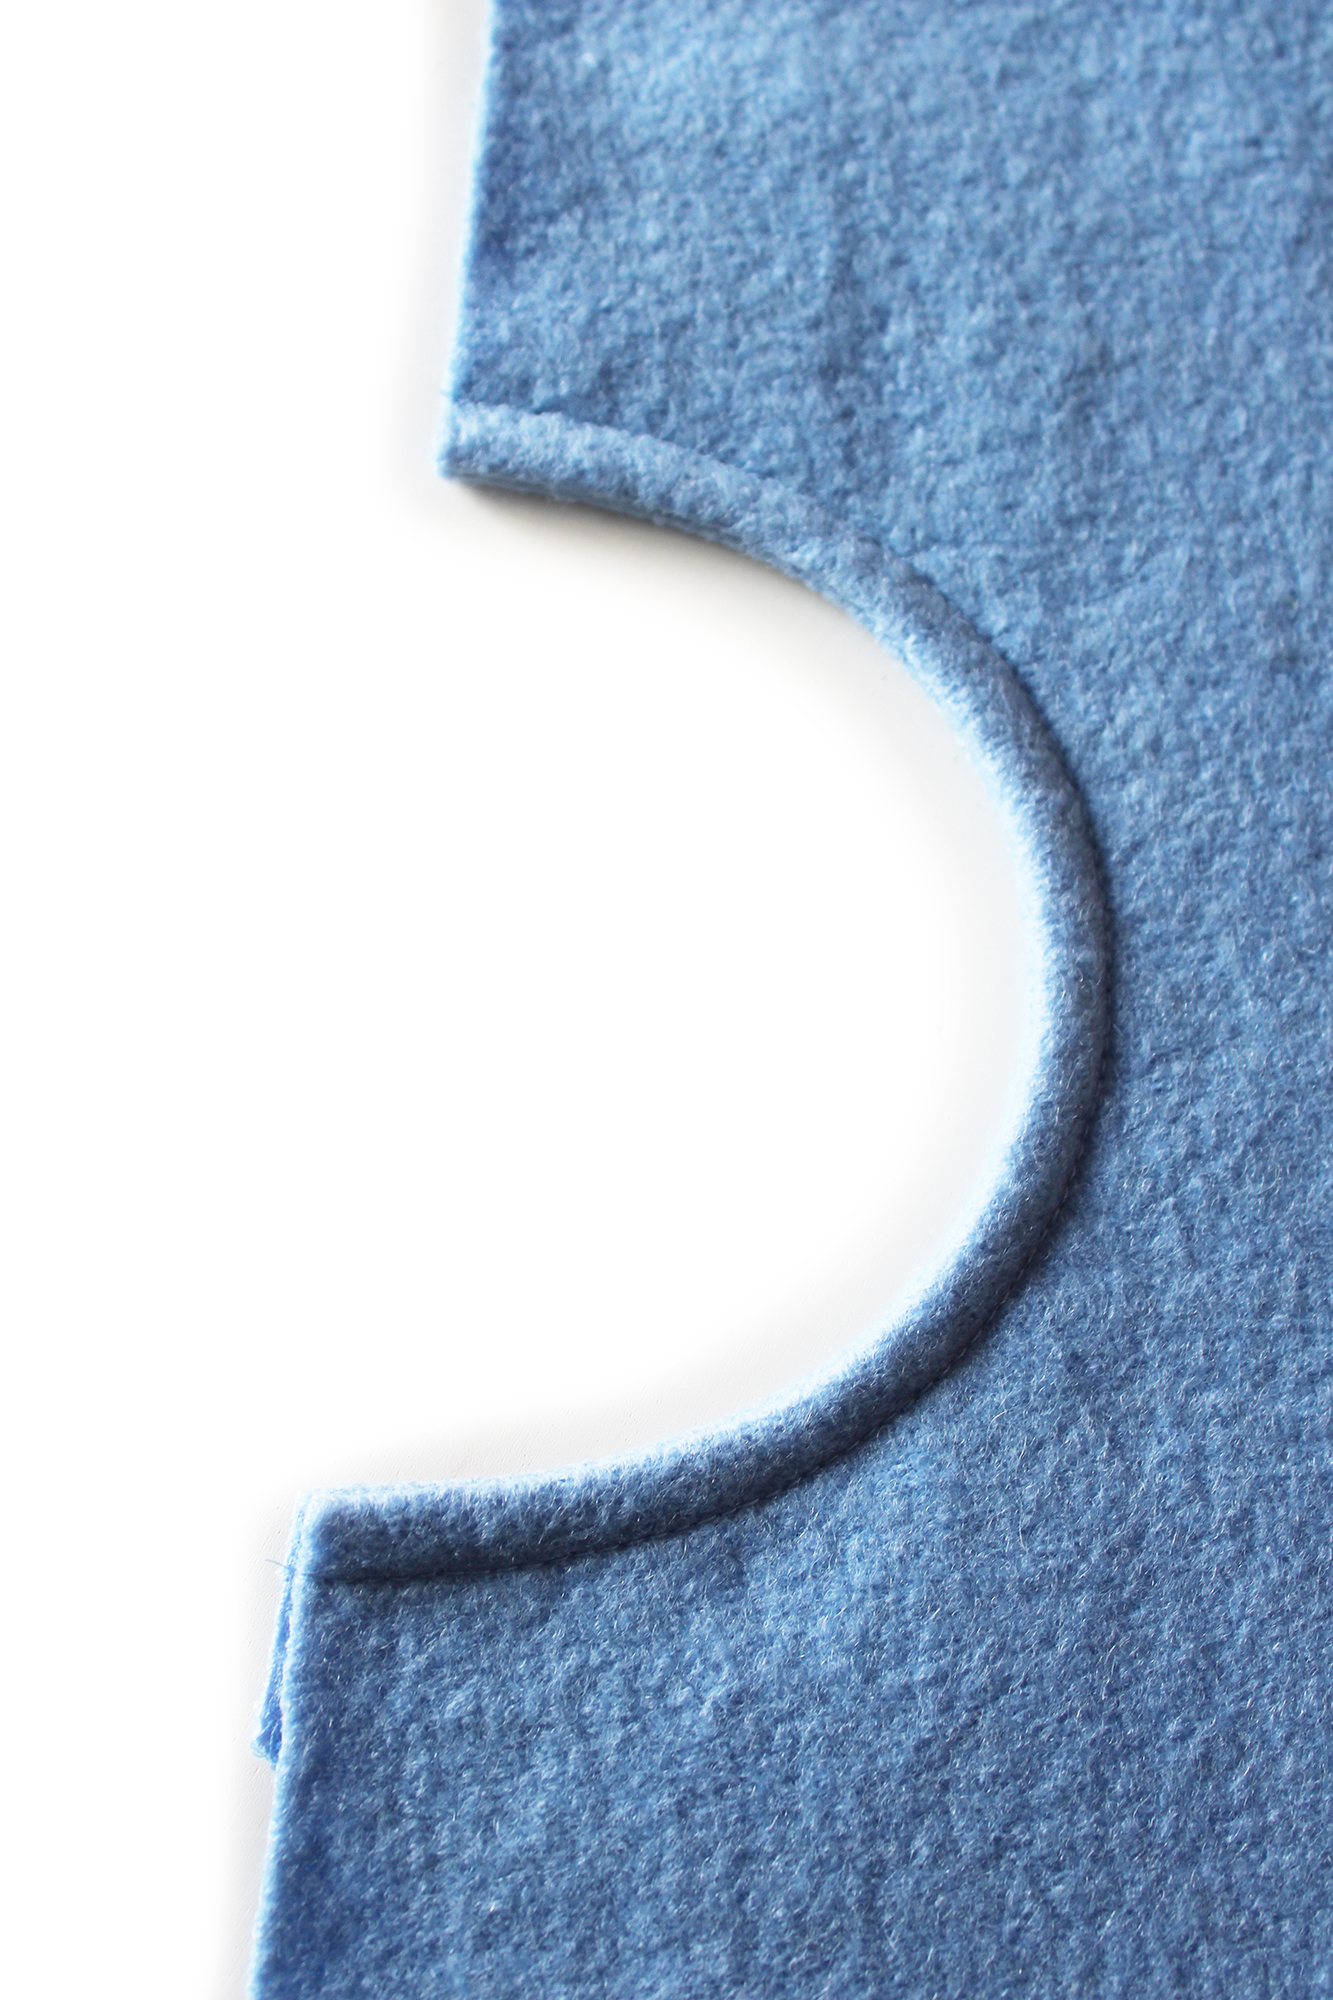 Turn to the WS and topstitch 1cm away from the edge..
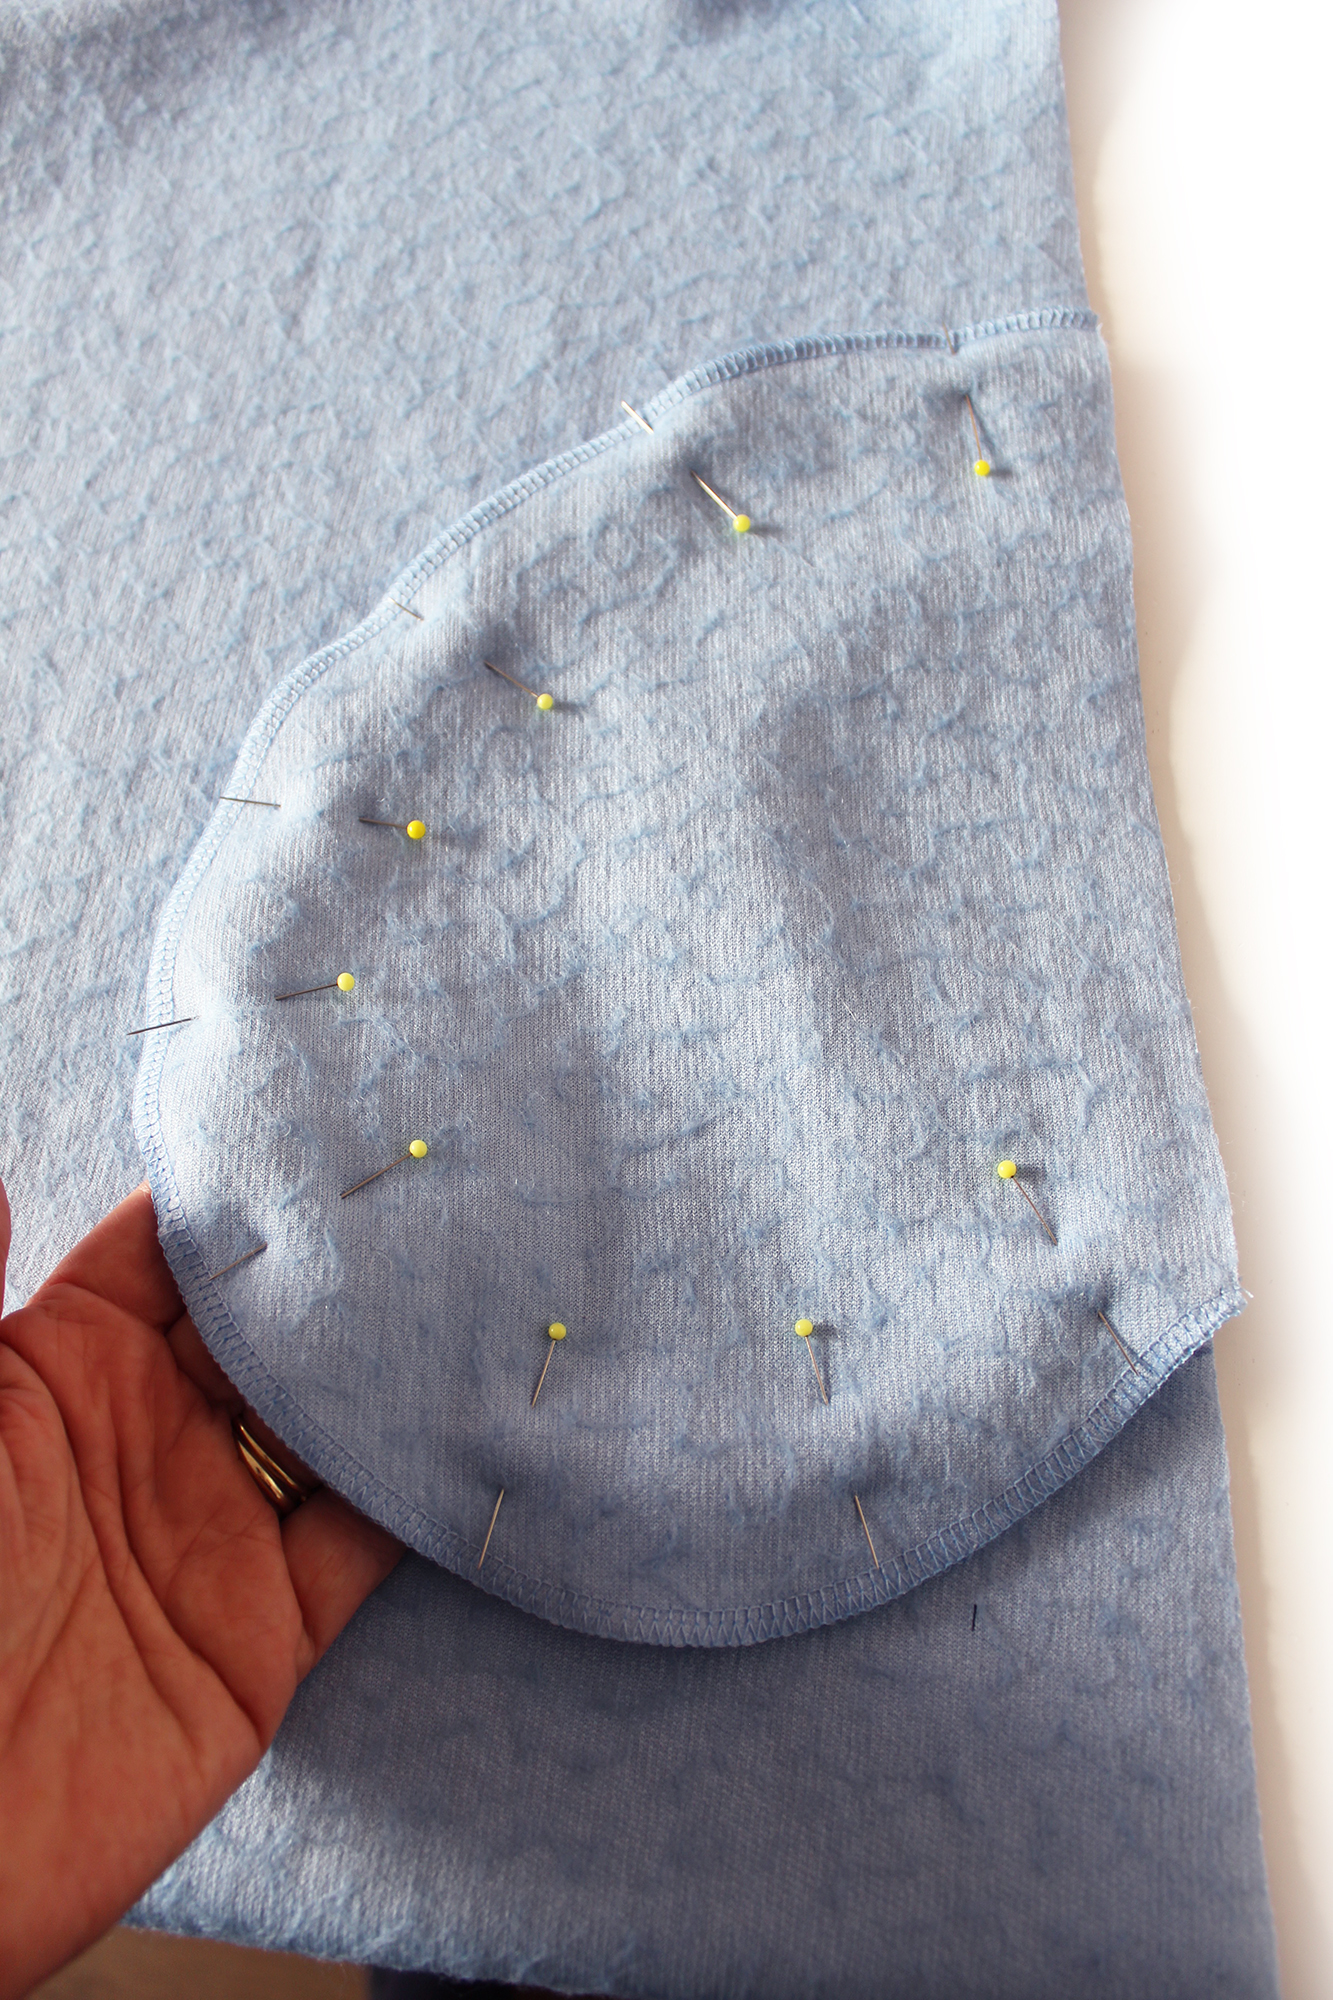 Pin the pocket lining piece to the pocket at the outer edge. Sew.
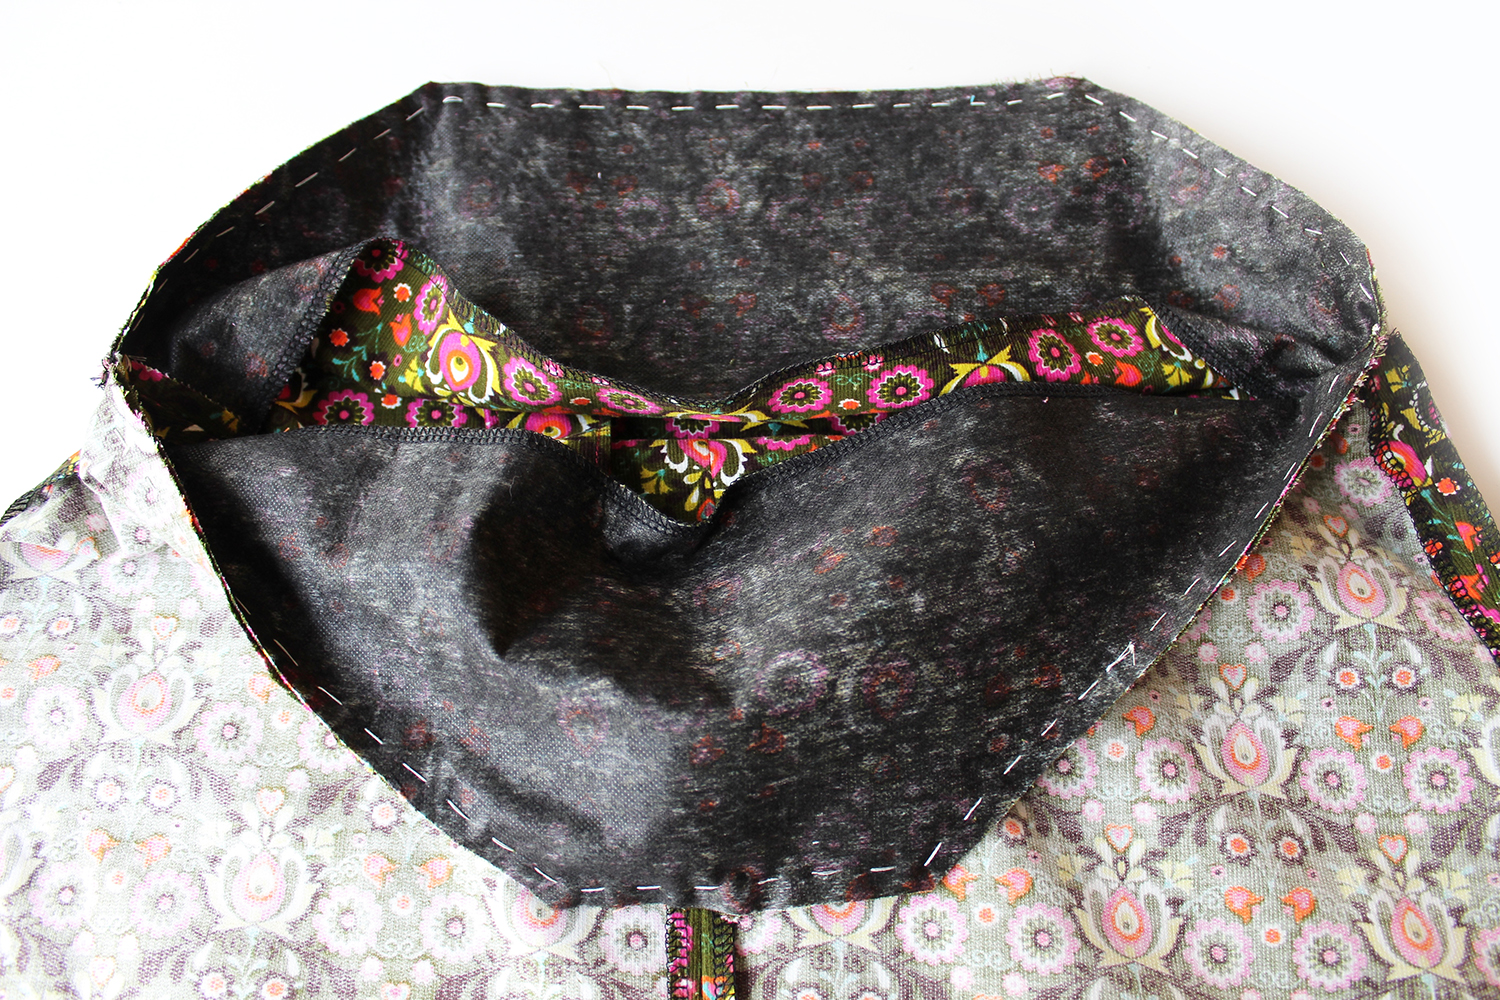
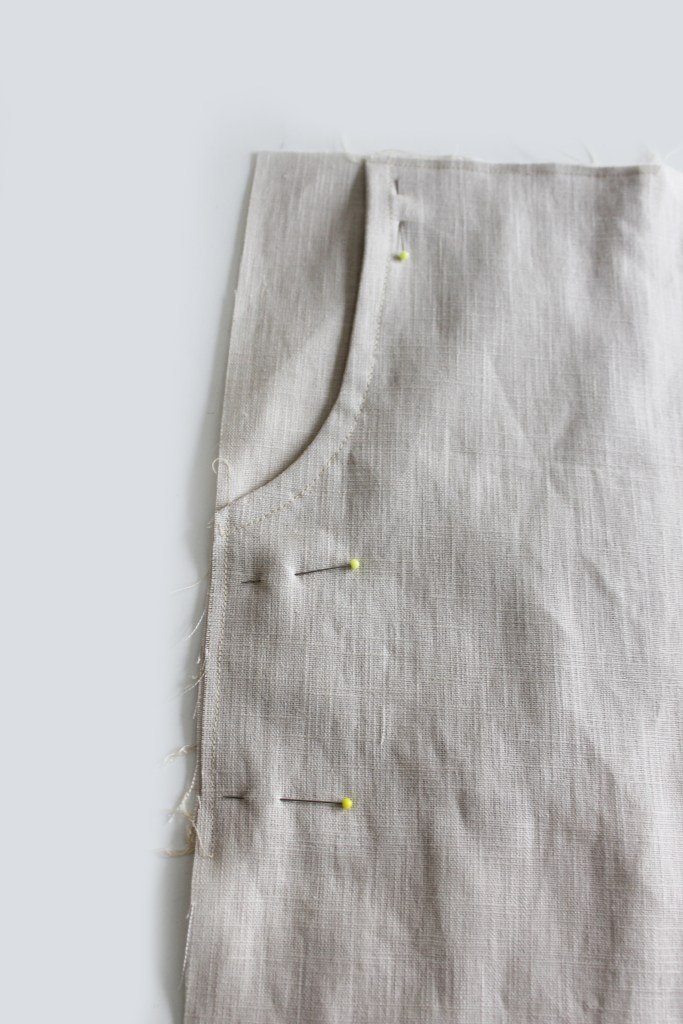
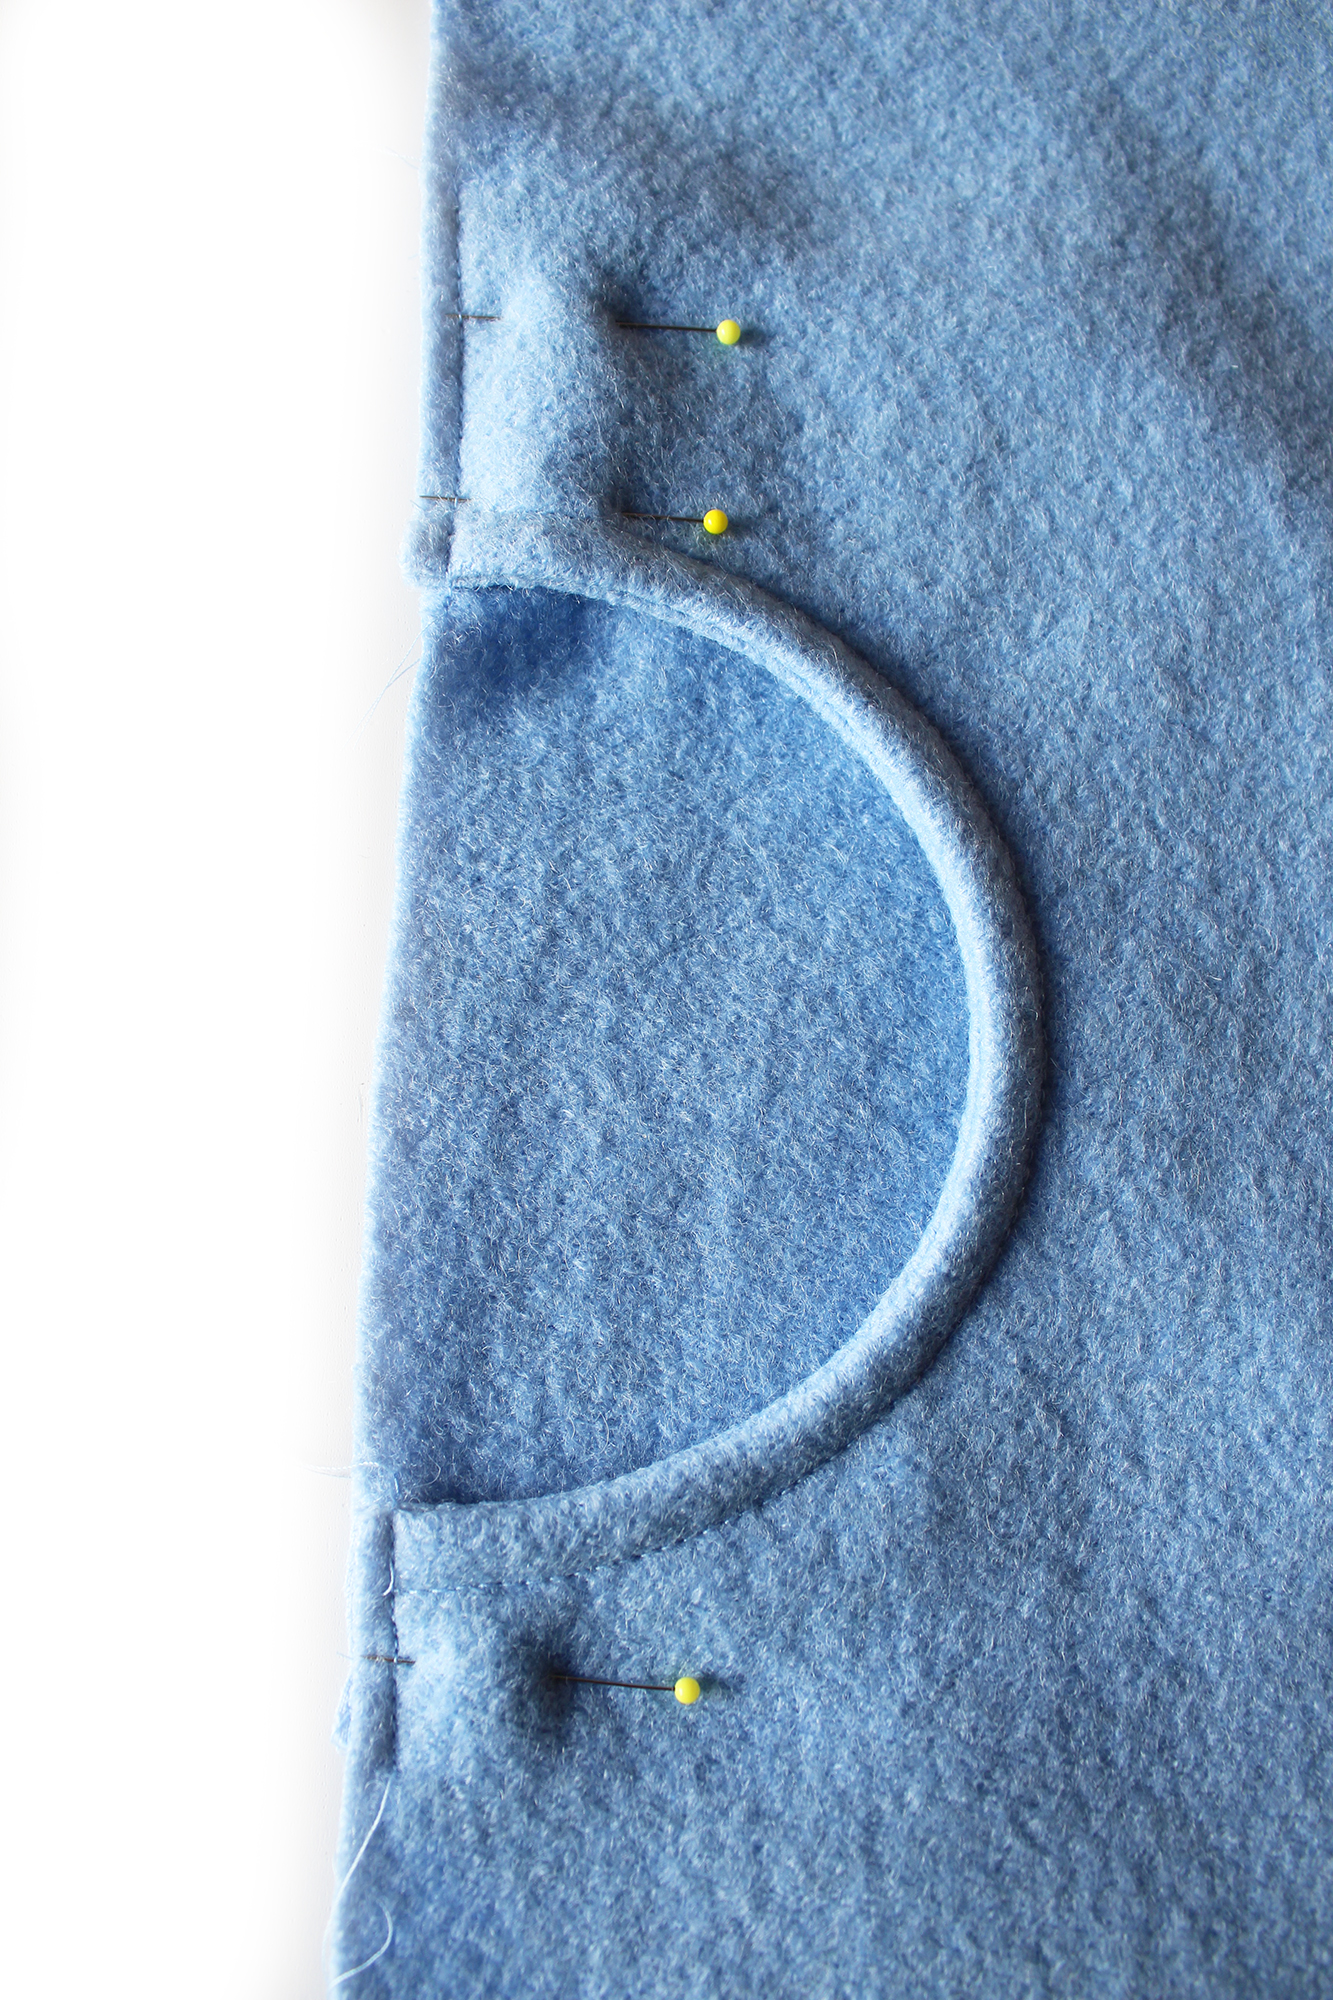 Tack stitch at the sections above the pocket curve to secure.
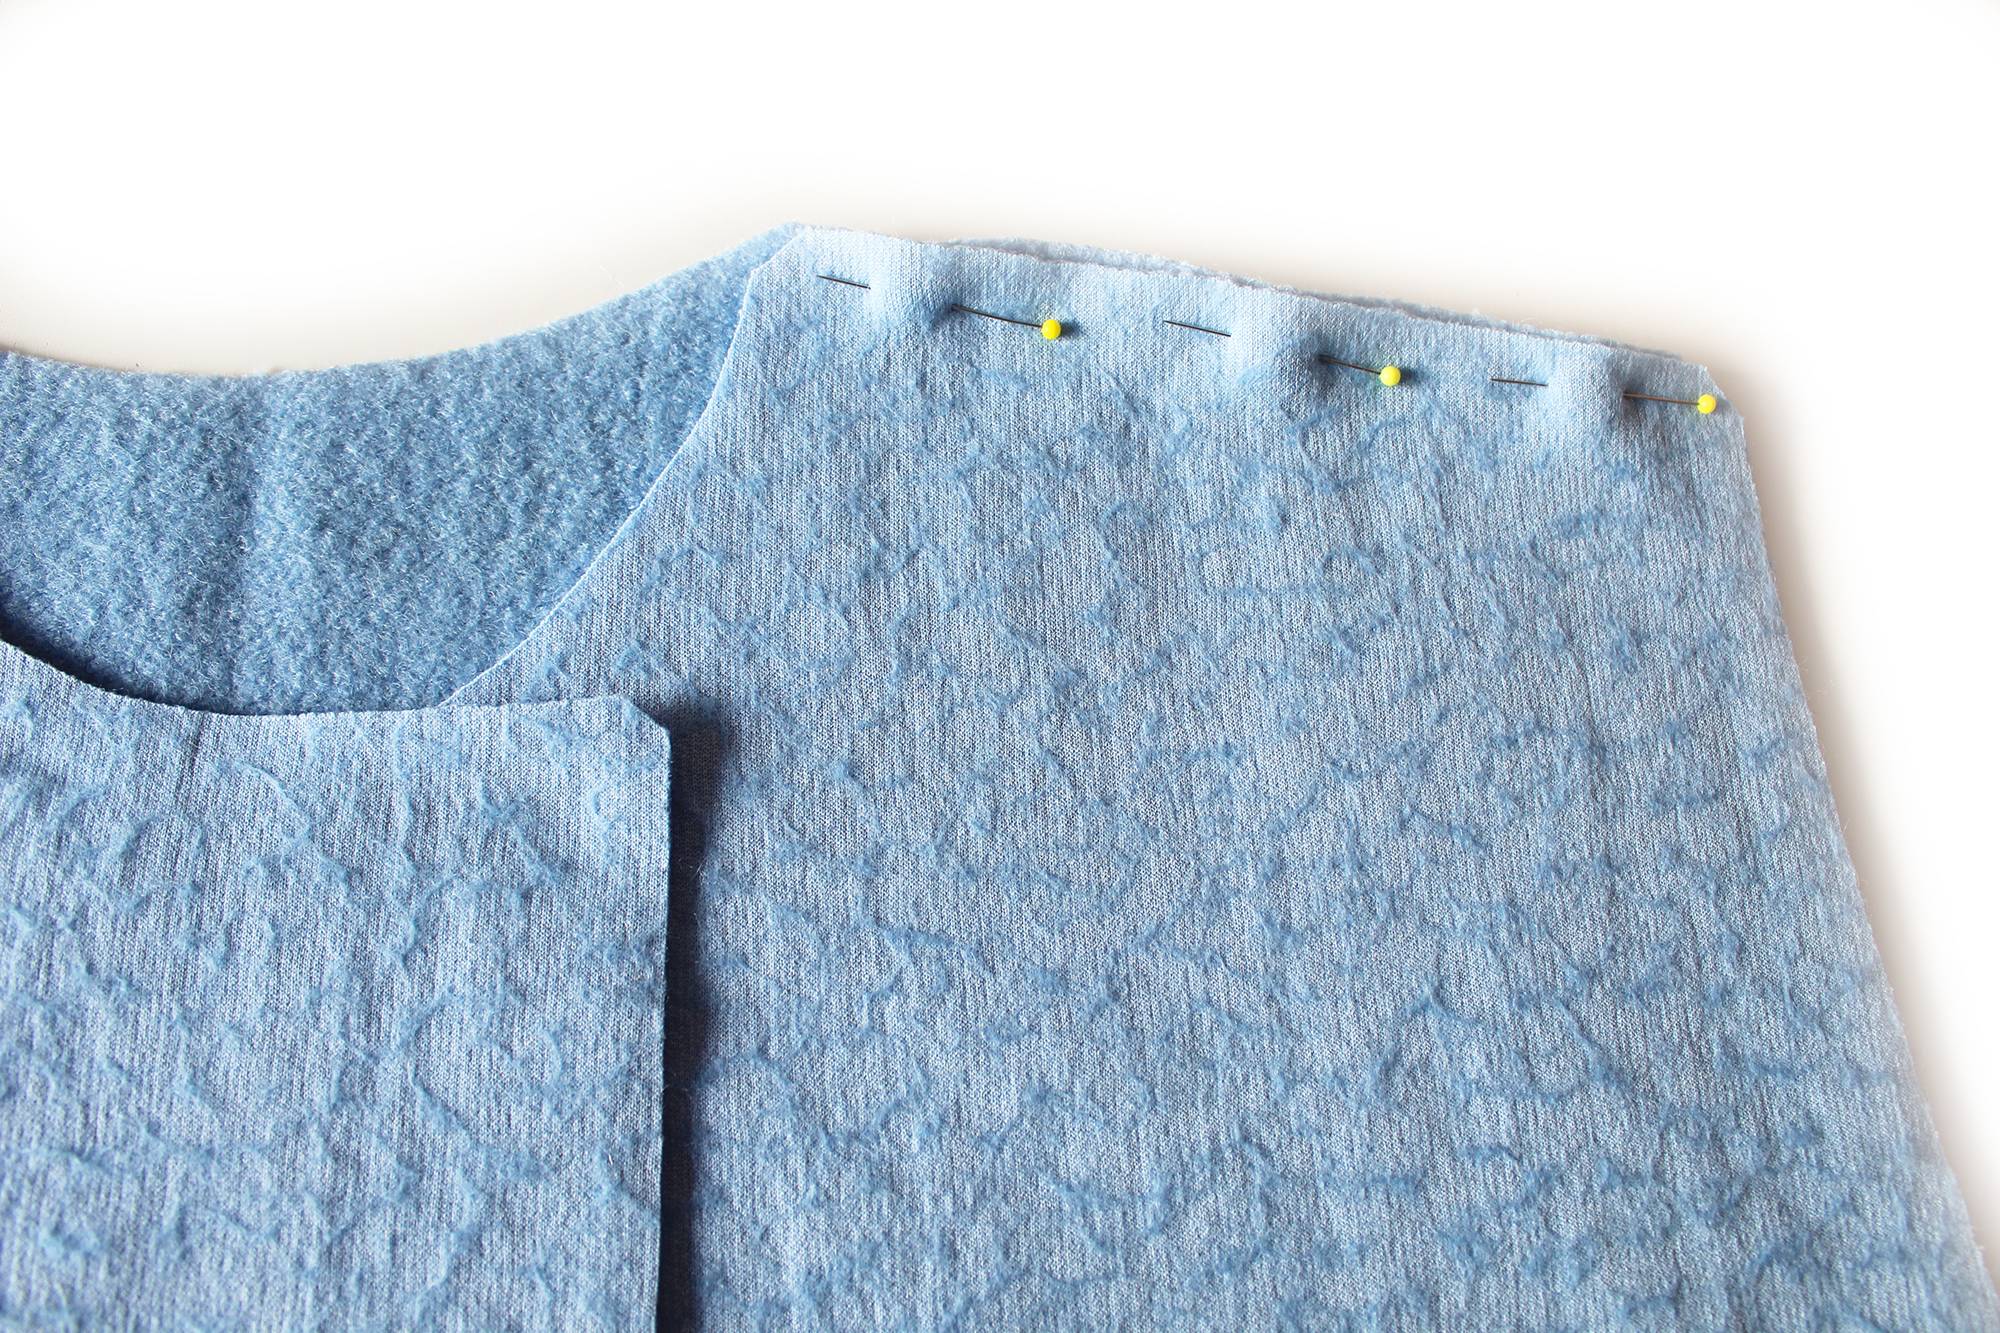 Pin, then sew the front to back at the shoulder edges. Finish the raw edges together. Press towards the back. Top stitch on the right side. Staystitch around the neck edge.
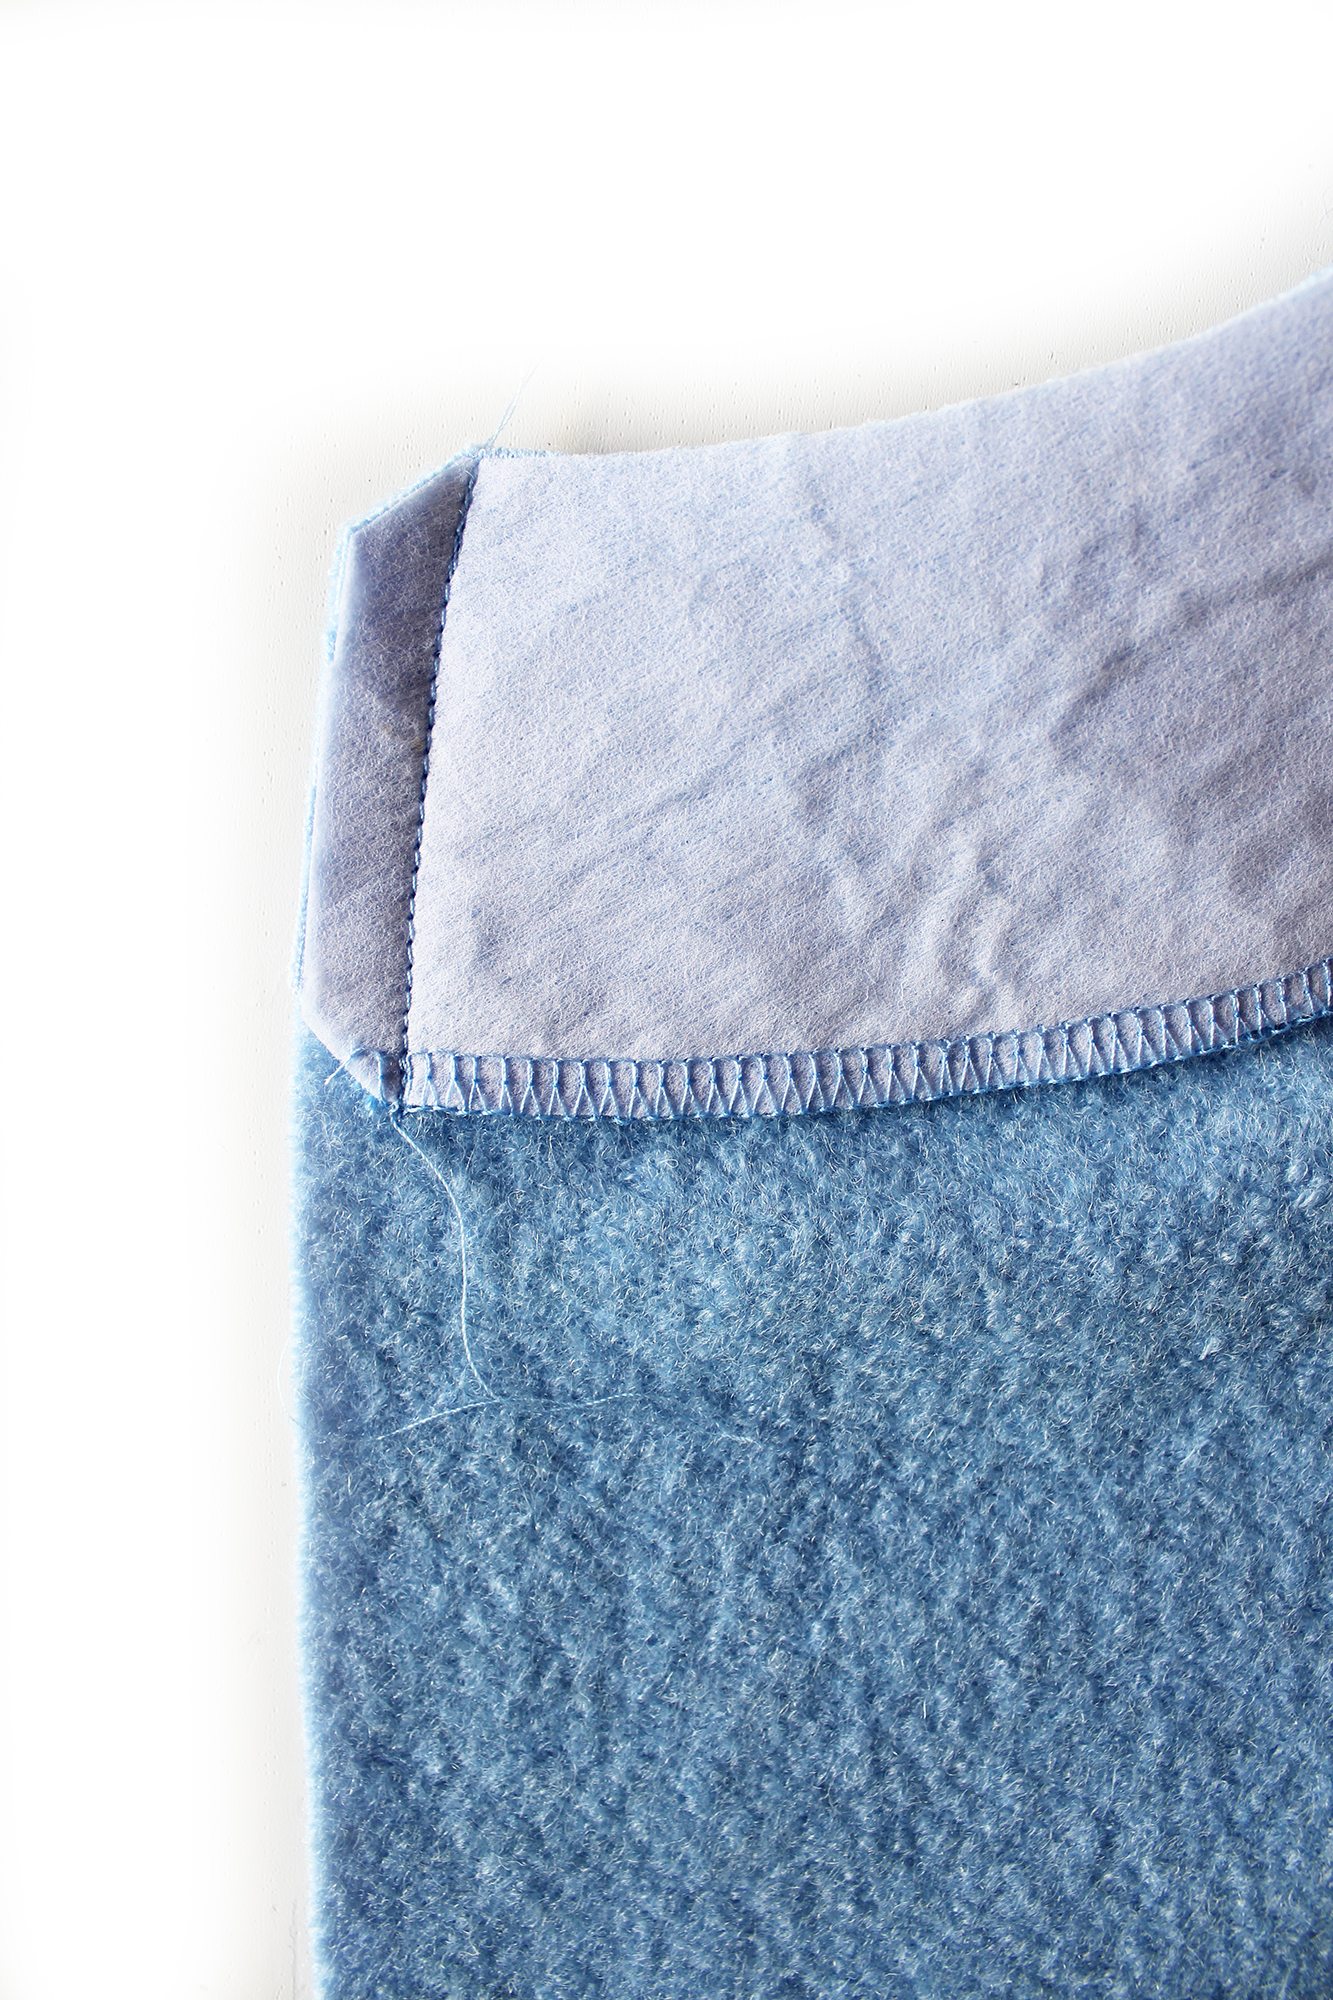 Pin the facing to the Front at the top side edge. Sew. Press the seam allowances open.
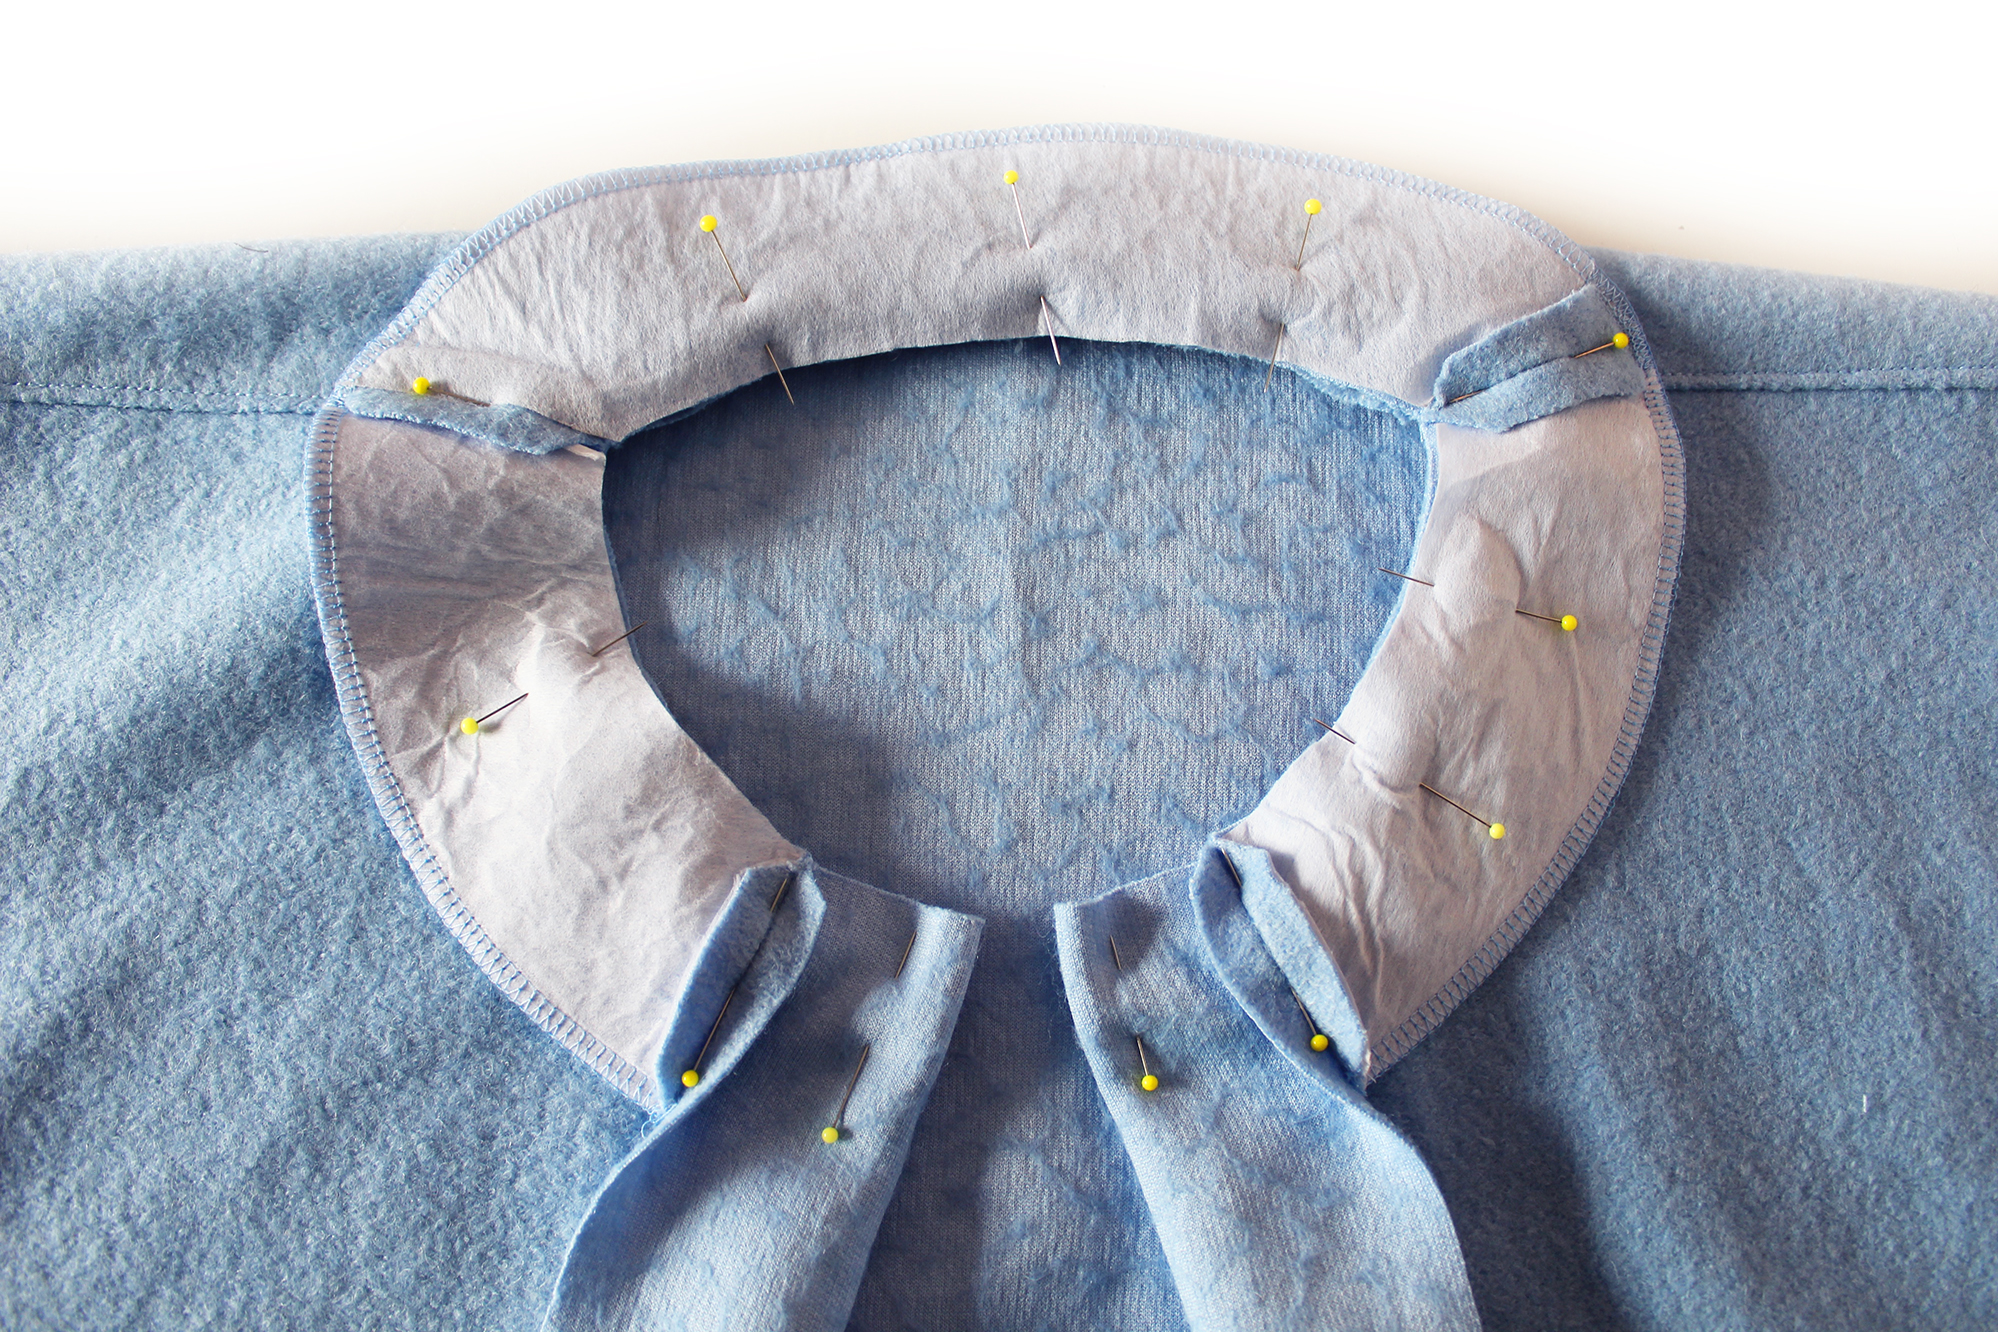 Pin the neck facing to the neck edge, match up the cross seams. Hand tack stitch all around the neck edge. Sew.
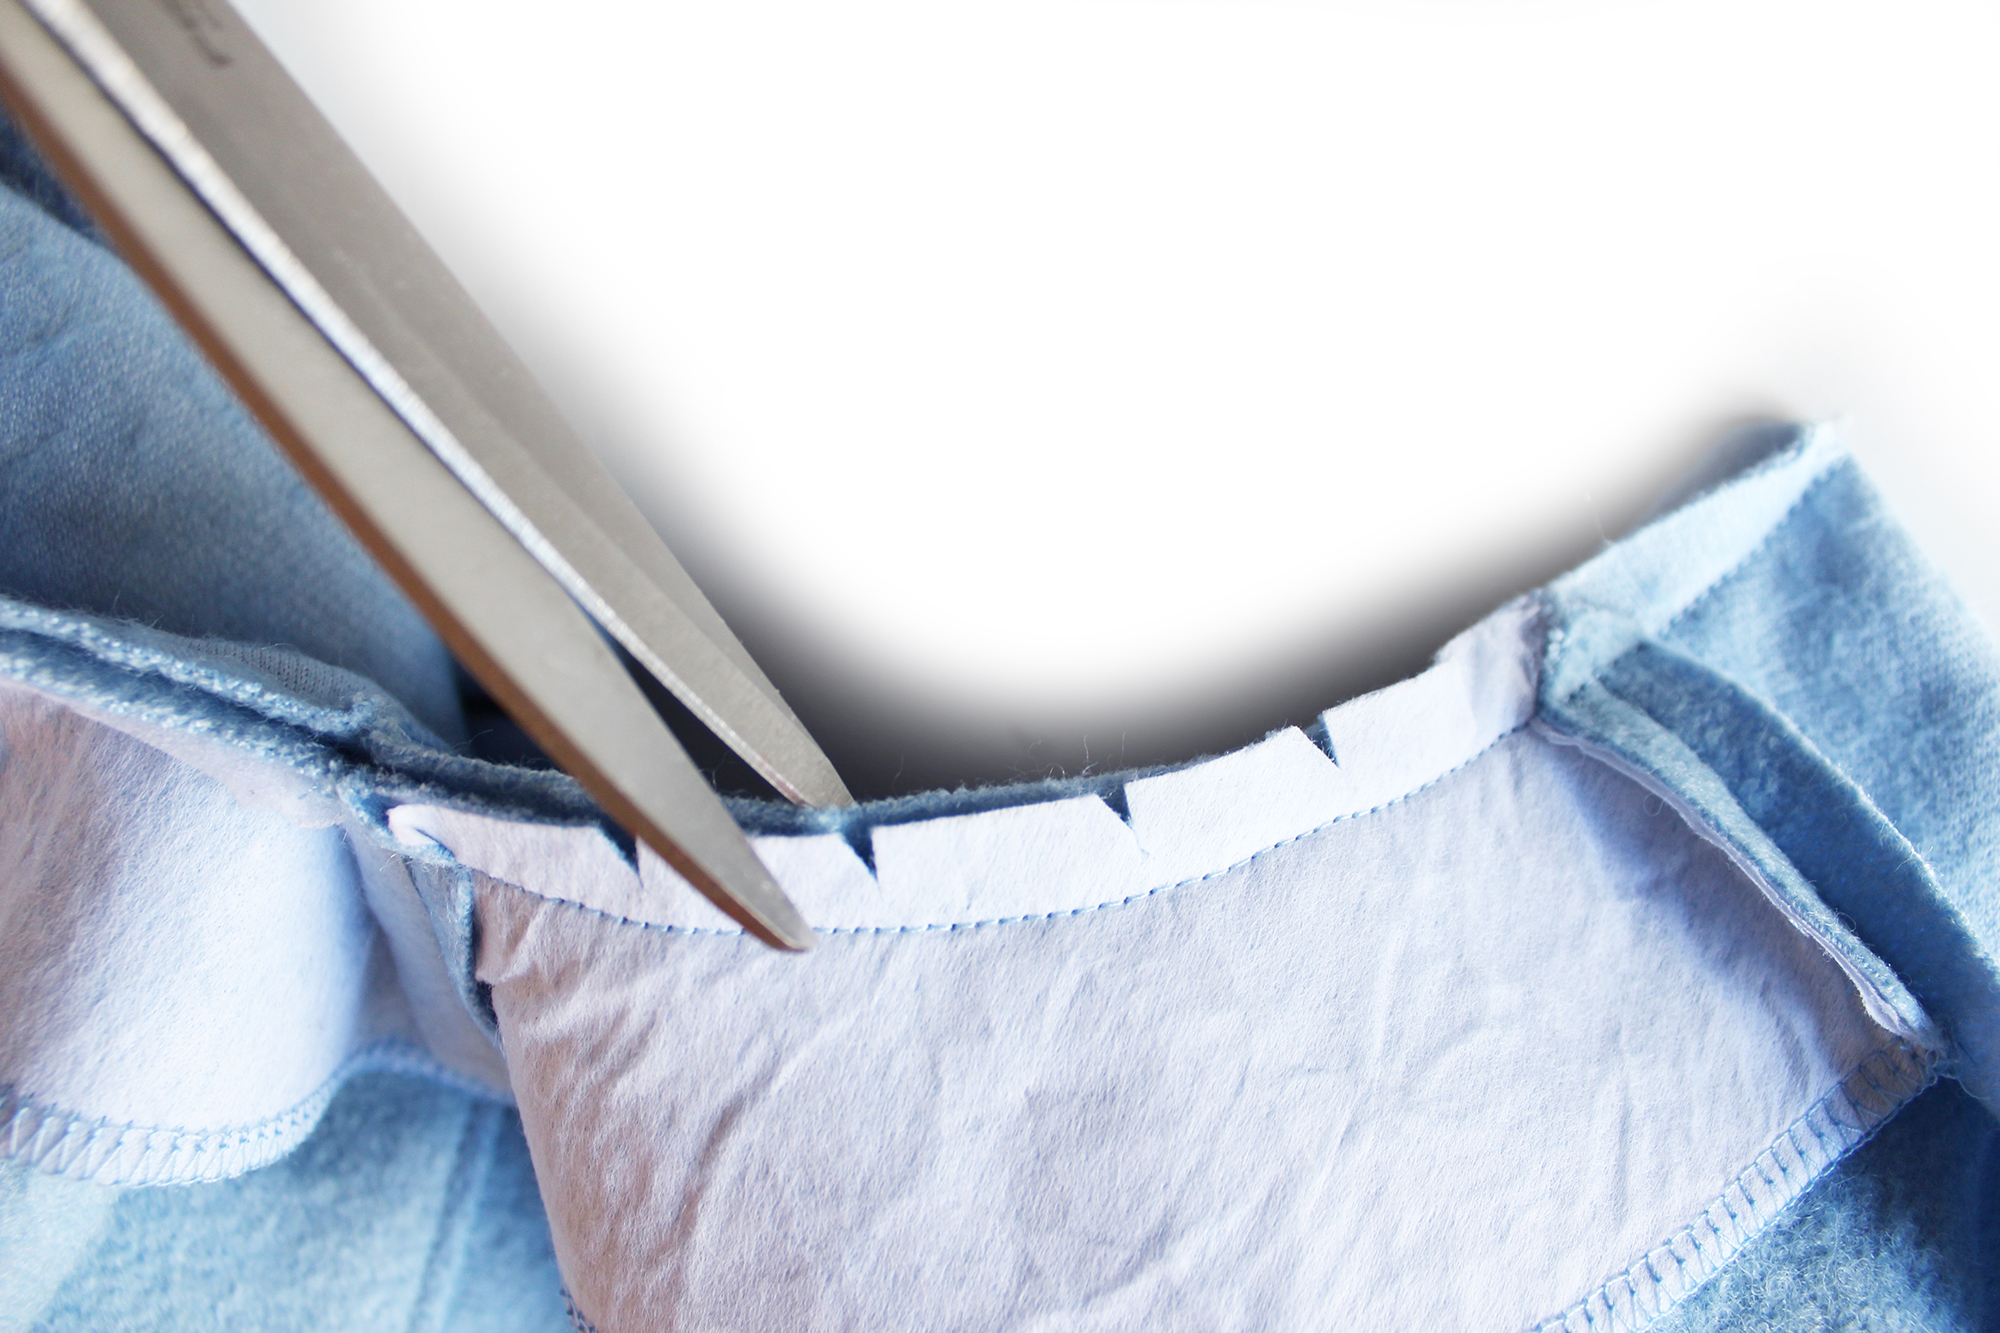 Nick the seam allowance all around.
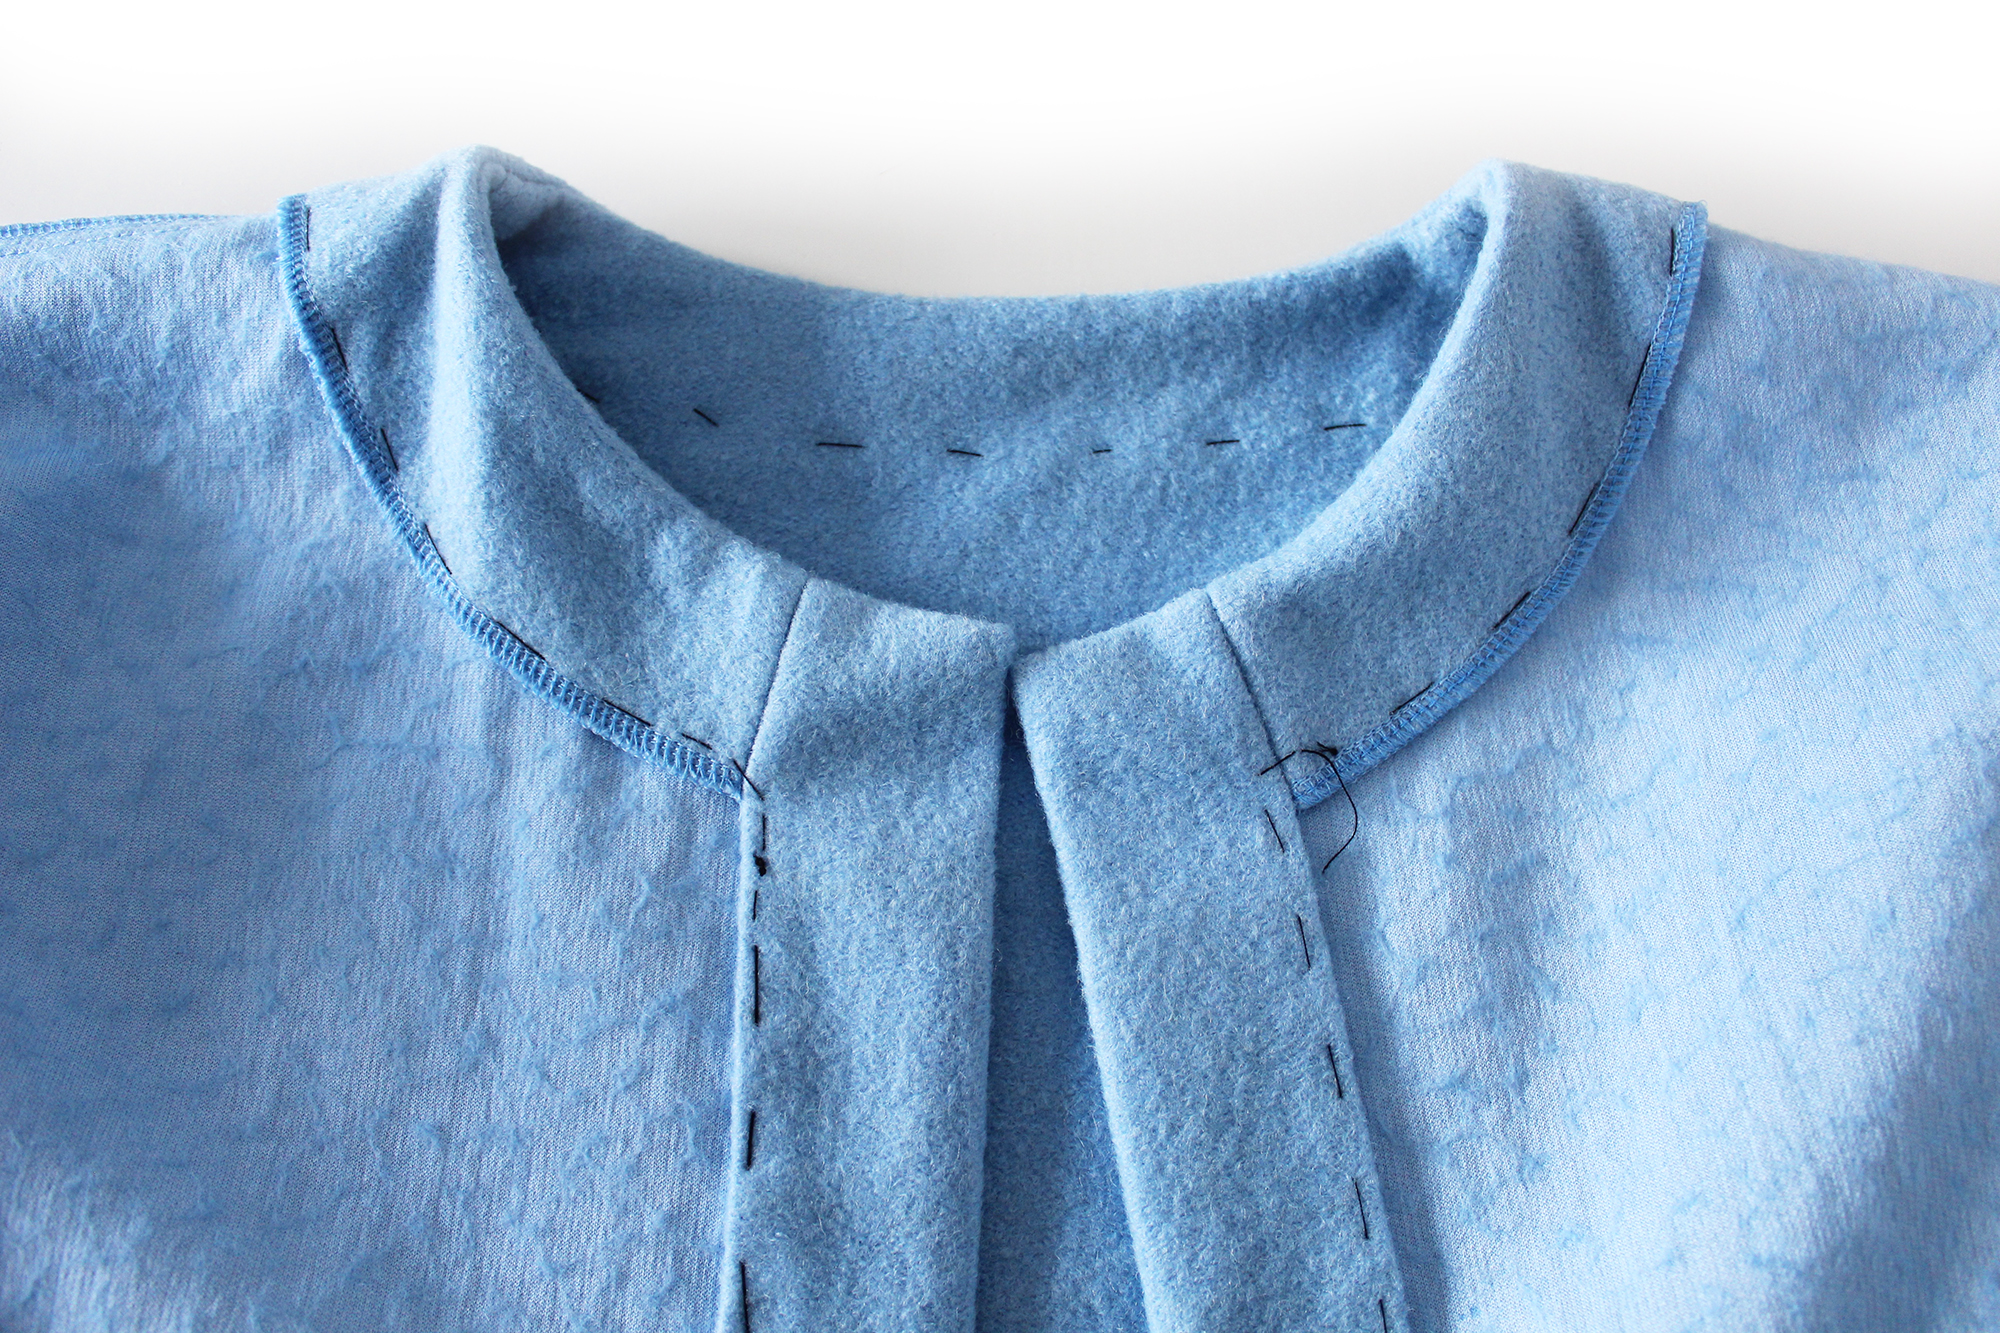 Fold over to the reverse side. Hand tack stitch around the neck facing. Fold over 1cm at the centre front edge. Press. Hand tack stitch down the front to secure.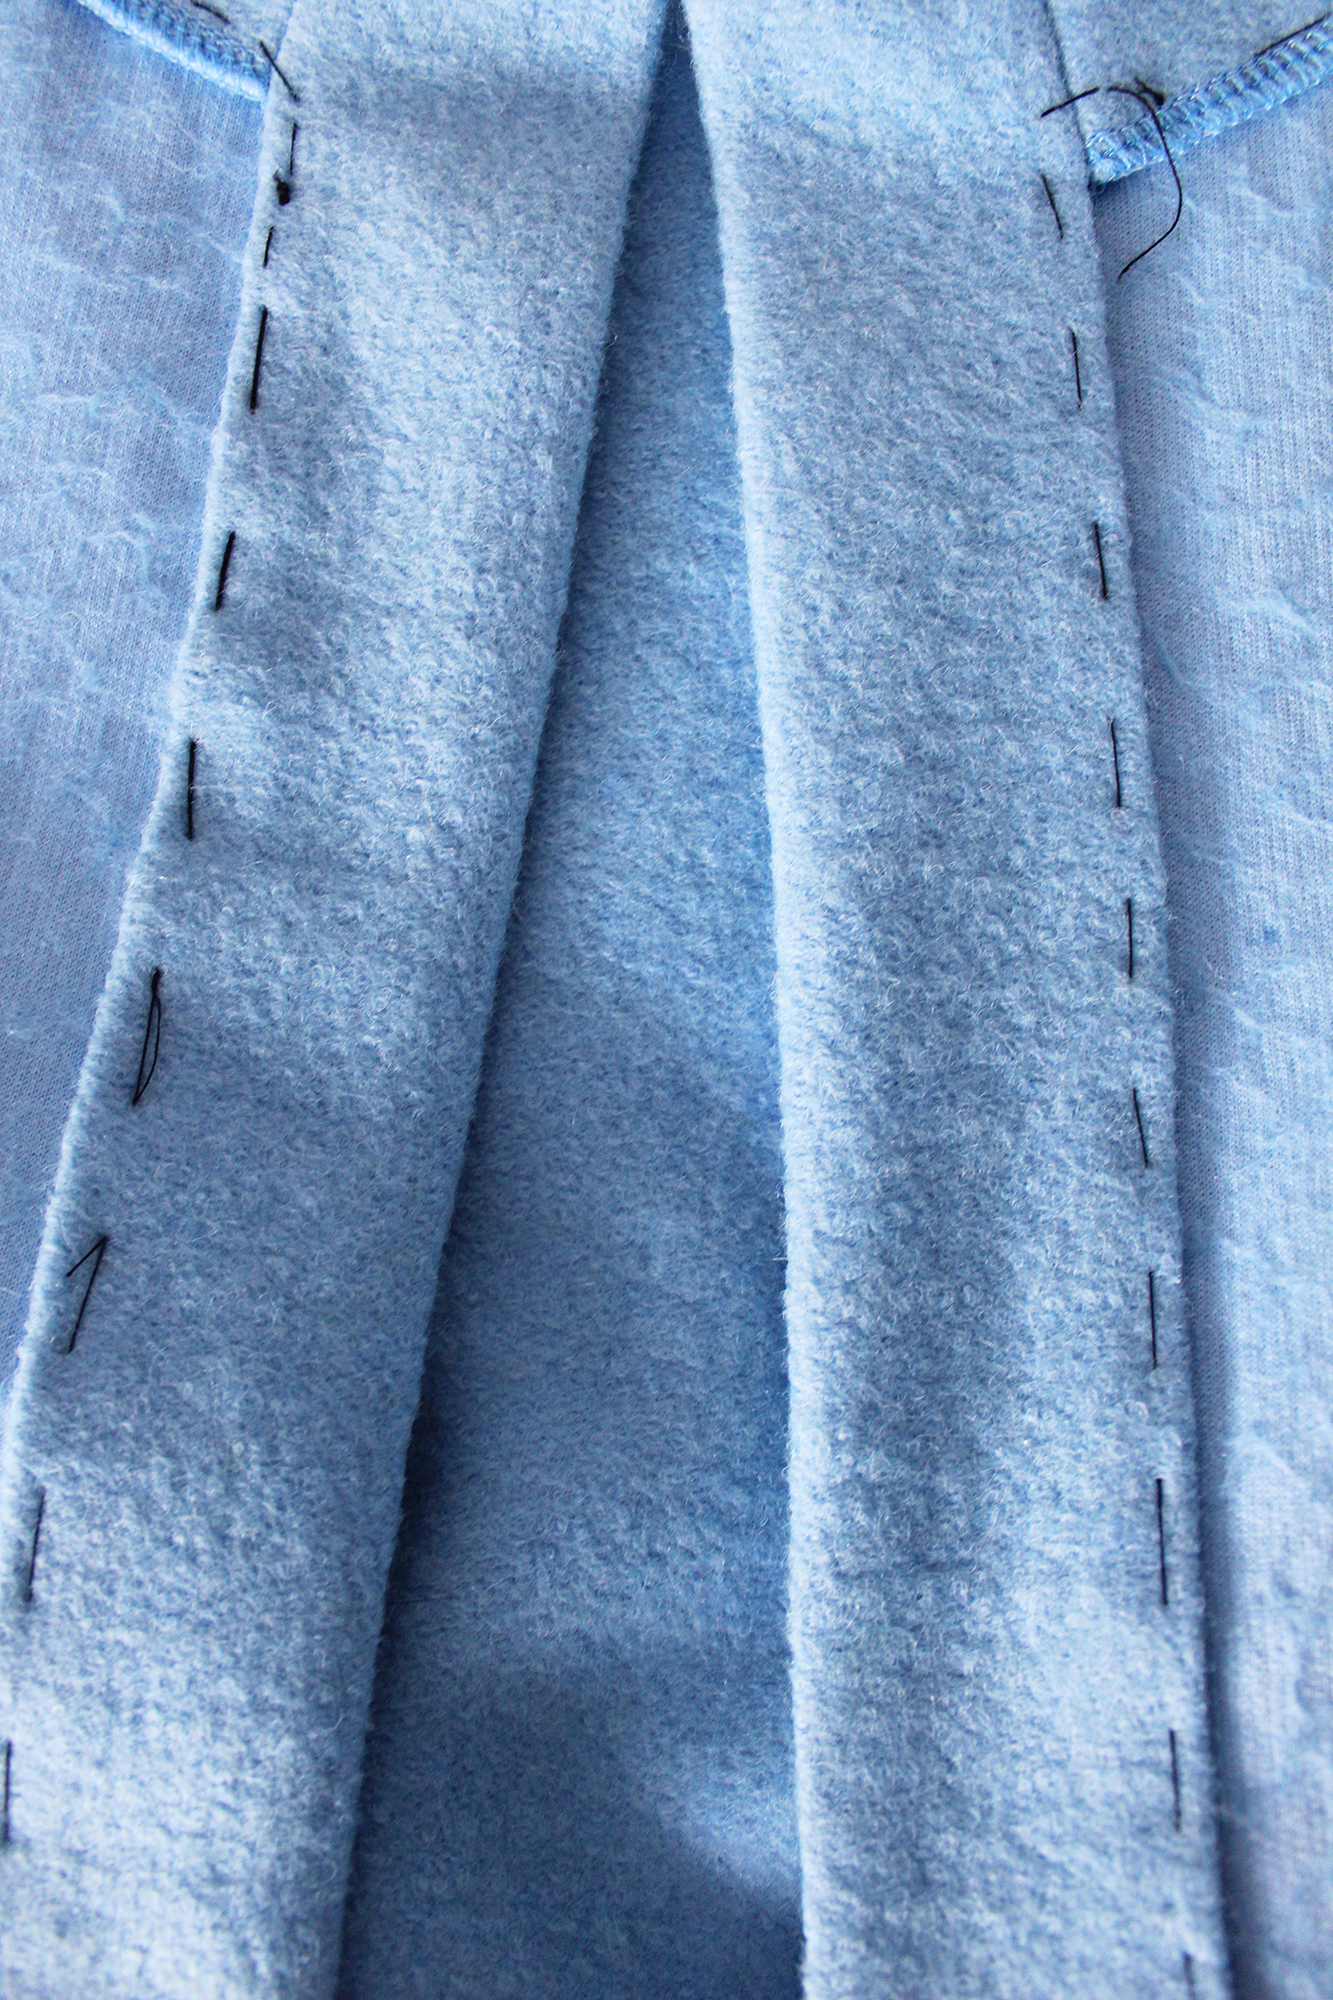
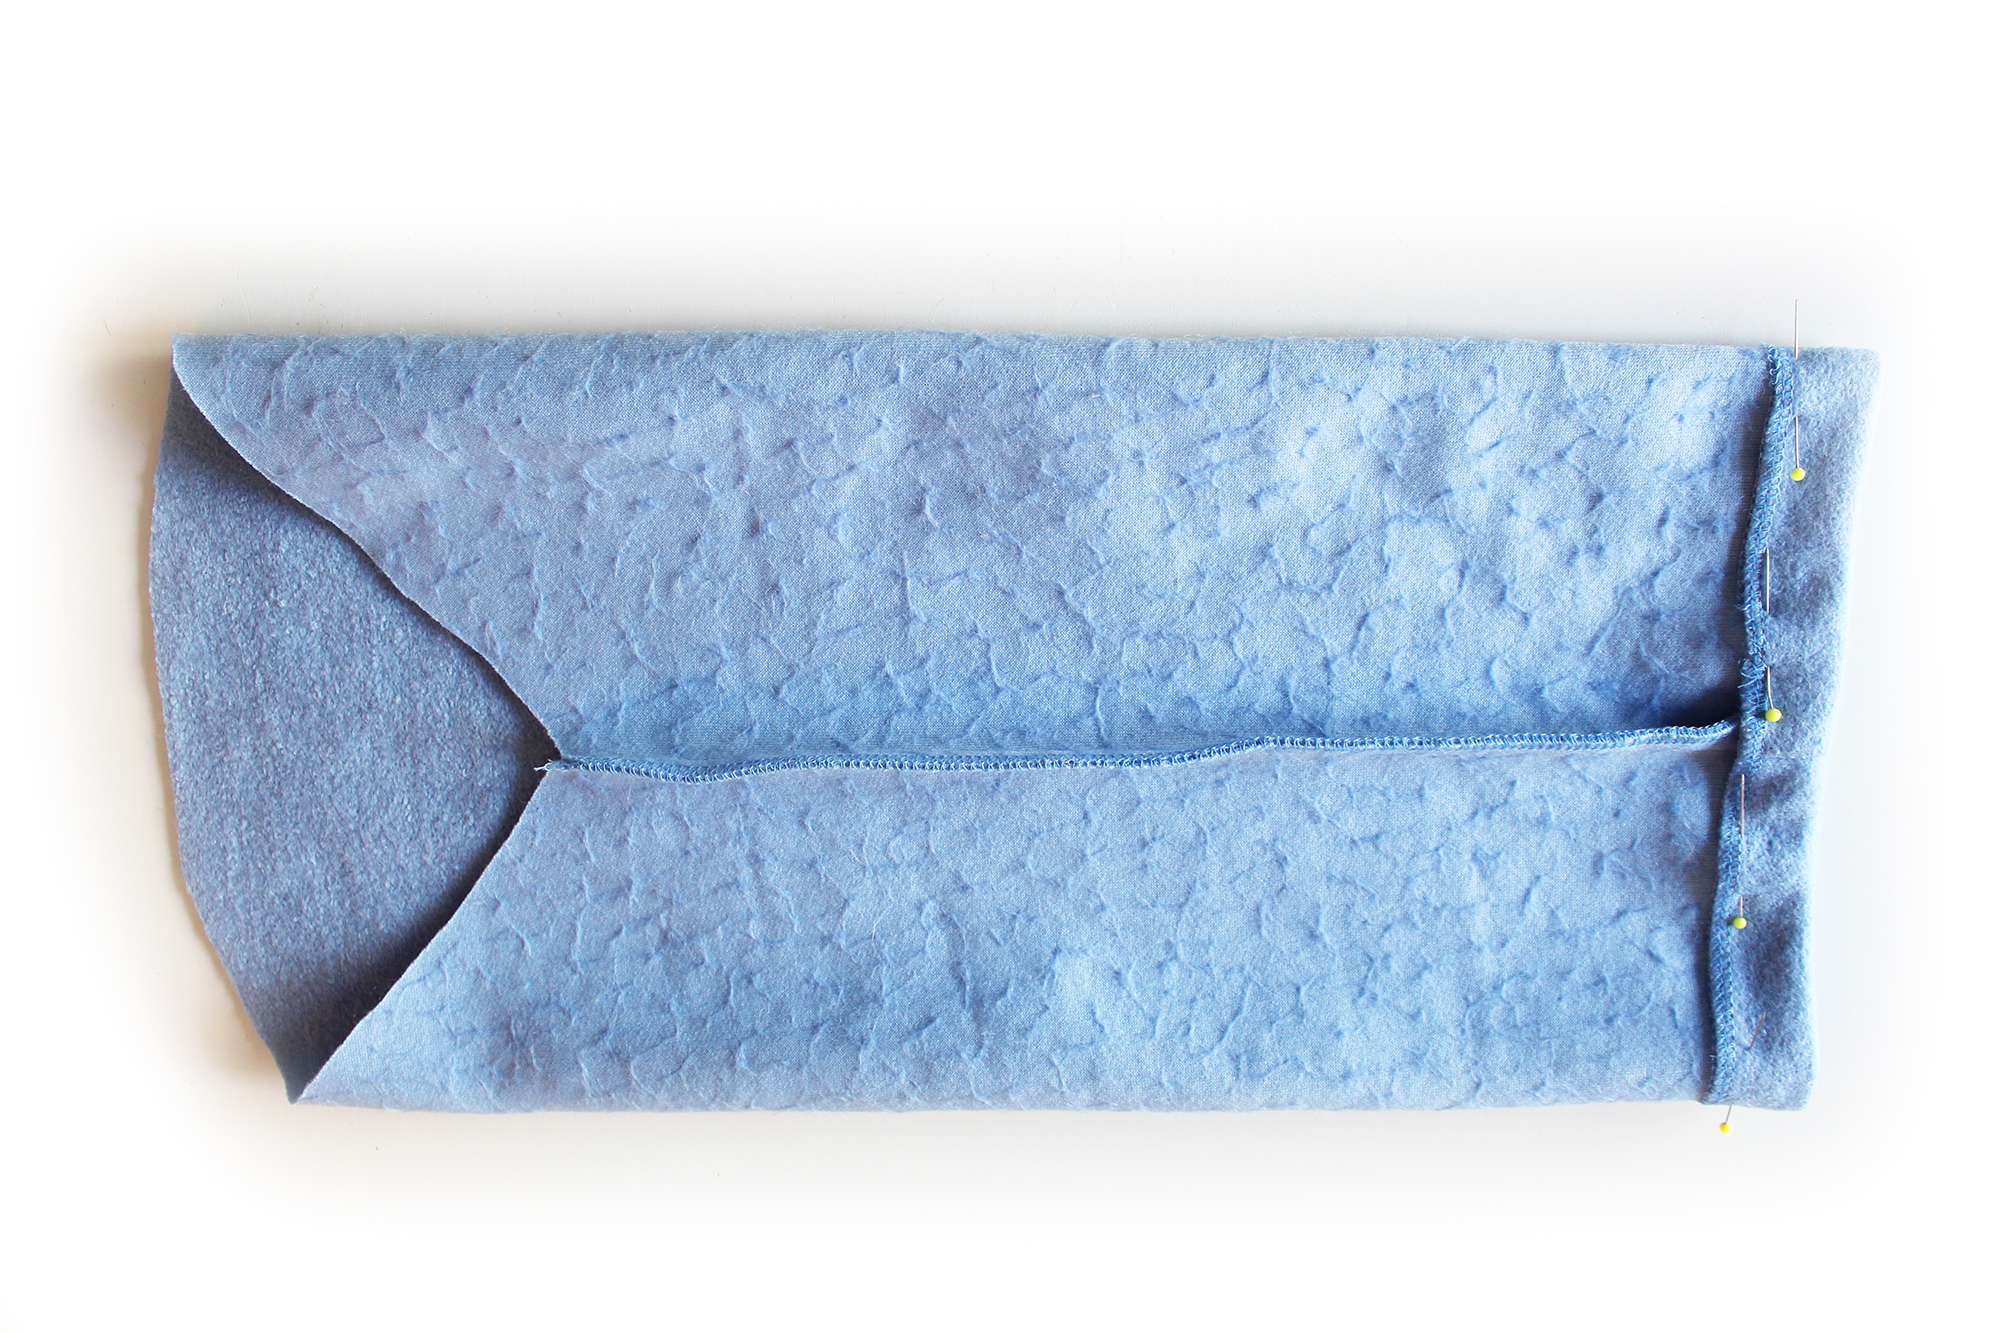 Pin the sleeves RST at the long side edges. Sew. Finish the raw edge. Press. Turn under the cuff hem, press, pin. Stitch.
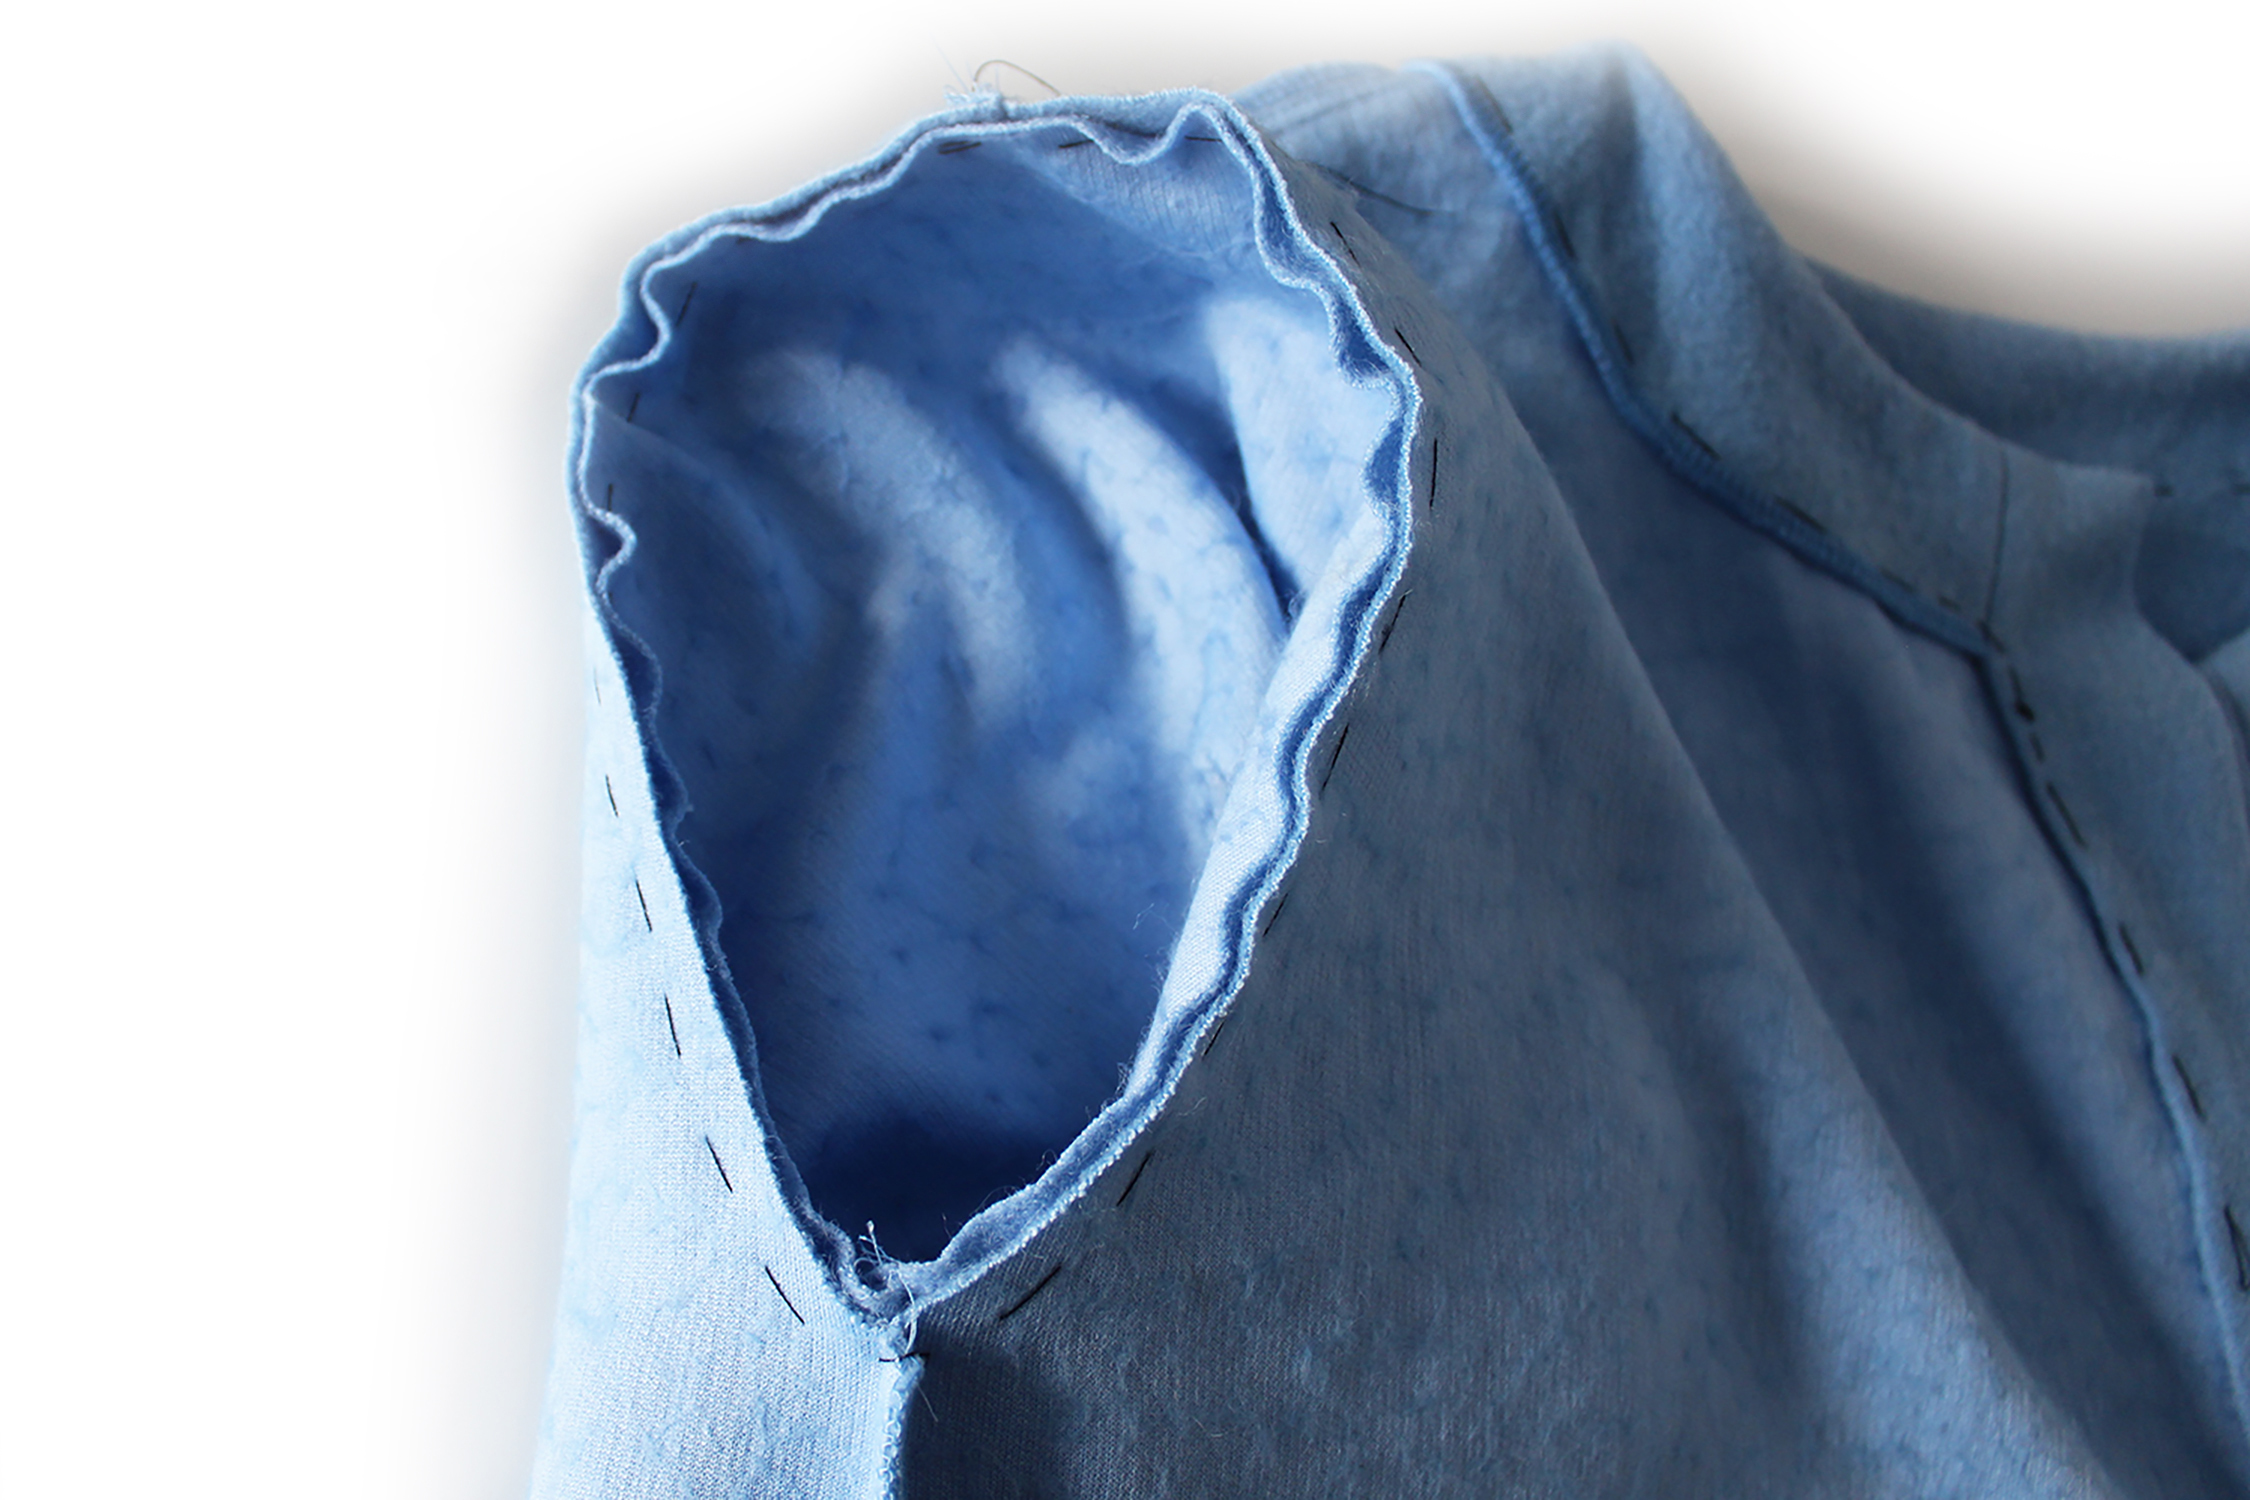 Pin the sleeve to the body, align the back of the sleeve head (see template) to the back. Sew. Finish the raw edge. Press. Topstitch on the RS.
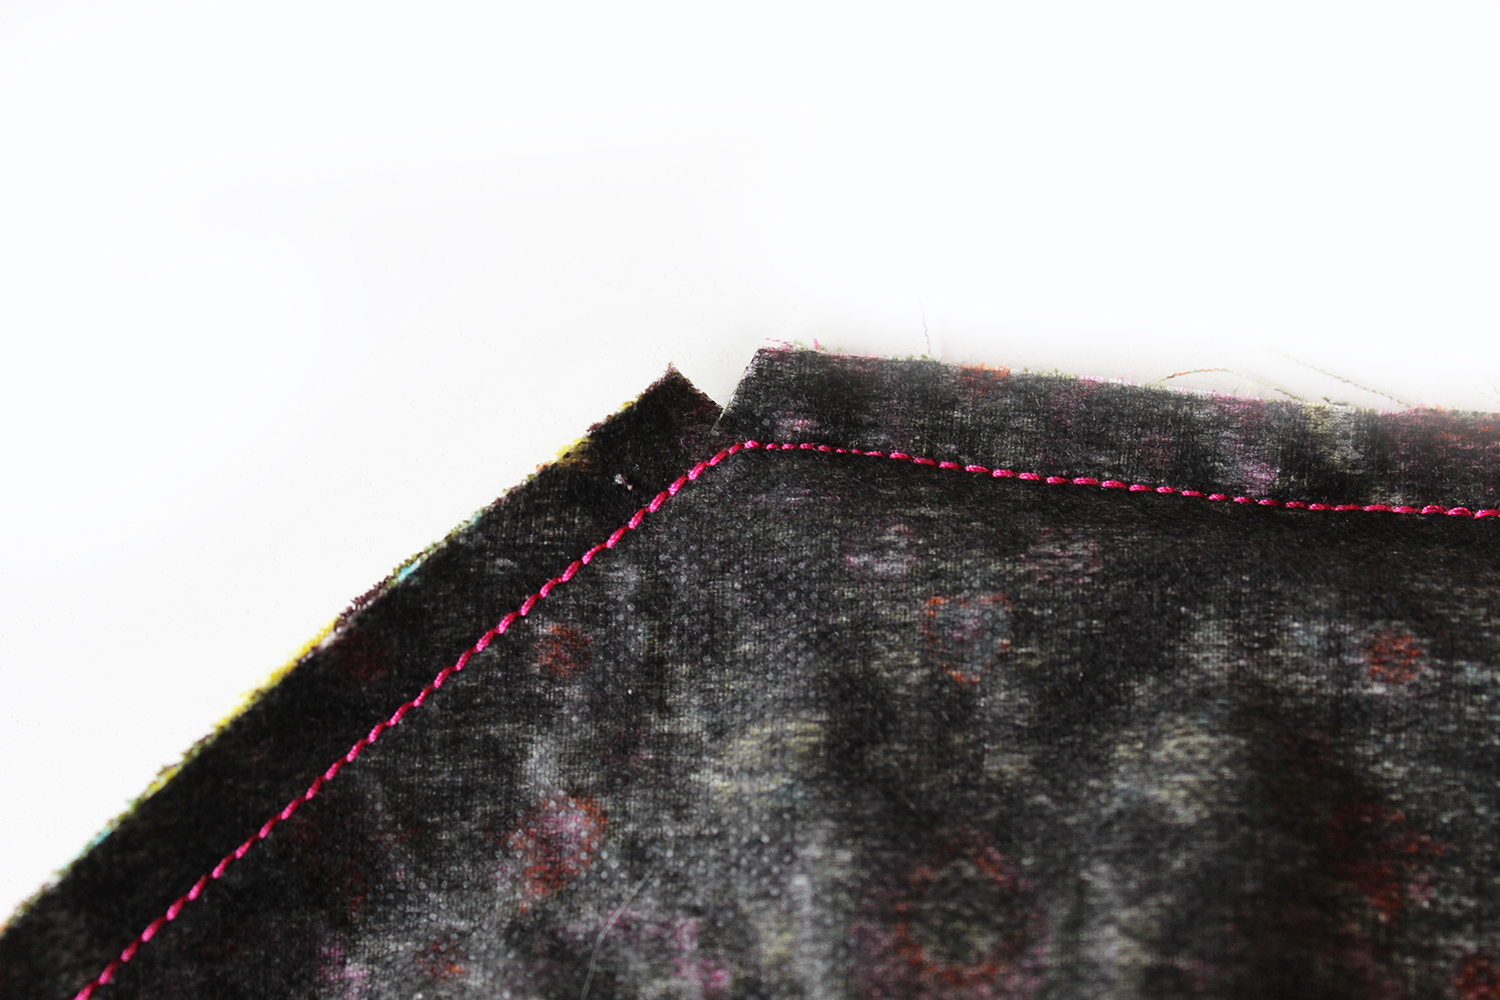
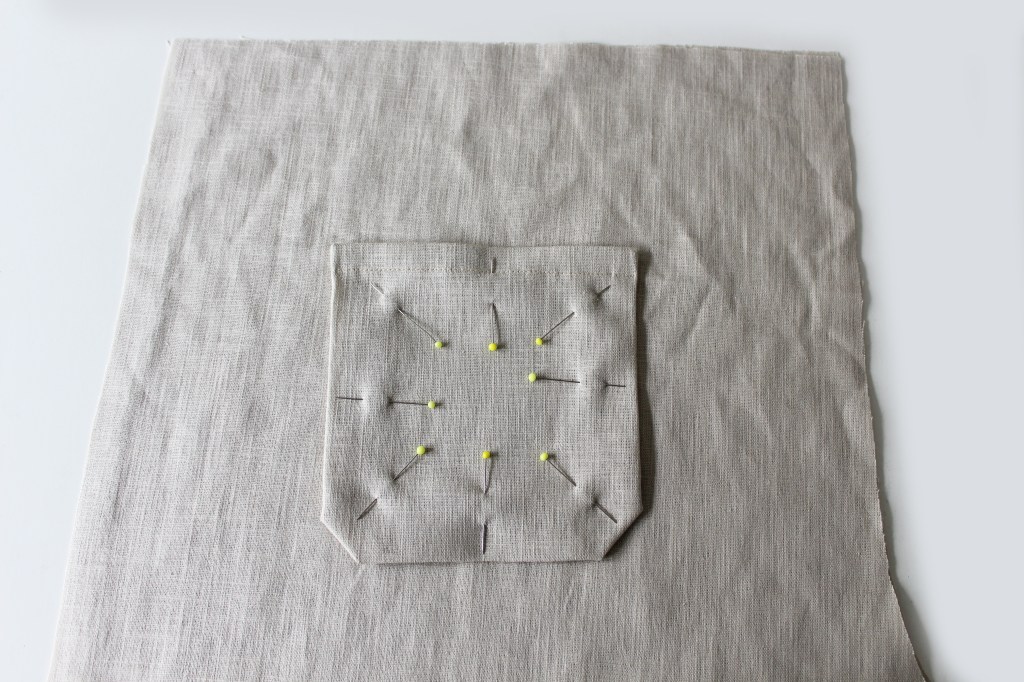
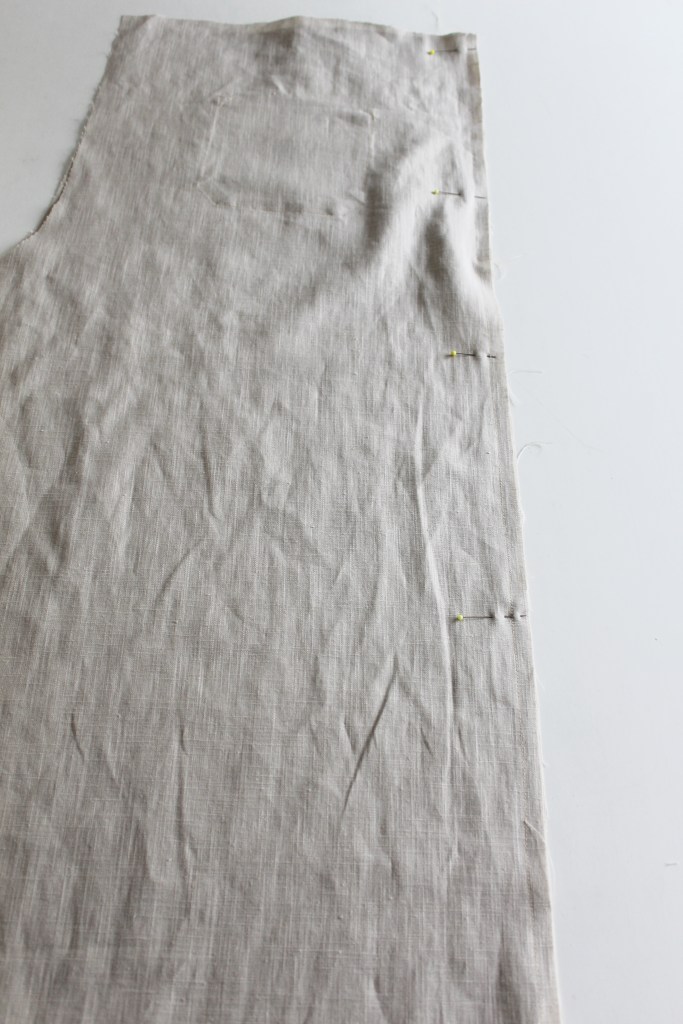
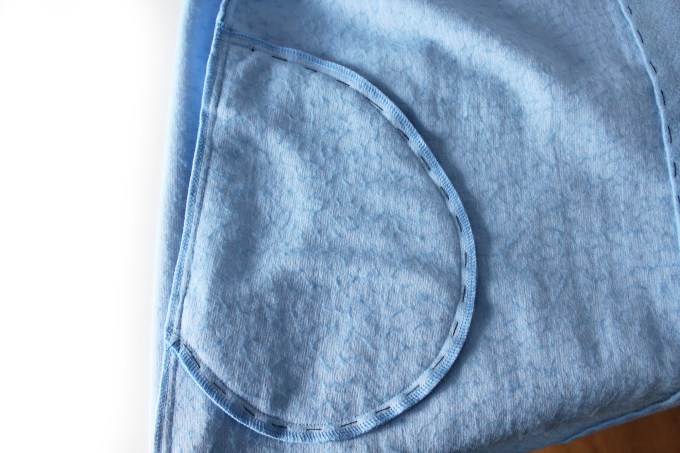 Pin, hand tack the pocket to the body. On the reverse side, stitch around the pocket with a longer stitch length. This will define the pocket on the RS. Like this……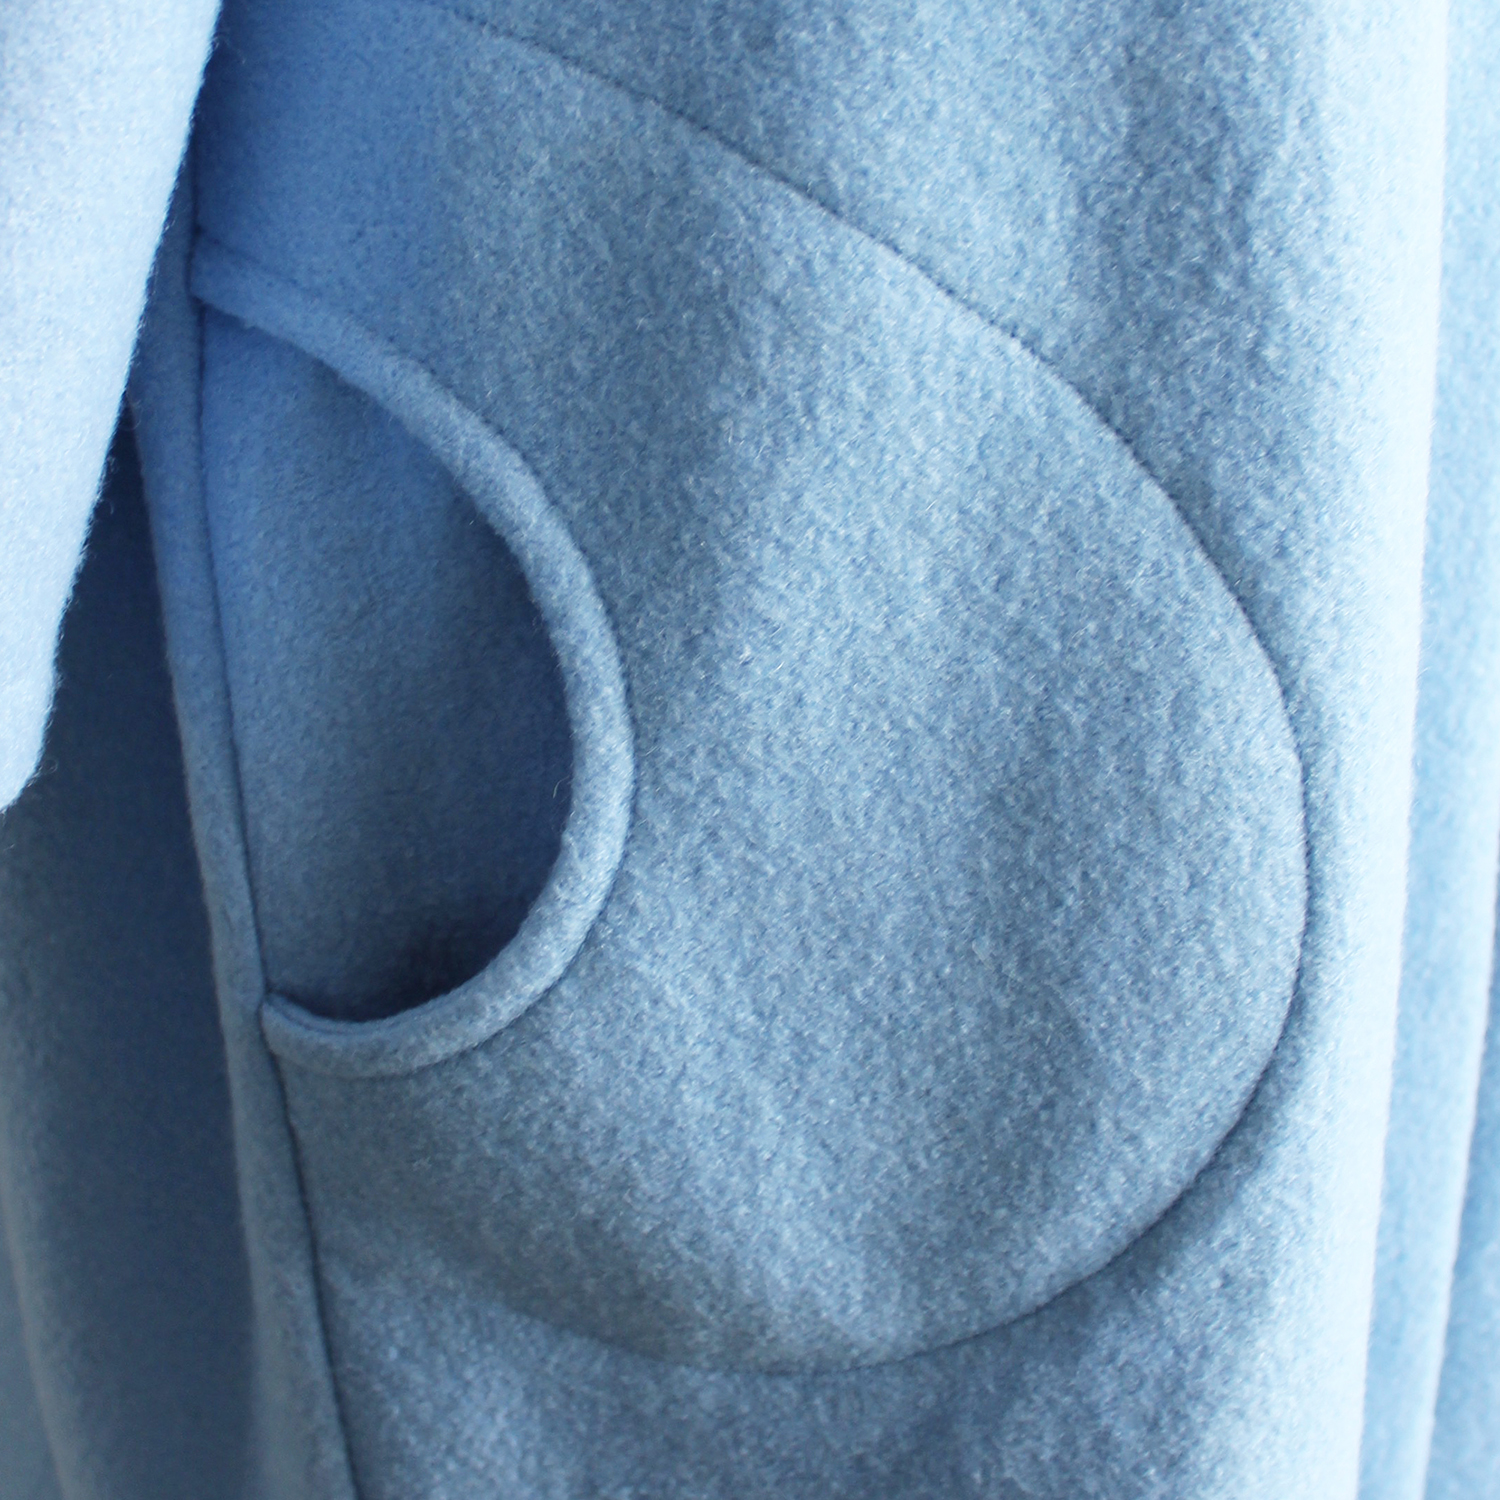
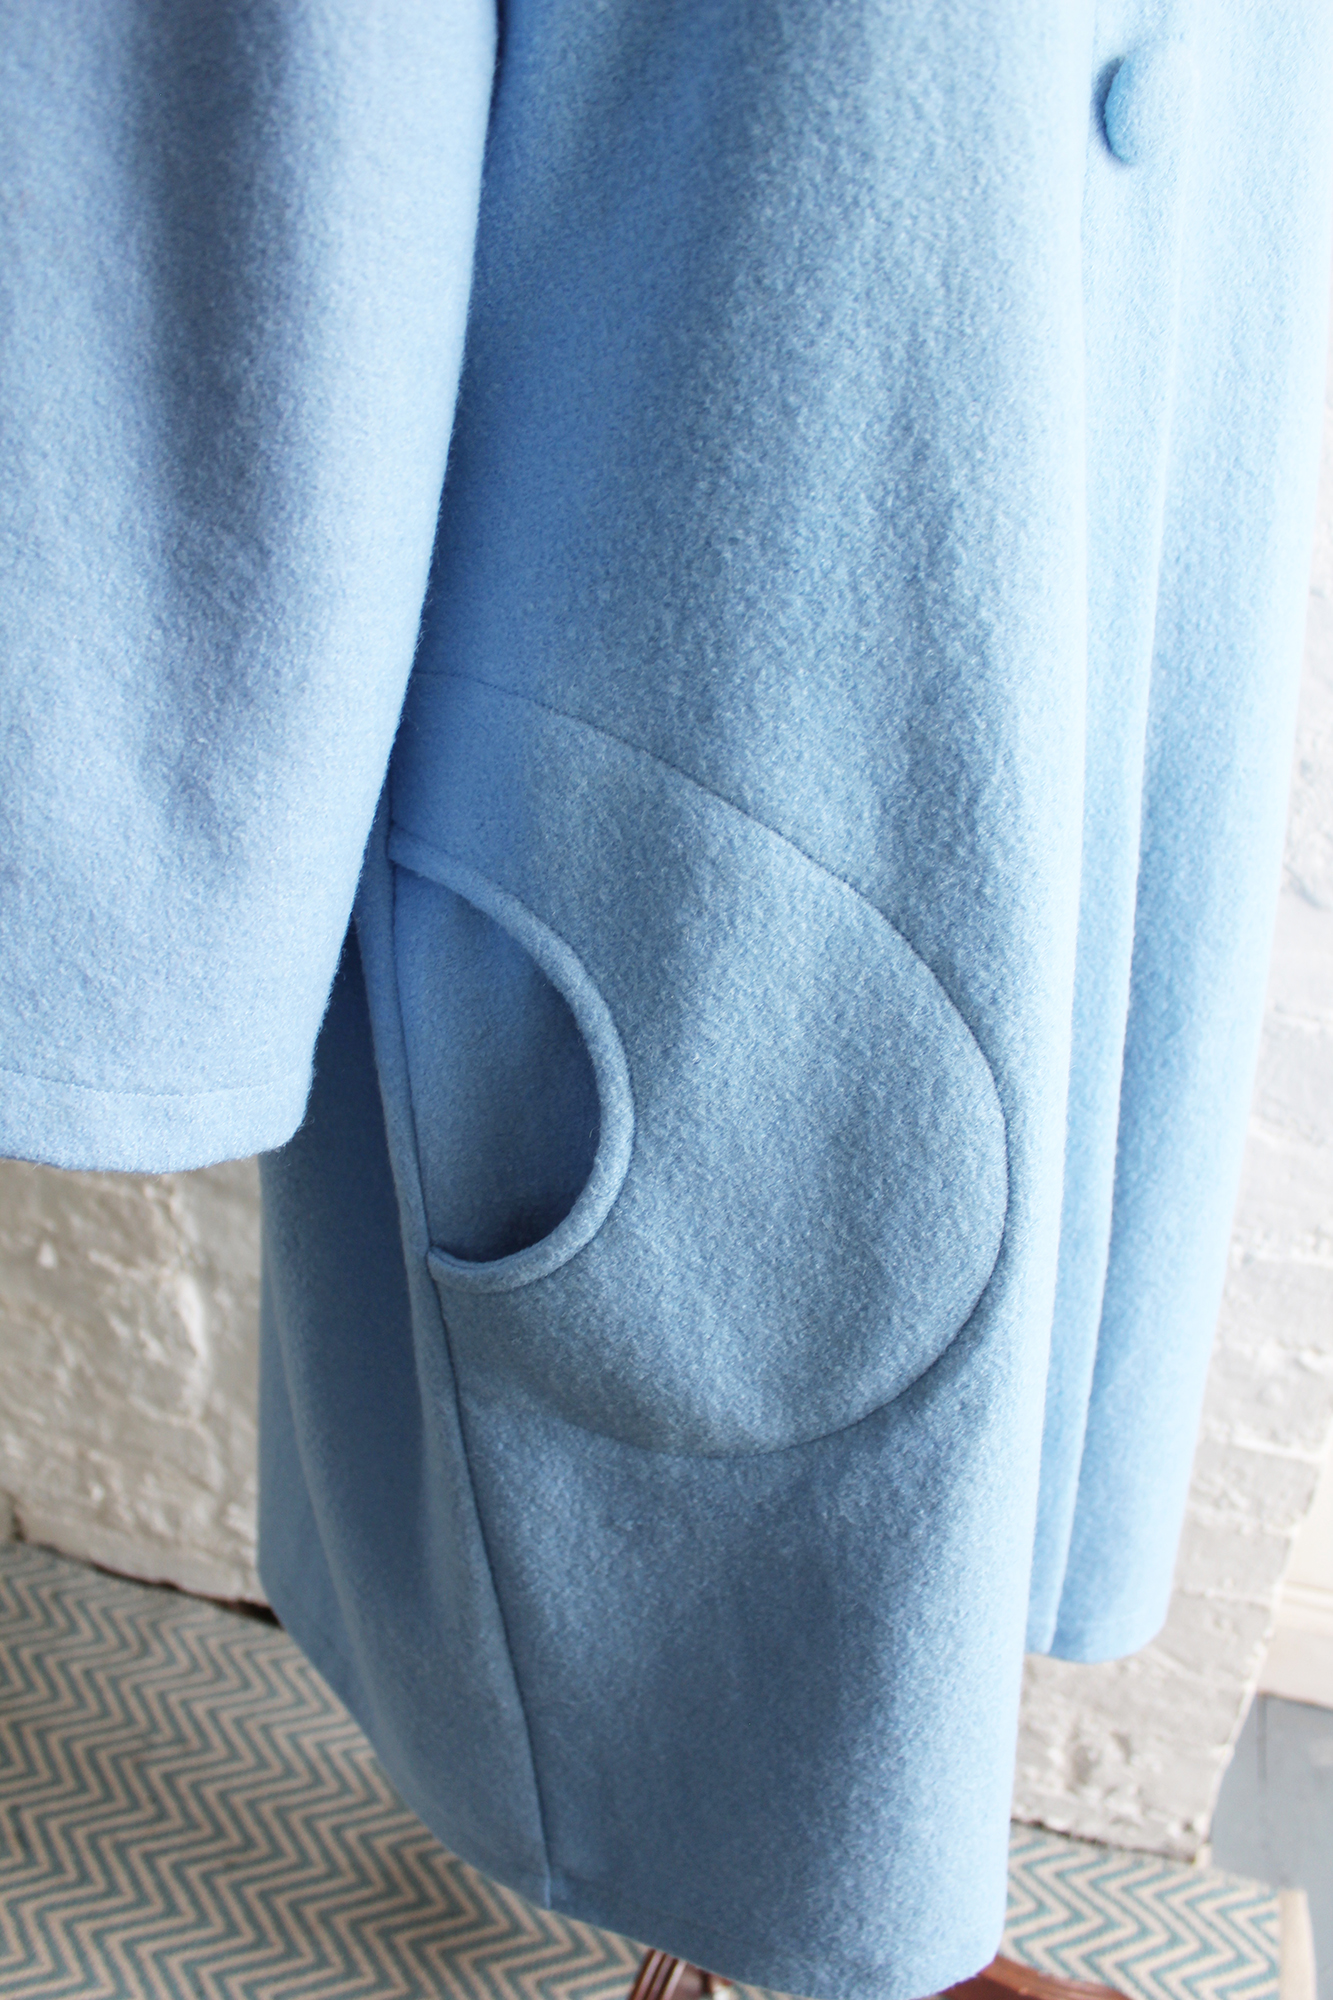
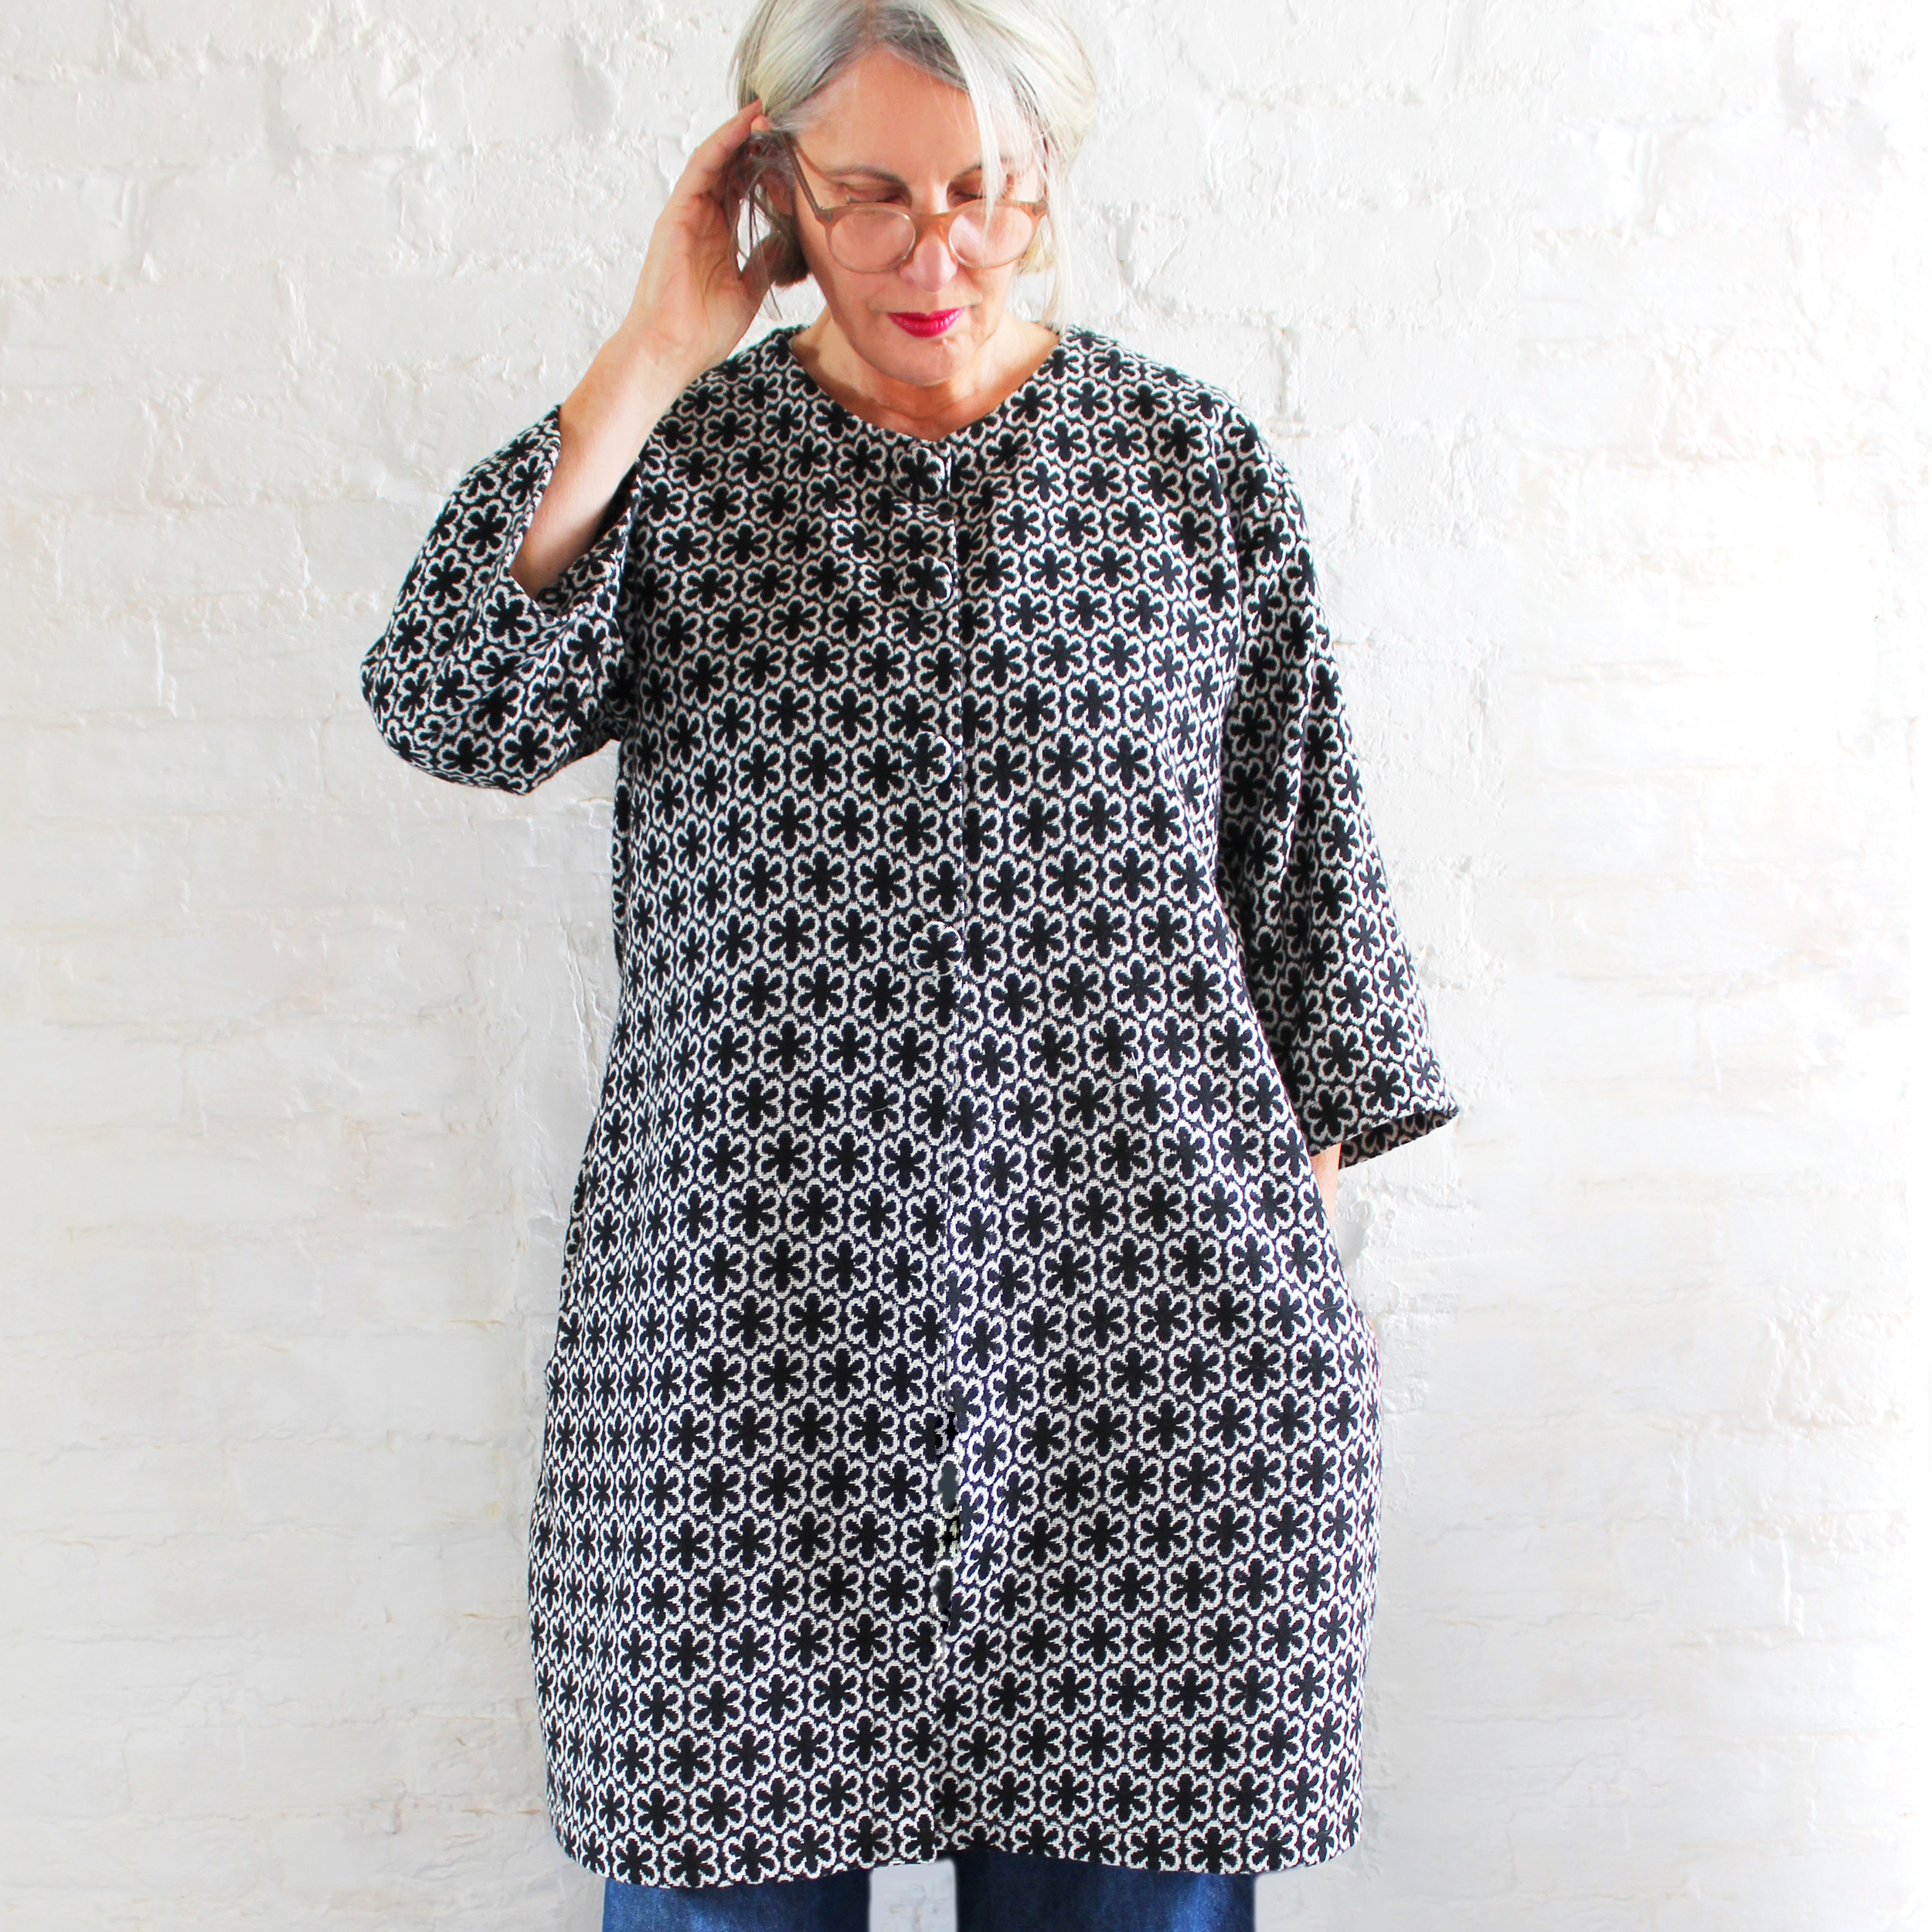
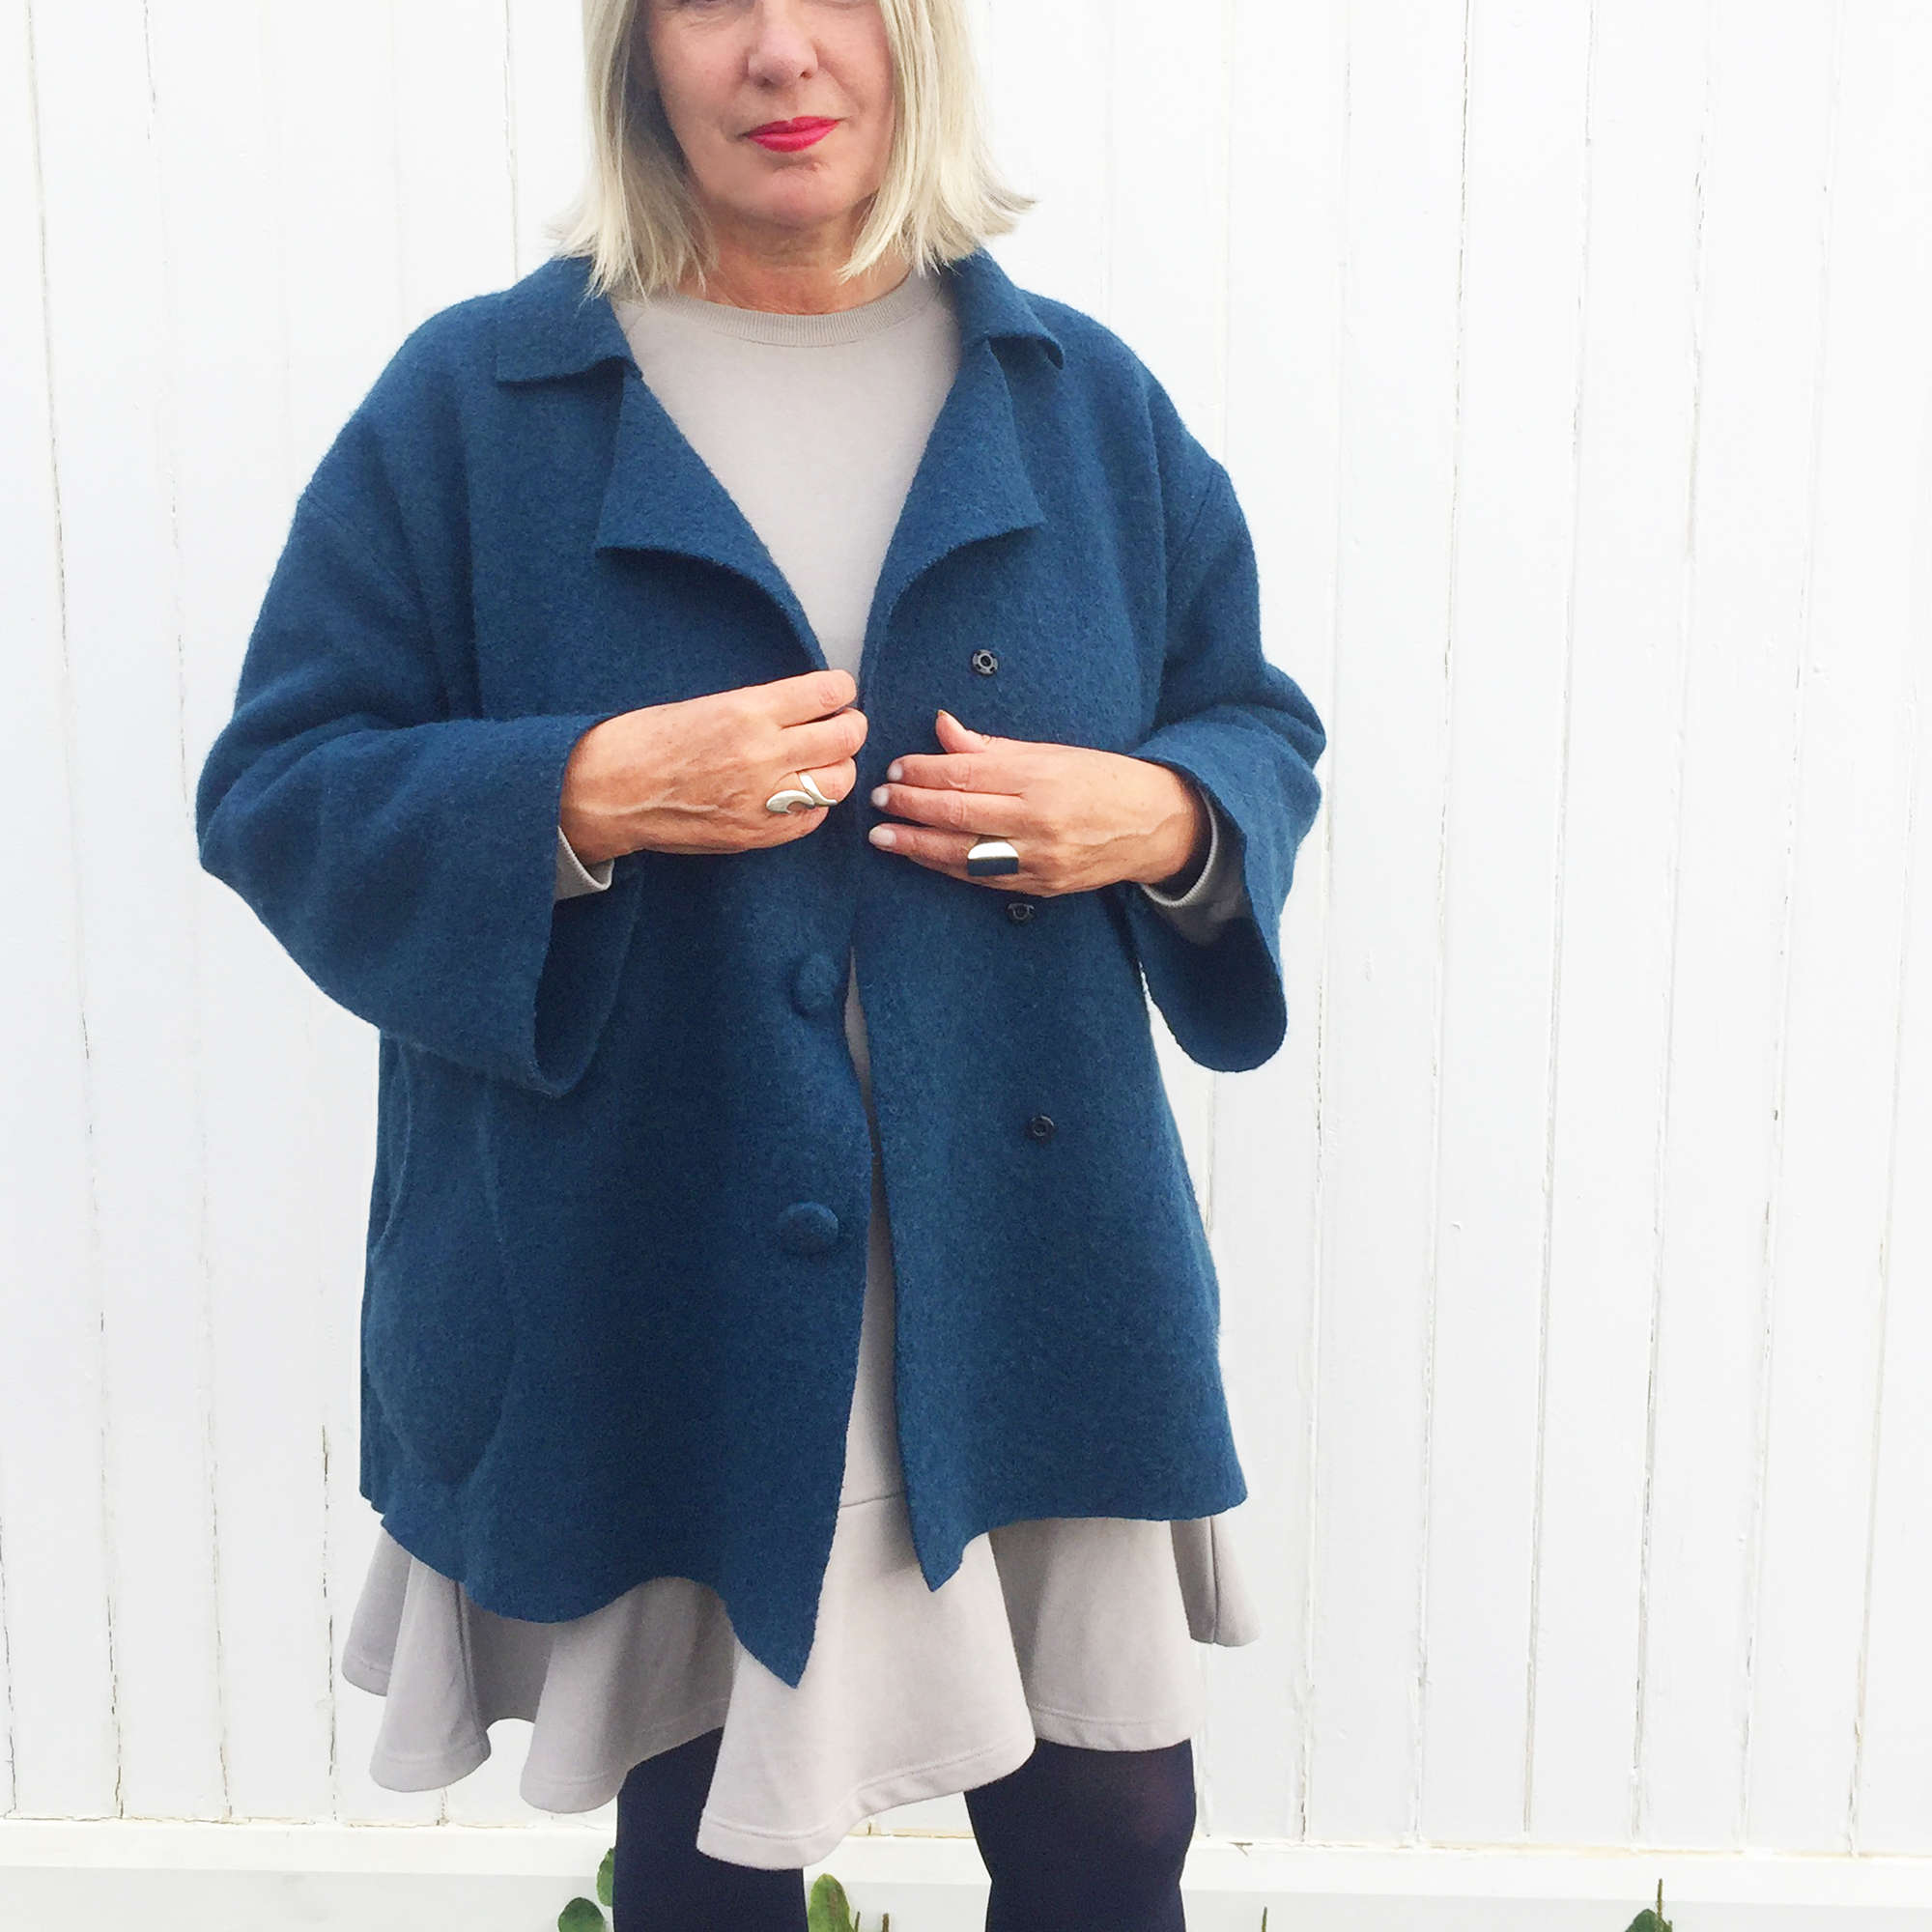
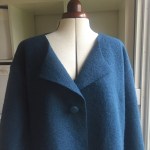
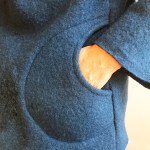
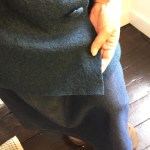
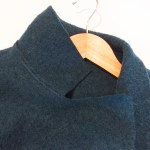
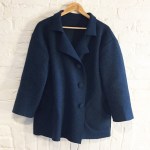

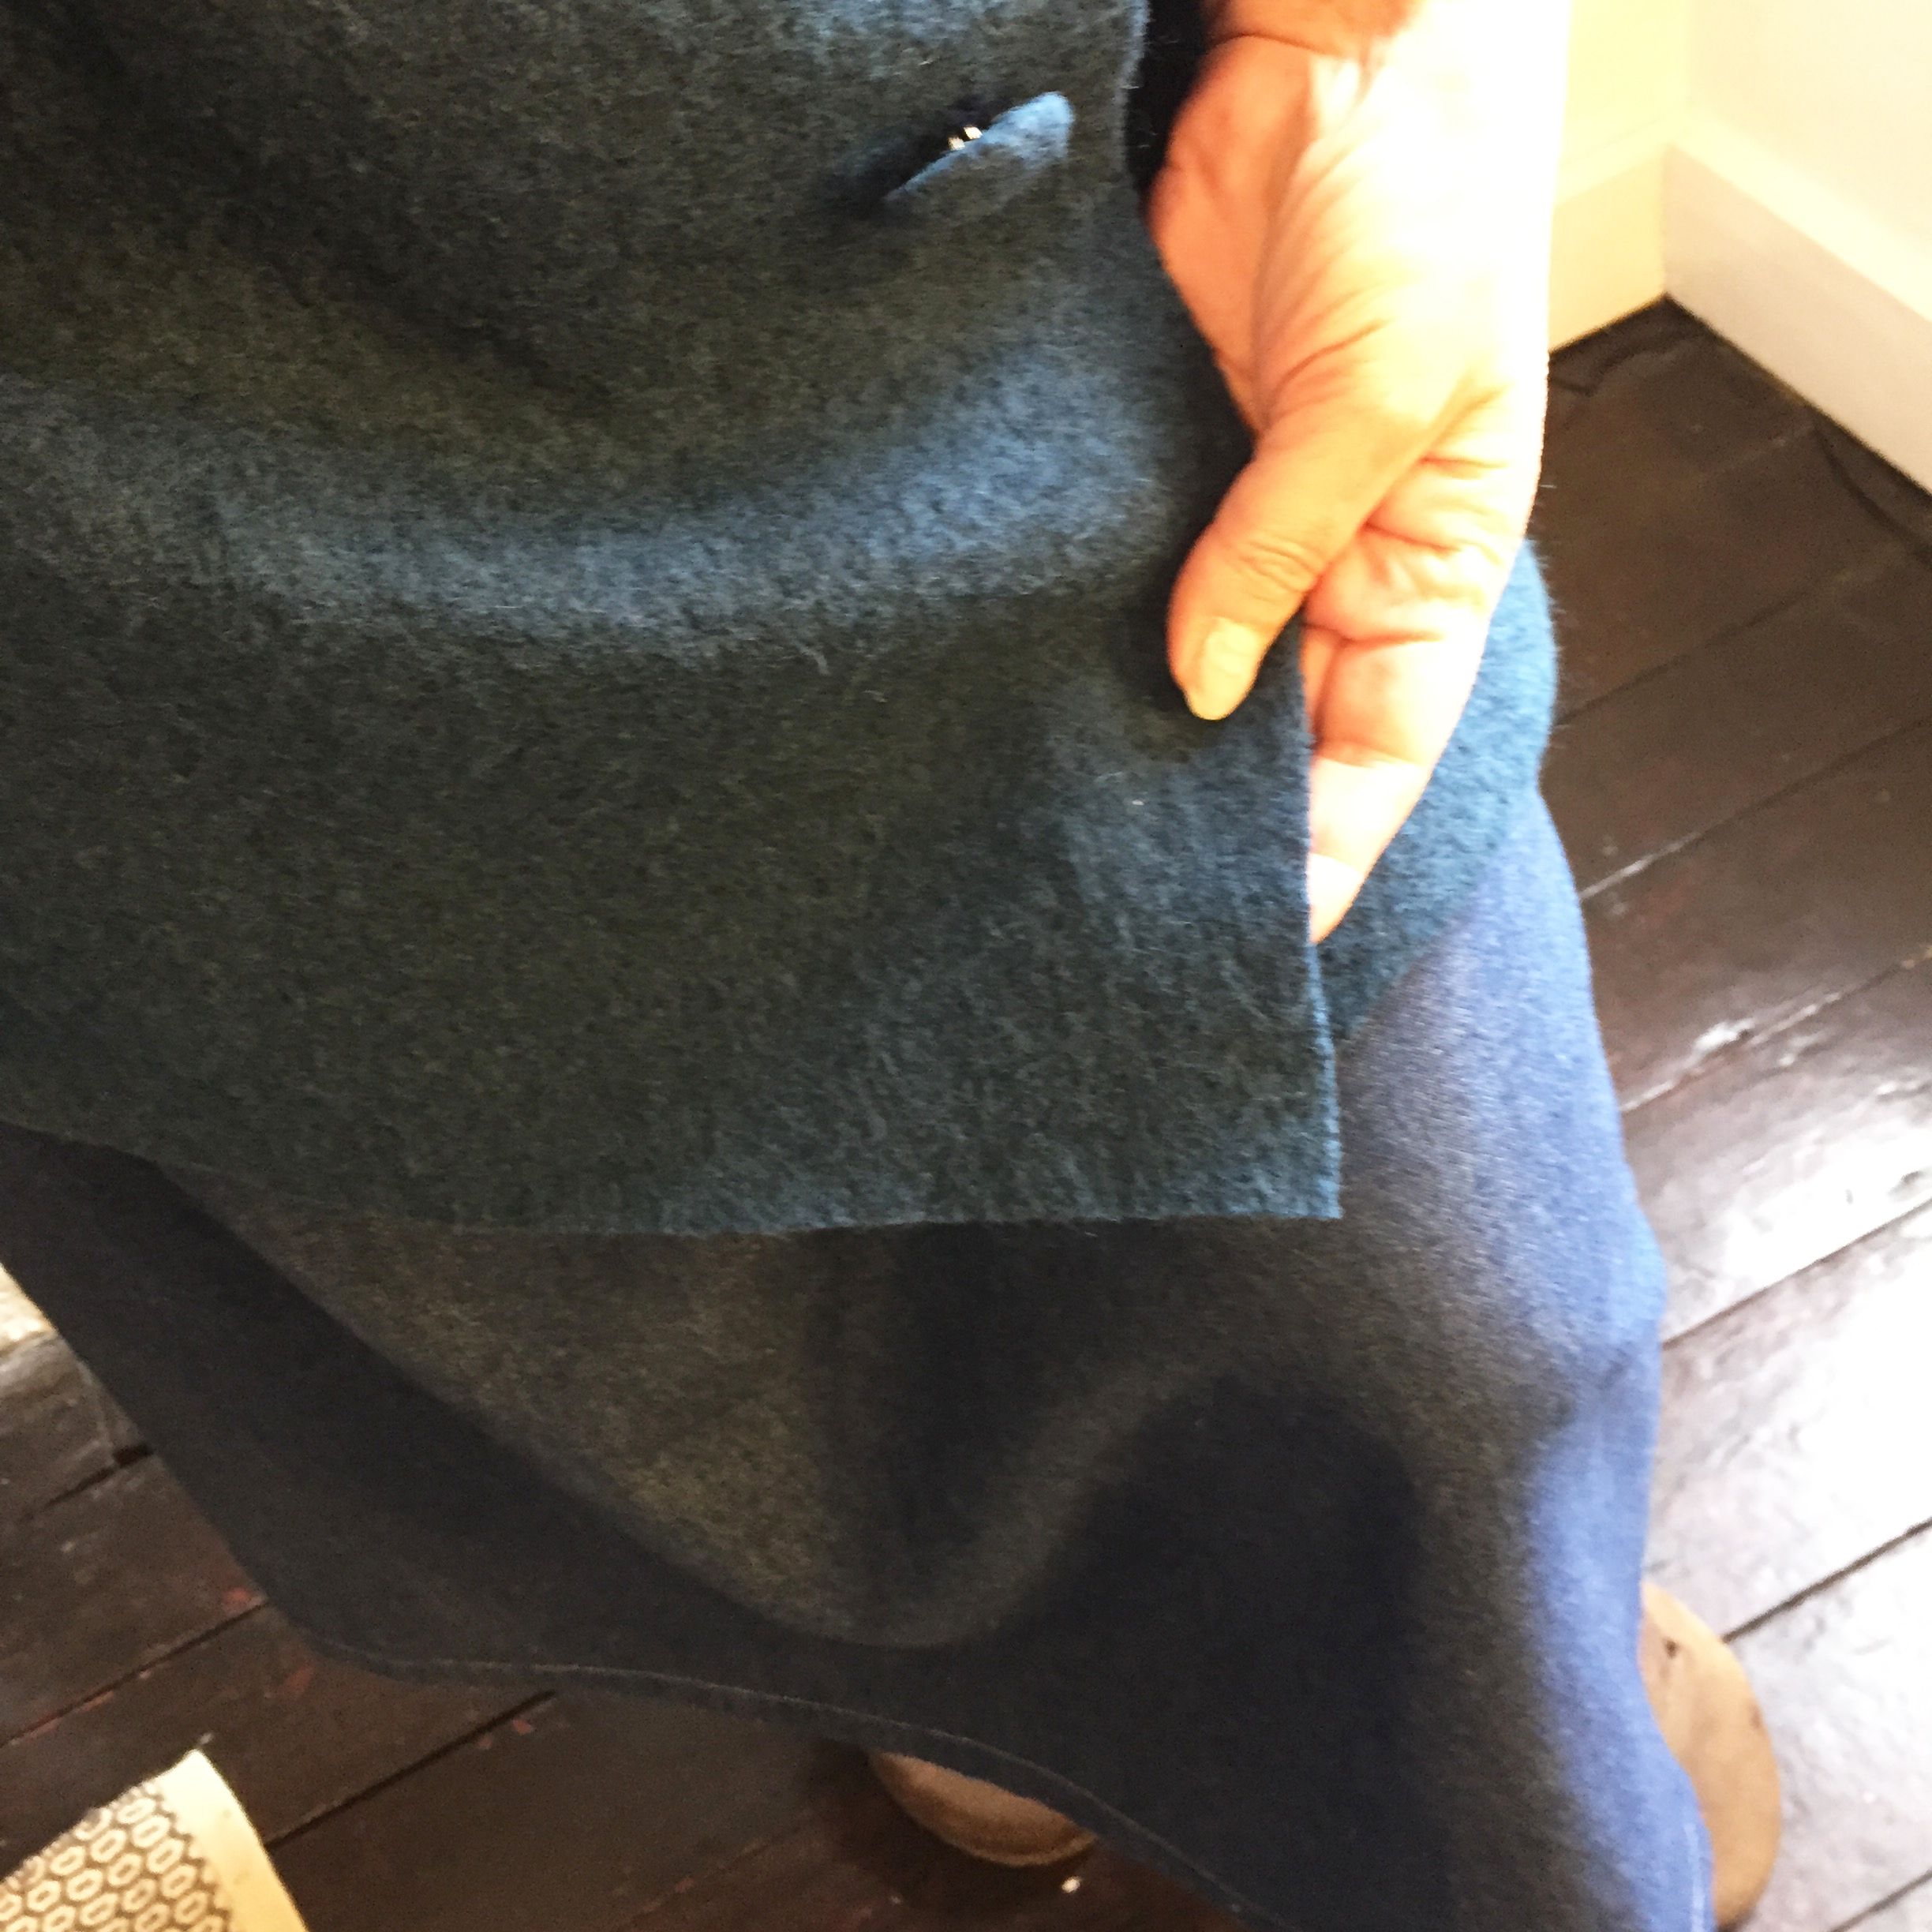 The boiled wool was like felt, it didn’t fray at the edges at all, so I thought leave them be. This 100% wool fabric was, I thought, a bargain price and would keep you nice and toastie, and no nasty synthetics! Wonderful!
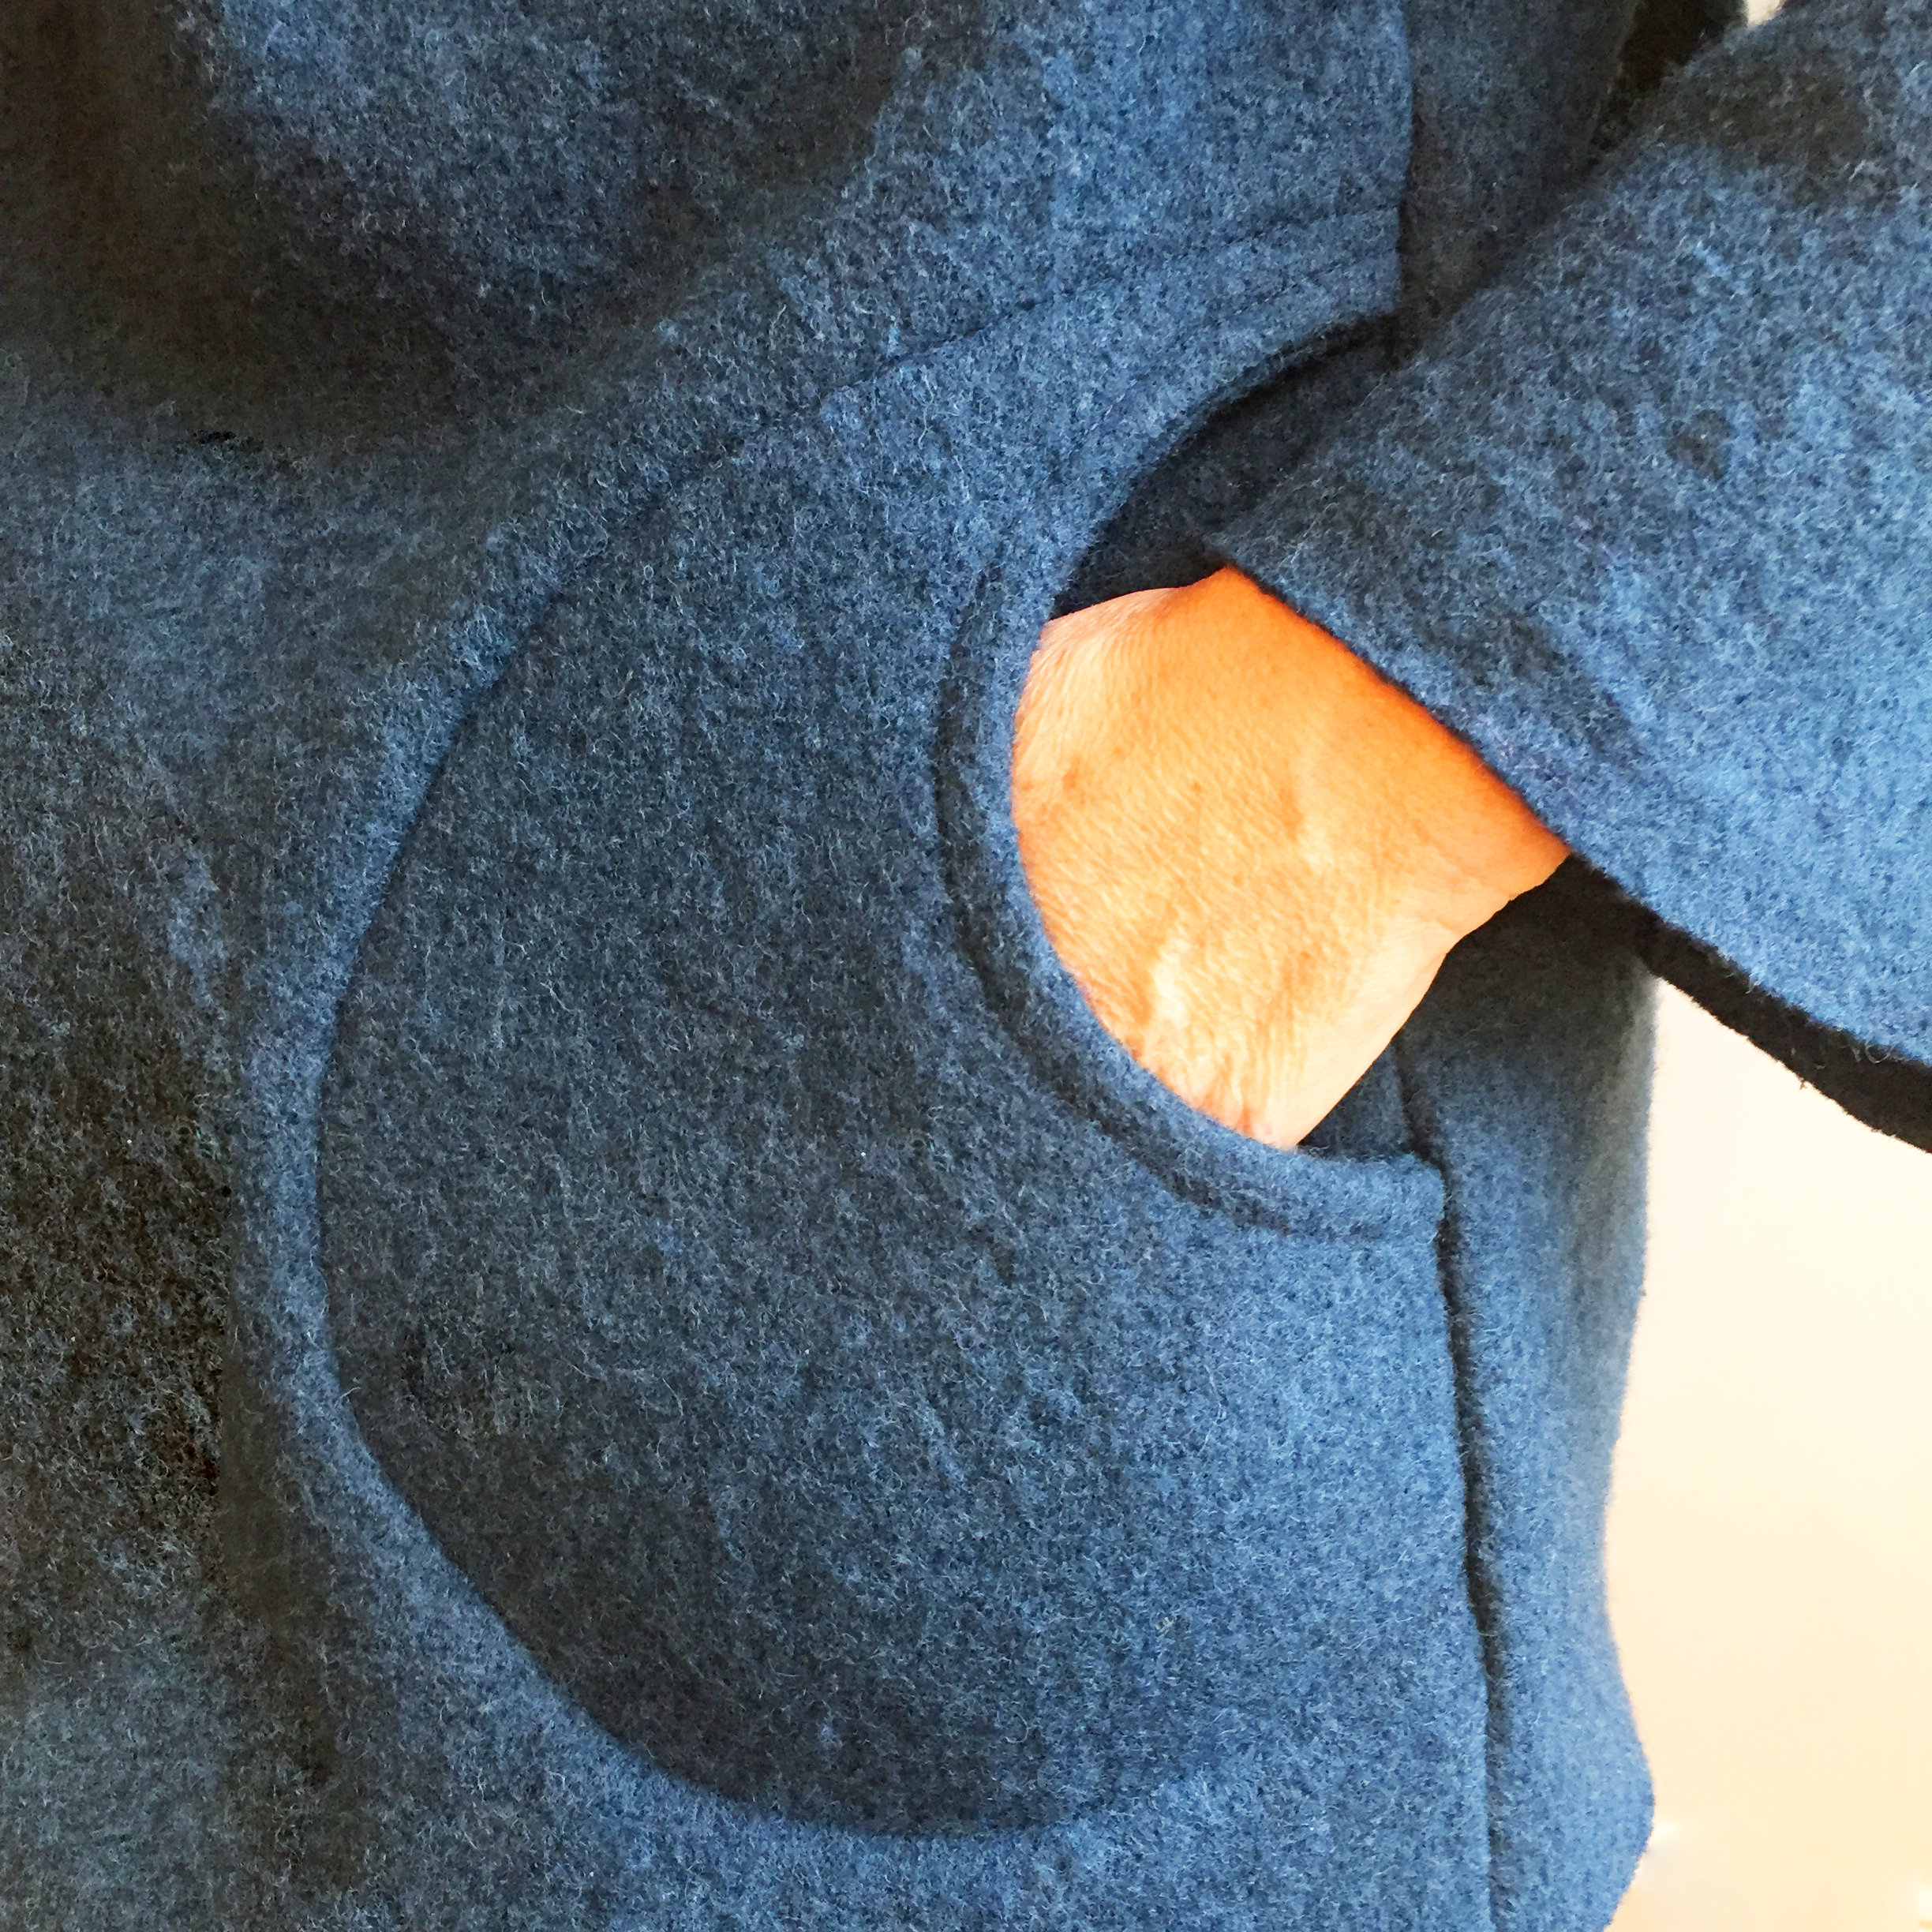 Then to the facing bit. I popped the body on to a mannequin and started to look at Ursula in a new way. The pre-facing, waterfall neckline looked quite interesting, and it gave me an idea.
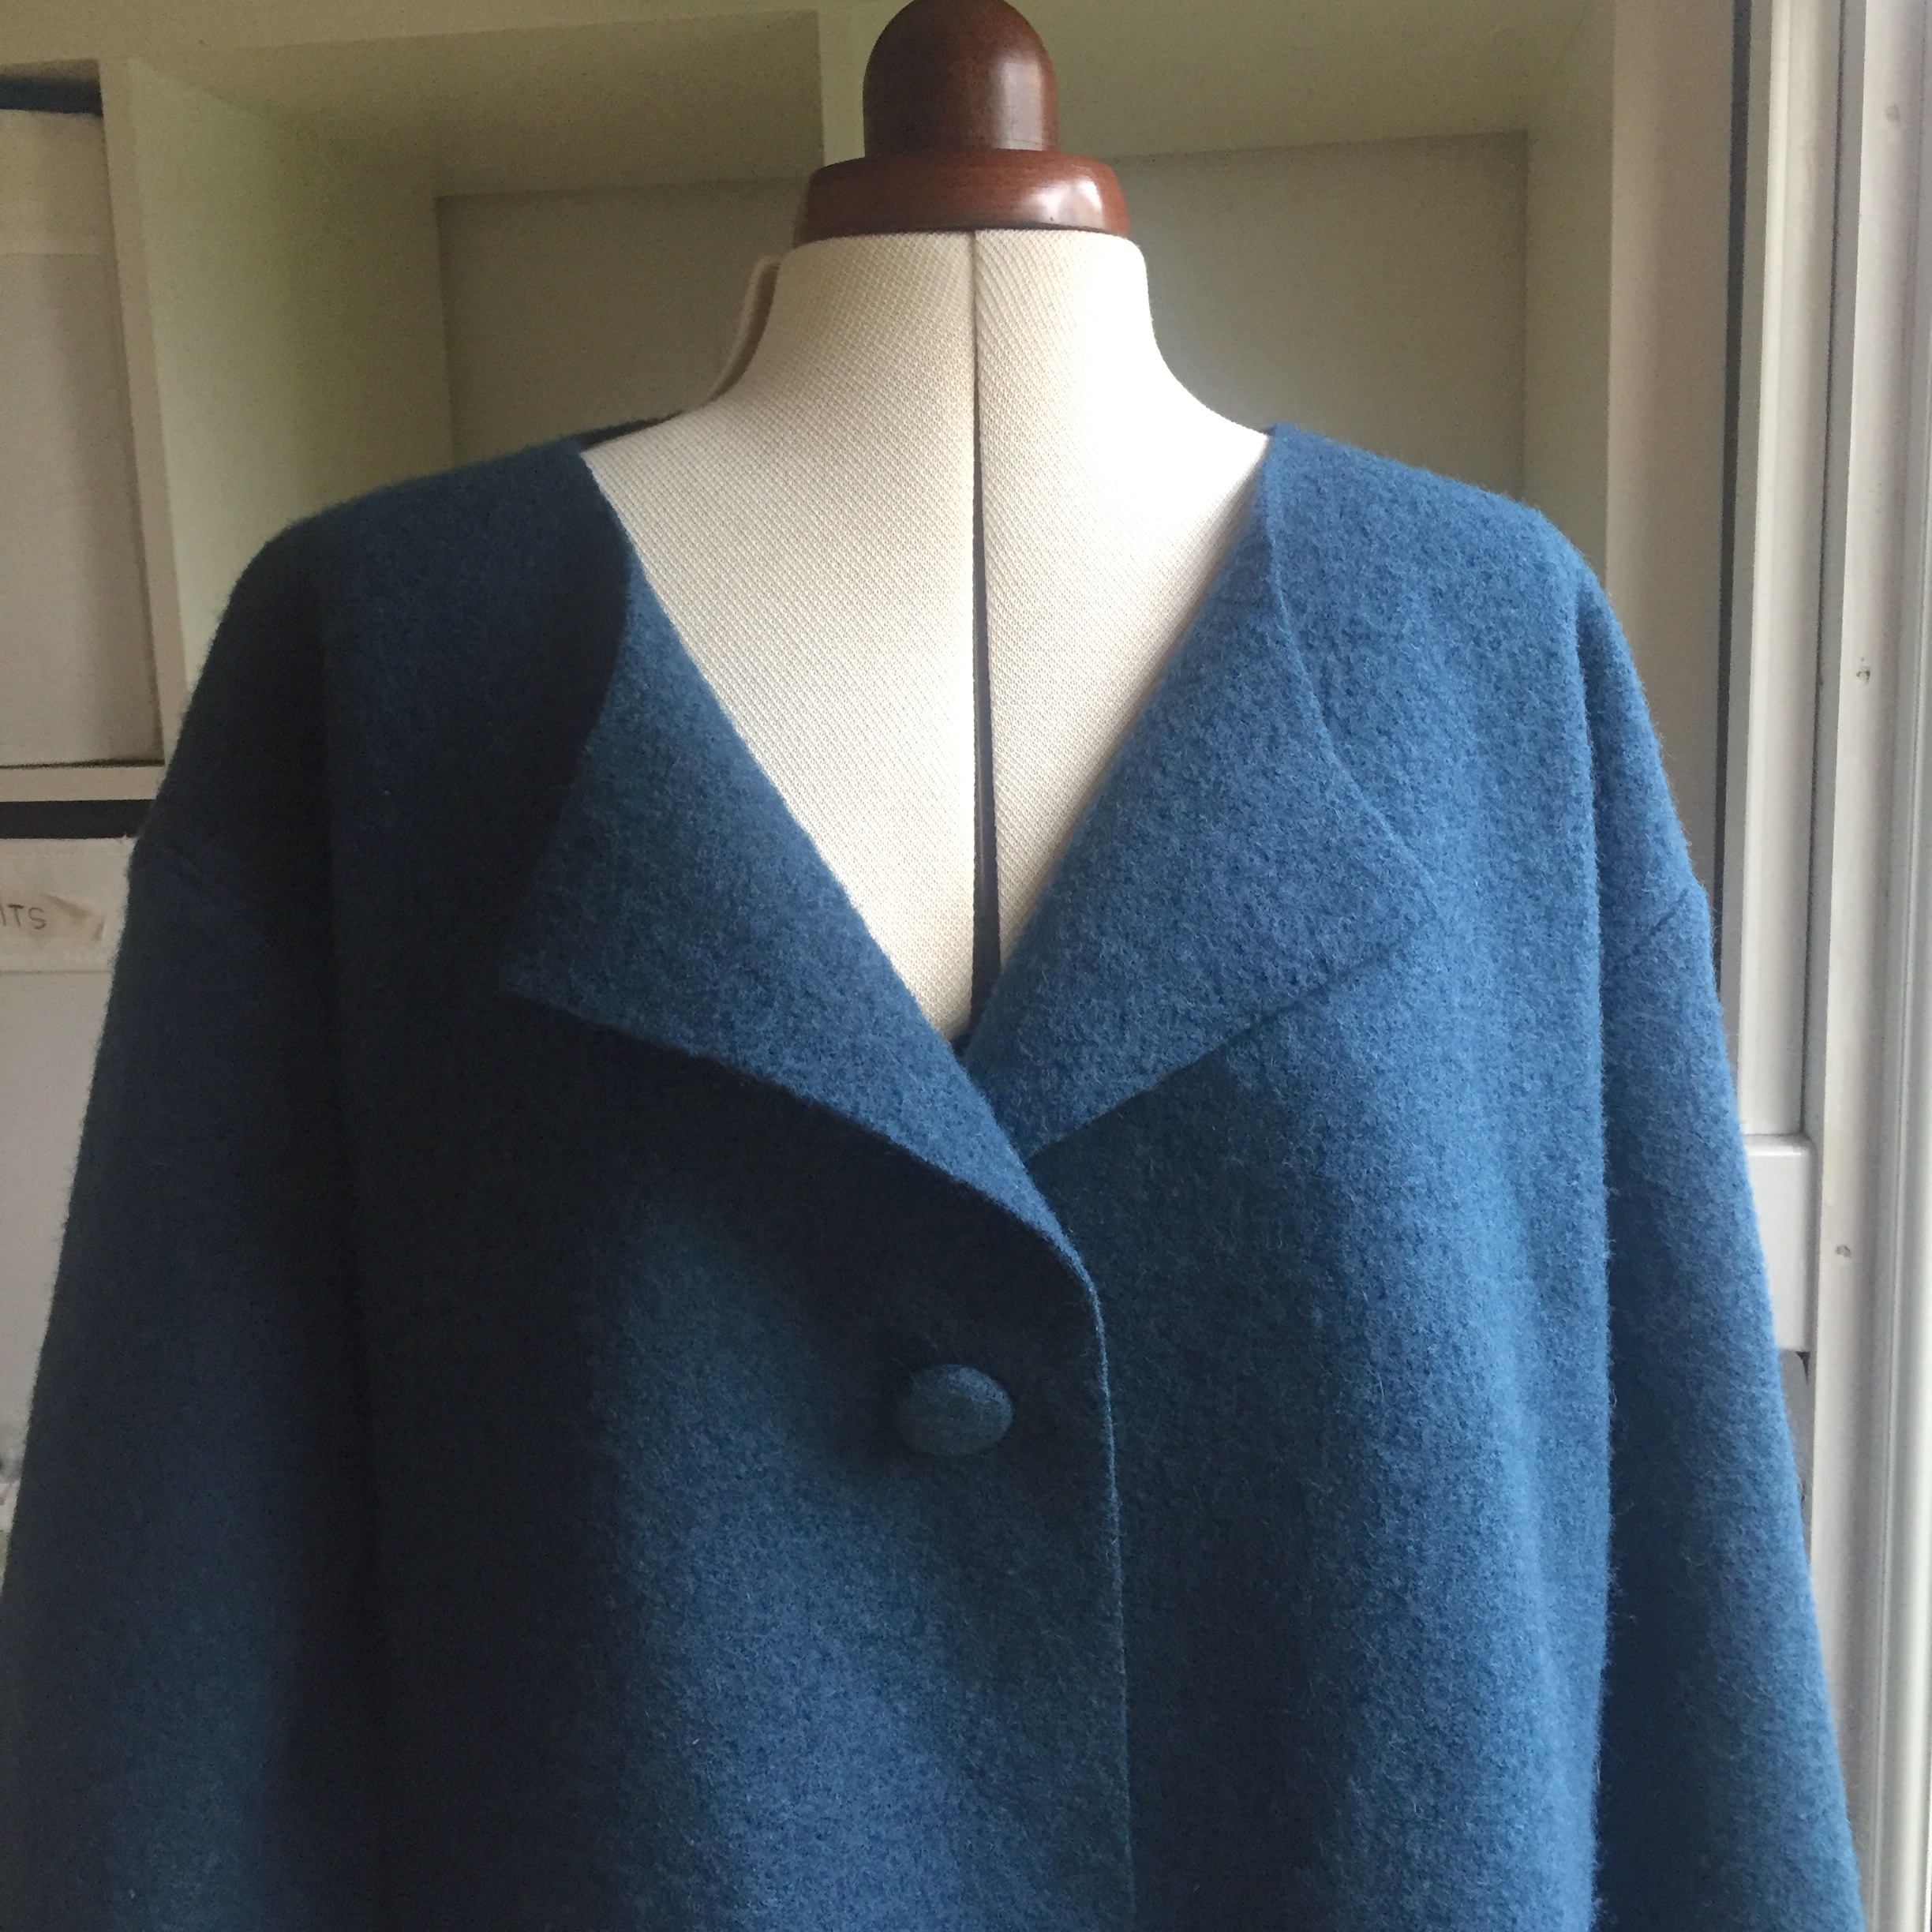 So I left the facings off, and the back belt, I didn’t fold back the centre front either. I just left it un-hemmed and I thought it looked very Japanese in style. Then I thought- what about if I stitched on a simple rectangle of fabric at the back neck to make a collar? oooo ….nice!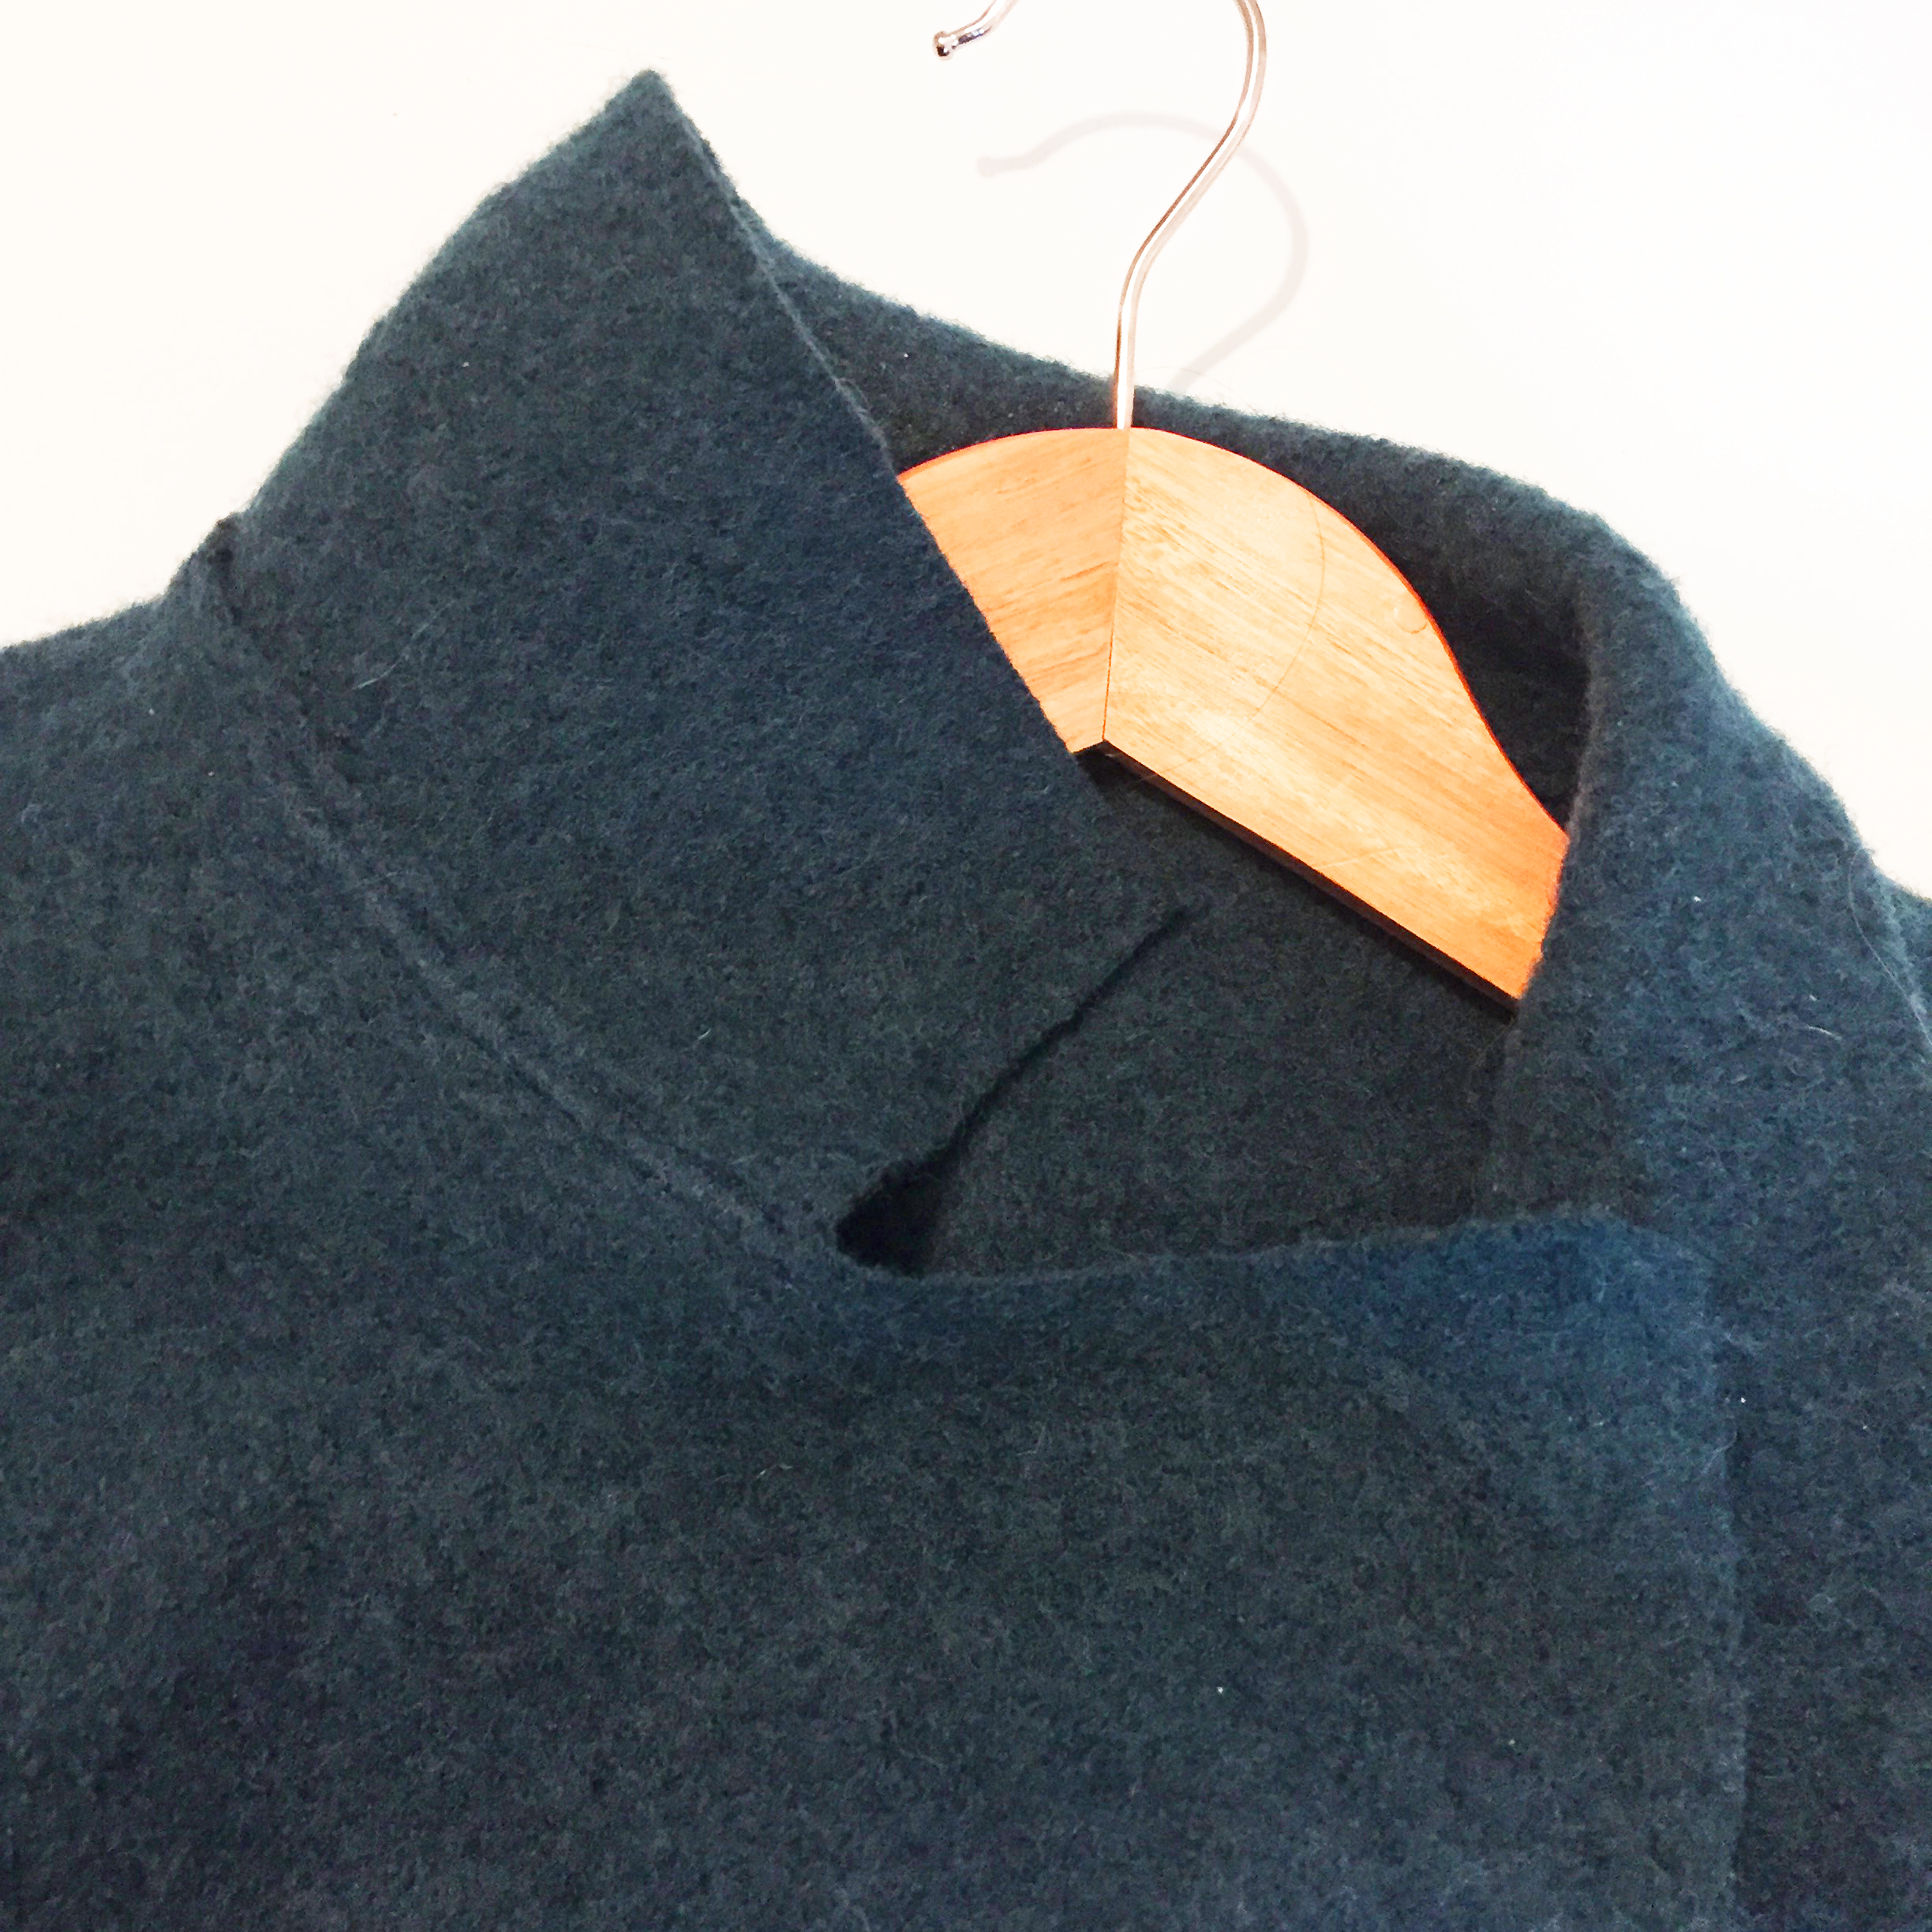
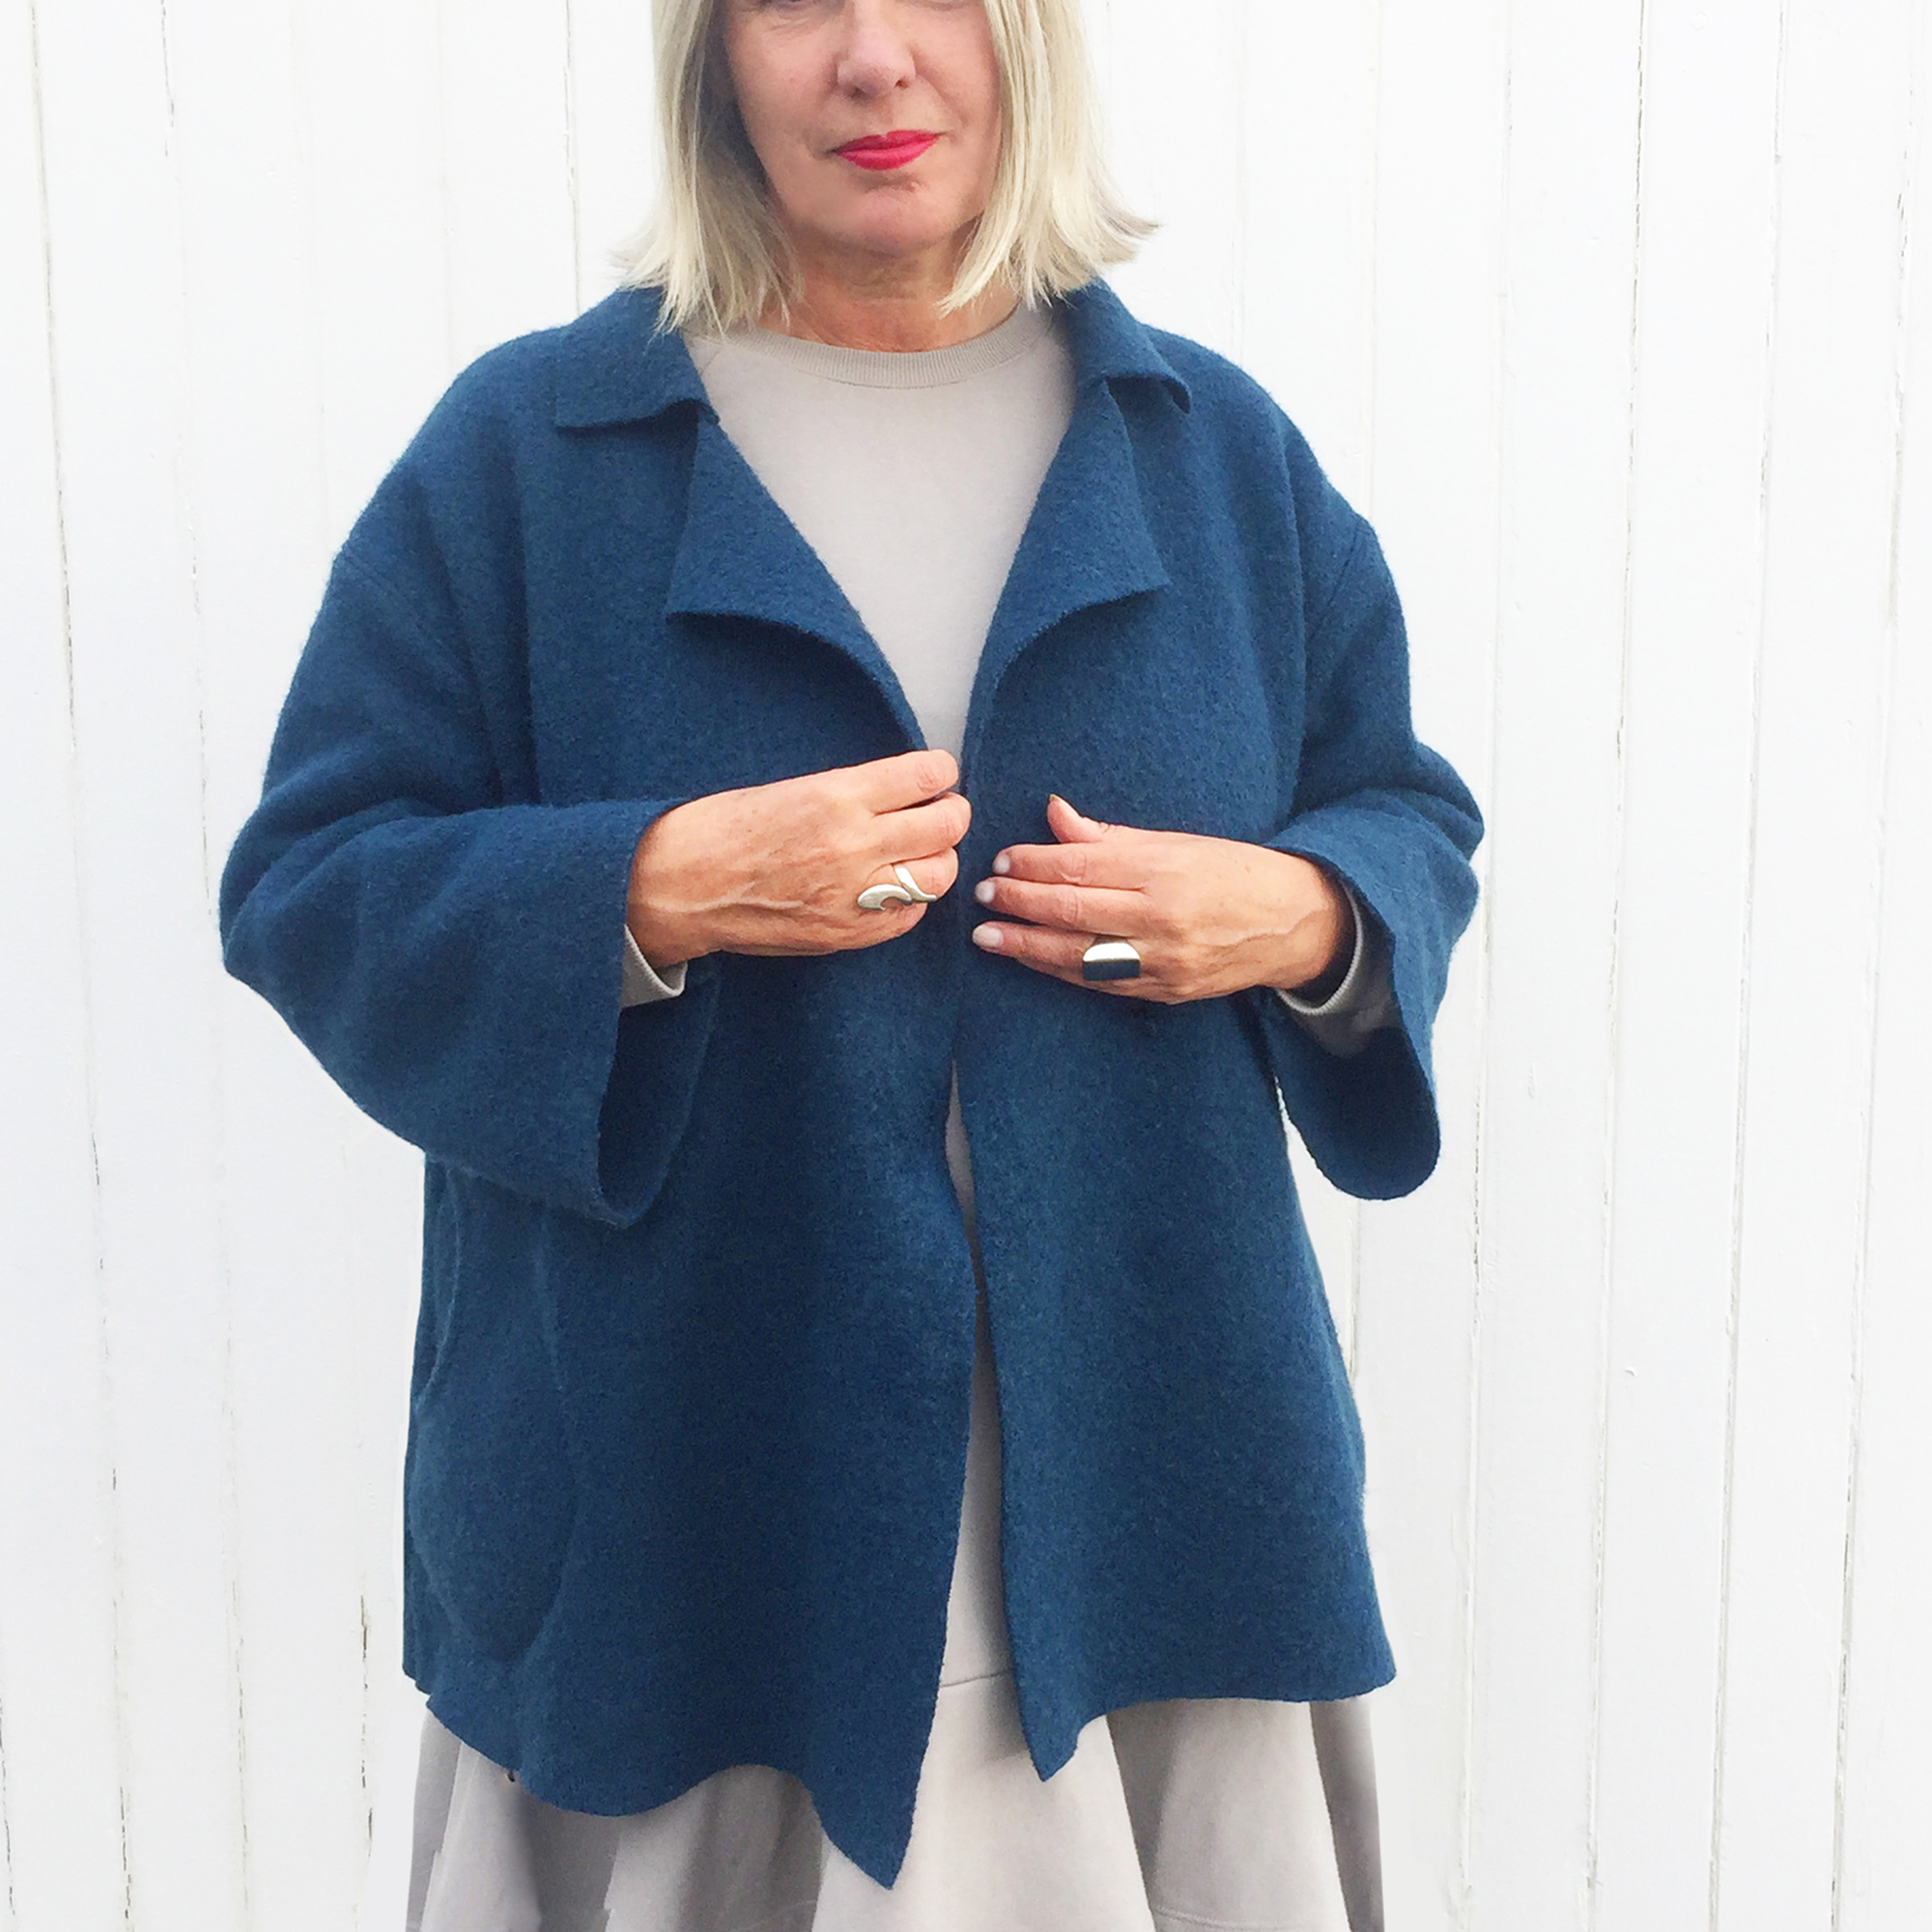
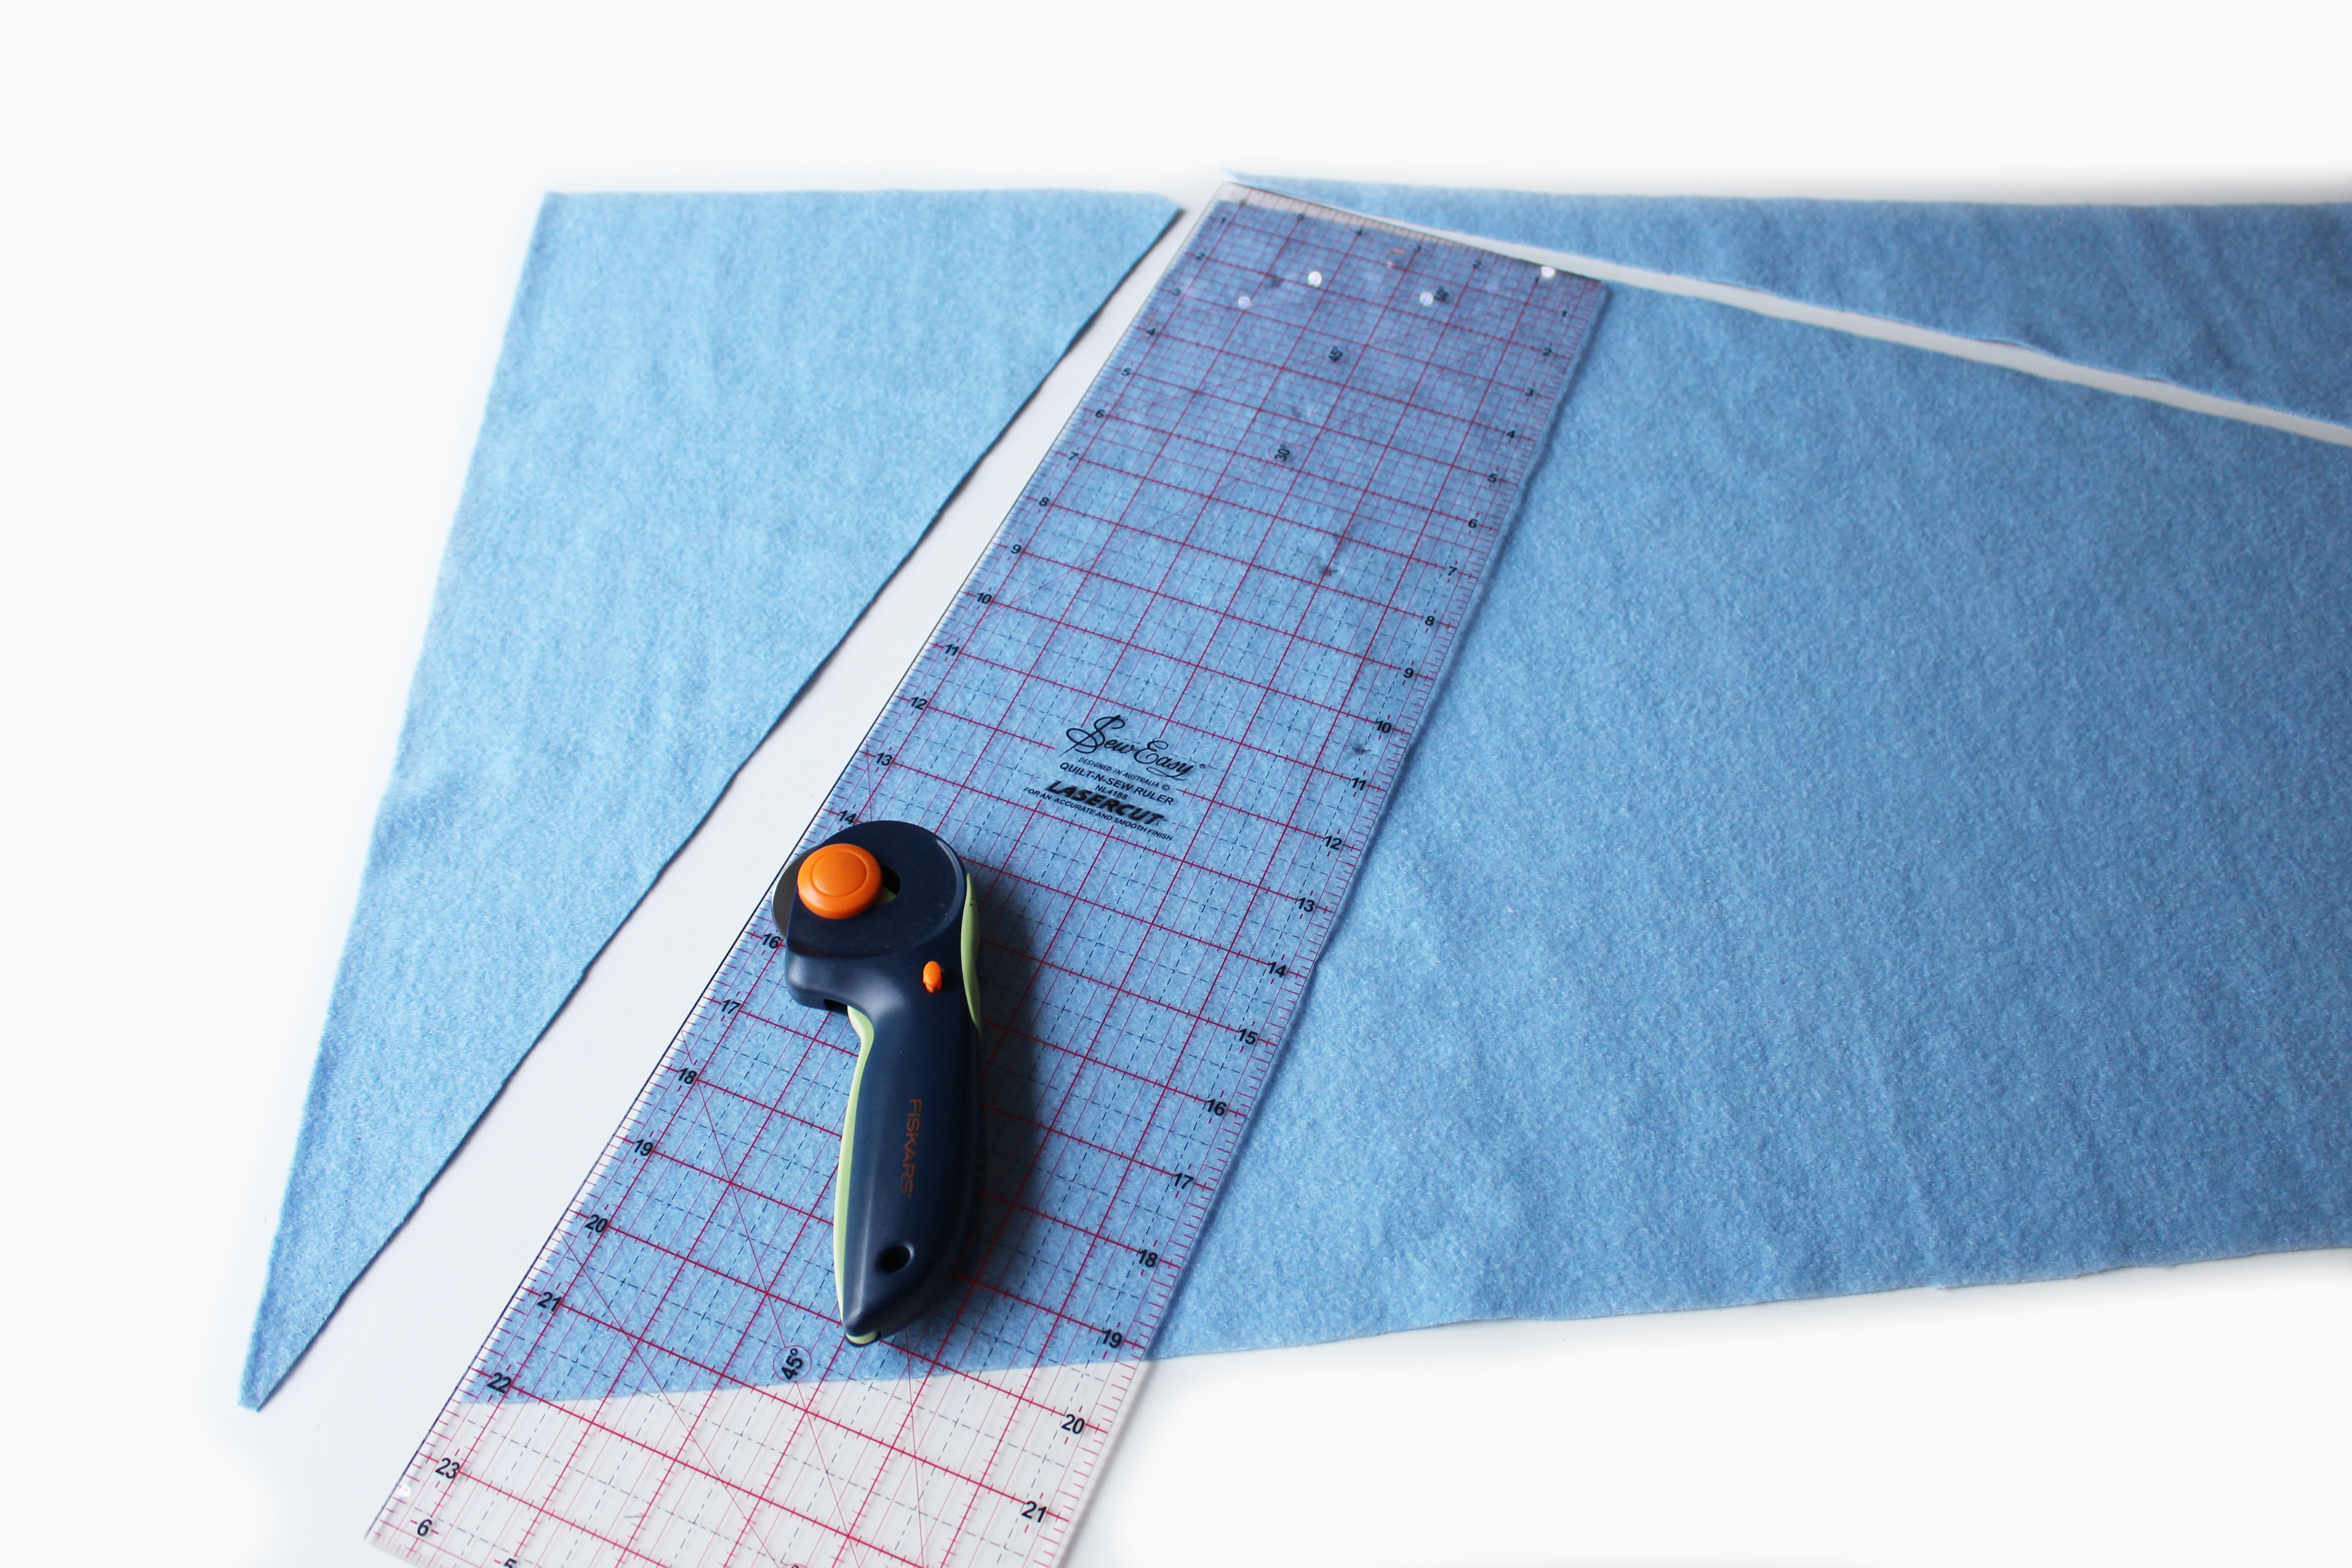
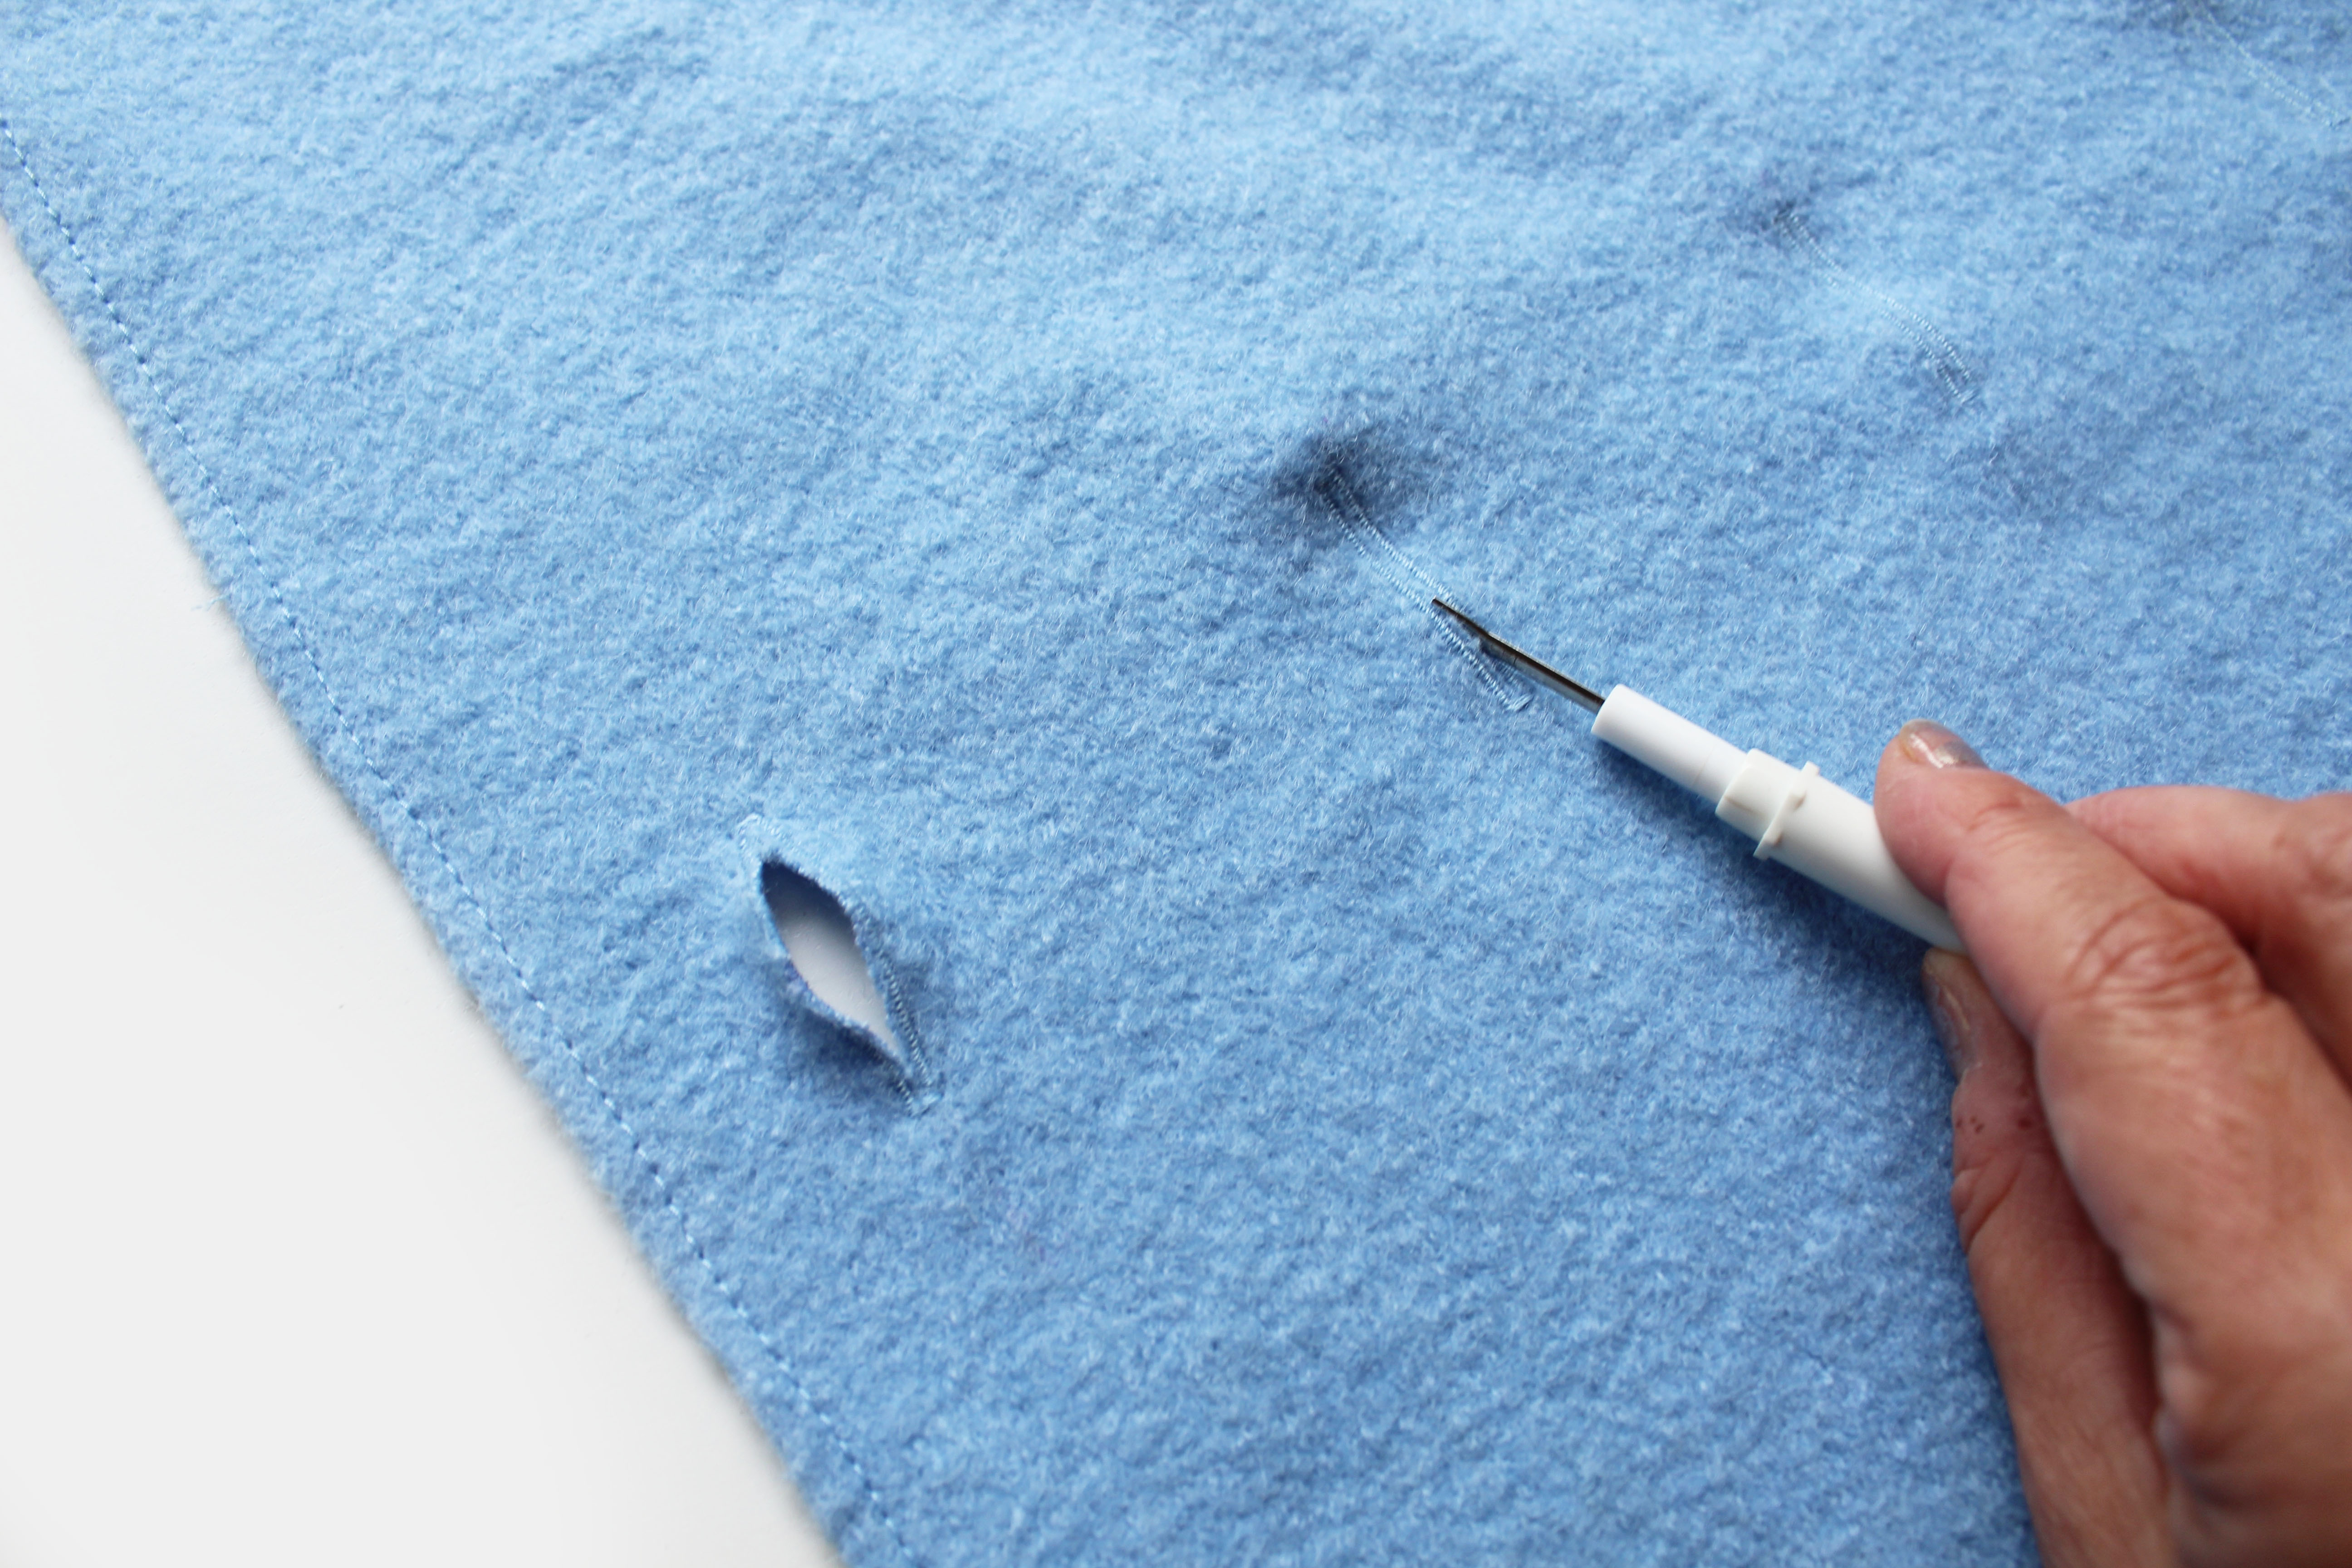
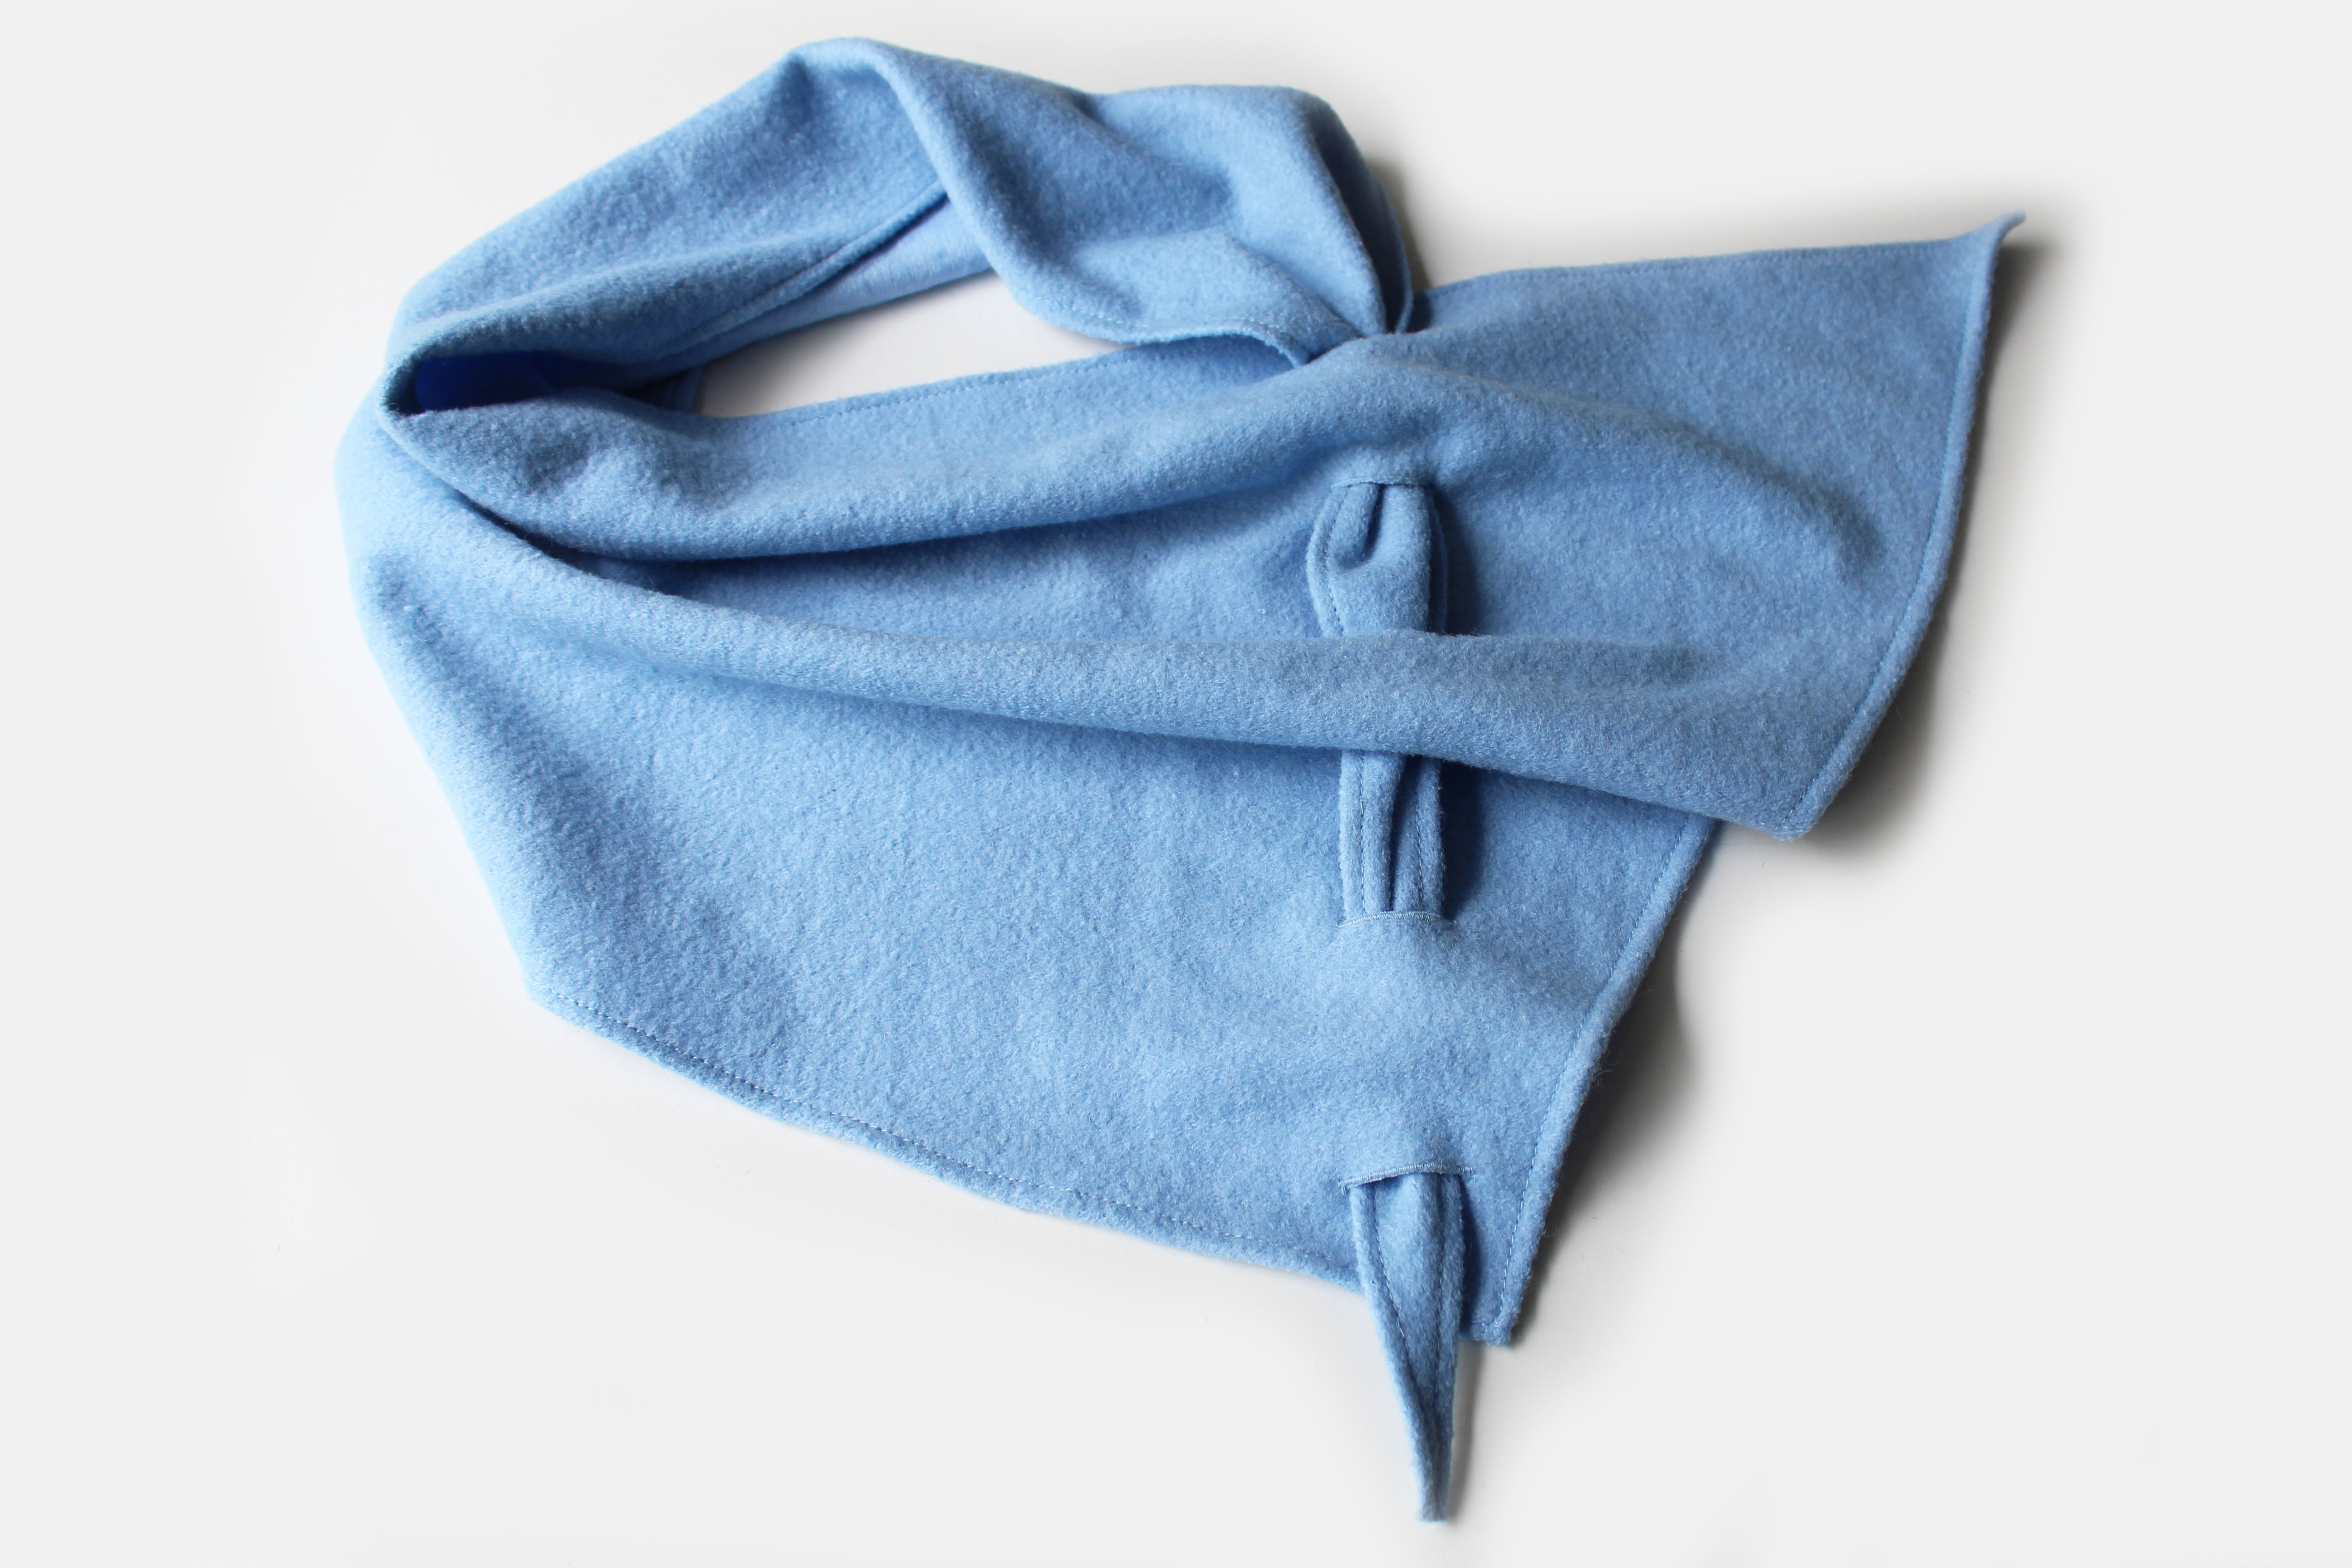
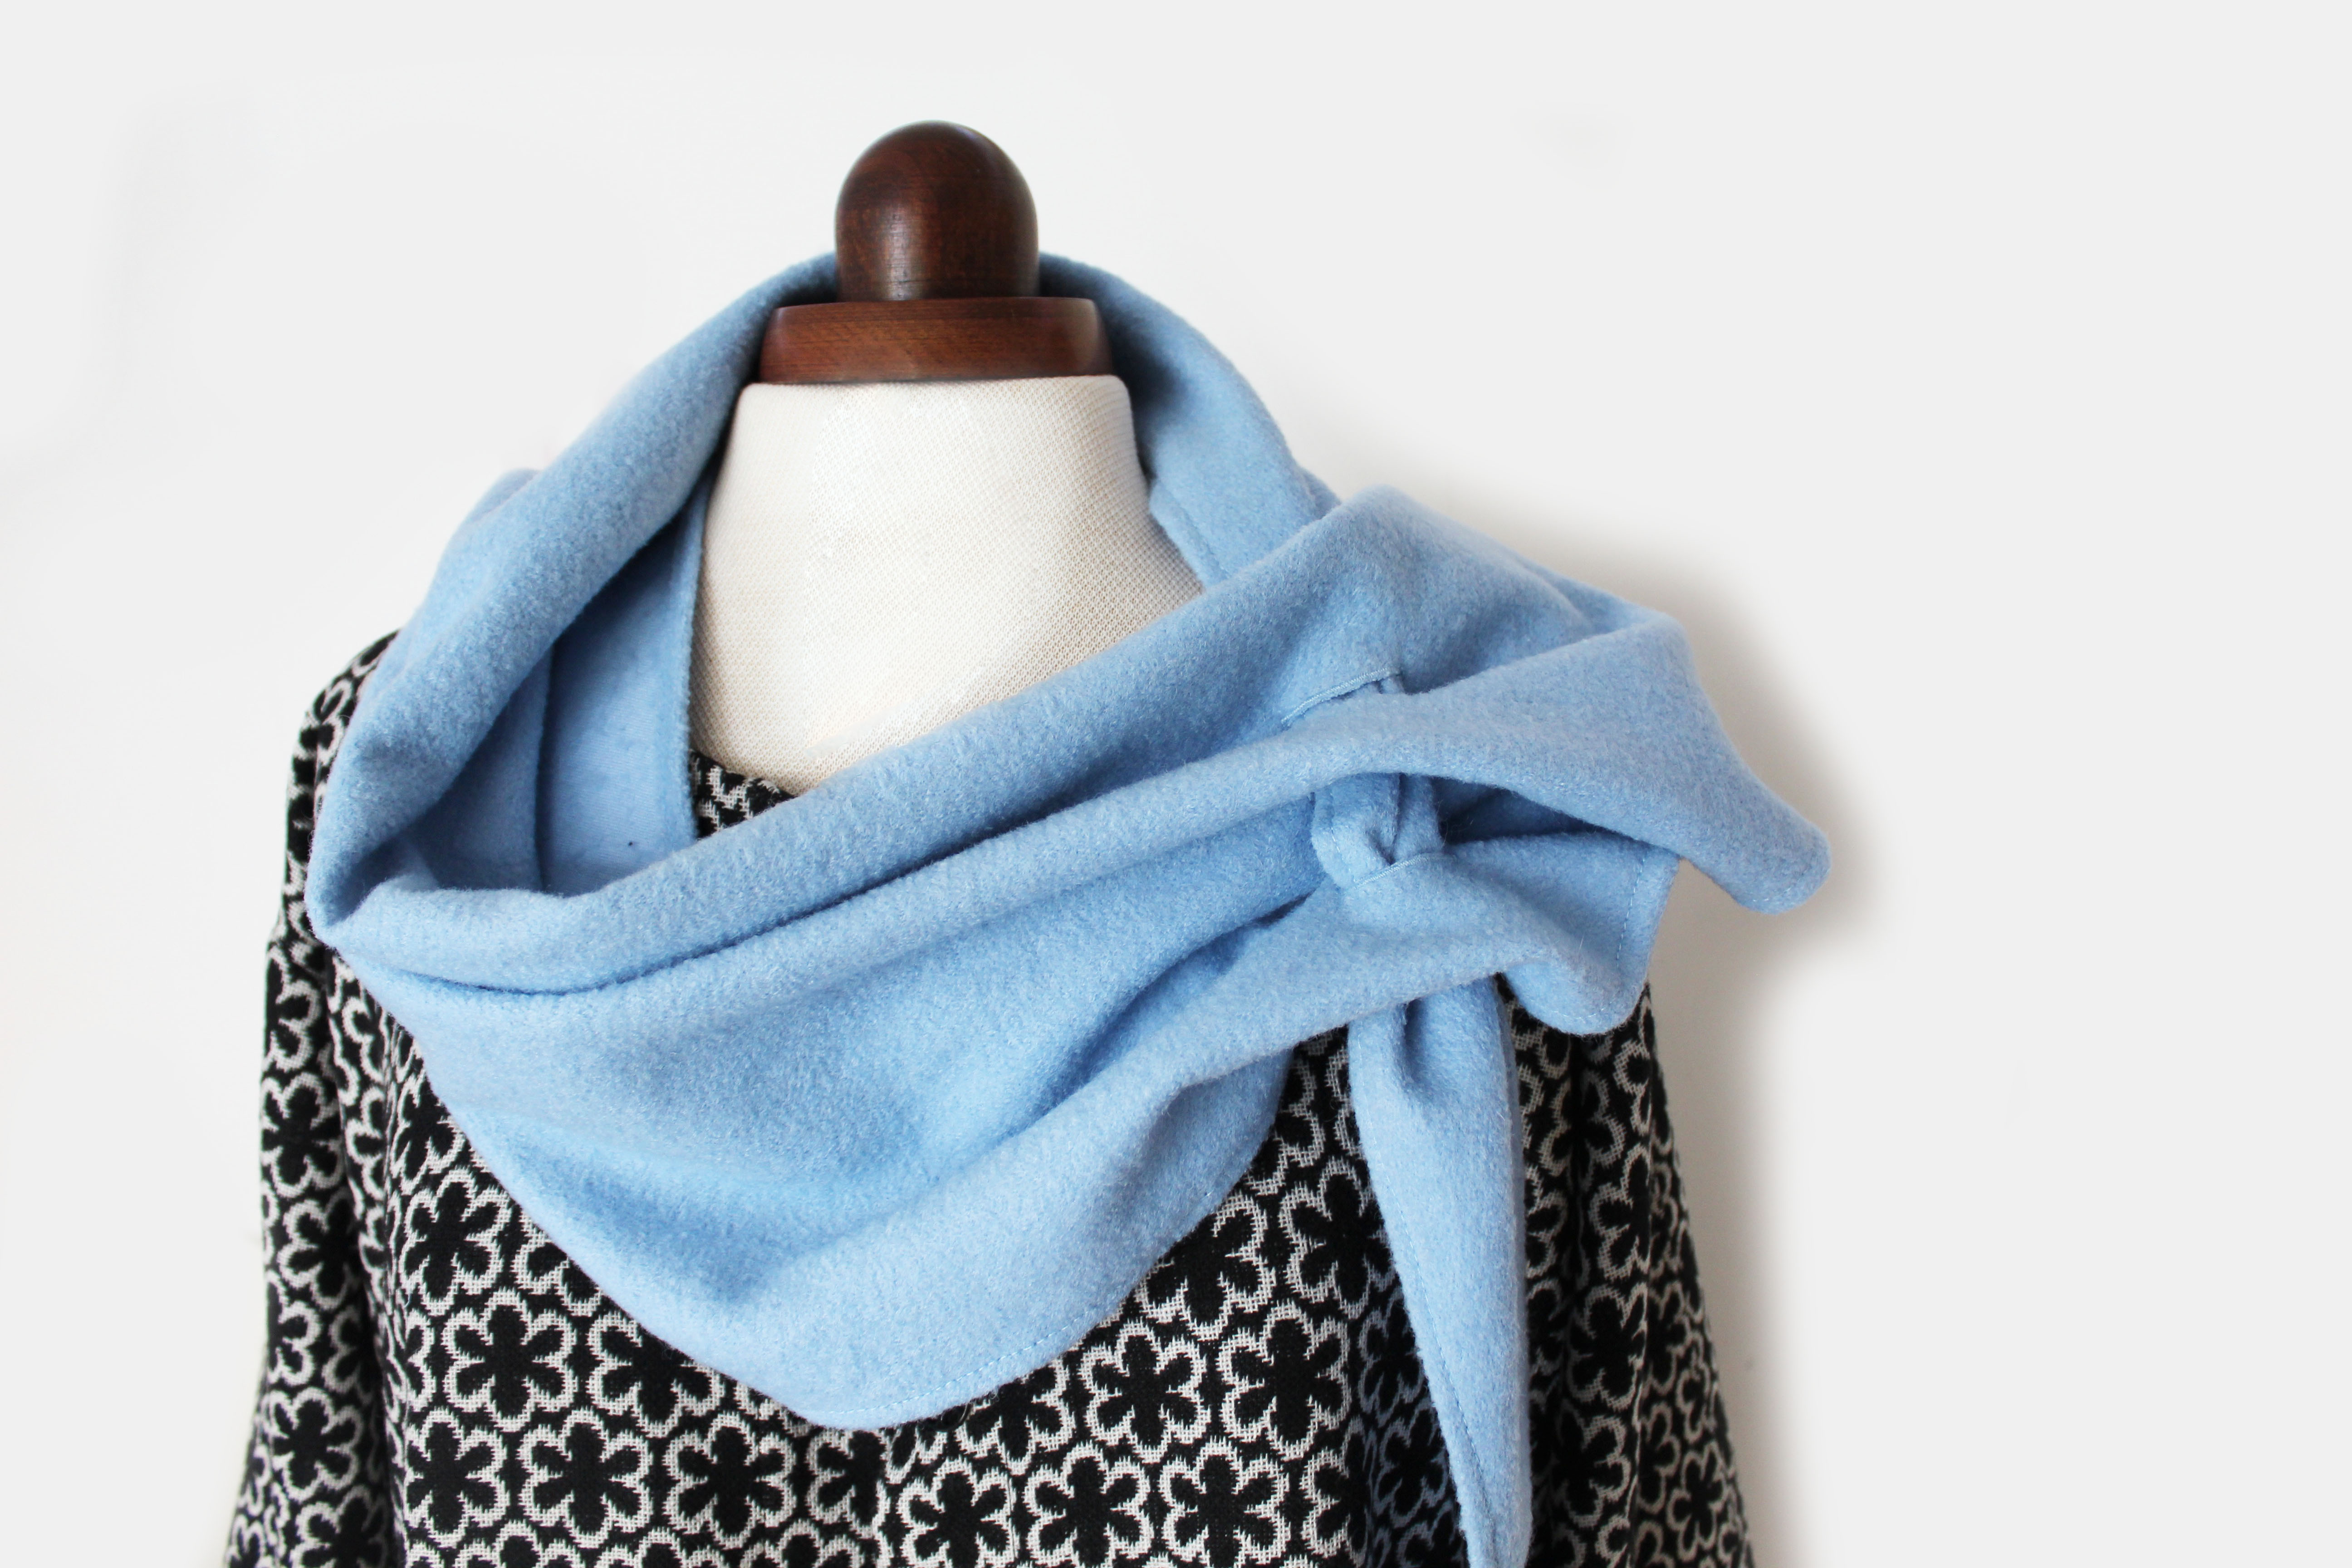

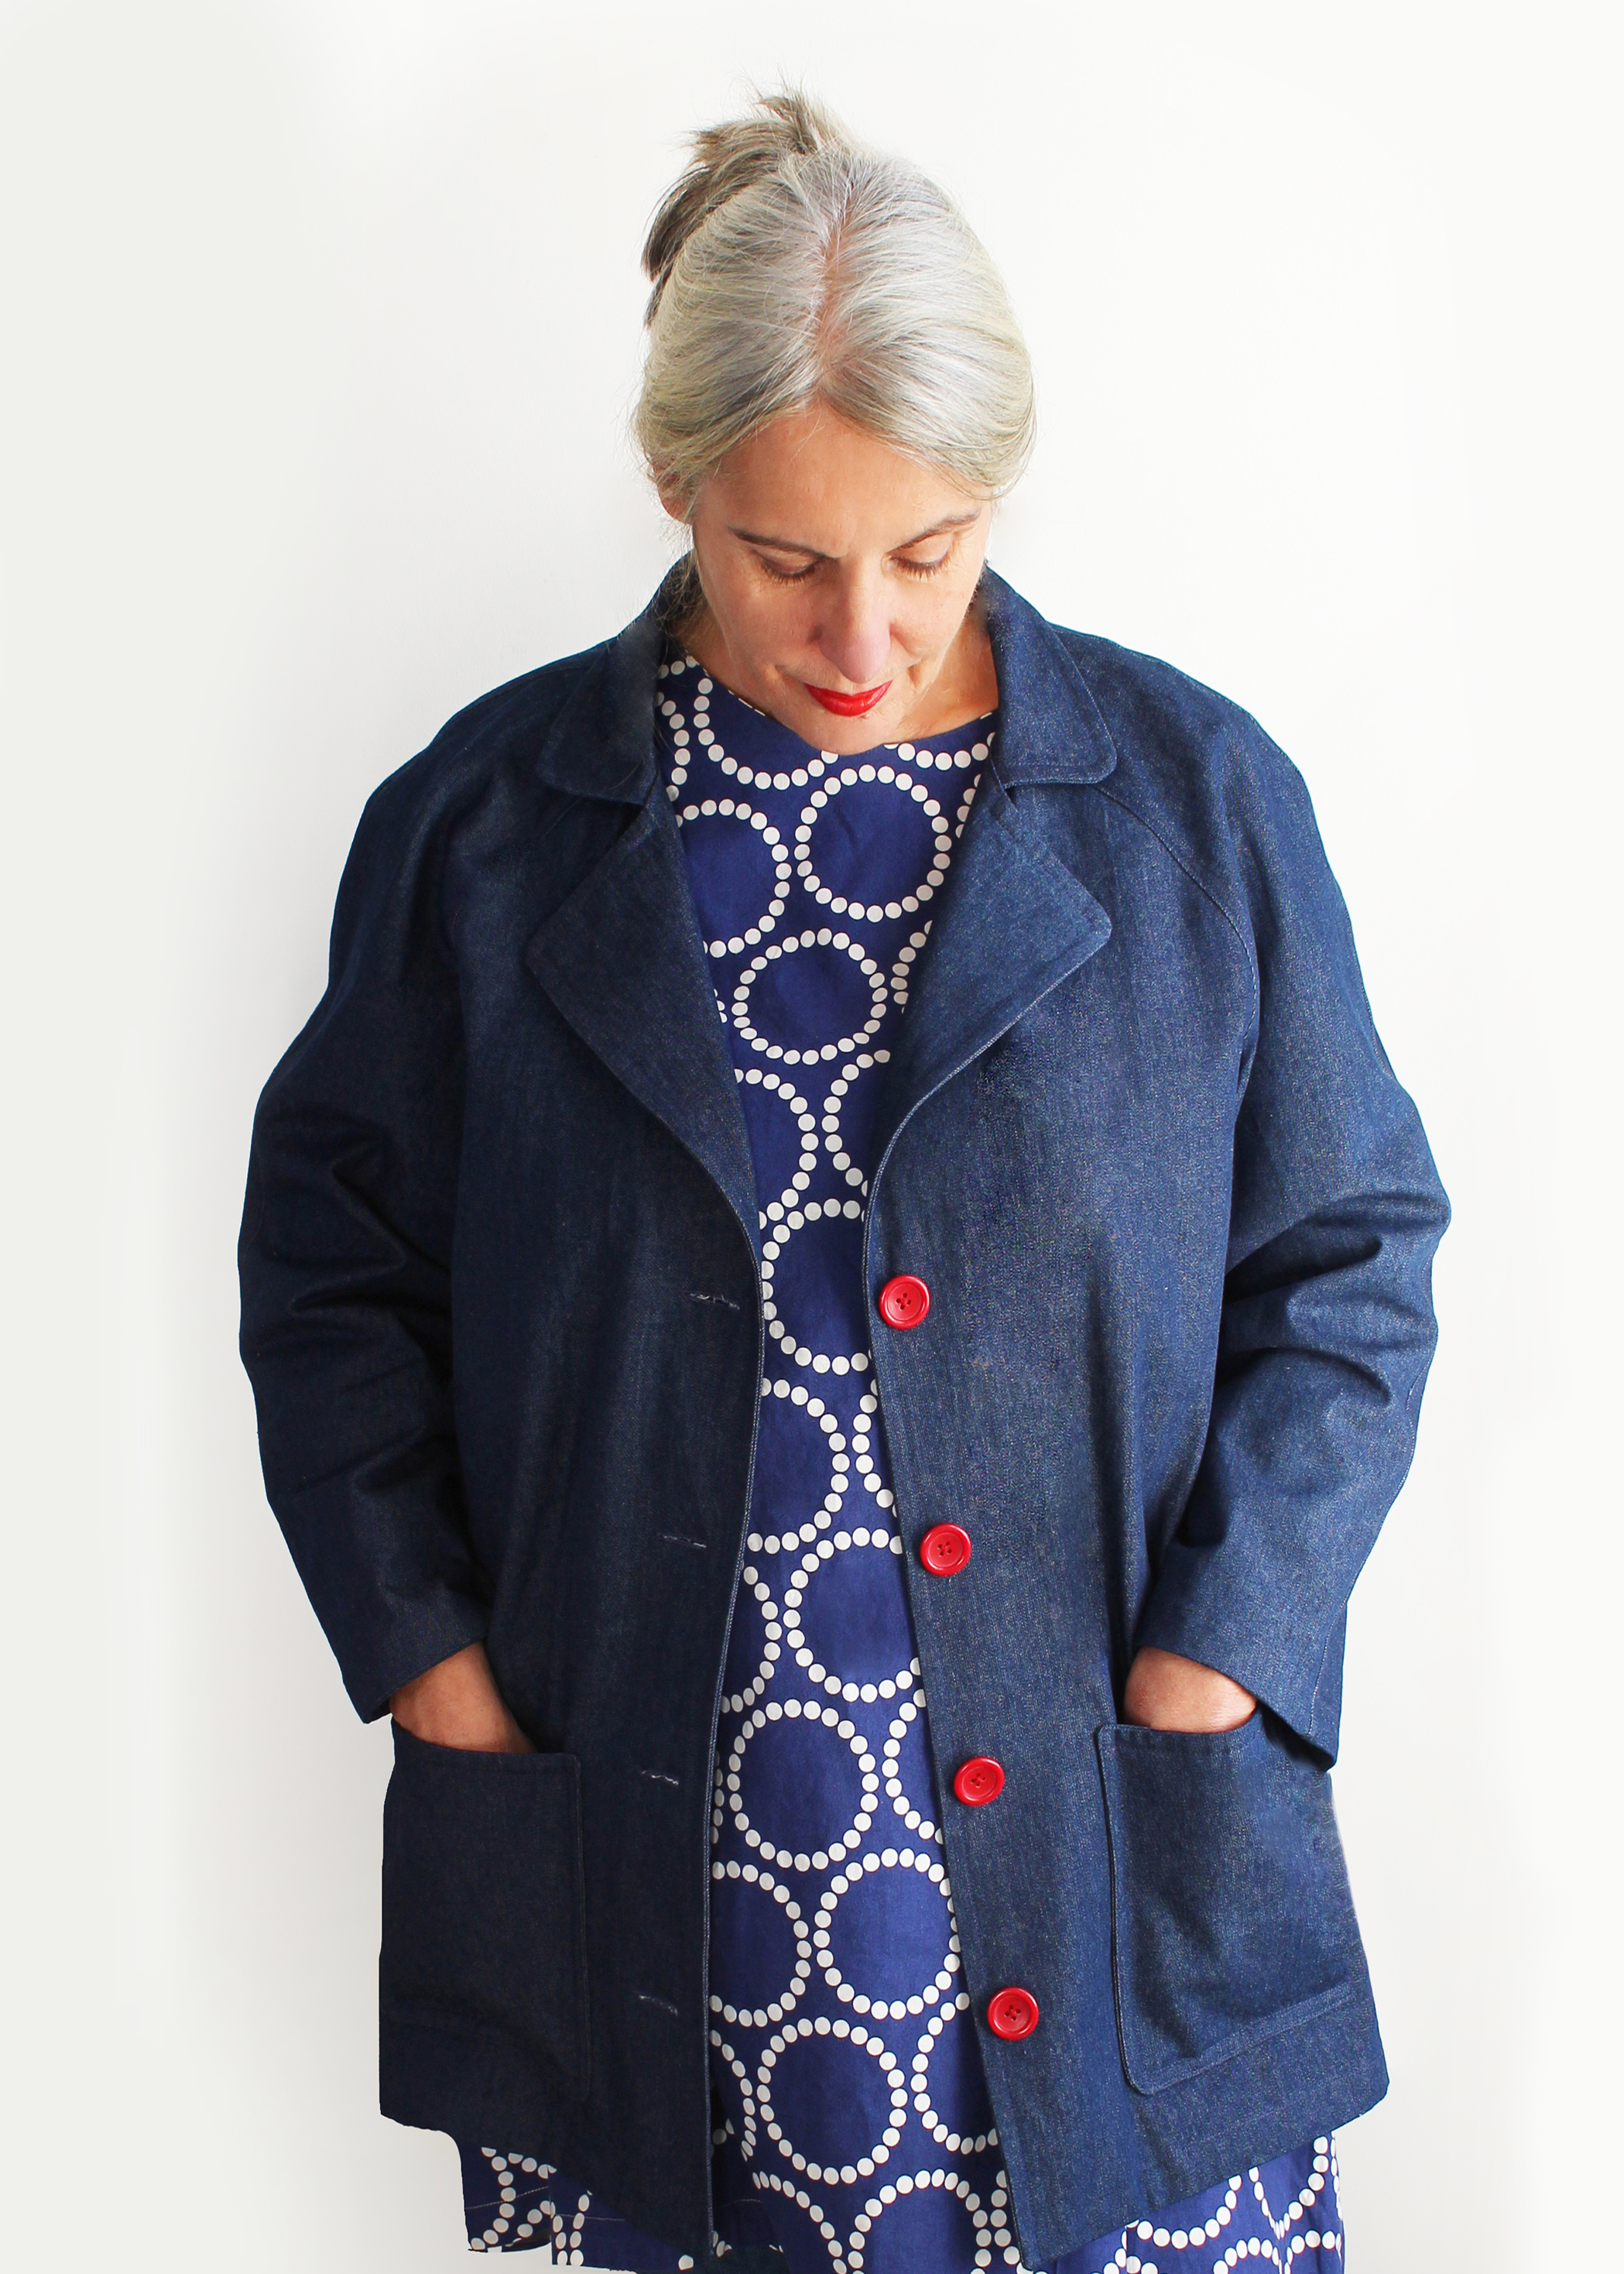
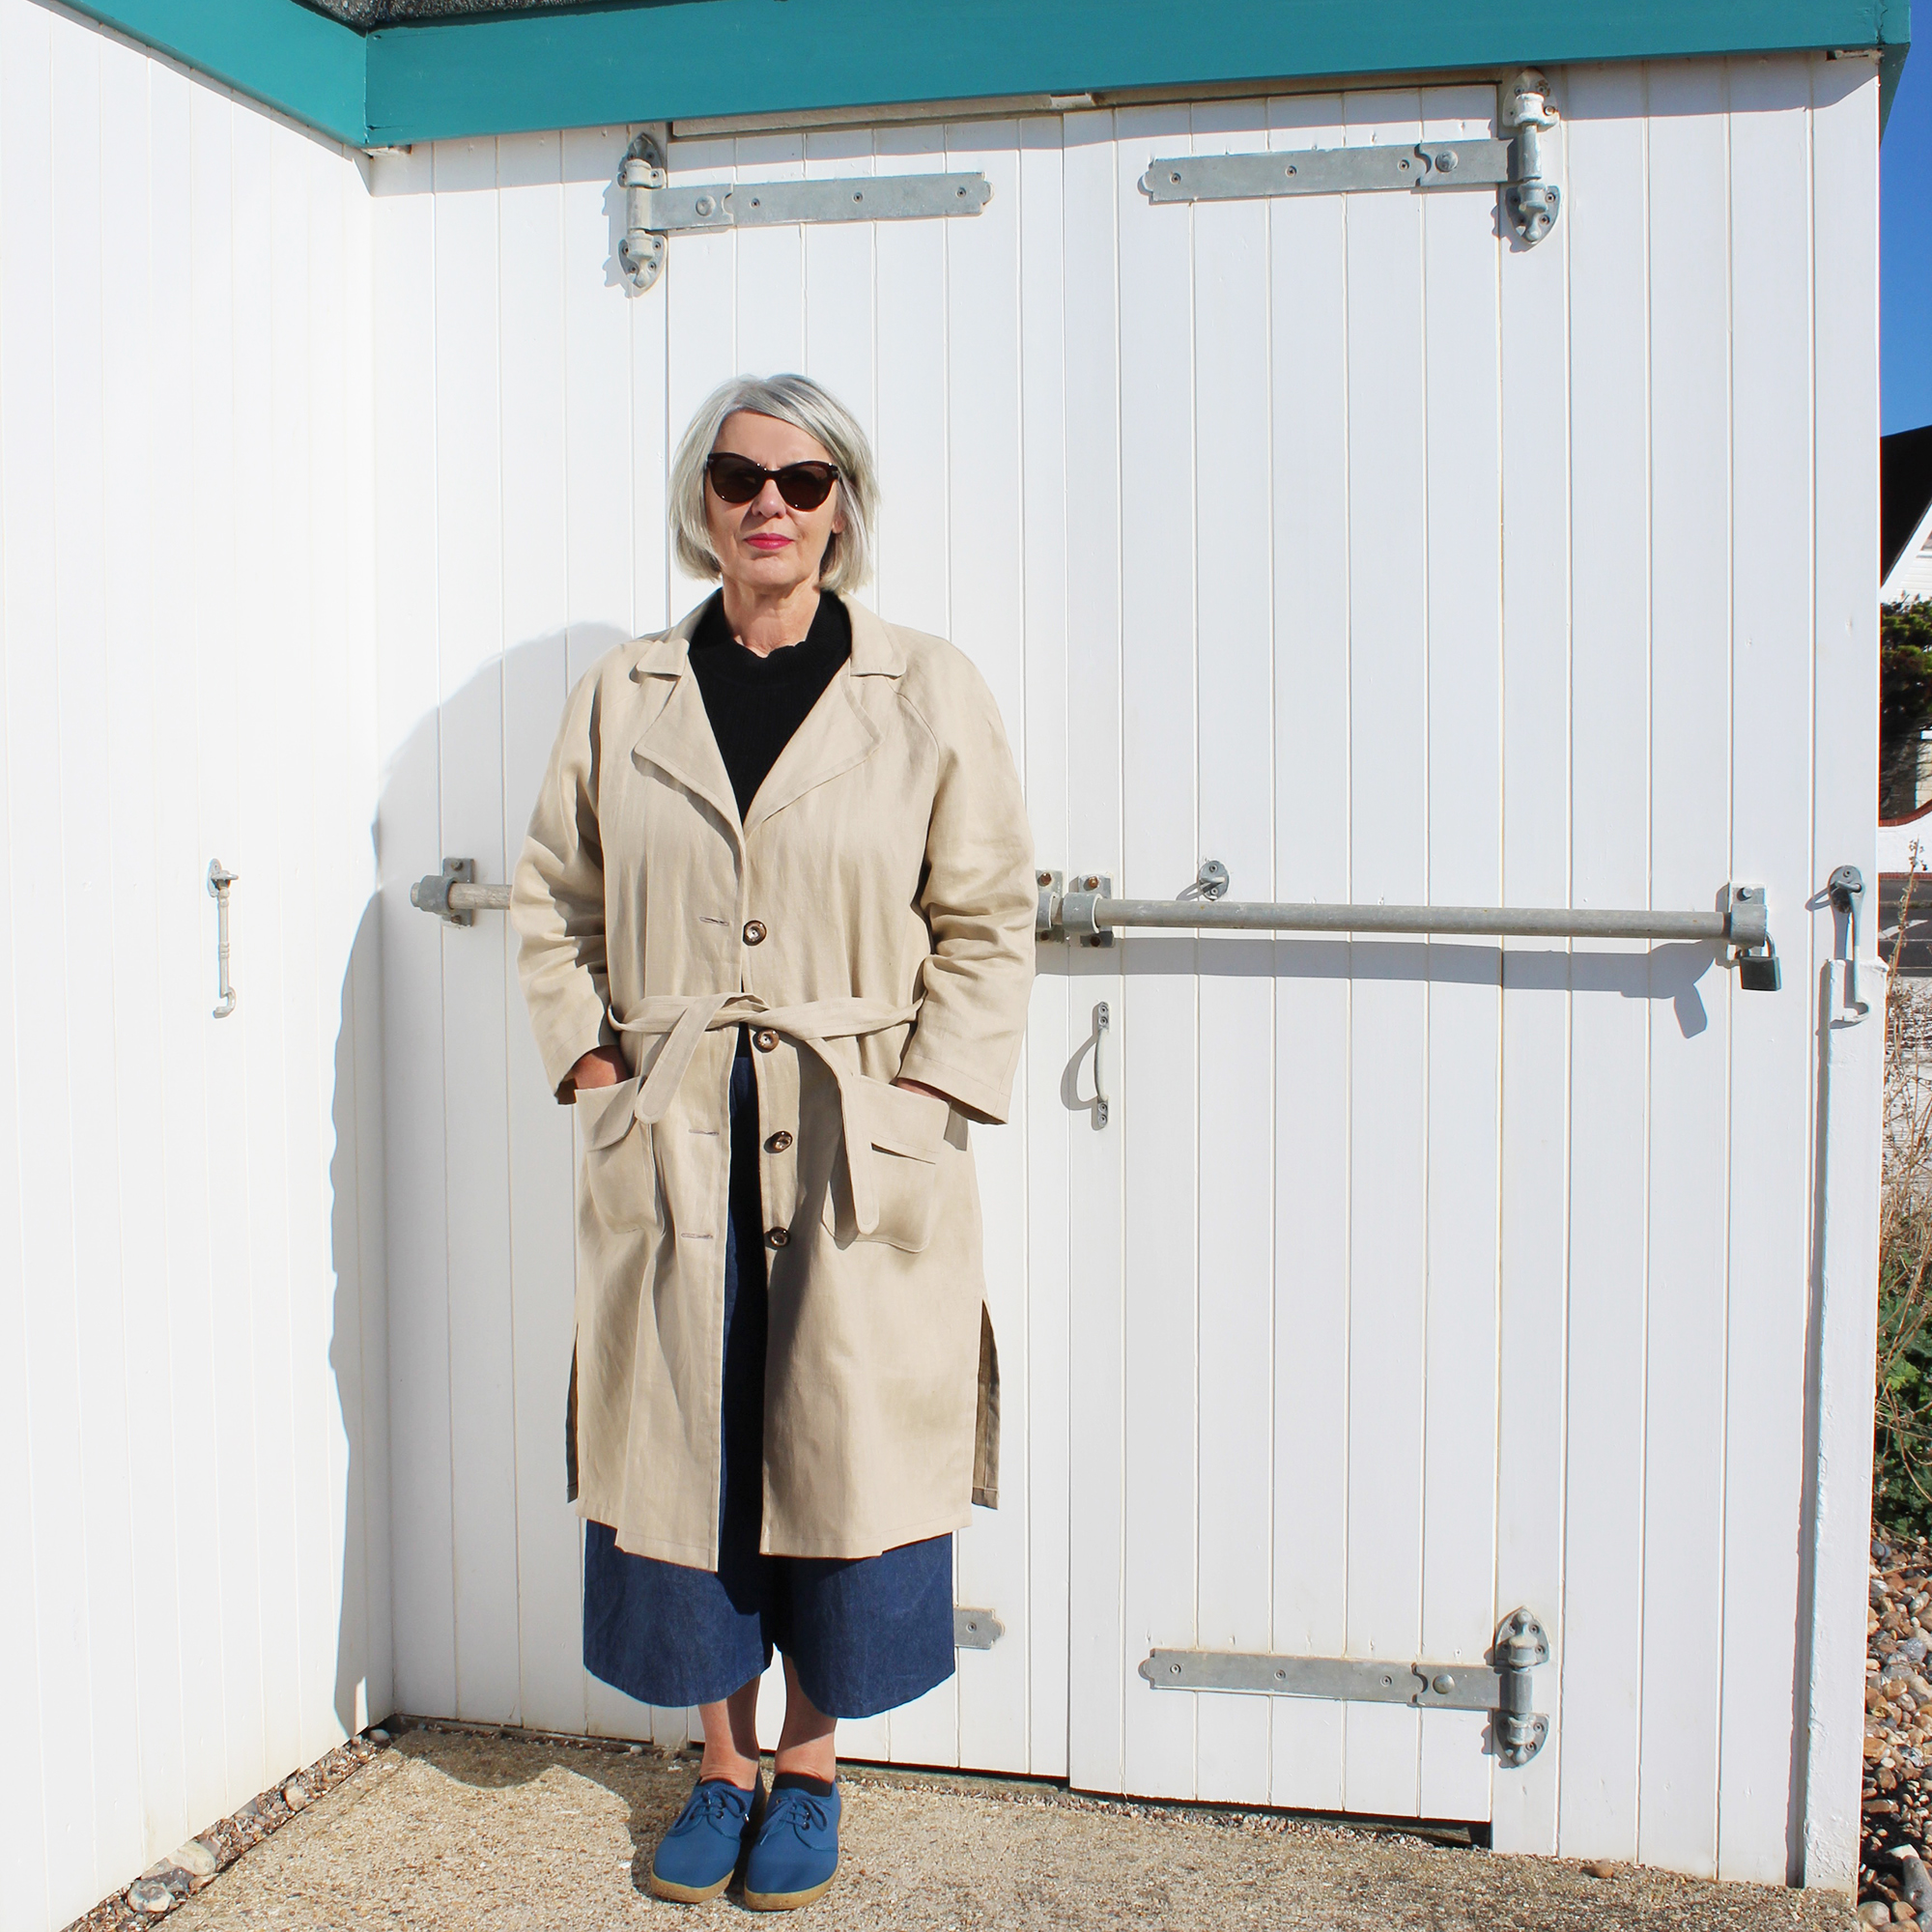
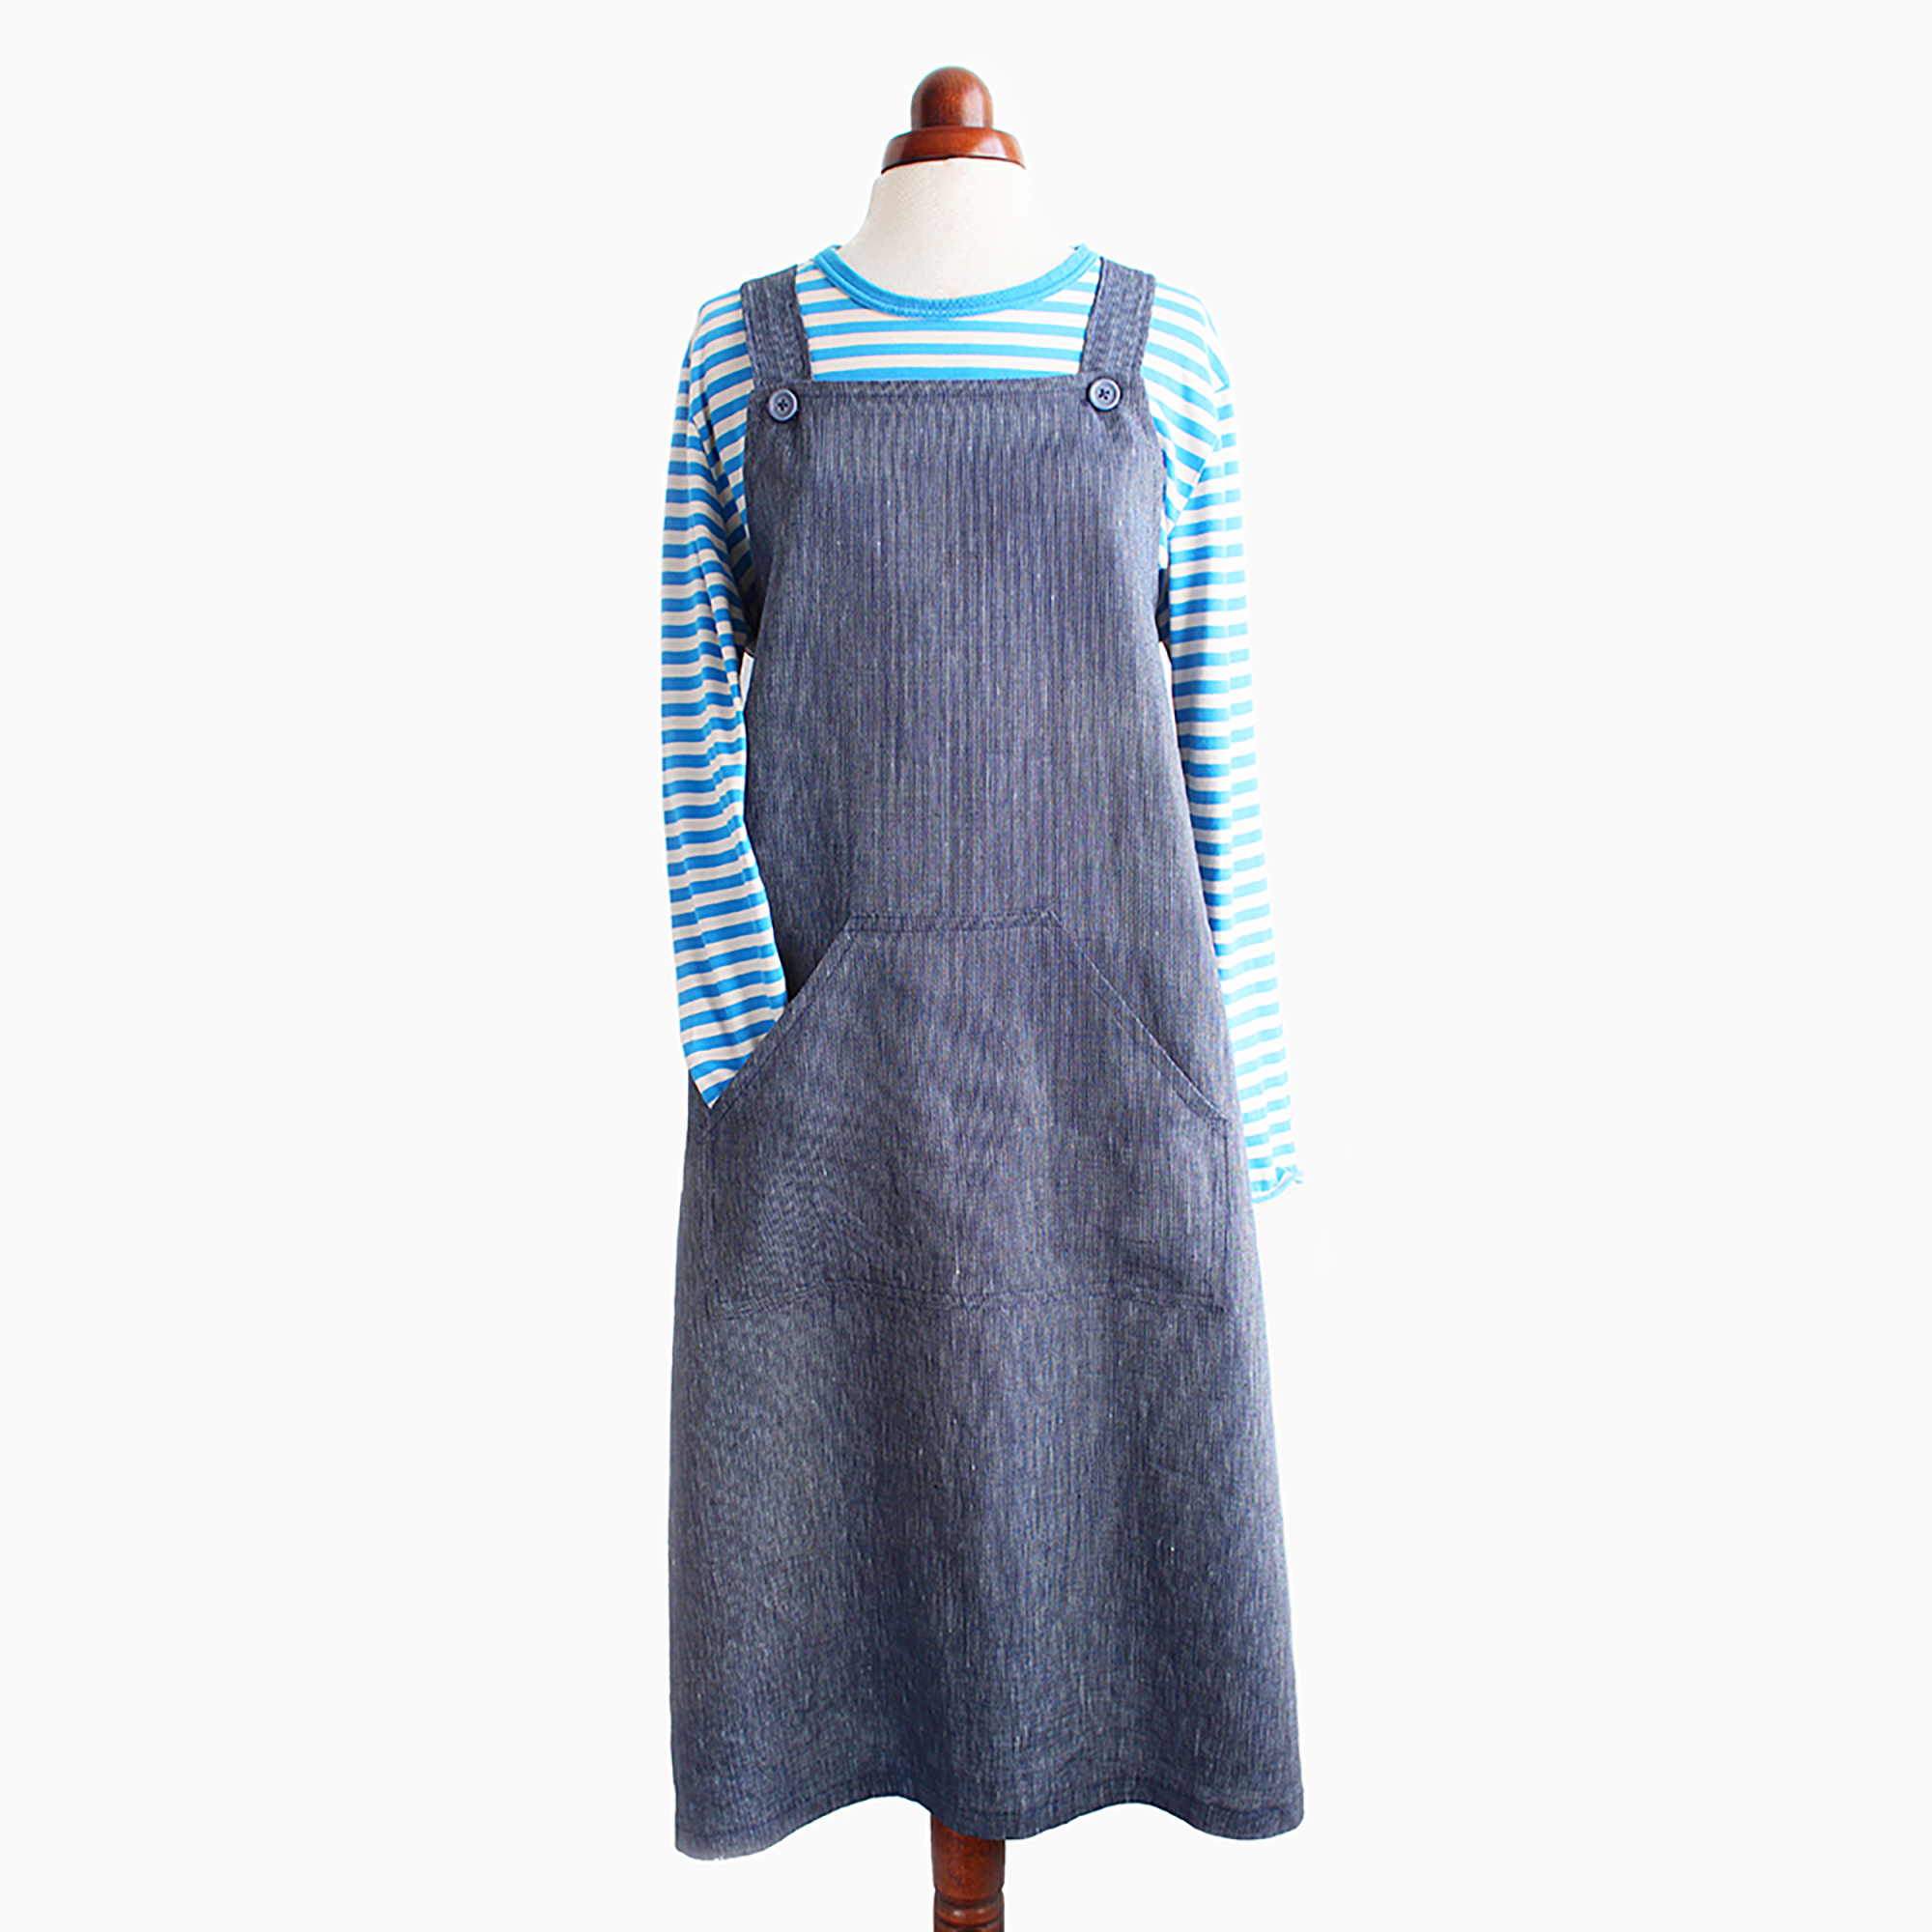
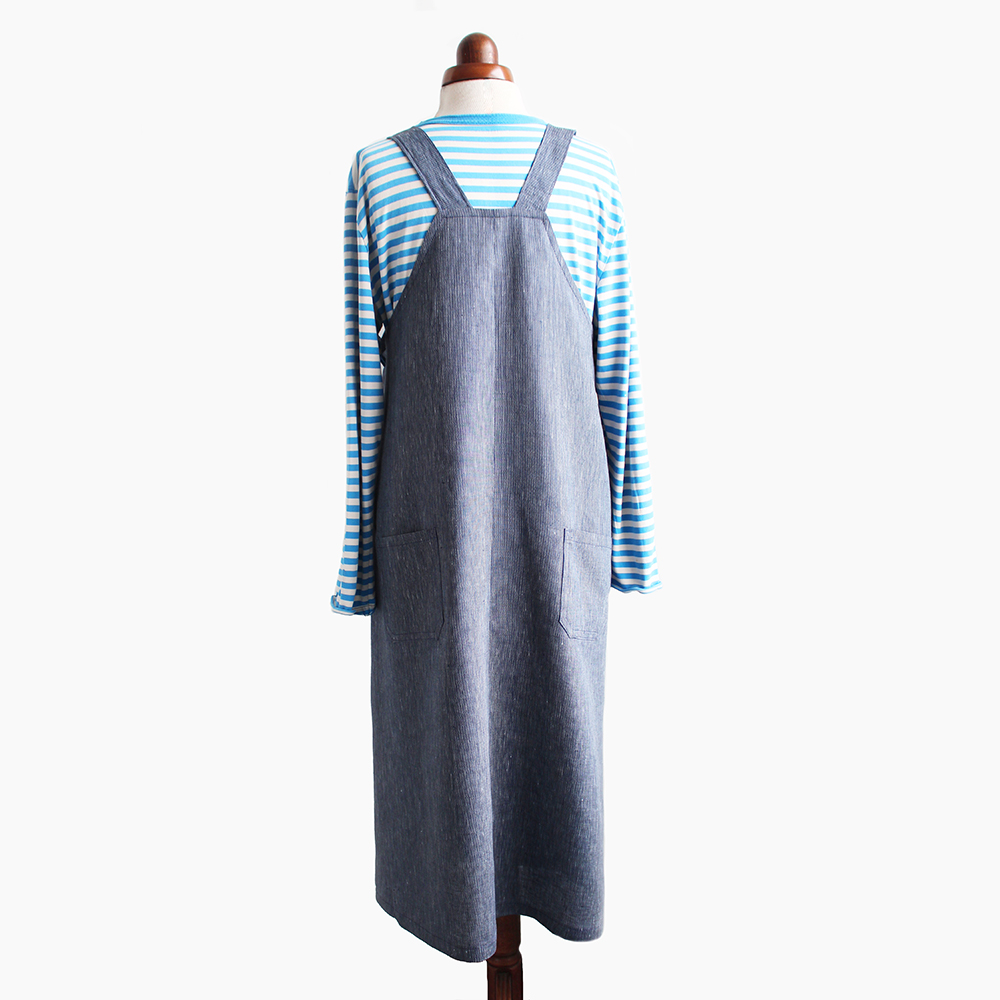
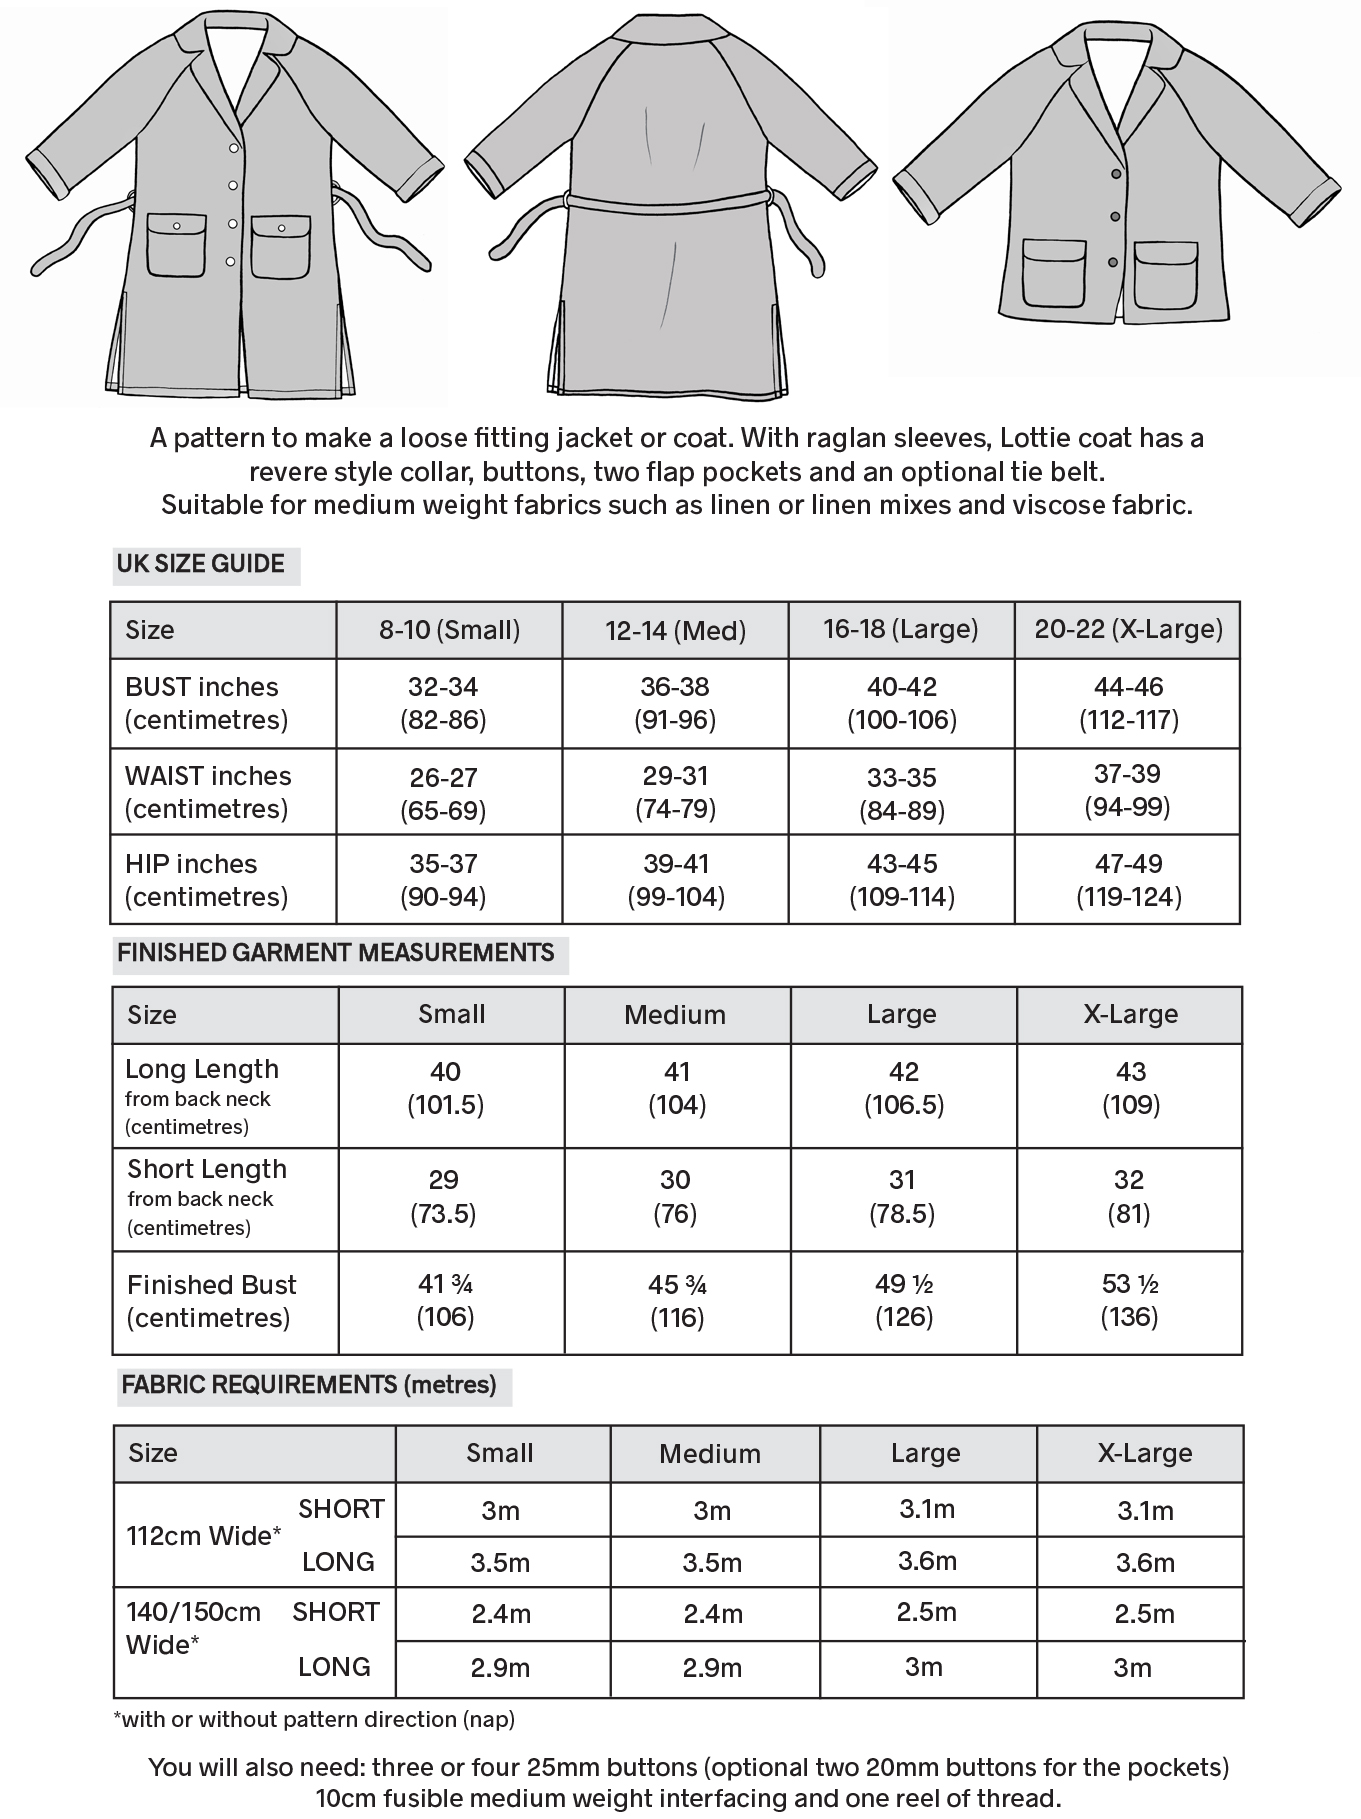
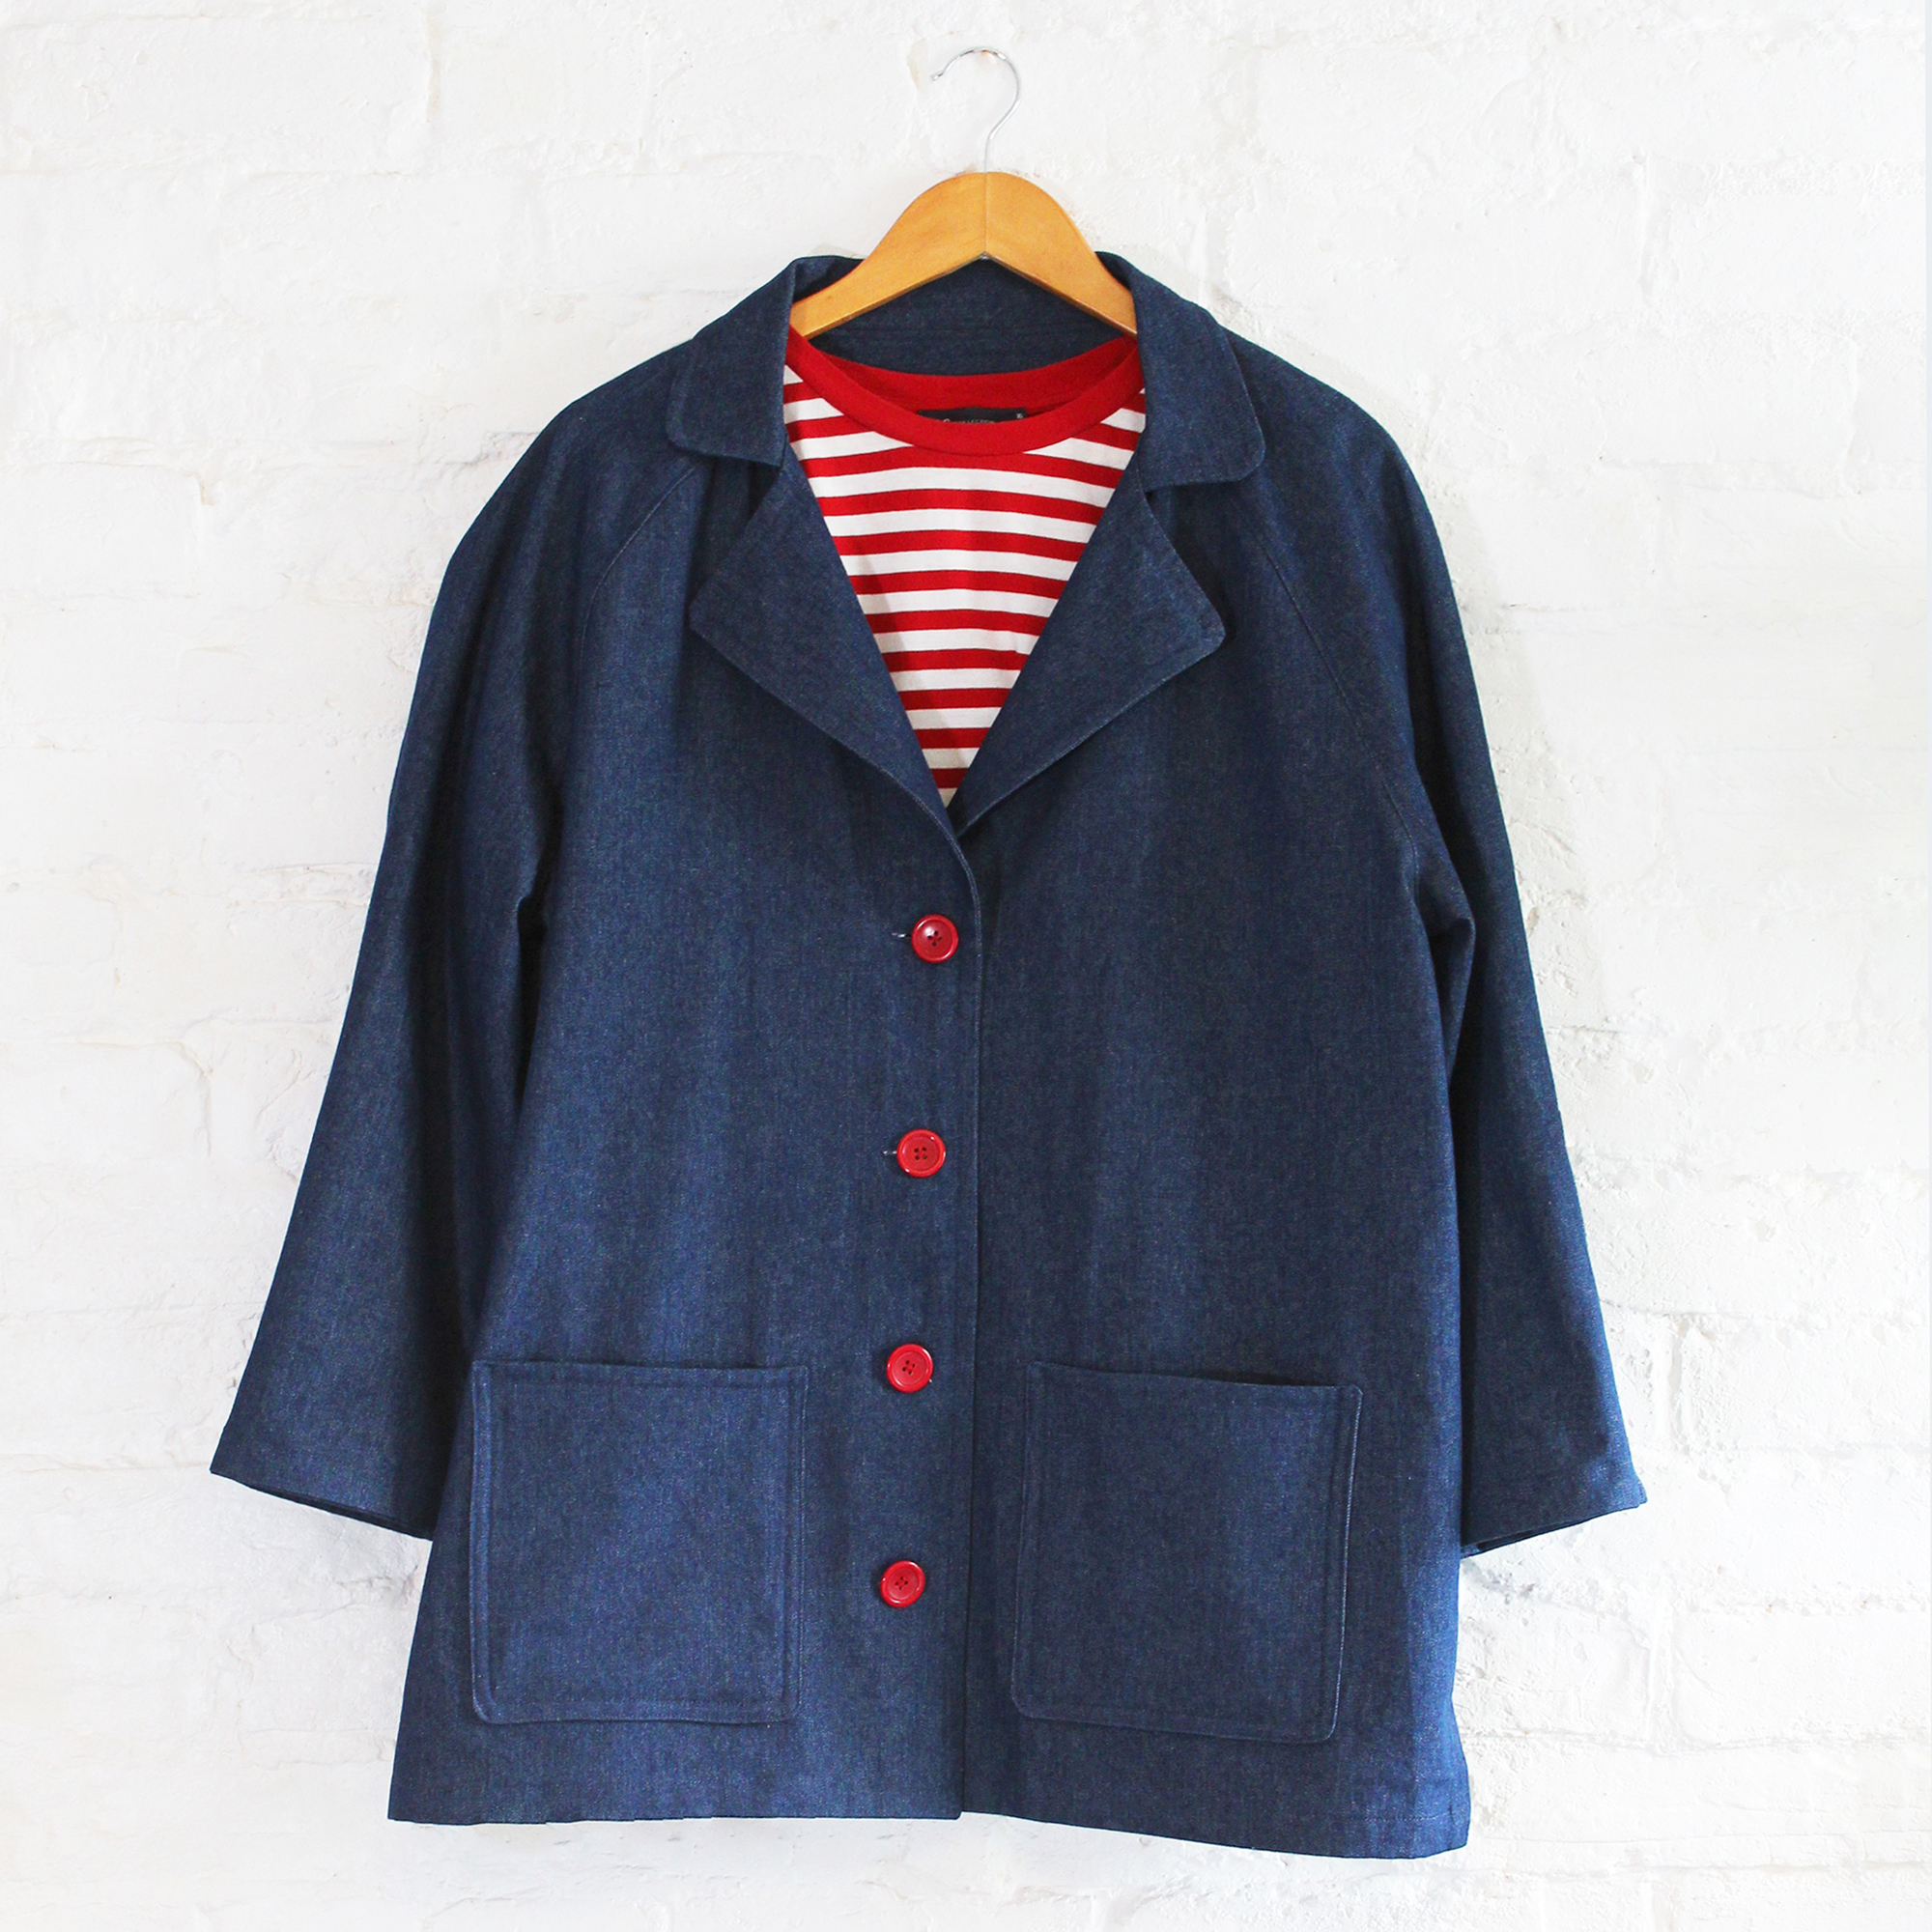 Lottie Duster, a coat or jacket depending on which length line you use. Pop it on as an extra layer in Autumn or Spring, its a useful addition to your wardrobe. Easy to make, suitable for an intermediate, its an enjoyable make which really isn’t too challenging.
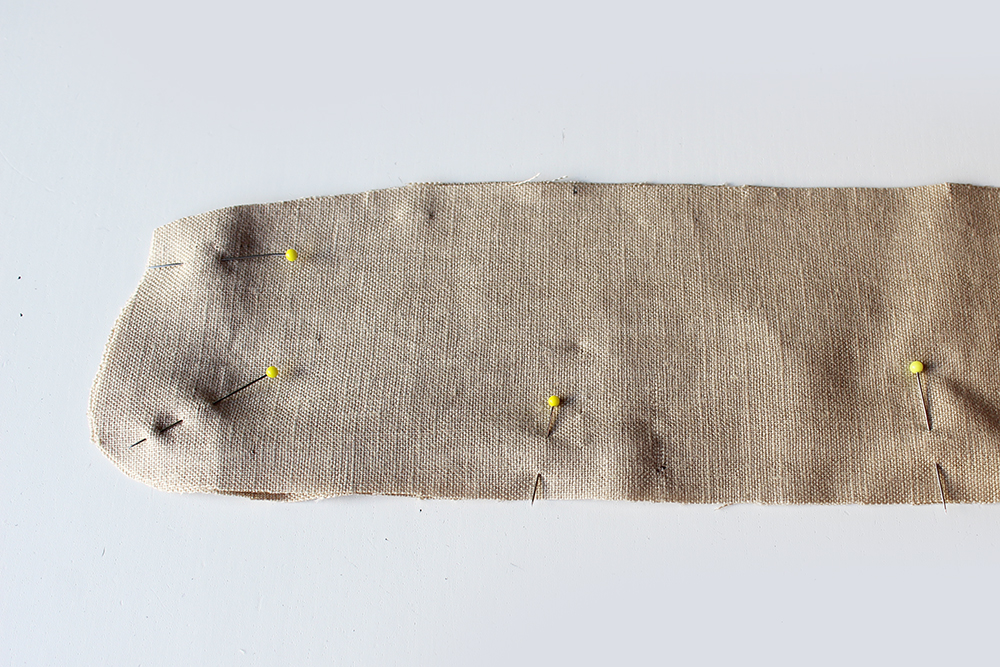
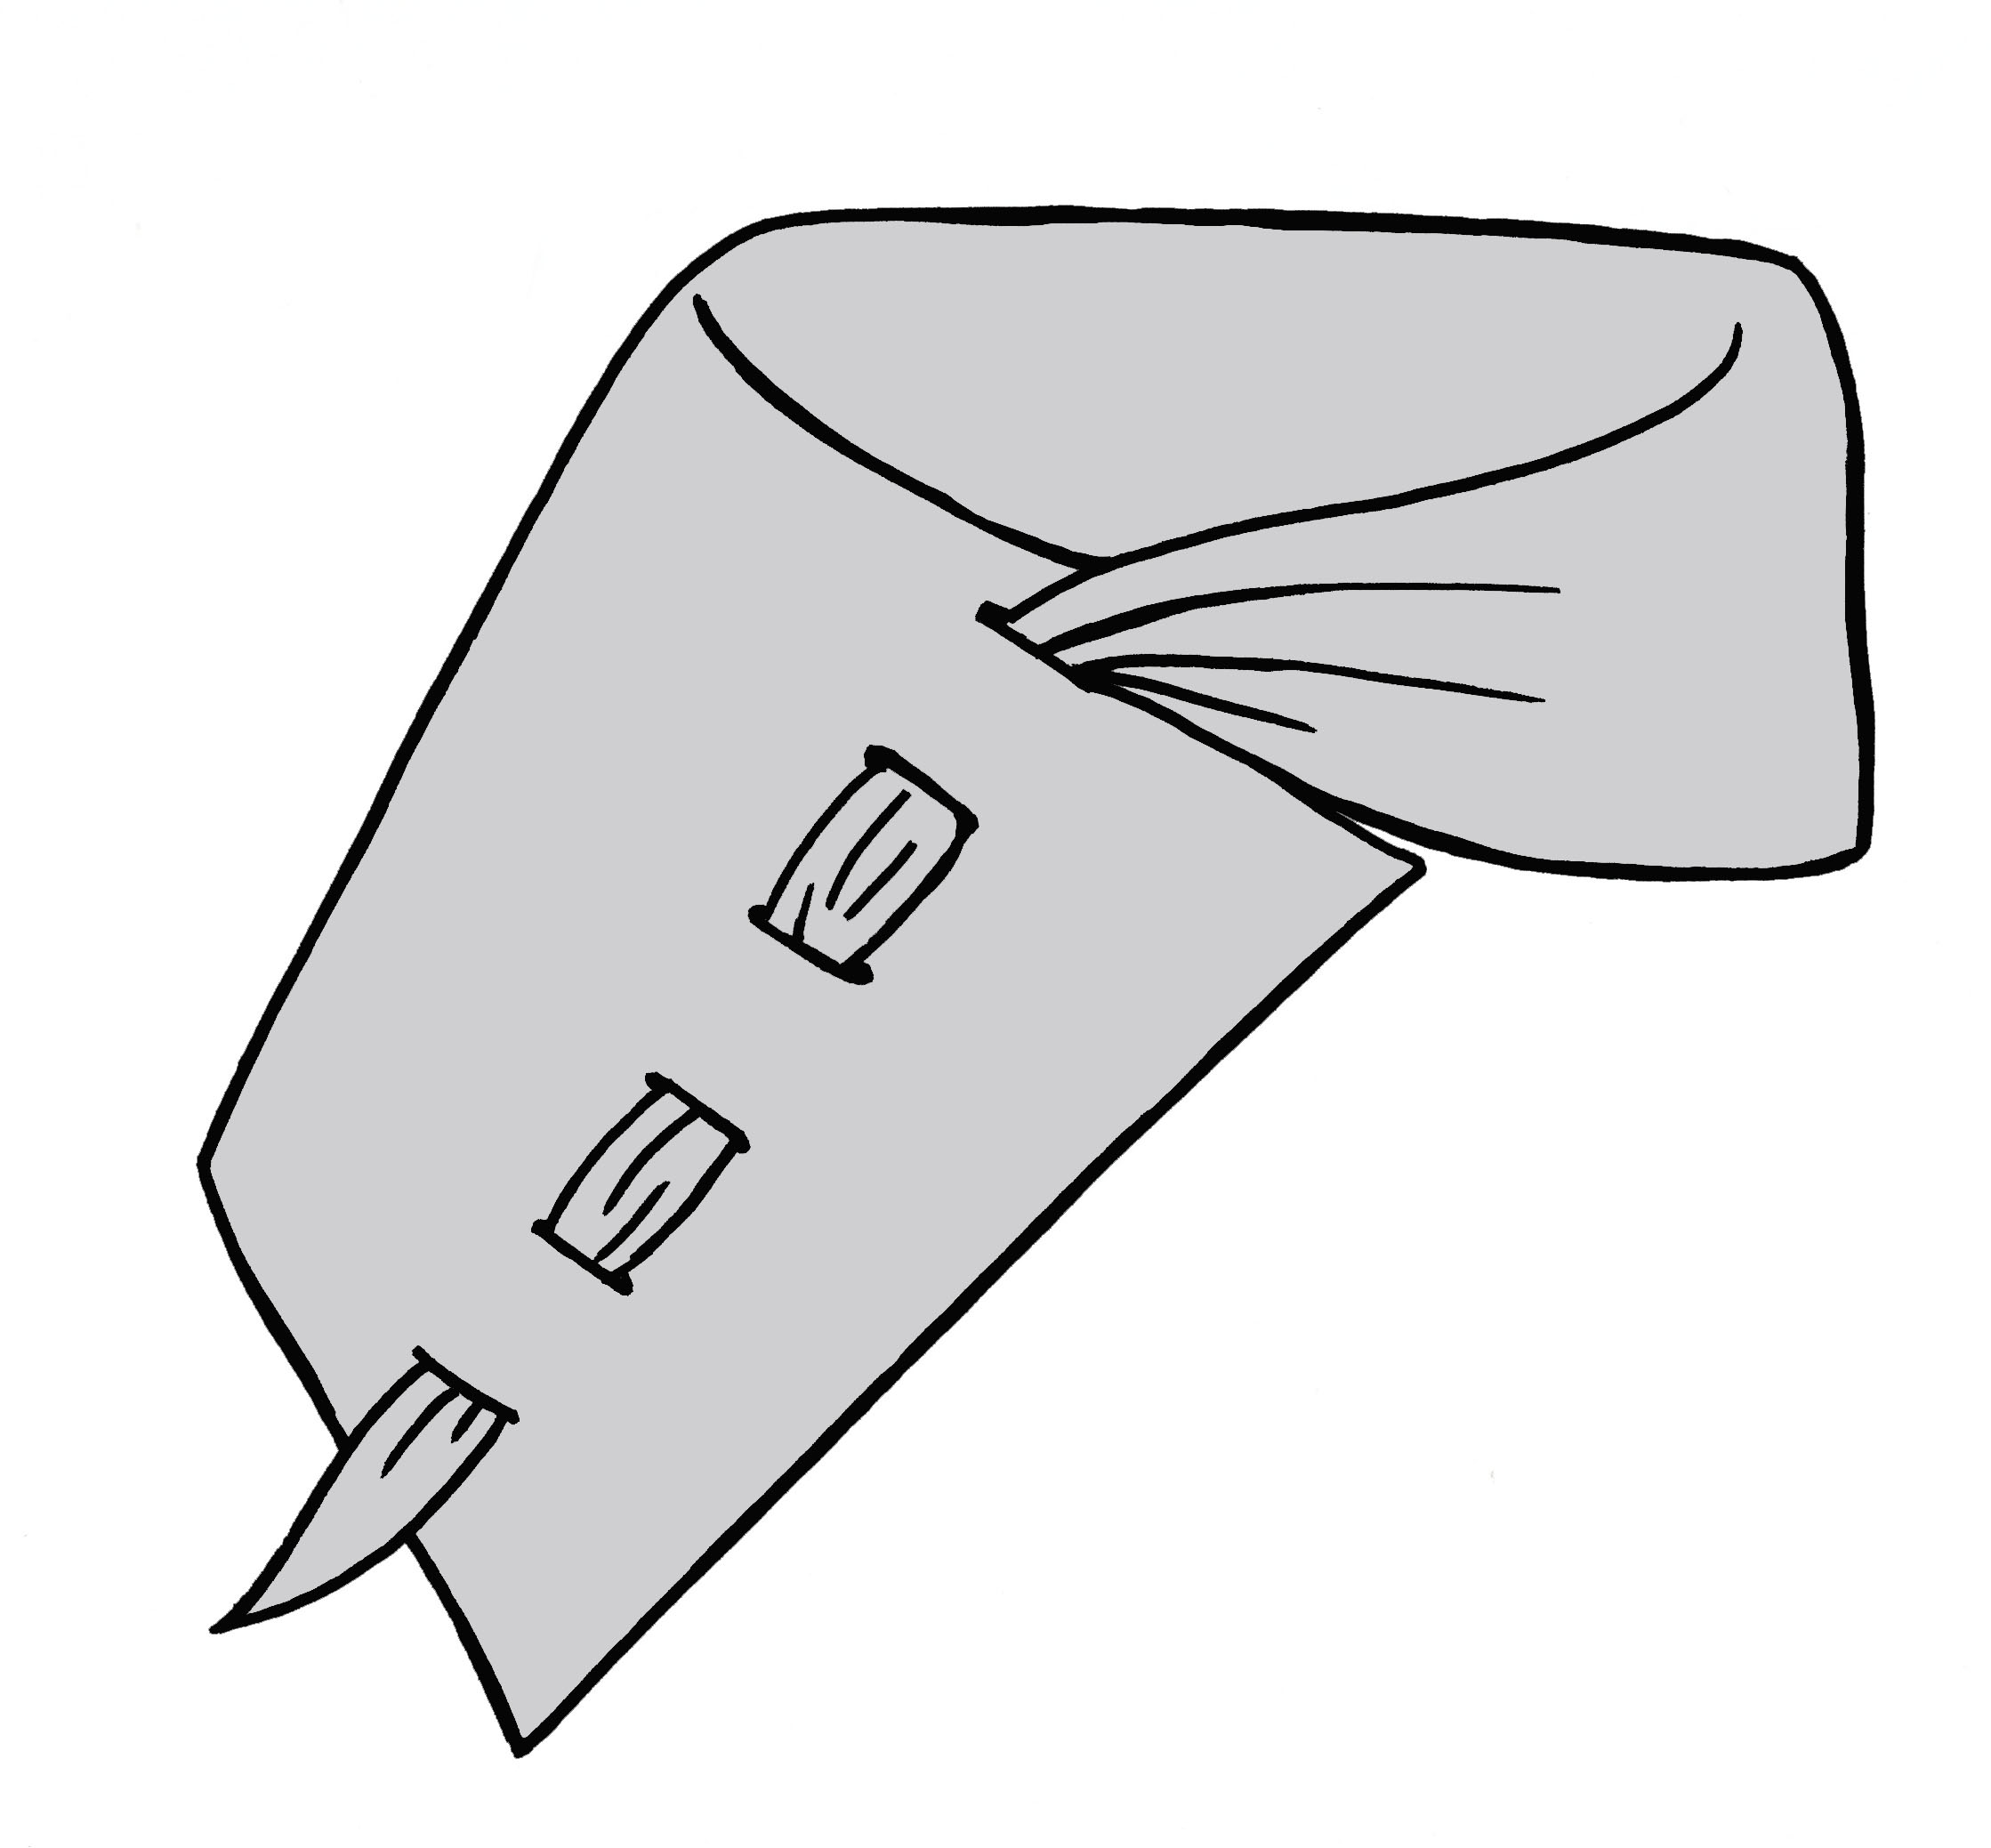
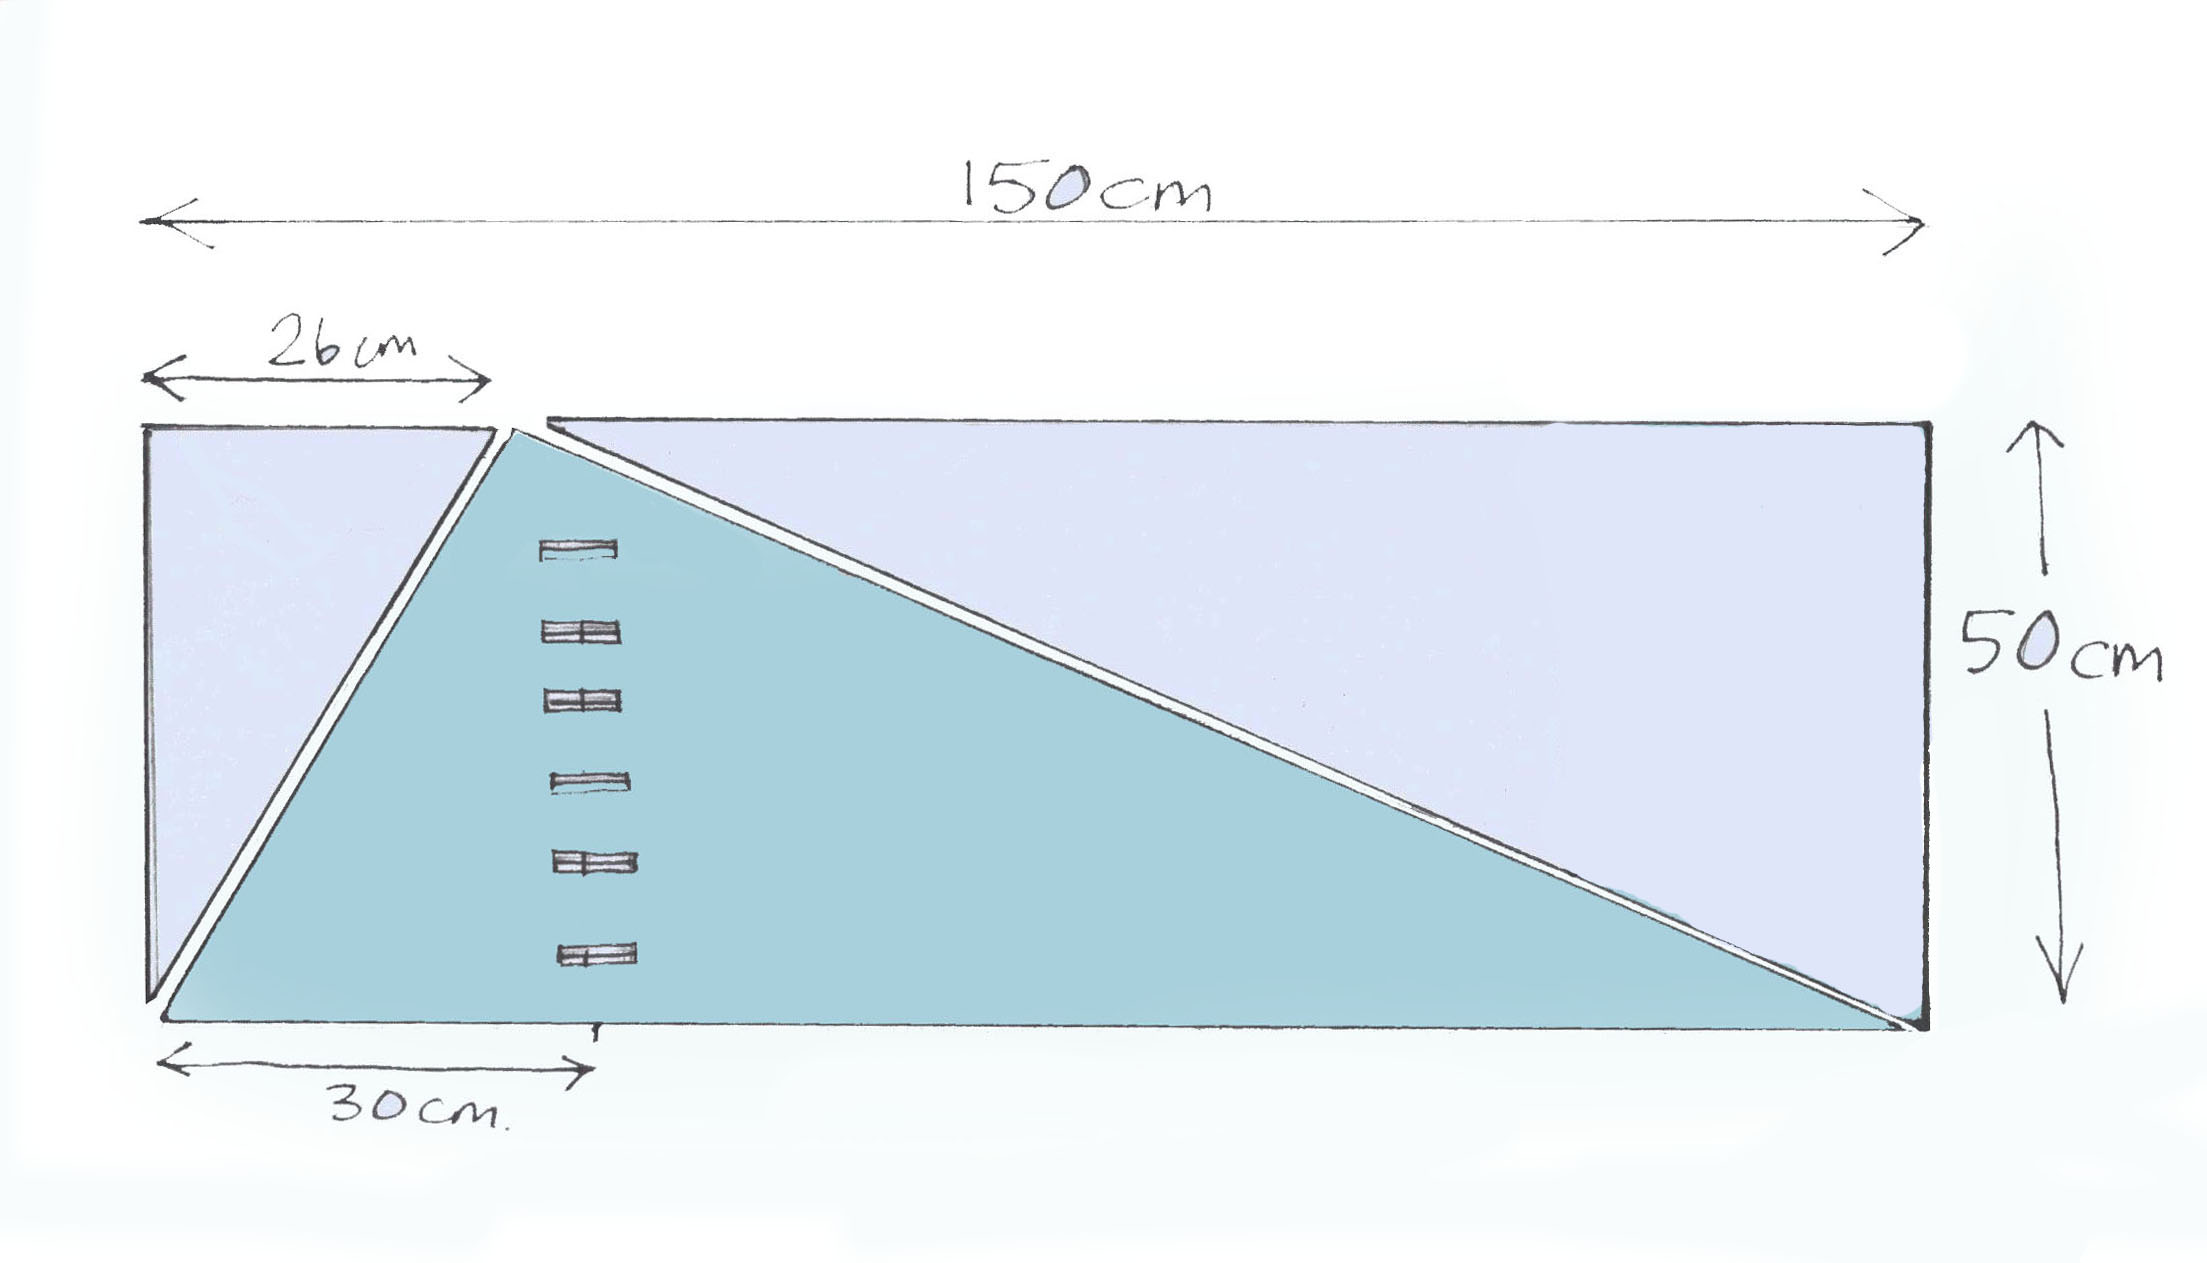
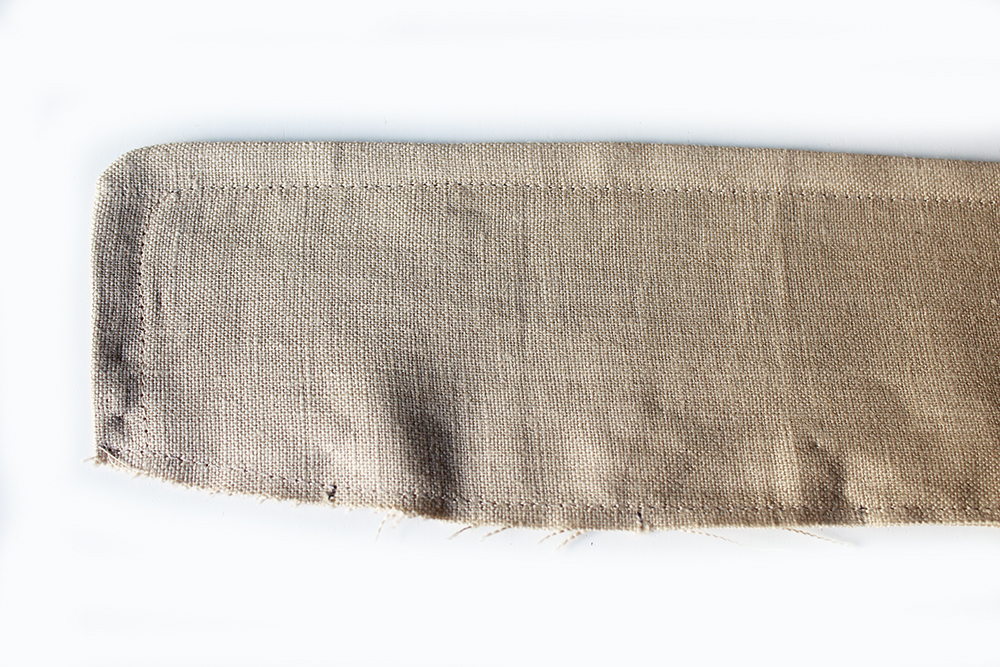 The collar is made by sewing the outer curved edge without the notches then after nicking and trimming the seam allowance its turned inside out, pressed then top stitched. Then tack stitch along the raw edge to hold together. Place to one side.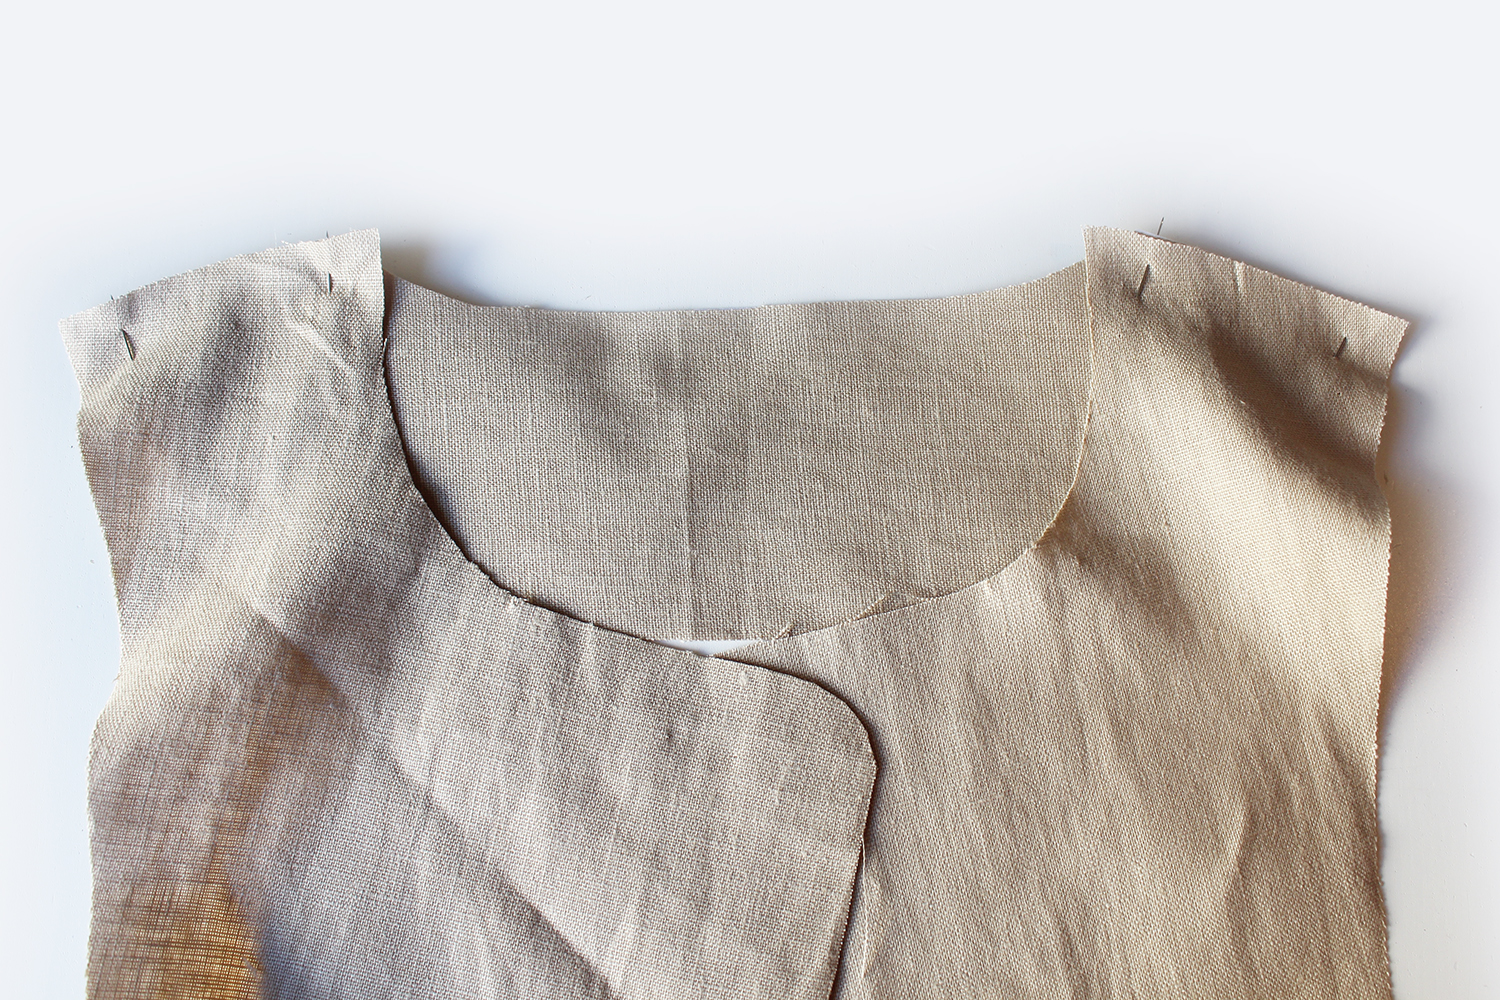
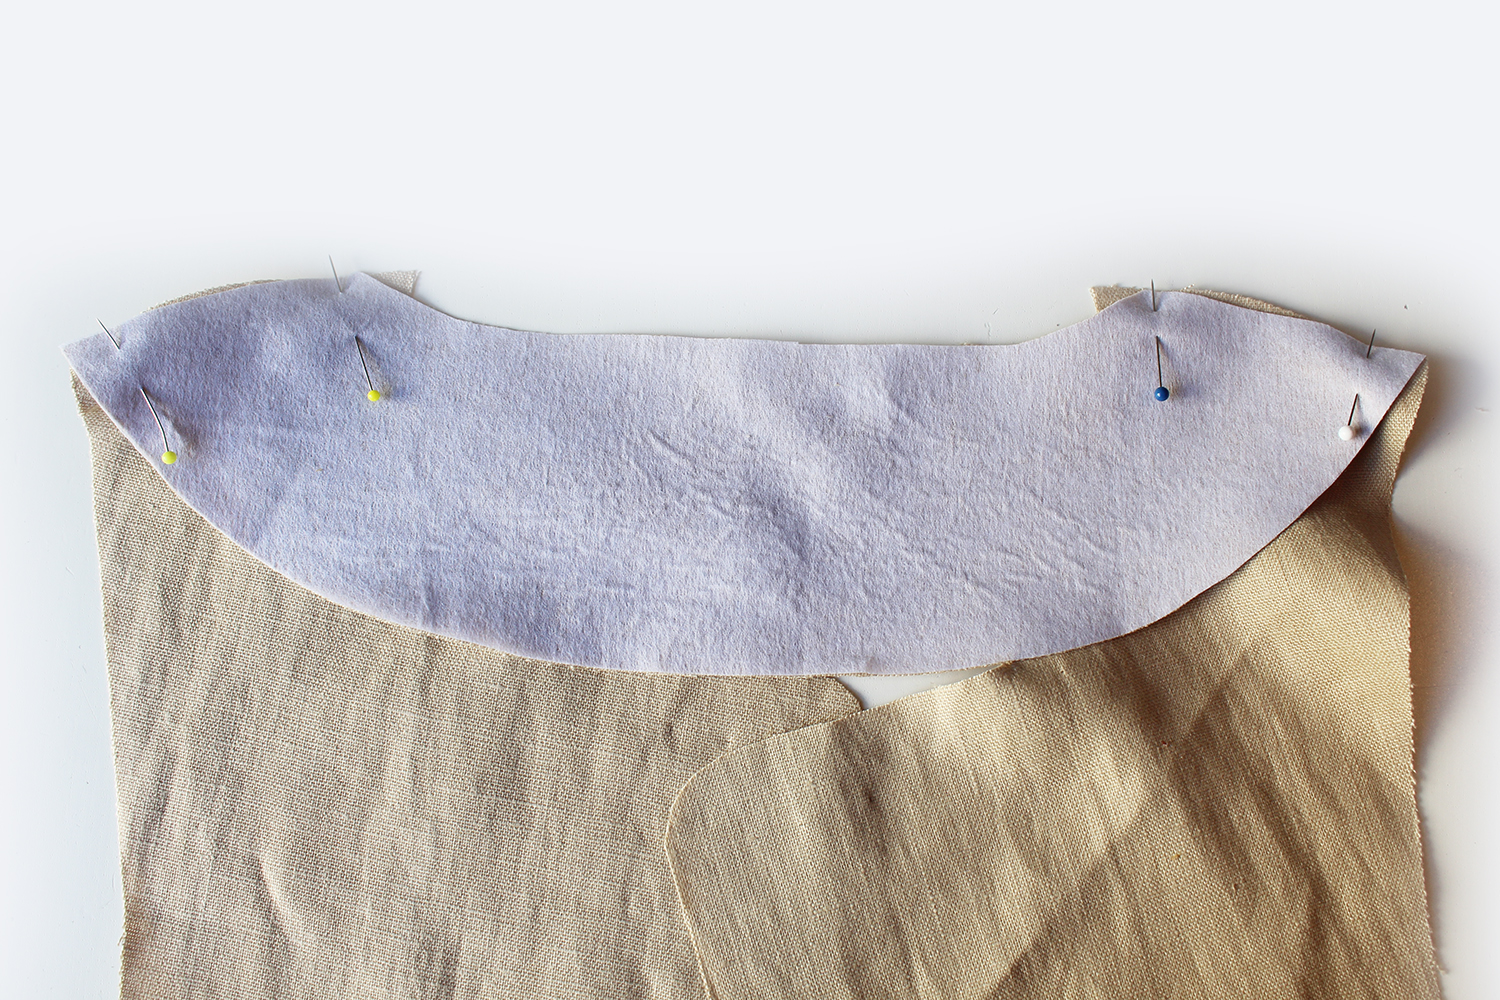 After interfacing the back facing, pin to the front facing at the shoulders. Stitch. Press the seam allowances open.
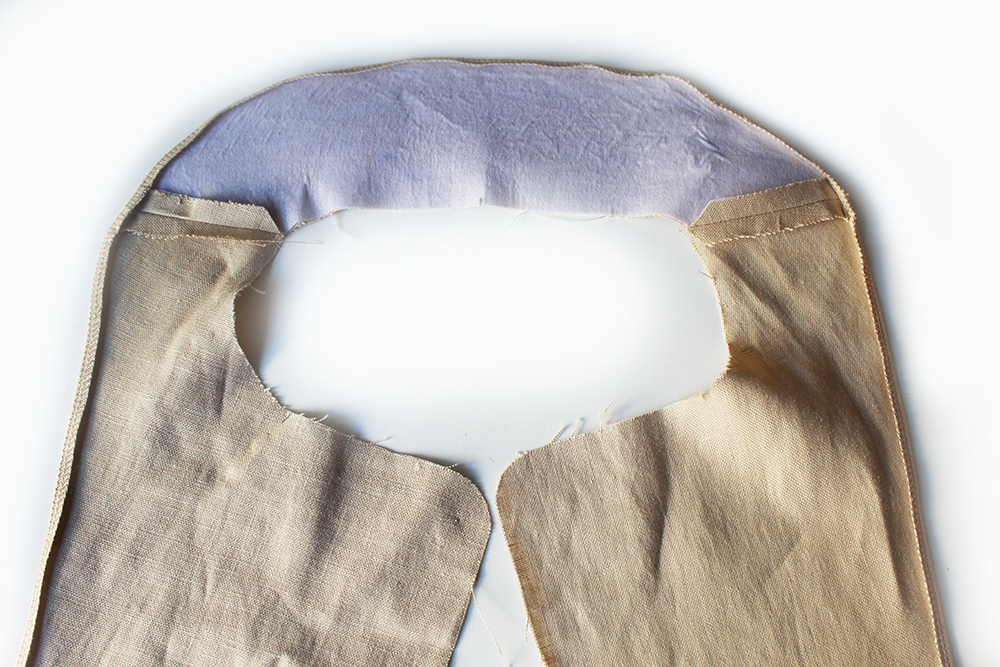 Turn under the outer edge 1cm and press. Then stitch. Turn under the lower edge of the facing 1cm and stitch.
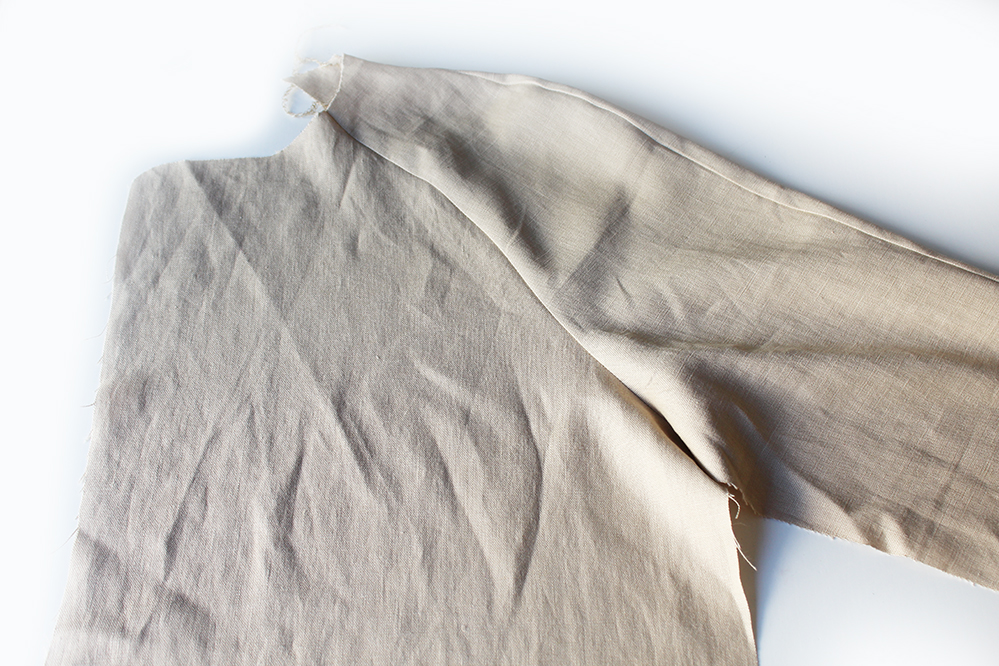 Sew the front sleeve to the front at the slanted edge. Join to the back sleeve. Join the back sleeve to the back. Finish the raw edges. Press. Repeat for the other side.
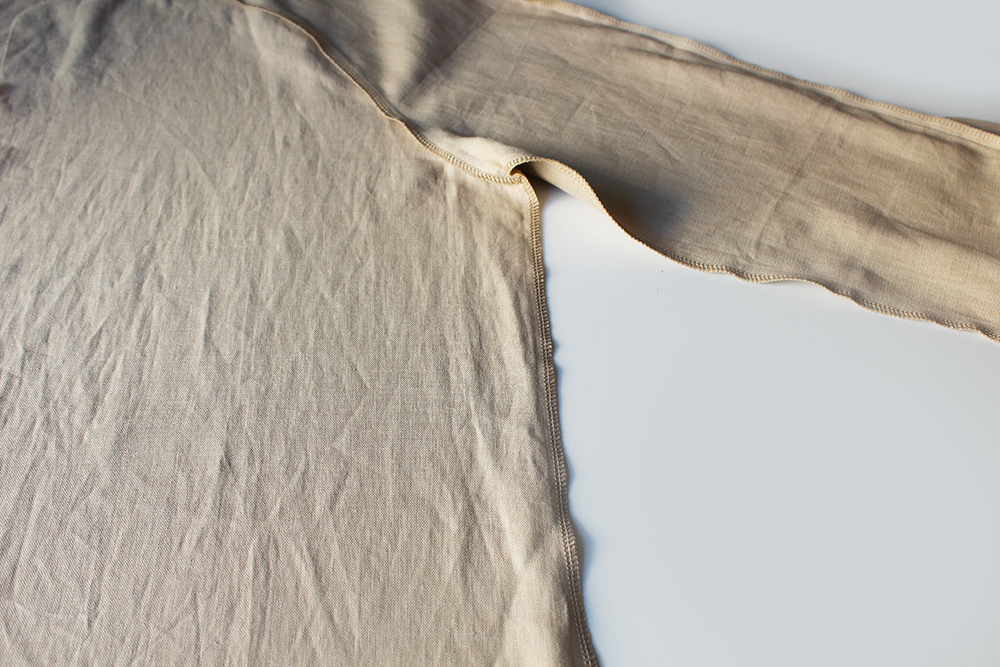 Join the front to back at the side seams, leave the lower section open for the side slits. Finish the raw edges above the slit section. Press.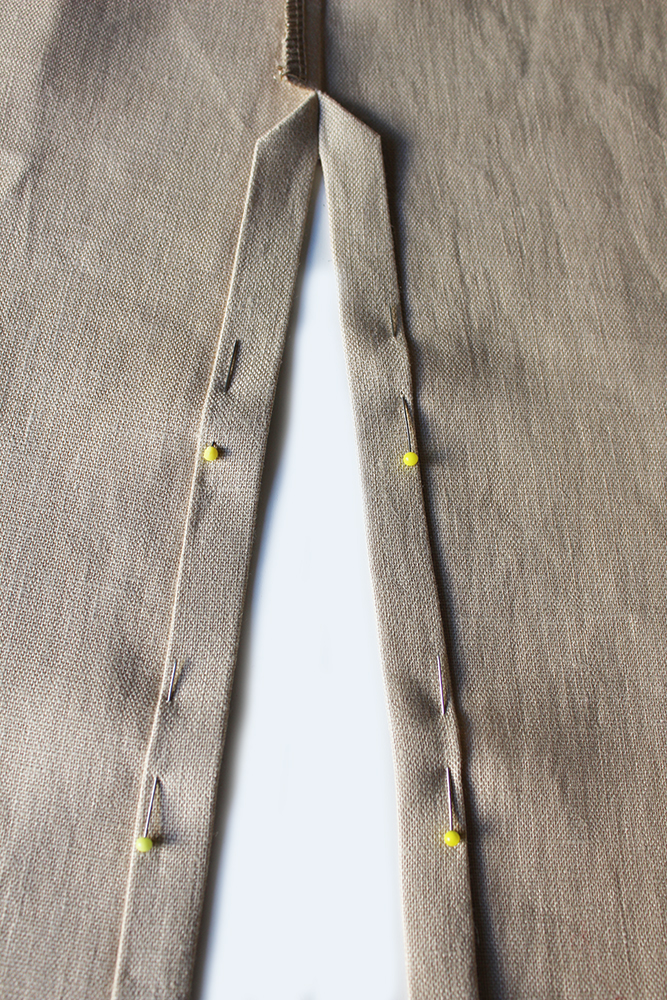
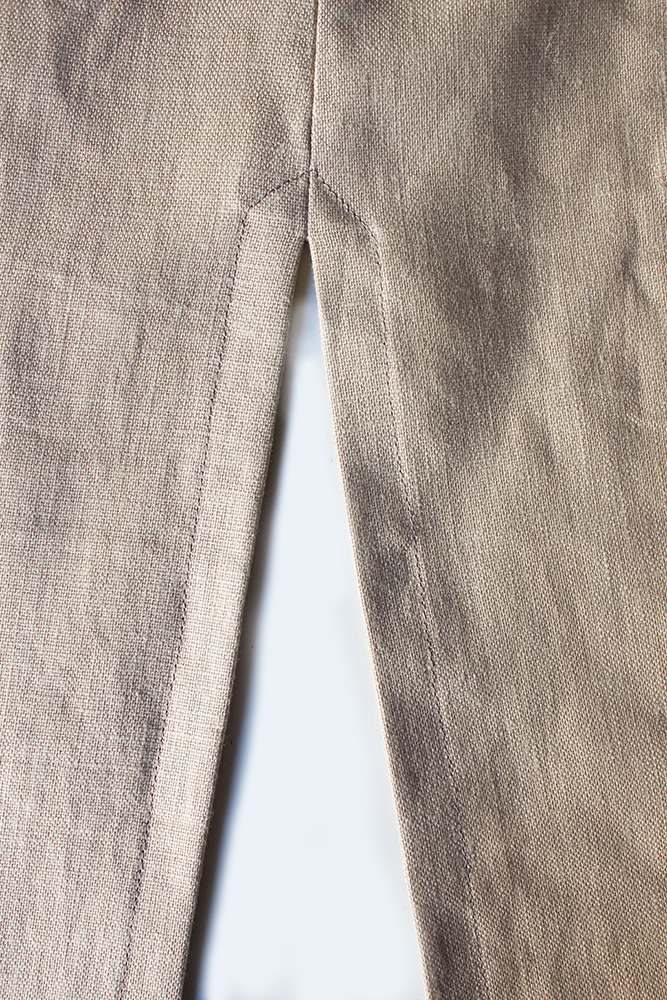 Nick the seam allowance just above the slit section to open the seam at the lower section. Fold over the side slits at the raw edge 1cm then again 2cm. Press. Sew.
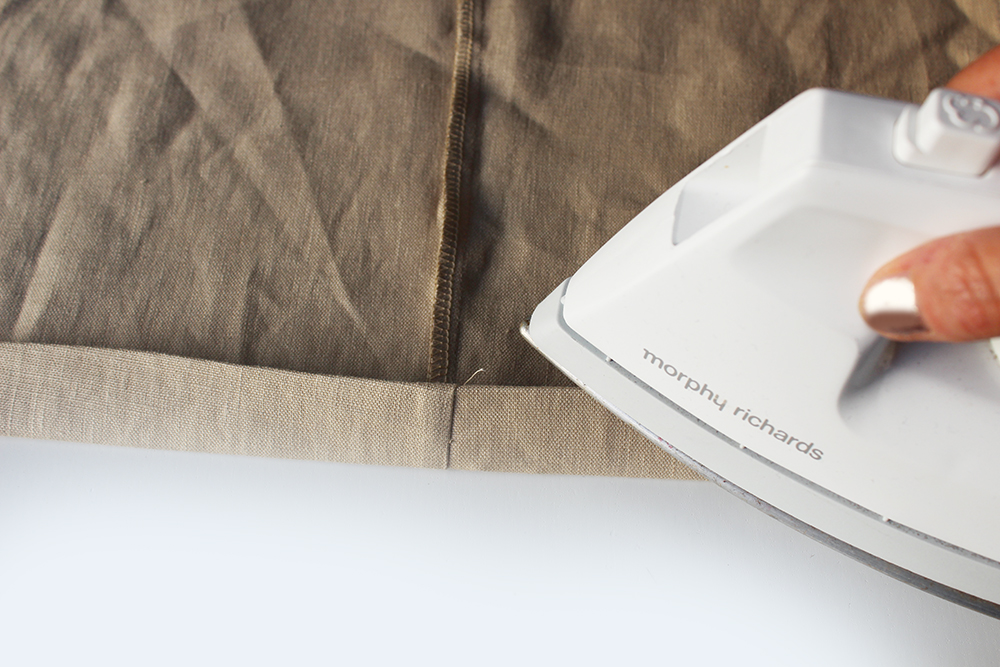 Press under the hem at the lower front edge 1cm then again 2cm. Sew.
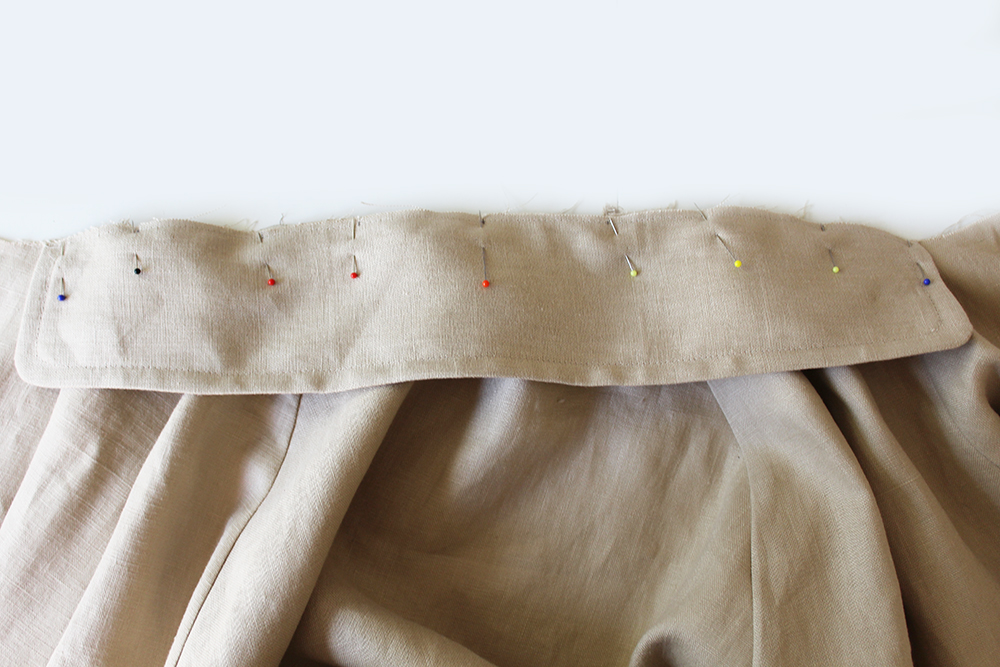 Starting at the centre of the back neck, pin the collar at the centre point to the neck edge matching up the notches to the sleeve seams.
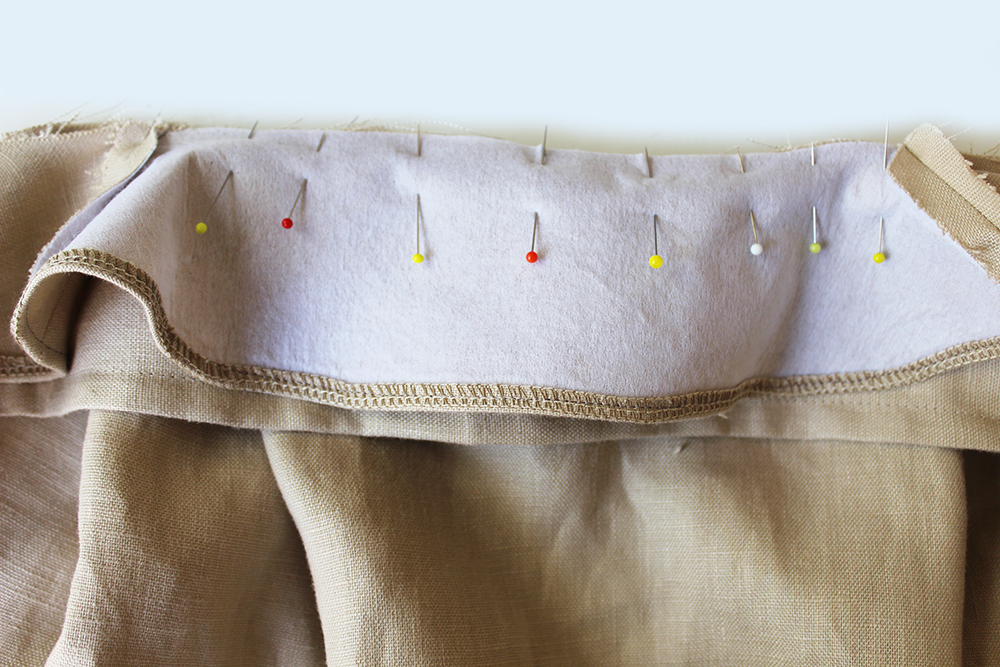 Starting at the back neck, pin the facing piece at the centre of the back facing with the RS together to the collar.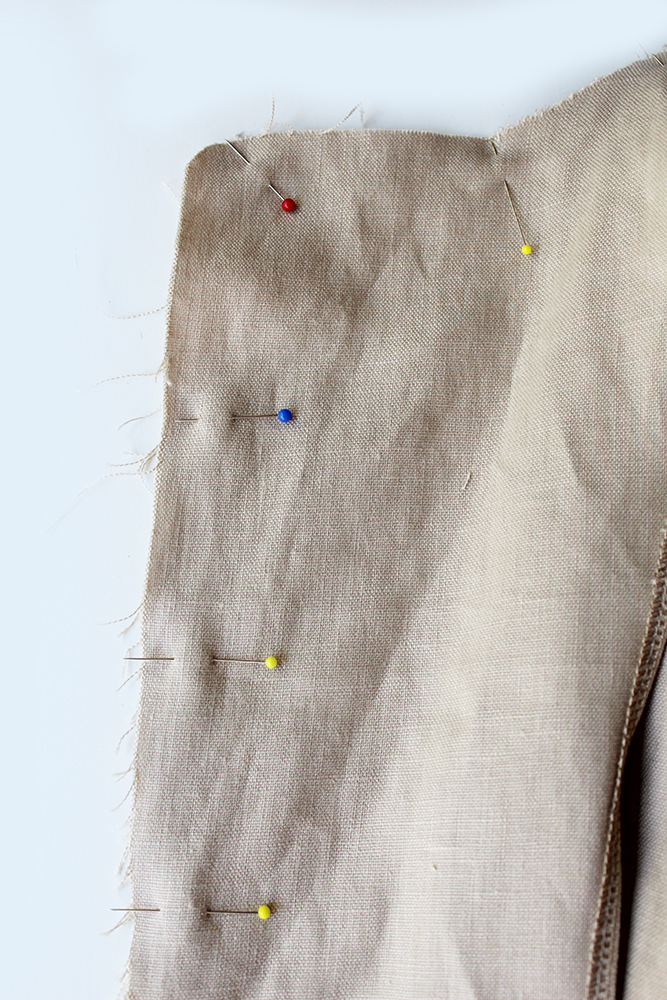
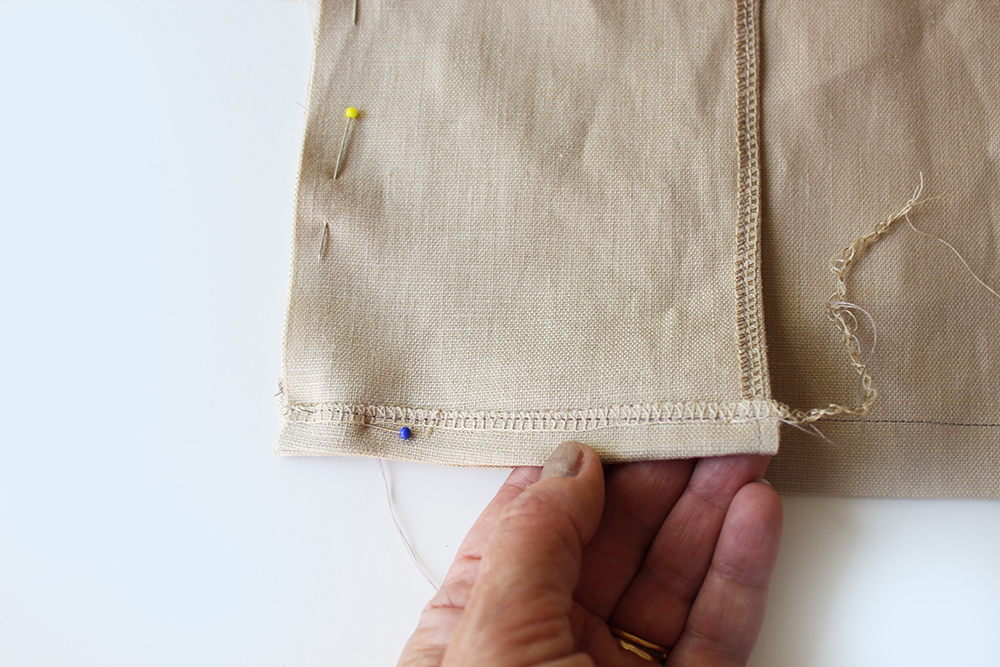 With the lower edge of the facing turned under and stitched 1cm, align at the lower edge.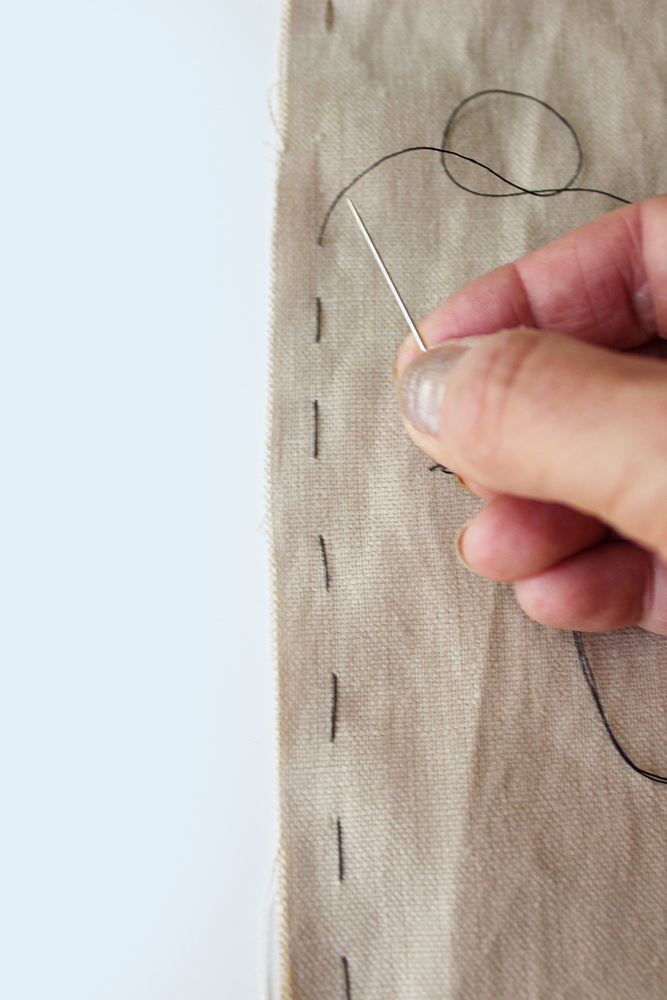
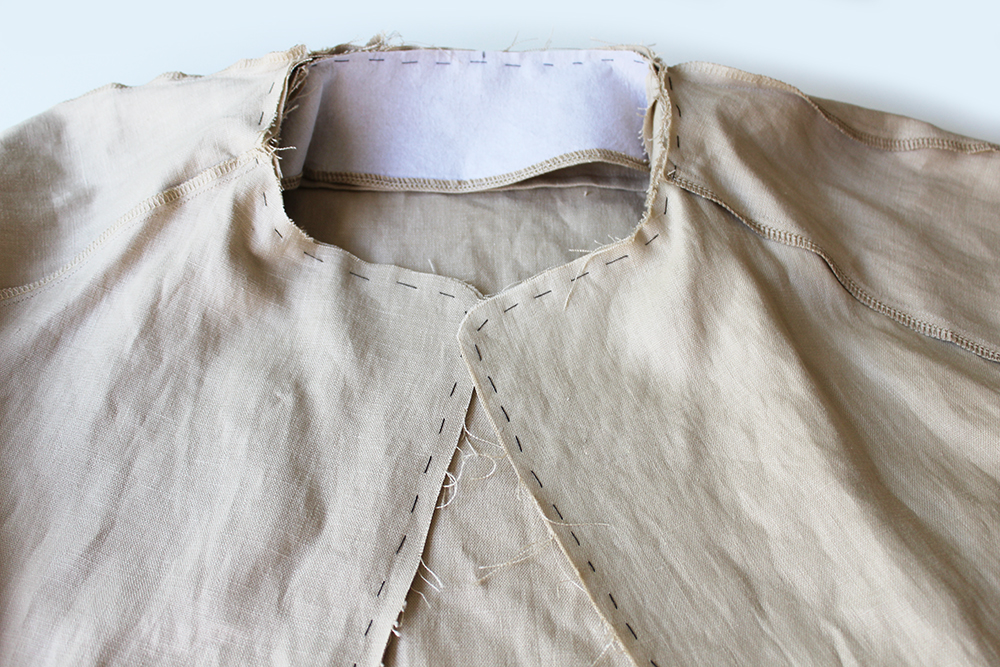 Hand Tack!
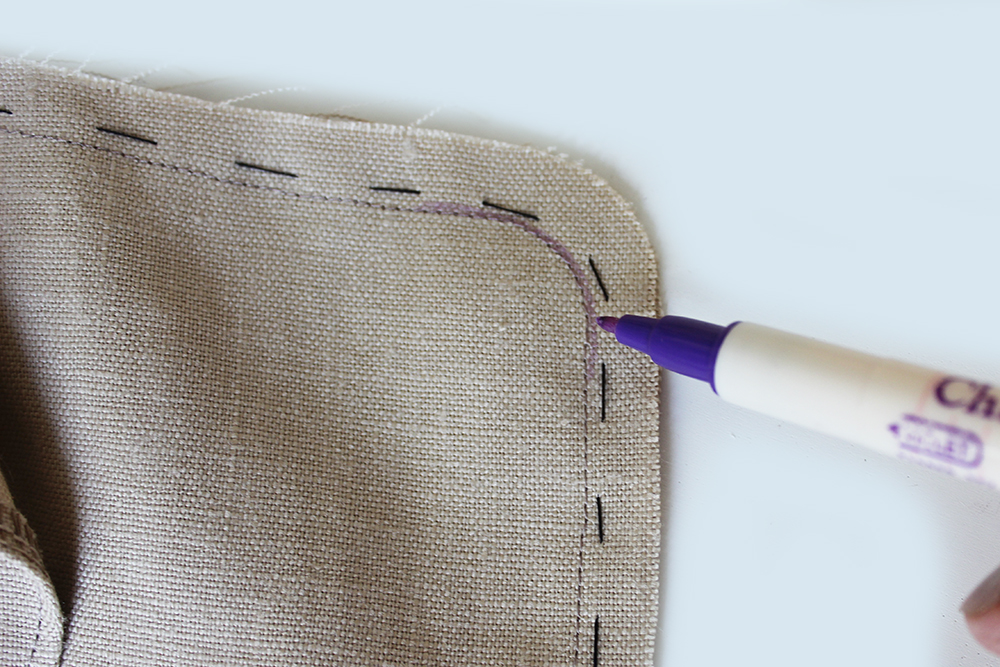 You might like to mark the curved stitch line with an invisible pen to help you as it is important that both sides are the same.
 Stitch!
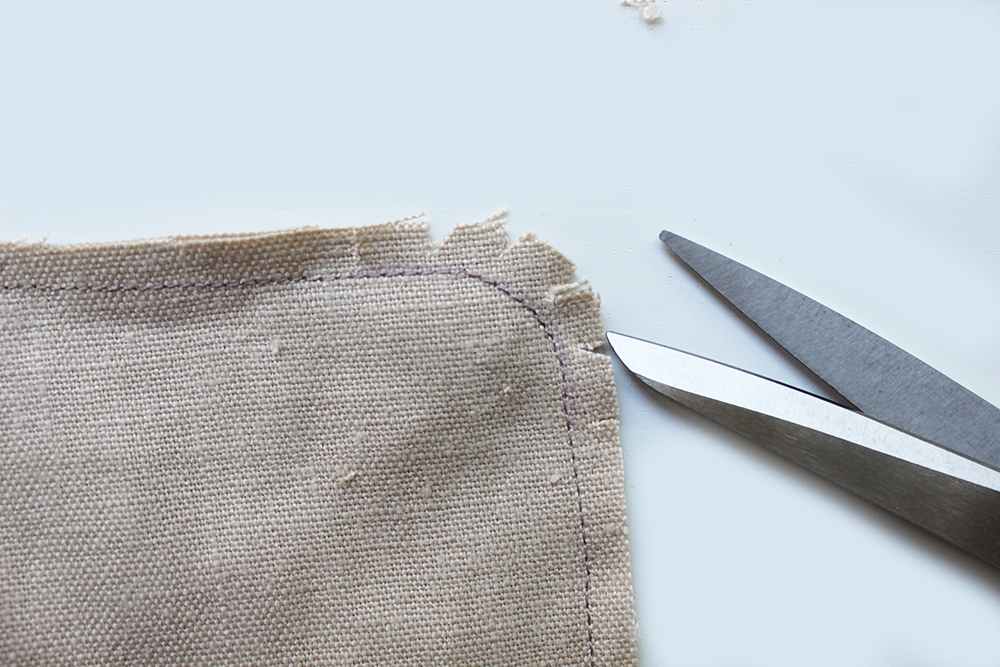 Nick the curved seam allowances. Trim the seam allowance to 5mm.
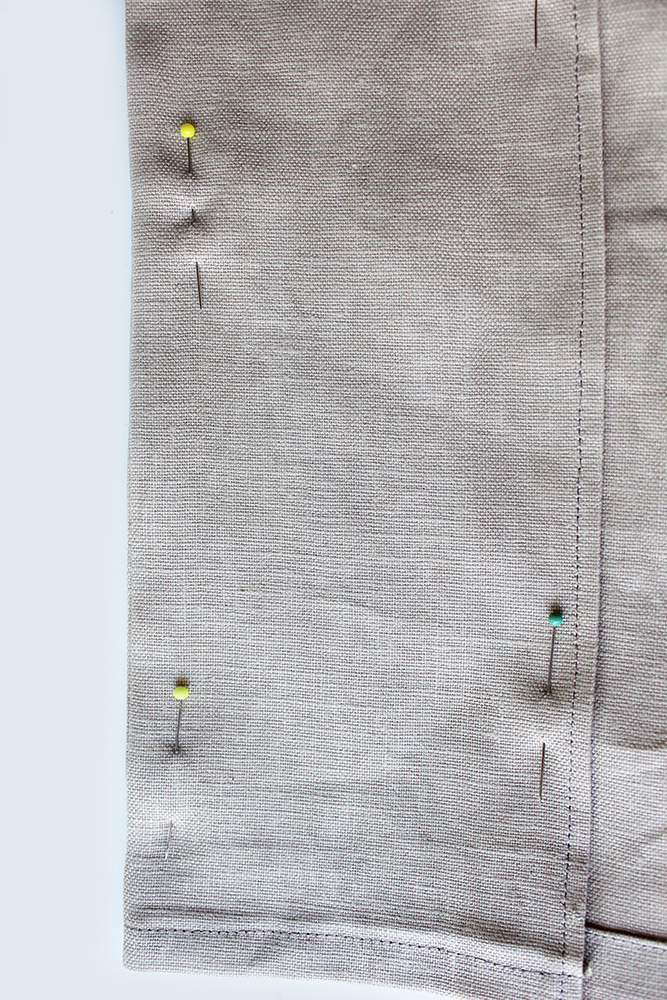 Pin to the reverse side and press so that the seam line is aligned with the fold. Push out the collar with a poking tool to get the curves.
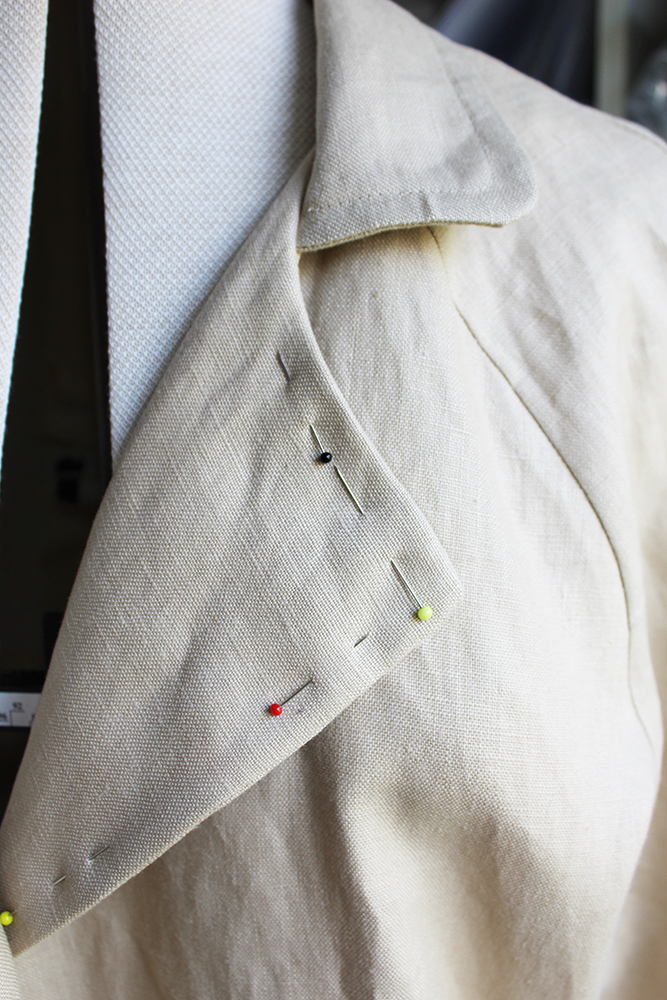 Pin the facing all around.
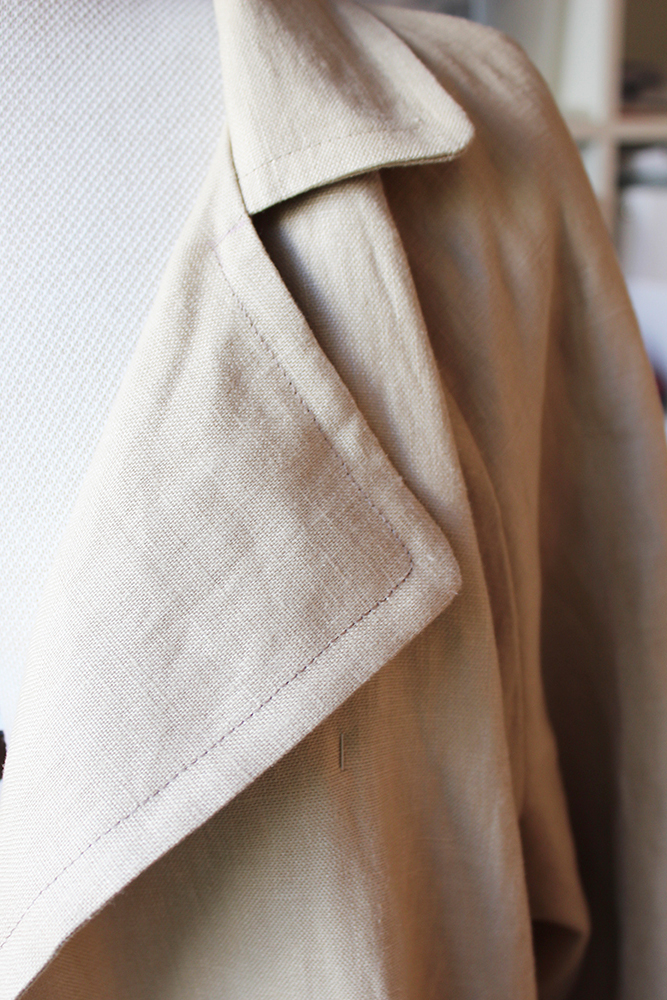 Top stitch all around 1cm from the edge.
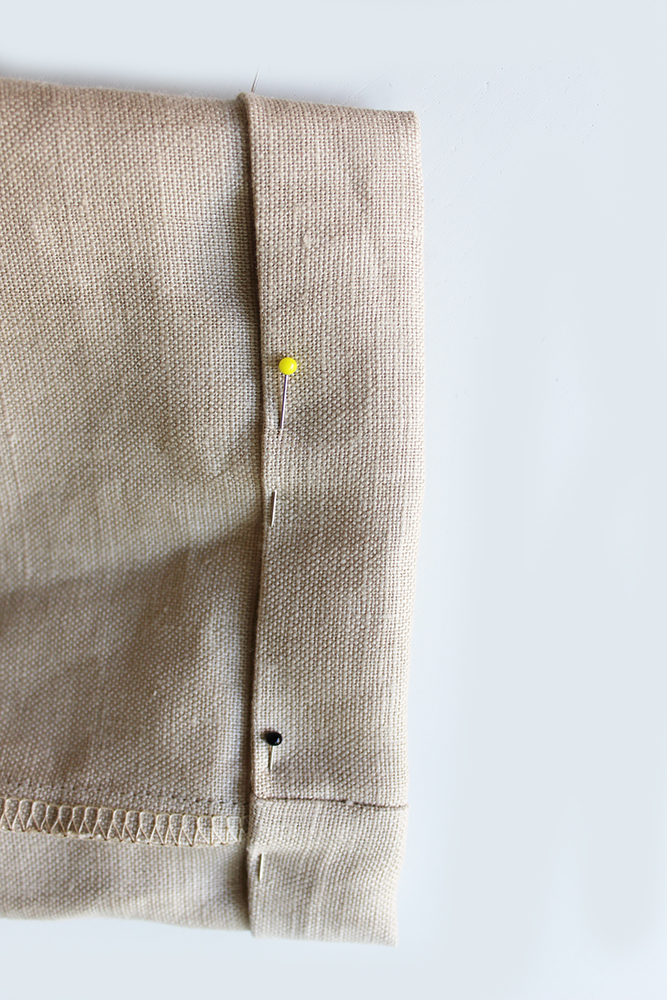 Make a hem at the sleeve raw edge. Fold over 1cm then again 3cm. Press. Pin. Stitch.
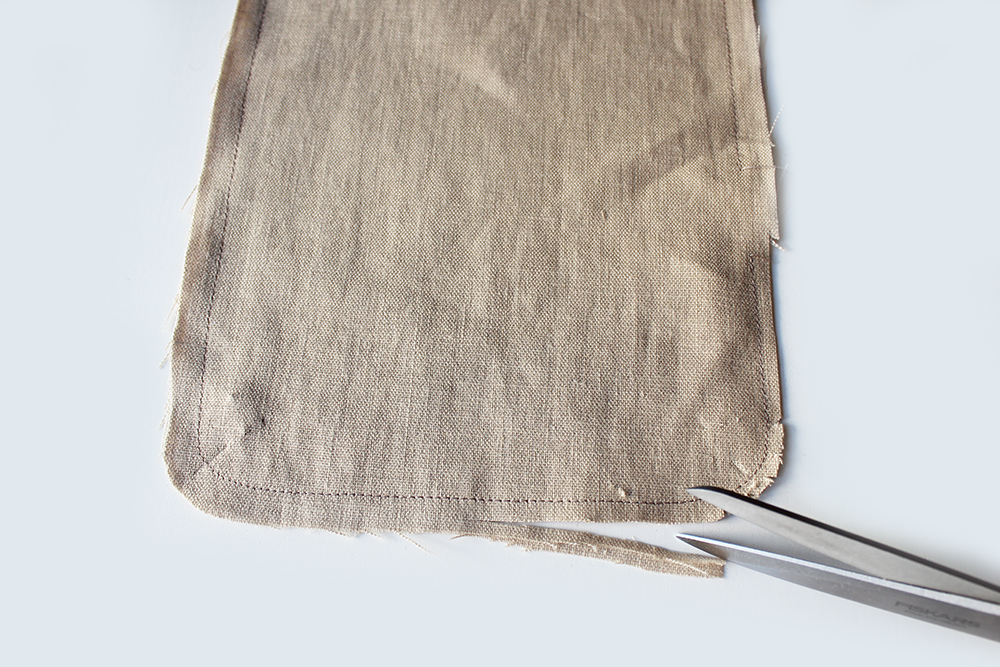 Pin the pockets RS together. Stitch all around leaving a small opening at one side for turning. Trim the seam allowance to 5mm. Nick the curved corners.
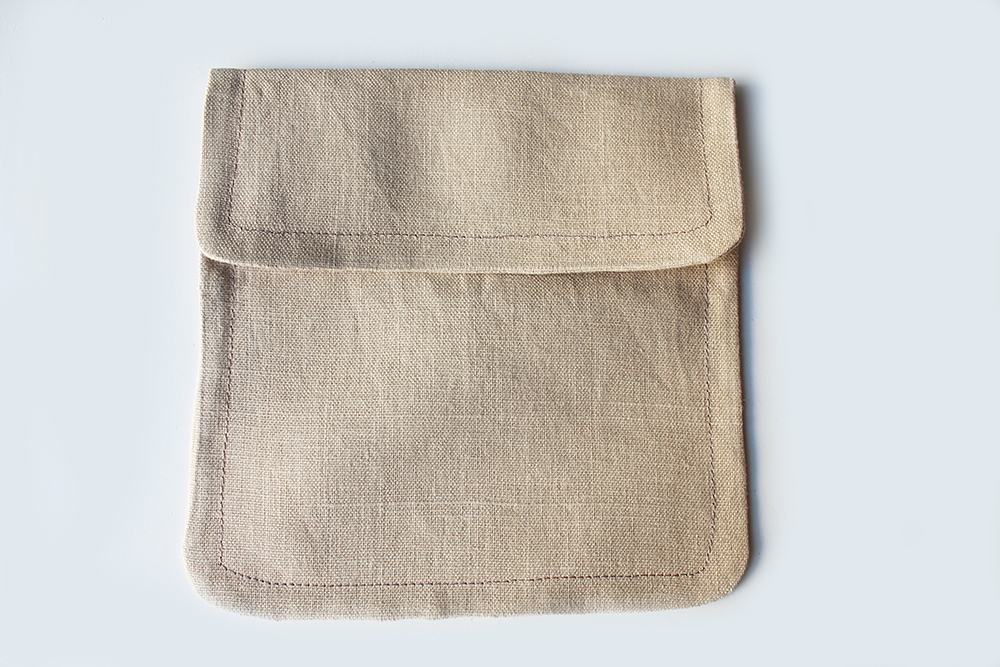 Turn inside out, push out the corners with a poking tool. Press well, aligning the seam line to the fold. Top stitch all around. Press over the flap section as shown on the template.
 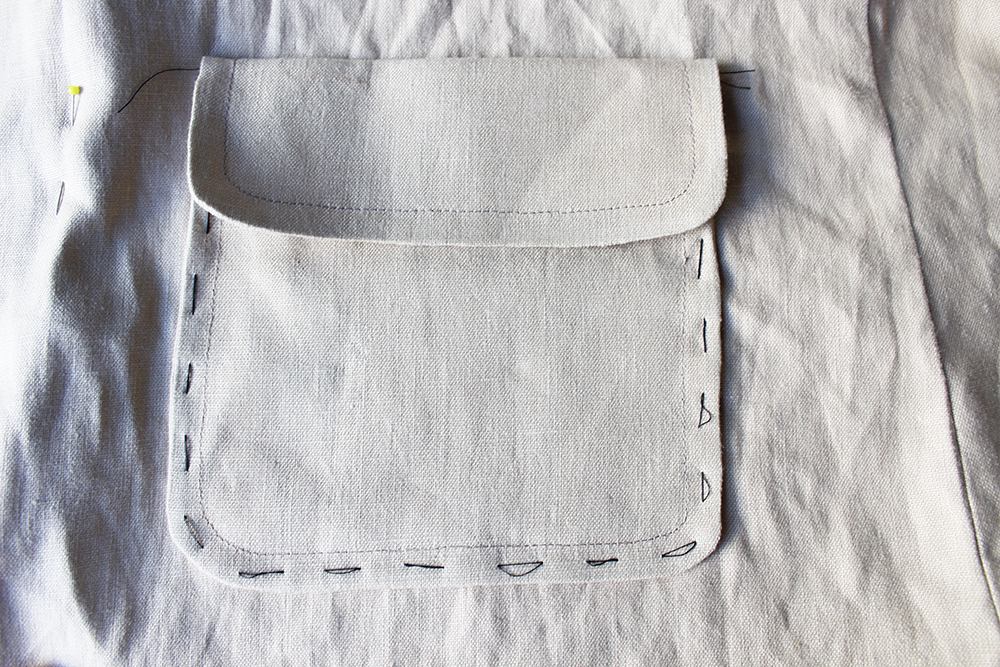 Pin to the coat in position as shown on the pattern. Tack stitch to hold. Sew all around a second line of stitching close to the outer edge and parallel to the top stitching. Reinforce the corners at the top just below the flap fold. Sew on a button at each pocket or leave without.
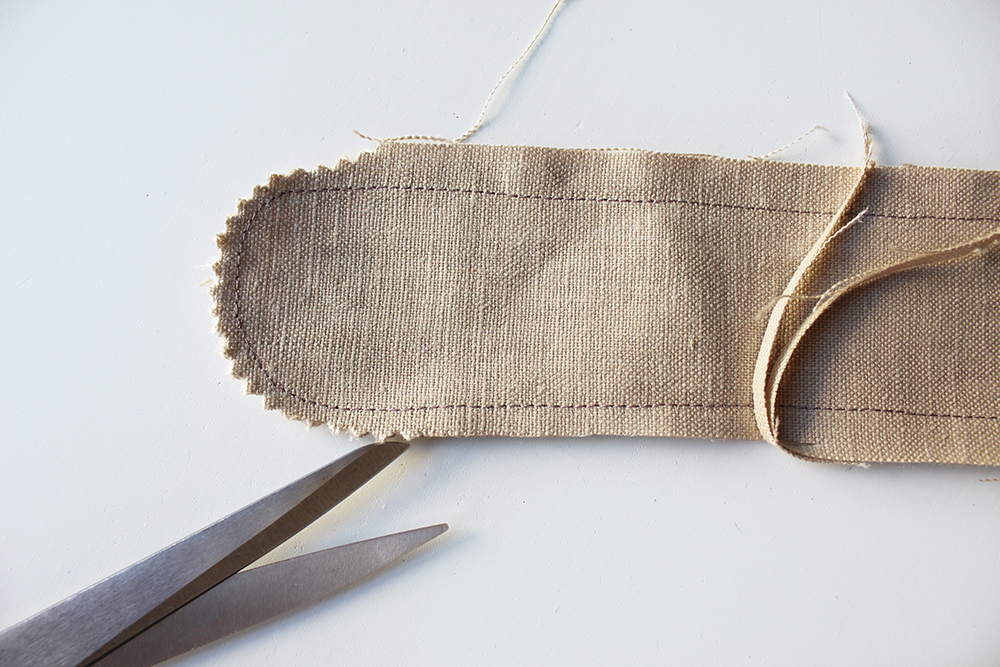 Pin the tie belt pieces RS together. Sew all around, leave a small opening at the centre for turning. Trim the seam allowance and nick the curved corners.
 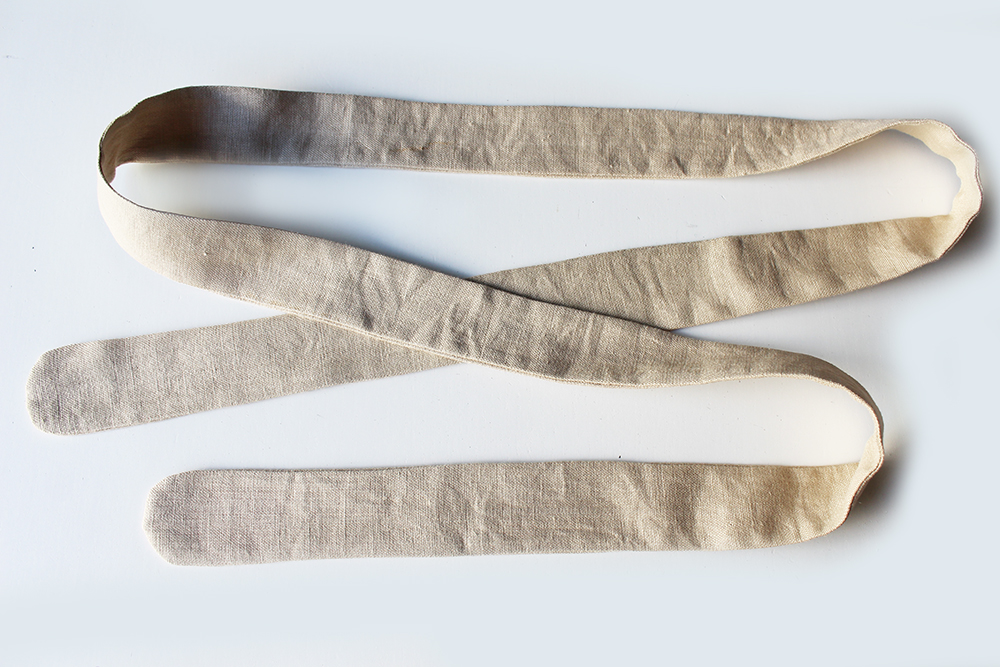 Turn the tie inside out and push out the curved ends with a poking tool. Press well so that the seam line is in line with the fold all around.
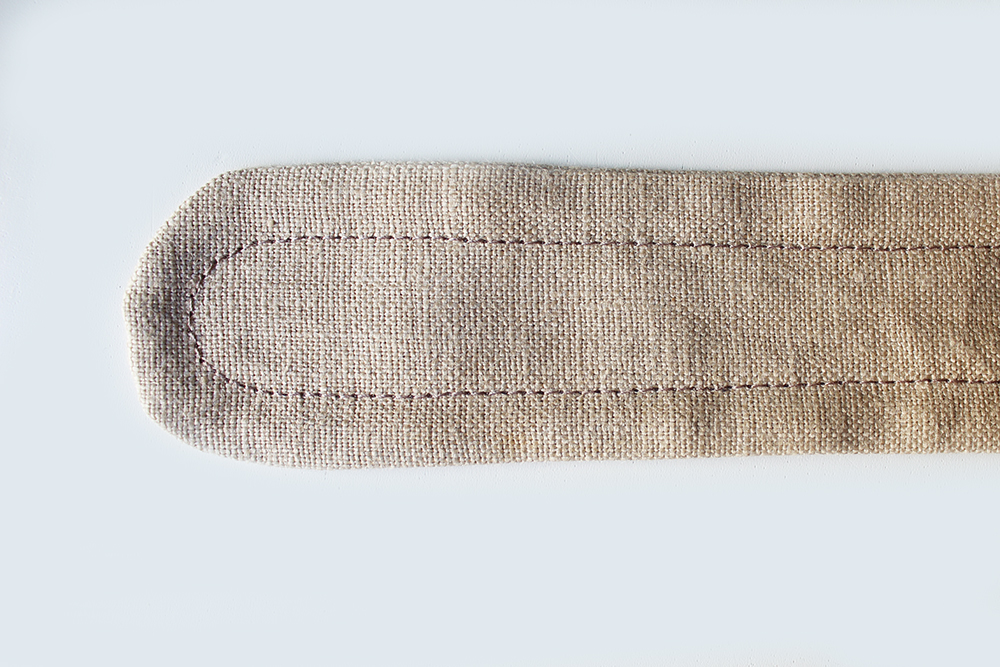 Topstitch all around the outer edge.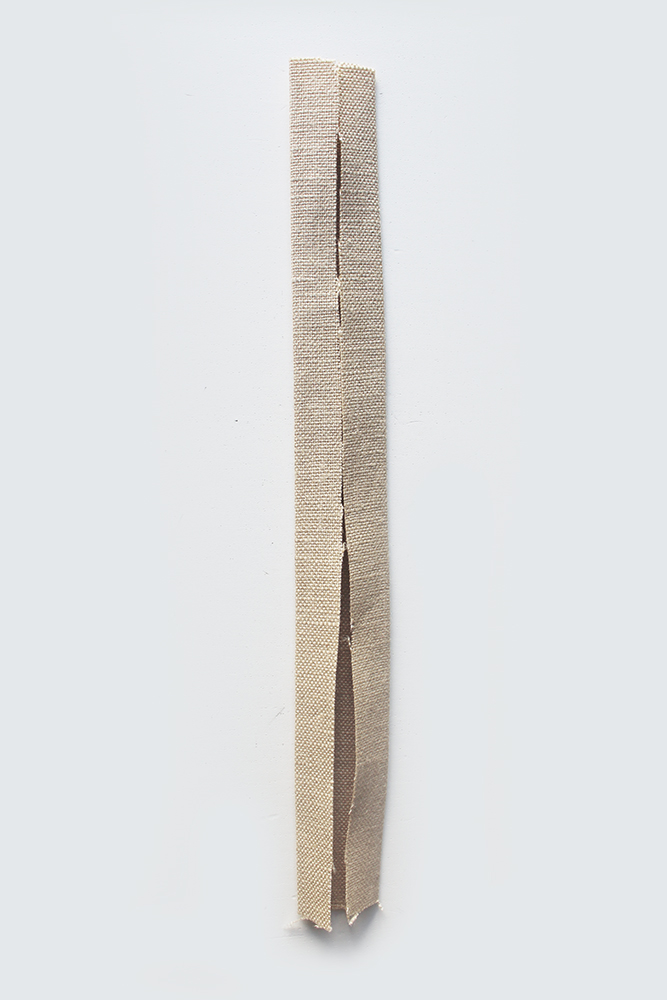
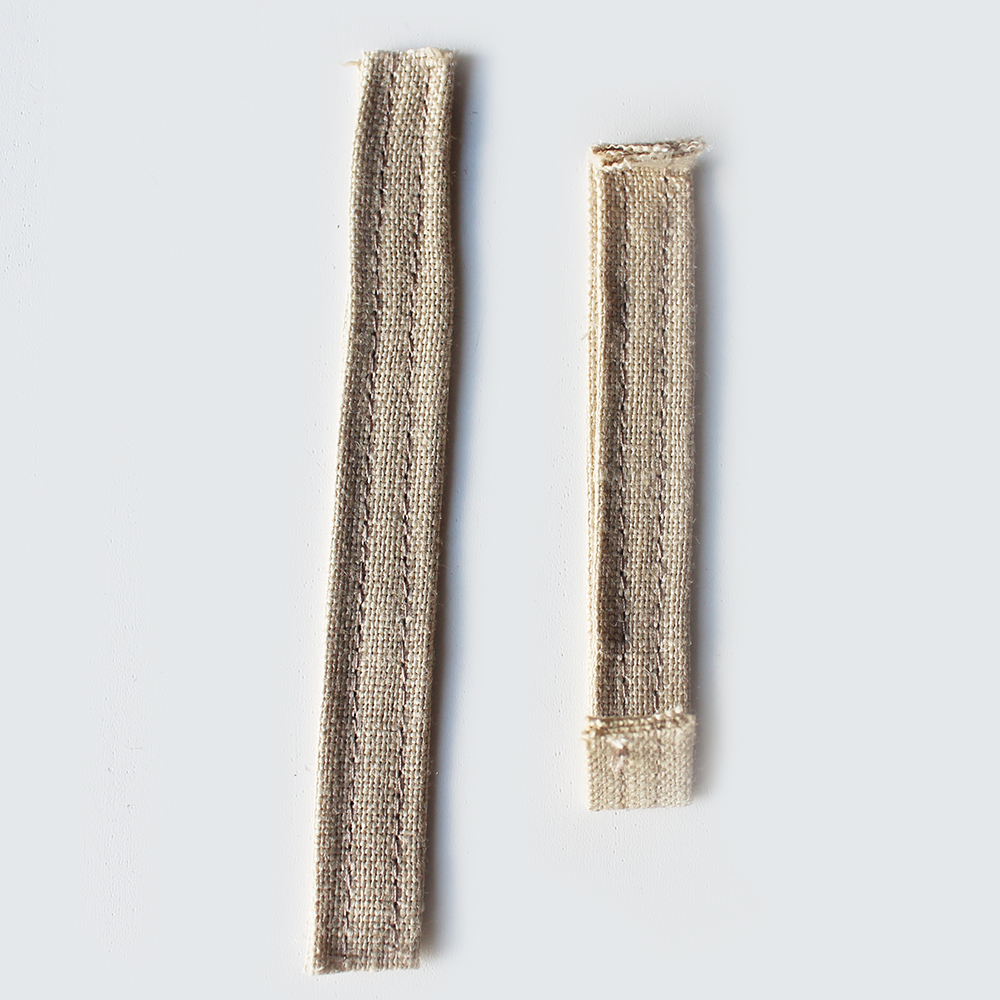
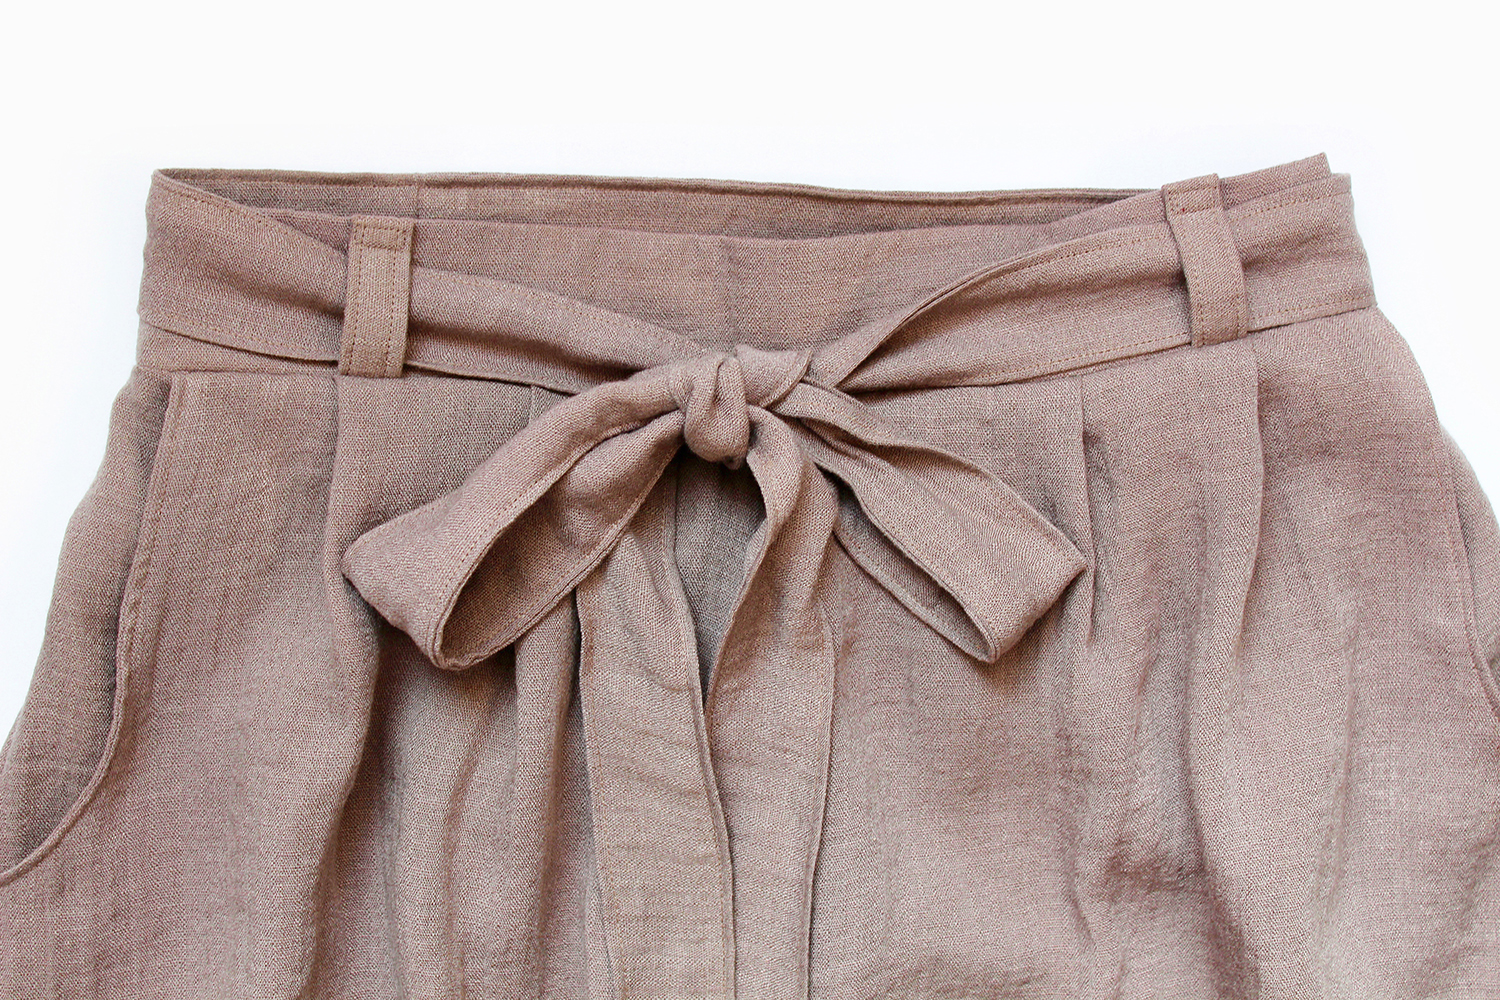
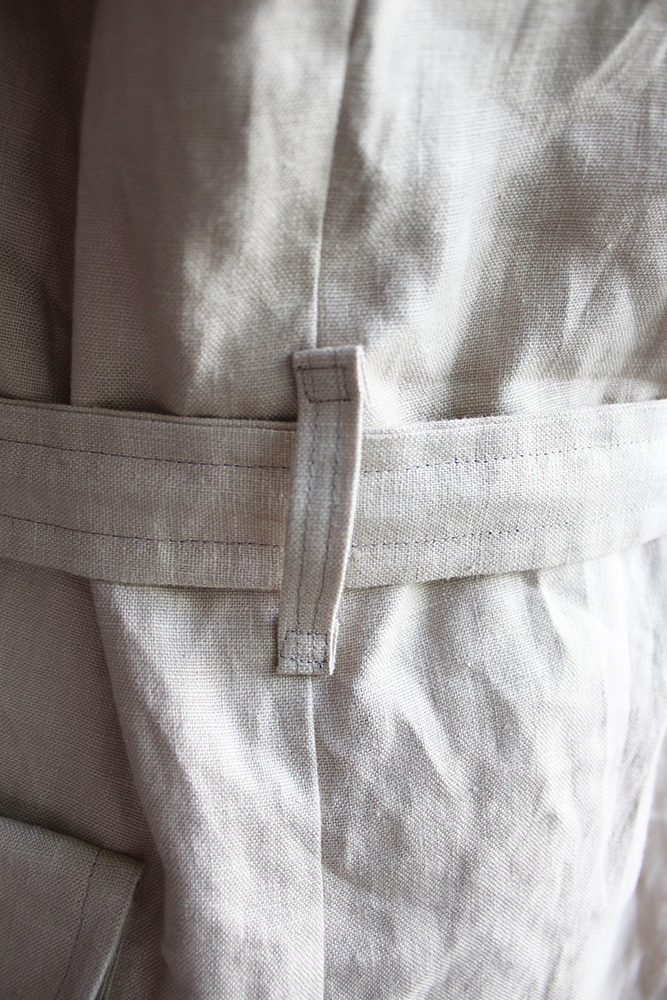 Attach to the coat at each side in position as shown on the template with a box stitch.
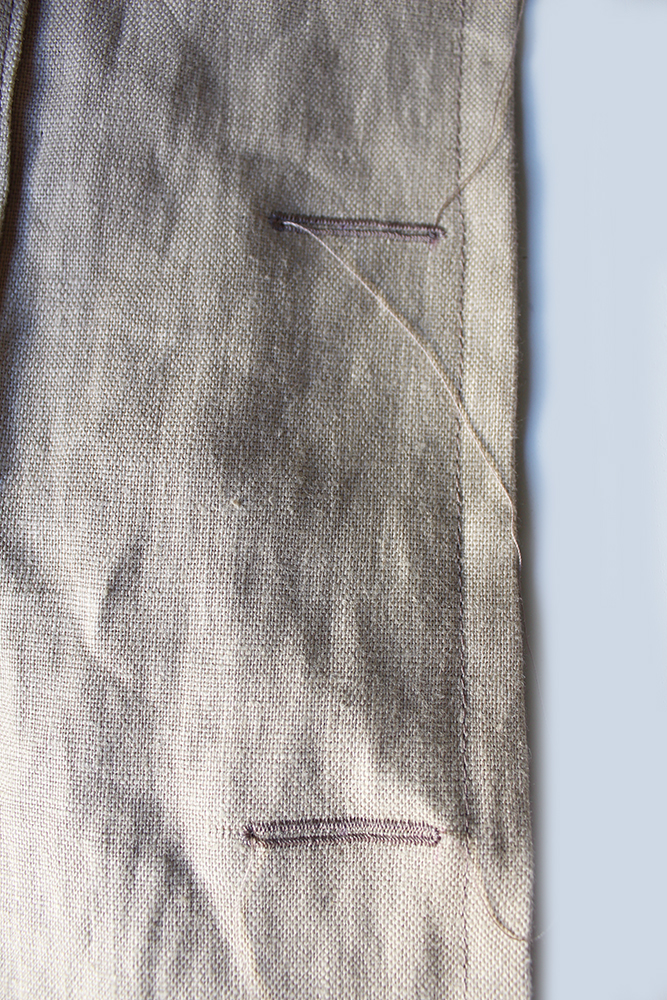 Sew your buttonholes. Use the template as a guide to the position.
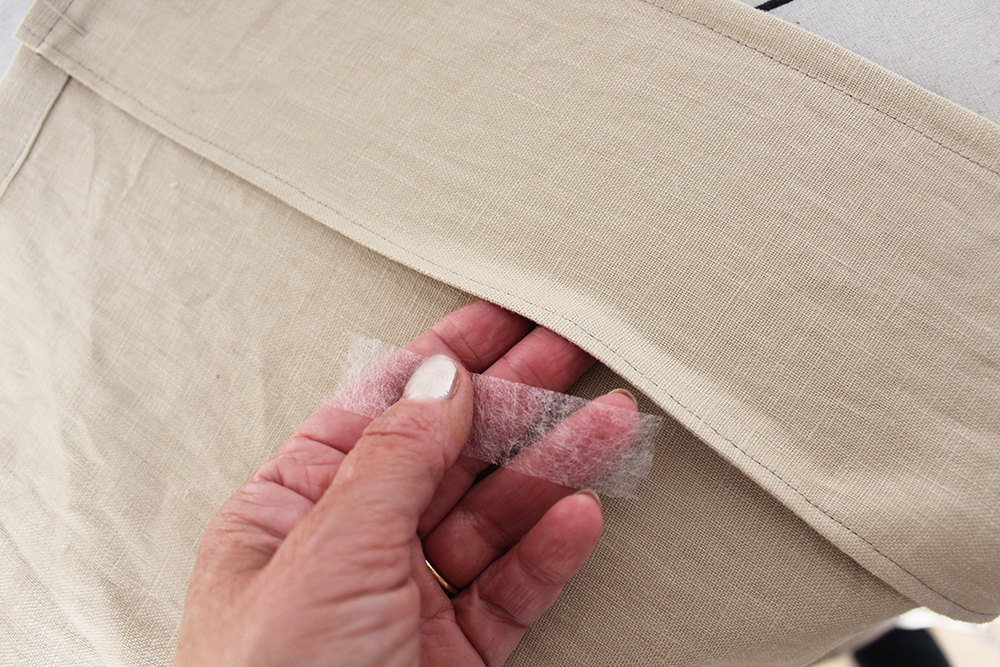 One last thing, you may like to insert small pieces of wondaweb under the facing to secure the facing in place. You could also stitch a few stitches at the shoulder seam to secure the neck facing.


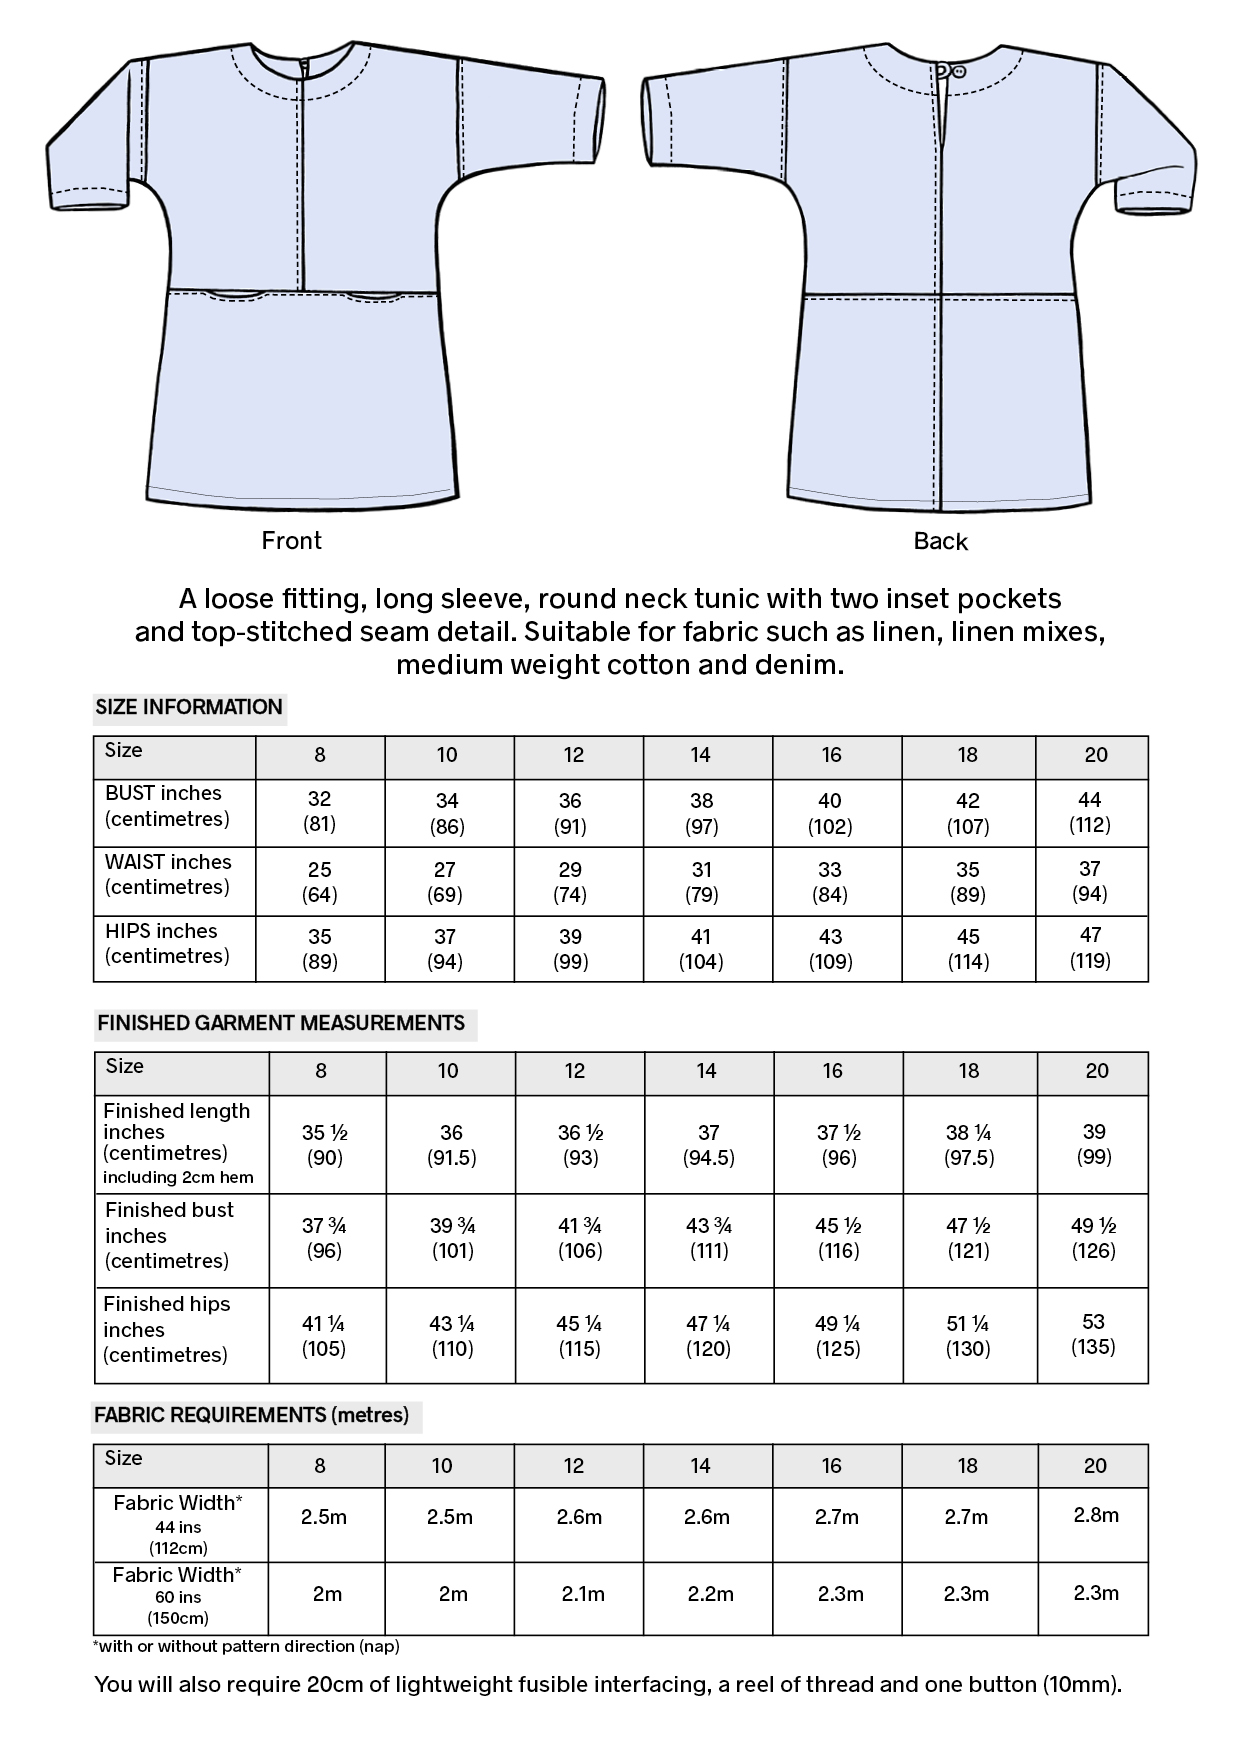
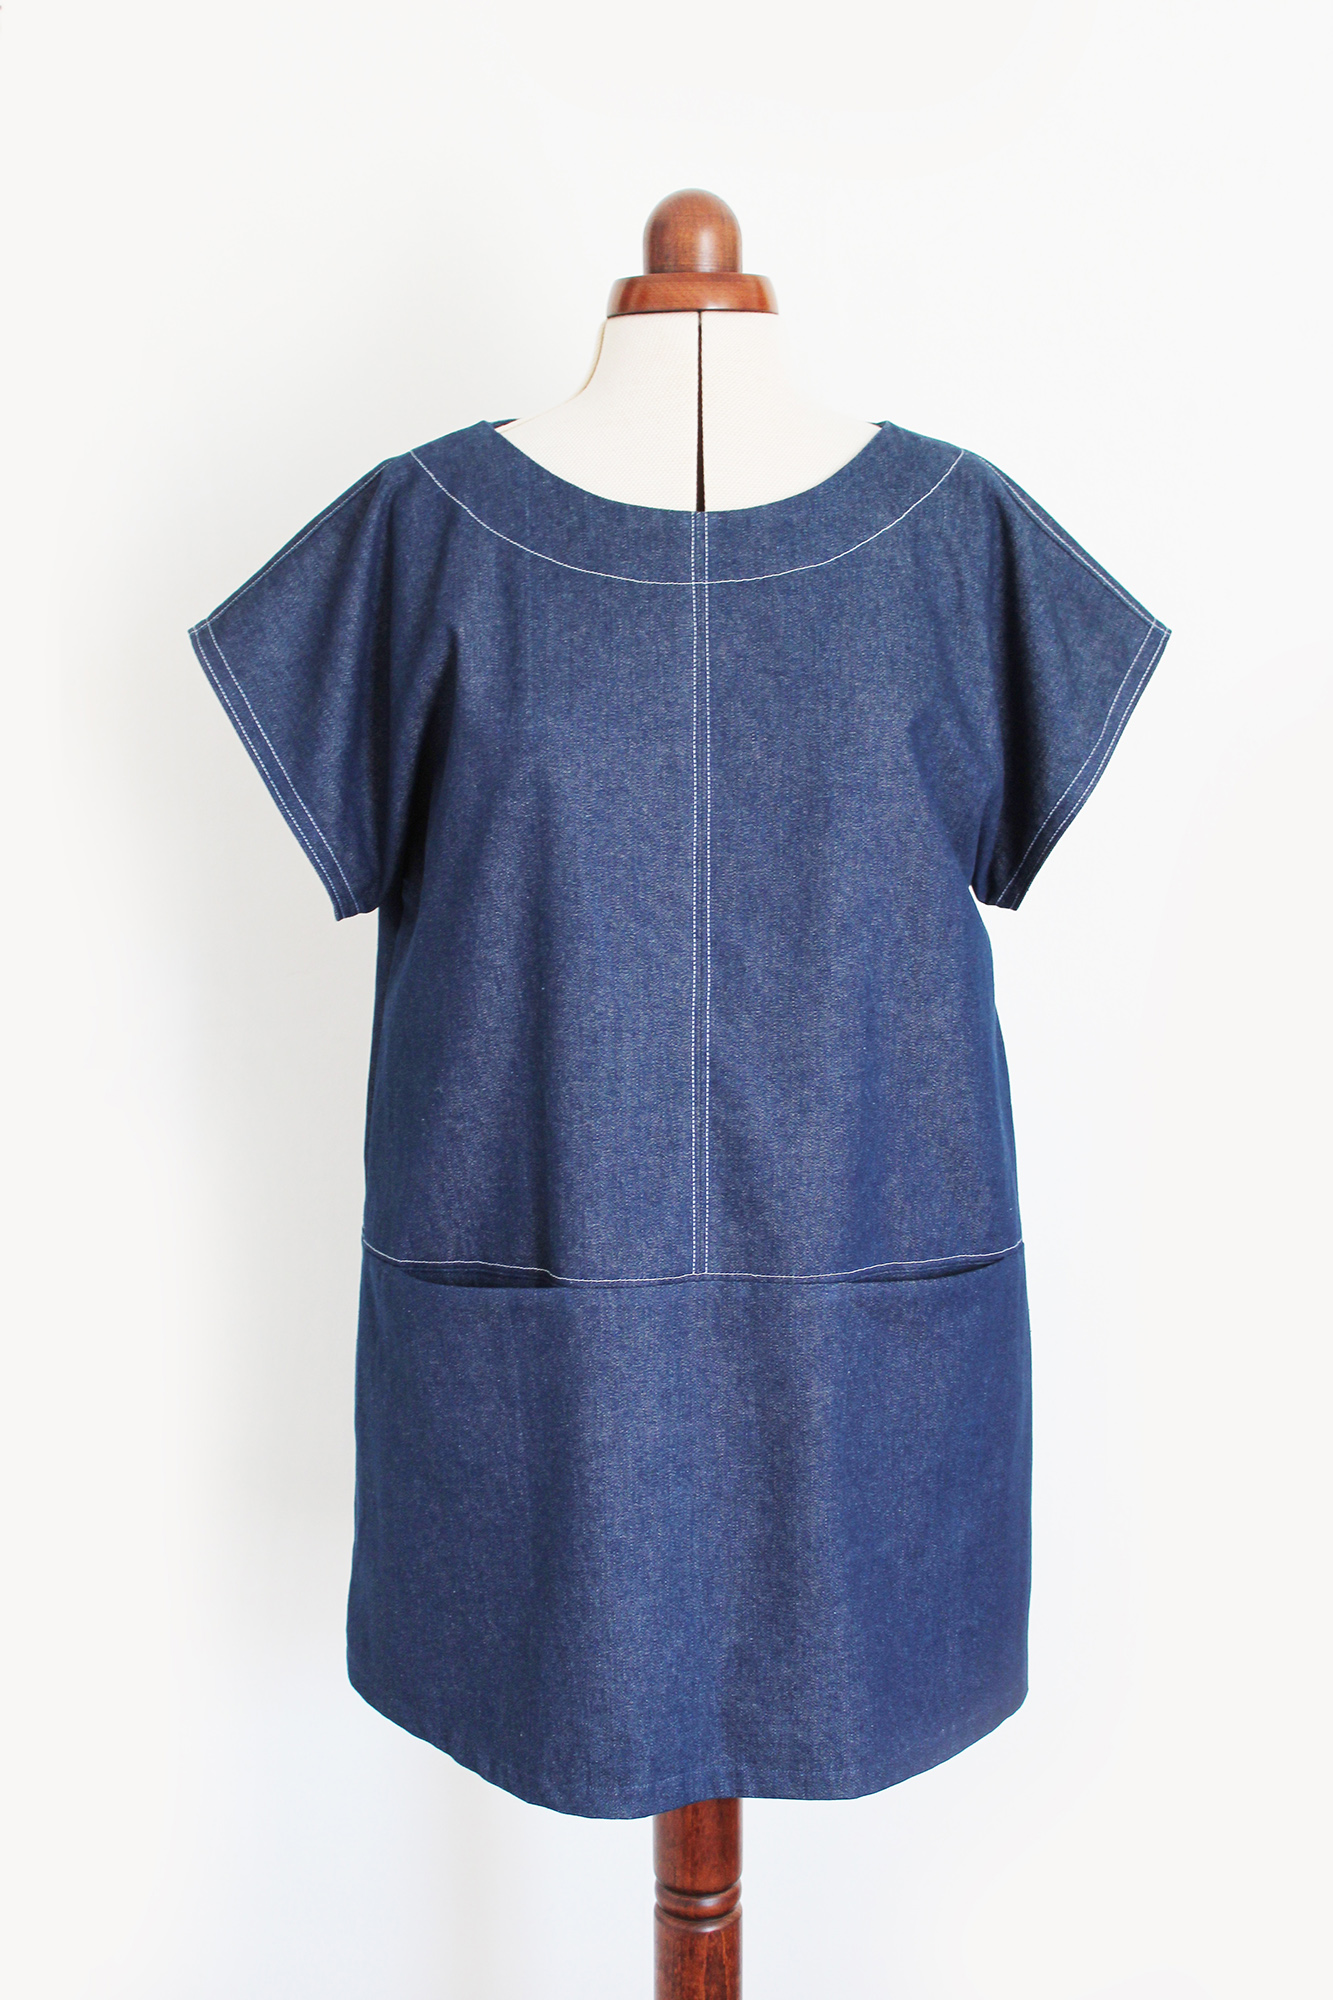
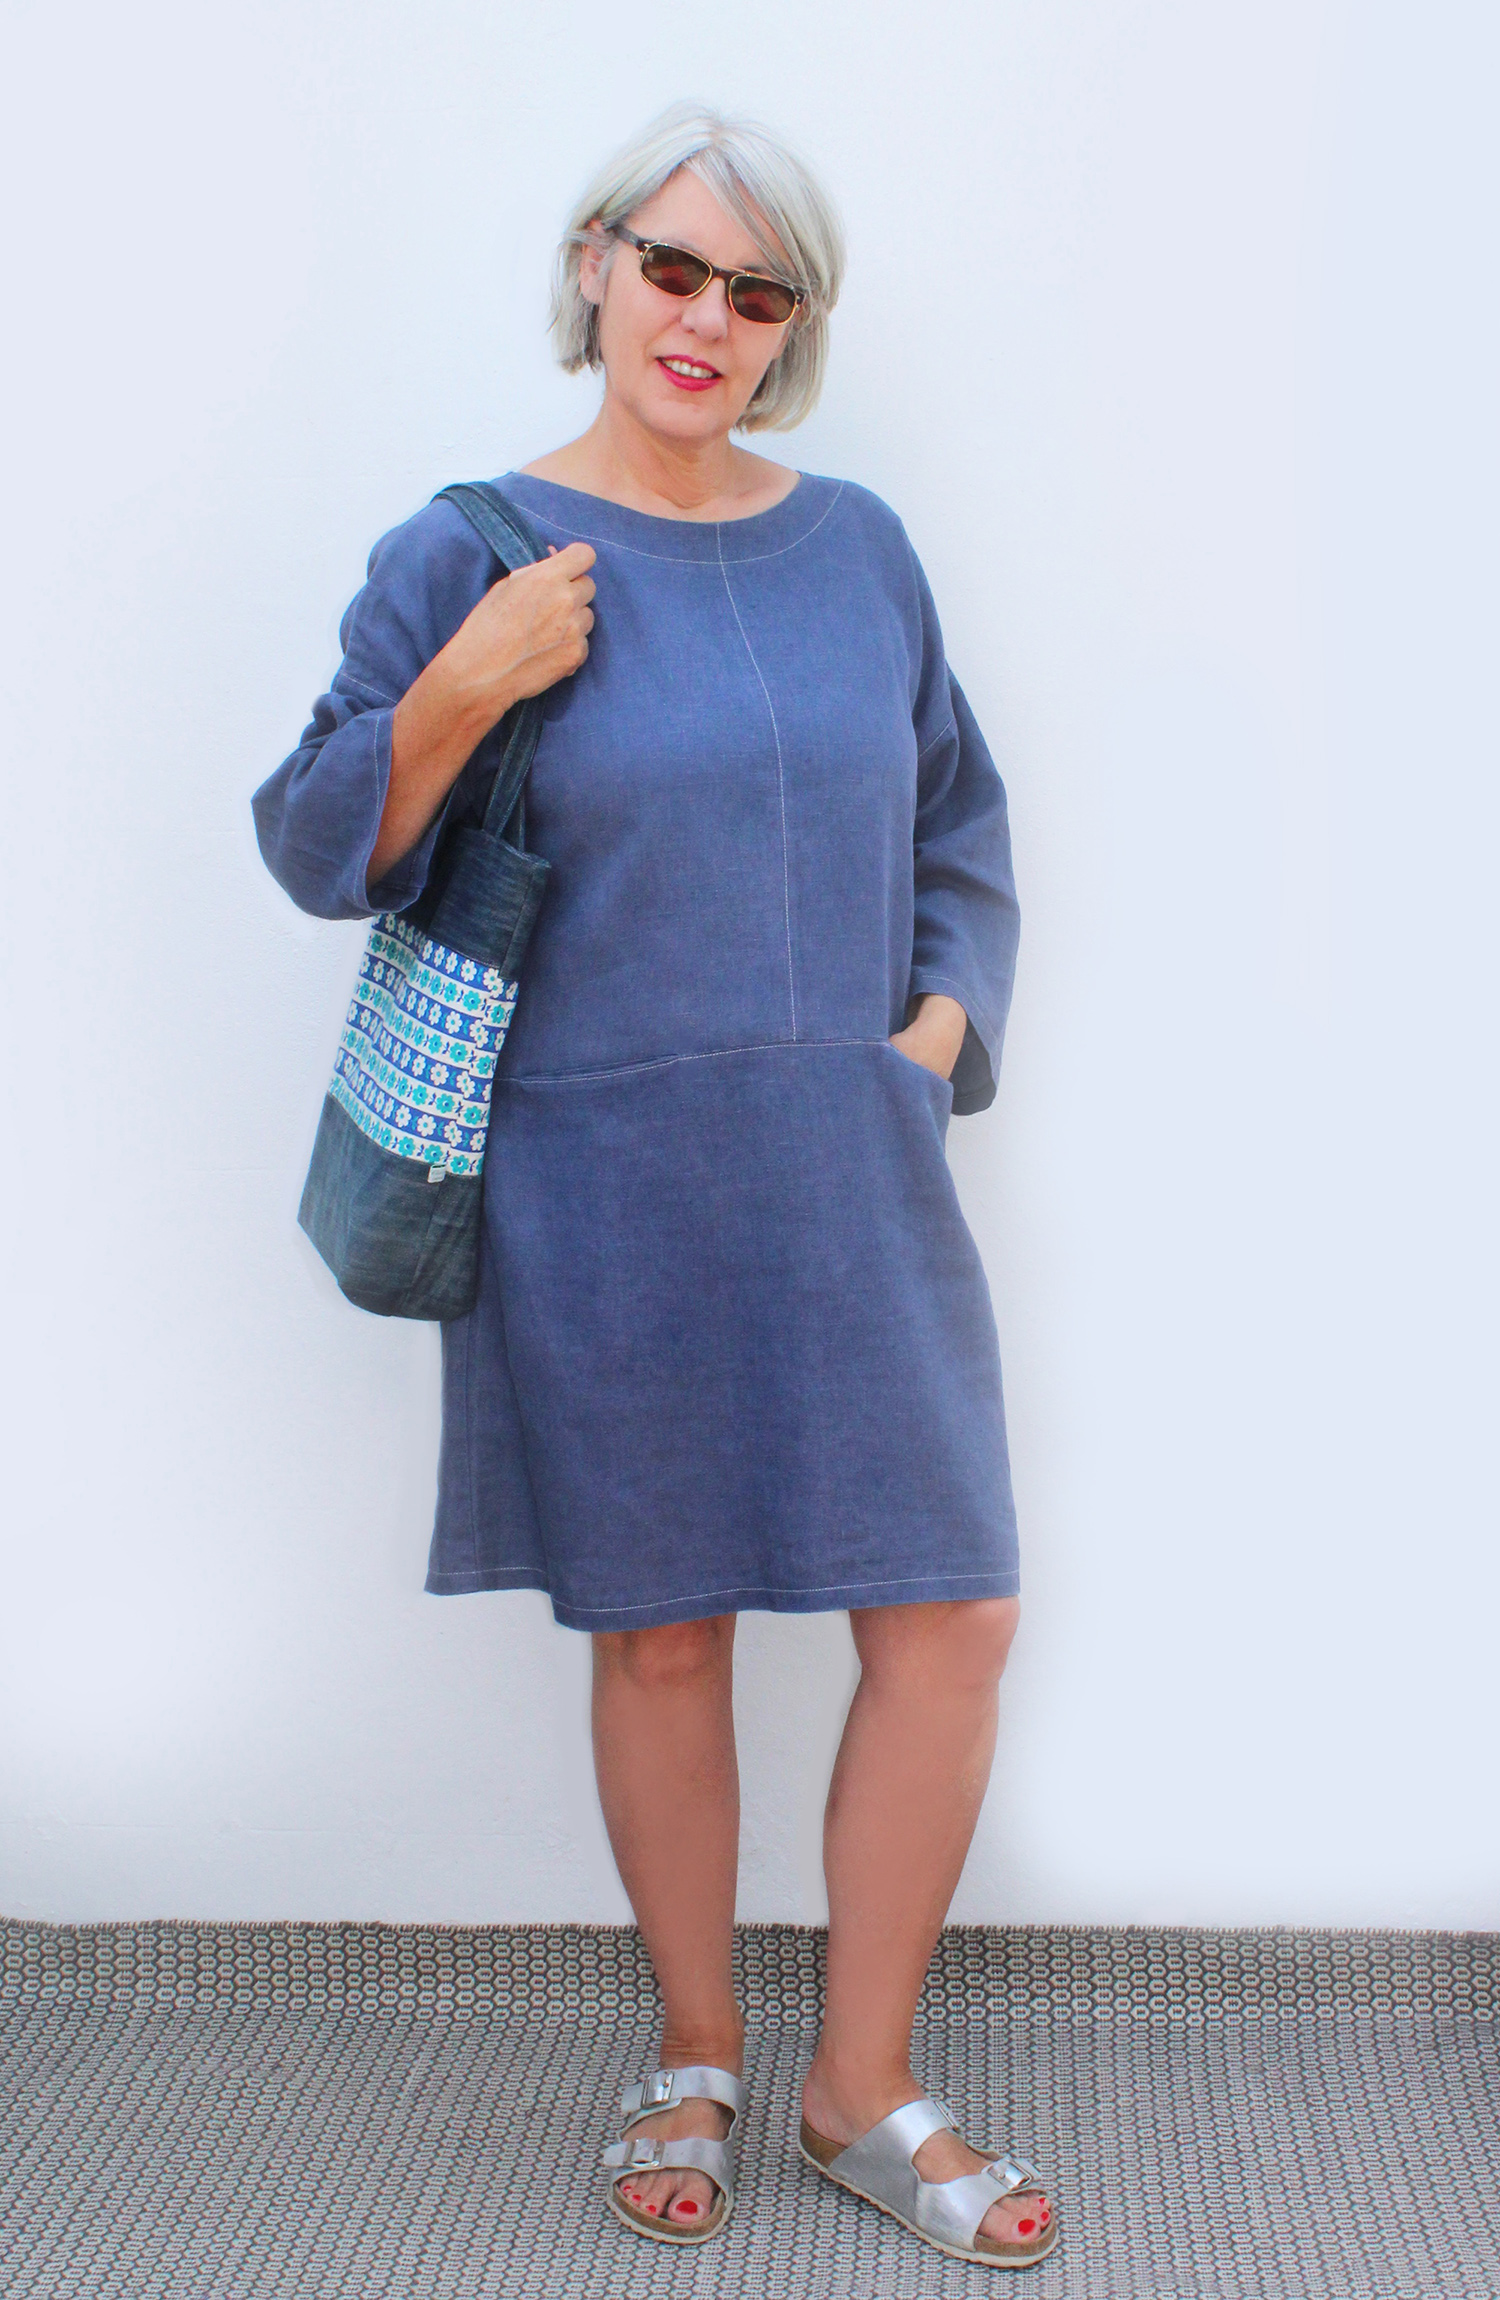
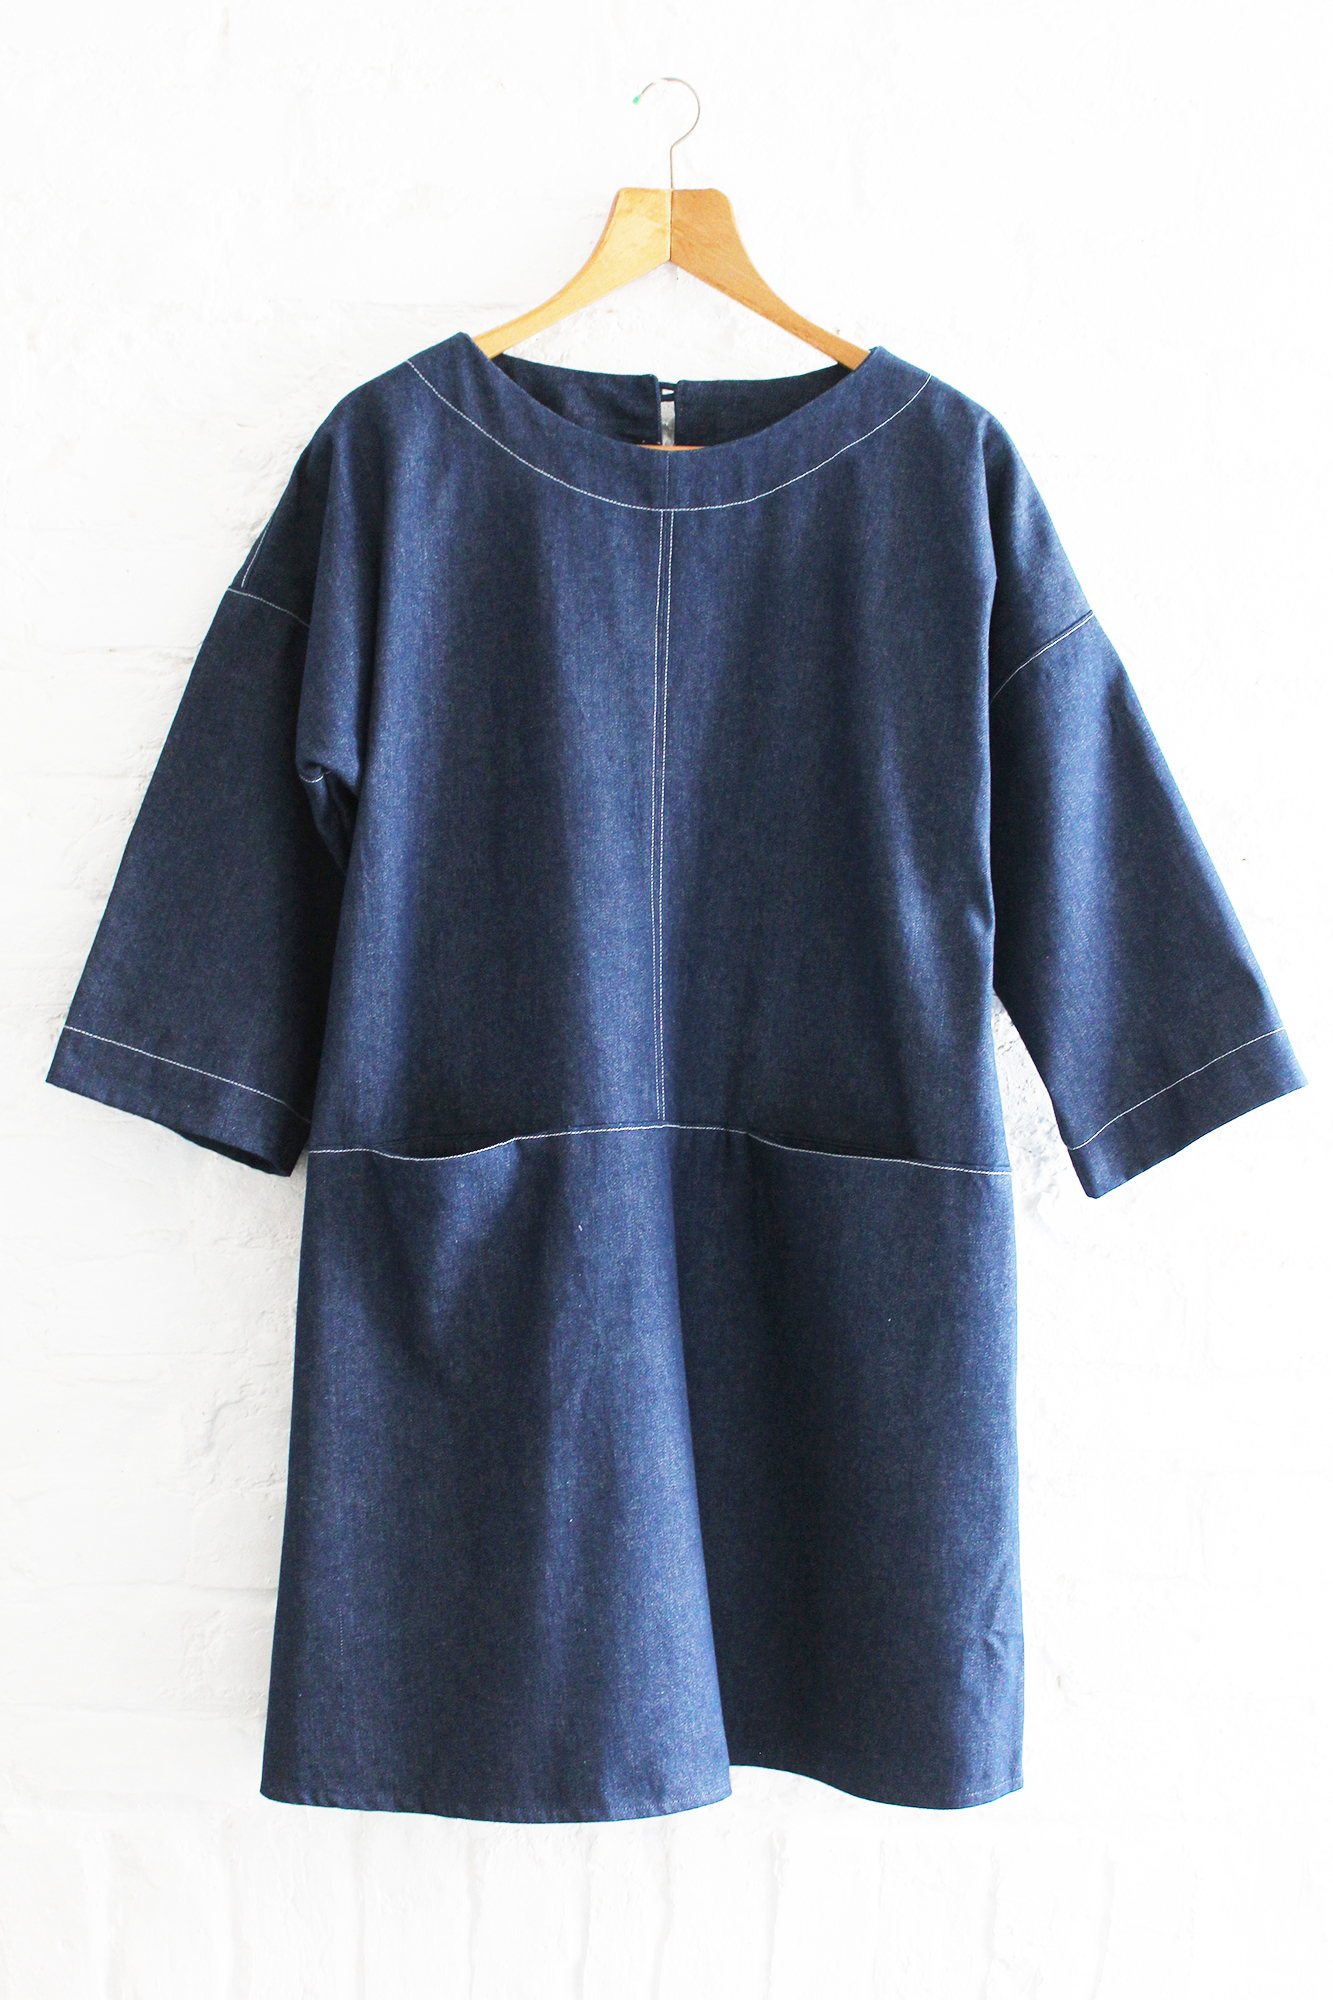 Edith – An artists smock style loose fitting tunic for everyday wear. Straightforward to make with easy sew long sleeves, a deep round neck, lots of cross seams and topstitching (oh yes I do love topstitching!) and two inset pockets. Edith has an open loop and button back neck detail so its easy to get on and off. Theres lots of room in this tunic to move, eat and do what you will!
 You can sew a single or double line of topstitching as you prefer.
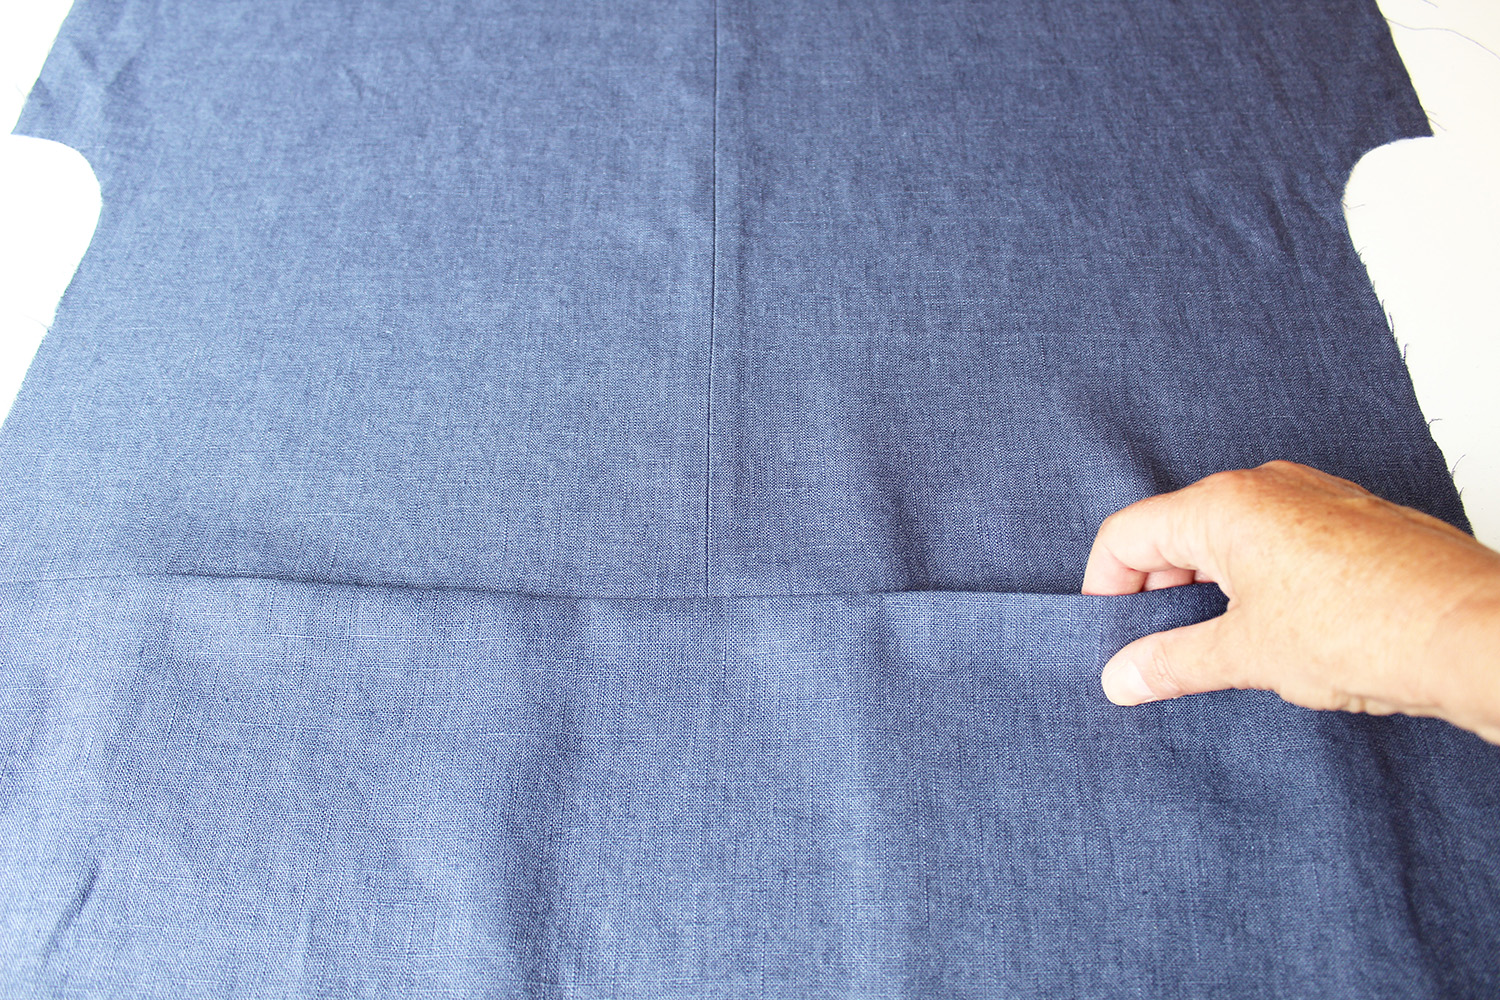
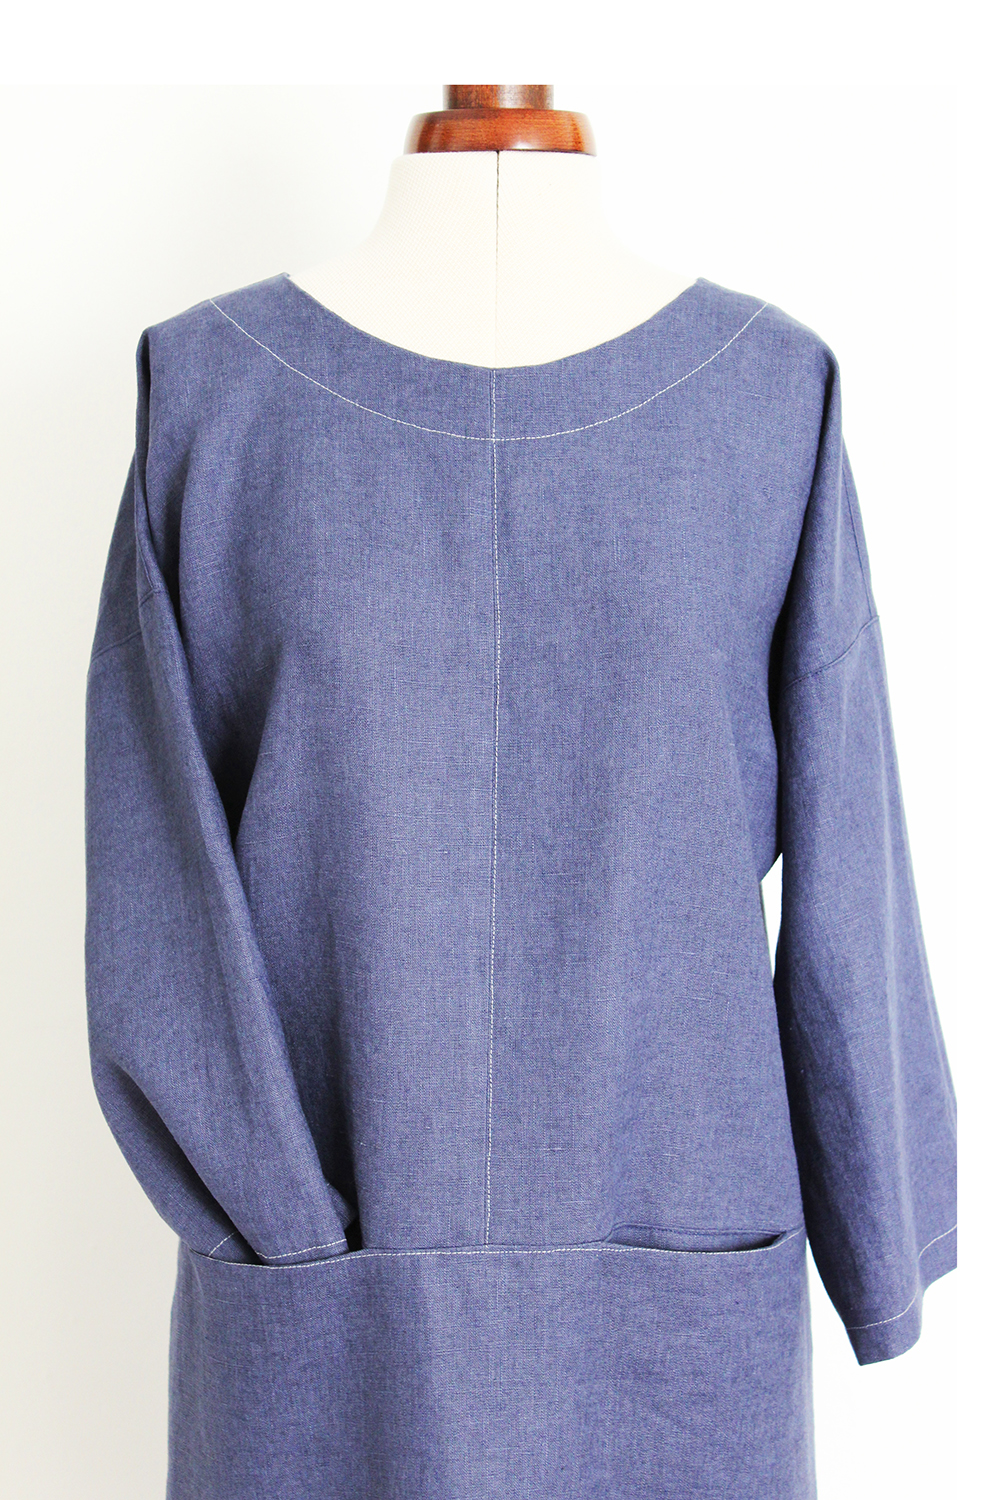 Heres a close up of those nifty inset pockets which are hidden within the seam line. Before you start, its a good idea to measure where the pocket seam line will be on you. If you need to make any adjustments to the length of the upper and lower body sections, you can do this before you cut out. by tracing off the pattern and making alterations. Just extend or shorten the lower edge of the upper front and back by sliding the pattern down or up, then match up at the sides. Repeat for the lower section.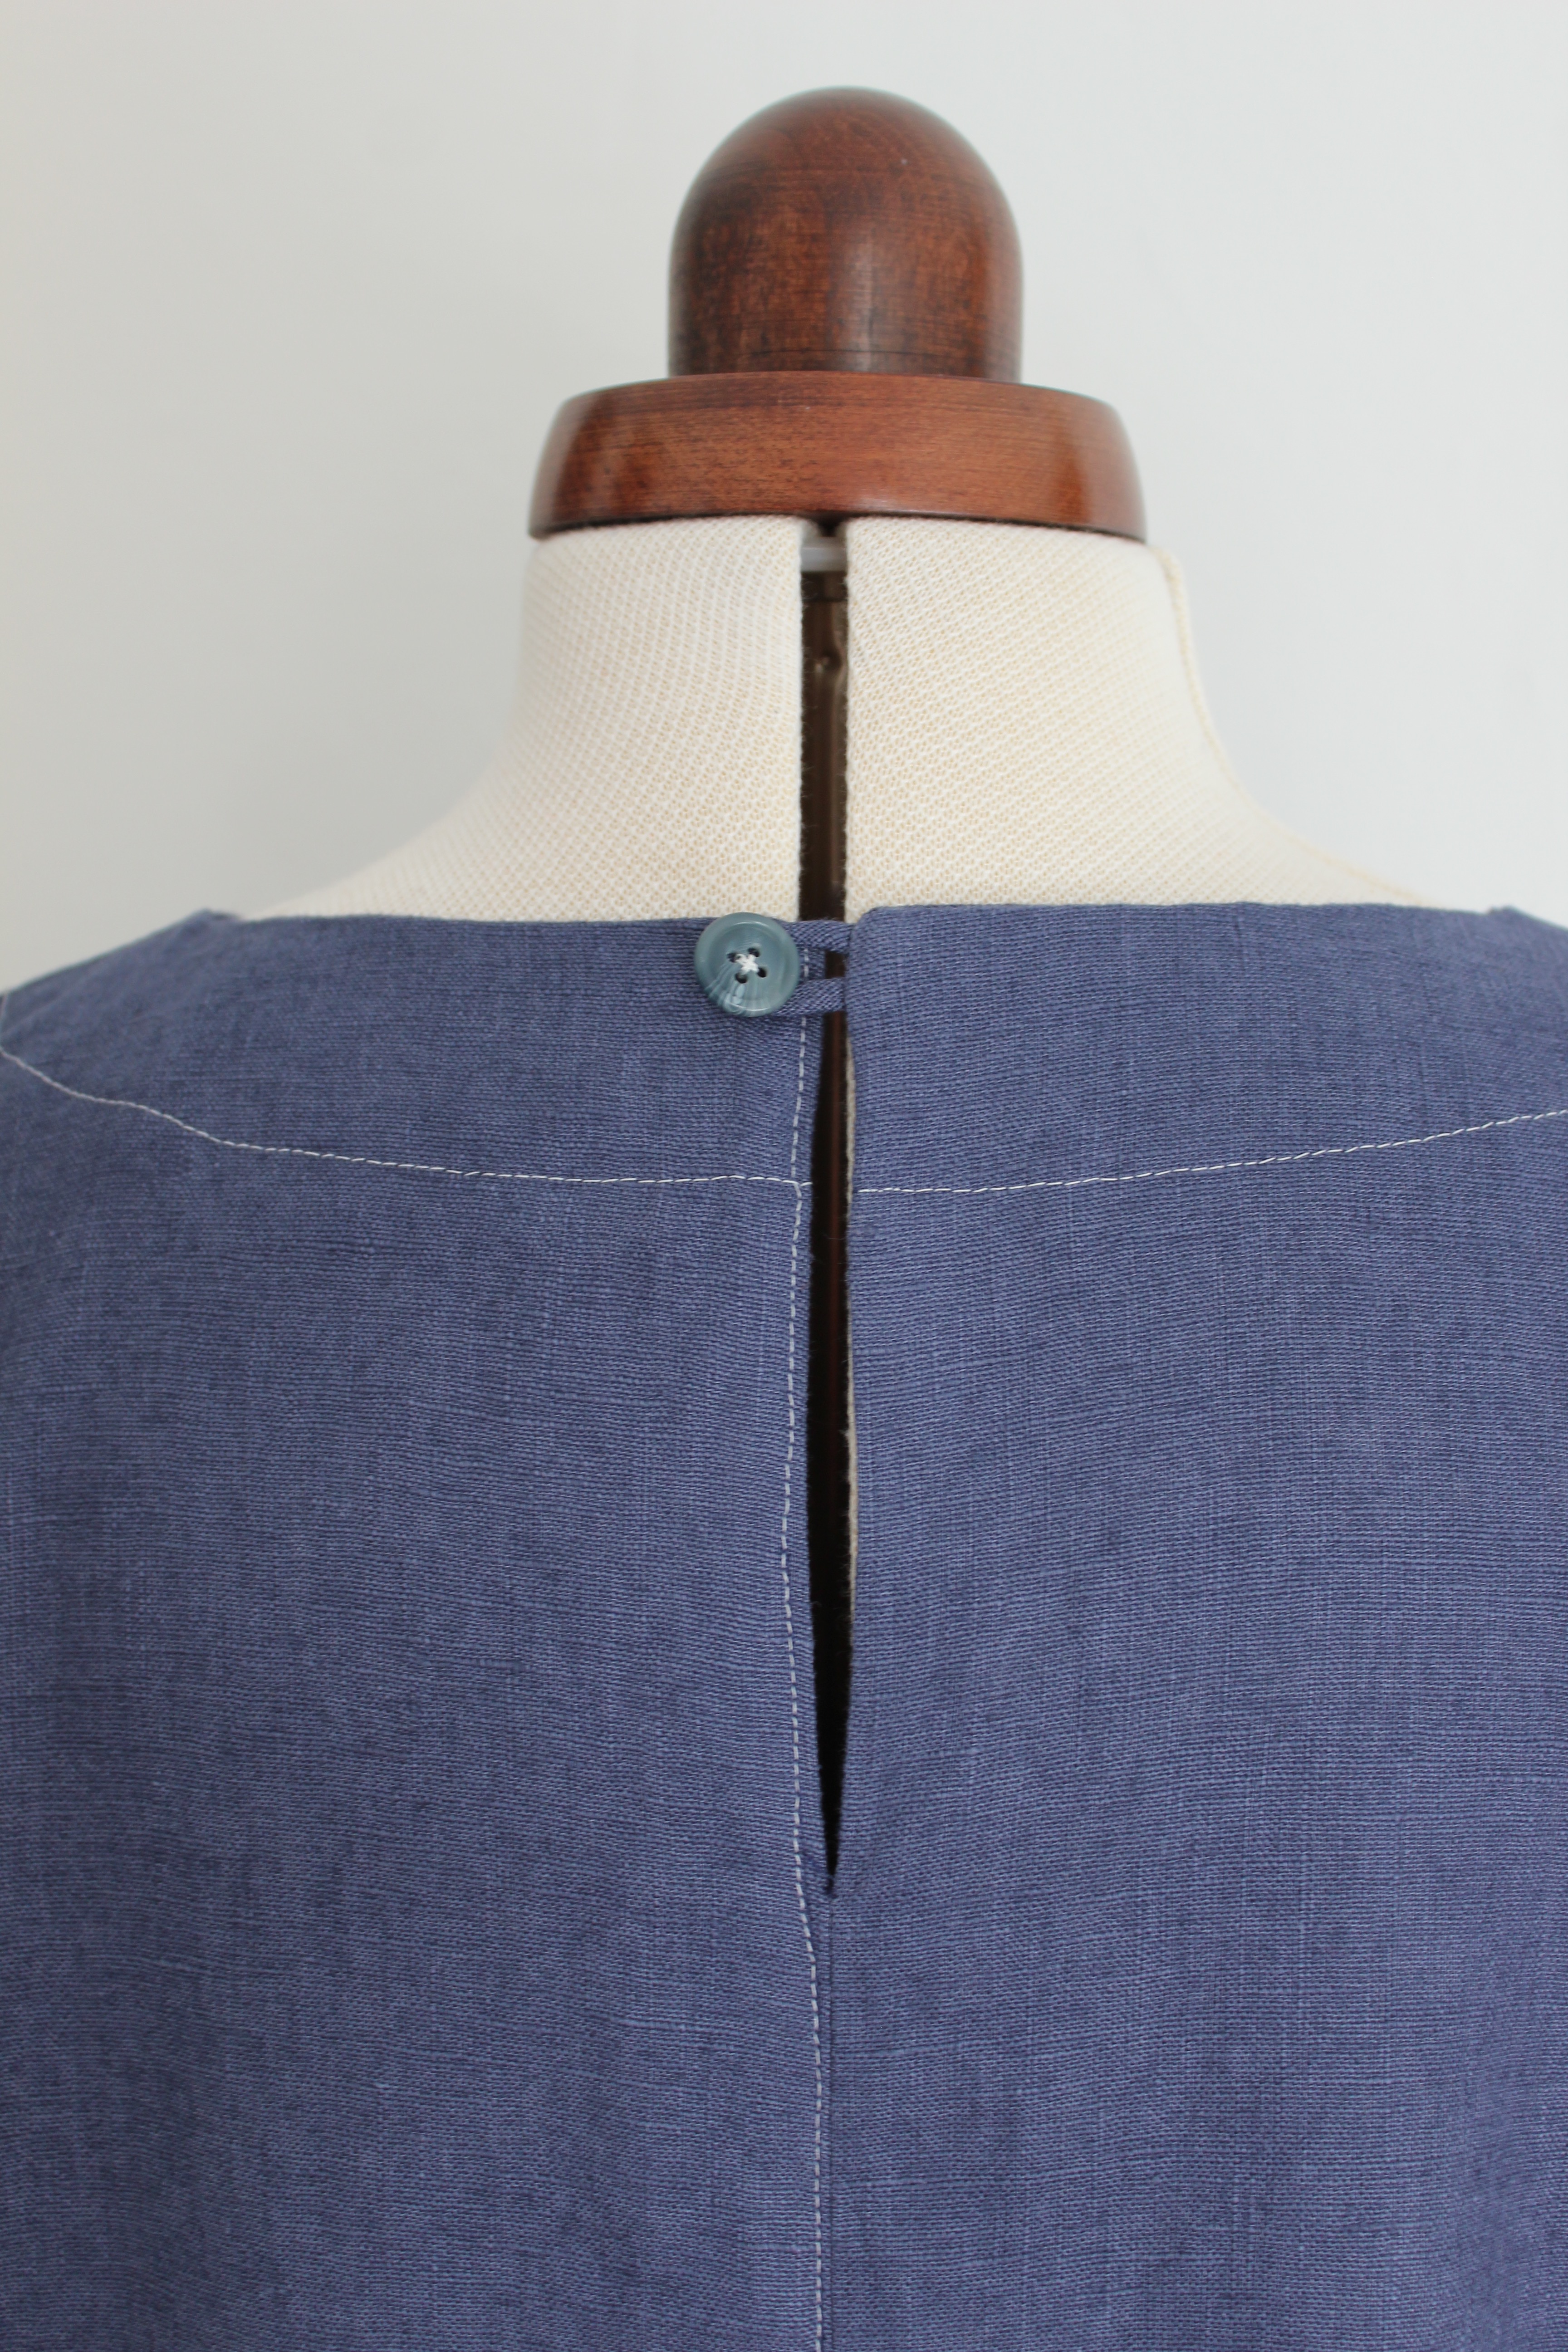
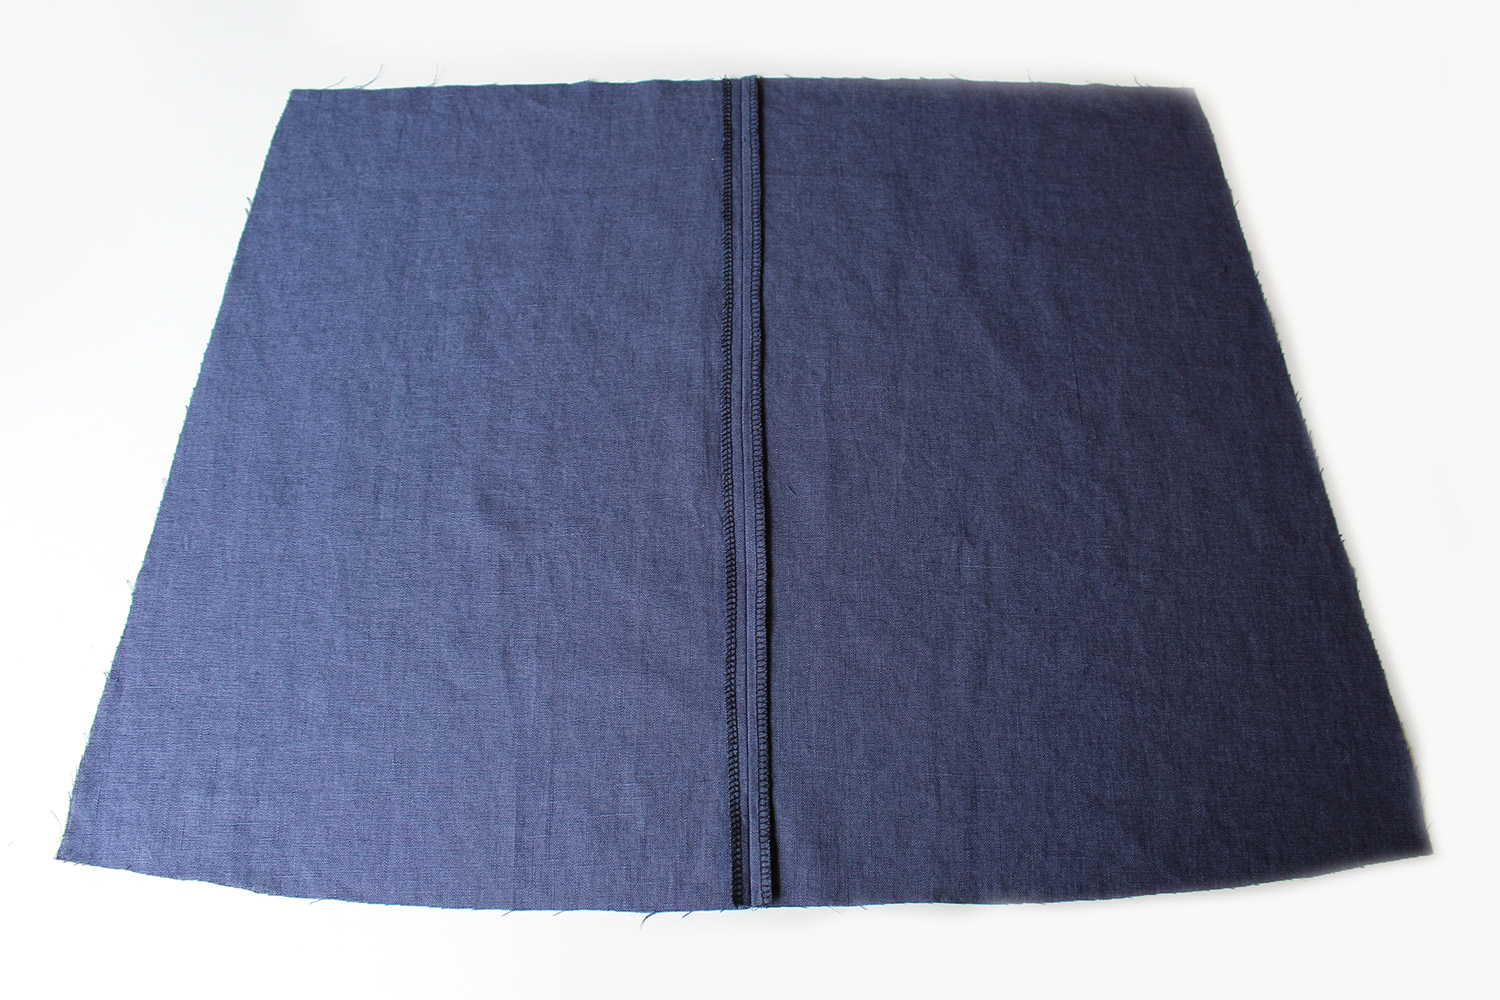
 I made it 12cm shorter on the lower front and back section only. I didn’t attach the sleeves, just turned under a small 1cm hem and stitched a double row of topstitching.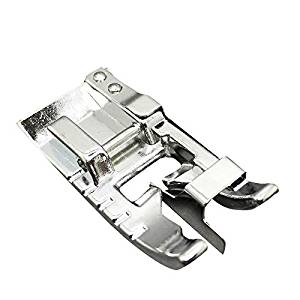
 Then repeat with the upper front pieces and the lower back pieces.
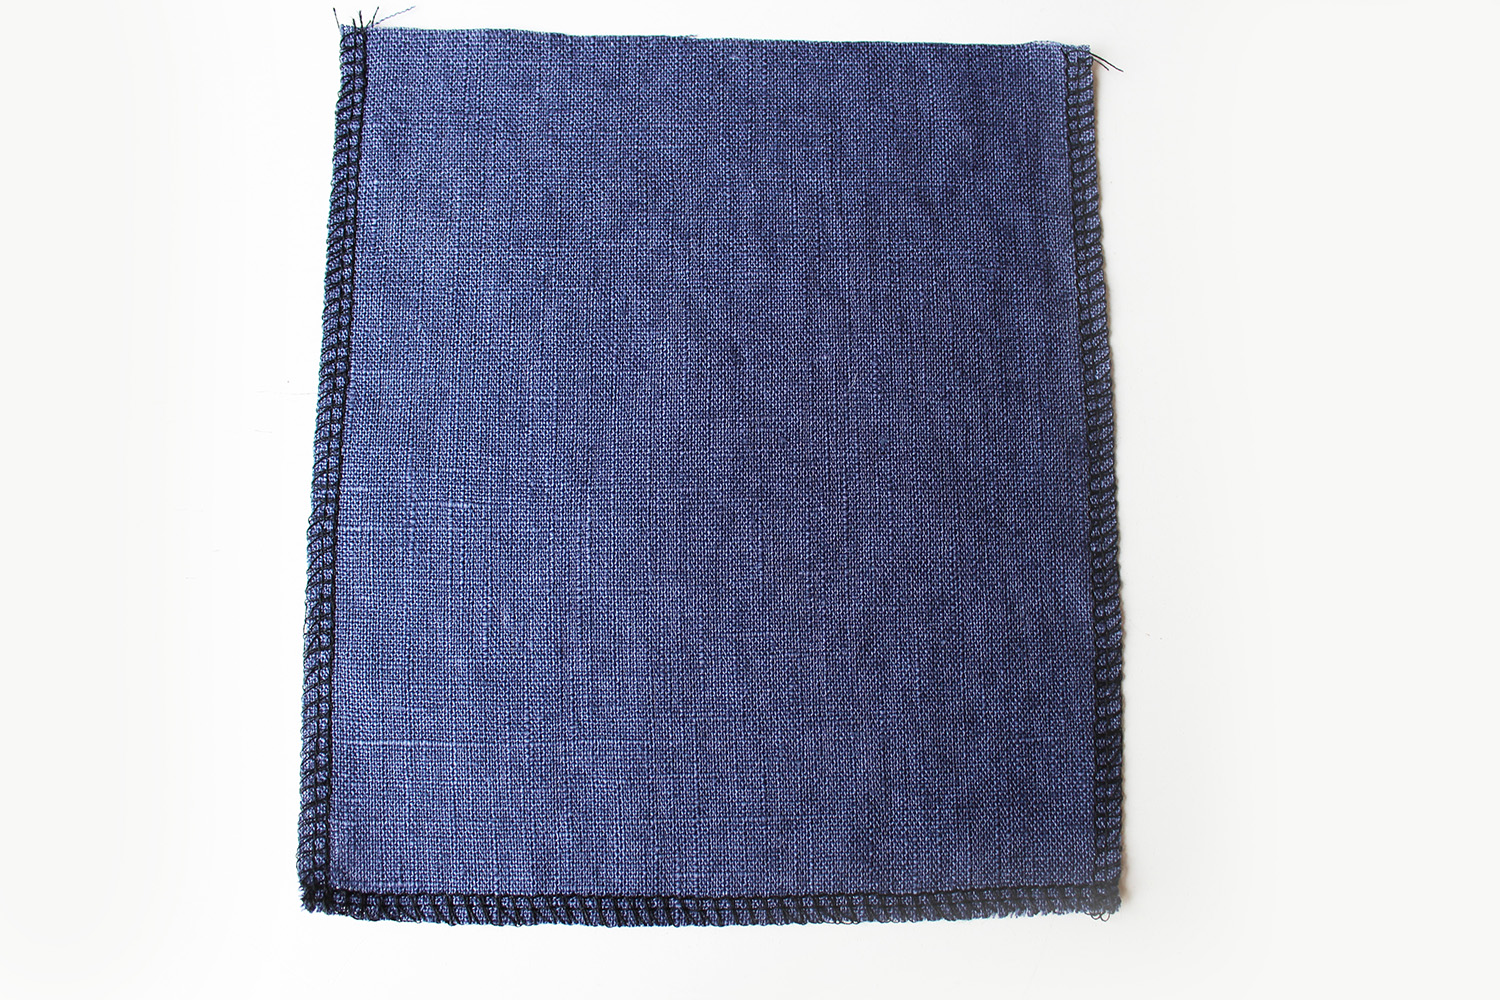 Finish the outer 3 sides of the pockets.
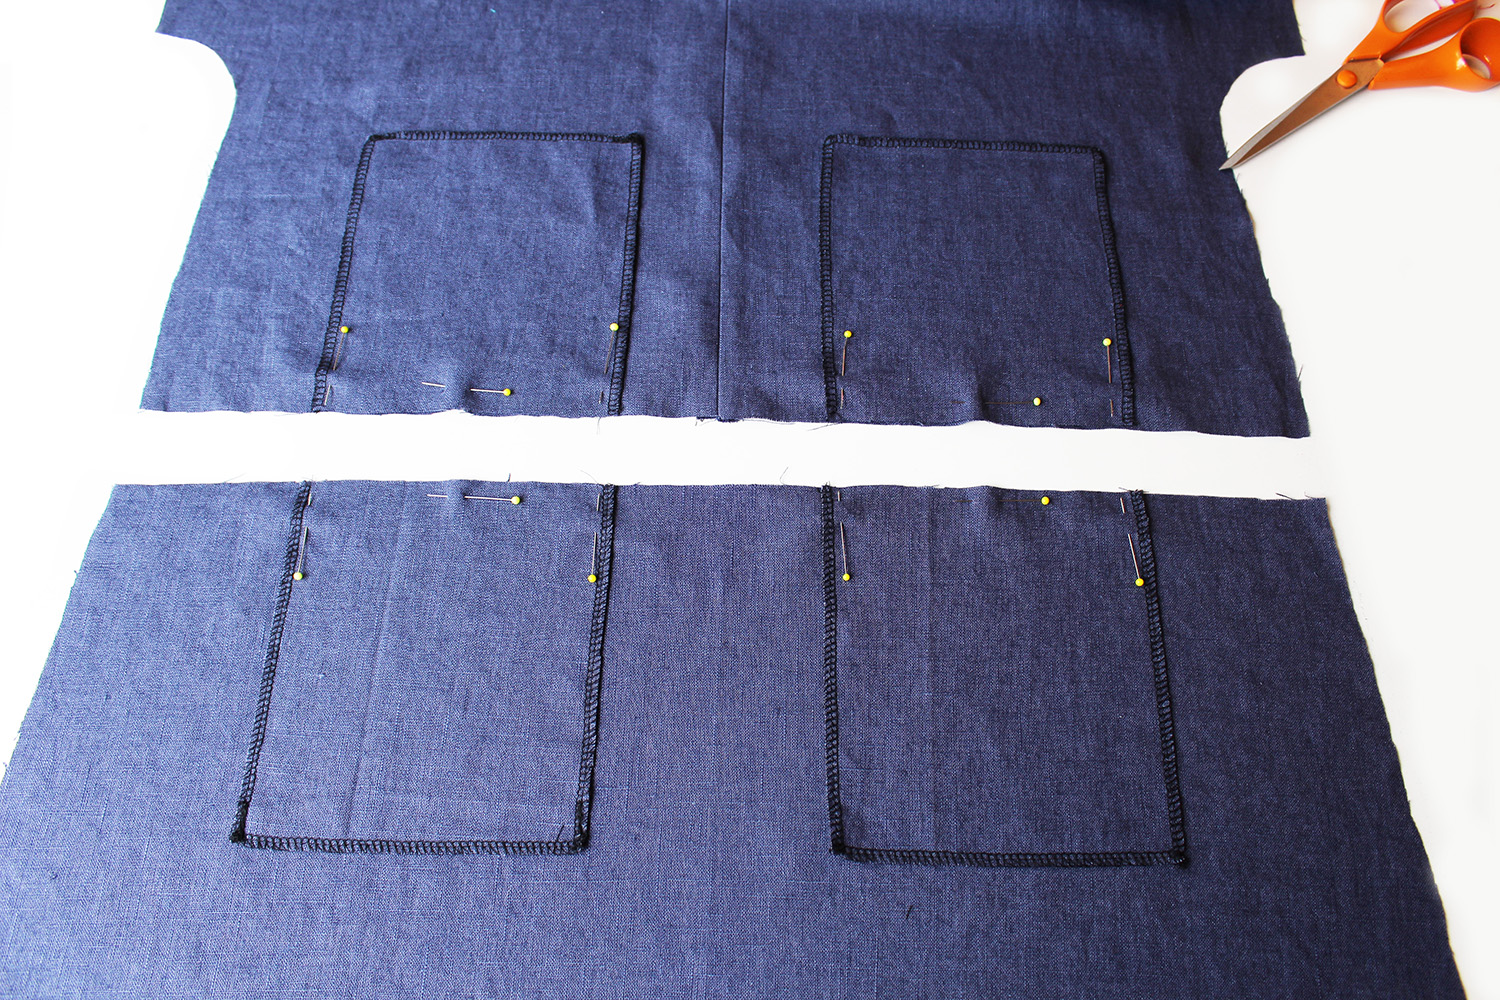 Pin the pockets to the upper front and lower front in position as shown on the template.
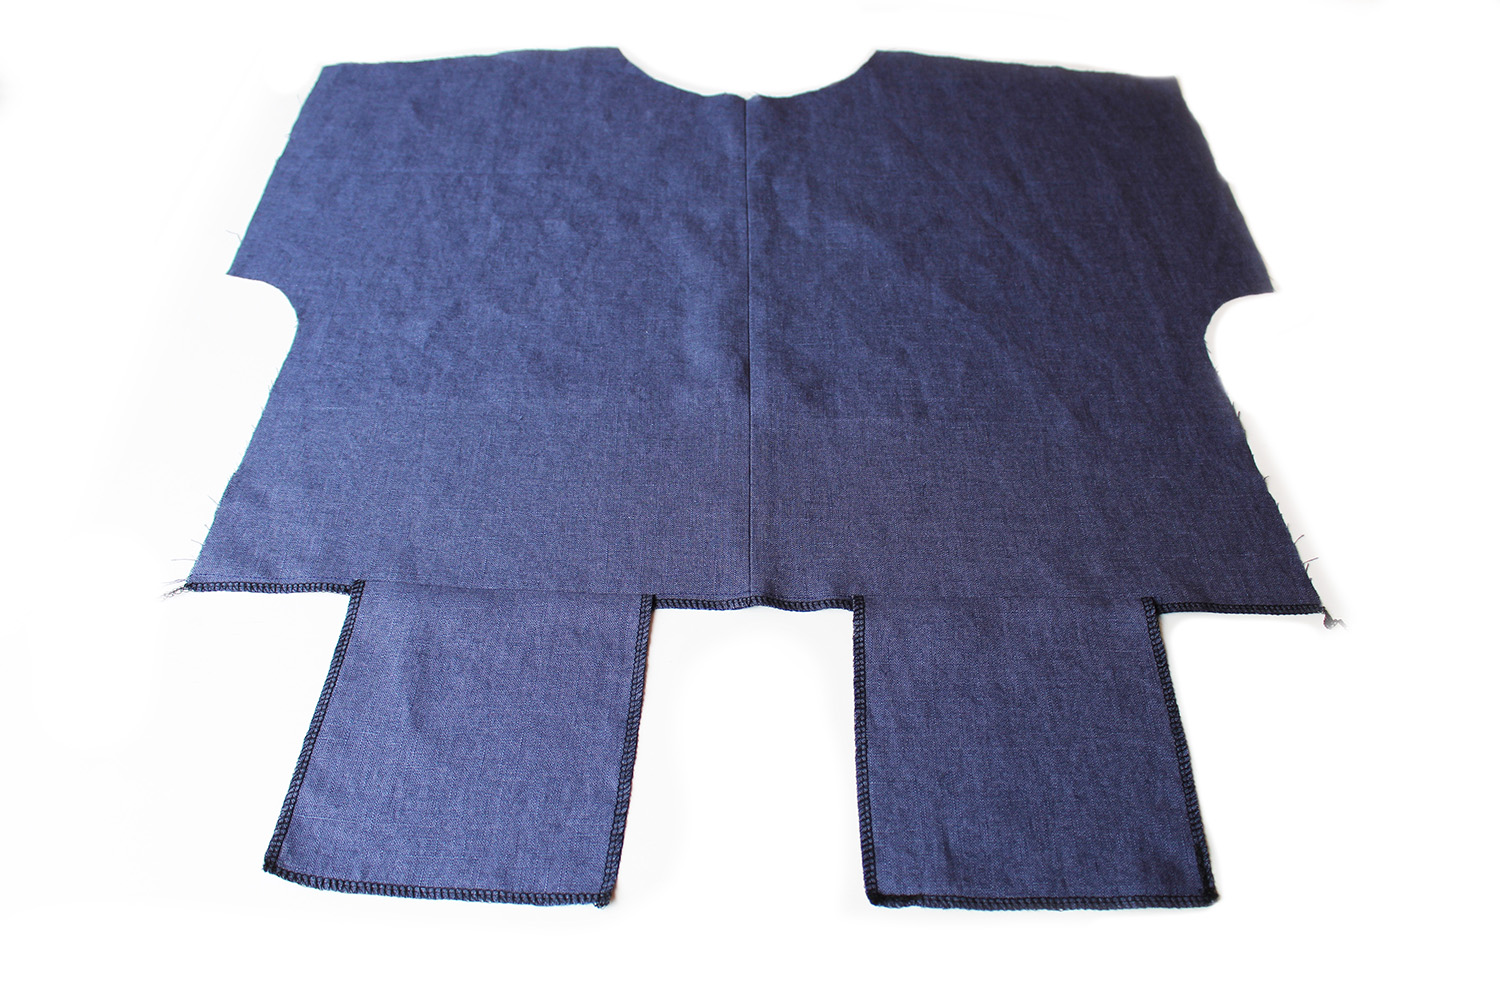 Press downwards on the upper front and upwards on the lower front. Topstitch along the top edge of the 4 pockets in non contrast thread.
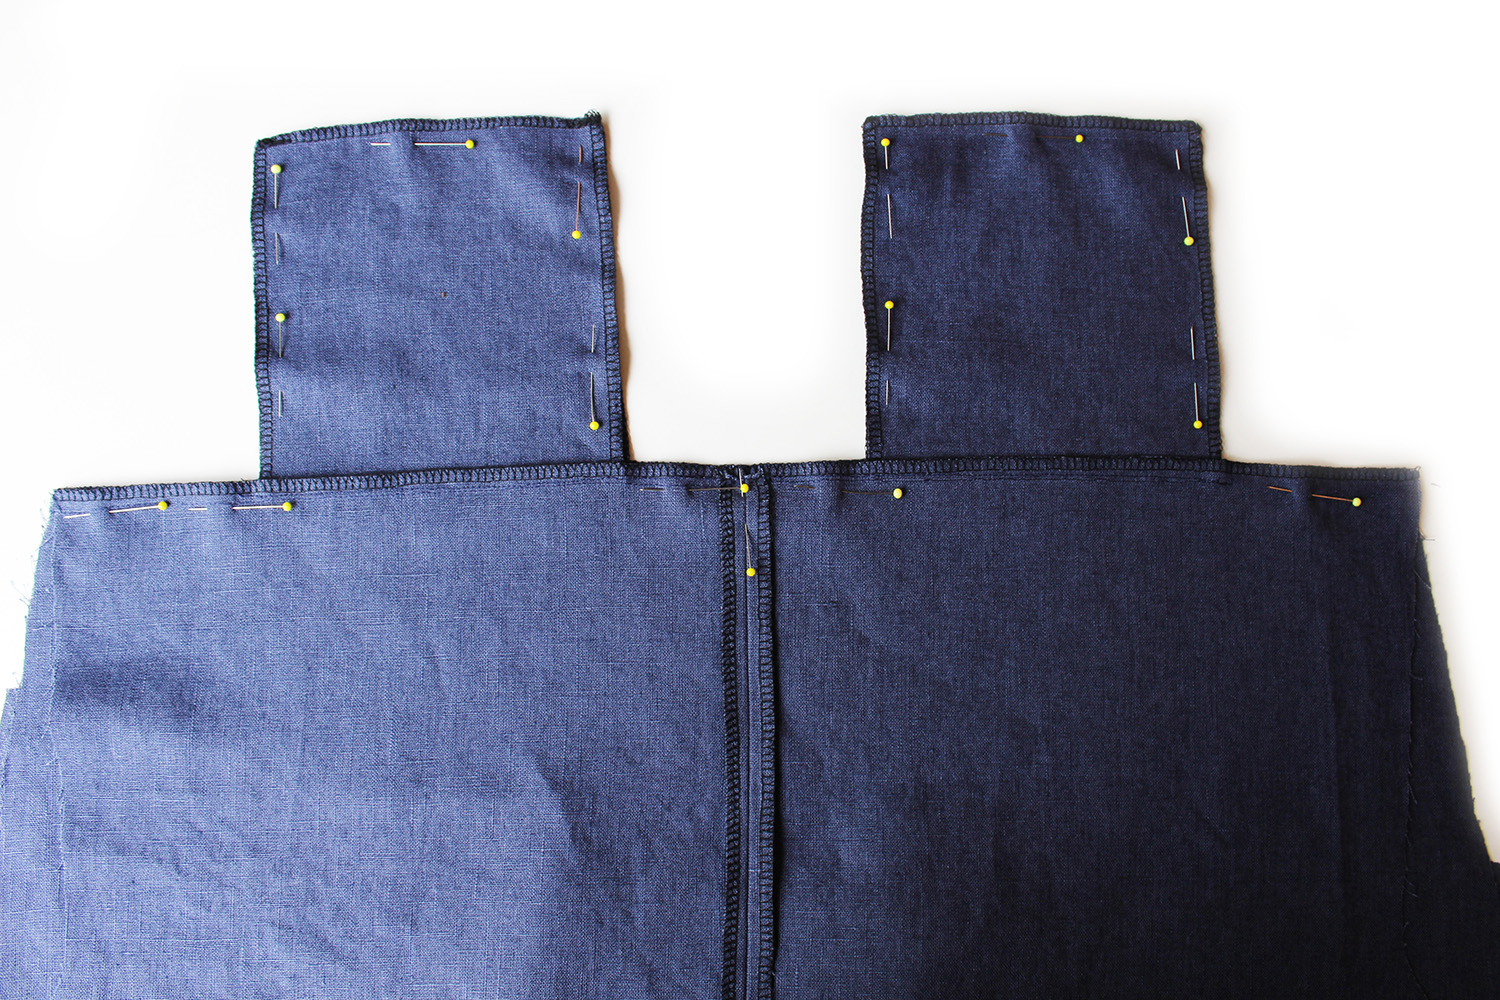 Pin the upper front to the lower front with the RST (right sides together). Sew across all around the pockets. Press.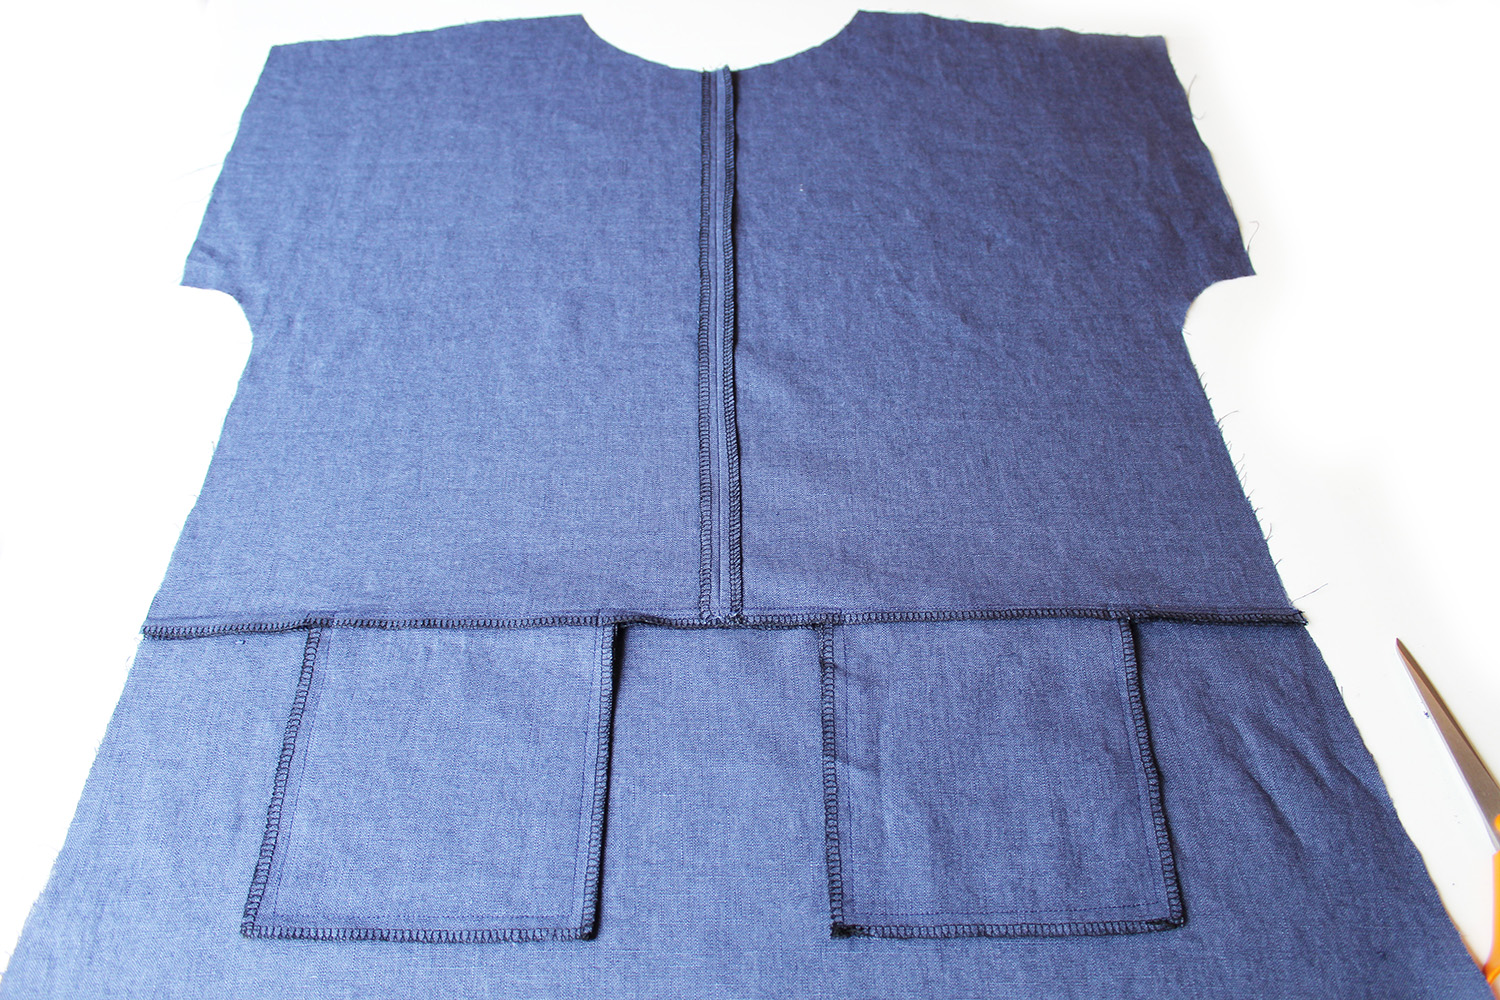
 Join the front to back at the shoulder seams. Press the seam allowance towards the back. Topstitch.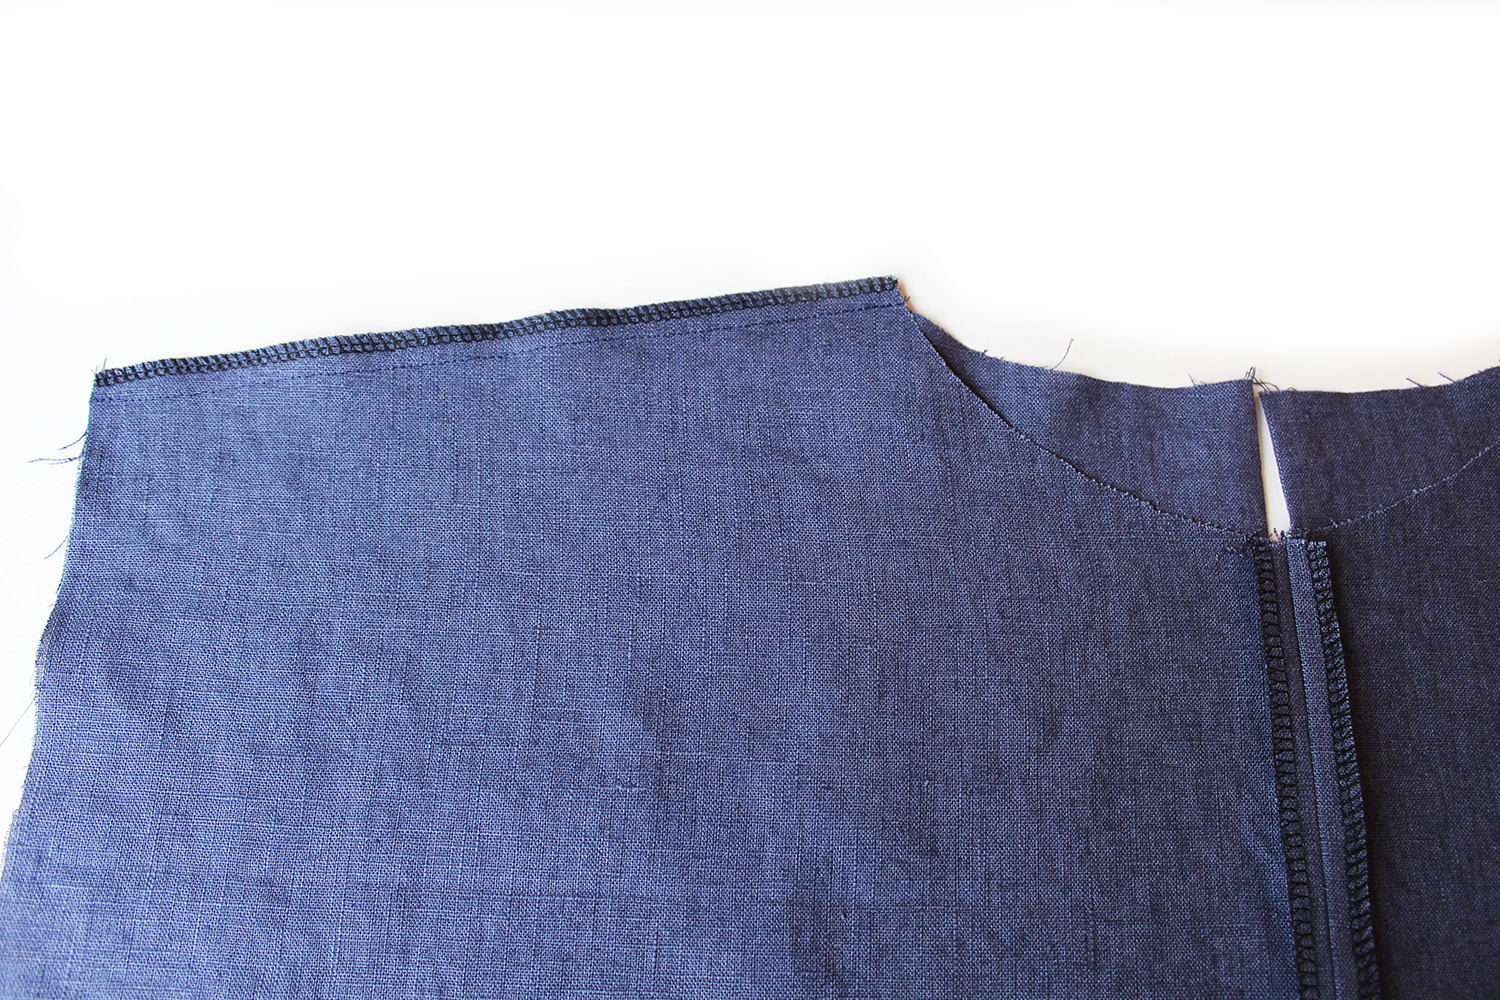
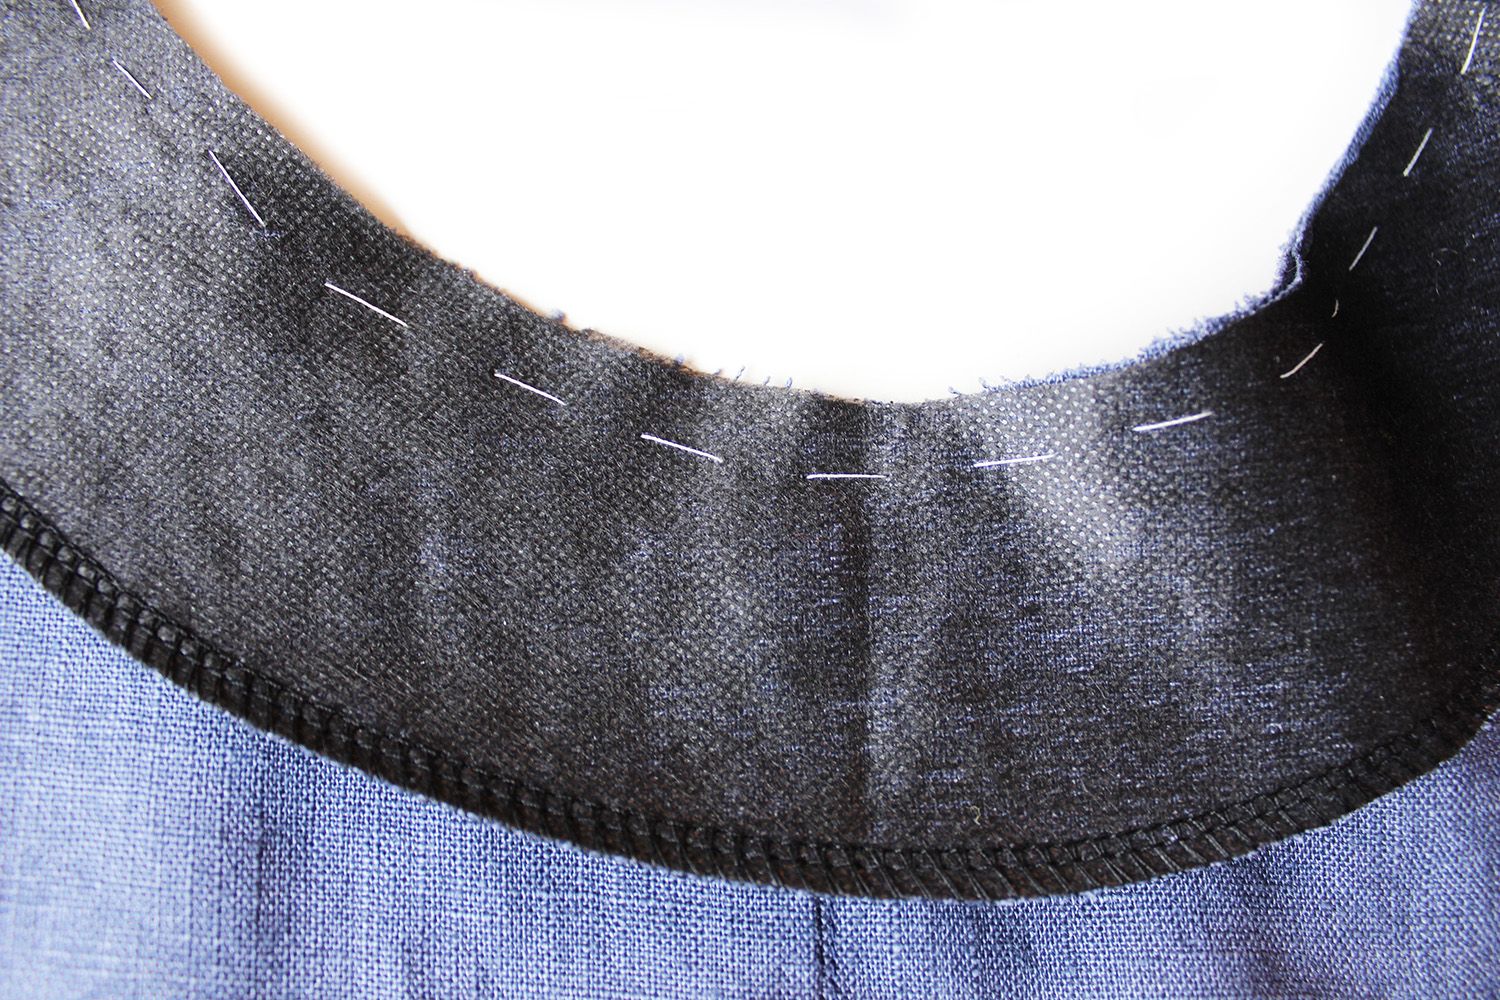
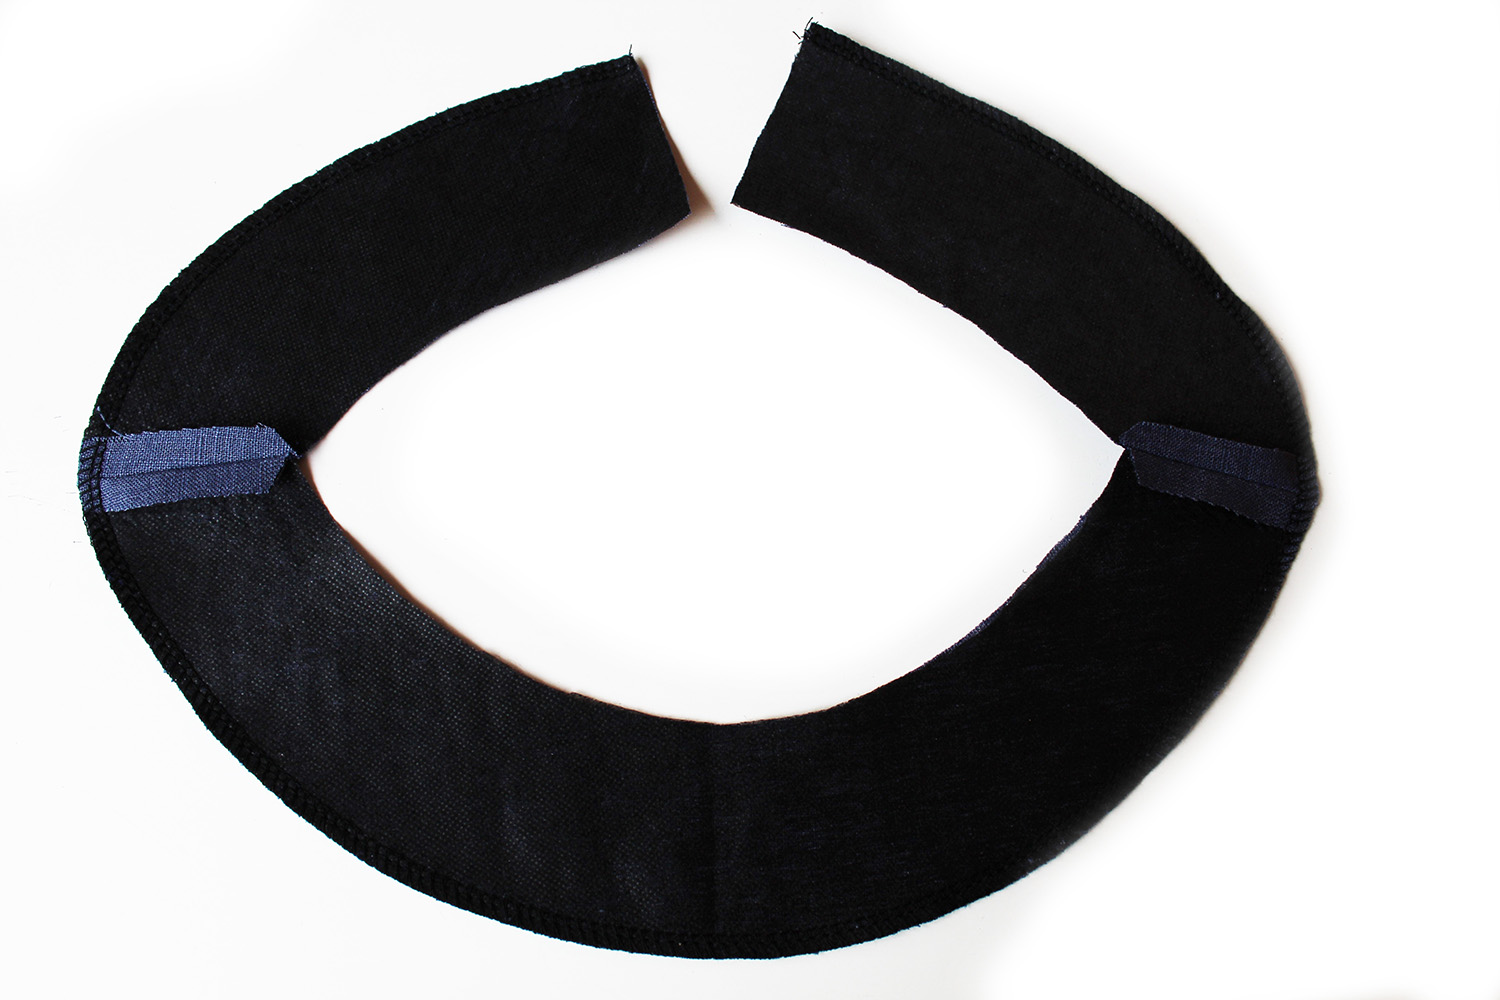 Interface the reverse side of the neck facing pieces. Join together at the short sides. Press the seam allowances open. Finish the outer raw edge all around.
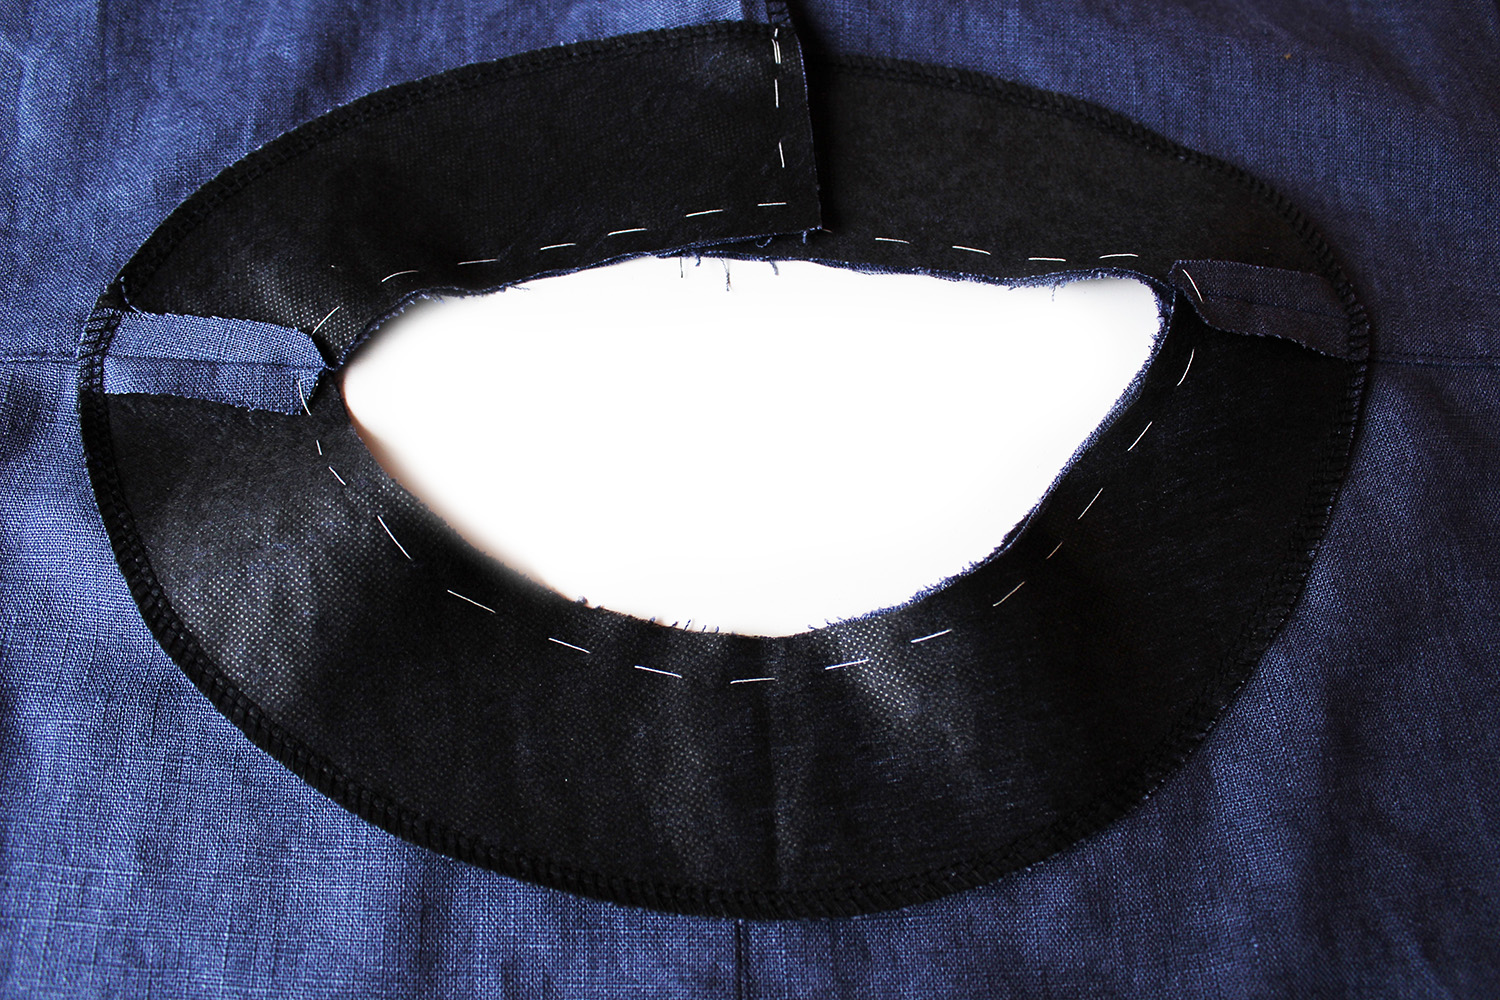 Pin to the neck edge. Hand tack stitch all around .
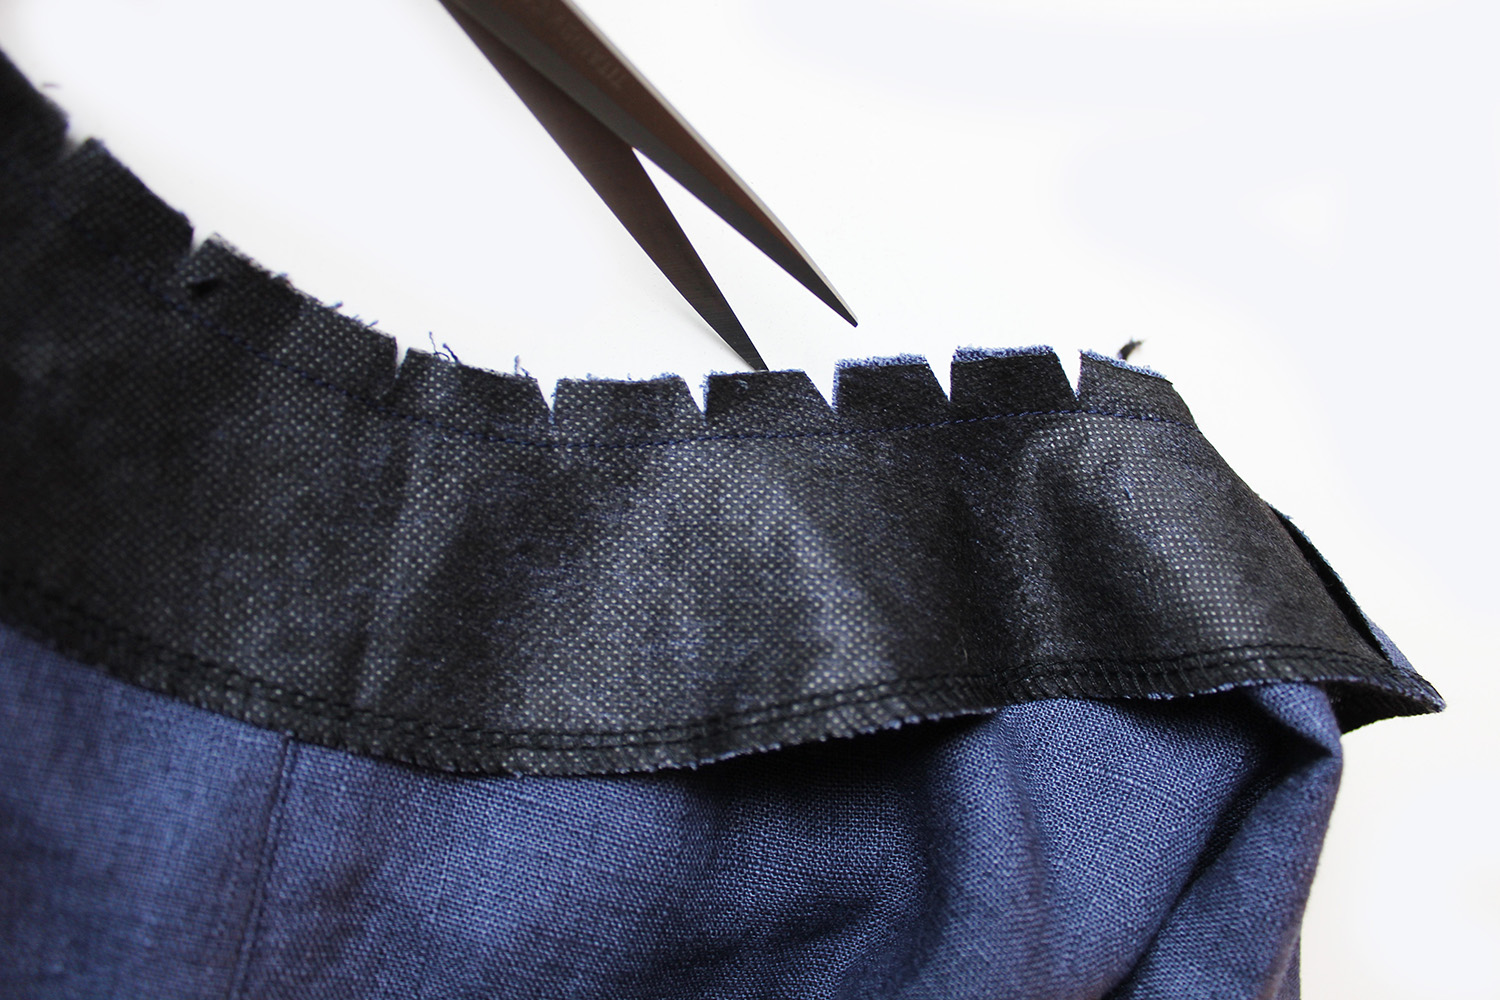
 Snip! Clip the curved seam allowances to allow it to sit flat when its turned to the right side. Don’t forget to trim across the corners too.
 Press to the reverse side. Align the seam line to the fold all around.
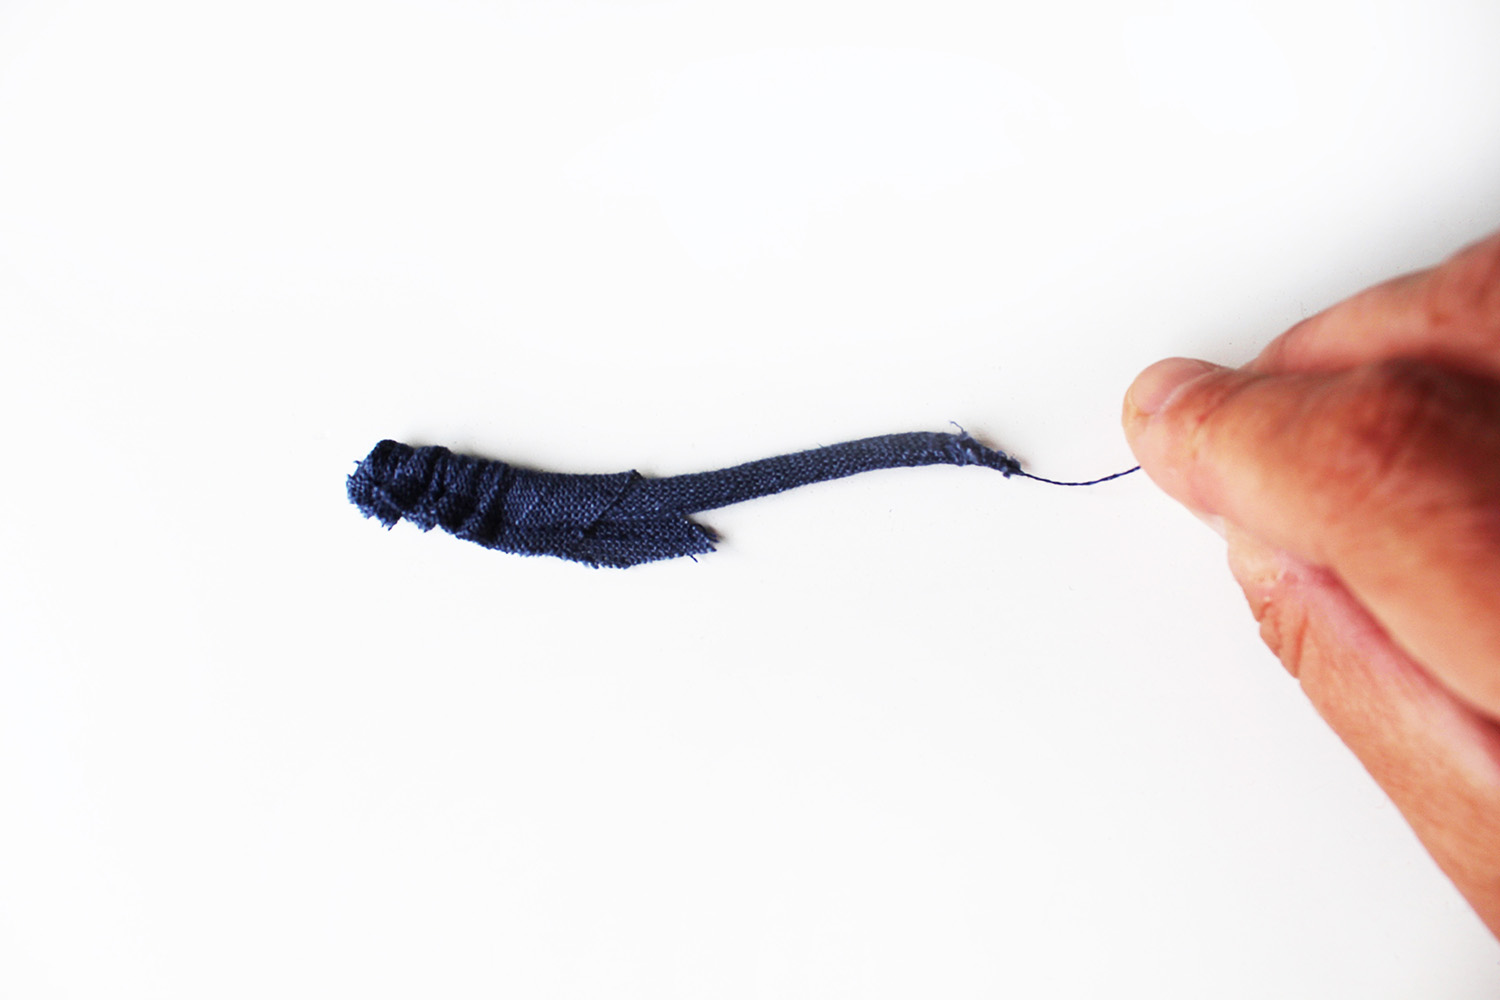 Fold the loop piece in half lengthways, press. Stitch down one long side at the raw edges leaving a long thread end.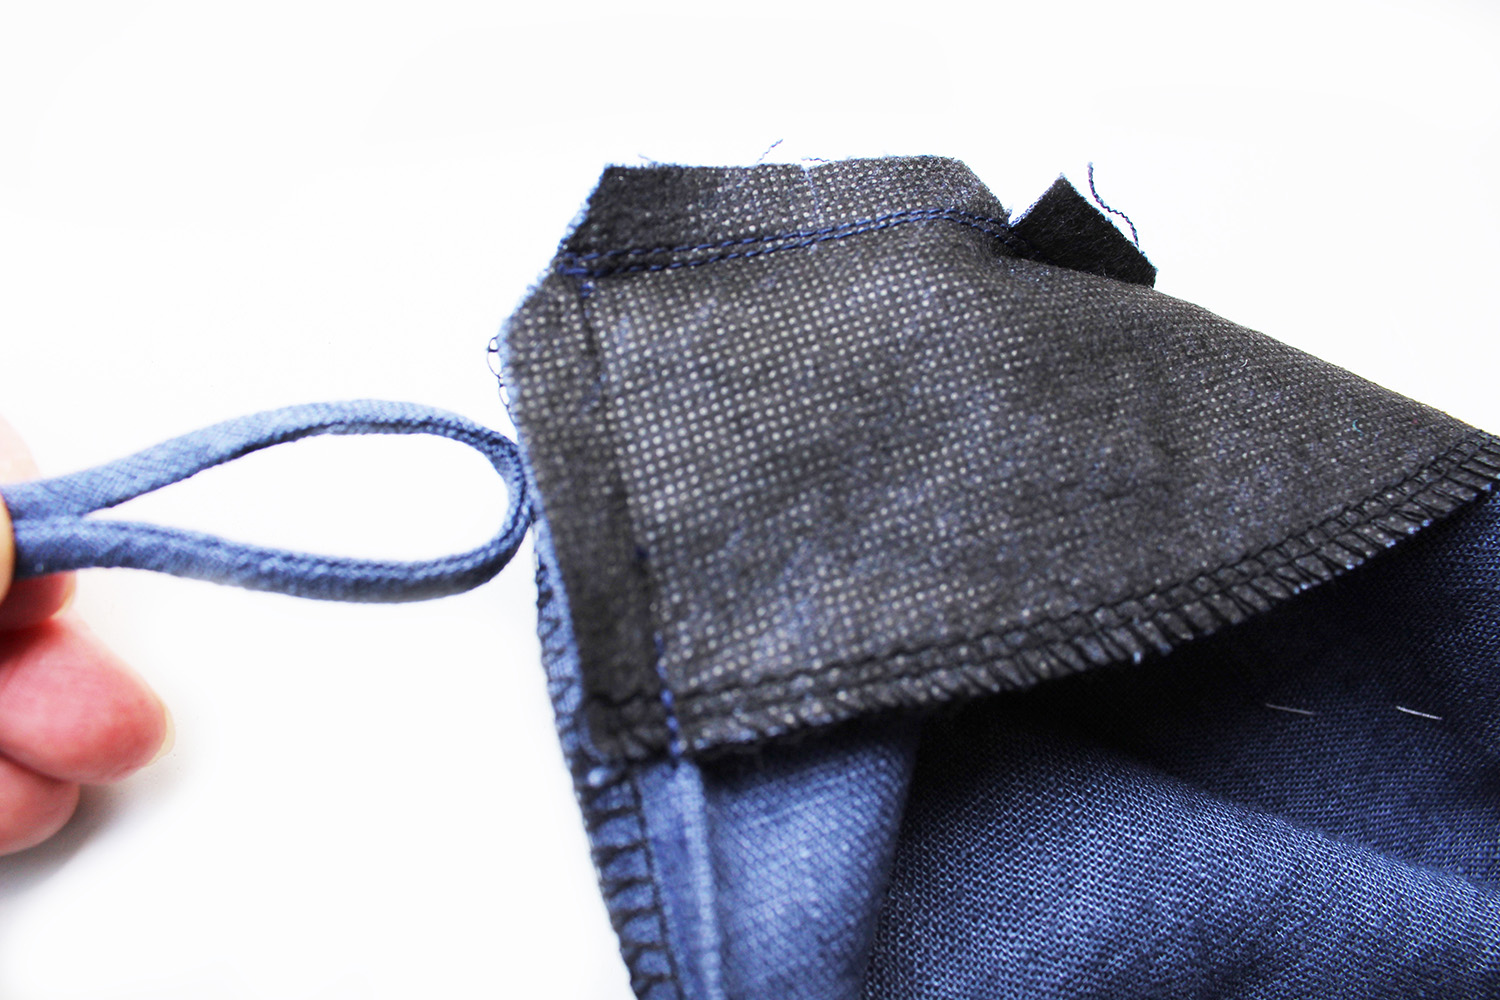

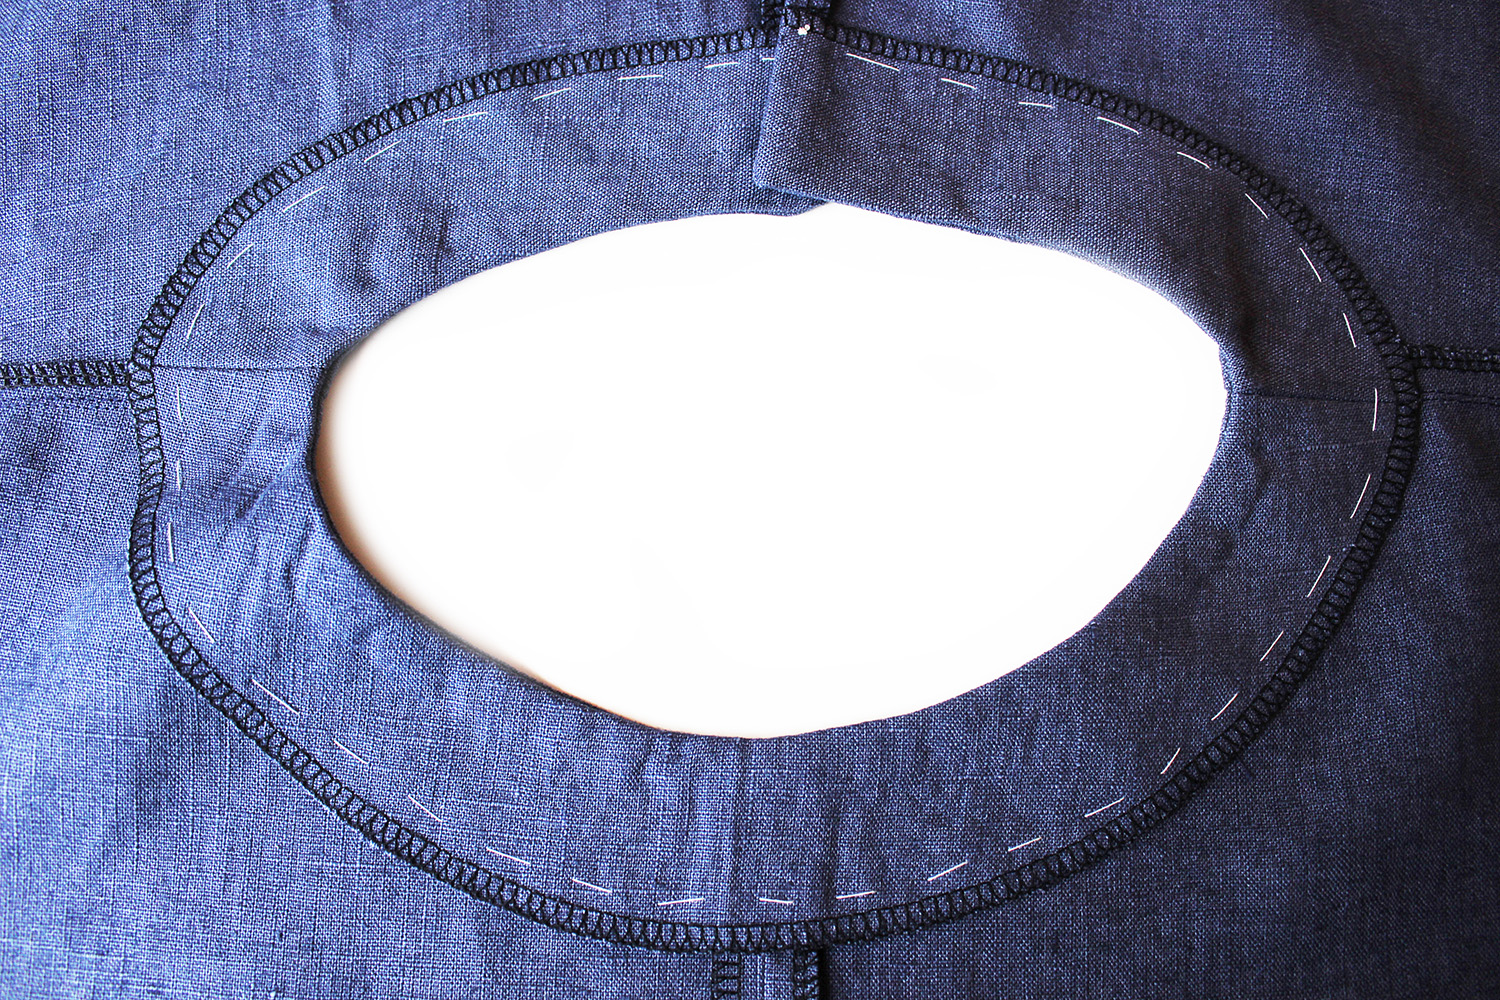 Hand tack stitch the facing all around to secure it.
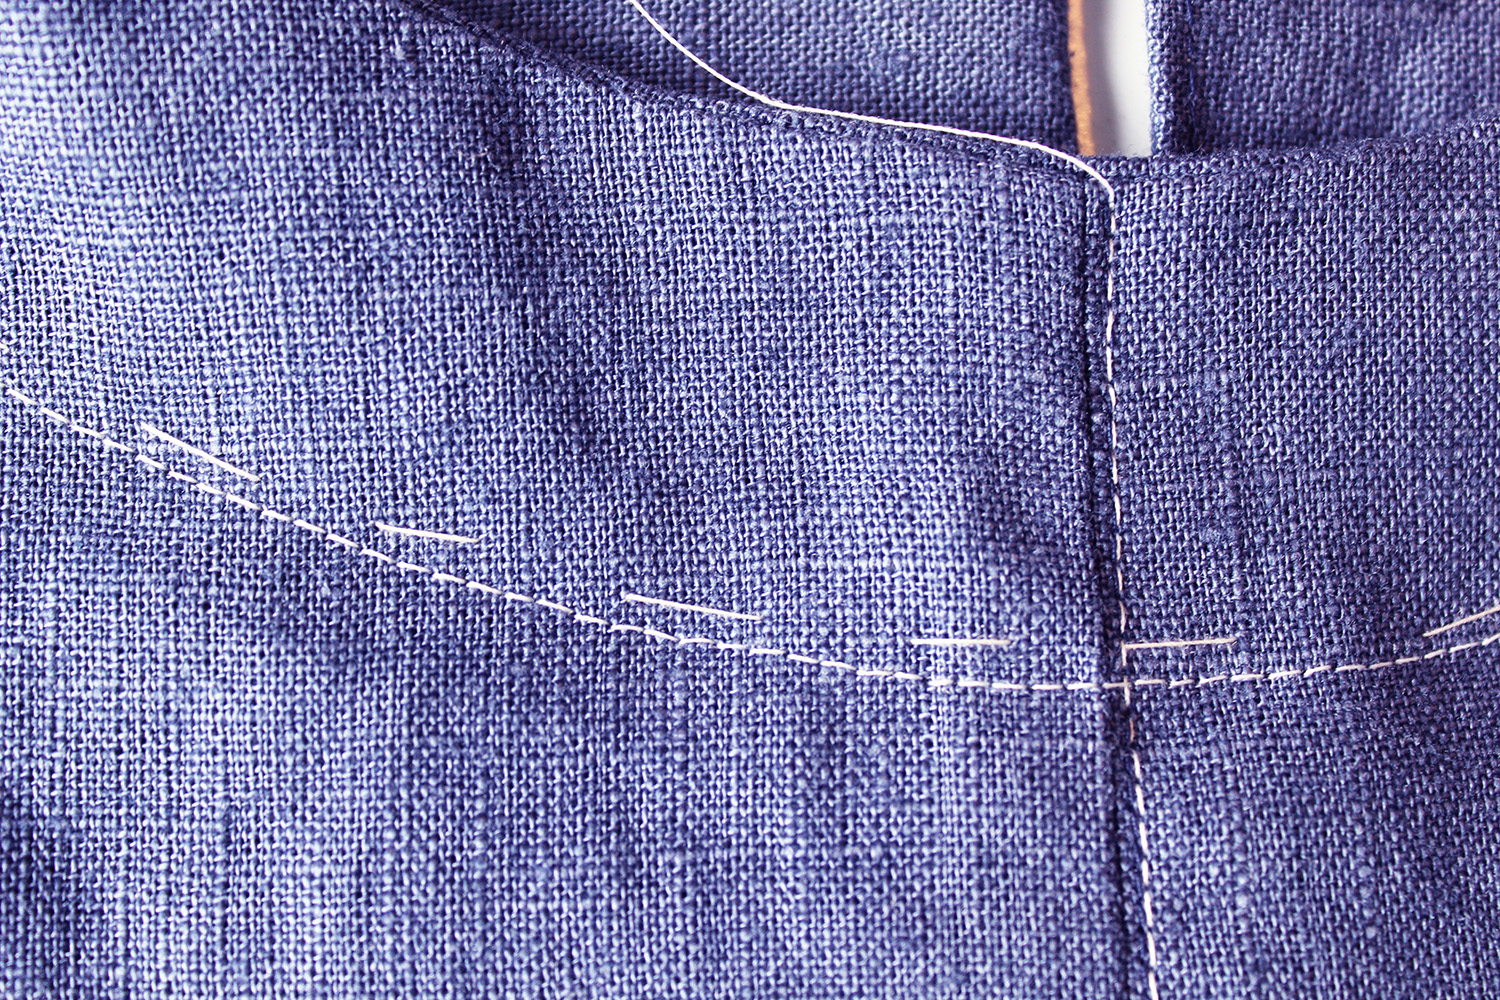 Machine stitch 4cm from the neck edge all around.
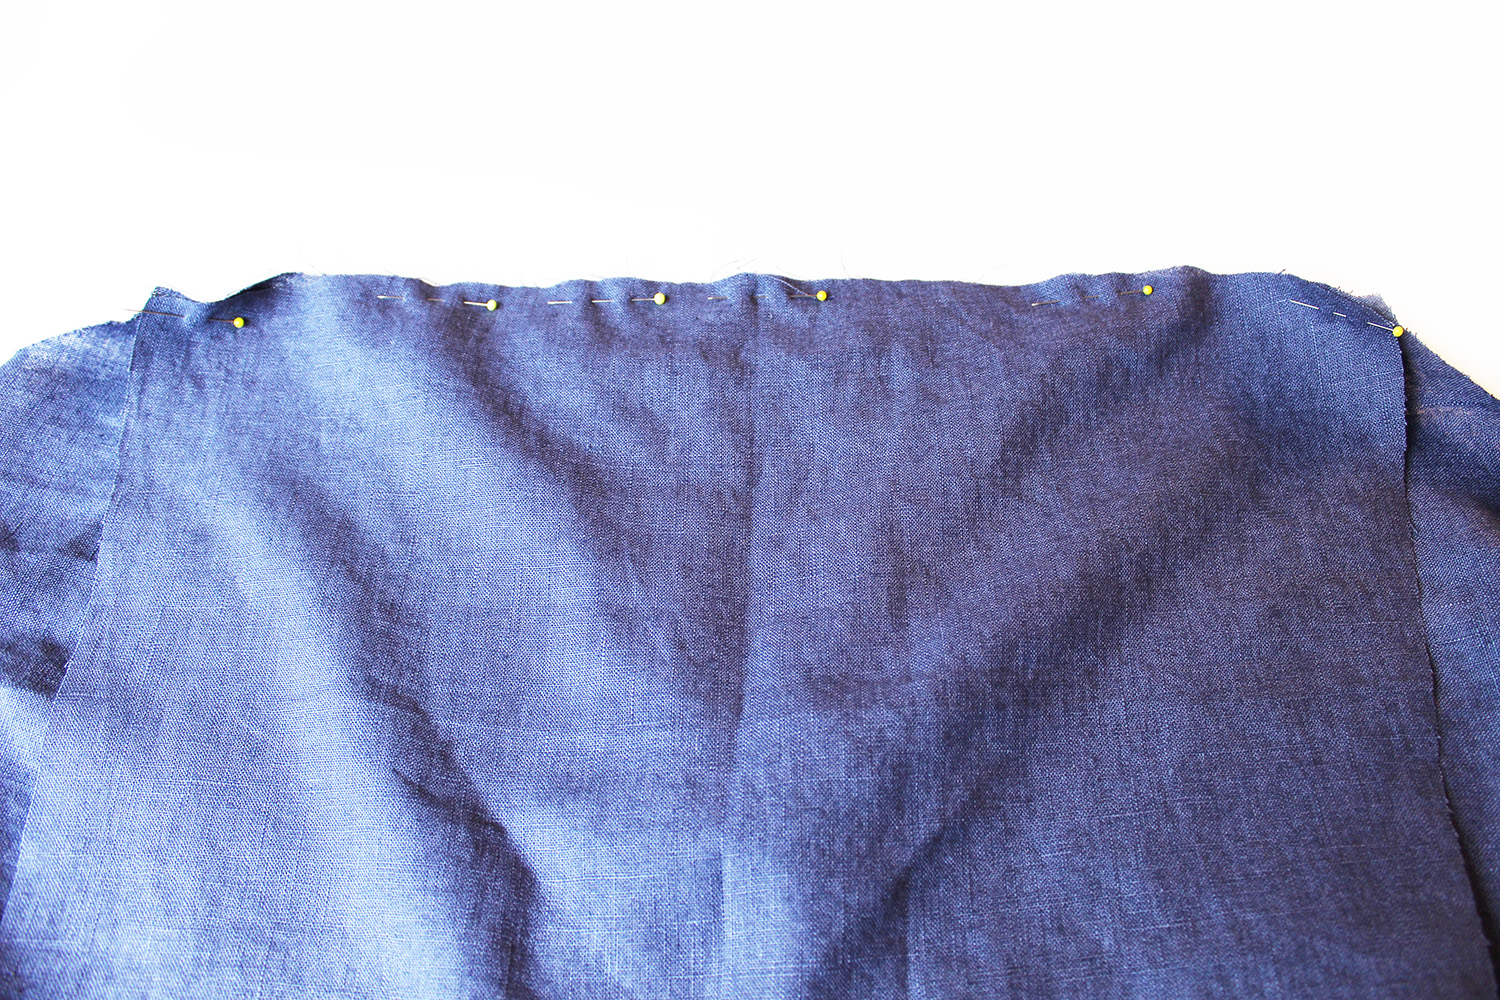 Pin the sleeve to the body. Sew. Finish the raw edge. Press away from the body. Topstitch. Easy peasy!
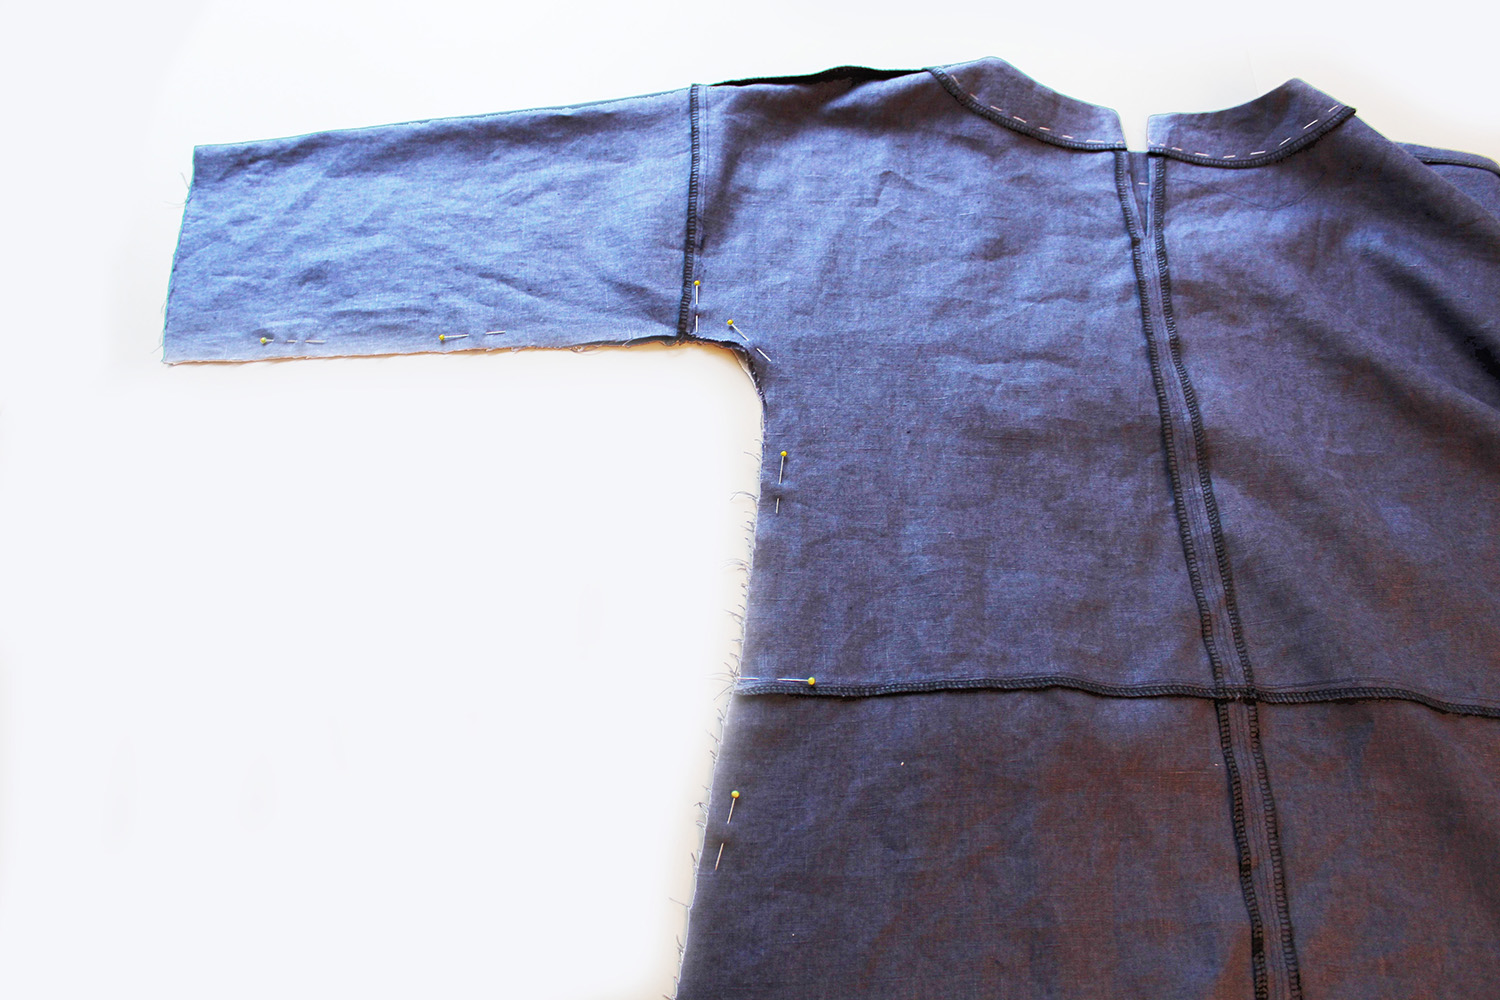 Pin then sew the front to back at the side edges with the RST.
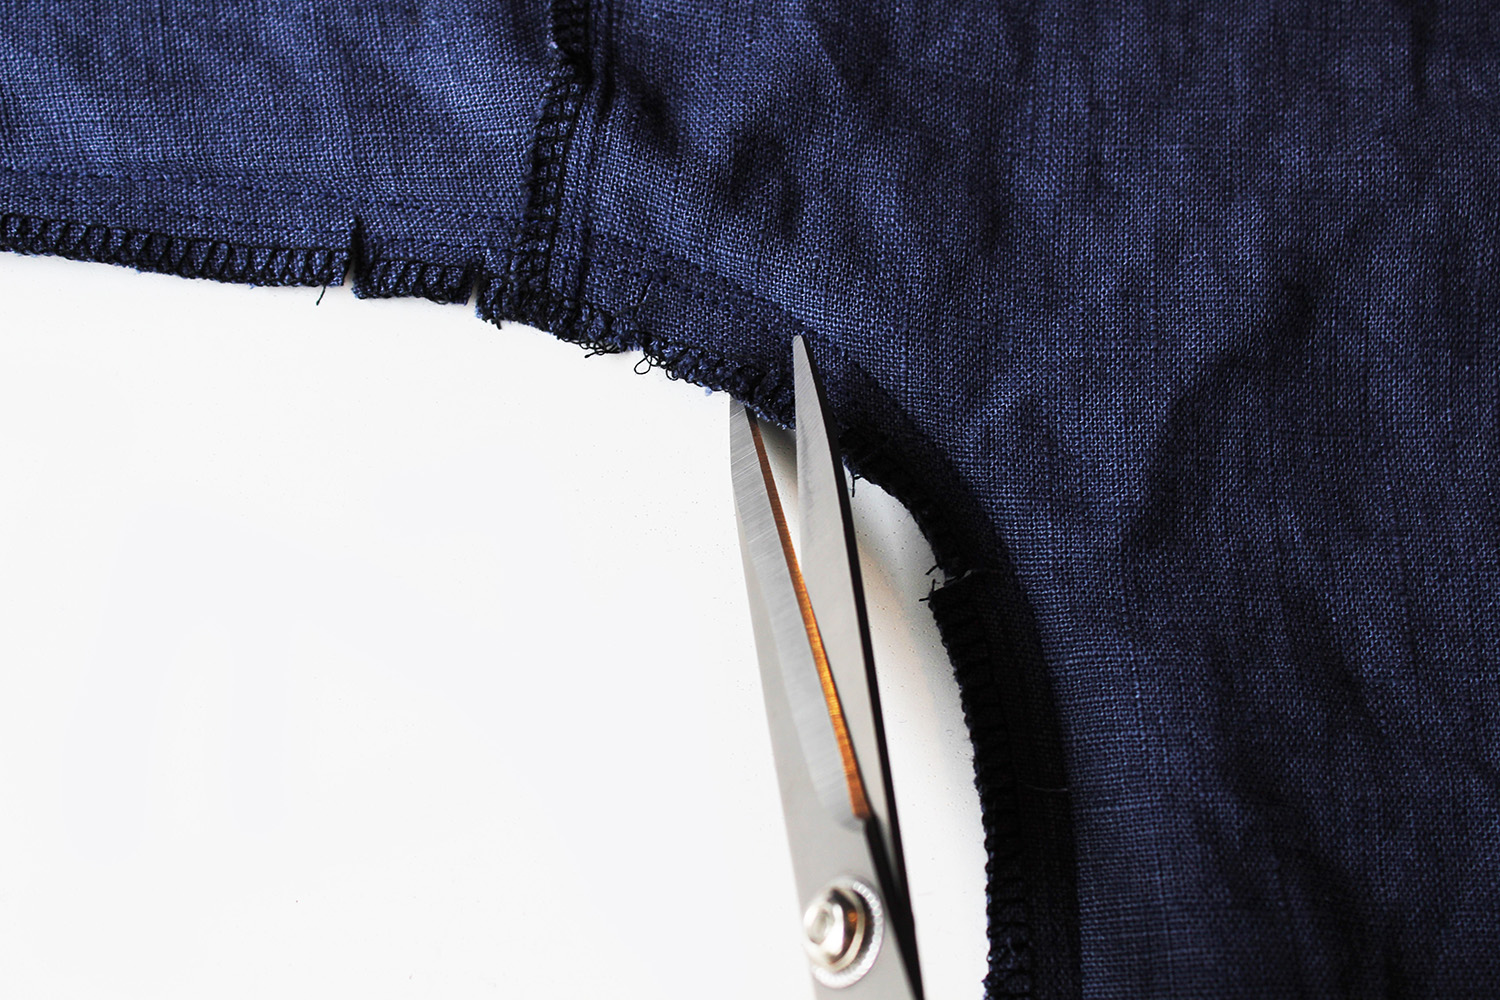 Clip the curved seam allowances at the underarm section.
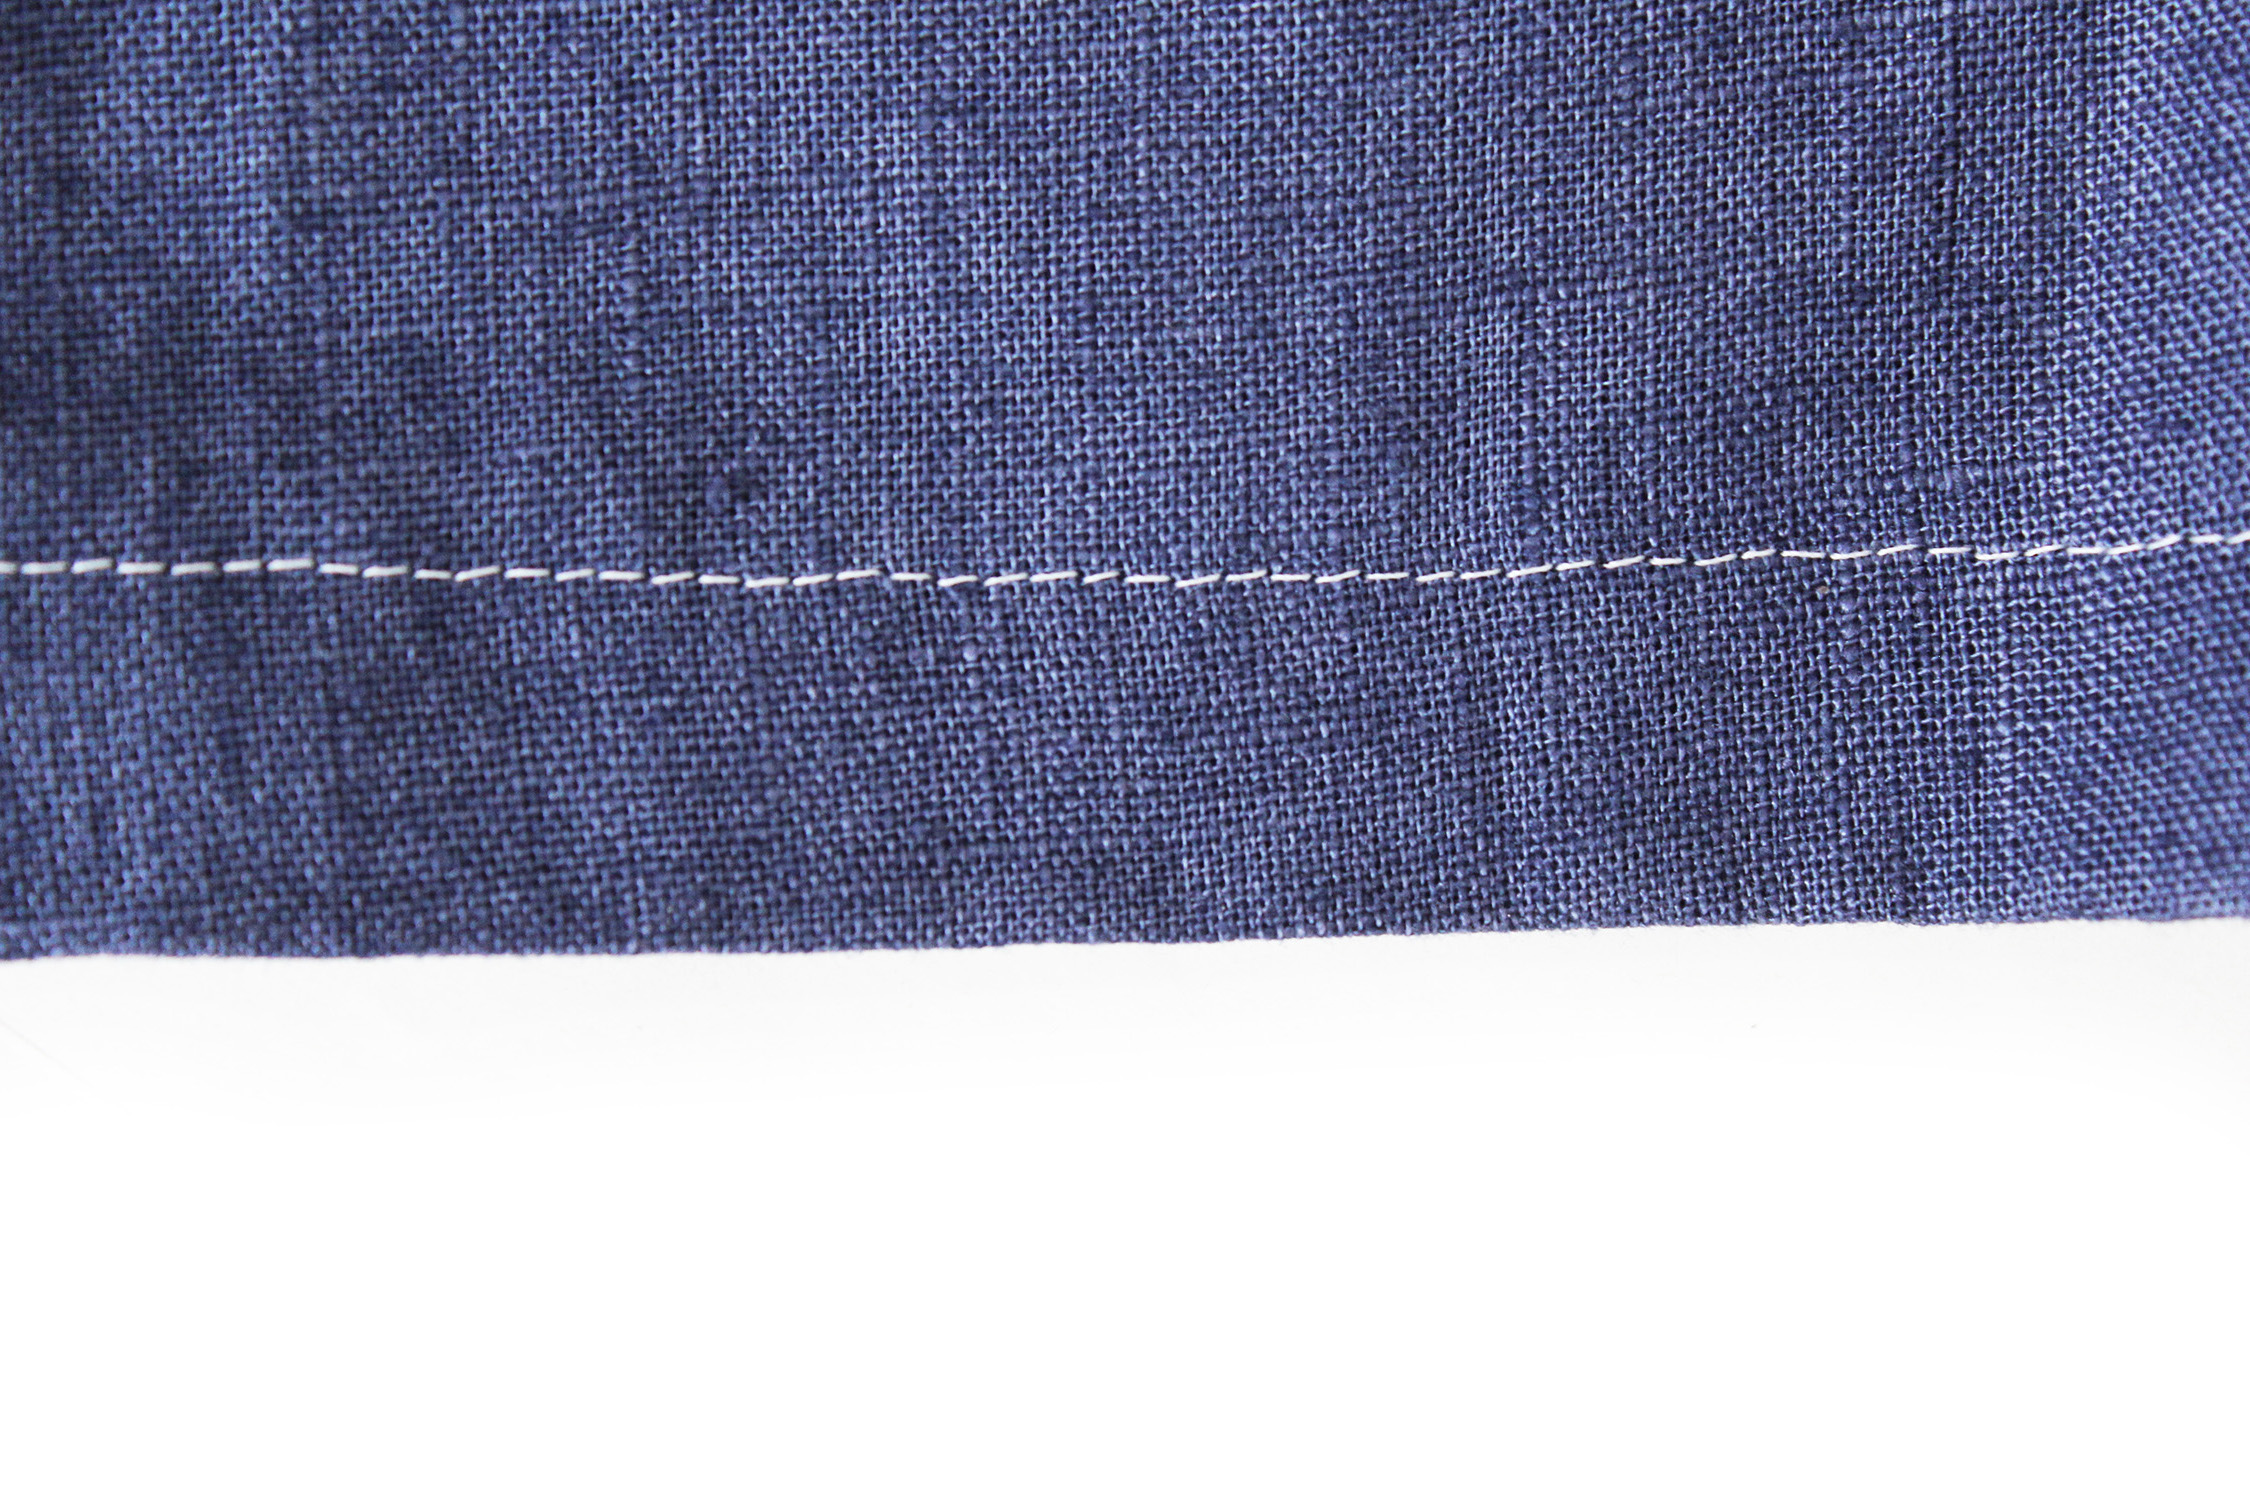 Hem the sleeve edge with a contrast thread. Hem the lower edge with the background colour thread.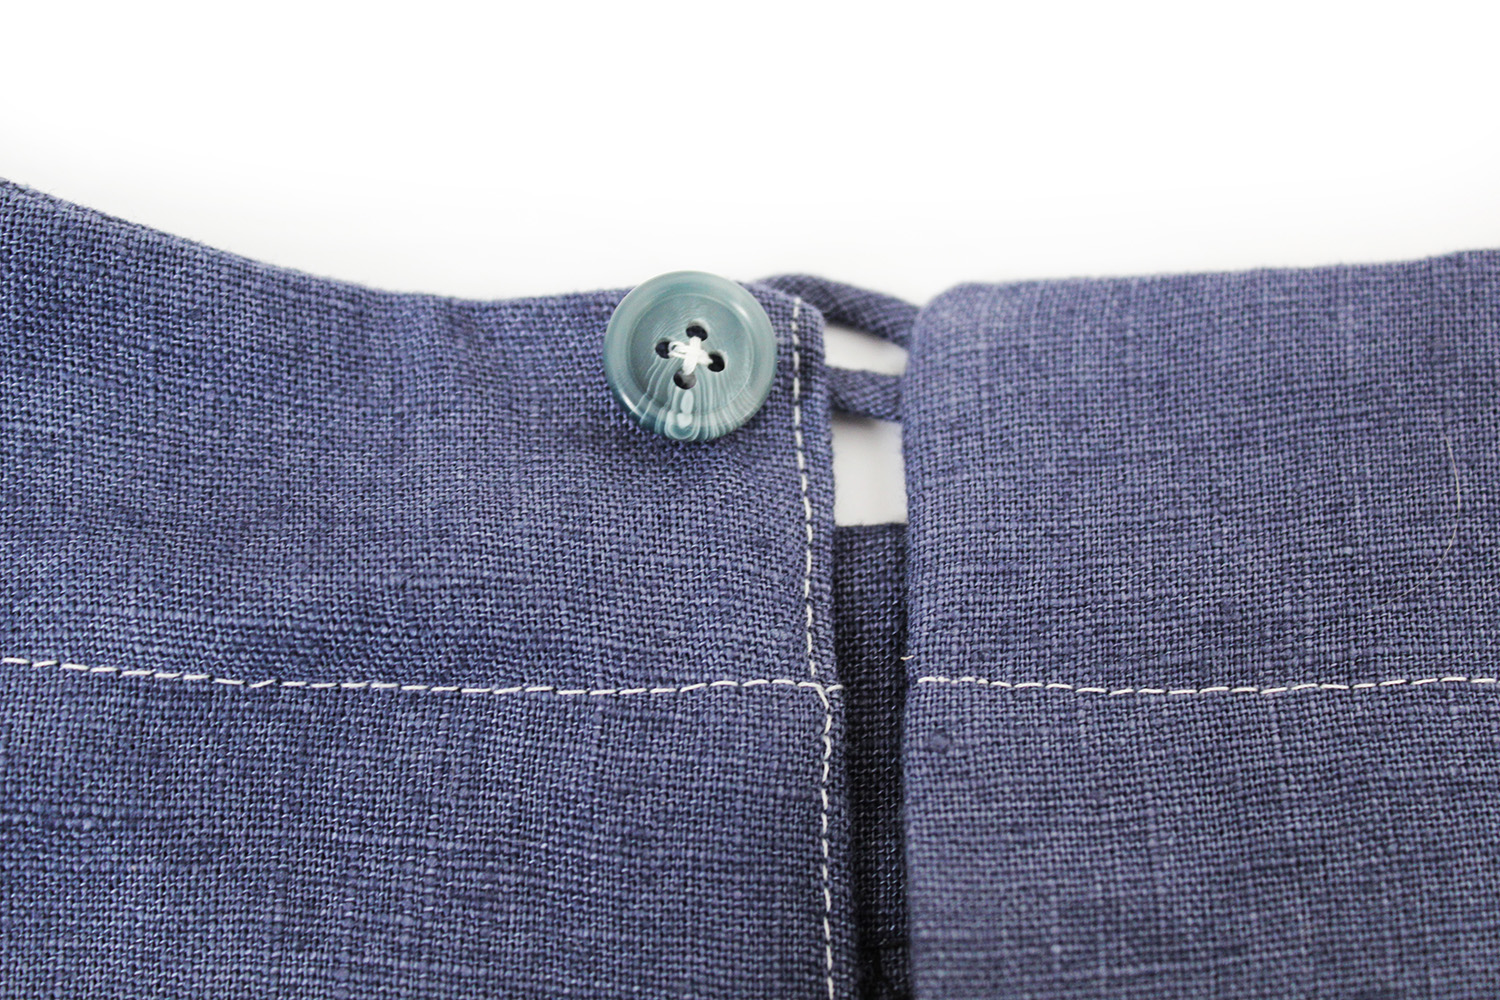
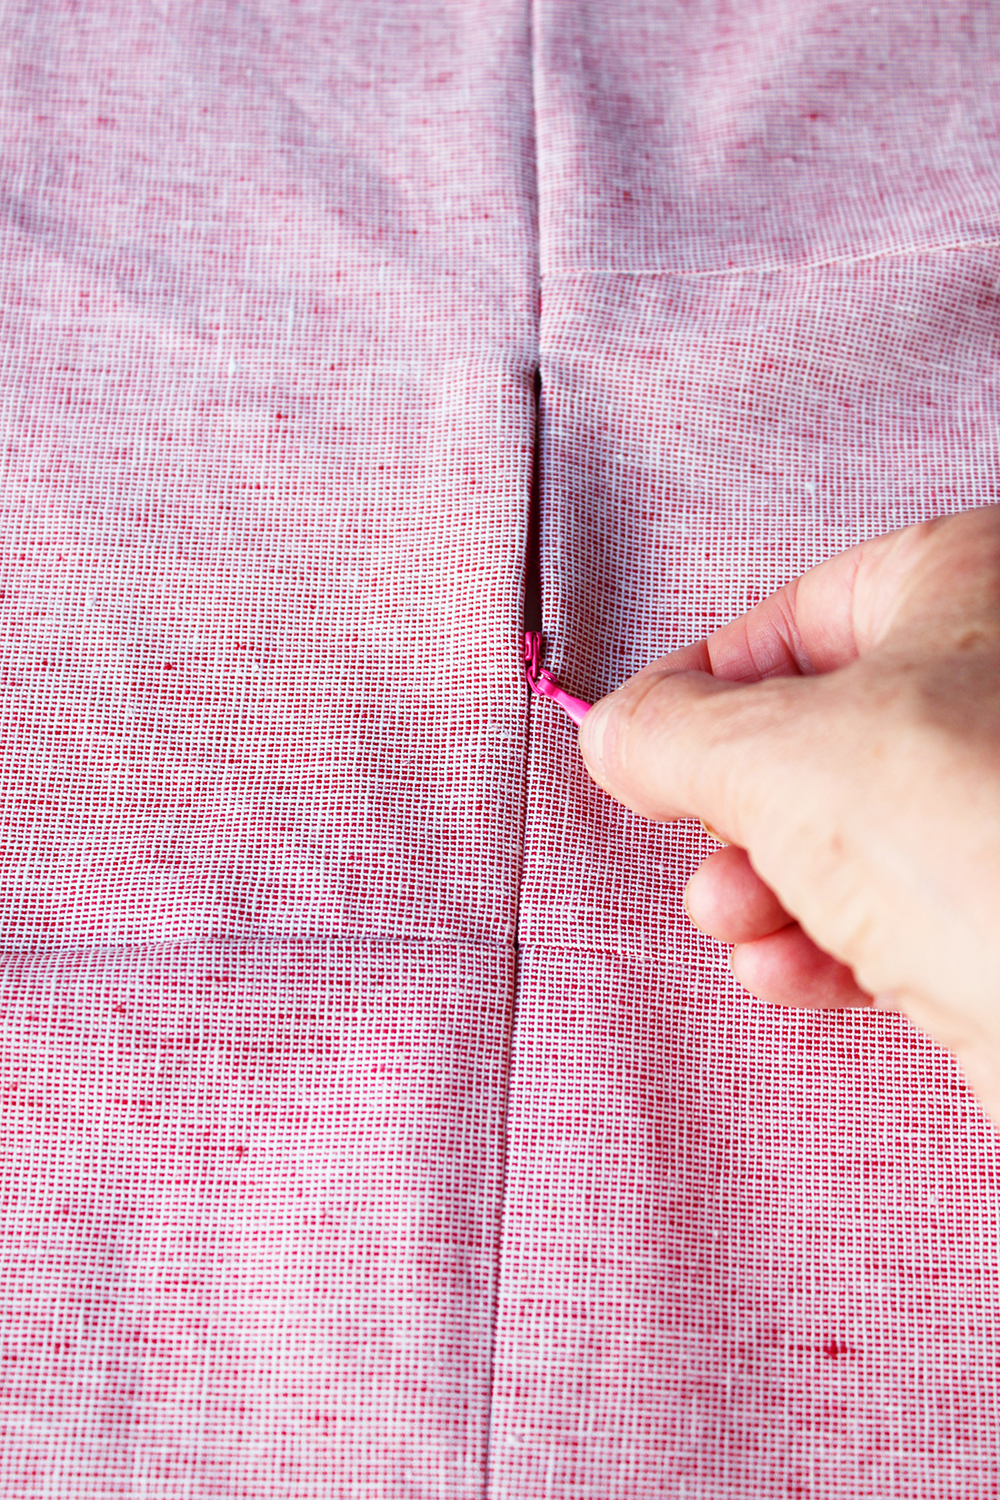 Invisible zips are nice to look at, they give a professional finish to your garment and with a bit of practise are actually not difficult to insert when you know how.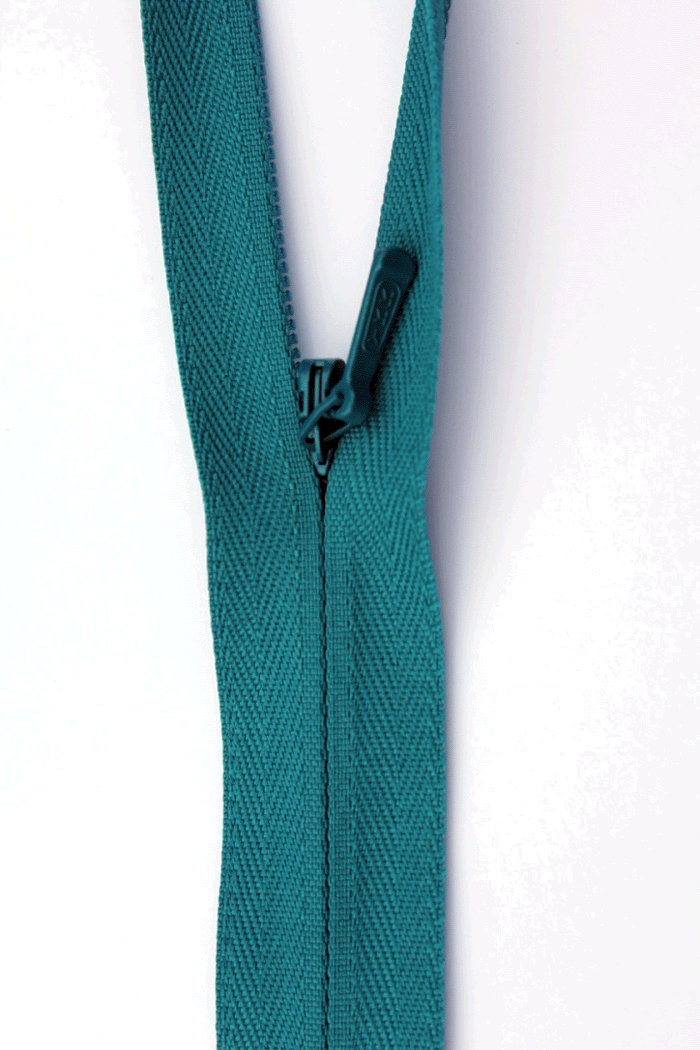
 BACK
BACK

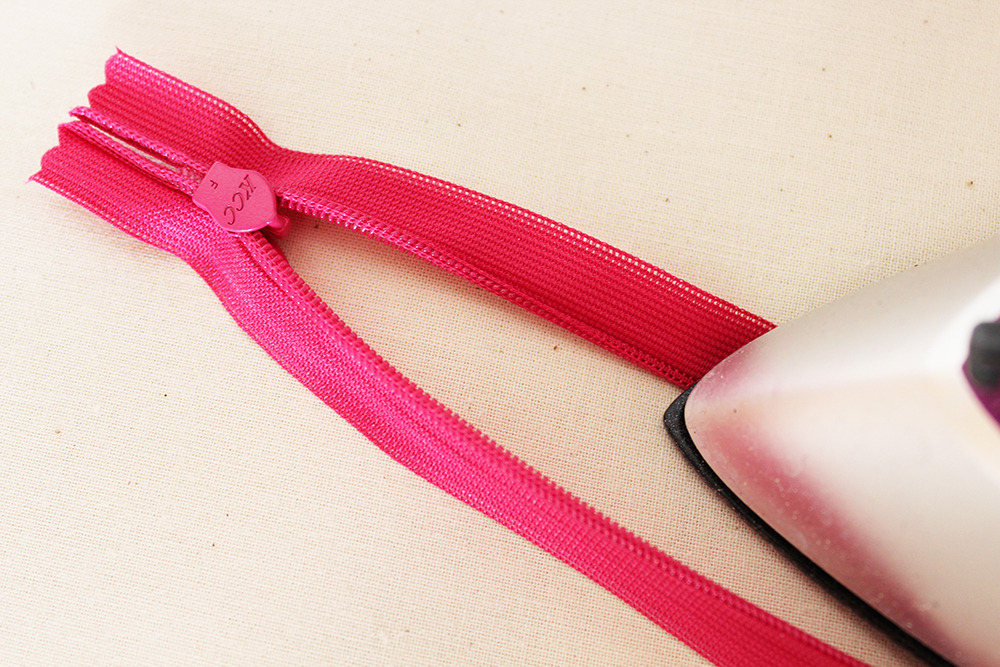 Before you start, take a look at the back of your invisible zipper. See how the coils of the zipper curl toward the back? This is what makes the zipper less visible than a normal zipper. You will need to uncurl those coils by gently ironing the zipper flat first with the tip of a warm iron. This lets you stitch much closer to the coils.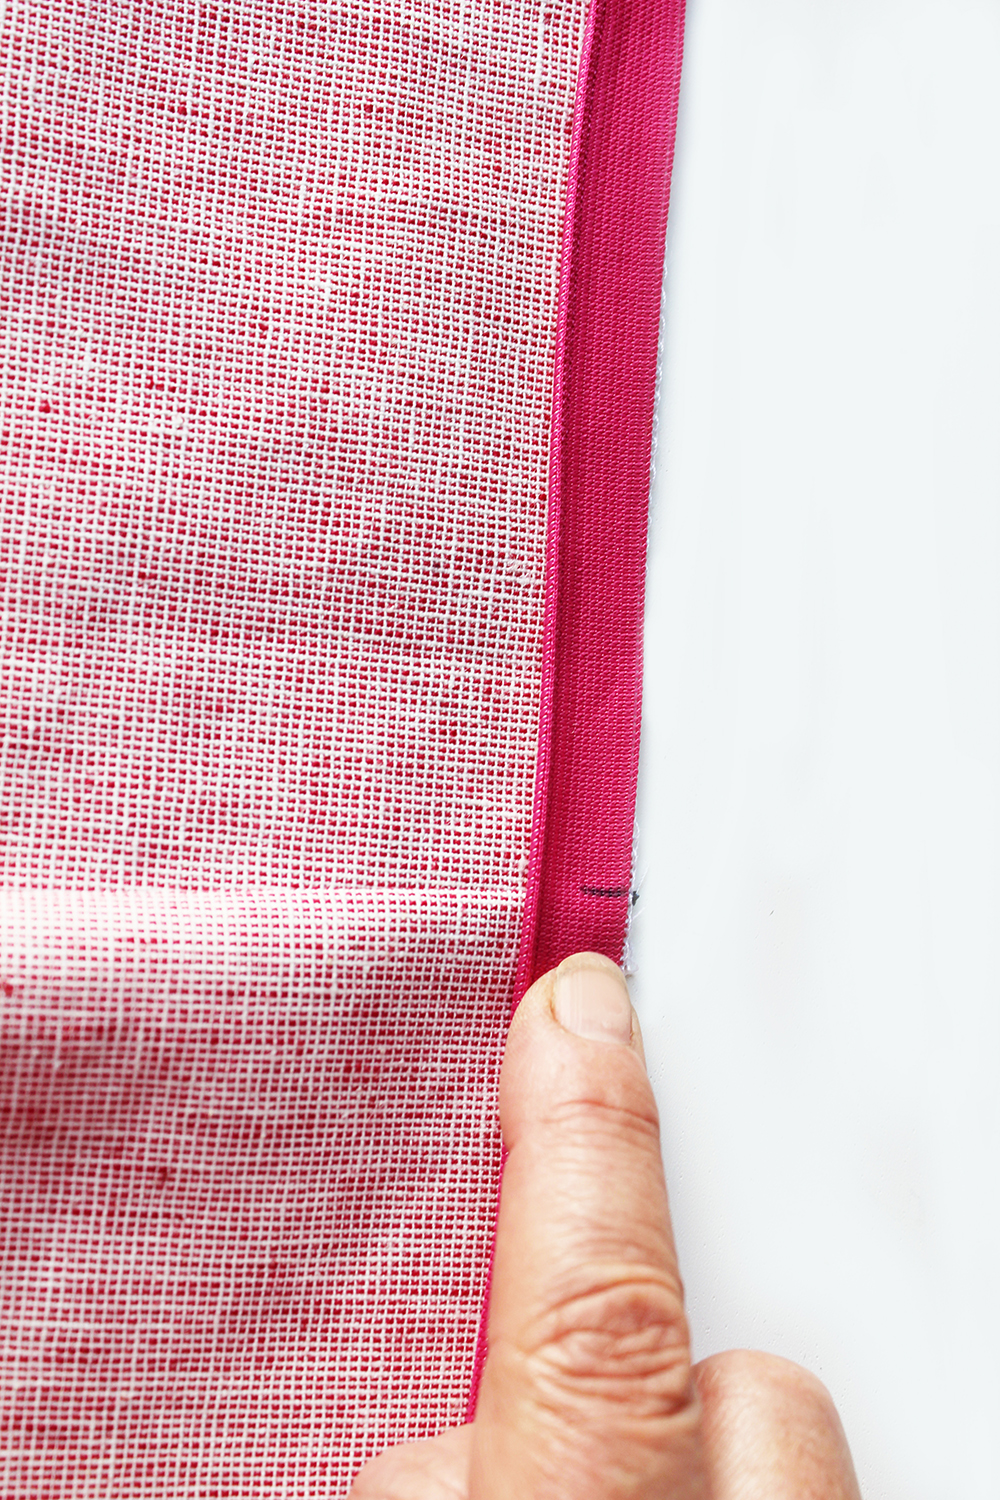
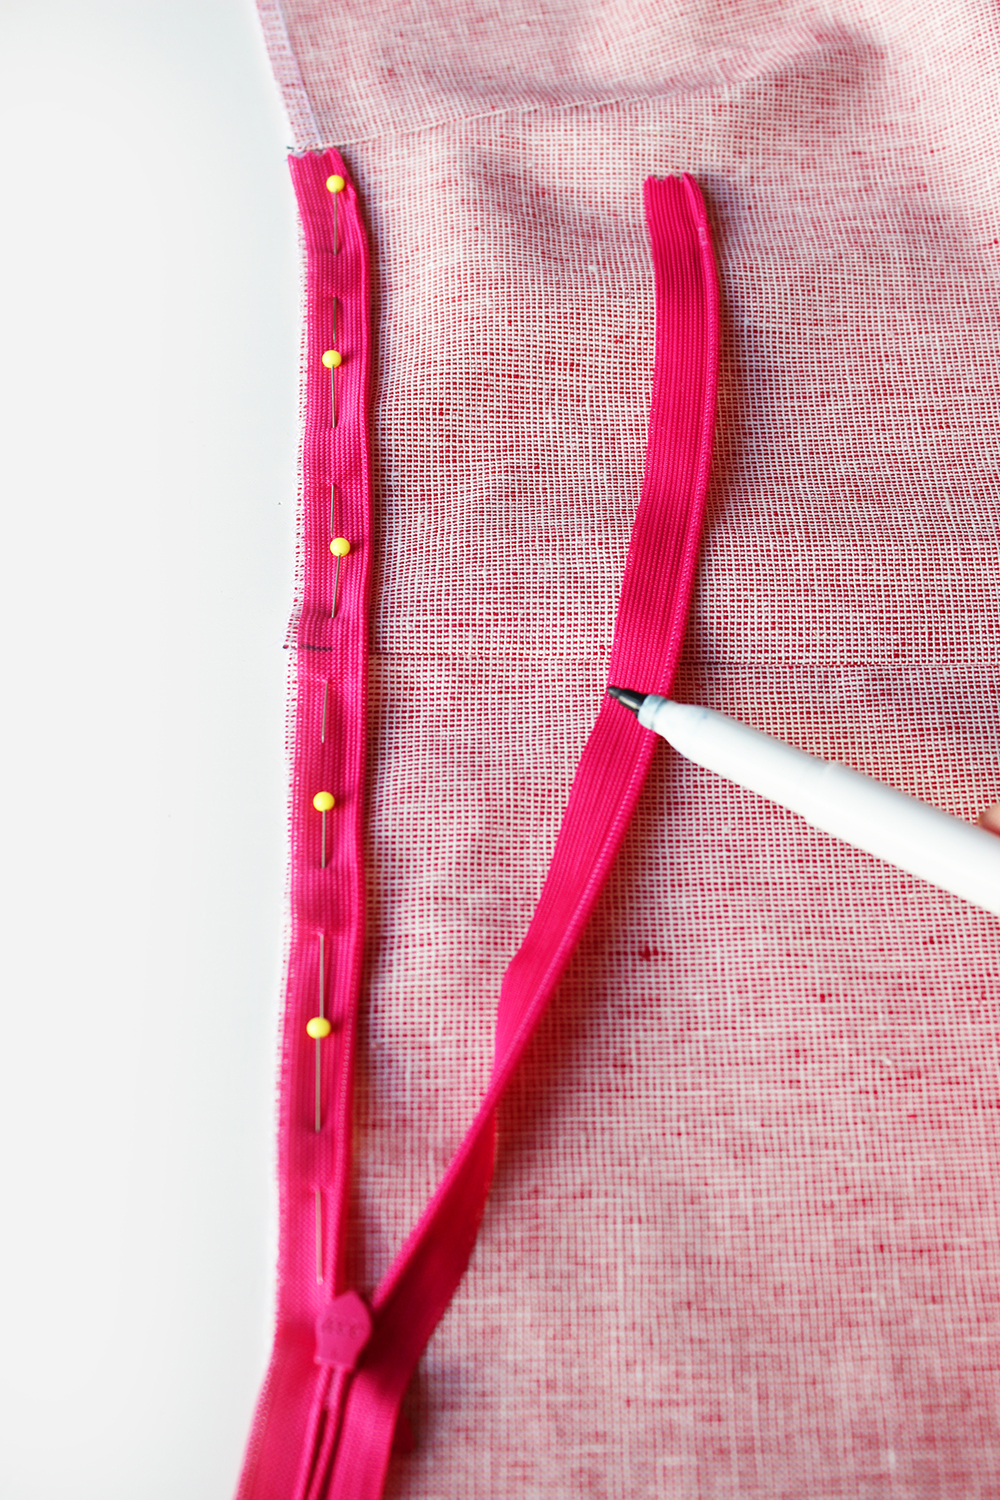 Lay your garment right side up, facing you.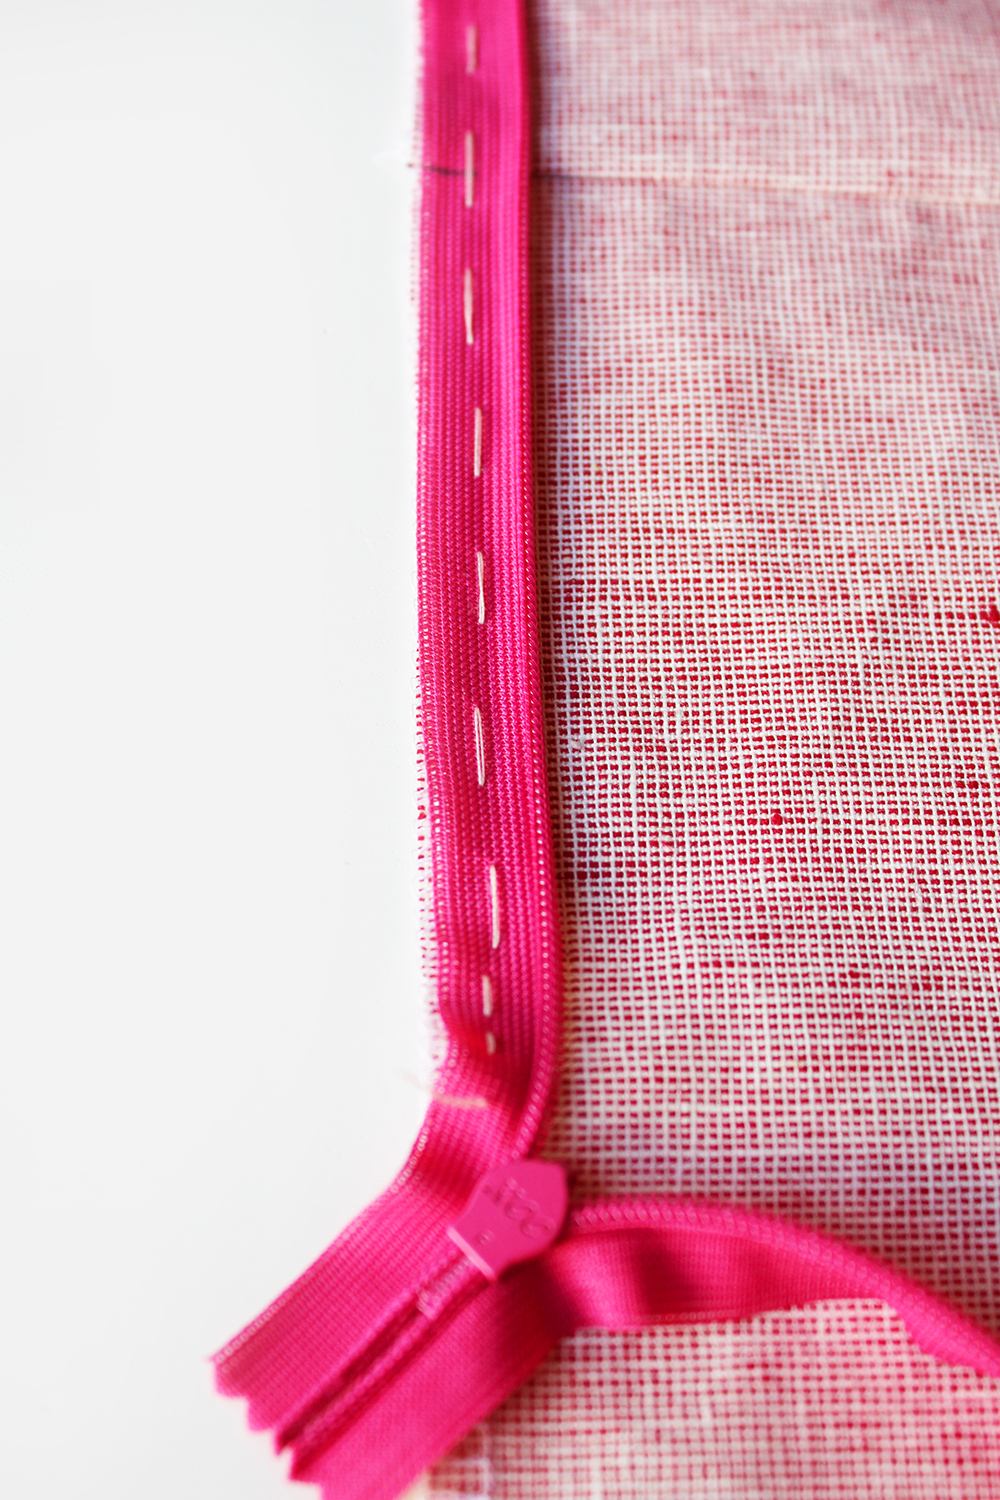
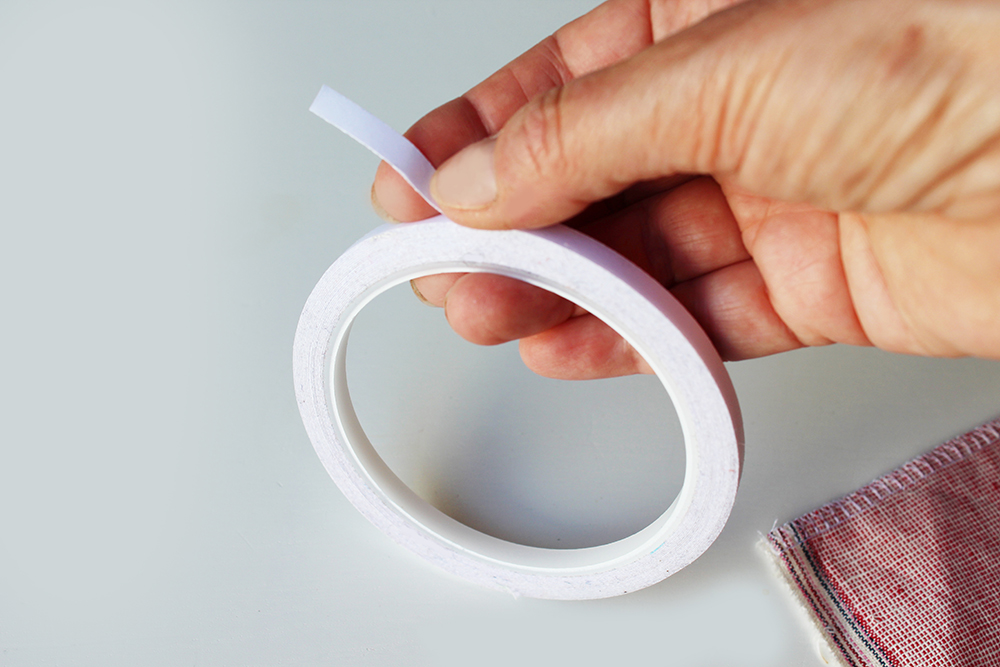
 Stick a piece either side of the back of the zip. Place in position on the garment with the right sides of the zip facing the right side of the dress.
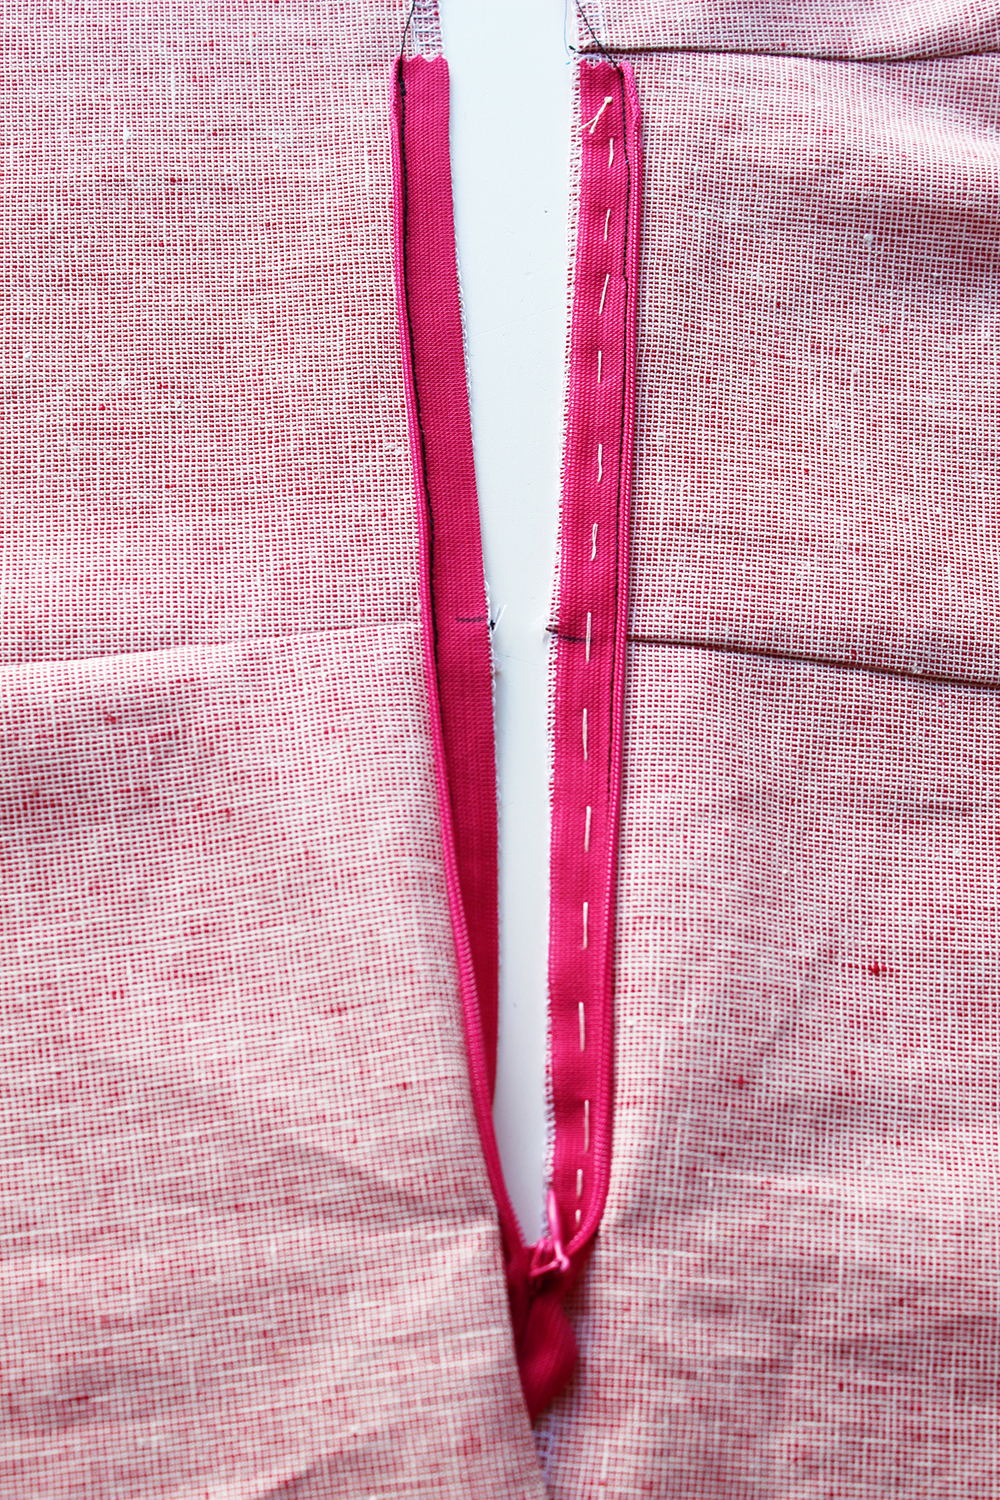 Having inserted the invisible zipper foot into your machine, lower the foot down onto the zipper. Make sure that the zipper coil is in the left groove of the foot. If you don’t have an invisible zip foot, use a standard zip foot and nudge the needle over so it lines up with the coil underneath or as near to the teeth as possible.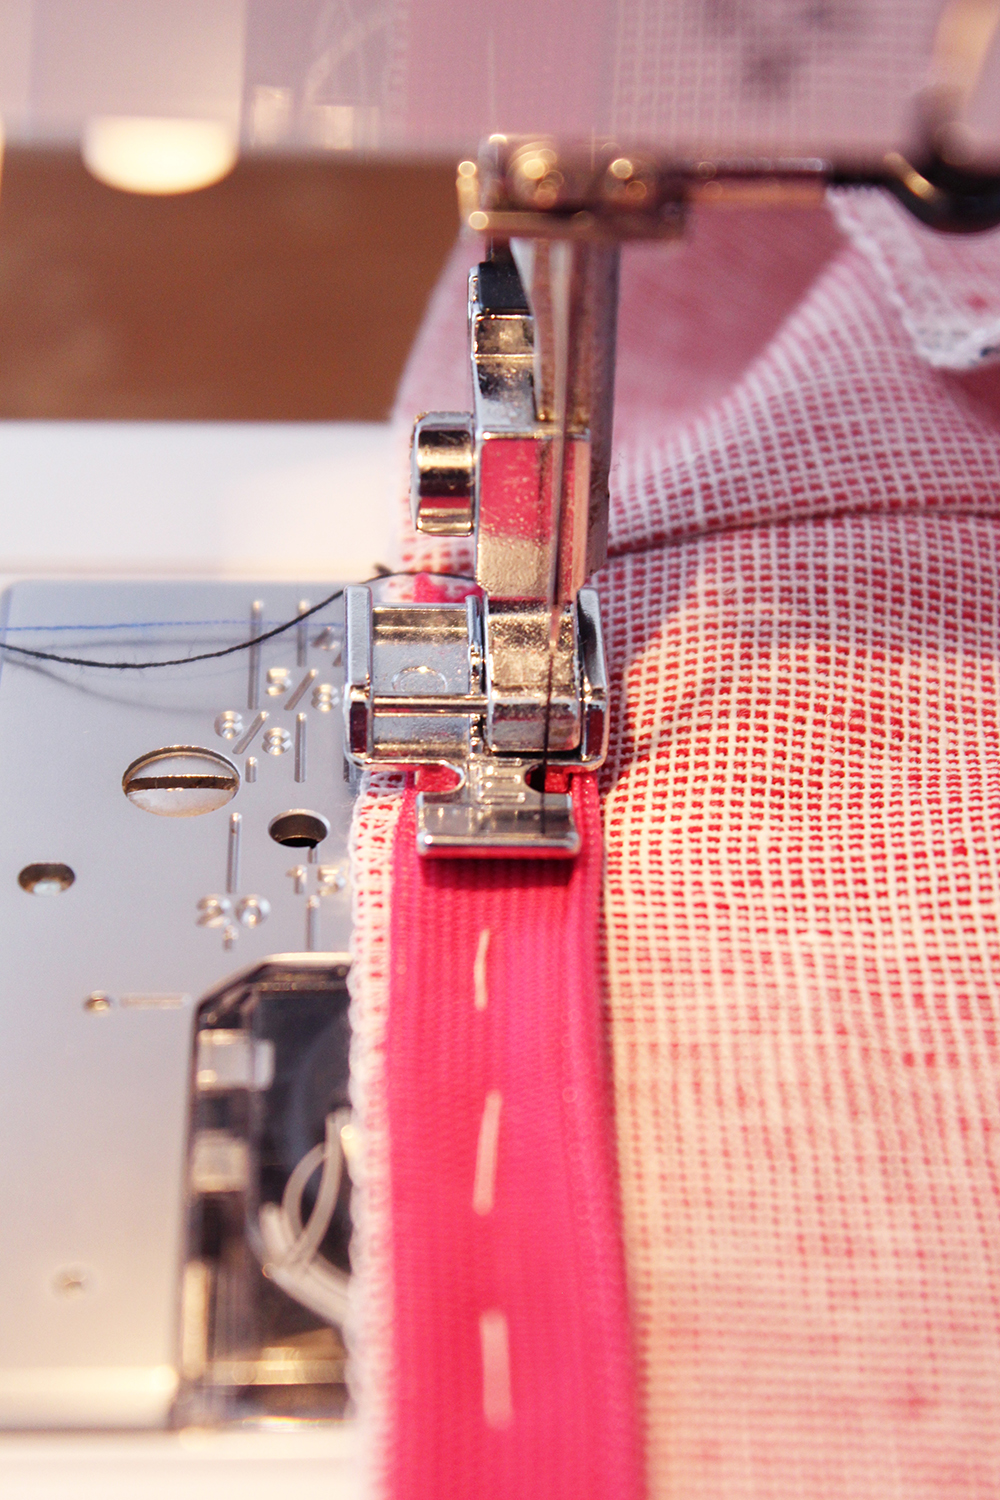
 Sew slowly as far as you can and (if you are using a standard foot, as close to the teeth as you can without sewing over the teeth). Stop when you reach the end of the zipper. Backstitch. Repeat for the other side of the zip.
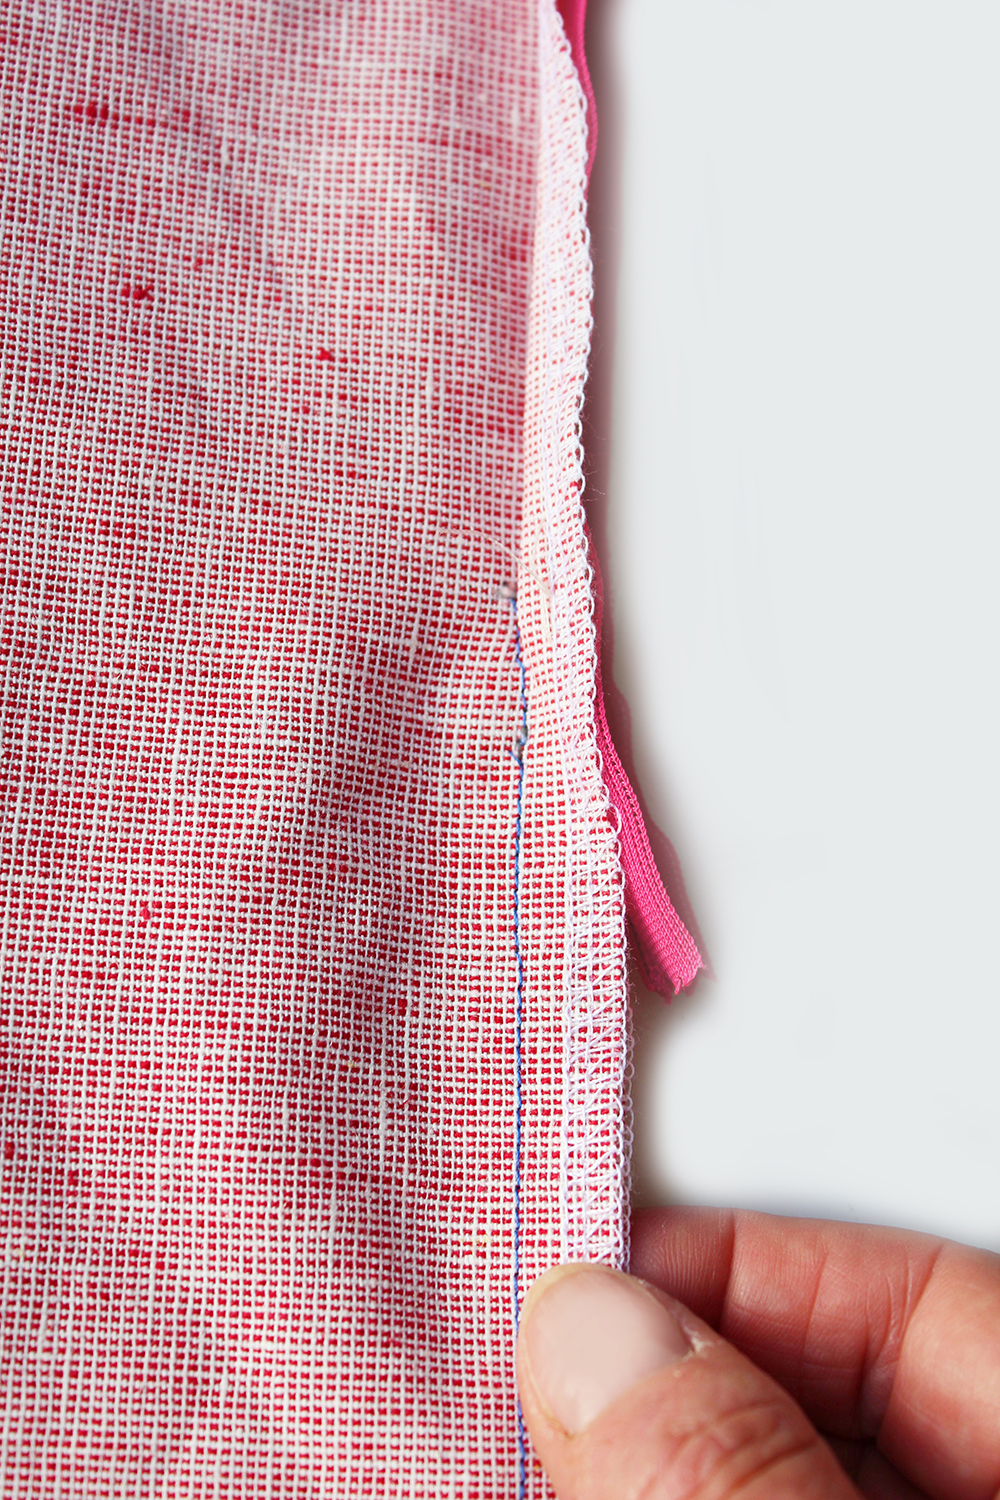 Press the seams open on the back and press the zip on the right and wrong sides so that the coils spring back into action.
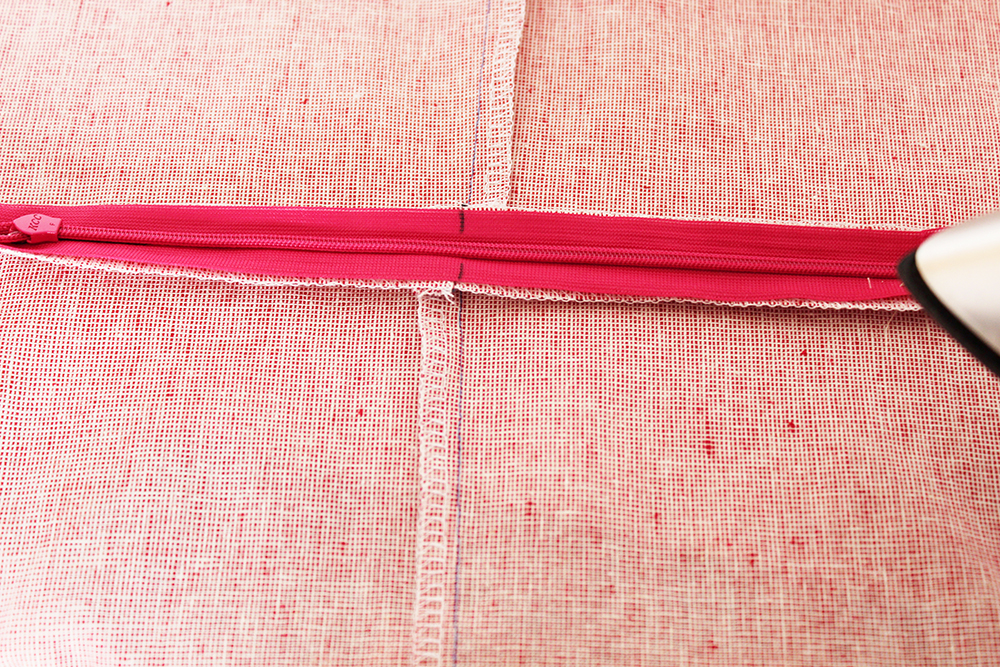 There you have now mastered the art of the concealed zip!
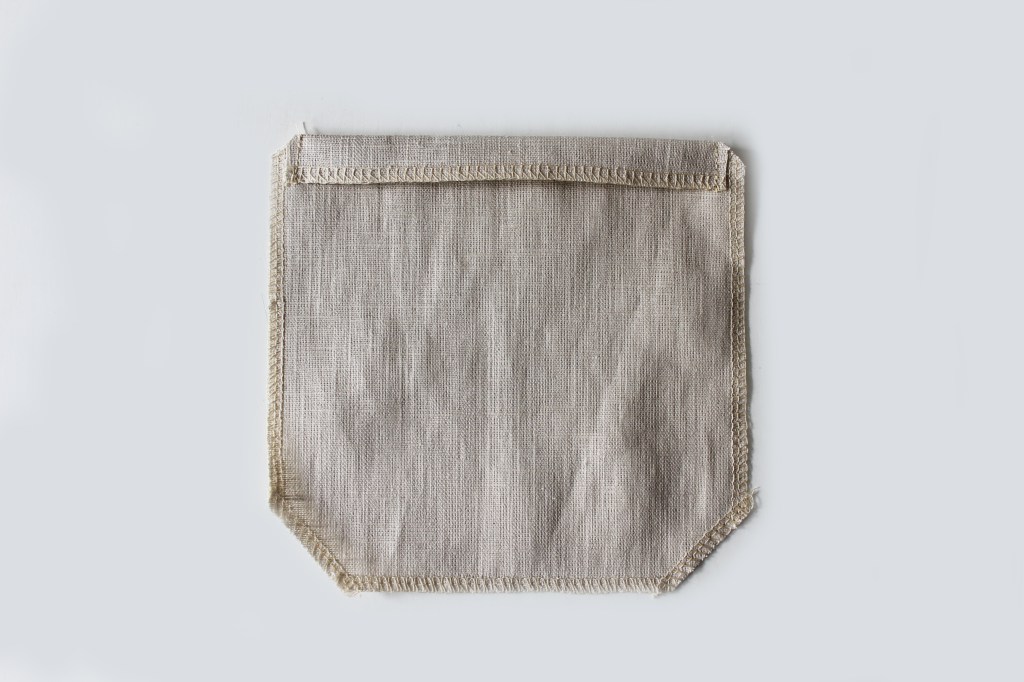
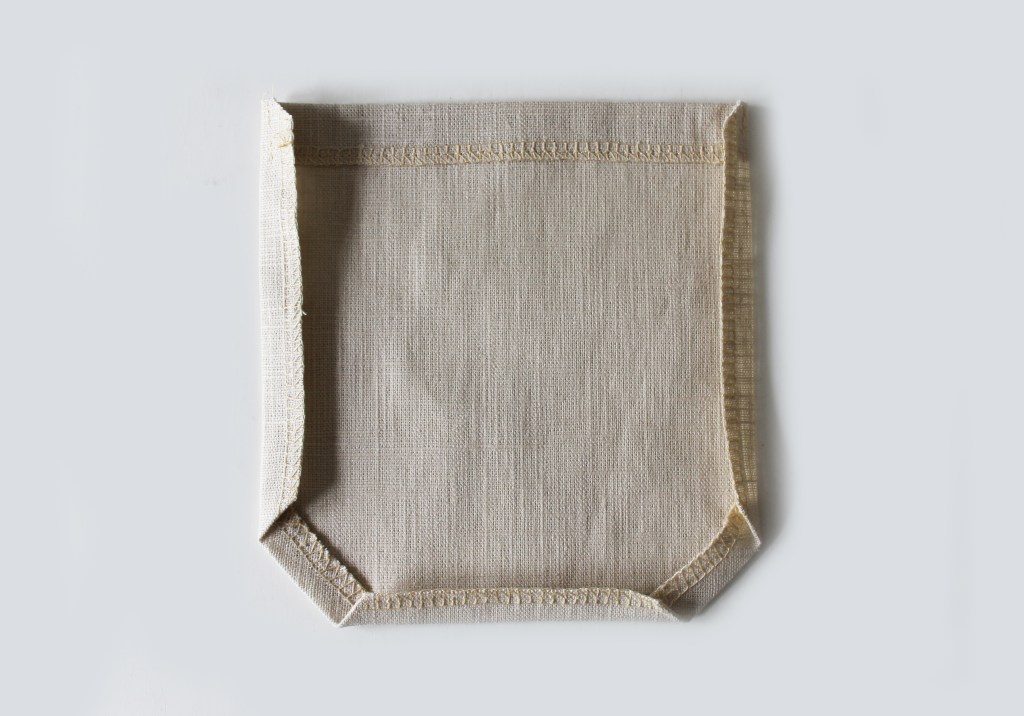
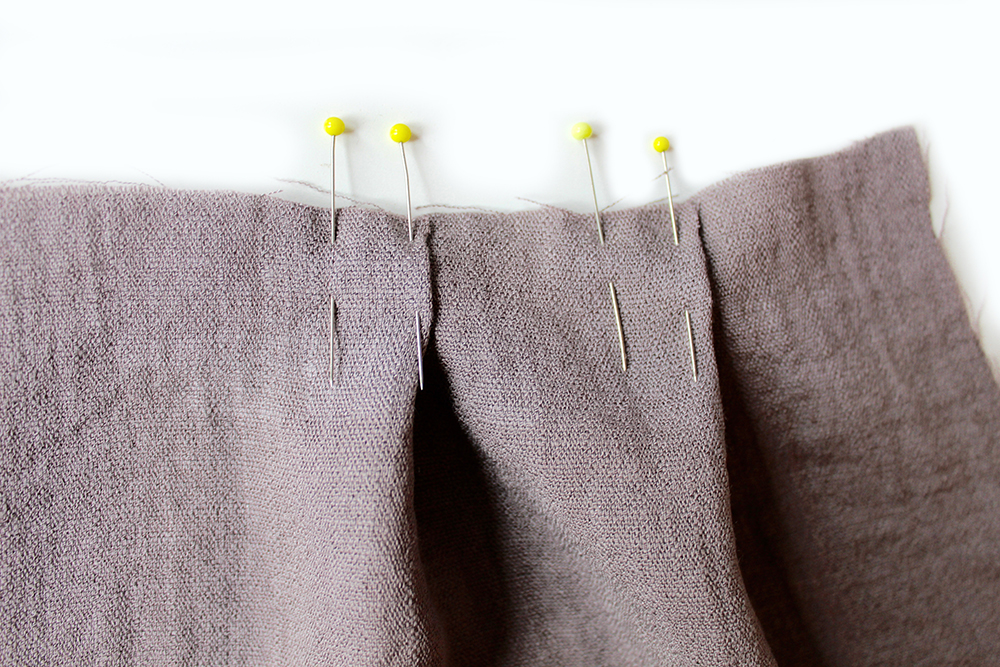
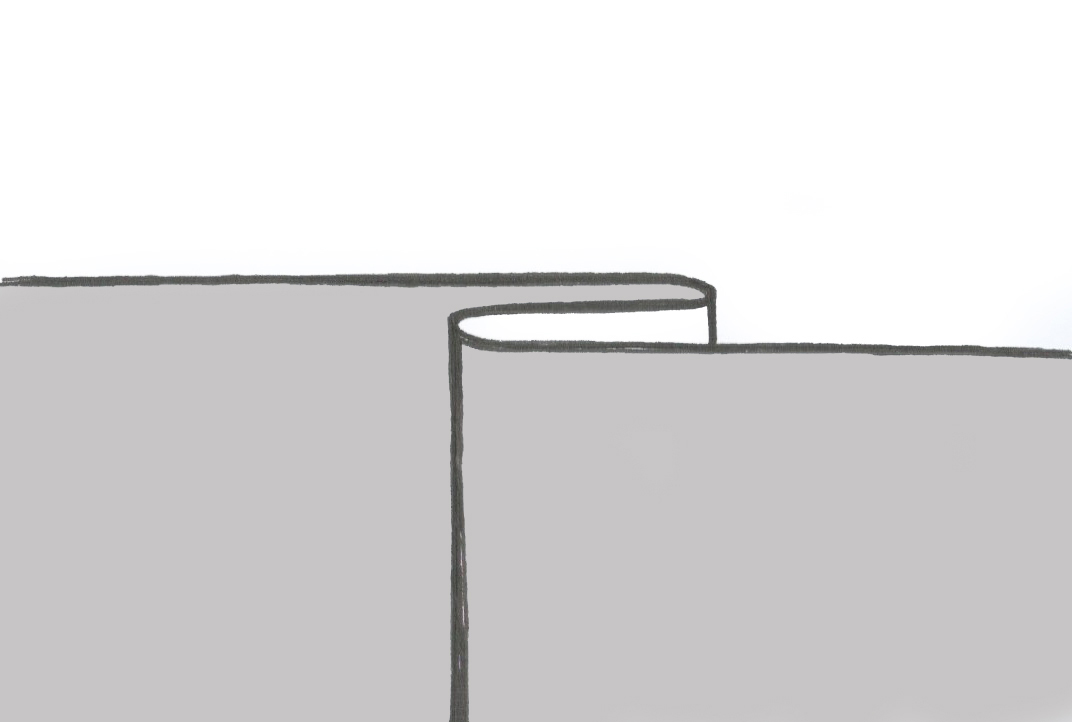
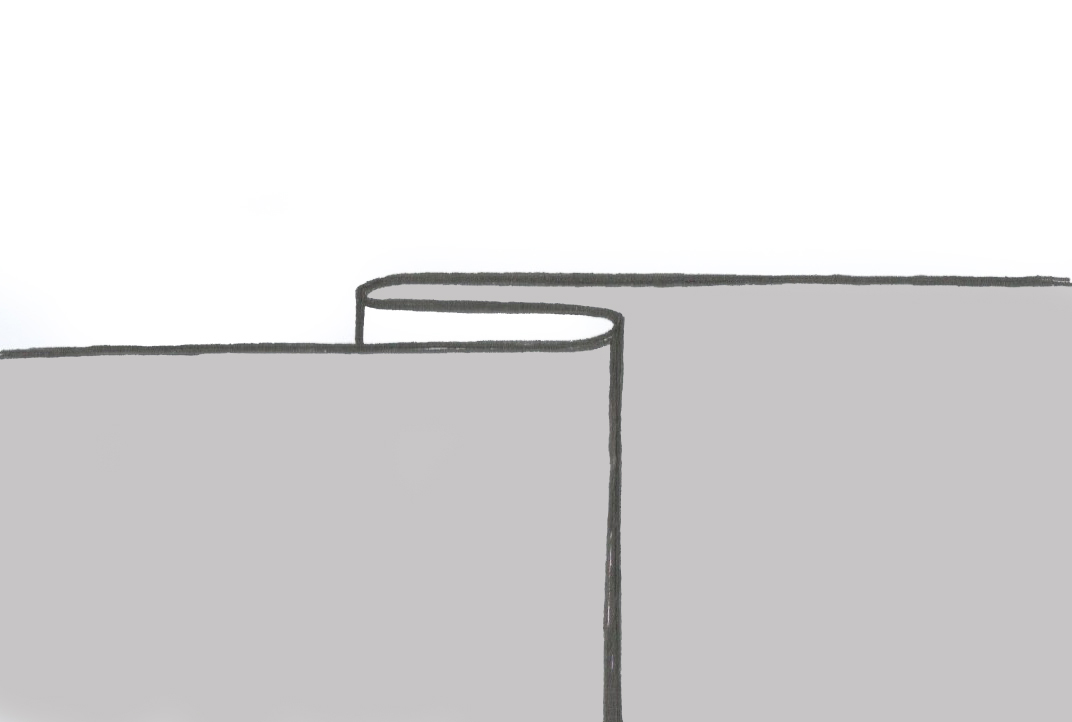 Two on the right hand side of the centre seam.So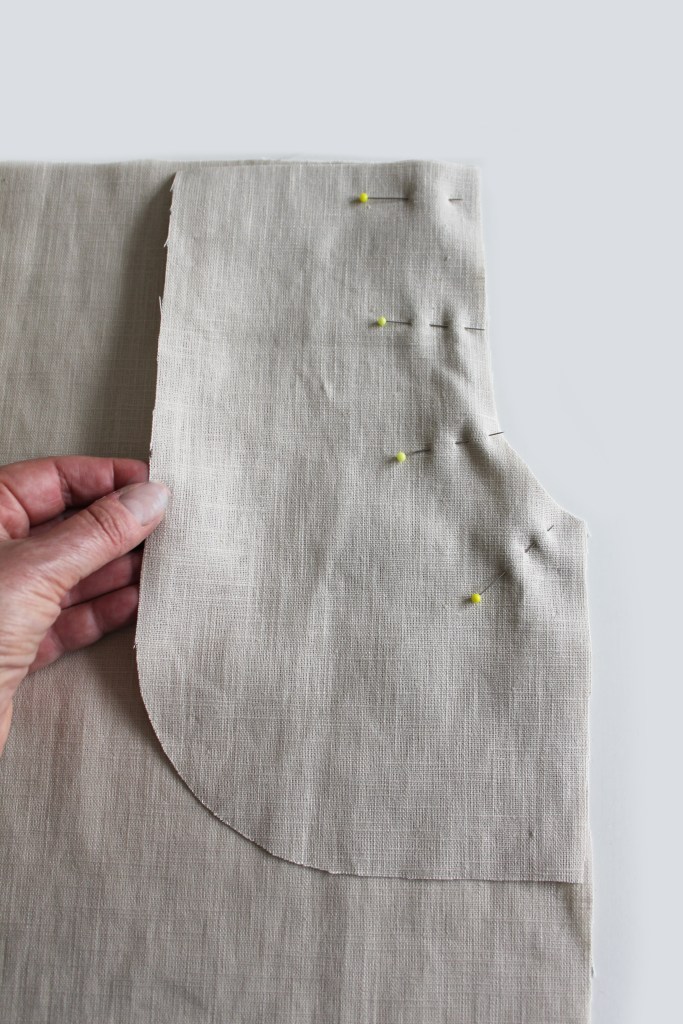
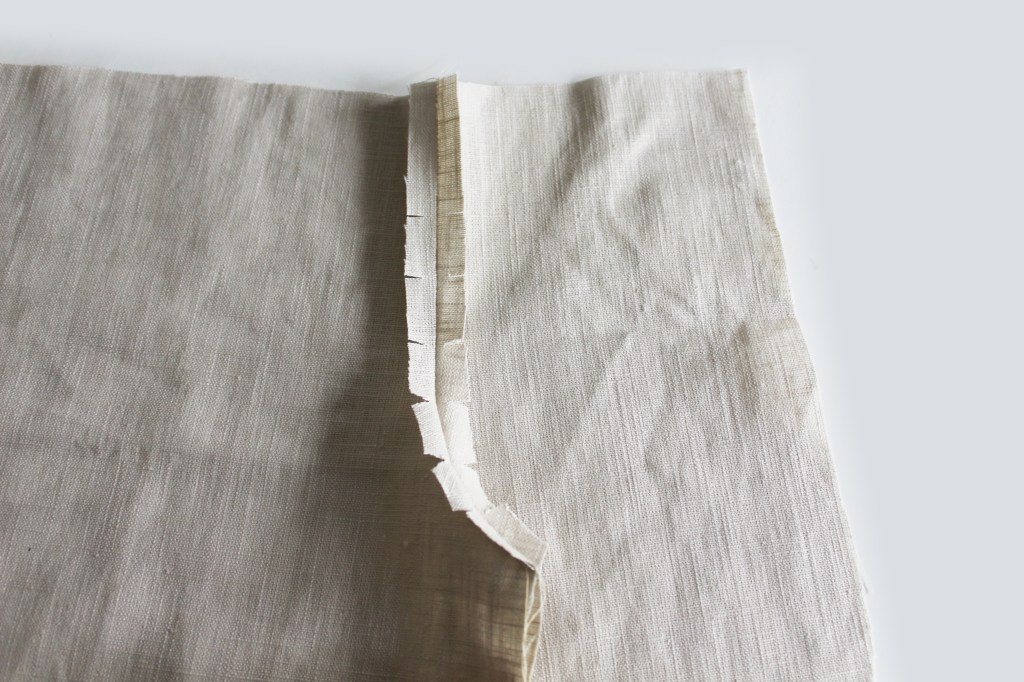
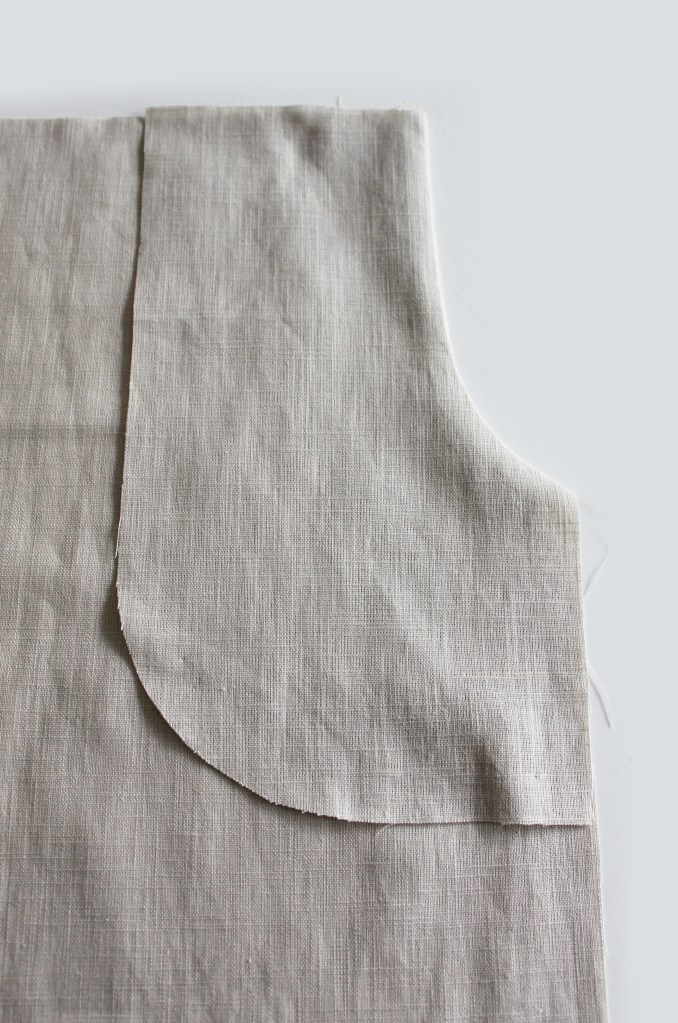
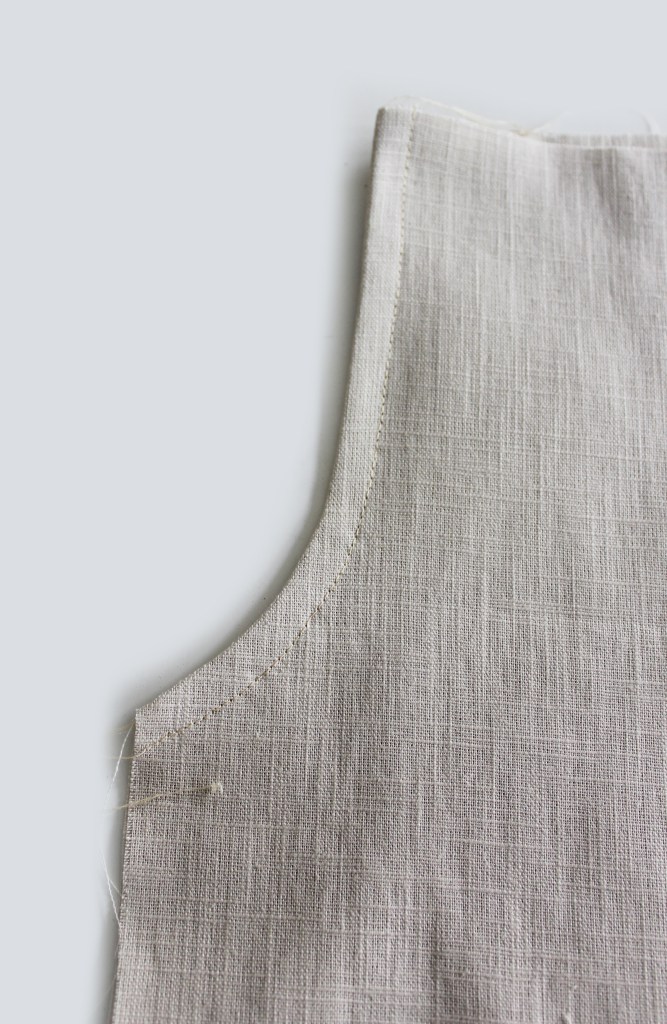
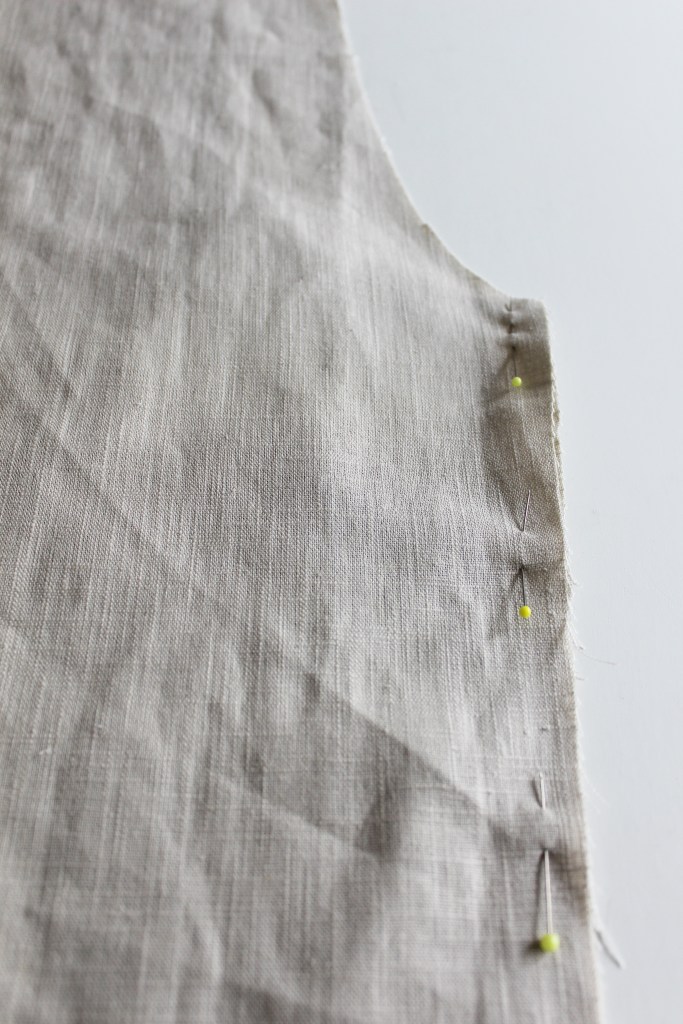
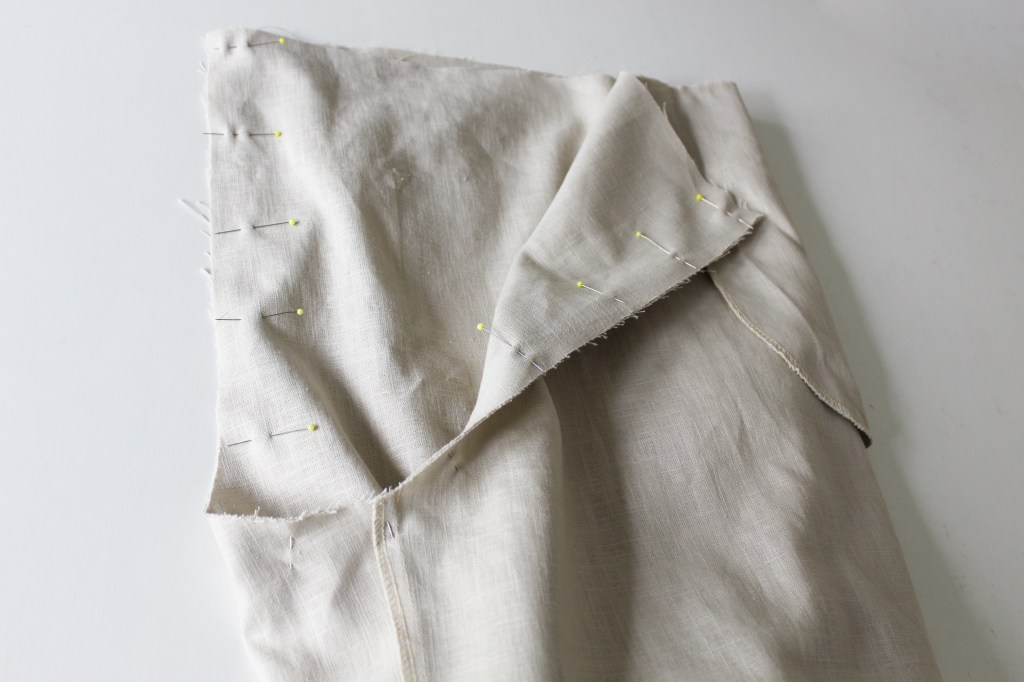
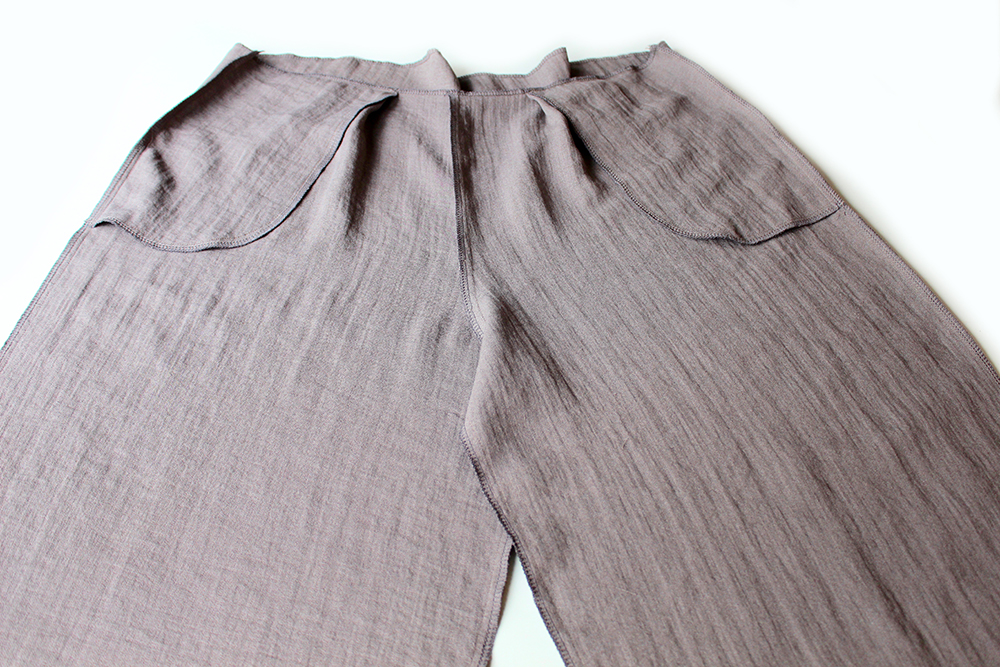
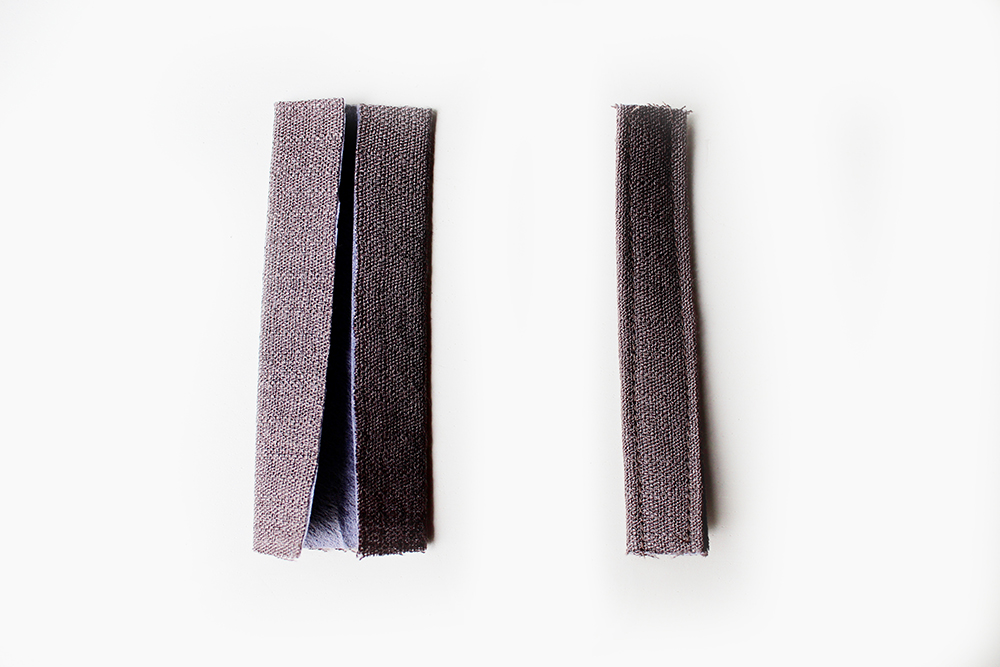
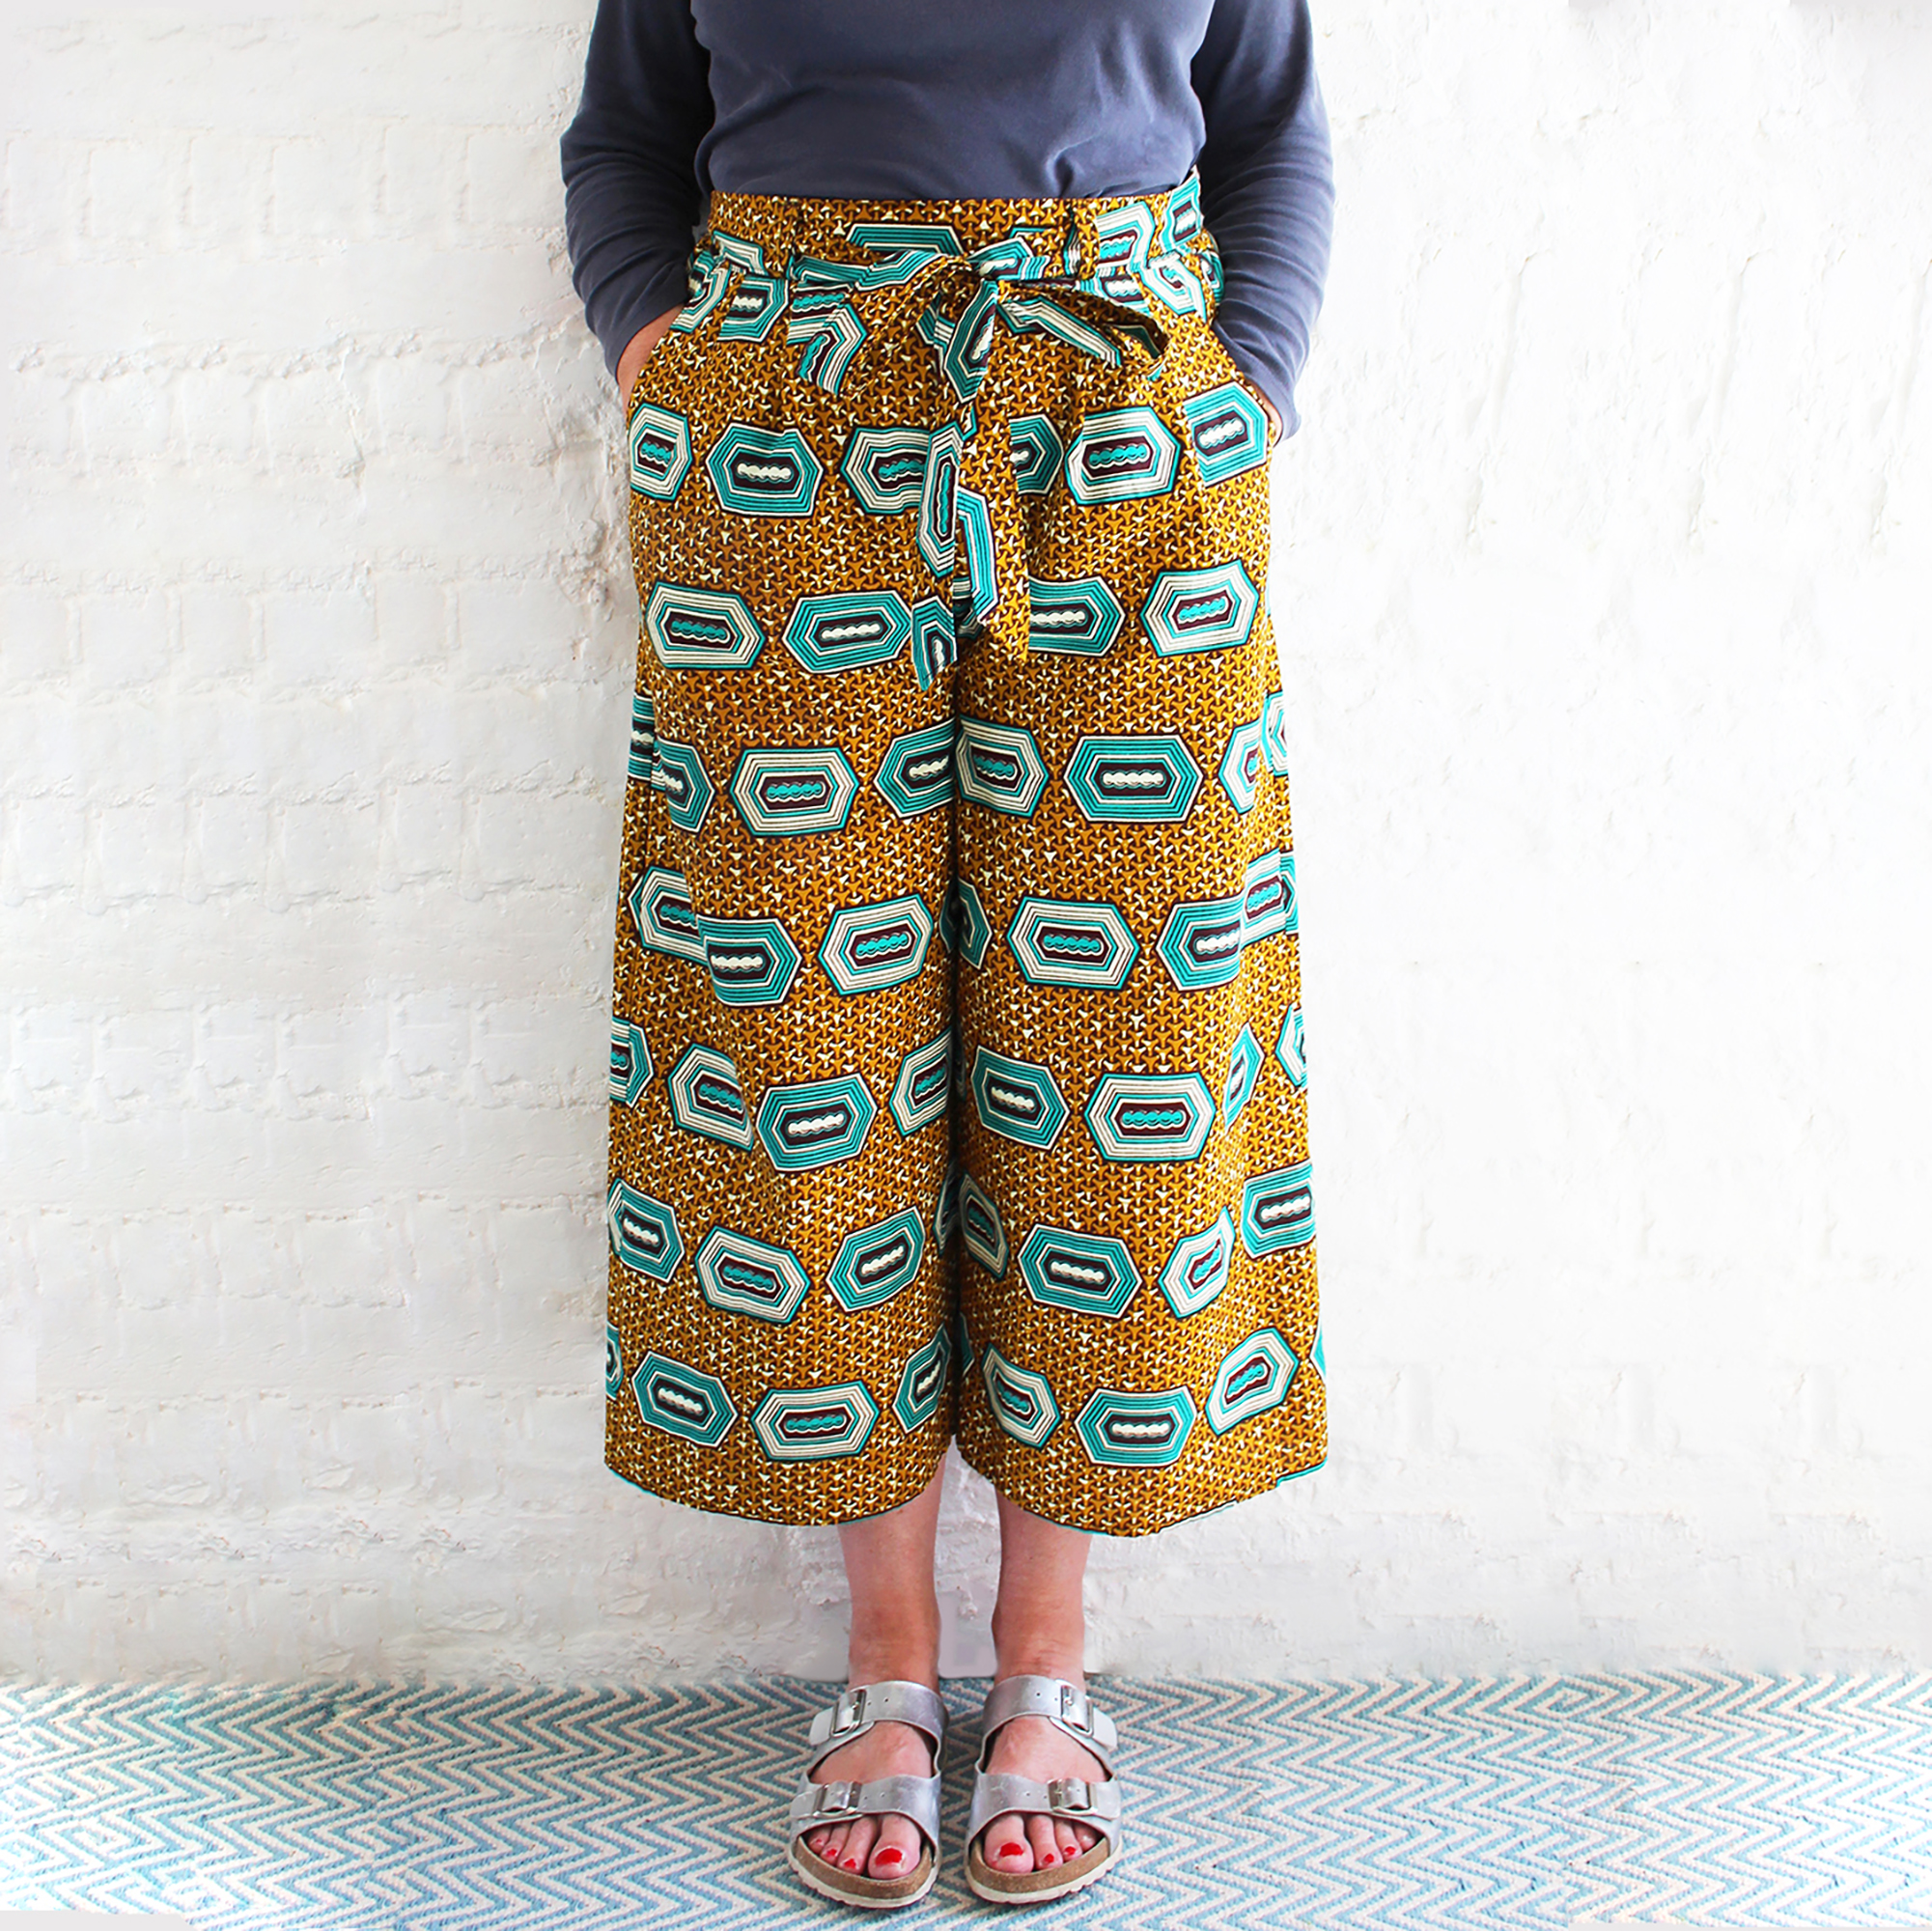
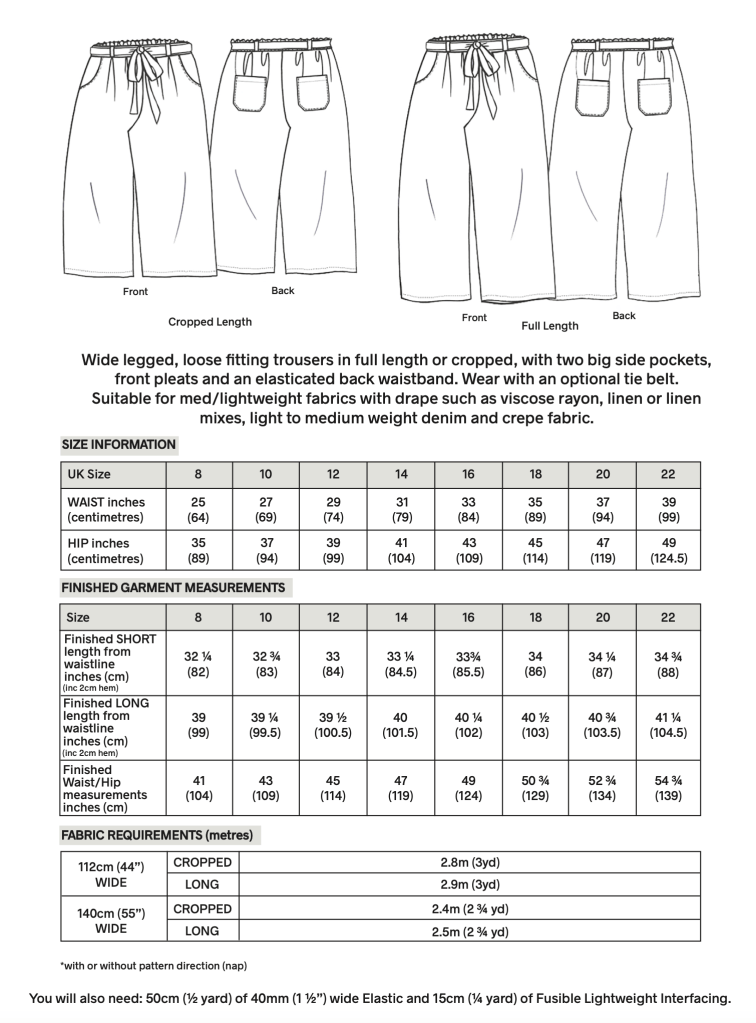
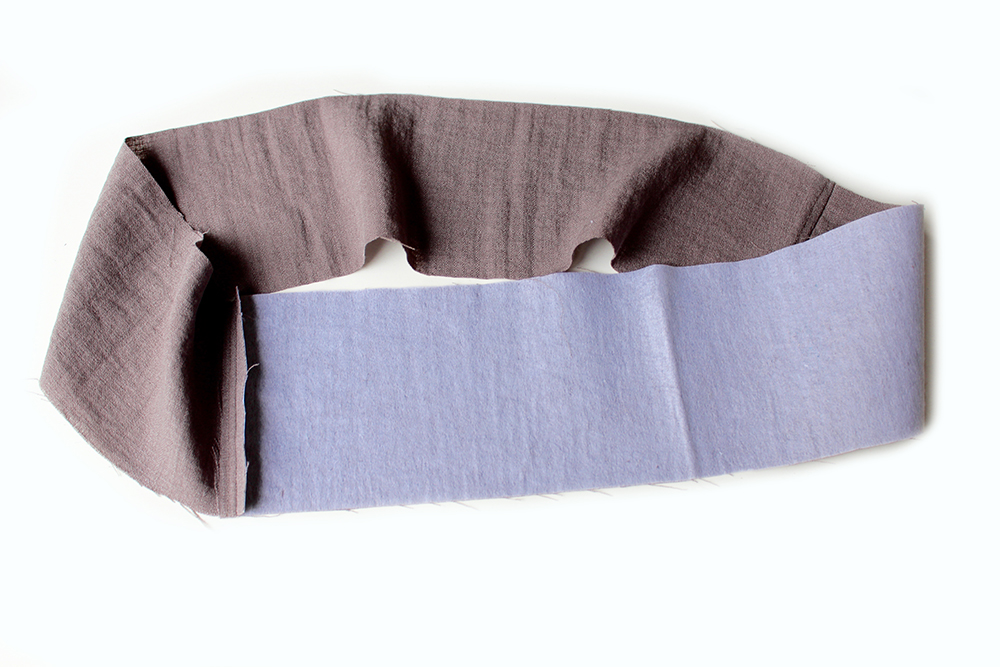 Interface the front waistband only. Pin and sew RST at the short sides. Press the seam allowances open.
 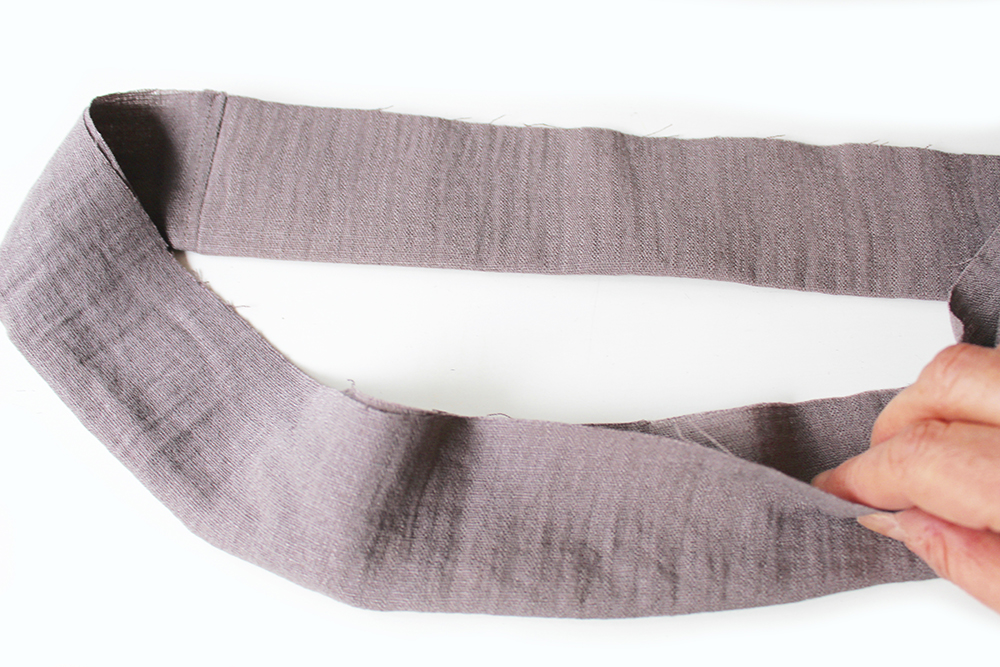 Fold in half so the WST (wrong sides are together), match the raw edges.
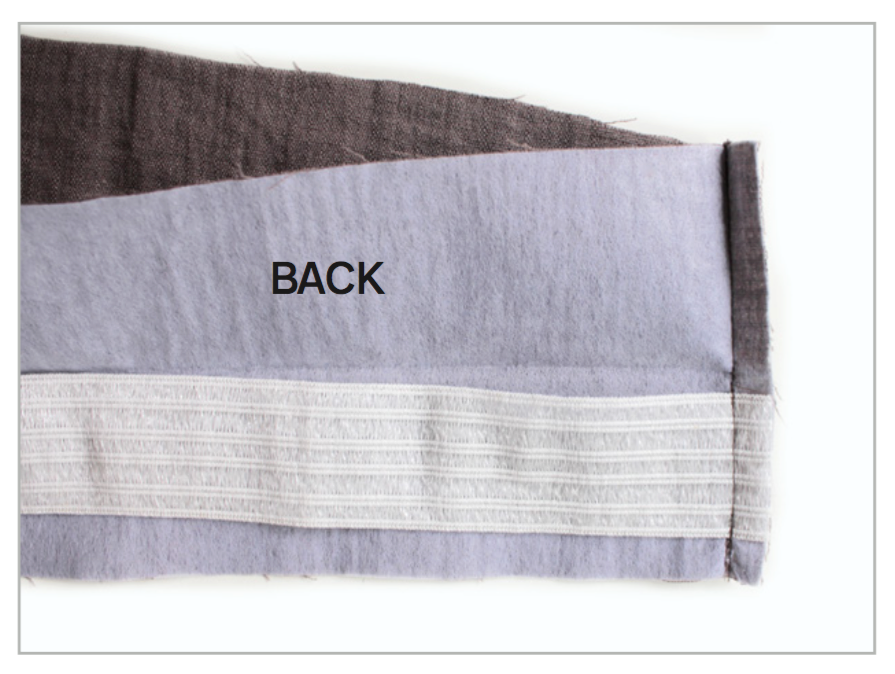 Pin the elastic at the side seams and extend across at the Back section.
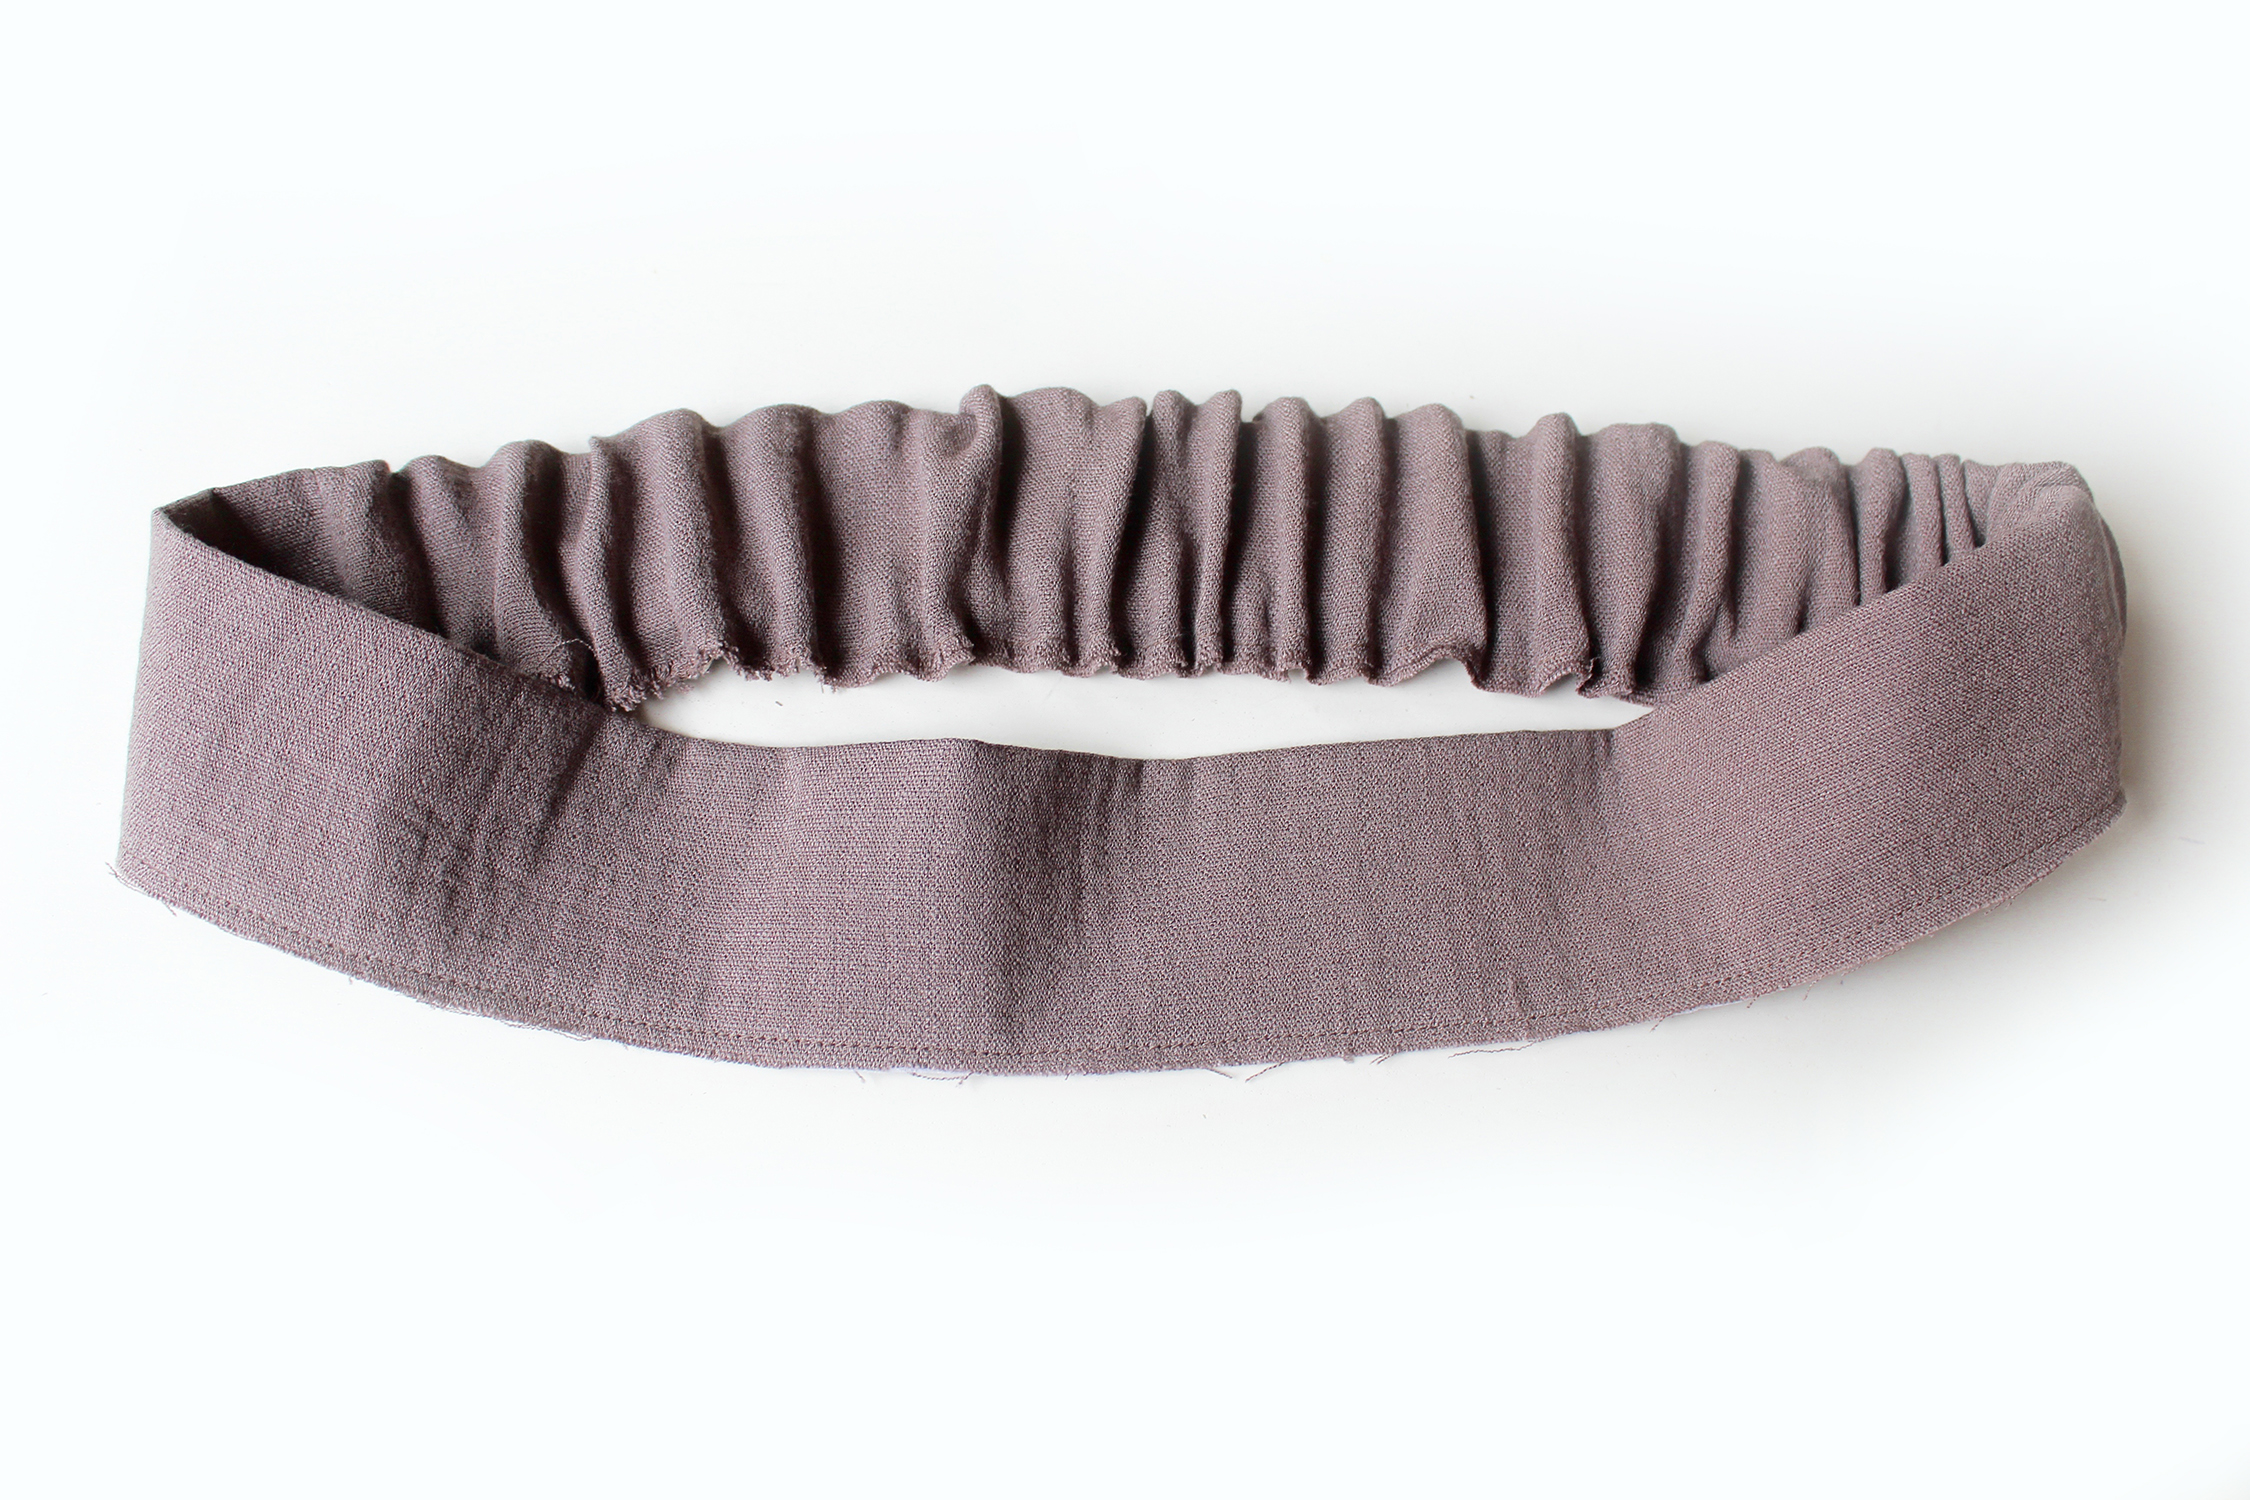 Machine tack close to the raw edges, making sure you don’t sew in any elastic. Finish the raw edge, also on the trousers front and back top edge.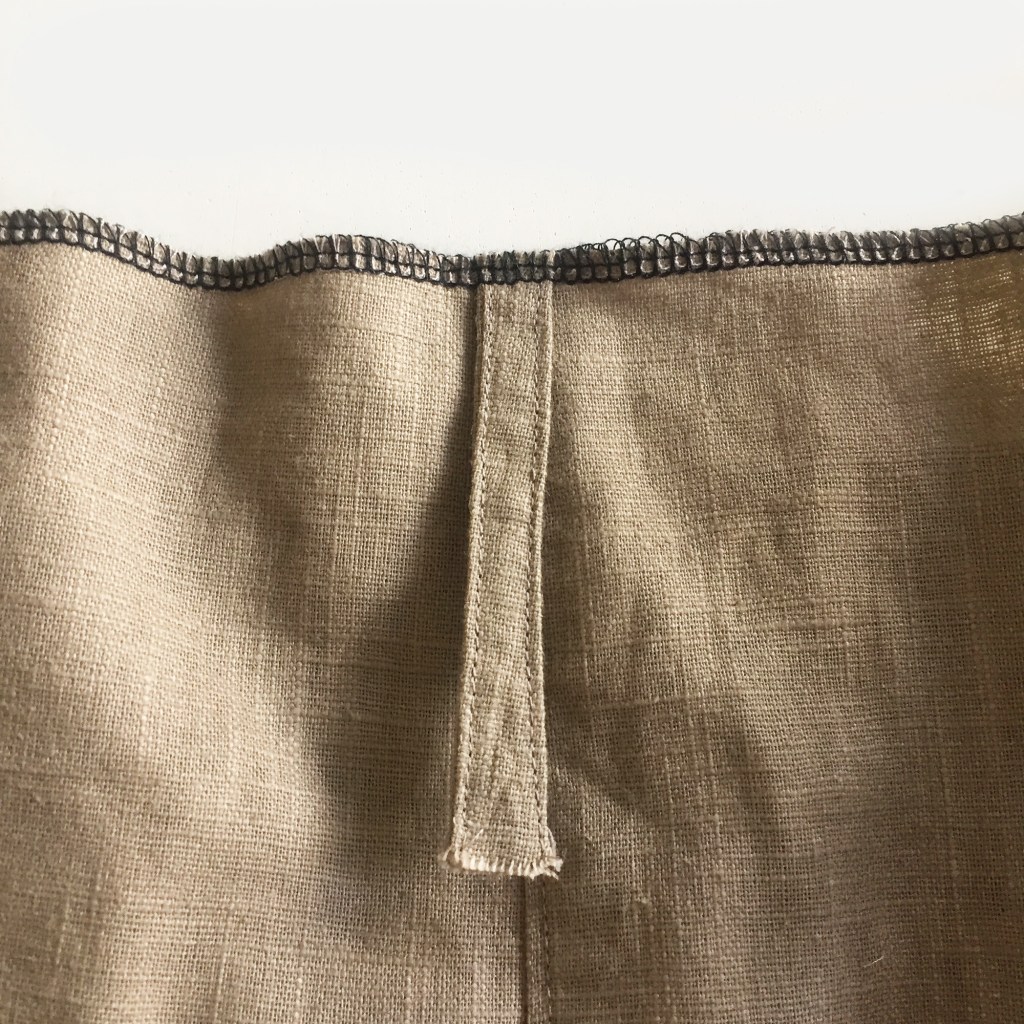
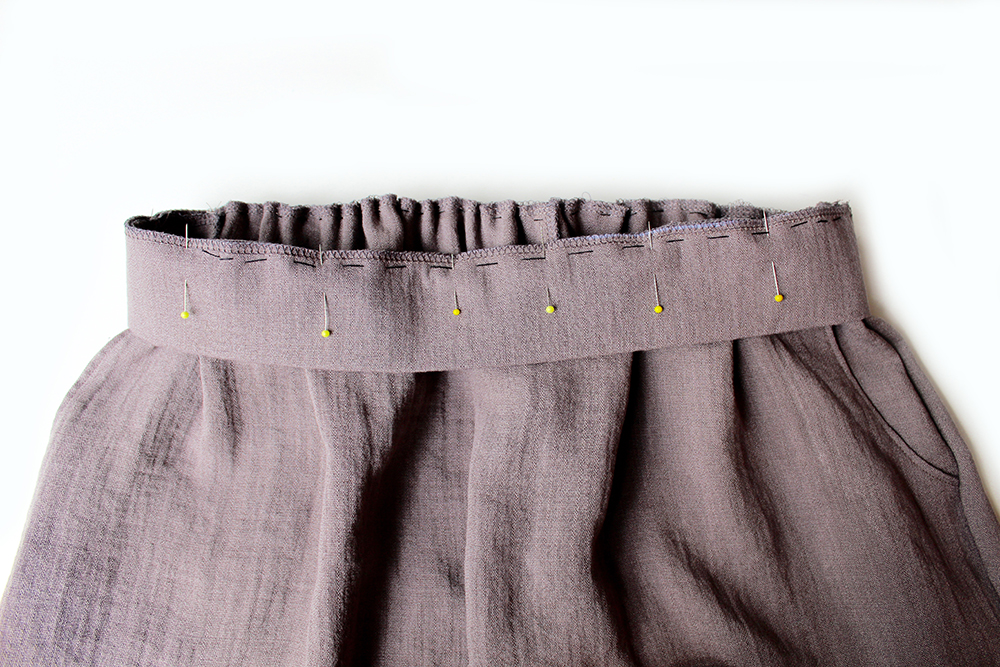
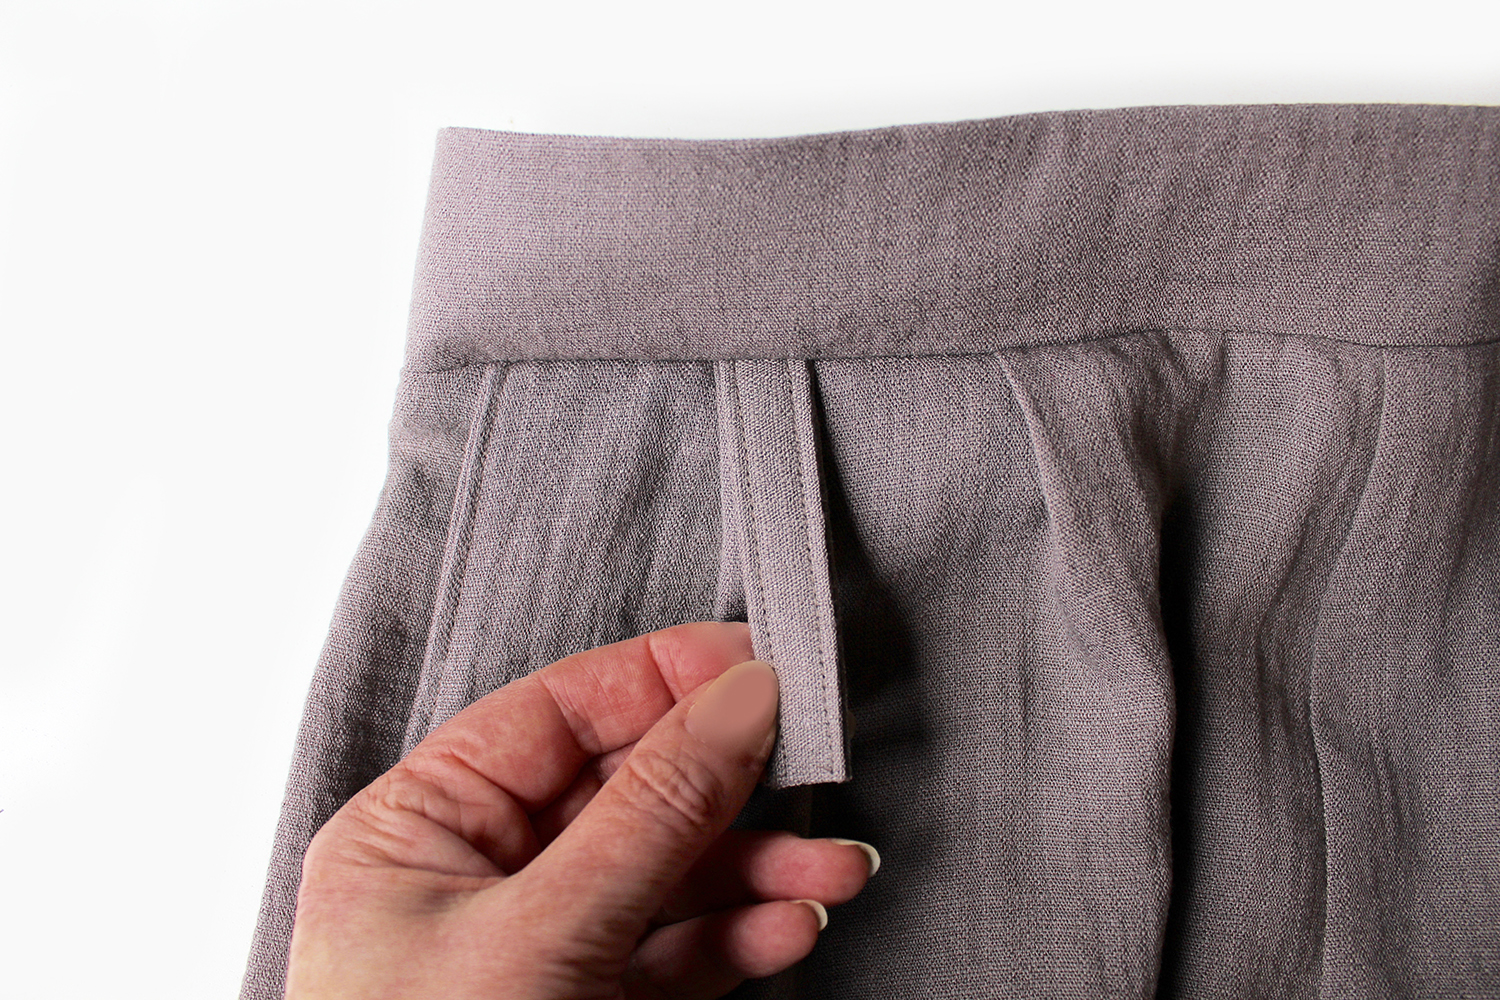
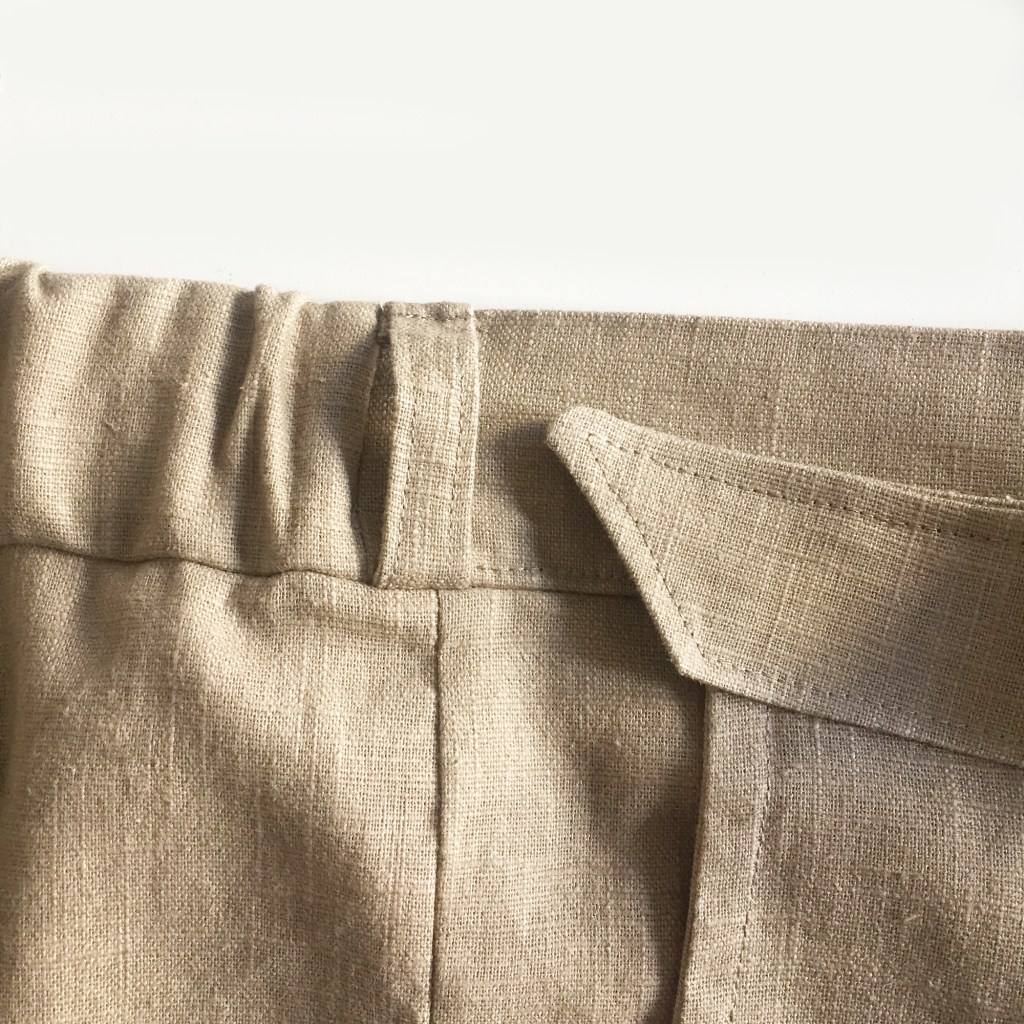
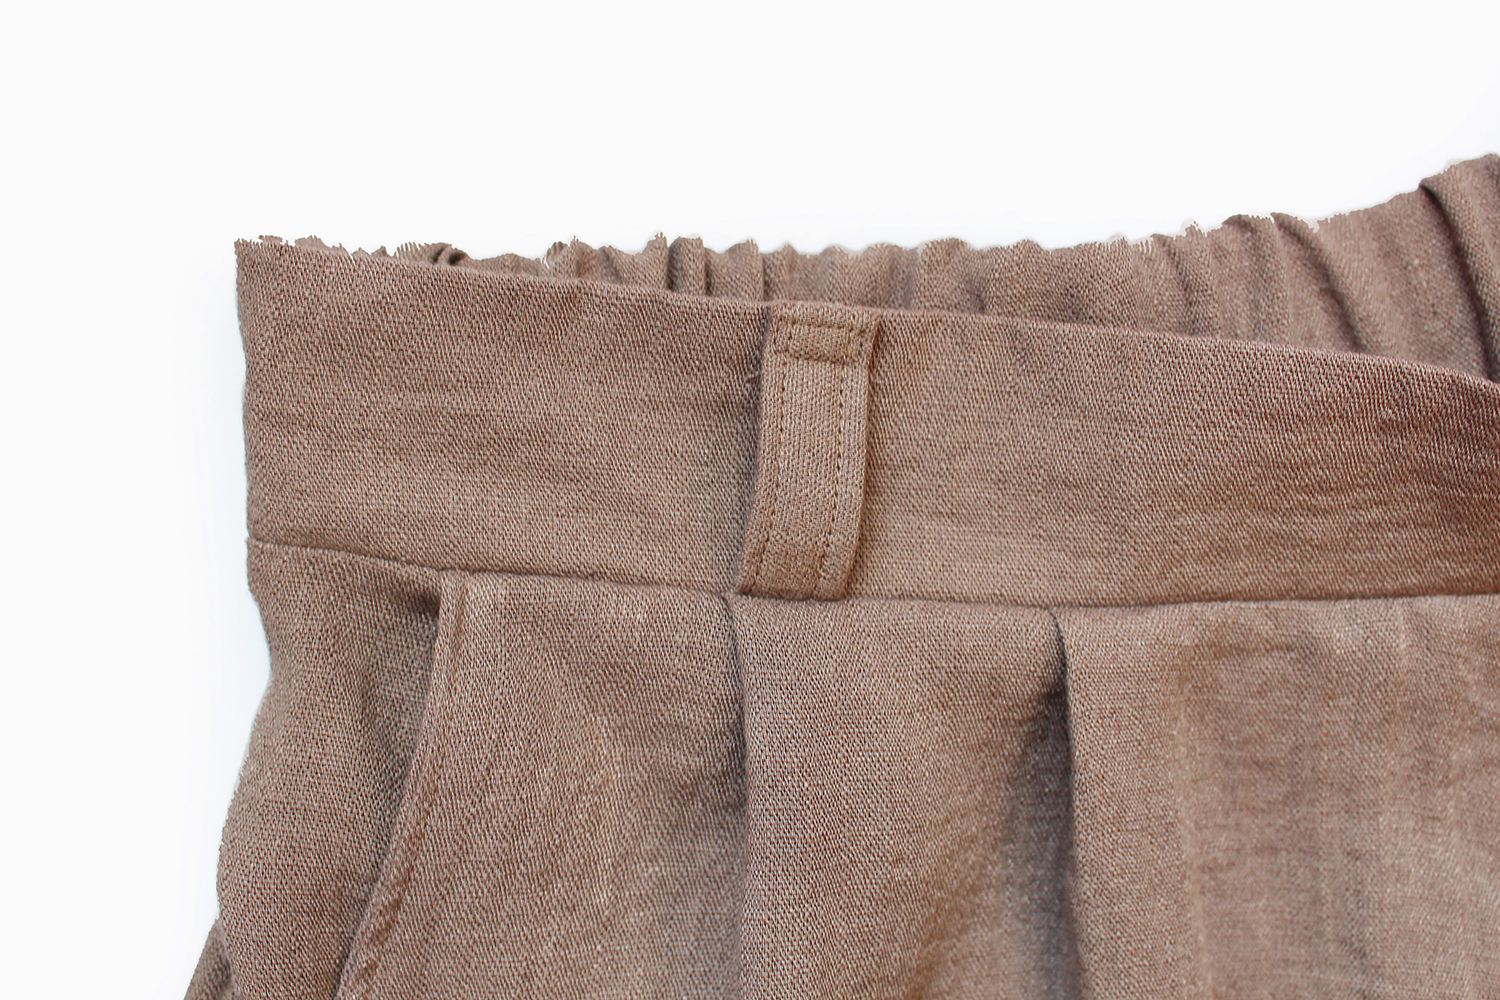
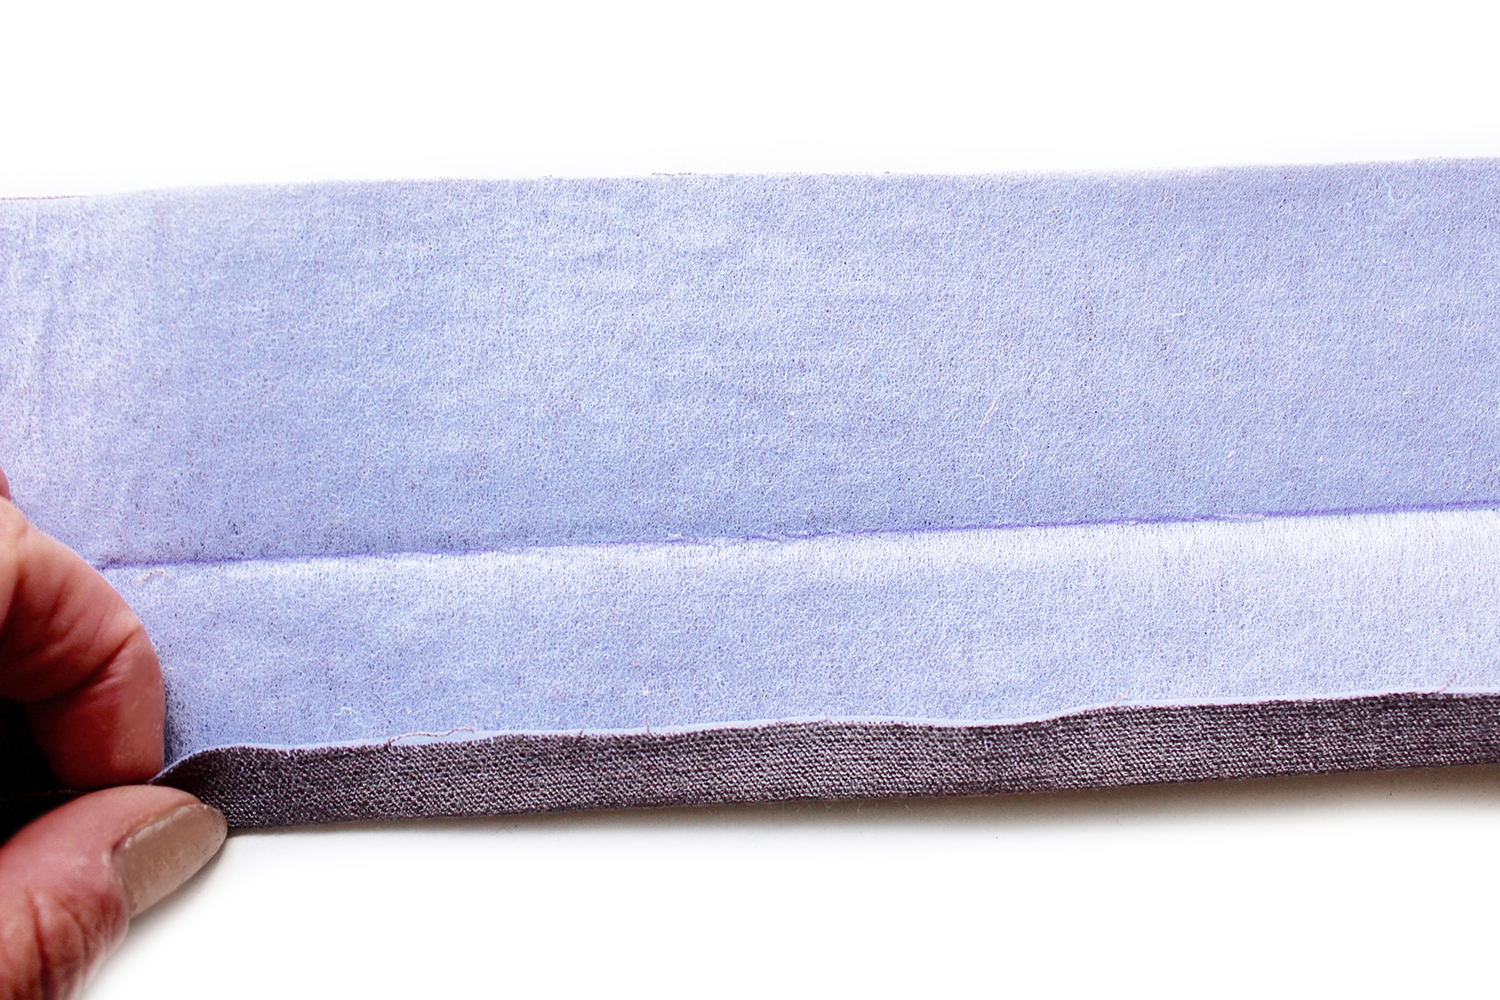 Fold over and press 1cm to the wrong side all around one long raw edge of the waistband.
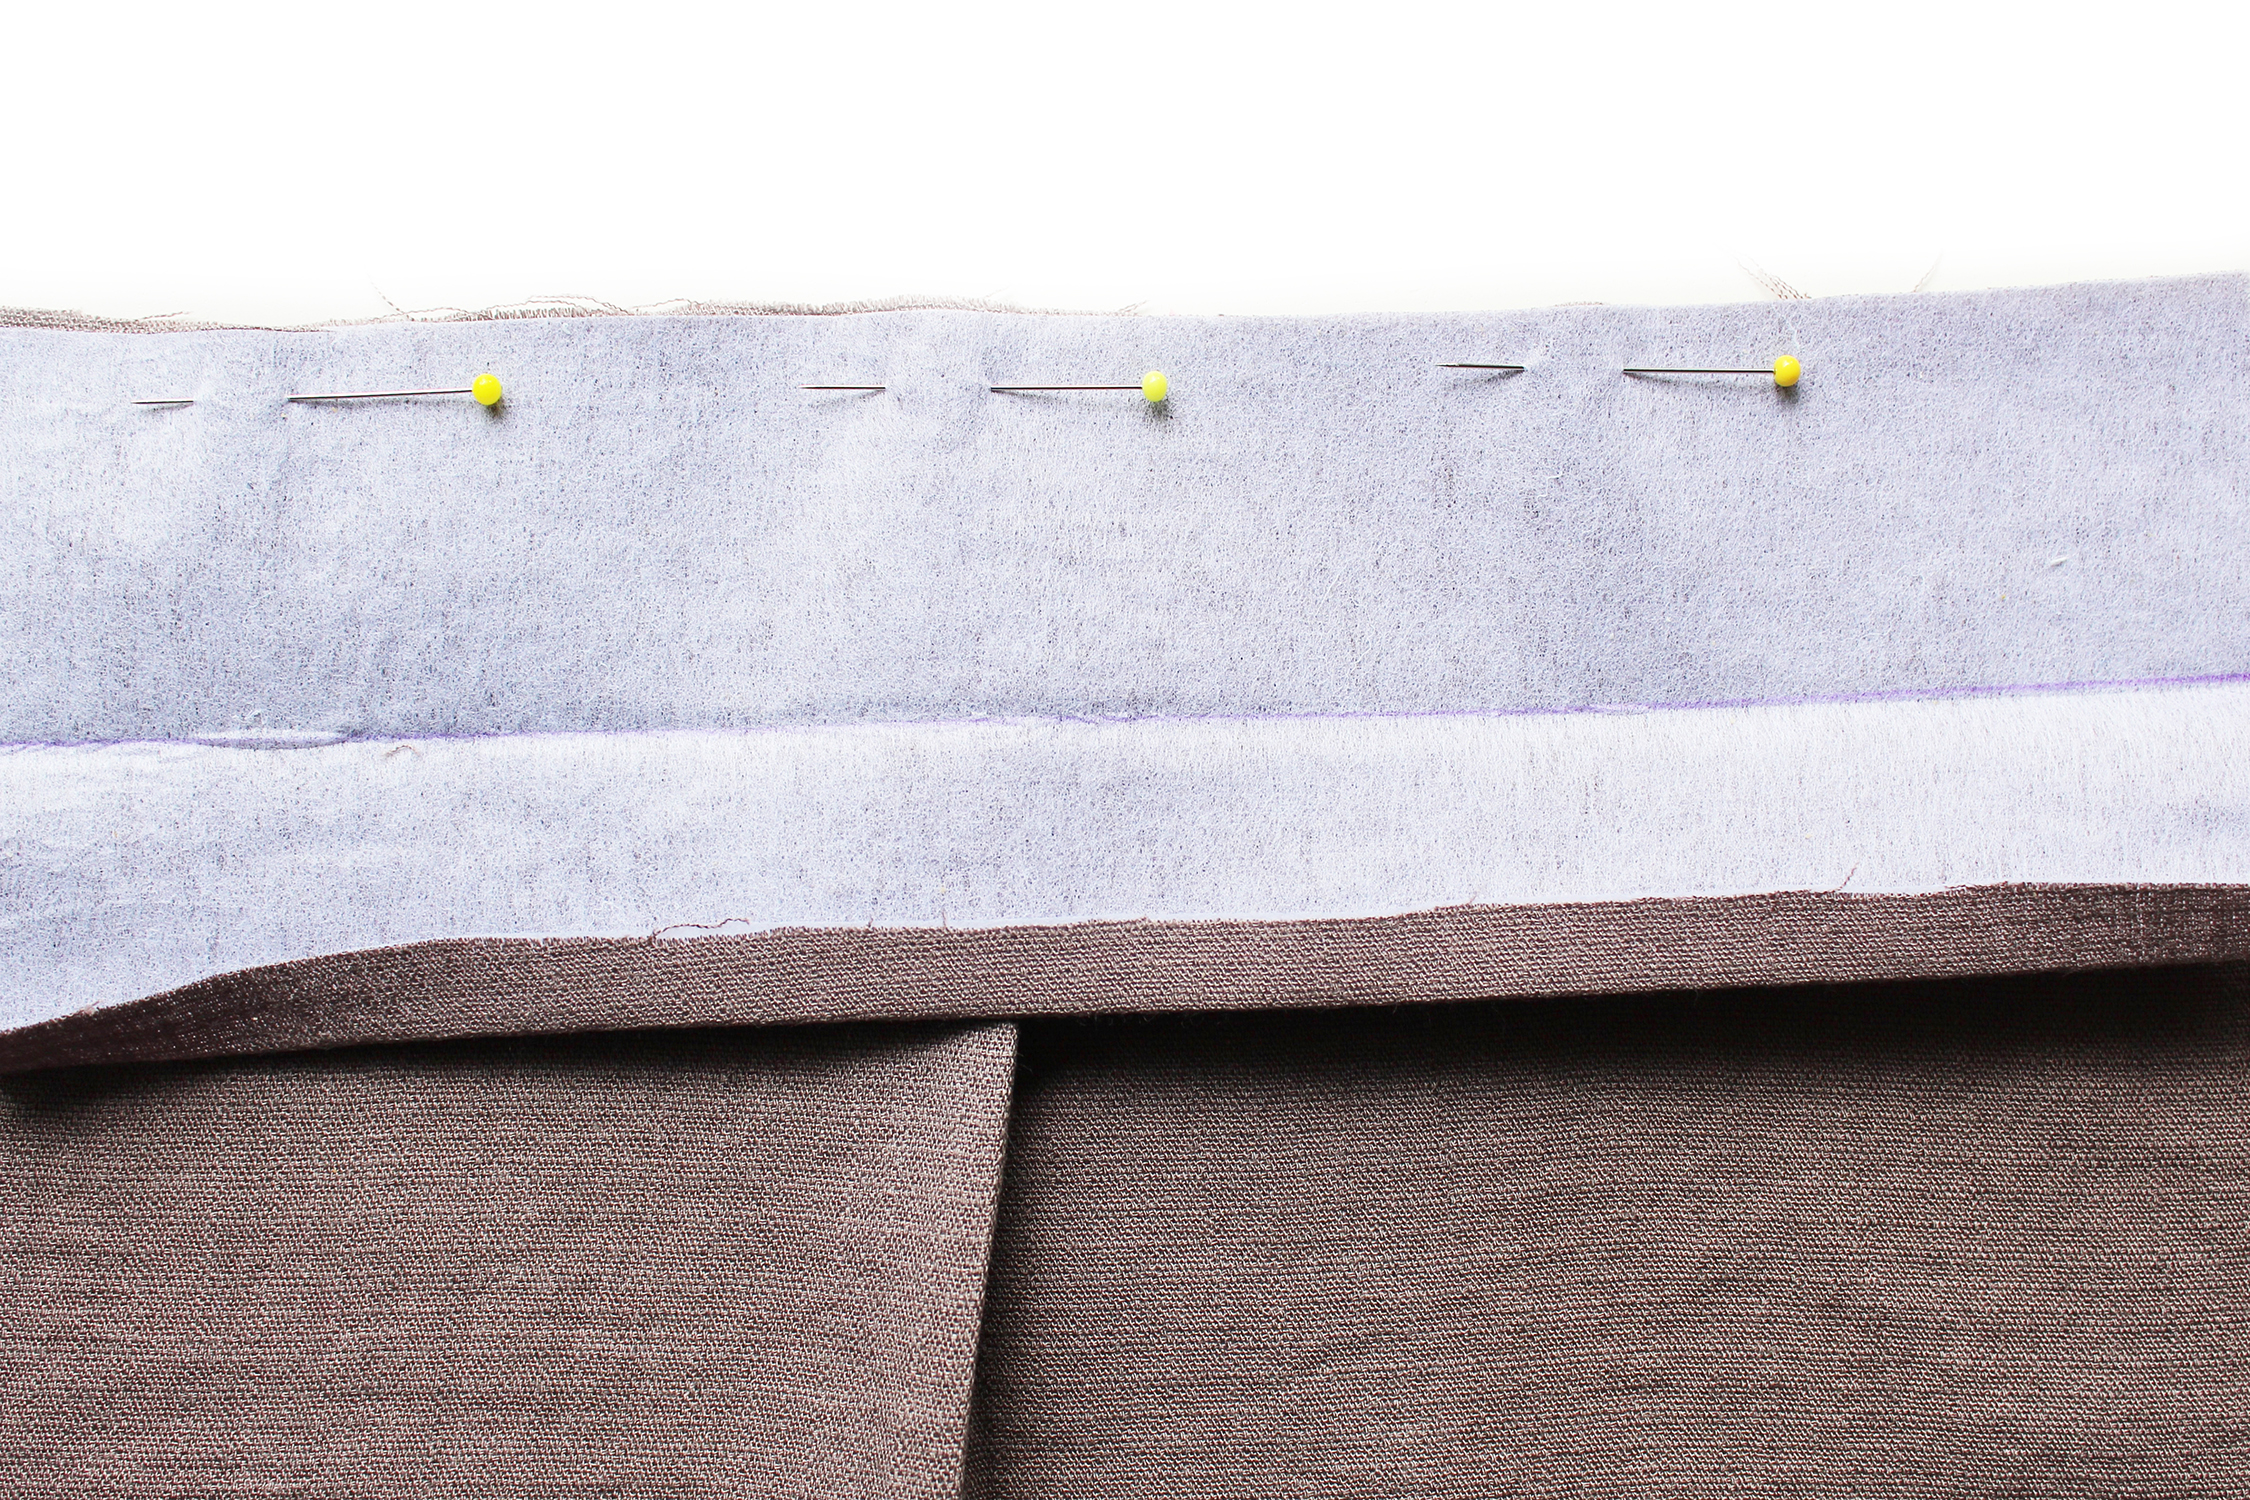 Pin the waistband unfolded edge to the trousers top edge., match up the side seams and align the back and front. Sew all around.
 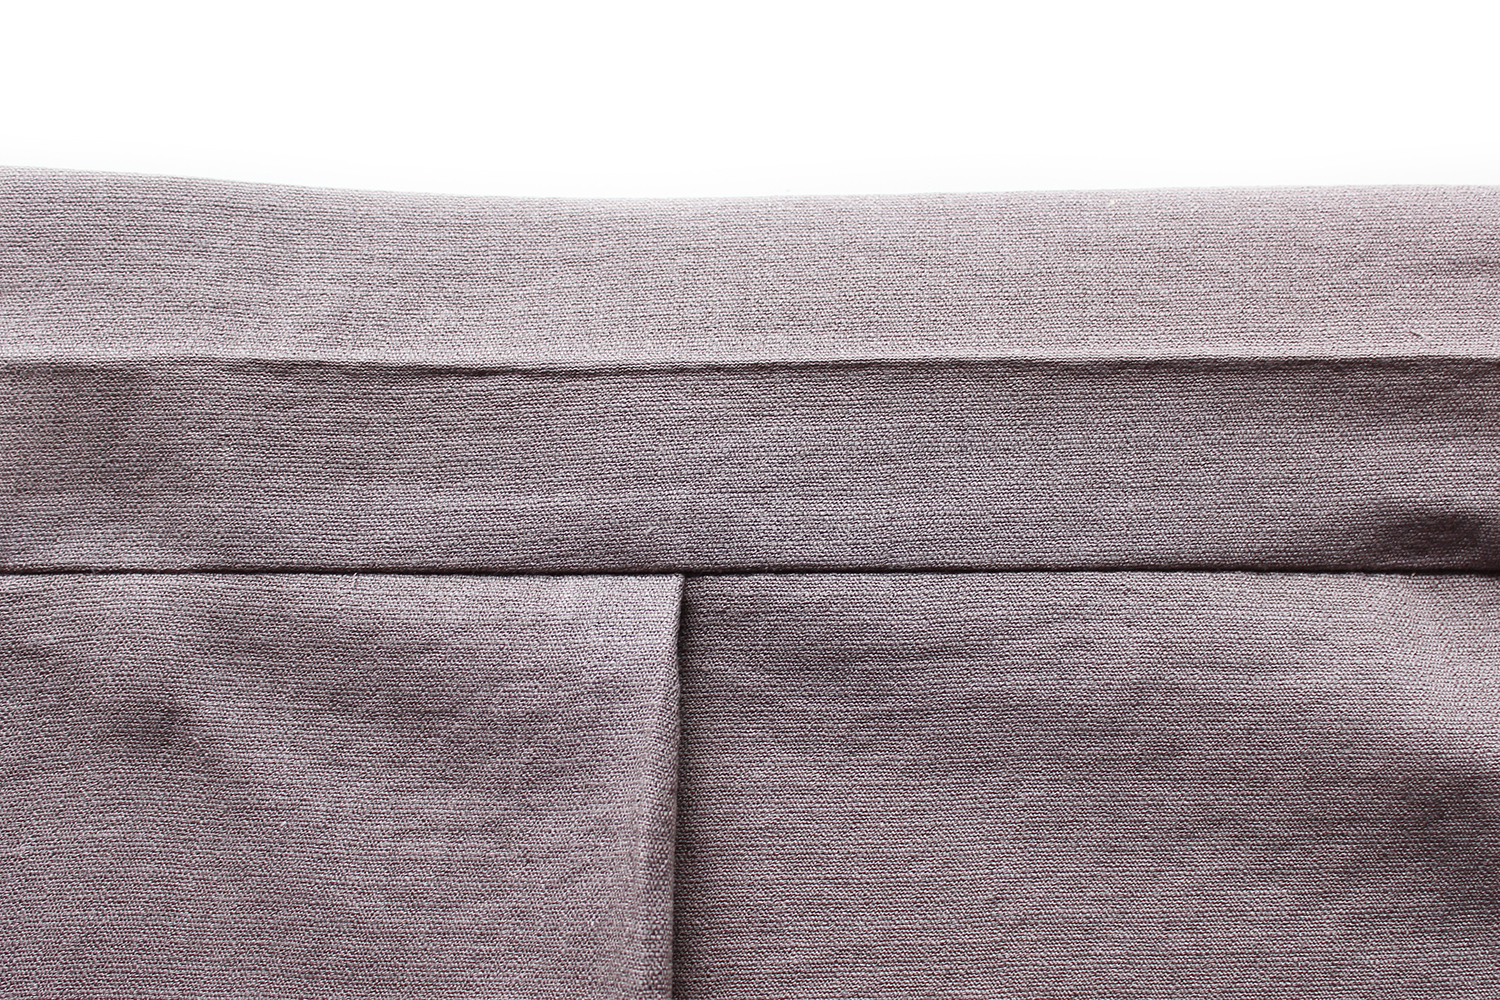 Fold the waistband up. Press at the seamline.
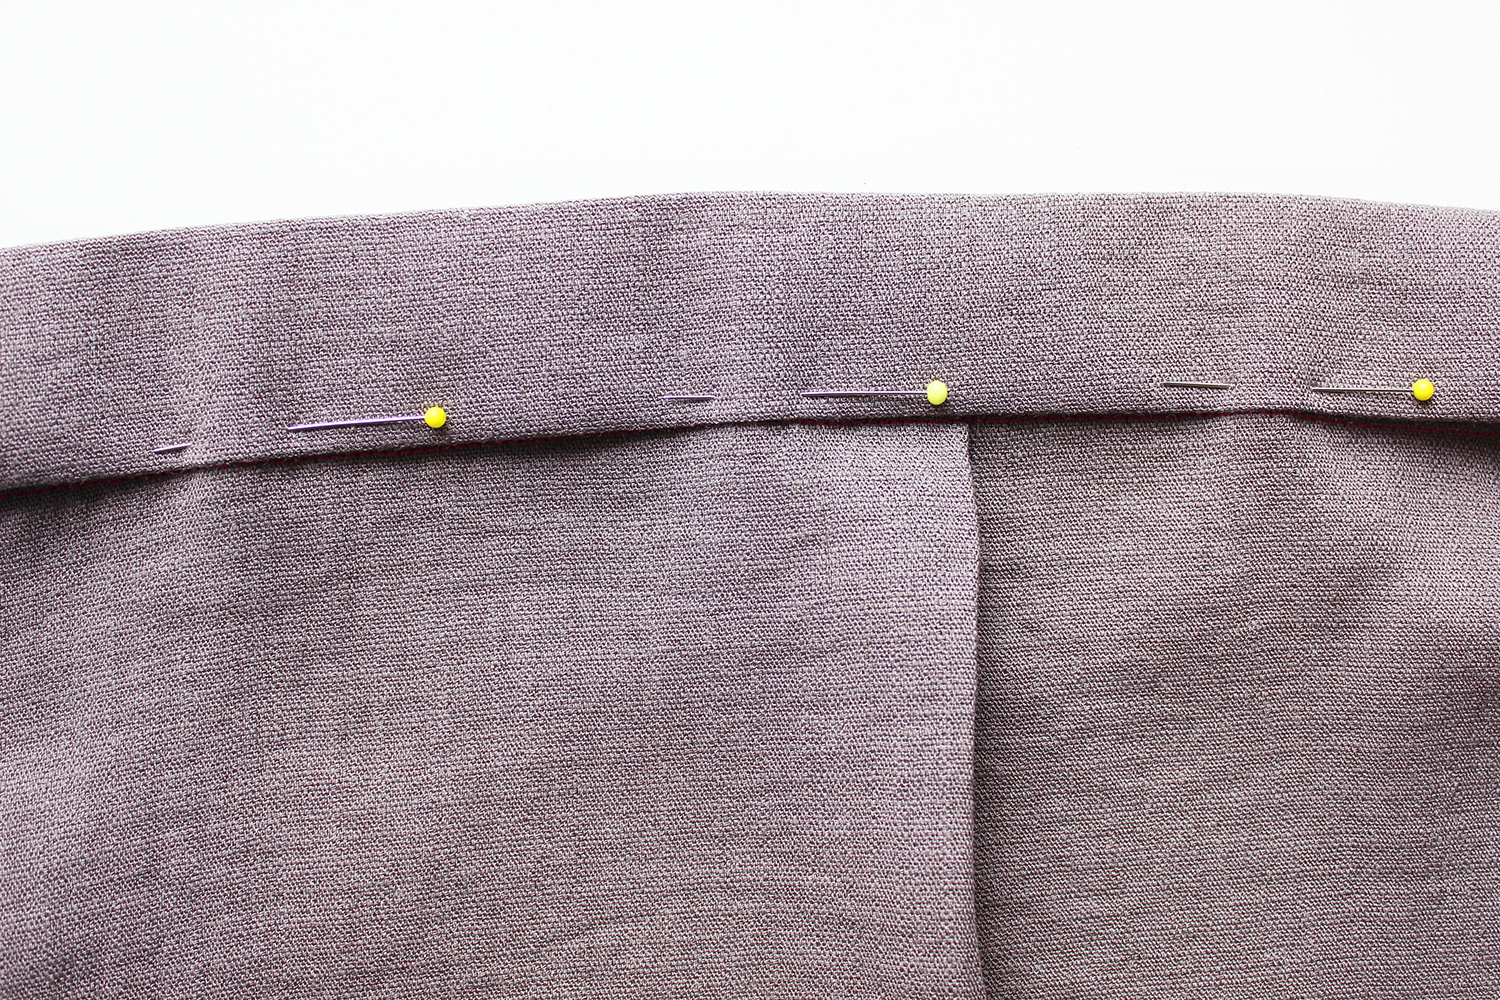 Fold over to the reverse side of the waistband encasing all the raw edges, keep passing the fabric along the elastic so you are always working with a flat piece of waistband.
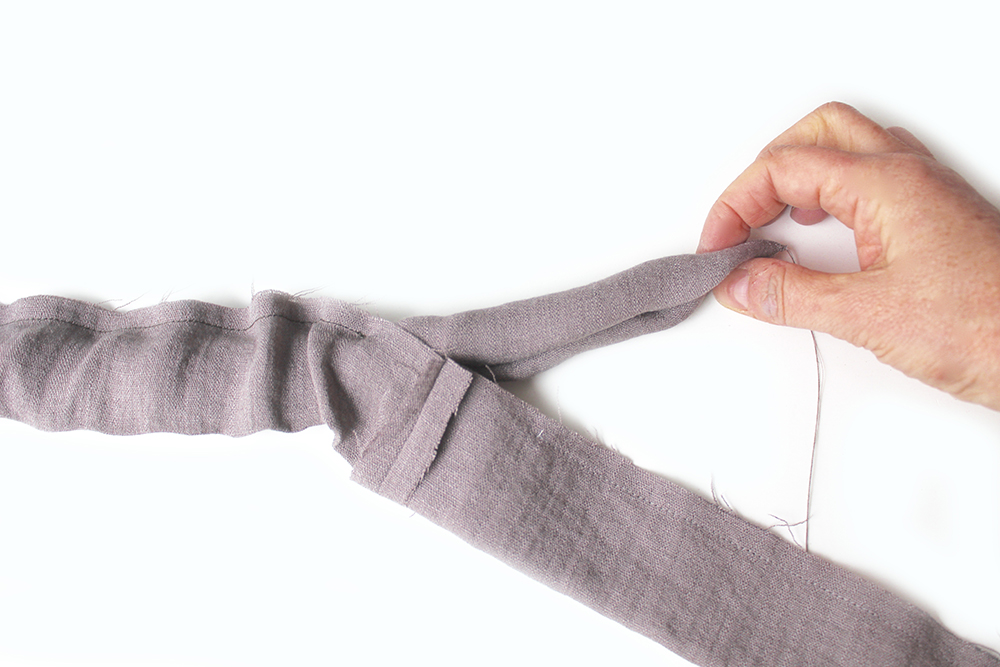
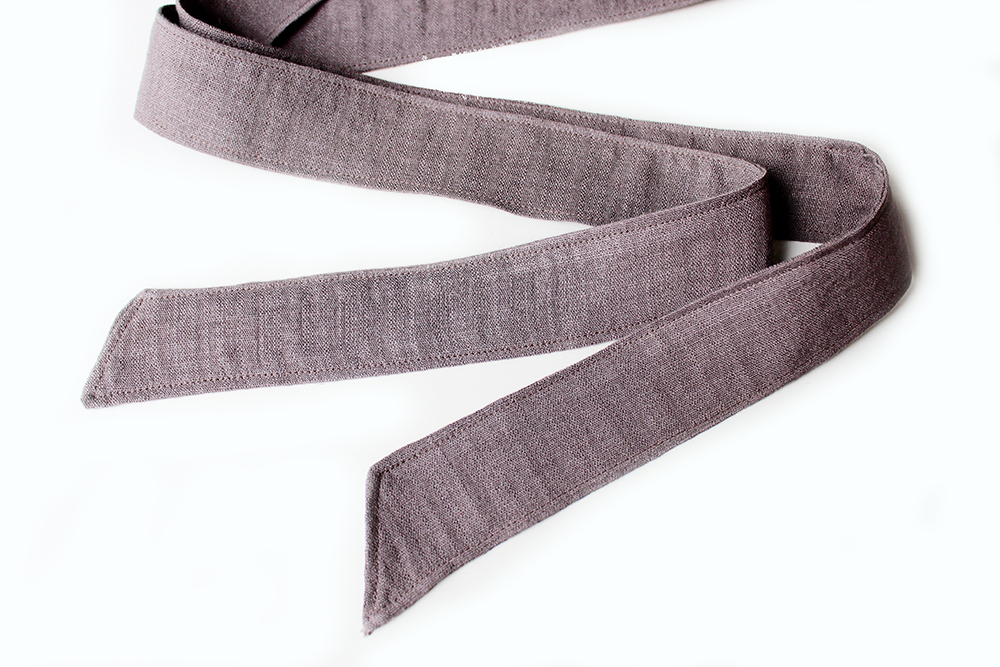
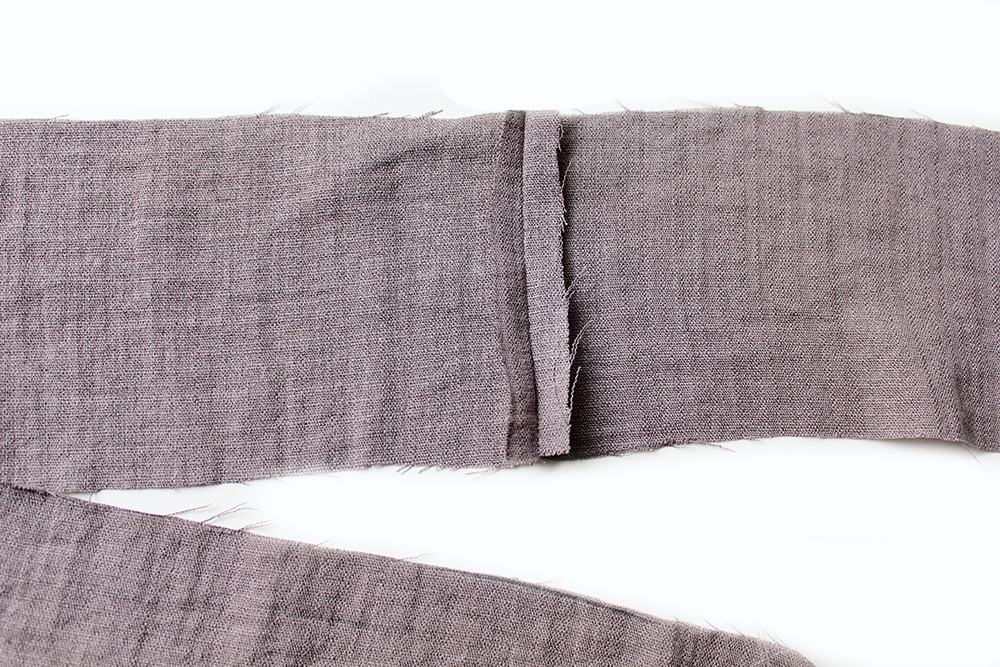 Join the tie pieces with the RST. Press the seam allowances open.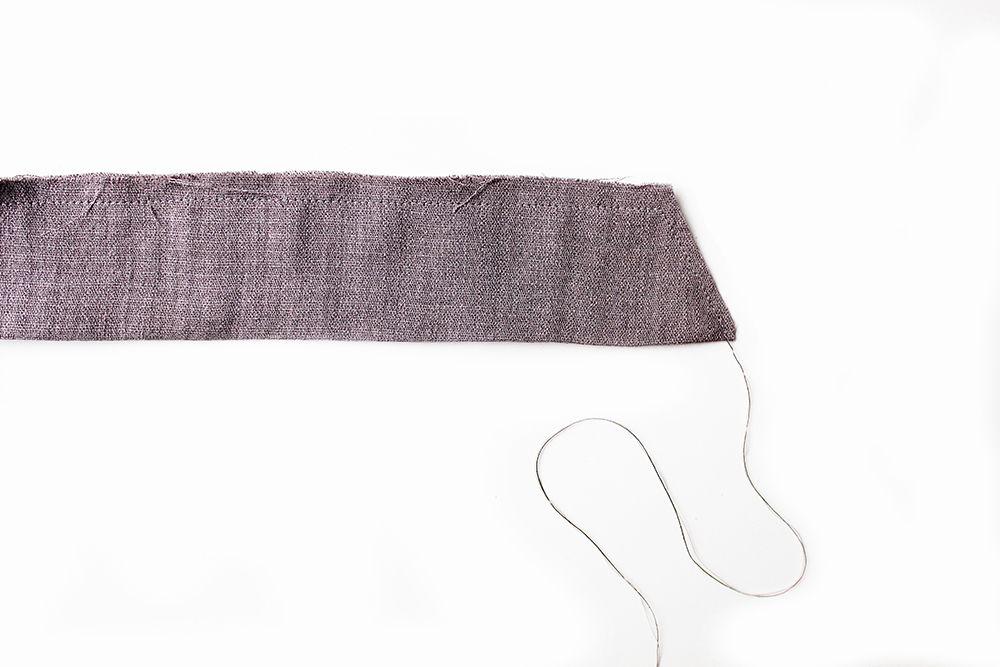
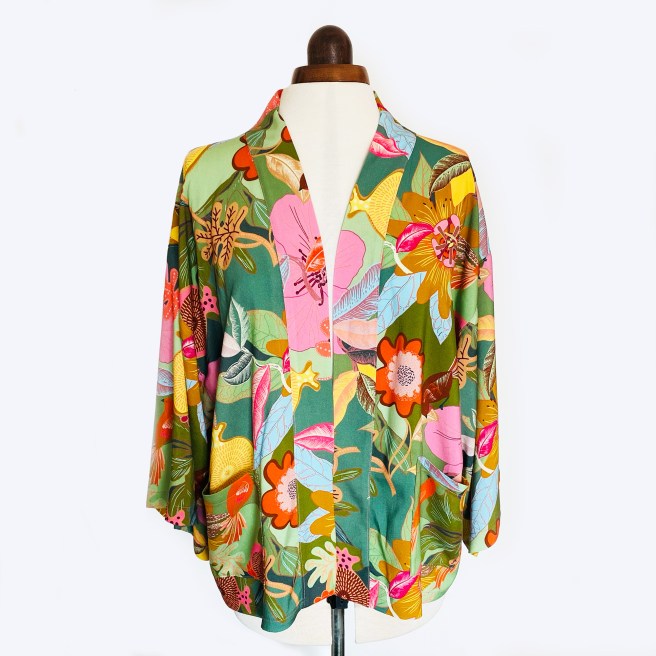
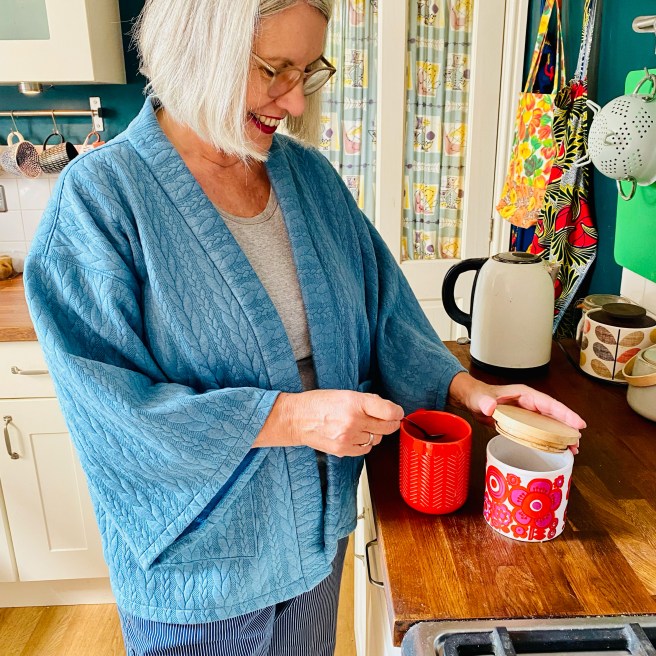
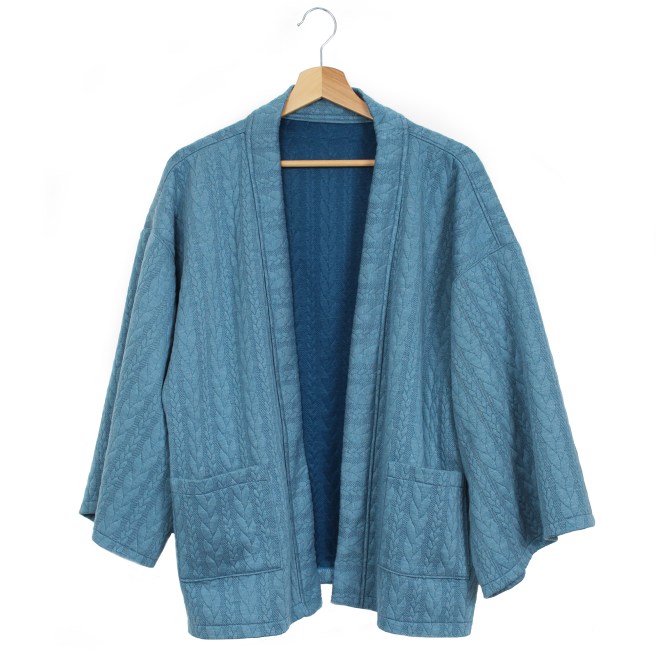
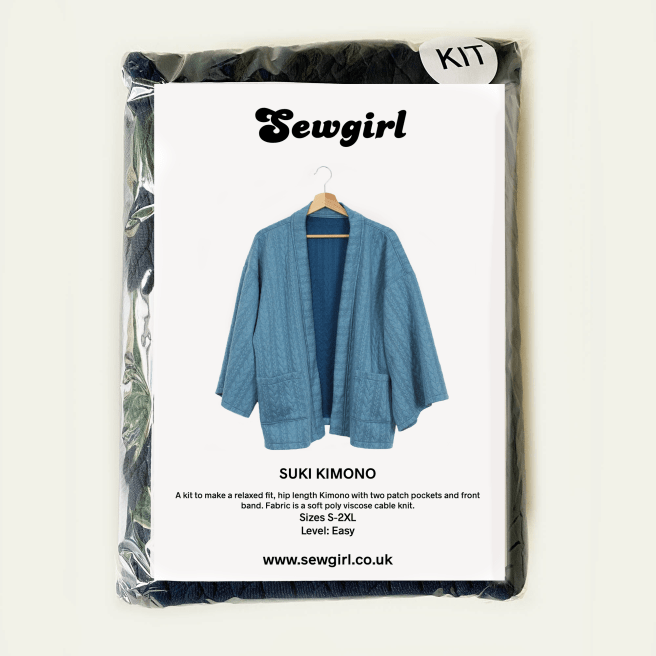


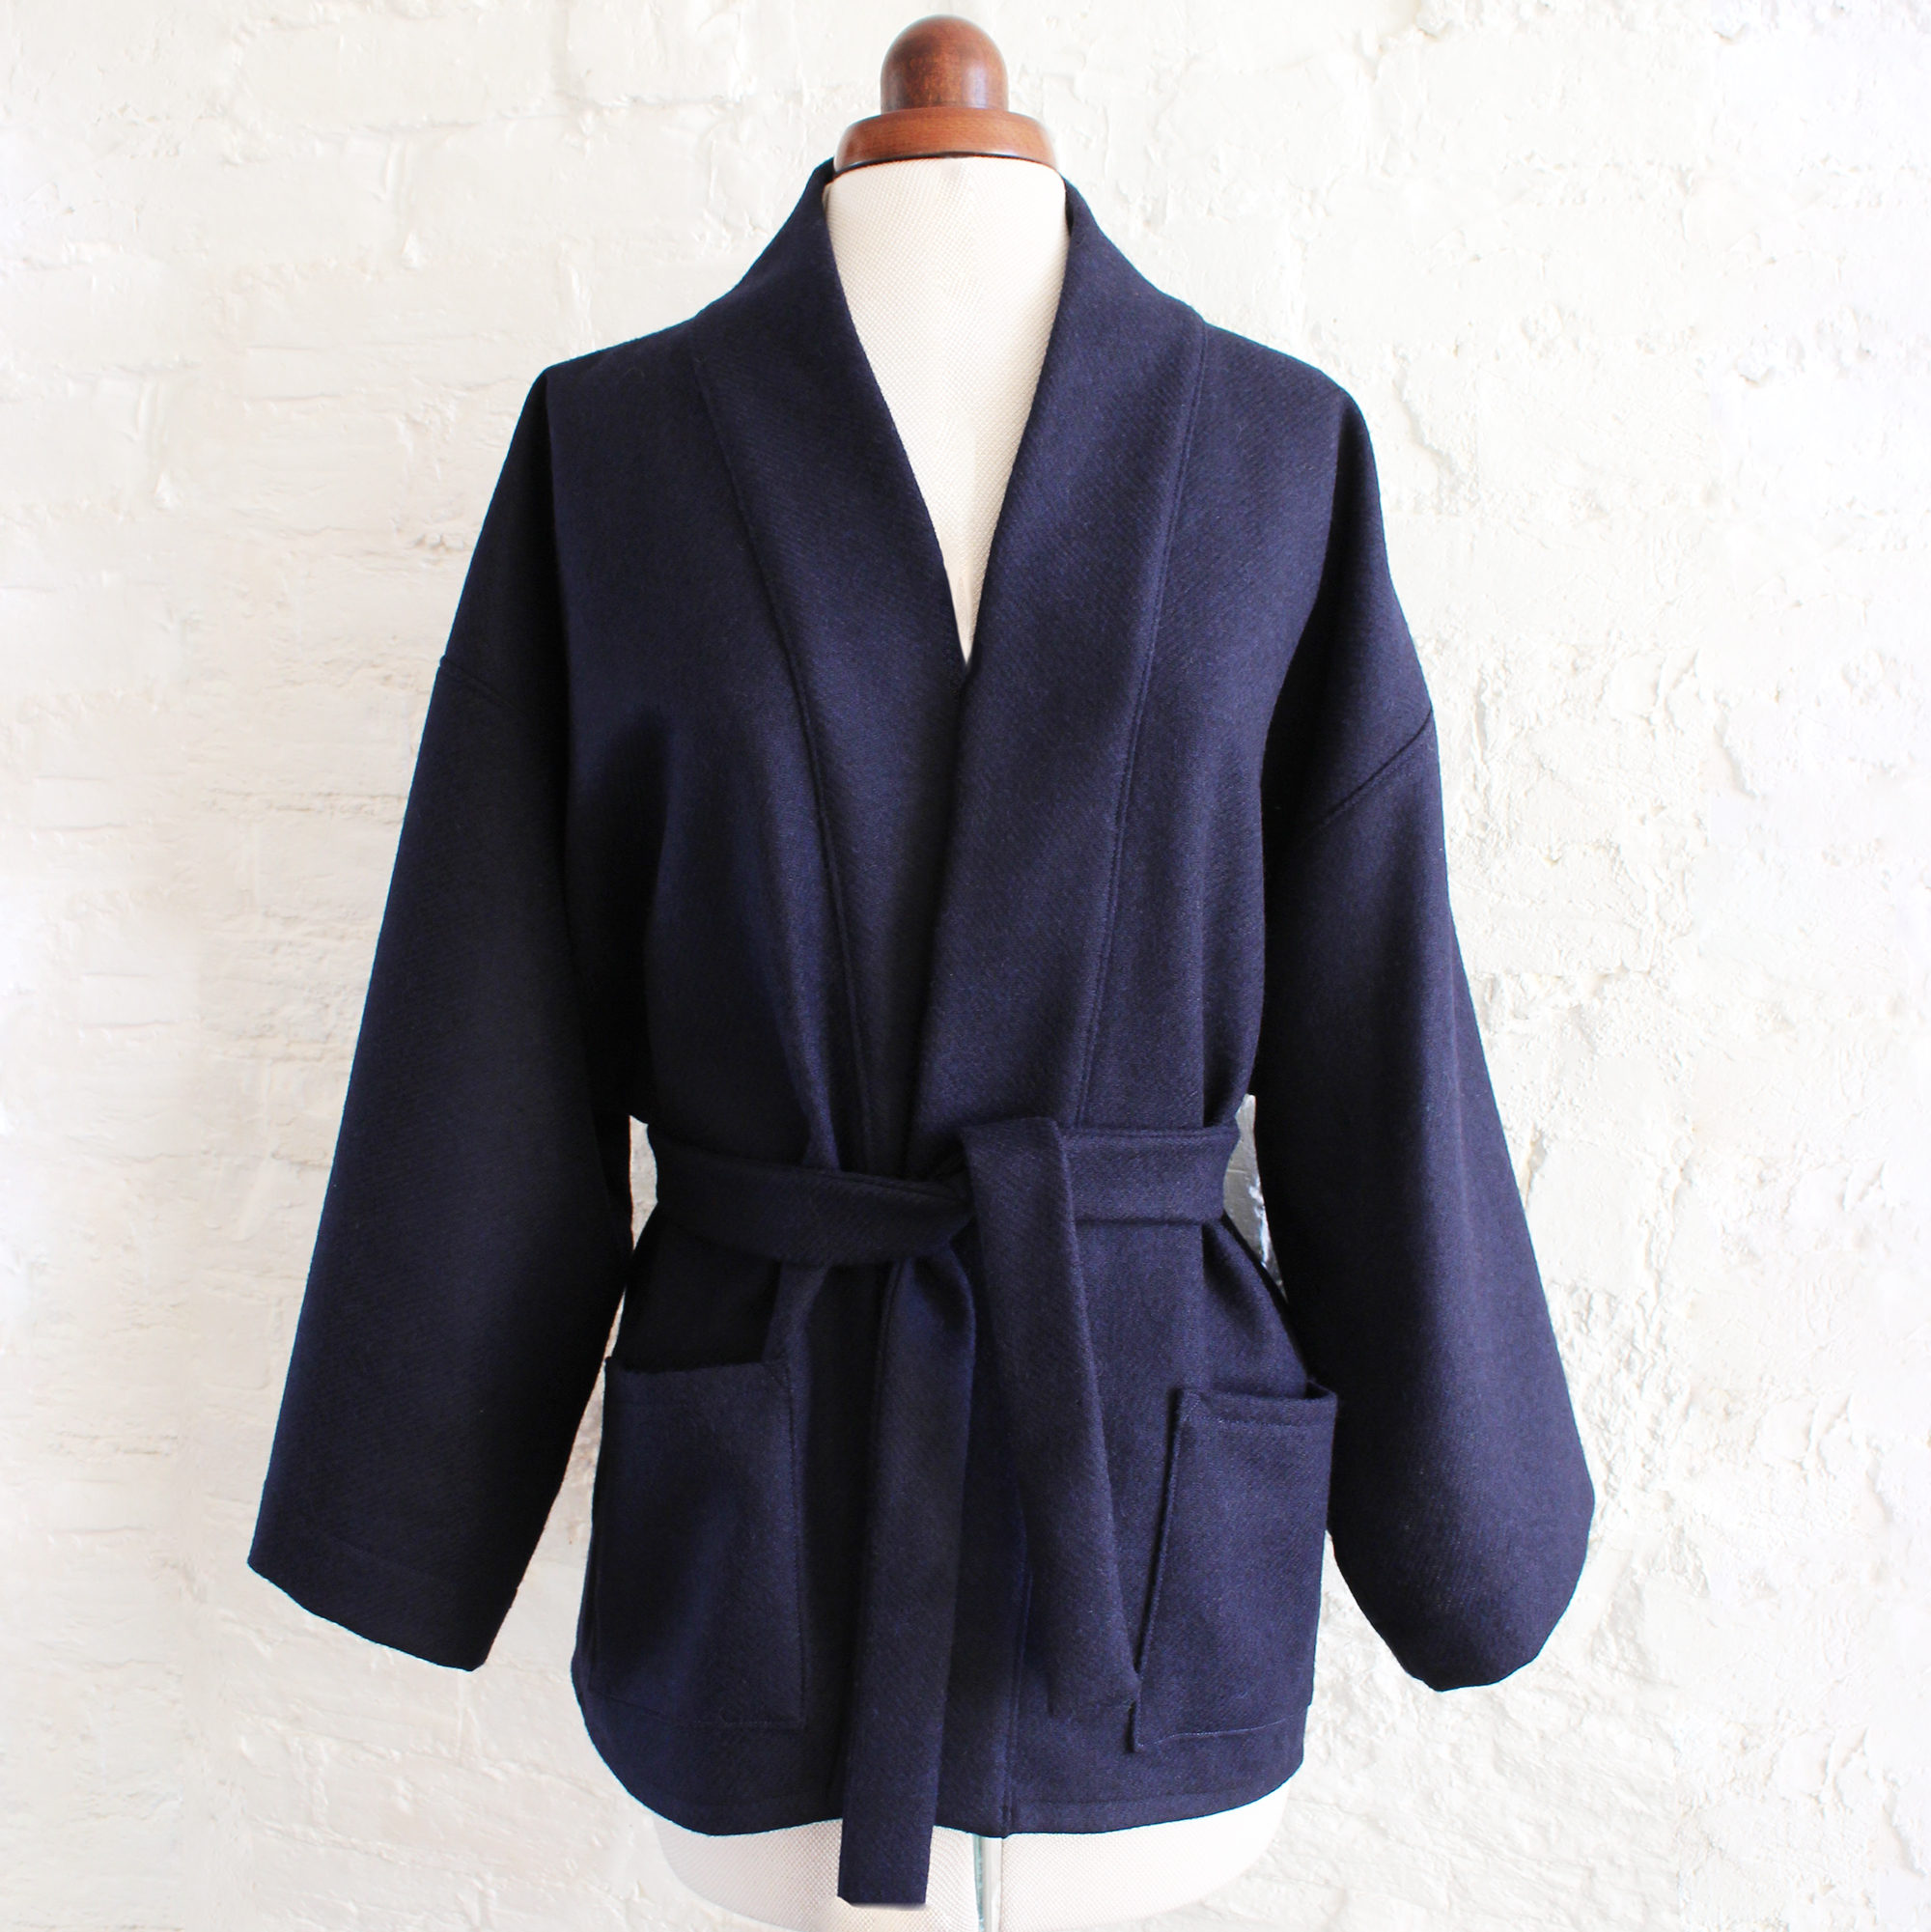
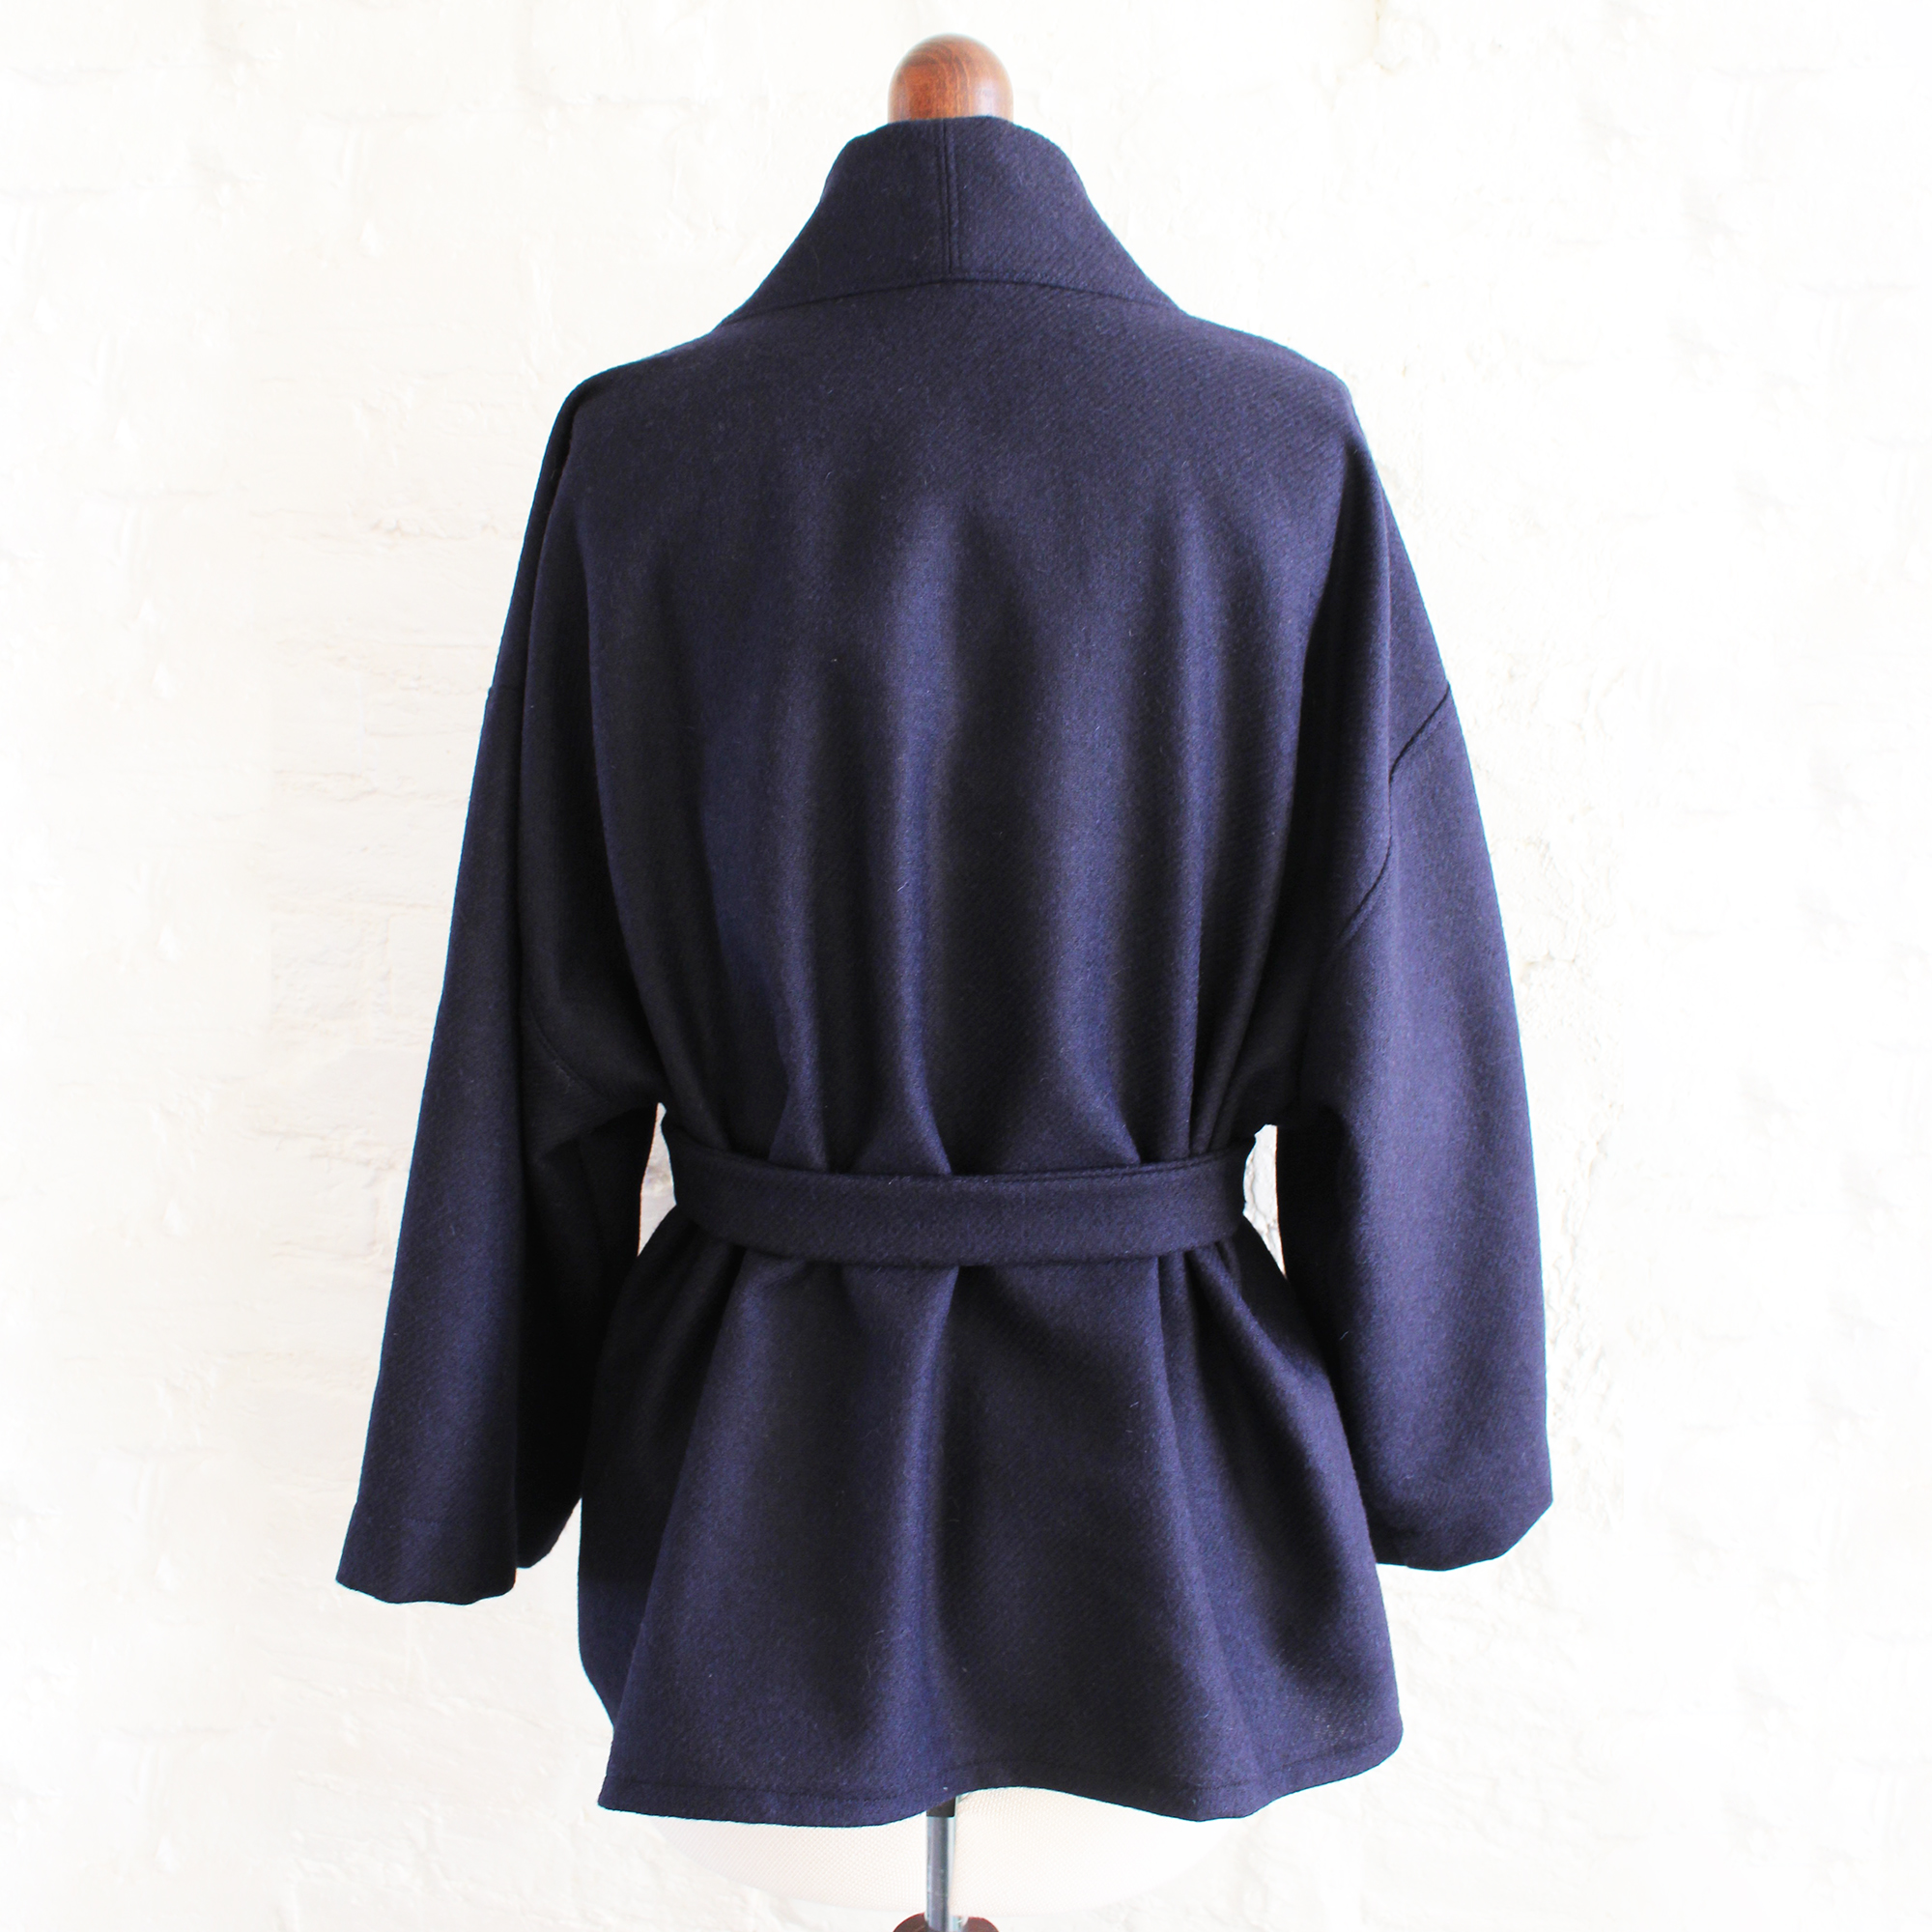


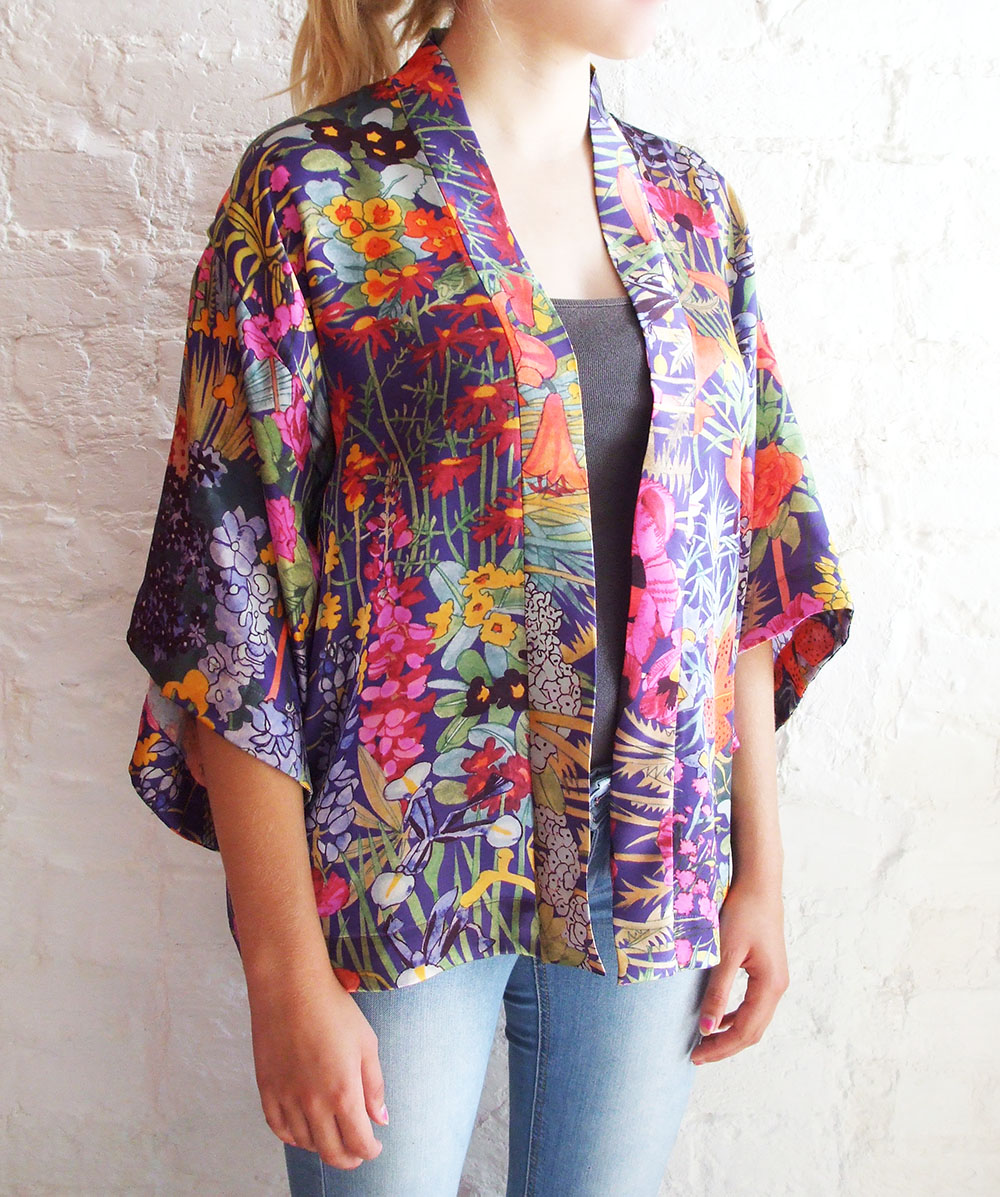
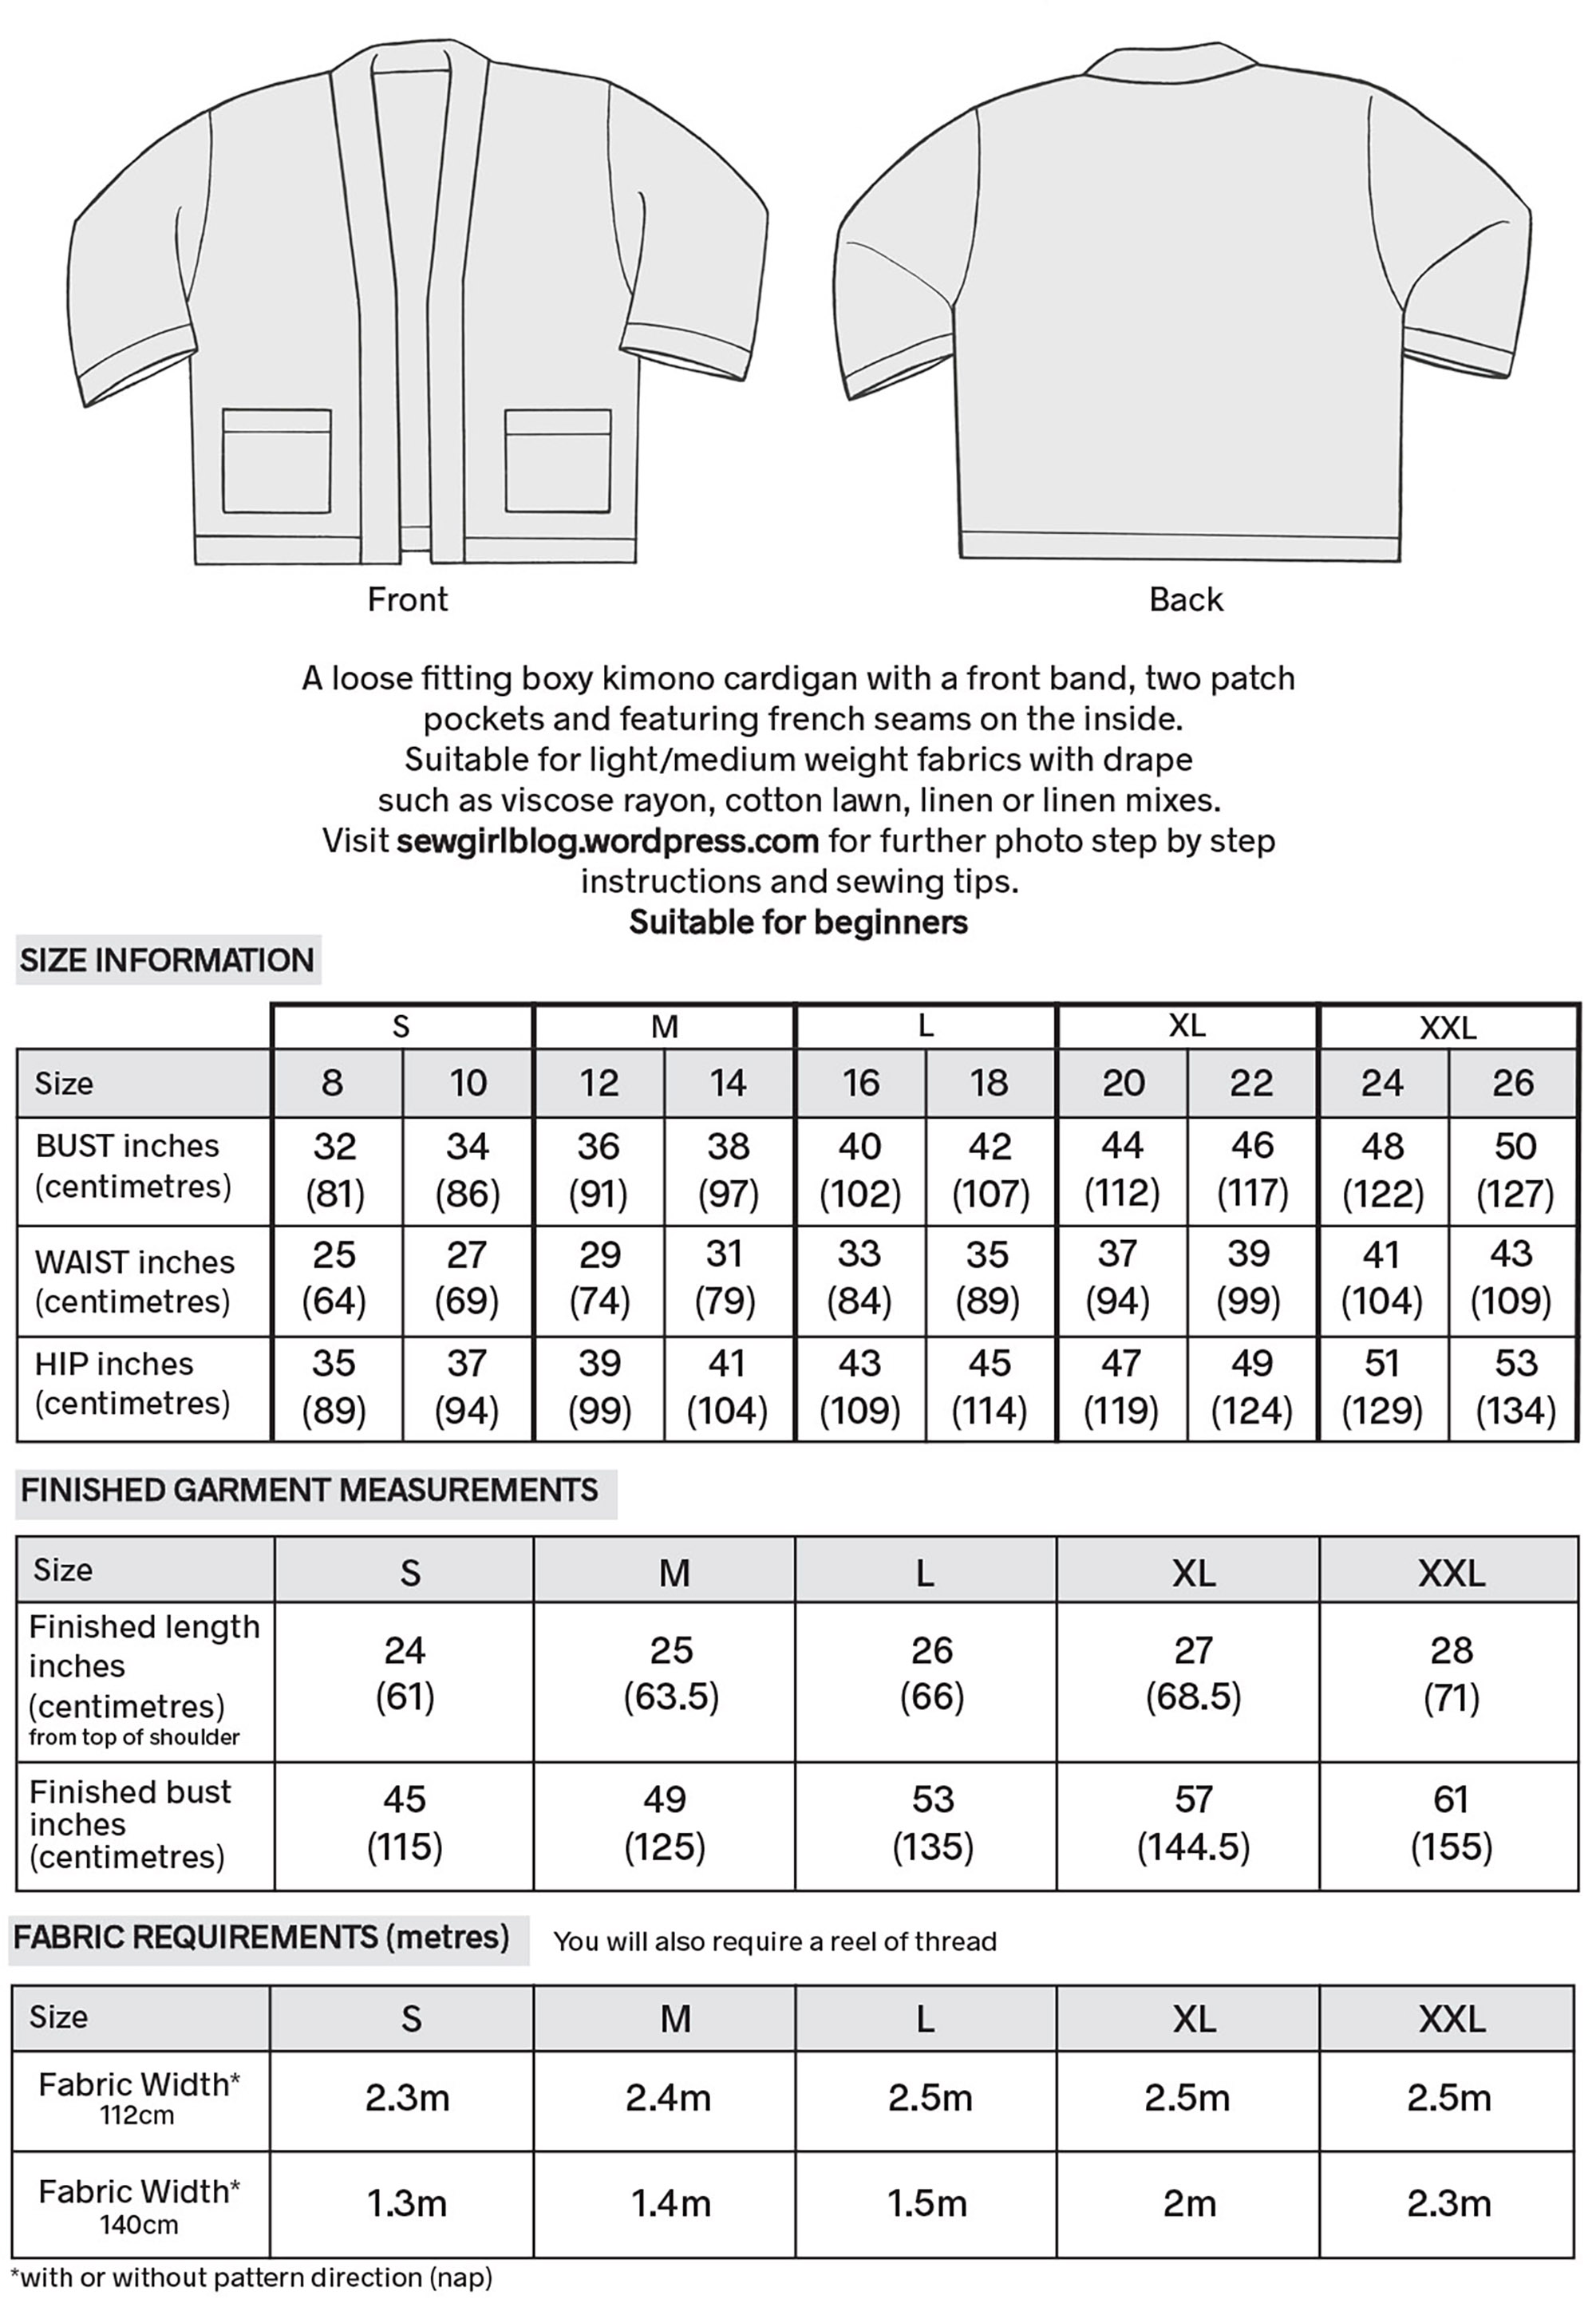
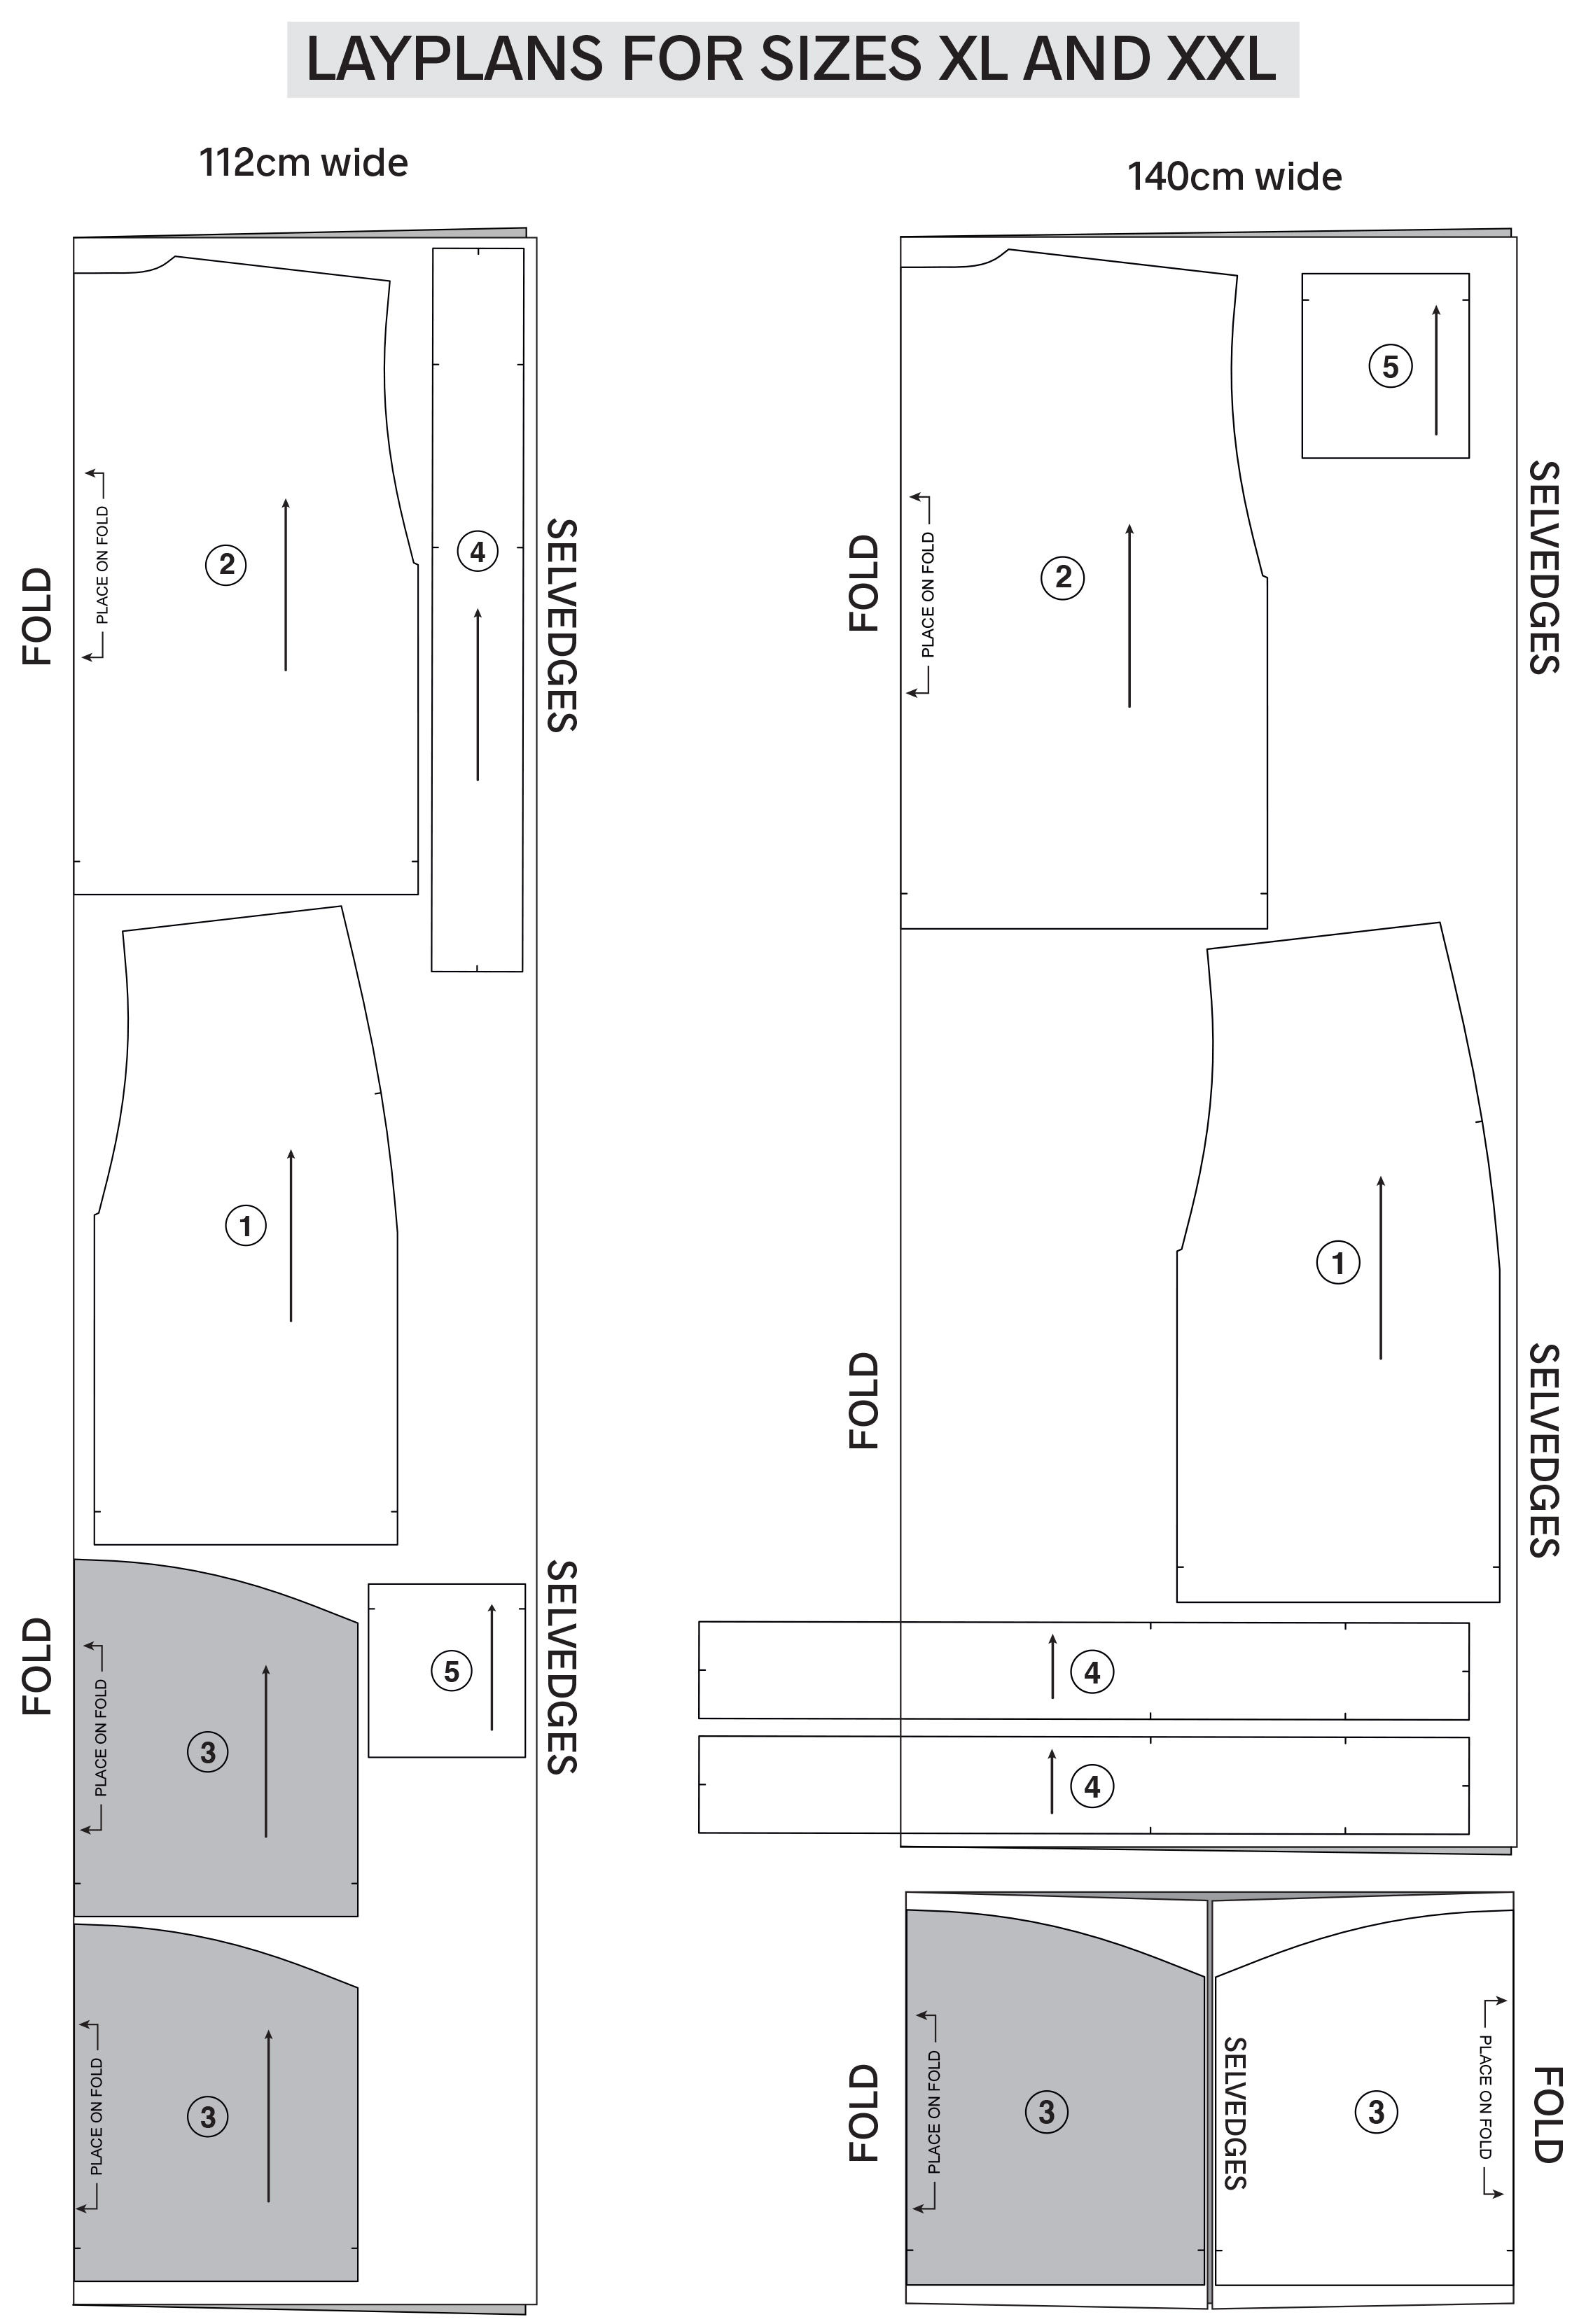
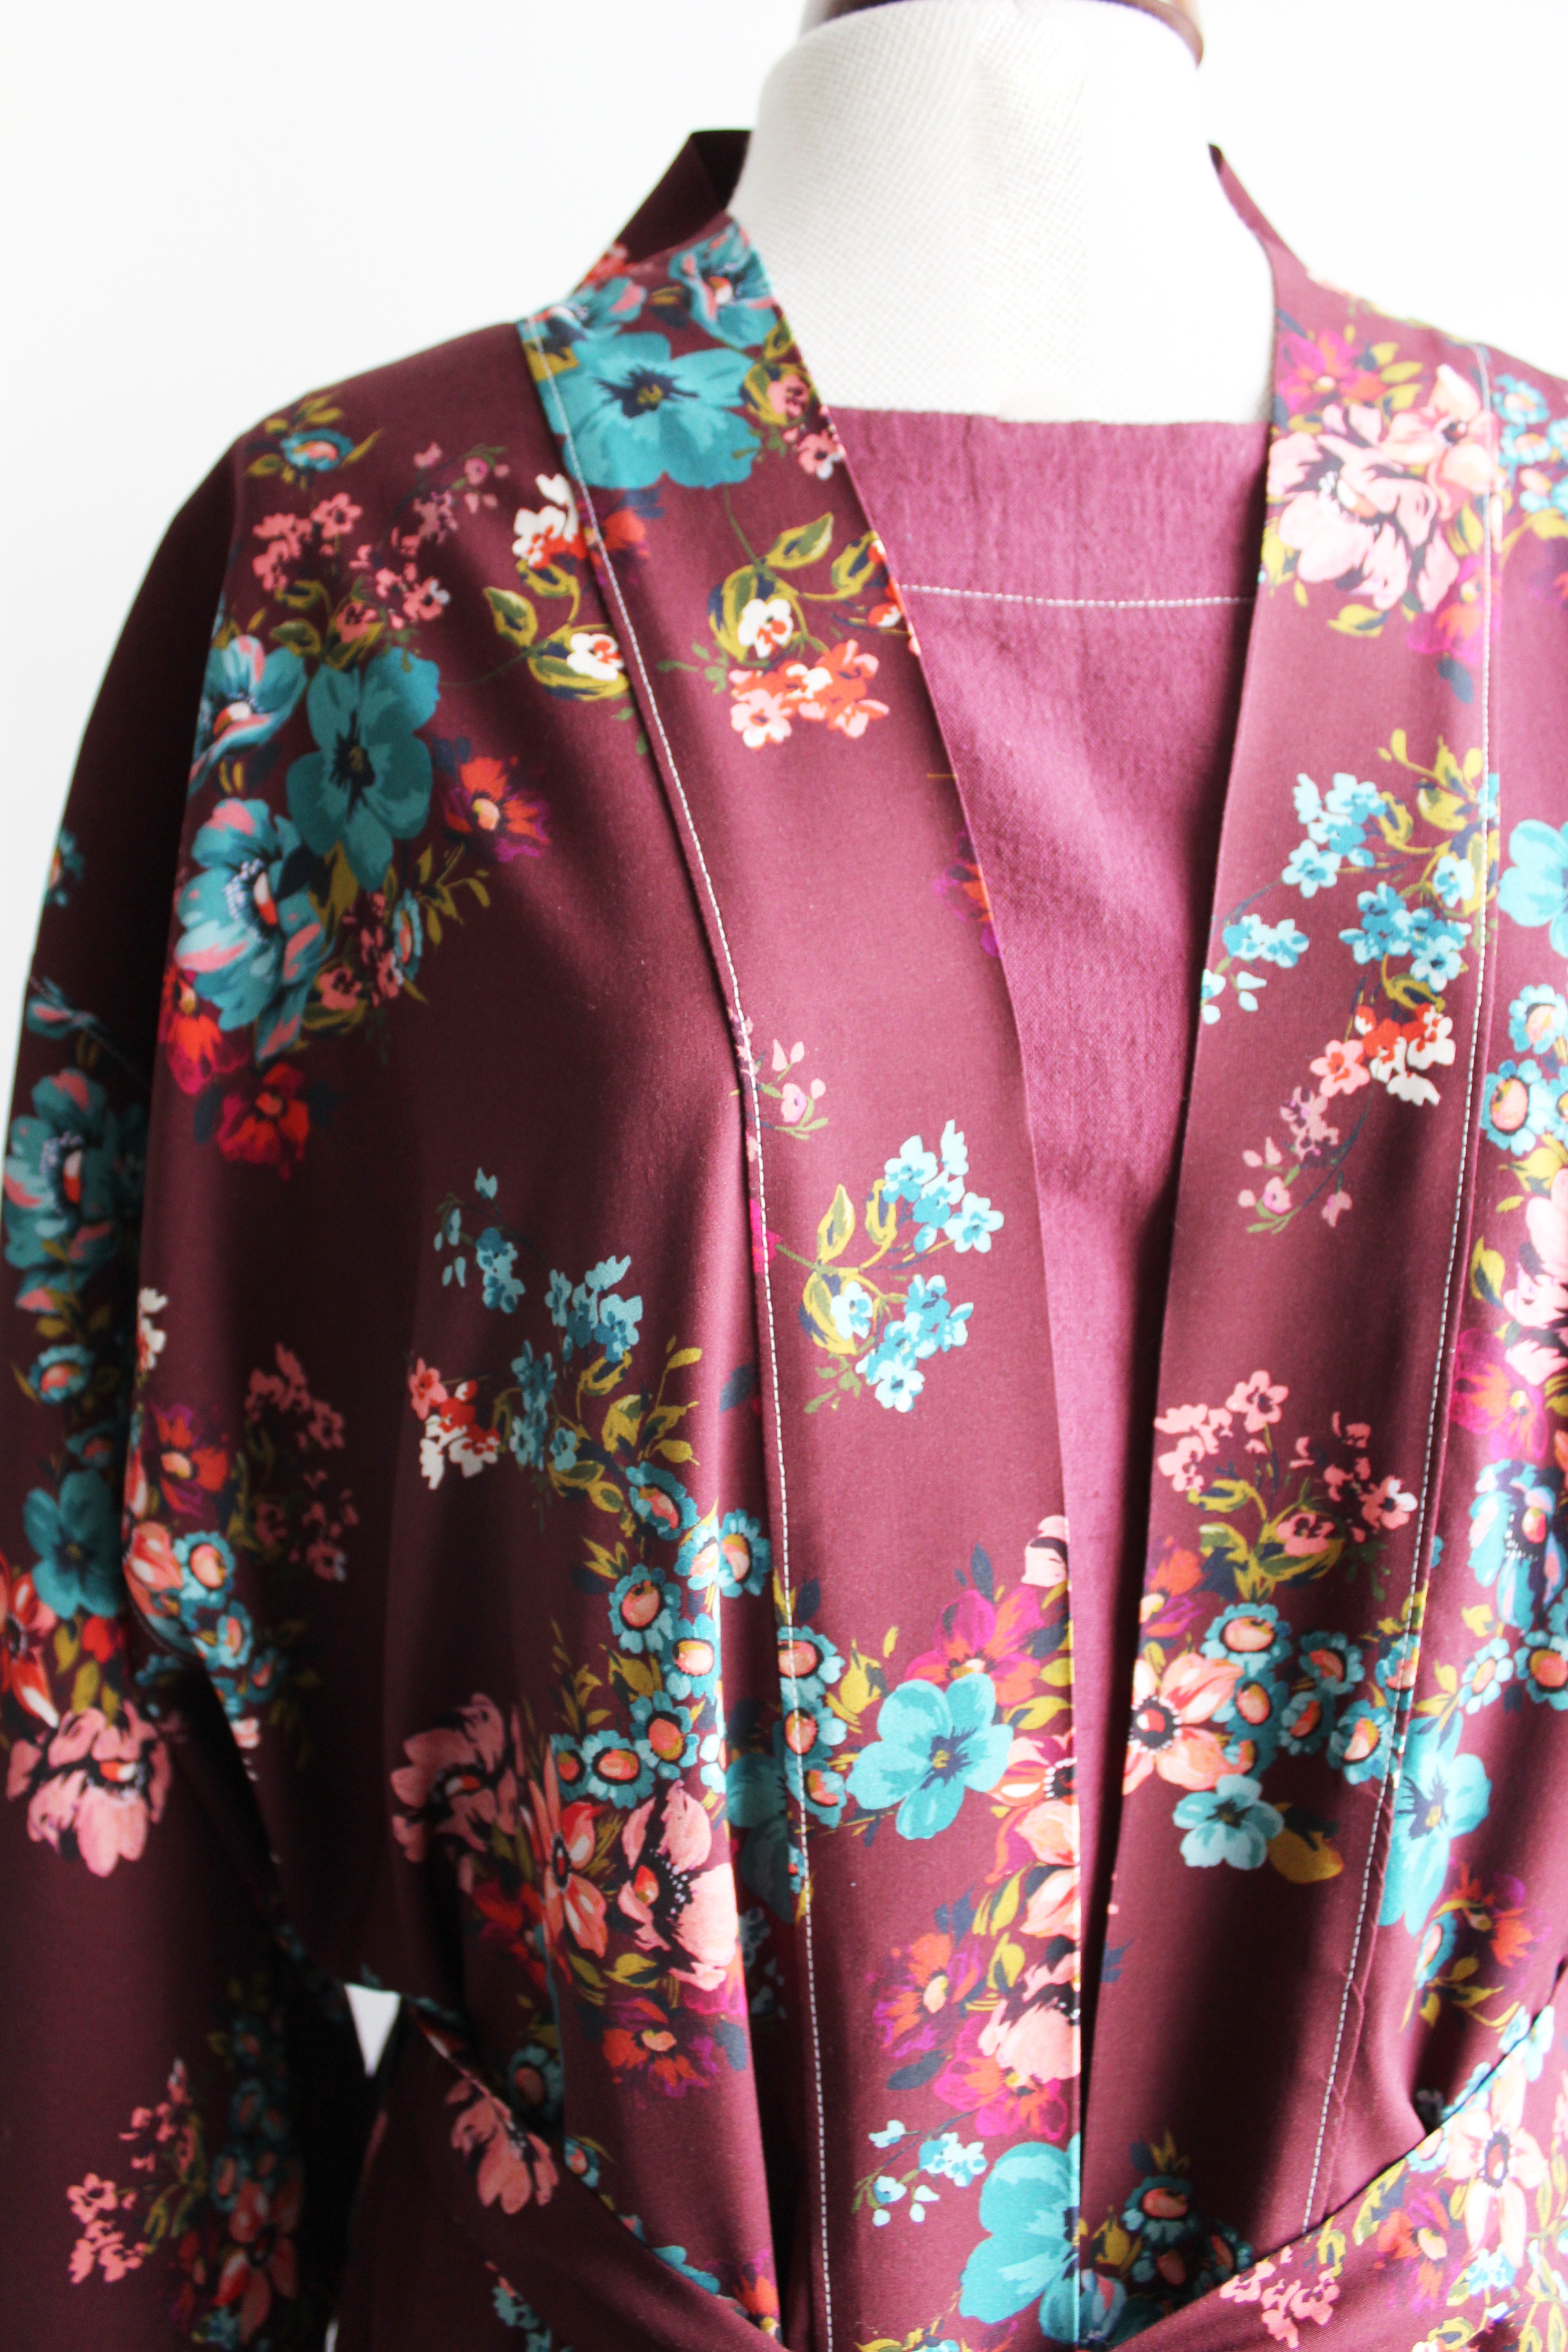 EXTENDING THE OVERALL LENGTH: You can make the kimono longer by using the larger sizes length lines or by extending the length of your pattern. You will need extra fabric if you make your kimono longer, so another half metre should be fine or +80cm, if you want to add length to your sleeves.
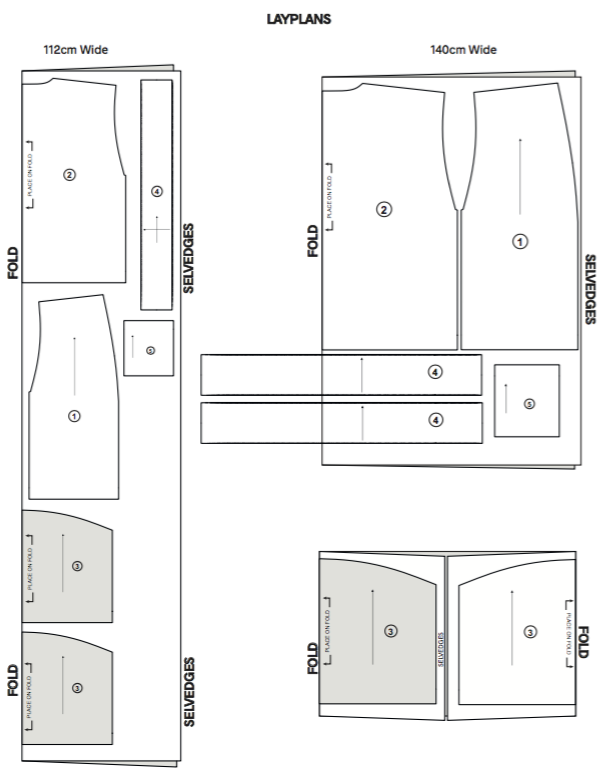
 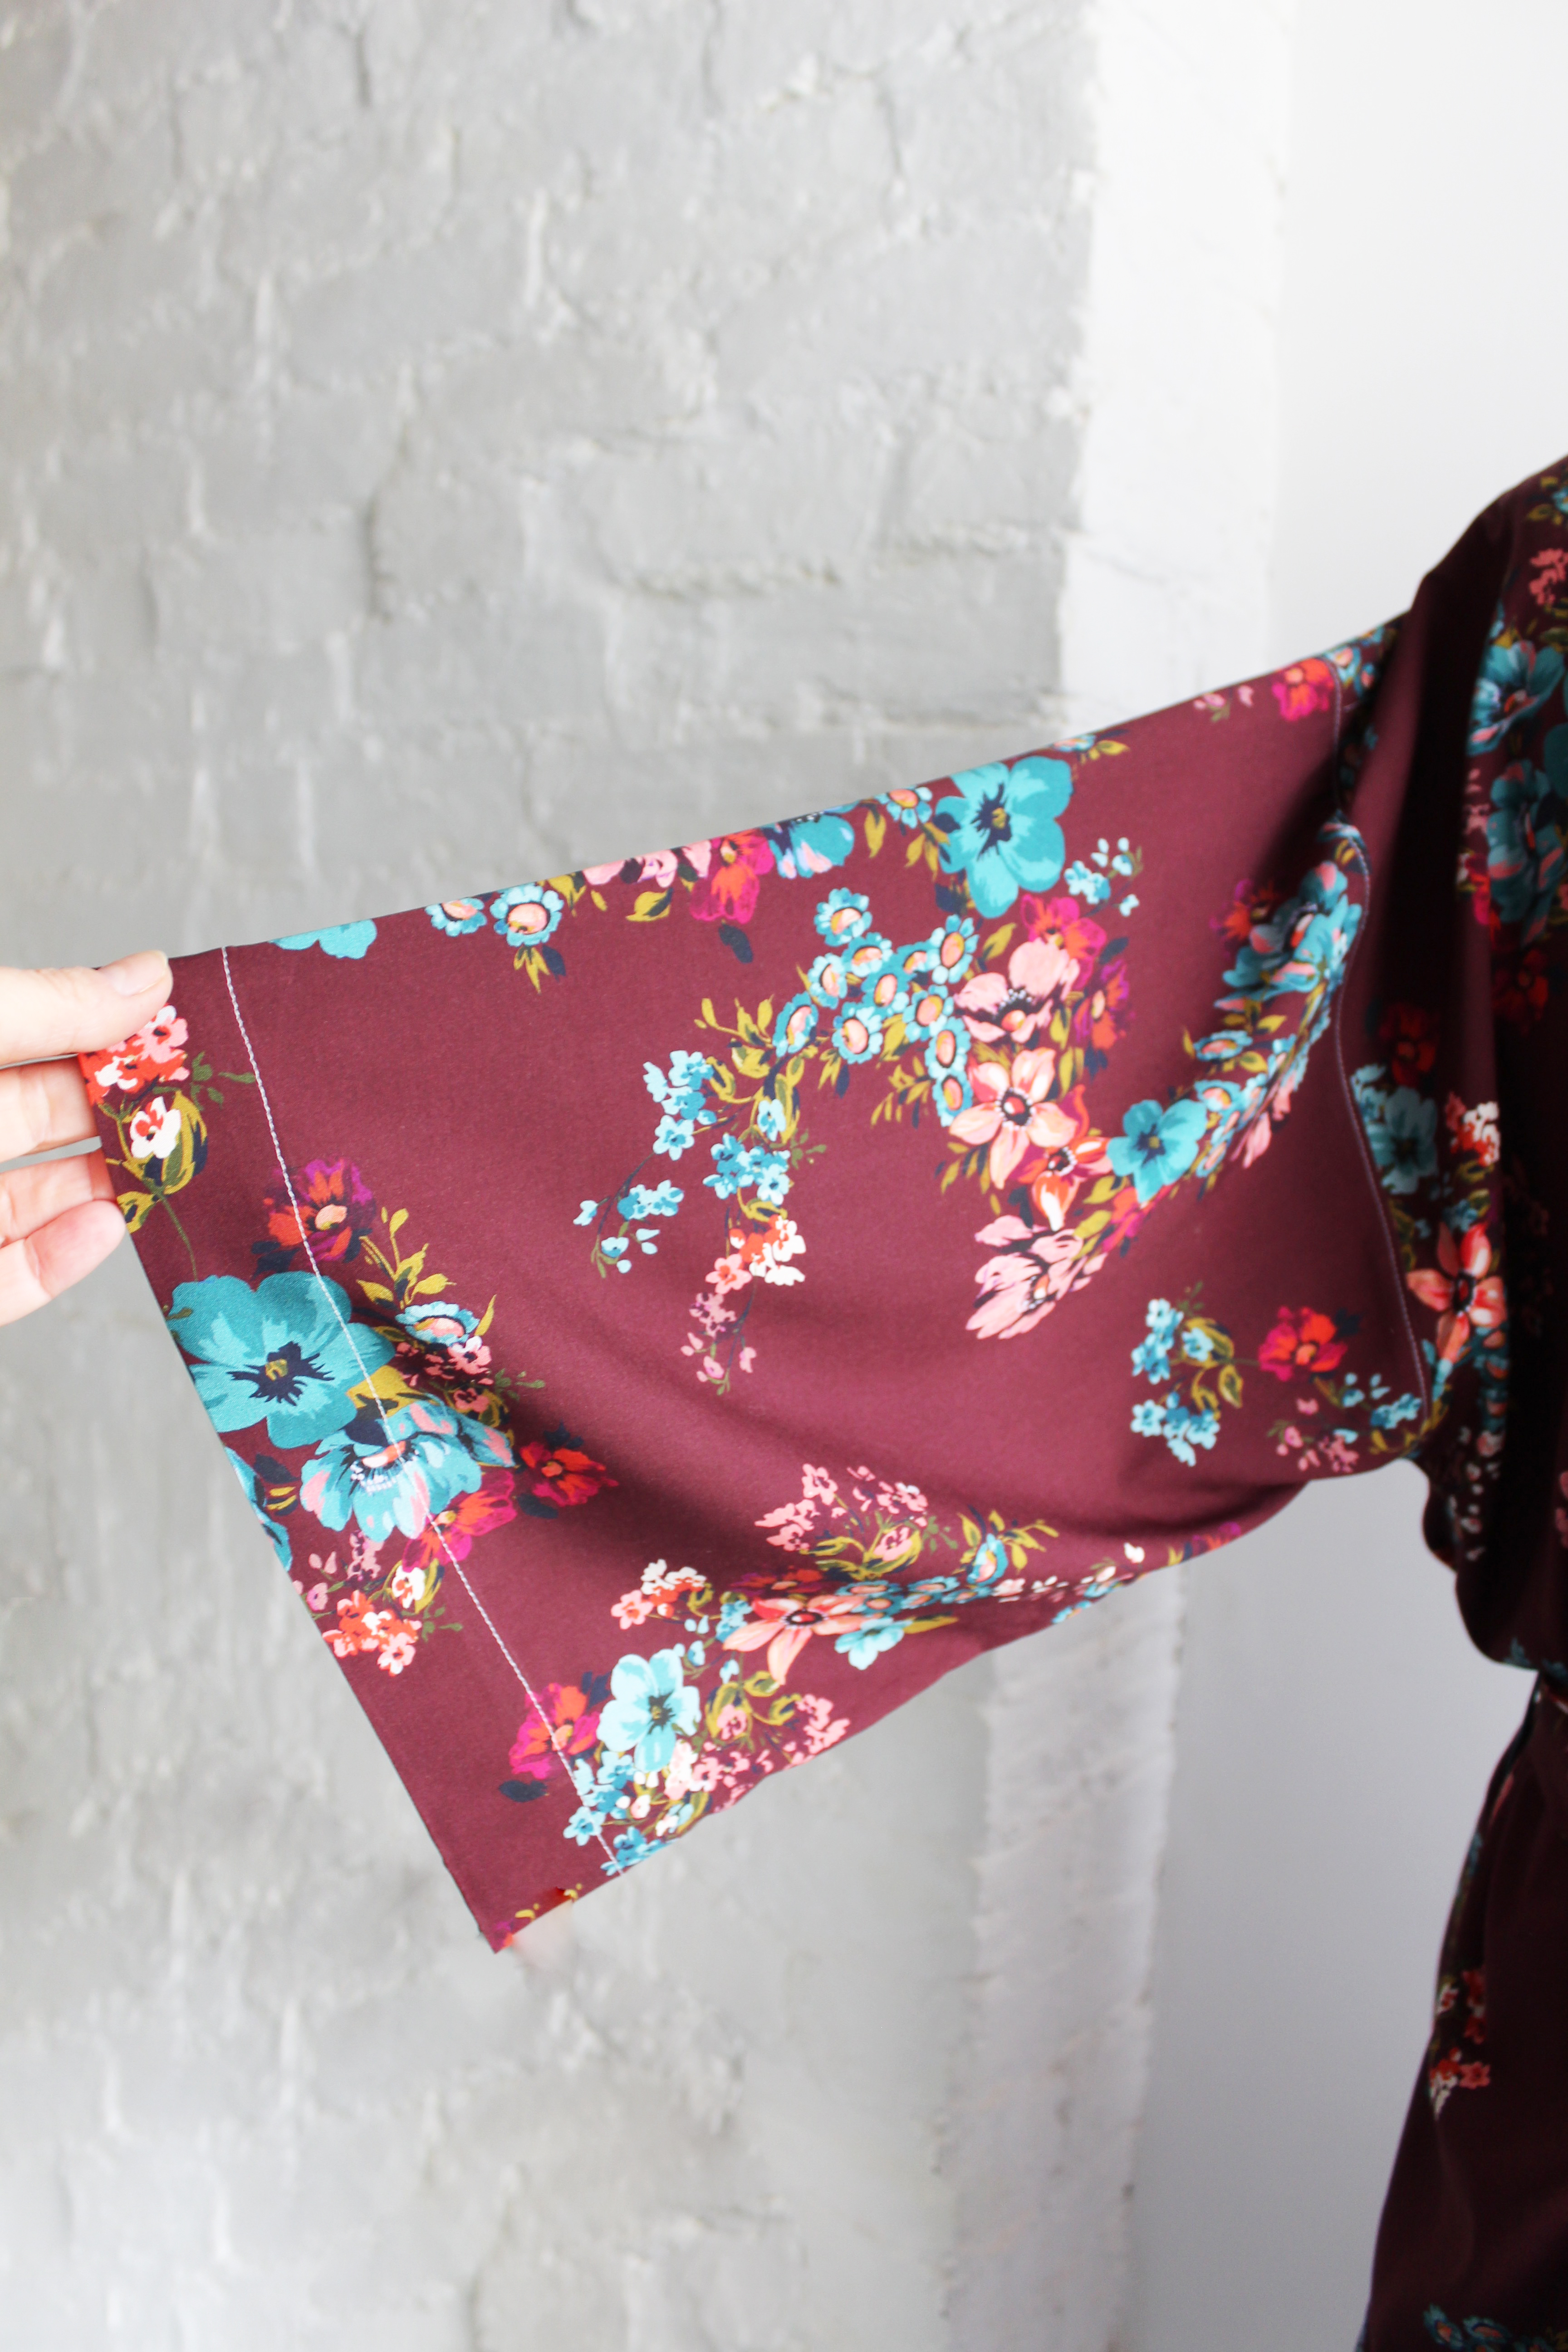 LONGER SLEEVE: You can also extend the length of the sleeve by adding on as much as you like, but remember you will need some more fabric. You will need an extra 10cm approx for 140cm wide fabric and 20cm for the 112cm wide fabric if you are extending the sleeve another 10cm.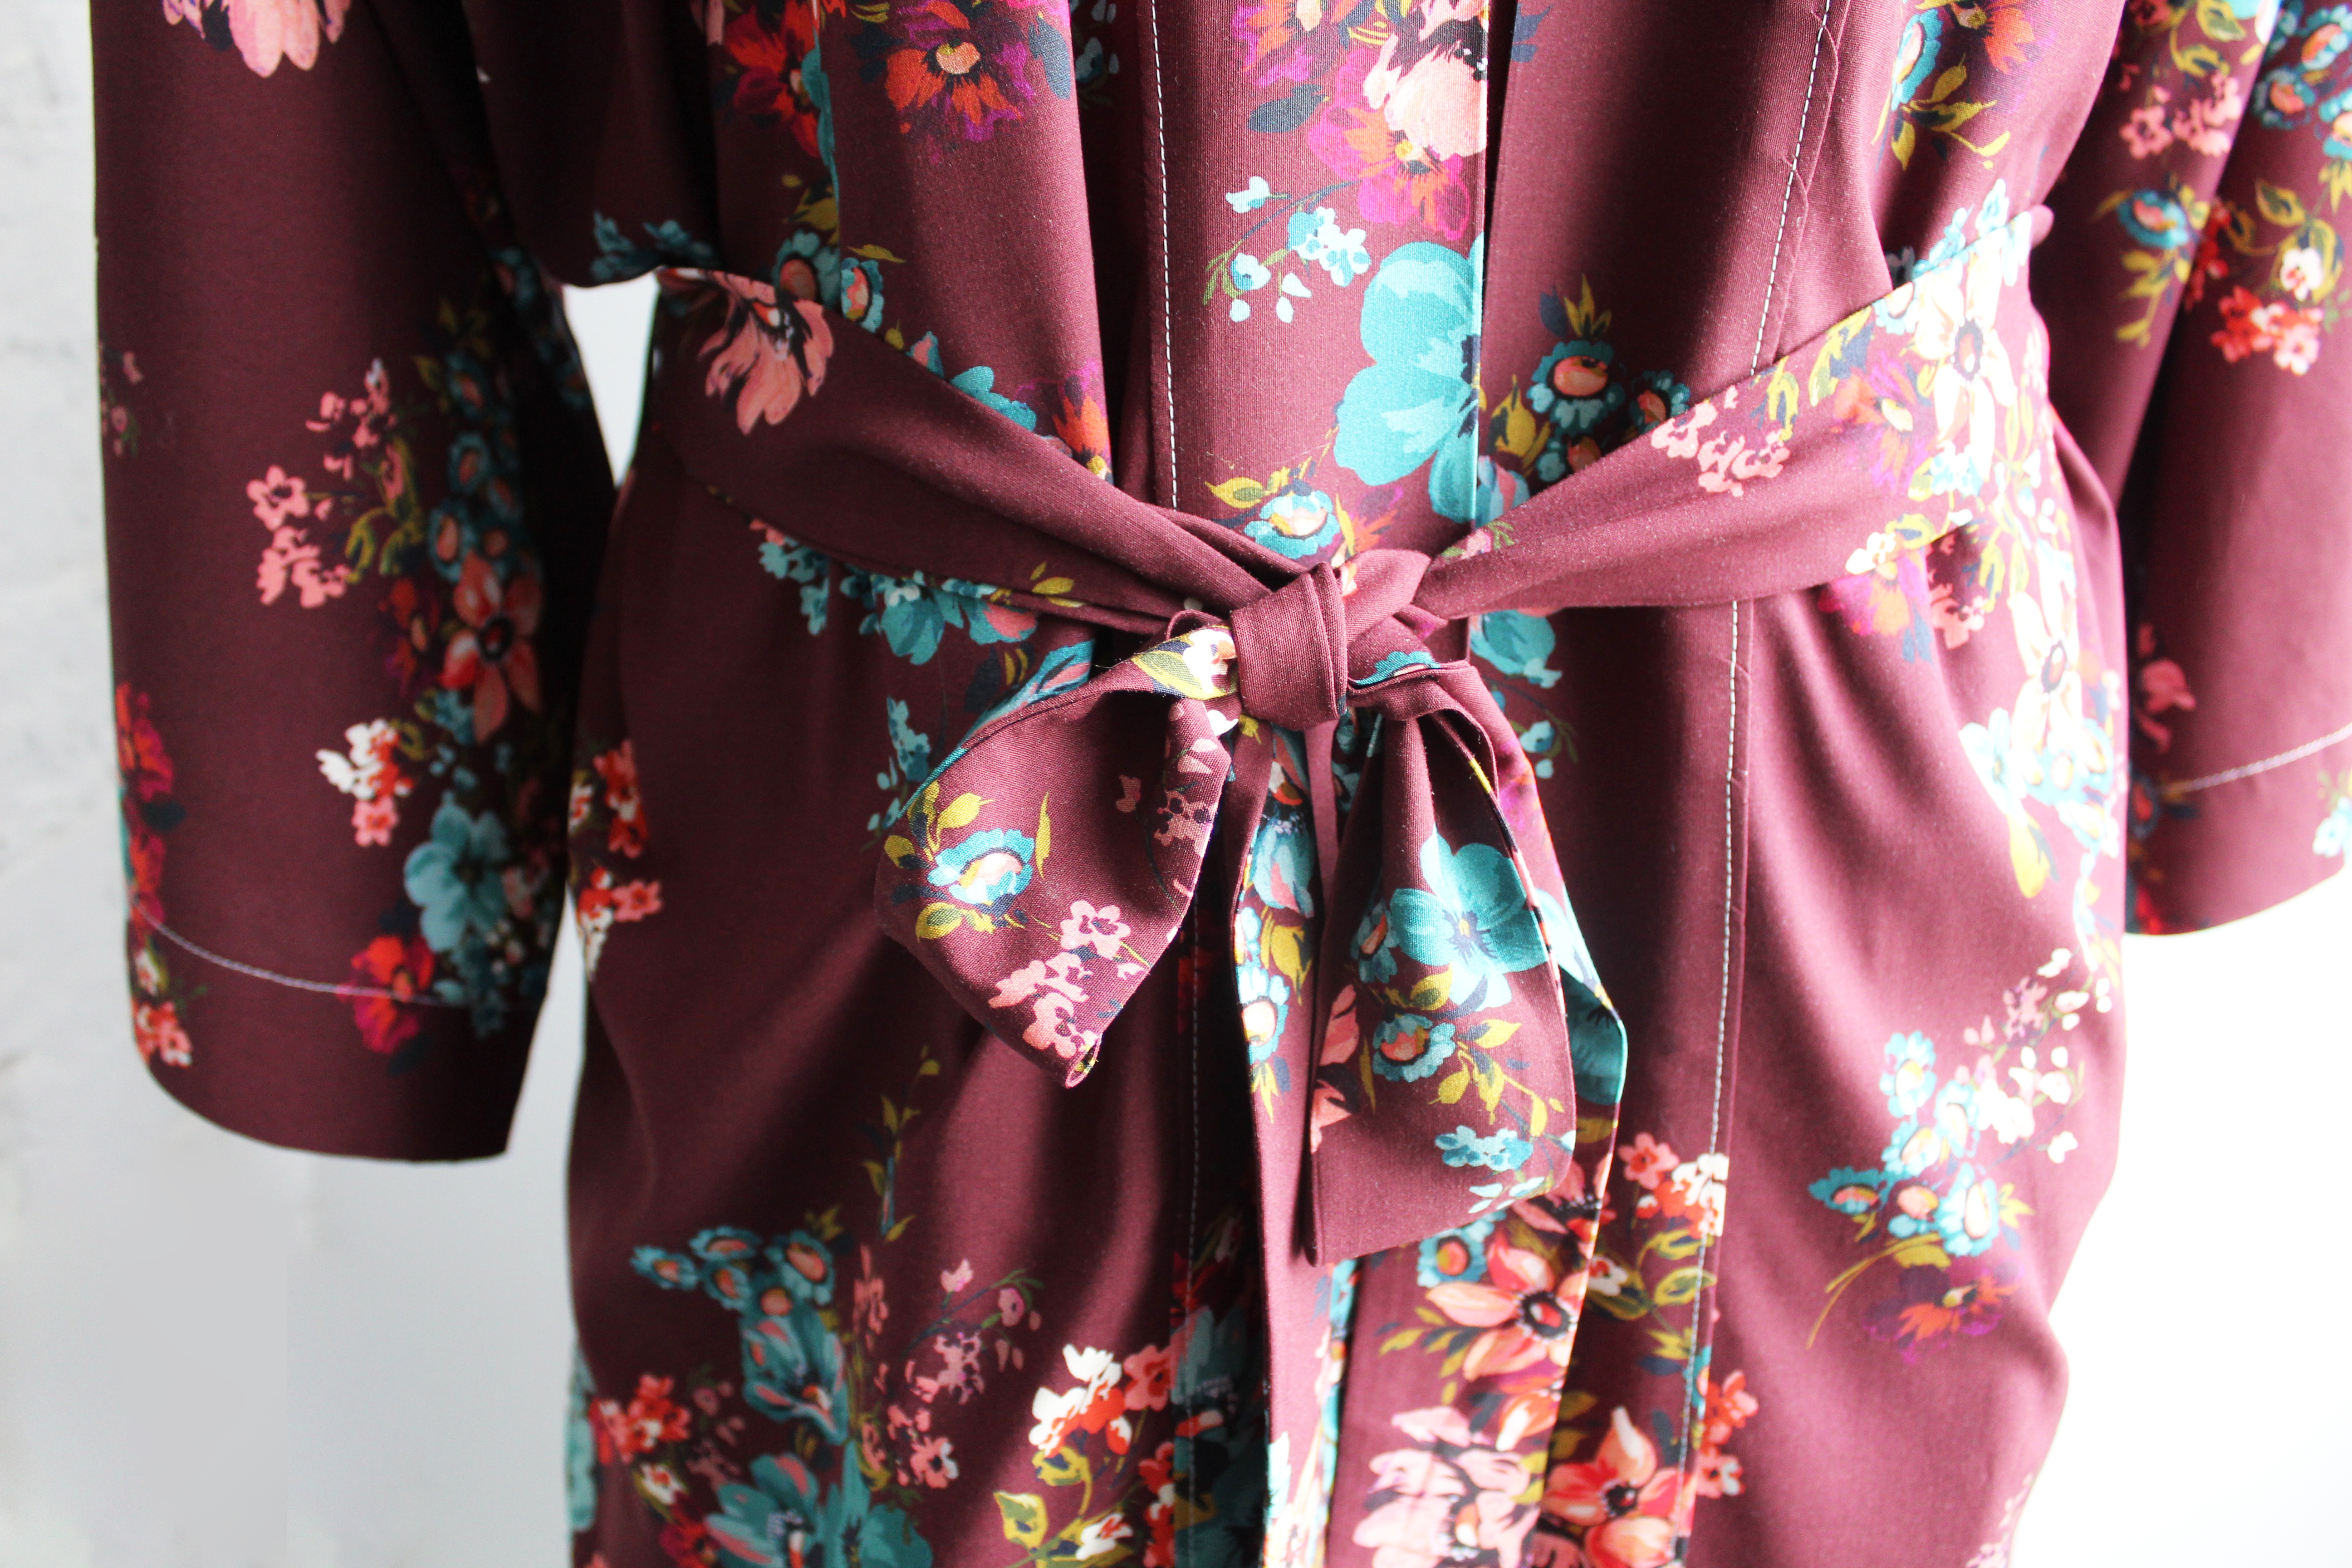
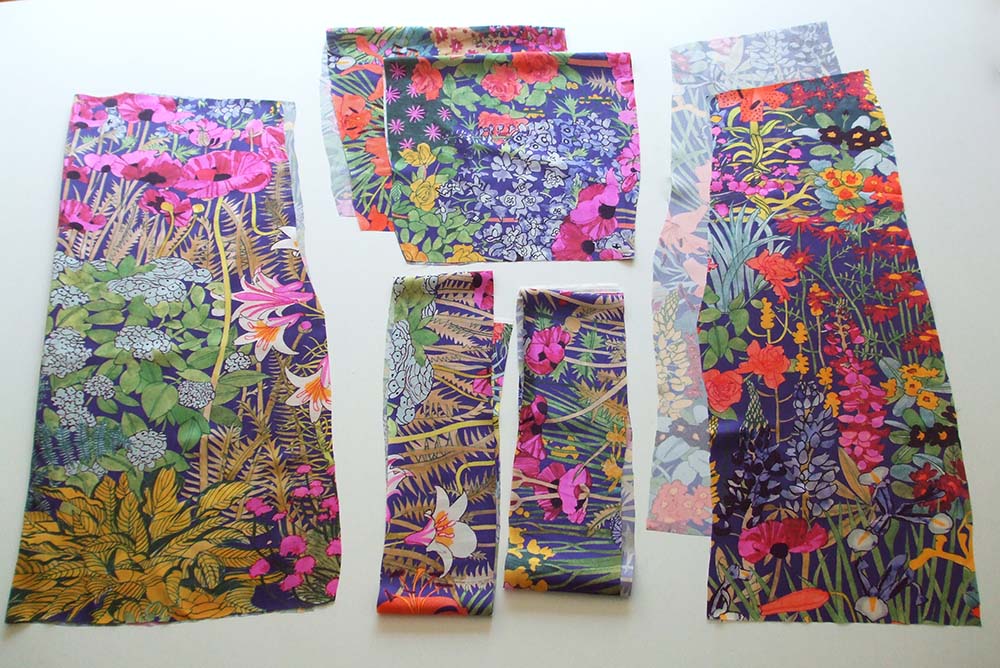
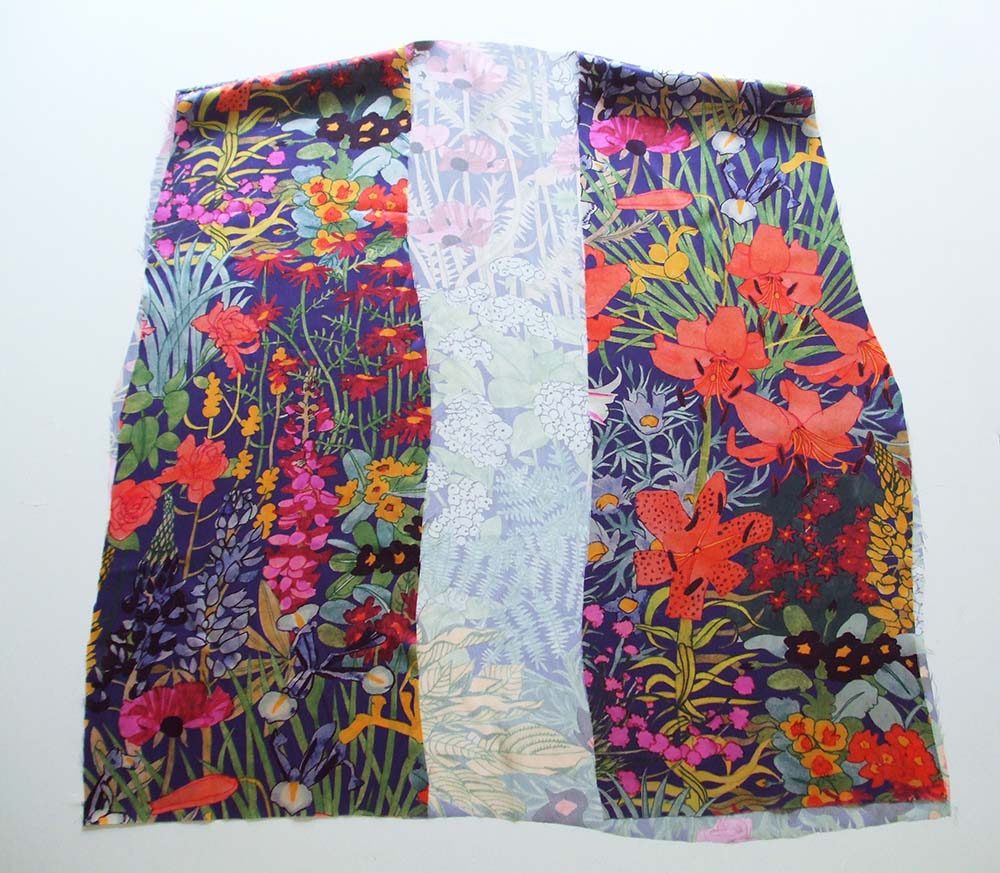
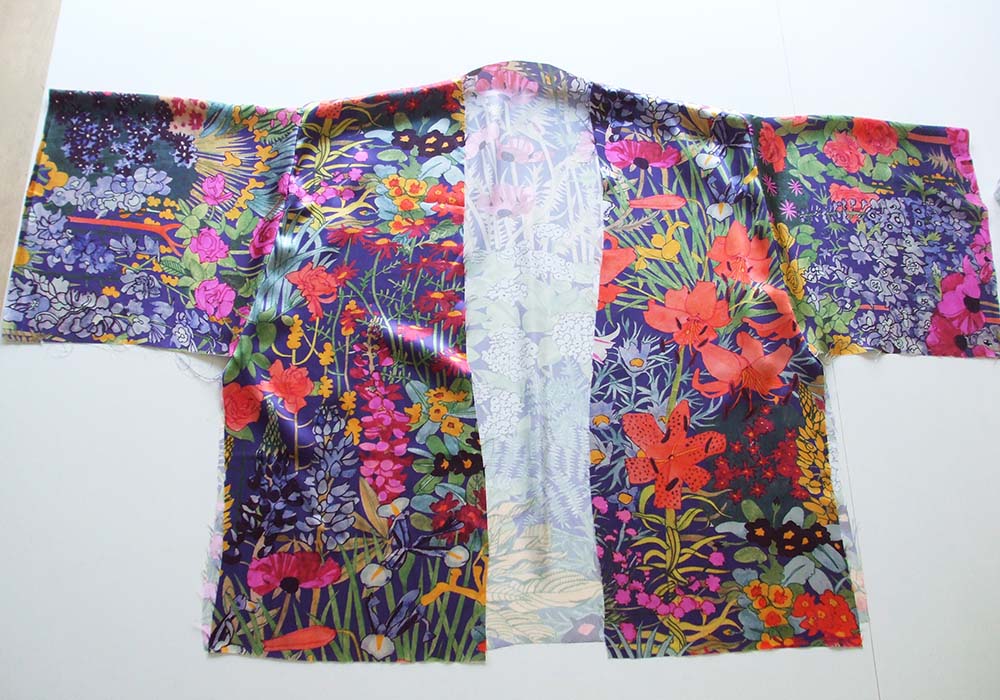 Now pin your sleeve piece to the body at the armhole edge, sew.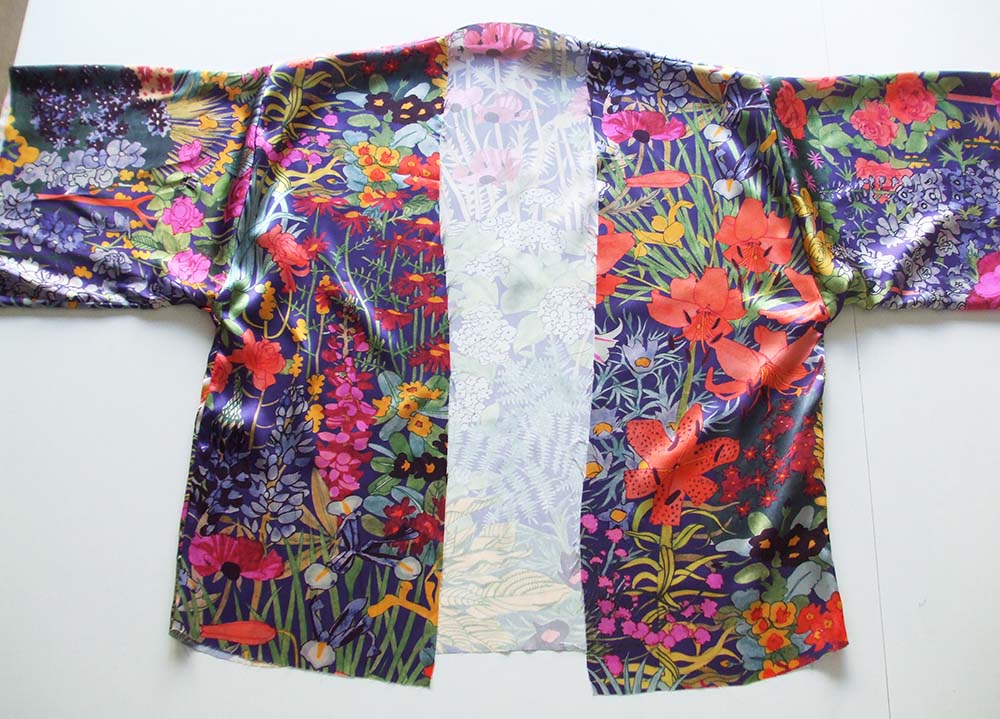

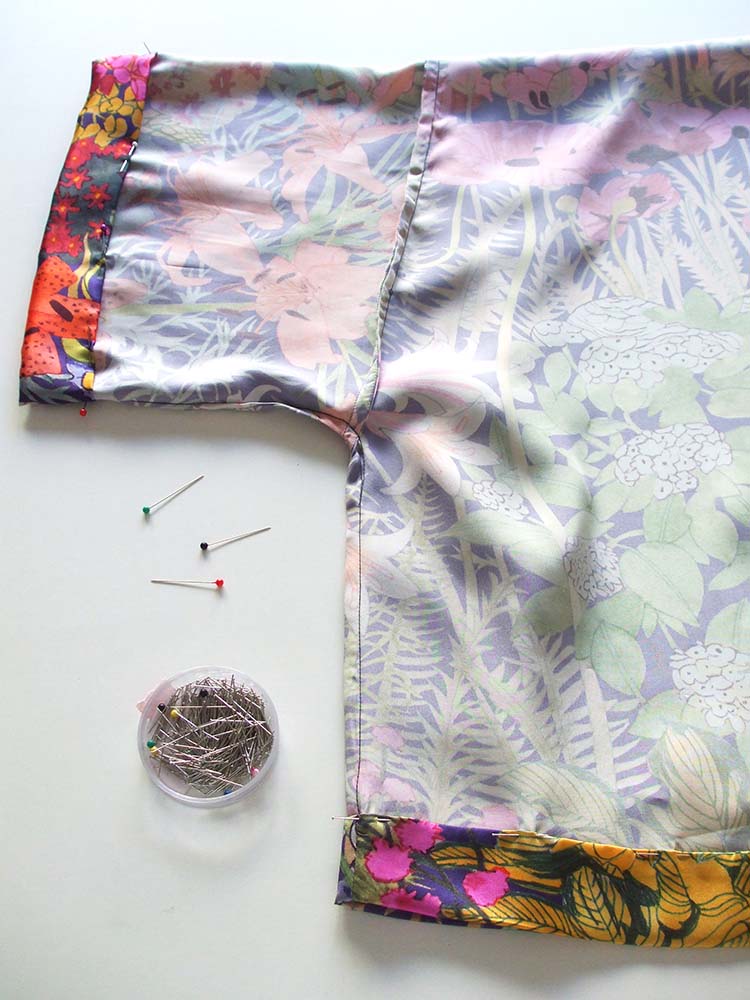
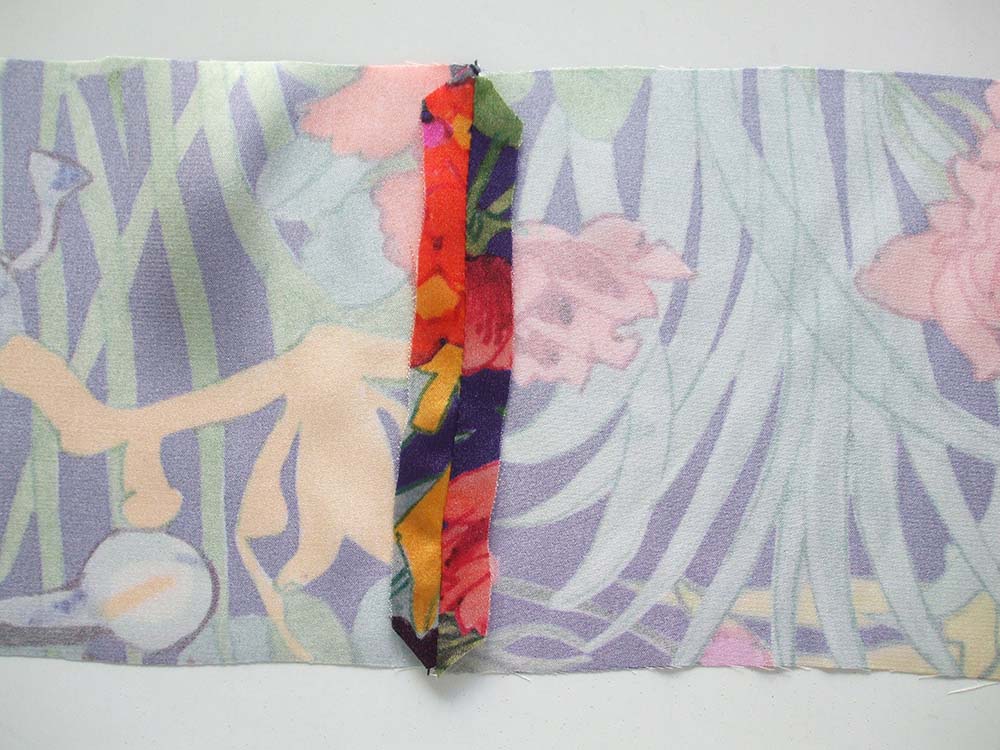
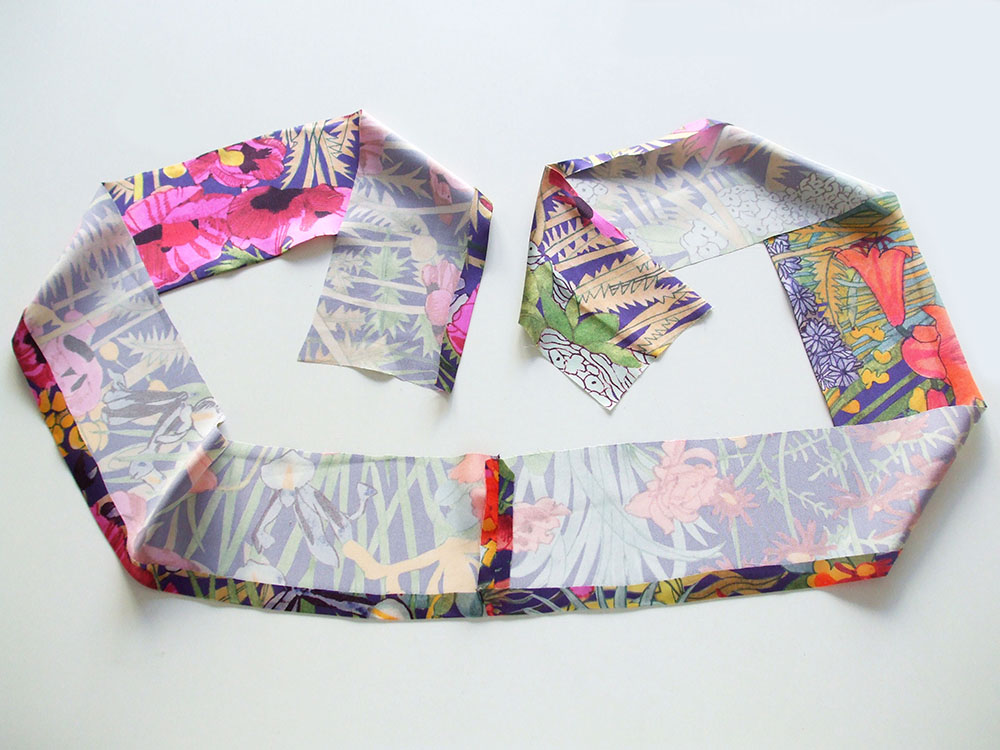
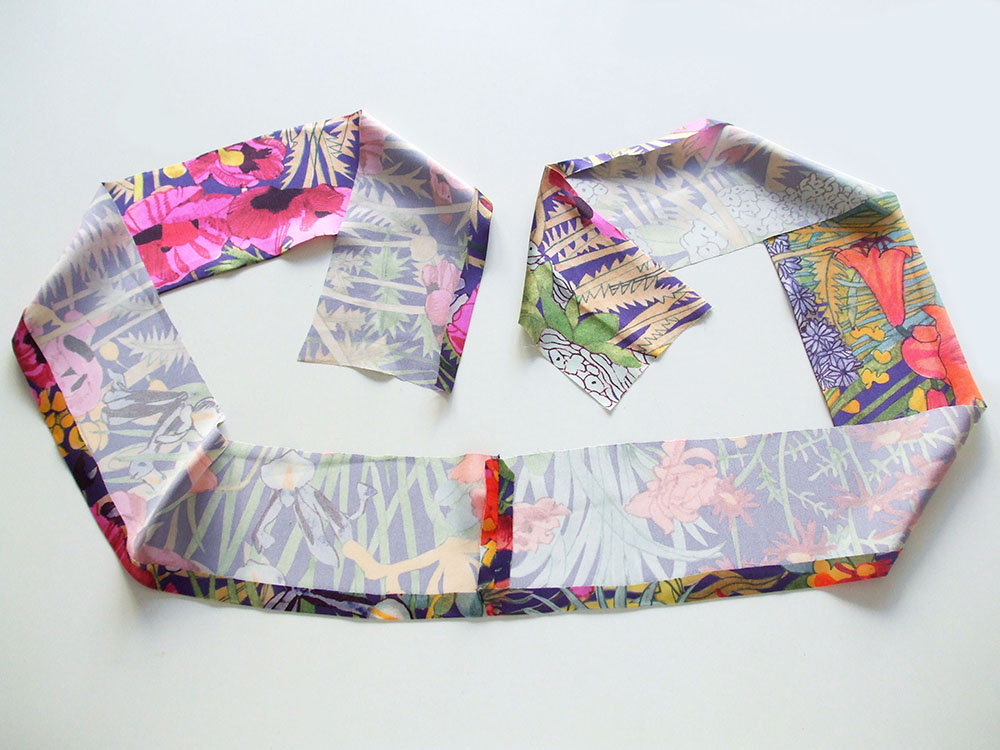
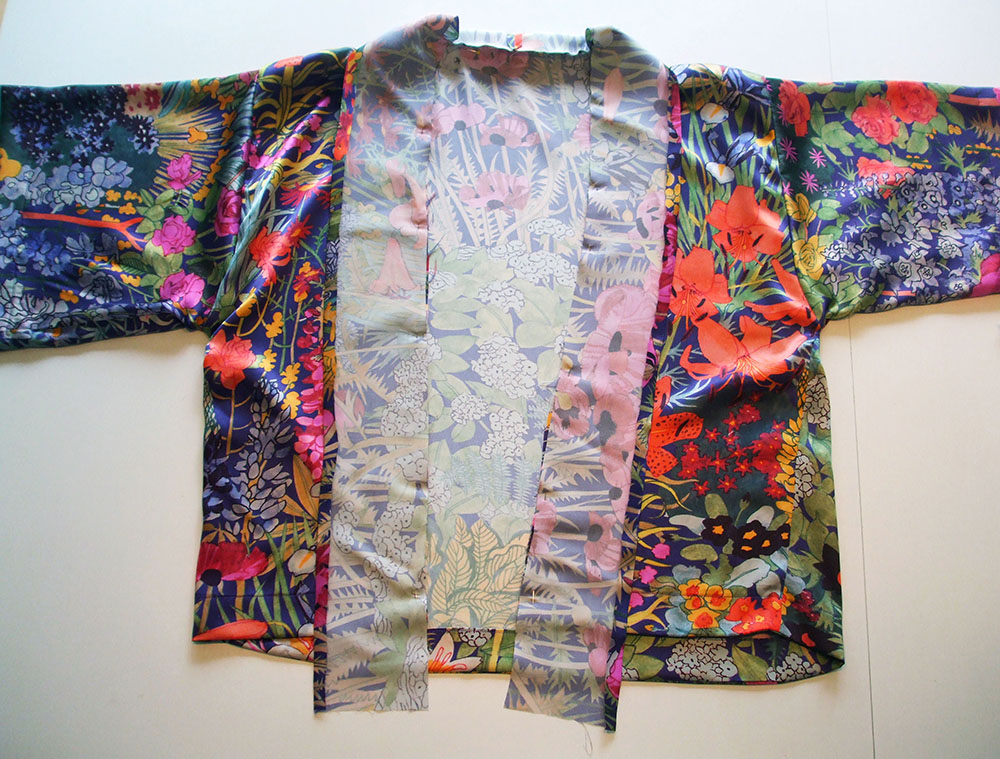
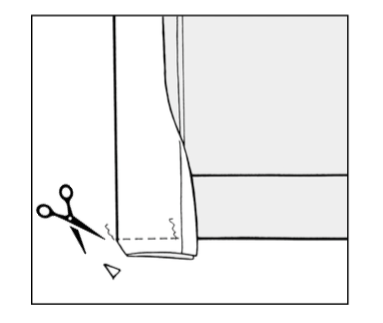
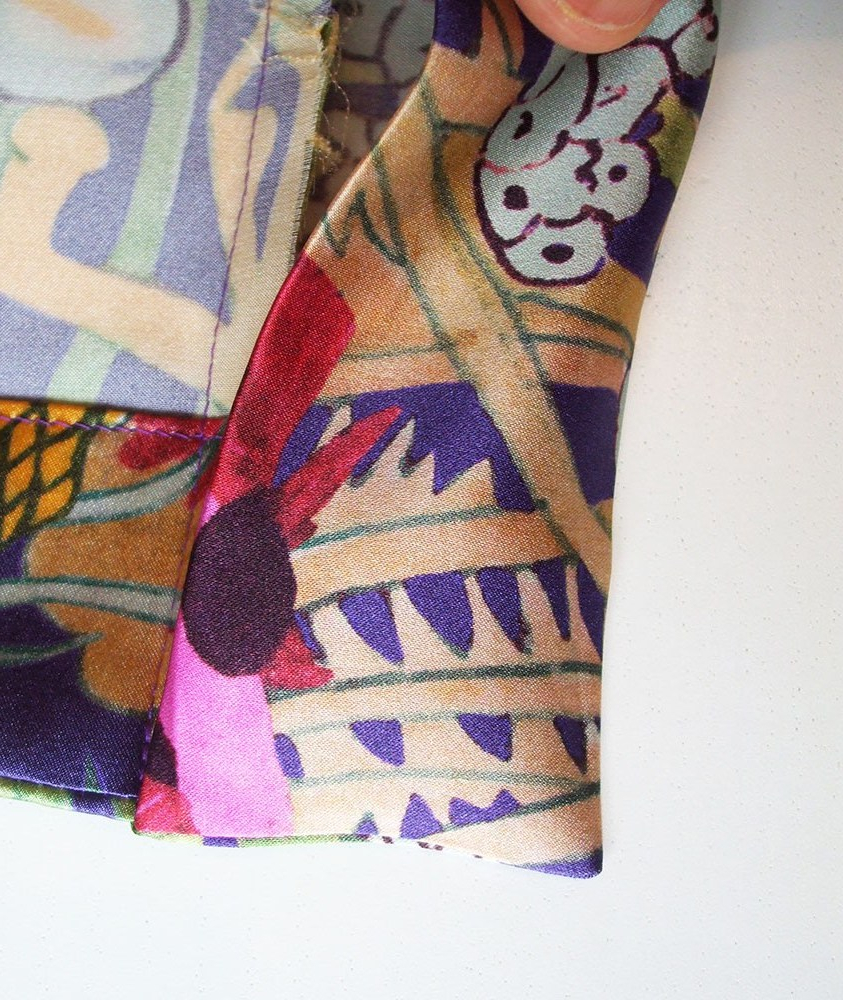
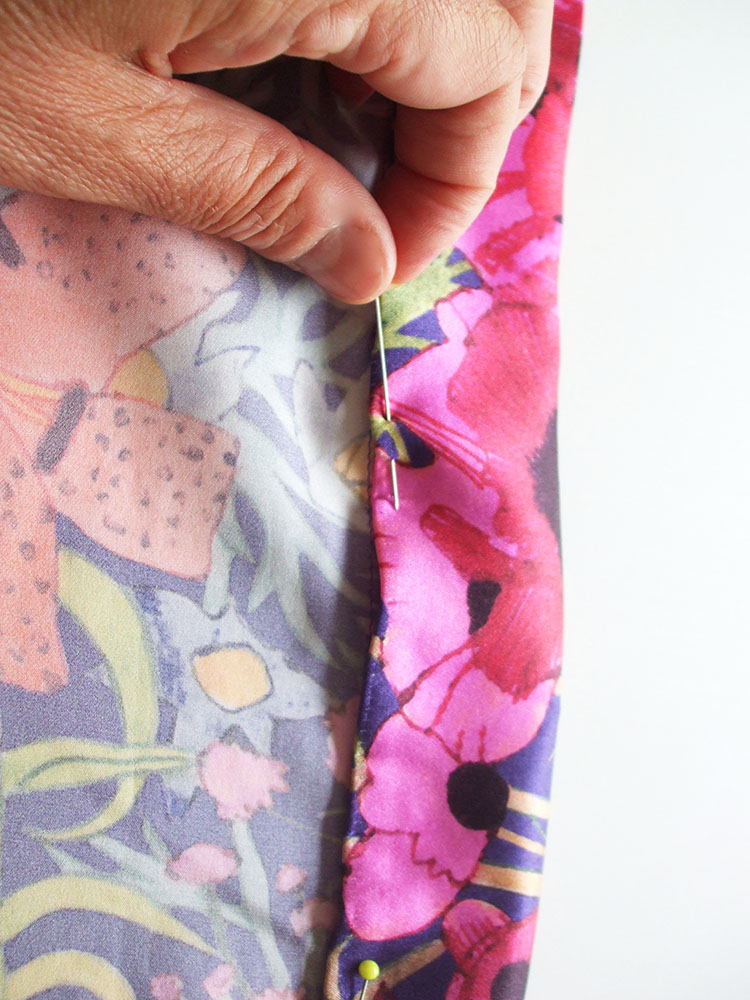
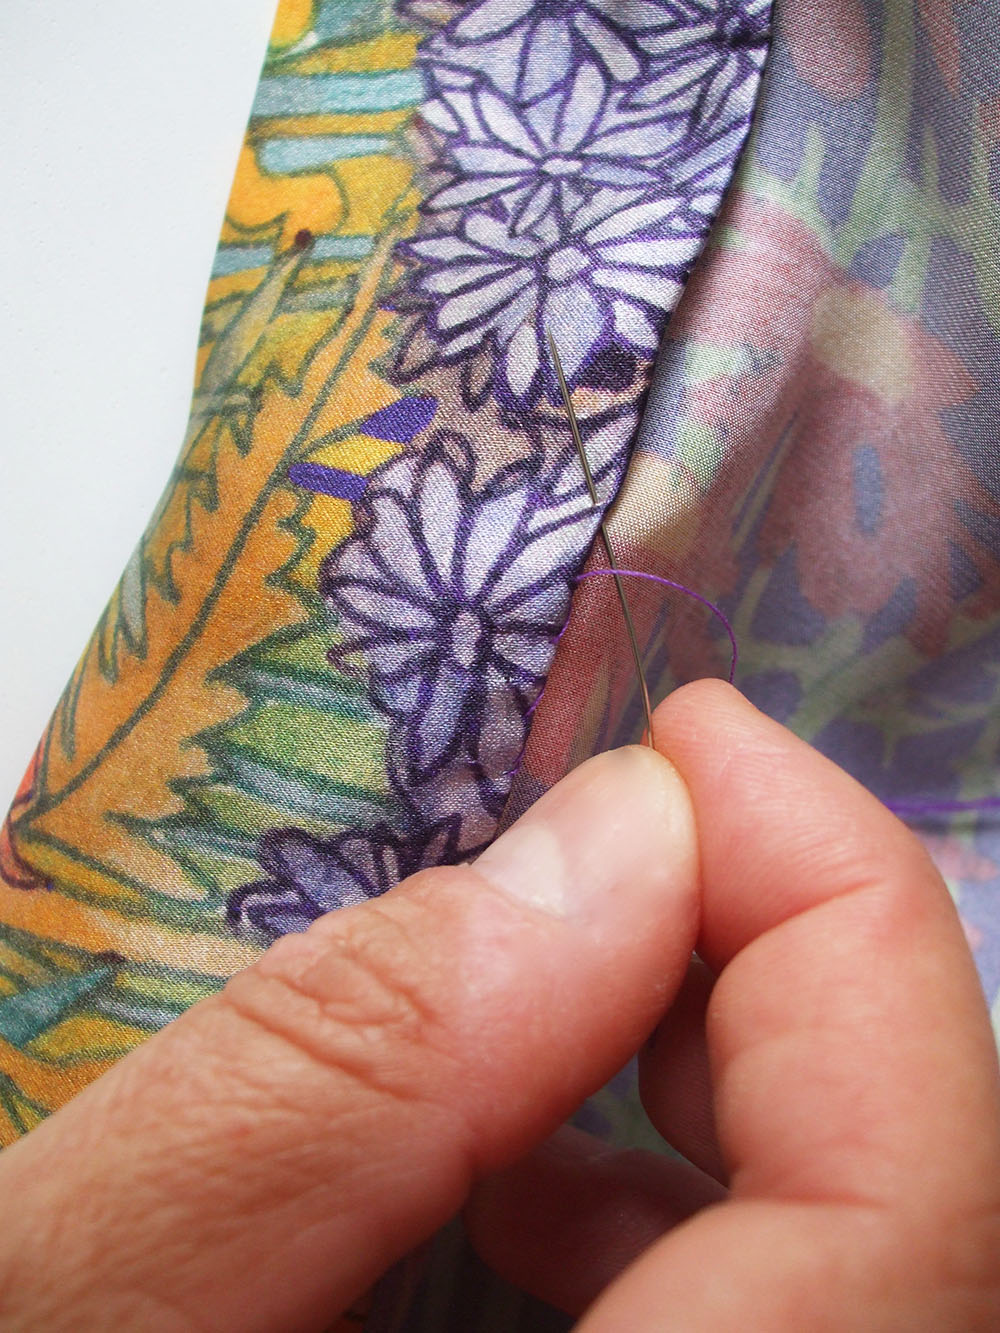
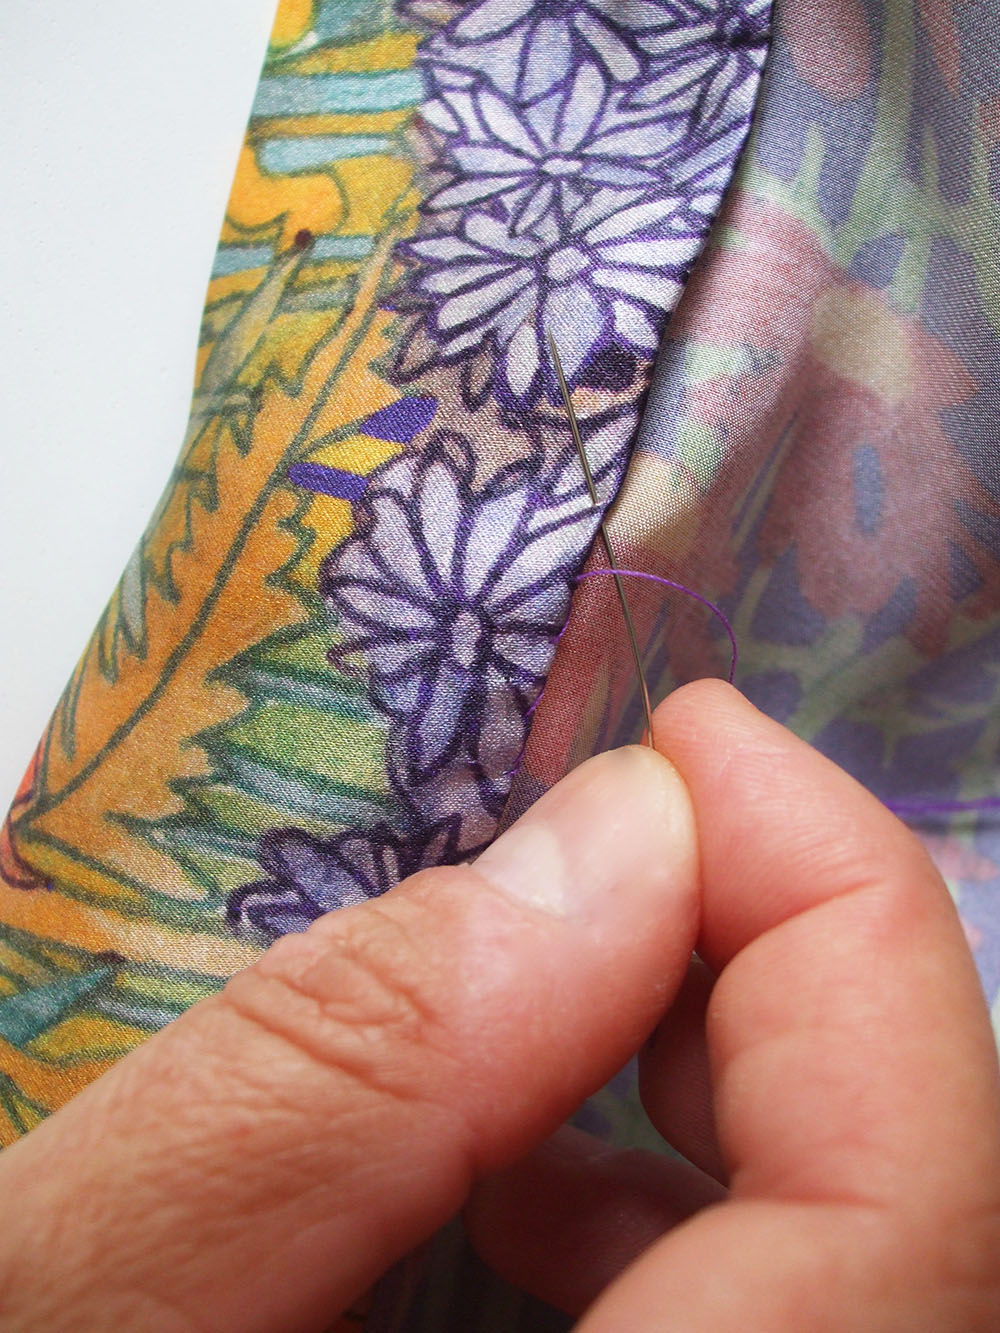
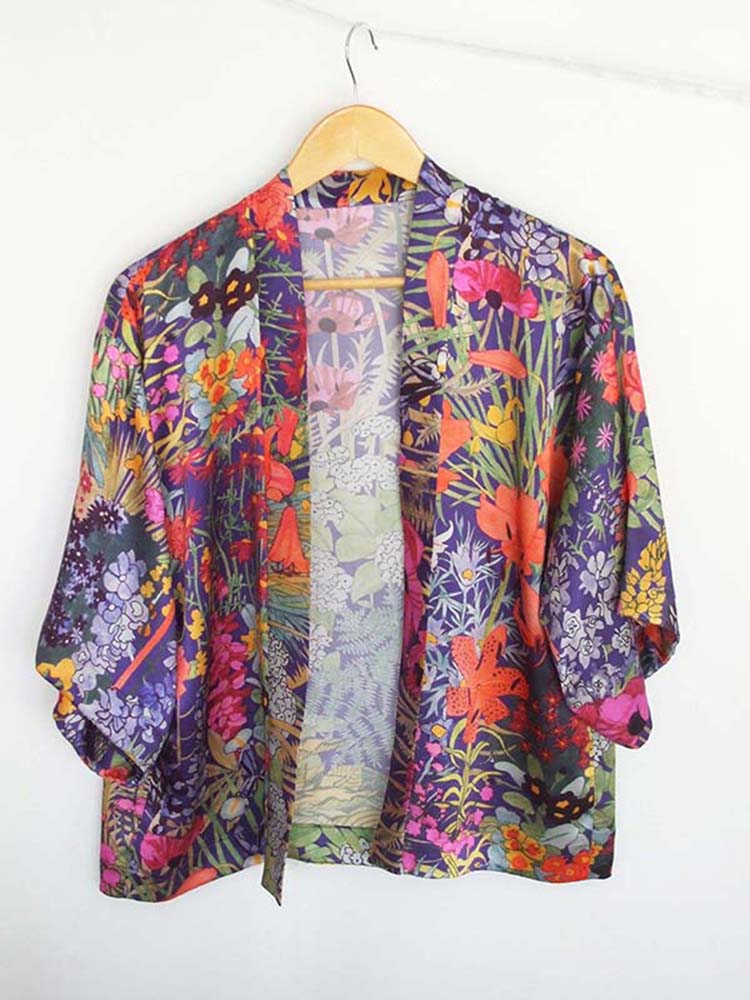
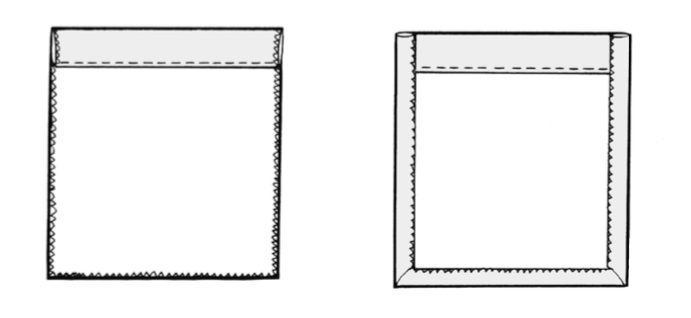
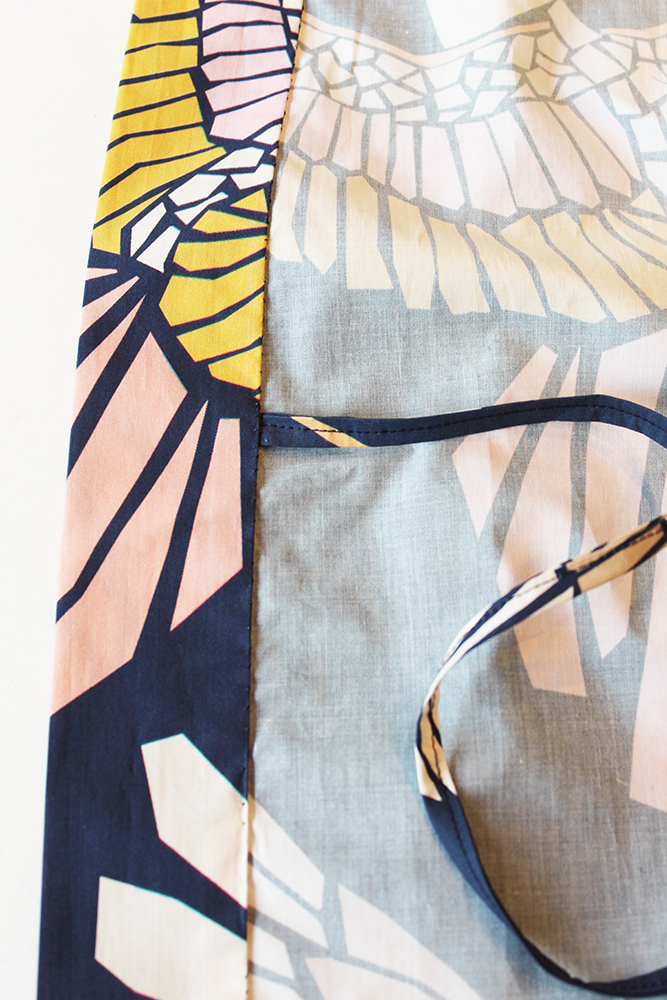

 This easy to make quilted clutch purse makes a lovely addition to any outfit for a special event. With its optional loop handle, useful for carrying lipstick, powder compact, money and keys.
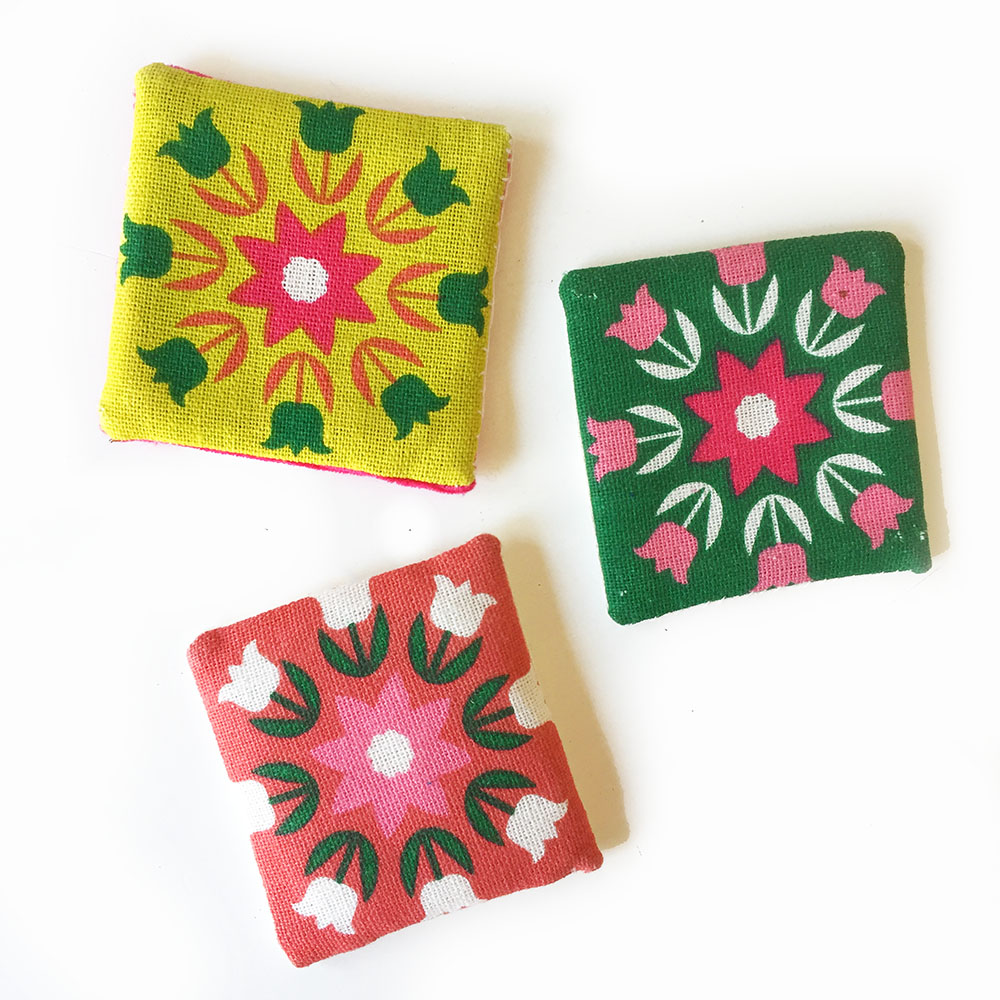
 I make them out of scraps of fabric but actually this fabric was printed with squares in exactly the right size, but you could use any fabric you like. Its fun to use all one type of fabric, like Liberty fabric if you are a fan or just mix up your favourites from your stash.
 What you need:
 This is what the metal washers look like.
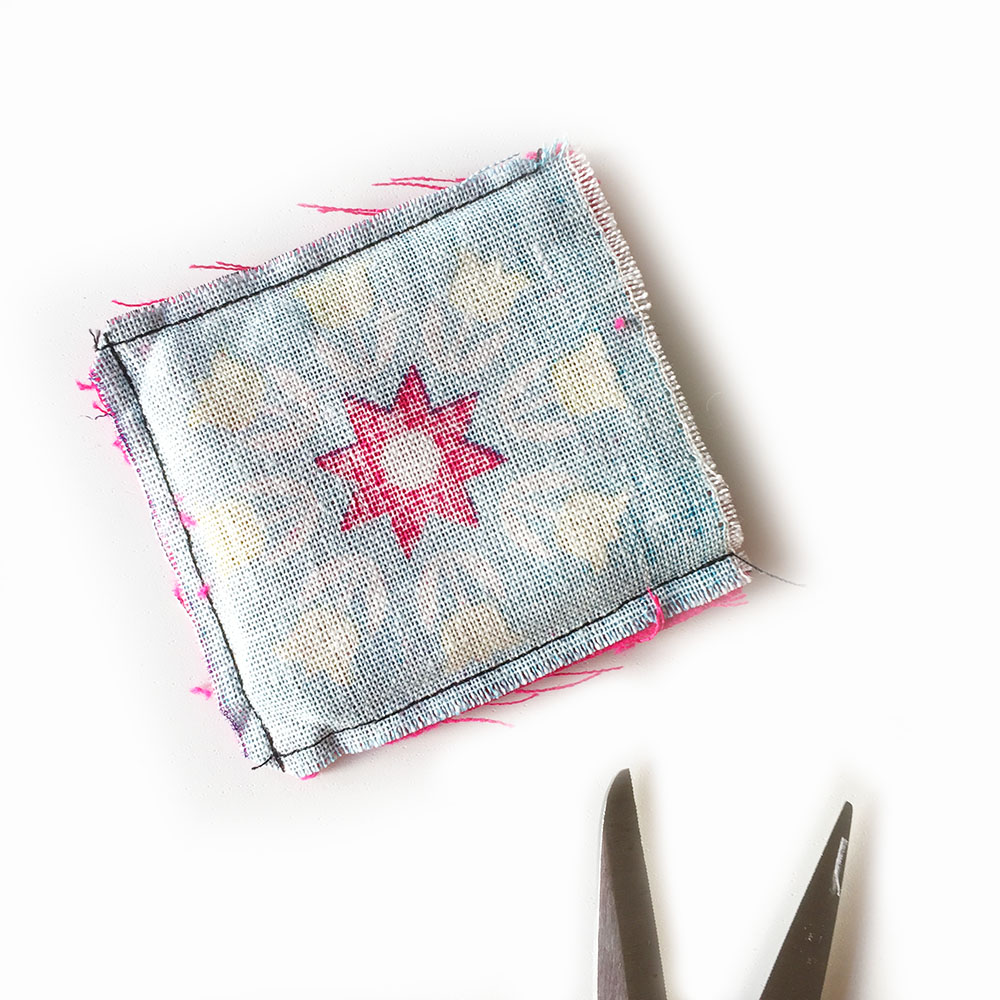 Sew your pieces with the right sides together with a 5mm seam allowance. Clip the corners and turn inside out. Poke the corners out or tease out with a needle.
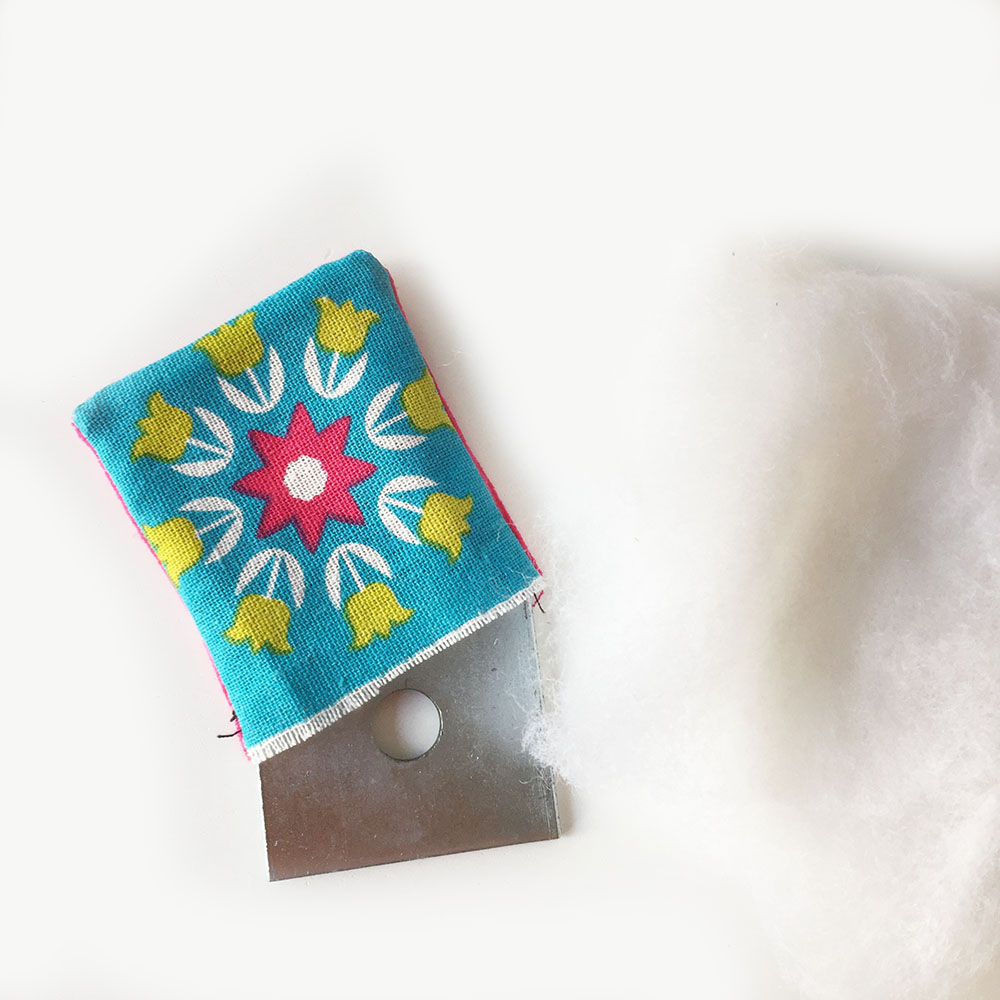 Insert your metal washer. Add some wadding under the top section only.
 Turn under the raw edges of the opening and hand stitch. i sometimes do a fancy bit of blanket stitch here with some embroidery thread to make a feature of it.
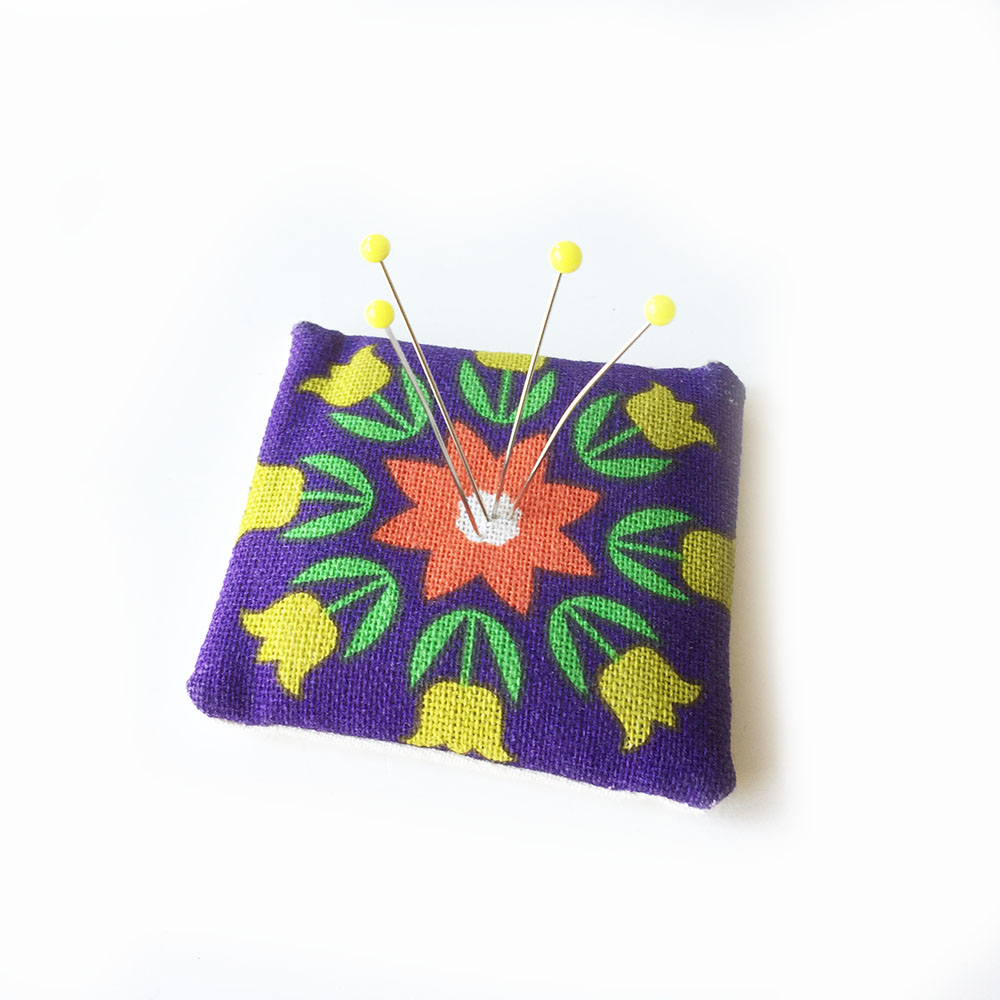
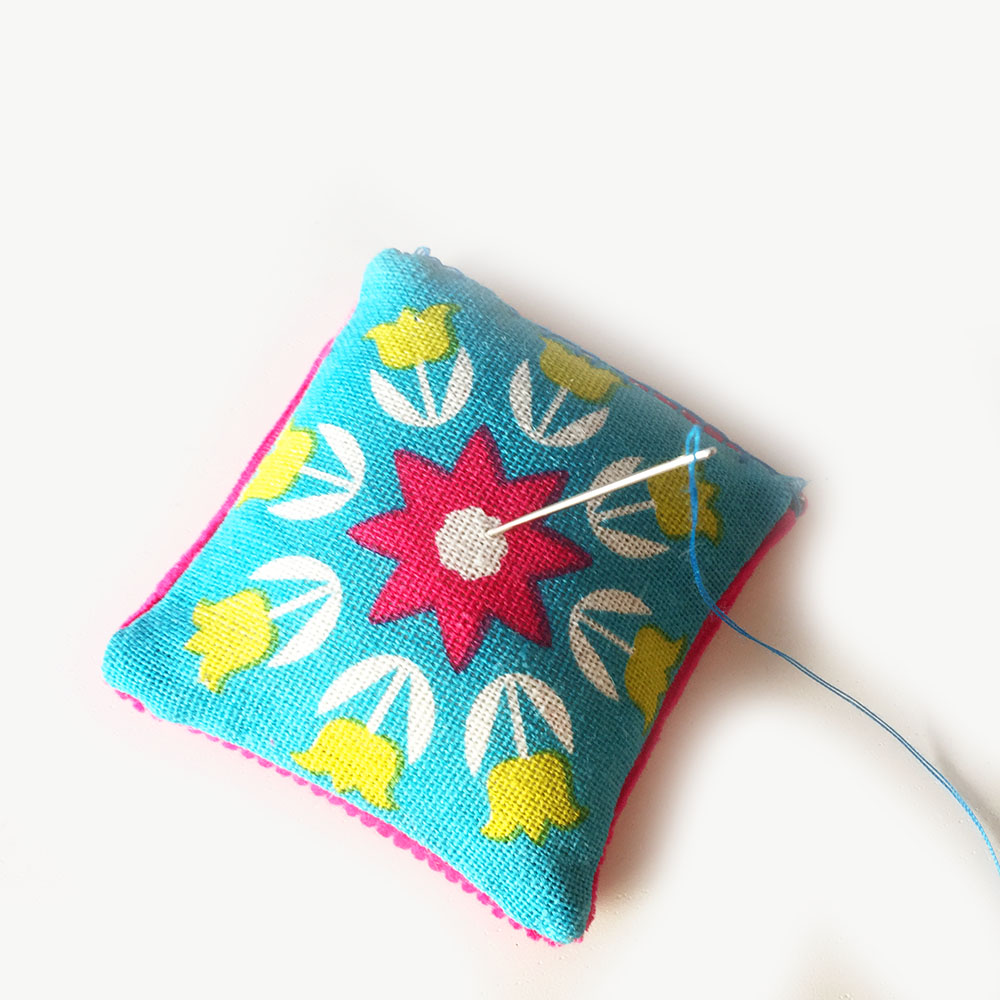 There you have it. Also good for needles, don’t want them to feel left out!
