
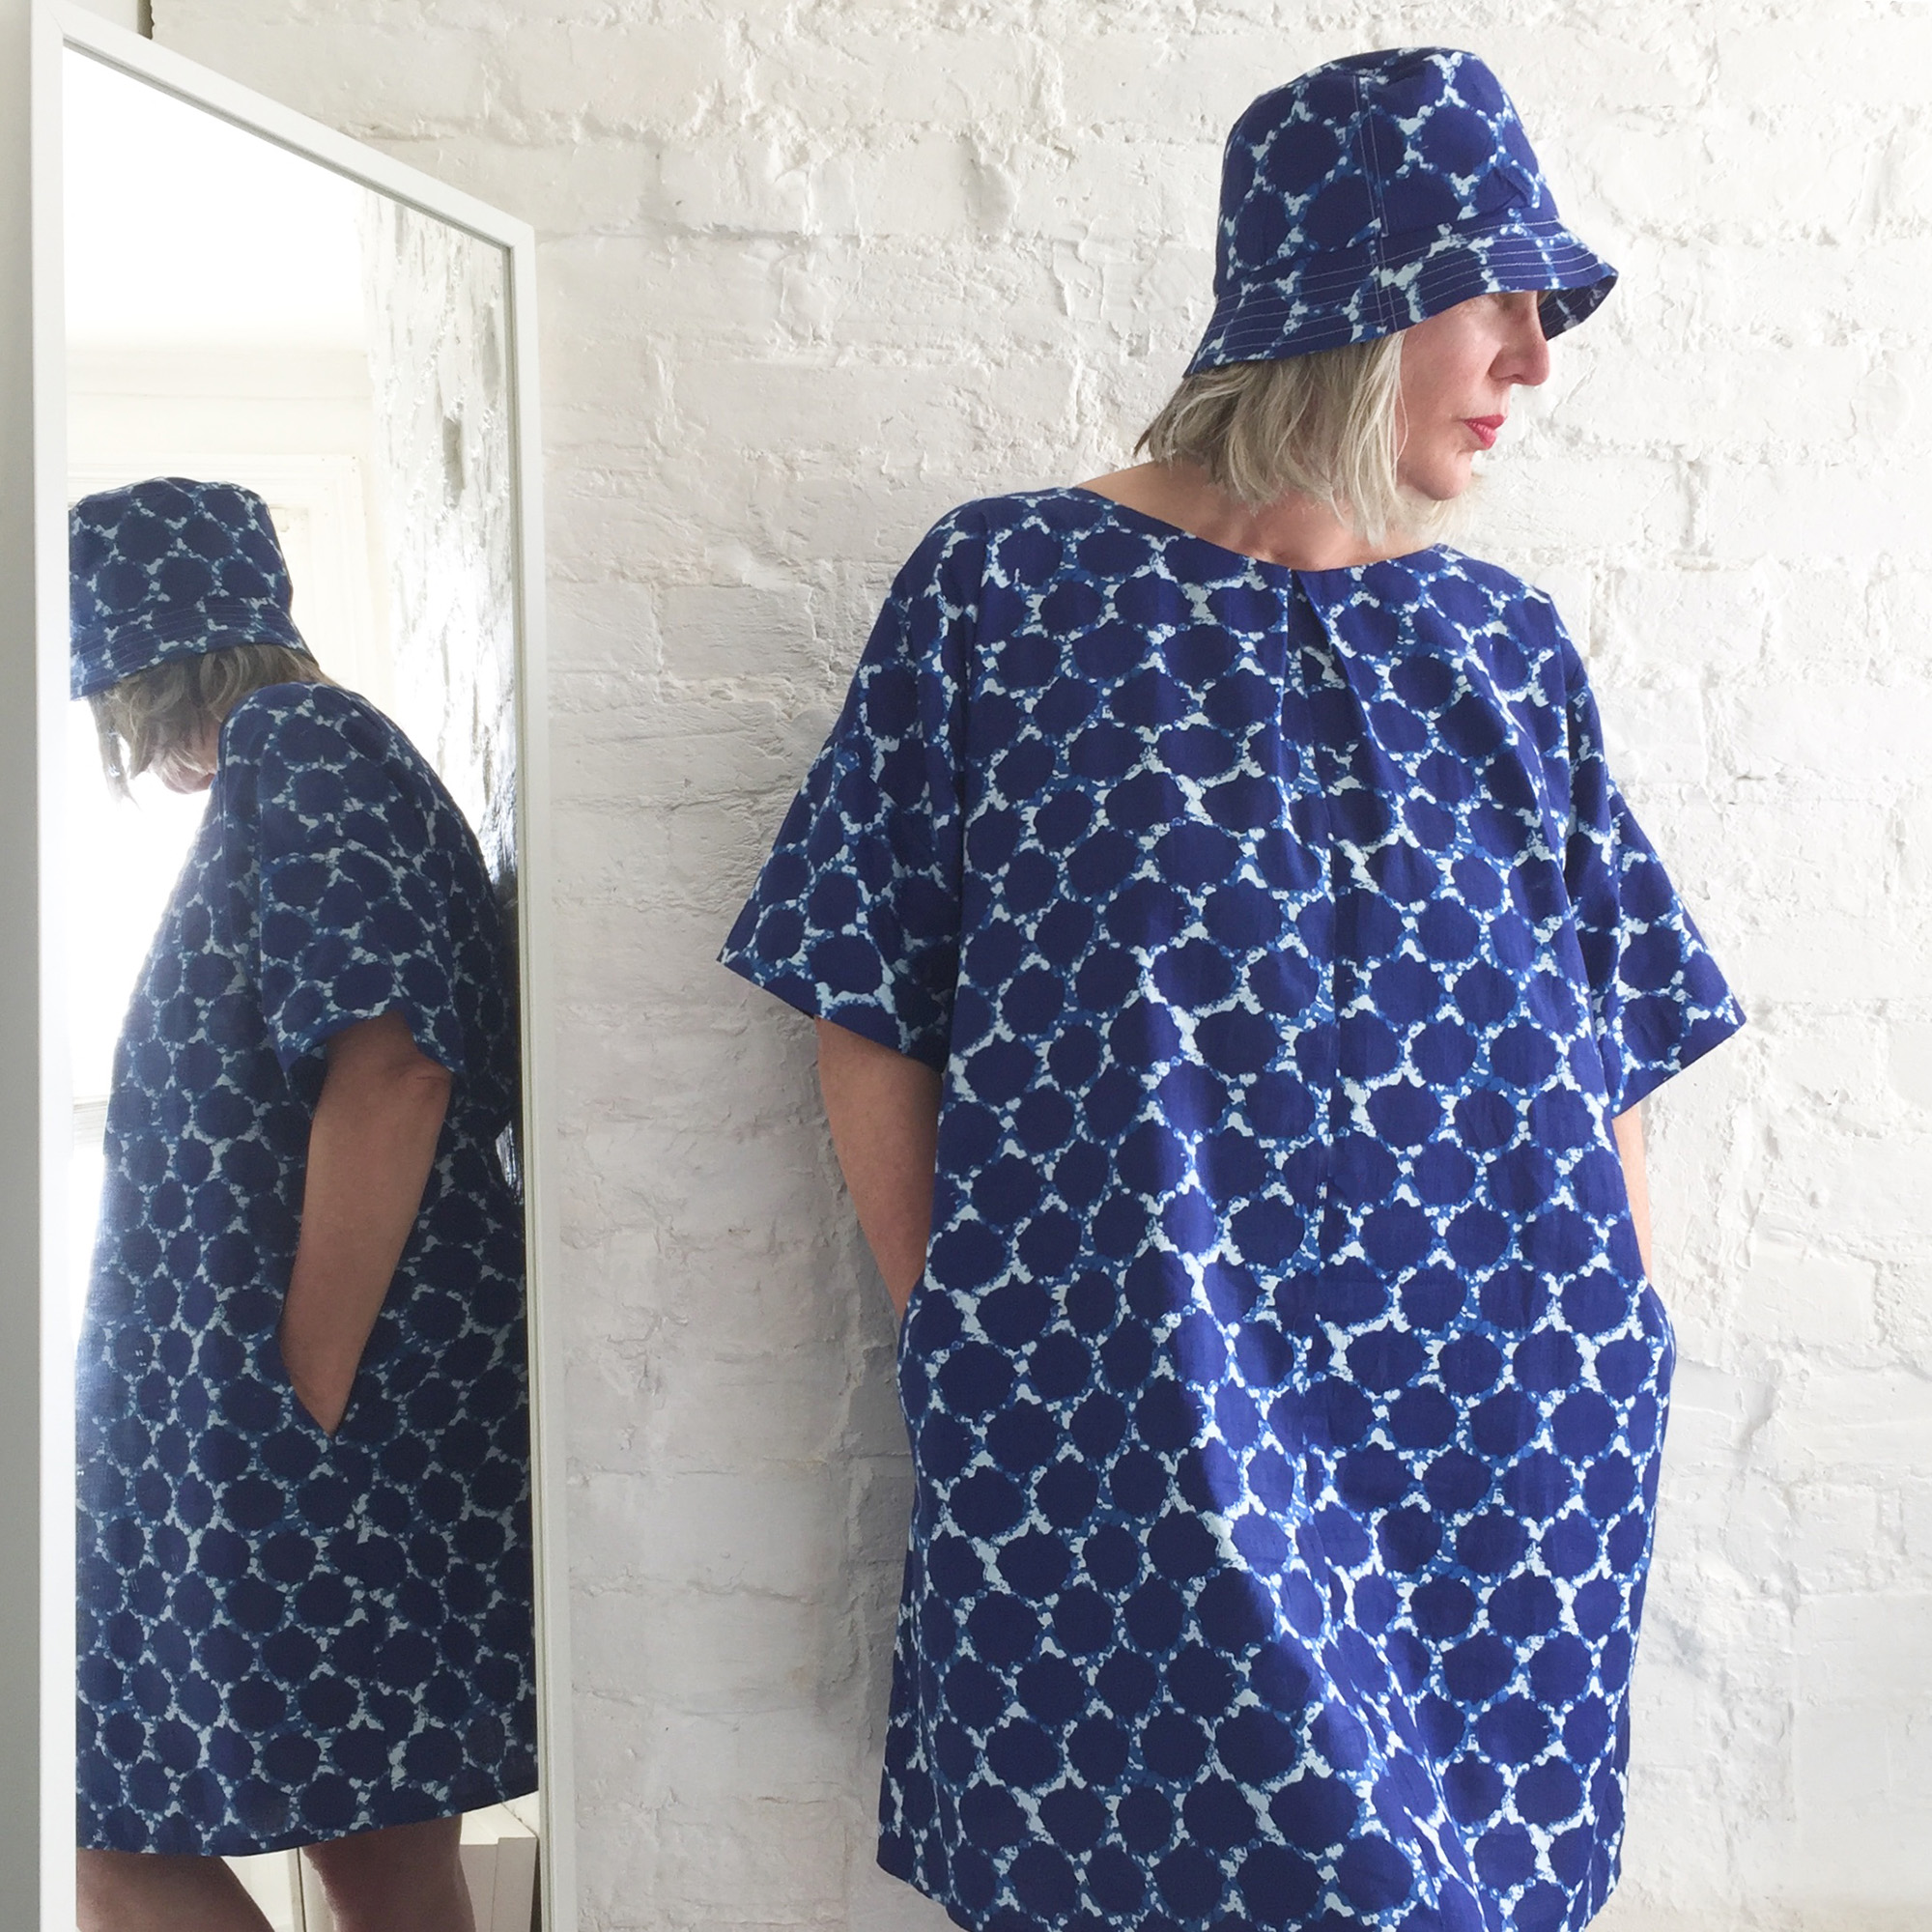
 This is one of my favourite dresses….Cecily!
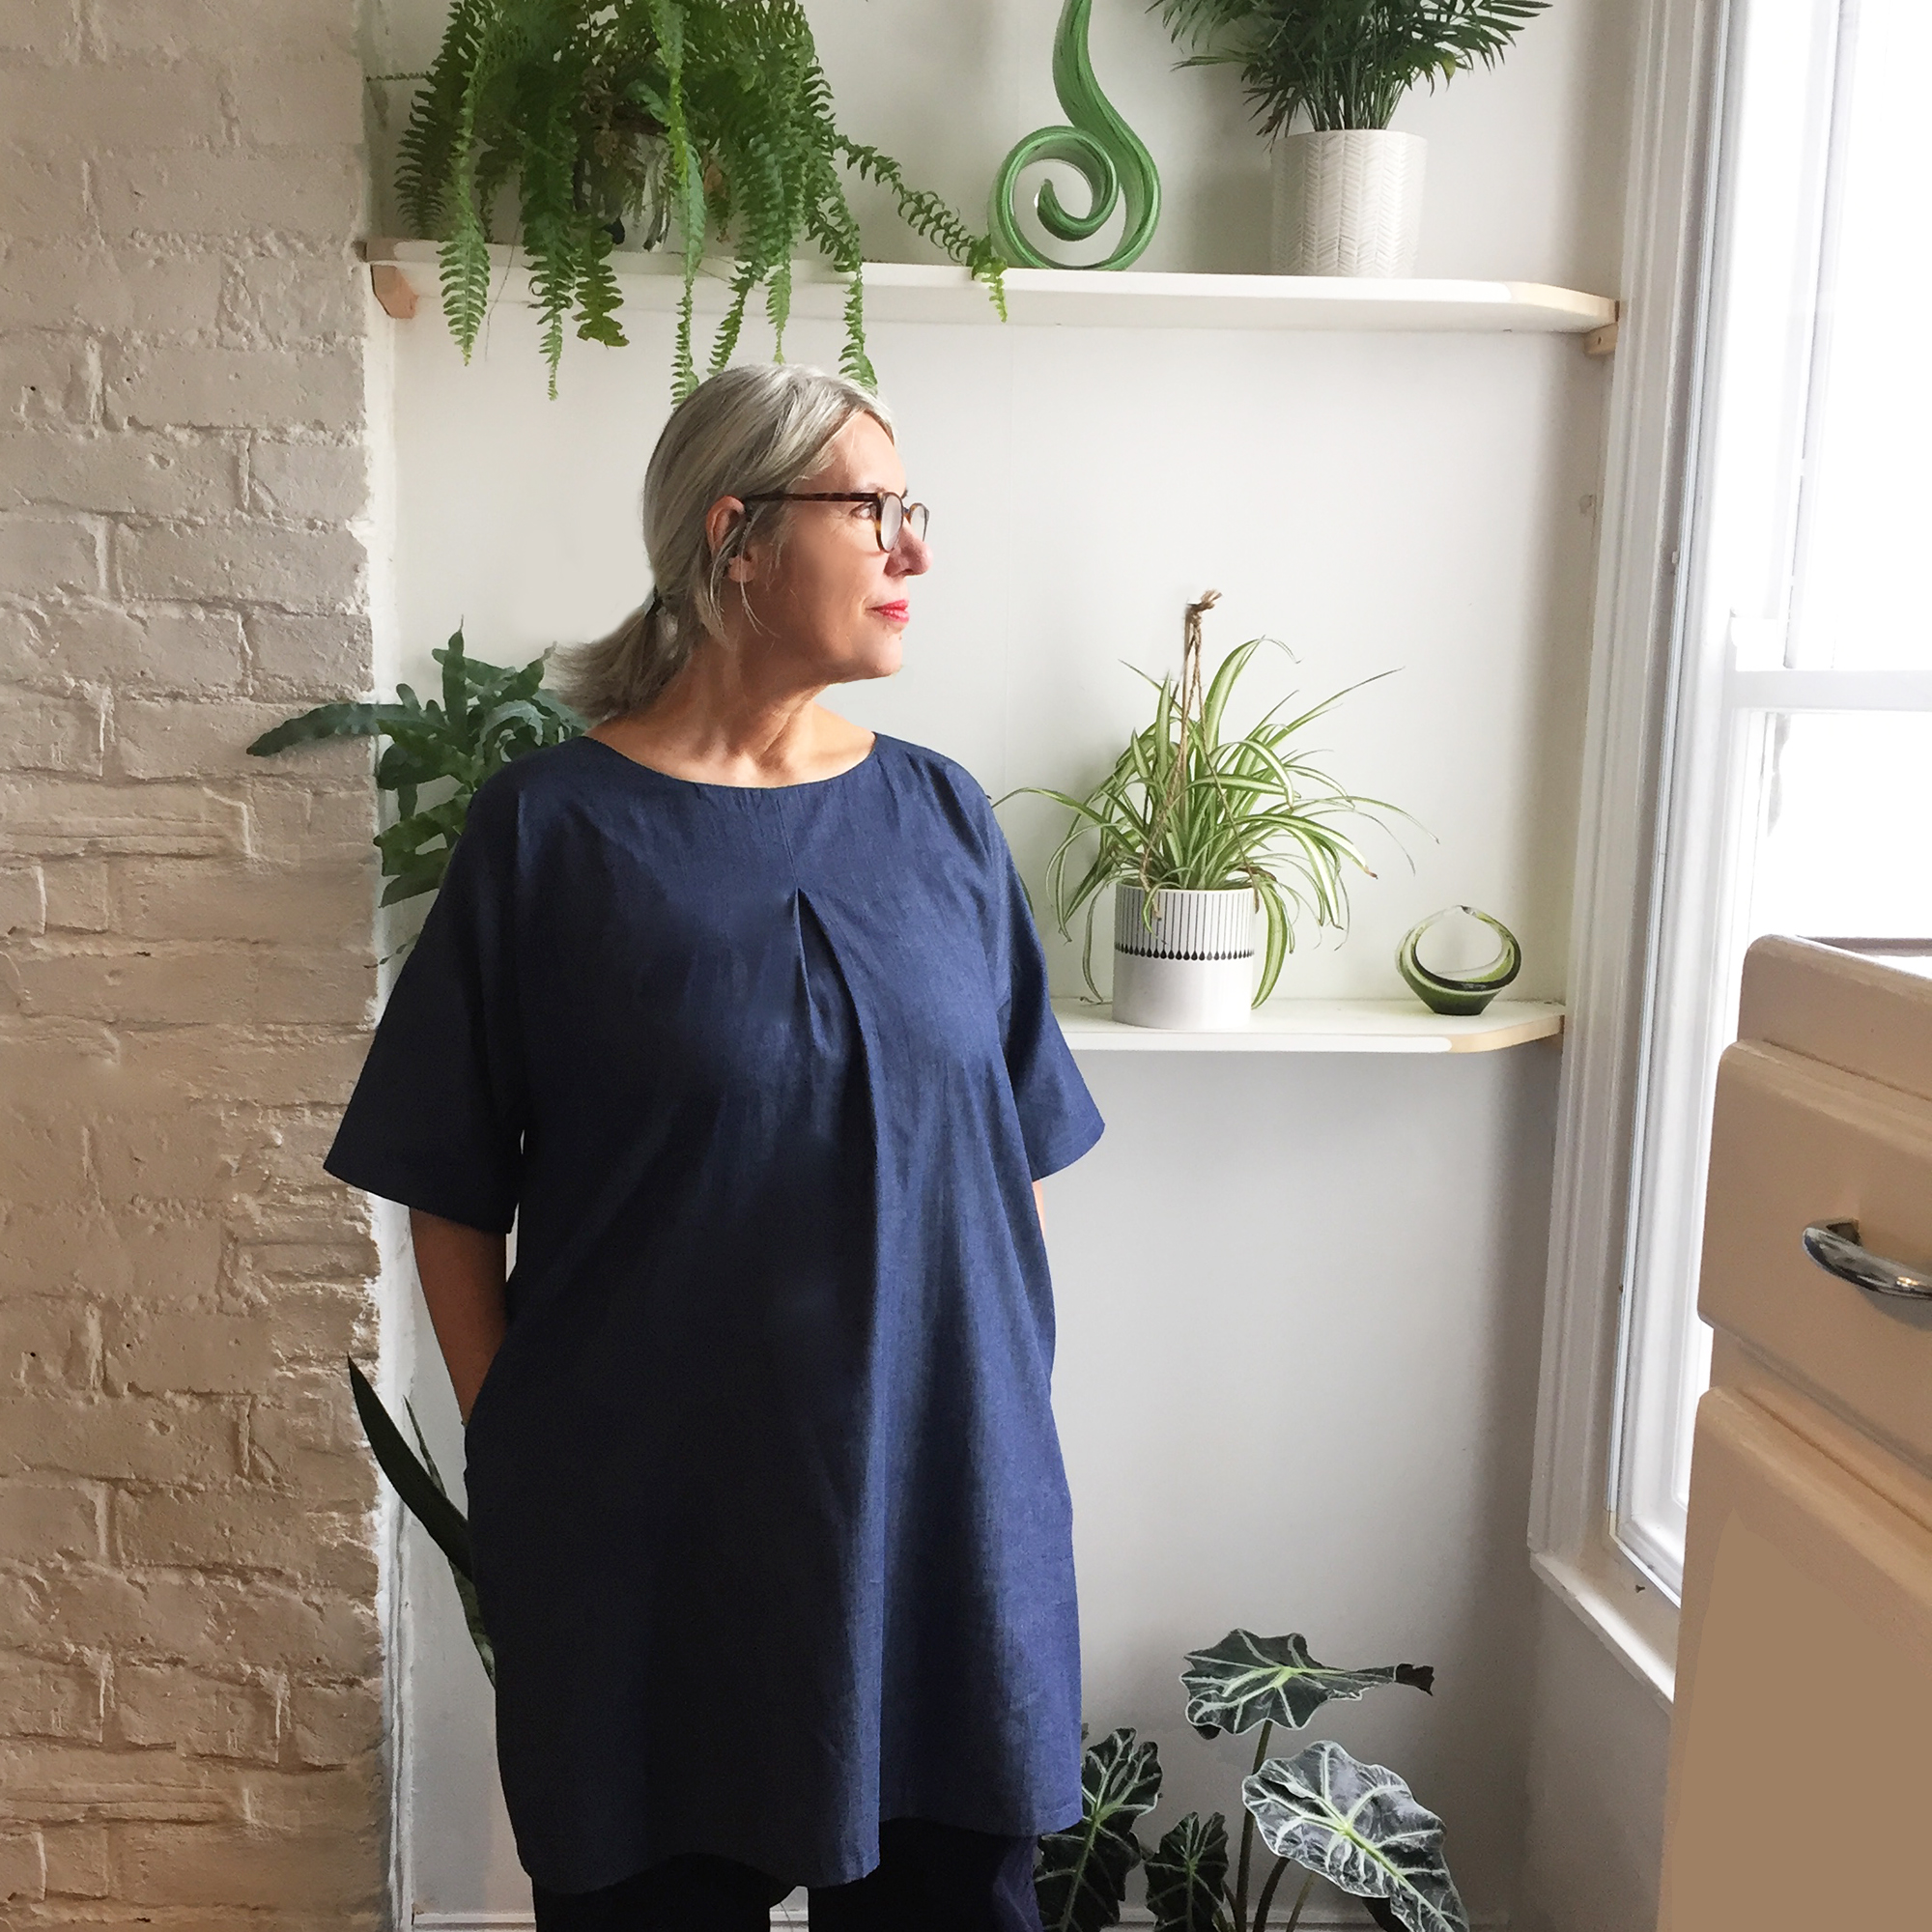
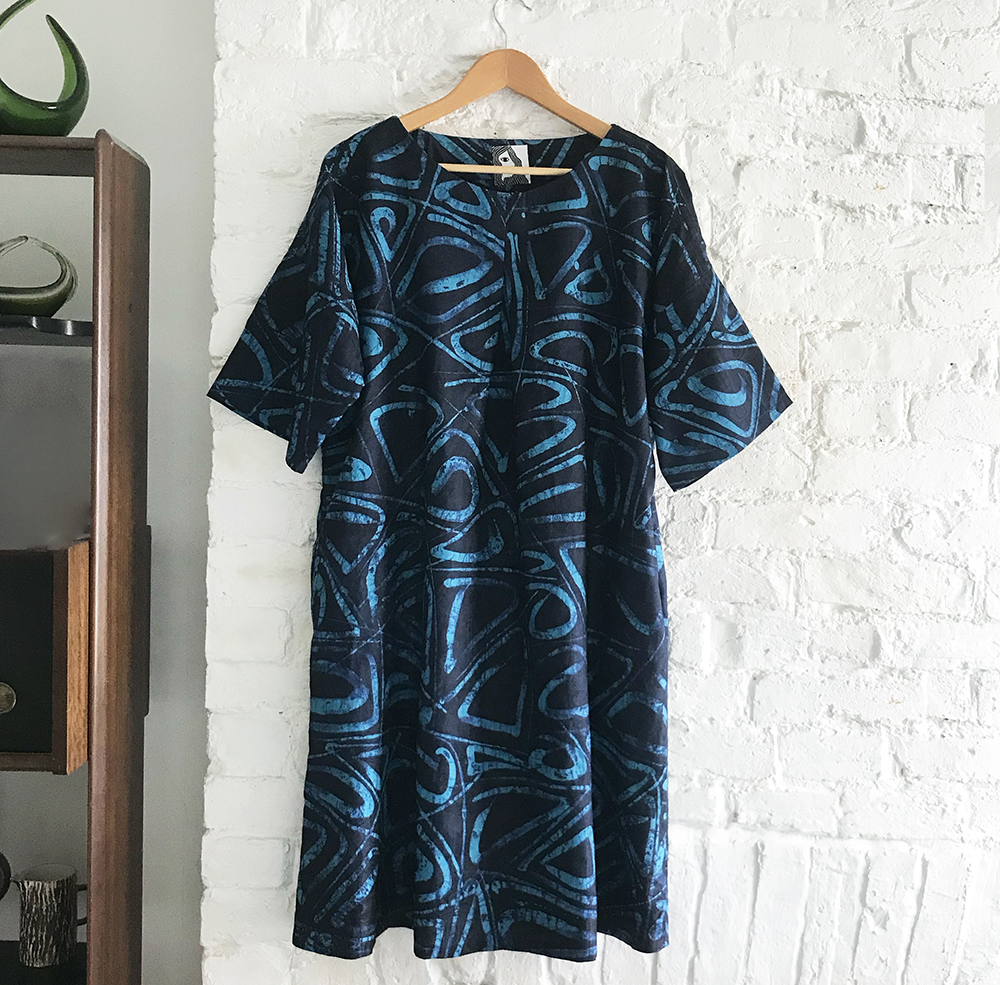
Below shows a couple of Cecily dresses in different African wax fabrics…. And here is a denim version with long sleeves. If you have purchased the pattern without the long sleeve, you can download the sleeve pattern here.
Cecily Sleeve Pattern download

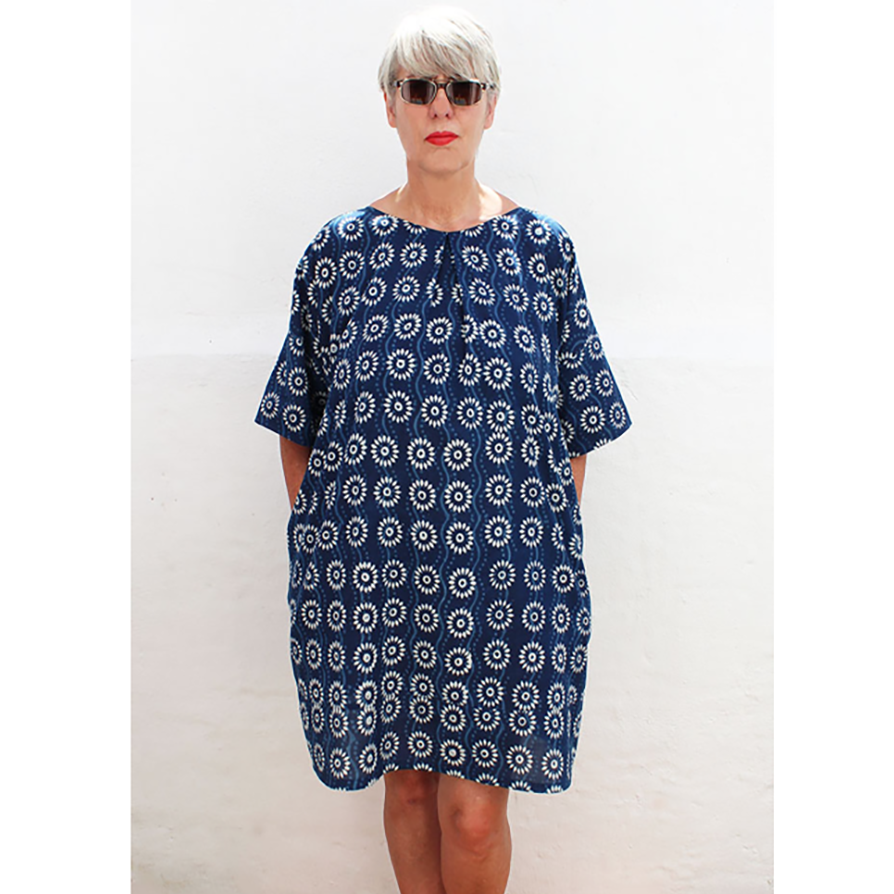
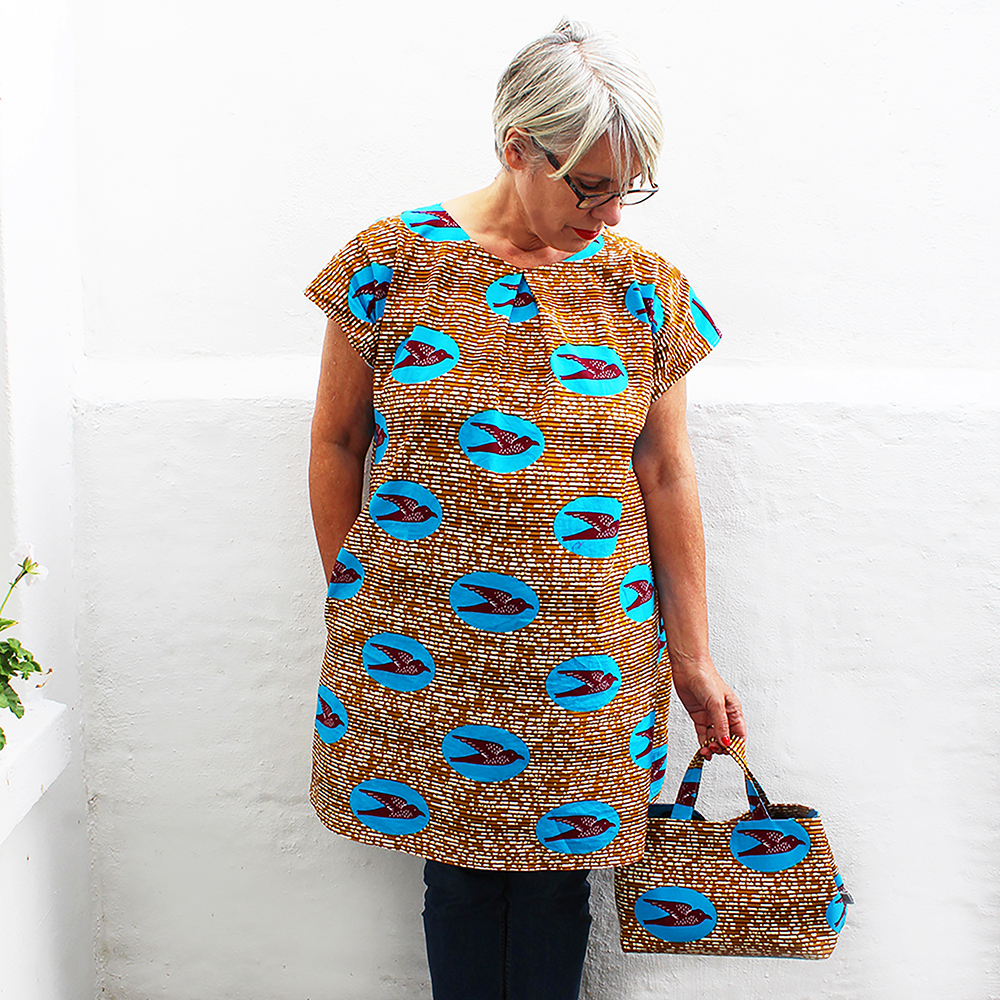
Here I’m out and about in Brighton in Cecily with a stand out African print.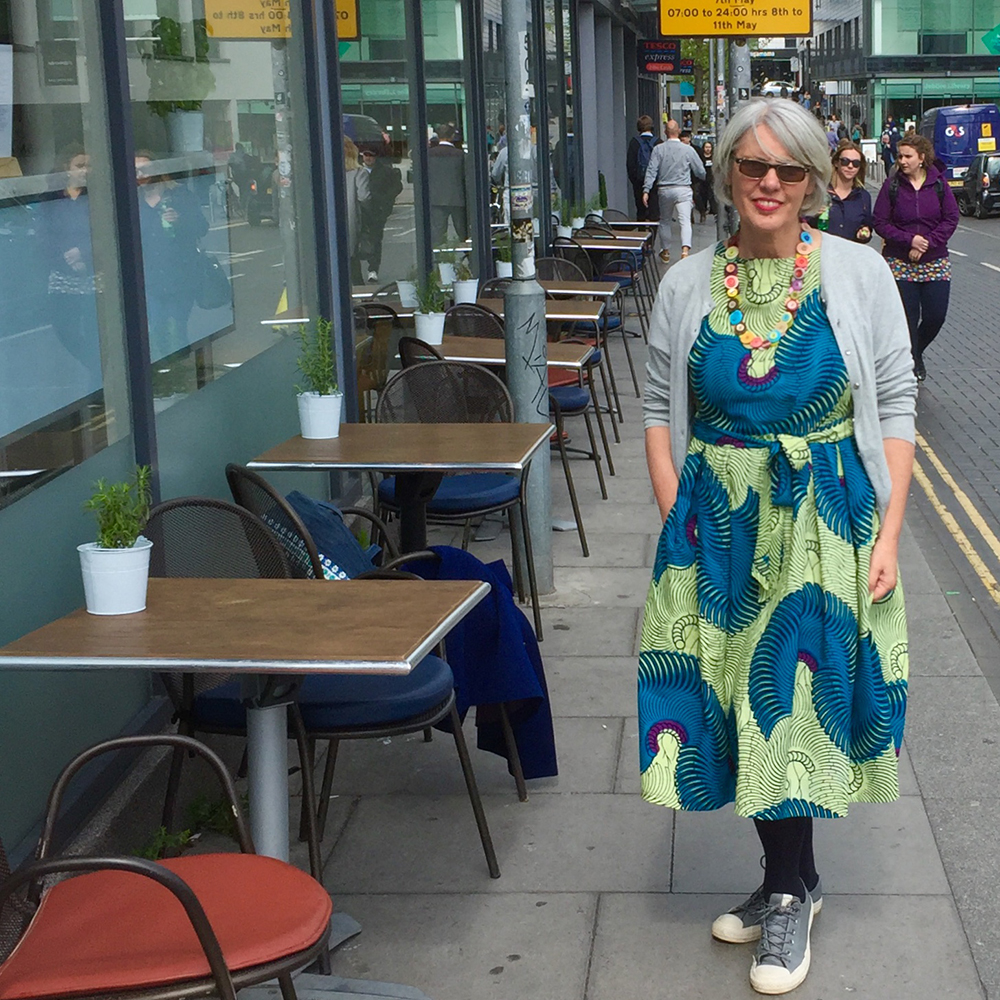
Striped linen is a more sensible option…. This Cecily dress is made in fabulous Italian 100% fine linen pinstripe fabric (bundles available on my Etsy shop) Ive turned the fabric on its side for the bodice, so the stripes run horizontally and then vertically on the skirt section. I really like the effect it gives and I have to say, I wear this a lot when going somewhere special.

When I wear Cecily dress, I feel amazing, like I’m making a real statement about who I am, so I tend to make it in bold prints but it also looks great in more subtle fabrics such as the Kaufman railroad denim or the grey pinstripe linen (shown above).
So this is a time to show yourself off….. you are amazing….. as we all are!
You can make this frock with or without the tie belt, but I prefer it with one (I just love a tie belt). This pattern has cap sleeves but on the latest addition of Cecily I have added a short sleeve template for those of you wanting a slightly longer sleeve.
Cecily is designed to be loose fitting on the waist so its more comfortable to wear, it has a side concealed zip too, but I can pop mine on without undoing the zip, so if you feel that inserting a concealed zip is beyond your skill level, try making it without. Of course, having a side zipper does make it easier to get on and off, and inserting a concealed zip is for some people easier than a standard zip. I have popped a concealed zip tutorial link here, so have a peek to see what you think or why not have a go, you will never look back if you conquer this technique.
PREPARATION/ADJUSTING THE PATTERN
It’s a good idea to check your measurements against that on the pattern. If you are, like me, a bit top heavy, go for the larger size that fits your bust measurements, you can always adjust to fit afterwards. The pattern is suited to a bust cup size B. If you need to make bust adjustments, see my useful blogpost for a bust adjustment tutorial:
You may also need to lengthen the shoulder to waist length so measure your body from these points and adjust accordingly. Its a good idea (especially if you are using expensive fabric) to make up the bodice section in cheaper fabric or calico first to see how it fits and to determine whether the pattern needs adjusting. It doesn’t take long to do and like that you can feel more confident, secure in the knowledge that the fit will be right. I want you to make lots of Cecily dresses (like I have), so tweaking it at the outset will give better results in the long run.
 You will also need a 30cm concealed zip and 20cm of lightweight fusible interfacing
A NOTE ABOUT INSERTING A CONCEALED ZIP
Although getting the dress off and on is easier with a side concealed zip, it is perfectly possible to make this dress without it as the neckline and waist width are wide.
Remember that the seam allowance is 1cm (3/8″)
If you would prefer to sew a 1.5cm (5/8″) seam allowance then just add 5mm (2/8″) to the outer edge of the pattern (except for the edges which are marked ‘cut on fold’).
Finish all raw edges with an overlocker or zigzag stitch.
Here is an over view of the pattern instructions which are included in the pattern along with a few extra tips. It will give you a taster of how to make this charming frock:
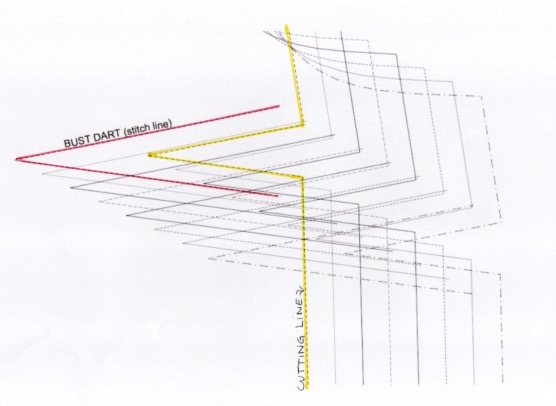
BUST DARTS
 On the pattern you can see lots of lines for each Dart size. Each size has two lines: one (outer line) is the ‘cutting’ line and one (inner line) which is the ‘stitch’ line. See the diagram below, Ive marked size 8 Dart lines in yellow (cutting line) and pink (stitch line), to show you more clearly. Its a good idea to mark the required two lines as I have done on your pattern to make them easier to see.
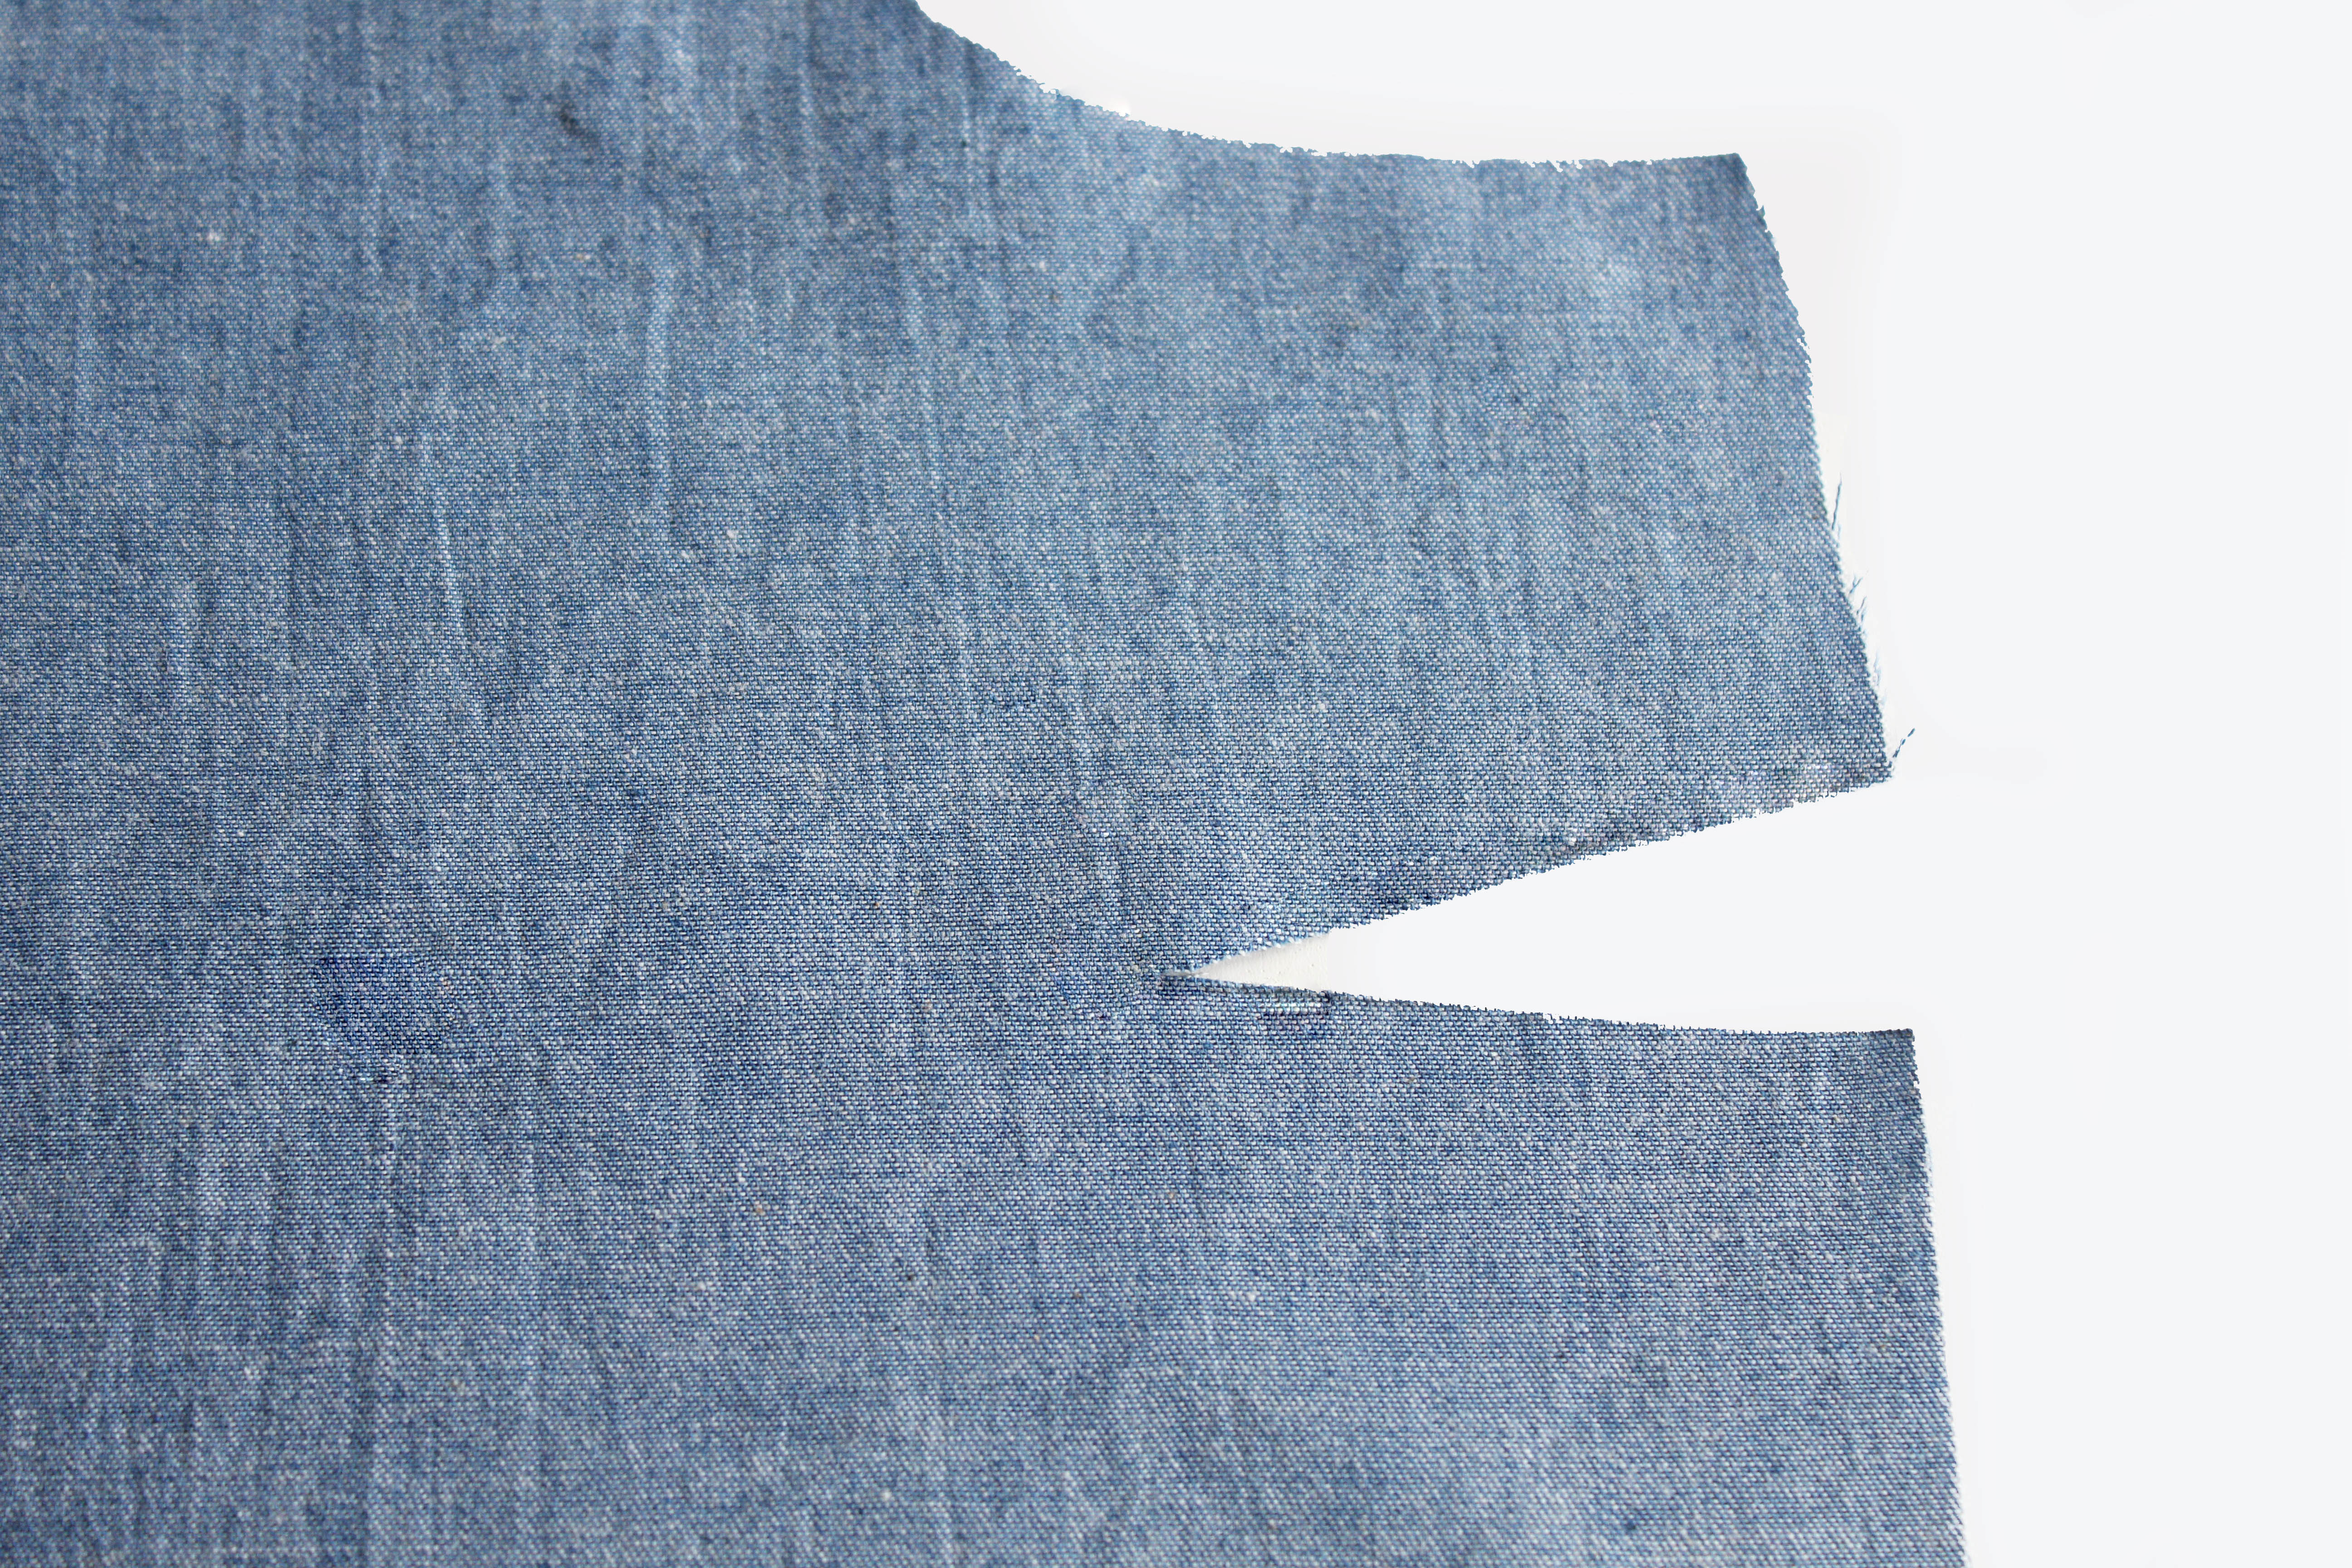
Once you have cut out your Bodice, it should look like this.
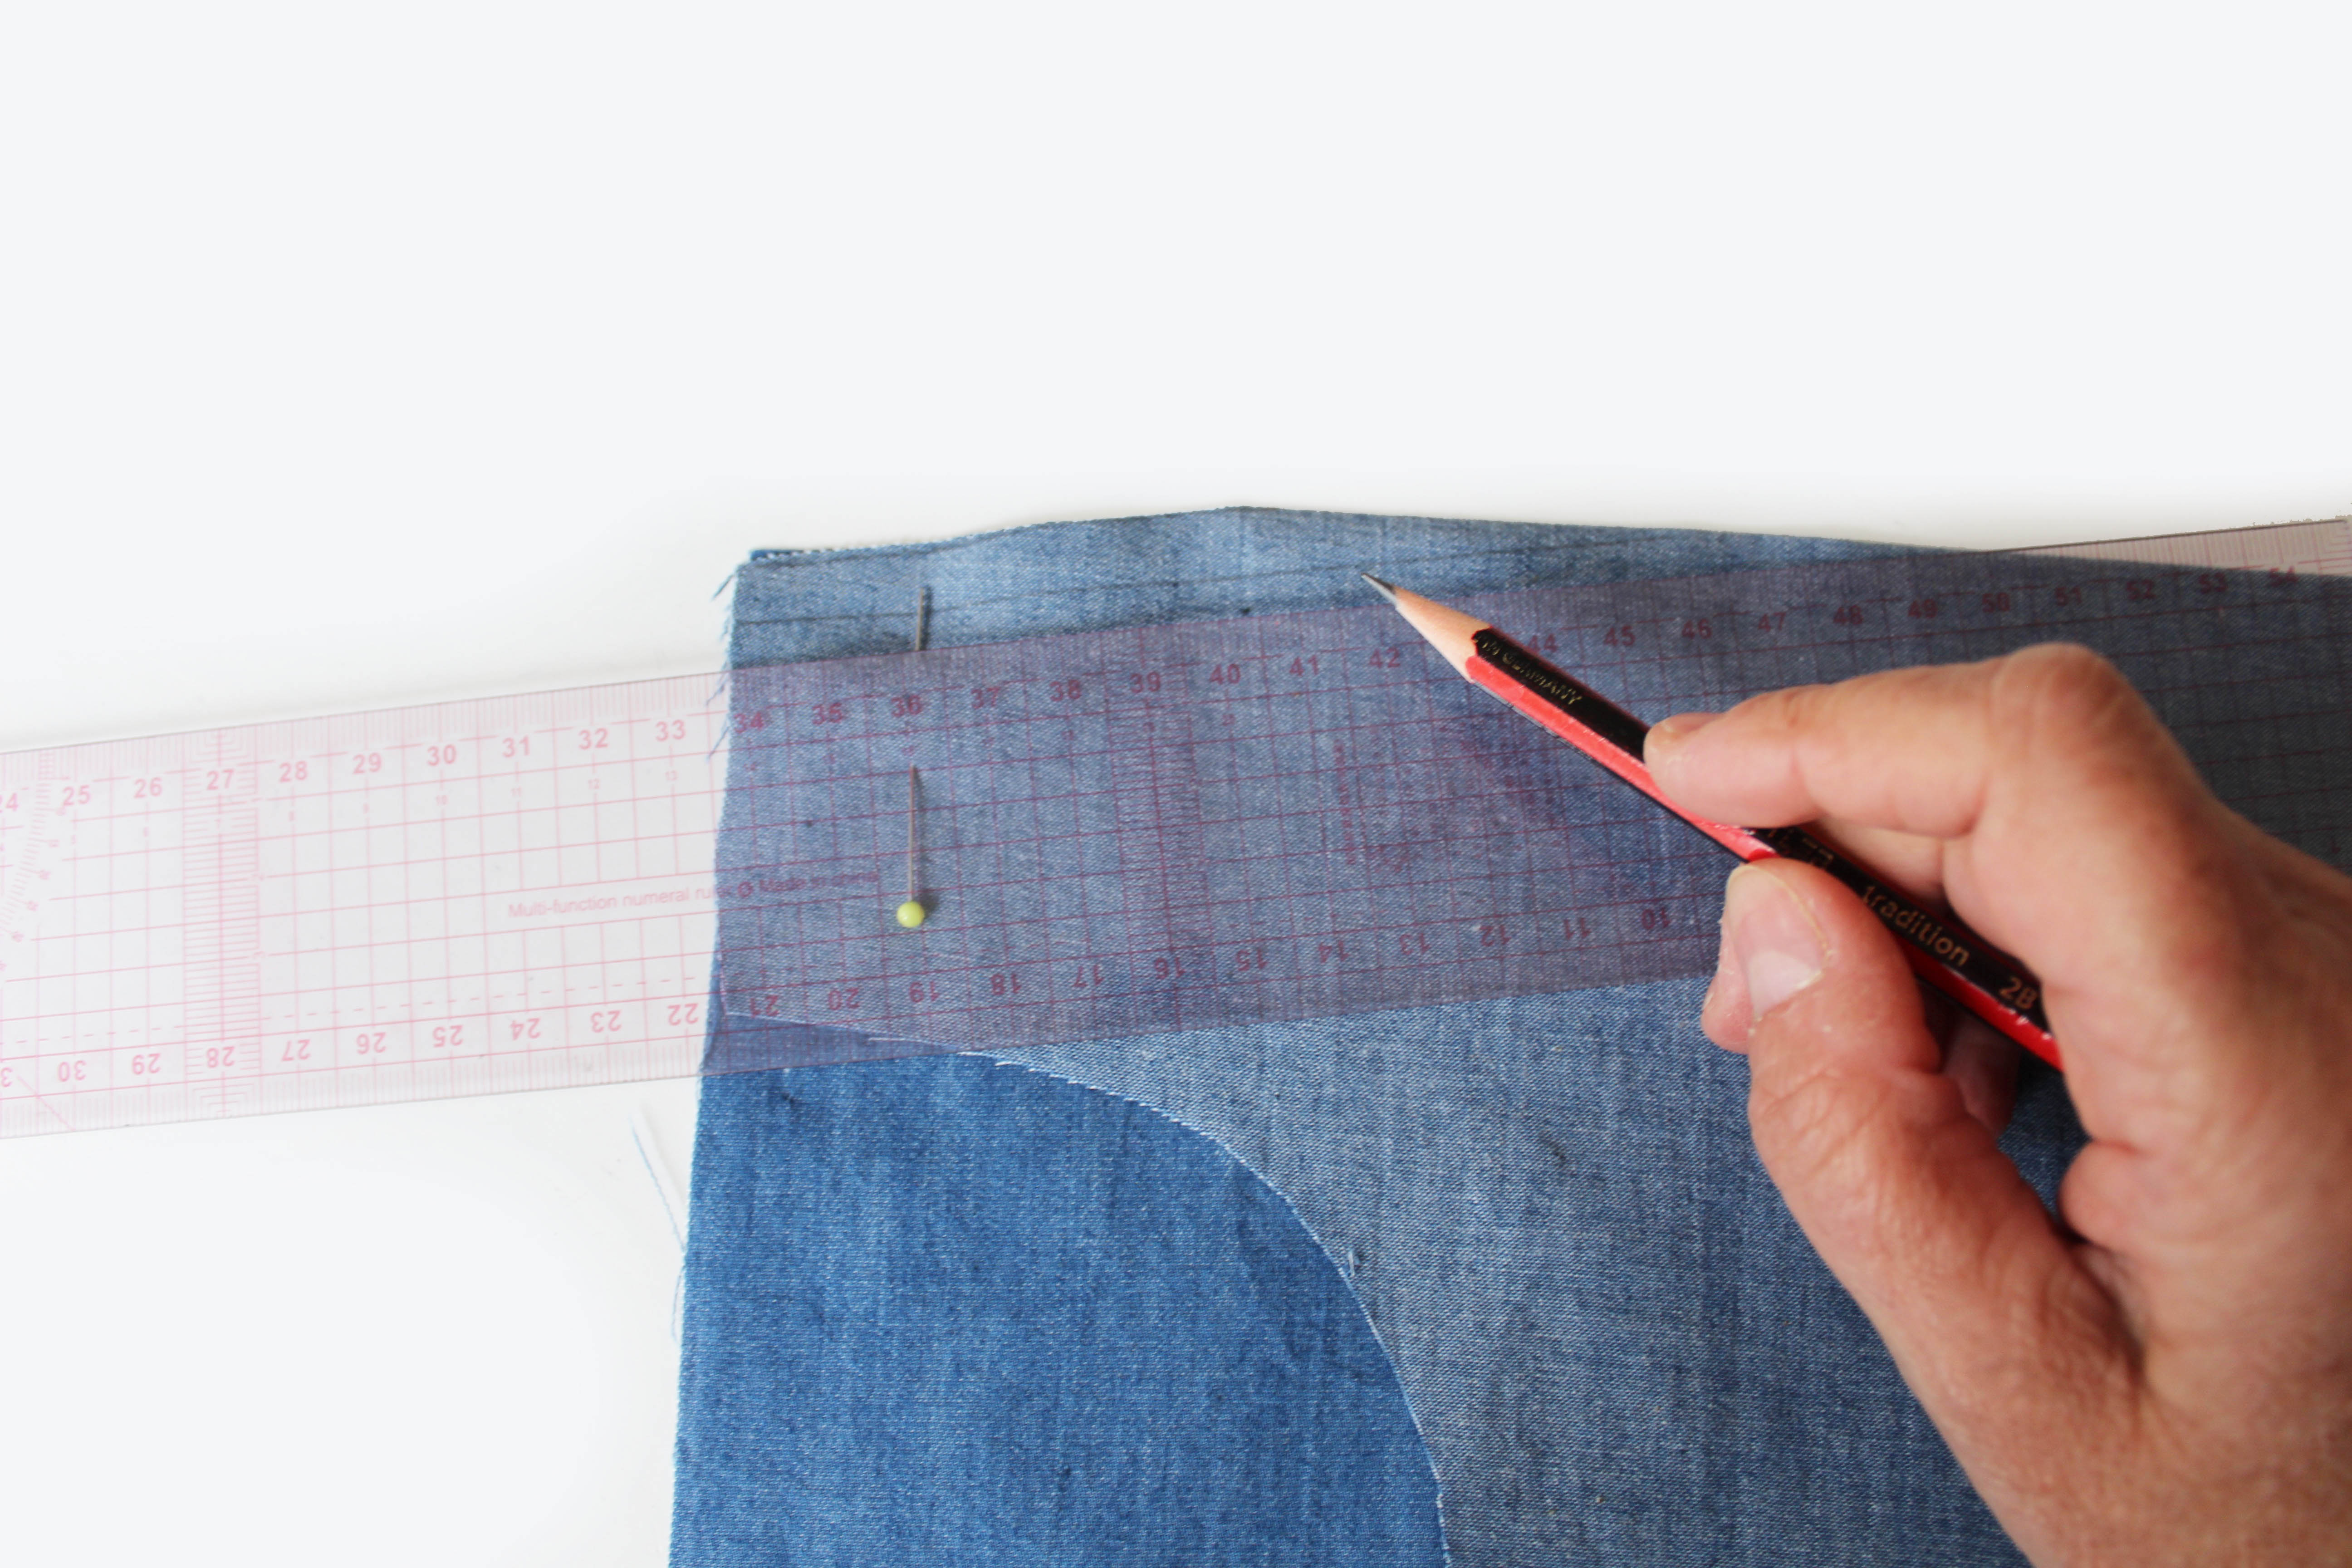
 Fold the dart so that the RST(right sides together) and the dart raw edges are aligned. Mark your stitch line using a ruler and pencil which runs 1cm parallel to the cutting line.
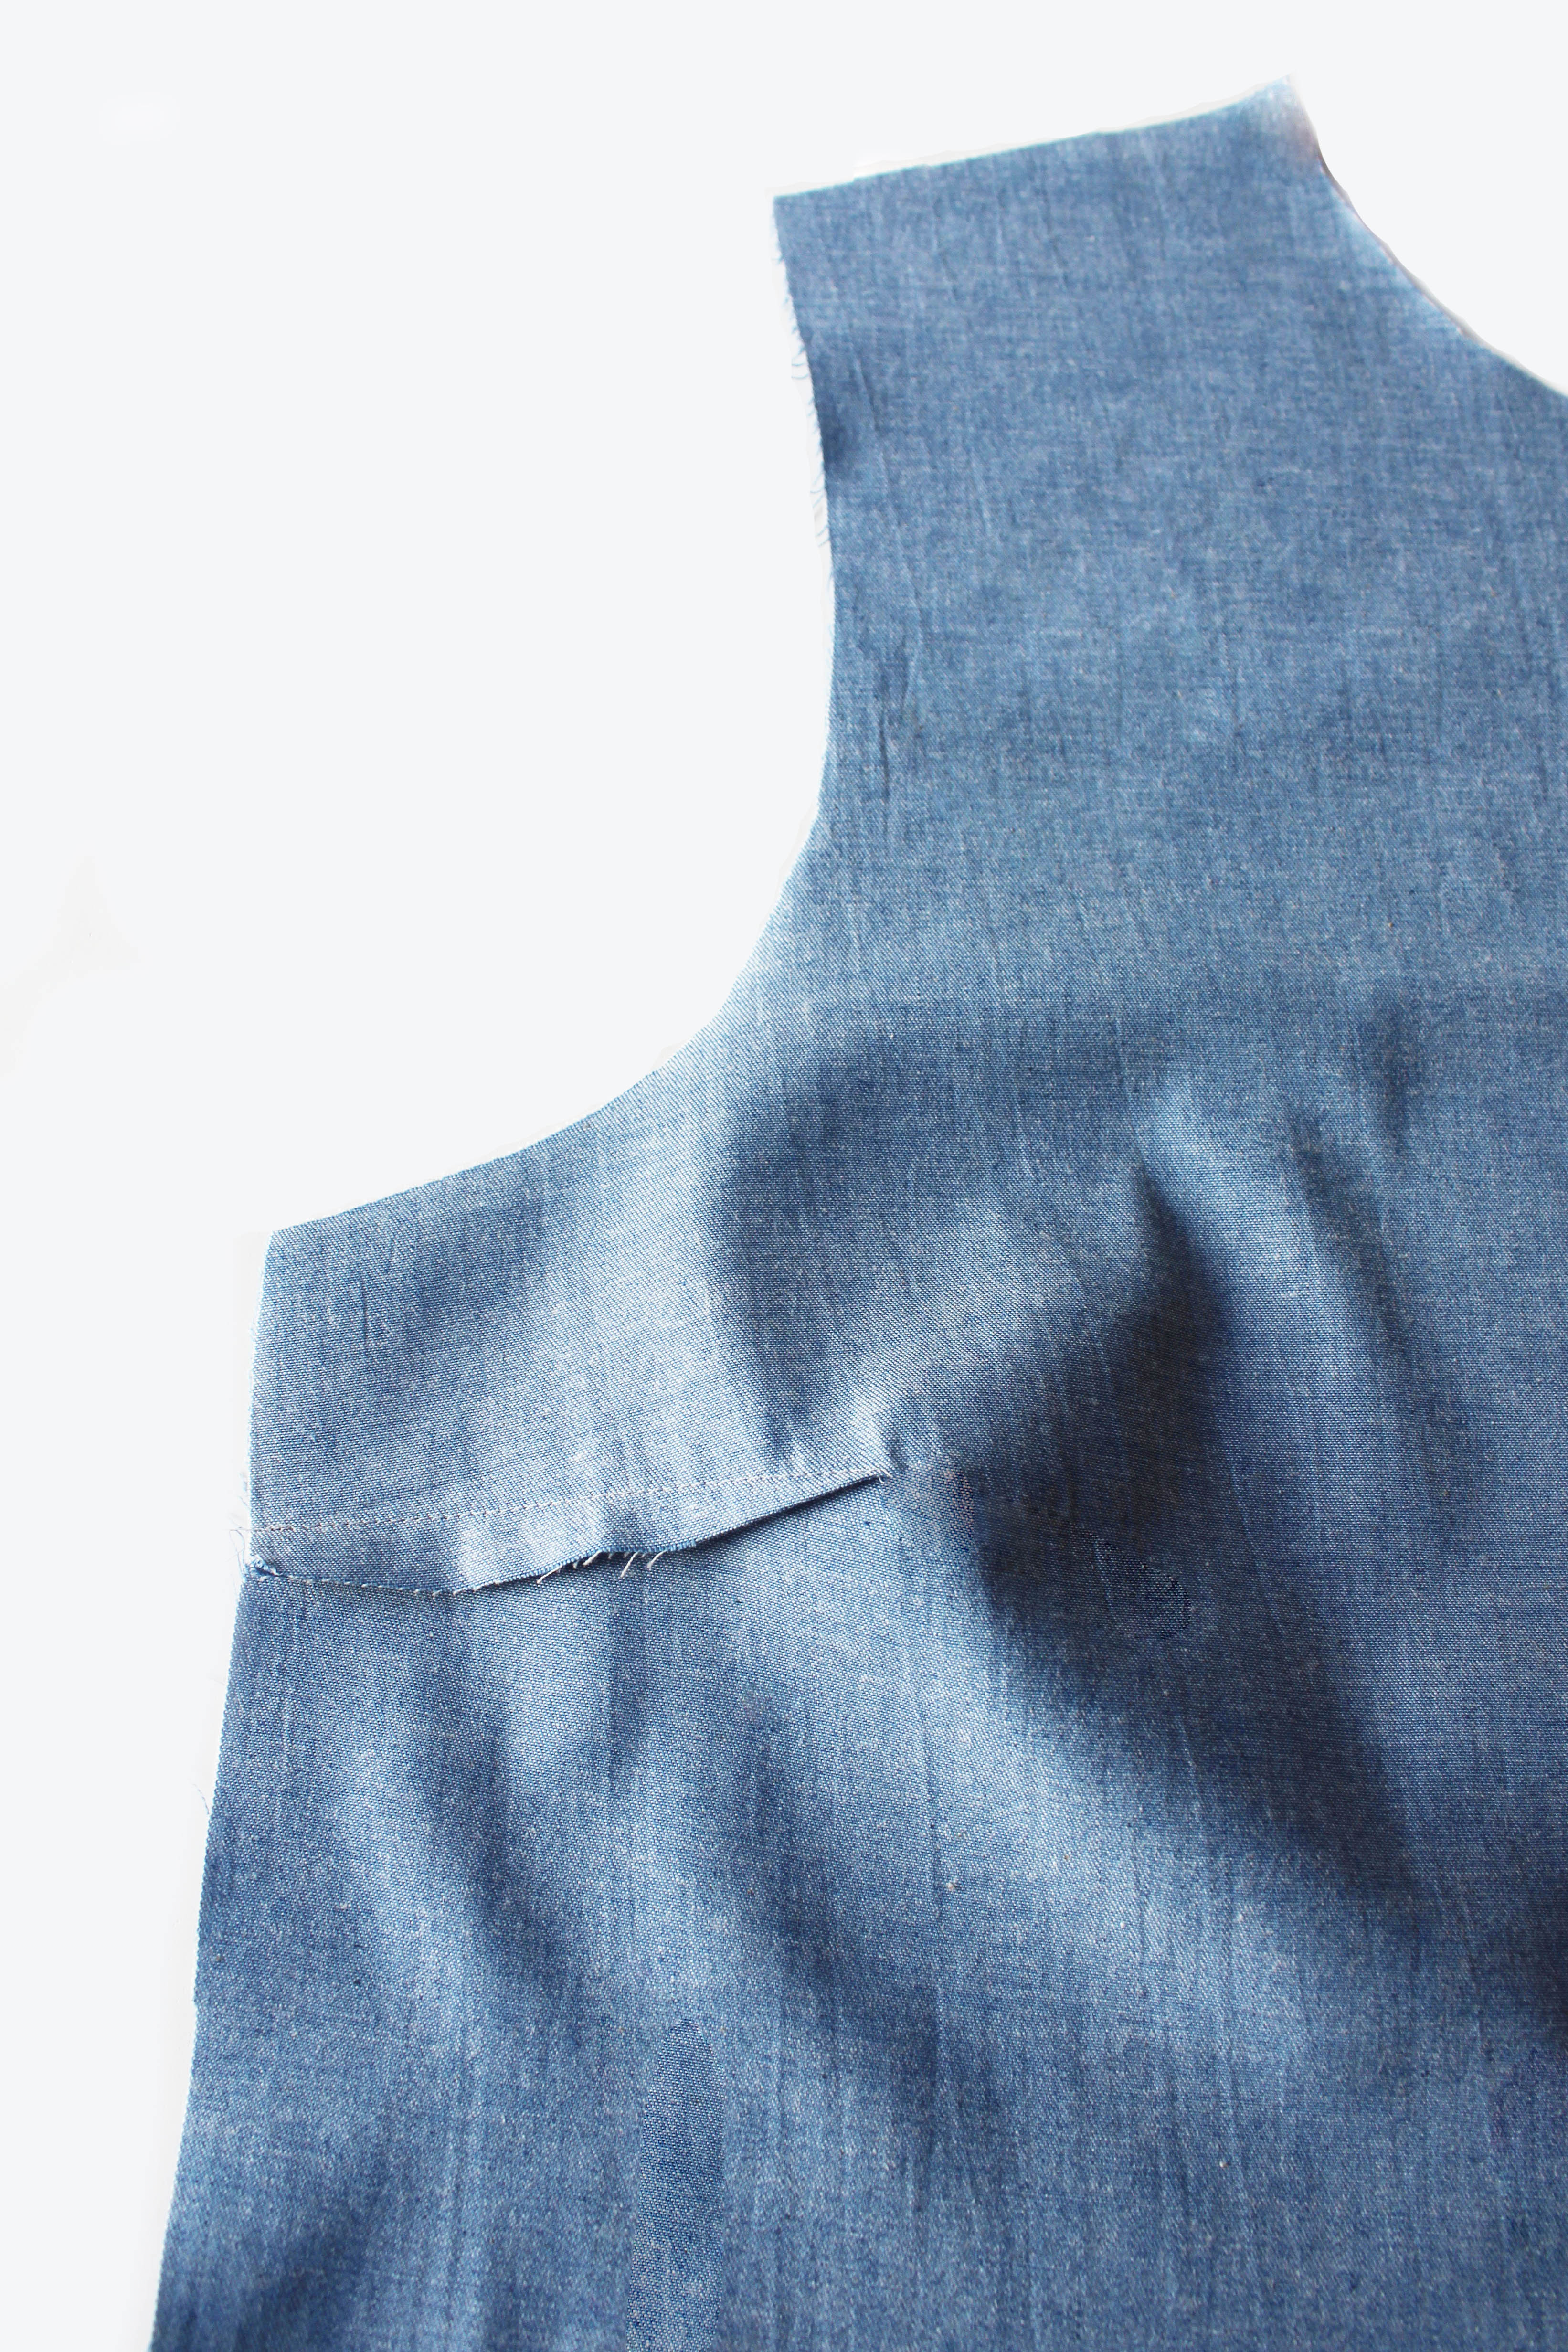
Then sew your dart along the marked ‘stitch’ line. Run the stitches off the tip of the dart leave long thread ends which are tied together and trimmed. Press the dart downwards.
Sew the Bodice Back pieces together. Press.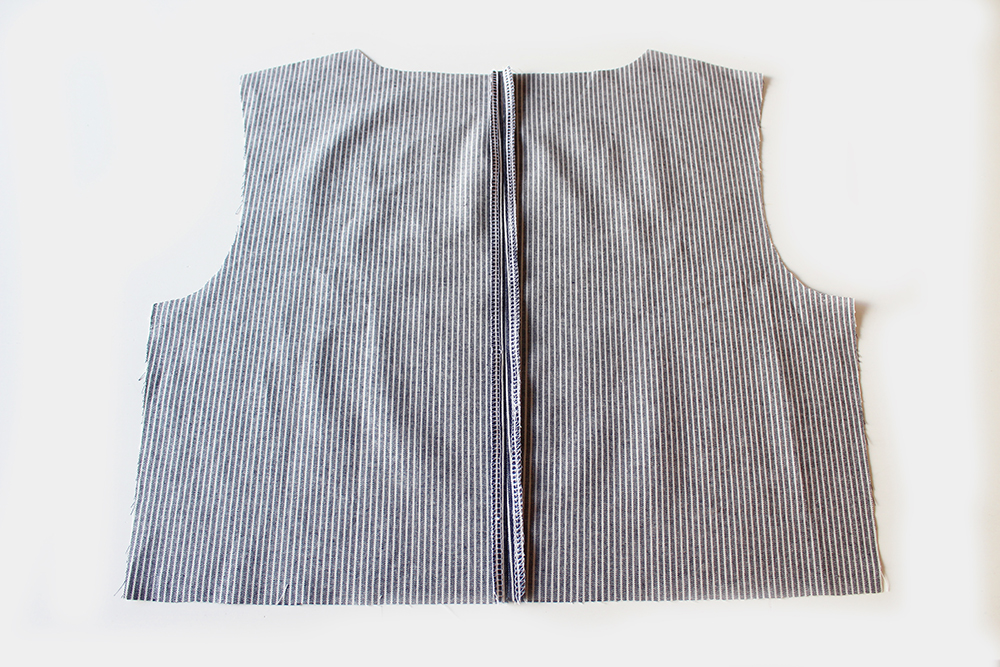
Join to the Bodice Front at the shoulders. Press seam allowances towards the back. 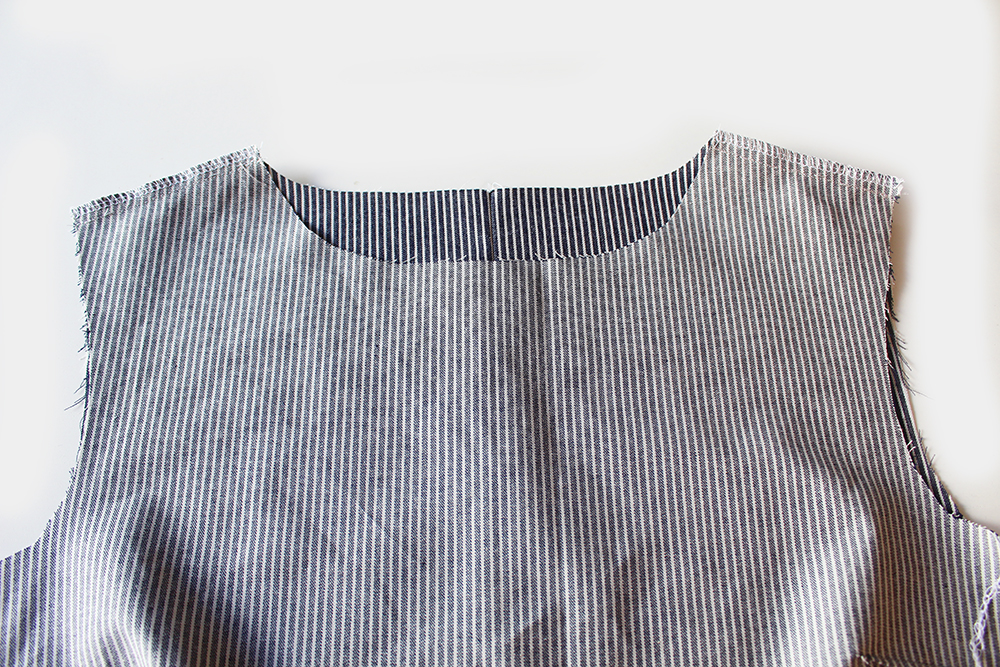
Topstitch.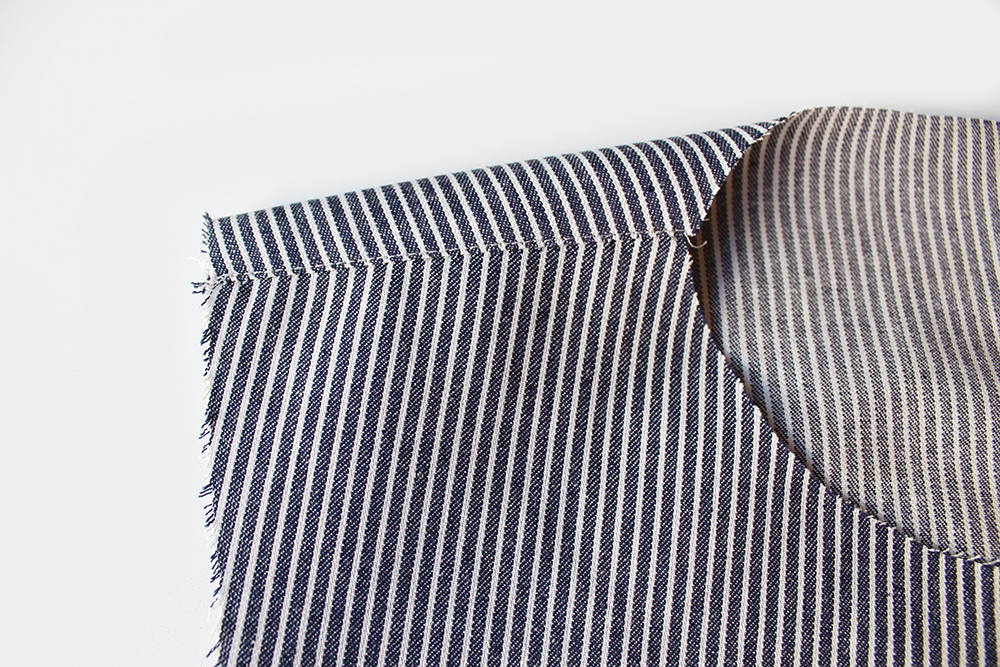
NECK FACINGS
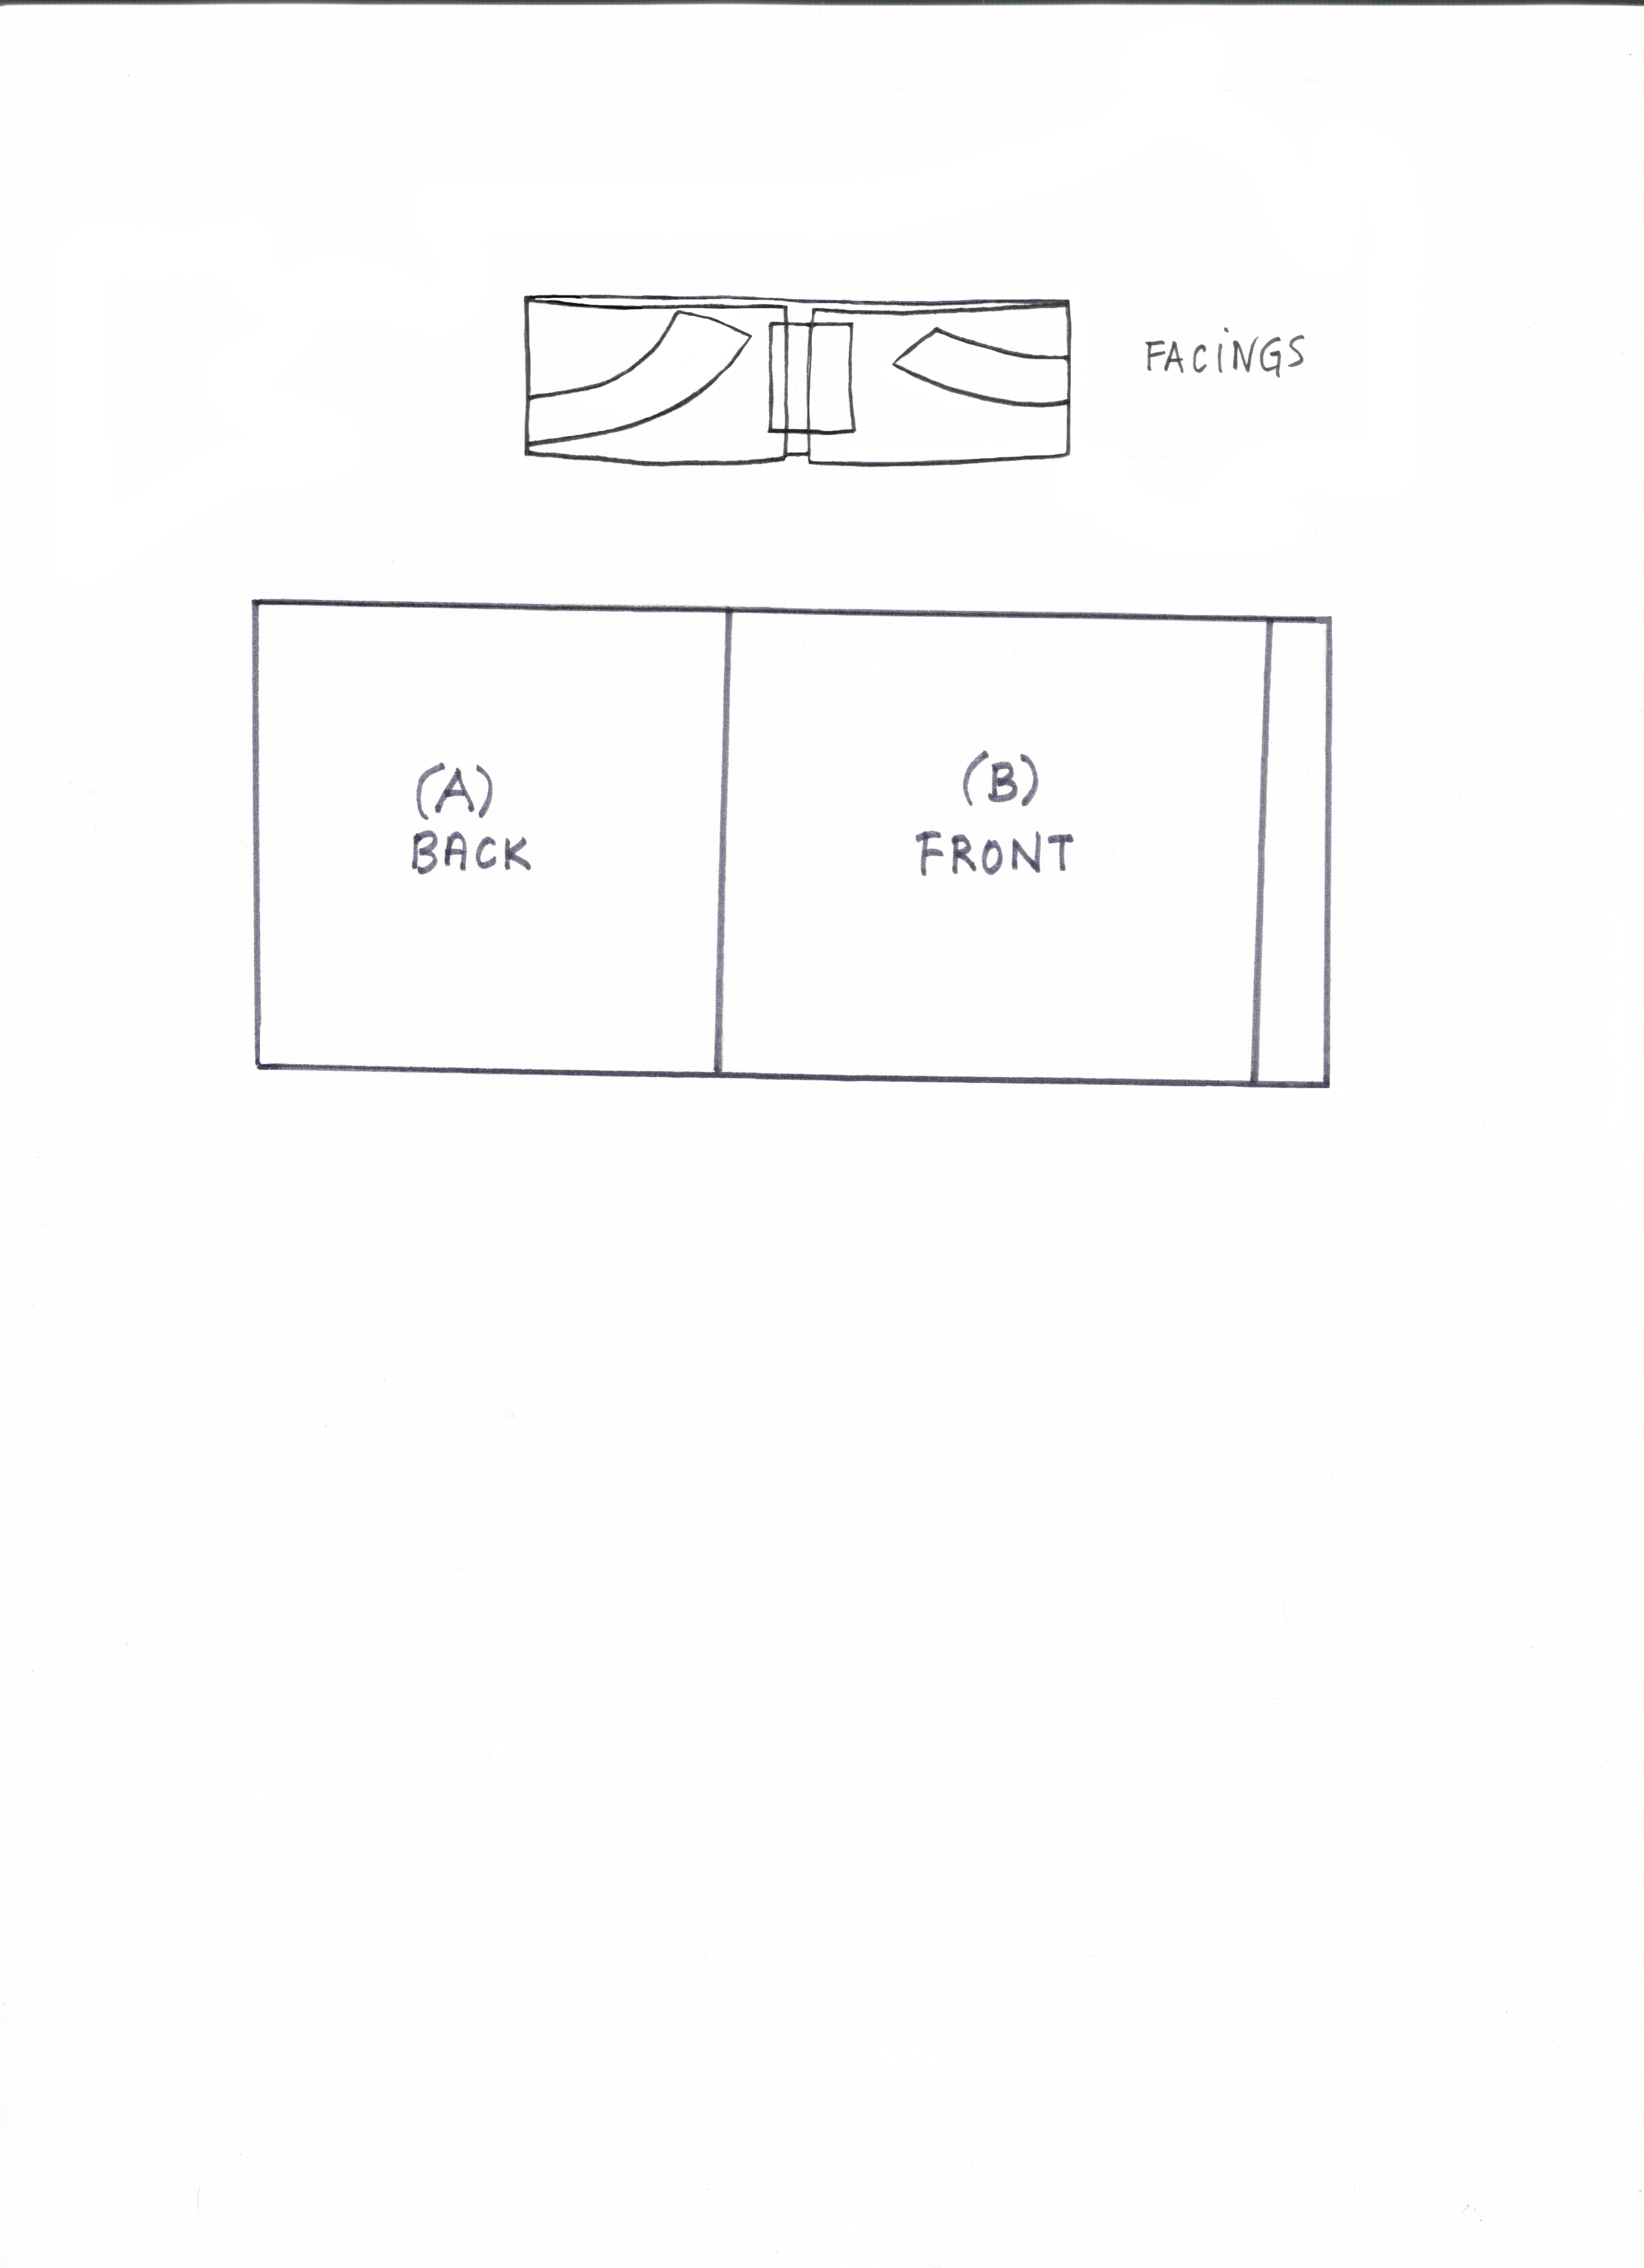
Block press your Front and Back Neck Facing pieces on to fusible interfacing. Trim all around.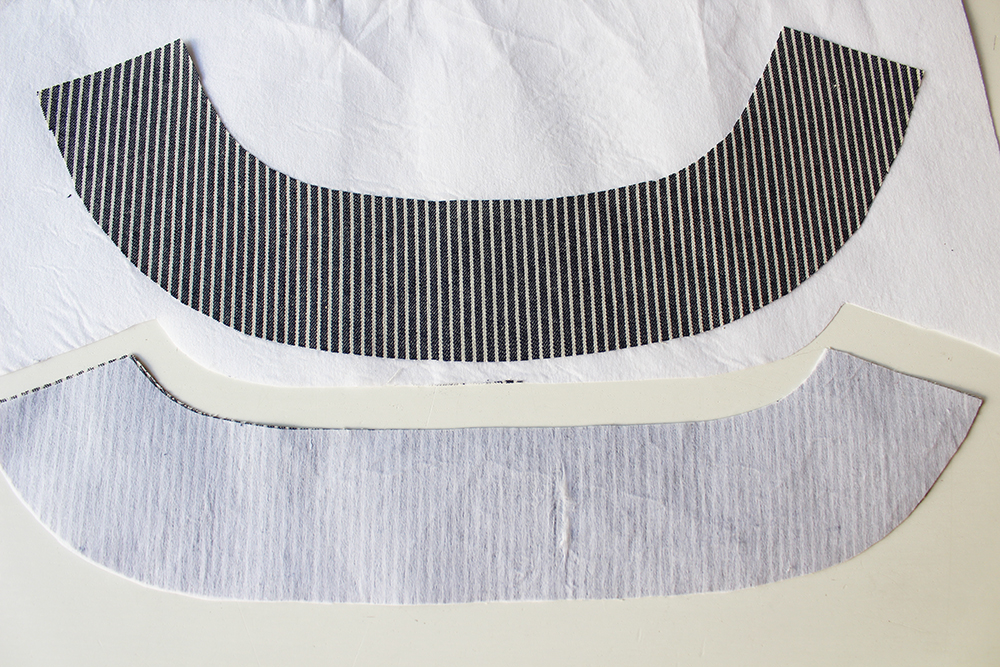
Join the facing pieces at the sides with the RST. Press. Finish the outer edge.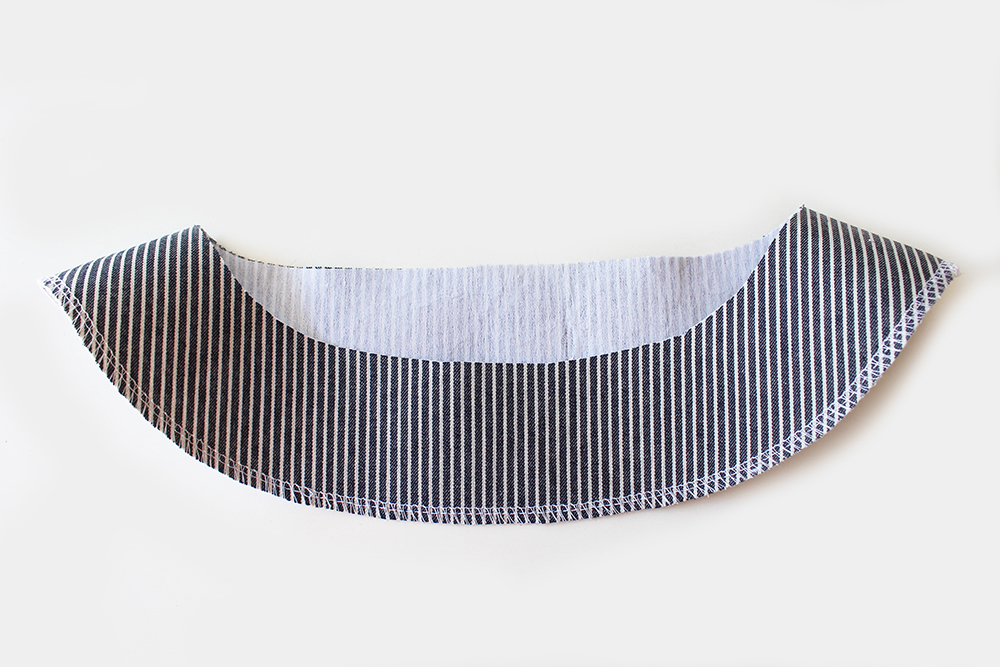
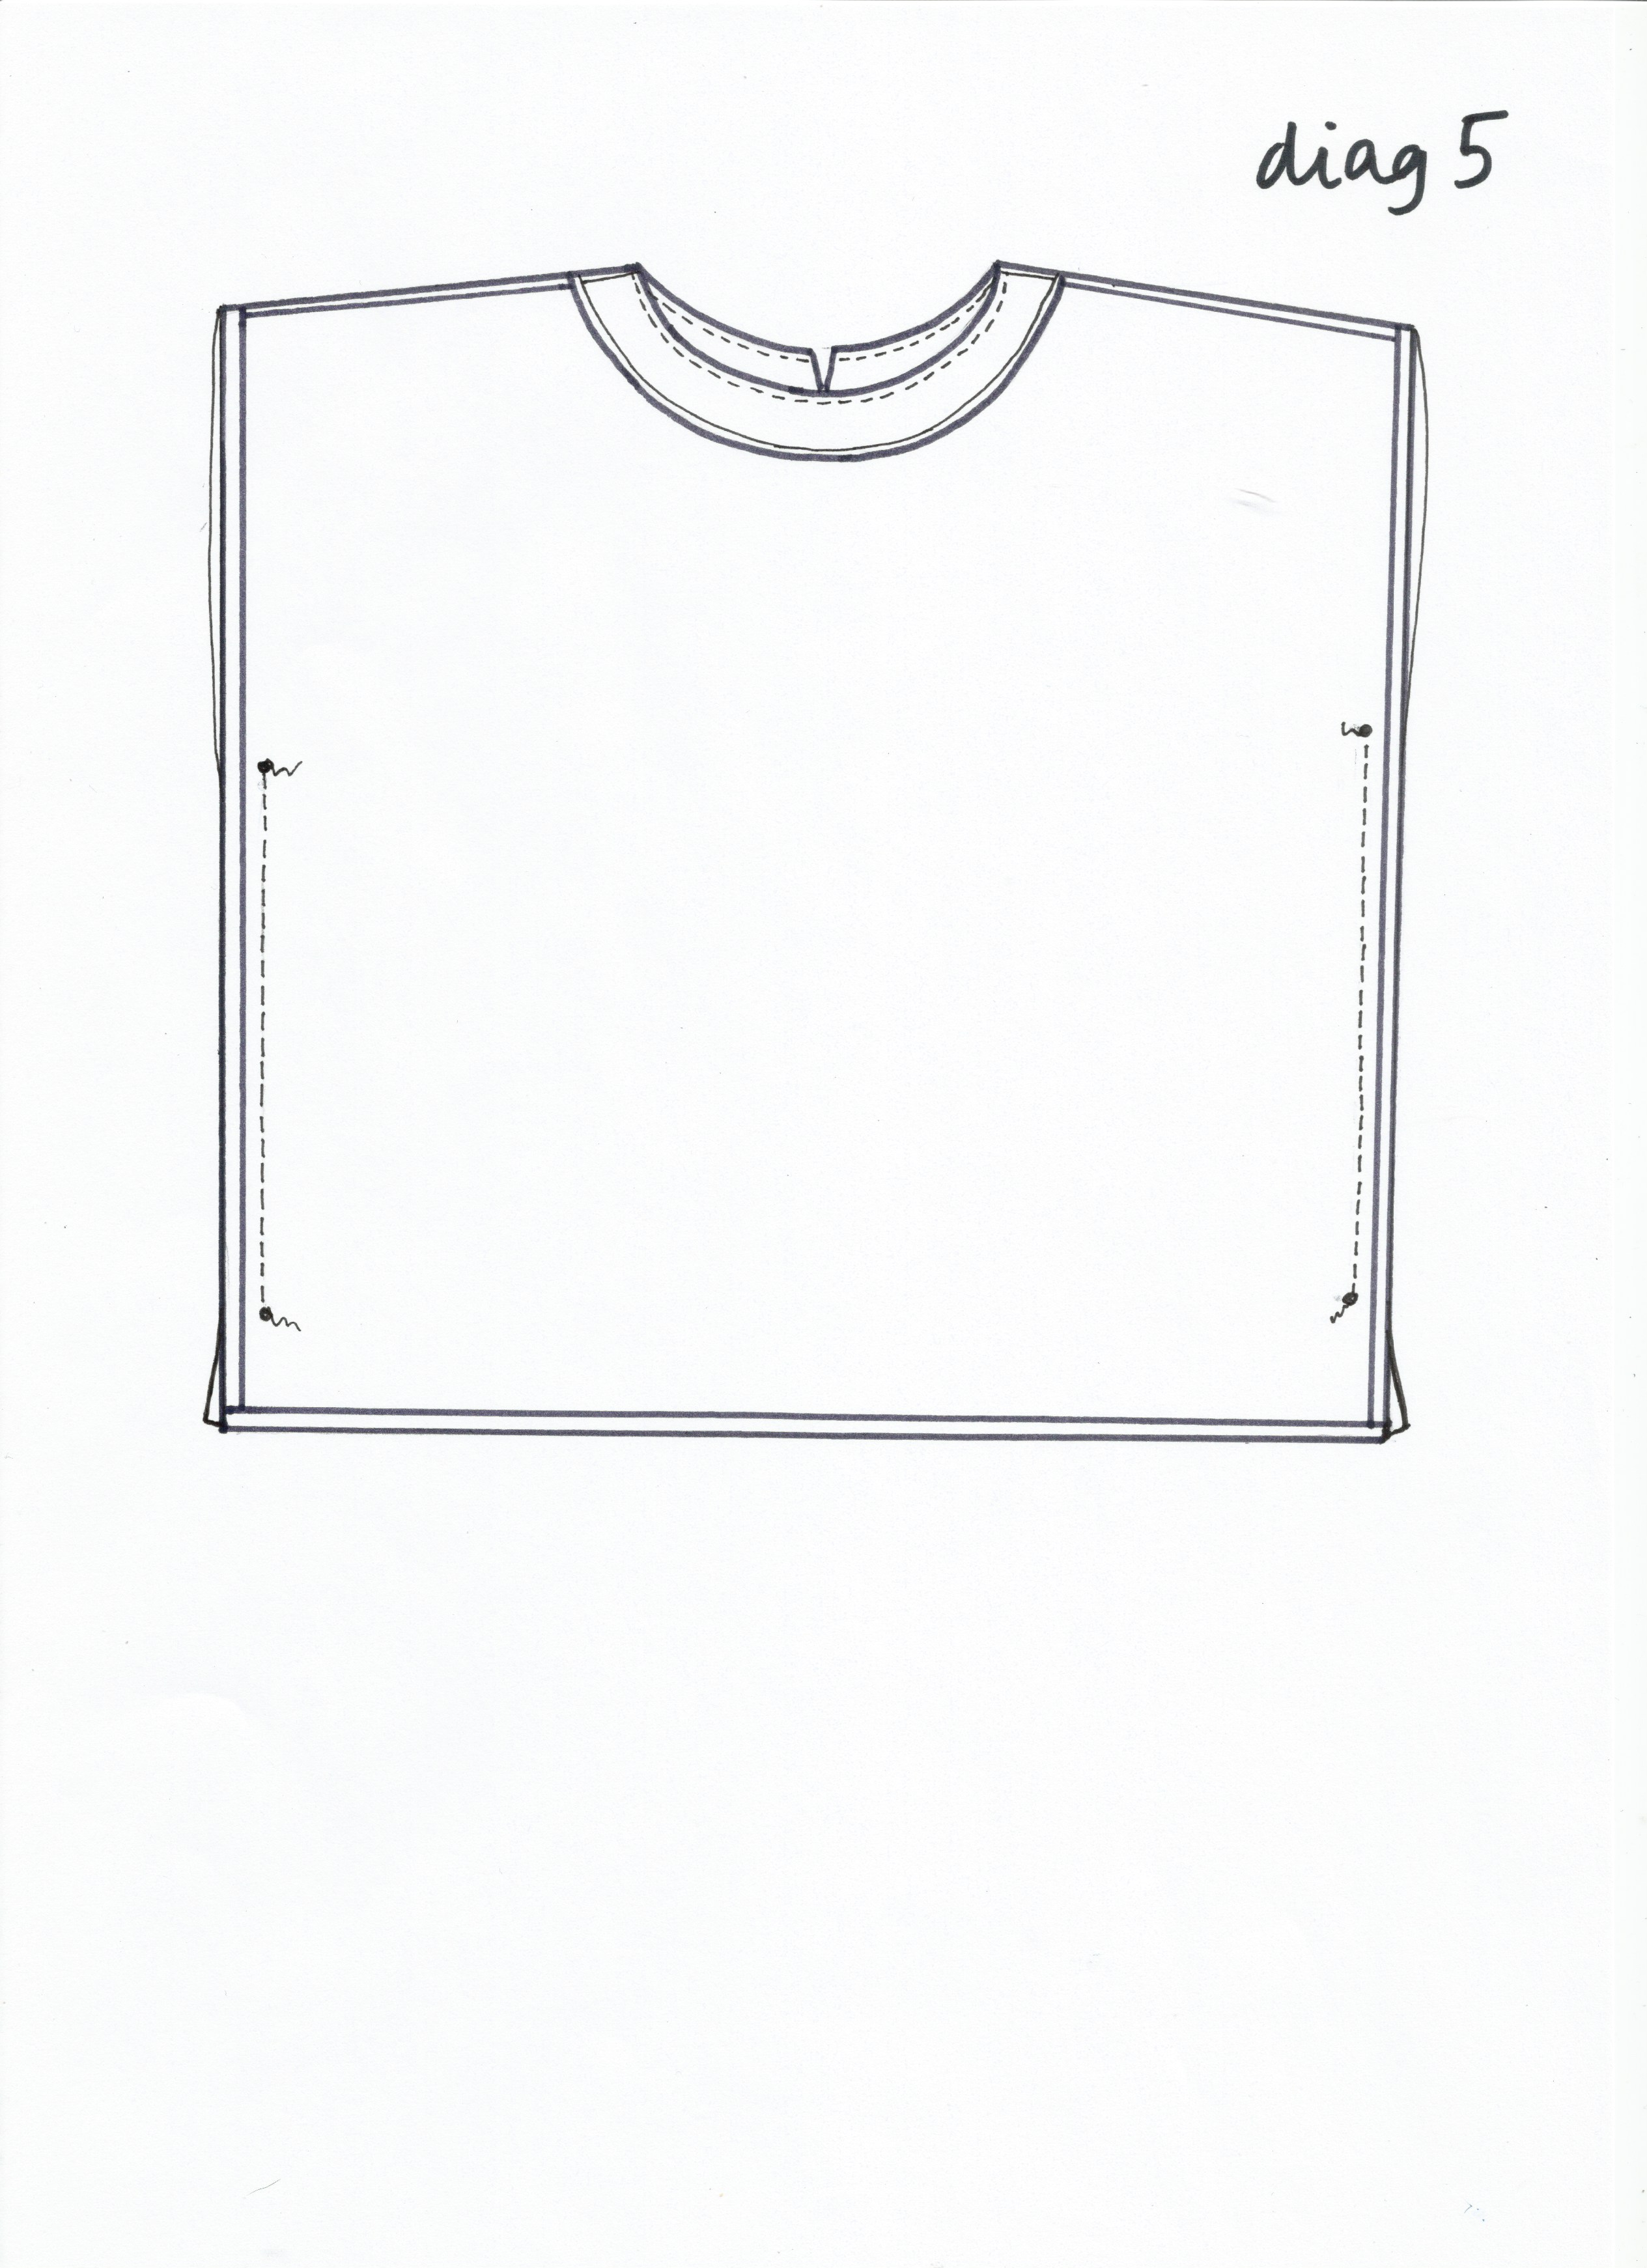
Pin to the neck raw edge of the Upper Front and Back bodice piece.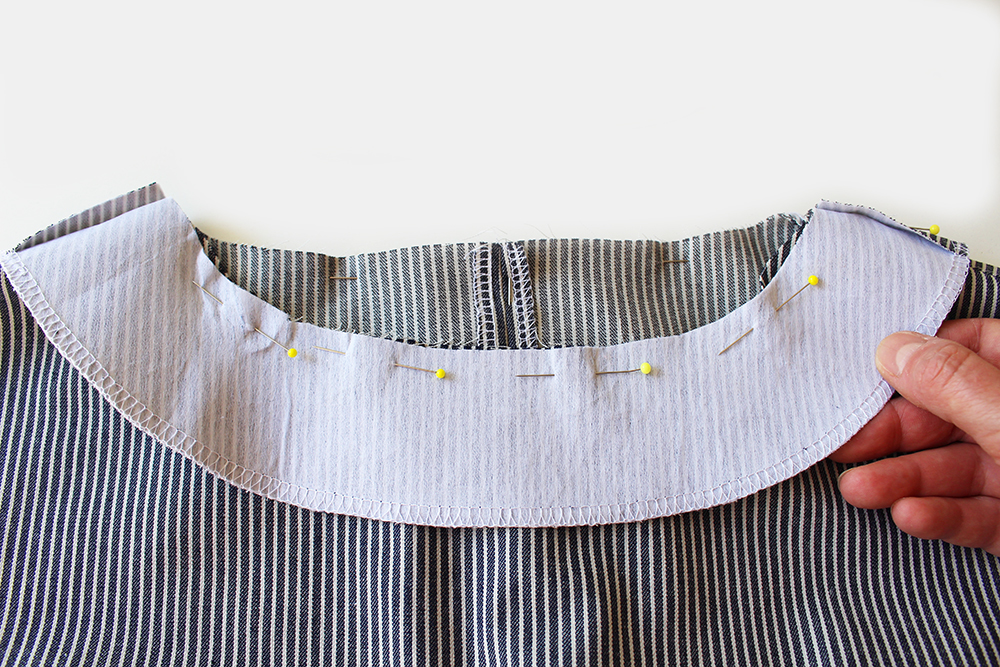
Hand tack.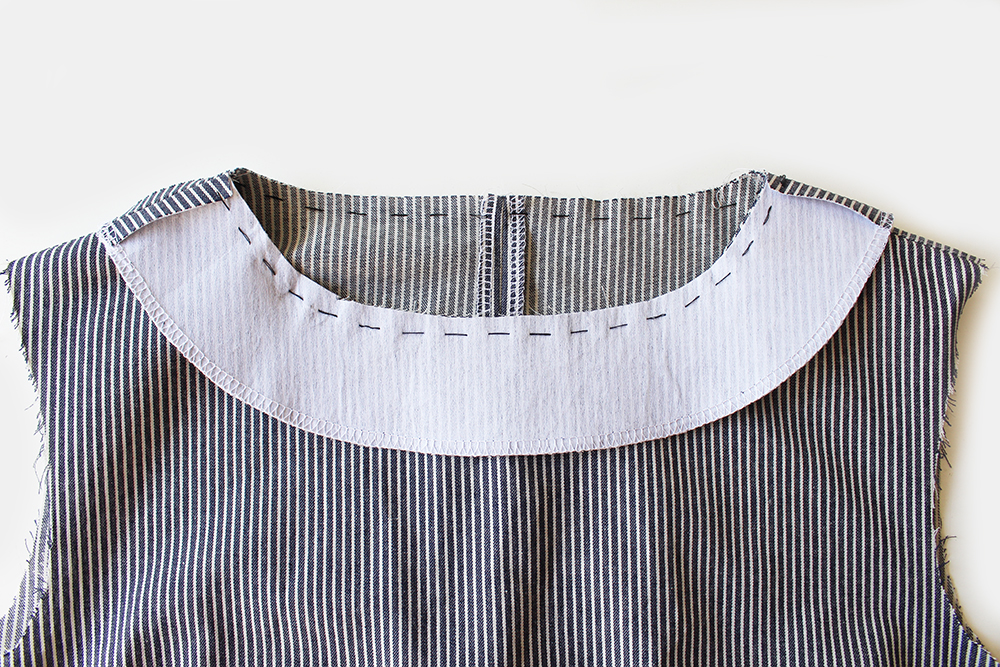
Nick the curved seam allowance. Tip: reduce the bulk of the side cross seam allowances. I like to also trim off approx 5mm at the bulky cross seam allowances at each side.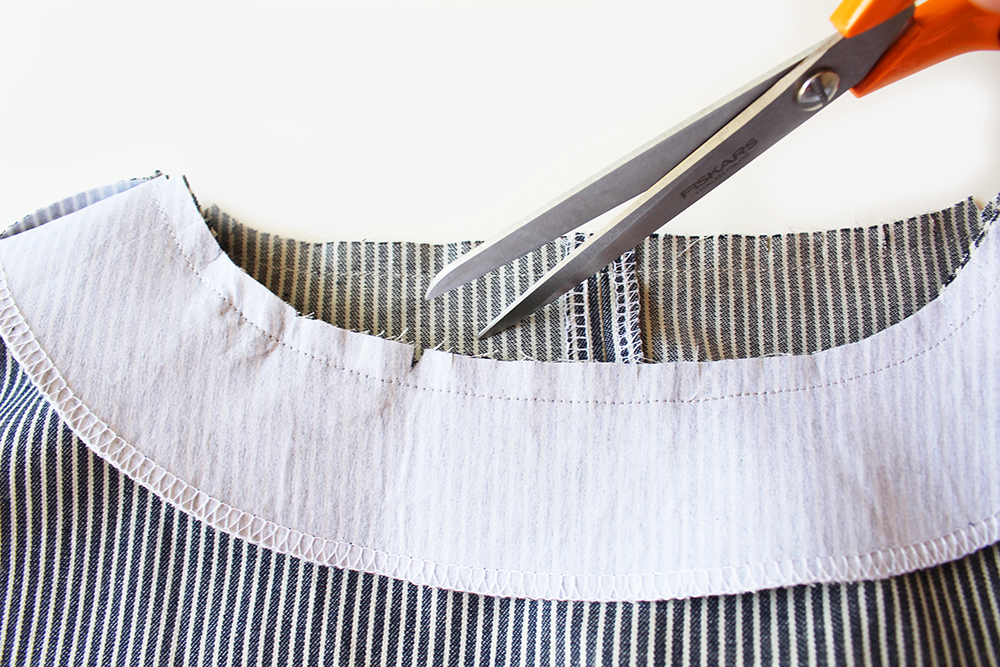
Press the seam allowance open, then fold over to the wrong side. Press again. Pin in position all around.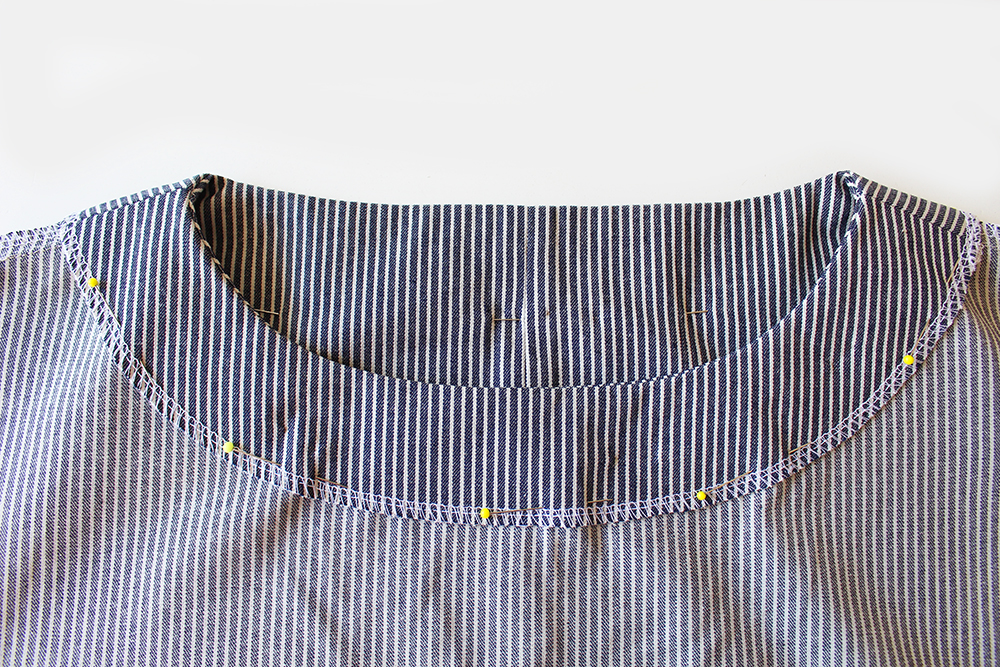
Hand tack.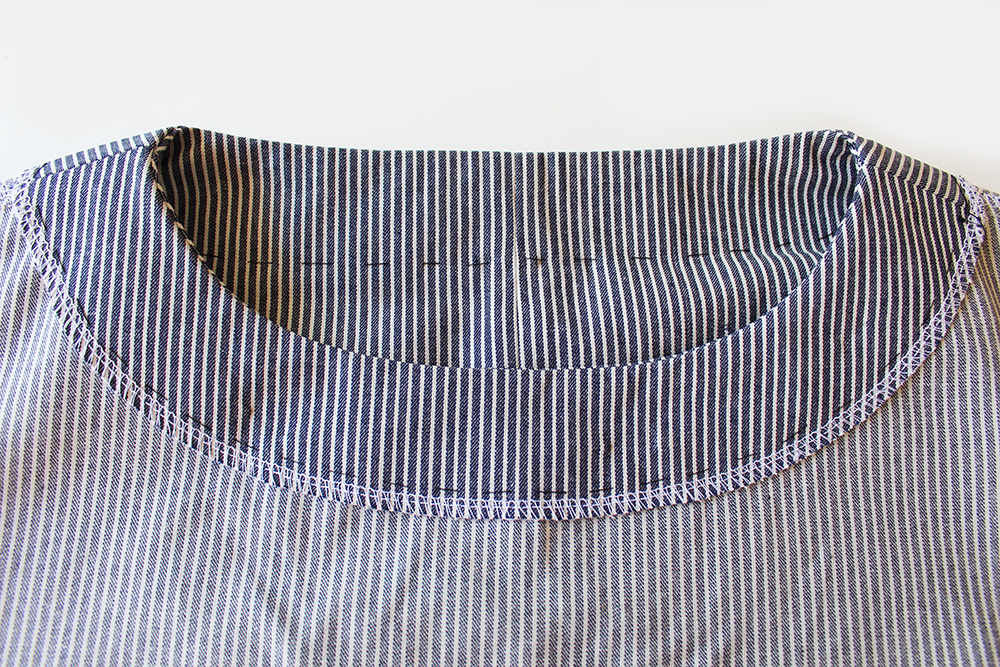
Stitch evenly all around, go carefully as this stitch line will be seen on the right side so it’d better be good! I like to take it slow at this part and follow the centre of the line or edge of the overlocking, I know I will be safe then.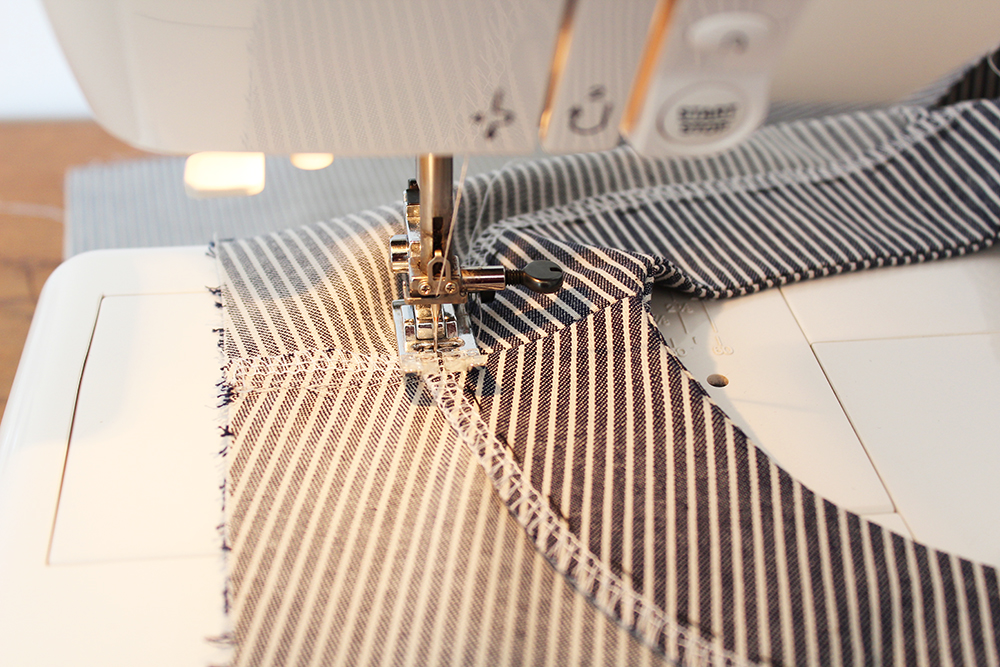
LOWER SKIRT SECTION
Mark out your pleat positions with pins or notches on the front and back skirt section top edge. There are four pleats on each side , two either side of the centre point. Each pleat has three marks, the centre (V) and two notches either side where you make the fold inwards each side. Here are some diagrams to and photos to help you.
SKIRT FRONT AND BACK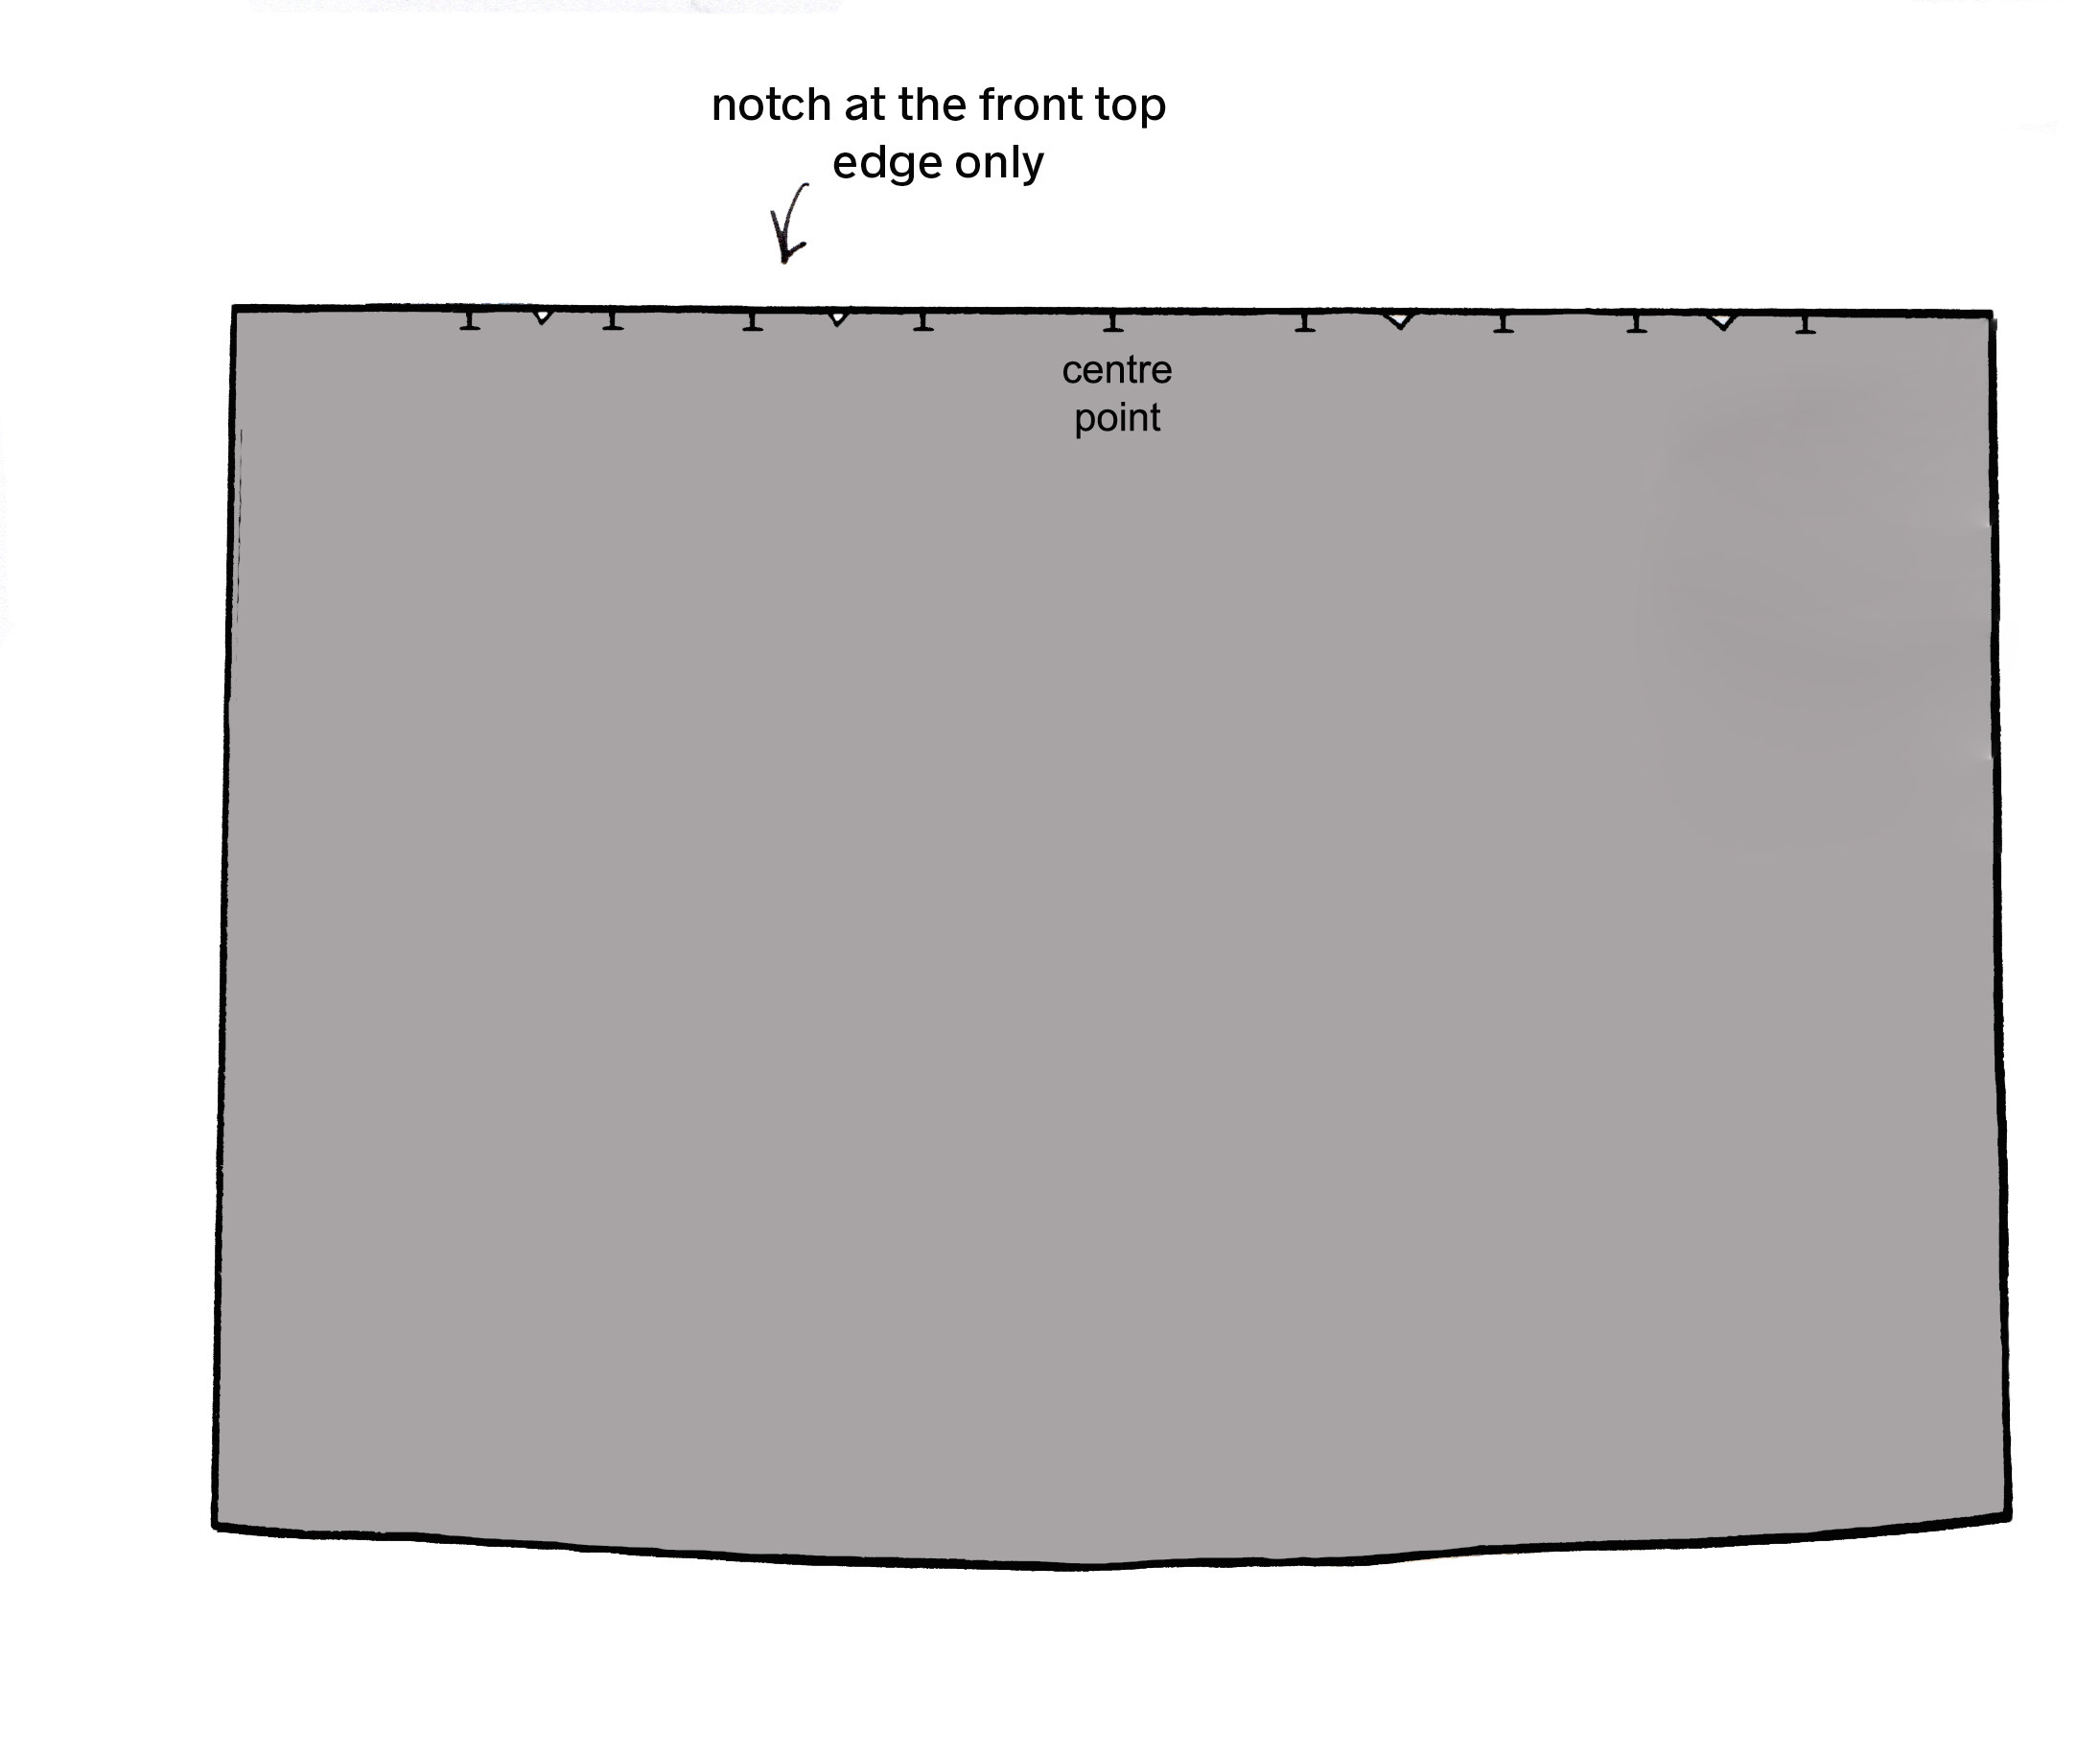
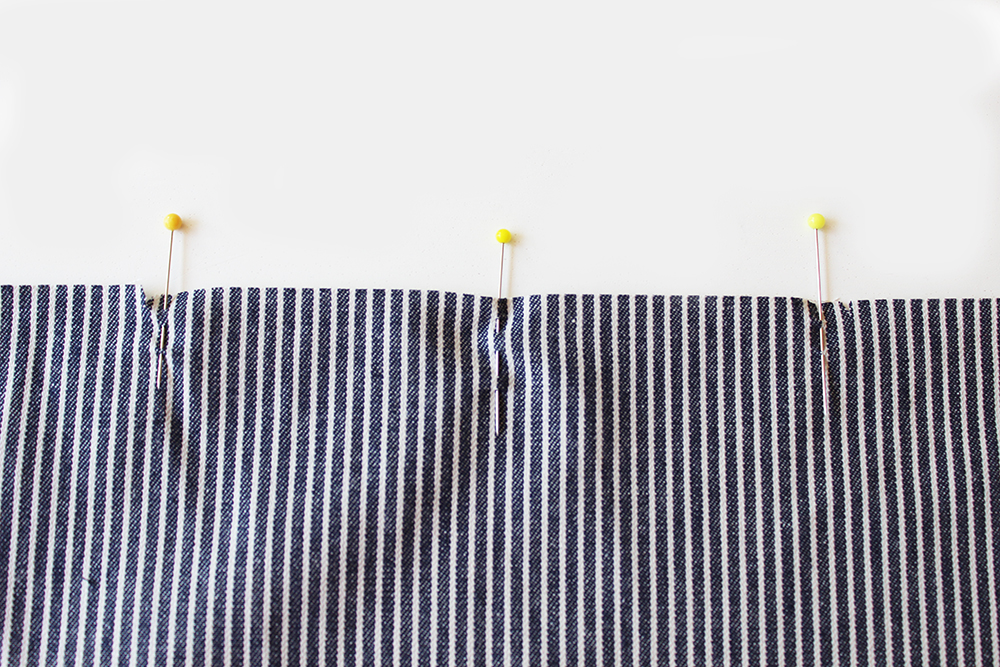
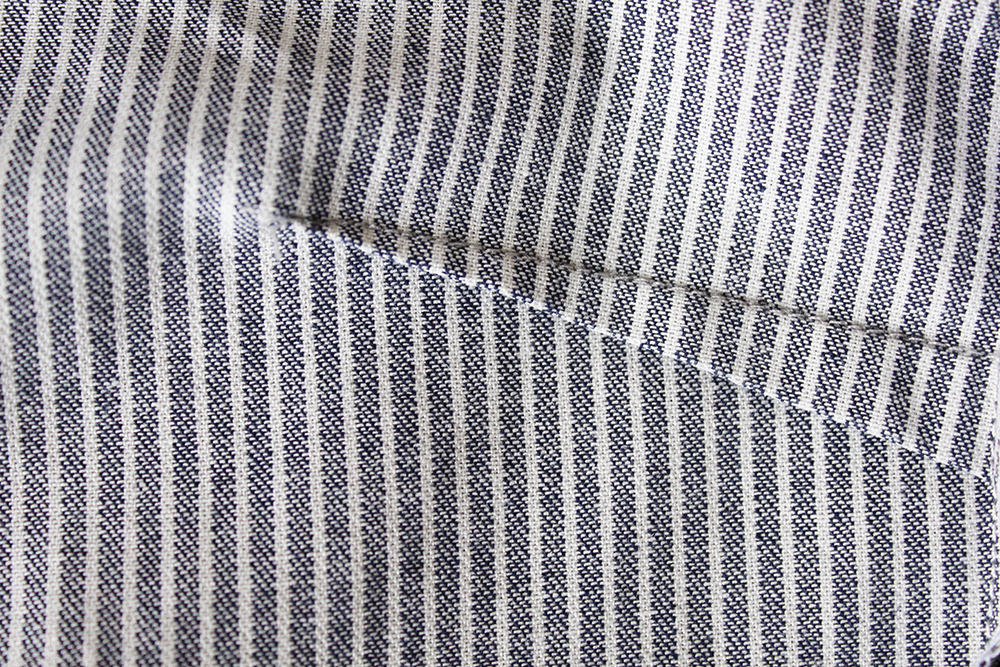
Fold the box pleats. This picture shows the right side view.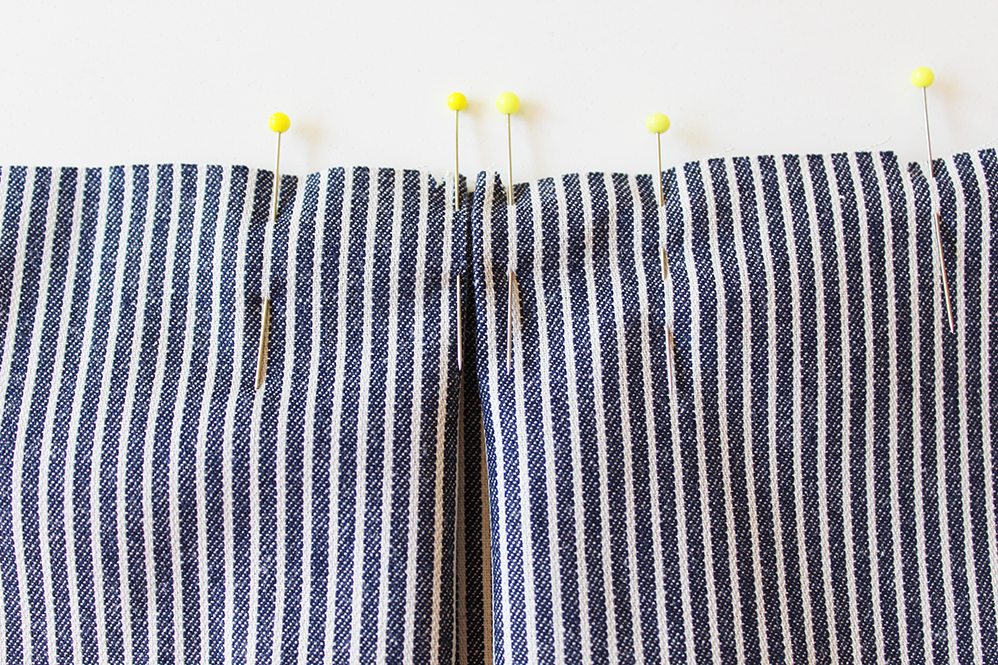
BOX PLEAT (RIGHT SIDE VIEW)
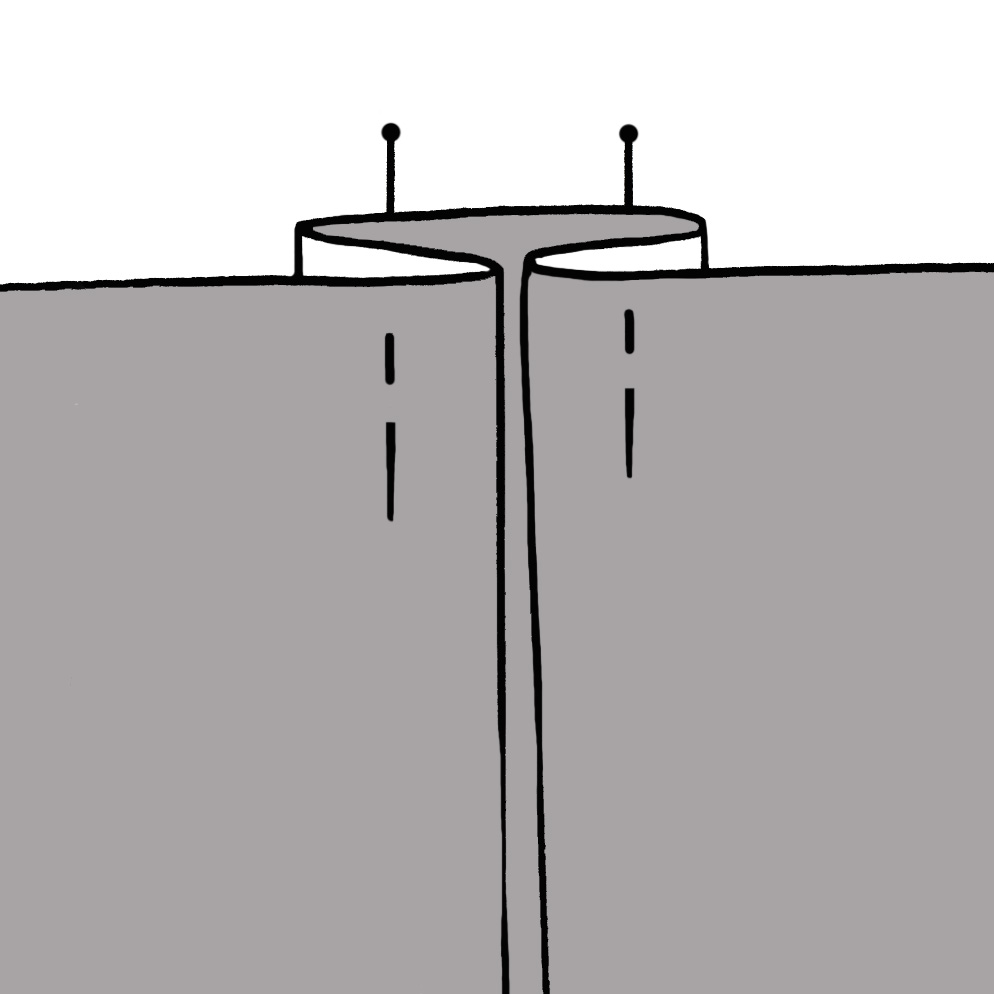
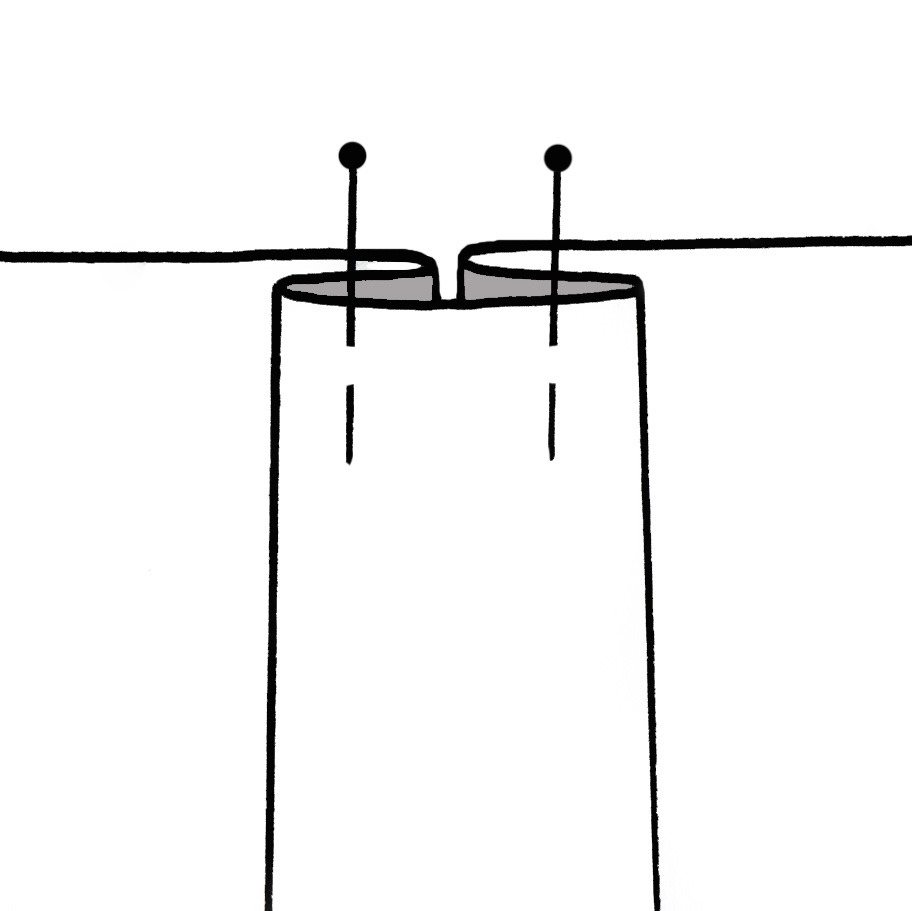
BOX PLEAT WRONG SIDE VIEW
Machine tack stitch along the top edge within the seam allowance (i.e 5mm from the edge).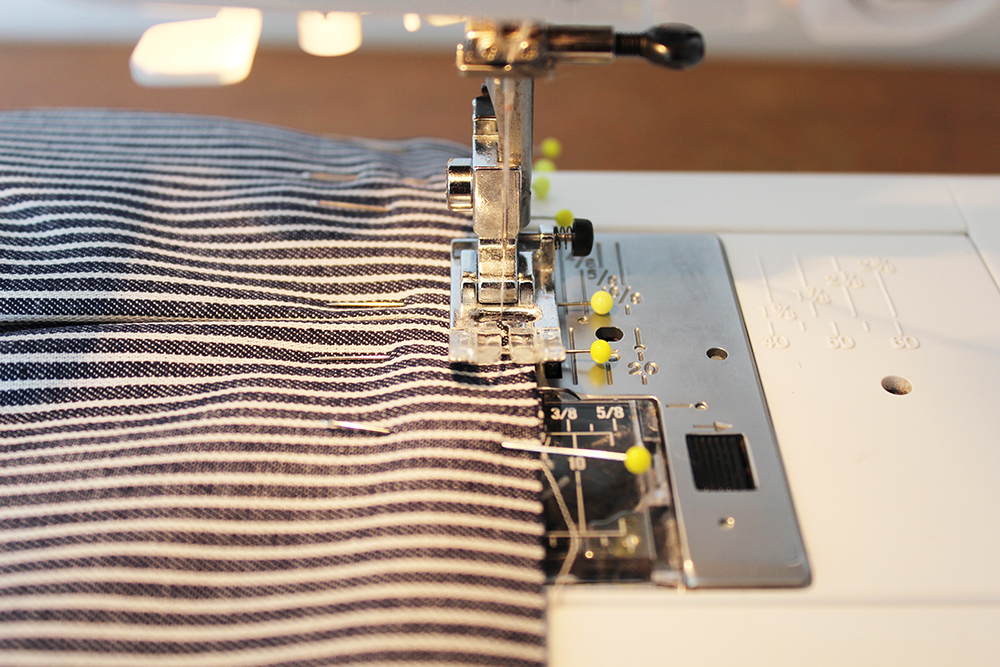
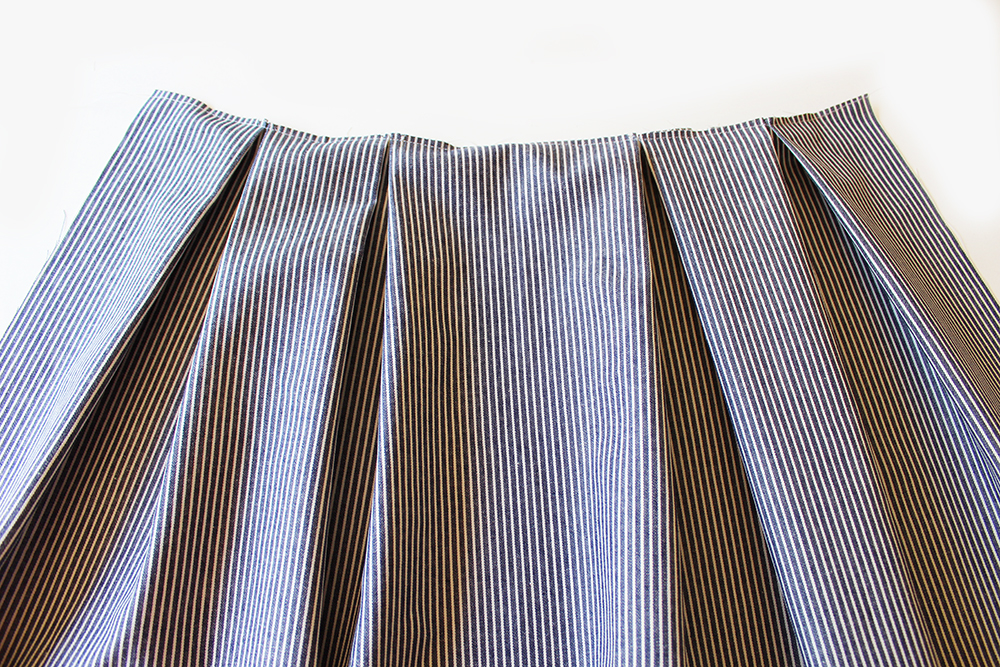
Sew to the upper front bodice with the right sides together.
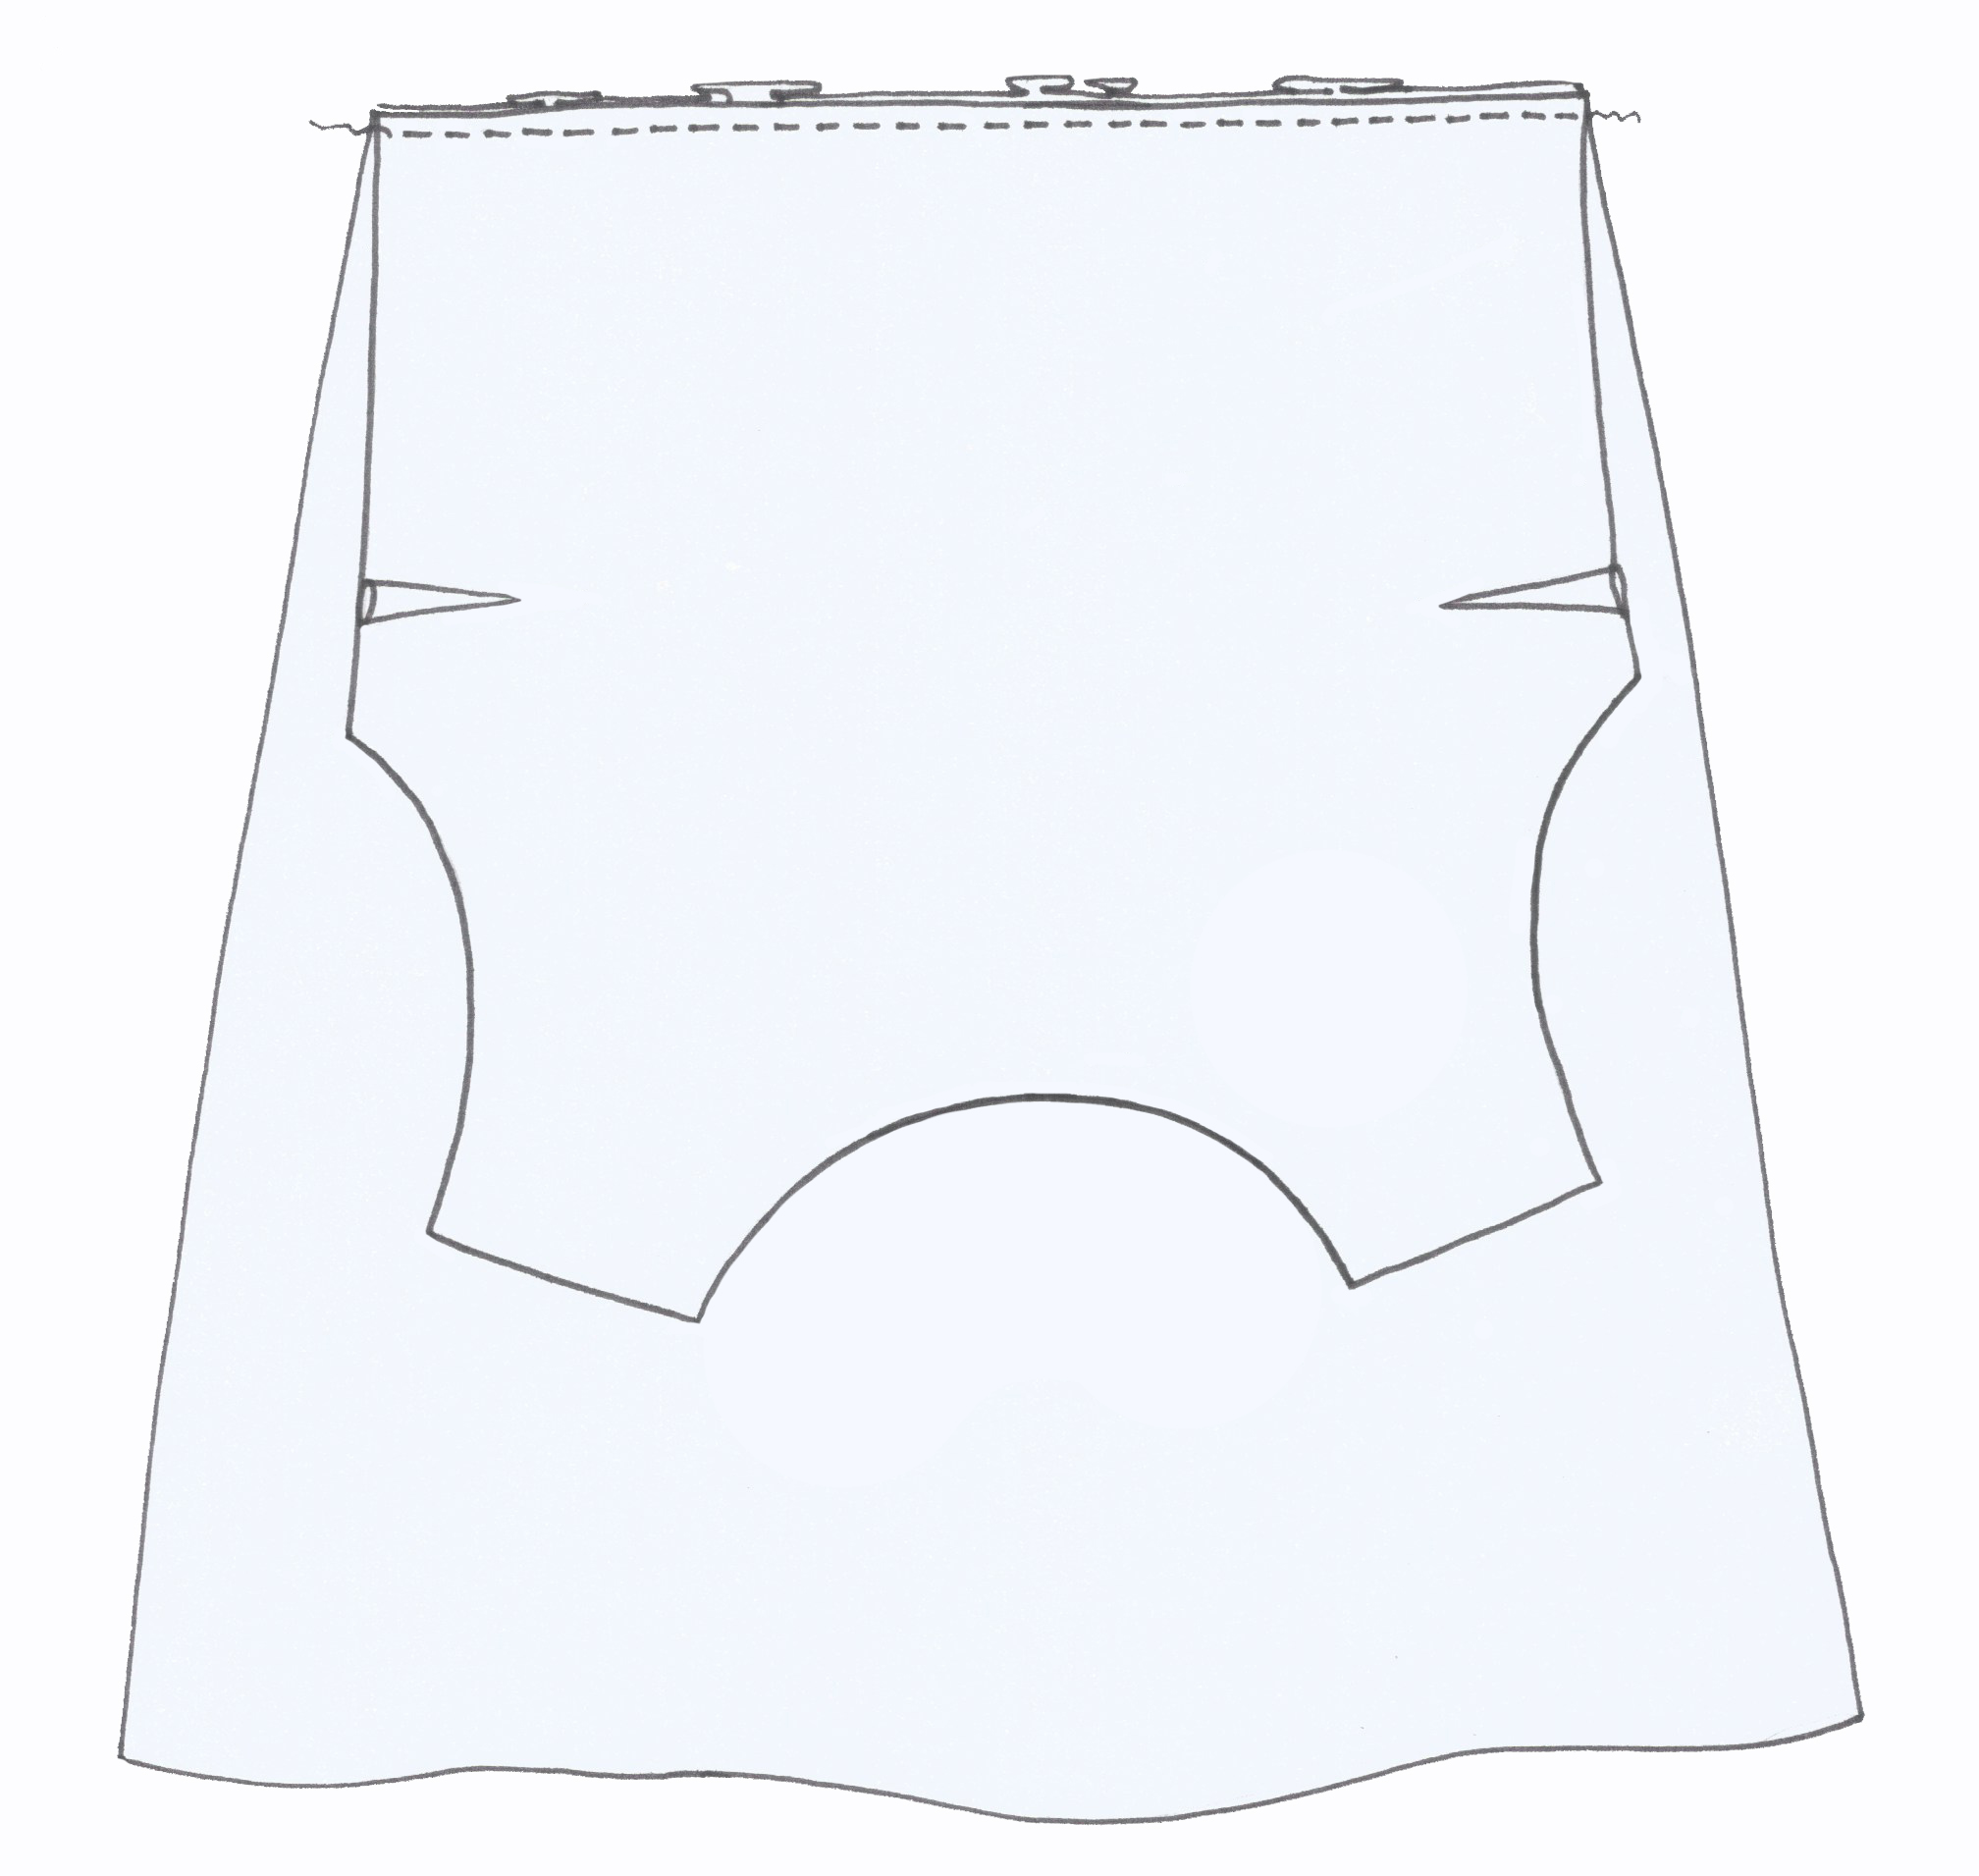
Press. Tip: why not top stitch on the right side close to the seam on the bodice side.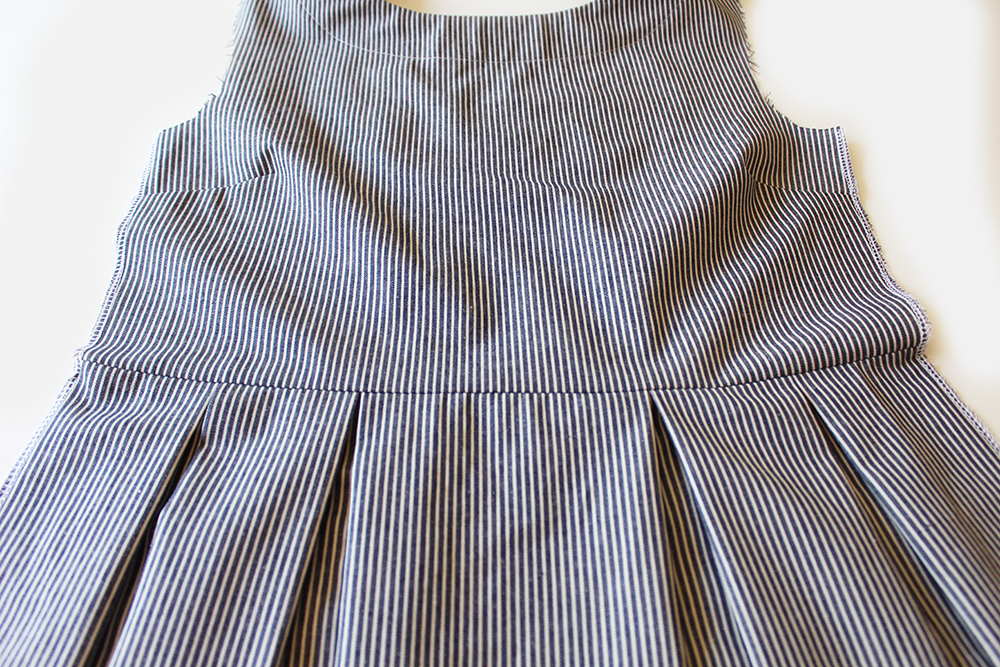
POCKETS
Pin to the left side of the skirt (see template for the position). NB if you are left- handed you may prefer to insert the pocket on the opposite side.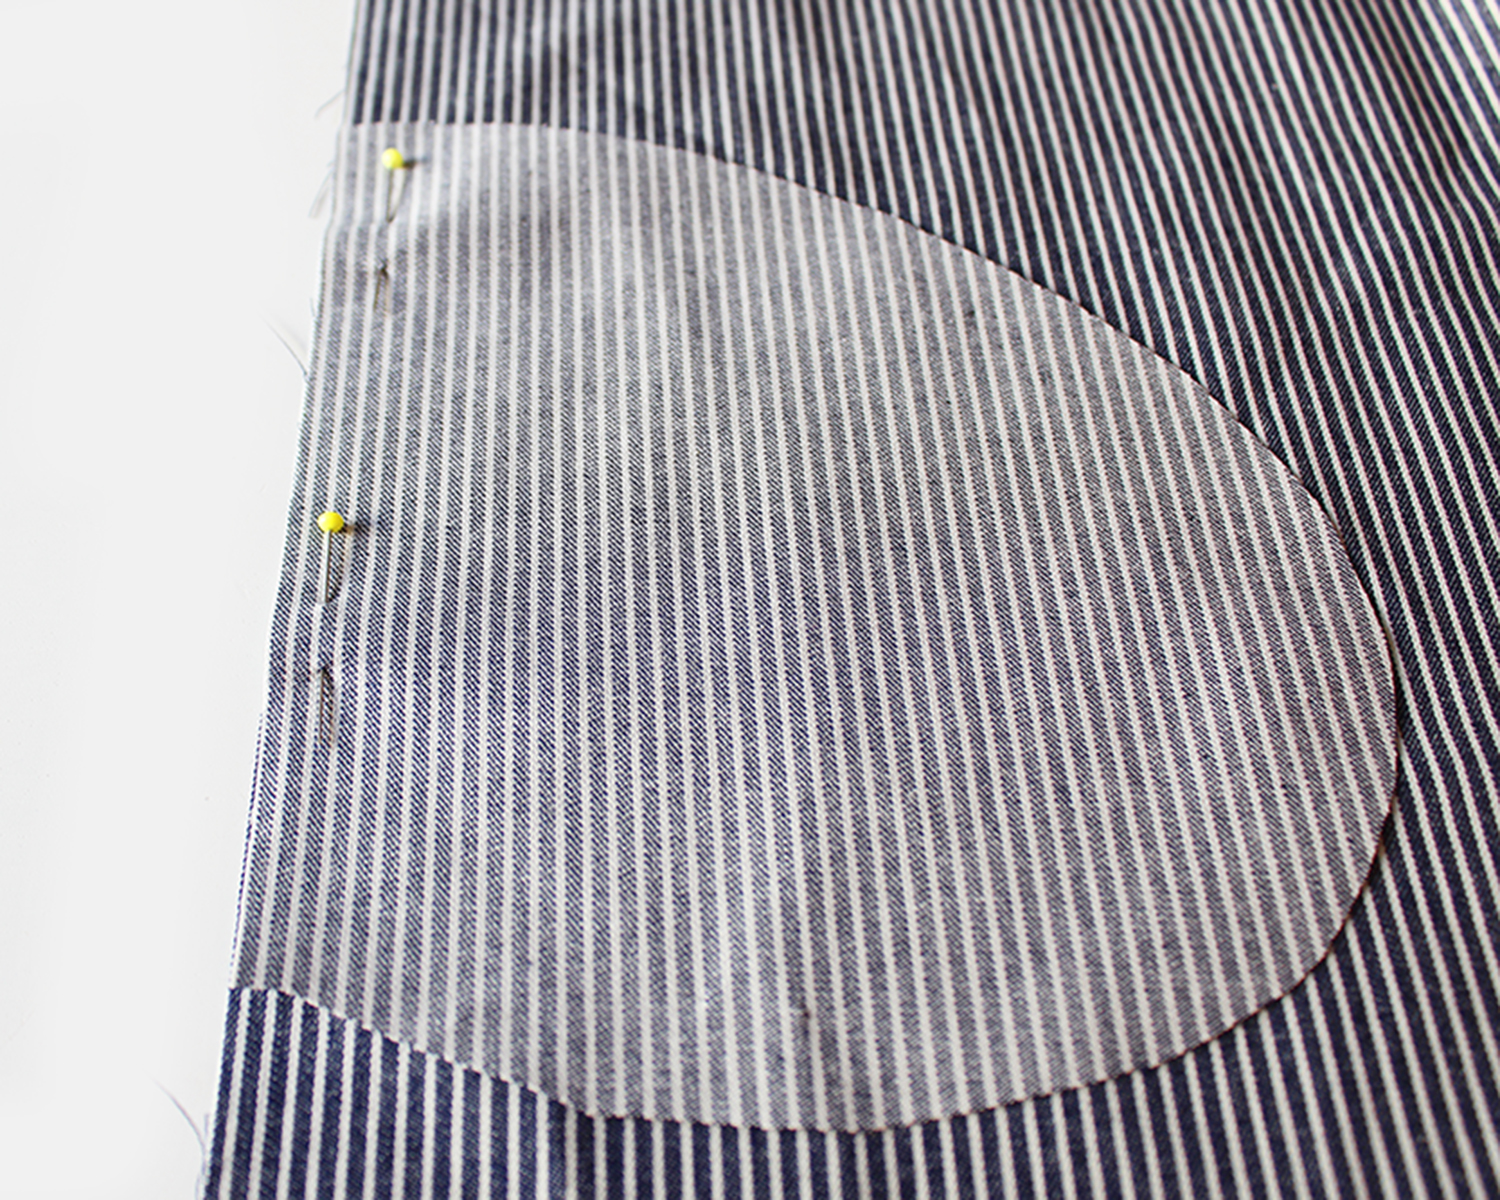
Press away from the skirt. Top stitch.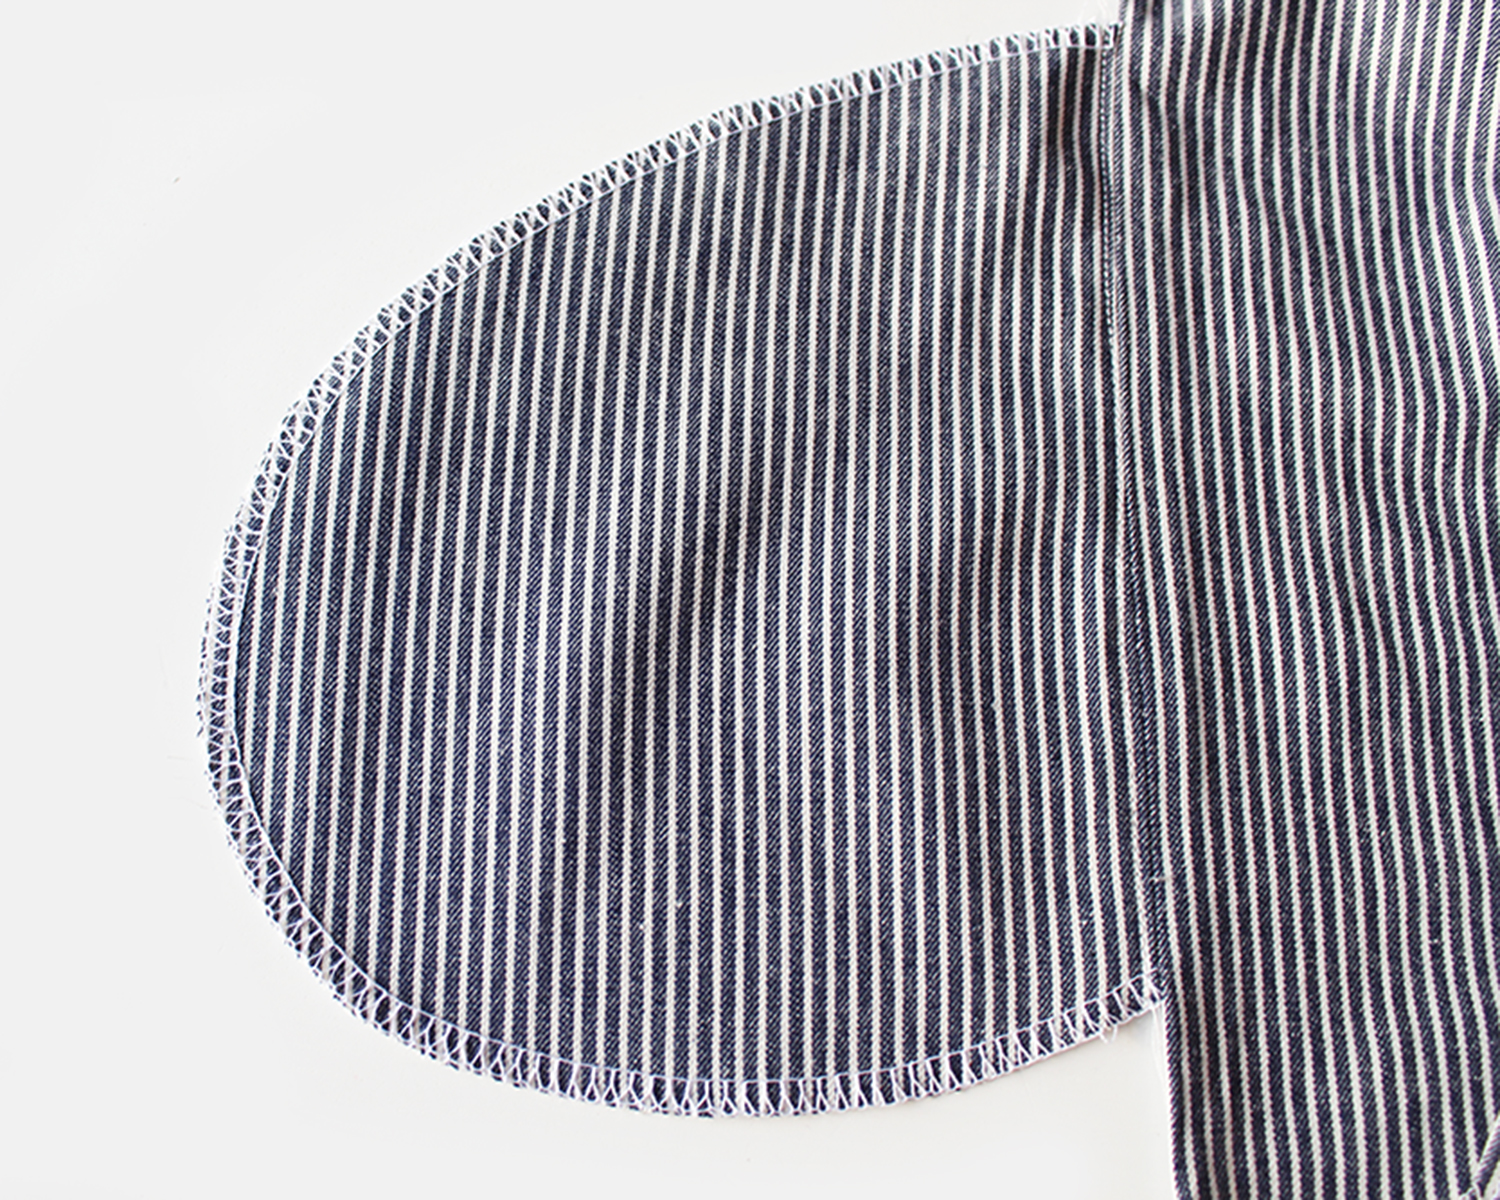
Insert the side concealed zipper here. Here is a link to my tutorial about how to insert a concealed zip with either a standard zip foot or a concealed zip foot.
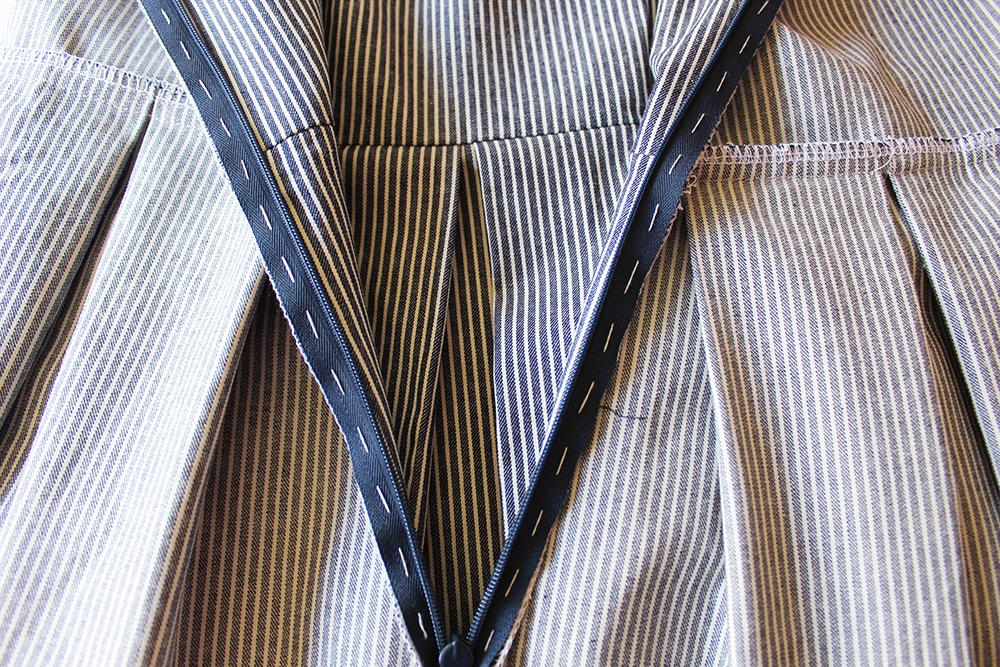
After sewing in the zip, pin then sew the seam together below and above the zipper.
Join the front to back at the side edges from underarm to lower hem all around pocket.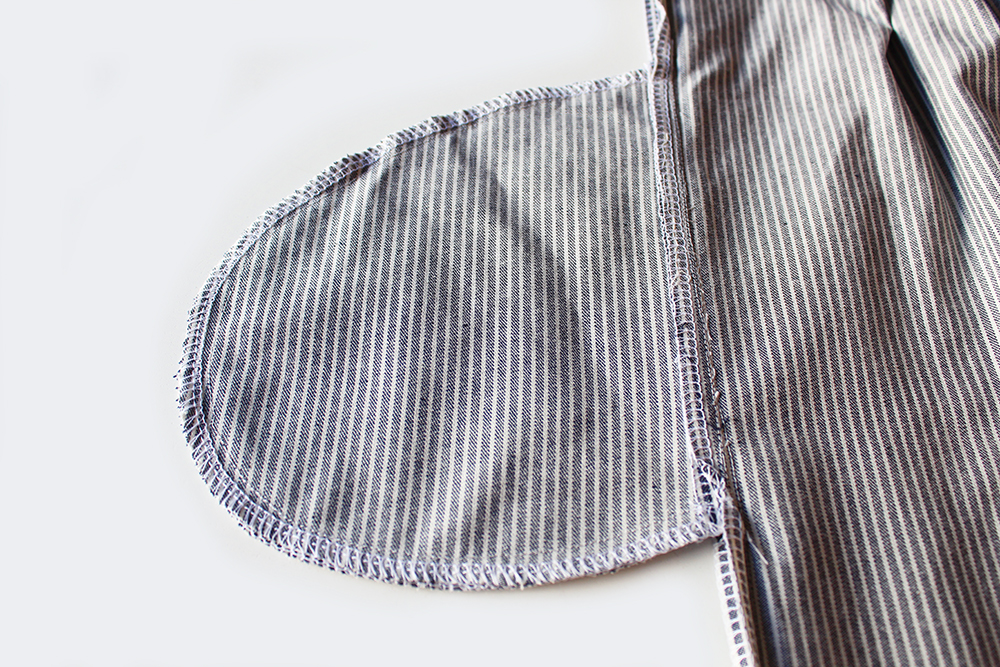
SLEEVES
Sew the sleeves together at the sides. Press. 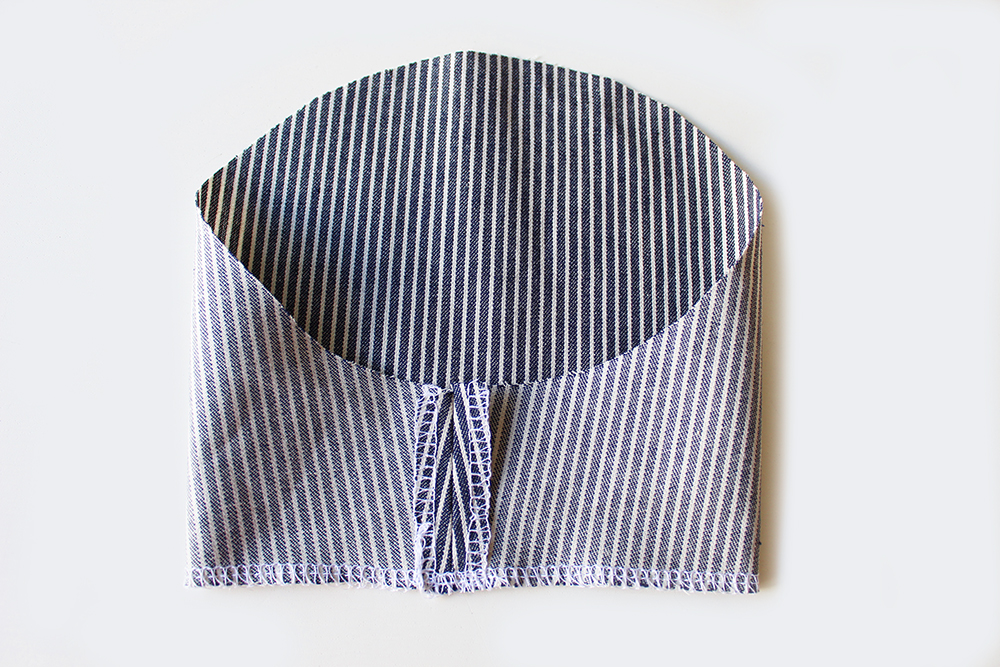
Hem the lower edge.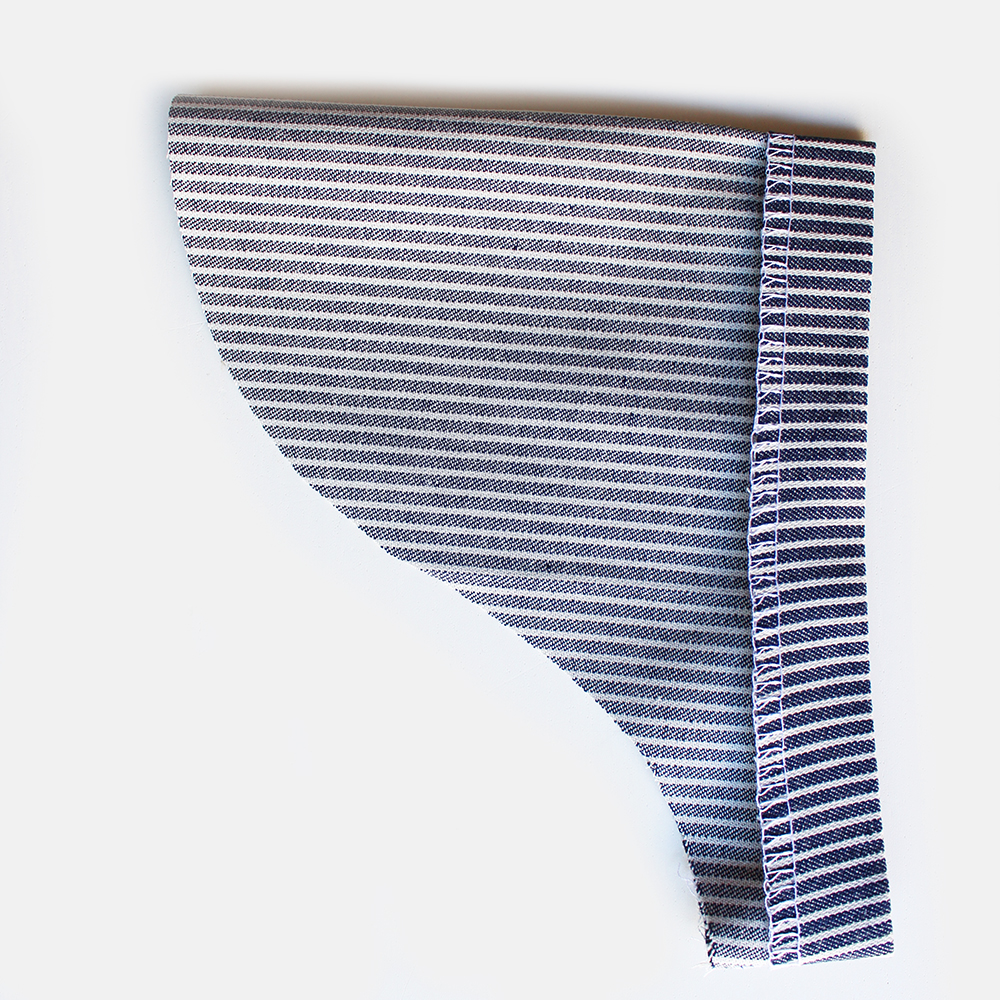
Pin to the armhole, align the back section of the sleeve to the back body. Hand tack.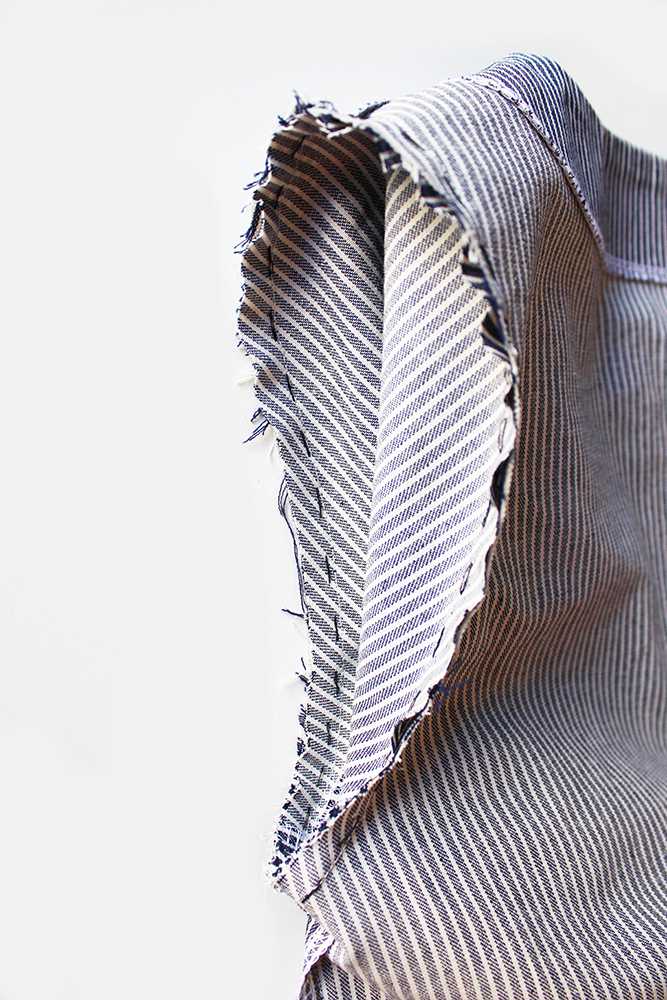
Sew, making sure there’s no puckers!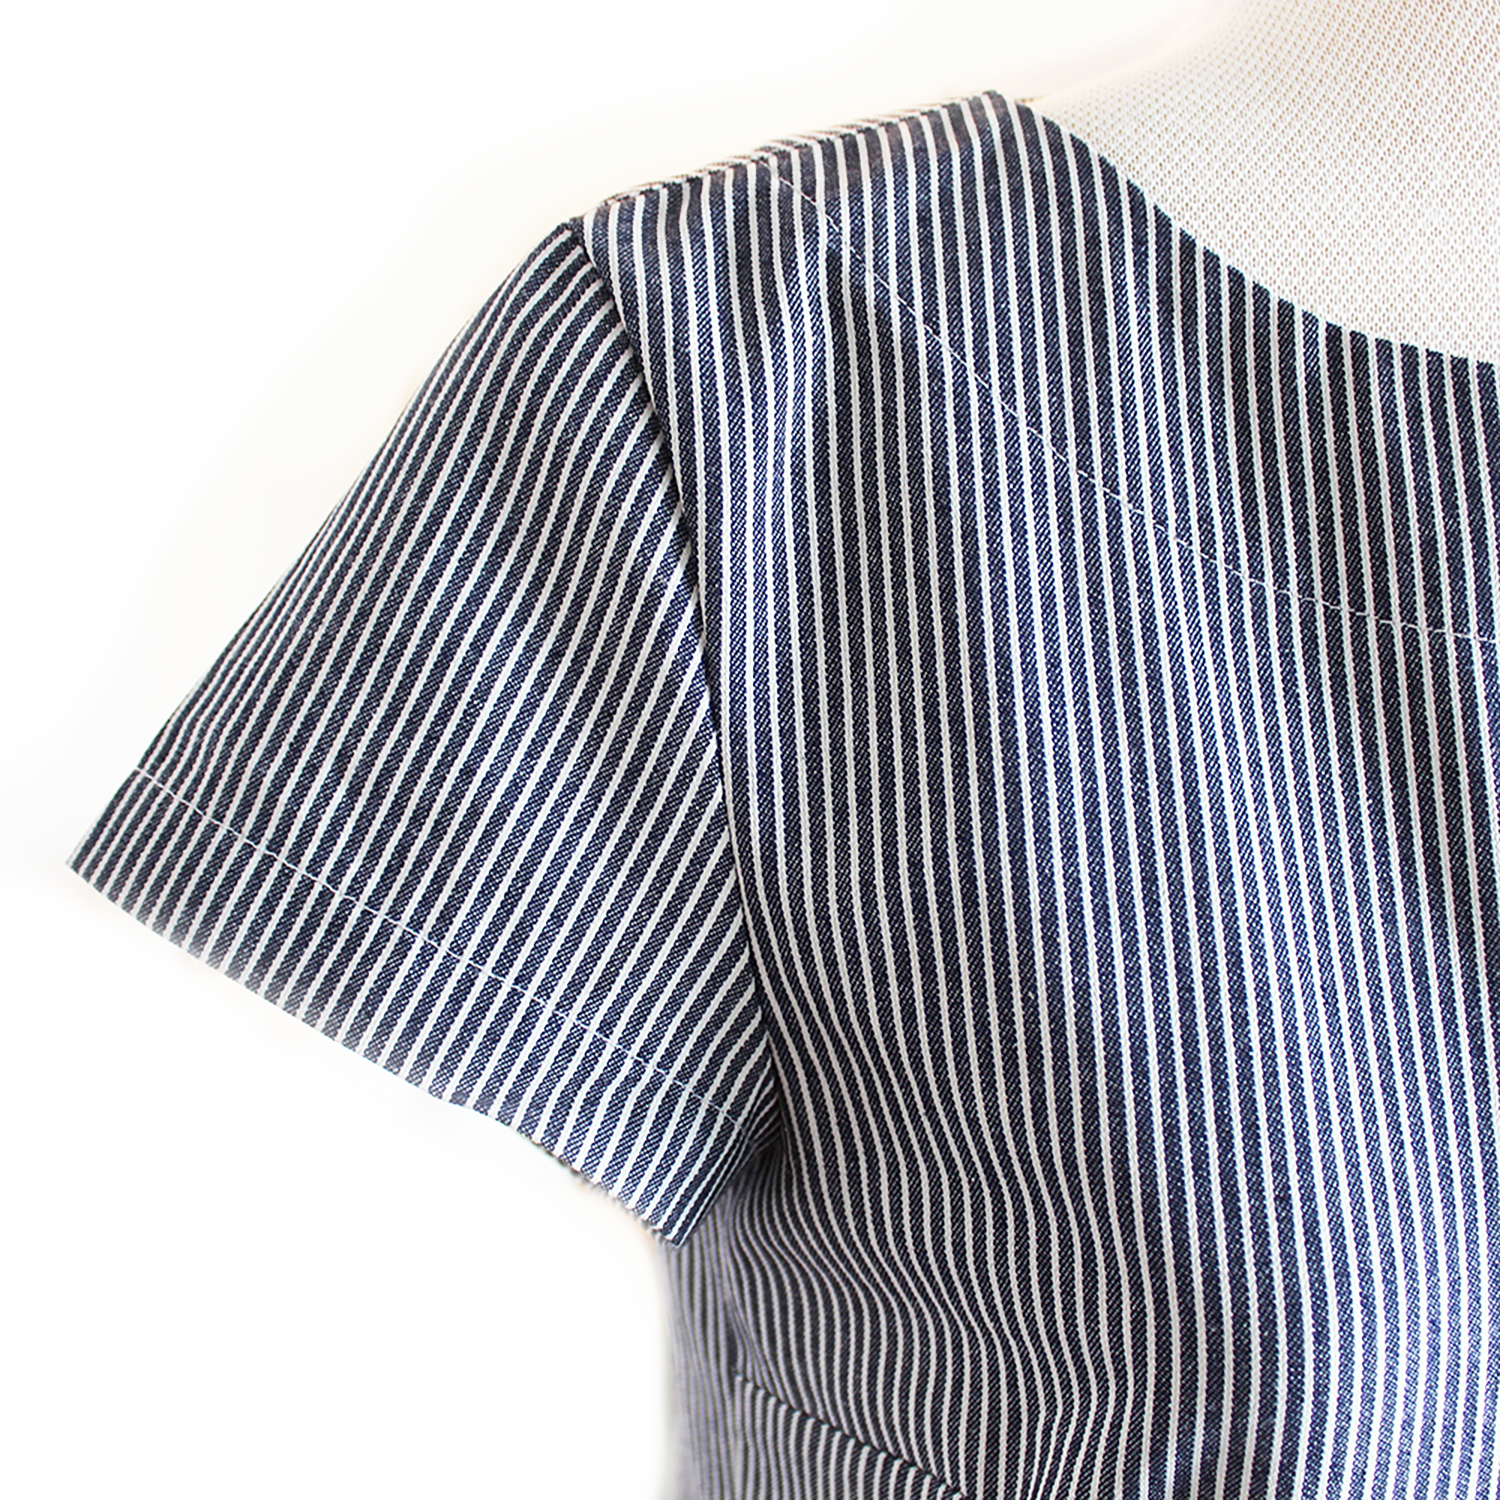
TABS
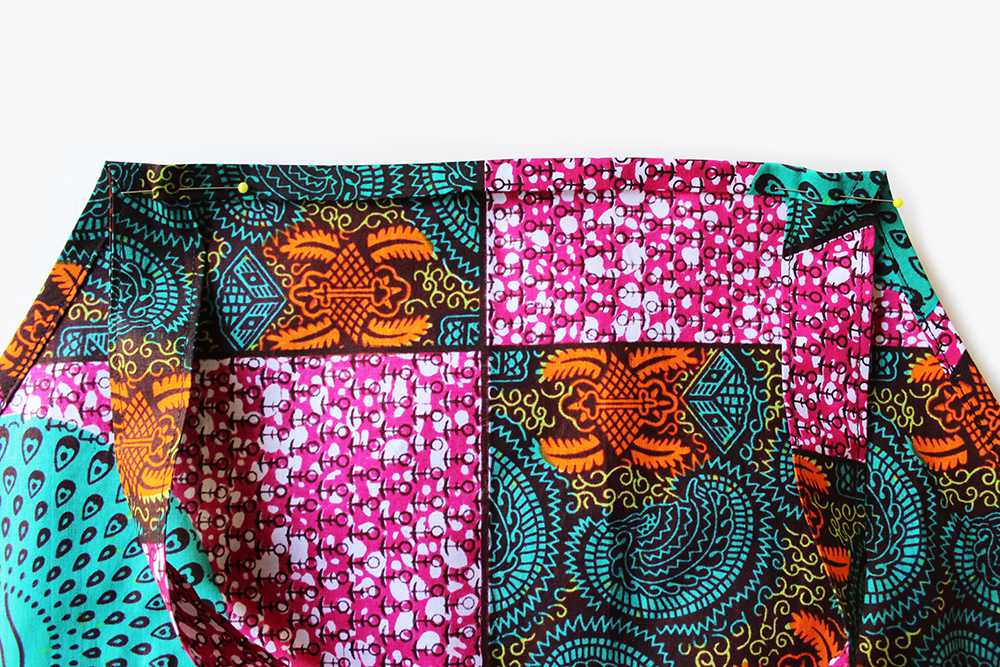
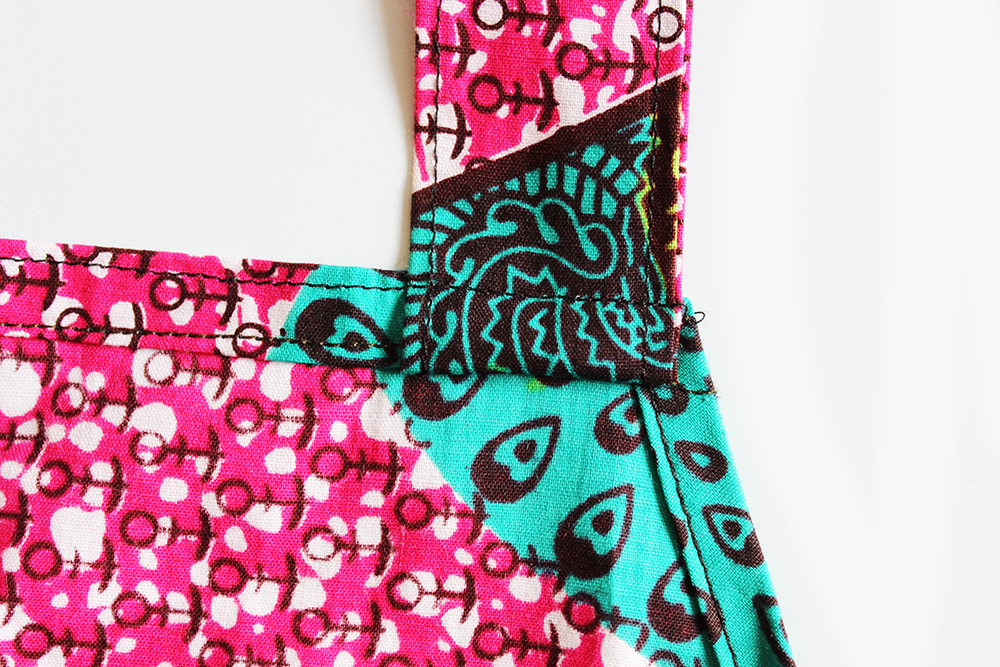
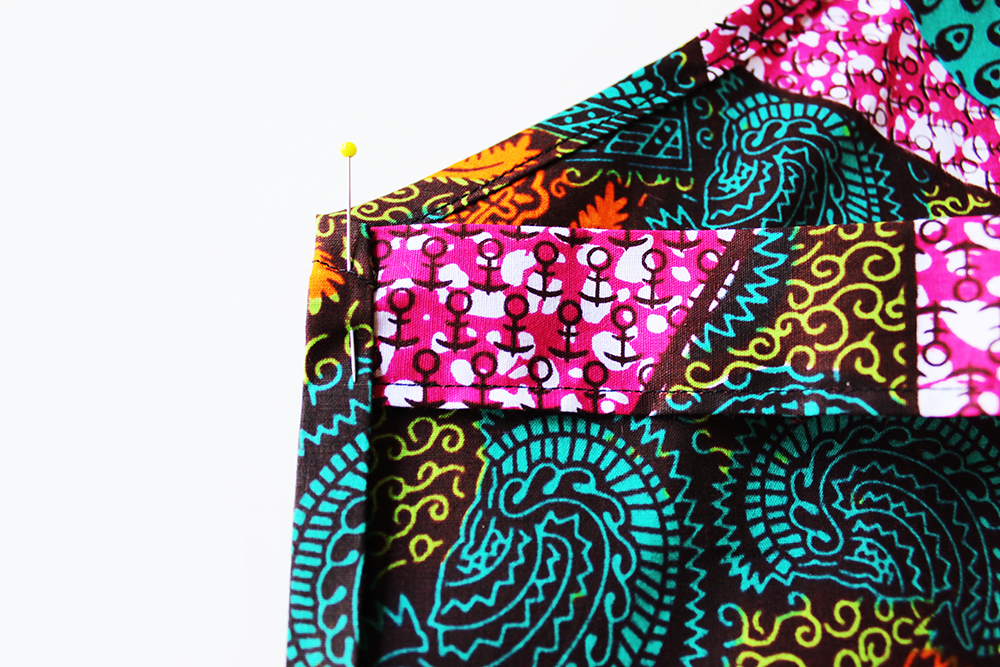
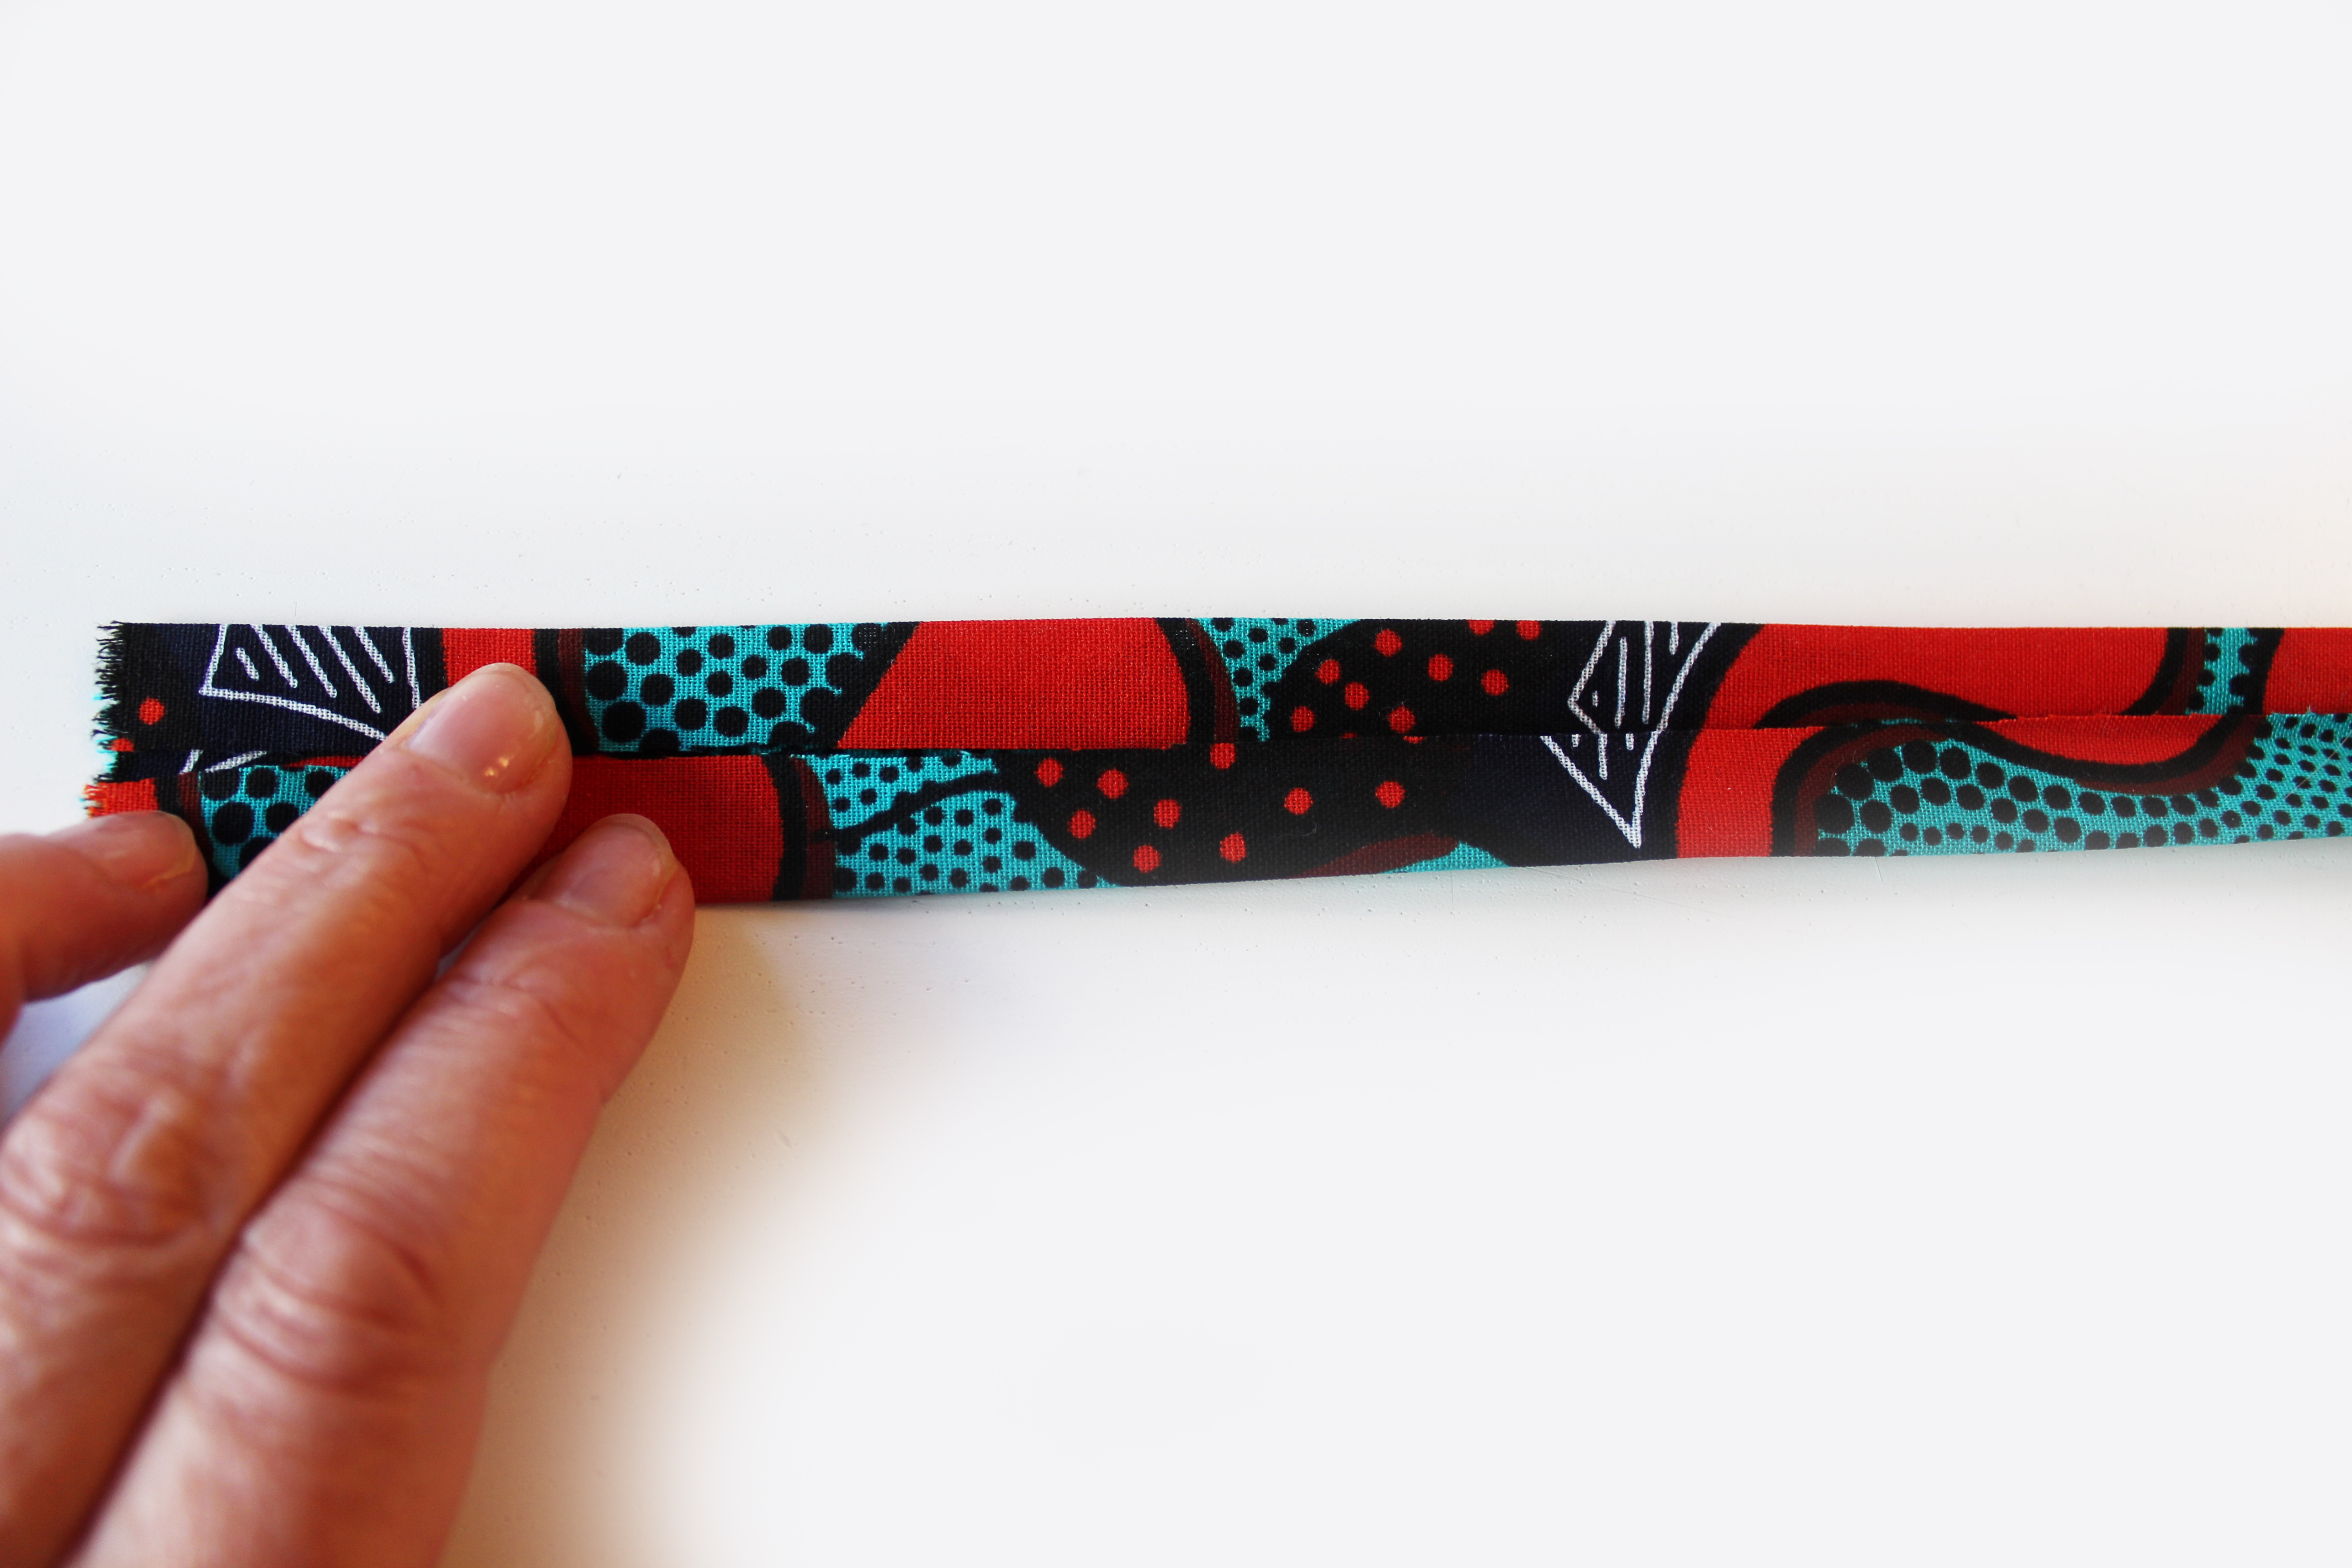
Fold over and press 1cm to the wrong side of each long side.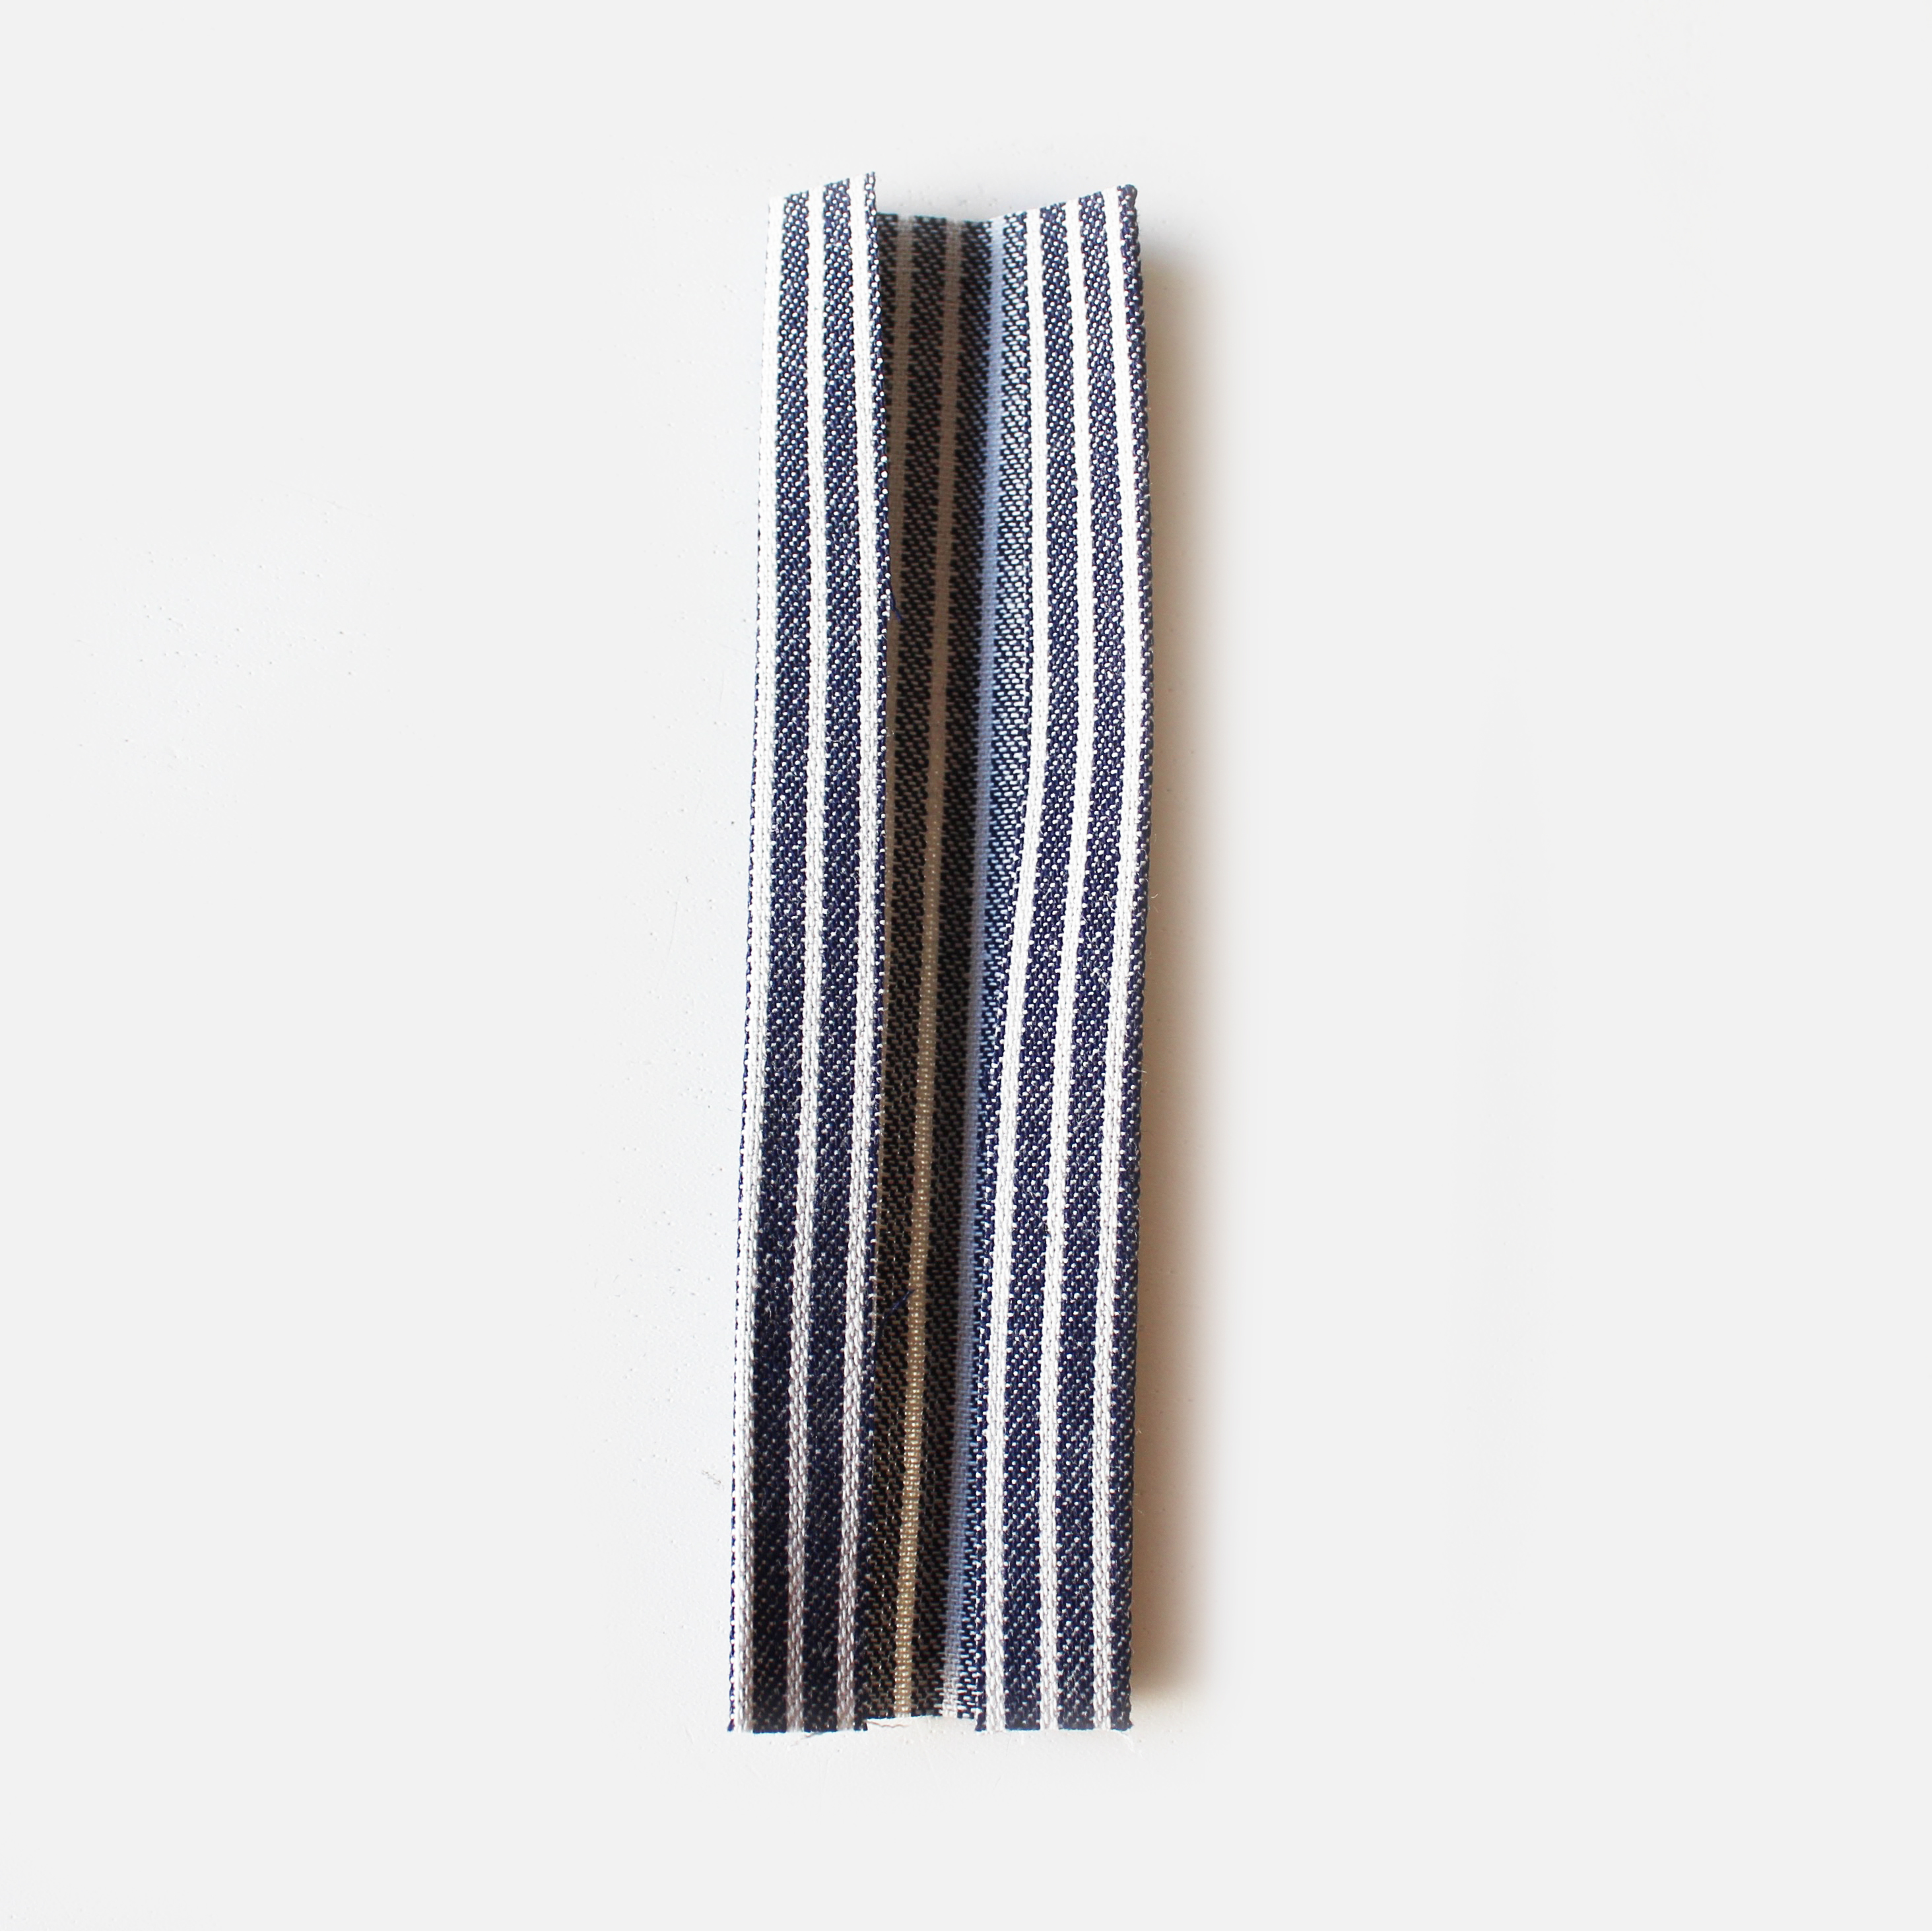
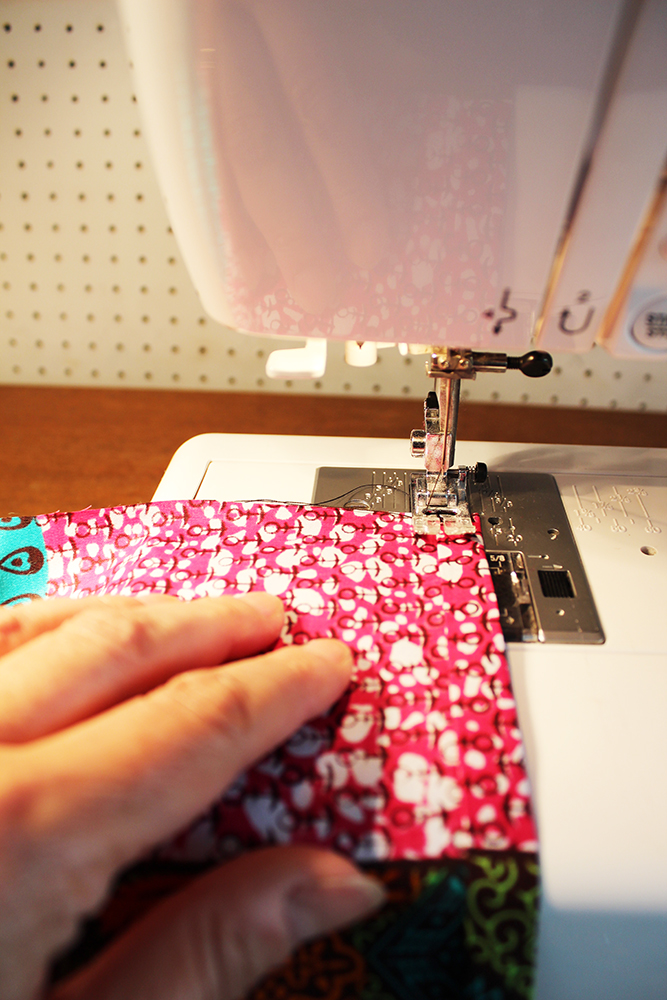
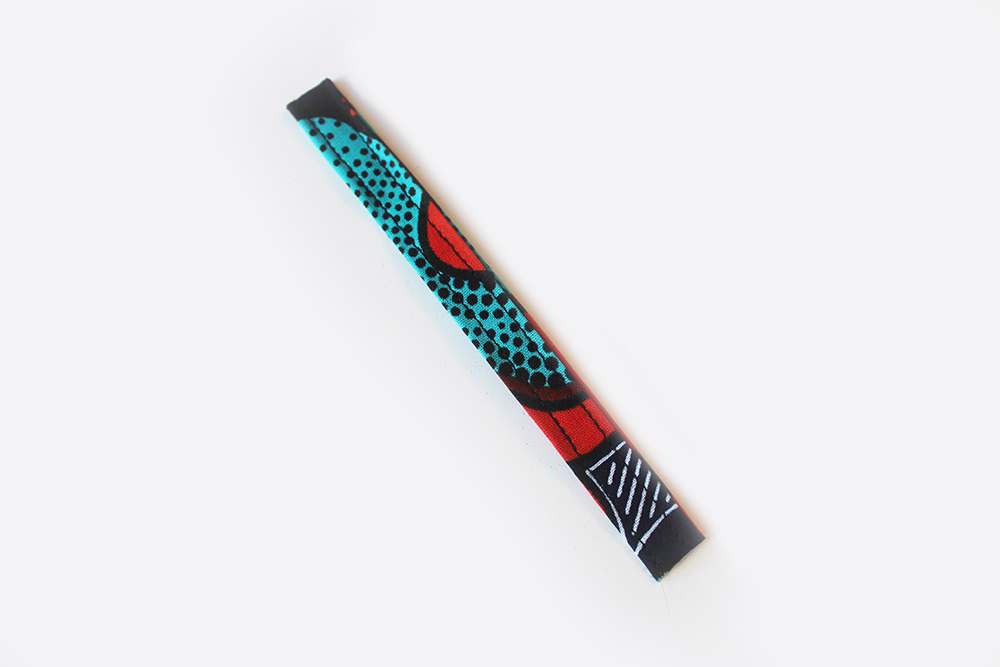
Stitch along each long side close to the edge. Press over 1cm each short side.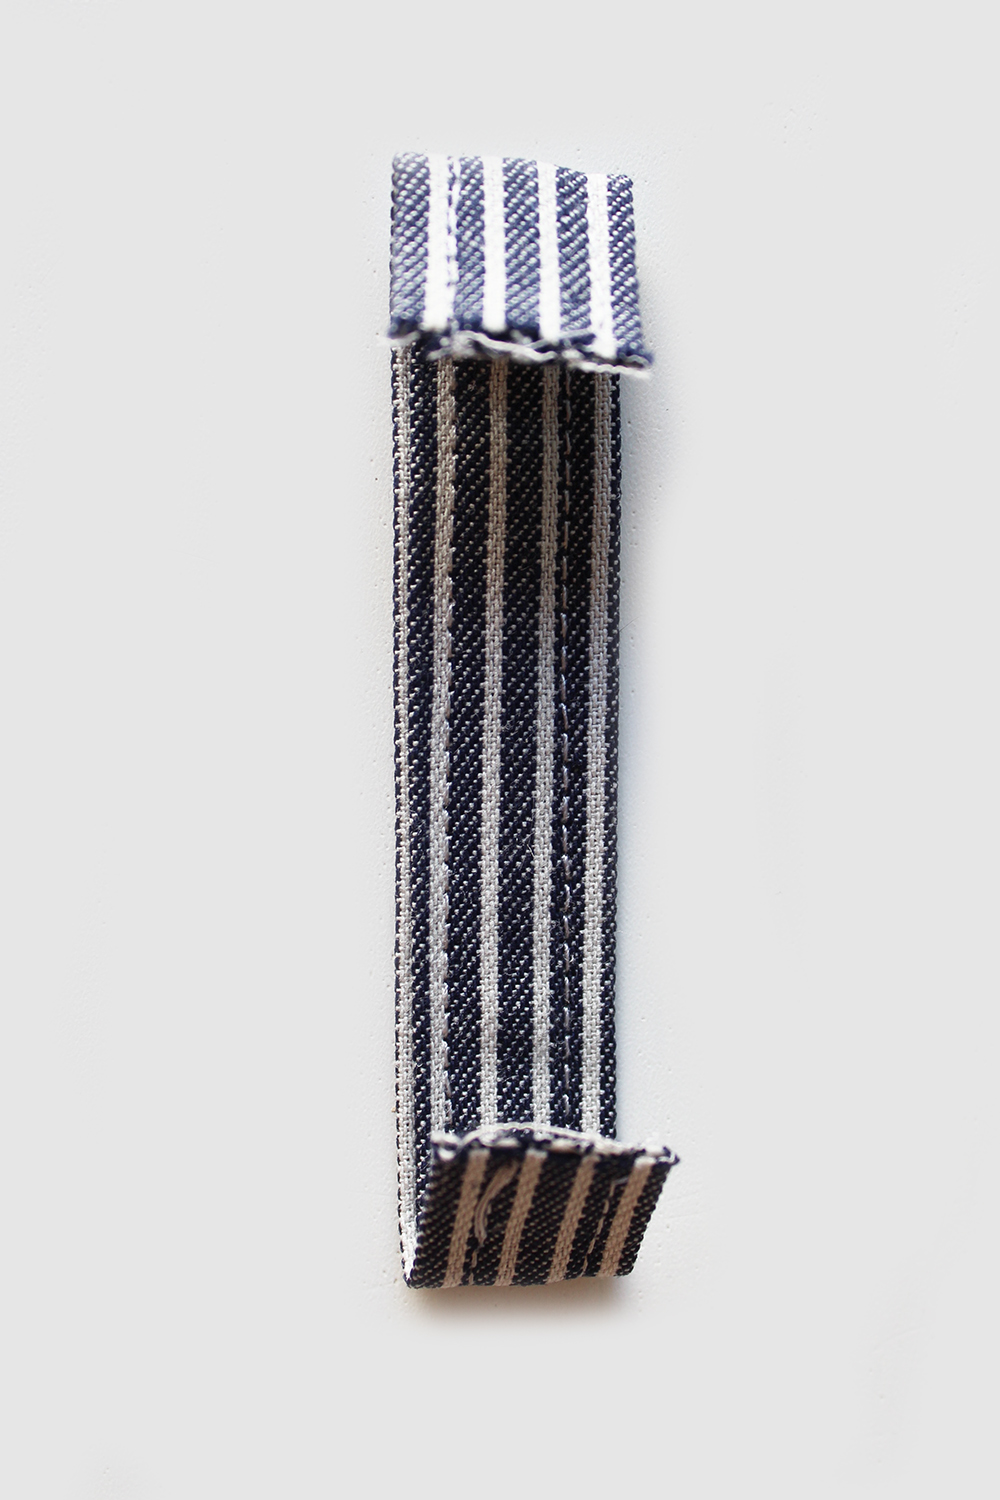
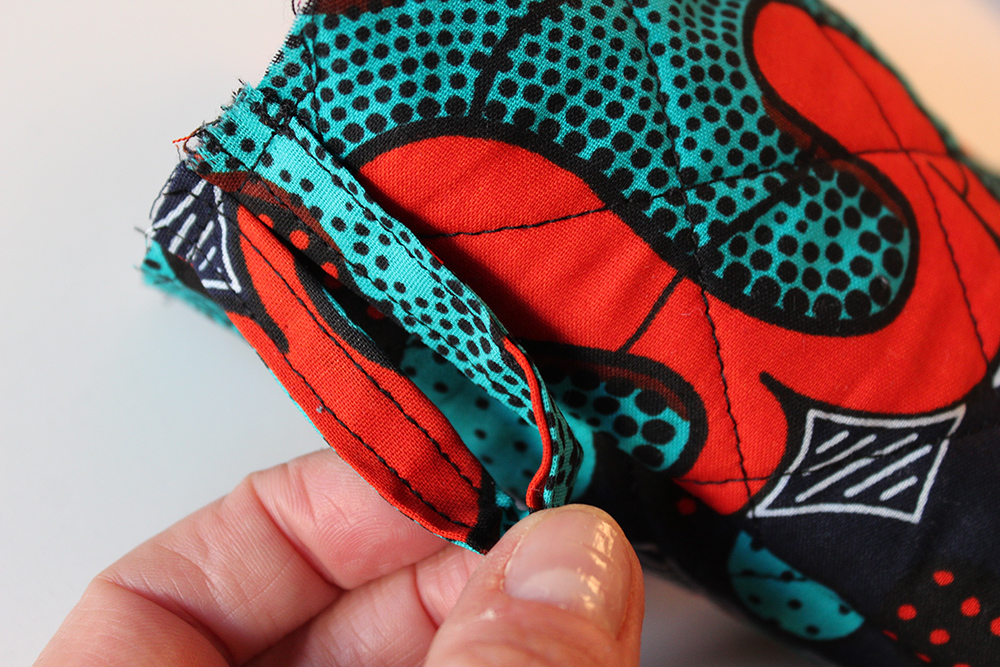
Pin to the body 2cm in from each side. Stitch down with a small rectangle at each far end.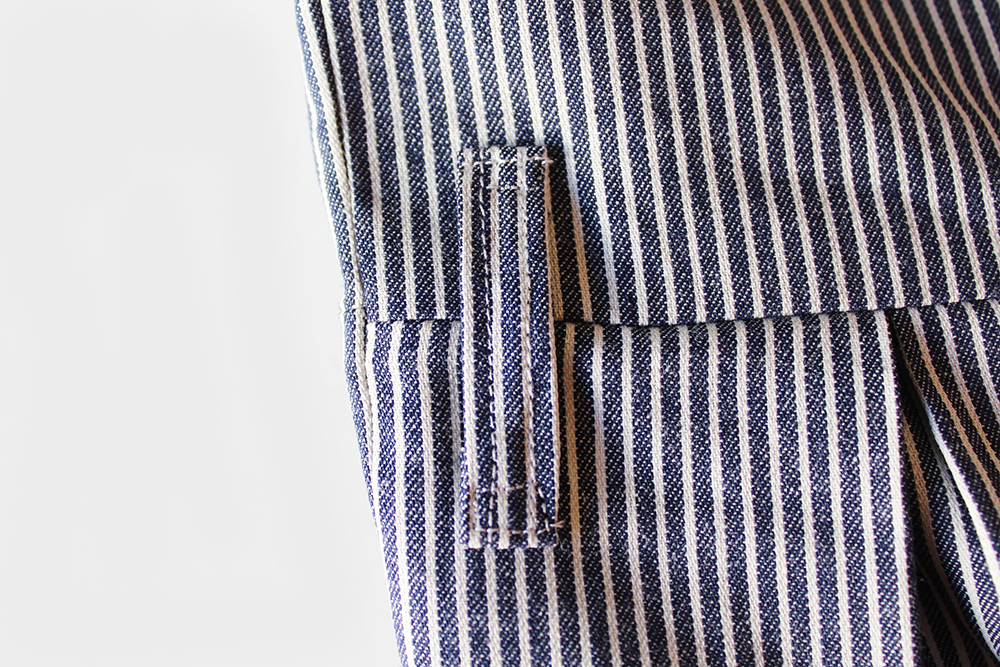
TIE BELT (optional)
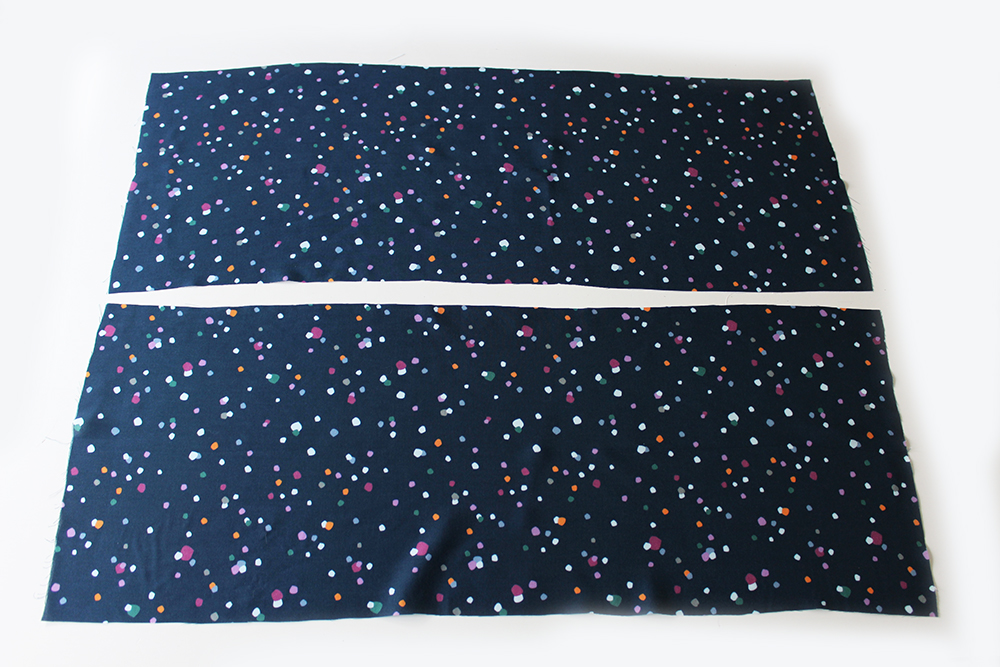
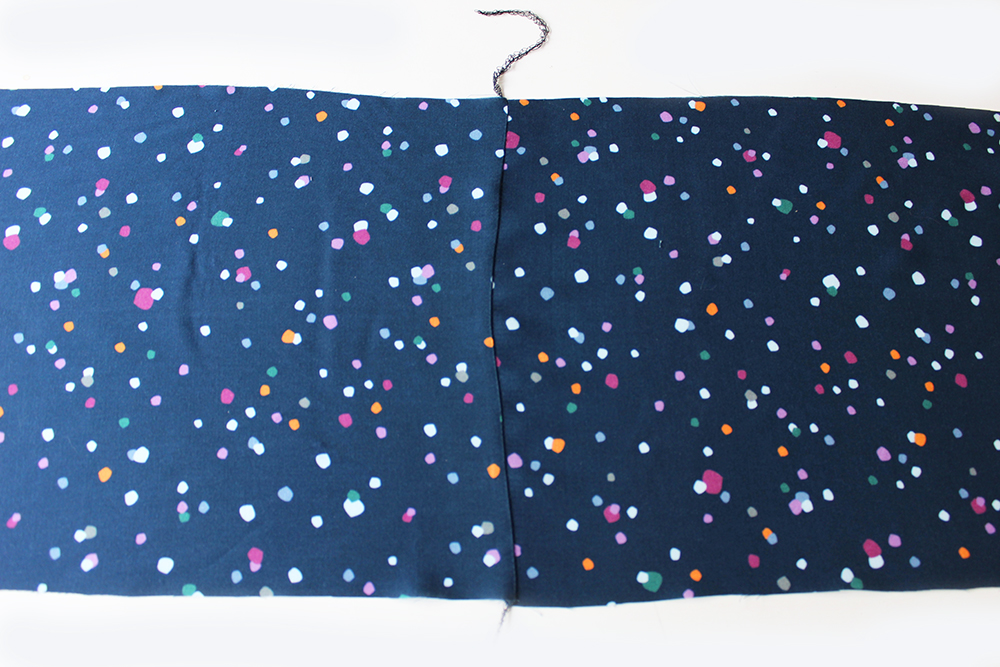
Join the tie pieces at the short sides with the right sides together. Press seam allowances open.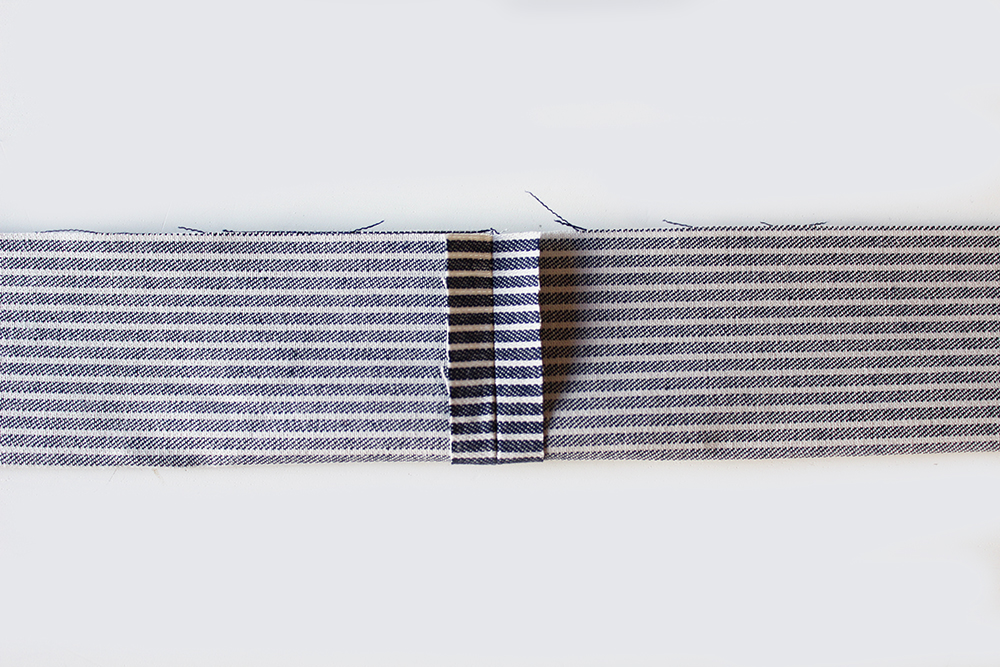
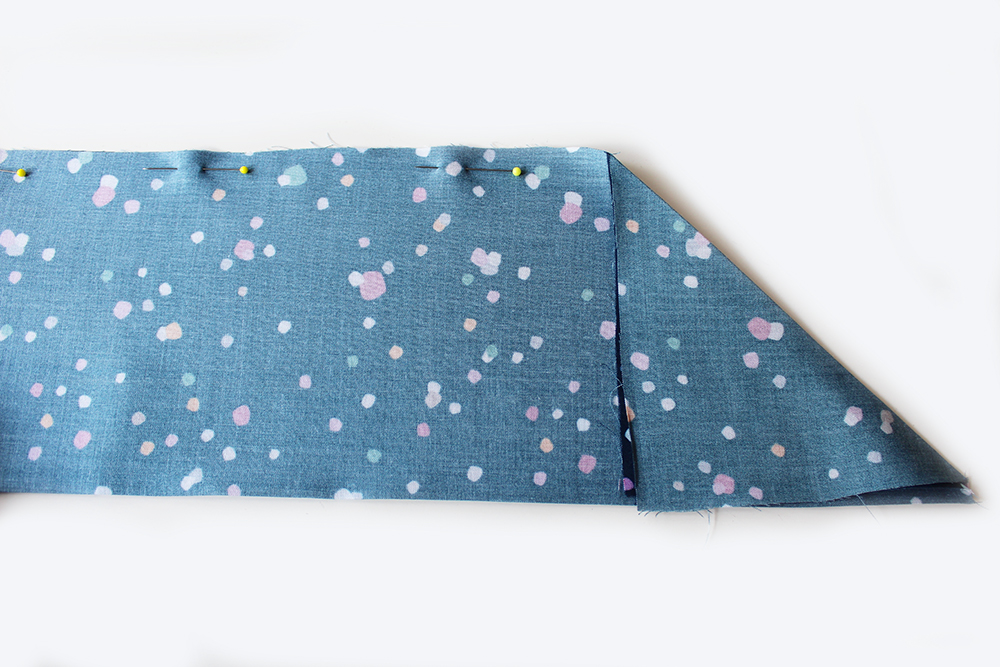
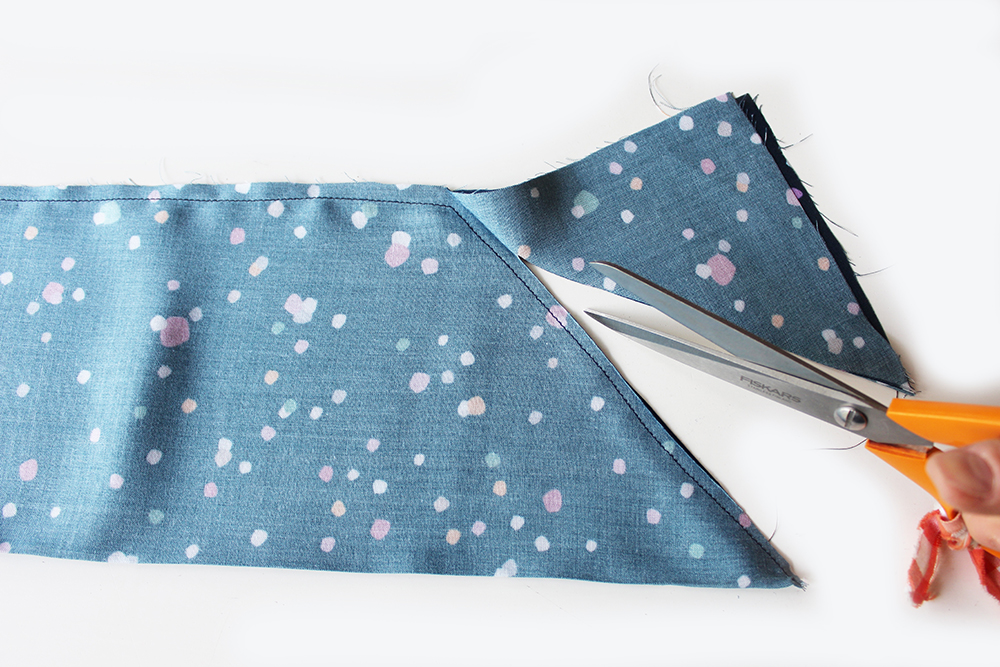
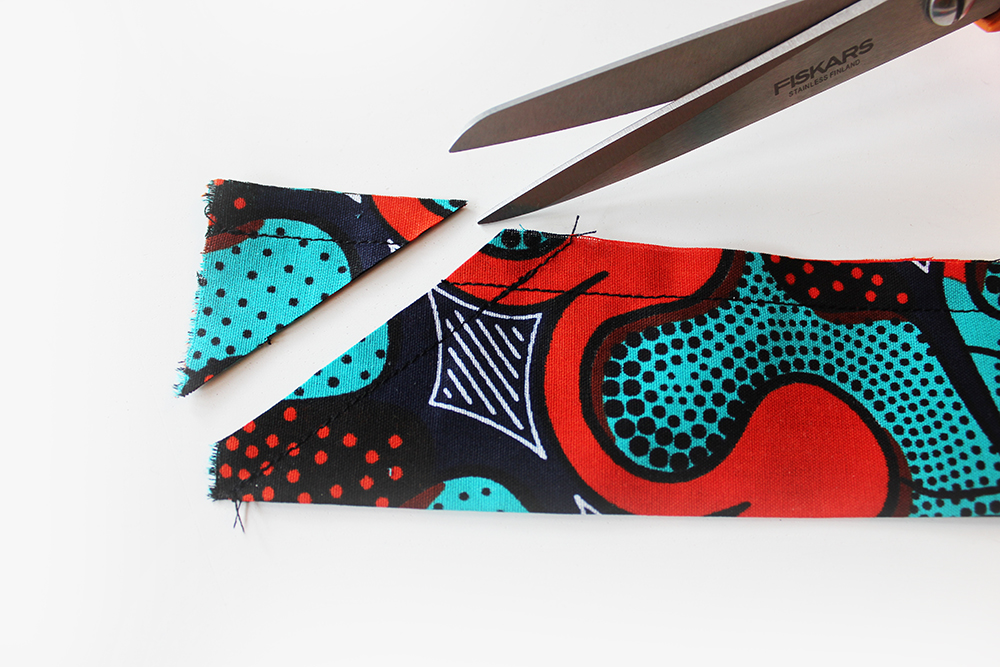
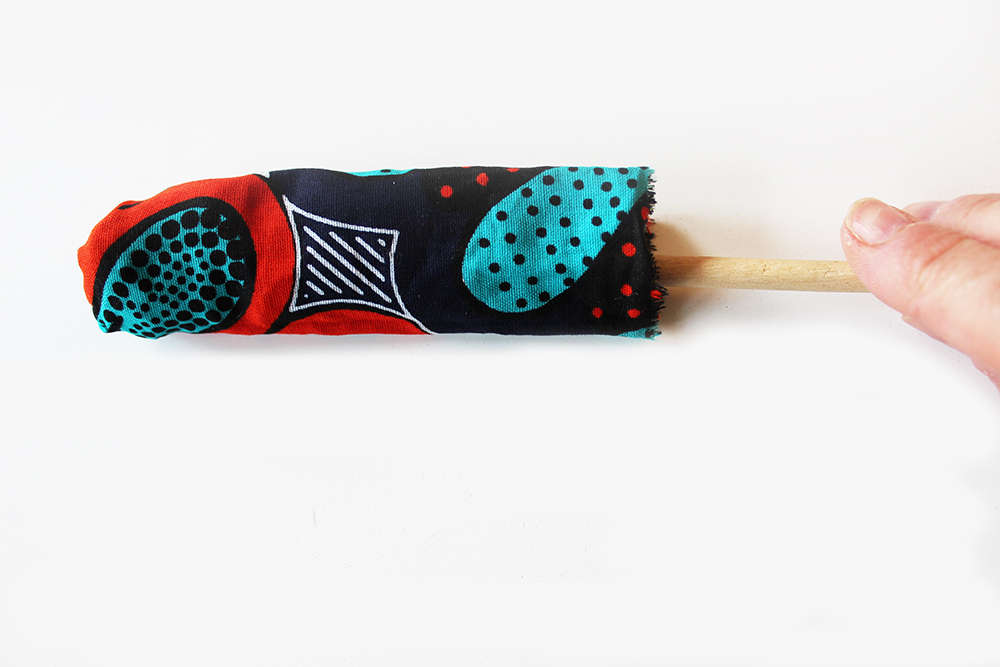
Fold the tie piece in half with the right sides together. Stitch down the long side and at a 45 degree angle at each far end to make a point, leave an opening of 4cm approx at the centre point. Trim the seam allowance to 5mm and Nick the corner point. Turn inside out through the opening.
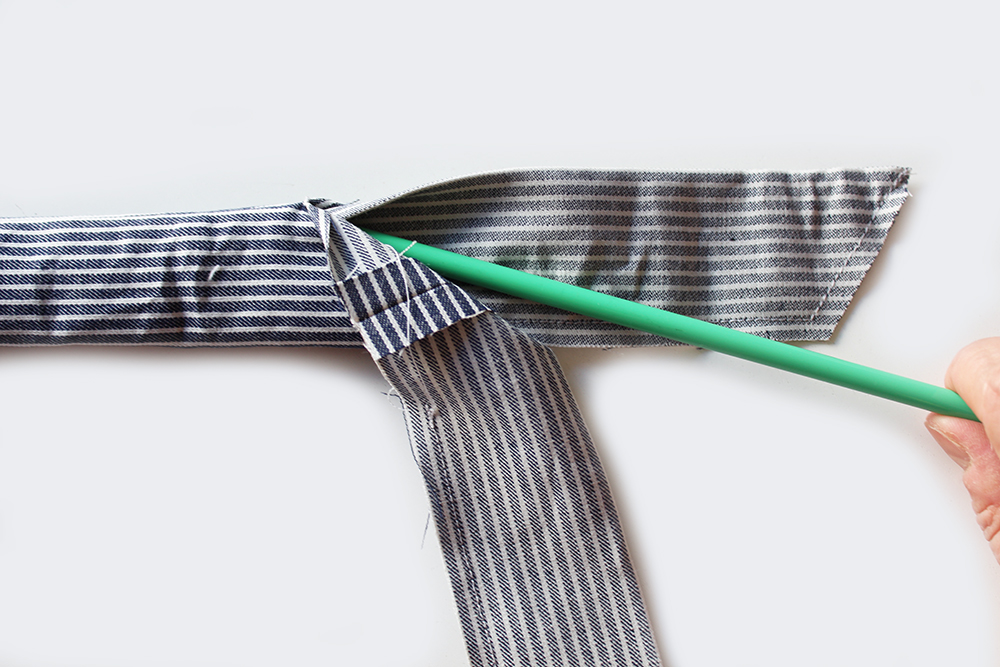
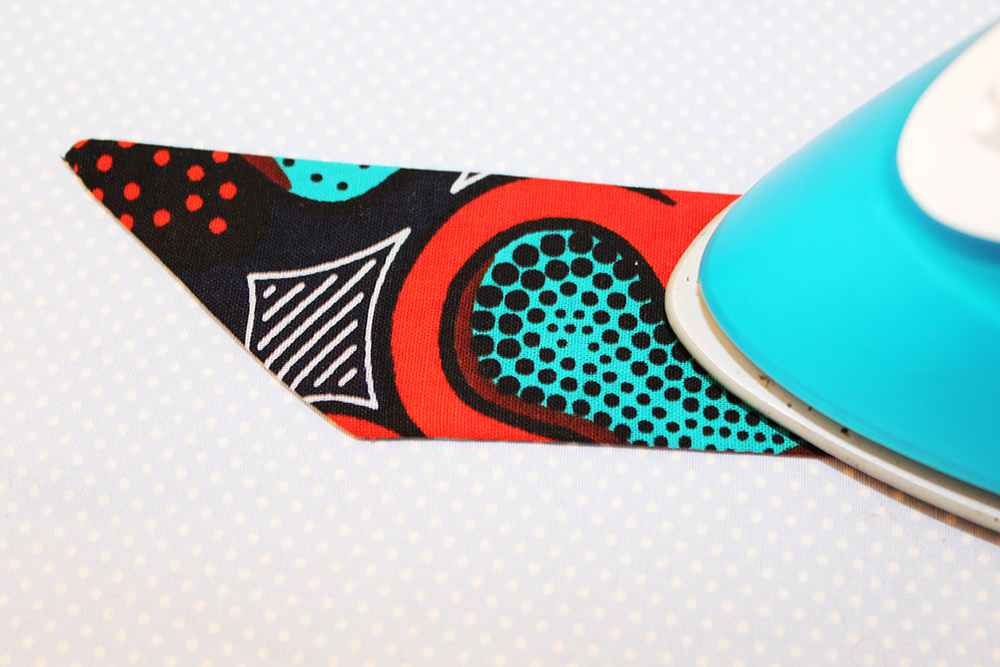
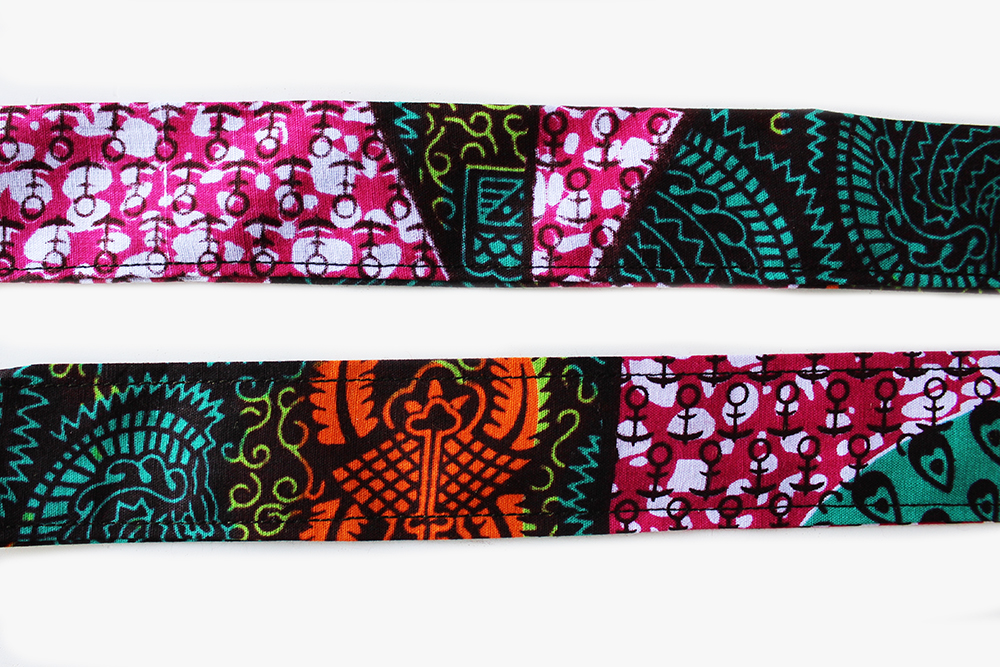
Press. Topstitch all around which should close up the opening at the same time.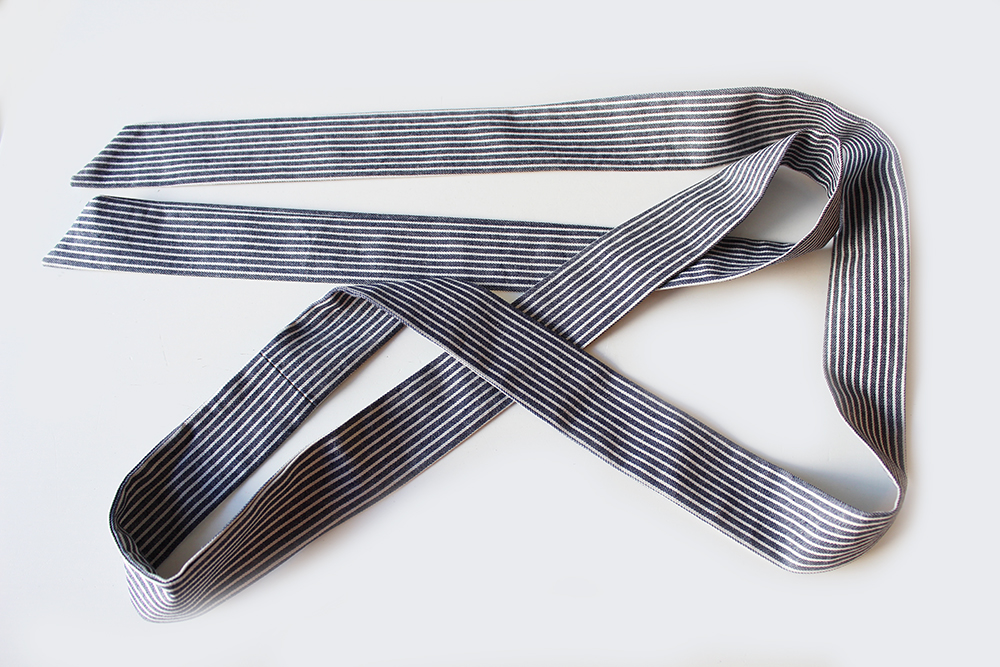
Tie a big Esme* (from the Sewing Bee) style tie at the front on your lovely dress.
- Esme loves a bow
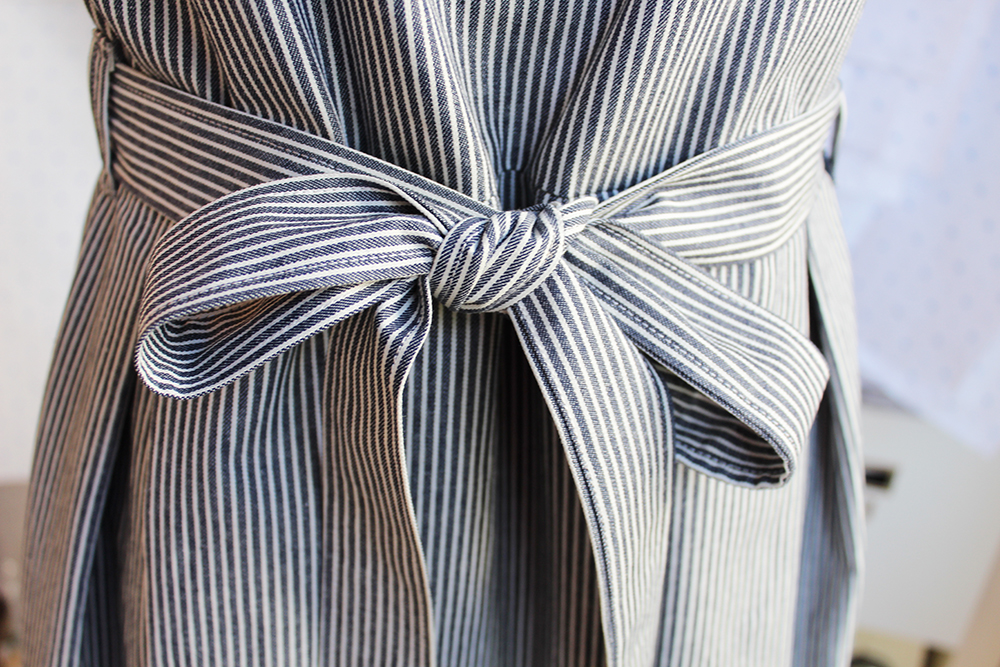
There you are! You can also wear without a belt if you prefer. Now time to pose!
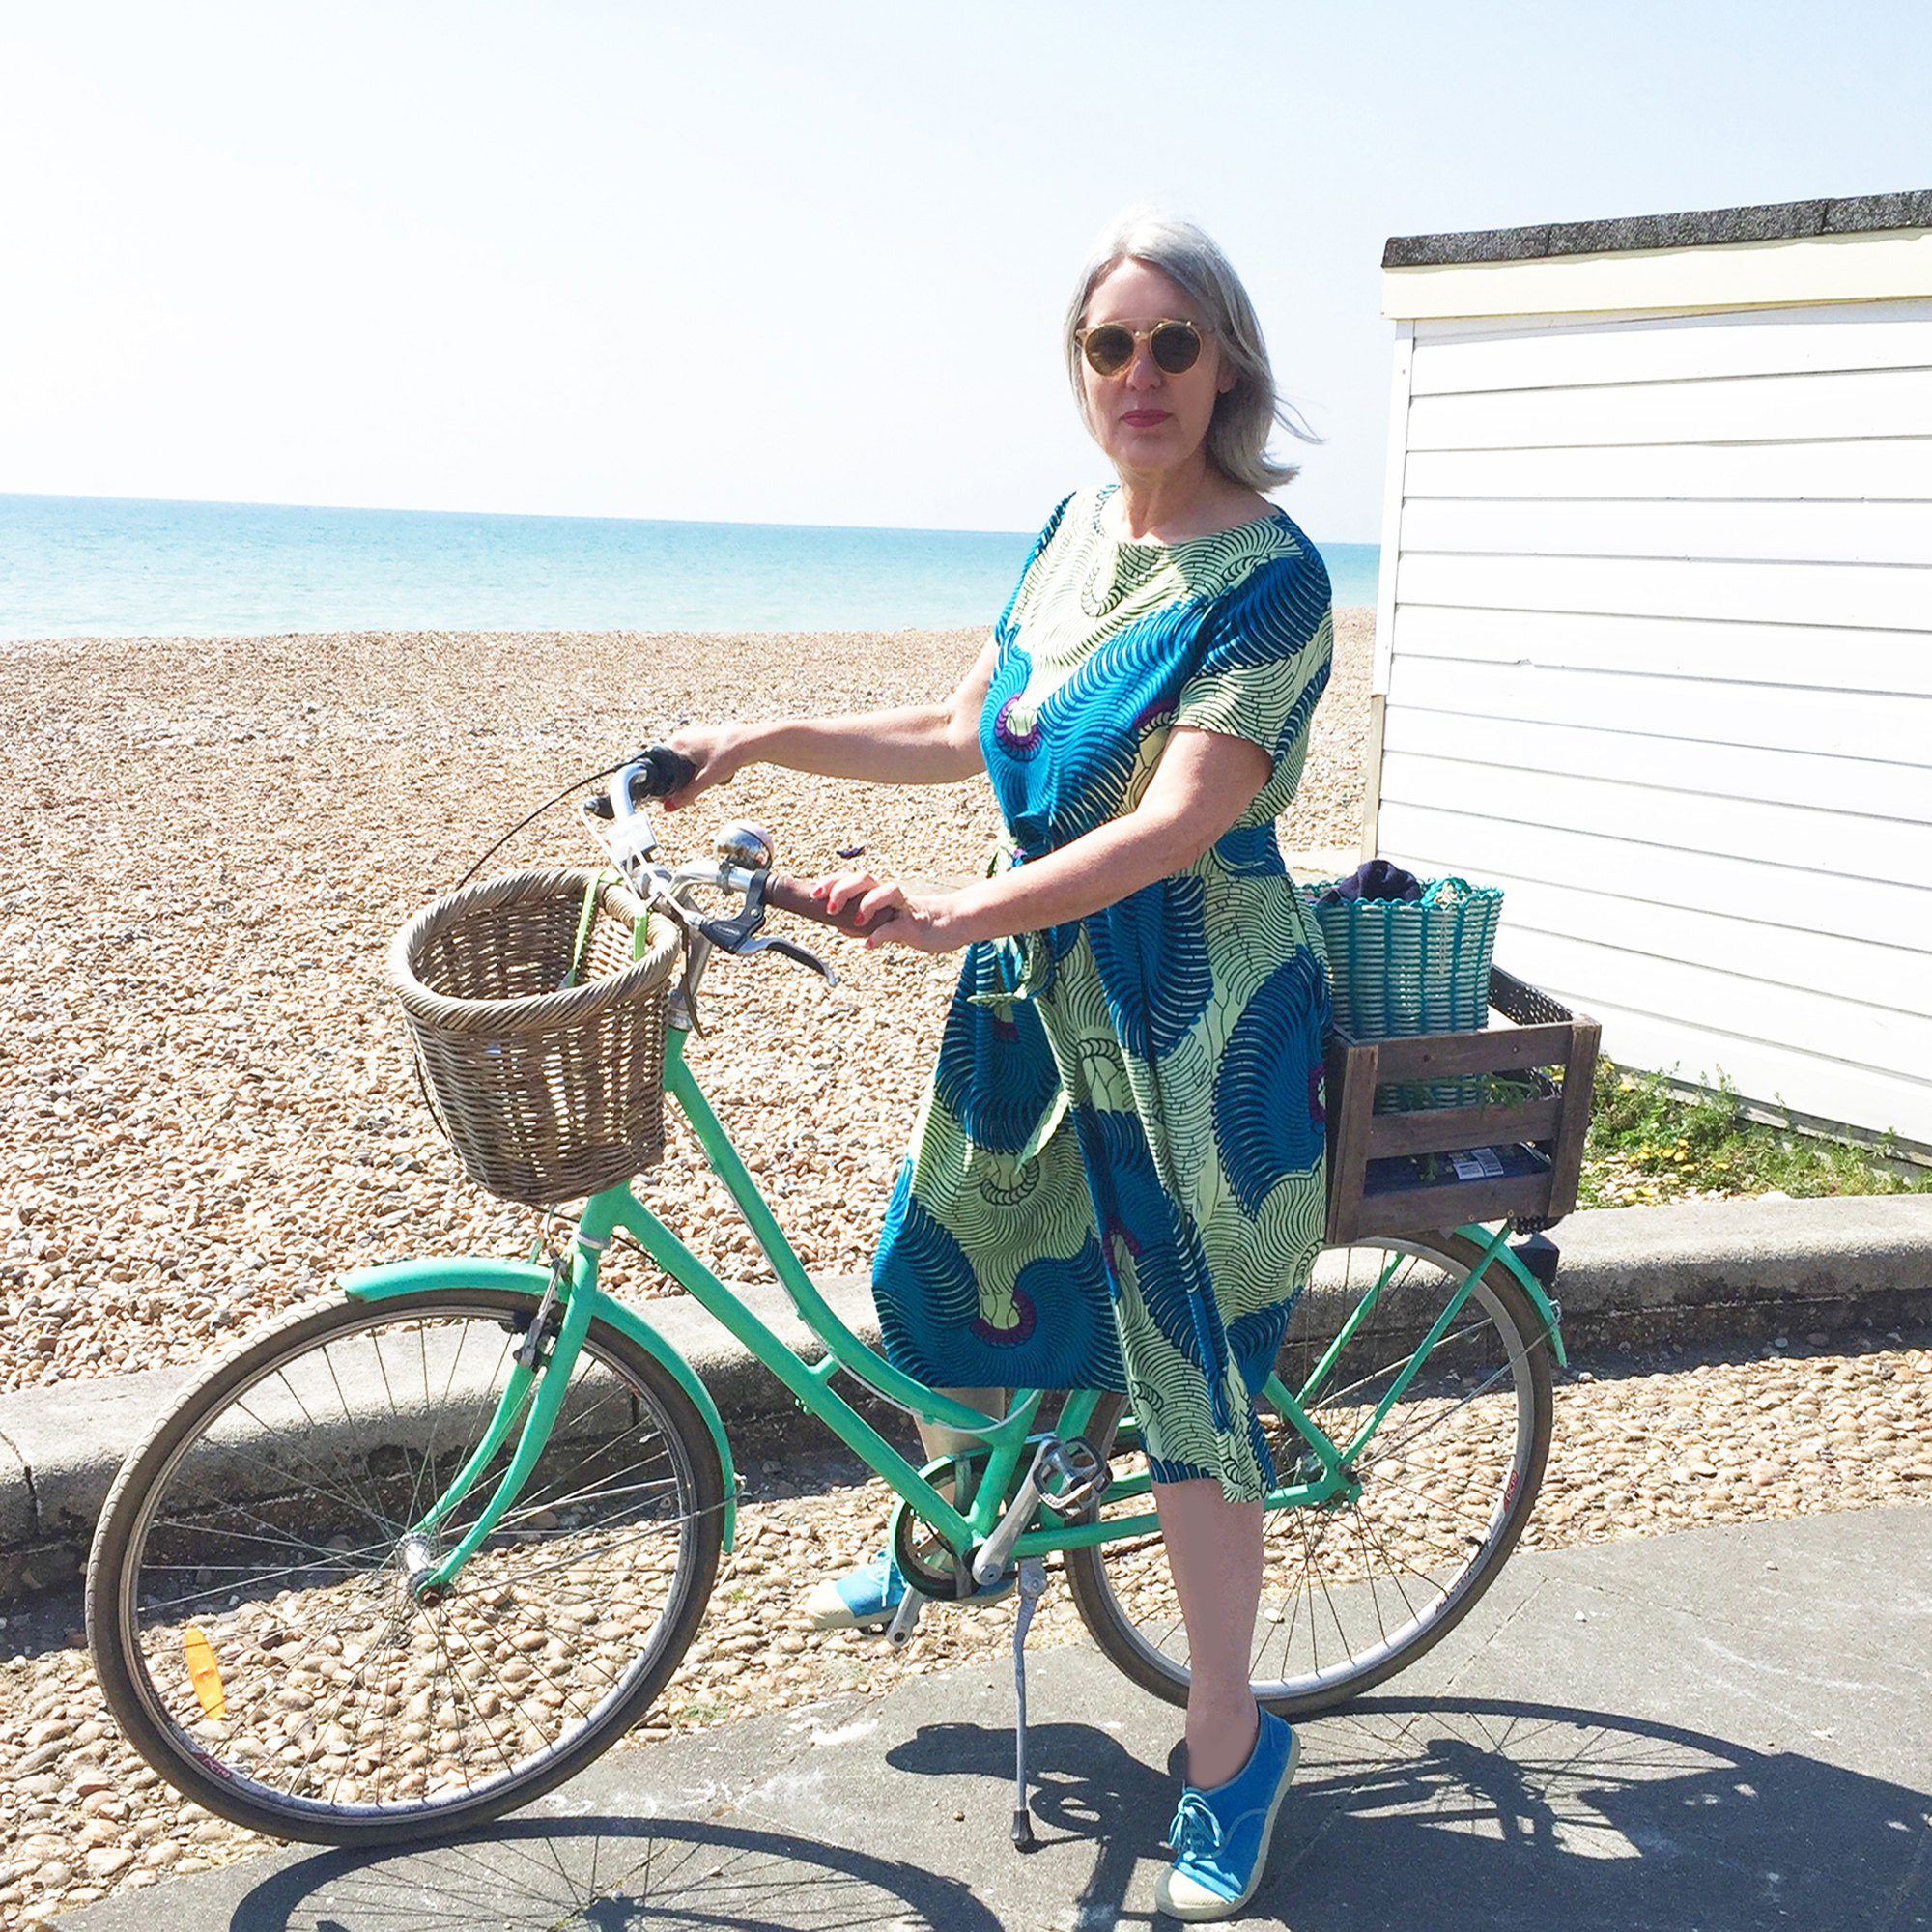
Here is a tutorial download file about Lining the Bodice to Cecily dress.

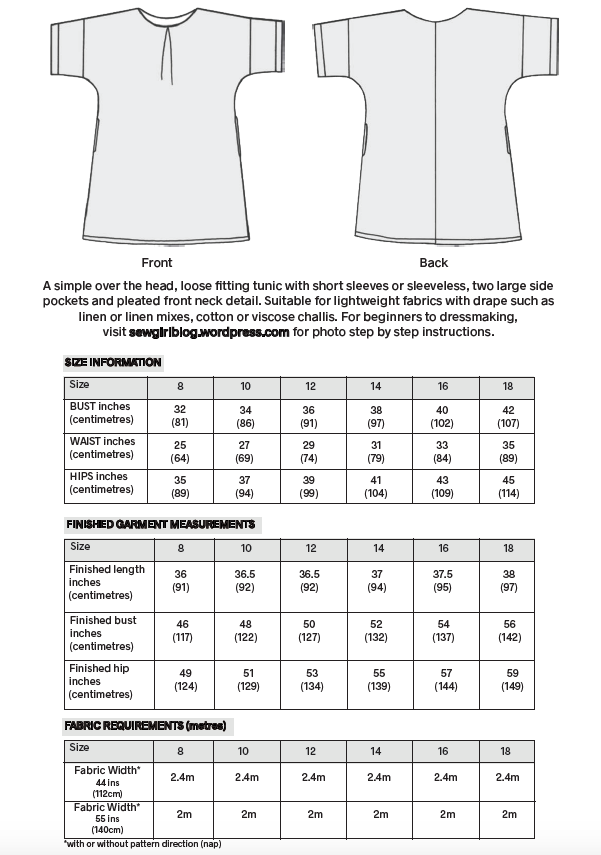
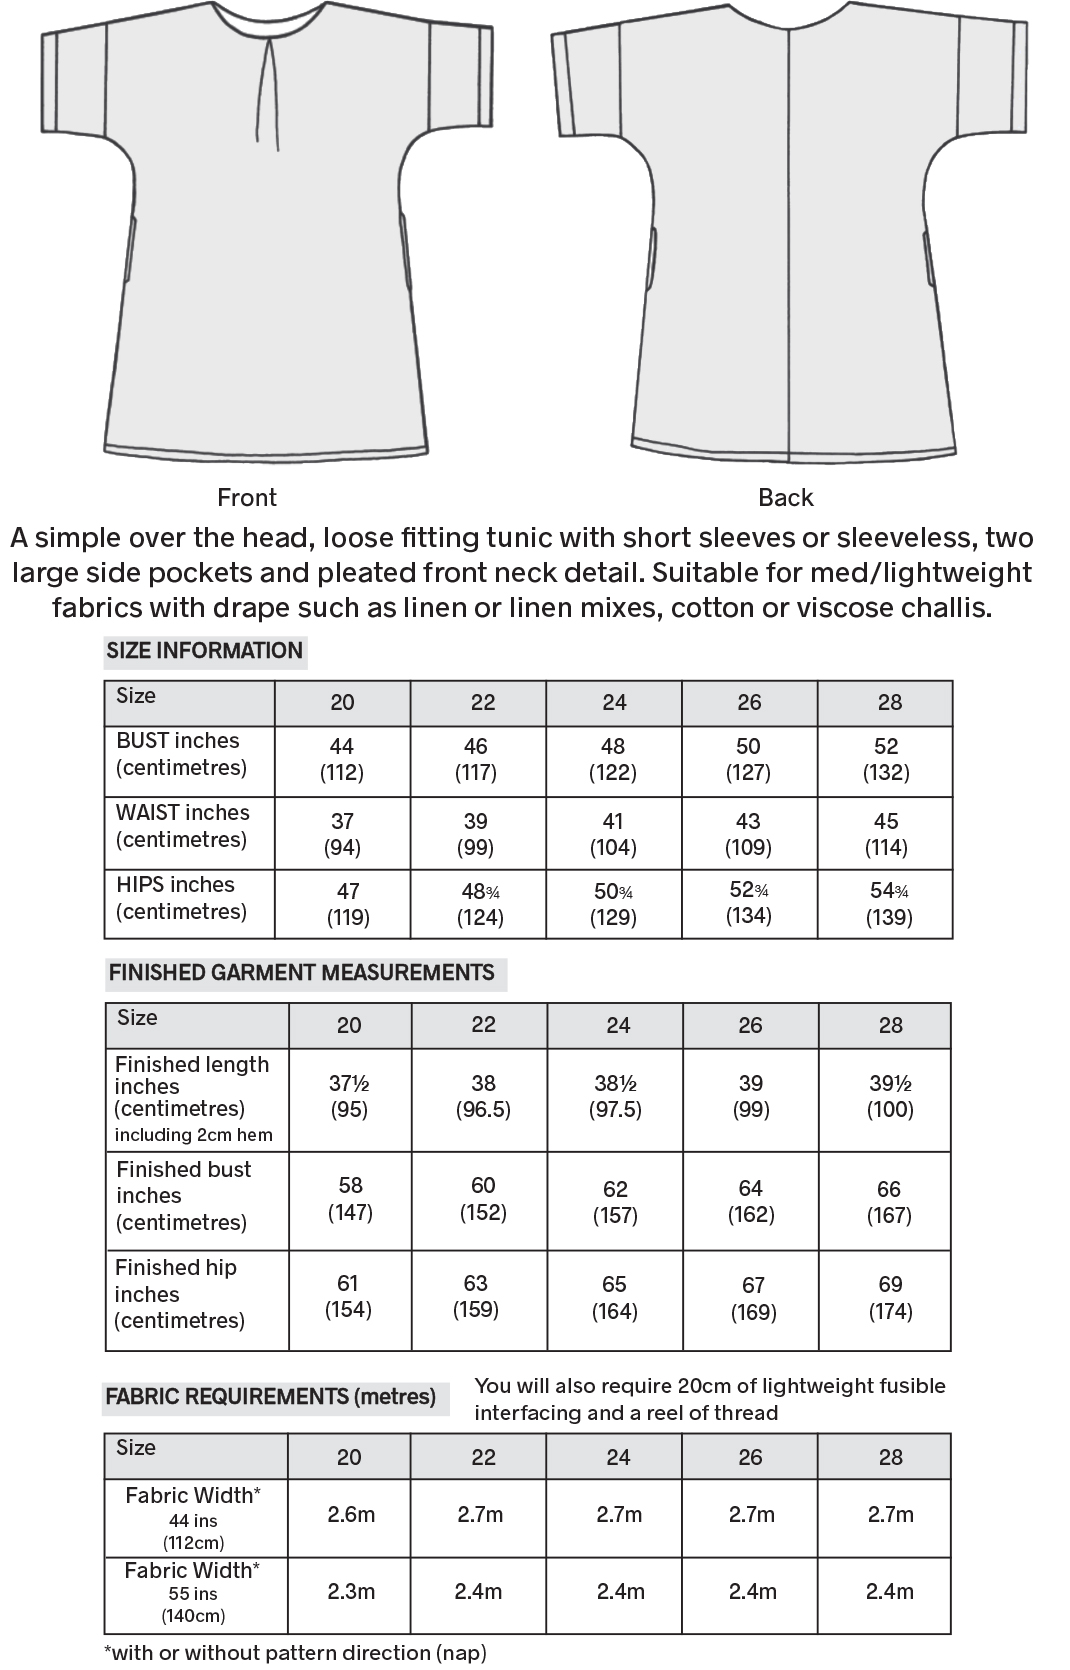

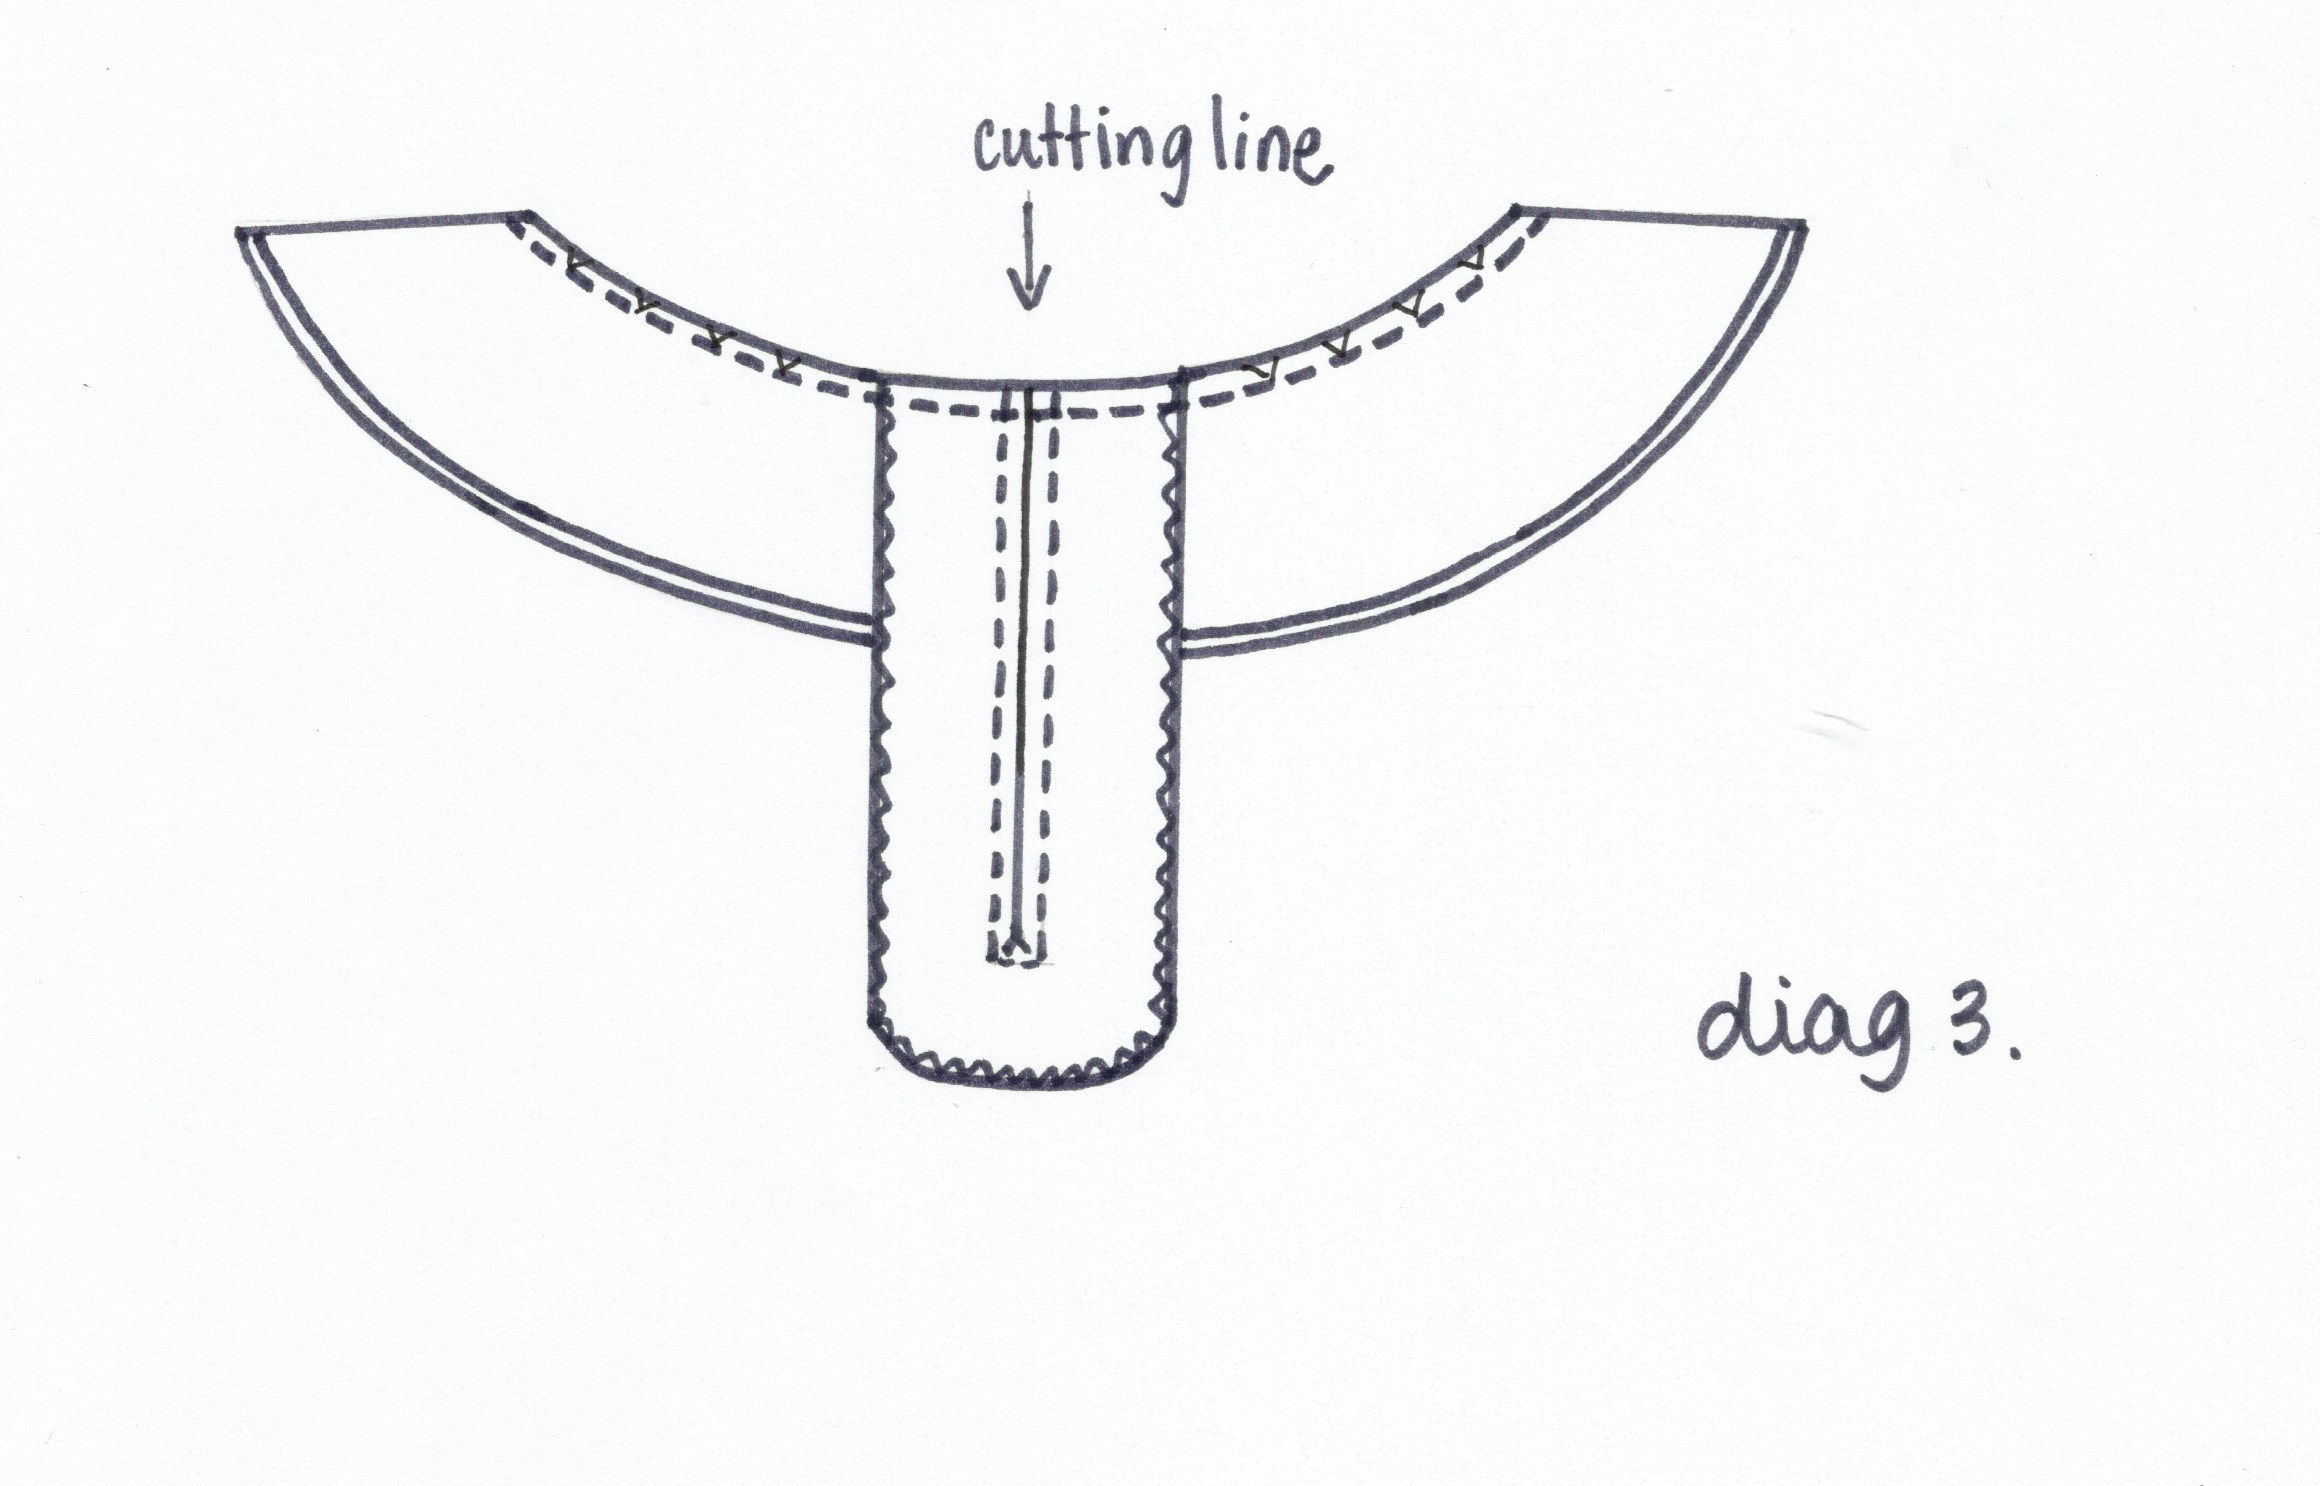
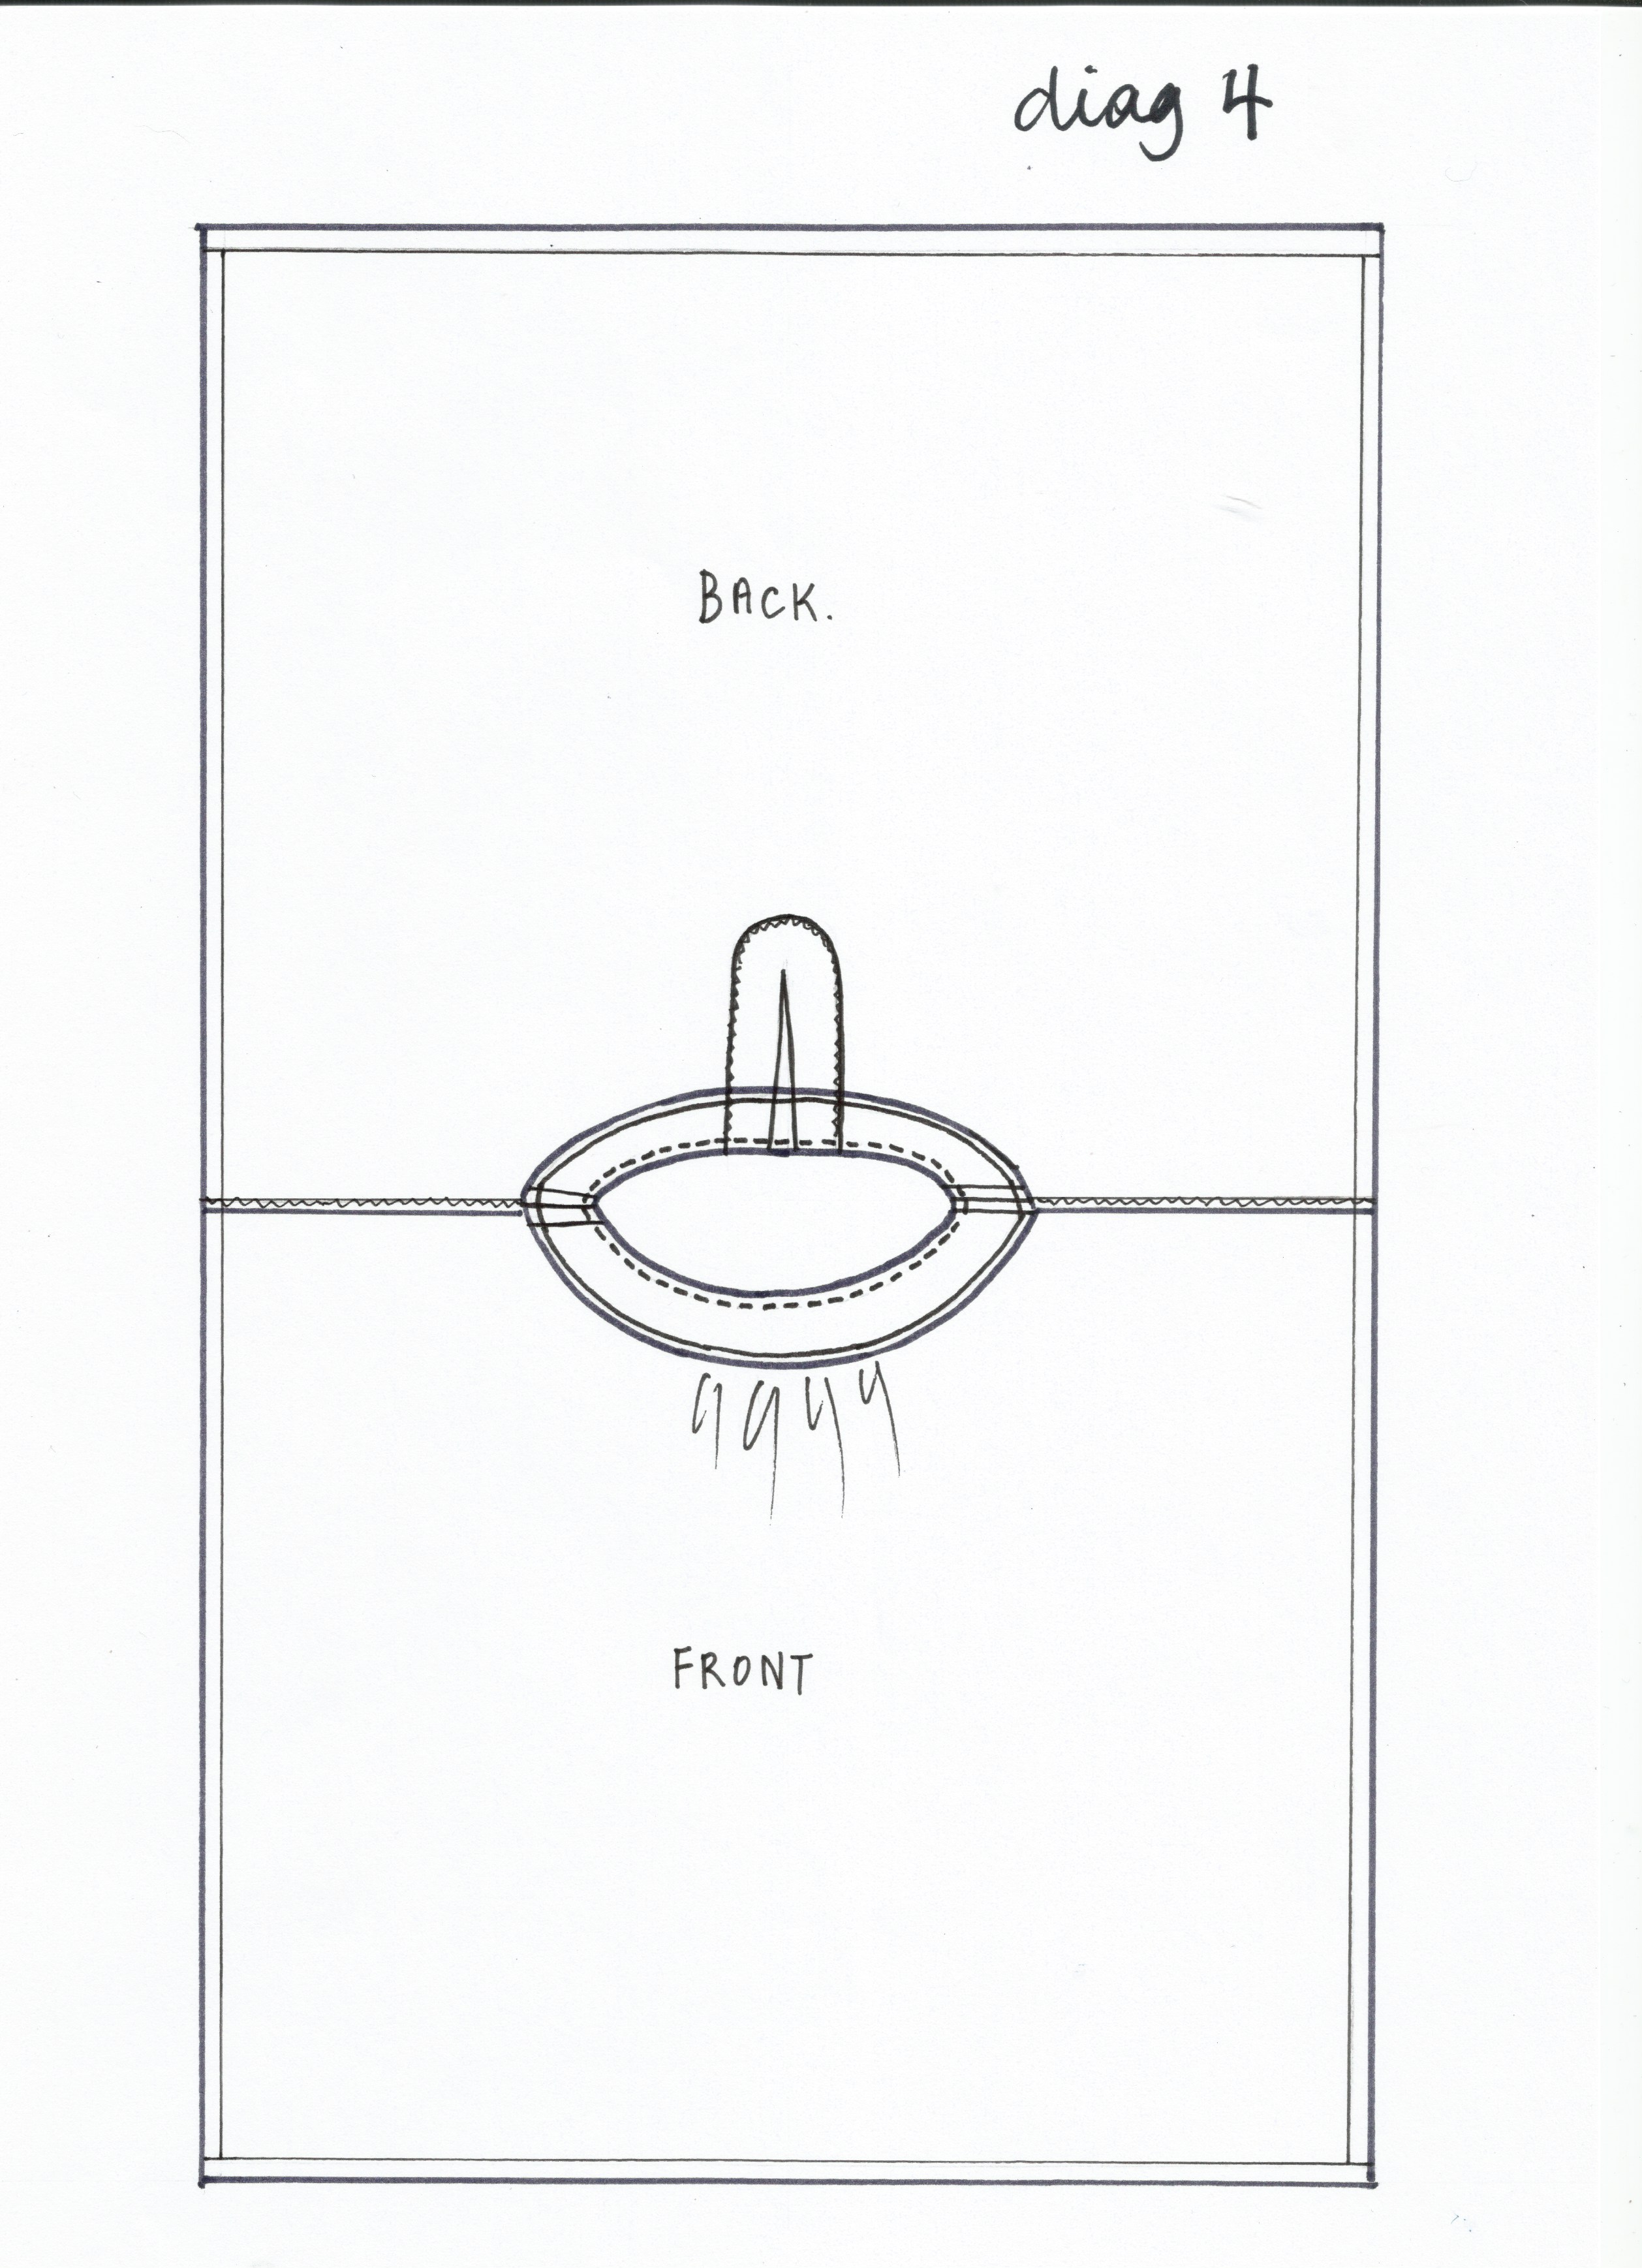
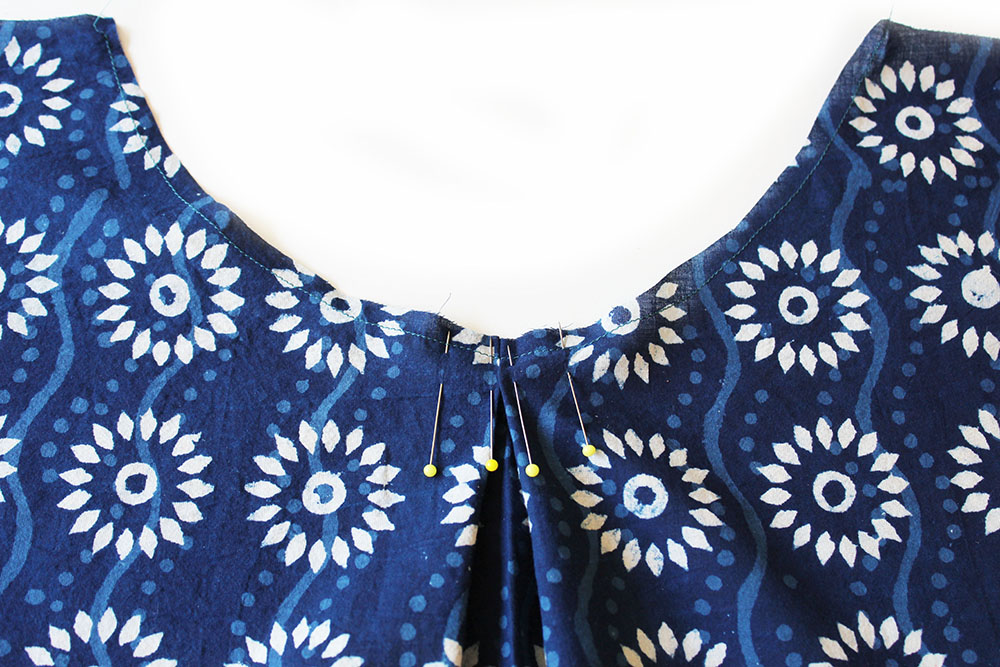 Make an inverted box pleat at the centre front neckline as shown on the template. Stay stitch all around 5mm from the raw edge to secure the pleats. Here is a diagram to help you….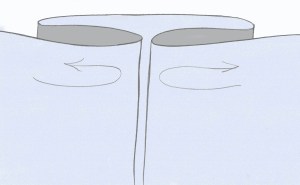
 Next pin your pockets at each side of front and back with the RST in position as shown on the template.
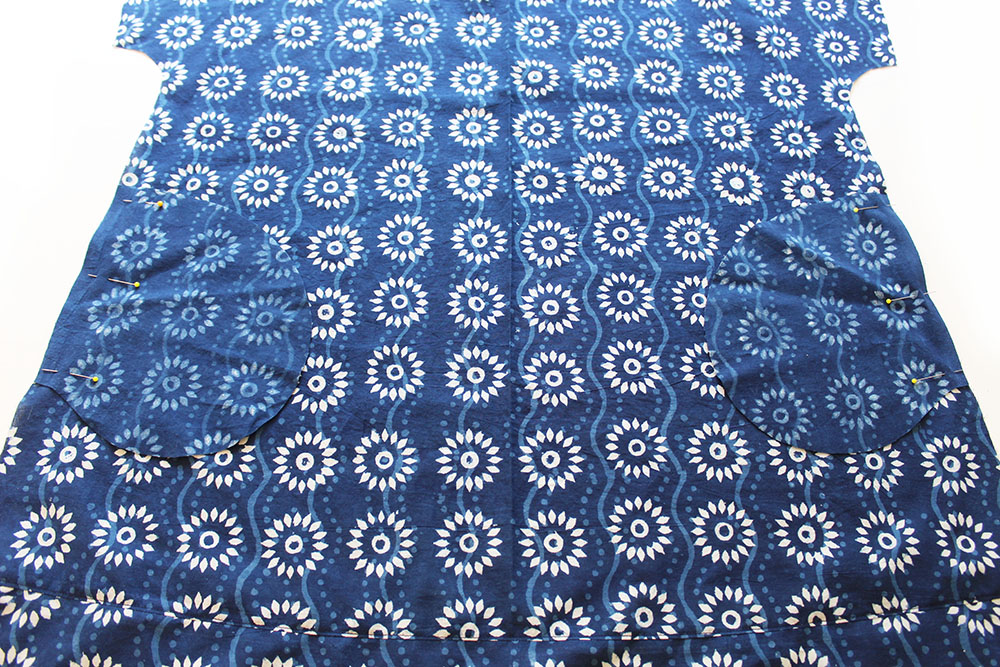 Sew down each straight side of the pockets (NB seam allowance is 1cm).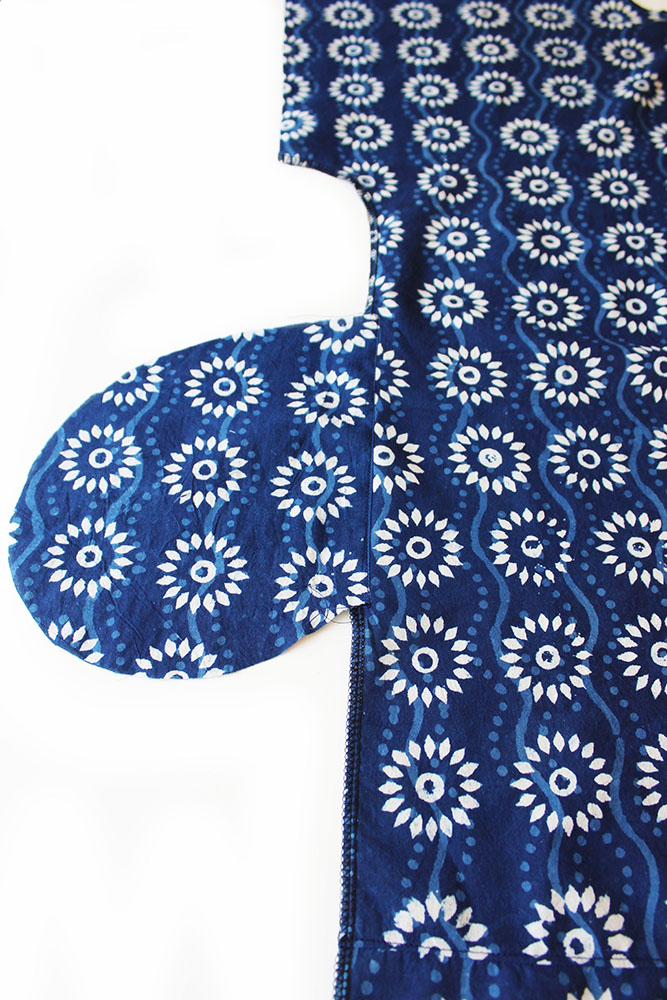
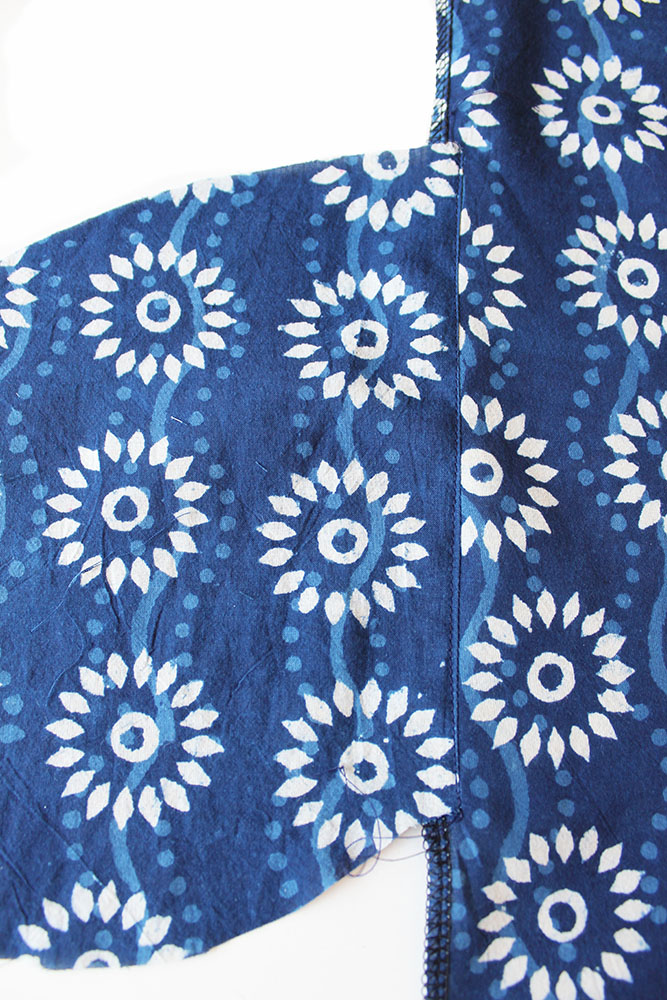
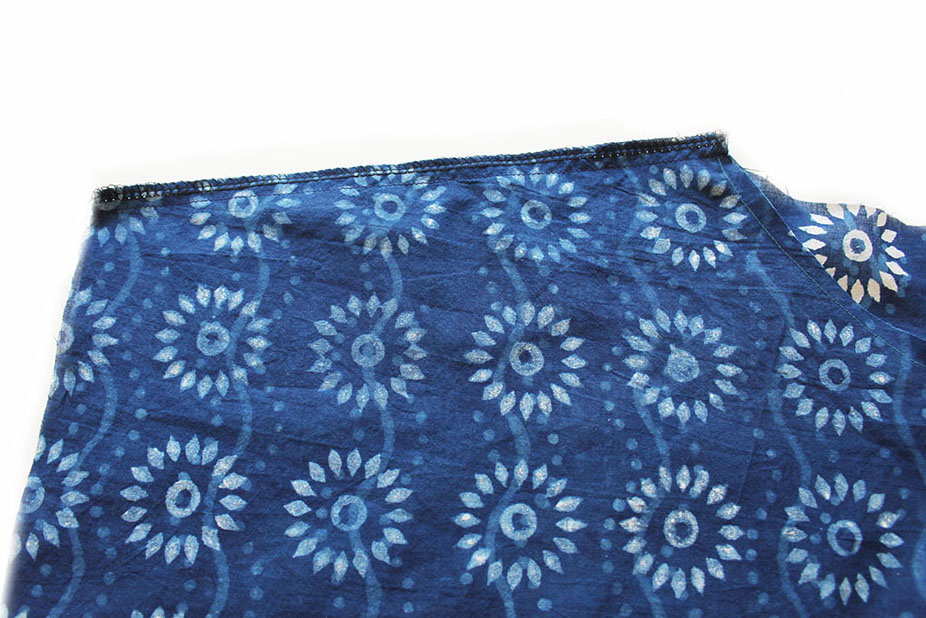
 below shows the reverse side view …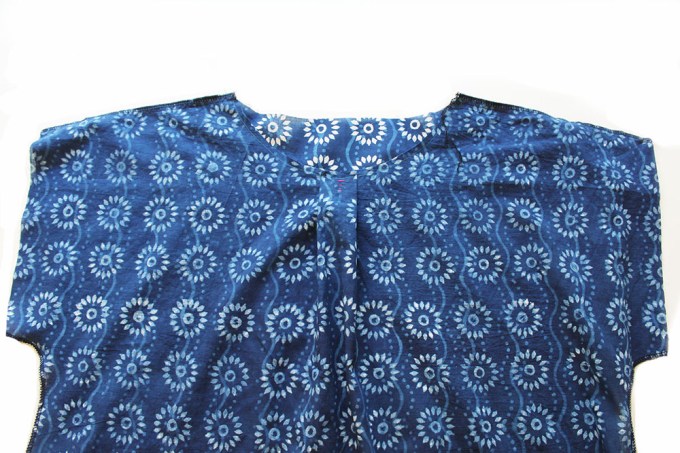
 With both facing pieces interfaced on the reverse side, pin then sew them together at the short sides with the RST. Press the seam allowances open.
 Finish the raw outer edge only all around. If you don’t have an overlocker you could fold under and press the outer edge 5mm approx and sew all around, it makes it look much neater. Or for a quicker job just overlock it.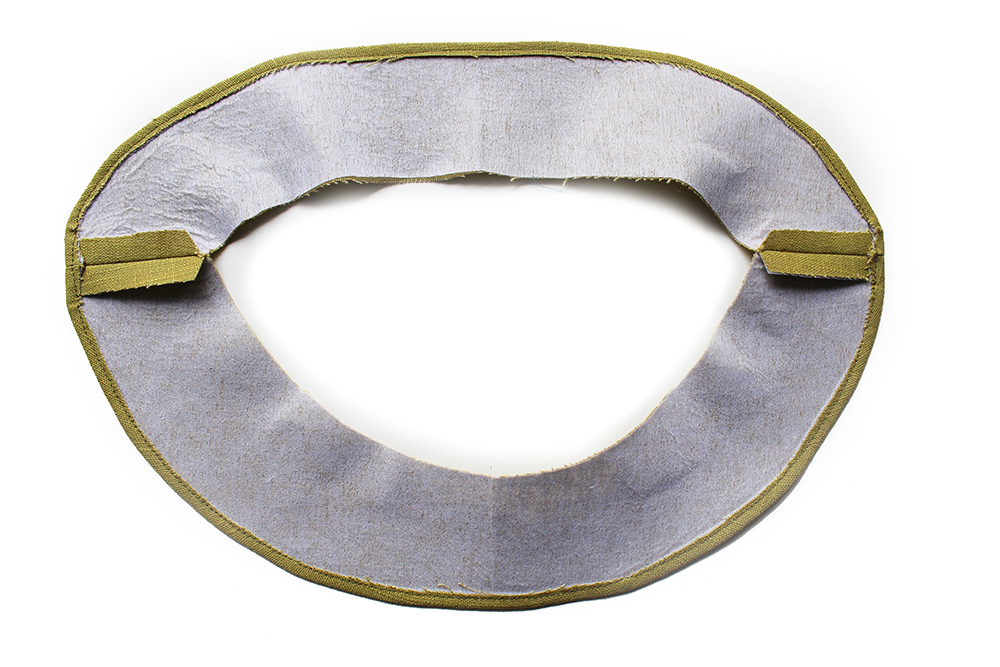
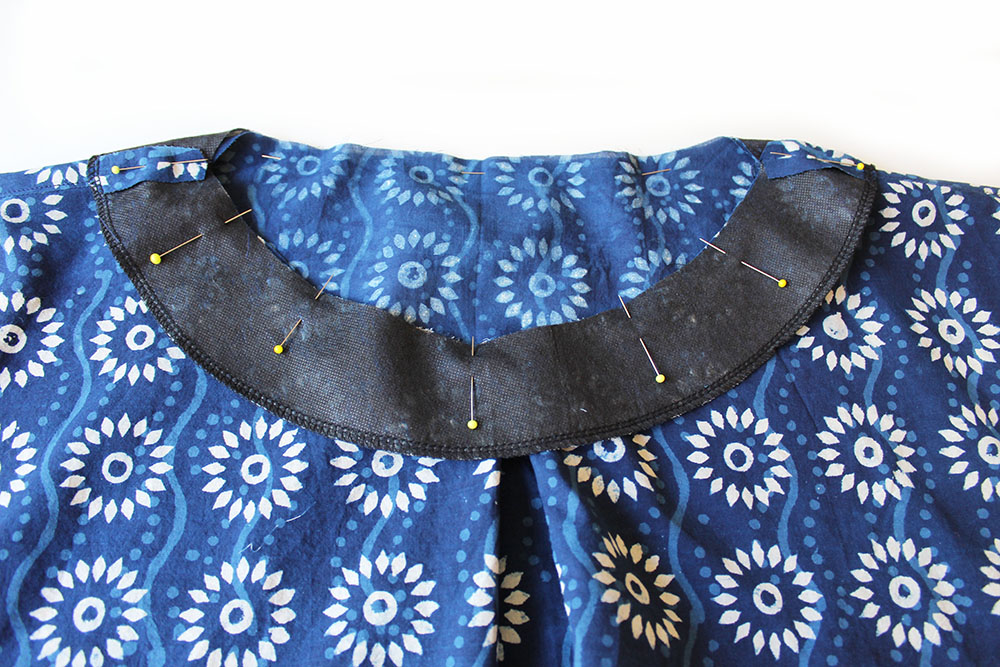 Pin the neck facing to the neck raw edge with the RST, aligning the cross seams at each shoulder. Sew all around.
  Nick the seam allowance at the curved edges with small V’s and reduce the bulky side seam allowances to 5mm. I also trim the cross seam allowances at the side seams to 5mm to make it less lumpy.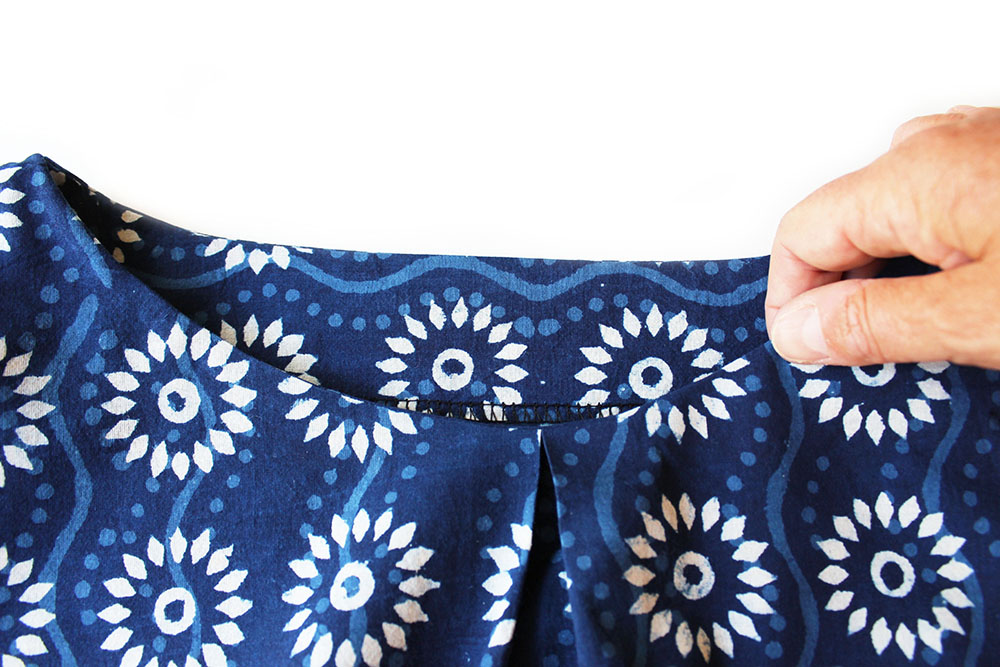
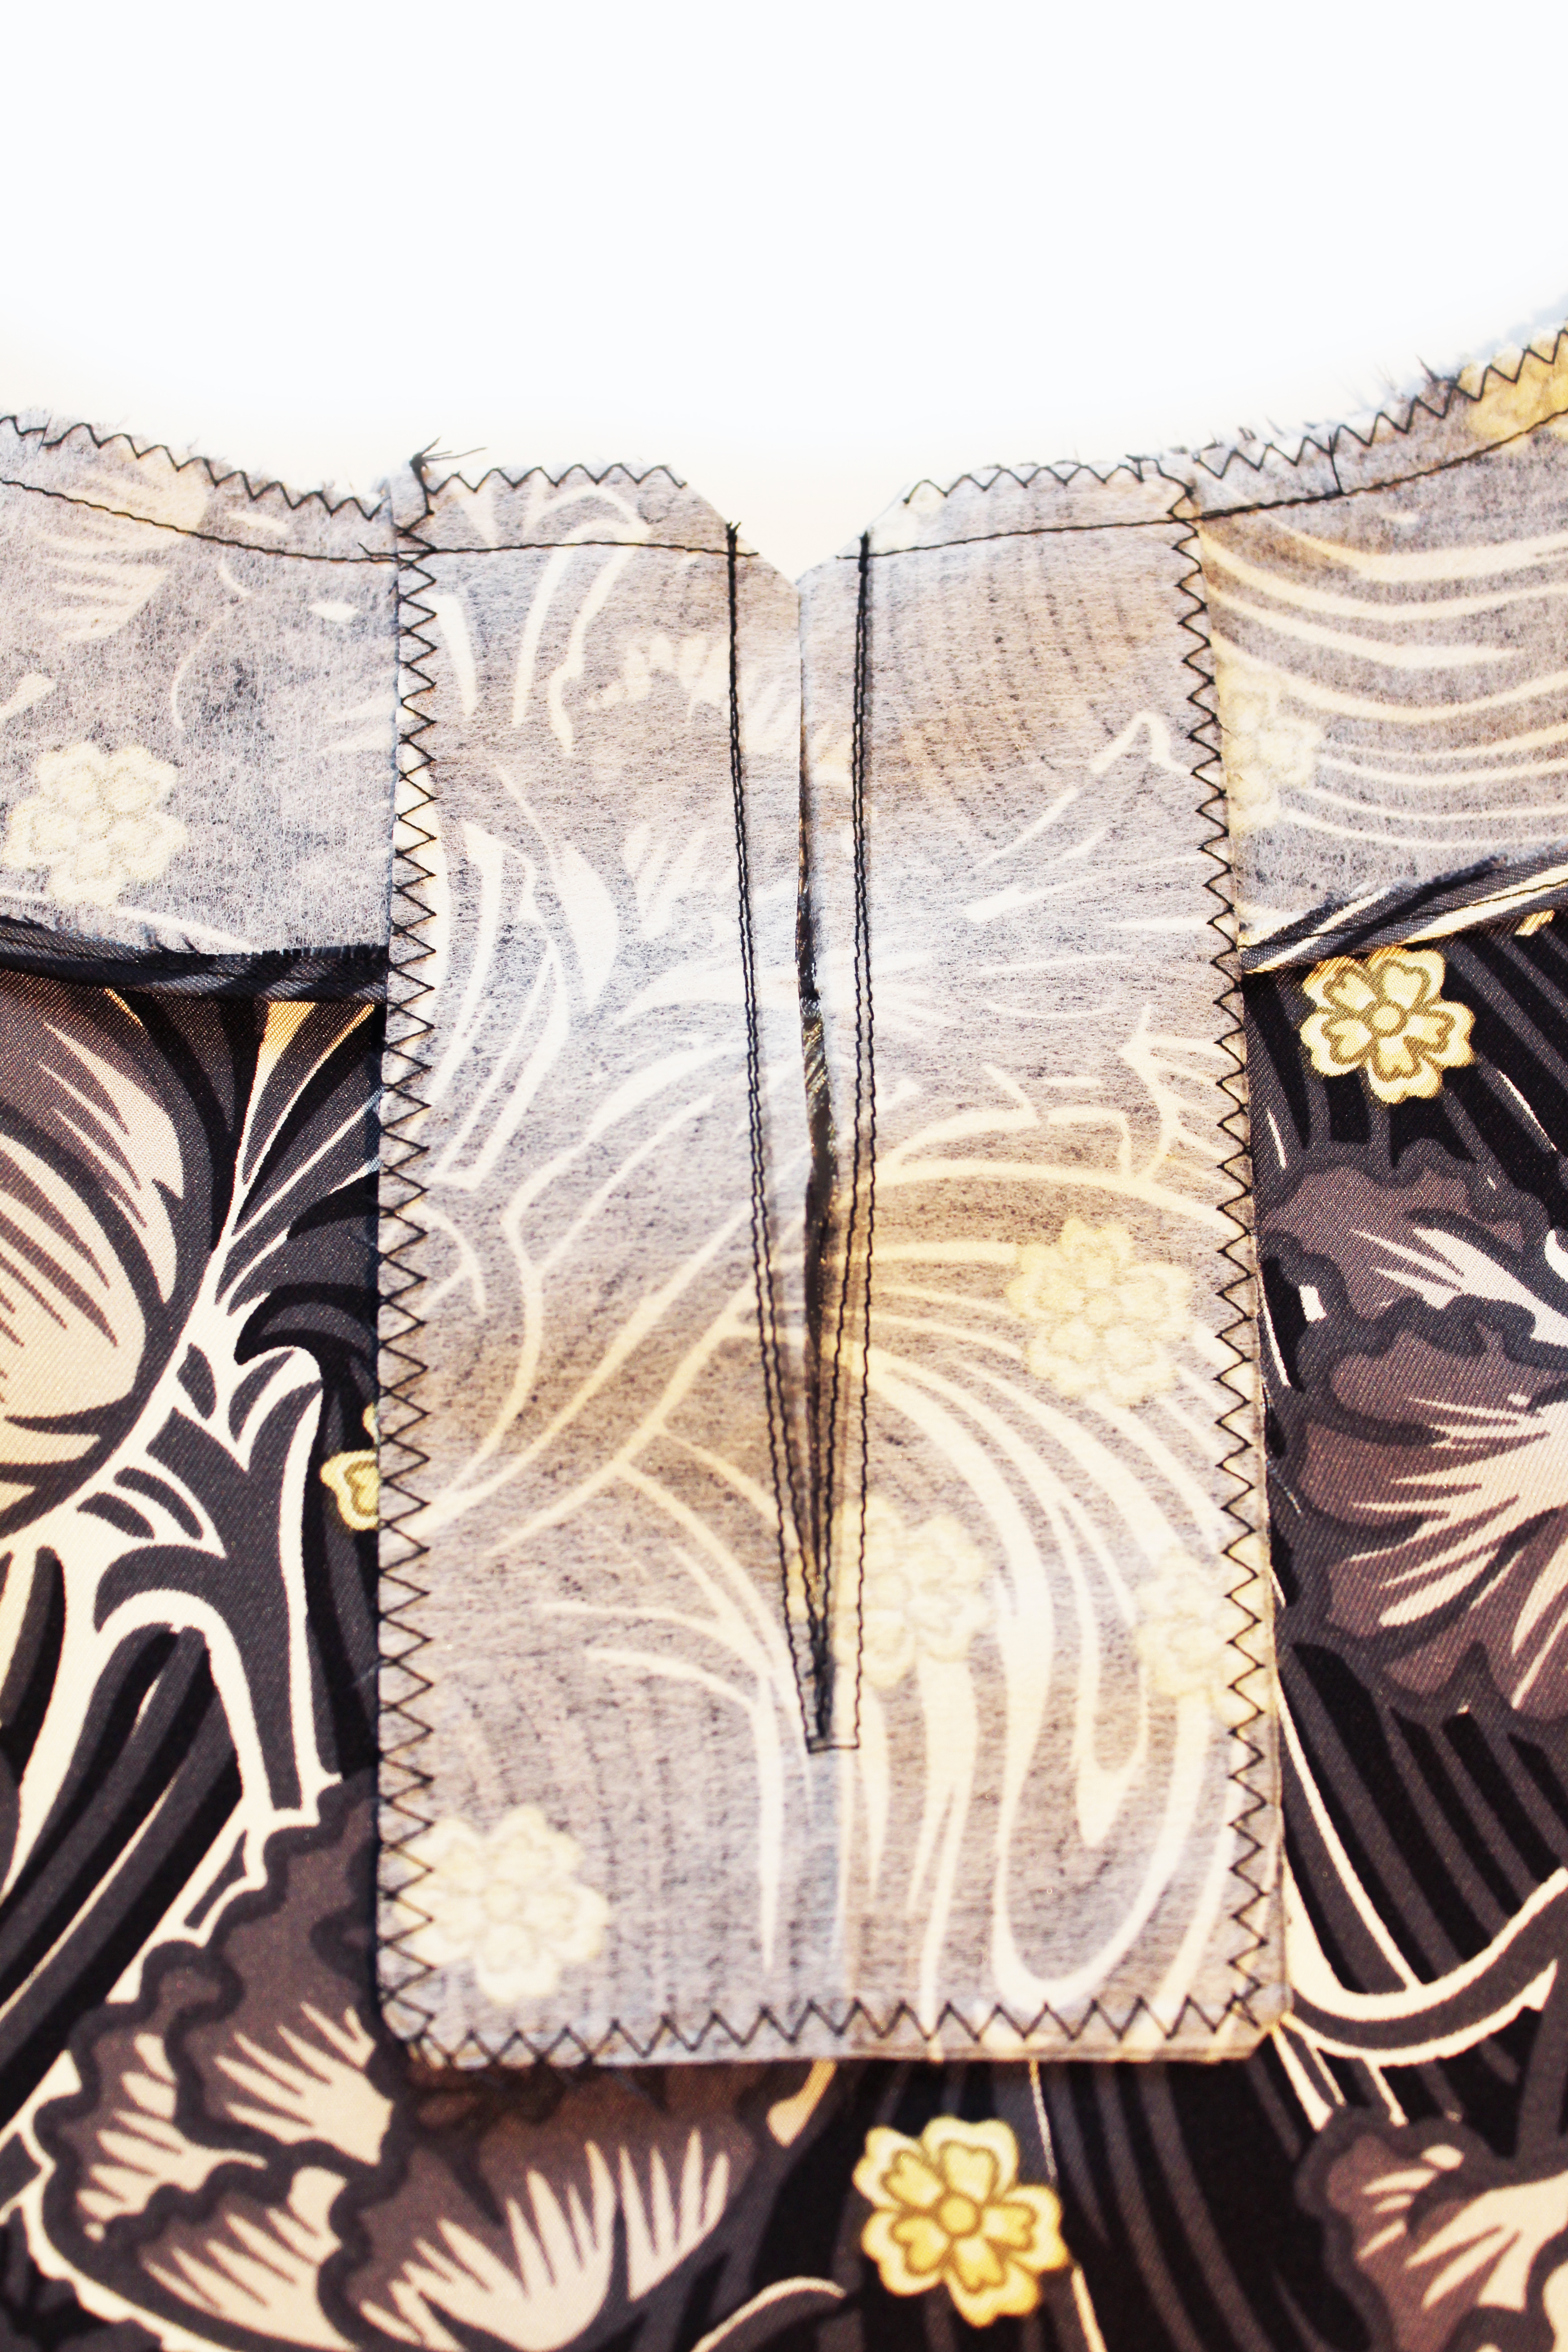
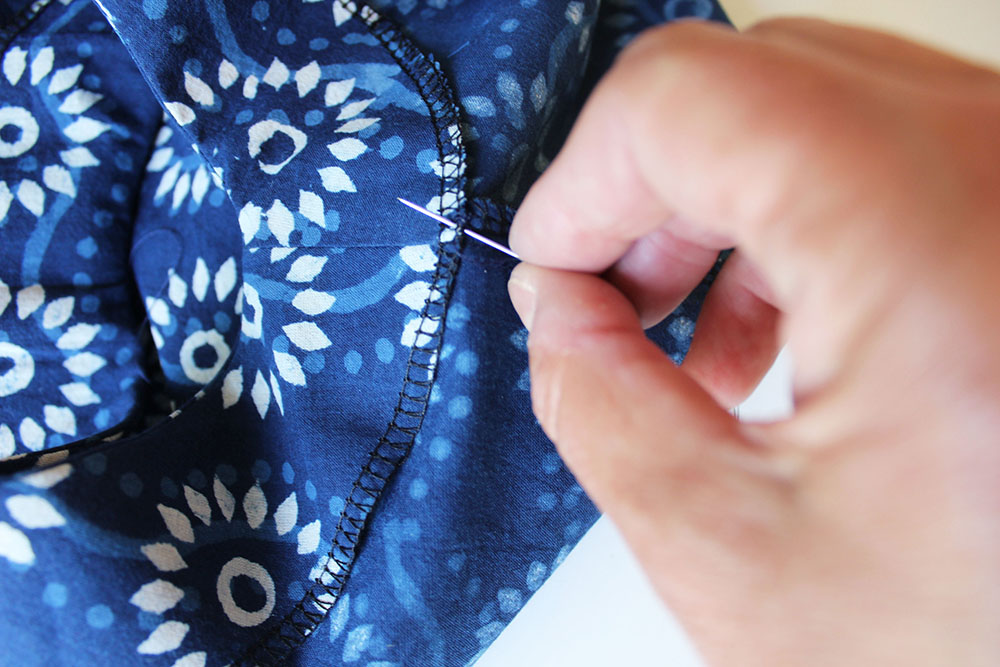 Secure each side of the neck facing at the shoulder seam allowance with a few hand stitches to secure in position. Now heres a tip: if you have some wondaweb why not sandwich a few pieces here and there underneath all around and press to secure the facing a little more in position, especially at the centre front and back.
 Pin the sleeve curved edge to the body at sleeve edge with the RST aligning the centre point to the shoulder seam. Sew. Finish the raw edge. Repeat for the other sleeve.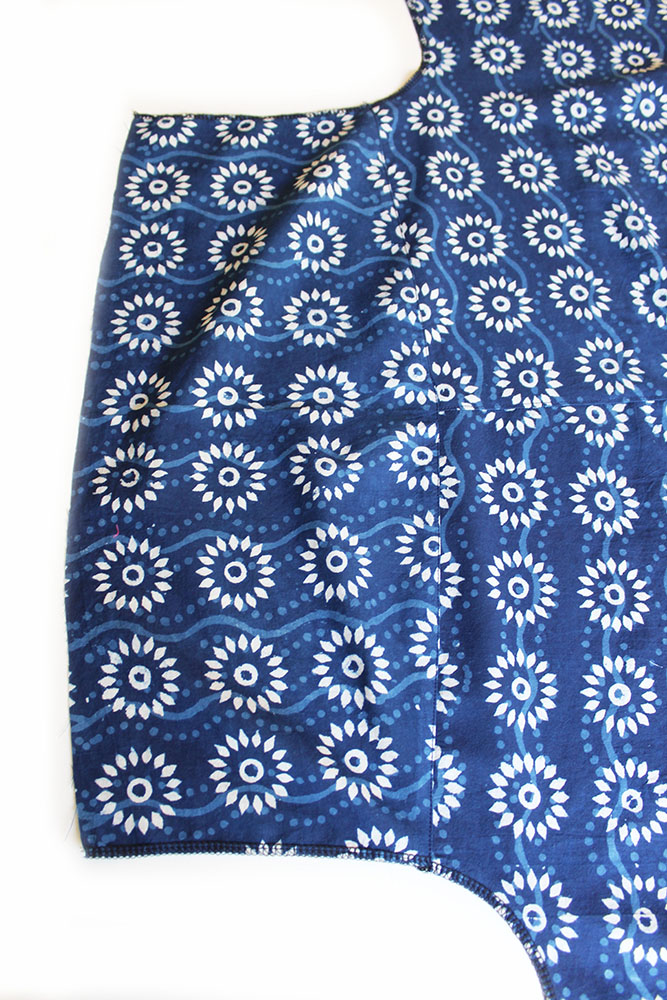
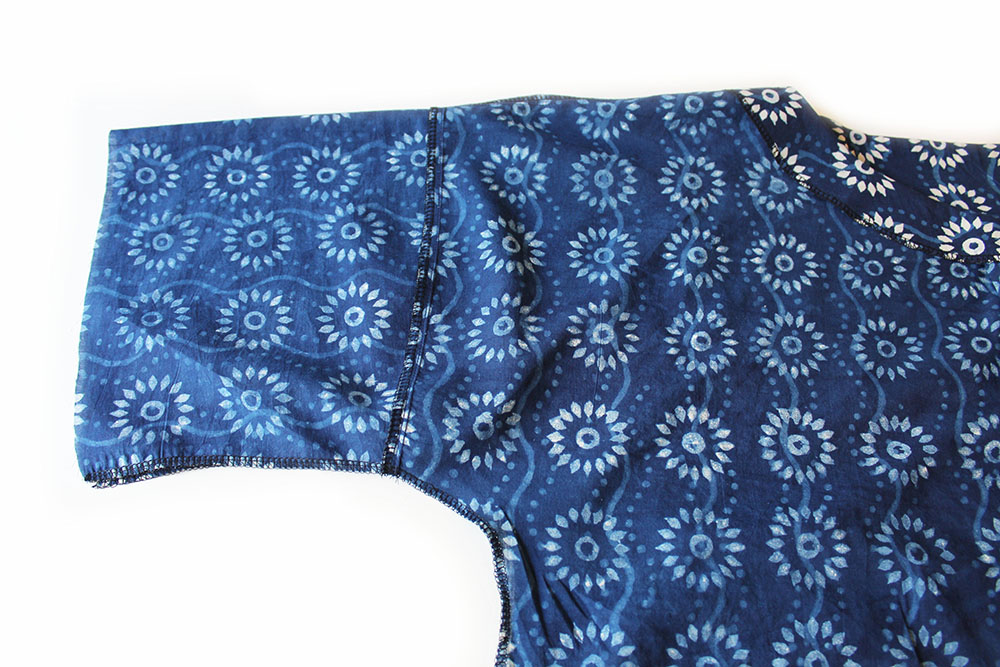
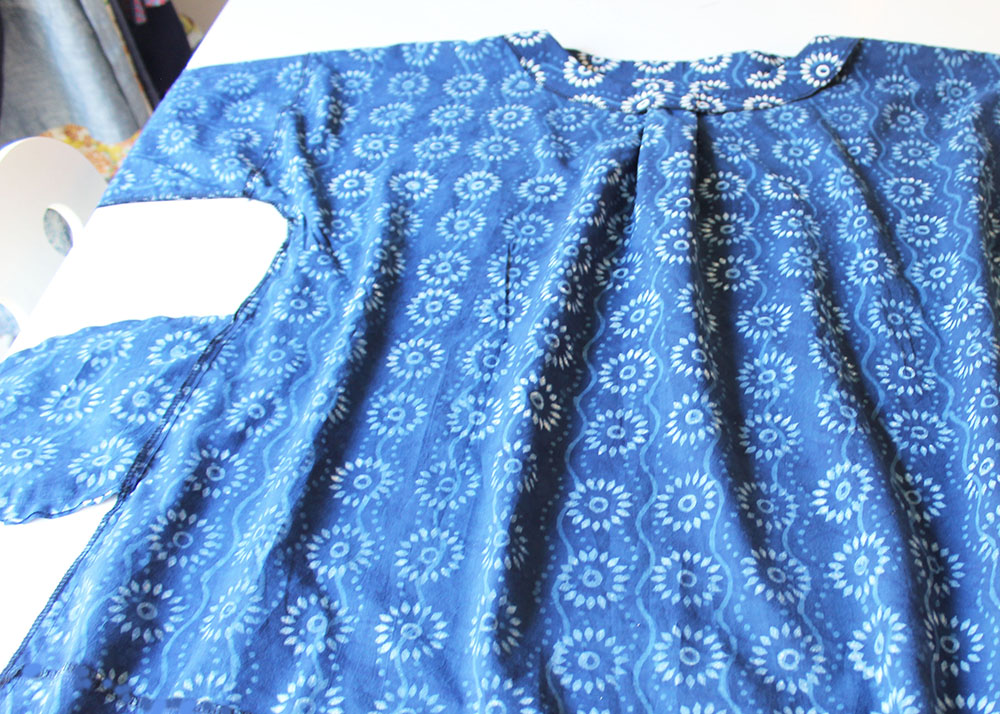 With RST, pin the front to back at the sides, under arms and all around pockets. Sew. Finish the raw edges. Press.
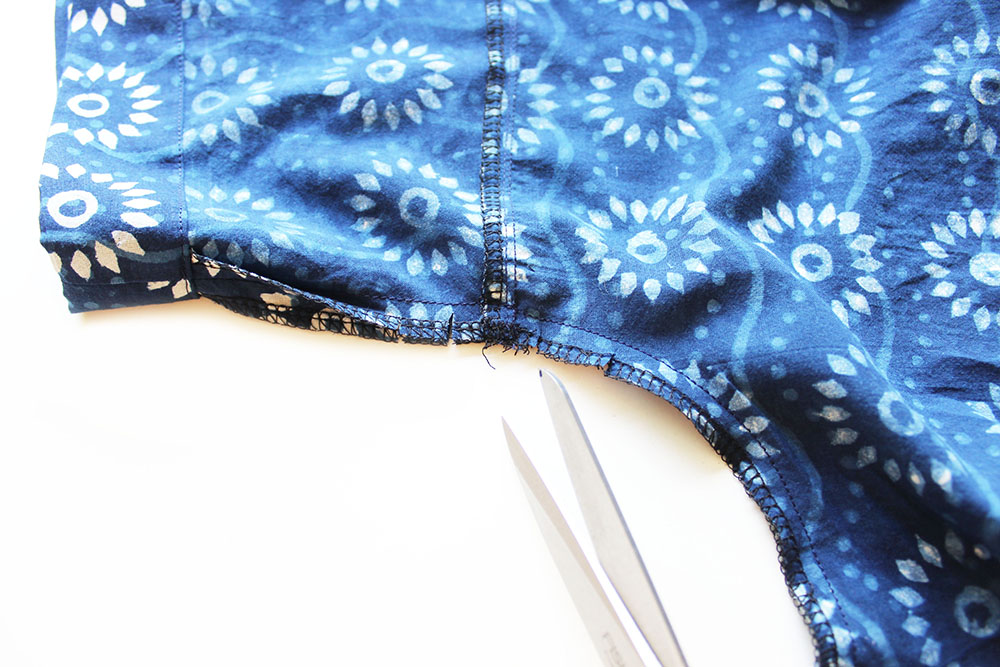 Just a couple of snips under the arm at the seam allowance will prevent it bunching up.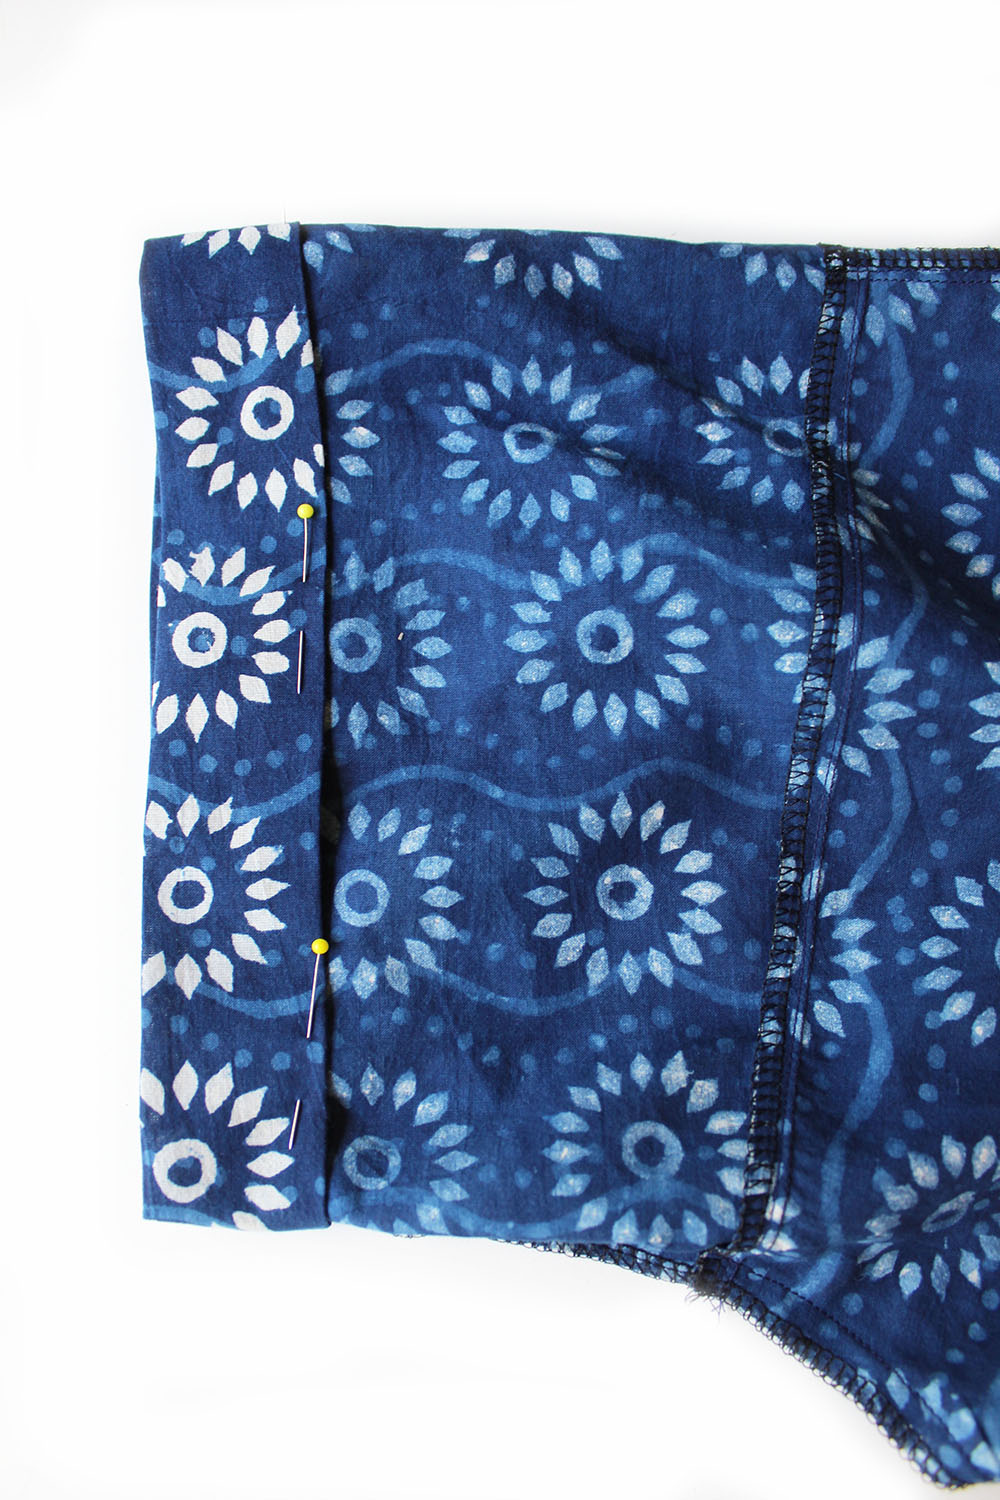
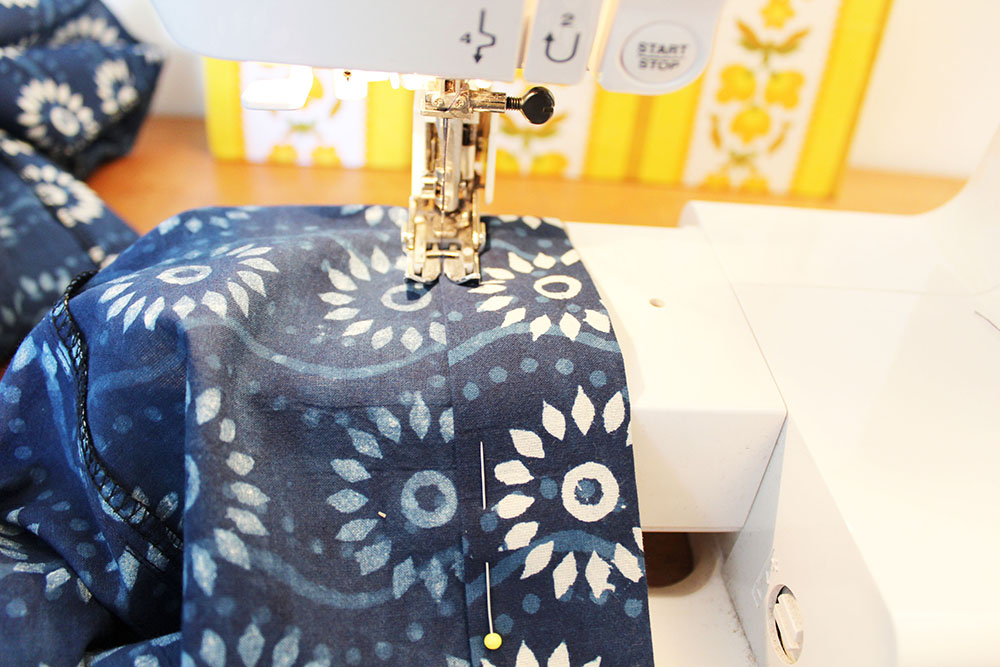
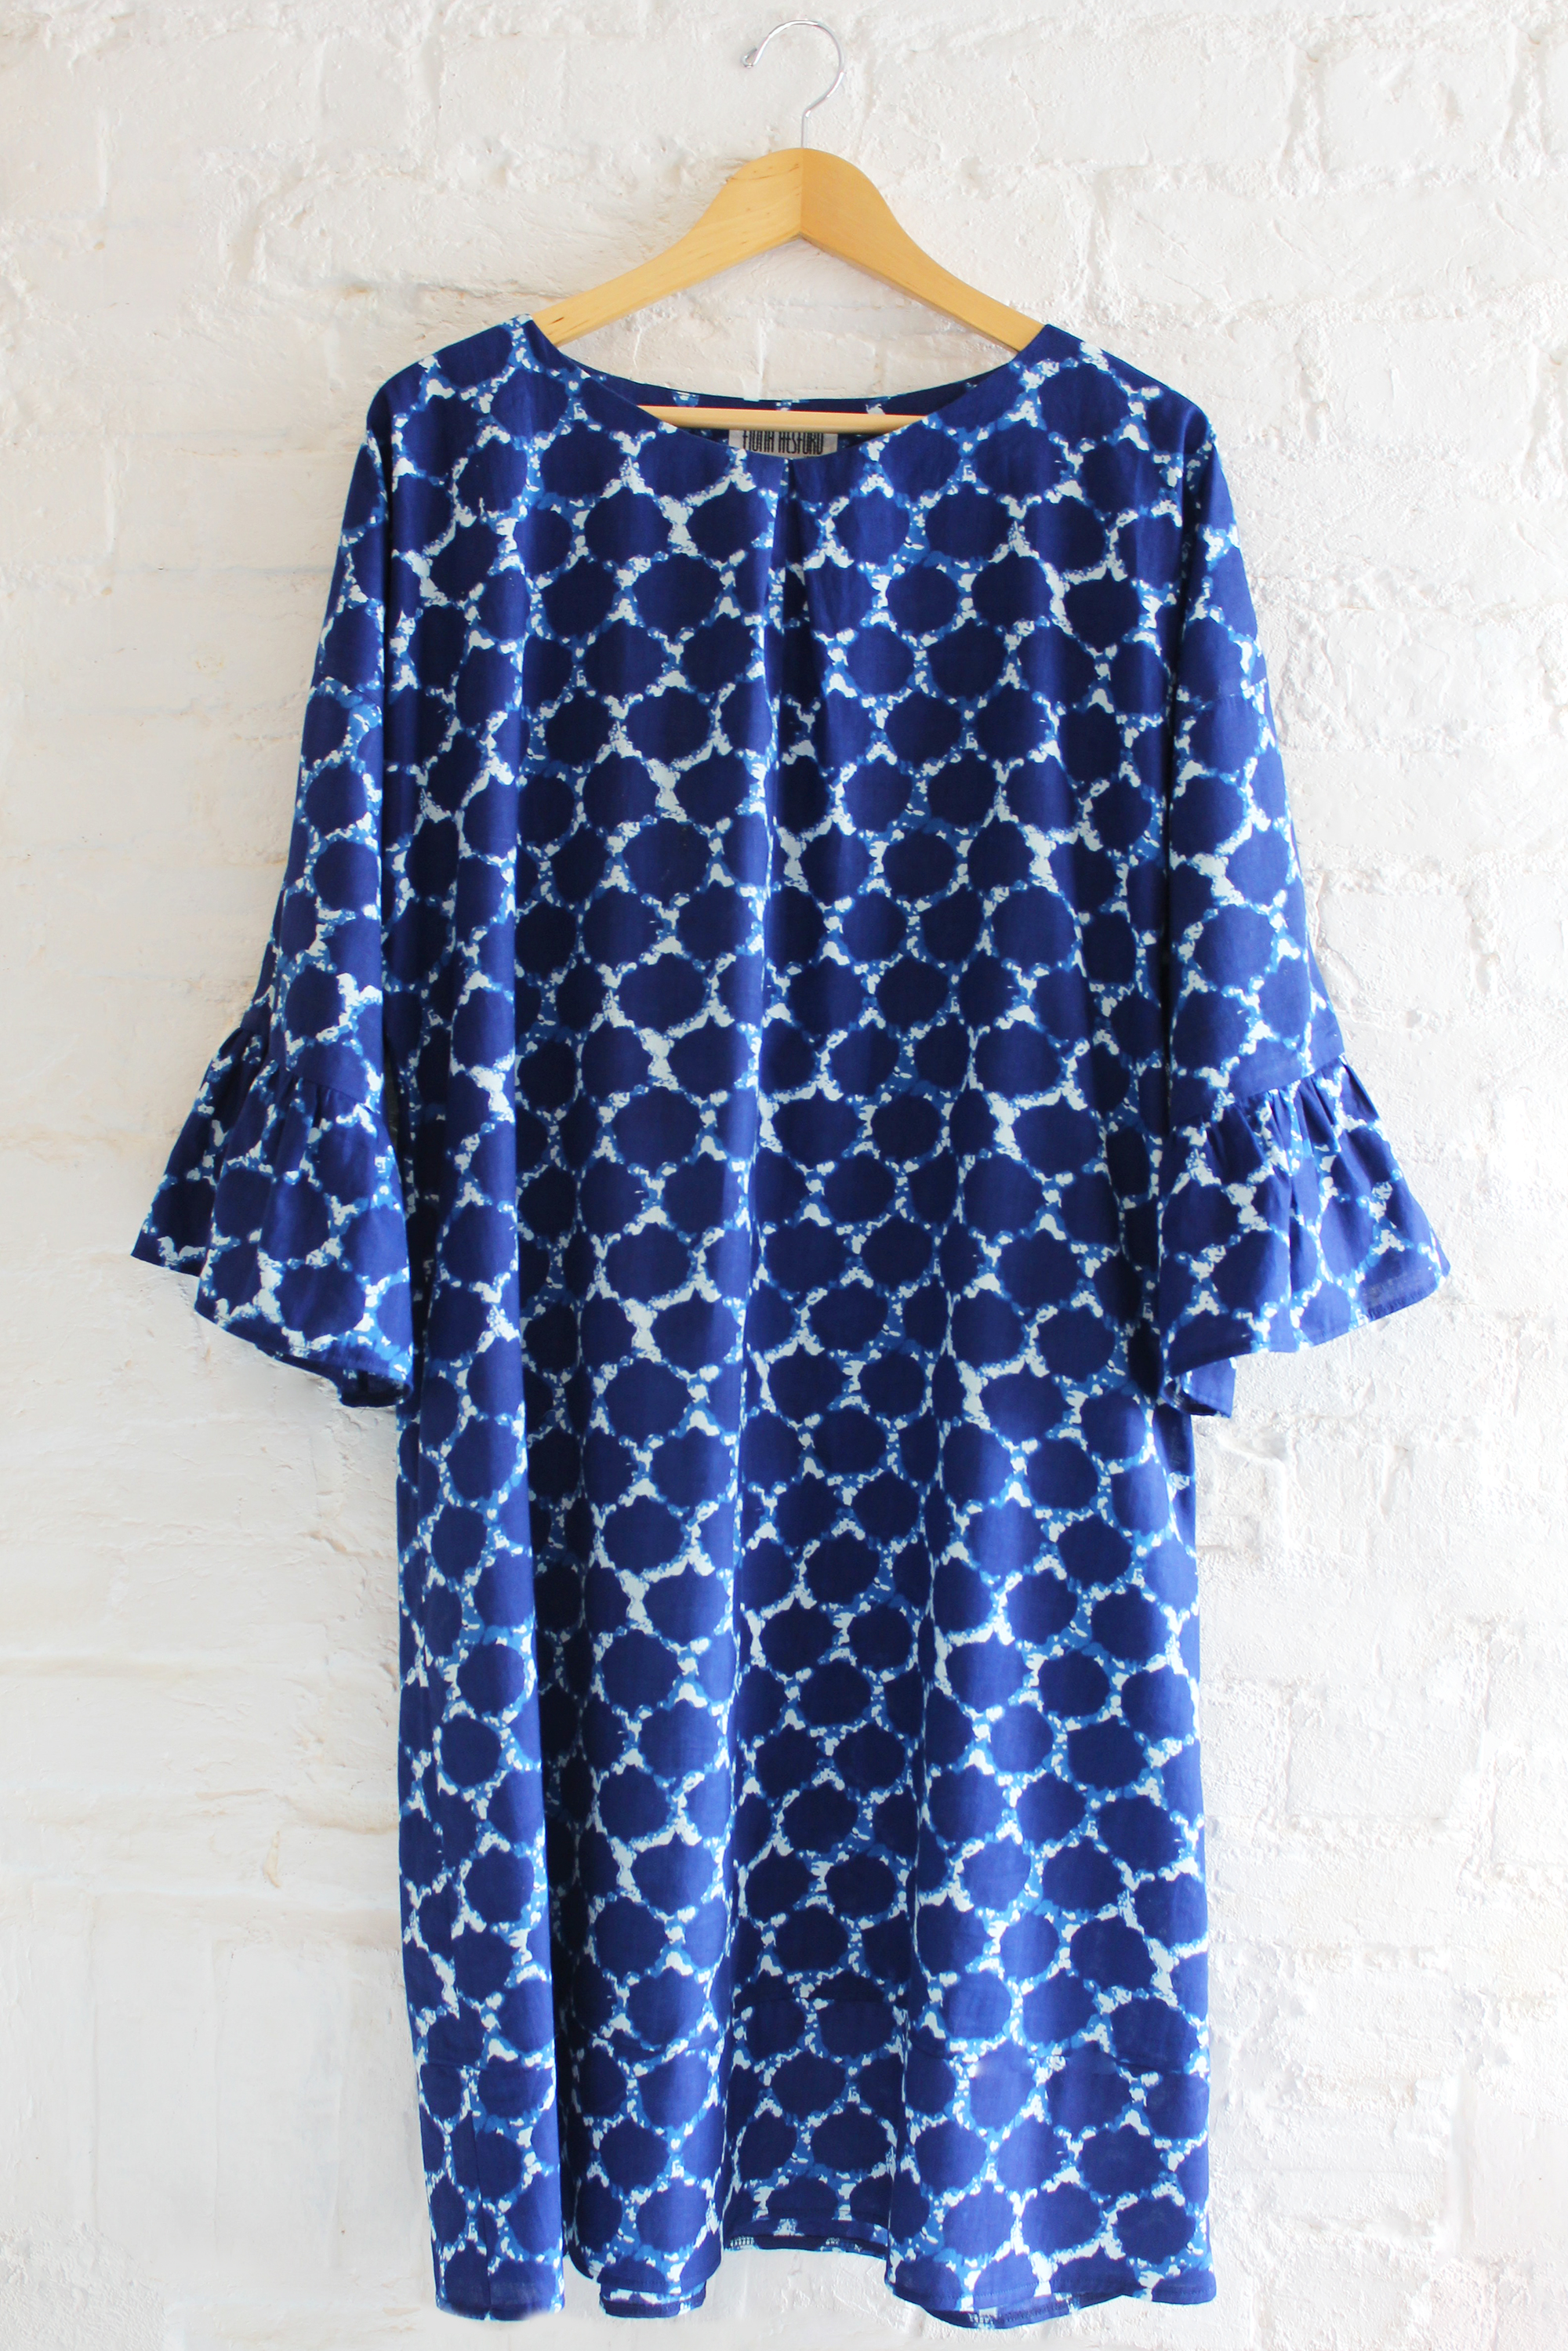
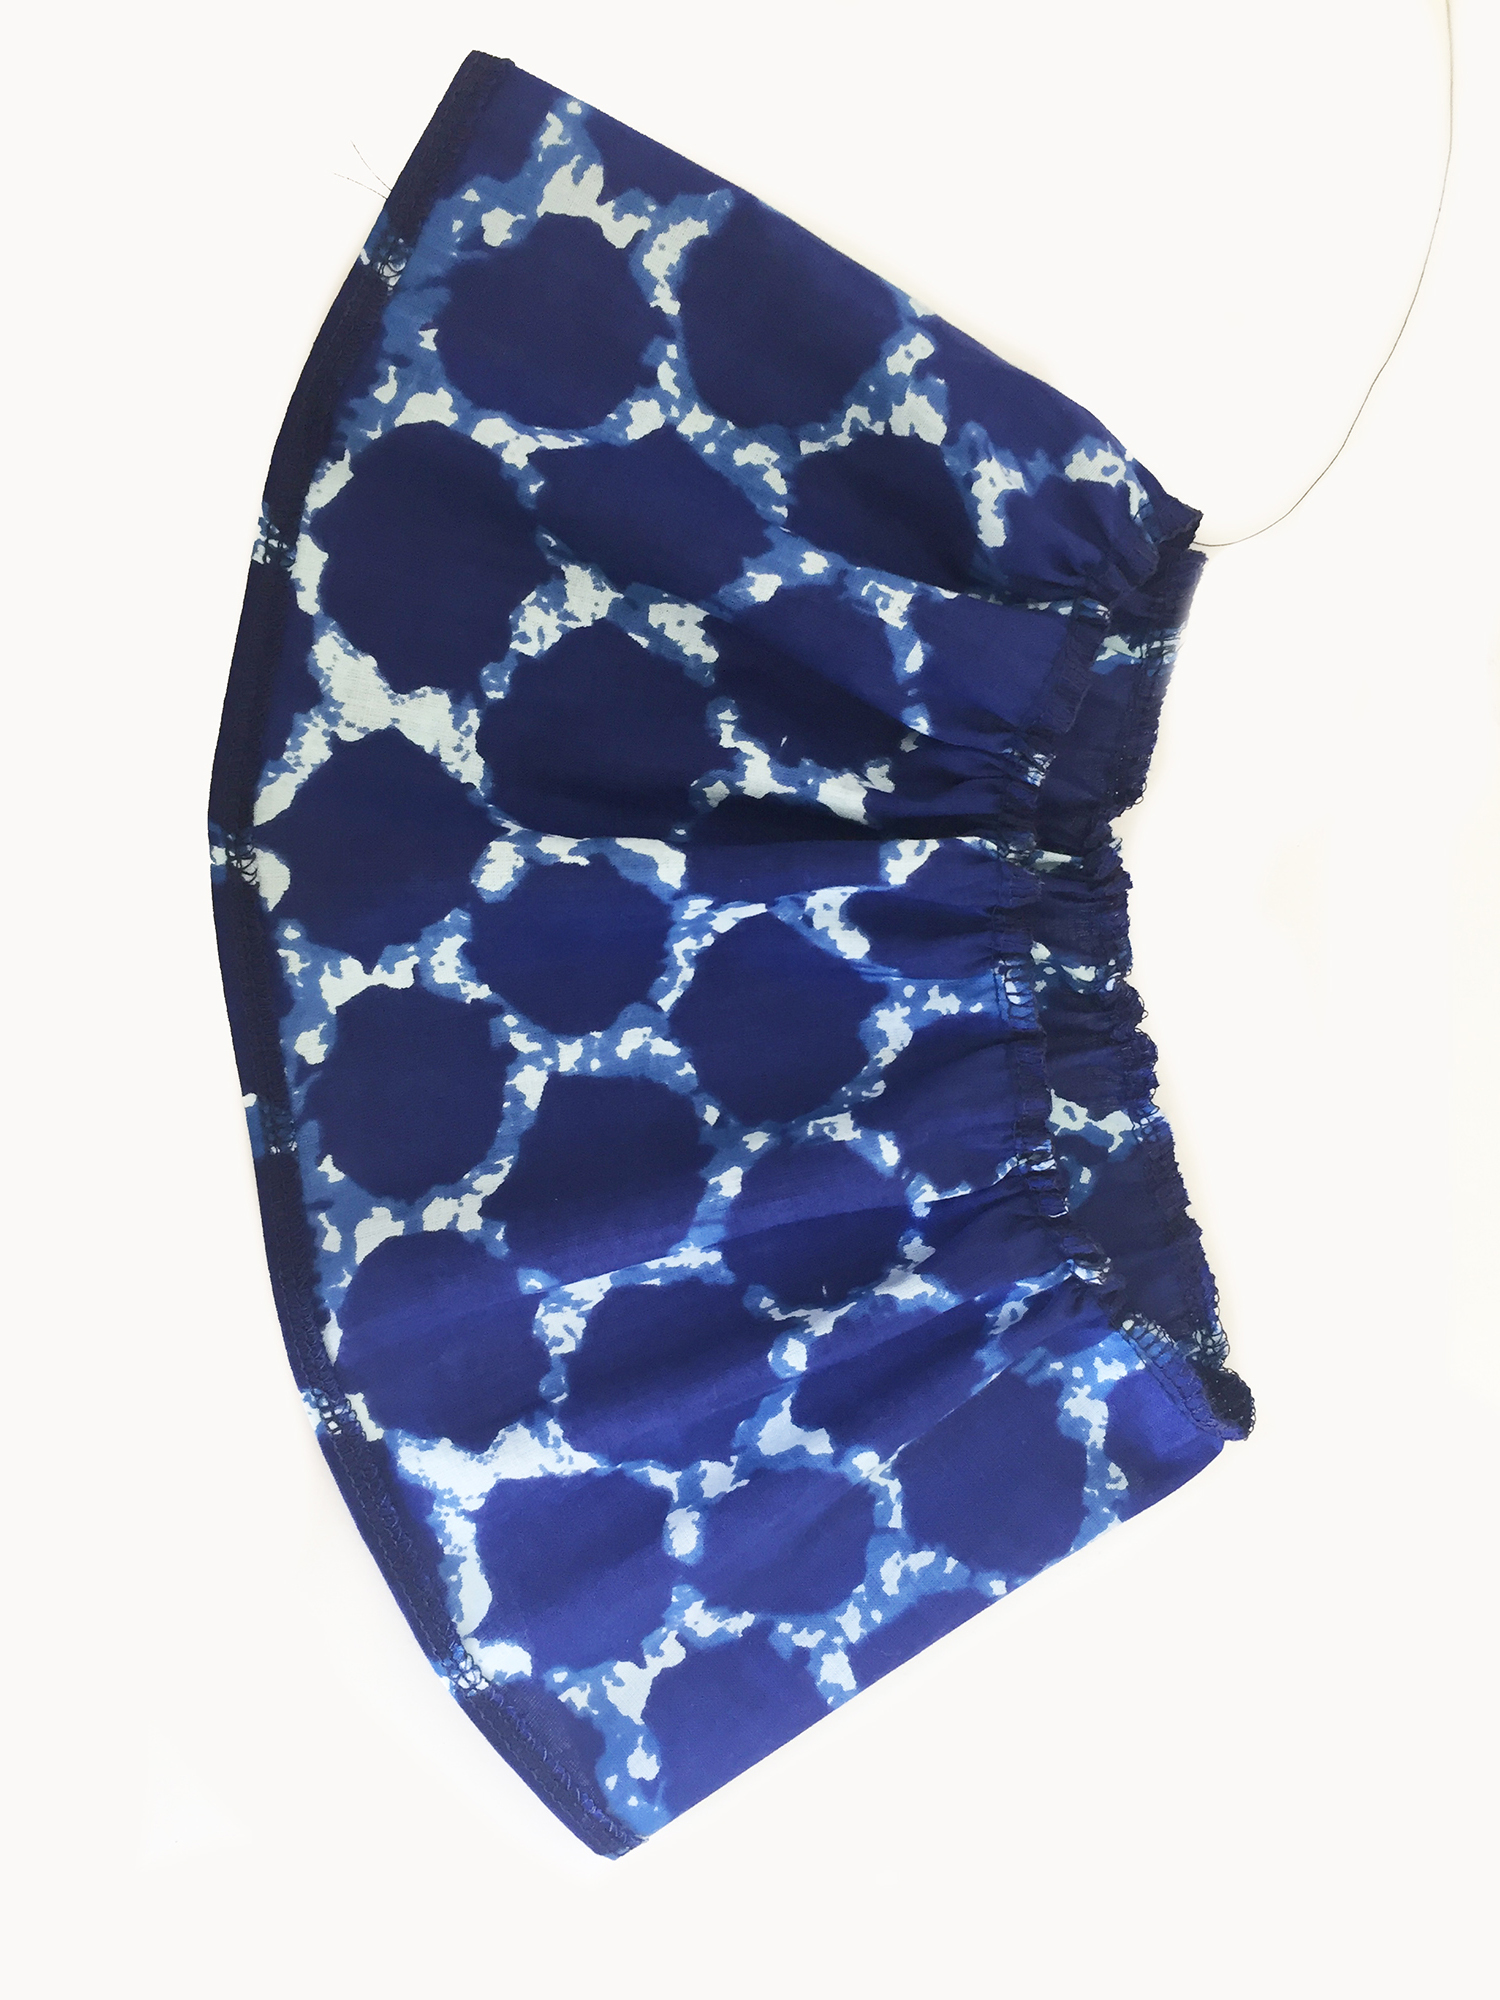
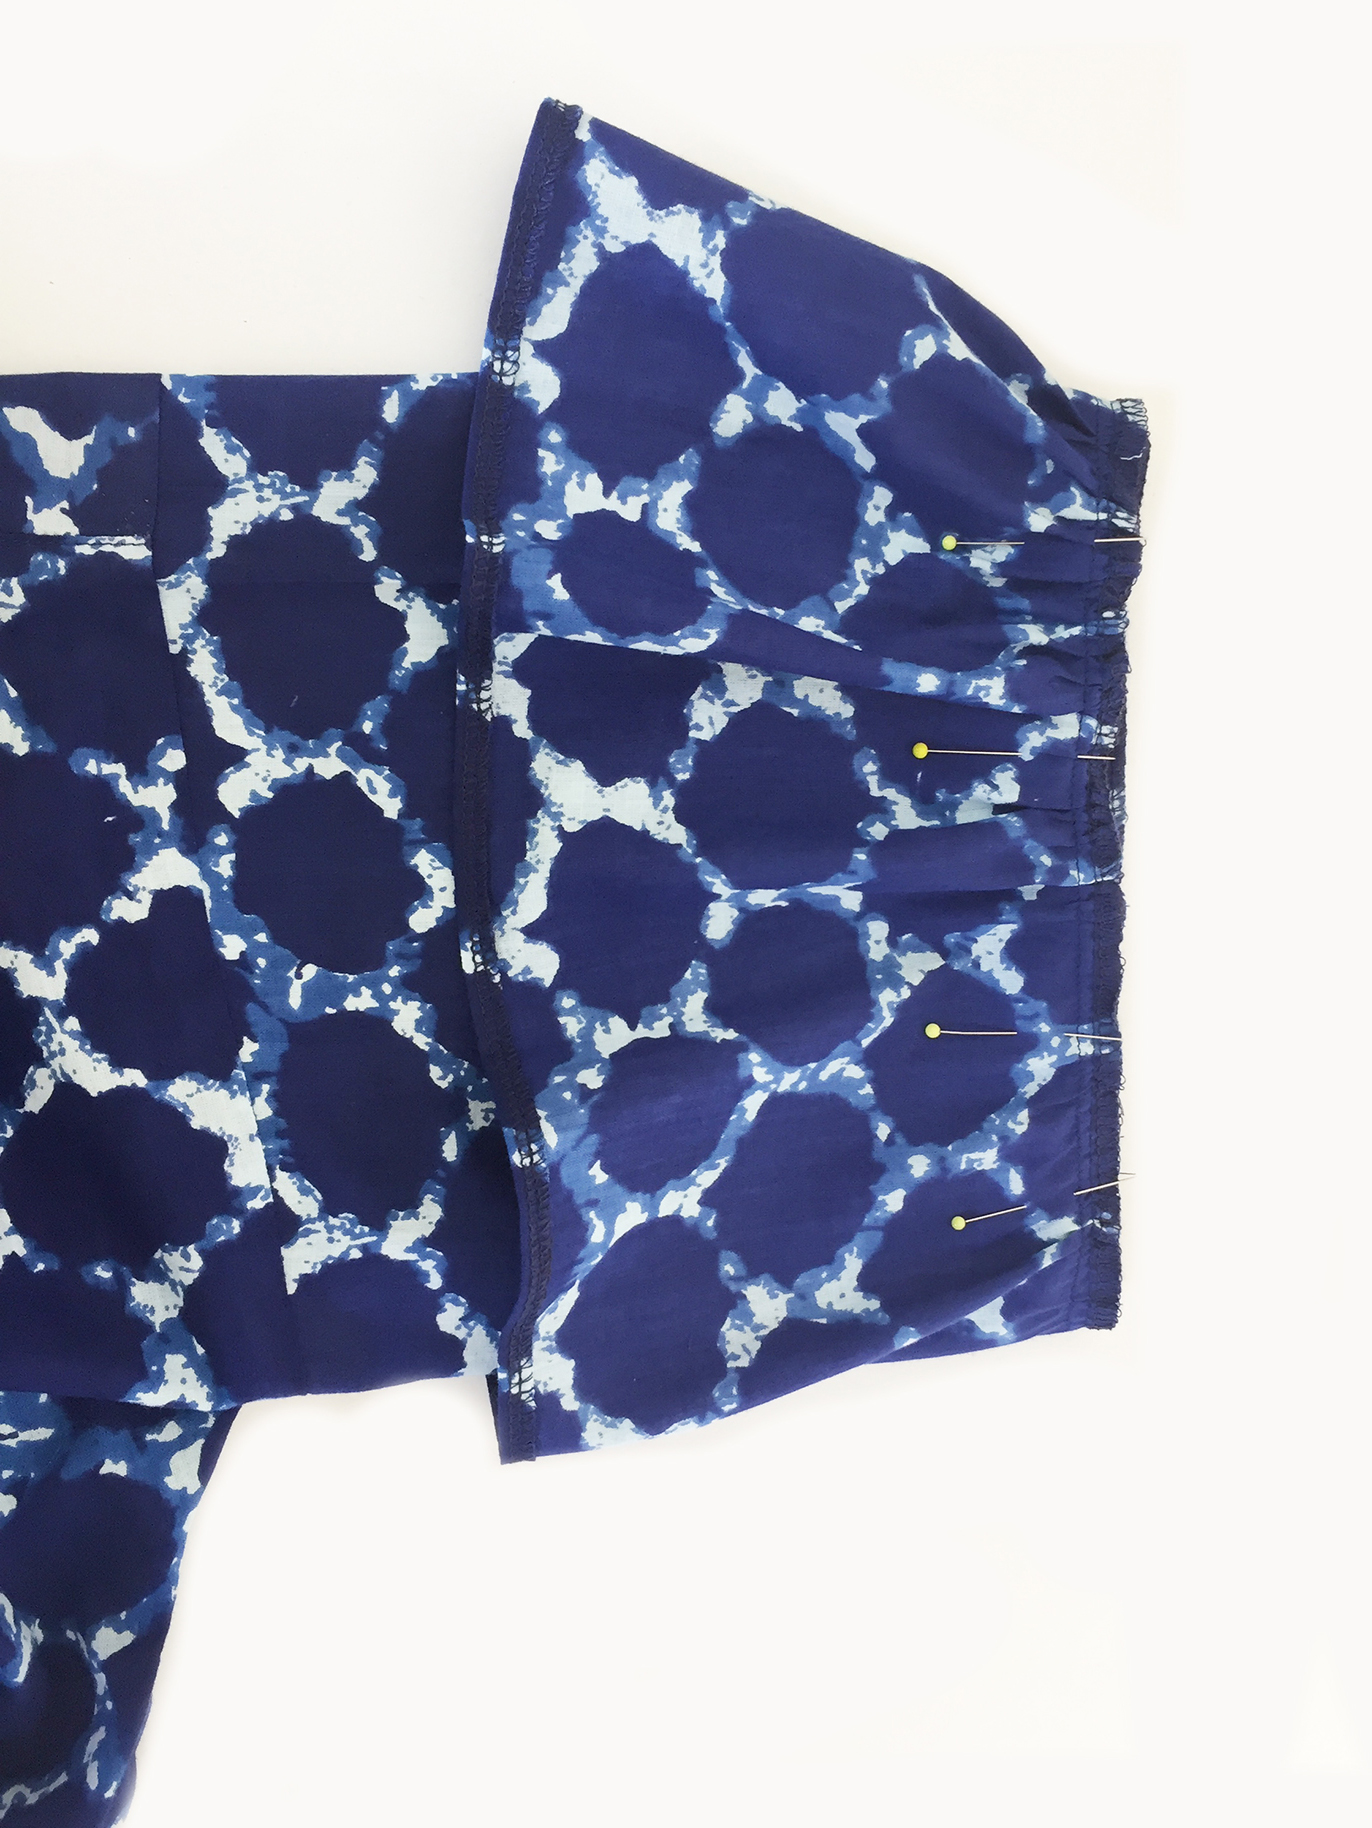
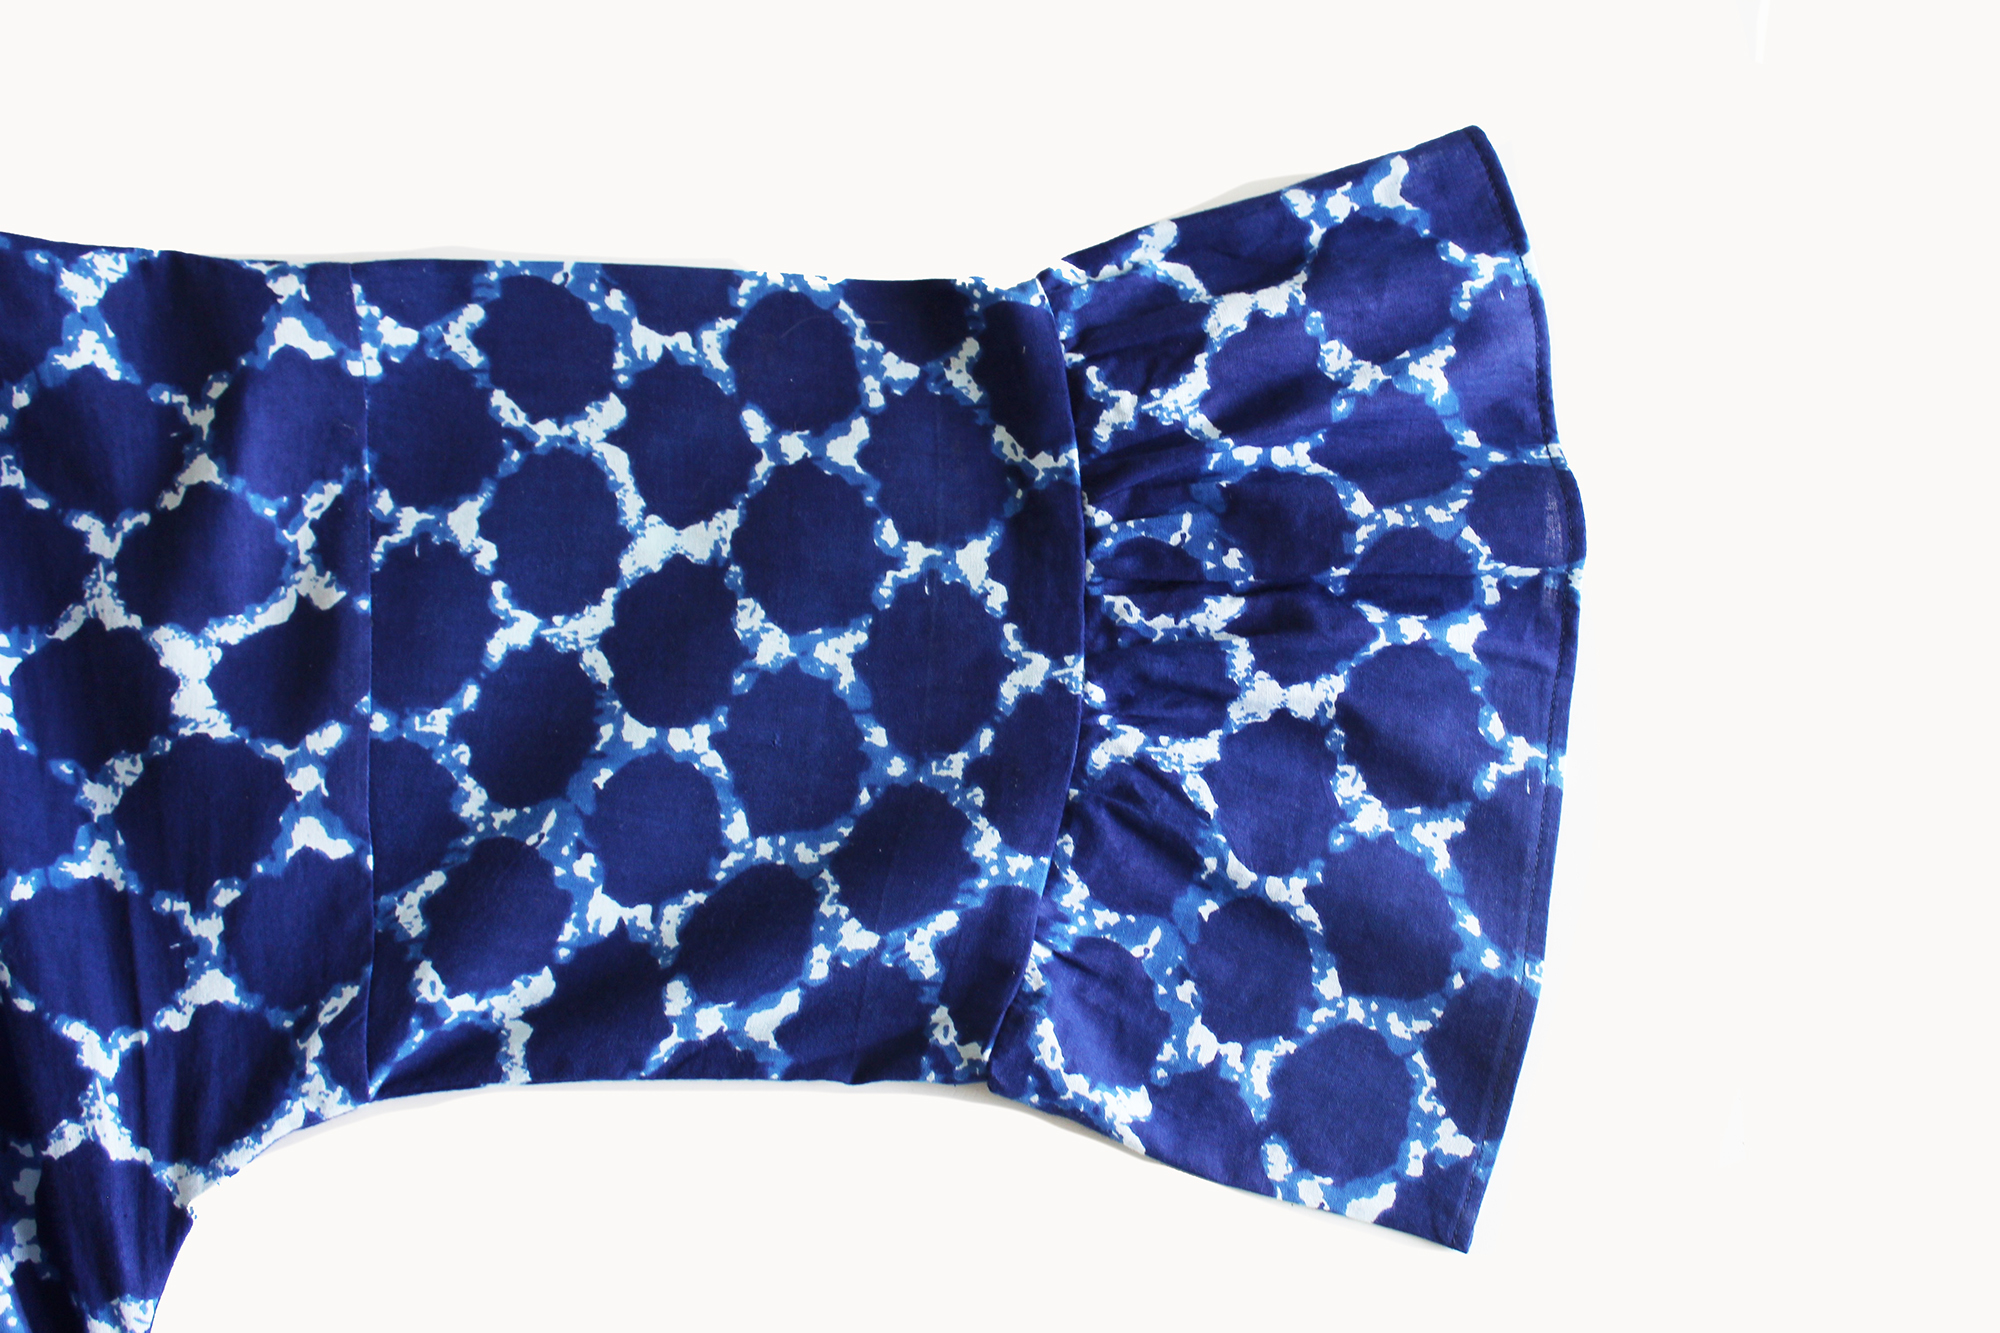

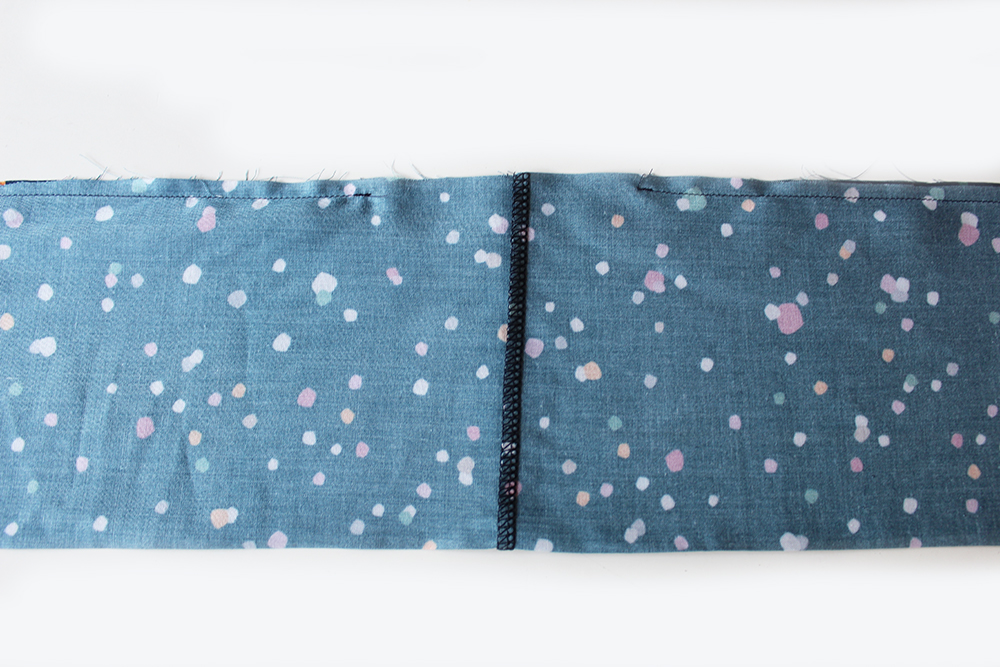
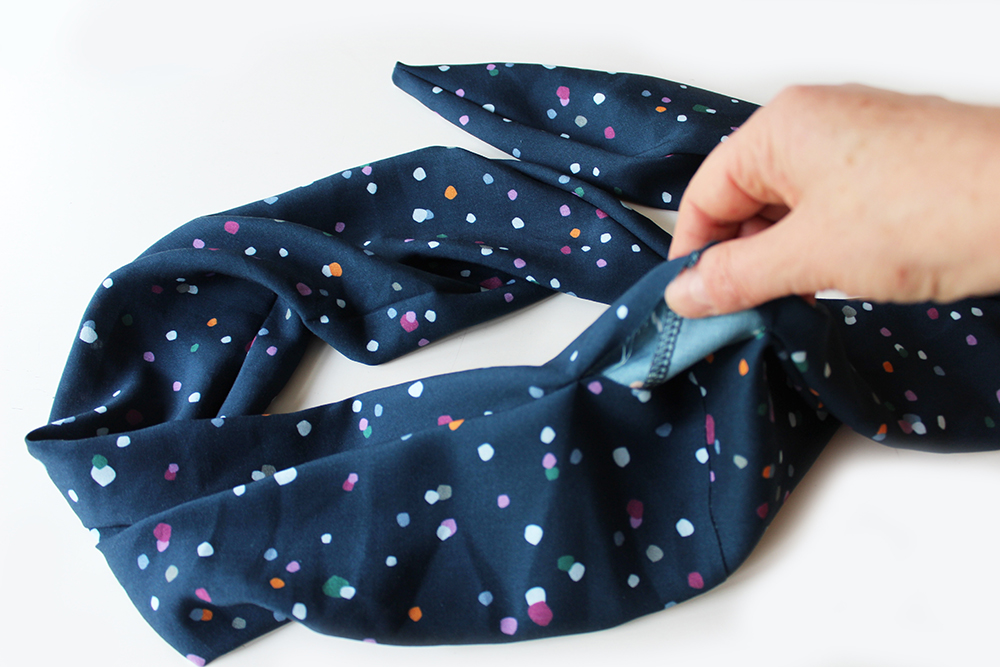
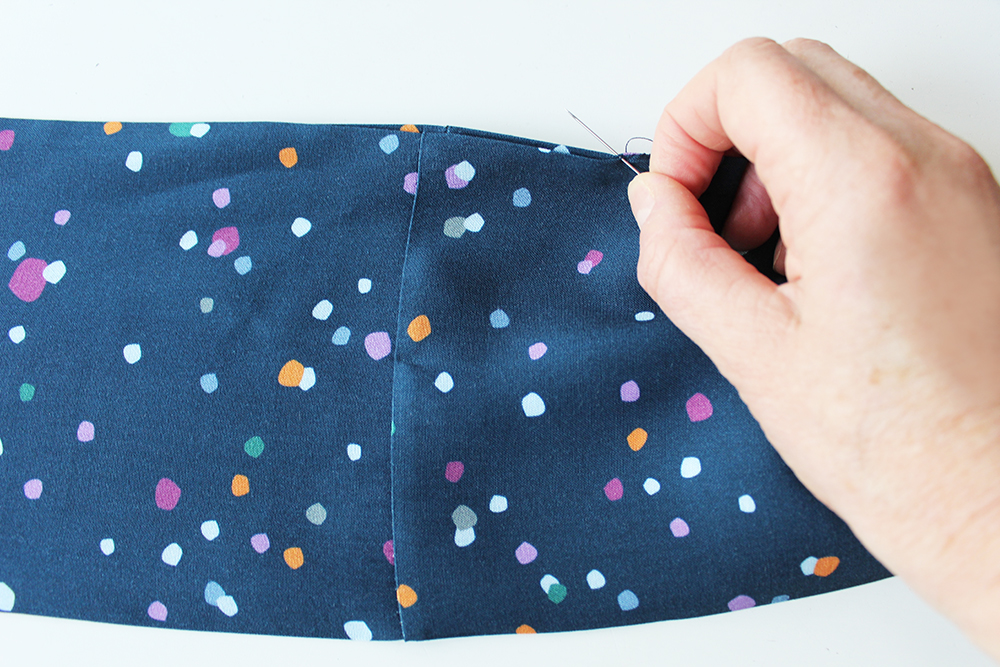

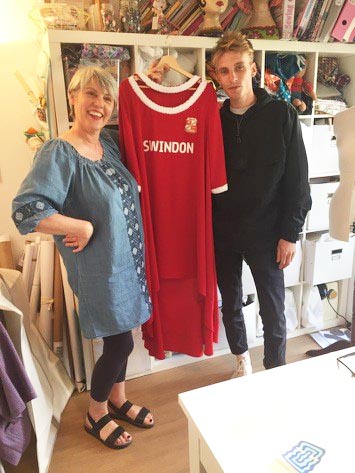
 When I was asked to make a dress for the Baftas award ceremony, I must say my initial reaction was one of trepidation. But when I found out it was for my friend Jane’s niece, Daisy May Cooper, one half of the uber talented ‘This Country’ BBC 3 comedy duo, well I just couldn’t resist.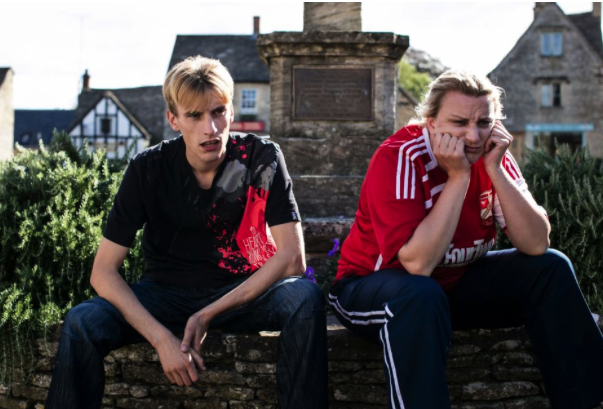





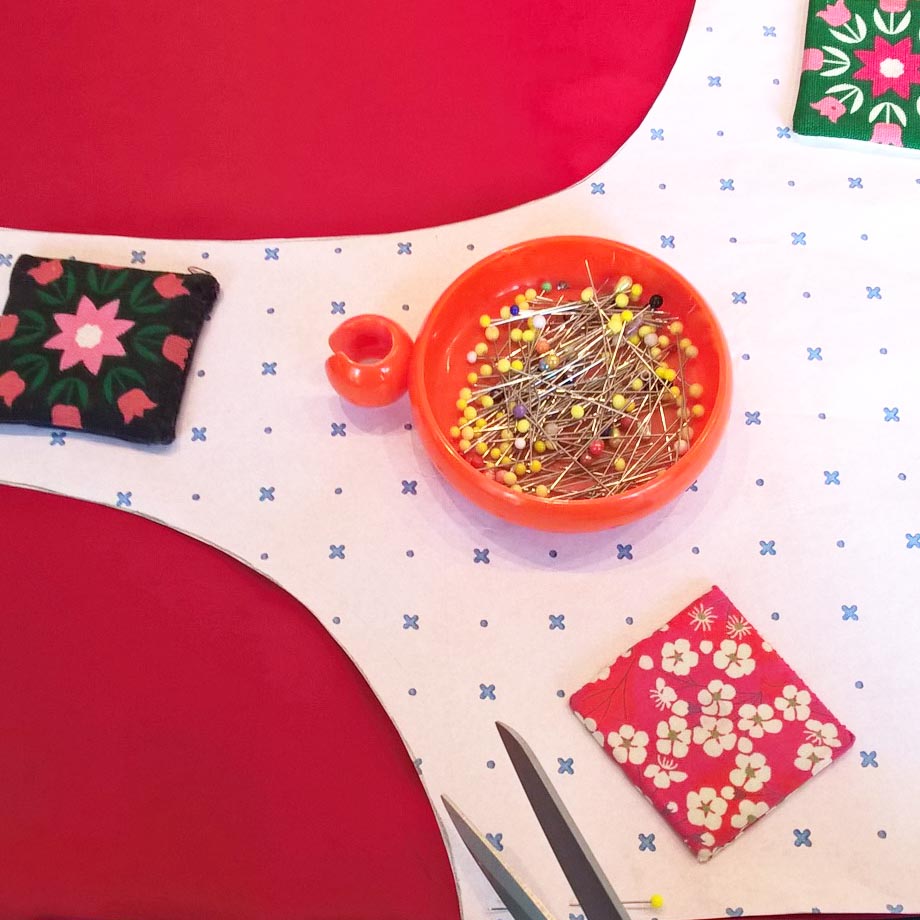 Drafting a pattern from an existing dress is something I do quite often and as it fitted Daisy well, there weren’t any adjustments to make, it seemed quite straight forward. To make things easier, I removed the sleeve of the dress to make a pattern from it. After cutting out, and stitching up, the dress was ready for its first fitting.
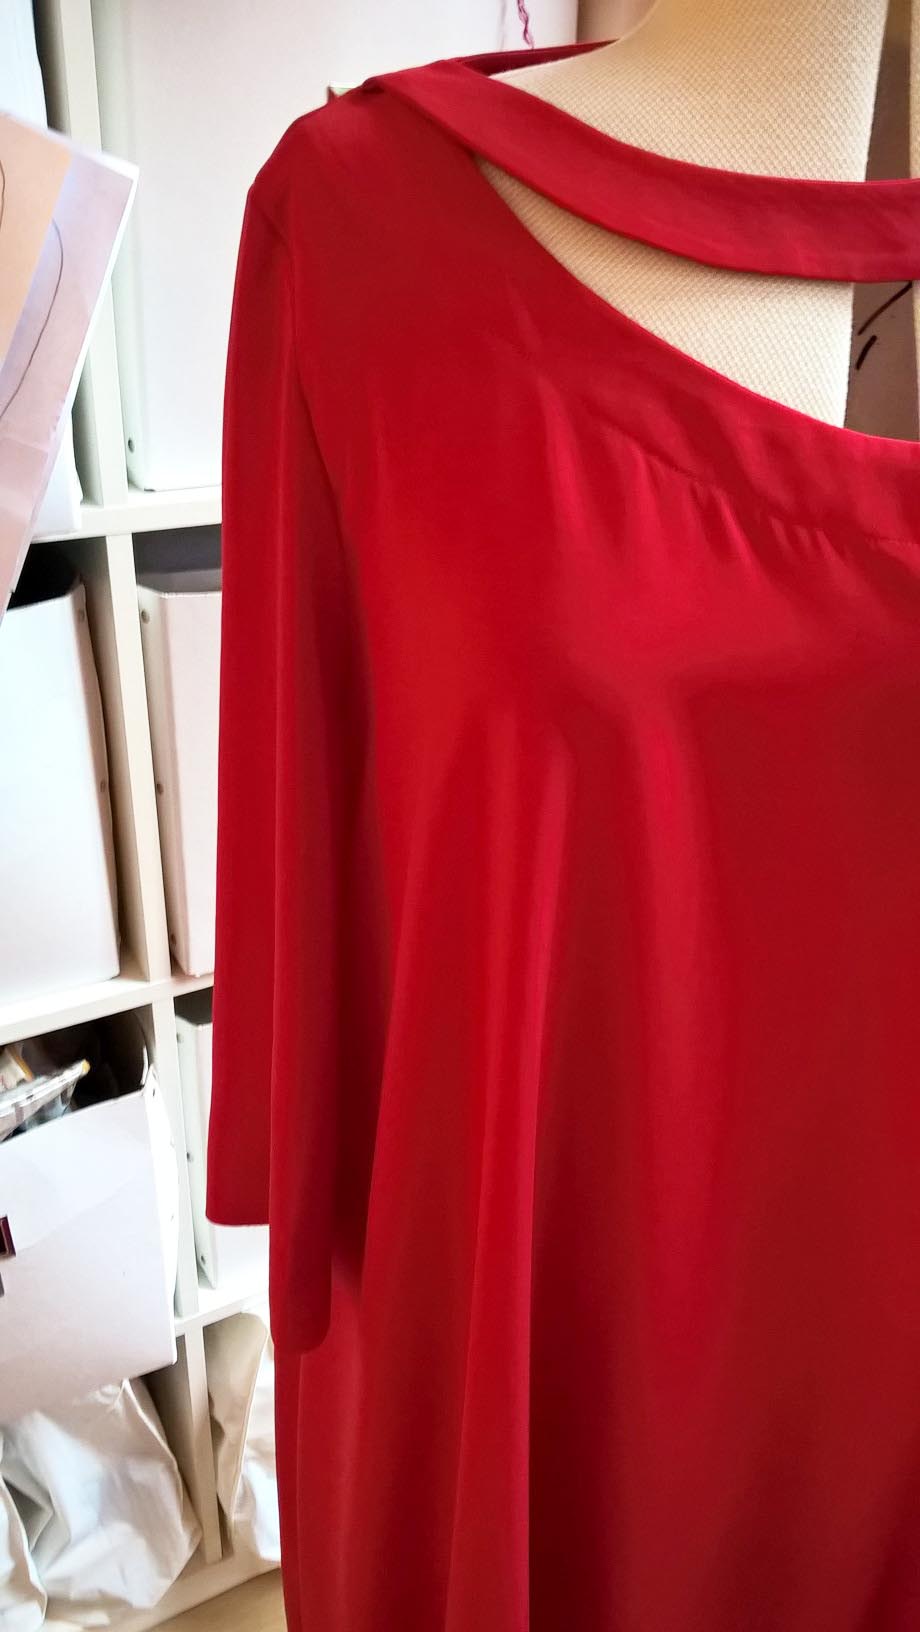 At this stage, I’d just pinned on the sequin trim as we weren’t too sure how much to use. I was worried that edging the entire hem risked the dress resembling a Father Xmas outfit!
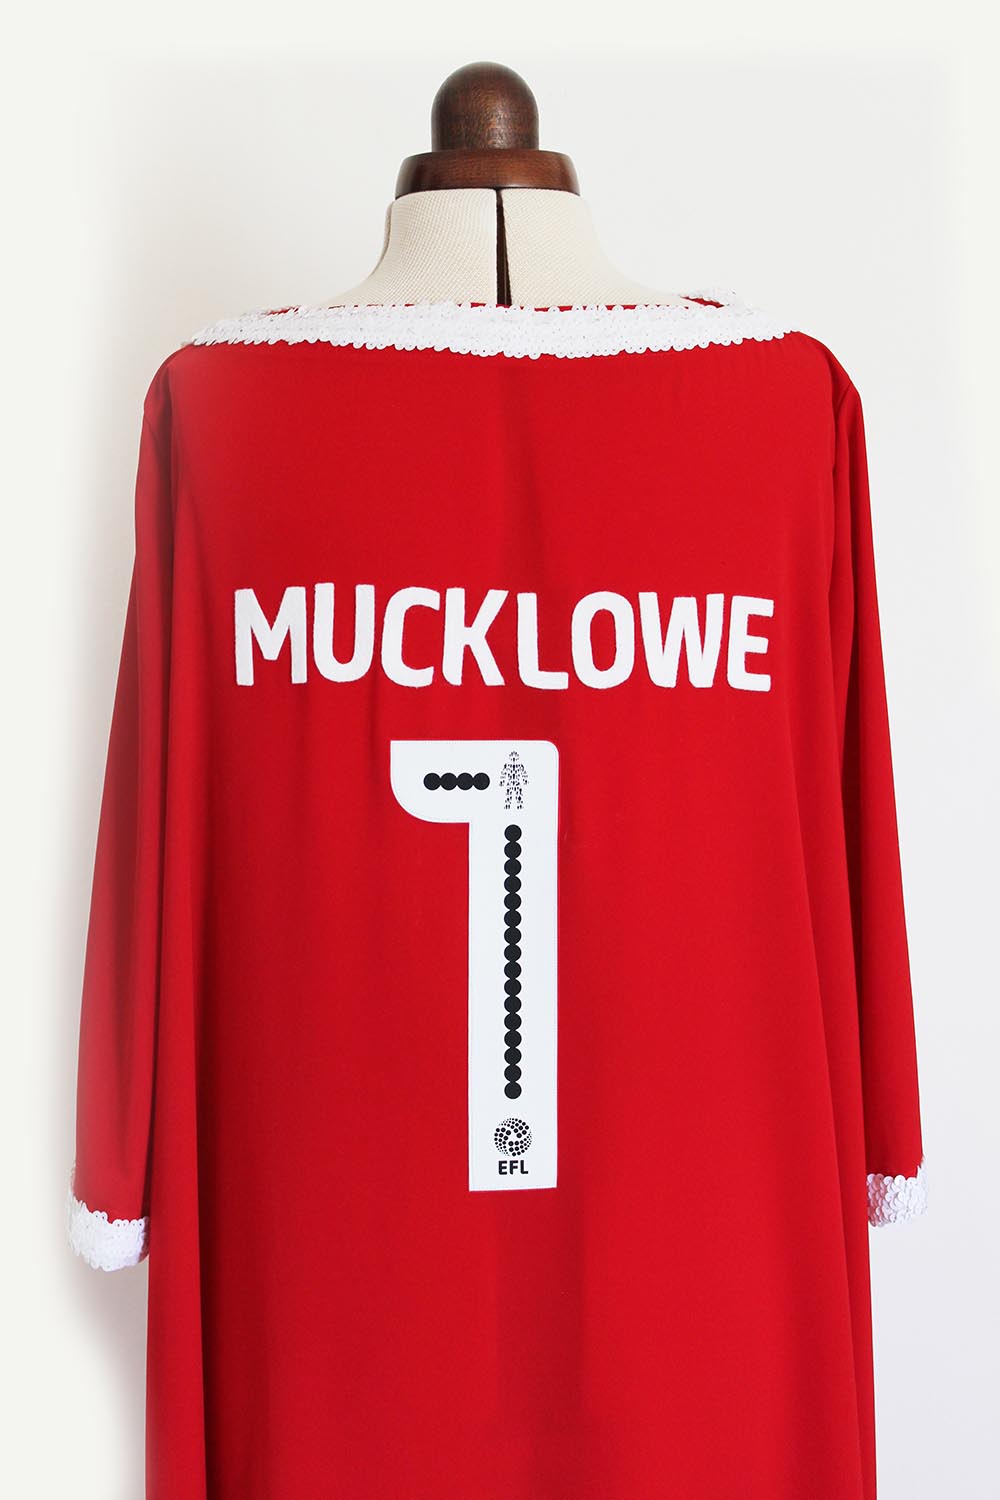
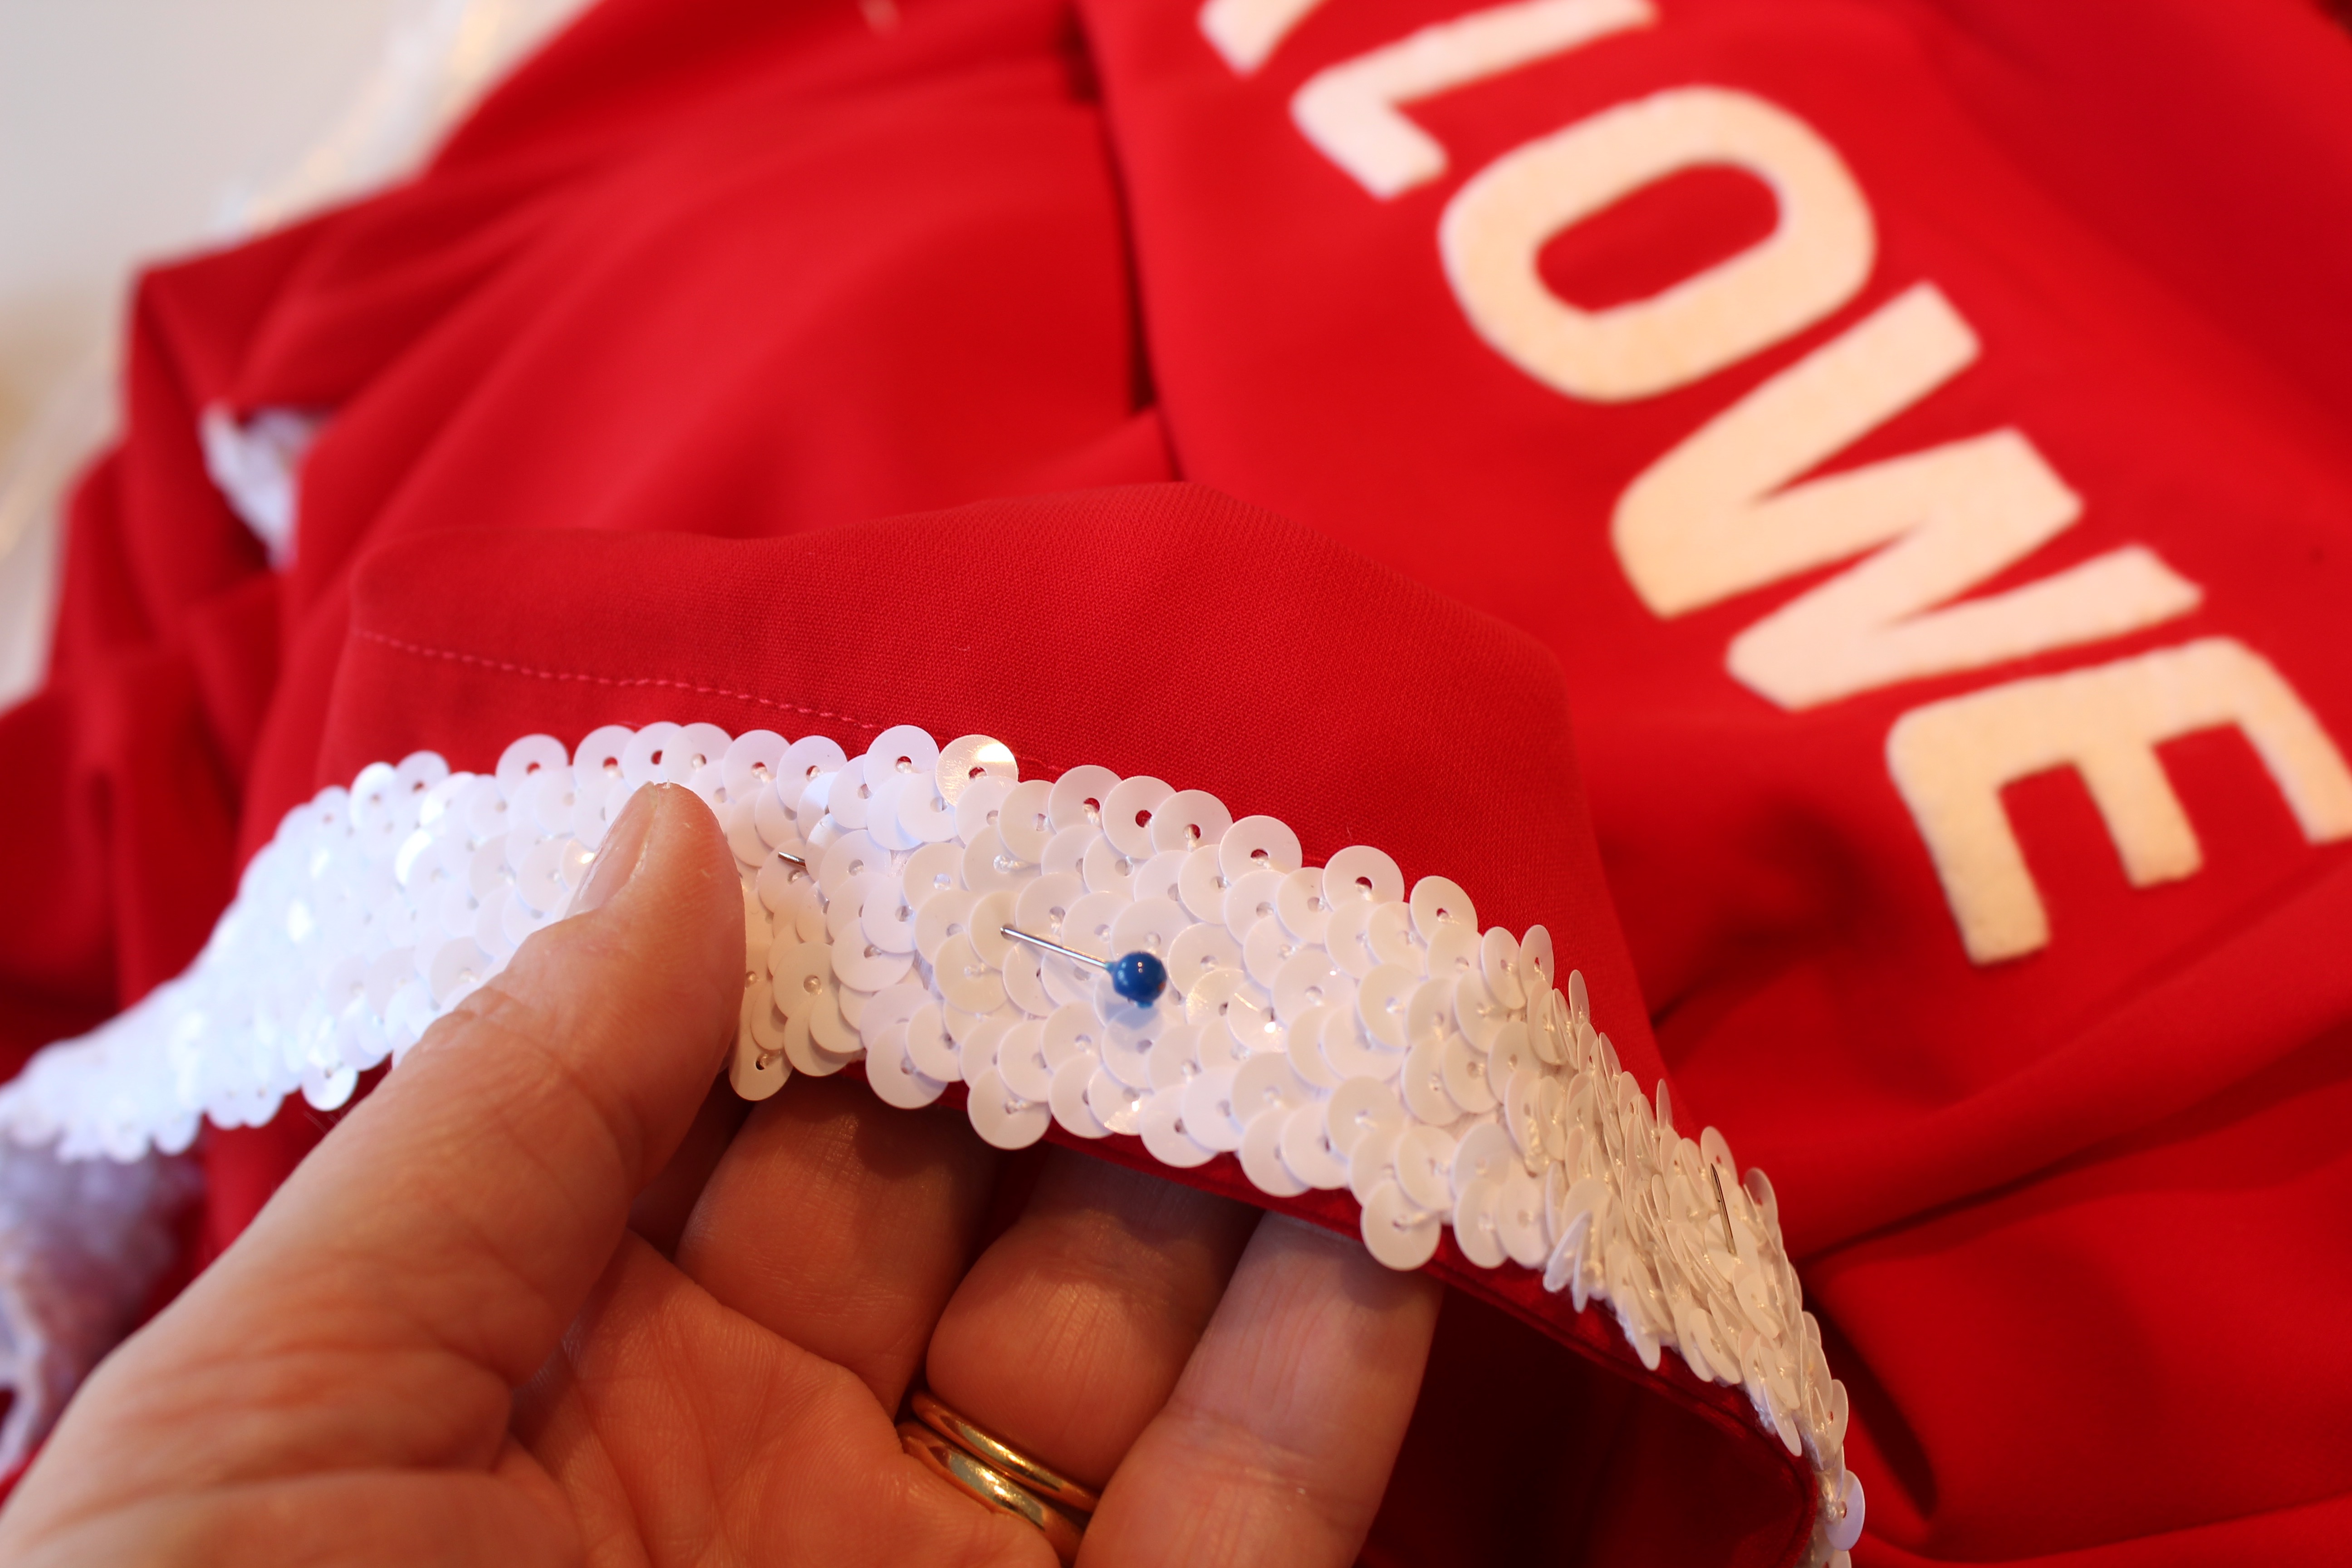 Lettering was traced off onto bonding web and felt which was pinned temporarily to the front and back. My son Alfie, an avid football fan and graphic designer had found the perfect football typeface to use for the word ‘Swindon’ on the front and ‘Mucklowe’ on the back. We had also retrieved a badge and the number 1 from a bought football shirt to give it an authentic feel. It was all coming together nicely.
 The biggest hiccup was that the dress fell too short. At the fitting it was decided to omit the sequin trim around the hemline, thus not having any weight to anchor it down, so after a bit of wangling, another 15cm or was added on, ensuring a nice border all around the edge that now skimmed just above the knee. Daisy is quite tall at 5ft 9 and she would be wearing high heels so the extra length was definitely called for. Fortunately the extra hem panel added a detail enhancing the style of the dress.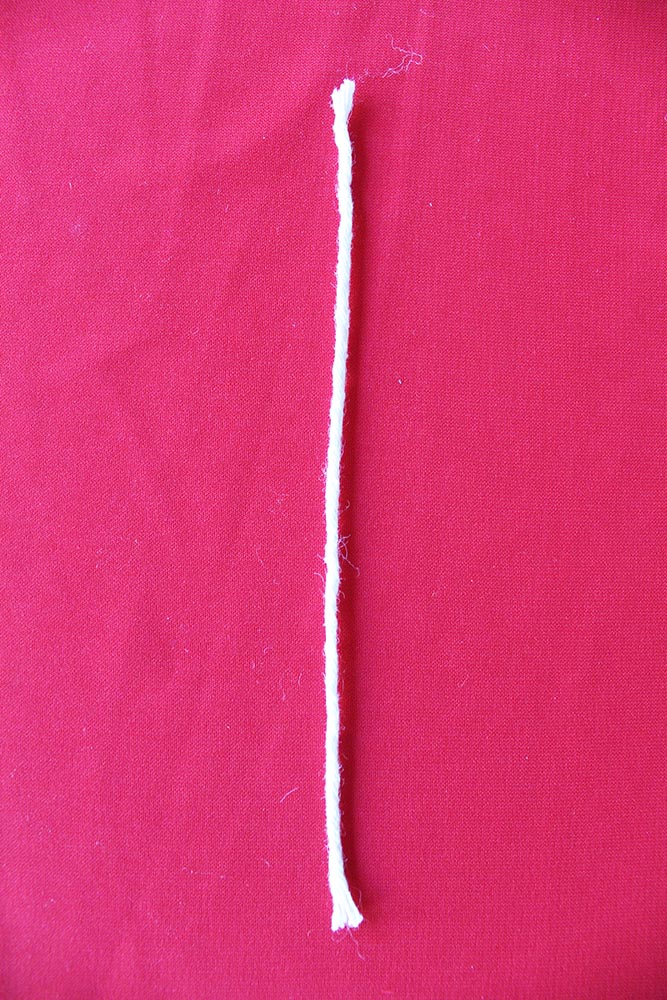
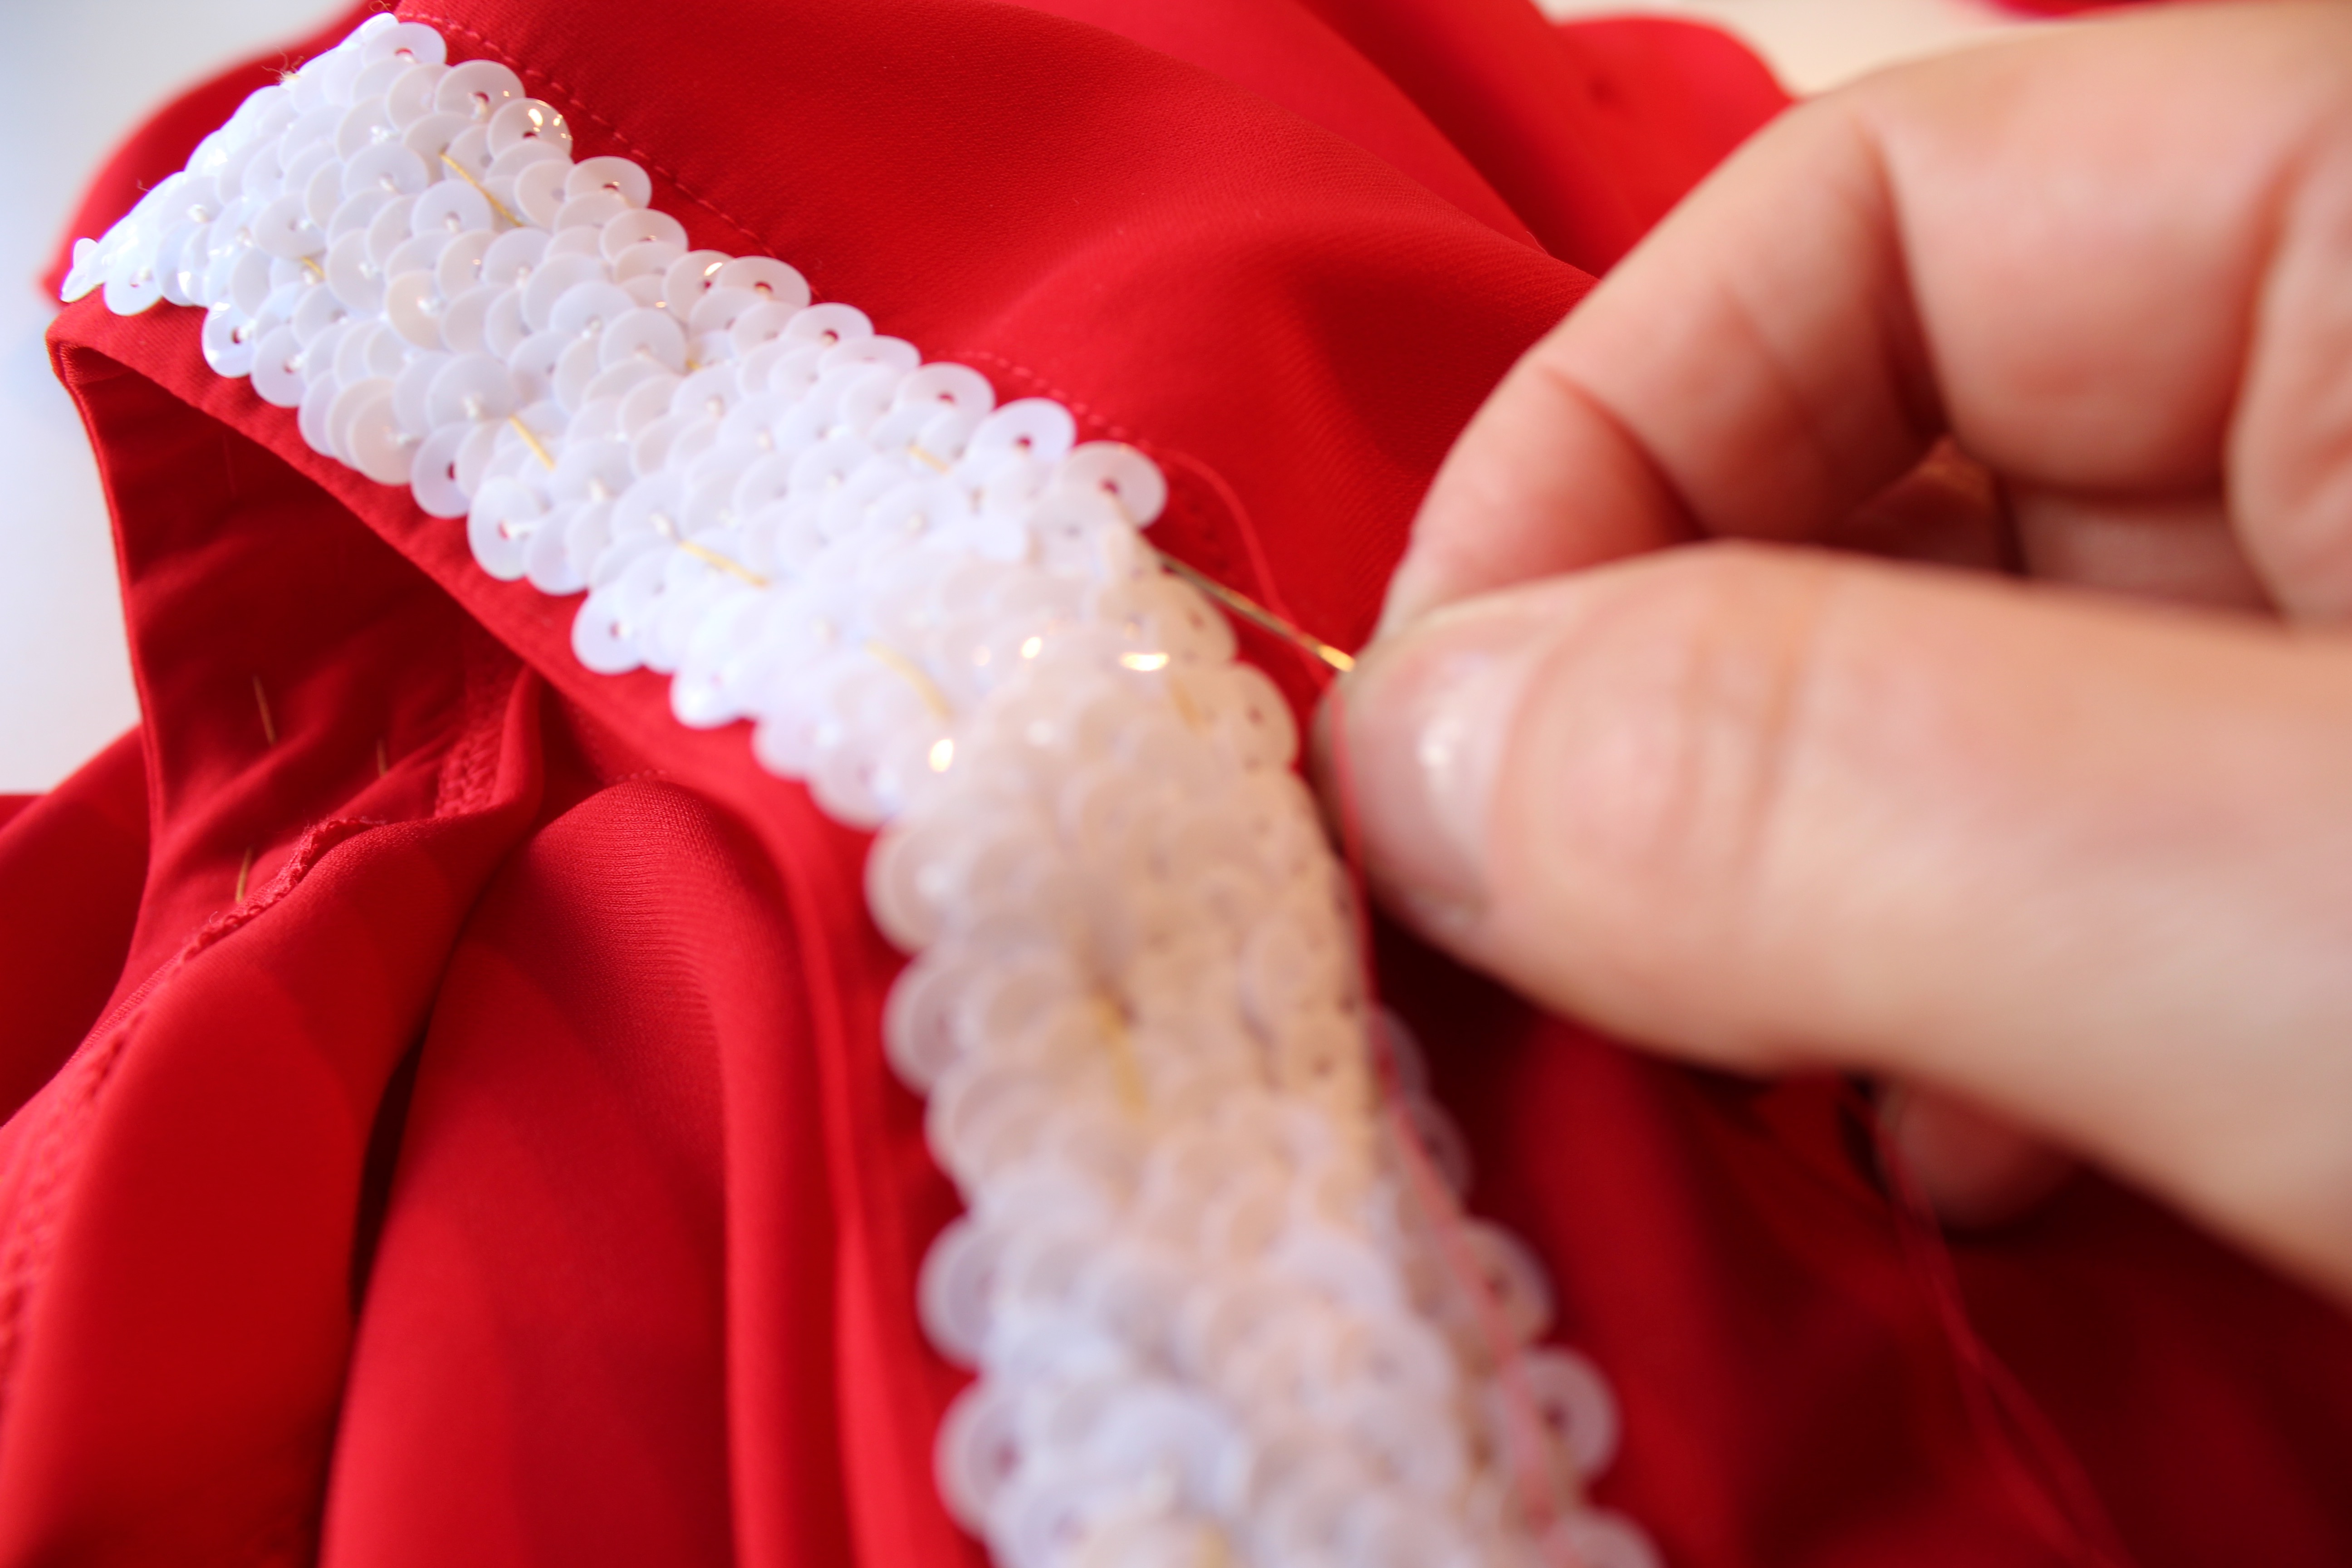 With all the letters securely fixed, it was then a question of laboriously hand stitching on the sequin trim which took several sessions over a couple of days. I had visions of them falling off in mid speech Theresa May style, so I made sure they were stitched on securely.
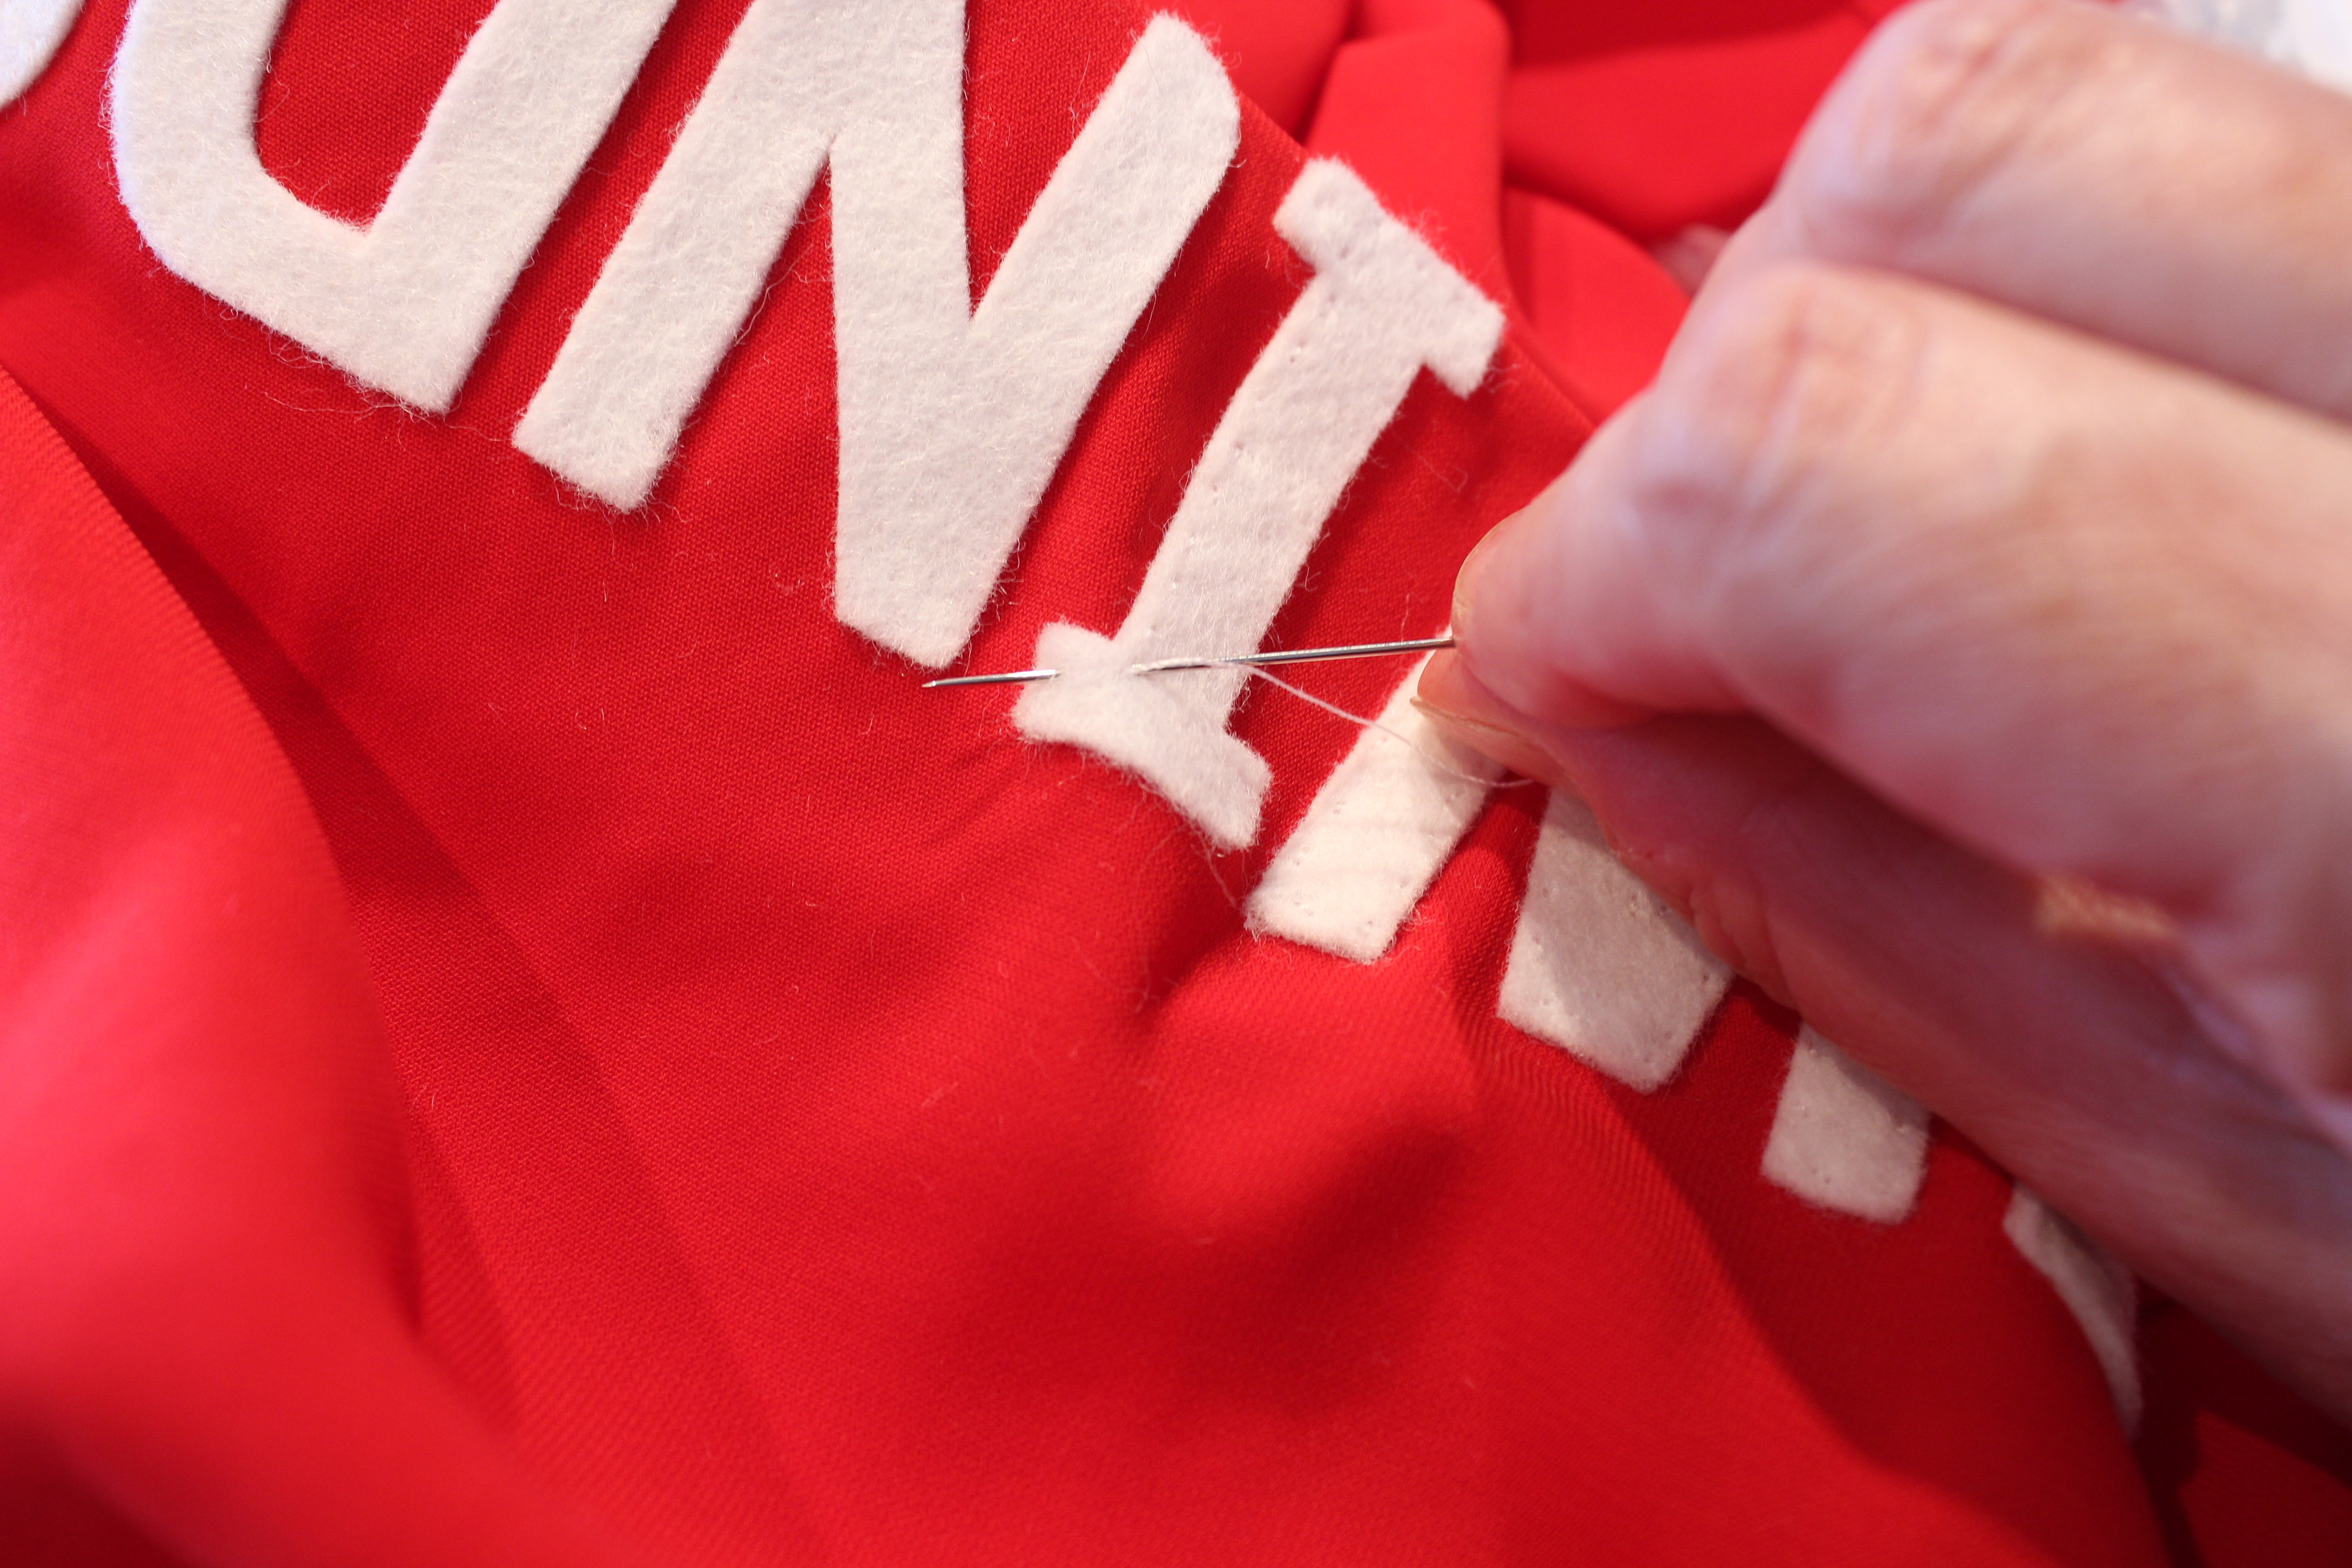 Making sure the dress was kept clean was paramount, so handling it was kept to a minimum. Finally came the pressing bit which was a very stressful affair. Laying a sheet underneath the ironing board helped, I kept the iron on a low setting, worried that I would burn a hole in the fabric last minute and ruin everything. A cool iron with a protective cloth and lots of steam later the dress was finally finished.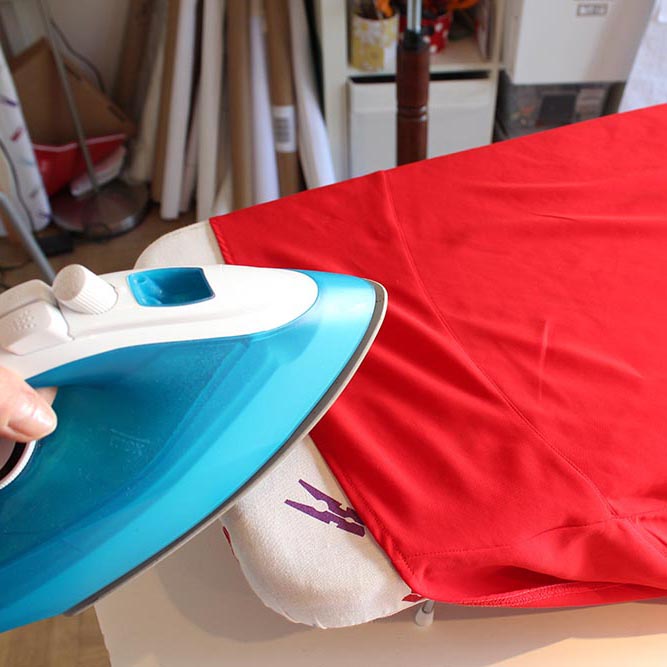

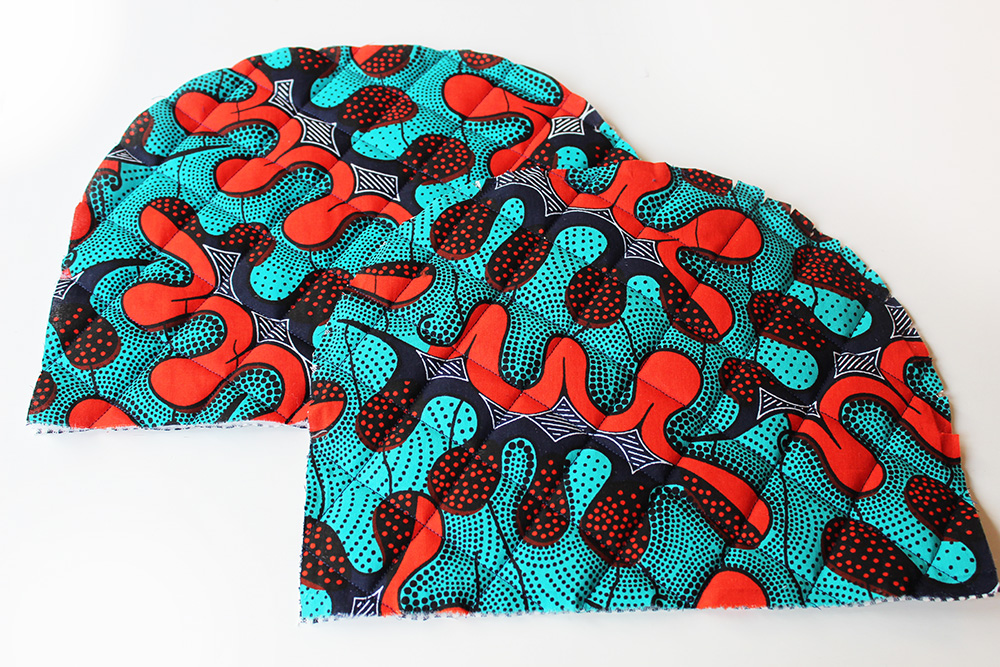
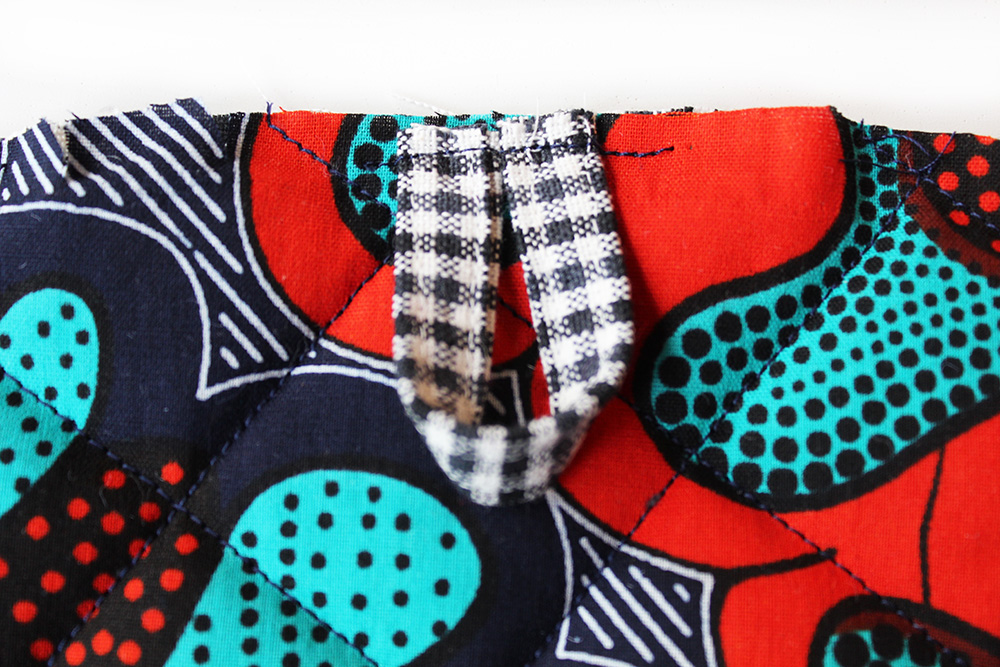
 As an afterthought I had an idea to make a matching quilted purse with a loop handle so Daisy could sign autographs and carry her belongings. So after quilting the fabric with wadding and stiffening it with fusible interfacing to give it stability, I made a simple clutch bag with a magnetic clasp, slipping in the loop last minute. I was dead pleased with the result.

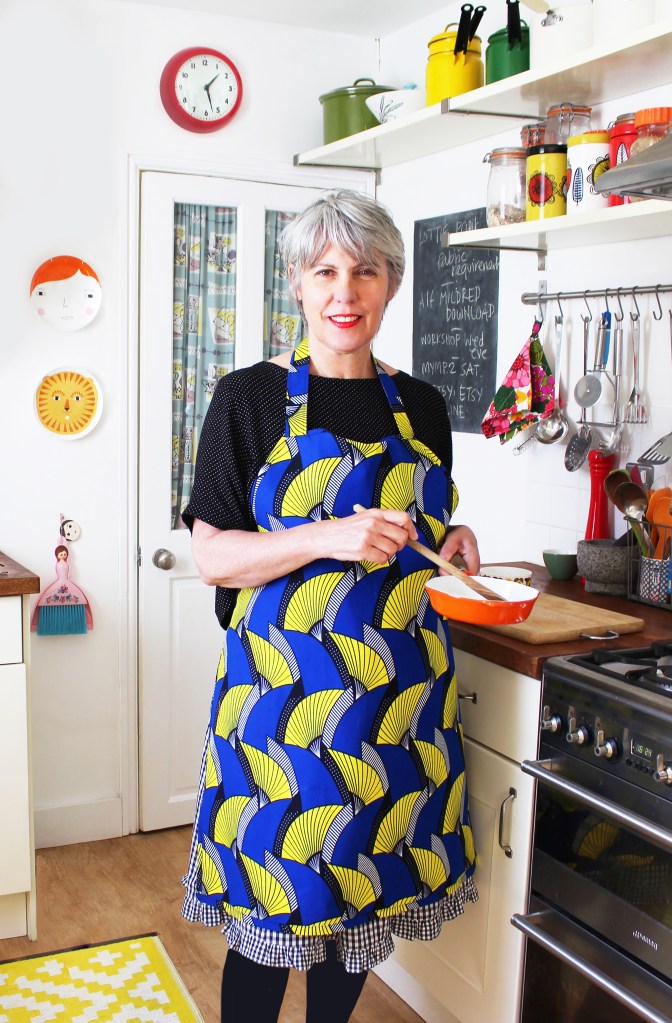
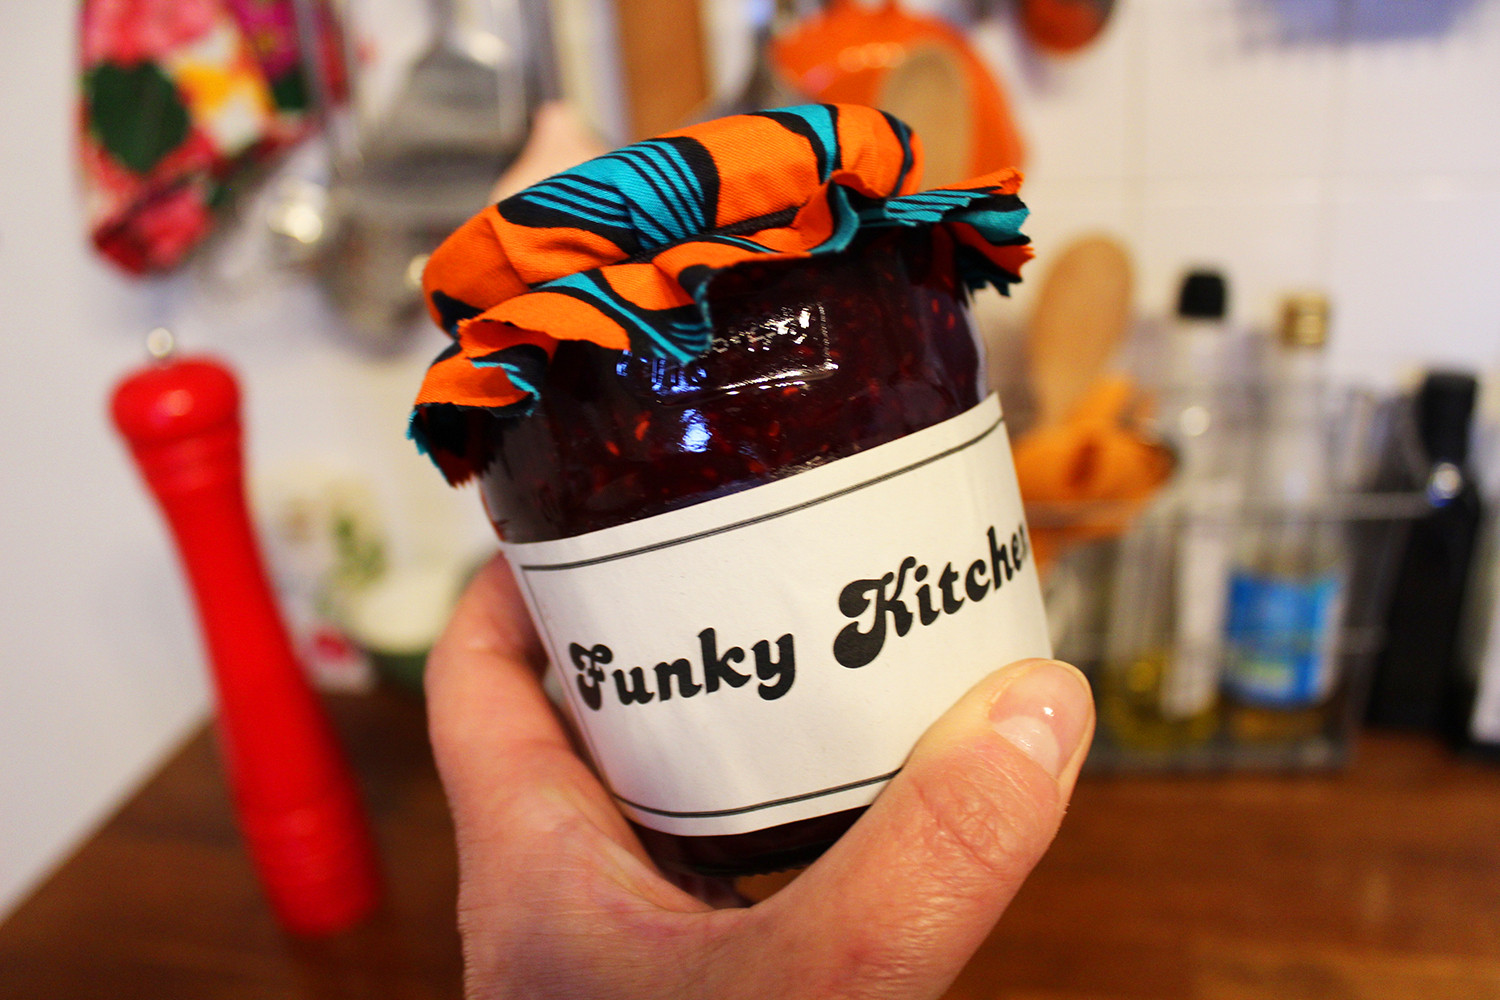
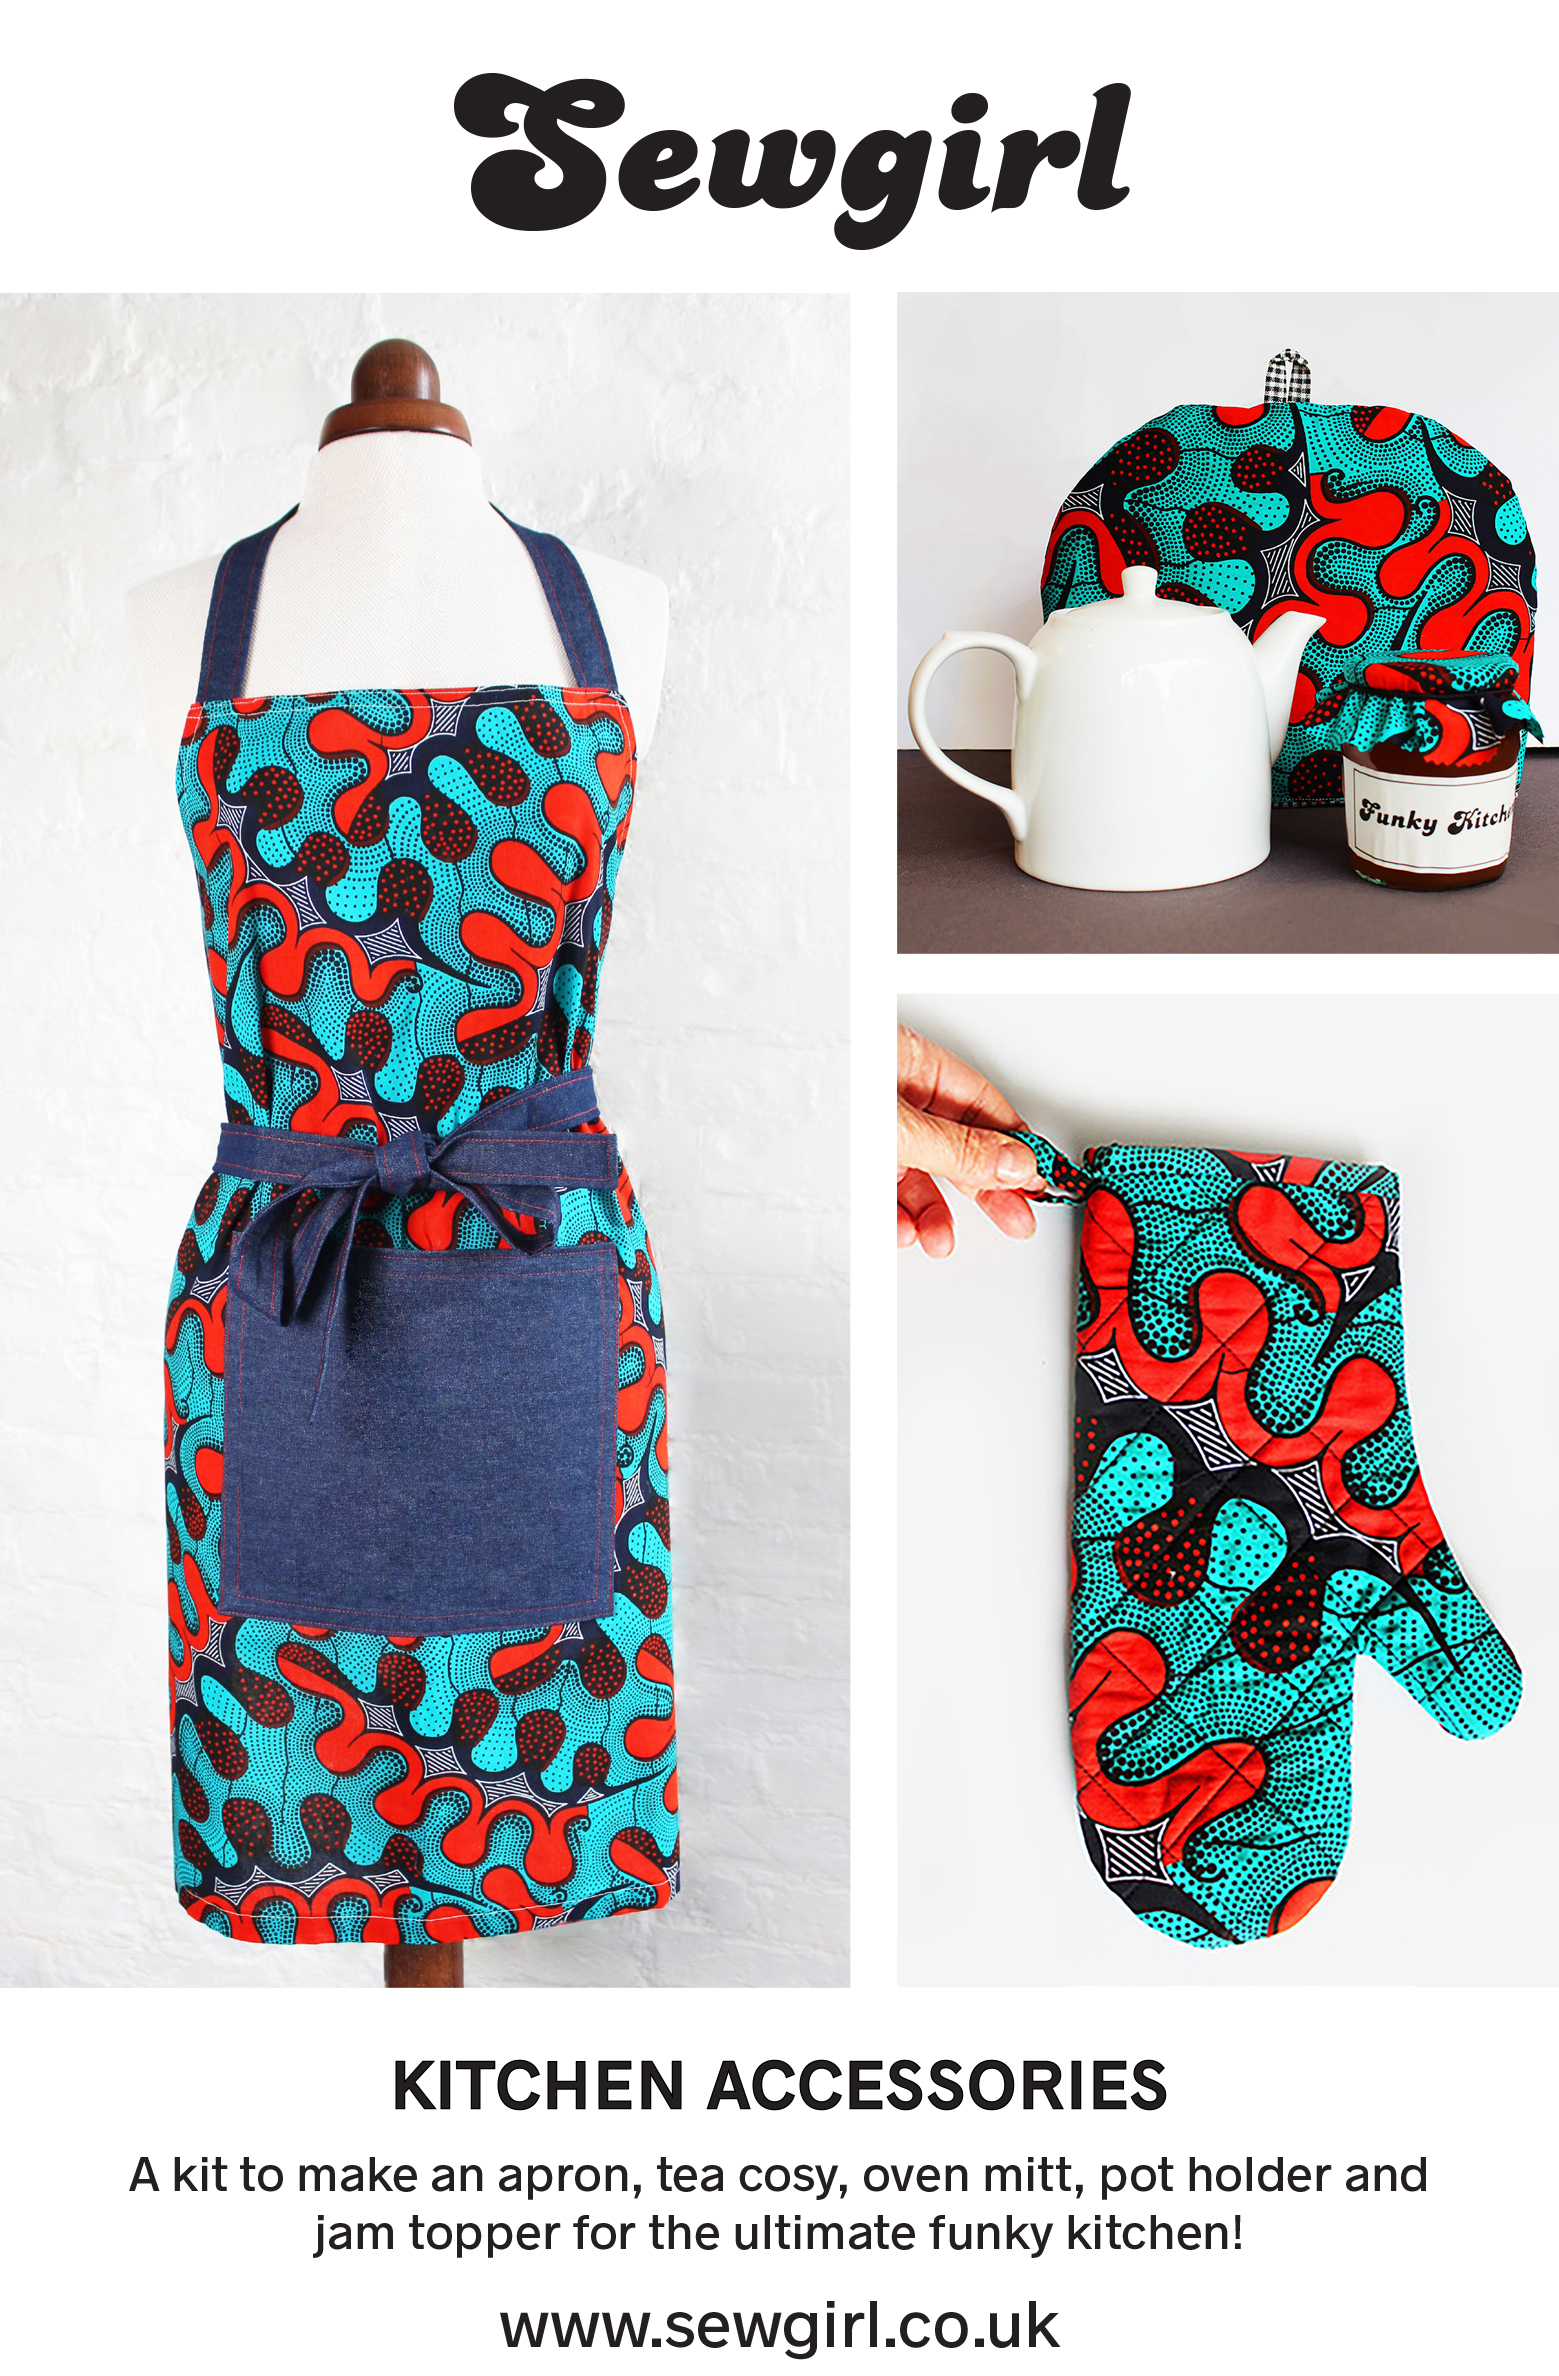
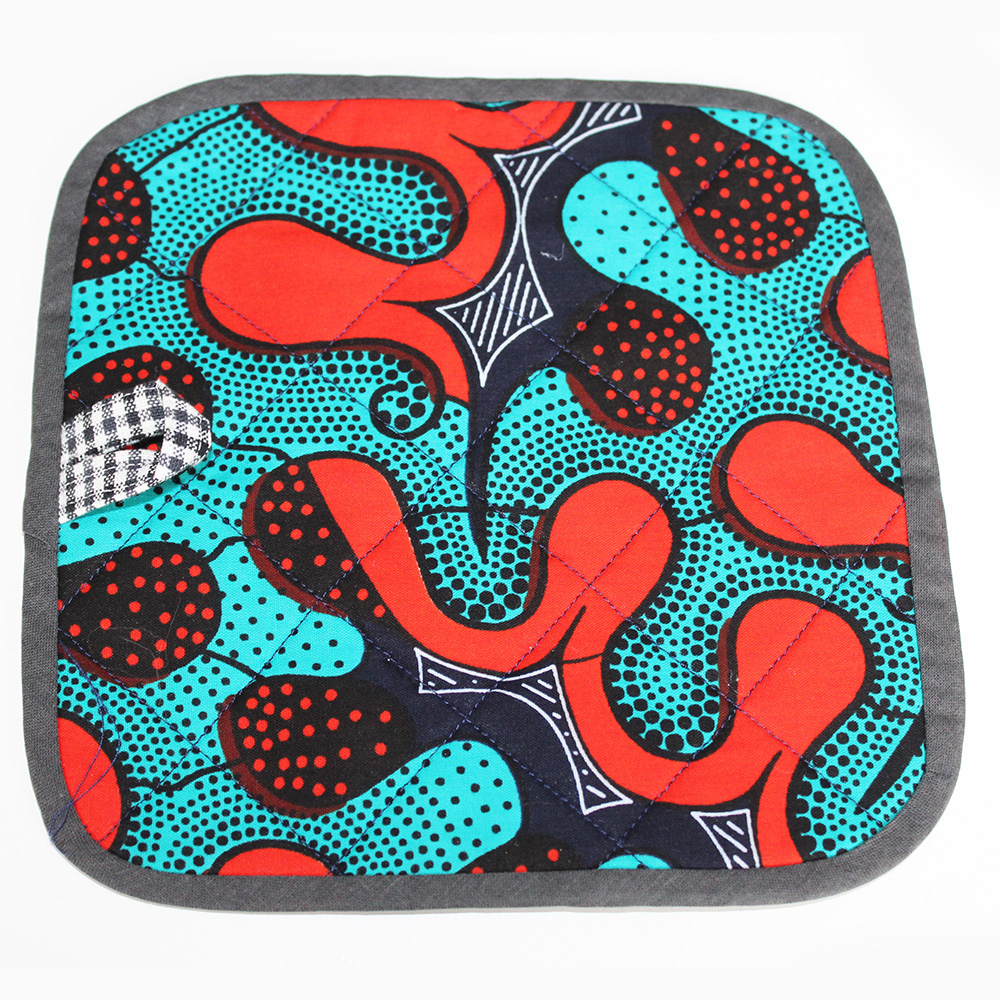
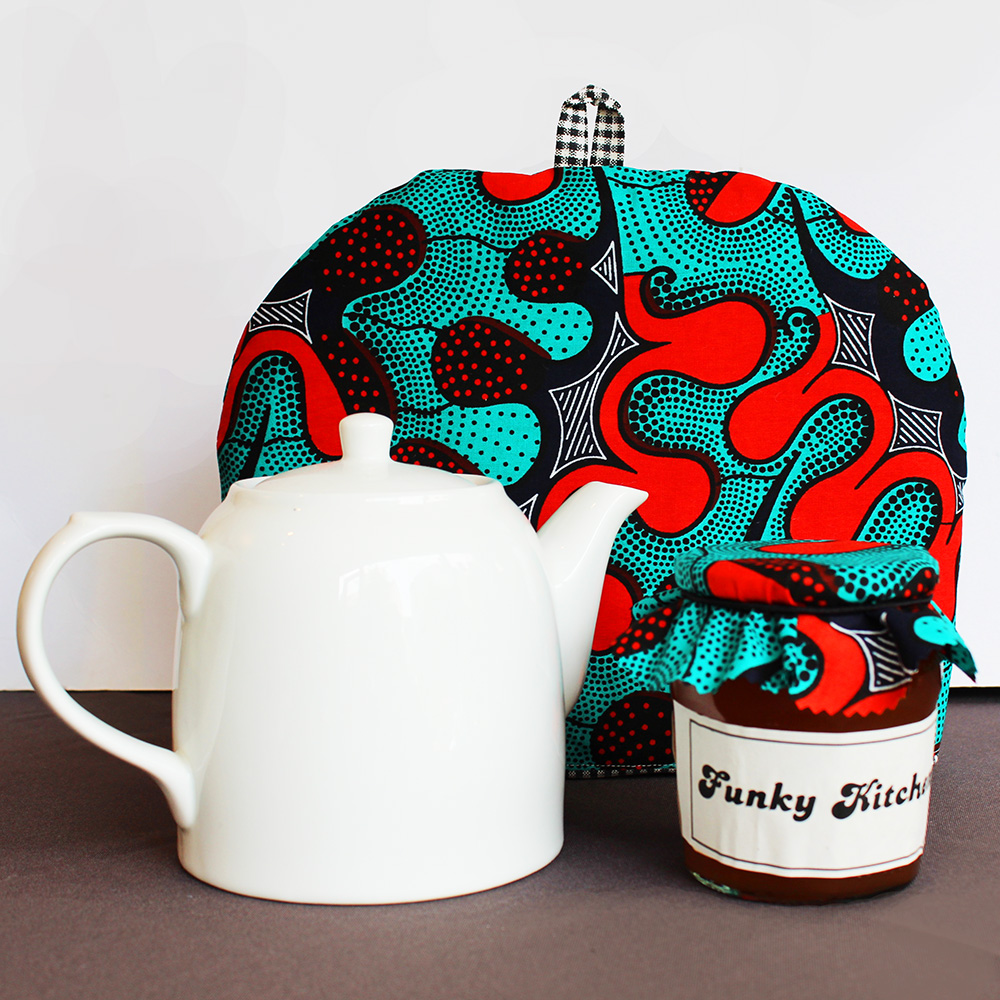
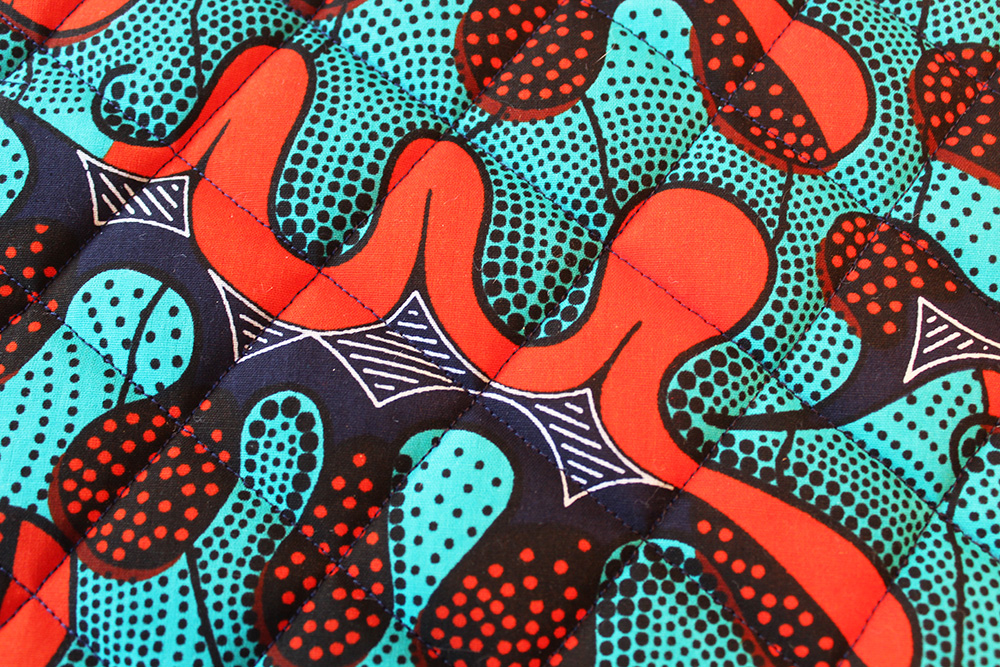
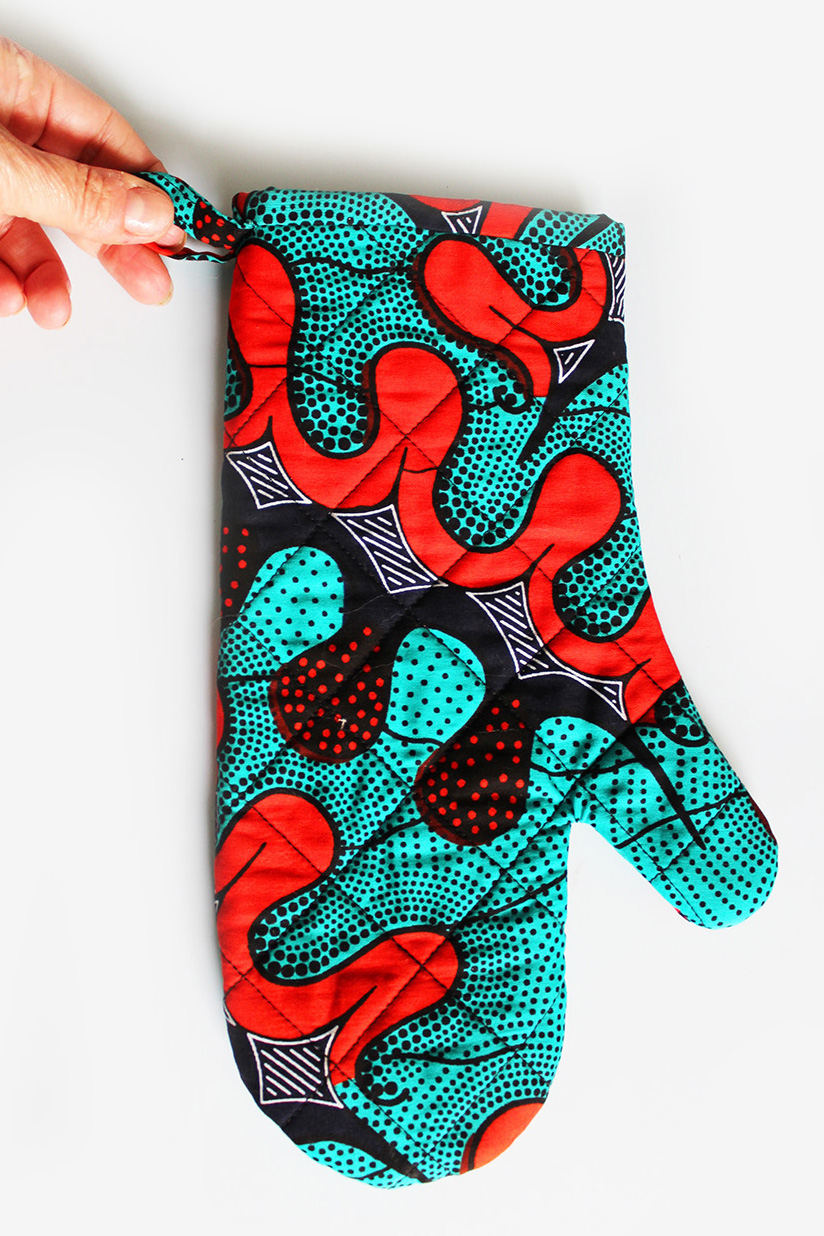 These items are all made in African wax fabric which is included in the FUNKY KITCHEN KIT which I have for sale on my Etsy shop or you can buy the pattern on its own without fabric, if you prefer it. It would also make a super gift for a sewing beginner or enthusiast.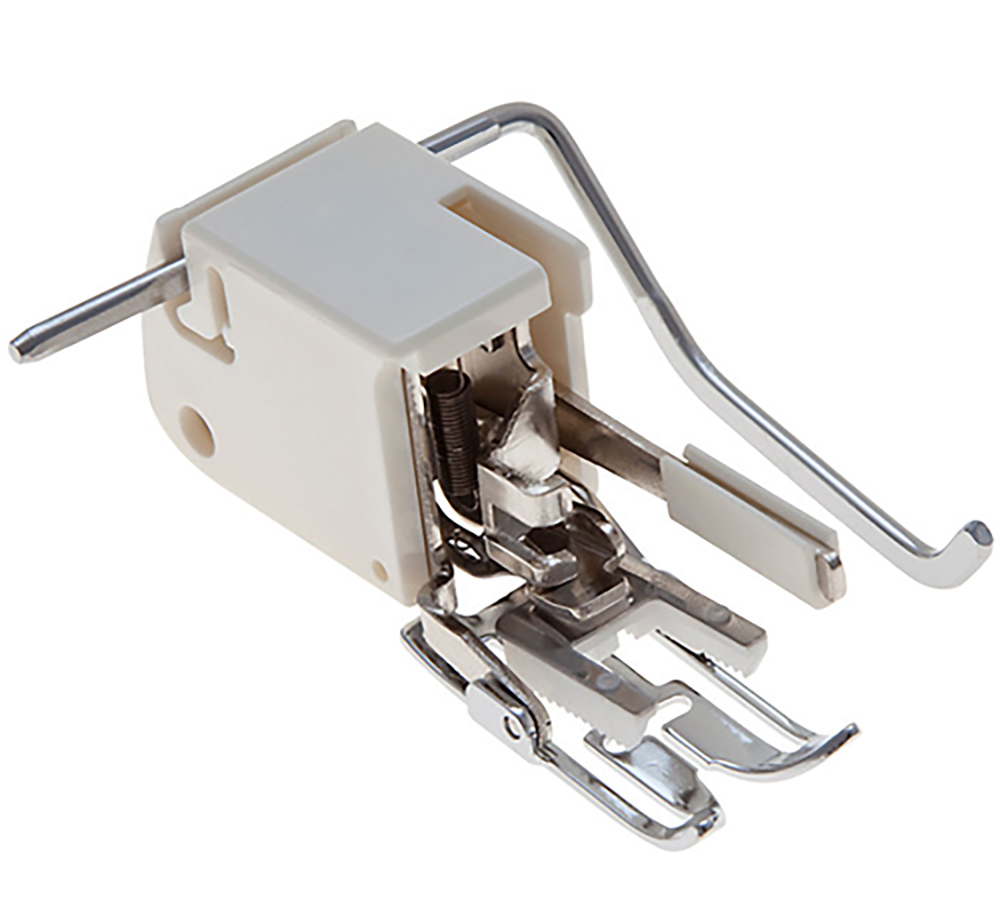
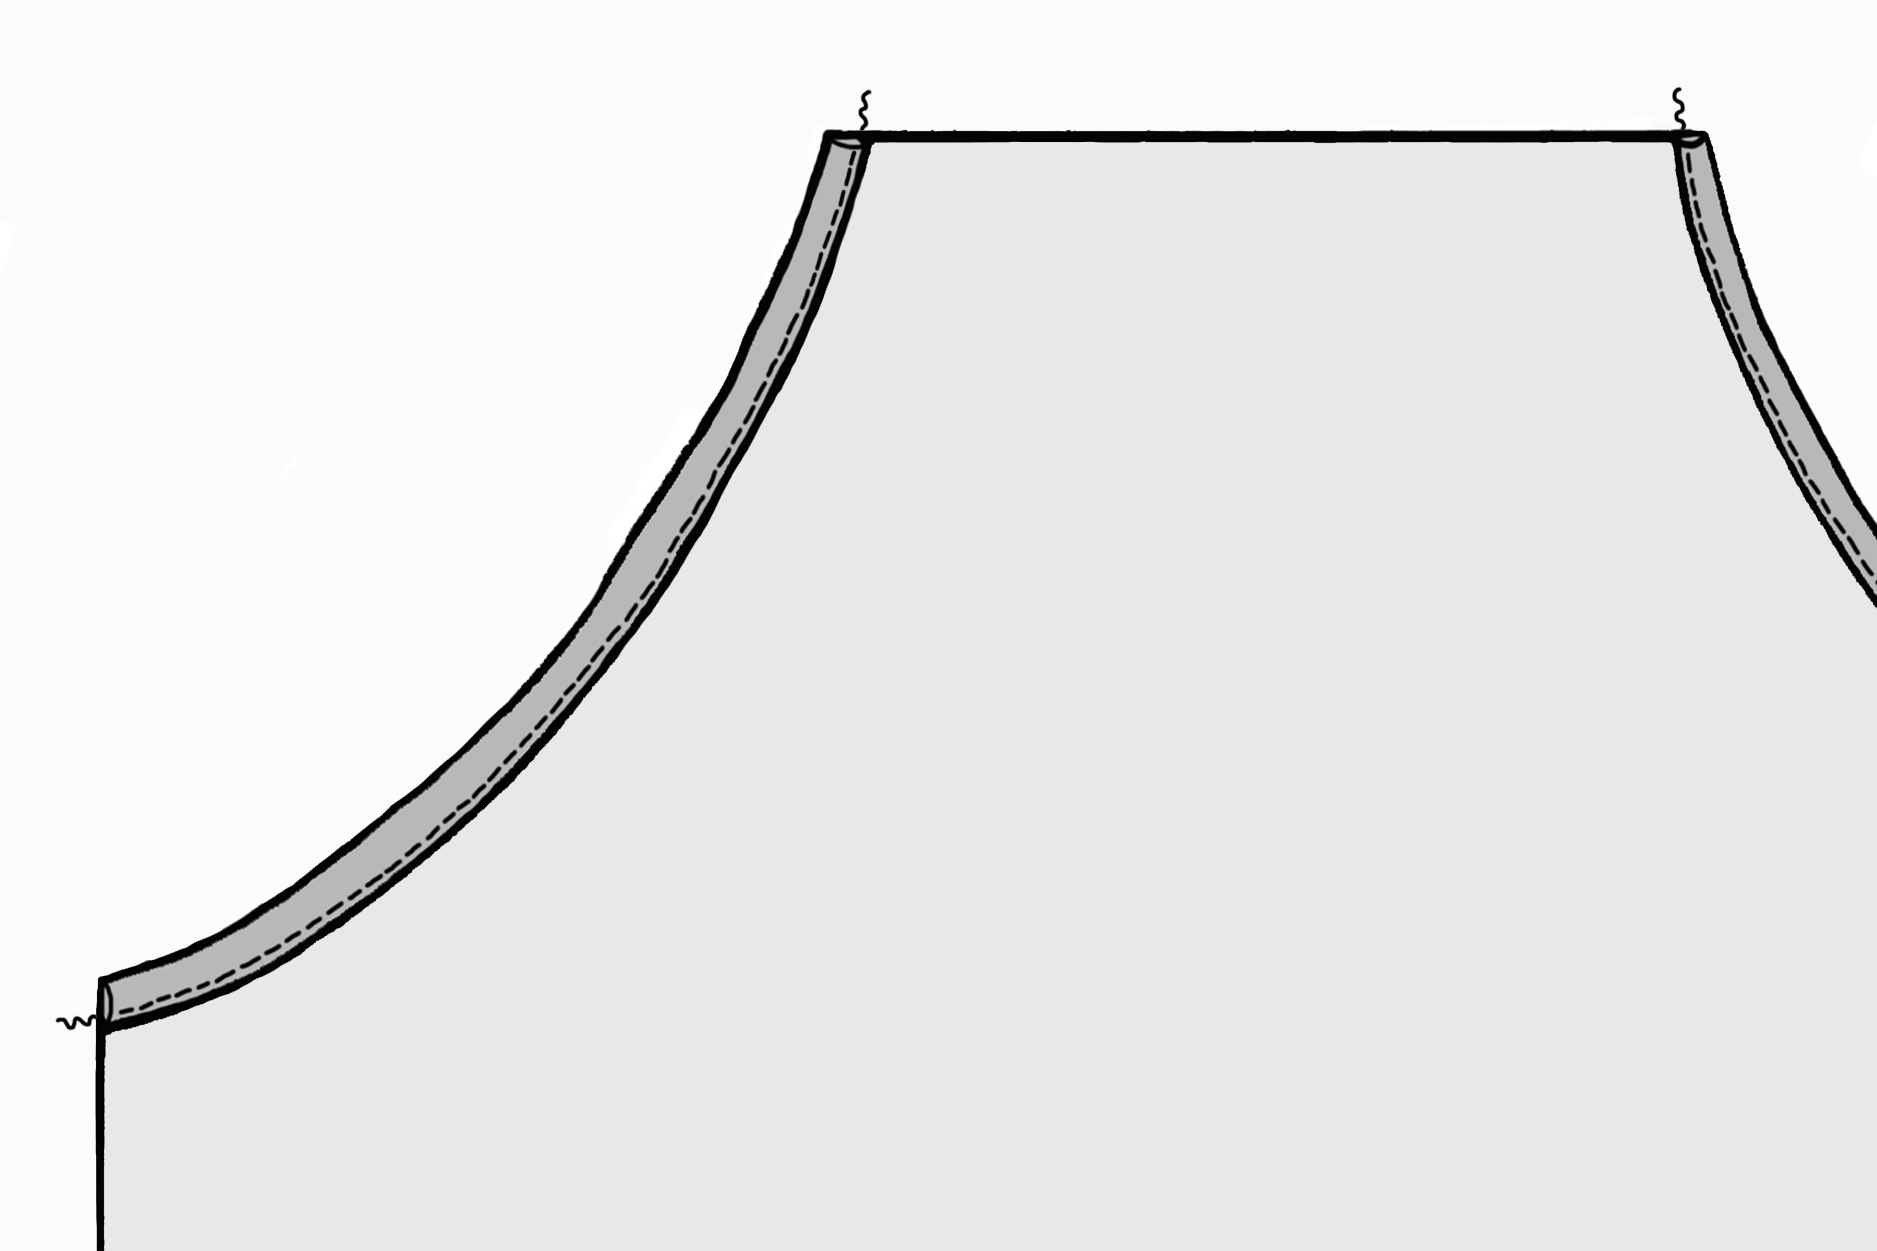
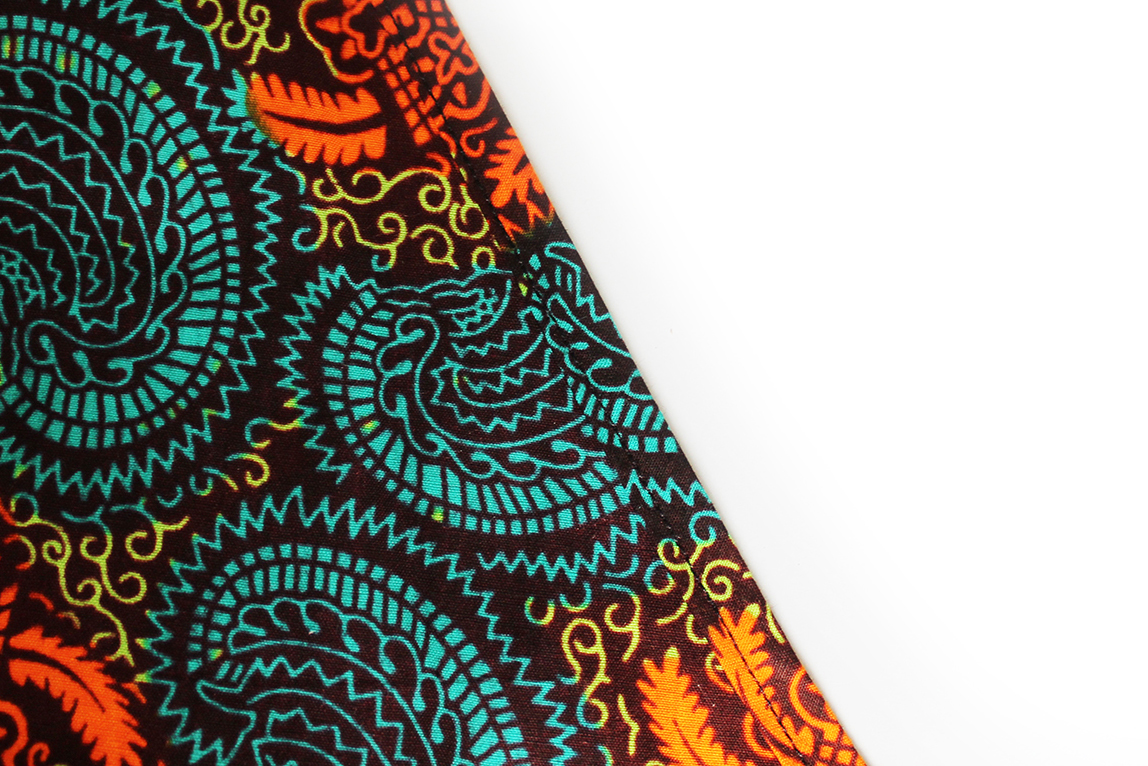
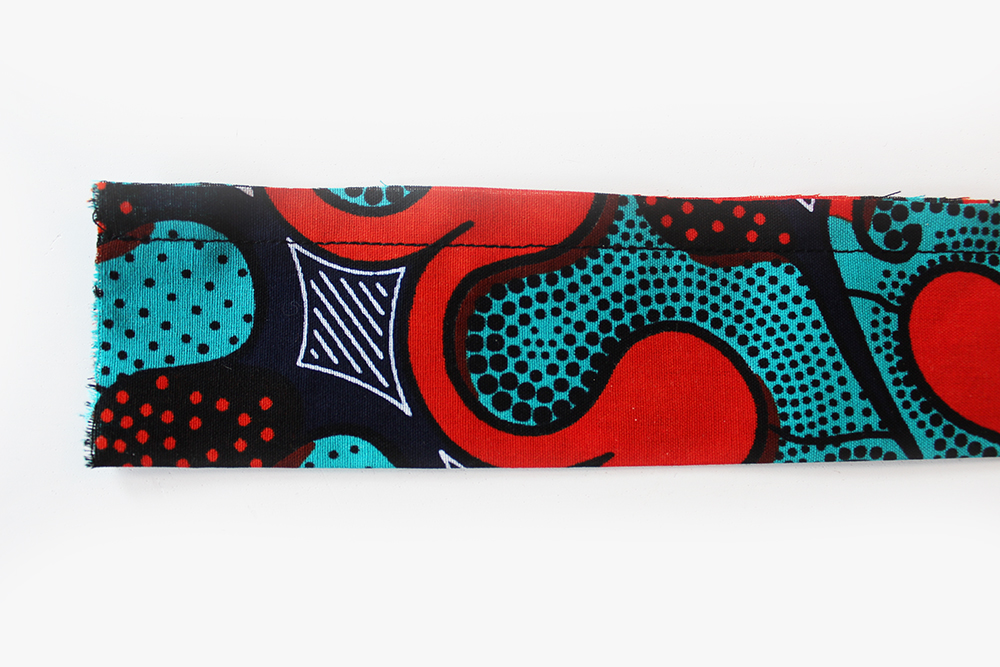
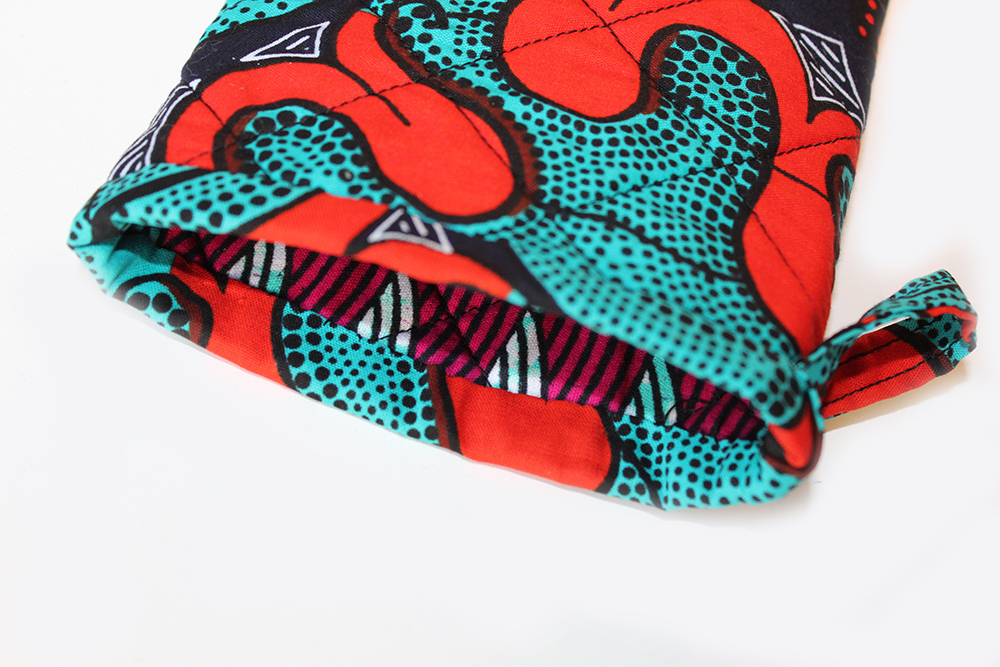
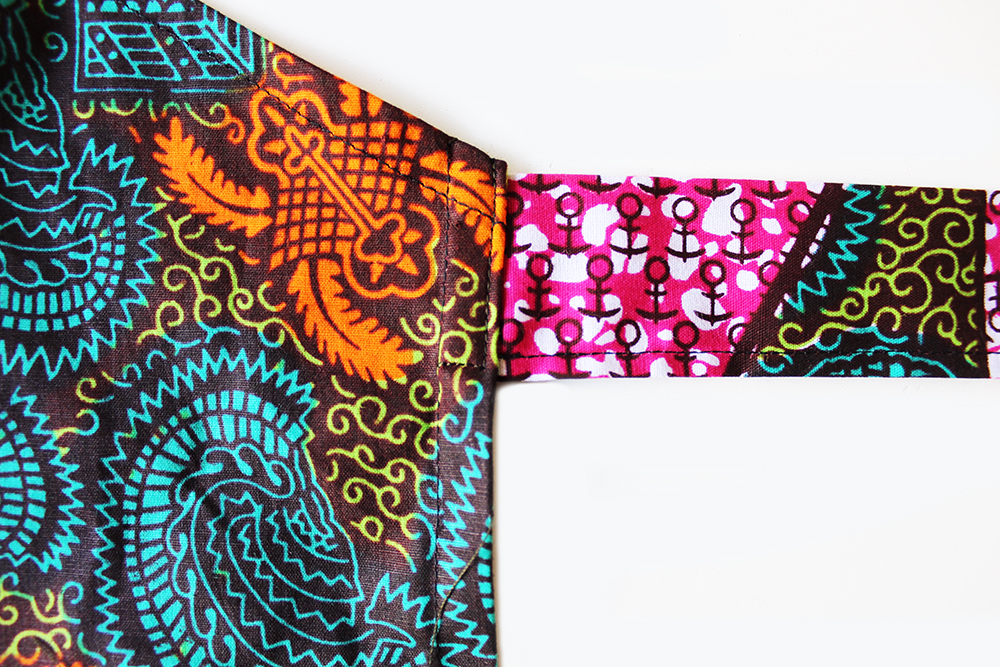 All thats left to do now is to hem the lower edge.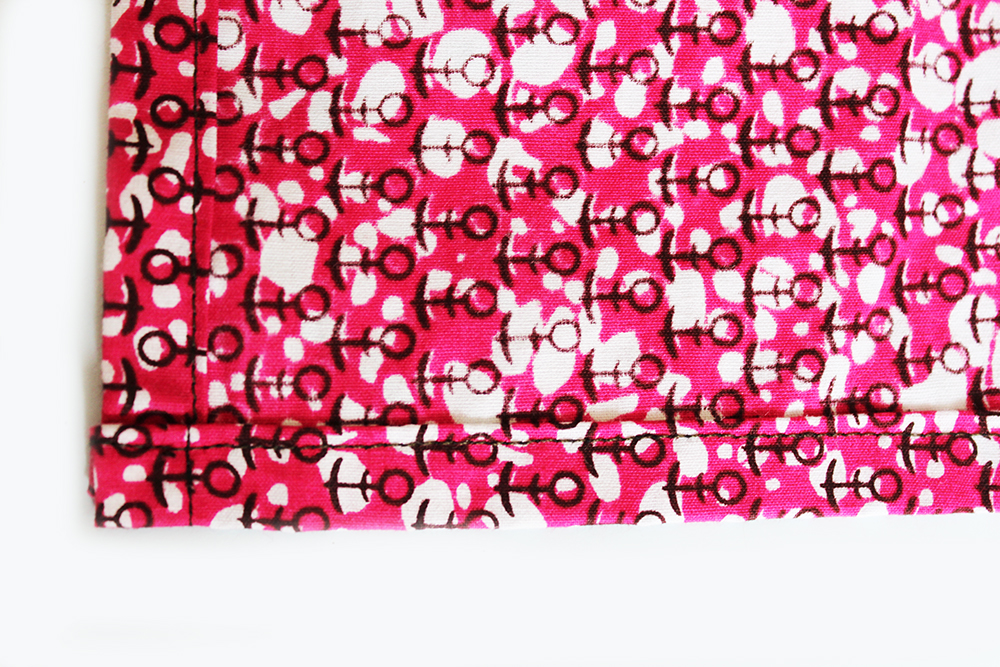
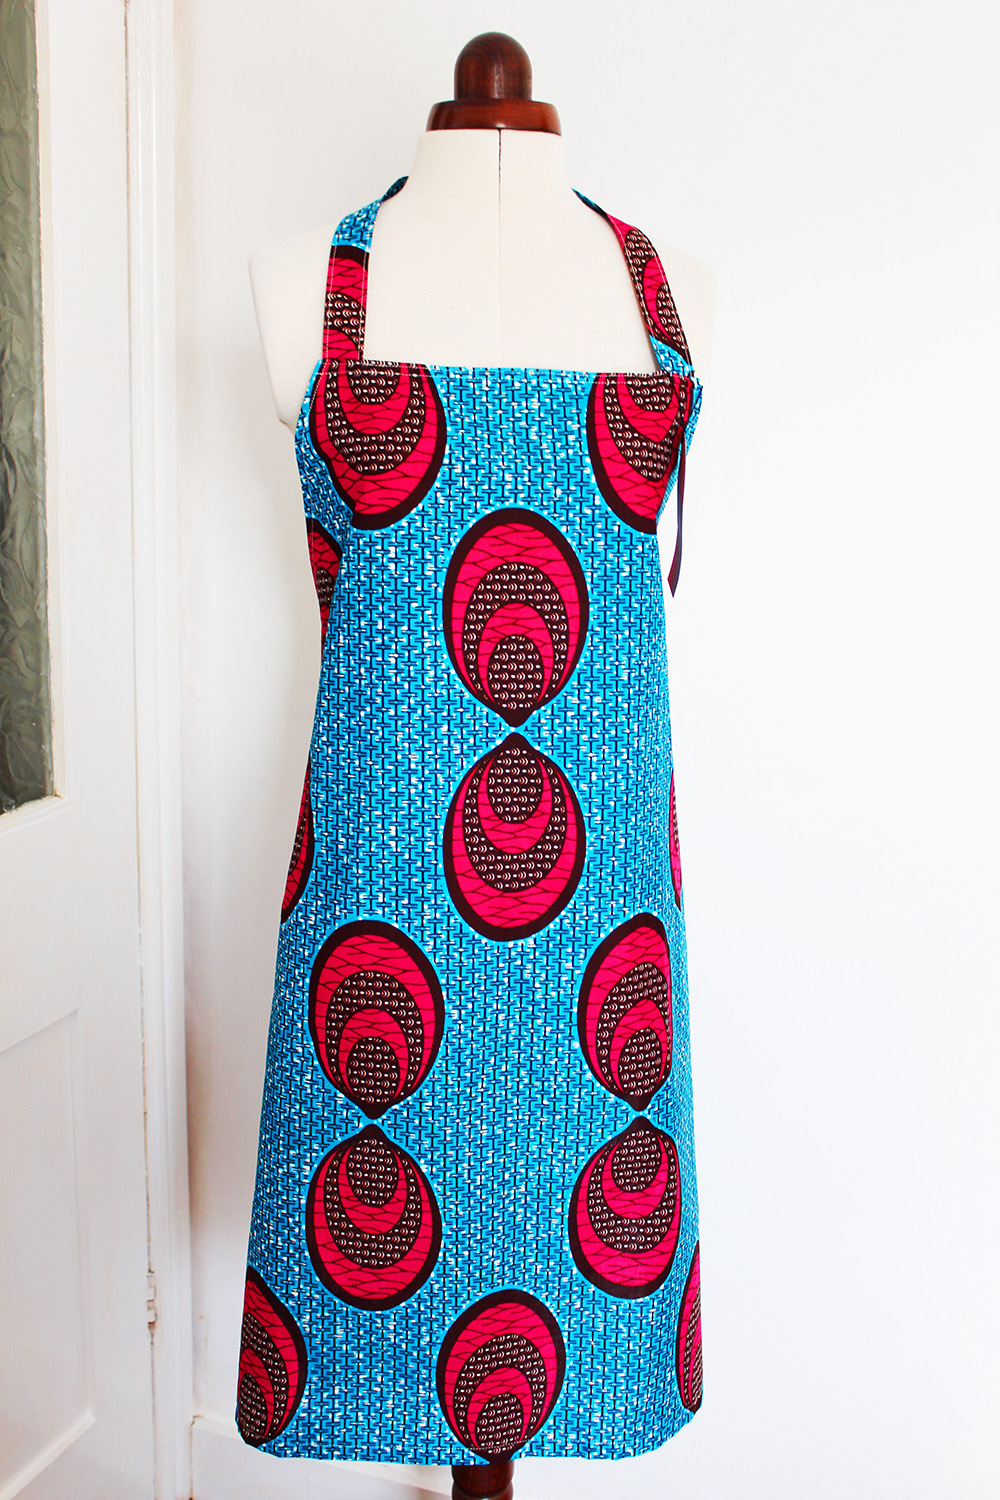


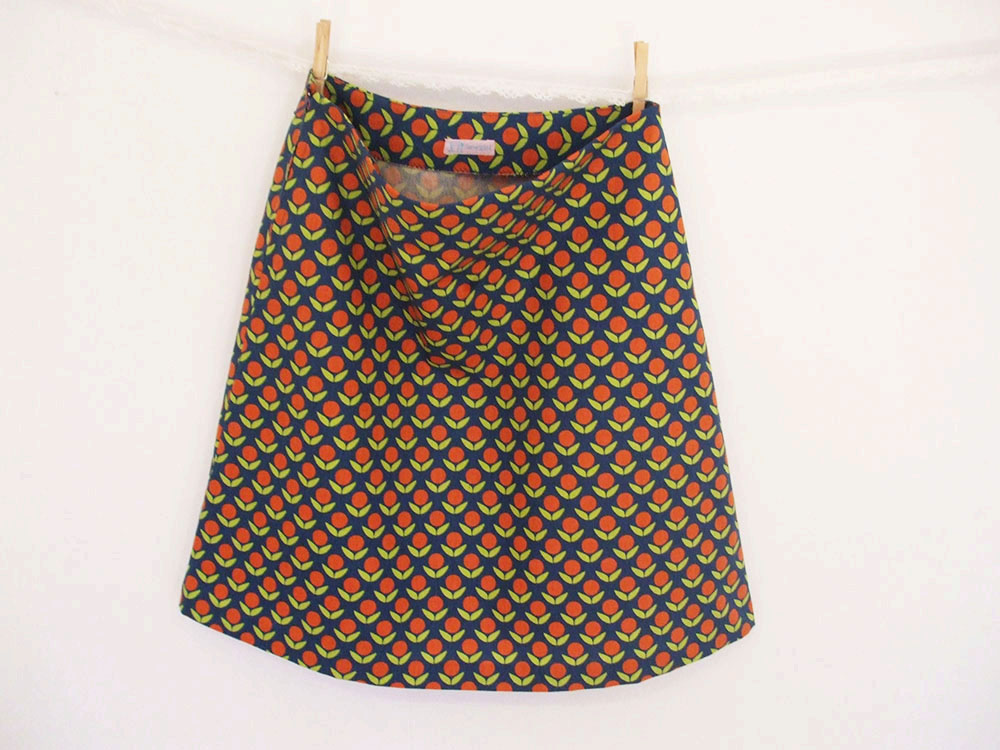 A LINE SKIRT WITH PICS
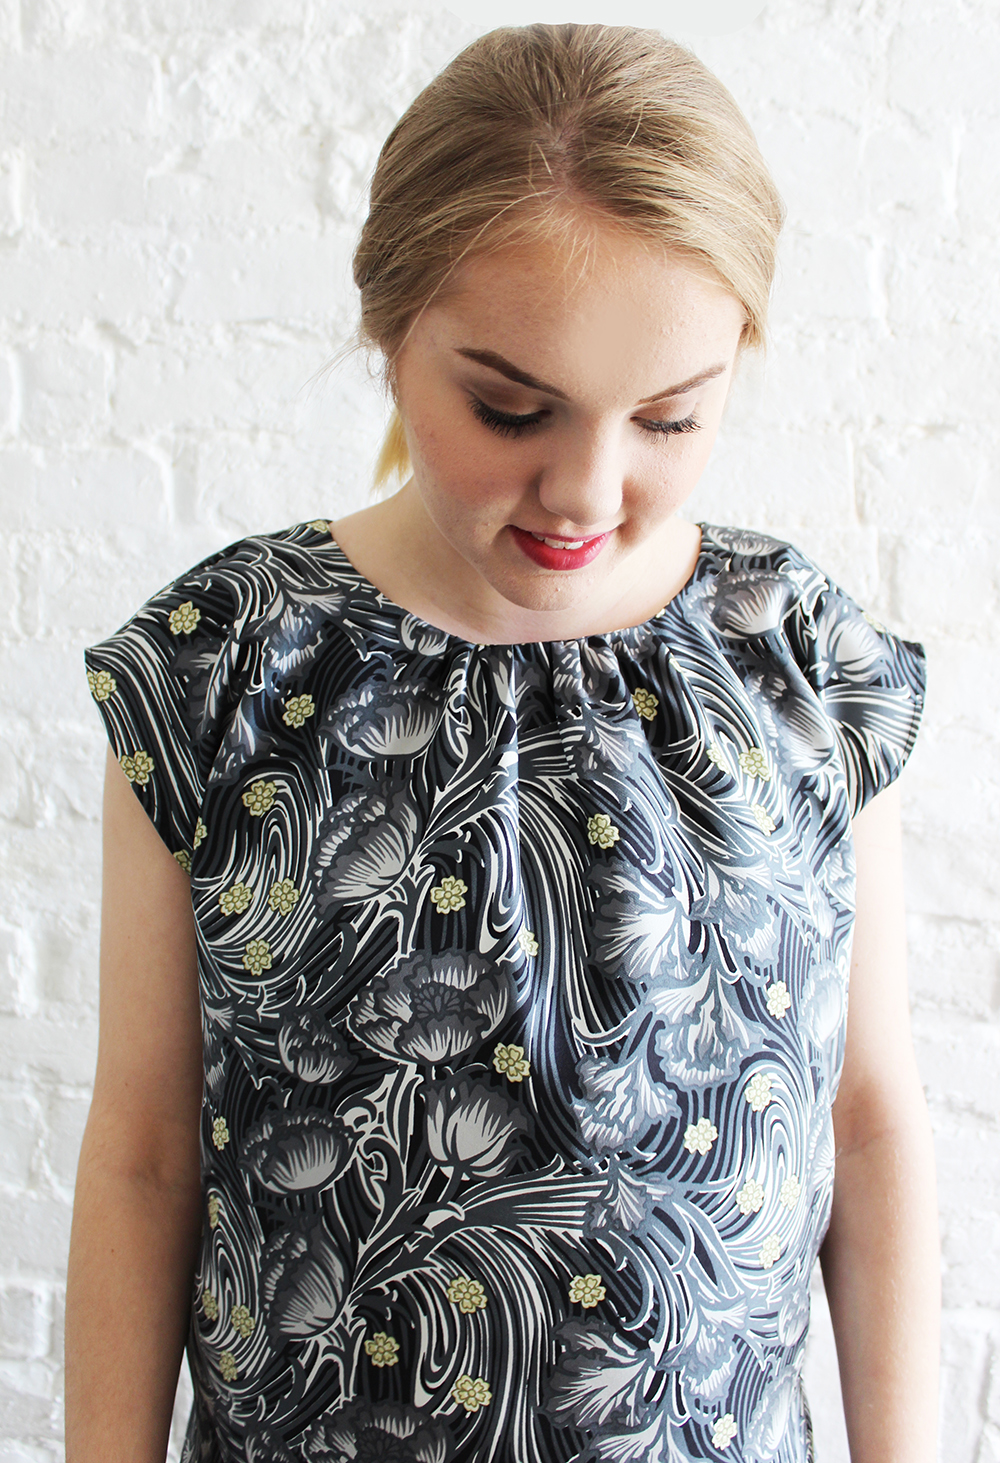
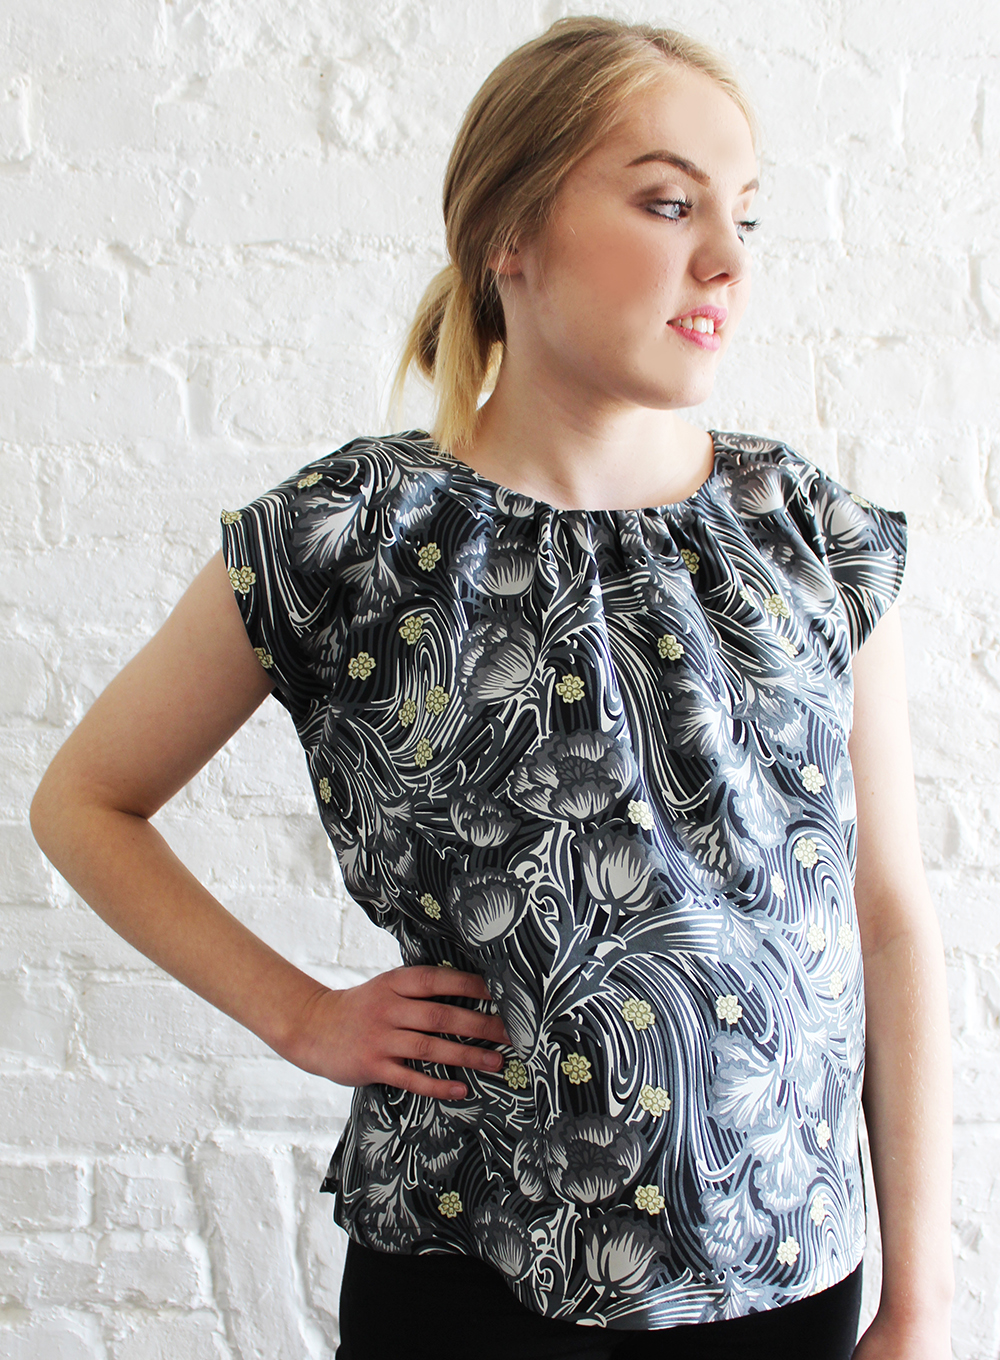 Gathered at the neckline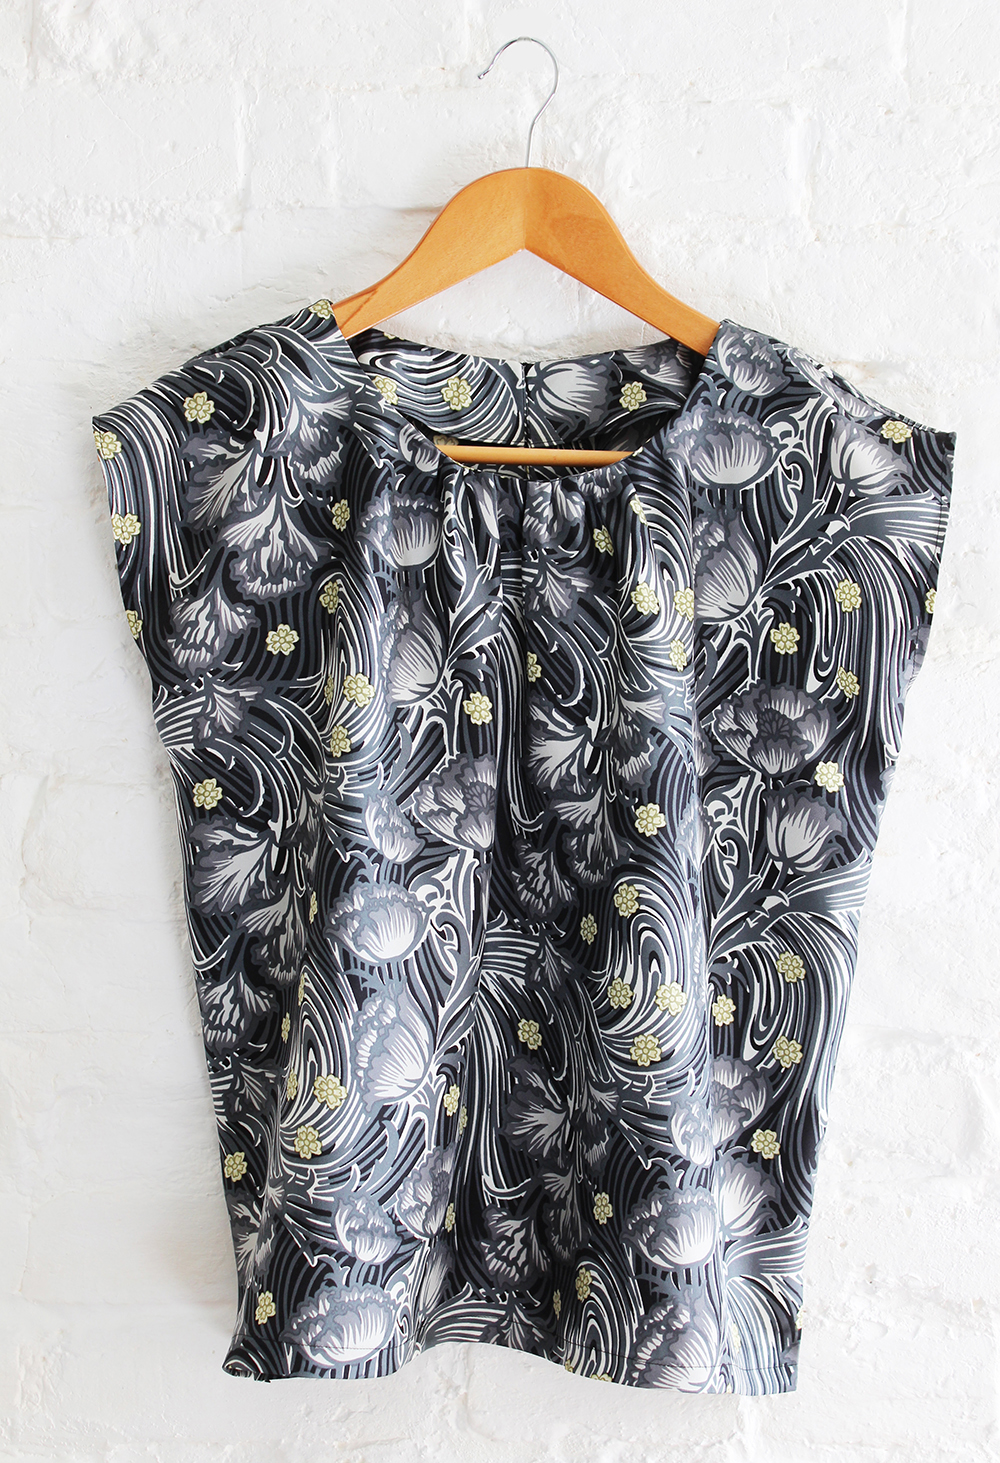
 Short capped off the shoulder sleeves
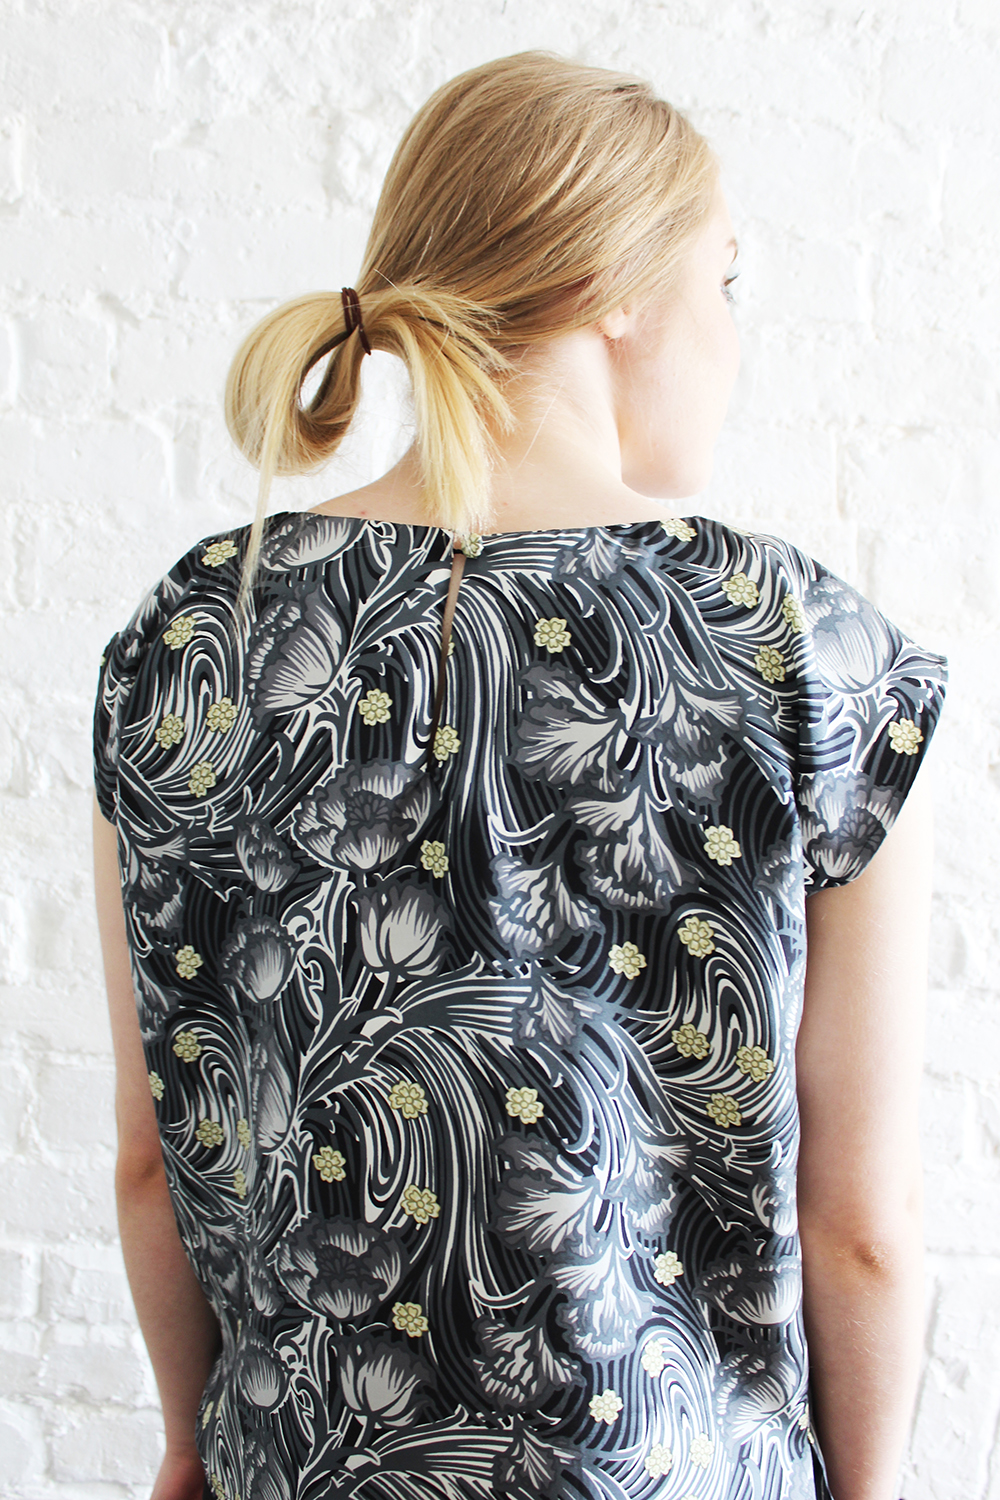 Cute little covered and slit opening at the back for a retro look
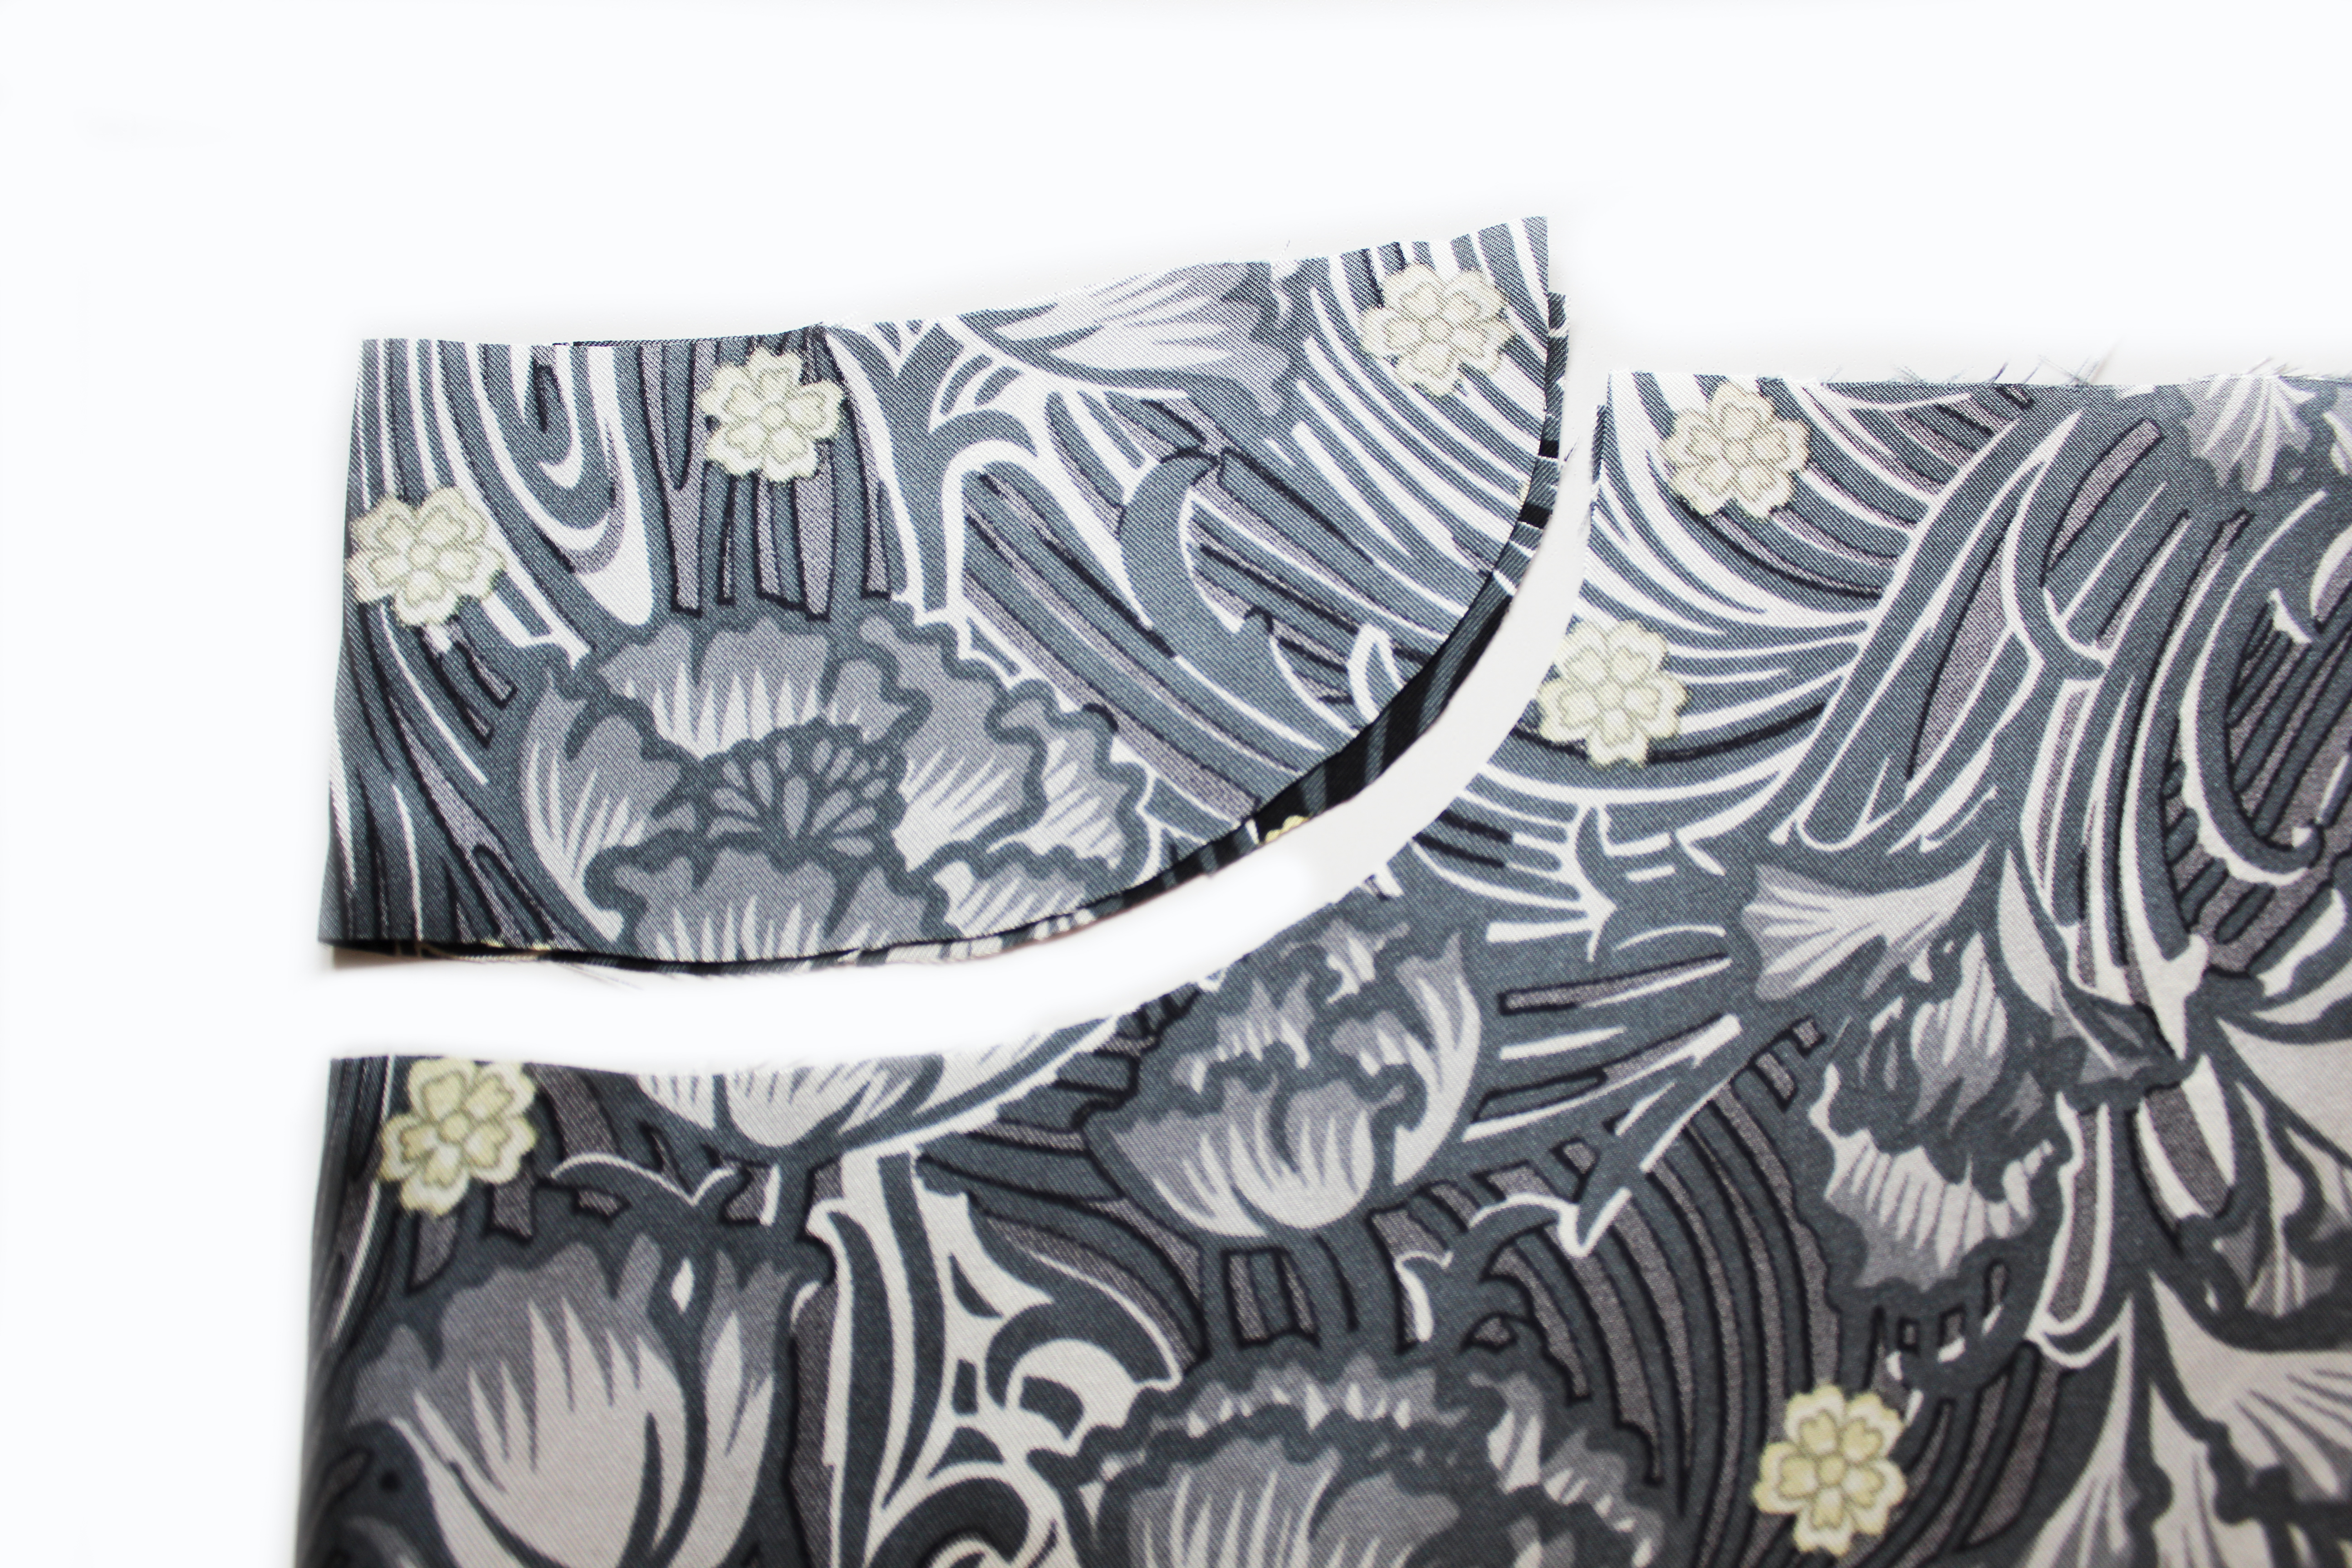 Pic 1
Pic 1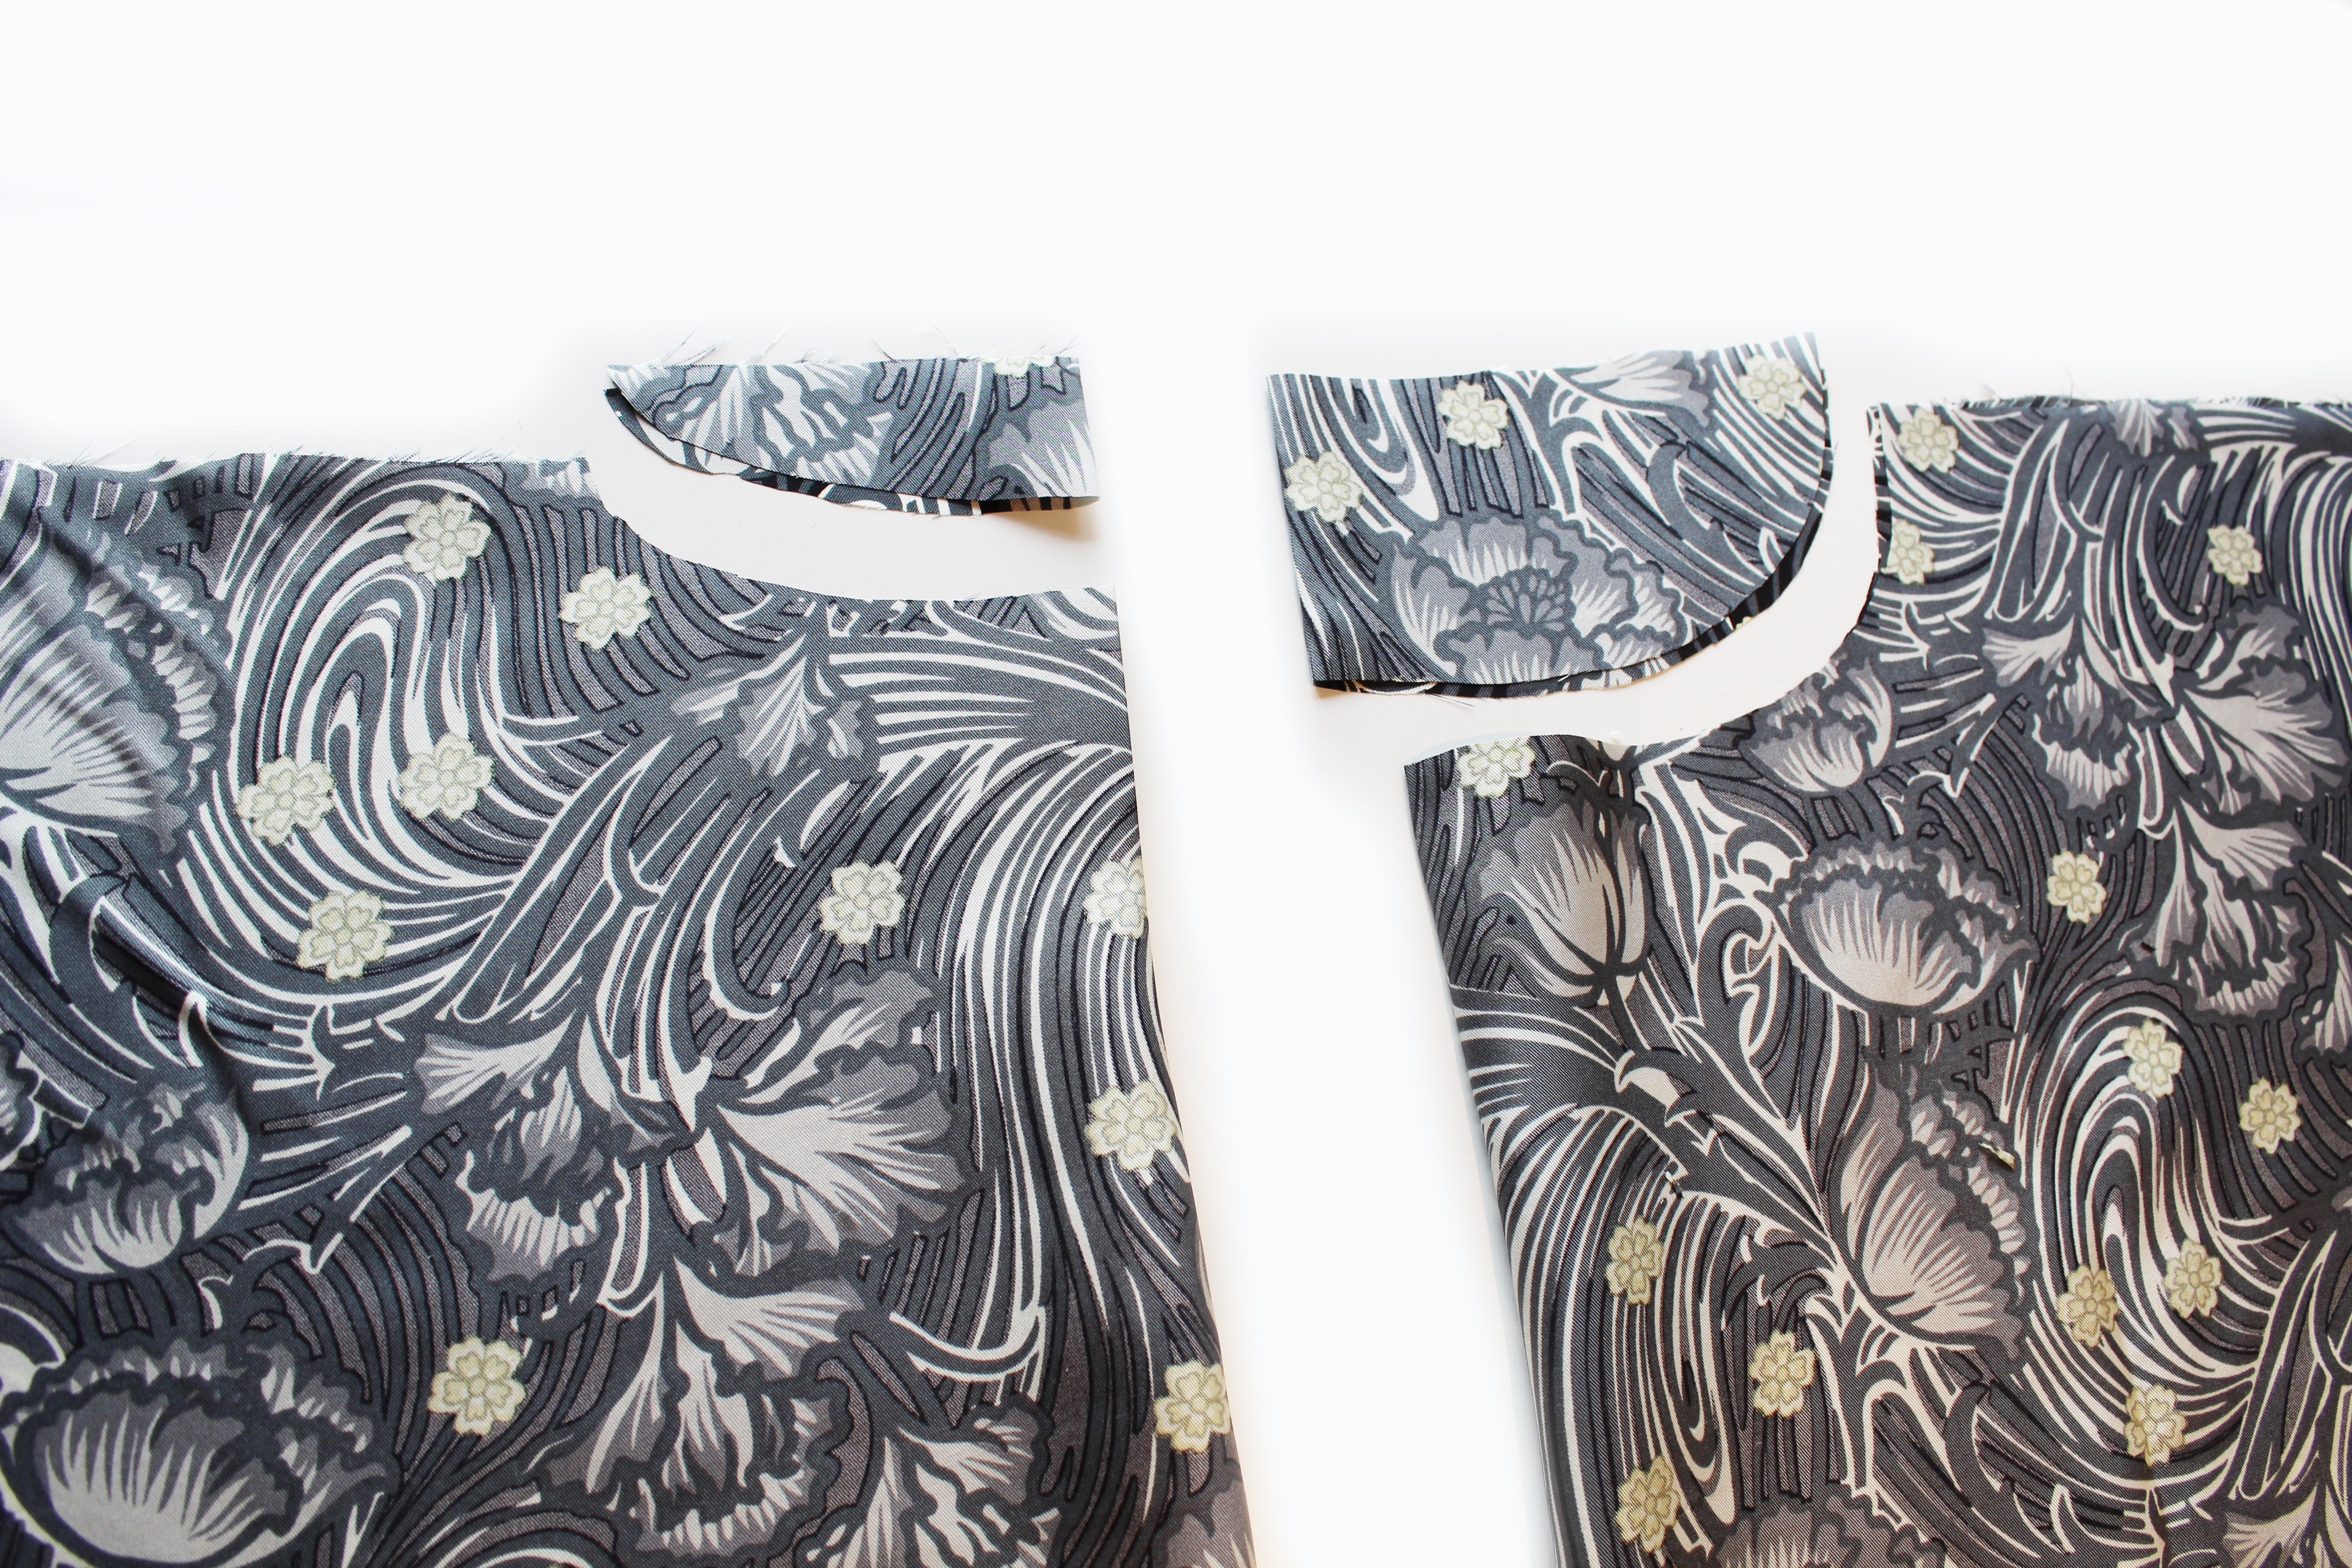 Pic 2
Pic 2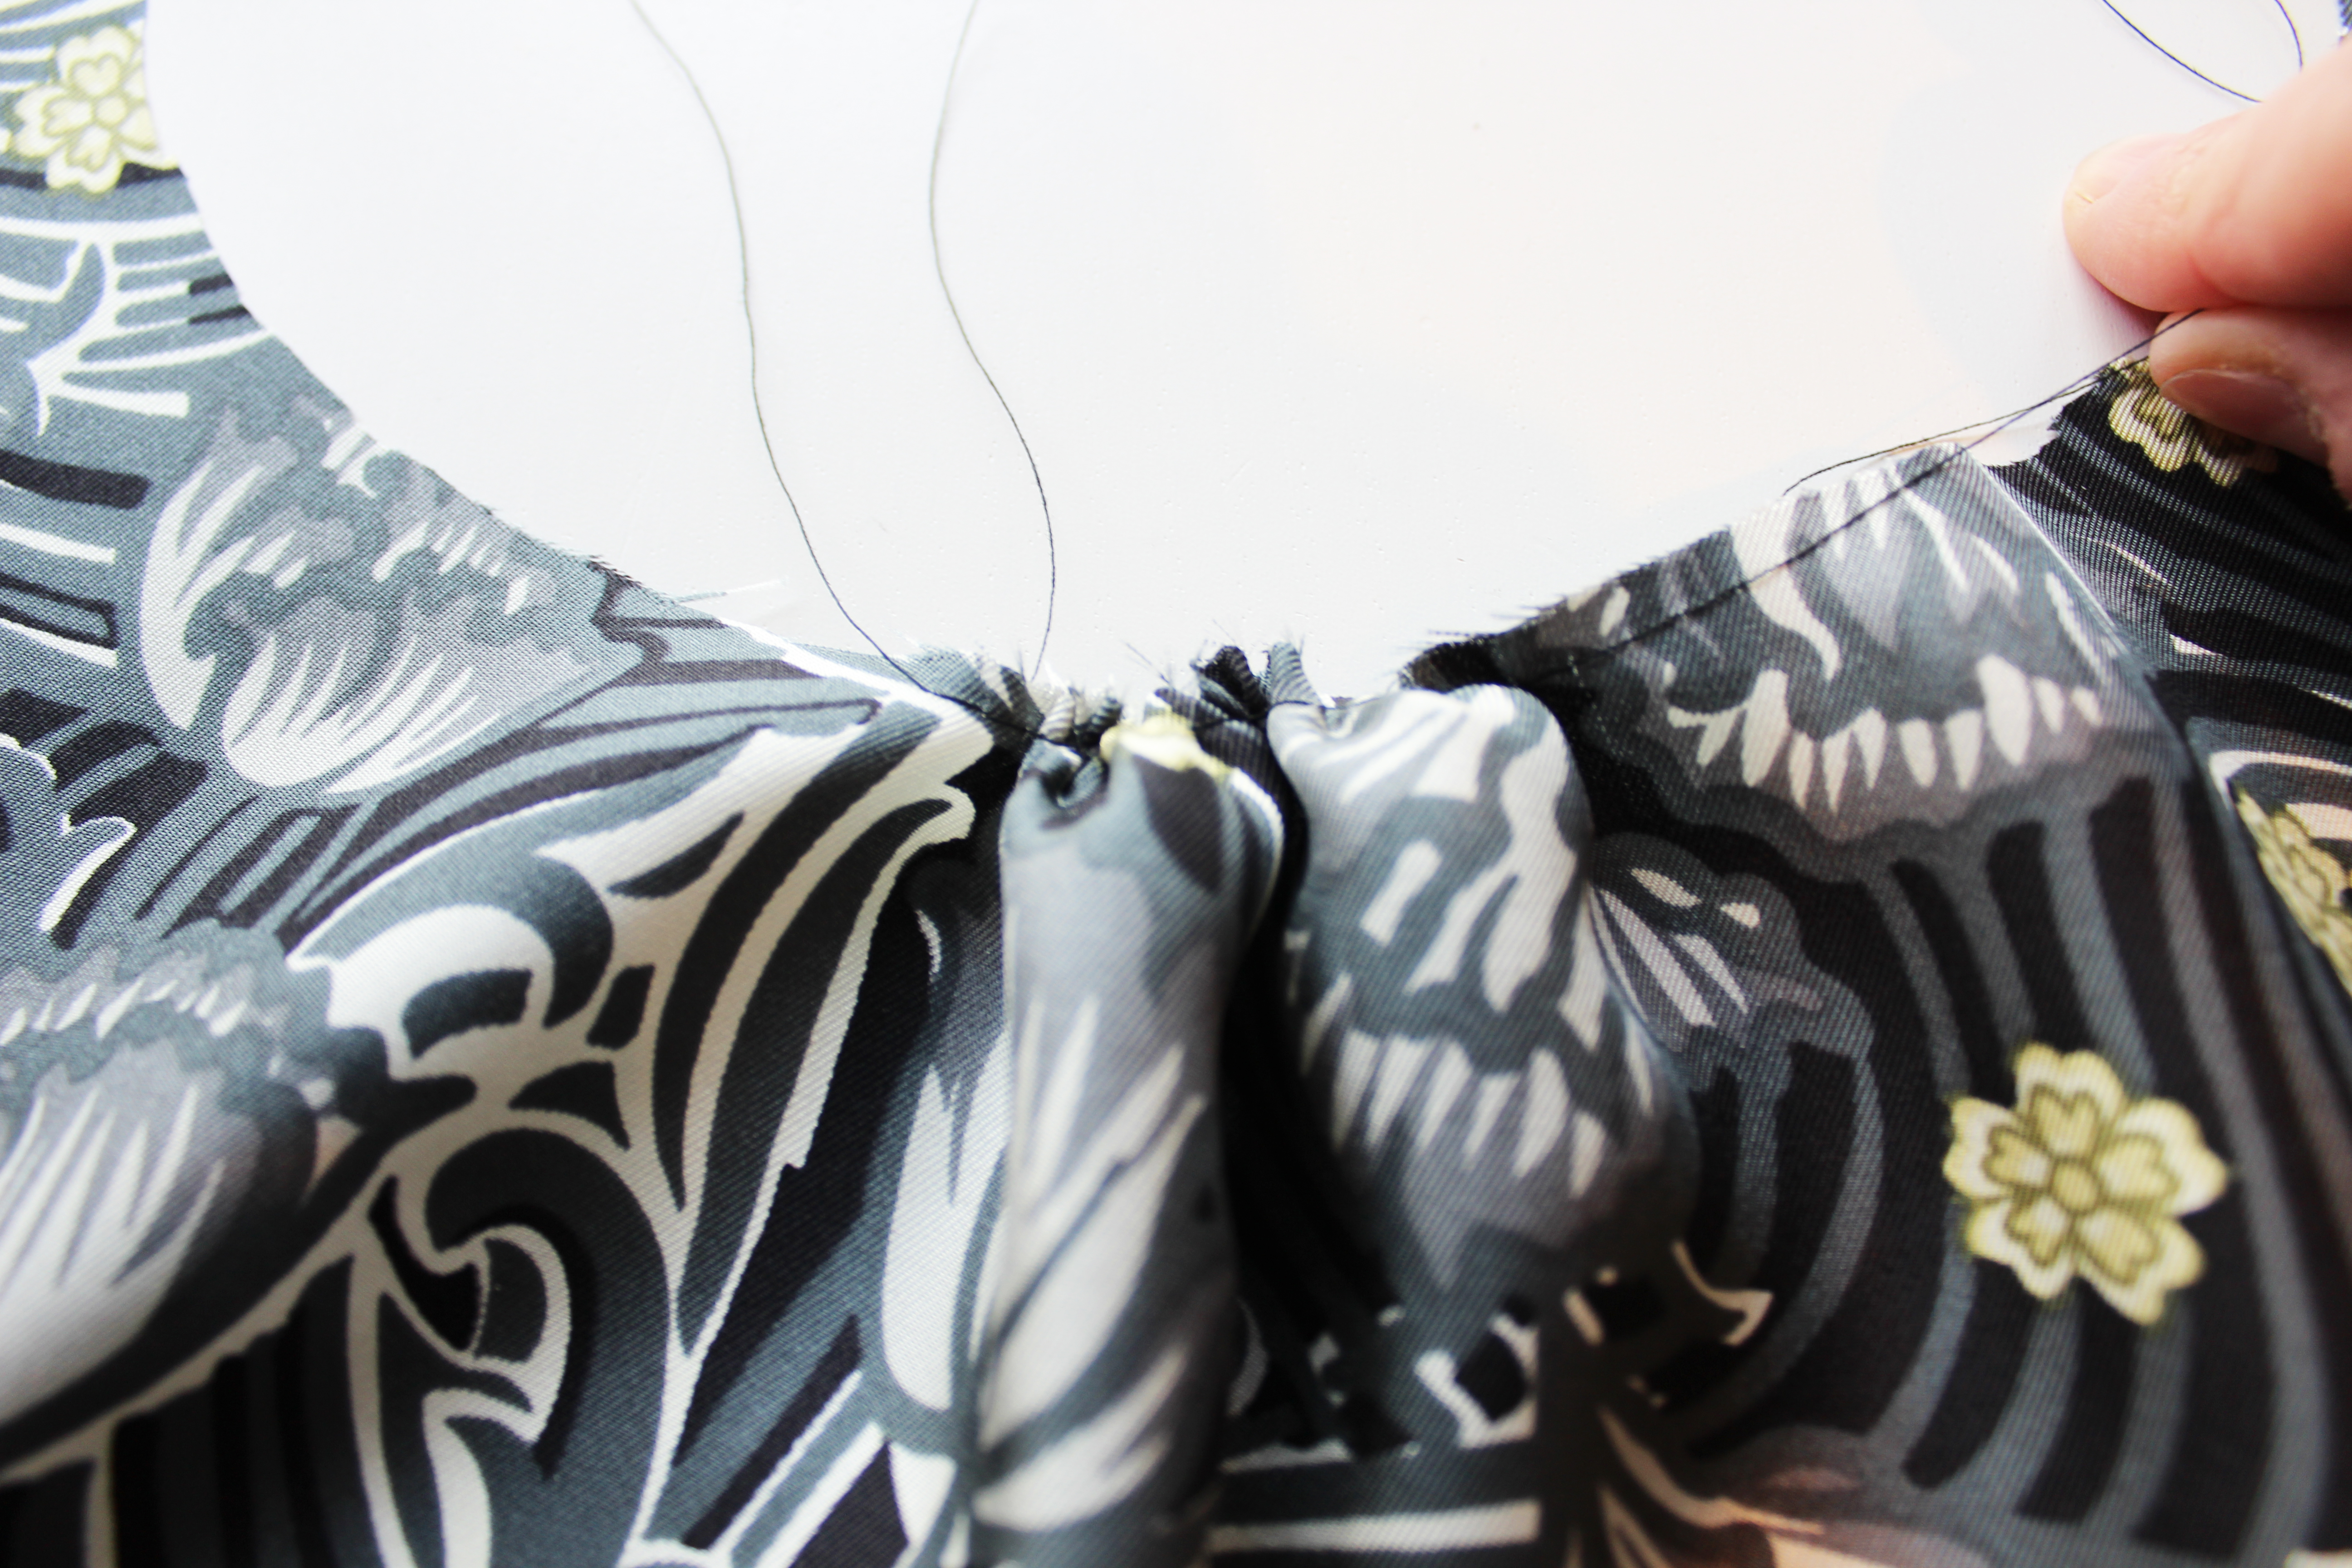 Pic 3
Pic 3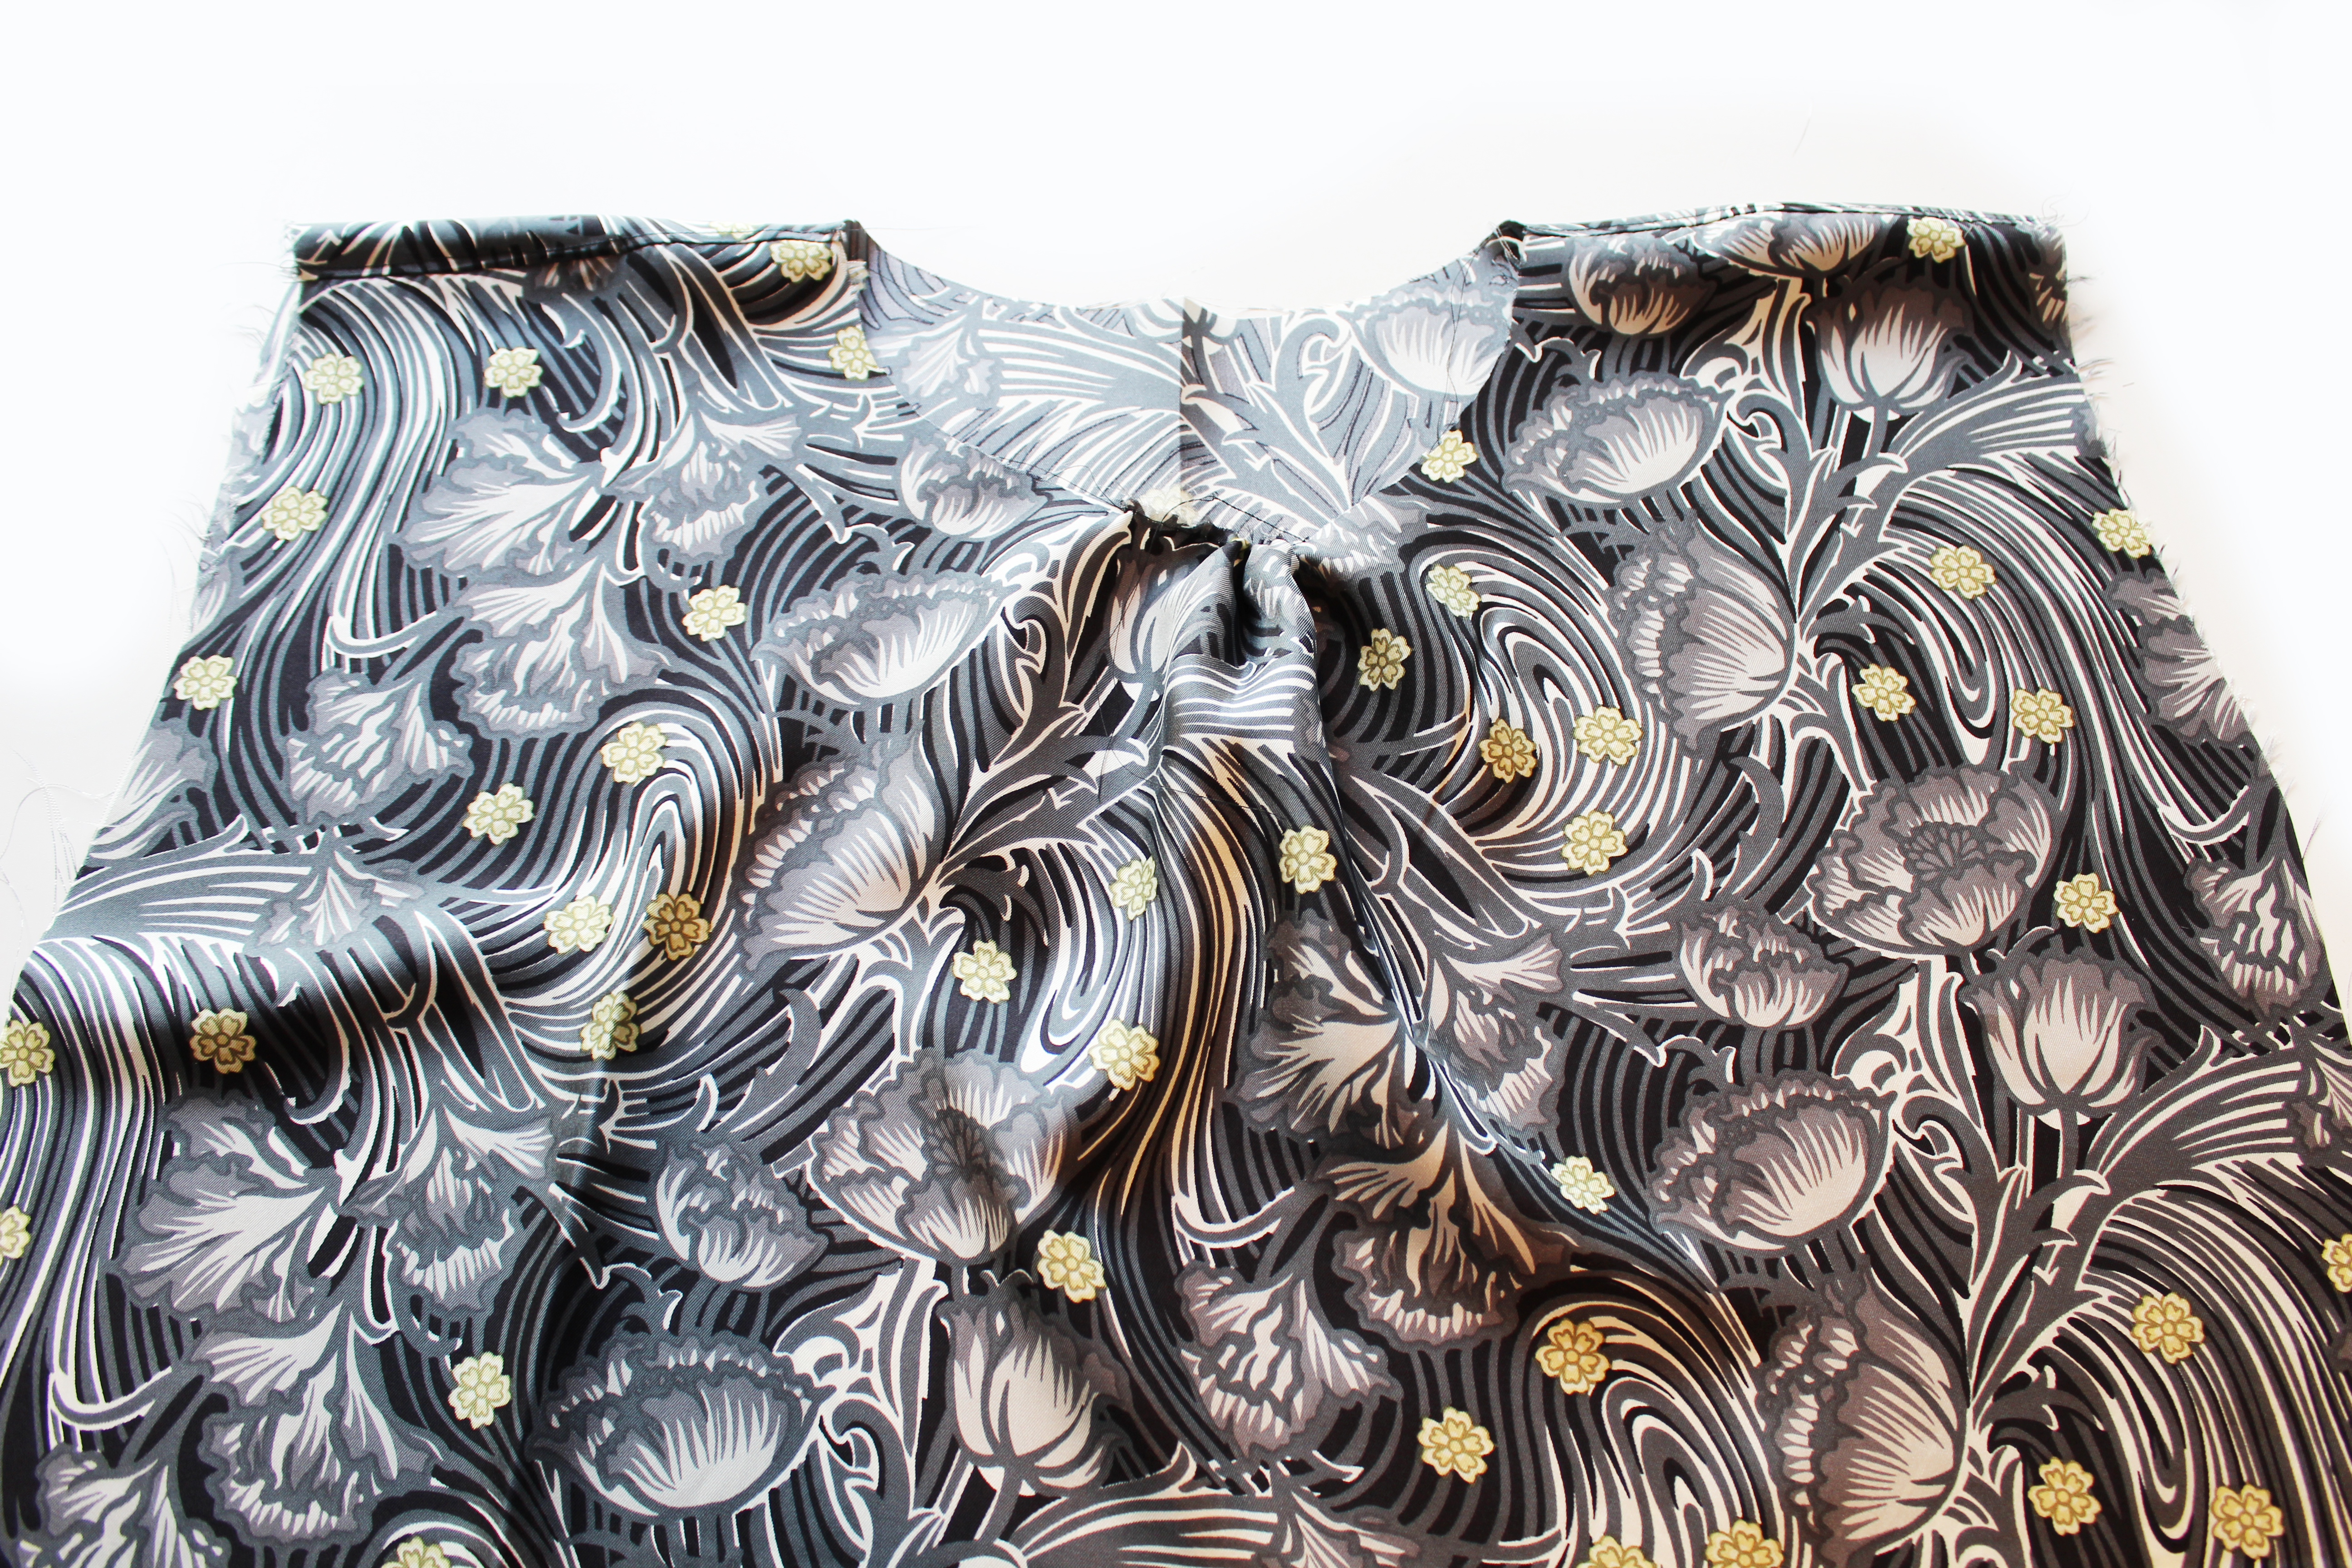 Pic 4
Pic 4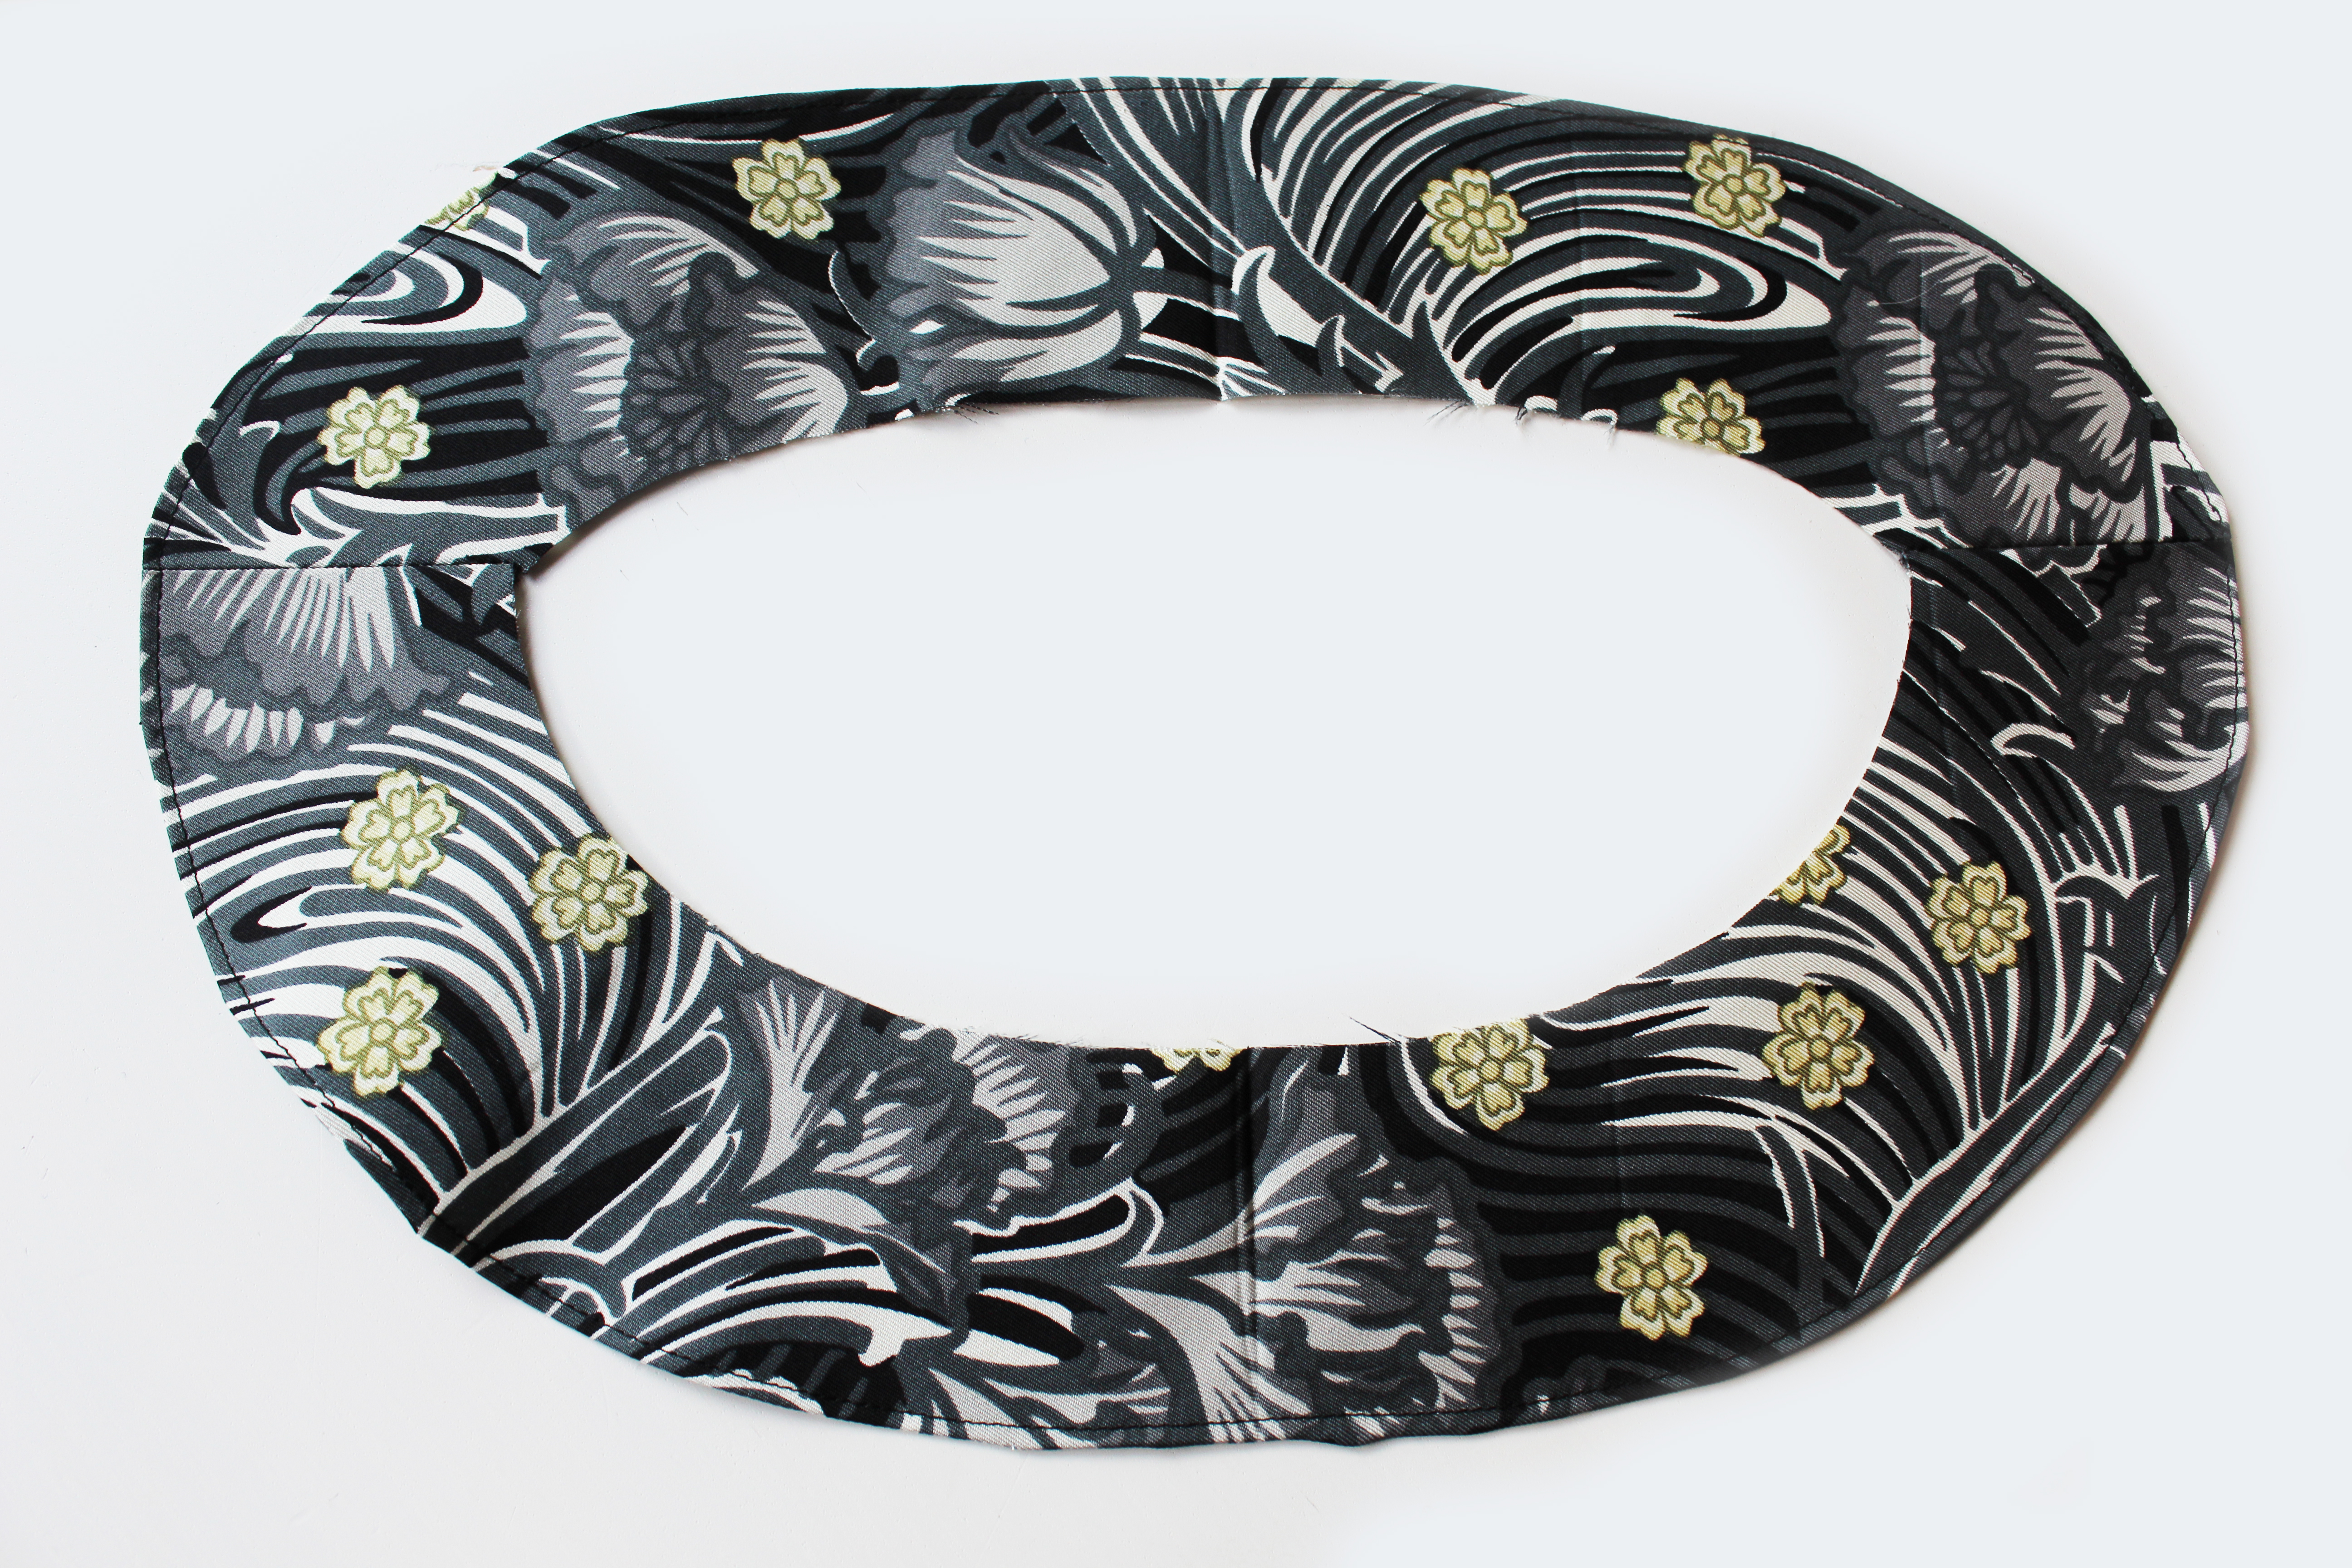 Pic 5
Pic 5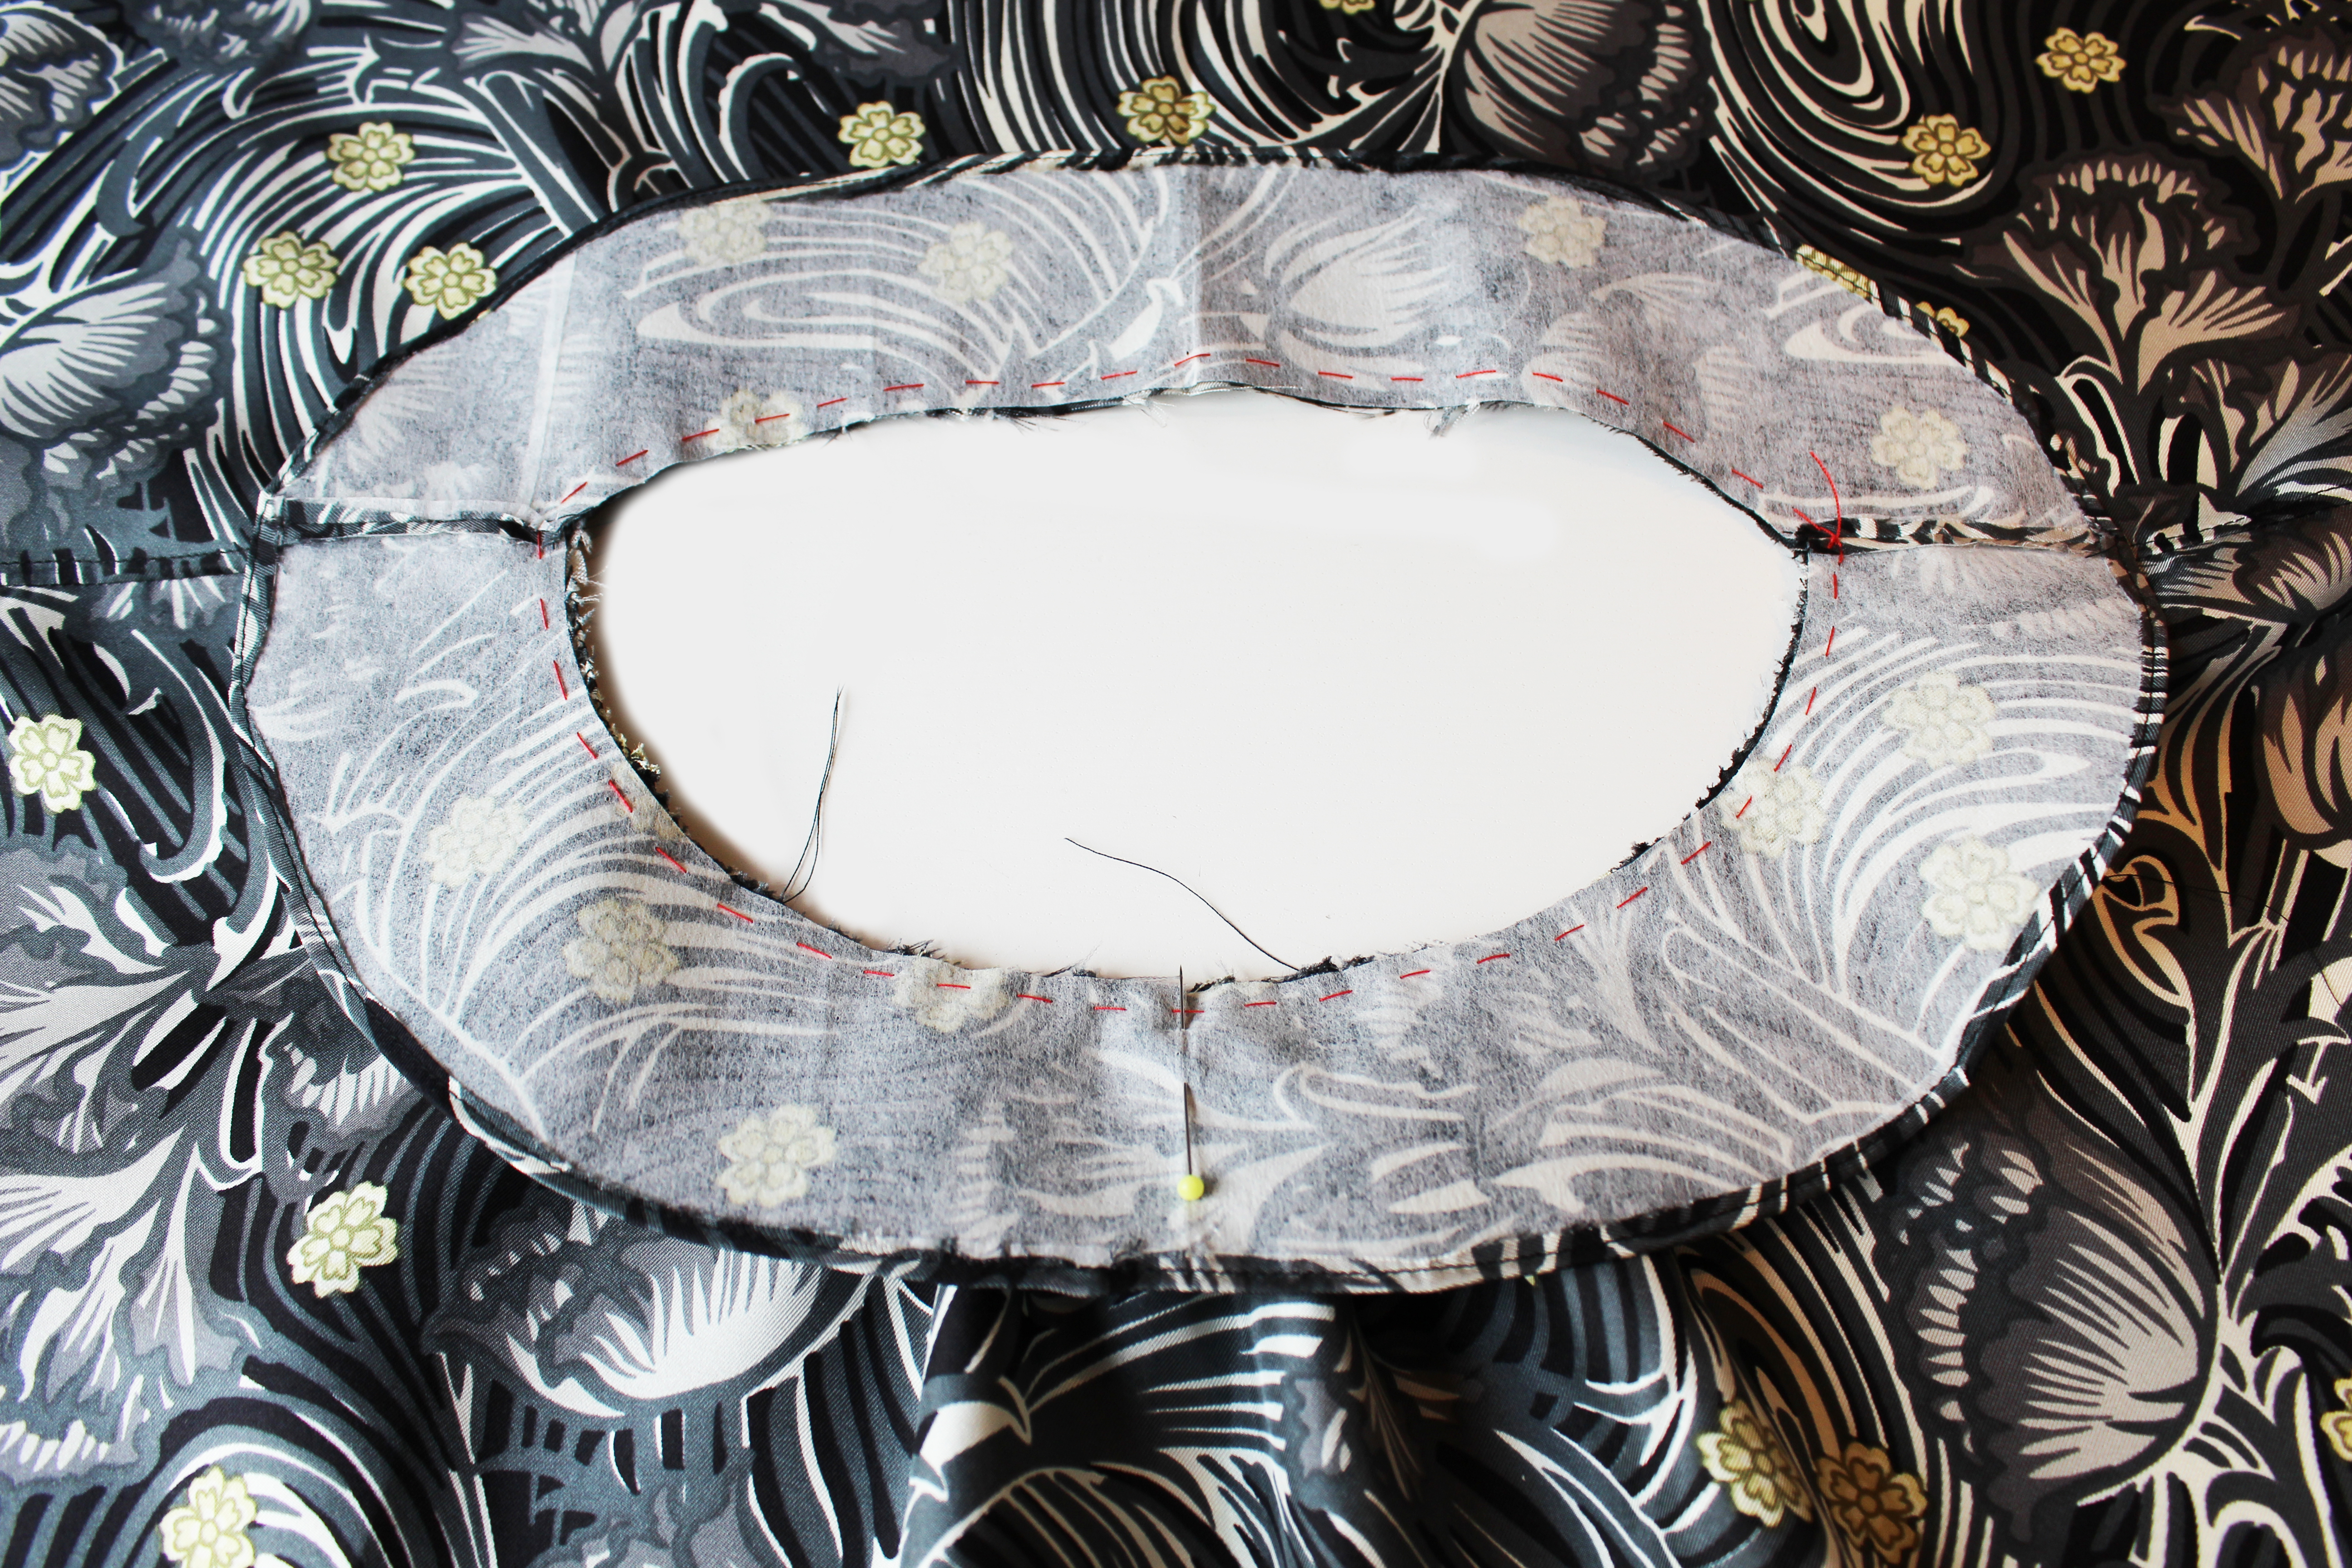 Pic 6/7
 Pic 8
Pic 8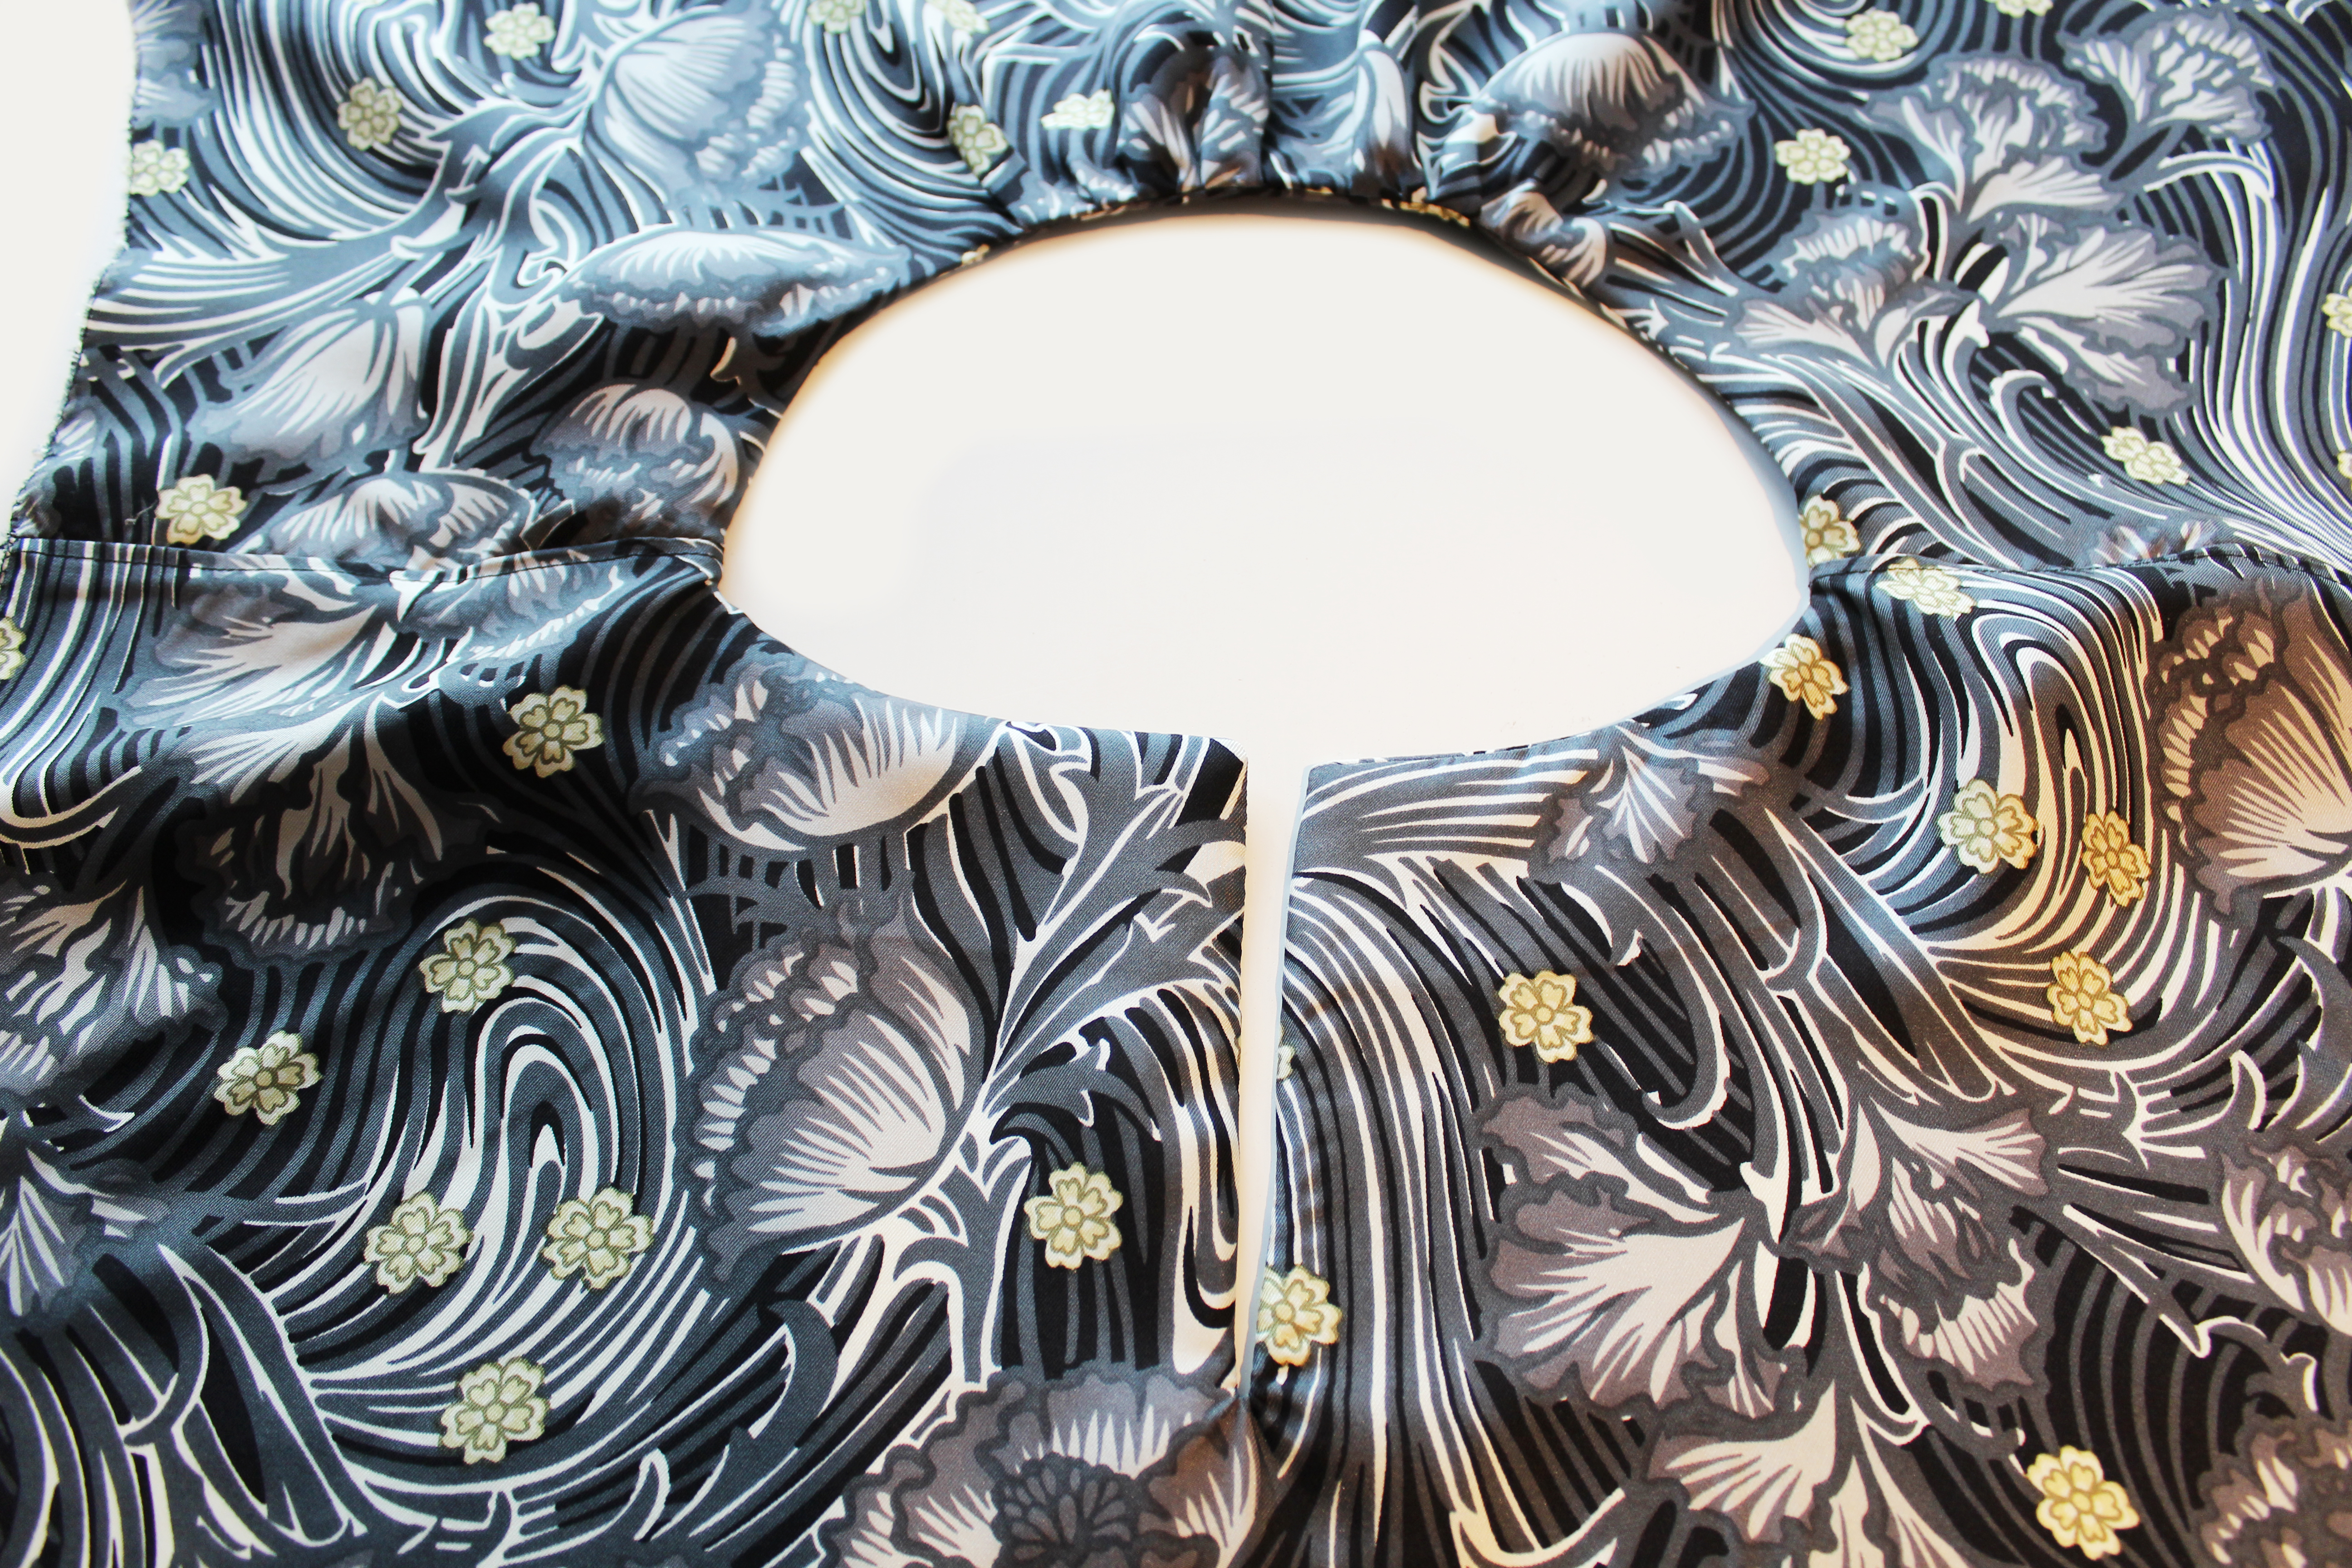 Pic 9
Pic 9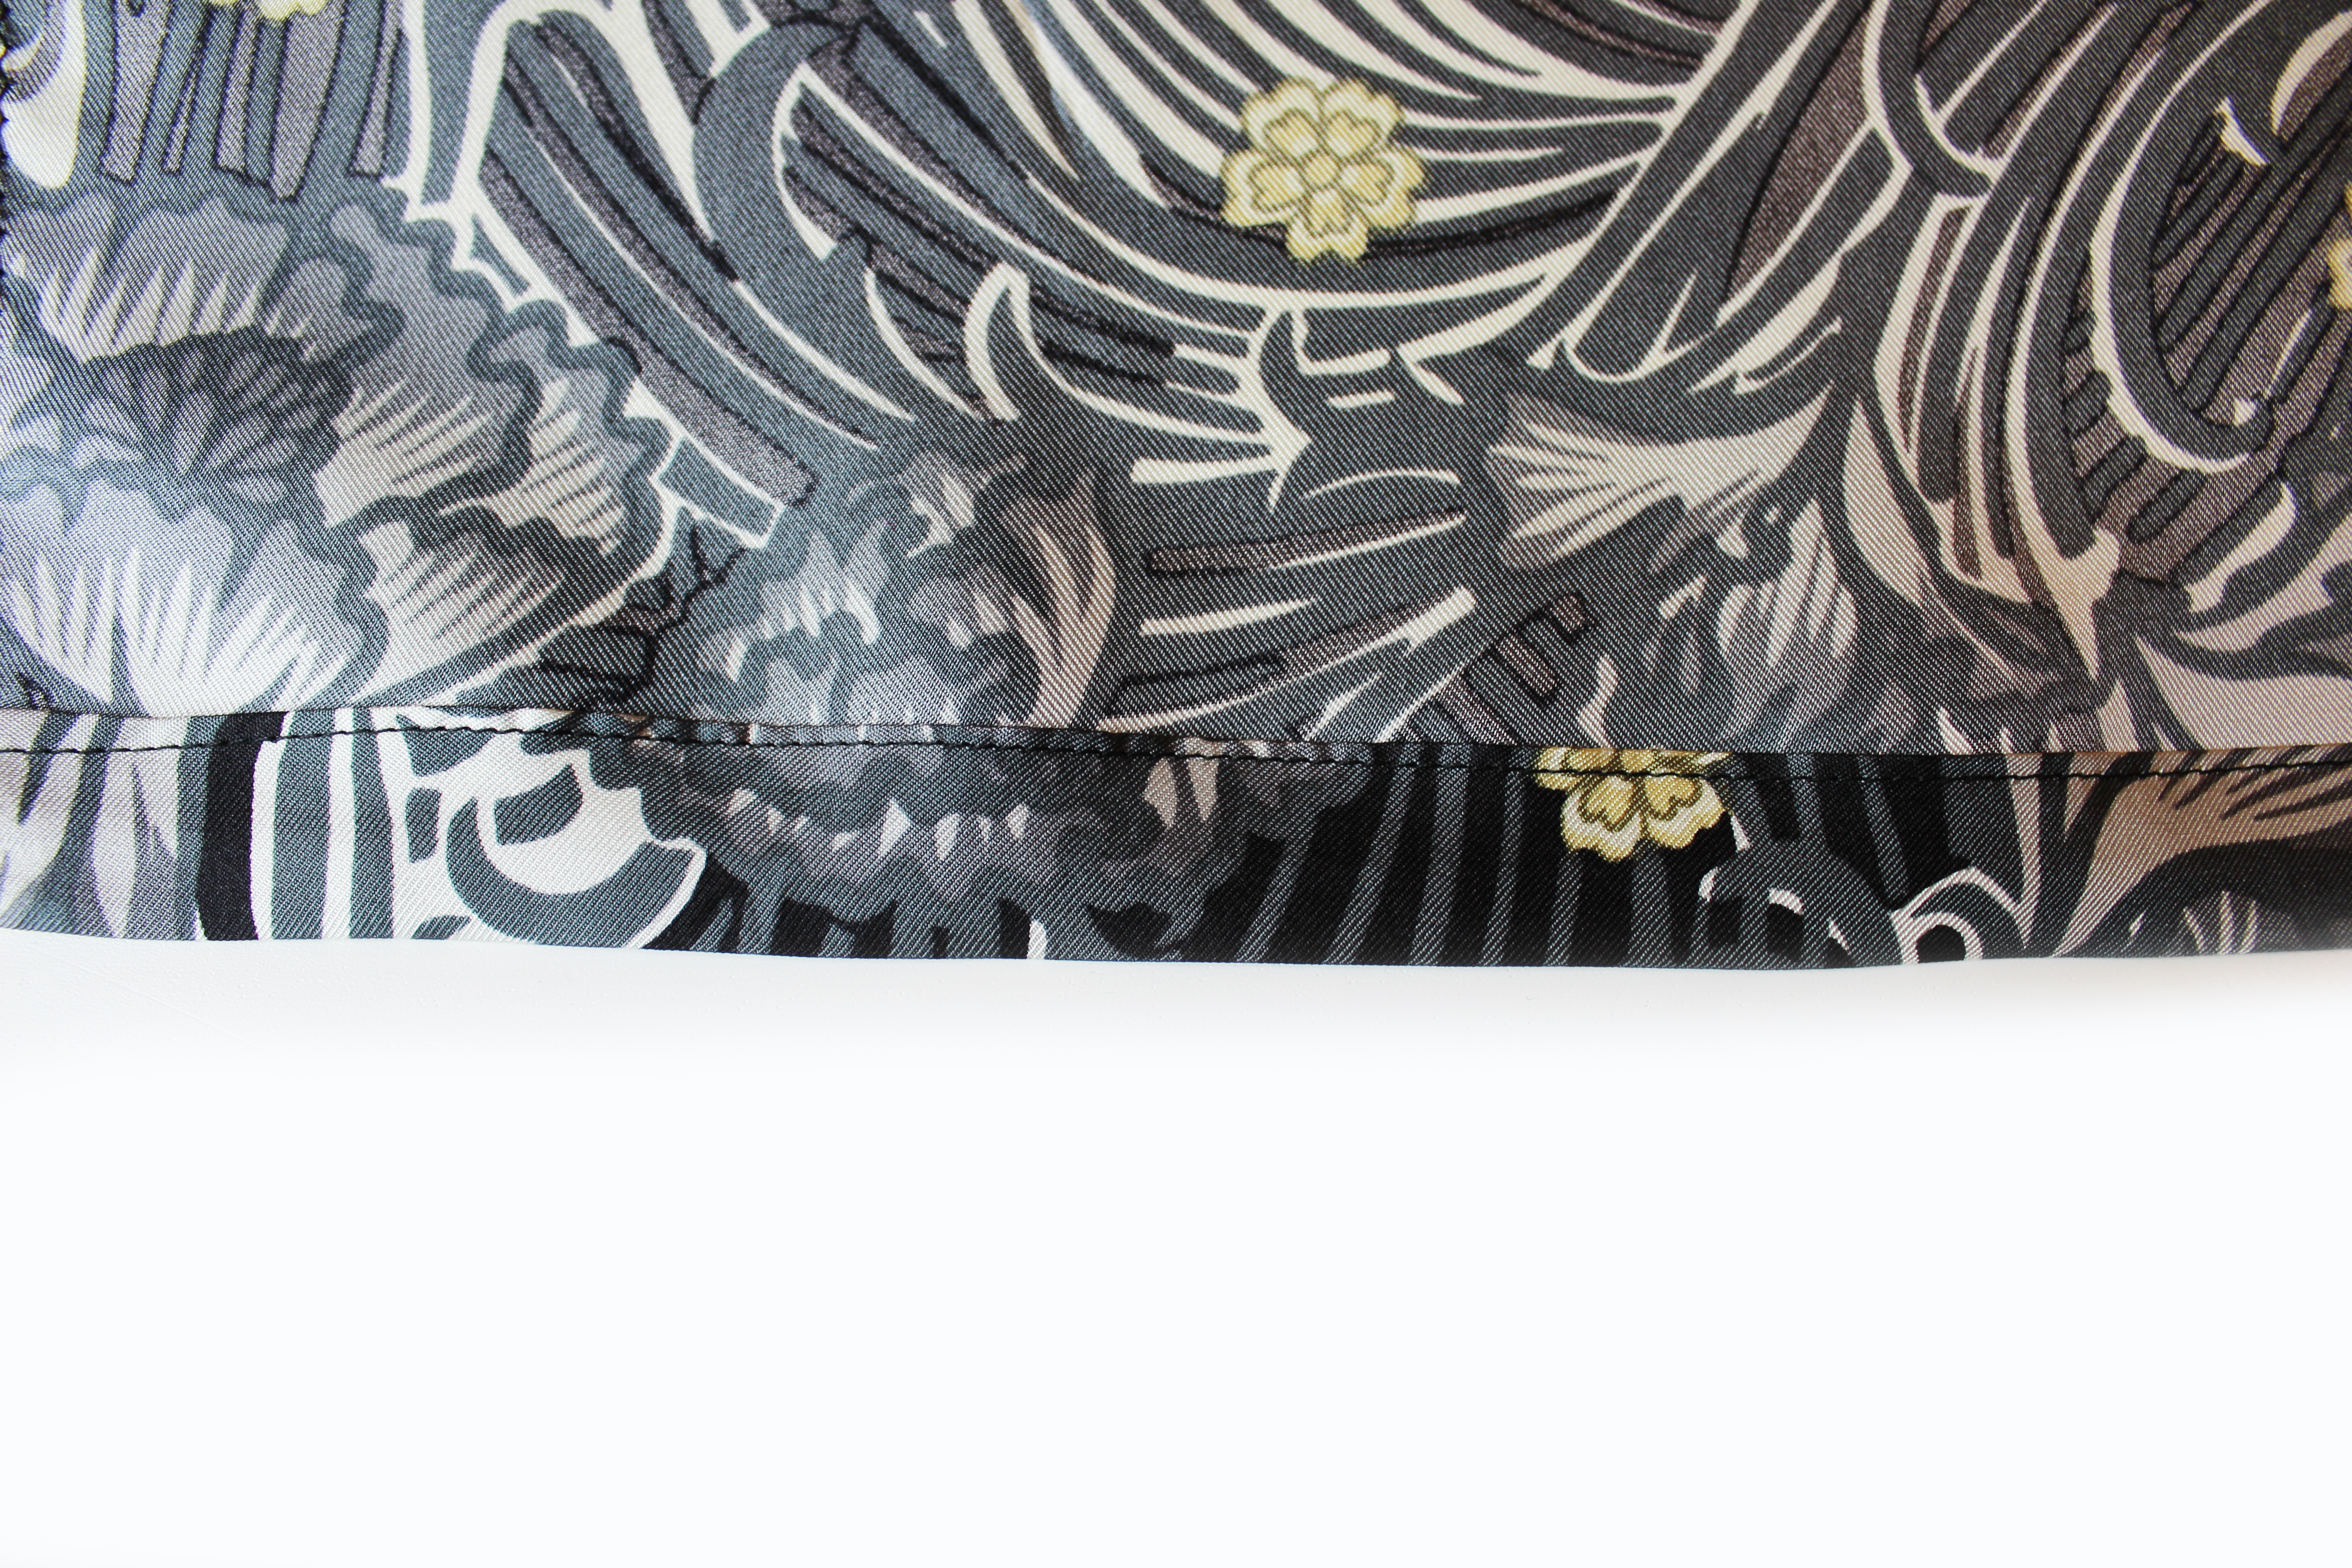
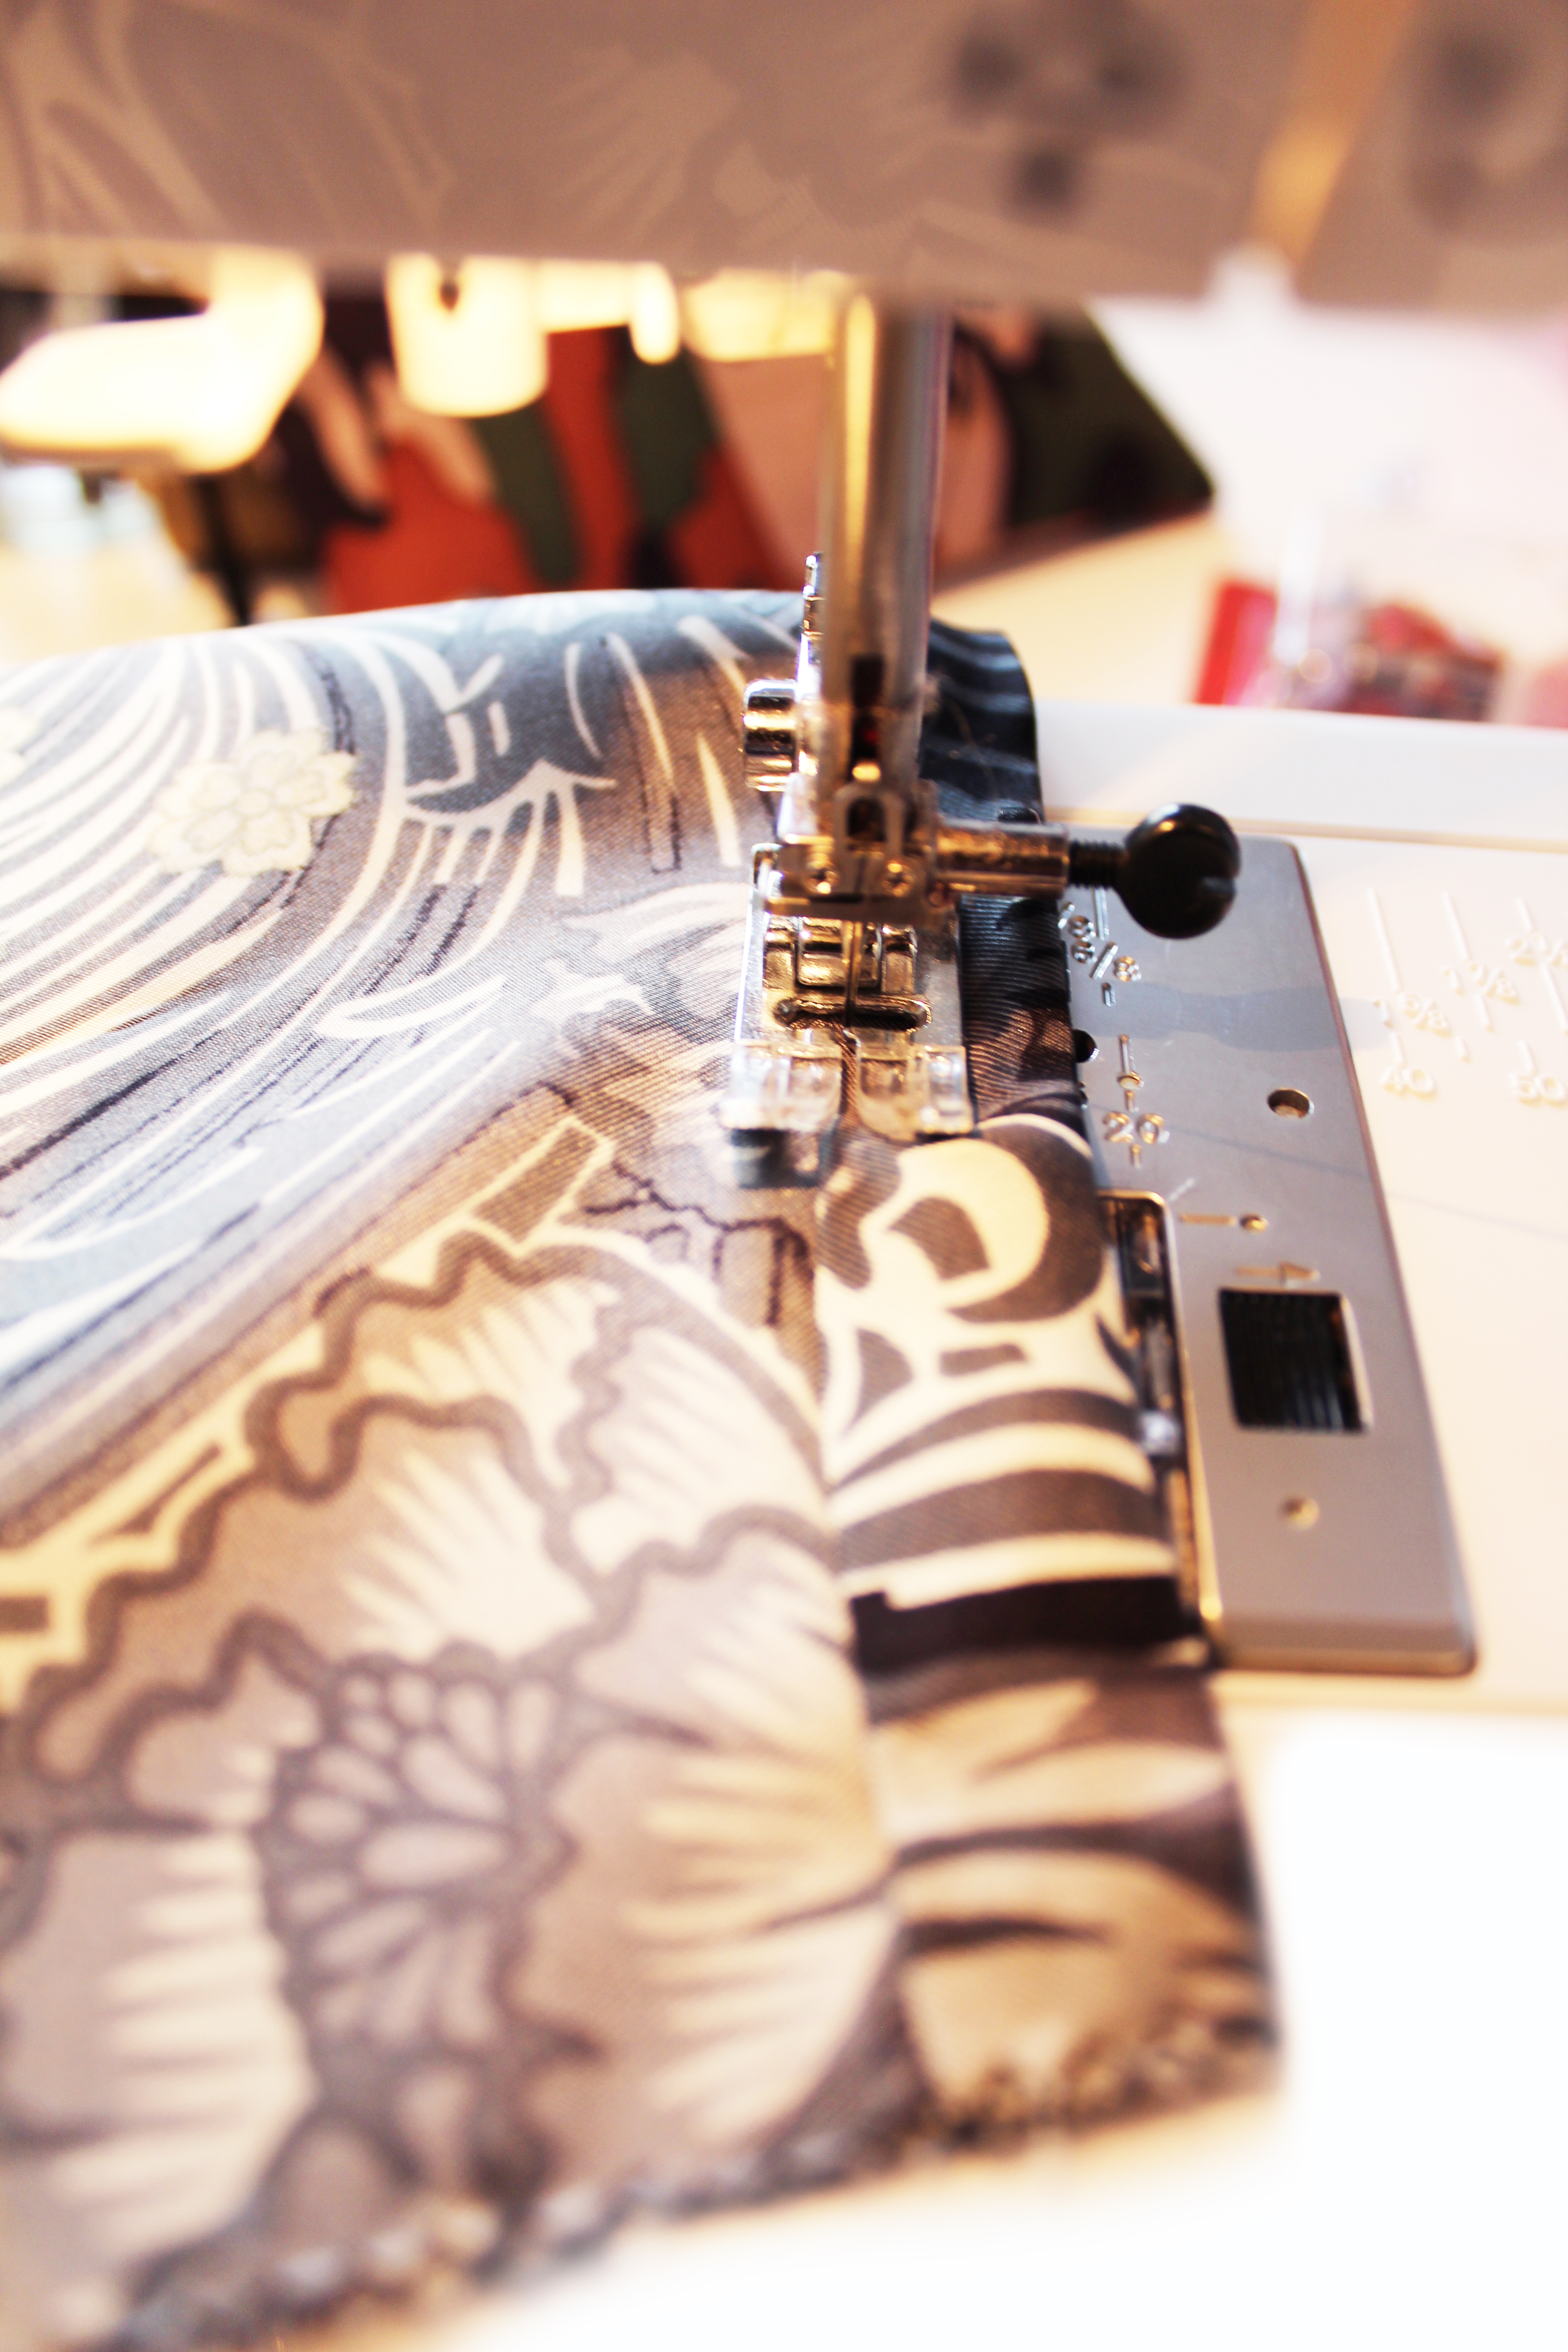 Pic 11
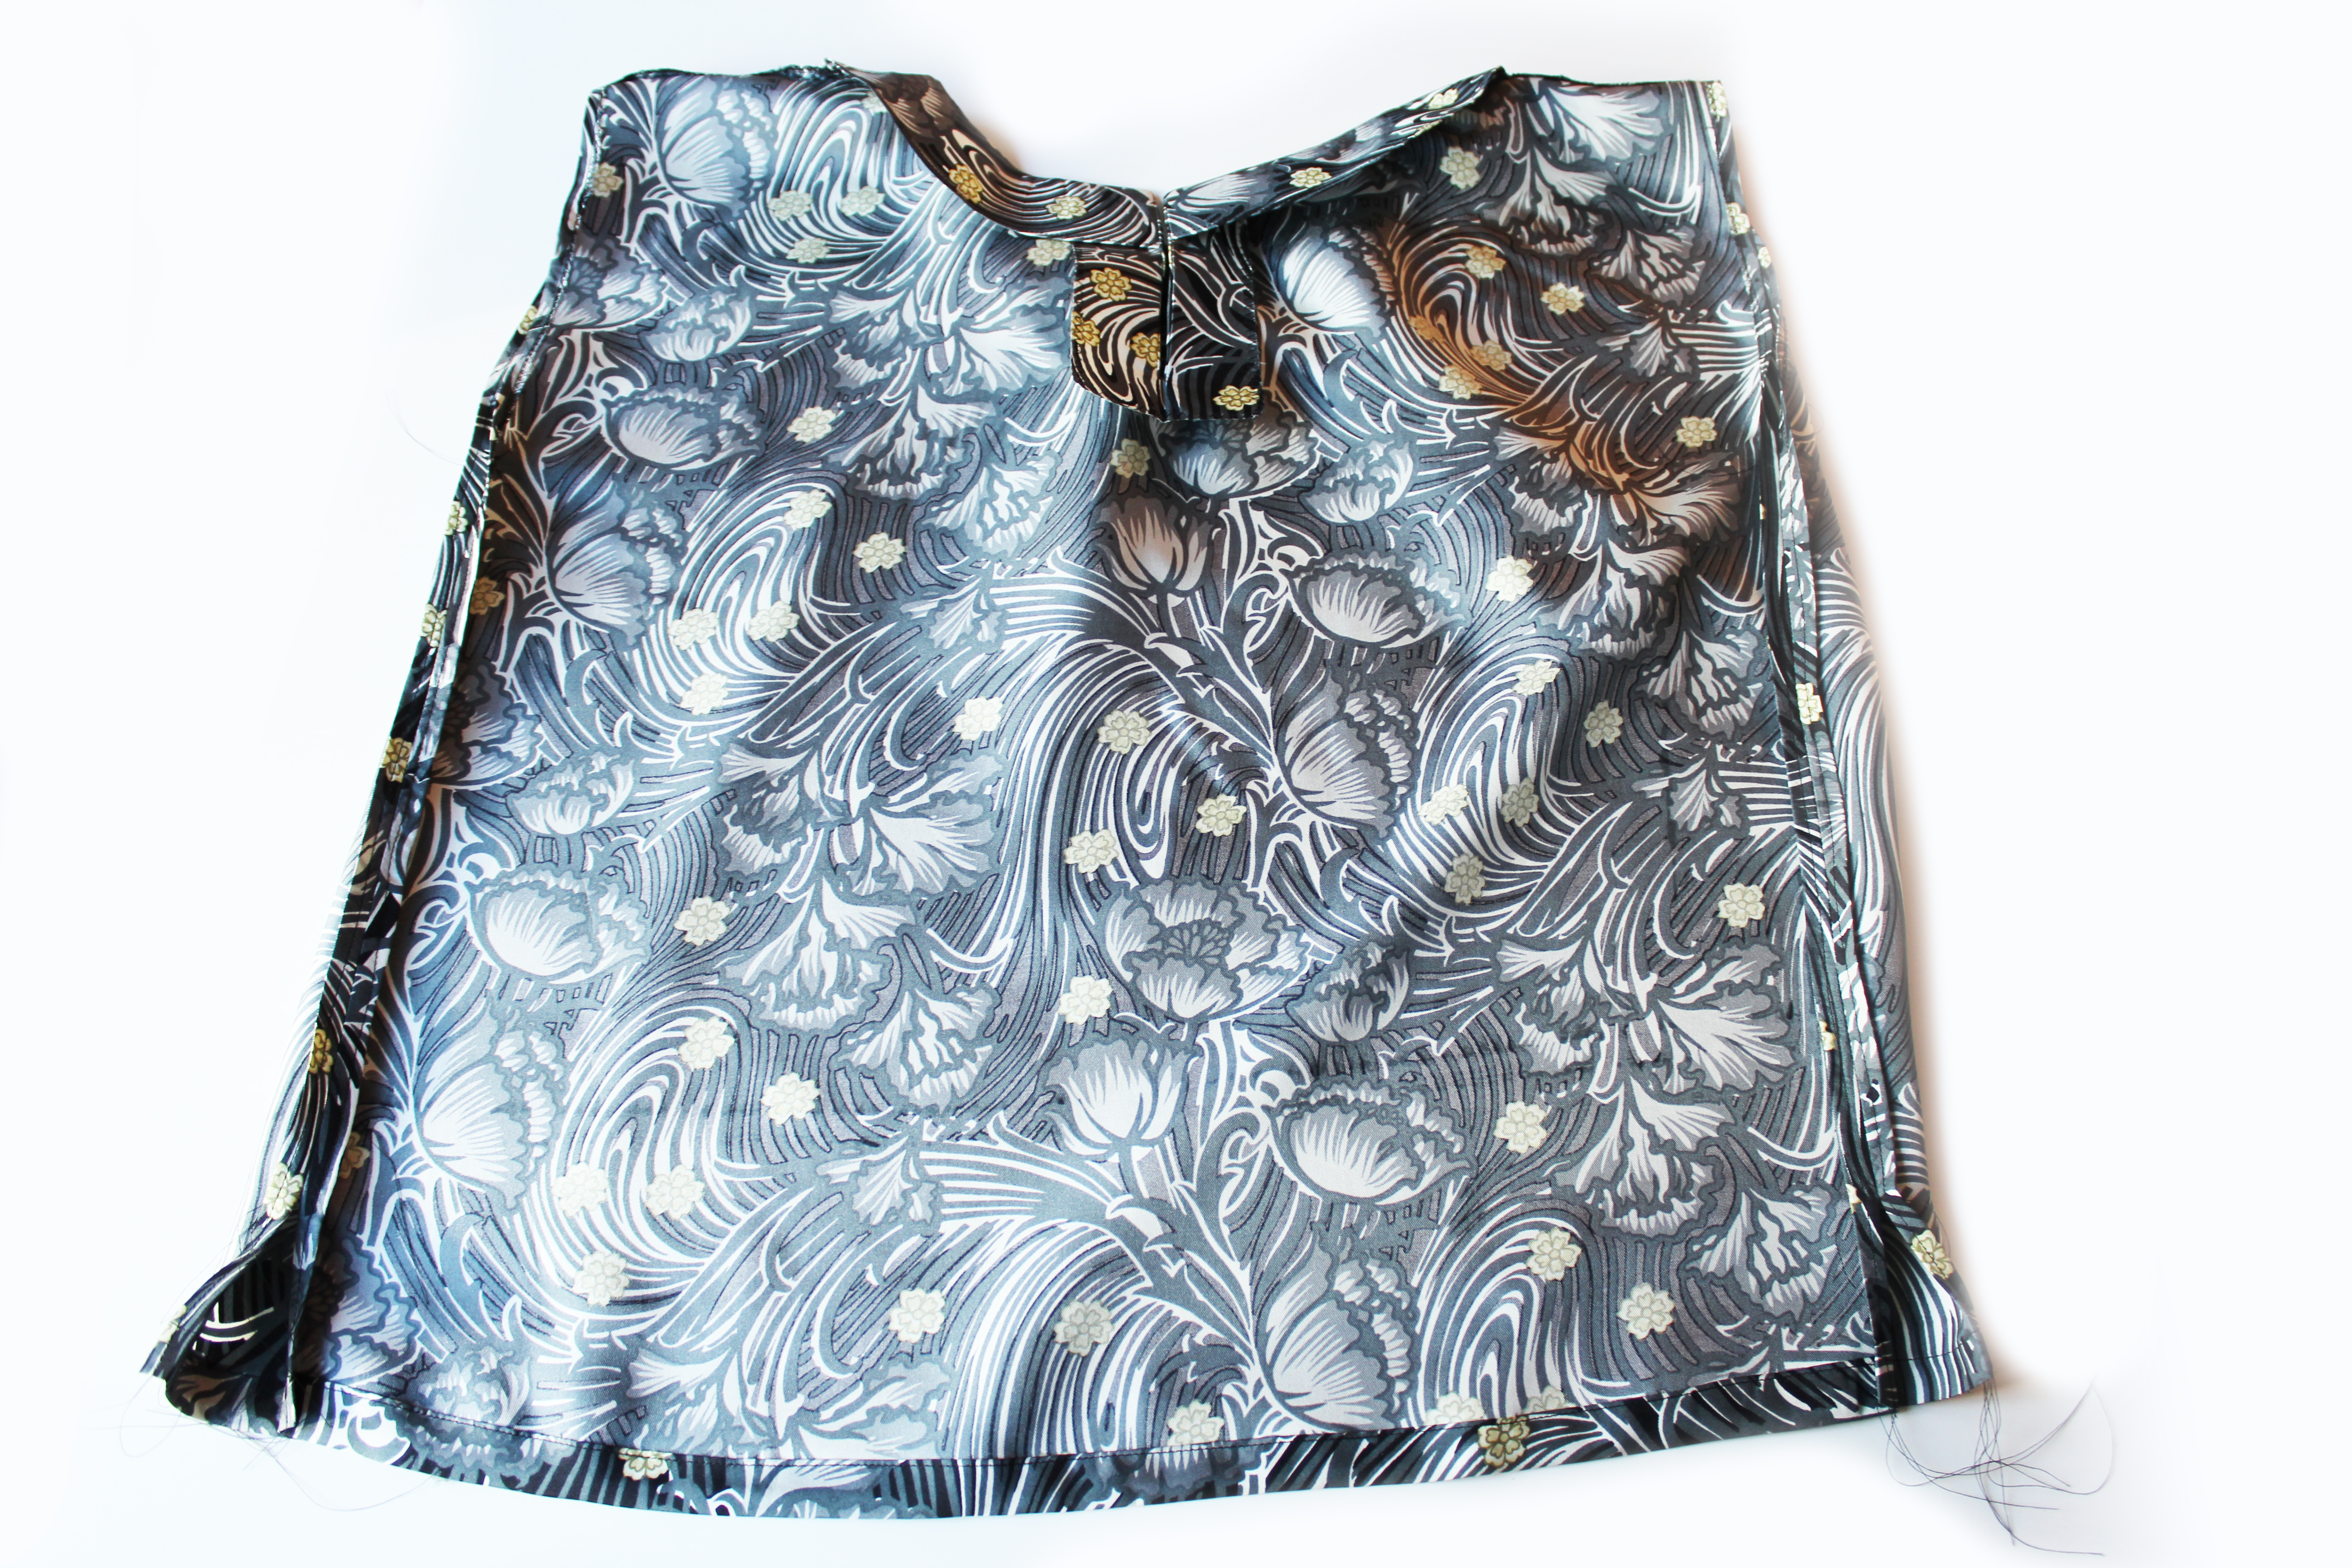 DIAGRAMS